
Often, going to rest in nature, there is a need for firewood, and they have to be cut with an ax, which is not very fast and difficult. Surely everyone was thinking about a small chainsaw. Thanks to these instructions, you can do just that for yourself. devicebut that’s not all, the manufactured saw runs on batteries, which means that now you don’t have to smear in gasoline and attract attention with noise.
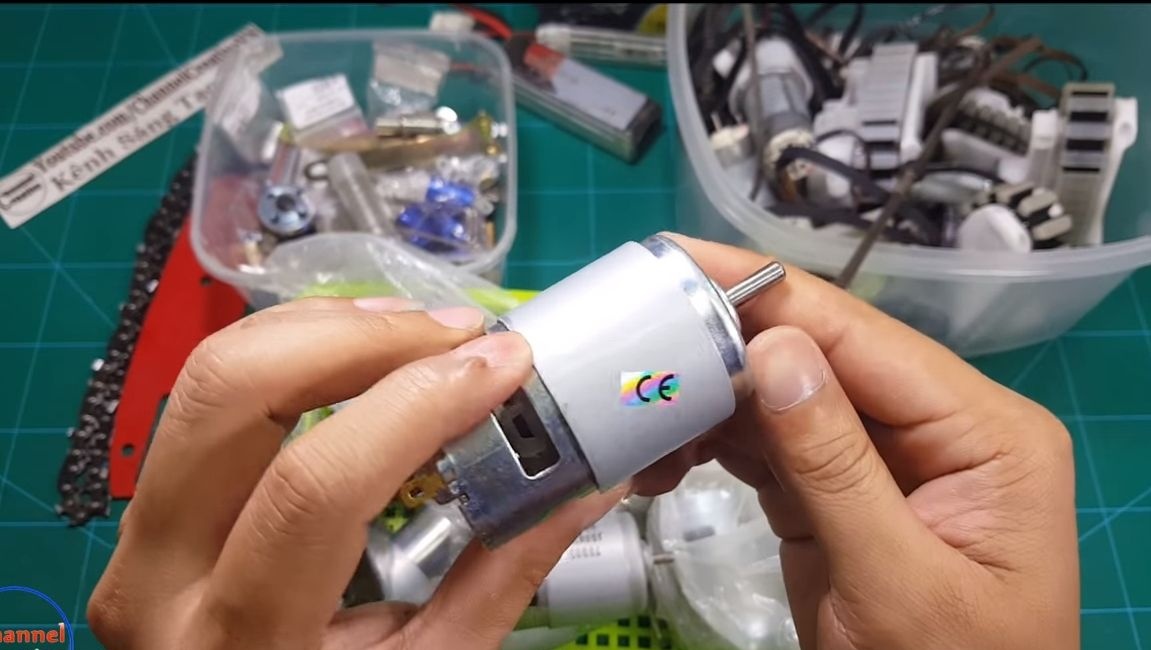
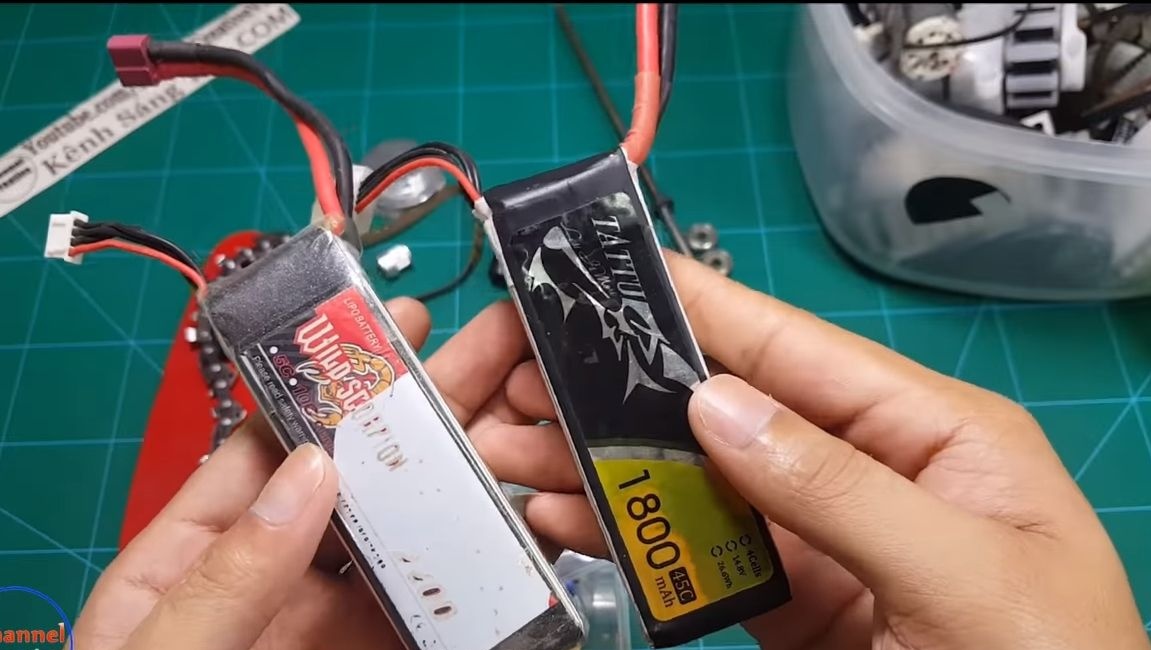
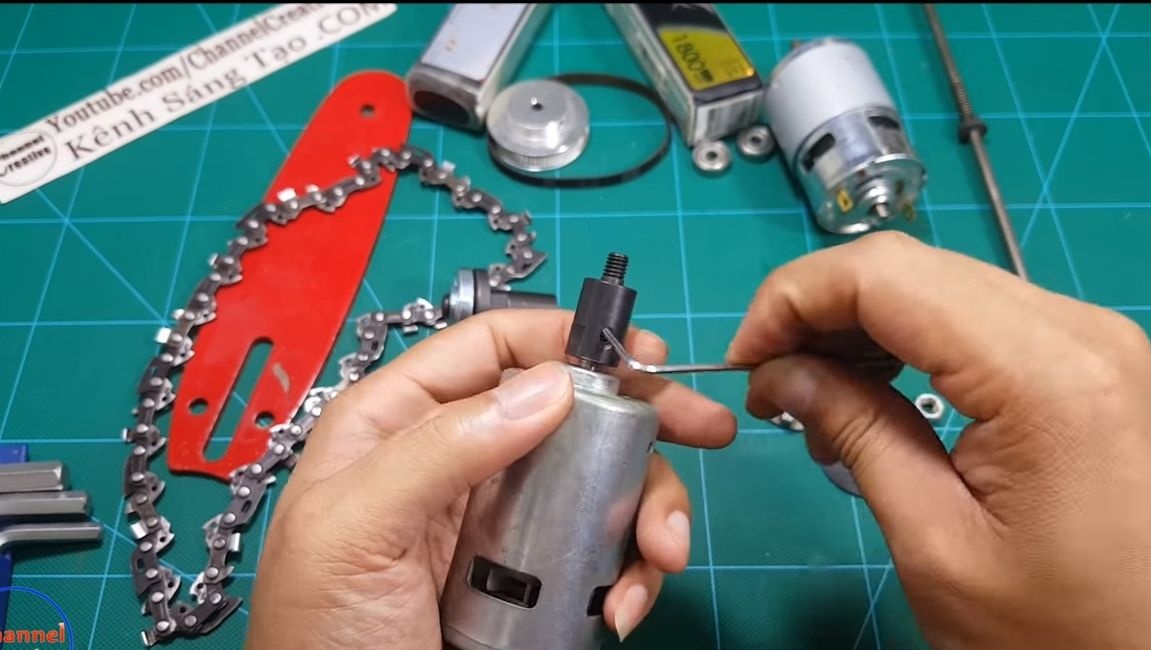
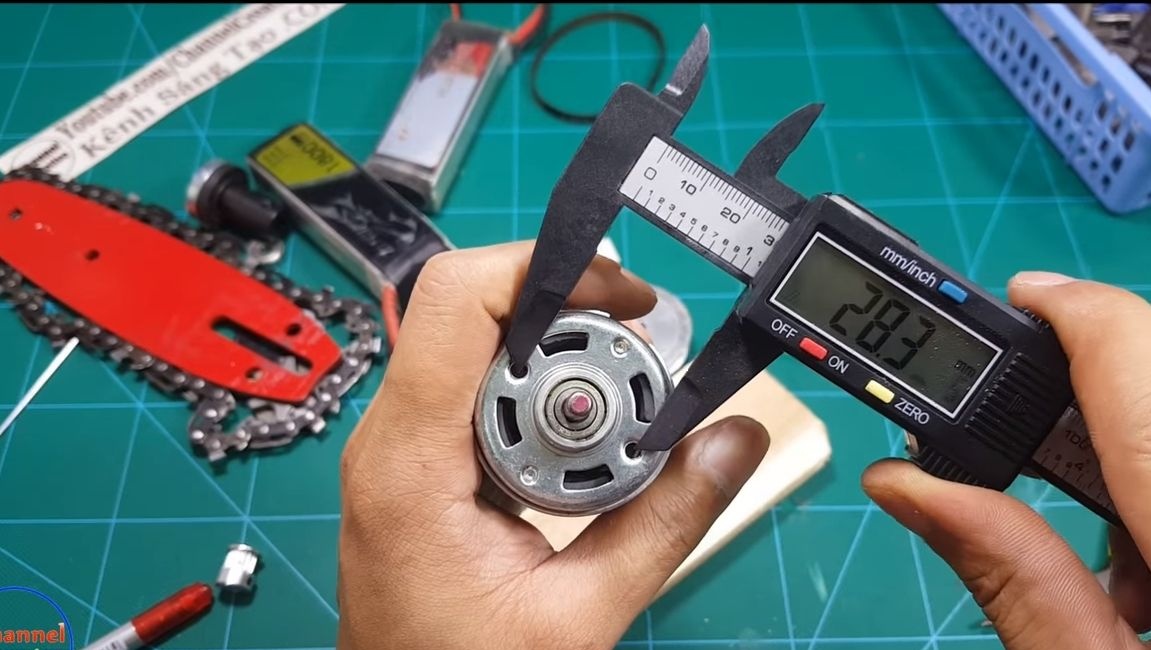
In addition to firewood, such a saw can easily cut boards and other building materials. You can connect it to the power supply or even power it from a car battery. The engine here is used 775, they are 12 and 24 volts. You can buy such an engine inexpensively on Ali, like other components. So let's get started.
Materials and tools used by the author:
Material List:
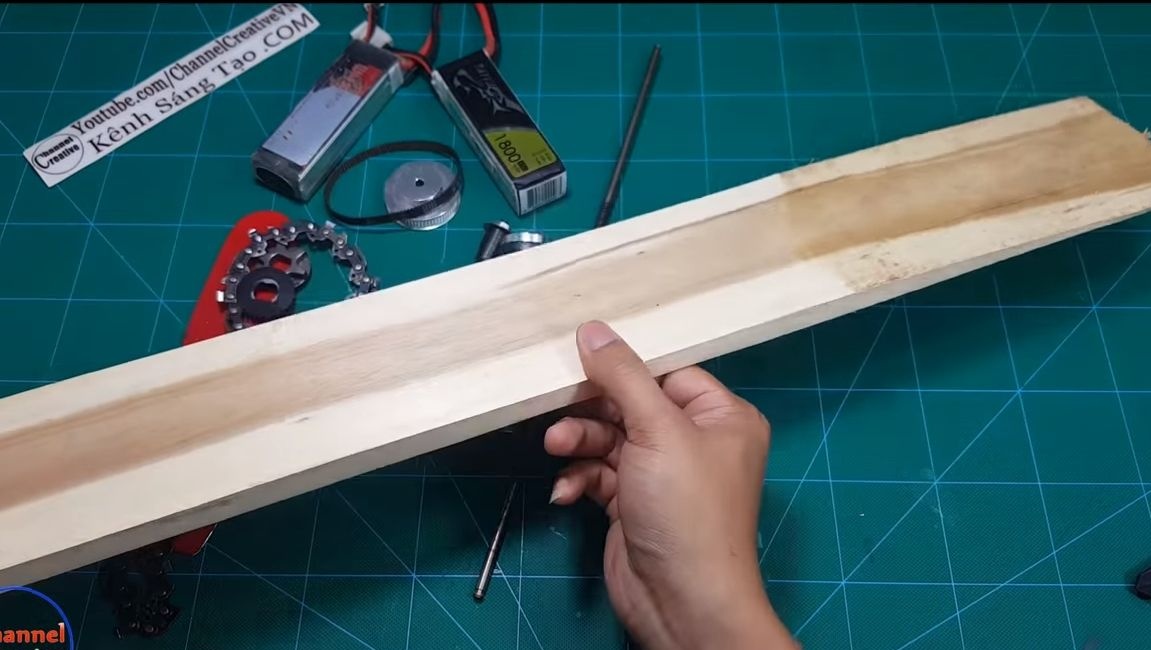
- board or plywood;
- engine 775;
- adapter for grinder;
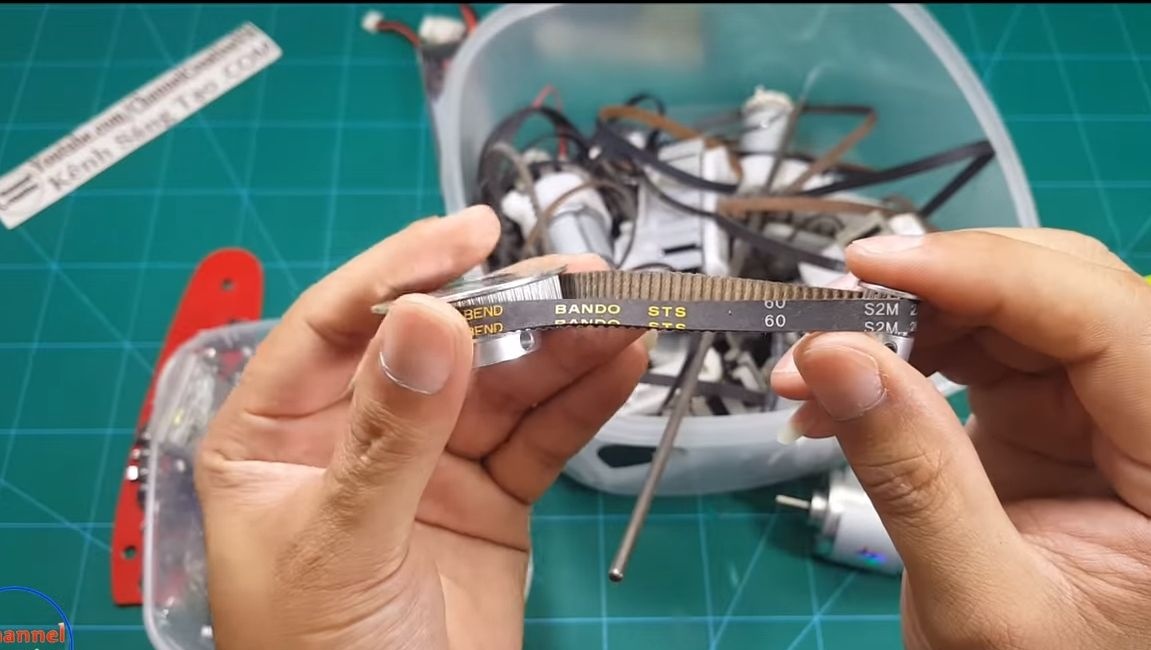
- Belting ;
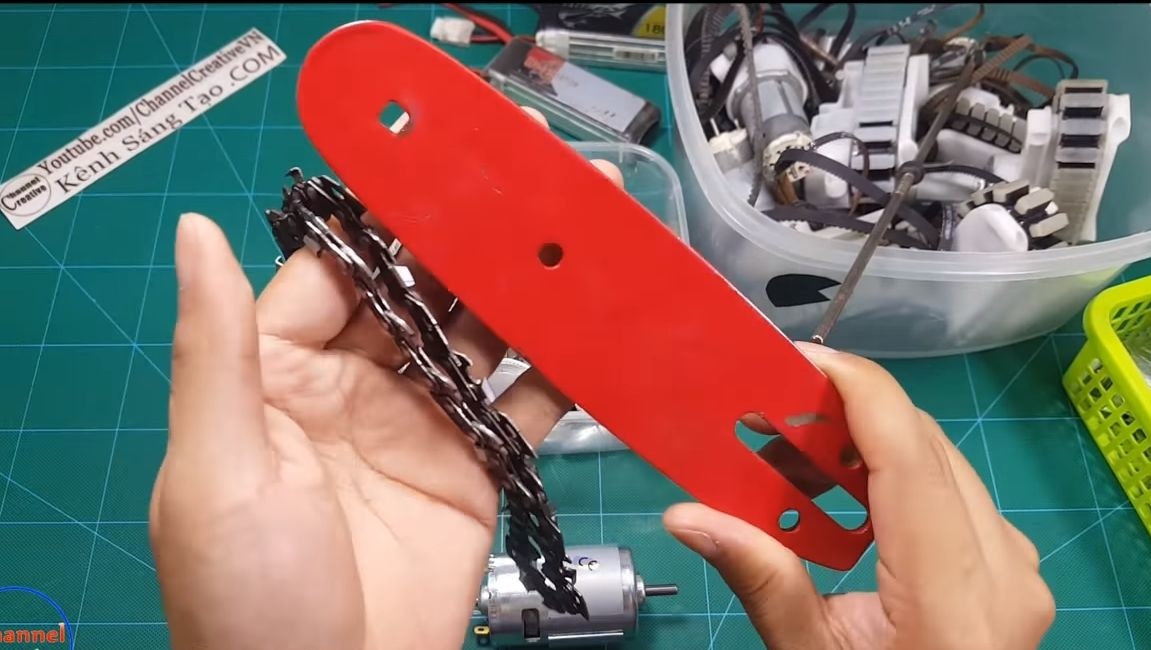
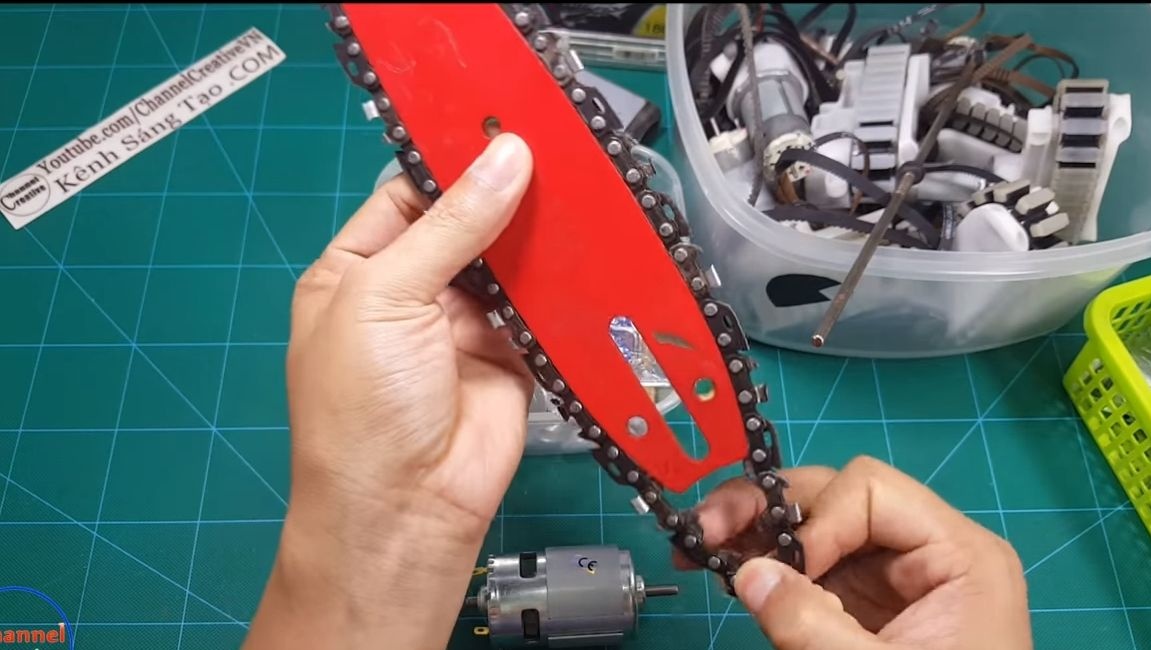
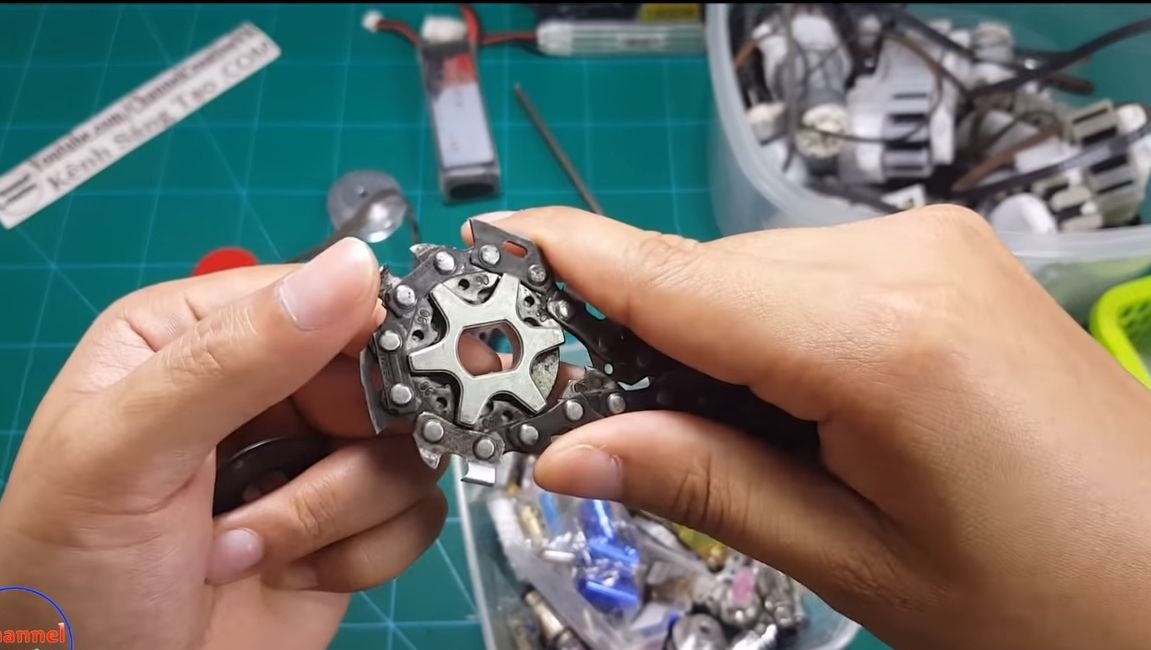
- small tire and chain;
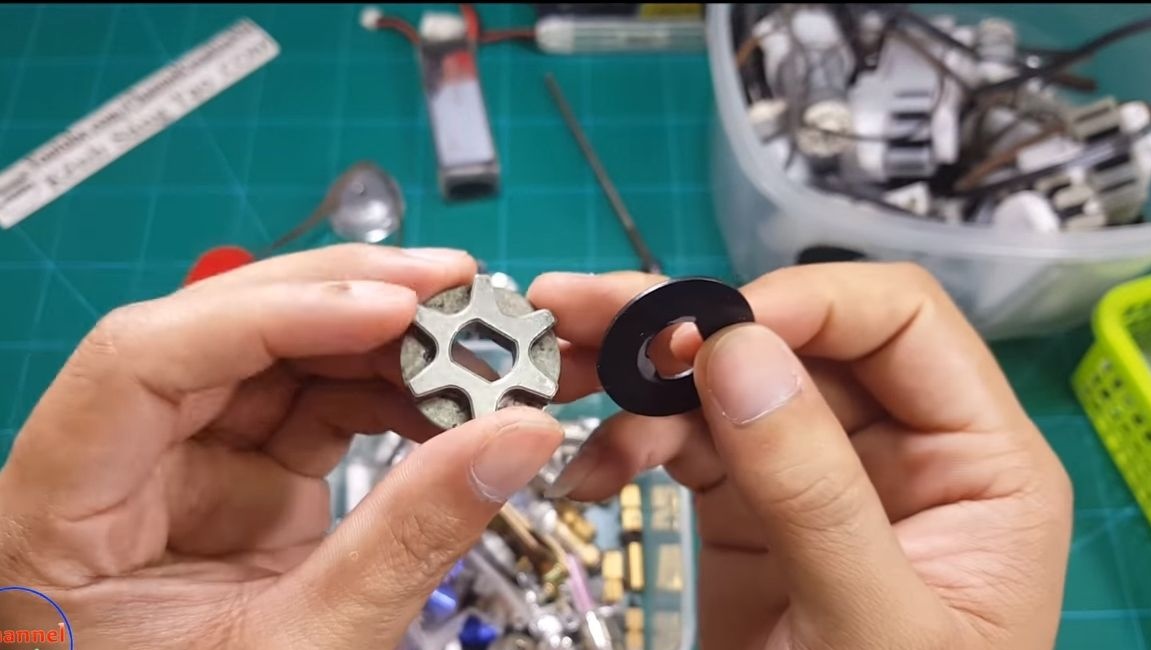
- an asterisk for a chainsaw;
- two plugs for PVC pipes;
- a piece of PVC pipe and two corners;
- aluminum mounting brackets;
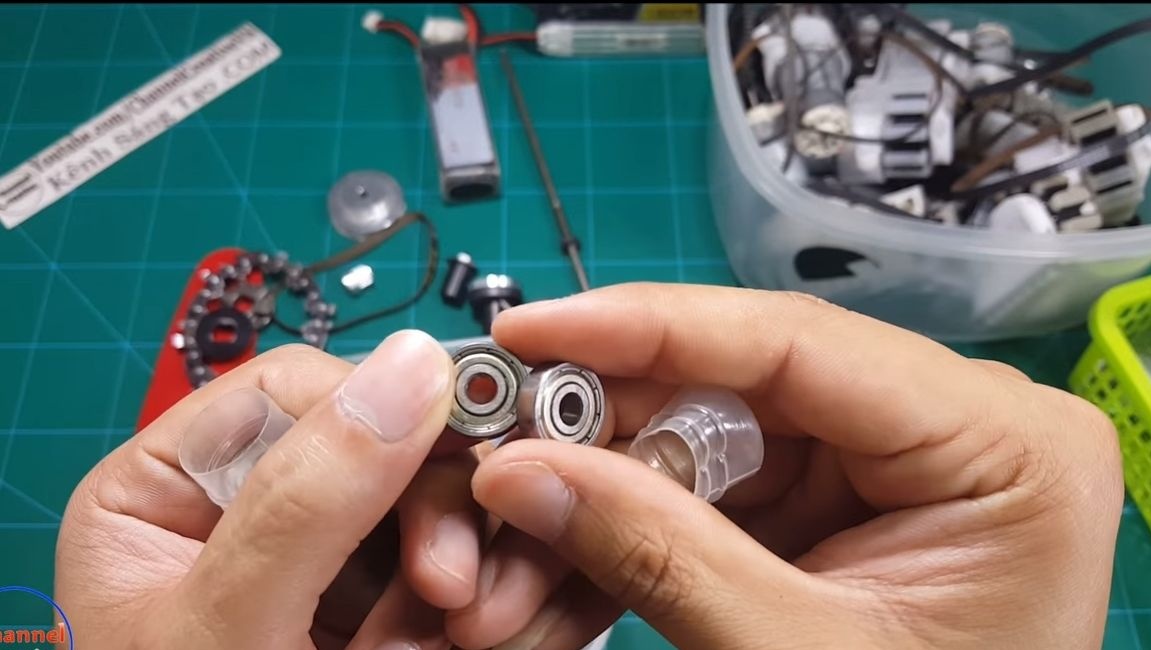
- two bearings;
- steel axis;
- batteries;
- switch;
- nuts, bolts, screws, etc.

Tool List:
- drilling machine and drill;
- whetted;
- grinder;
- vise;
jigsaw;
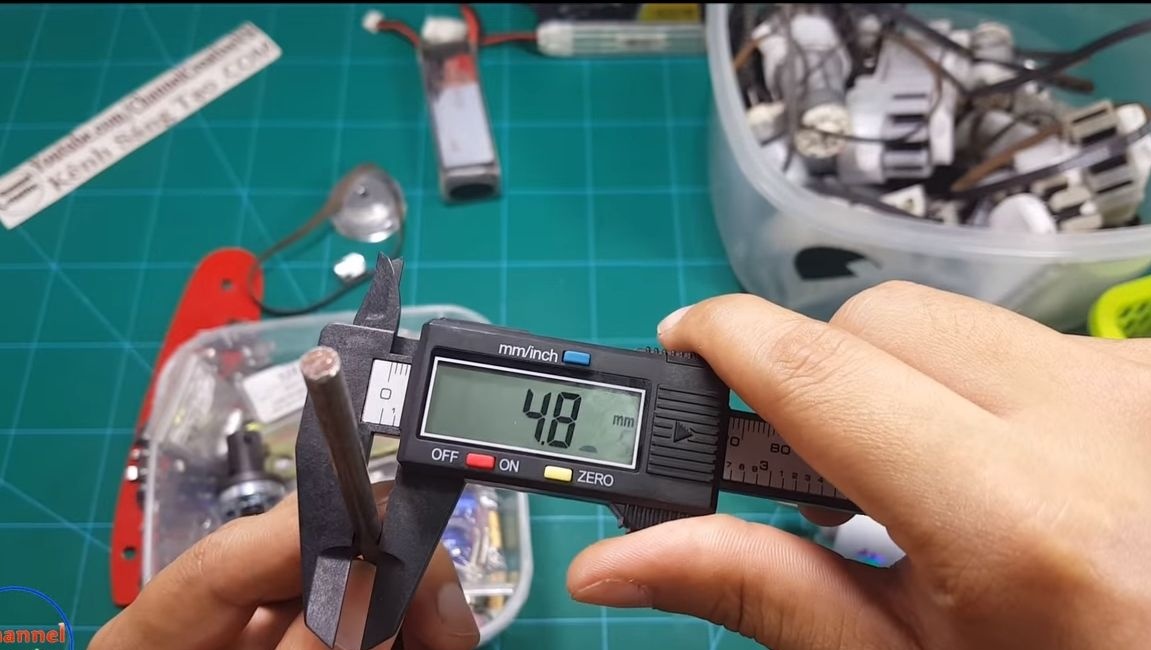
- vernier caliper;
- a hacksaw for metal;
- screwdriver;
- spanners;
- marker, ruler and other little things.
Saw manufacturing process:
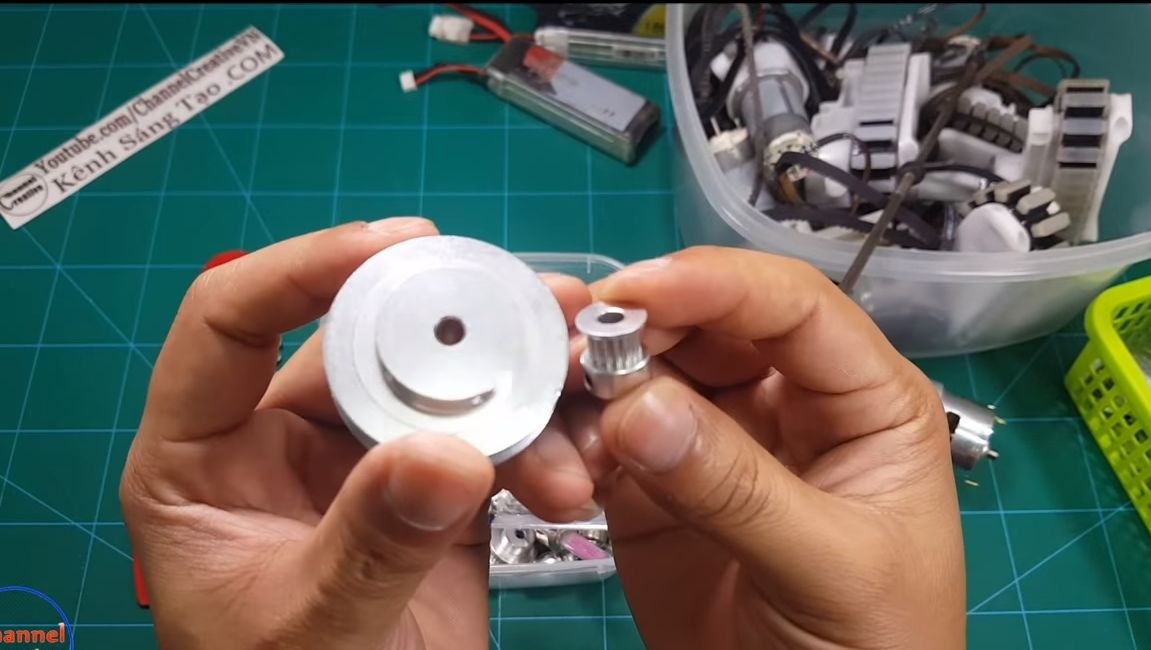
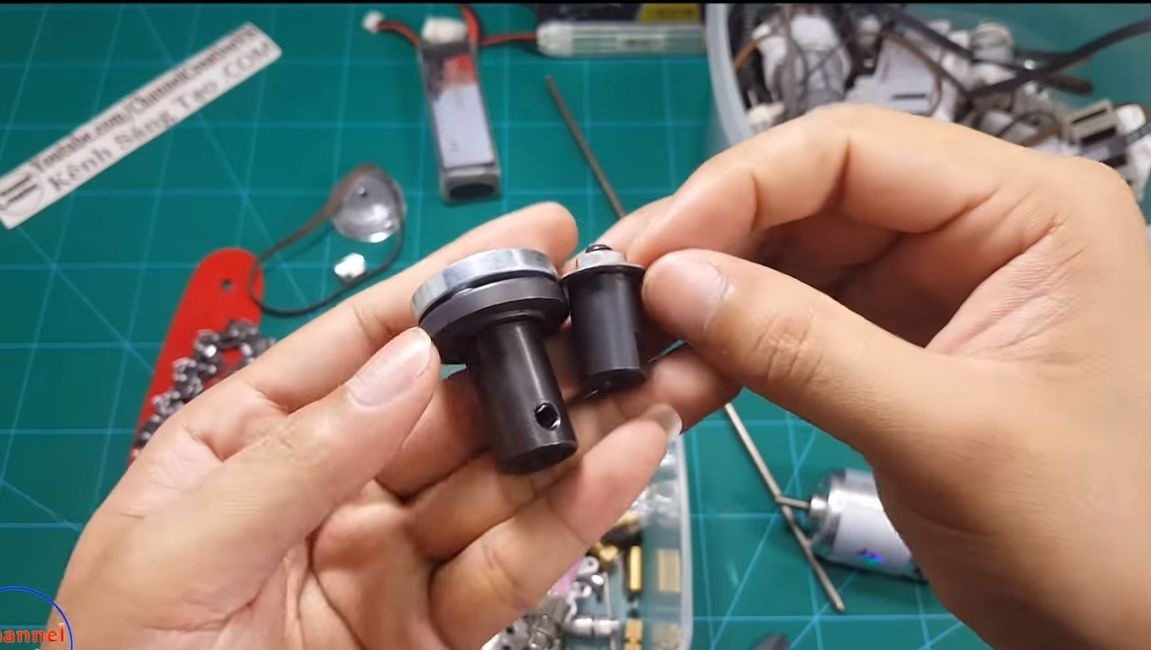
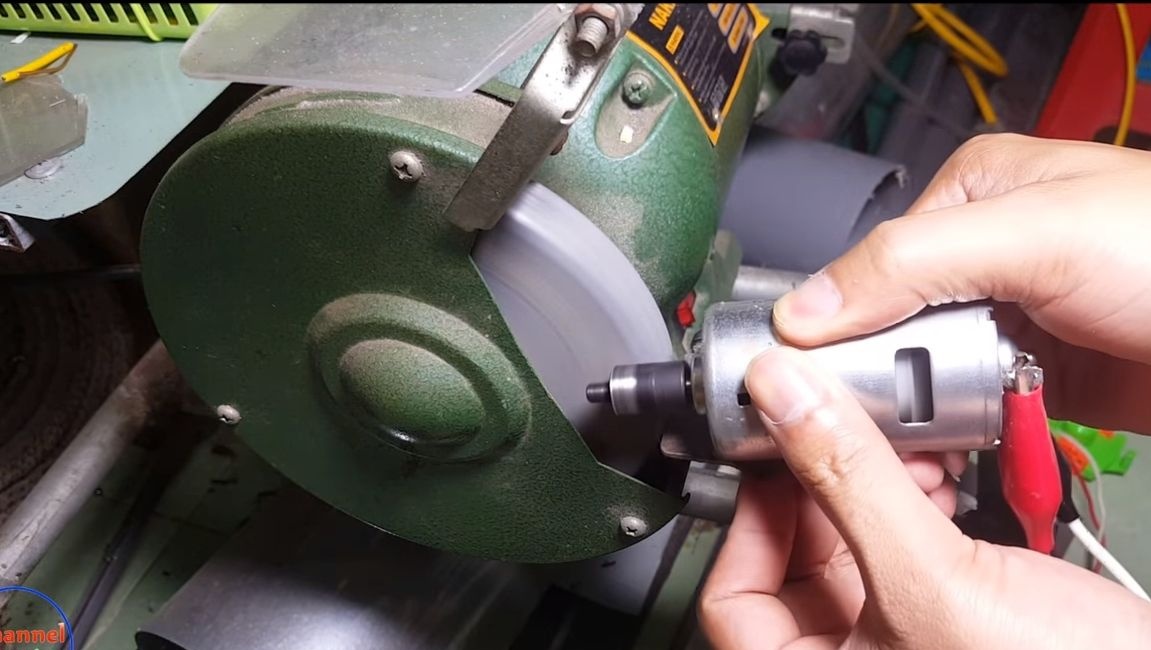
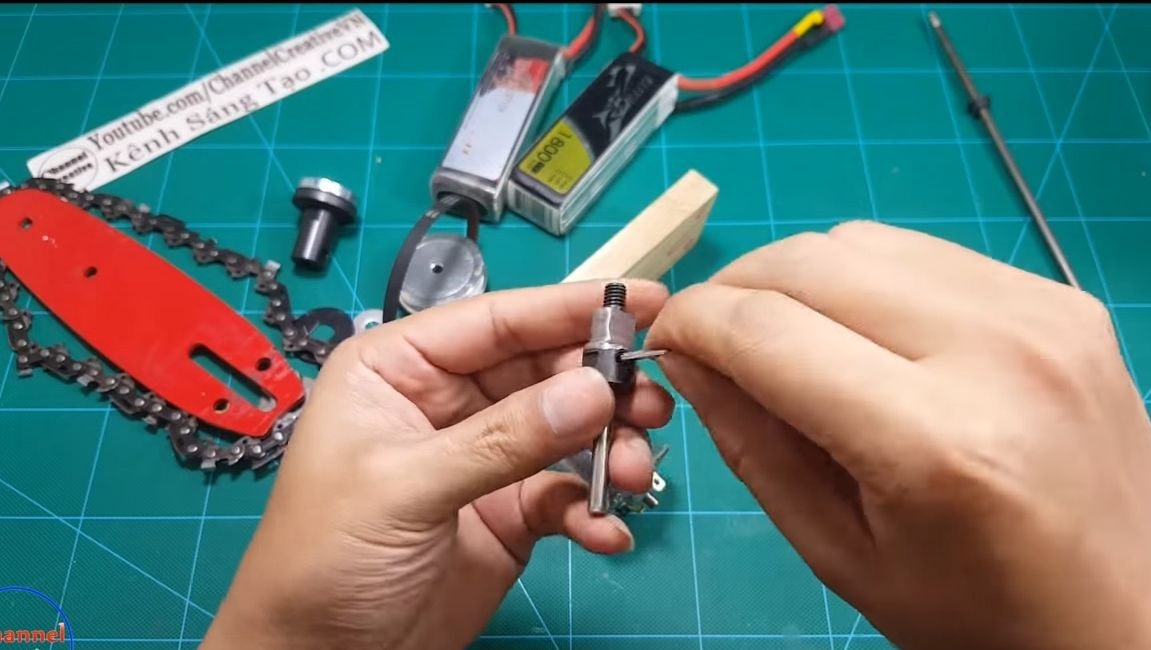
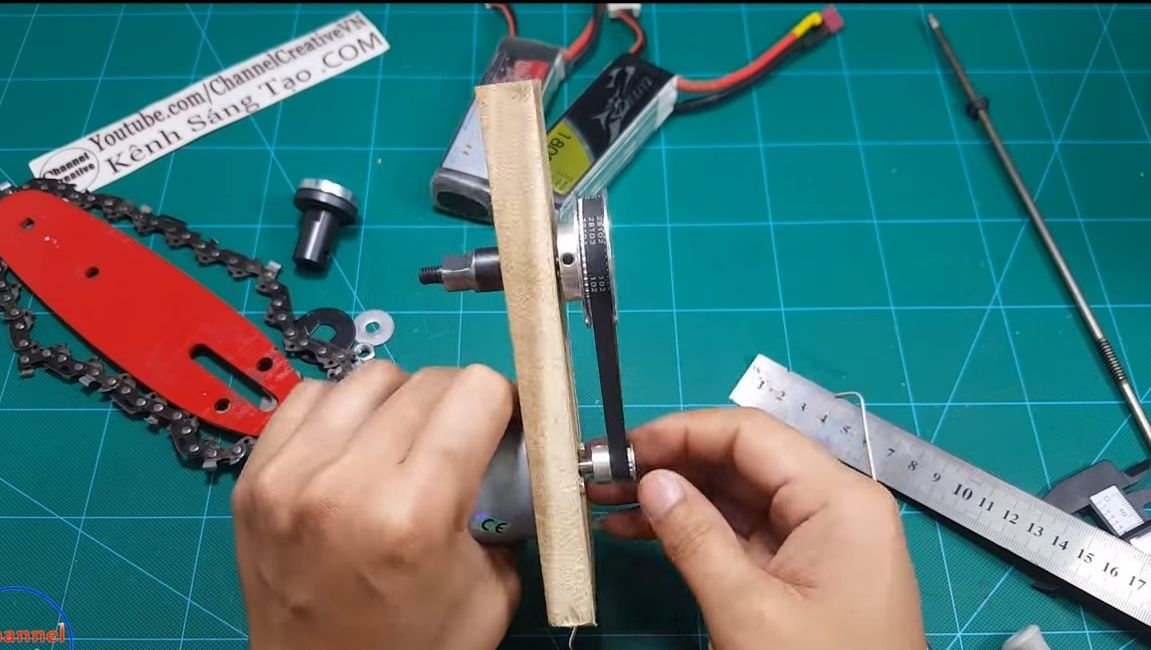
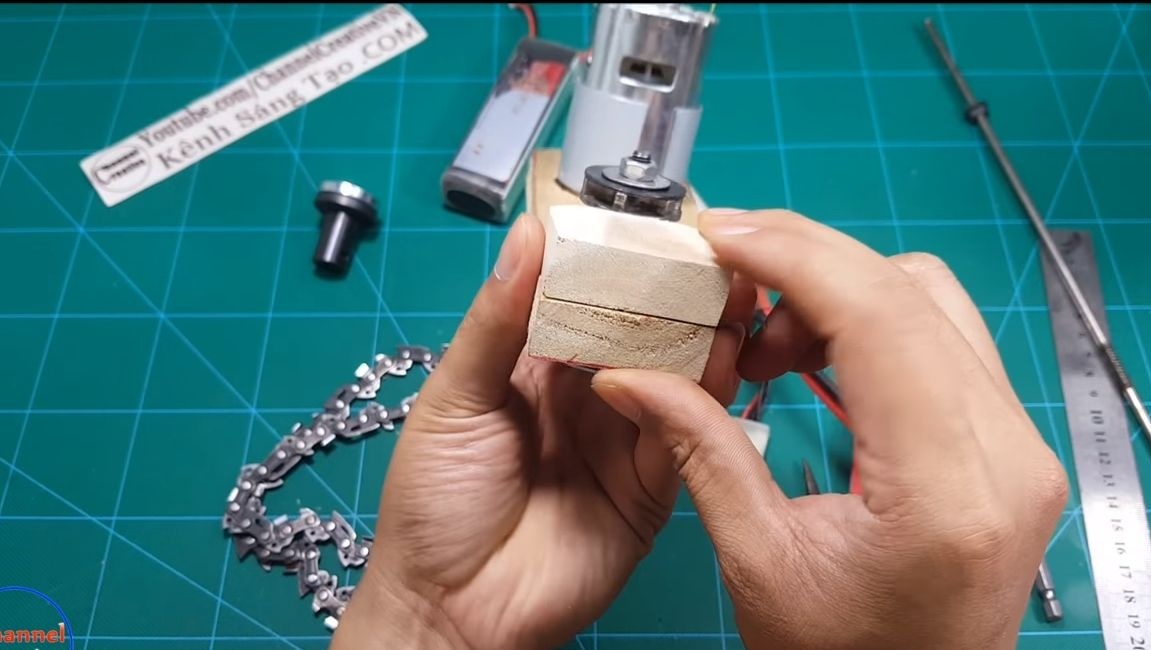
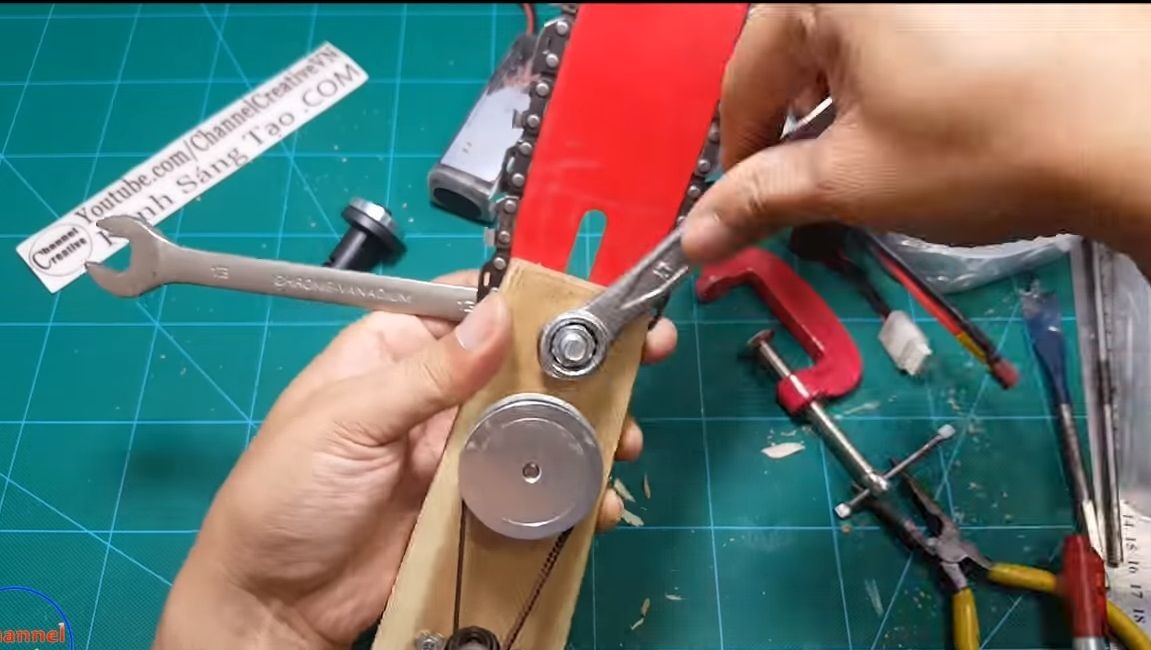
Step one. Cooking star adapter
In the electric saw, a reduction gear is provided, it is a belt gear. The torque from the motor is transmitted to the driven shaft, and there is an asterisk. But how to fix an asterisk on such a thin axis? Everything is very simple, for these purposes you will need an adapter that is sold on Aliexpress. This adapter is designed for the manufacture of grinders, but we will redo it a bit.
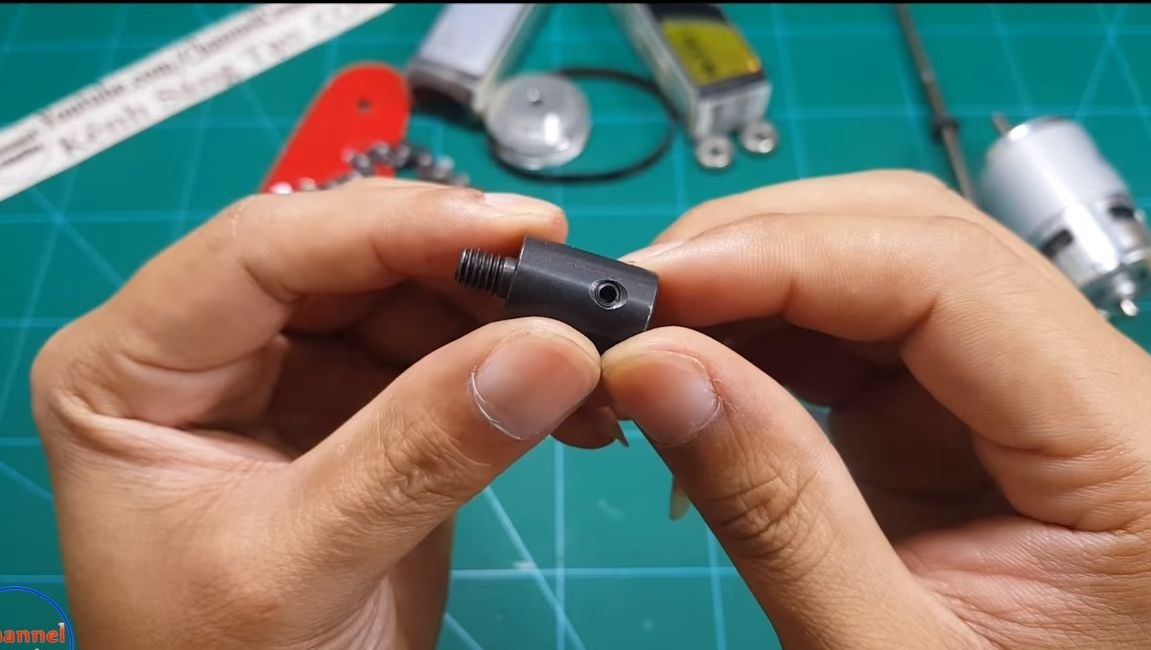
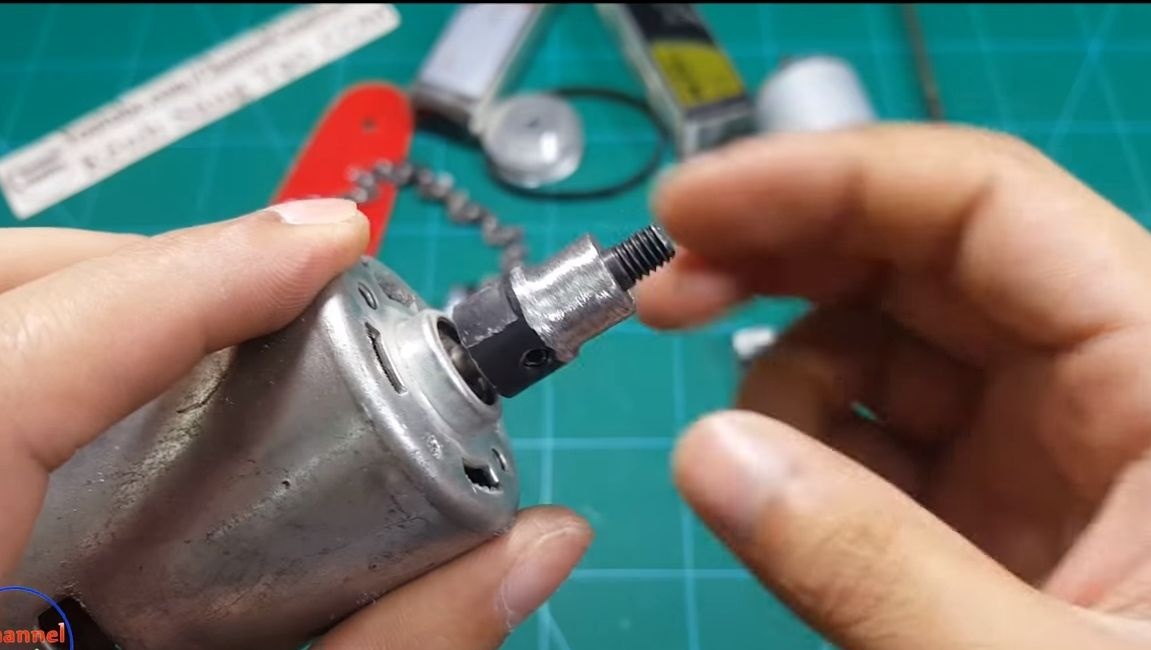
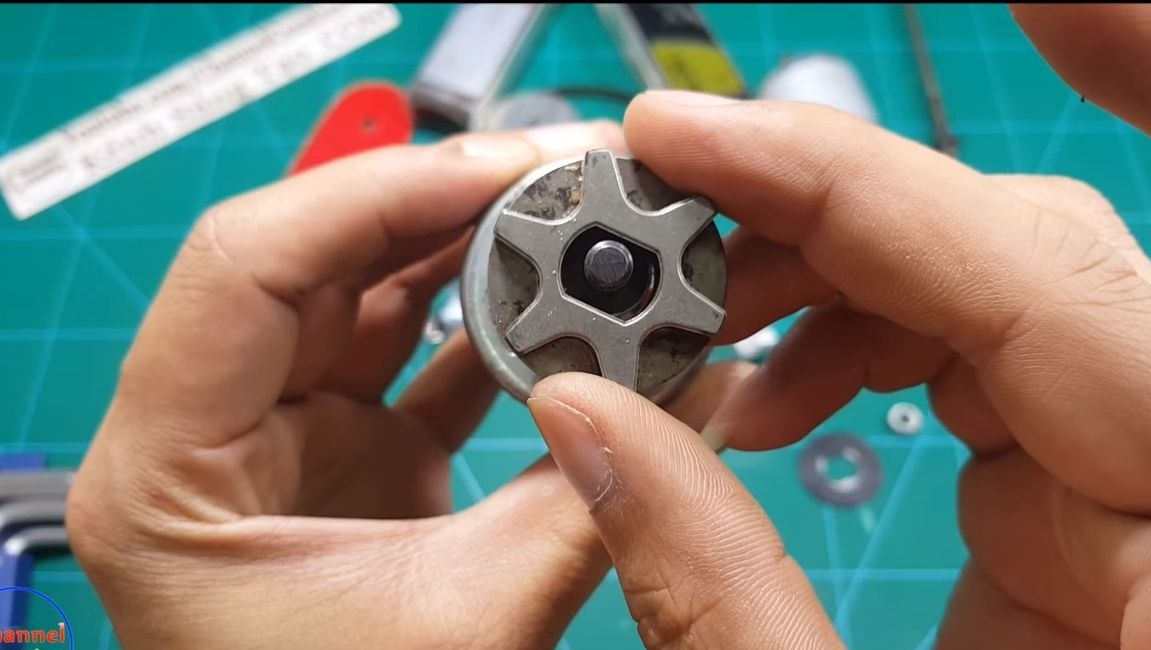
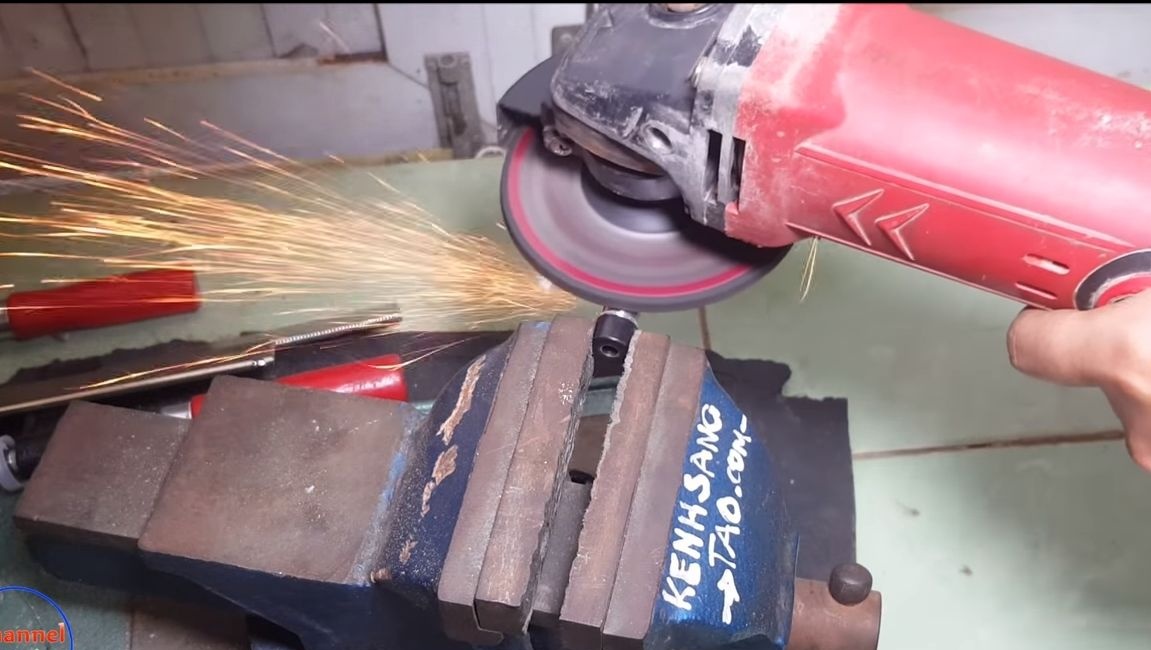
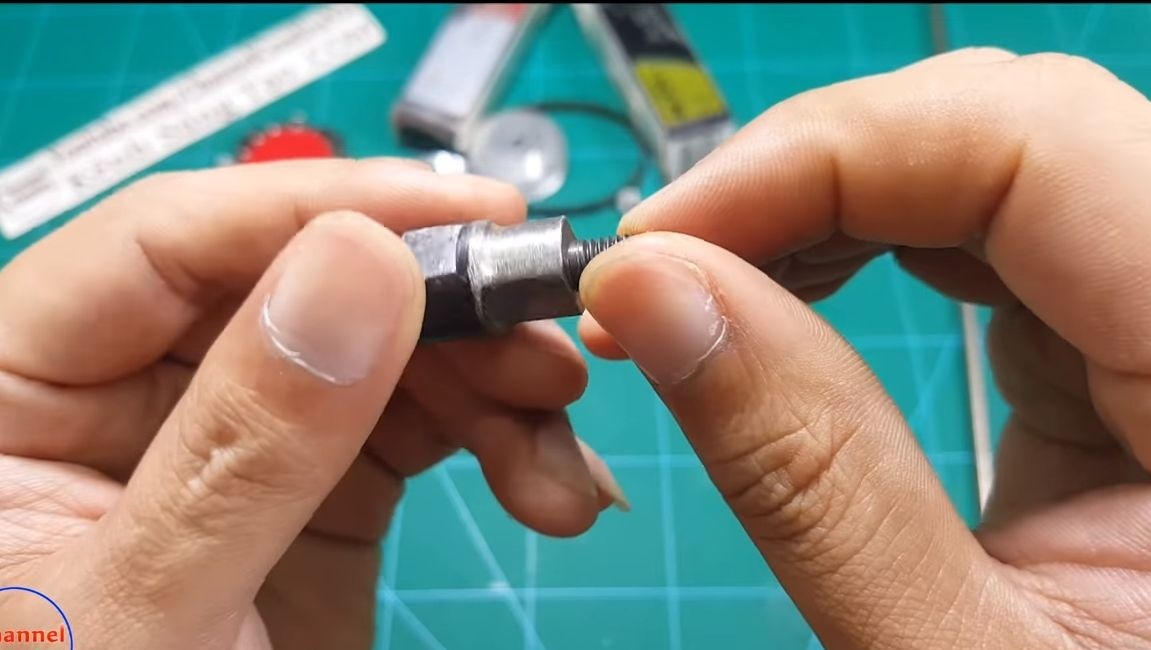
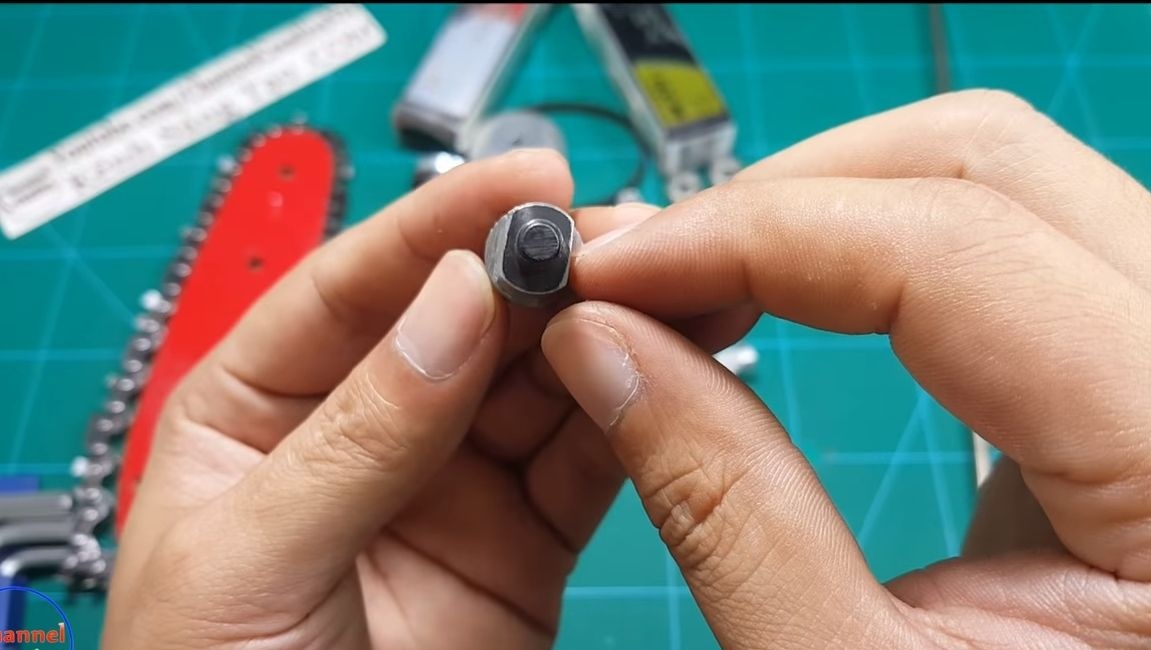
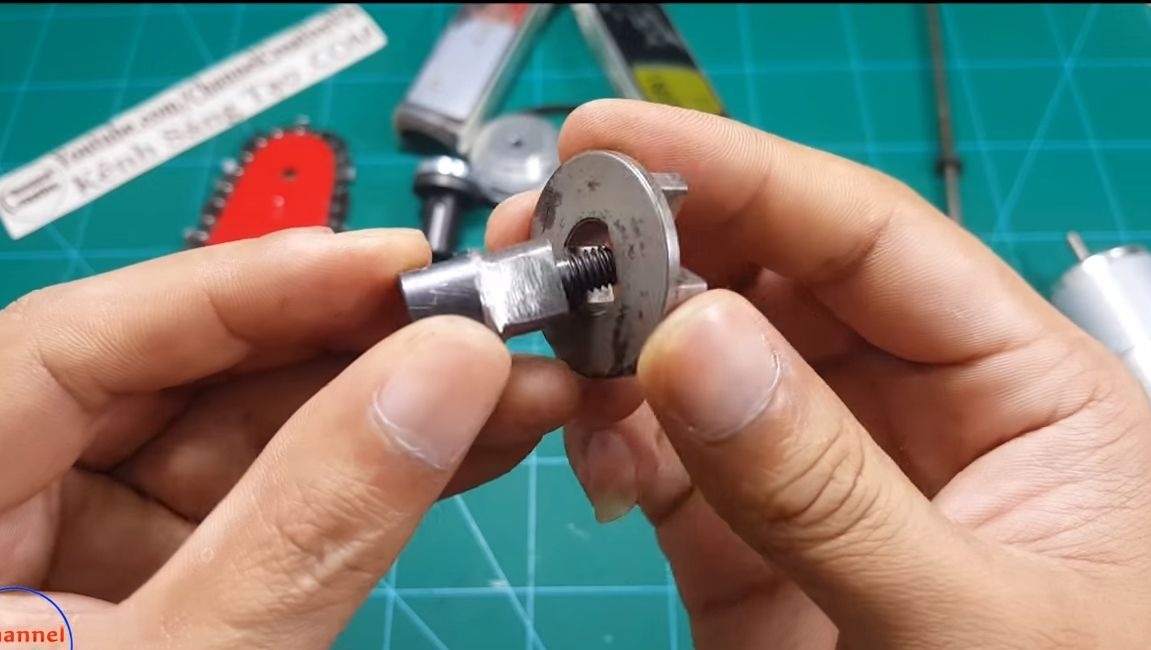
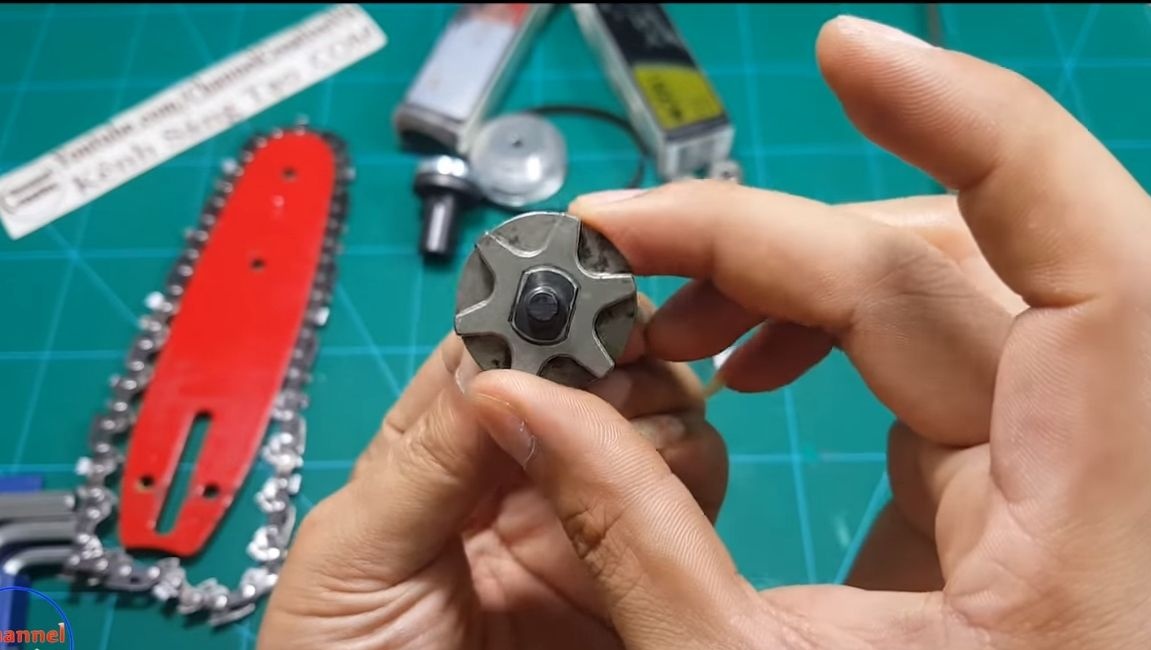
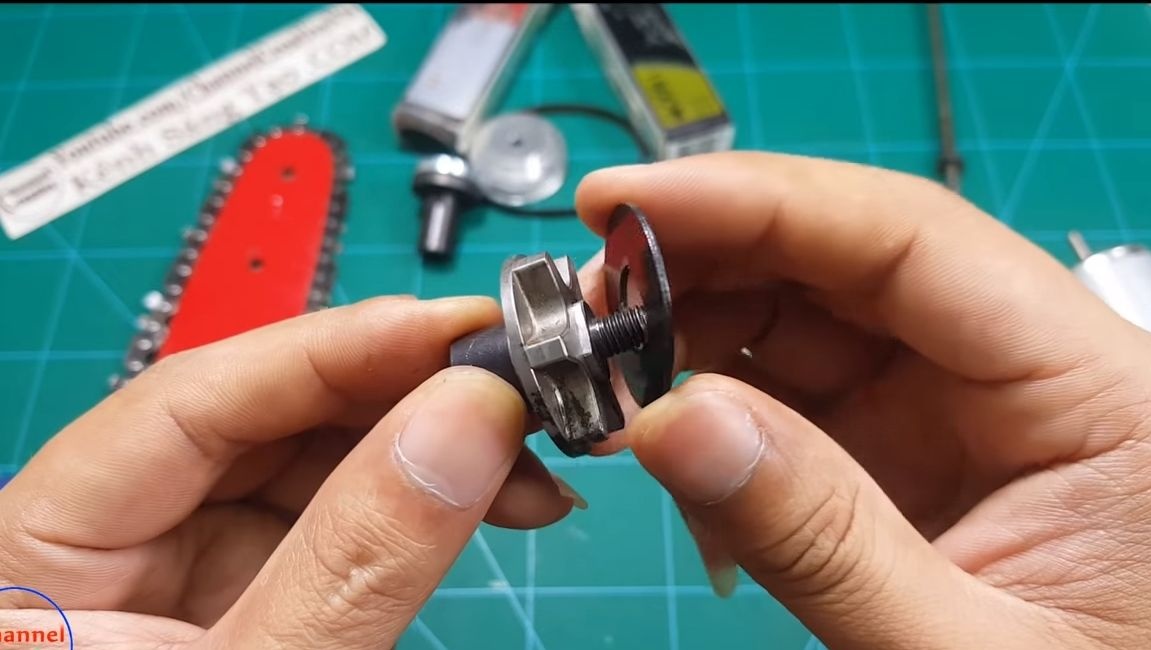
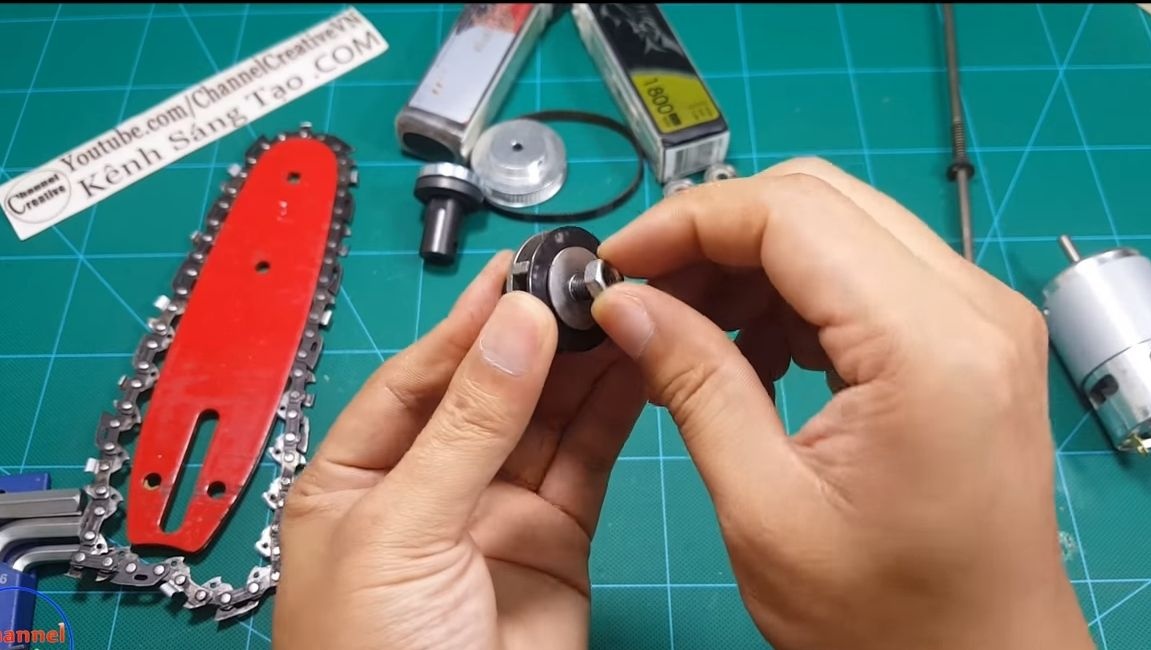
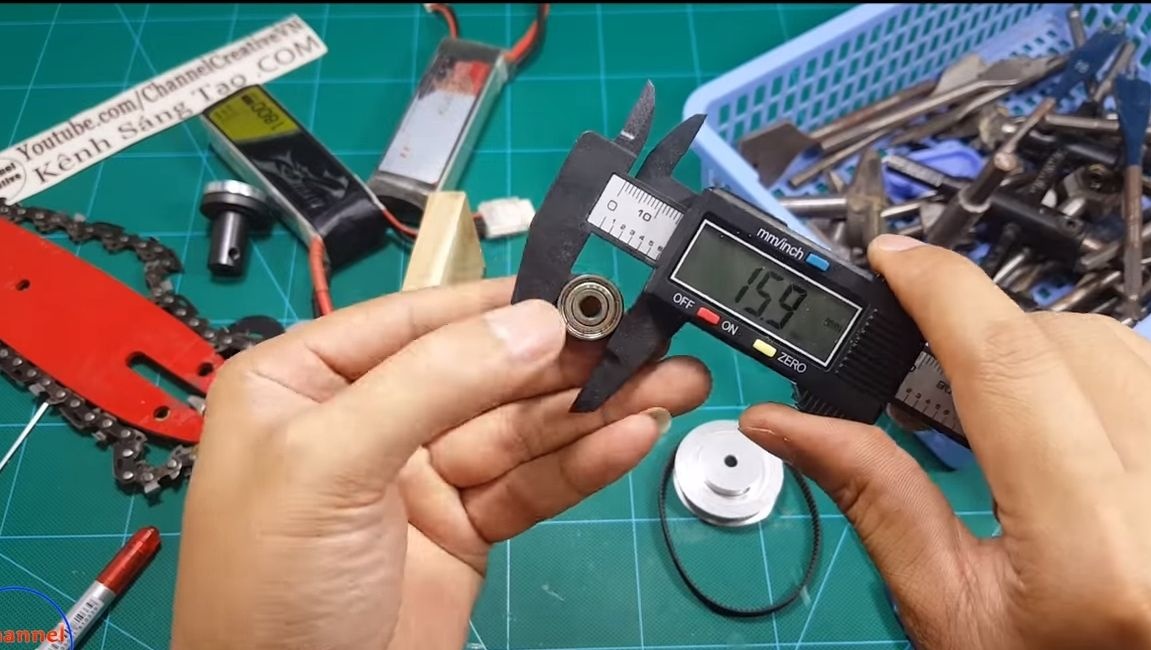
We take measurements, clamp the part in a vice and grind the slots, as on an asterisk. Now you can install the sprocket and tighten it with a nut. The whole thing is attached to the axis with the help of two screws. I wonder, is it not?
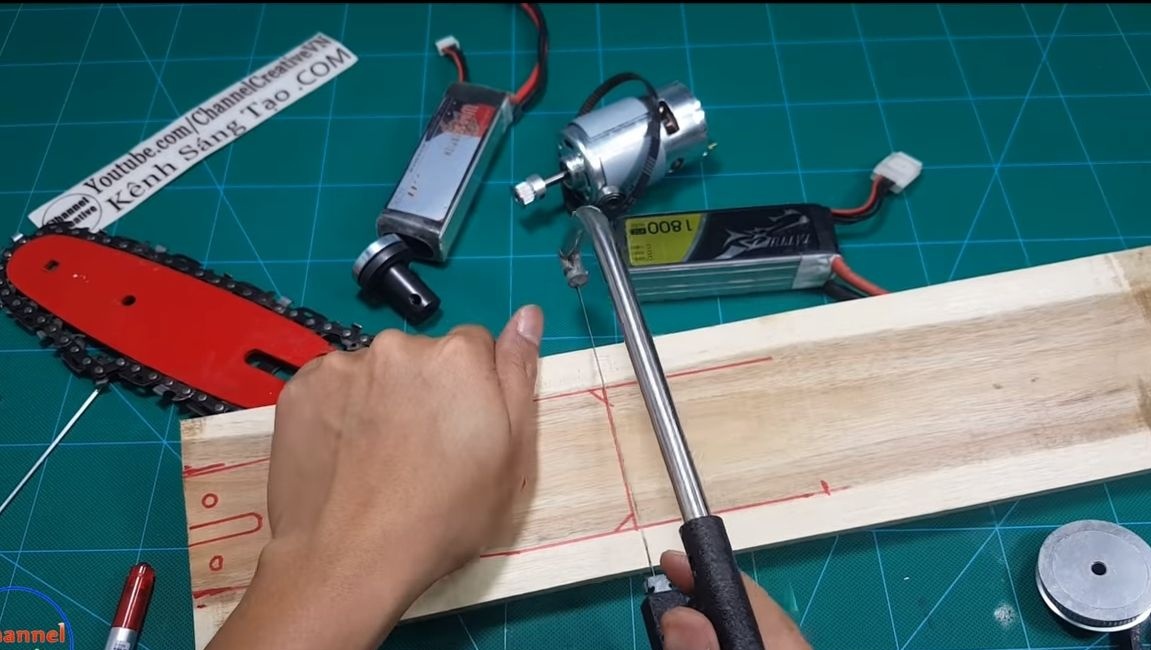
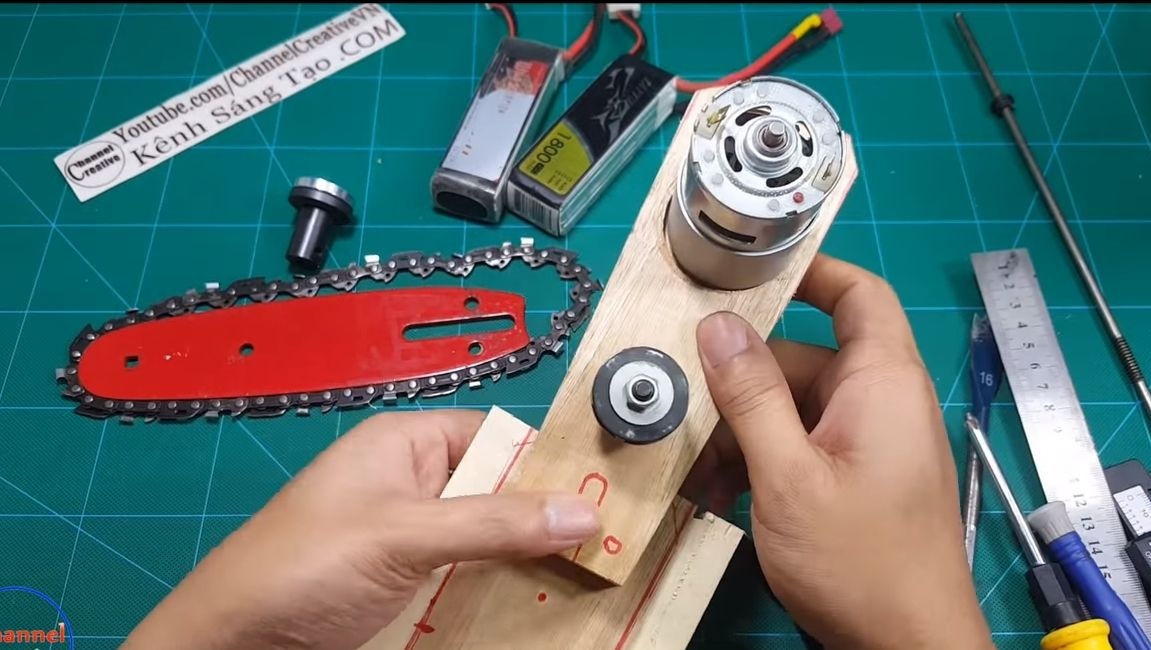
Step Two Make the frame
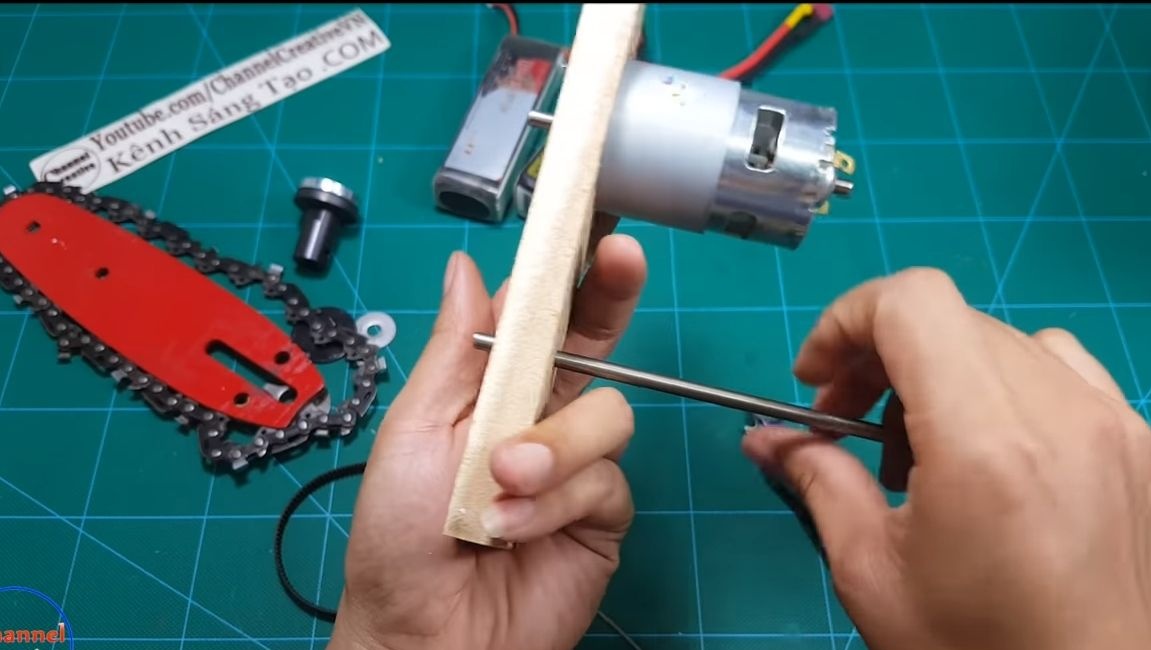
On the frame is the engine, as well as the gearbox. For its manufacture, plywood or a board is suitable. We make the necessary measurements and cut out the whole thing with a jigsaw. We drill in the right places mounting holes.

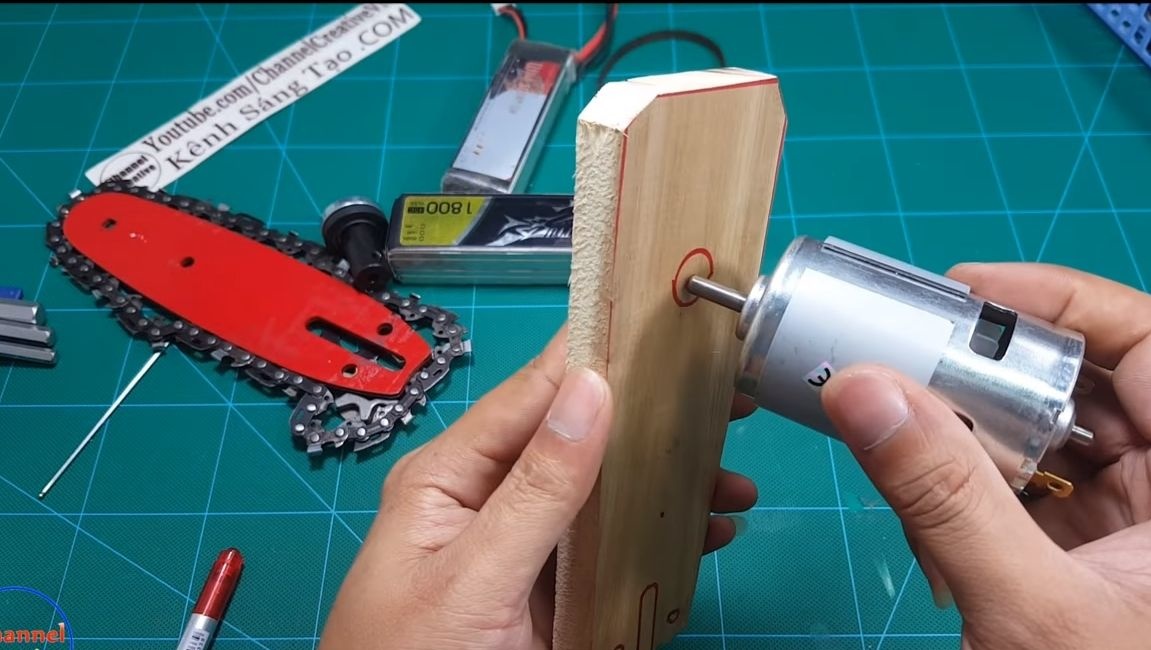
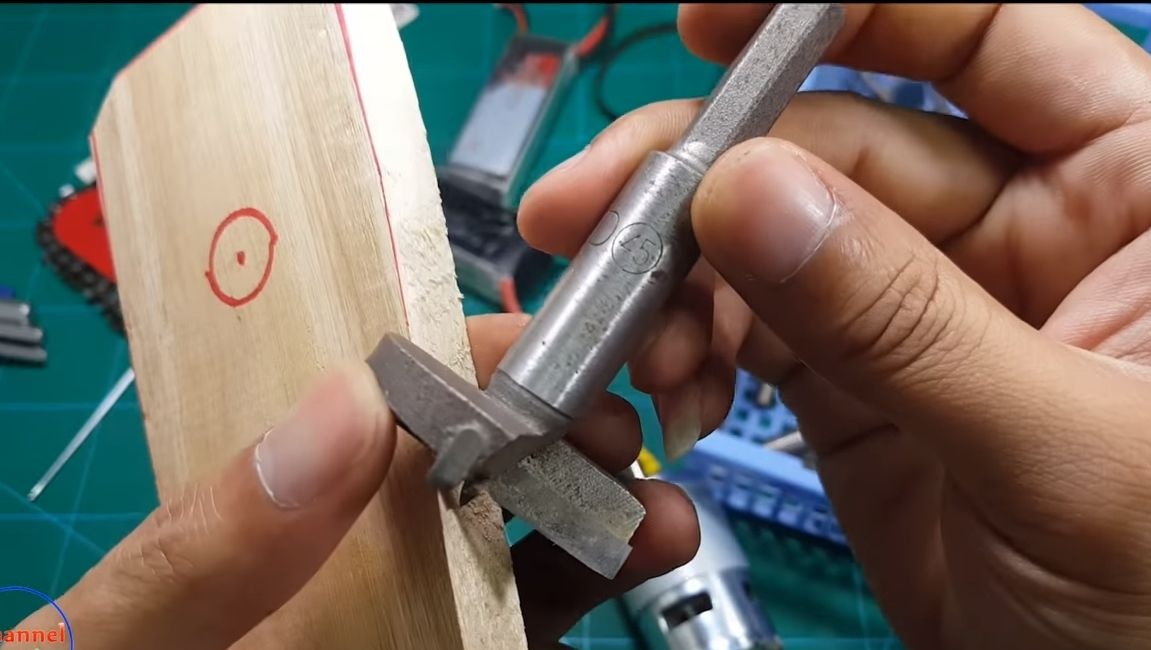
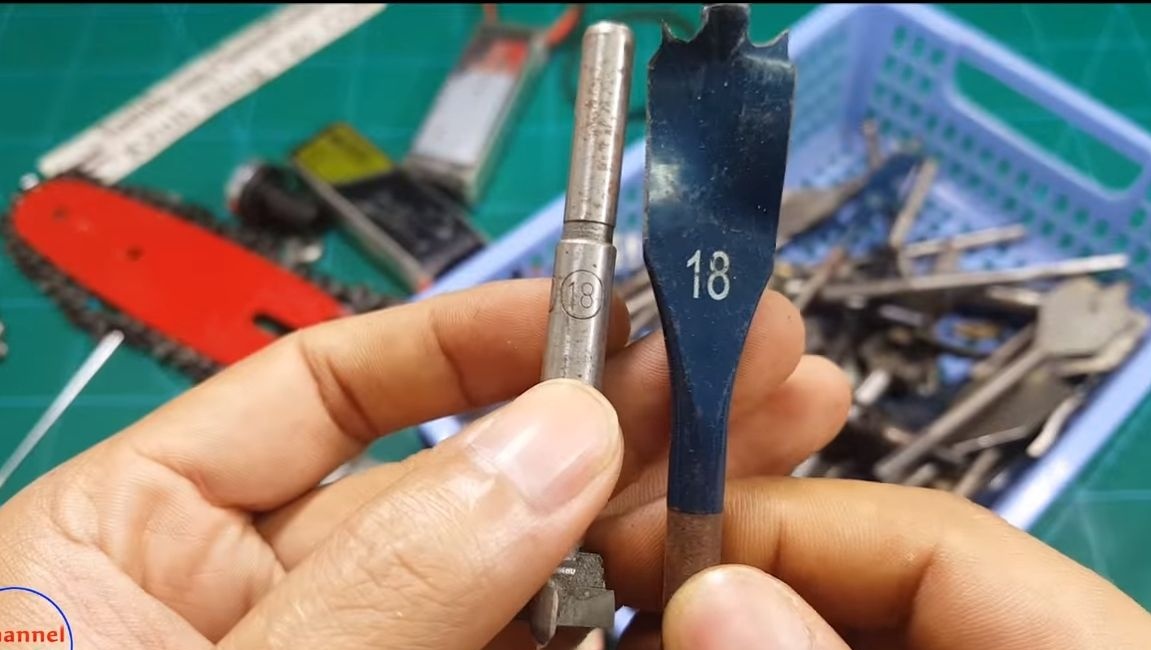
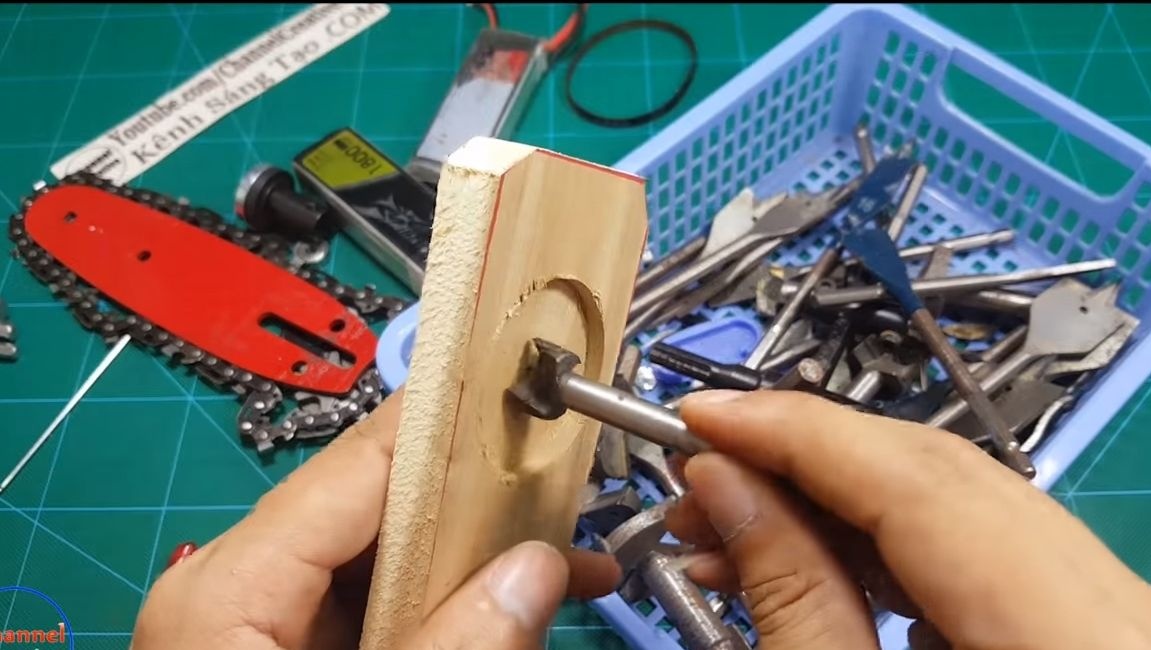
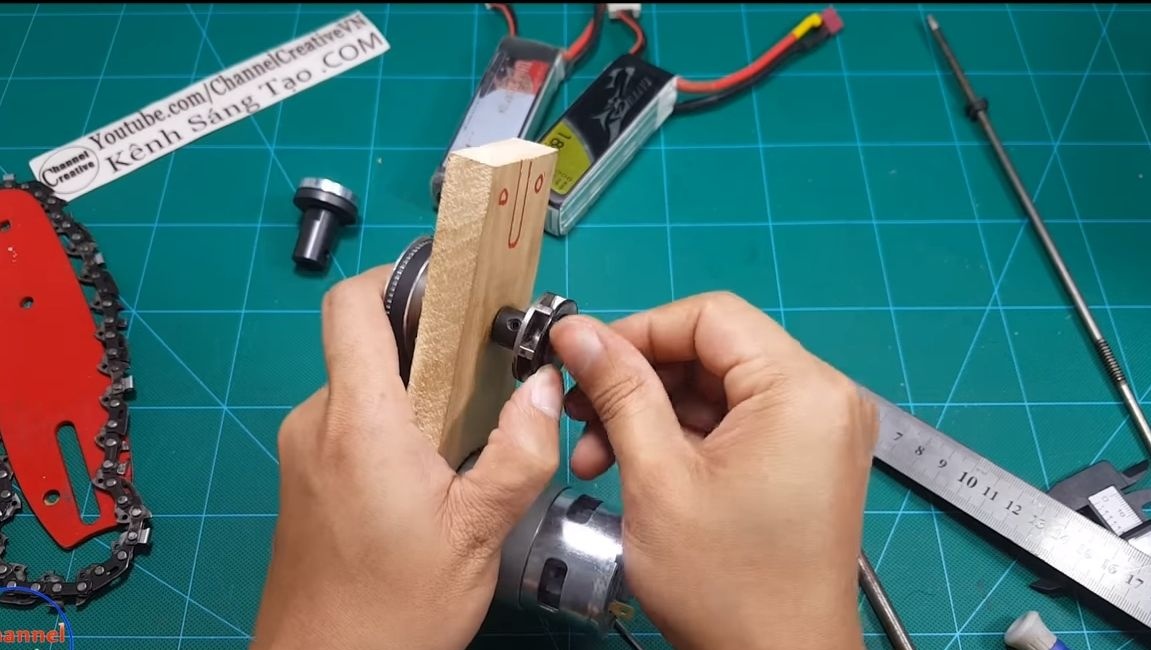
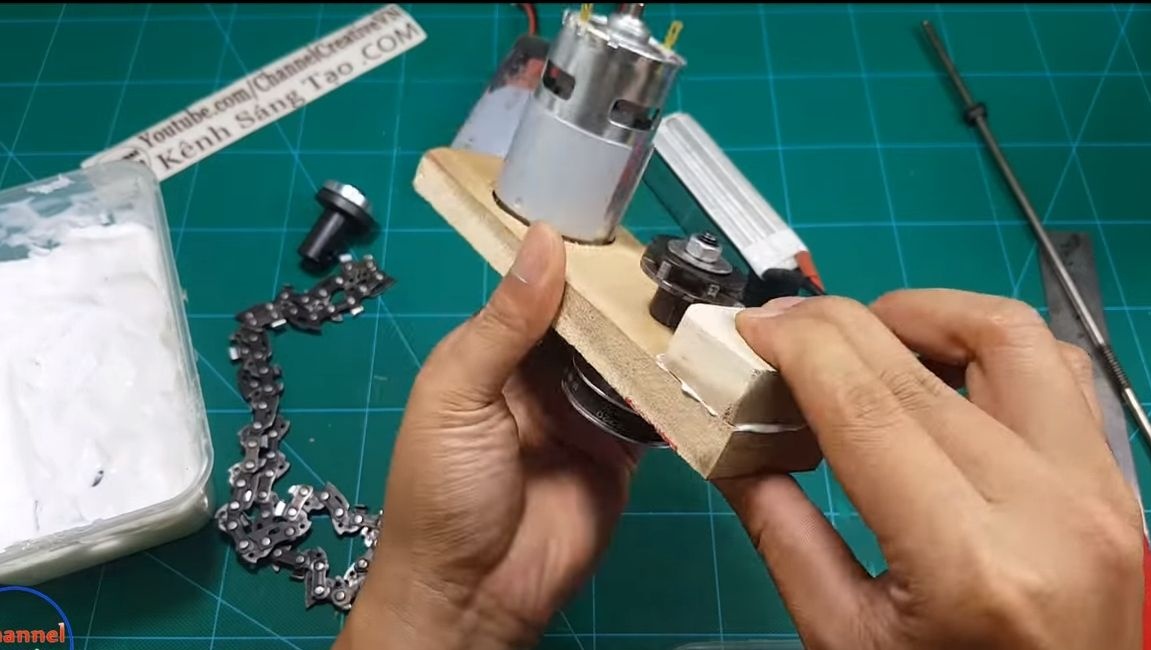
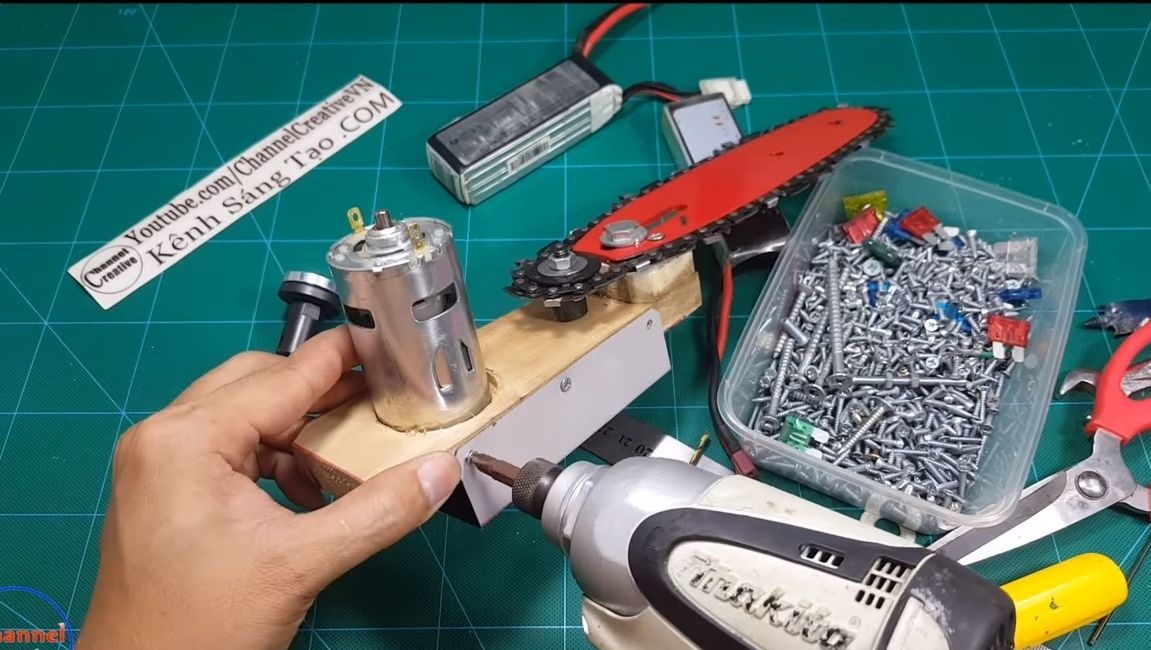
Step Three Motor and gearbox installation
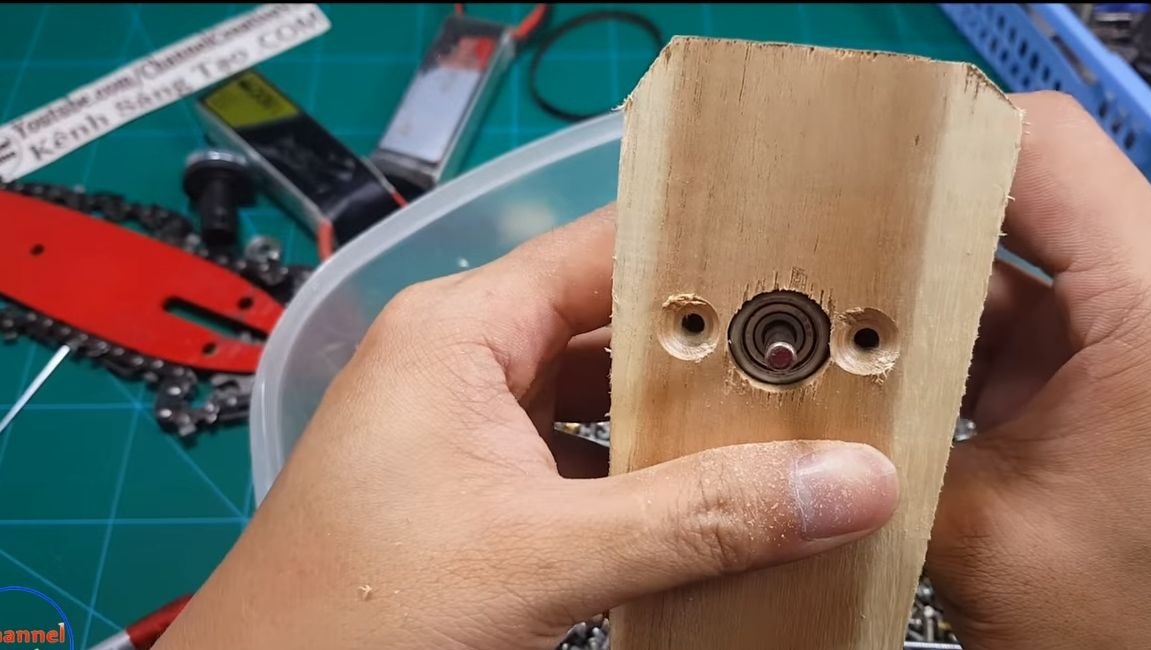
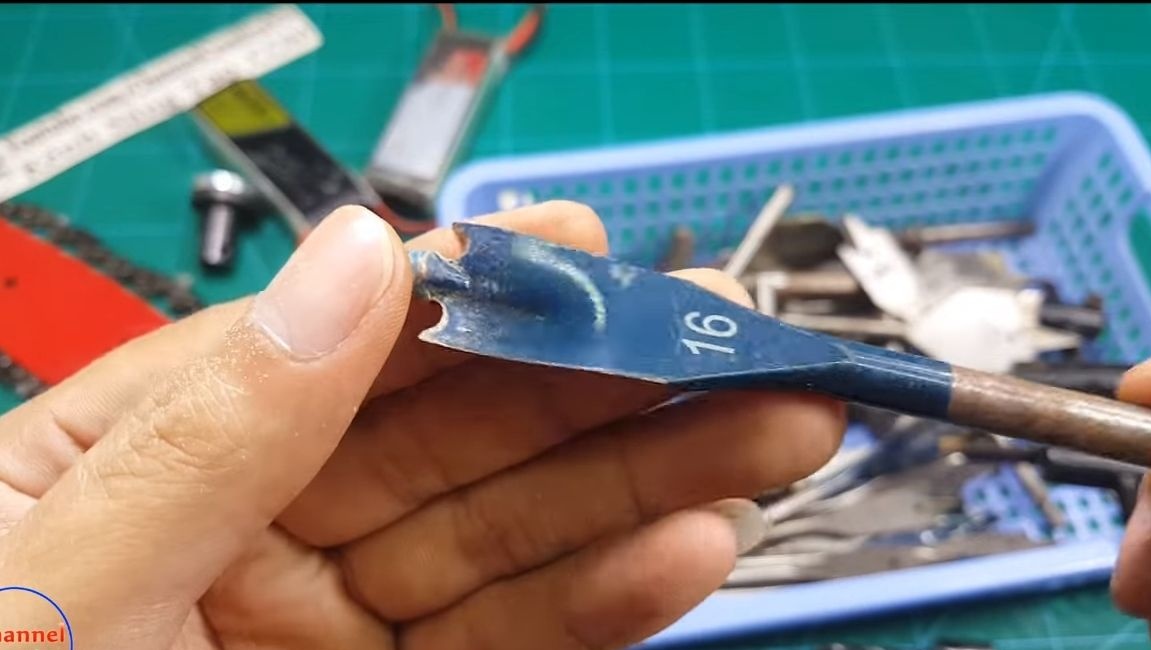
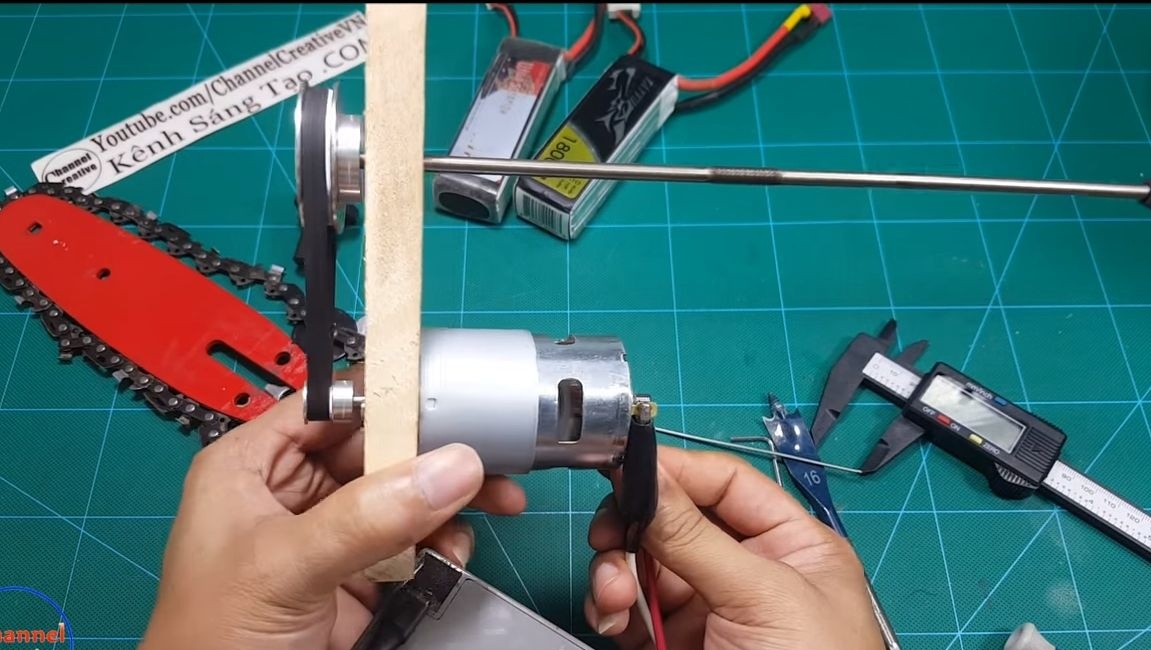
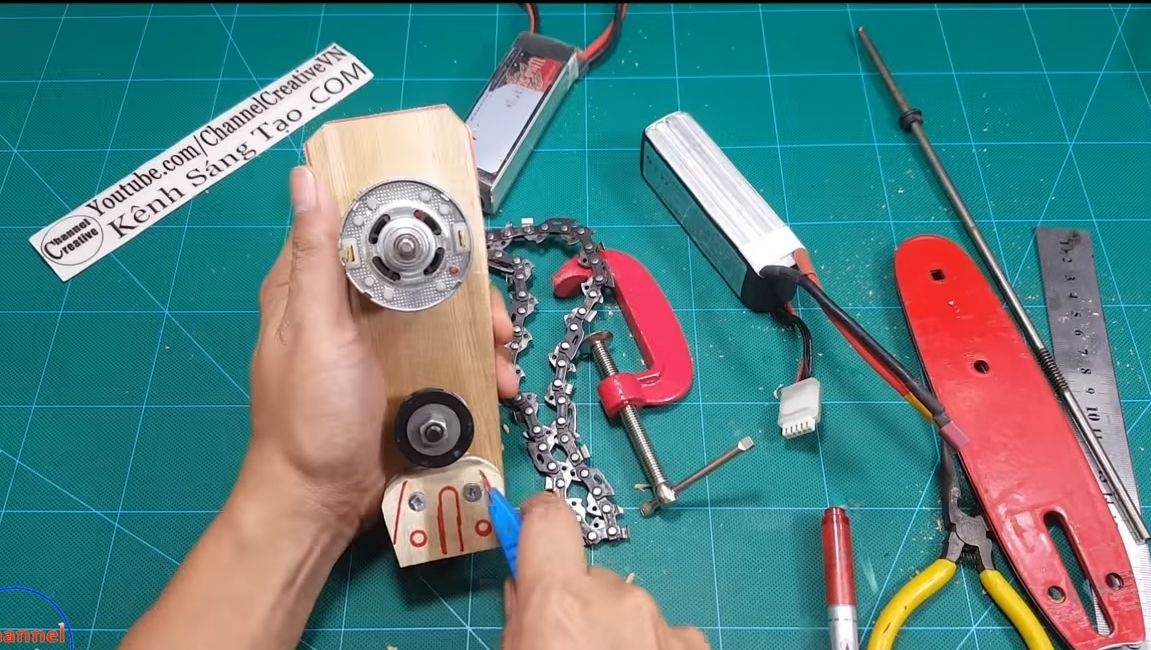
Under the engine you will need to grind a special seat. To do this, you need a drilling machine, as well as bits.At the end, we drill holes for the screws and fasten the motor.
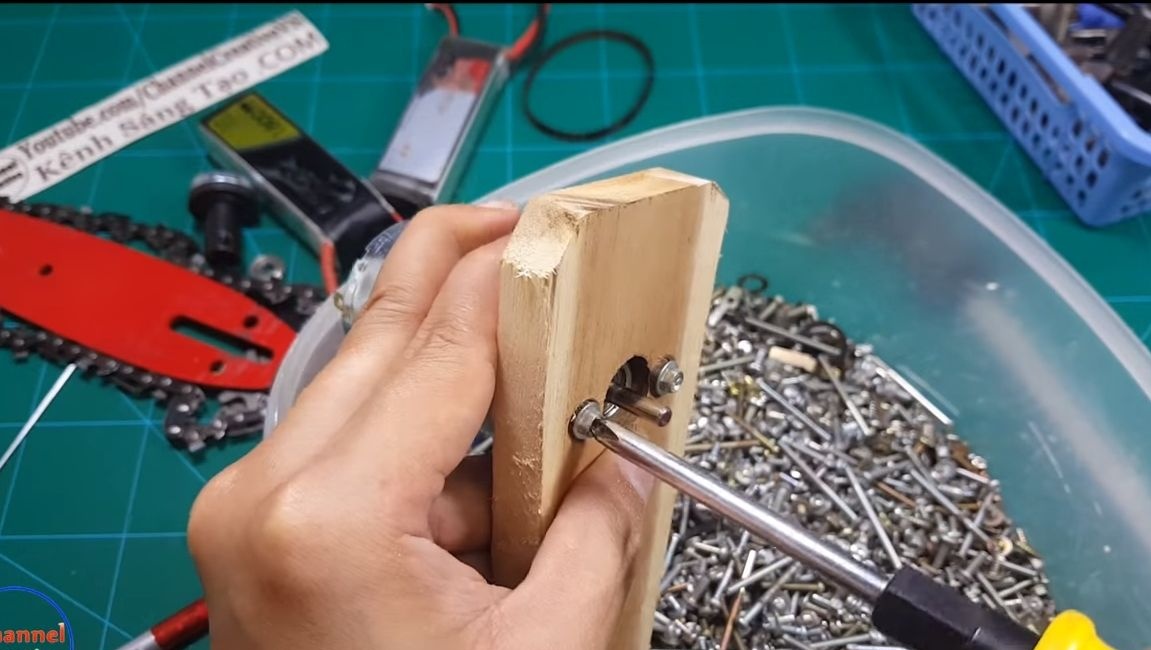
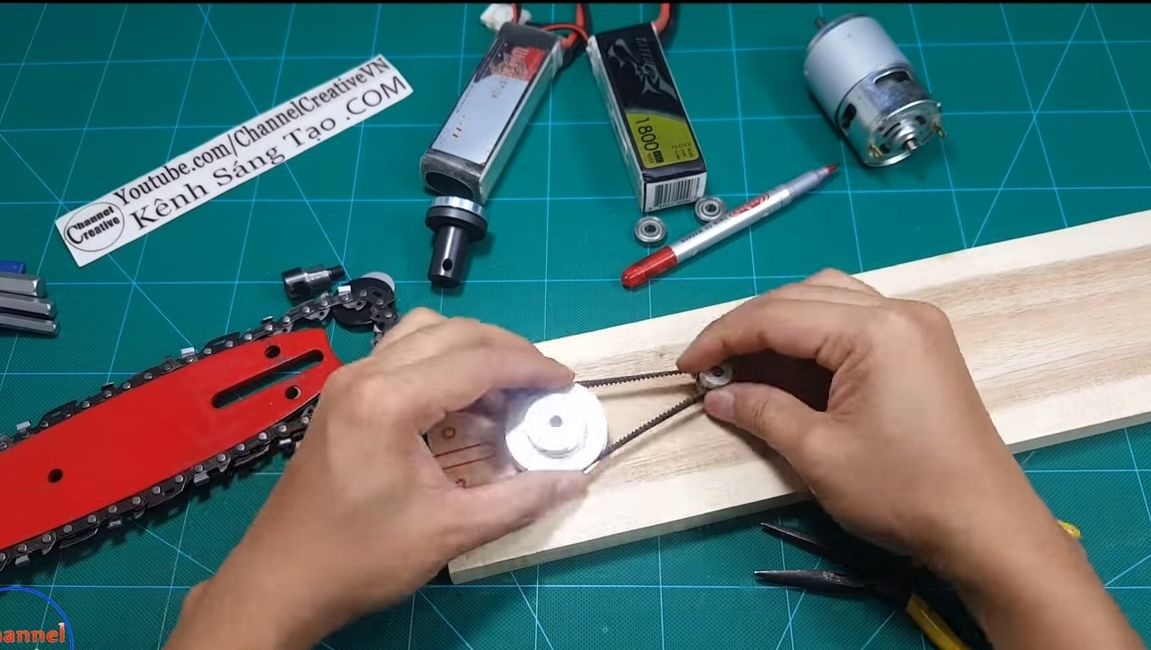
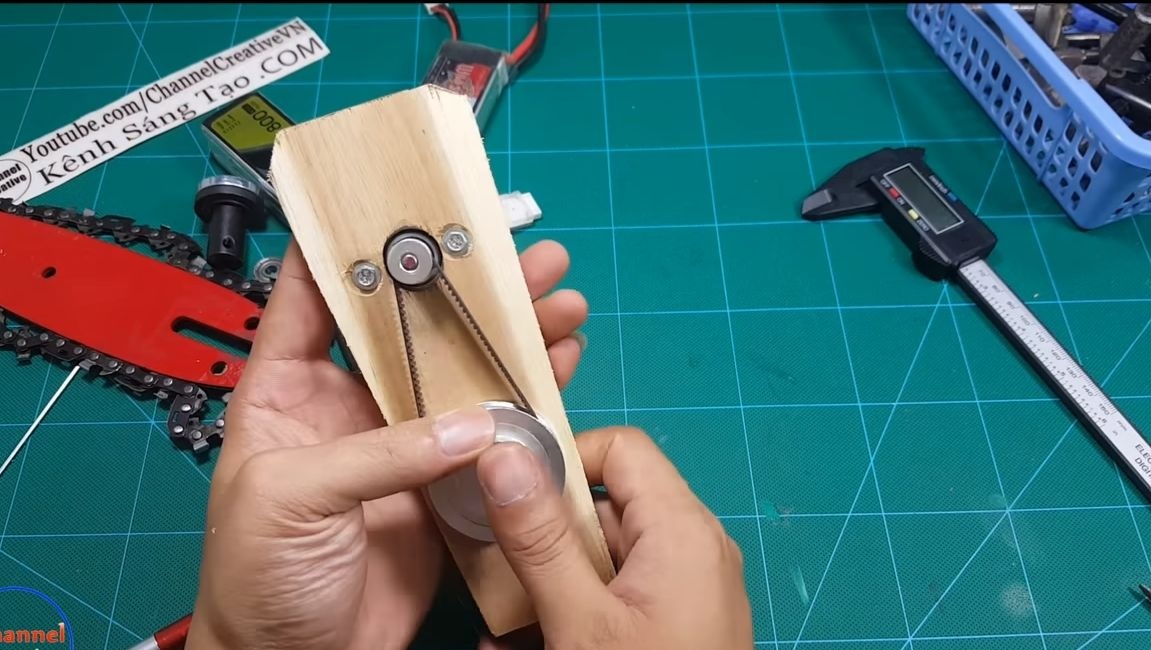
Then you can install the driven axis, cut off the desired piece and attach the driven pulley to it. The pulley is mounted on two bearings, which are pressed into the frame. We drill seats under them. After that, you can install the axle and belt. The transfer is ready! It remains to install an asterisk on the driven axis. Try to power the engine, does it work? Excellent!

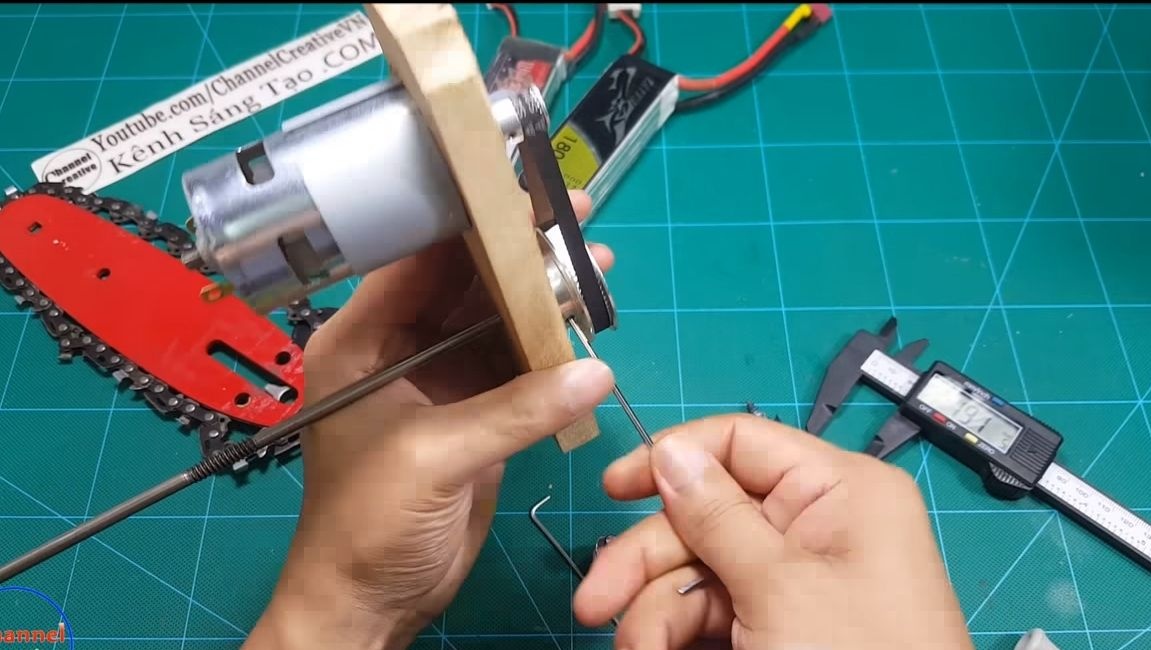
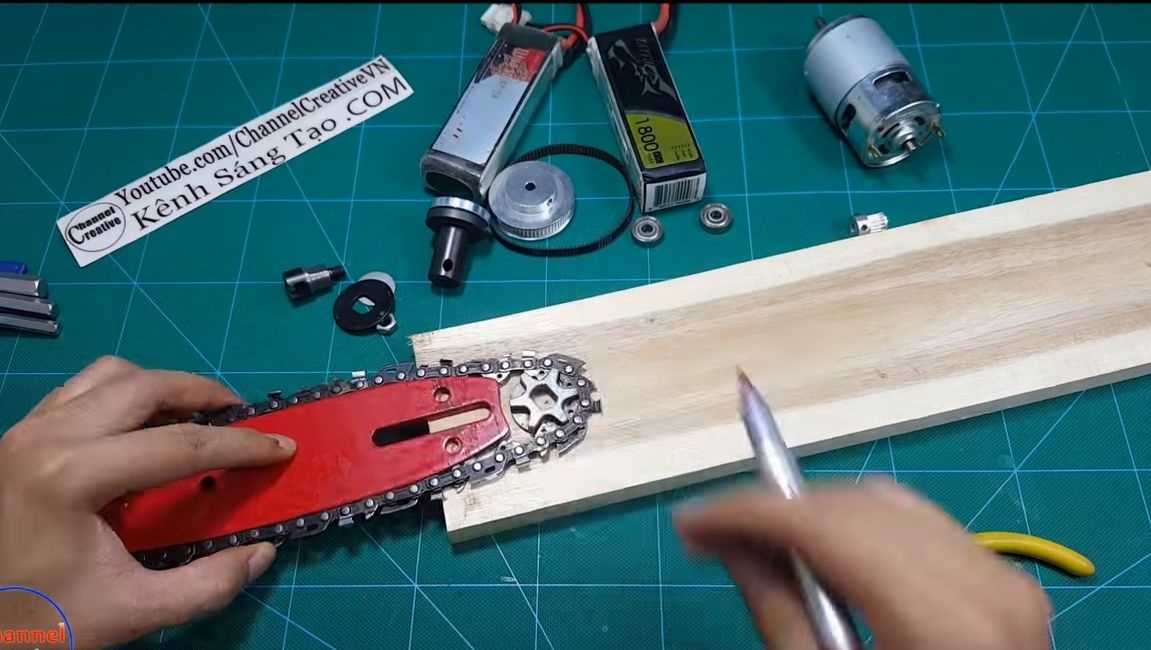
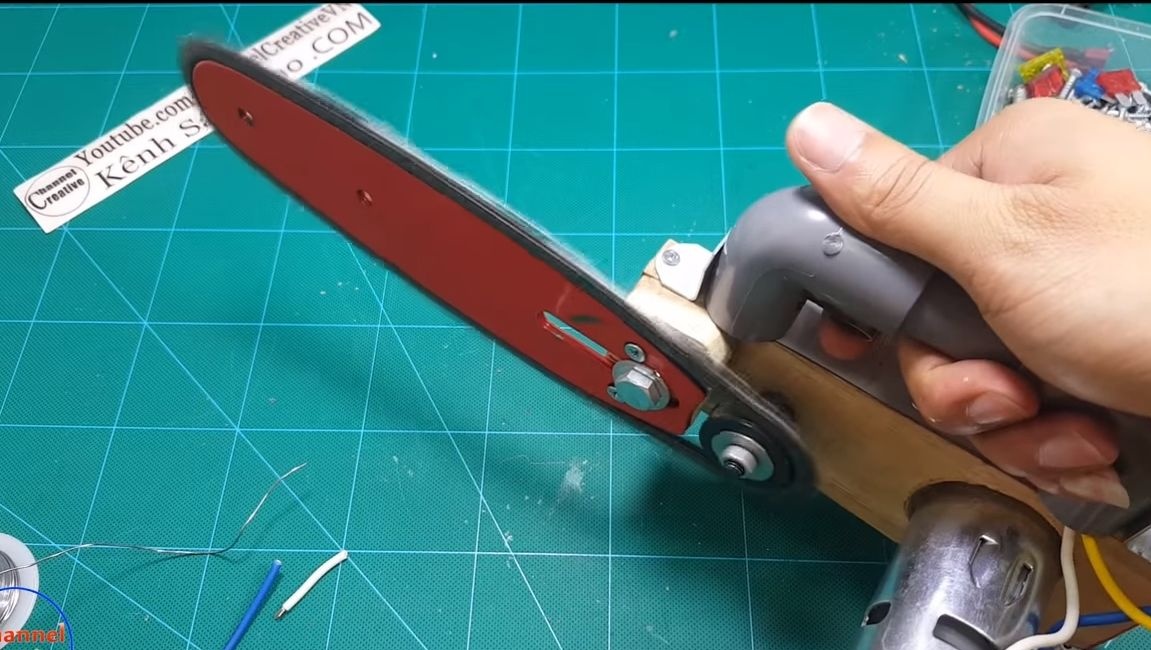
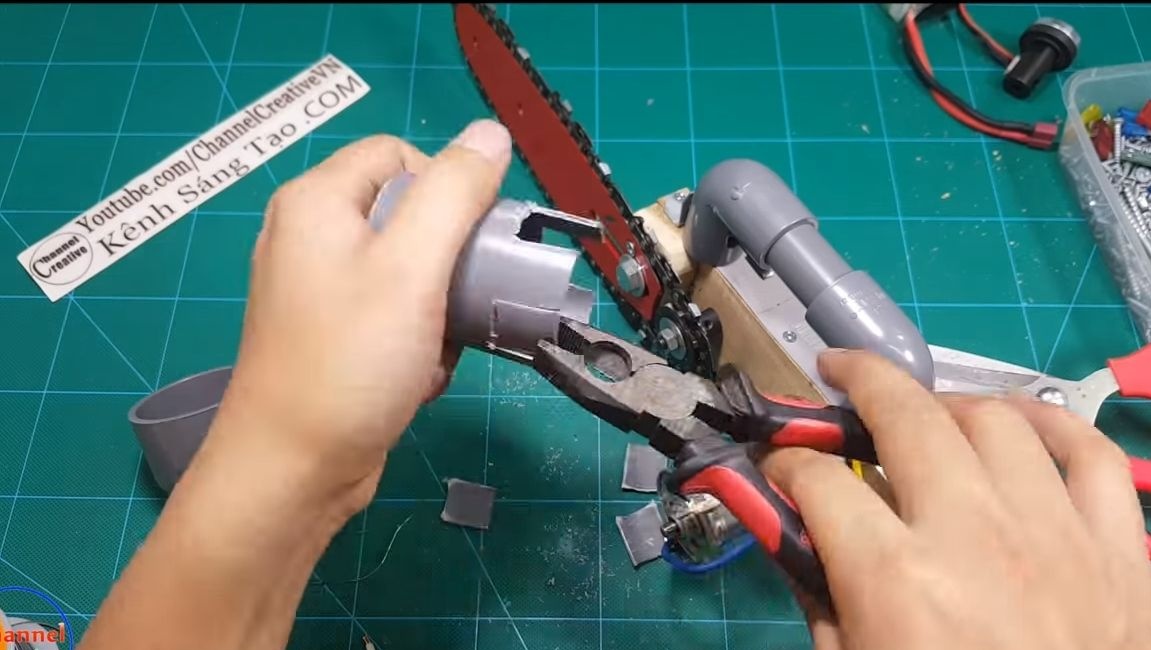
Step Four Install the tire
To install the tire, you will need to align it on the same level with the asterisk. To do this, you need another piece of board or plywood of the desired thickness. We cut out the necessary part and fix it using glue + self-tapping screws.
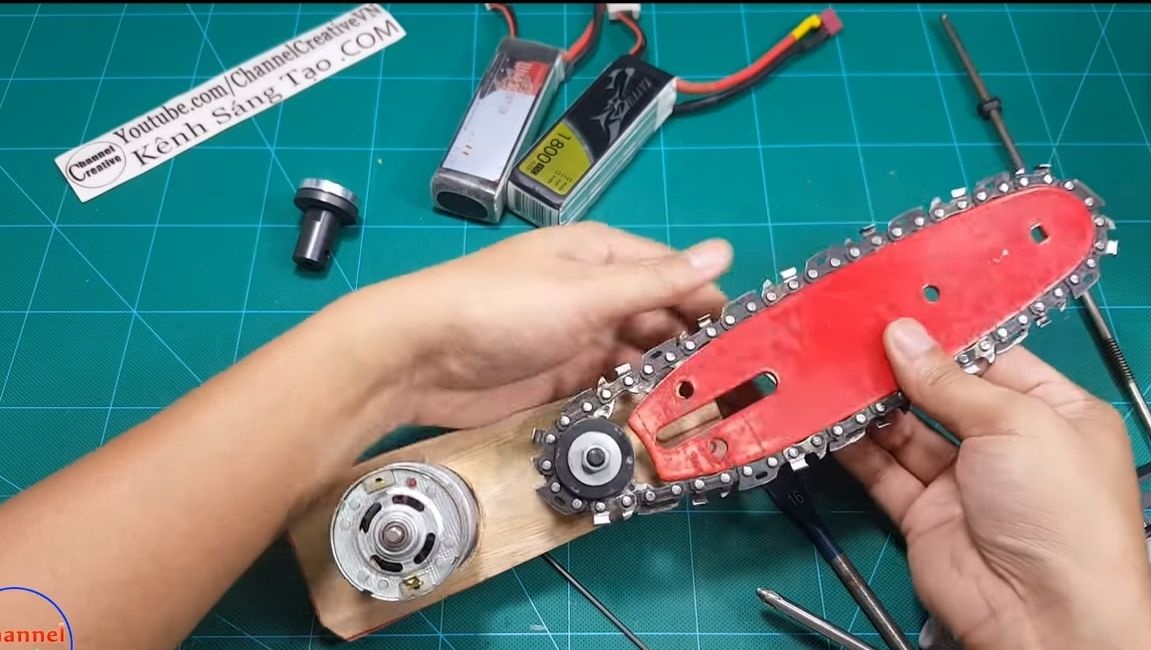
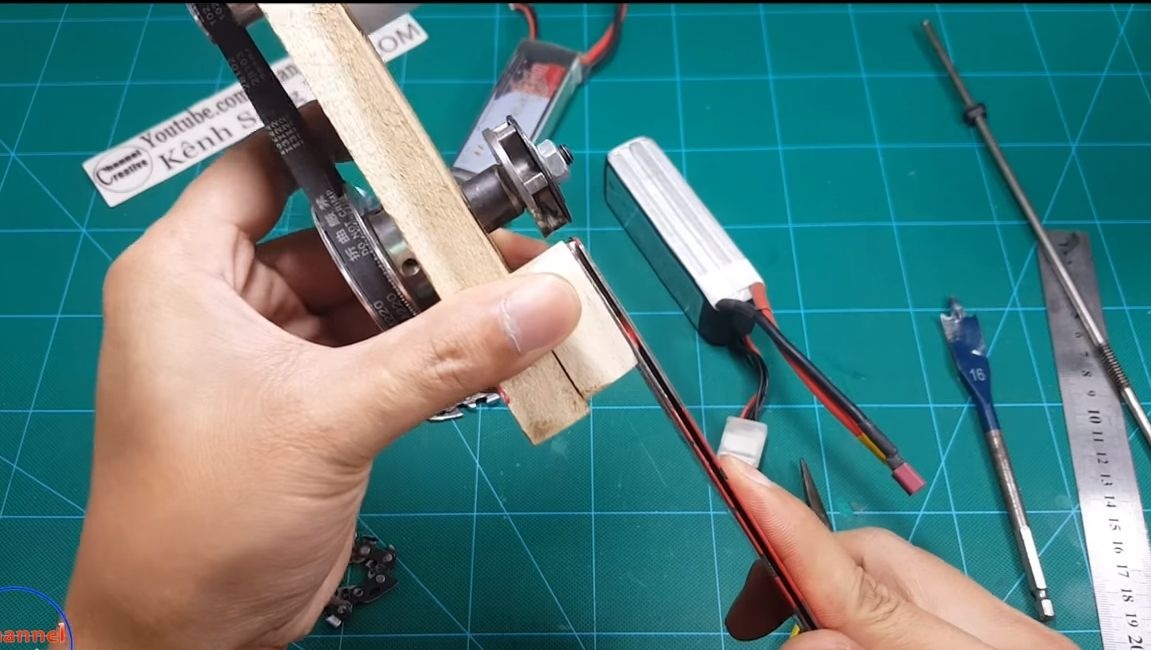
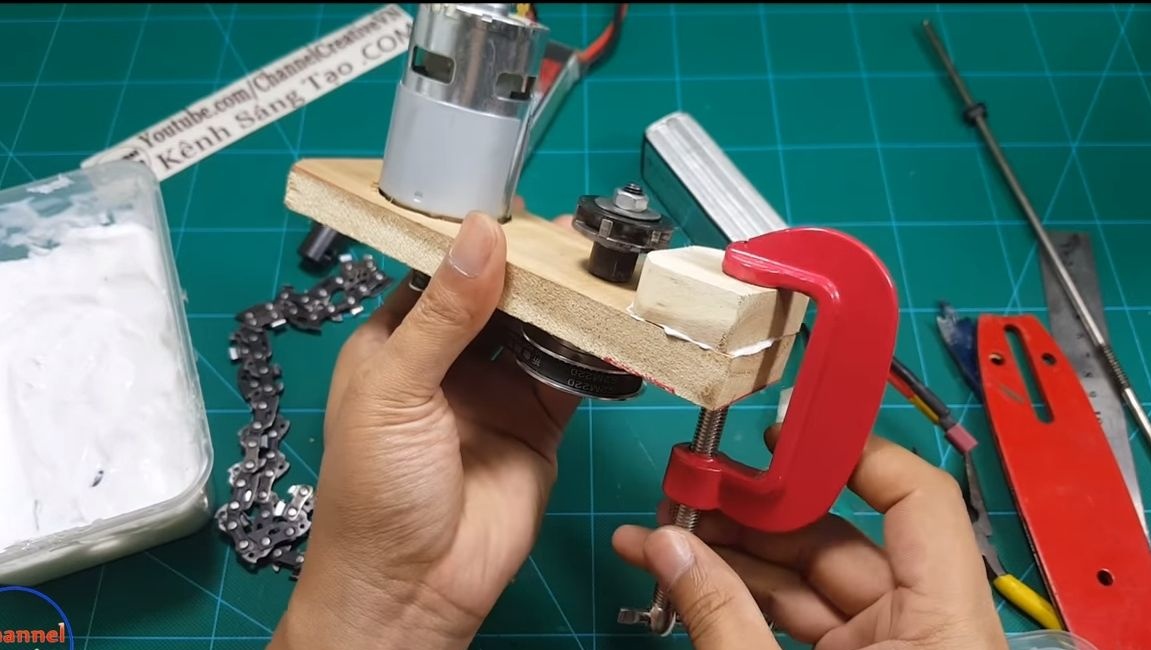
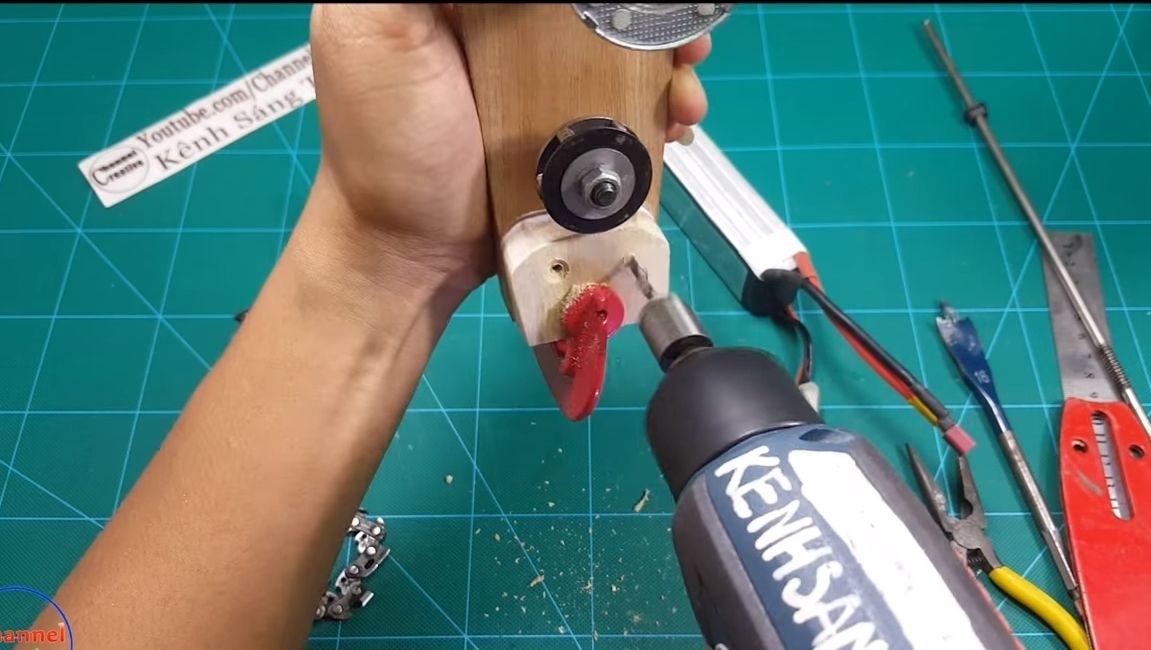
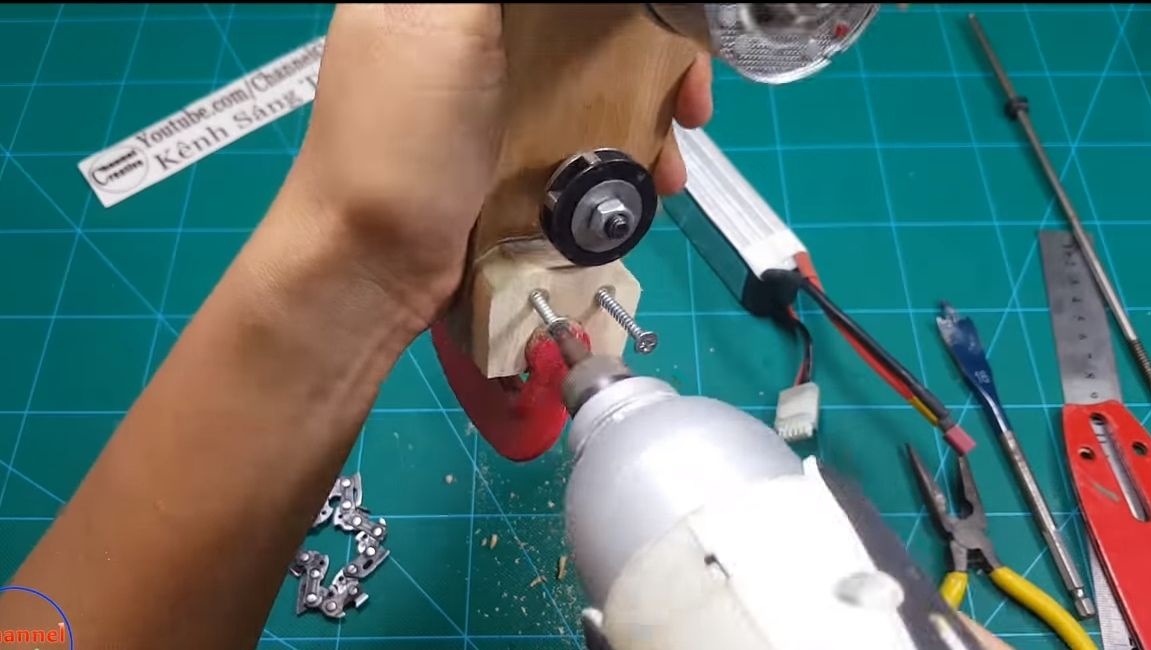
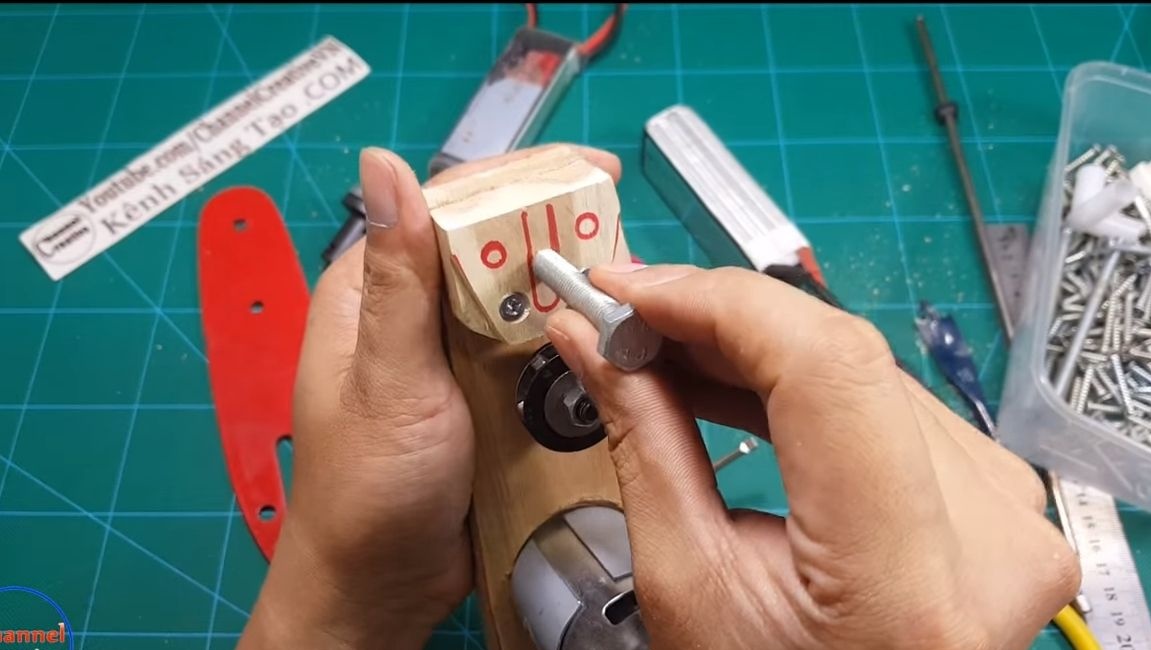

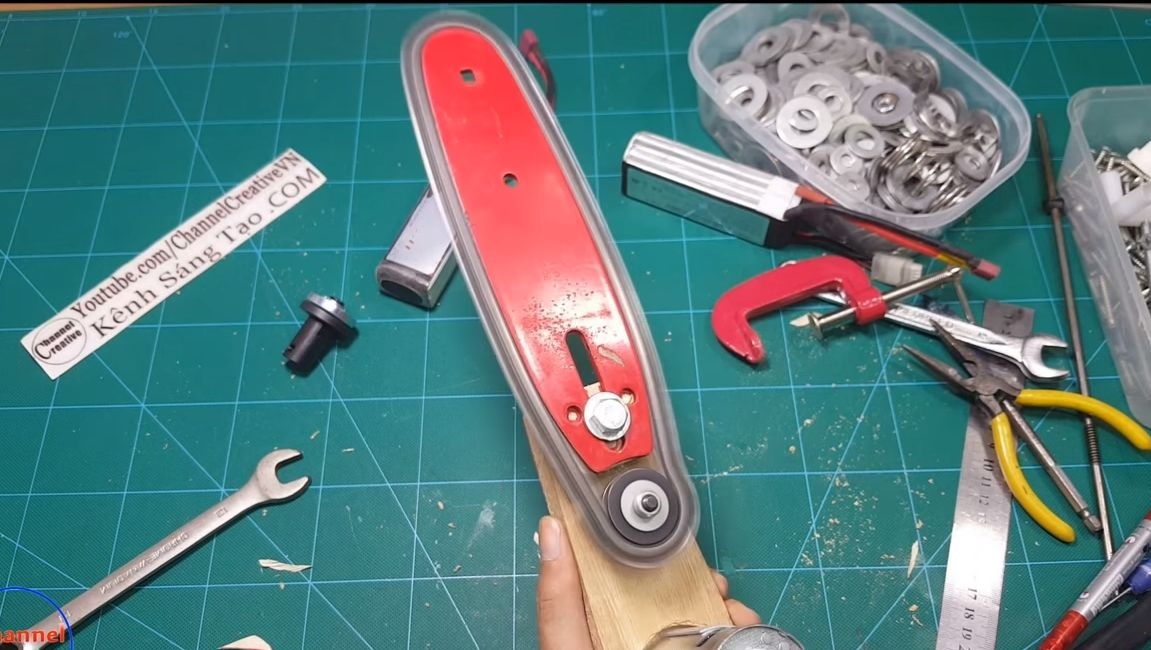
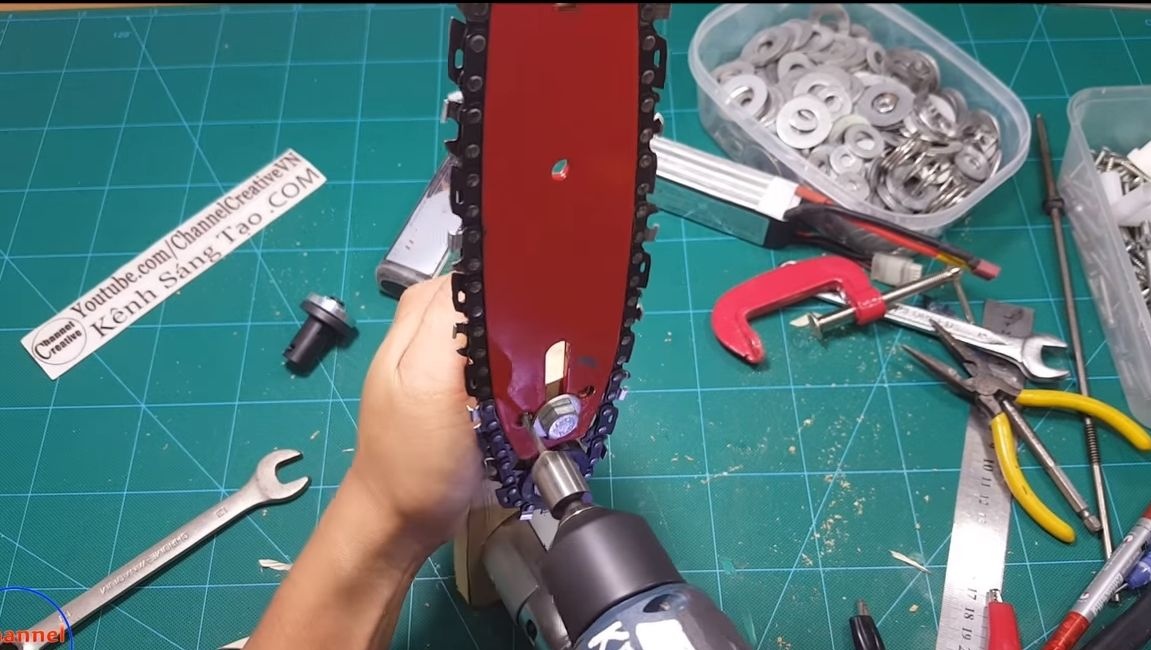
The tire is fixed with a bolt and nut, as well as two self-tapping screws. We drill a hole and fasten the tire. Before tightening the screws, make sure that the chain is properly tensioned. This raises the question of what to do if the chain stretches? And it will stretch, sooner or later. Most likely, then you will need to twist the screws to other places.
The tire is installed, you can try to start the saw. Before starting, be sure to lubricate the tire, you will have to do it regularly, since the lubrication system is not provided here, but it is very necessary.
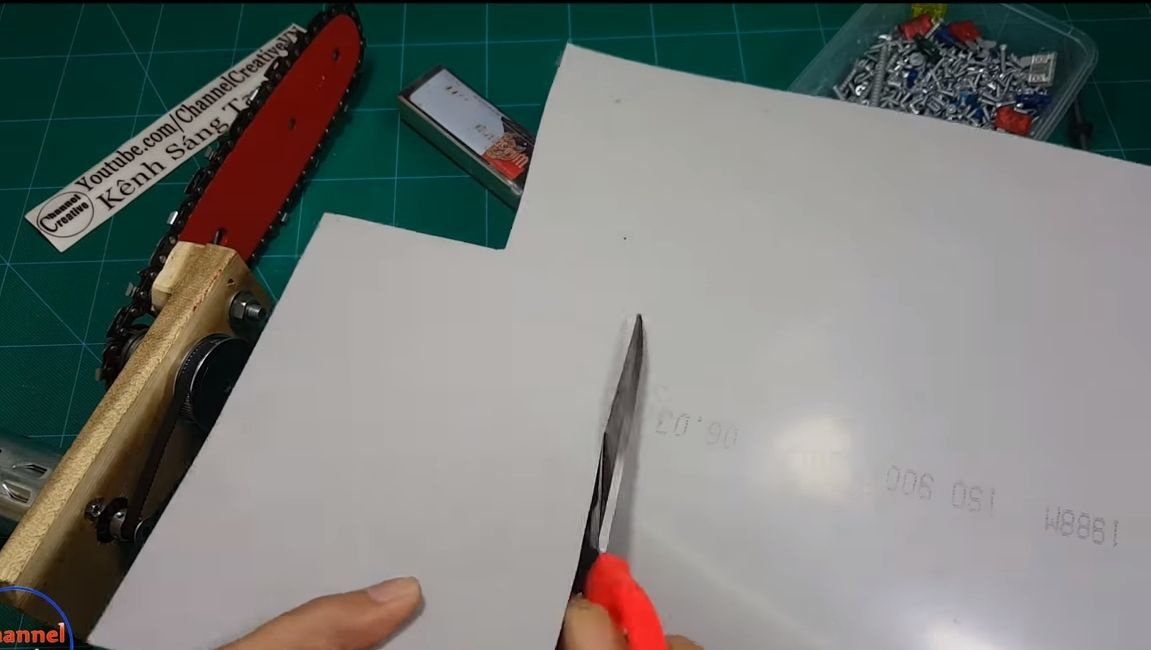
Step Five Gear protection
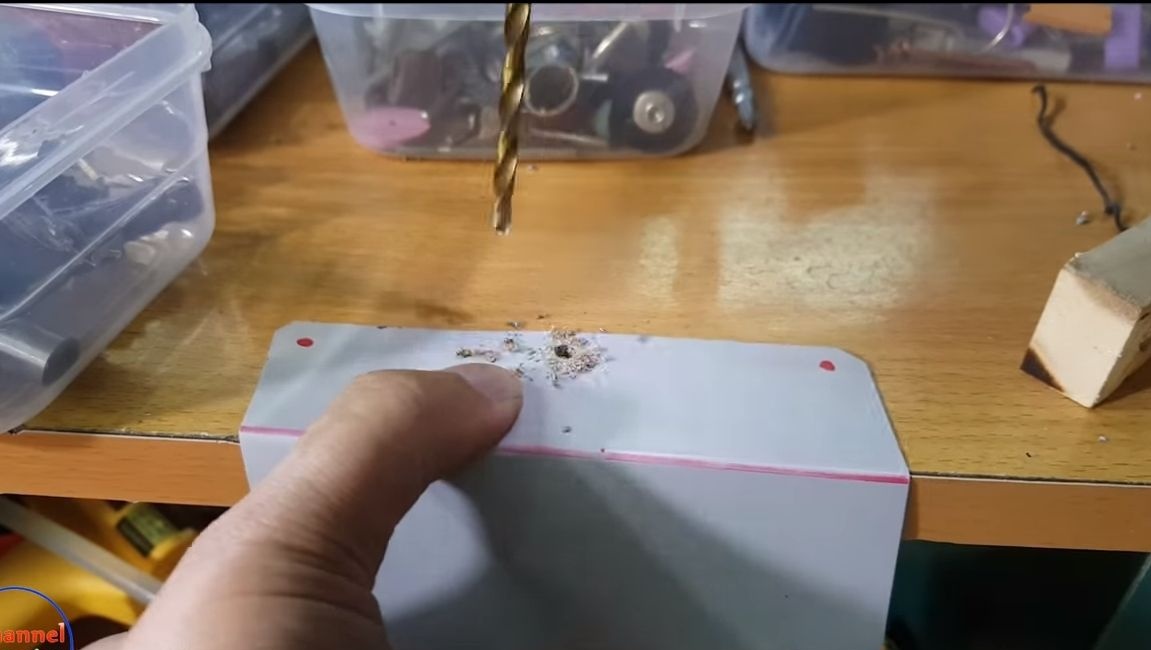
Above the gearbox, you need to make a protective casing, at the same time it will act as a place for installing batteries. It is desirable to make such a casing of thin sheet metal, but plastic is also suitable. Cut off the desired piece, bend and fasten with screws.
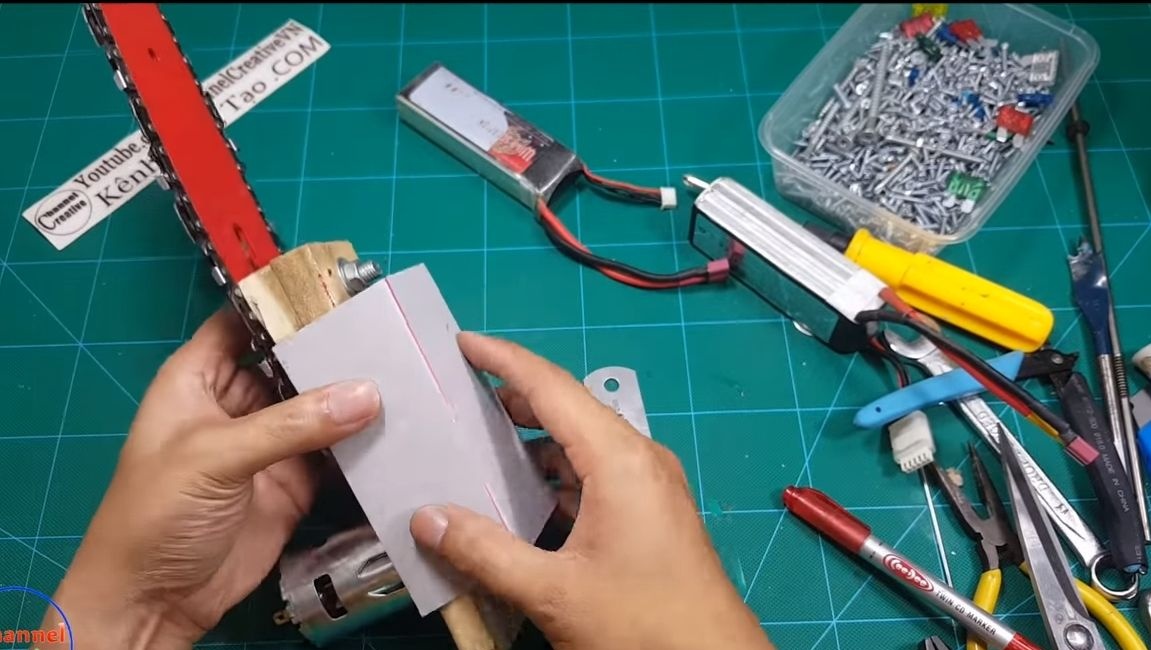
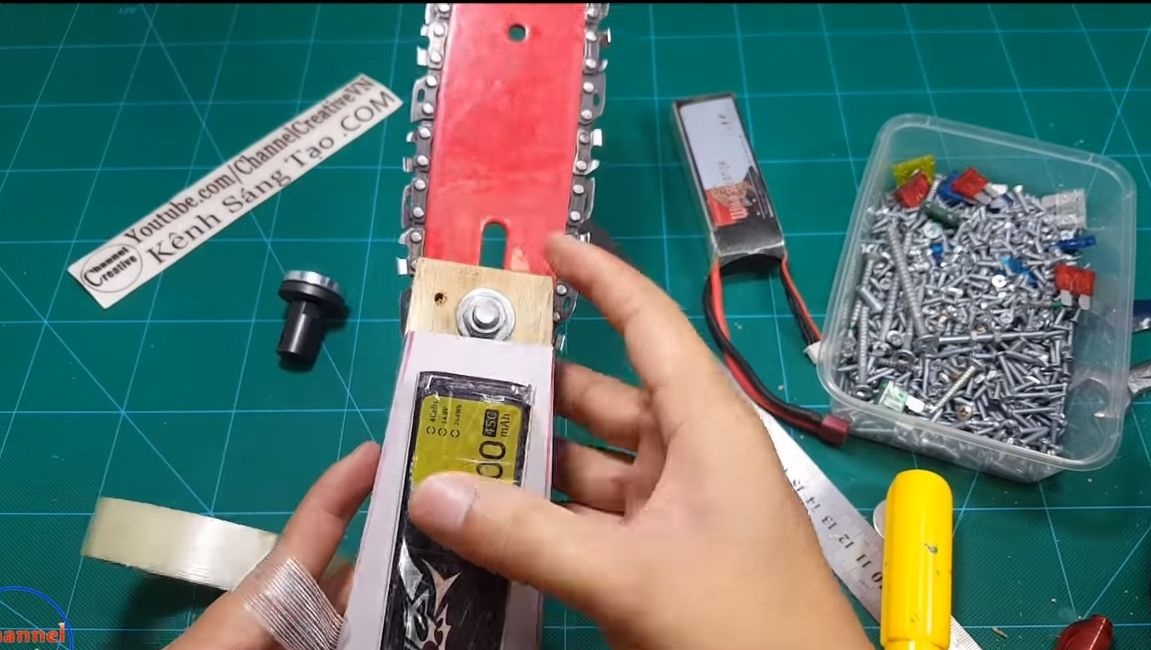
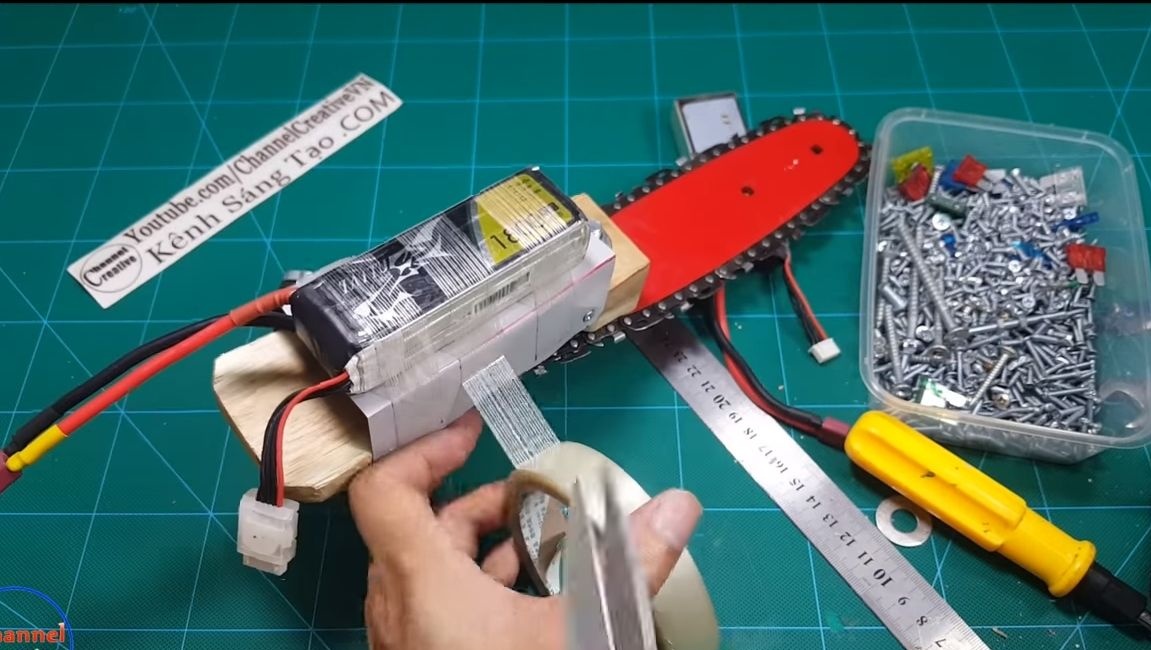
Step Six Battery Installation
We fix the batteries to the protective cover using adhesive tape.
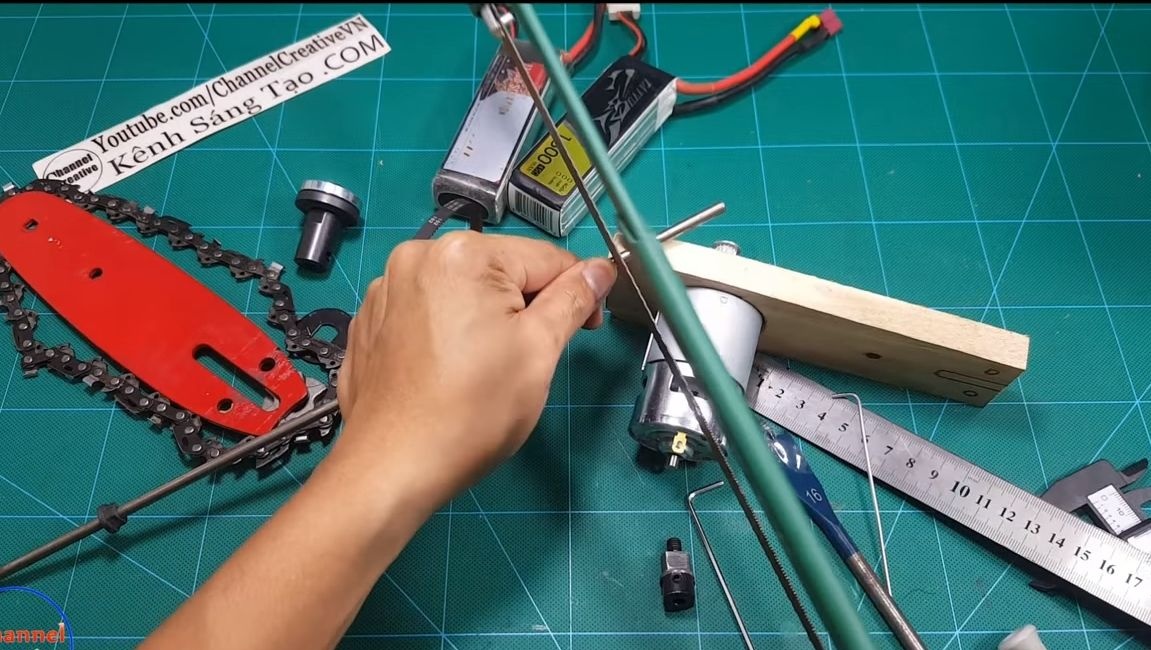
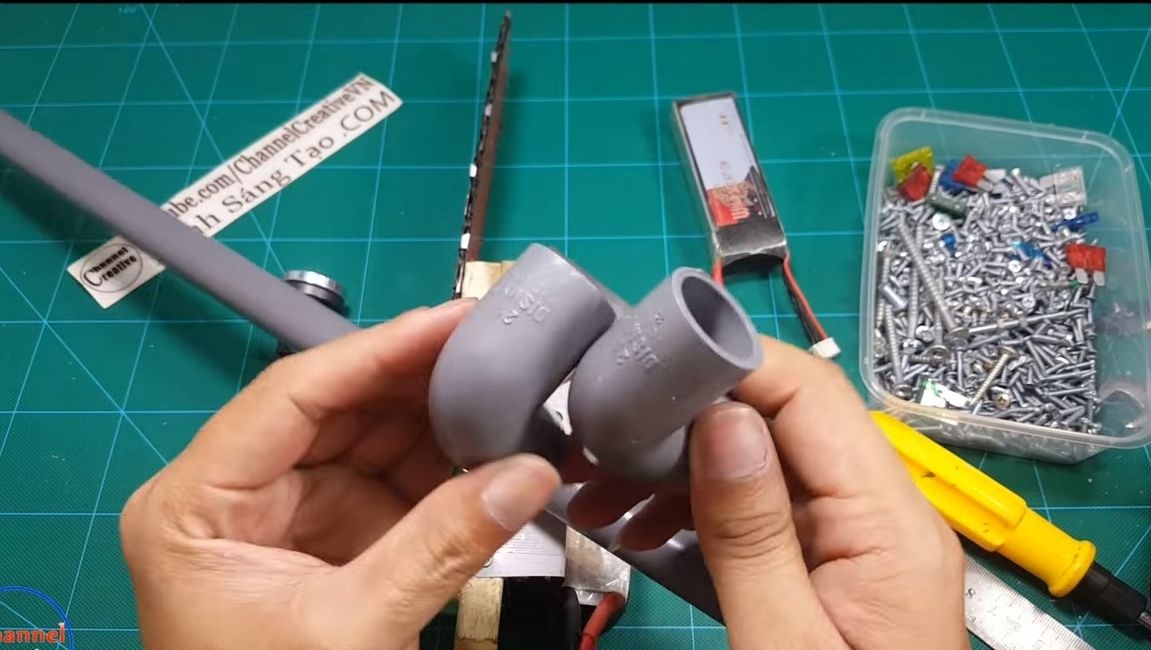
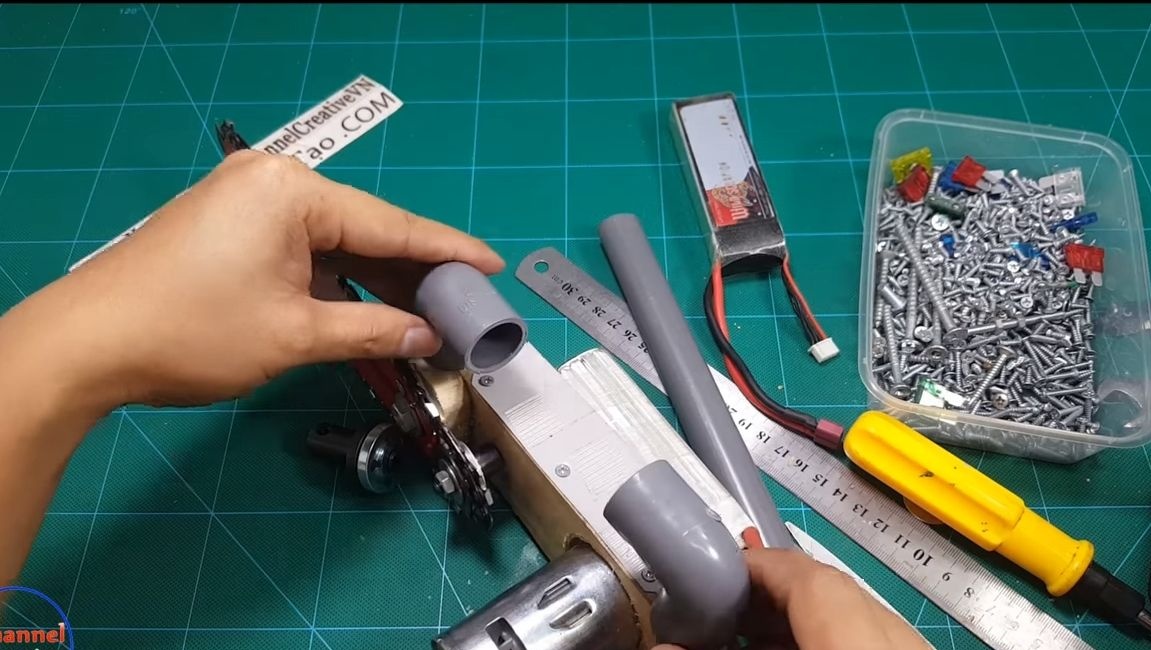
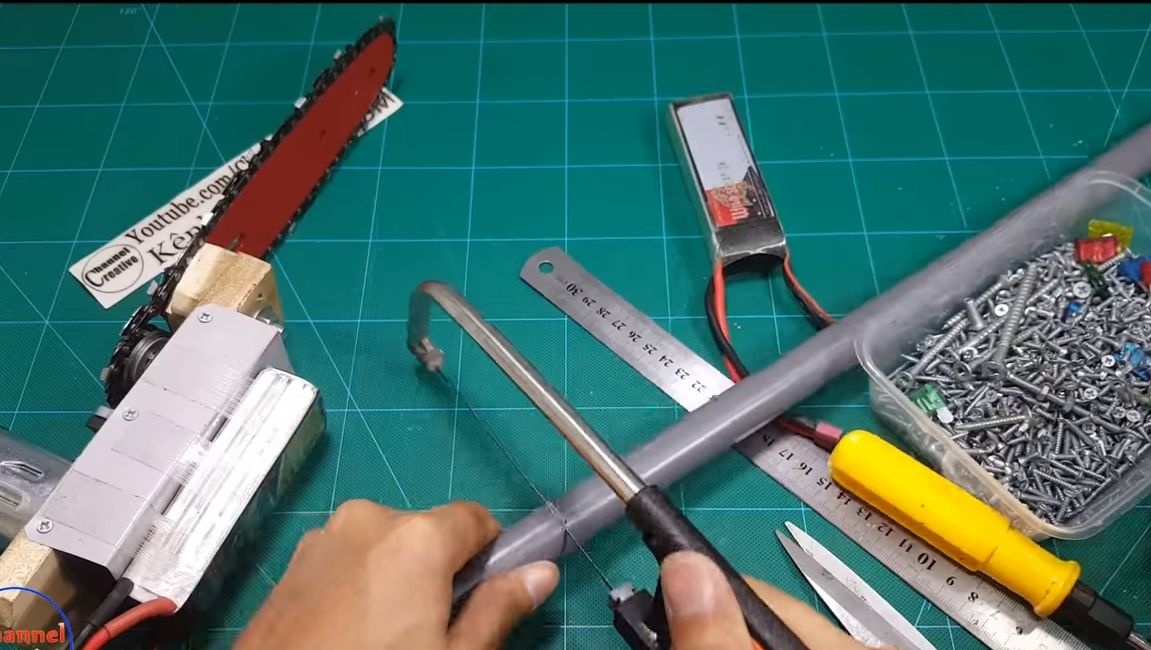
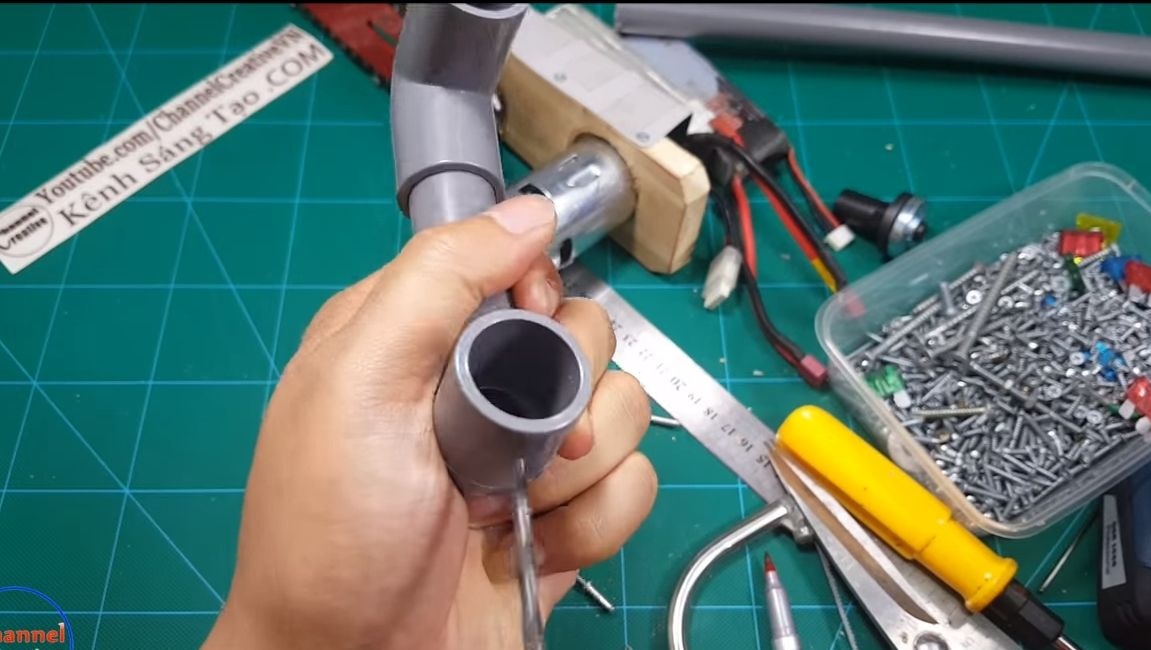
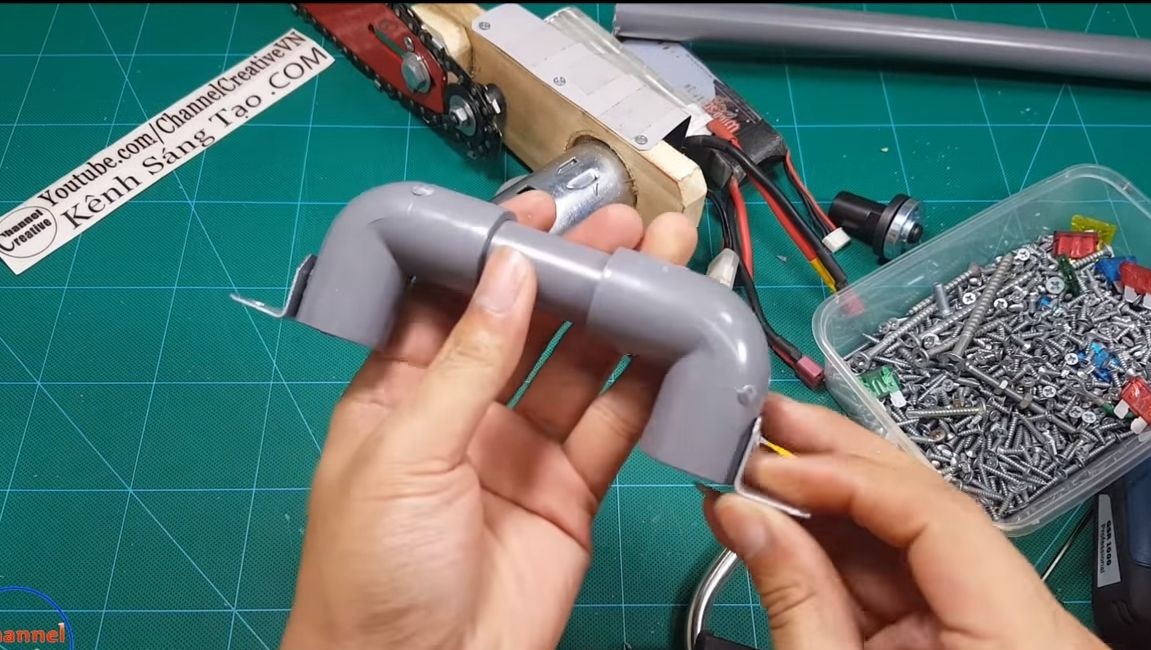
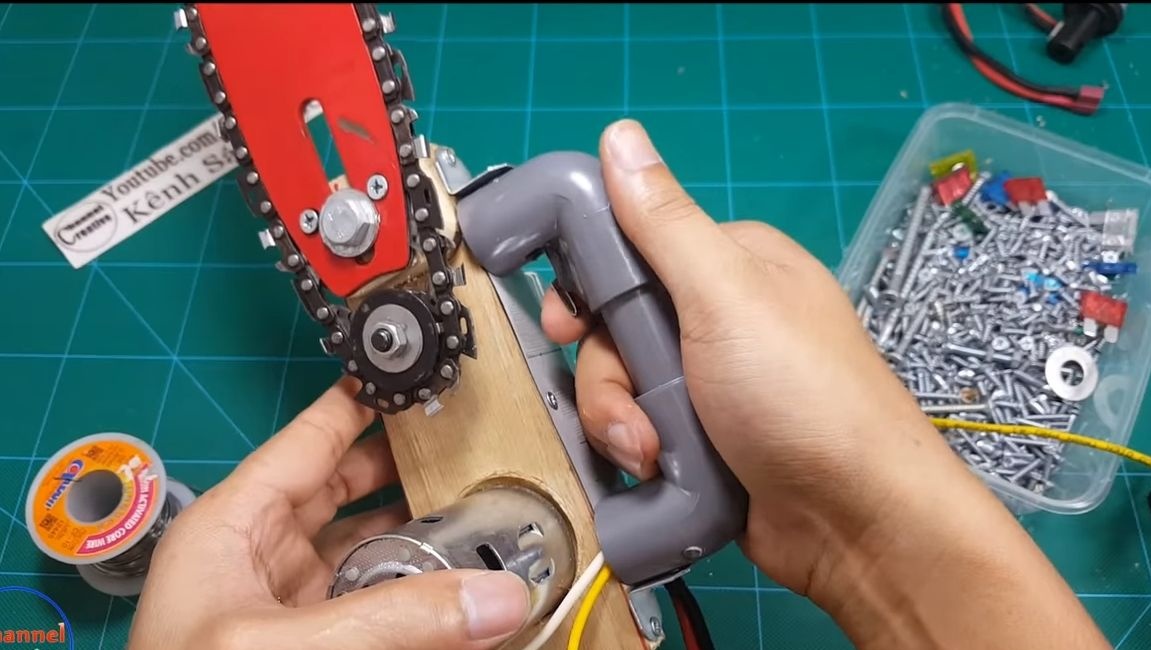
Seventh step. Handle manufacture and installation
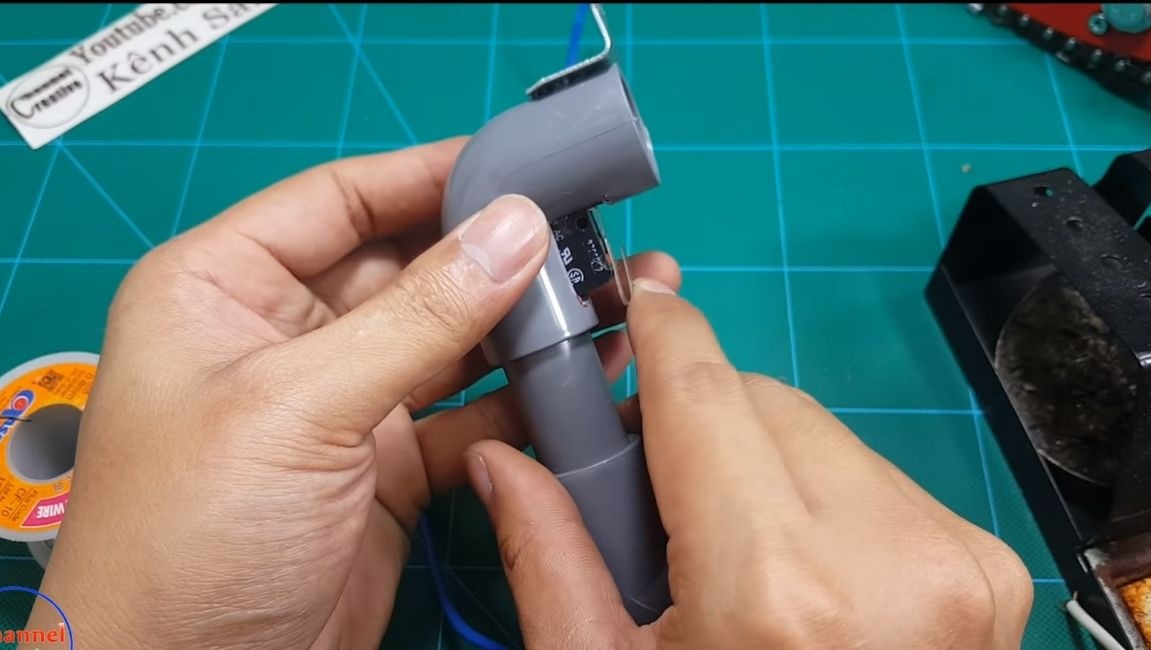
To make a pen, you will need a piece of pipe, as well as PVC corners. We cut, glue, fasten the handle using a pair of mounting corners and screws. The author fastens corners to the handle with rivets.
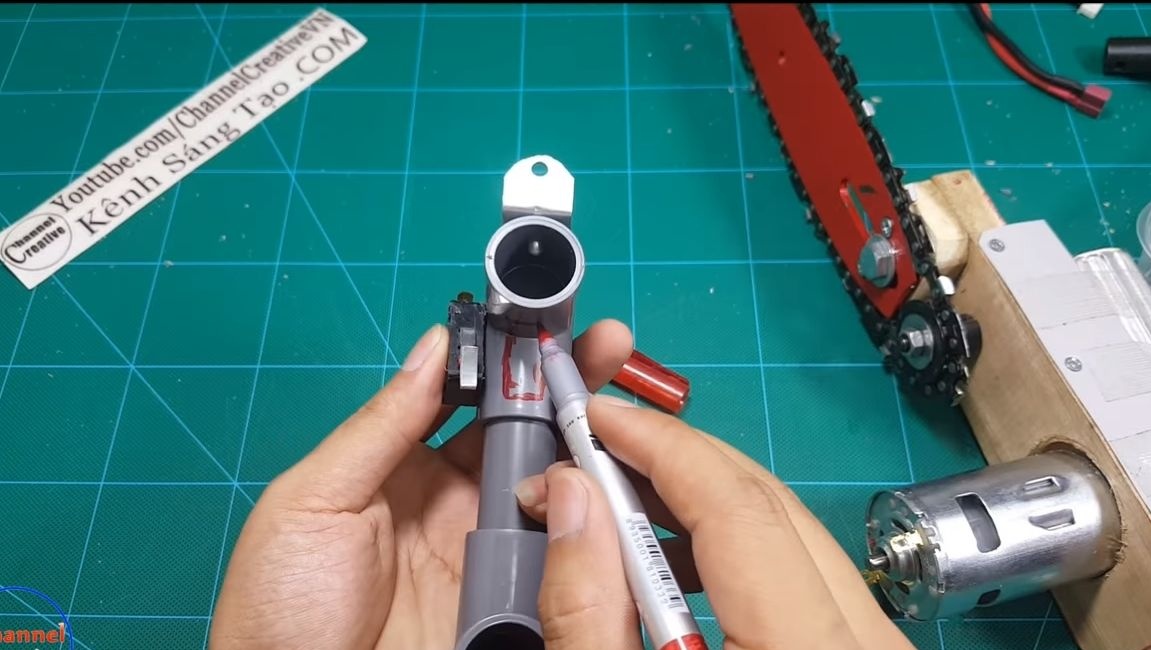
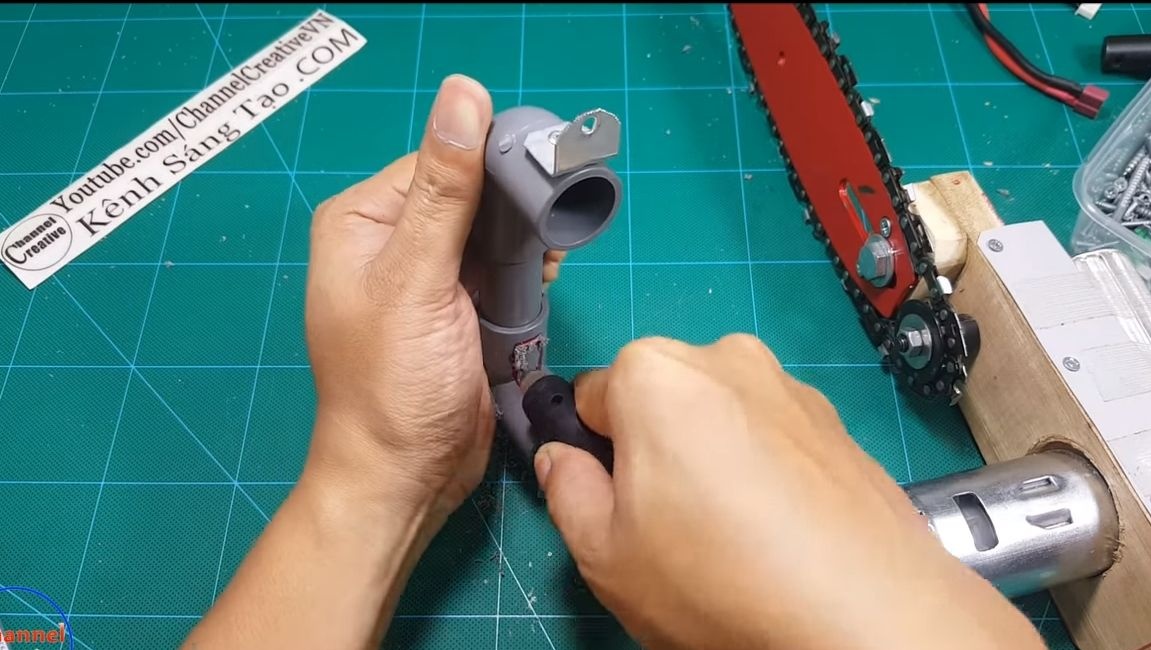
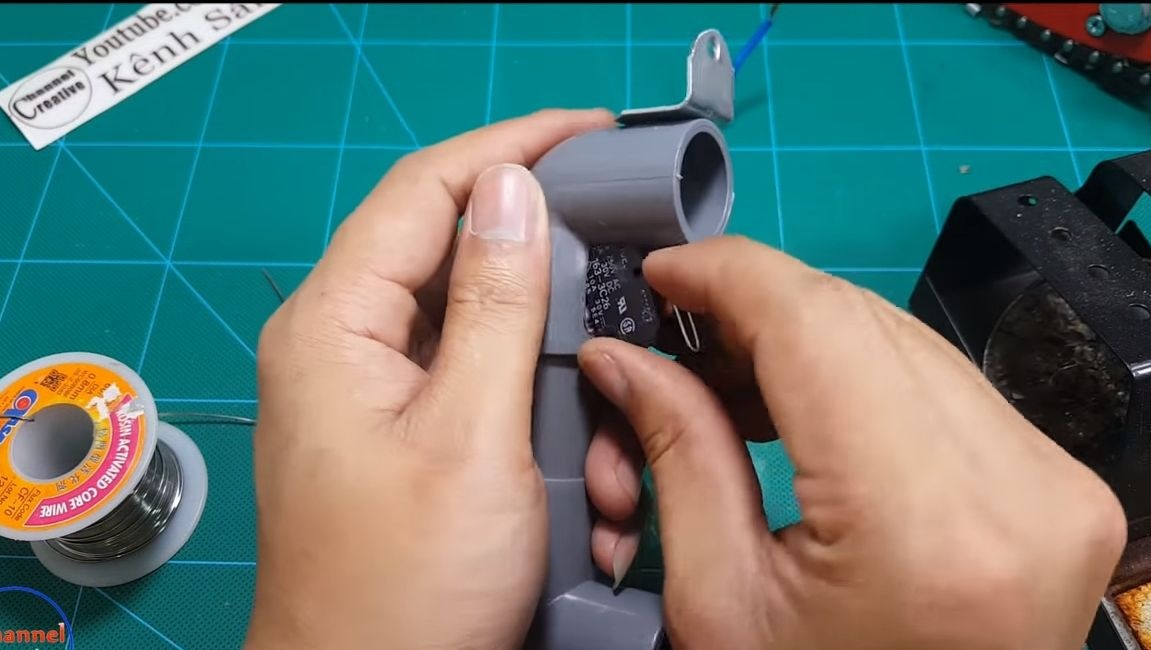
In the pen you need to remember to install the switch, you will need a small keyboard-type switch, just consider the Amperage. We cut out a seat under it, draw wires, install a switch using hot glue.
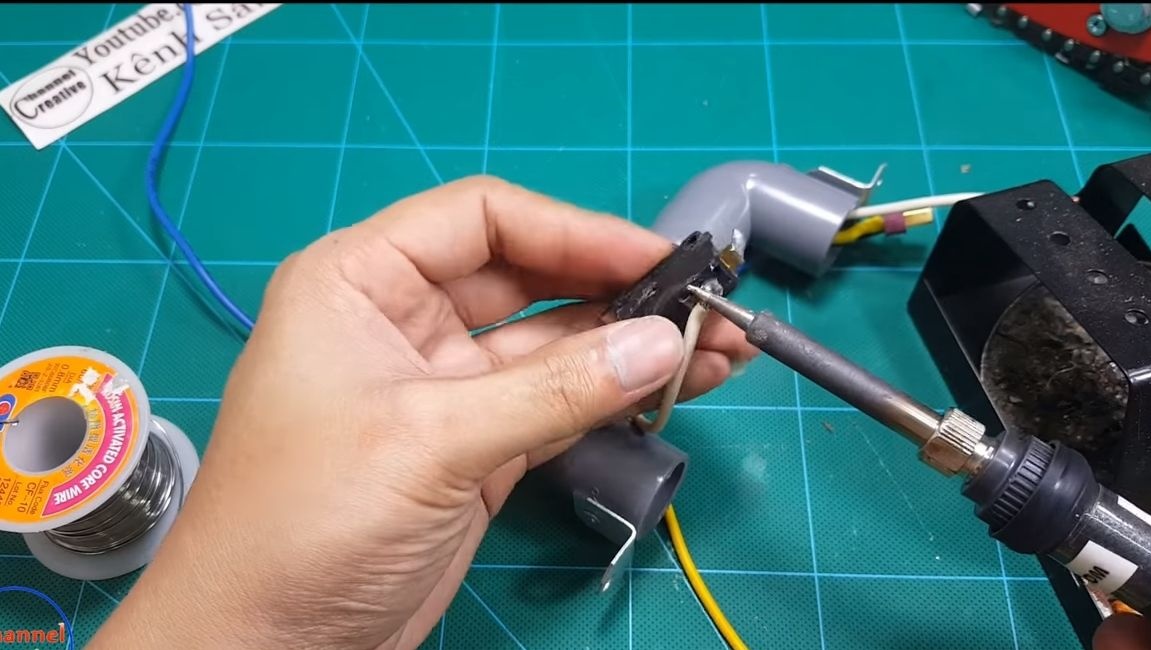
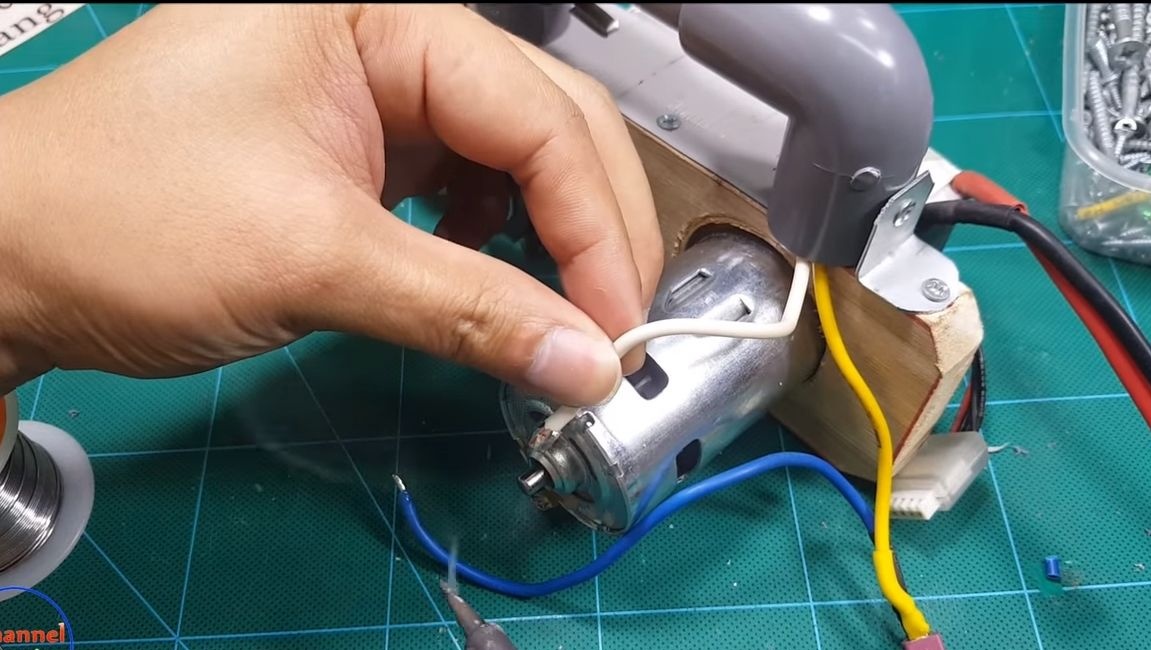
Step Eight. Connect the wires
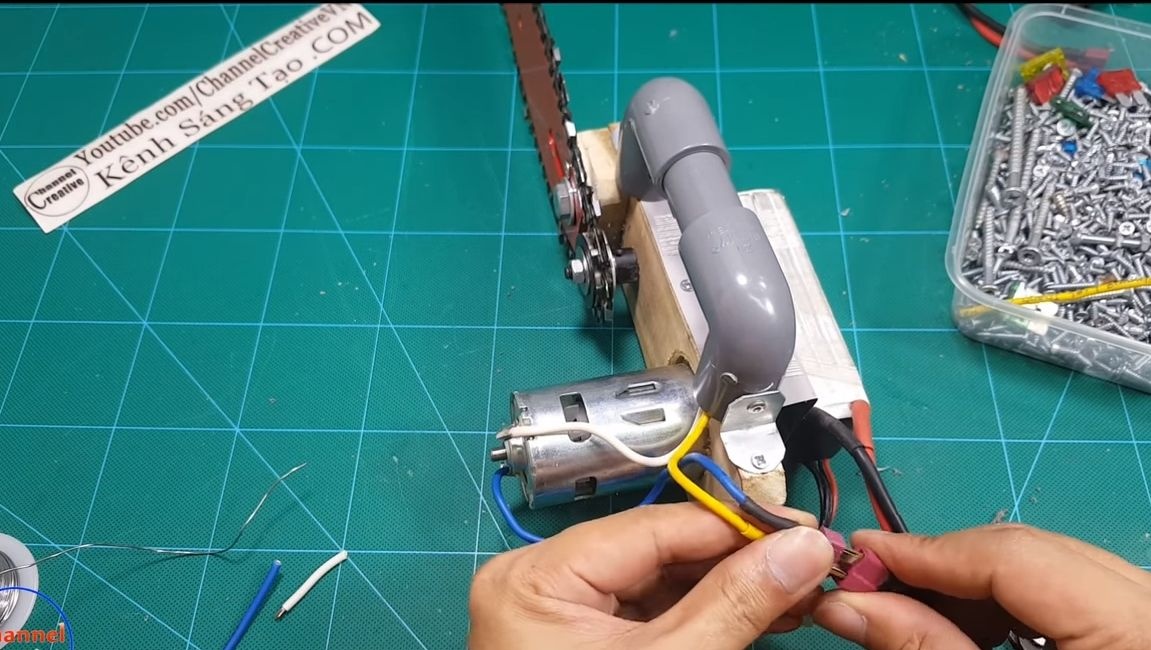
We arm ourselves with a soldering iron and solder wires to the motor, one will go directly to the battery, and the other to break with the switch. It is connected to the saw engine through a special plug.
Technically everything is ready, try turning on the saw, do not forget to lubricate the chain.
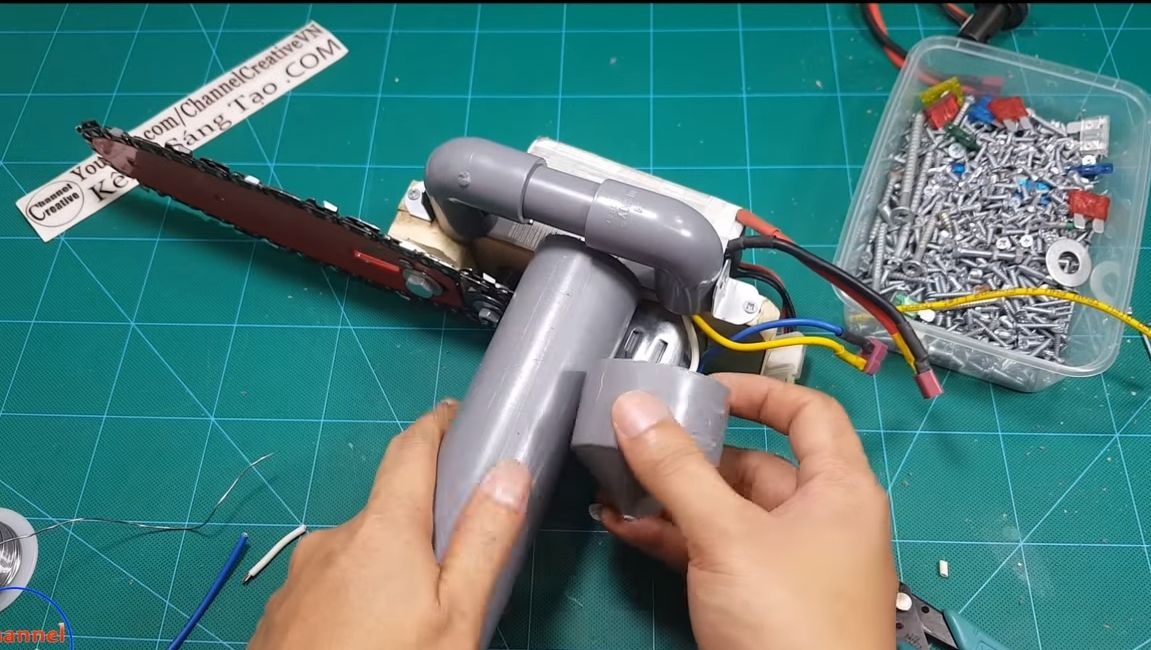
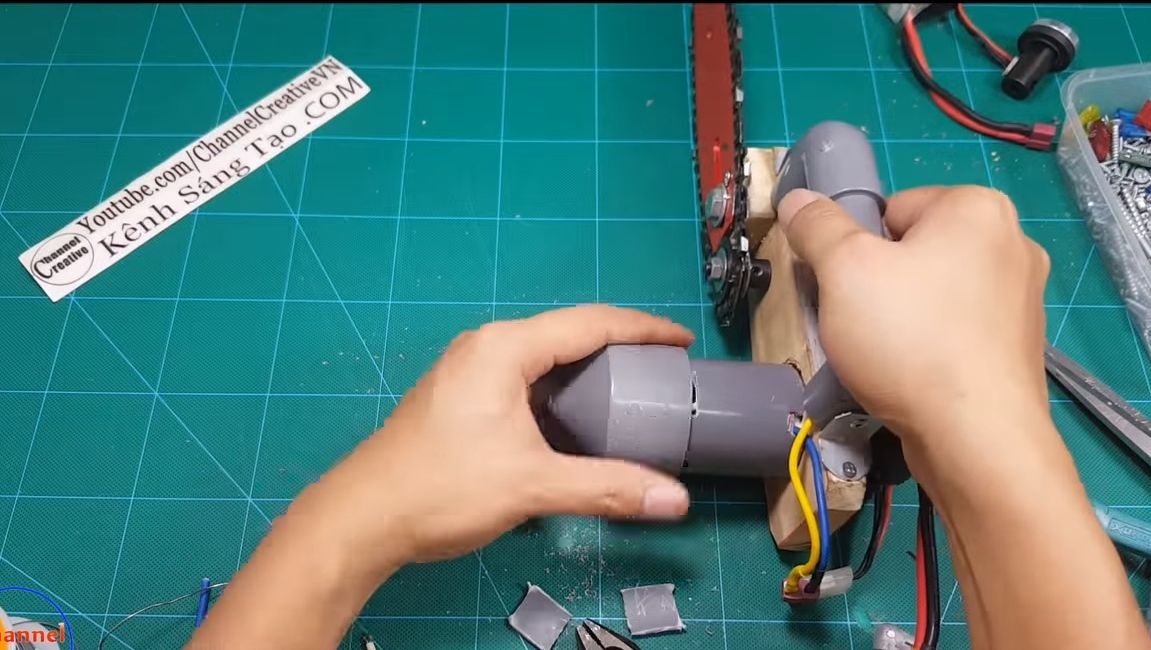
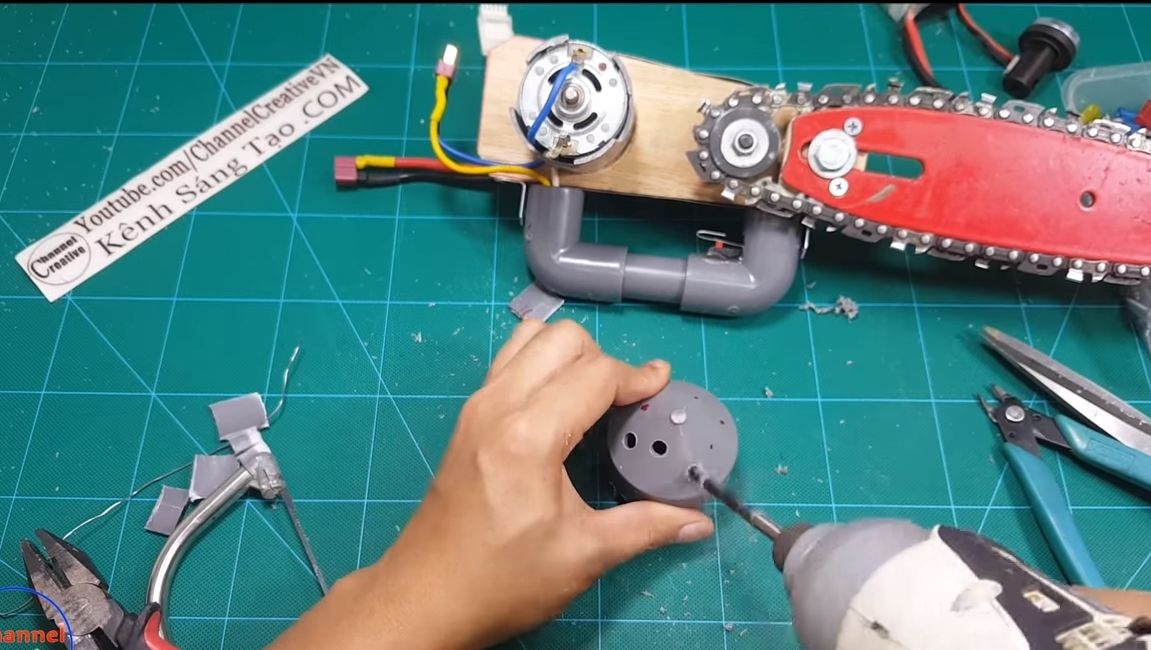
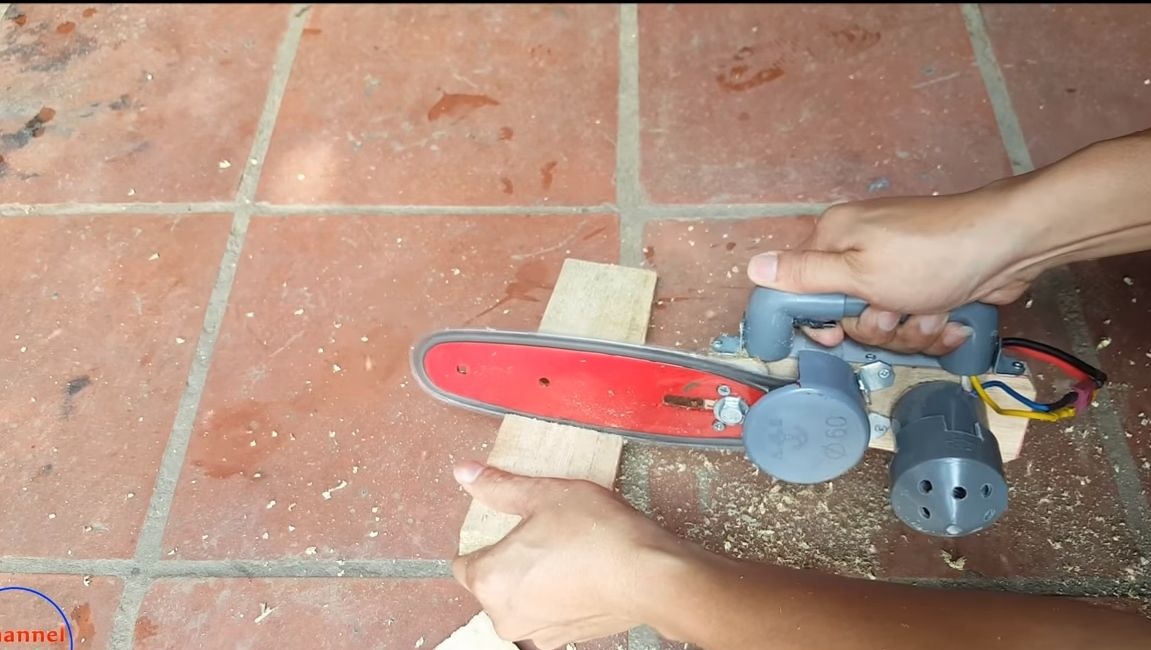
Step Nine. Protective covers
It will be necessary to install protection on the engine, otherwise it will quickly be destroyed by sawdust and other debris. In the manufacture of protection, it is important to take care of ventilation, since the motor under heat can moderate heat. The body is made of two components, you will need a piece of pipe, as well as a plug. Cut off the desired piece of pipe and put on the engine. Then a plug is put on this pipe, you need to drill more holes in it, this will work as ventilation.

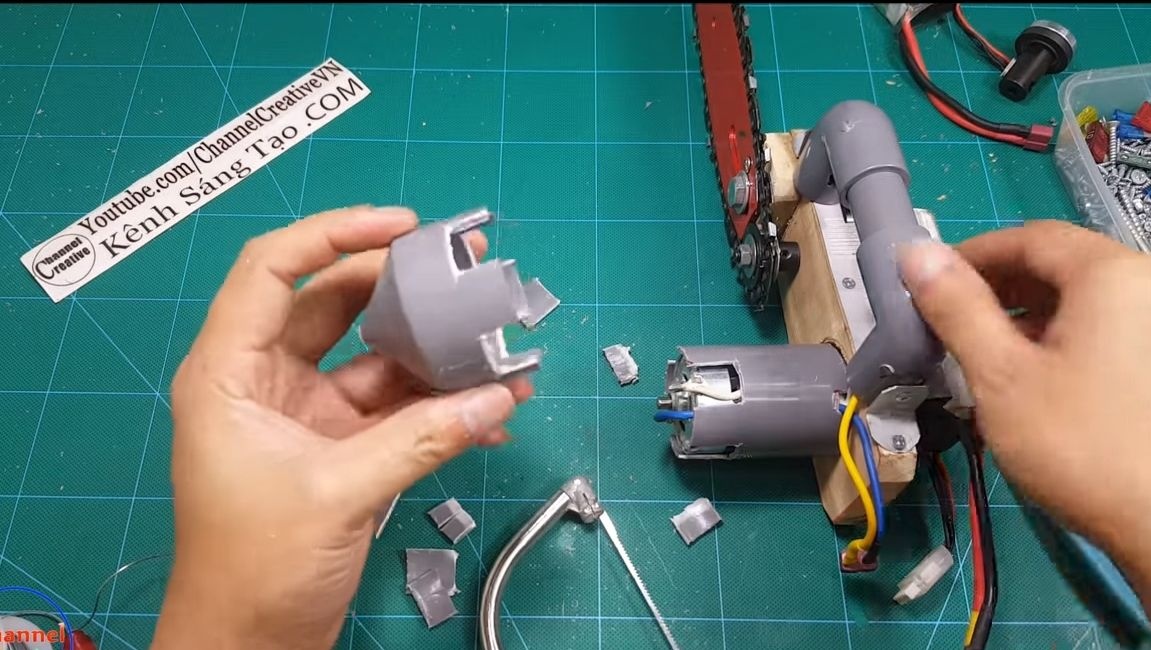
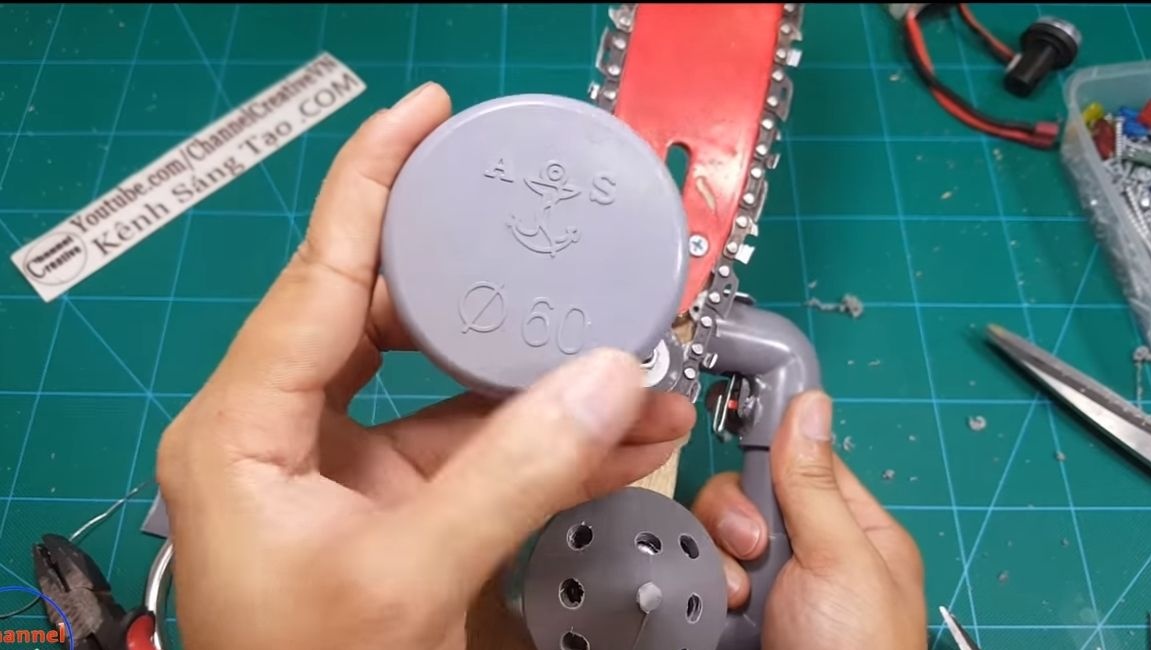
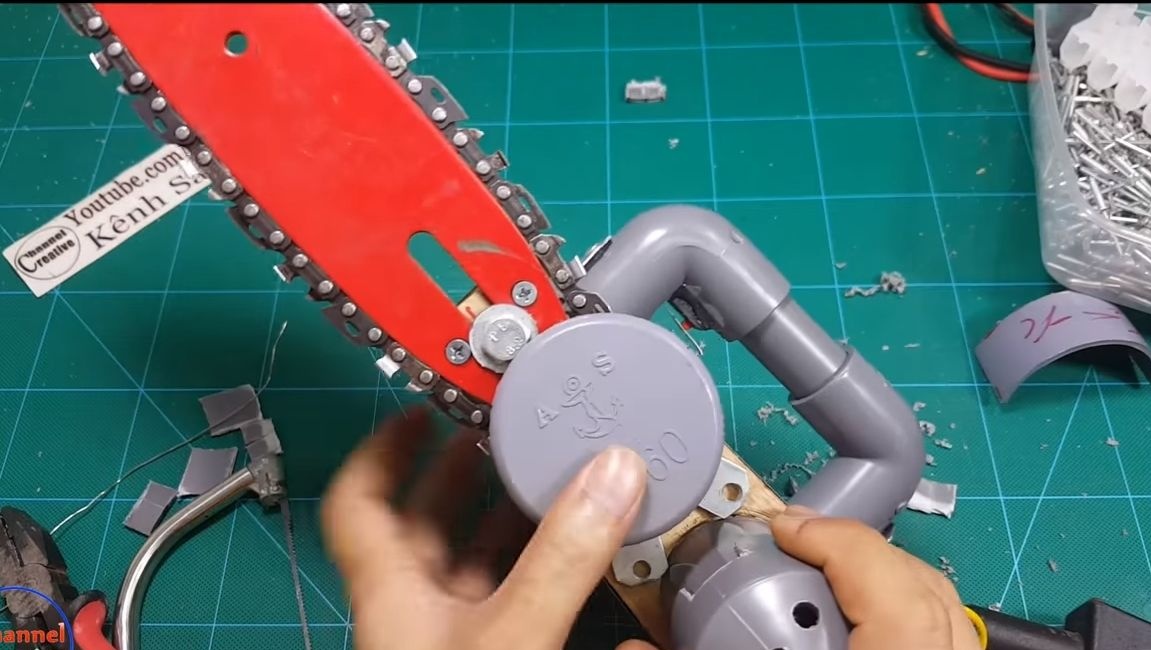
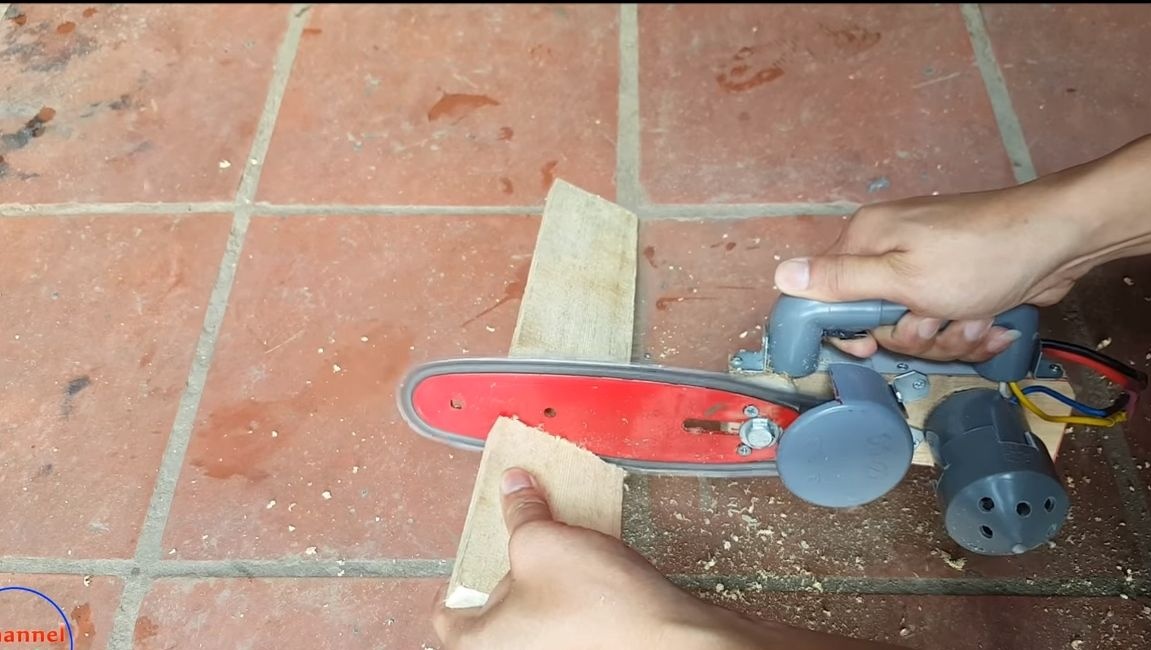
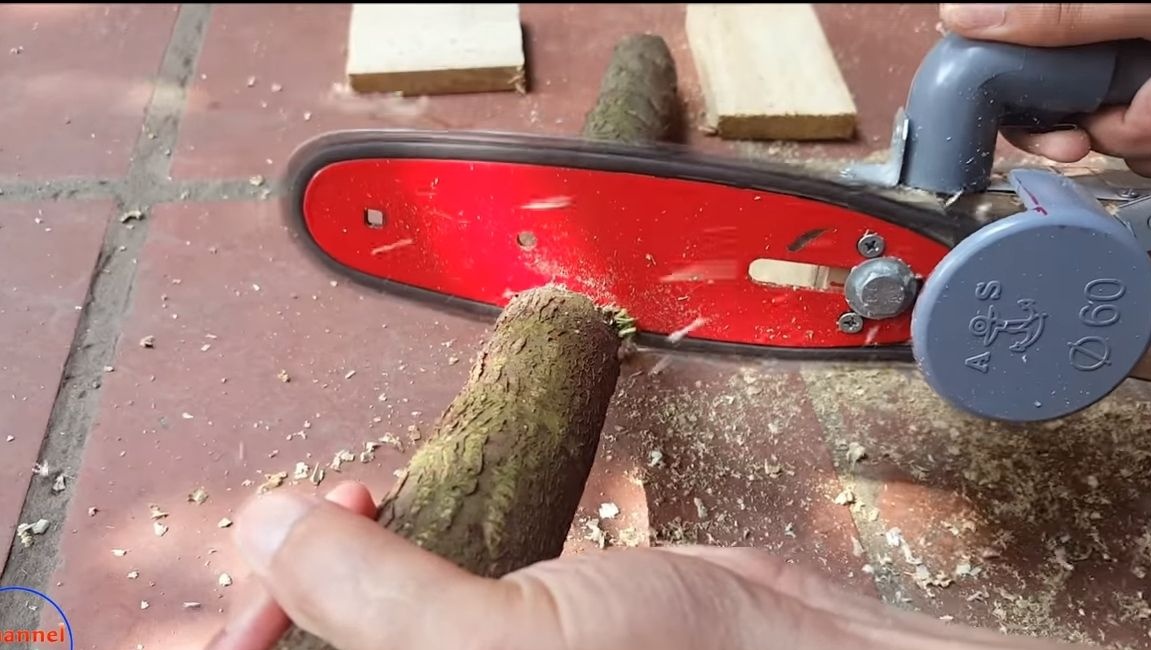
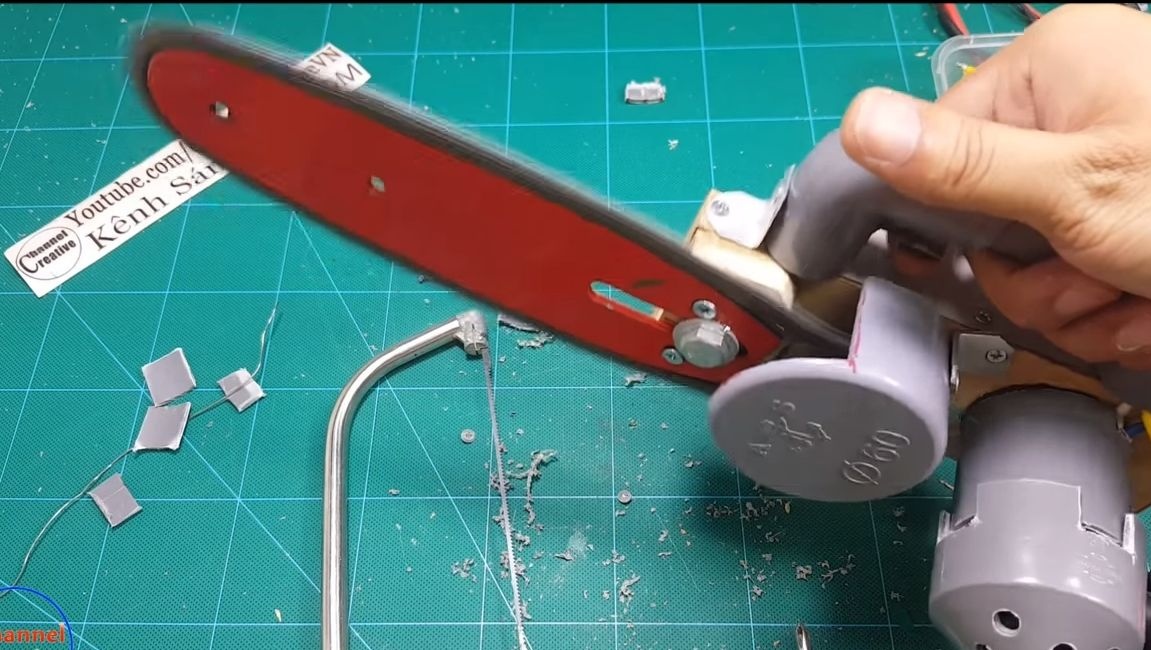
It is also extremely important to make a shield for an asterisk so that something does not get there. To do this, you will need a 60 cap for PVC pipes. We cut out the window under the chain and install the case in its place. For this we use fixing corners and self-tapping screws.
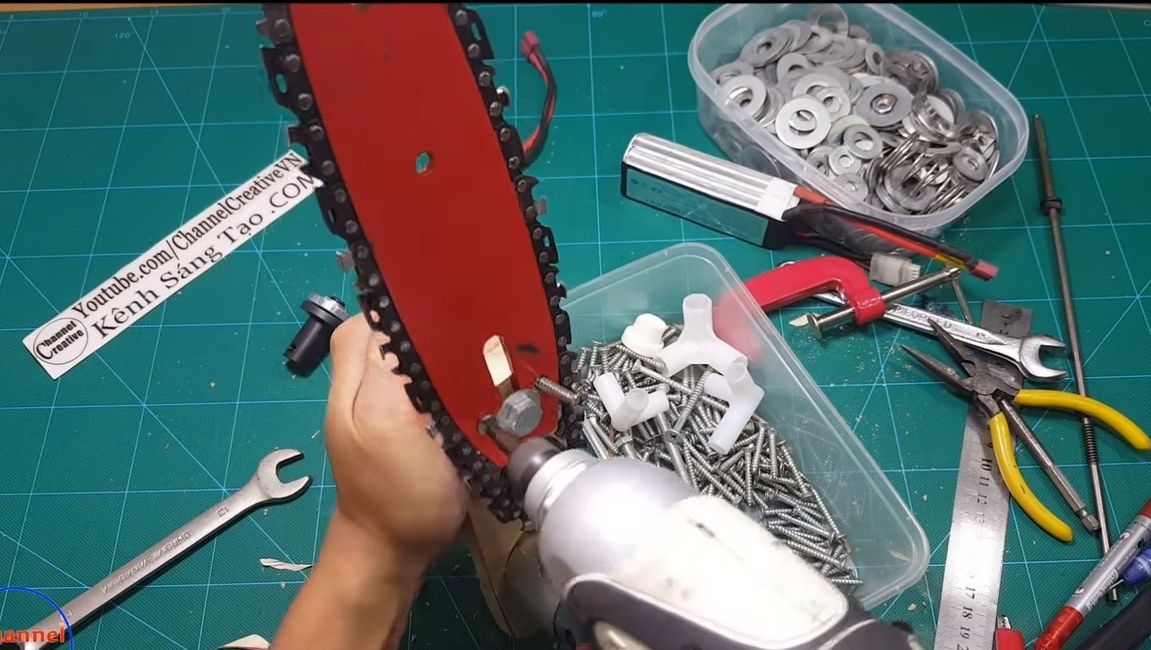
Step Ten Testing the saw!
One nuance should be noted right away - the chain needs constant lubrication, ordinary motor oil is suitable for this, you can lubricate it with a grease fitting, a brush and so on. Although the speed here is not large, without lubrication, the tire will warm up and quickly wear out. You will also need to monitor the chain tension, since there is no tensioner.
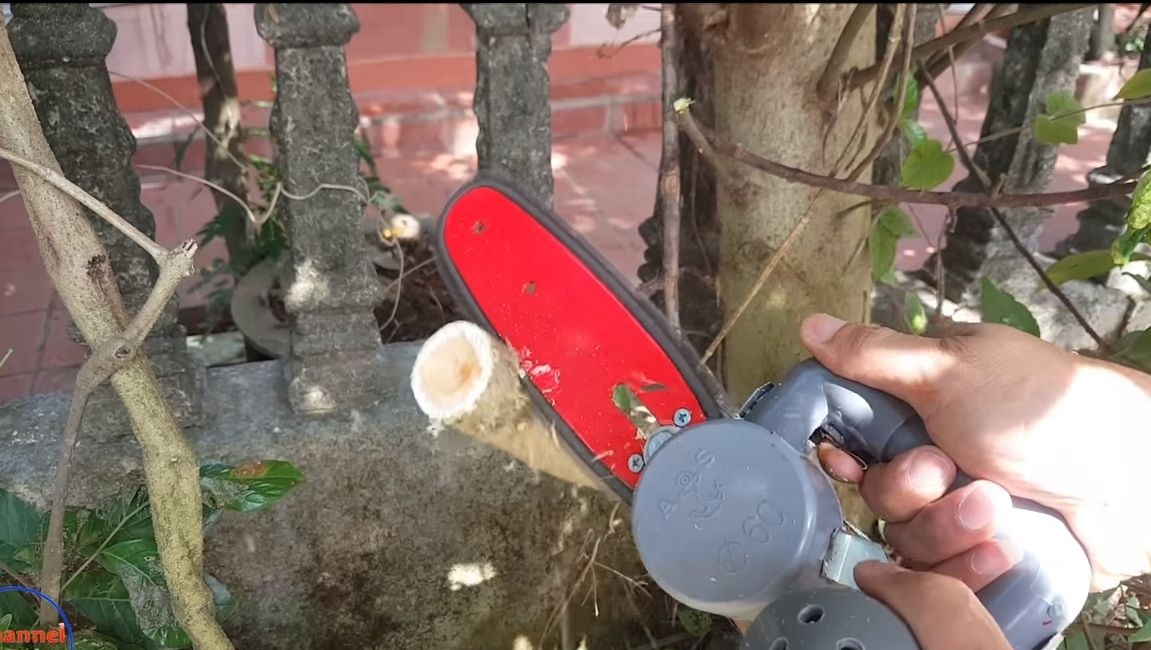
Turn on and try to cut. In the video, the author confidently cuts branches, boards, and so on. Do not overheat the engine and watch for chain sharpening. In general, with careful handling, such a saw can work for quite some time. Good luck and take care!