
If you are engaged in small works, make various small products, you just need a miniature drilling machine. It costs quite a lot, but in this instruction you will learn how to assemble this device with minimal costs, and in quality it is not inferior to purchased.
A feature of the machine made can be considered the ability to adjust the speed, it is very useful when drilling various materials. This is especially true when the hole needs to be drilled as accurately as possible.
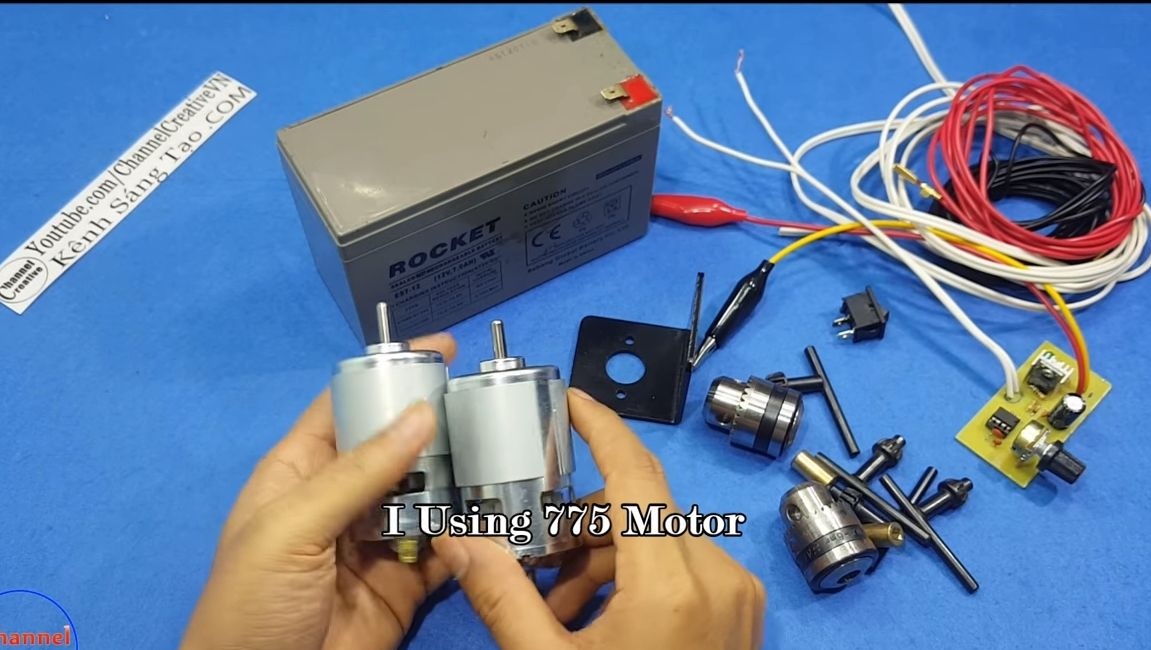
As a power element, a 775 motor is used, they are on 12V and 24V. The author uses a 12V motor, which allows the machine to be powered by a battery. The base is assembled from wood.
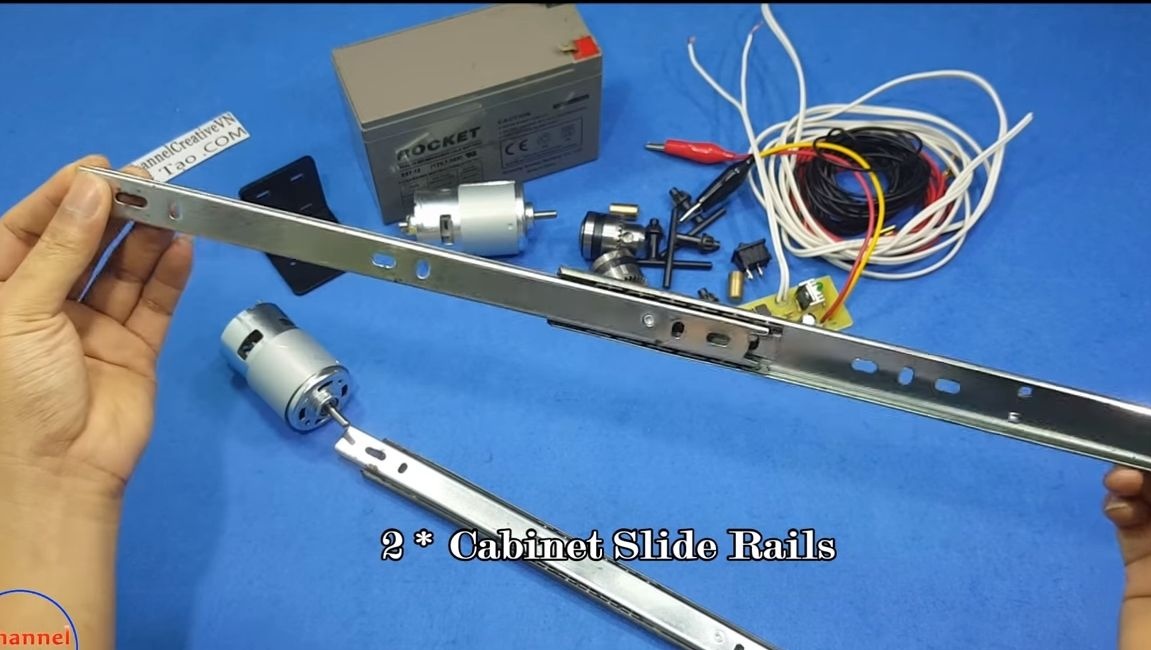
Materials and tools used by the author:
Materials:
- motor 775;
- two sliders for of furniture;
- ;
- battery (optional);
- wires;
- controller for speed control;
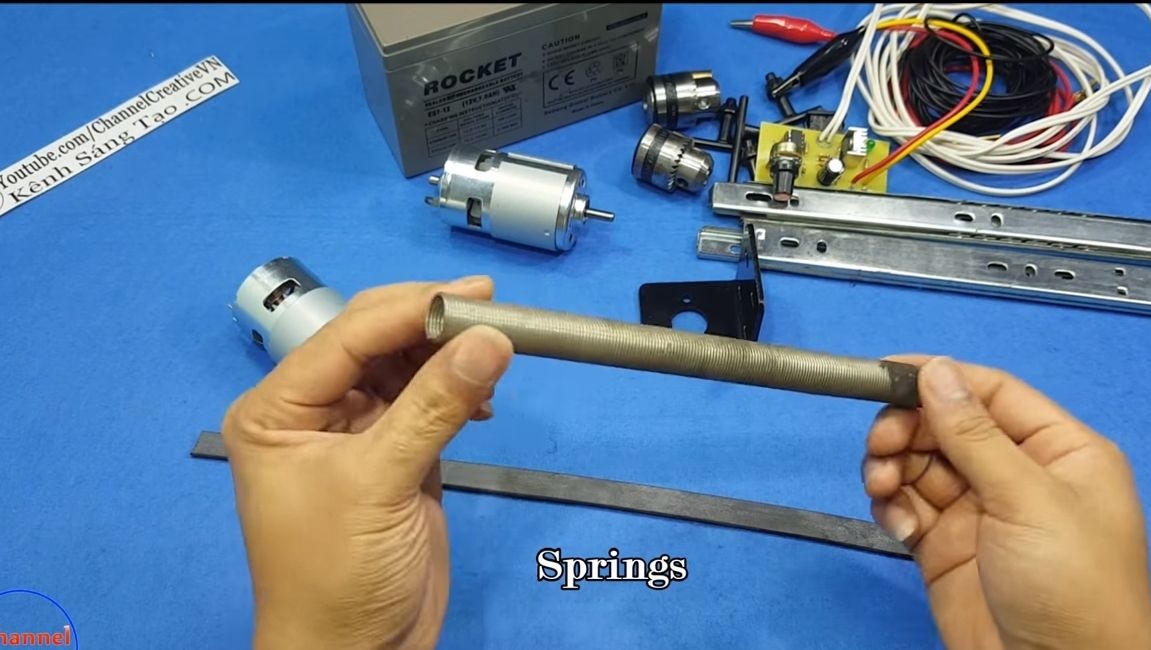
- spring;
- steel plate (lever);
- heat shrink;
- connecting corners;
- self-tapping screws;
- bracket for mounting the engine;
- paint;
- grease;
- ruler, marker;
- a metal mug.
Instruments:
- drill;
- screwdriver ();
- soldering iron;
- screwdriver;
- pliers;
- Bulgarian ().
The manufacturing process of the drilling machine:
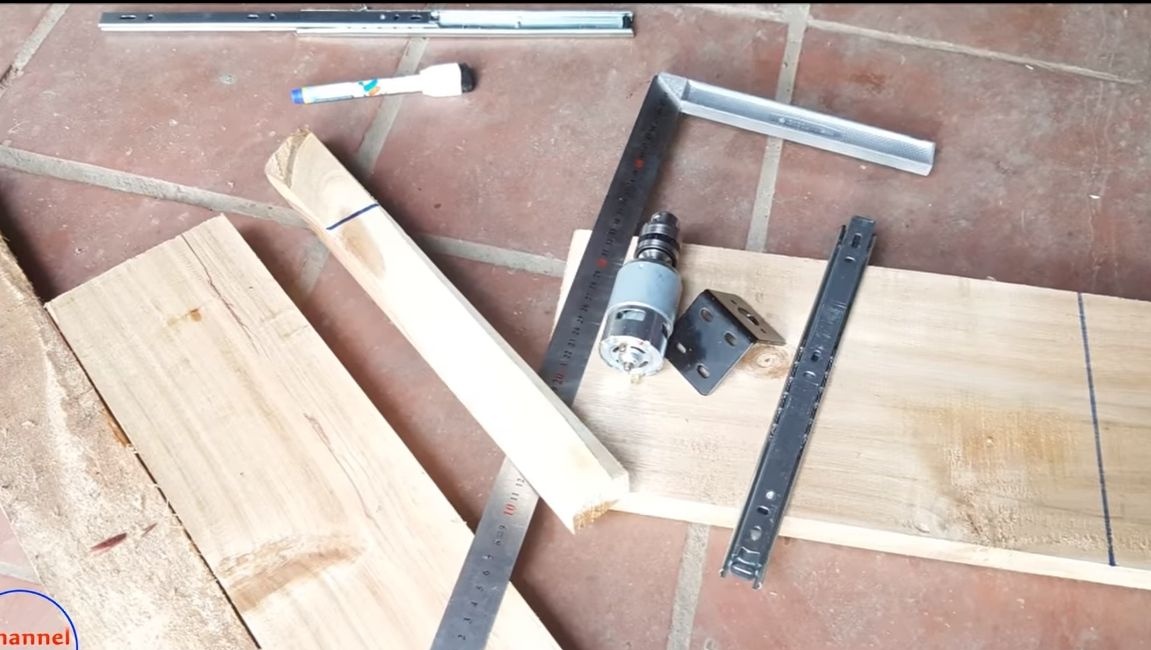
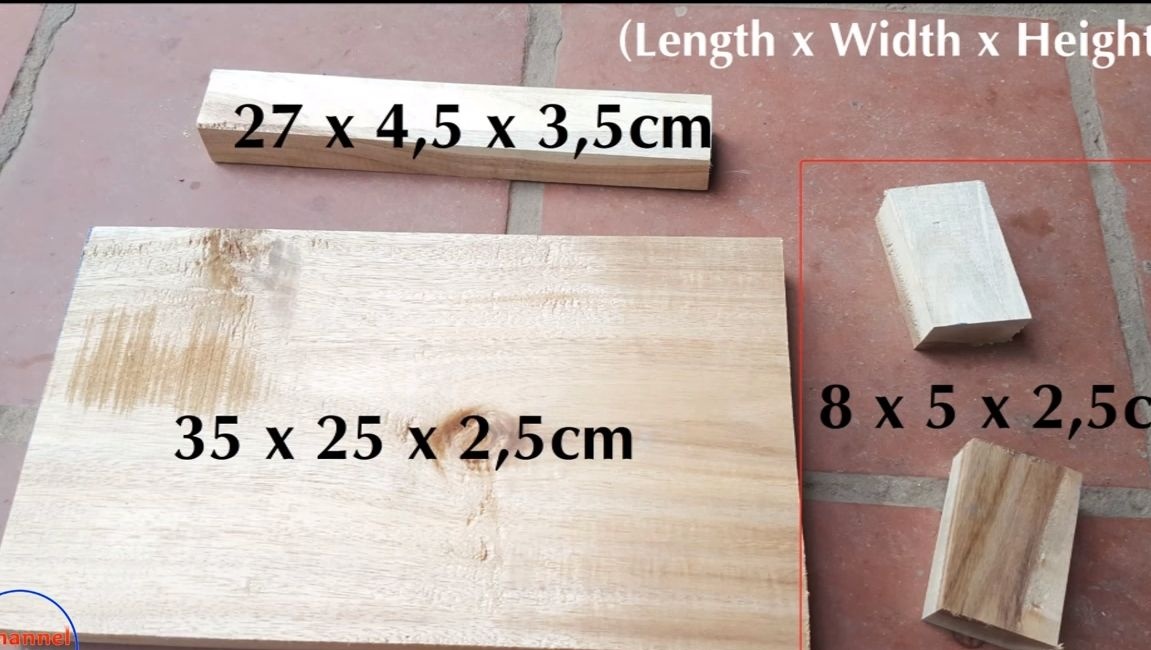
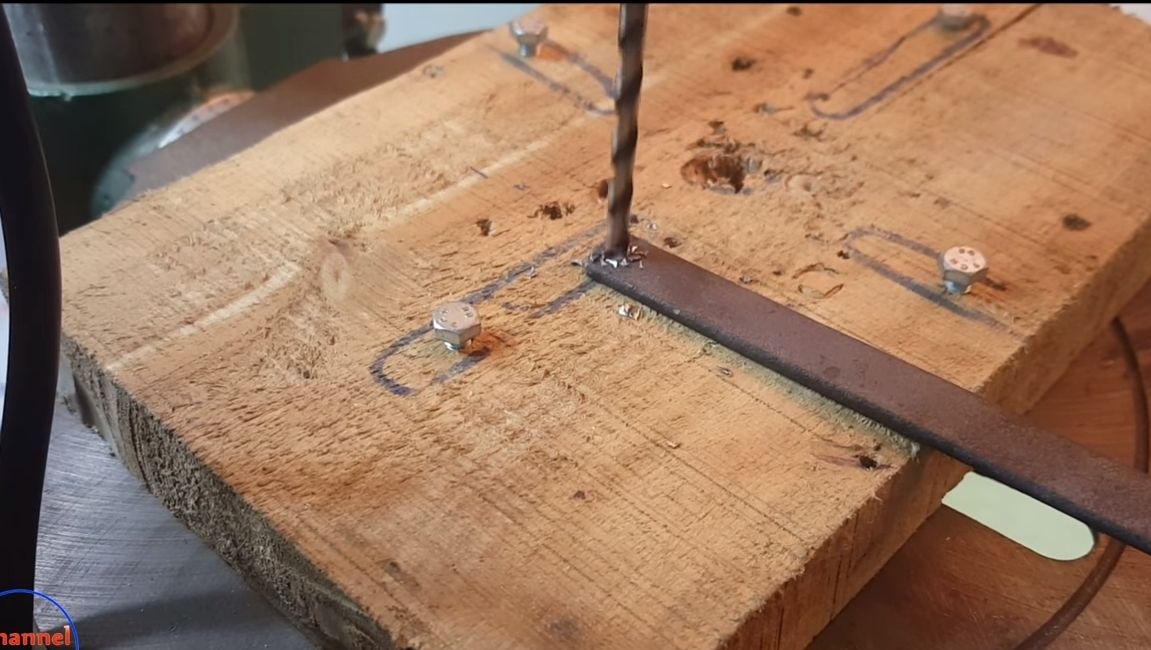
Step one. We prepare materials for the base
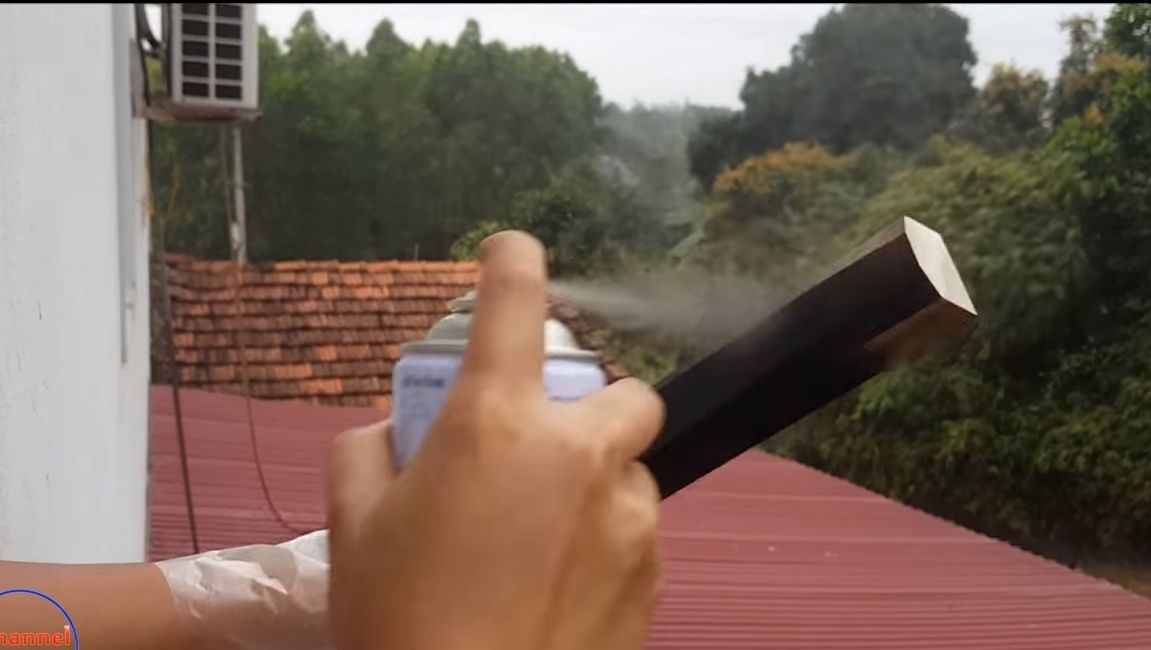
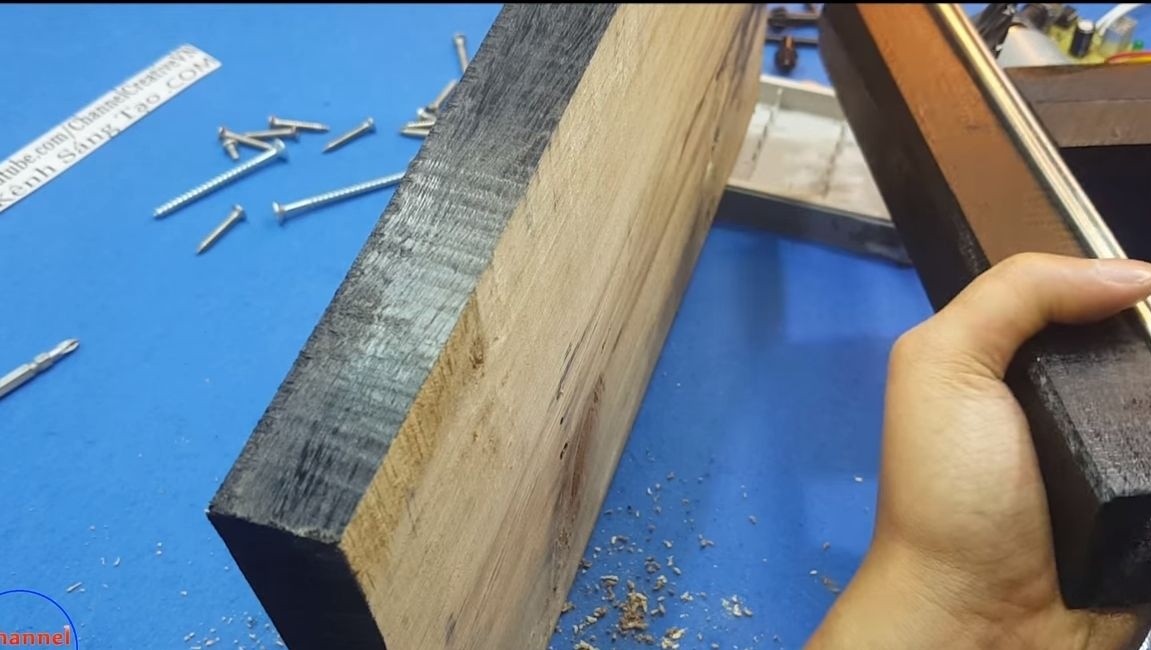
Boards and whetstones are used as the base (frame), plywood can be used instead. In the photo you can see what size the workpieces should be. To make everything look beautiful and comfortable to work, it is advisable to polish and paint the wood. The author paints it black using a spray can.

Step Two Engine mounting part
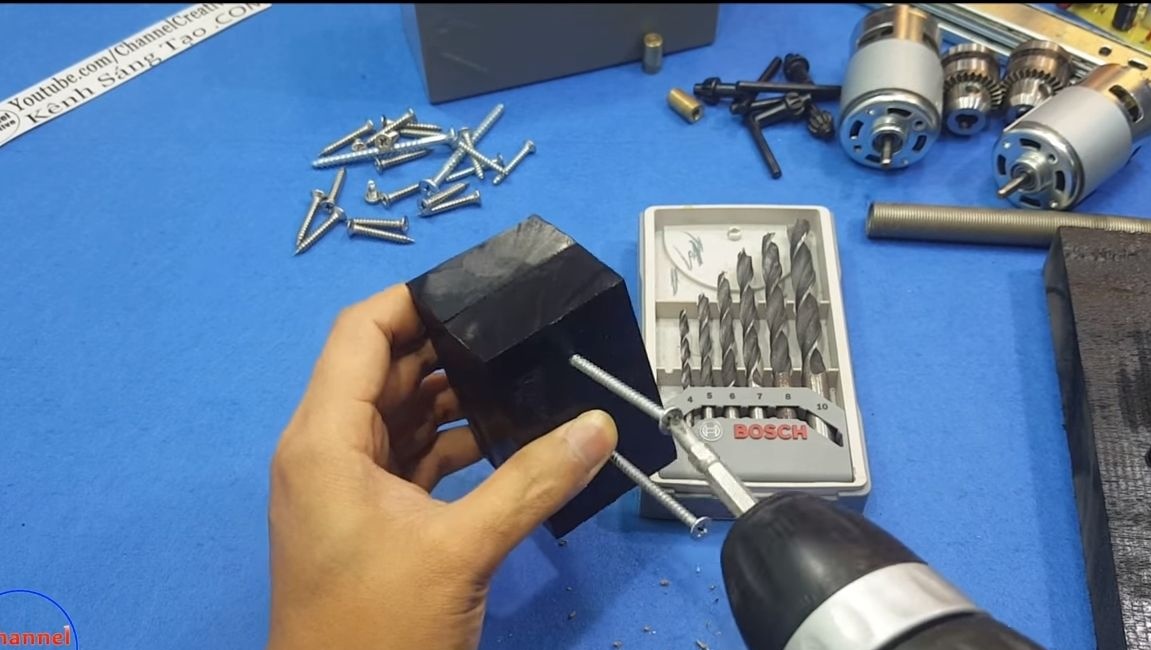
To make a fastener for the engine, you will need to fasten two bars, for this we use self-tapping screws, and for reliability it is advisable to use wood glue.
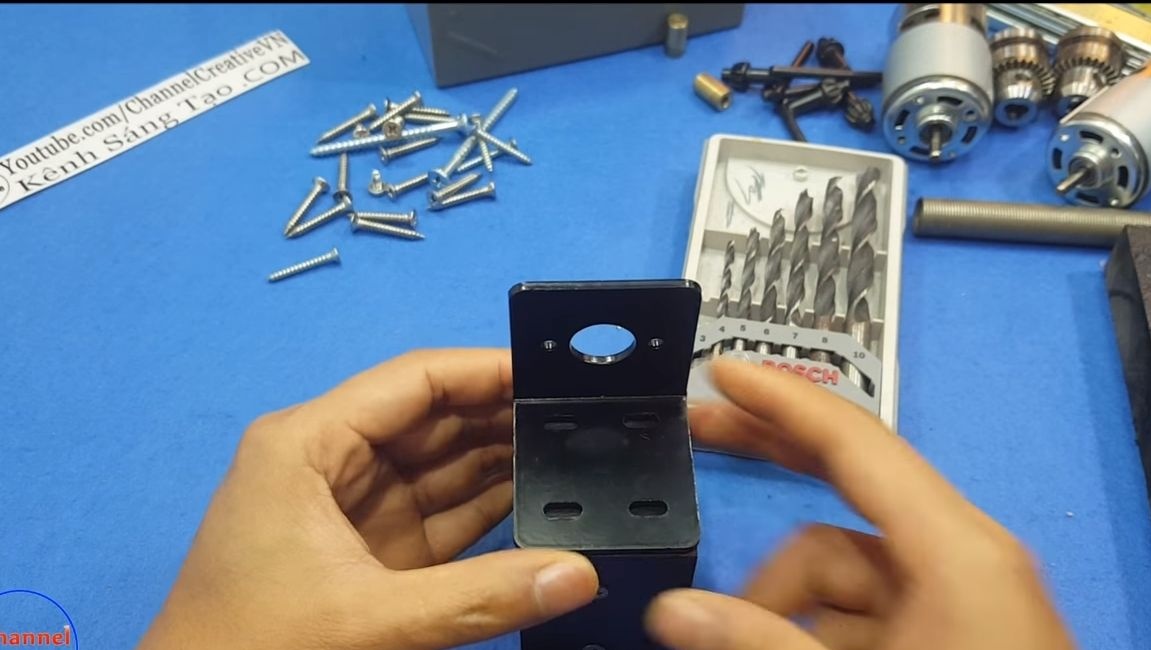
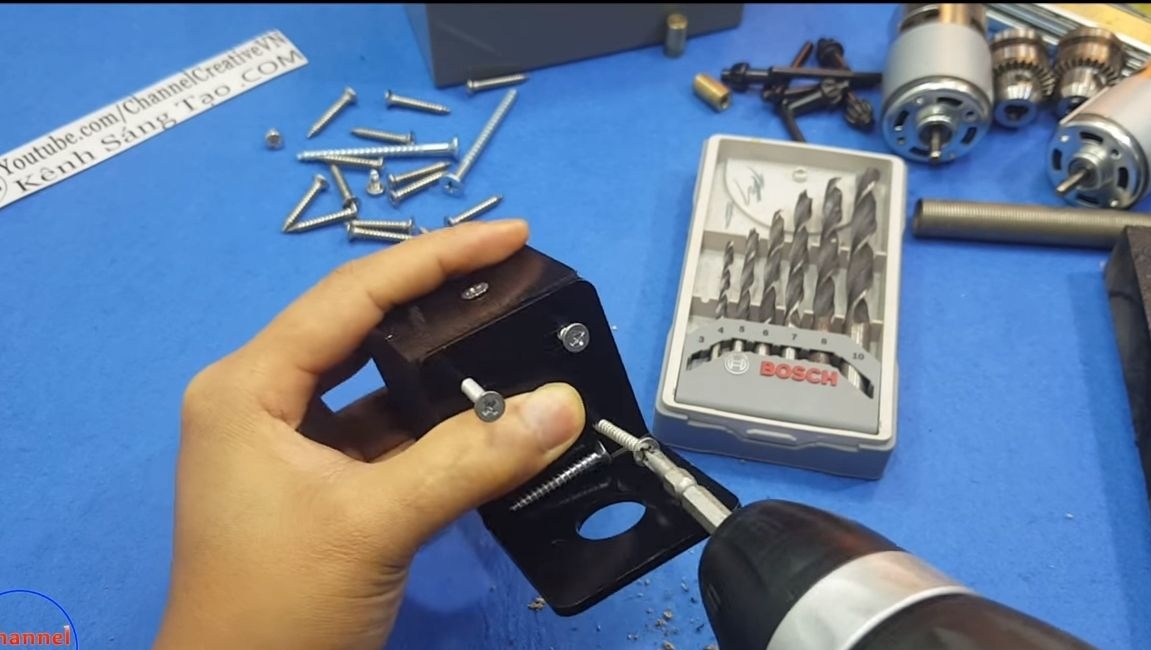
We fasten the bracket for installing the engine to the manufactured part. The author has it purchased, made of plastic. For fastening we use 4 screws.
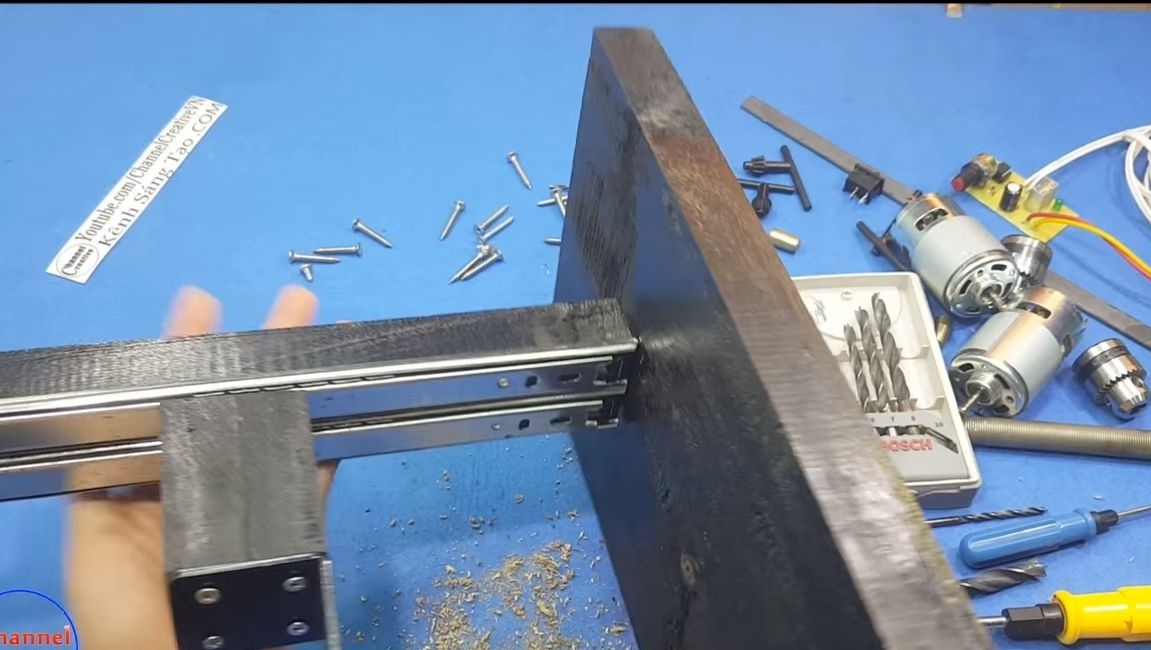
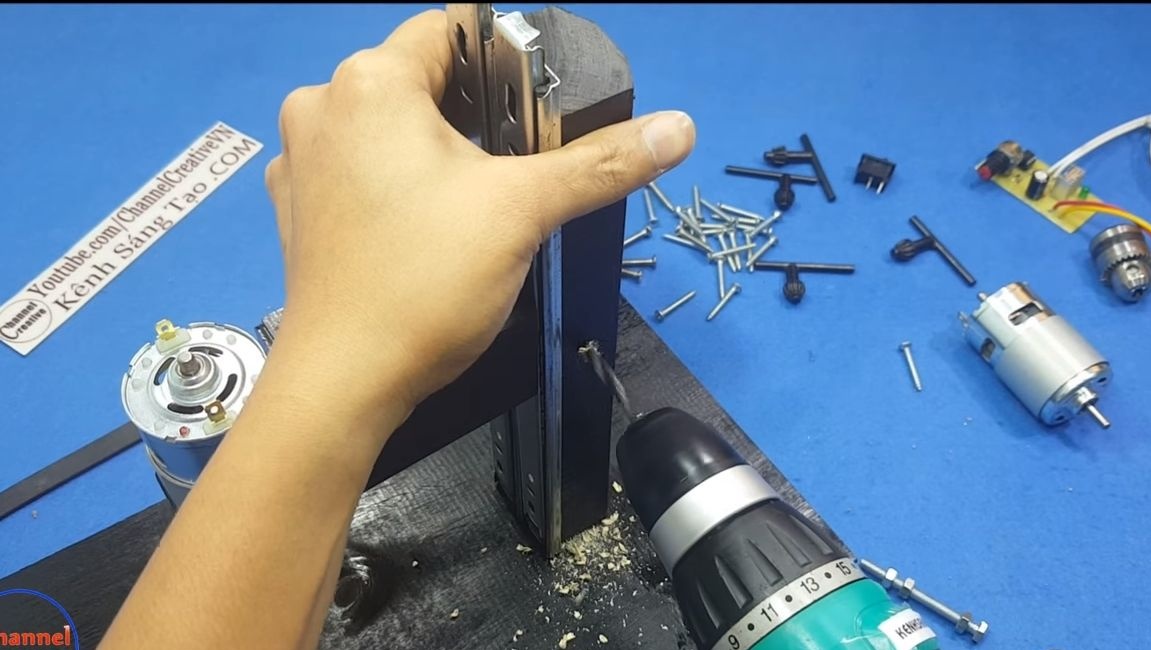
Step Three Install the sliders
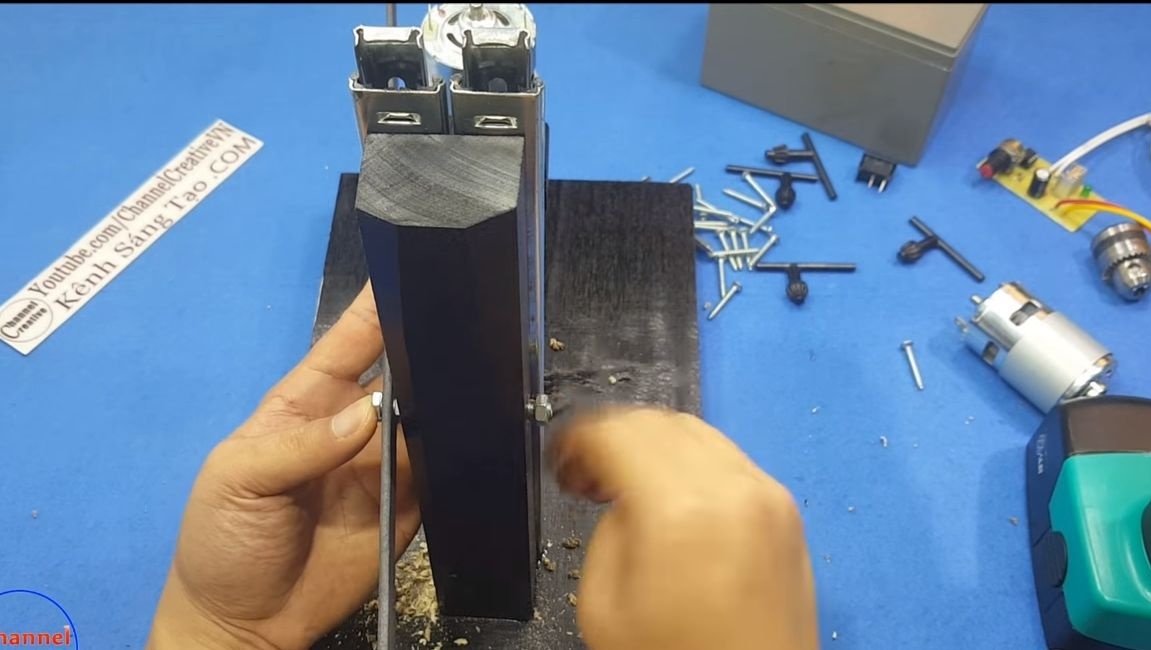
It's time to install the sliders, the author uses two pieces at once for reliability. We disassemble them and fasten one part to a vertical rack using self-tapping screws.
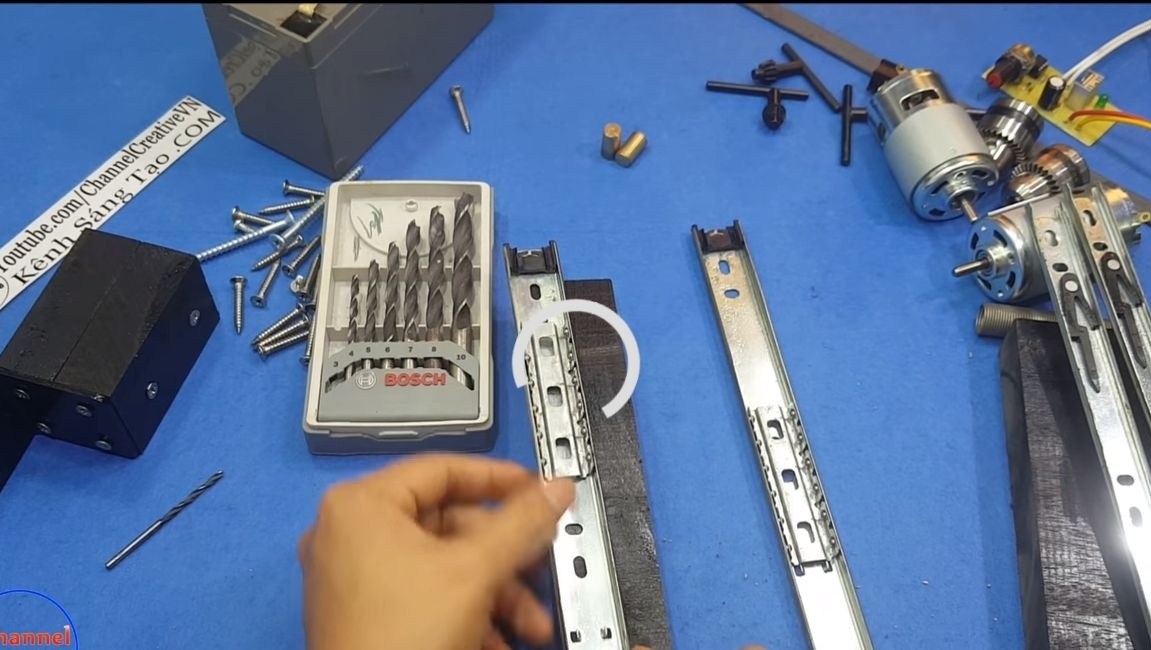
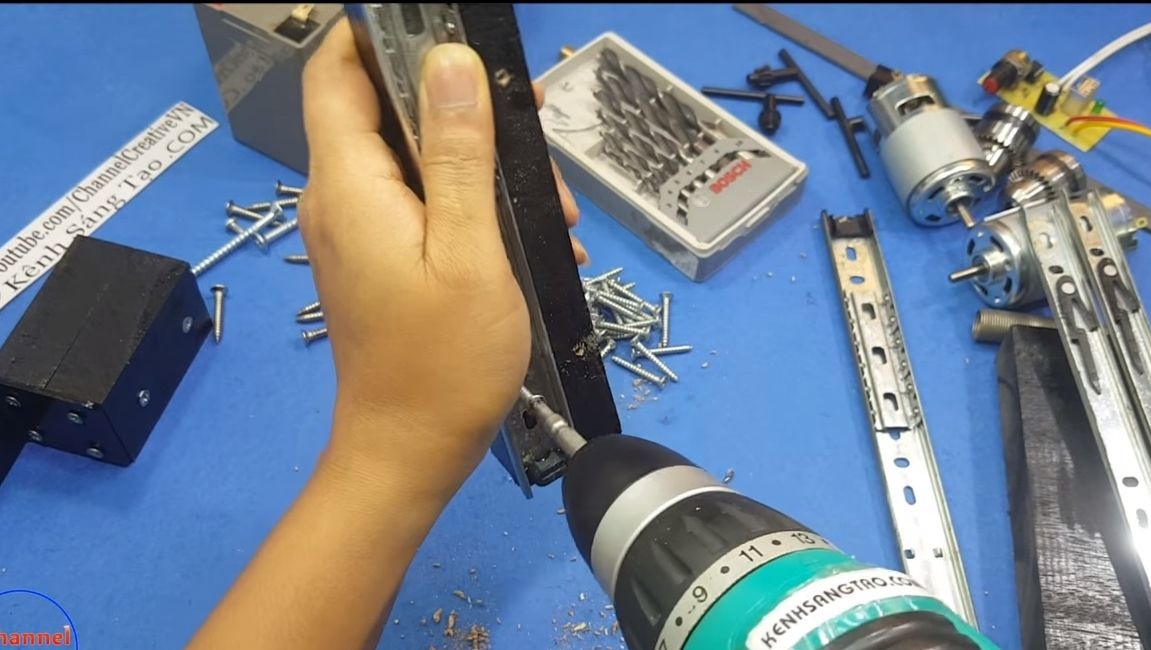
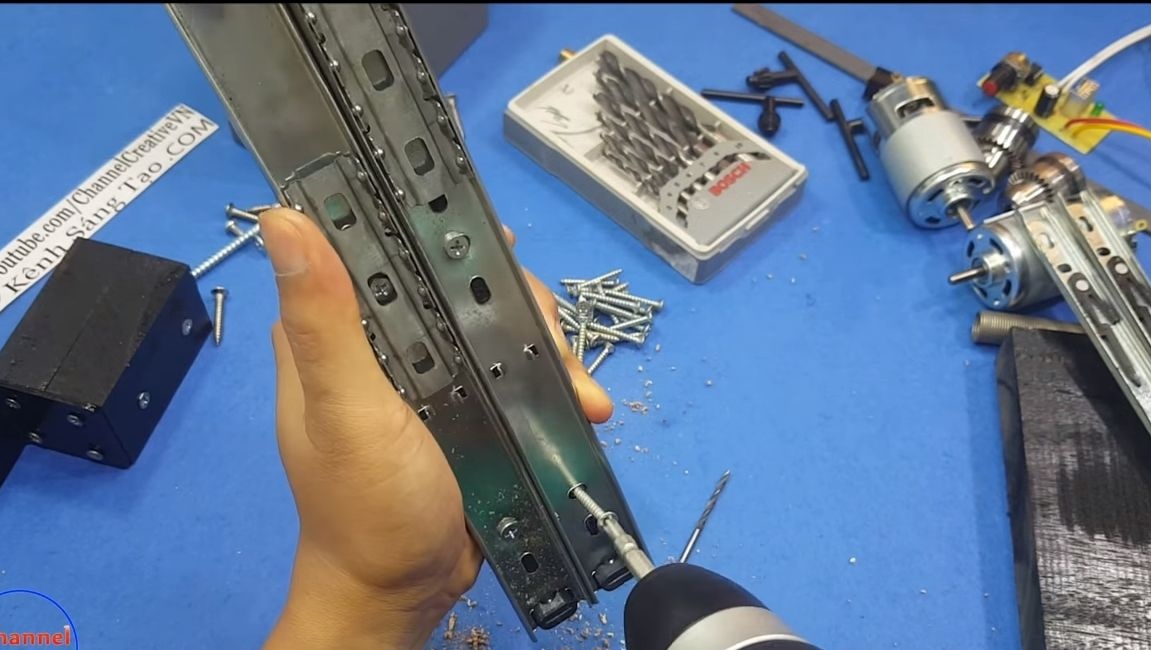
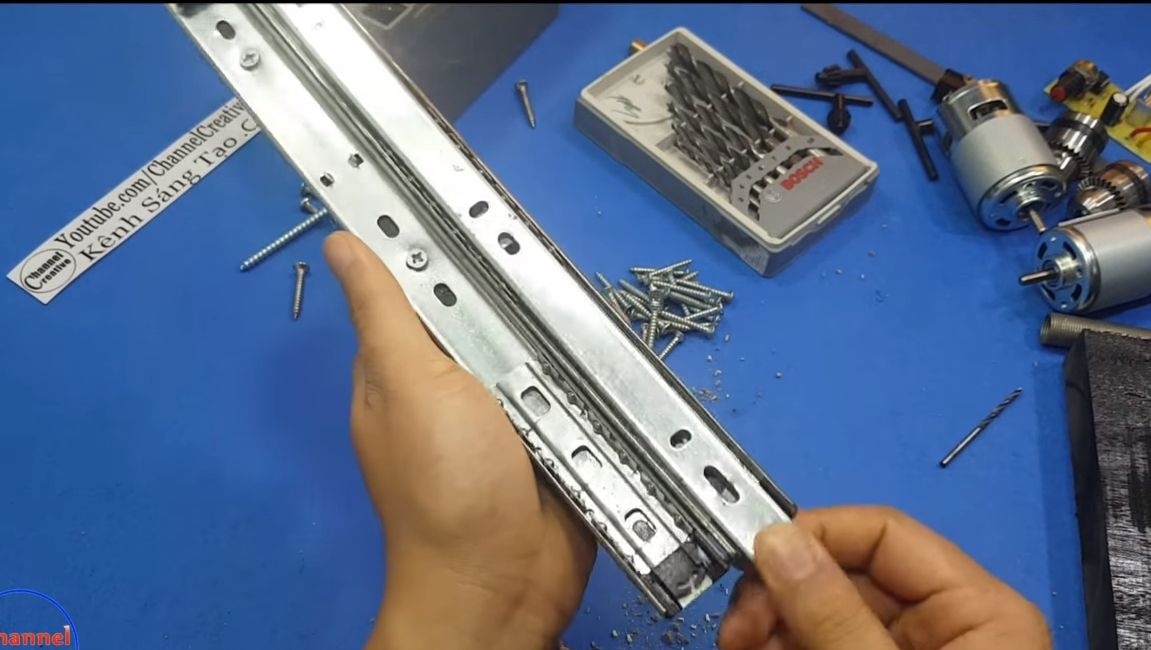
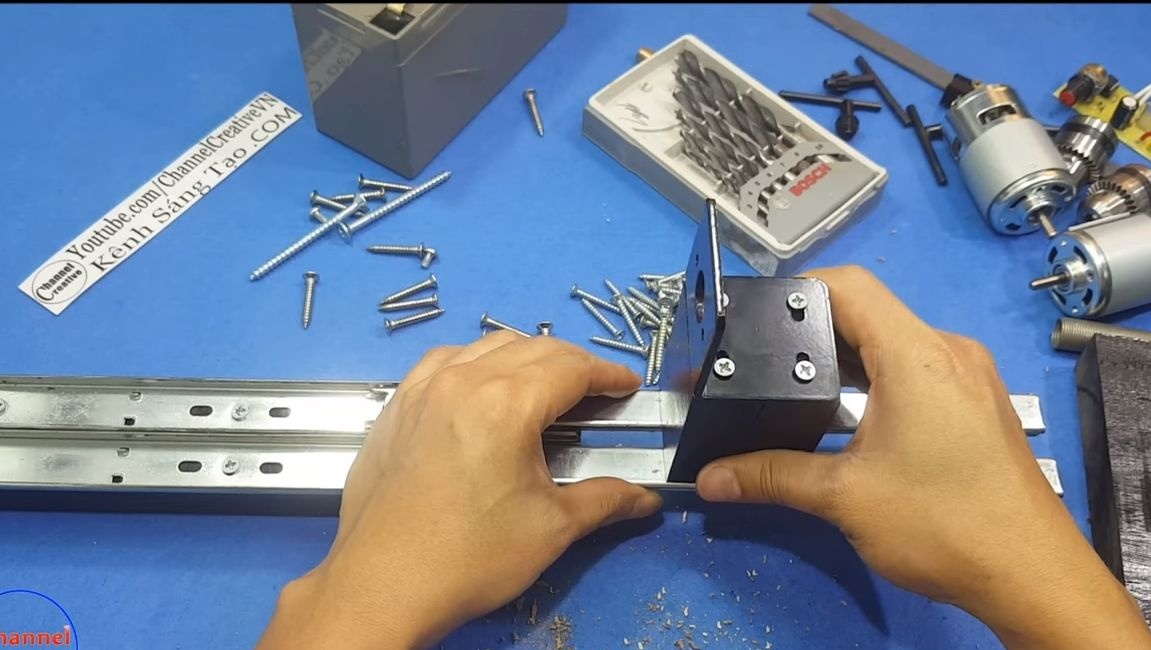
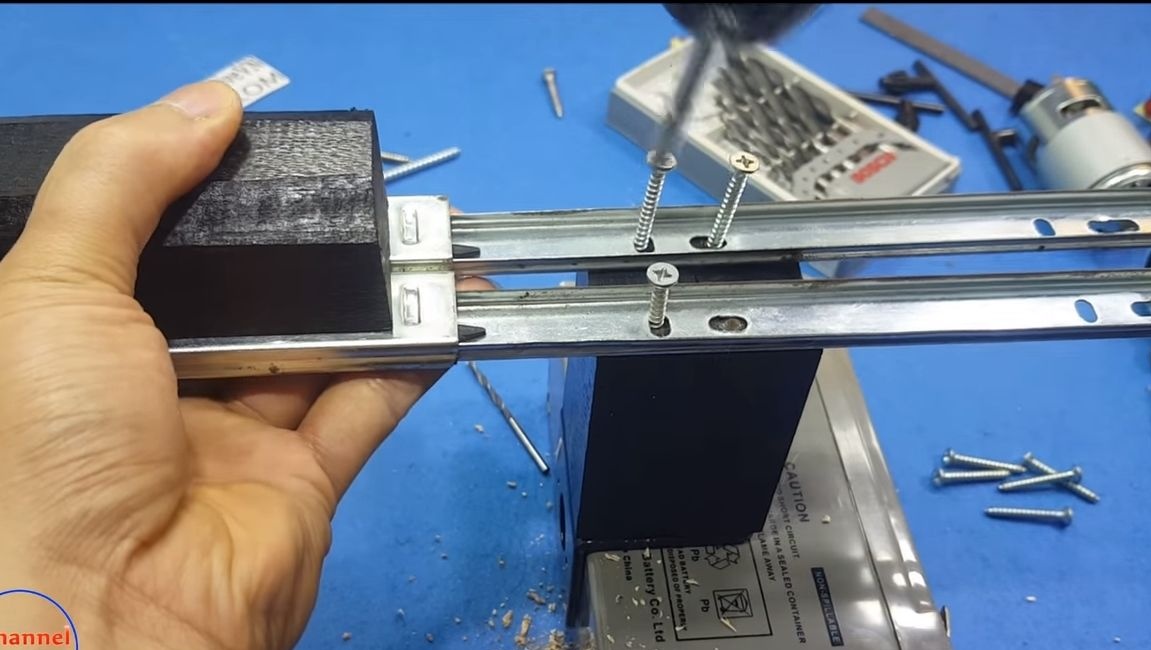
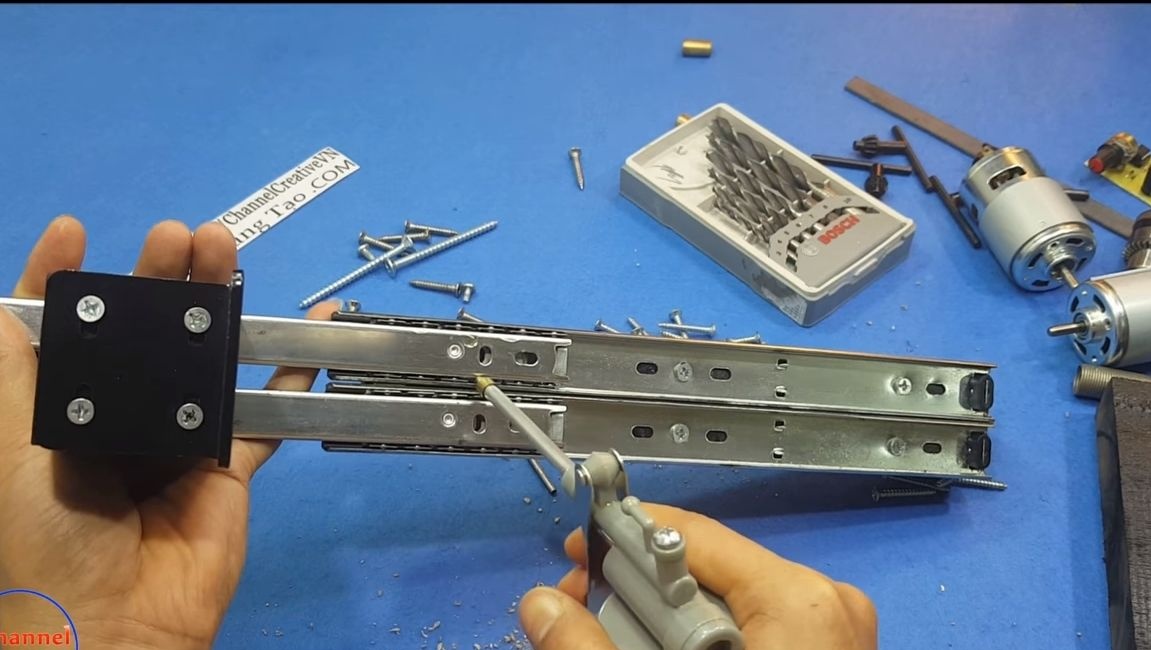
As for the second part, we attach it to the part that holds the engine. Now the sliders can be assembled, as a result, we got a platform for the engine, which can move in the vertical direction. In the end, do not forget to lubricate the sliders, as they will last longer, and will also work smoother.
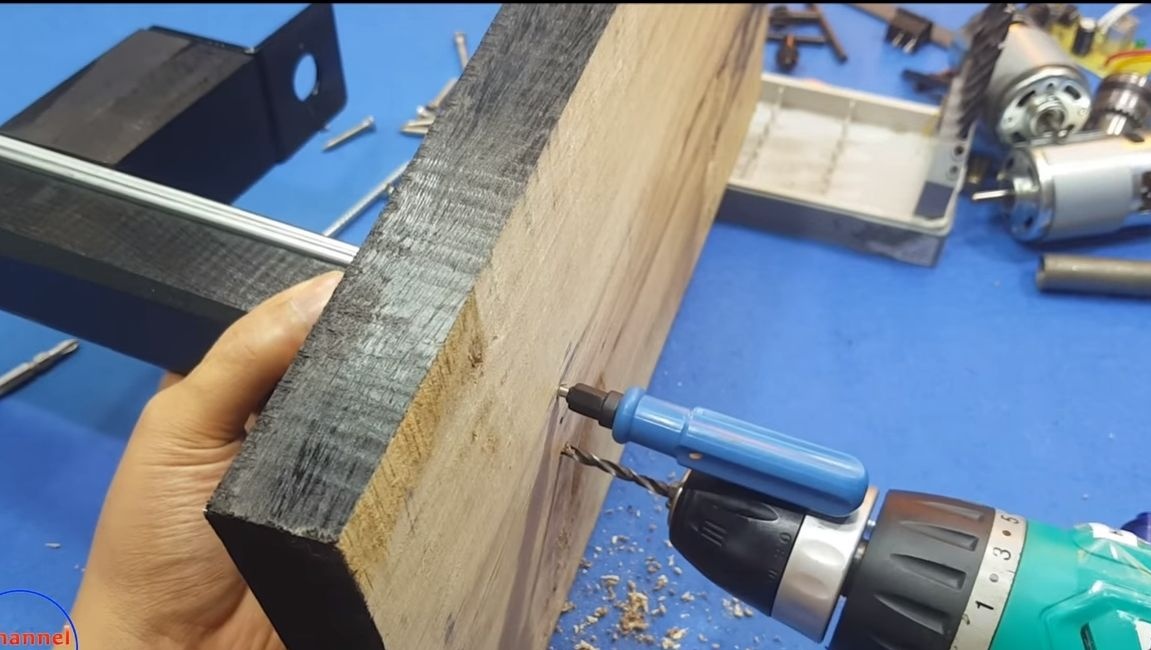
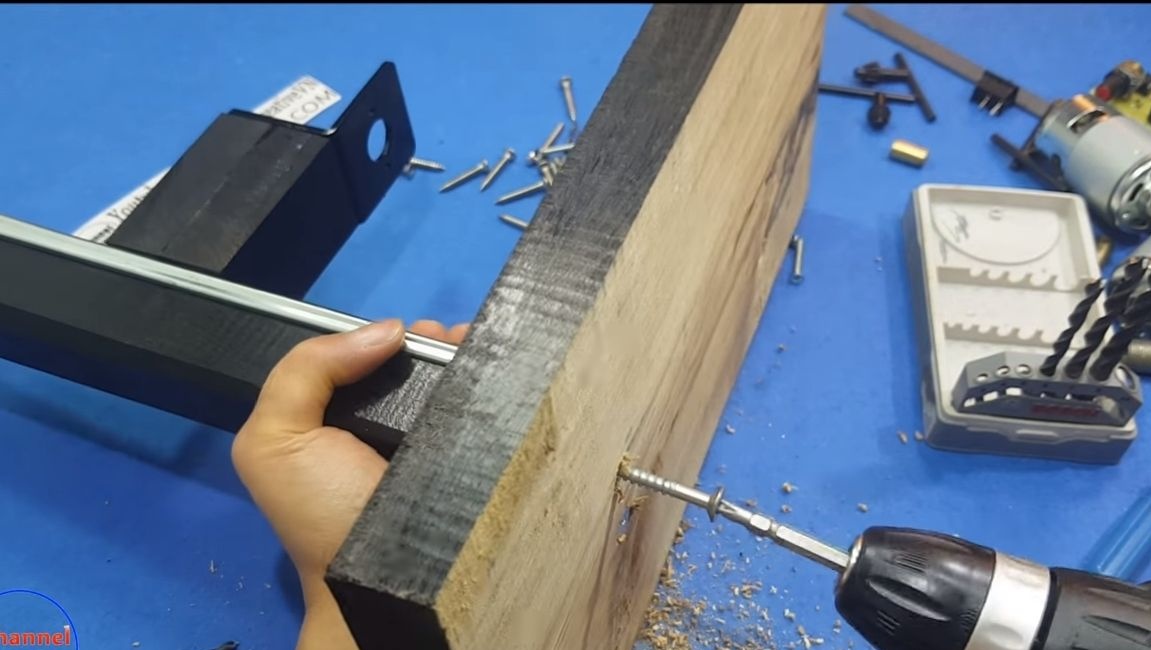
Step Four Install the rack on the base
As a basis, you need to use a massive wood board, board, and so on, so that the machine does not swing. We drill holes and fasten the rack using screws.

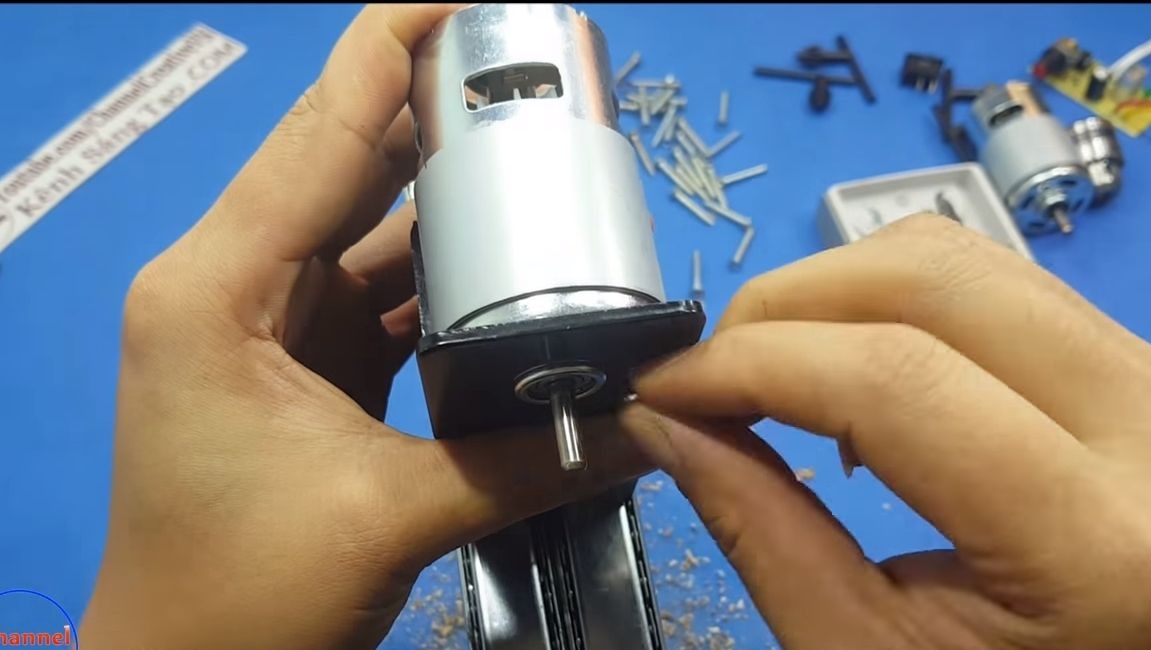
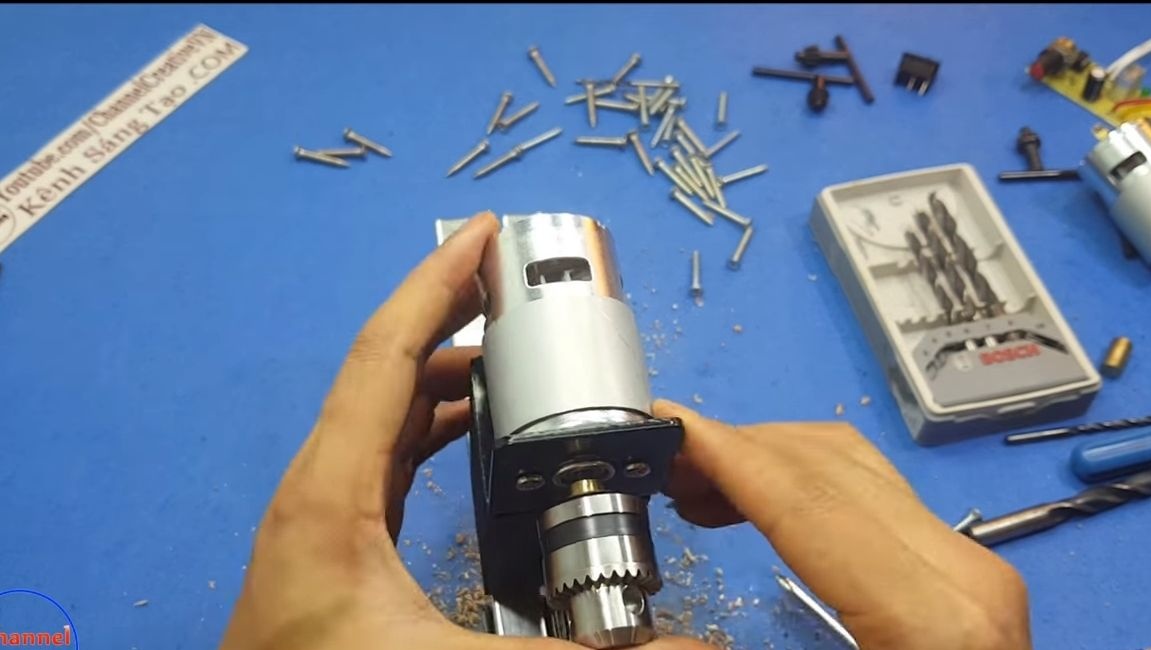
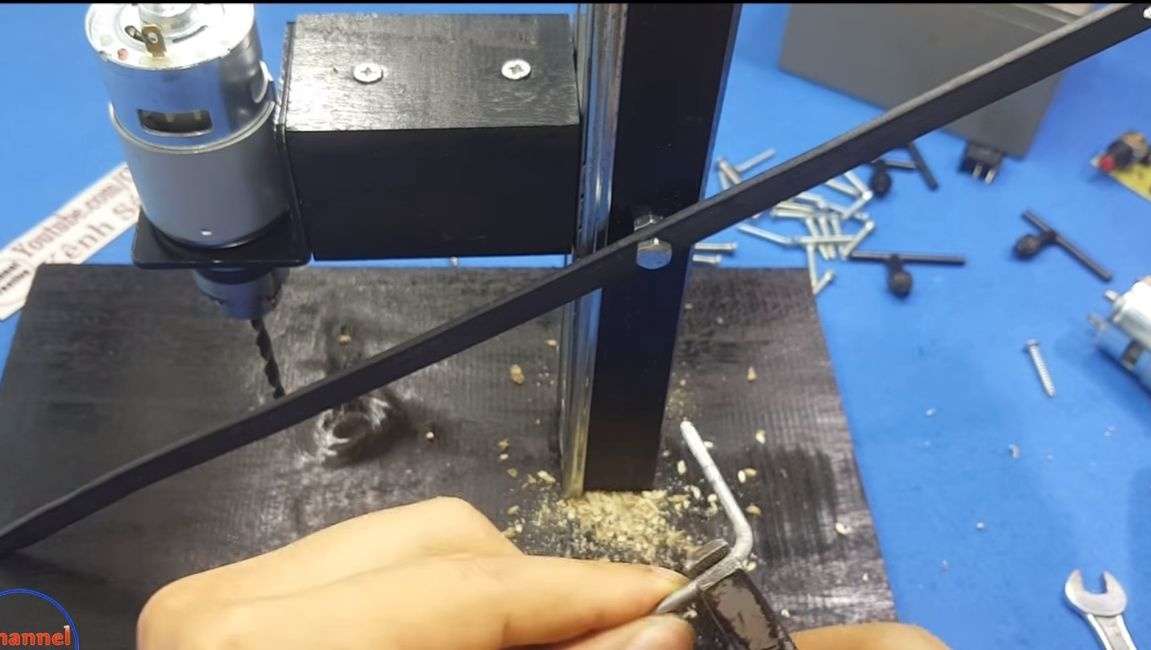
Step Five Install the engine and cartridge
The engine is mounted very simply and quickly, you just find two screws. Now you can install a cartridge on the motor.
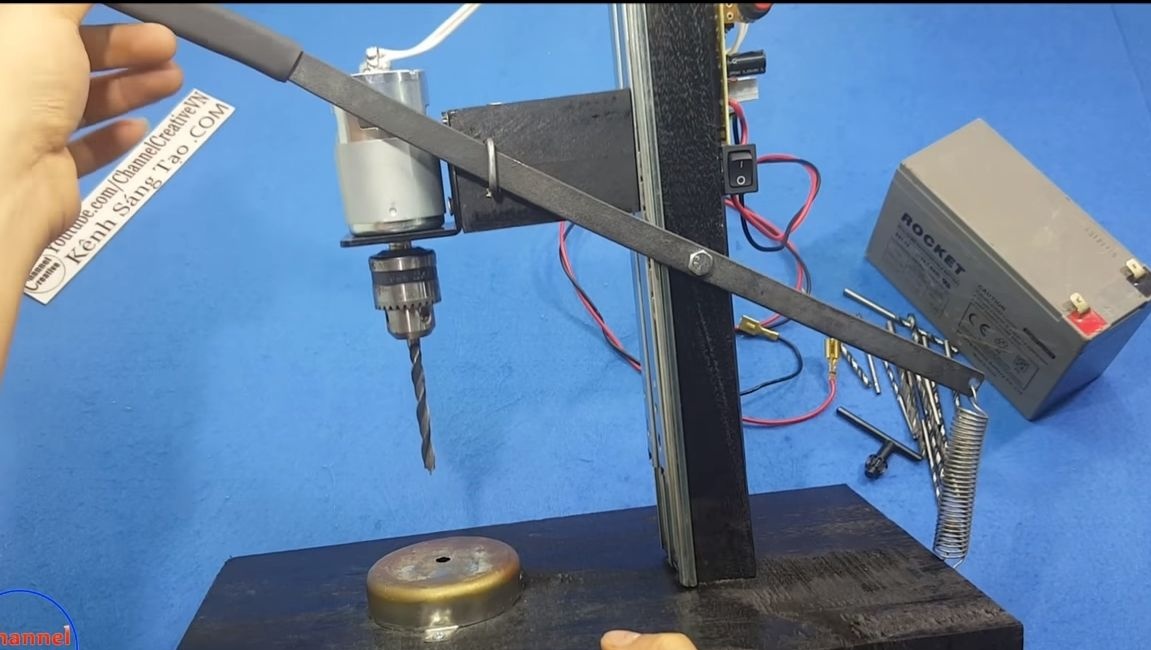
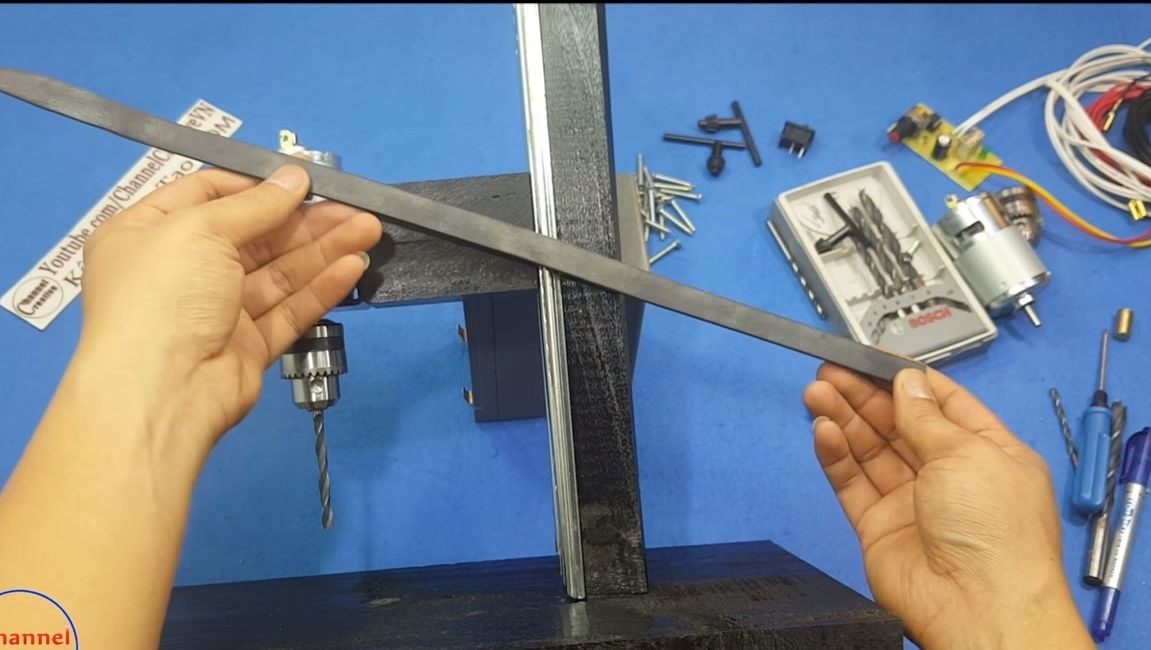
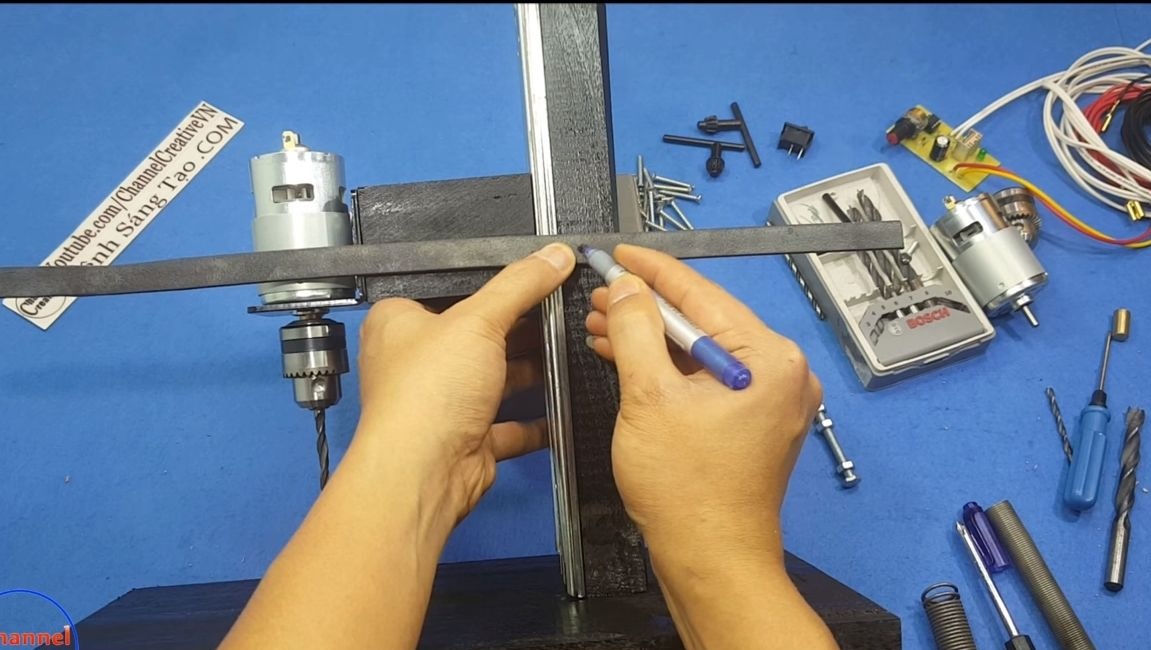
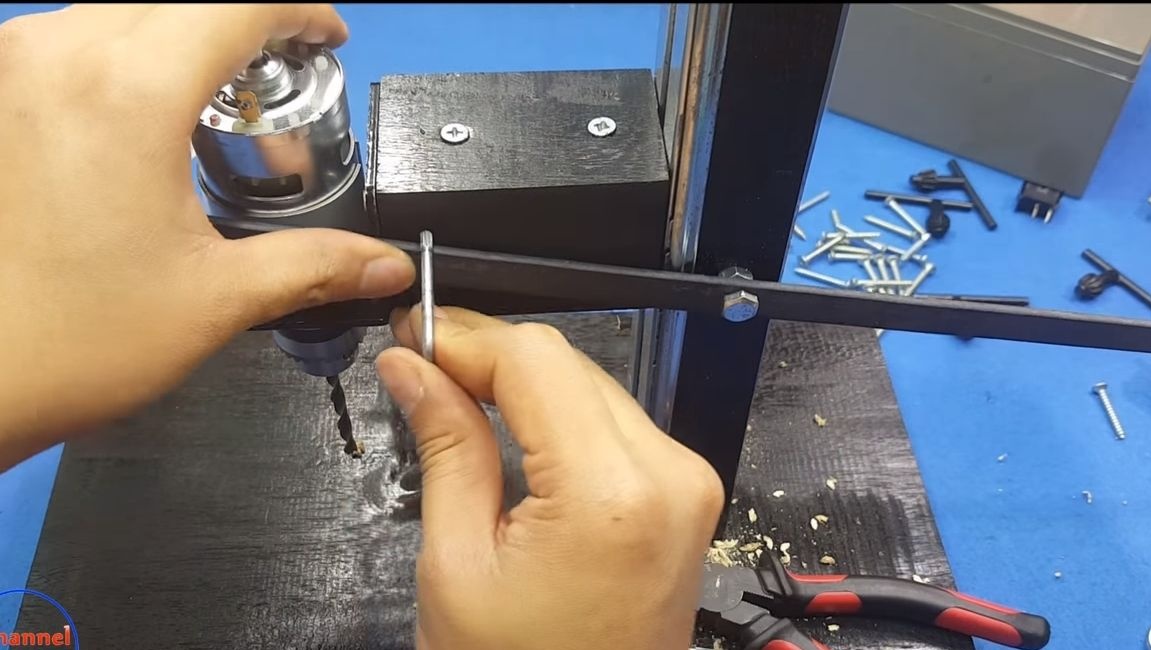
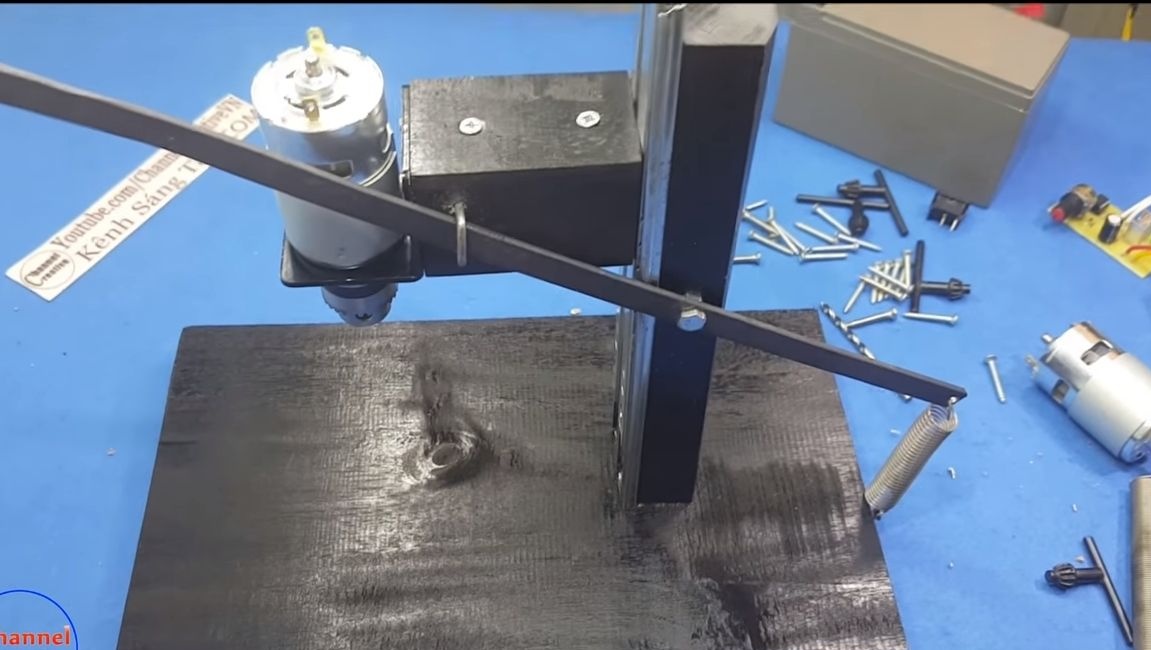
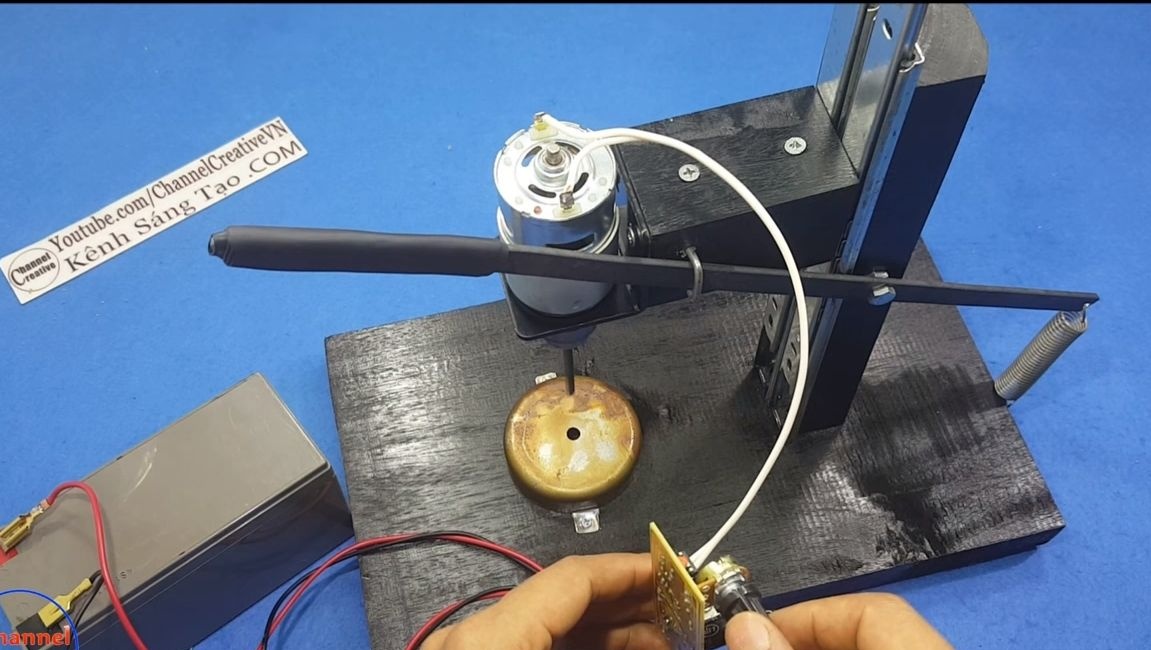
Step Six Leverage Making
To make the lever, you need a steel plate of suitable length. We drill a hole at the end and fasten it to the stand with a bolt and three nuts. Adjust the lever so that it moves freely up and down.
To transfer movement to a platform with an engine, you will need to make a bracket, for this you will need a thick wire, a steel rod or something like that. We bend it in the form of the letter "P", drill holes and hammer into place.

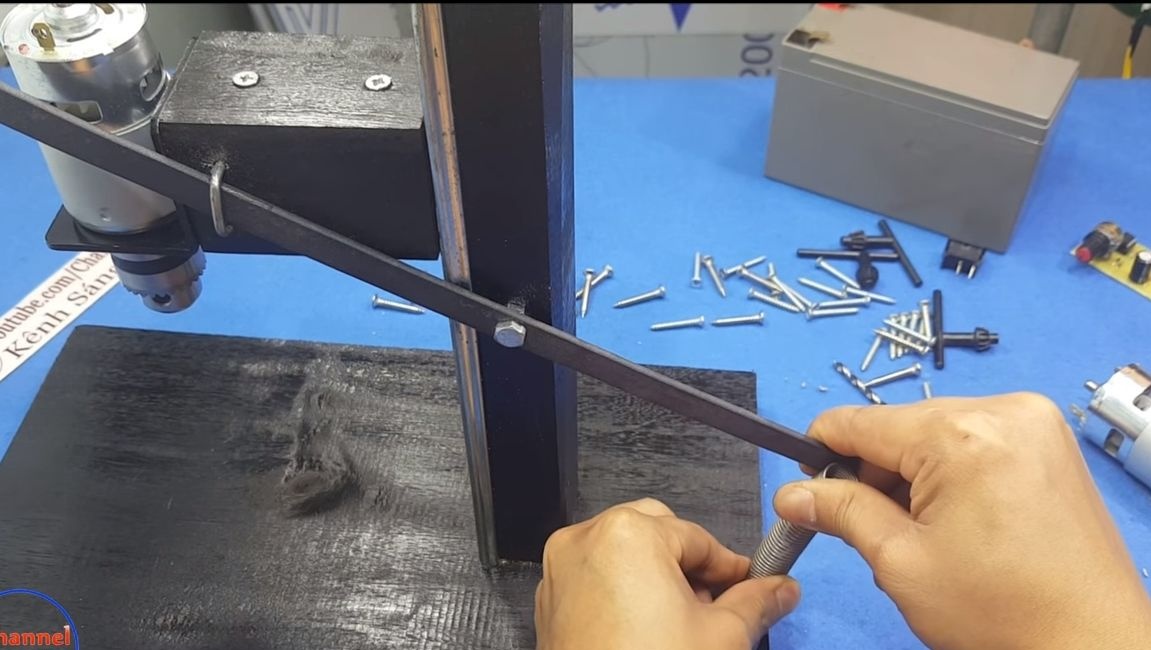
Now you can install a spring that will return the working platform to its original state. A spring is moderately stiff. Cut off the desired piece and fasten one end to the lever and the other to the base using a self-tapping screw.
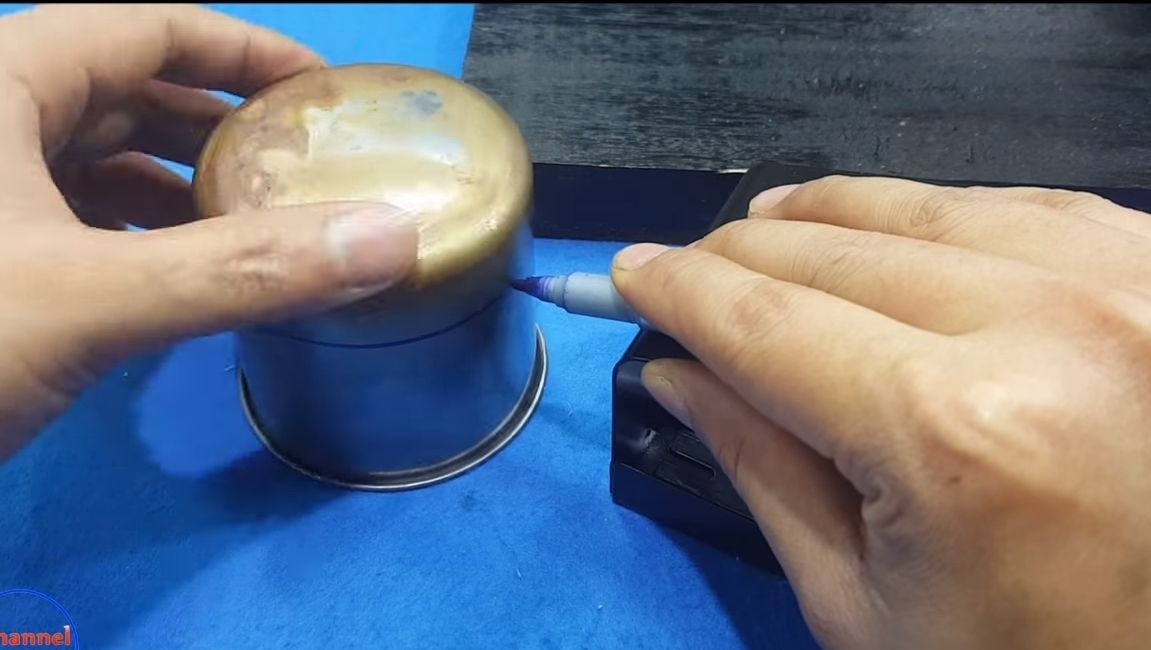
In conclusion, the author decided to make a comfortable pen. He used several layers of heat shrink tubing.

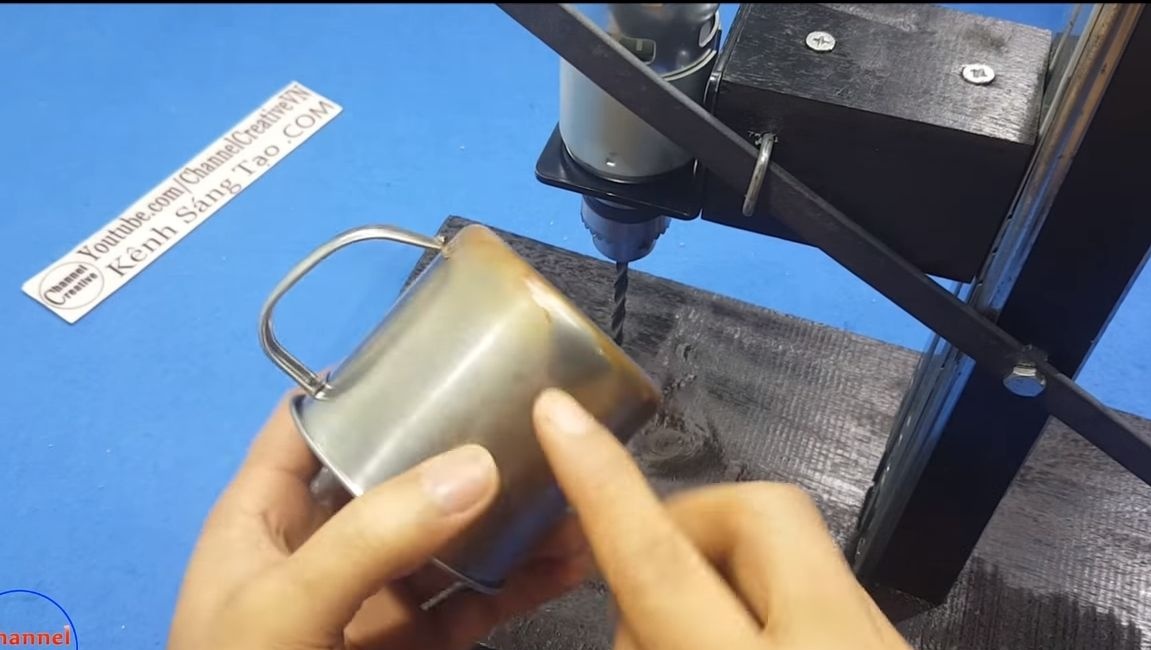
Seventh step. Work site
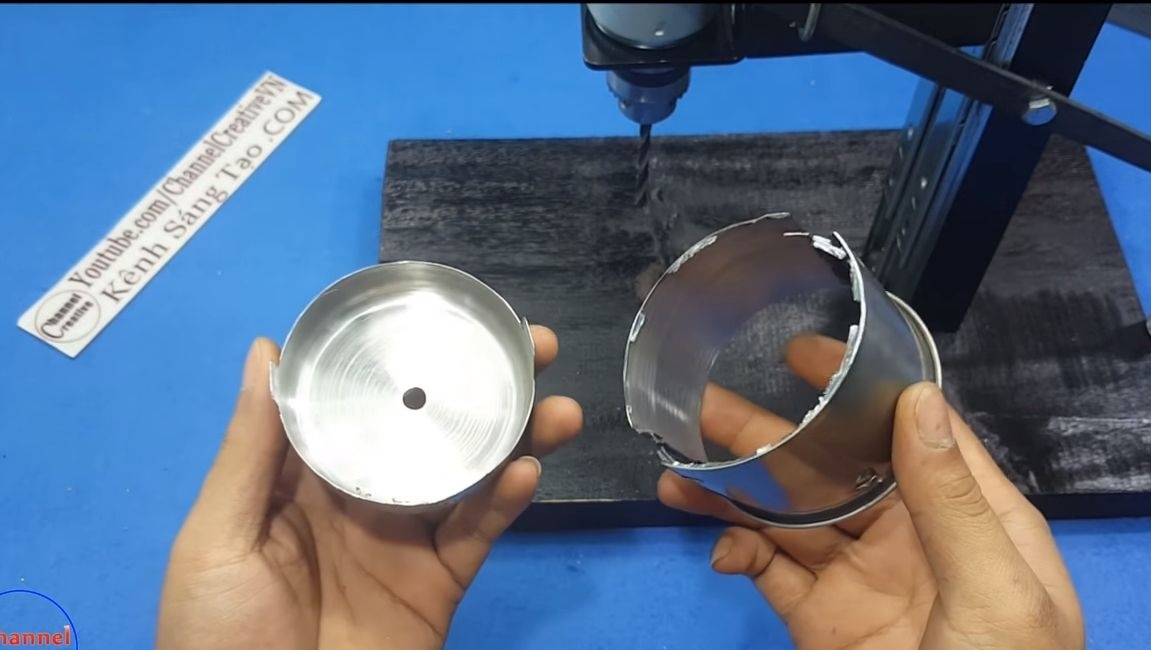
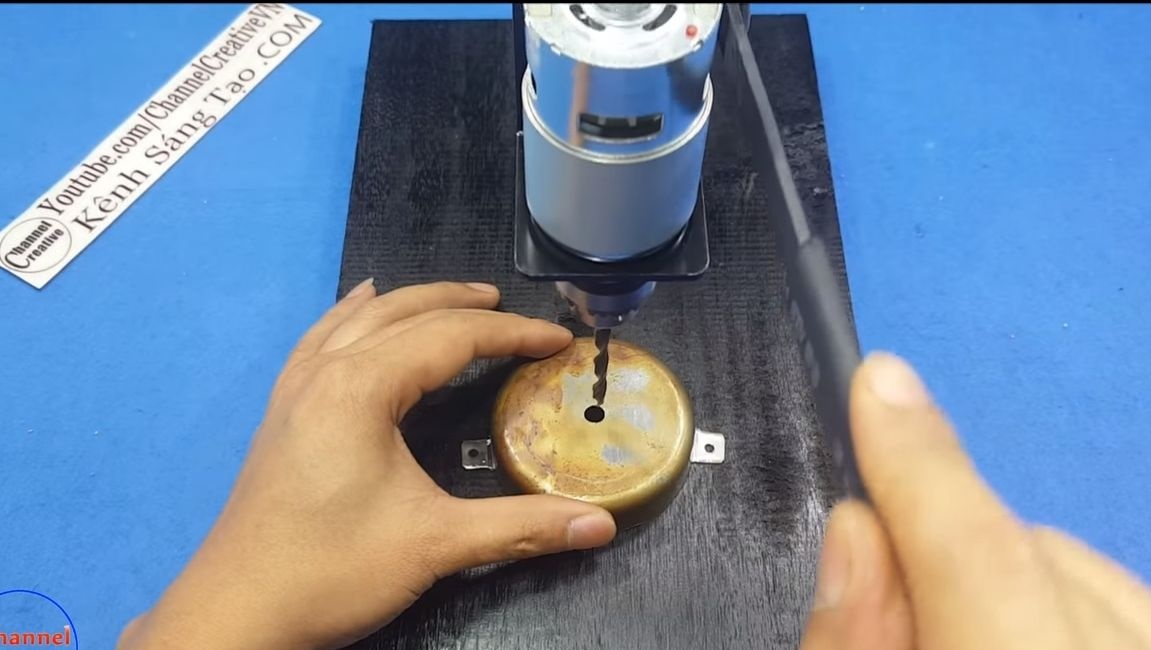
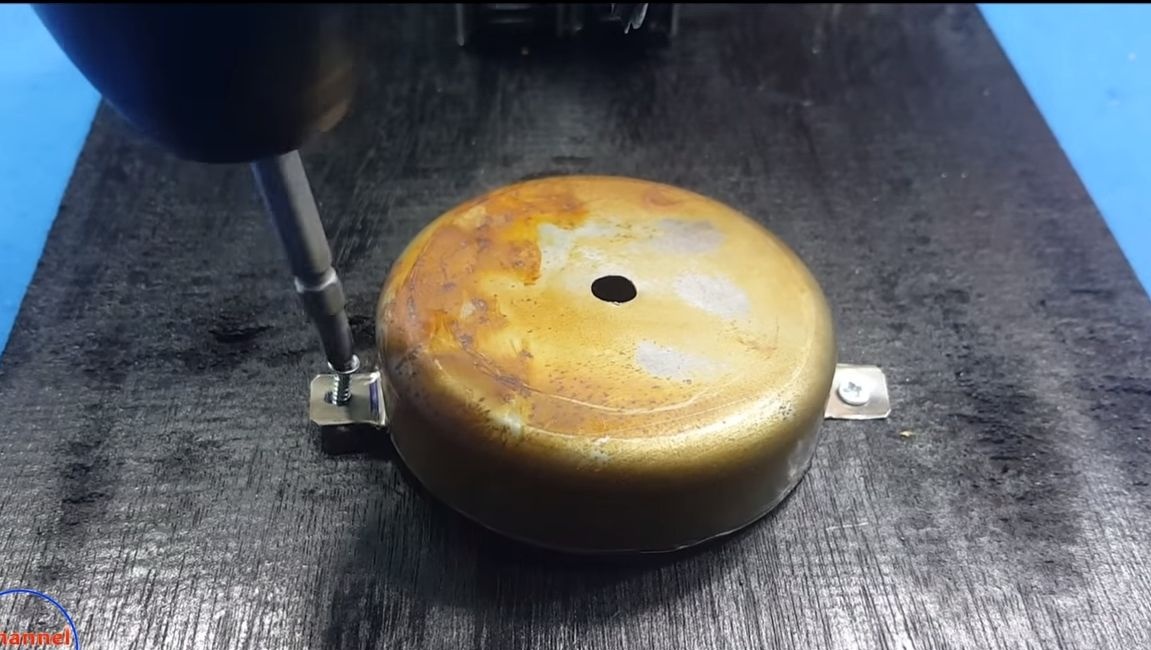
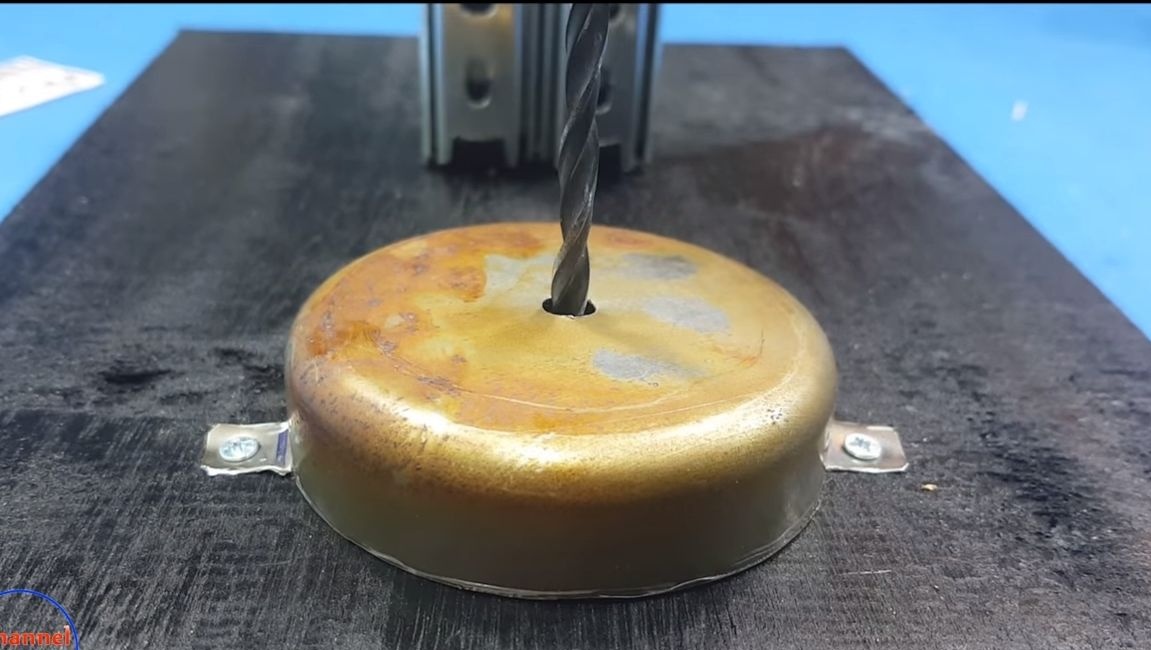
To make it convenient to drill, you will need to make a working platform into which the drill should go. But this is not necessary. For its manufacture, the author decided to use a metal cup. We cut out the part as in the photo and fasten it using self-tapping screws.
Step Eight. The final stage of assembly and testing
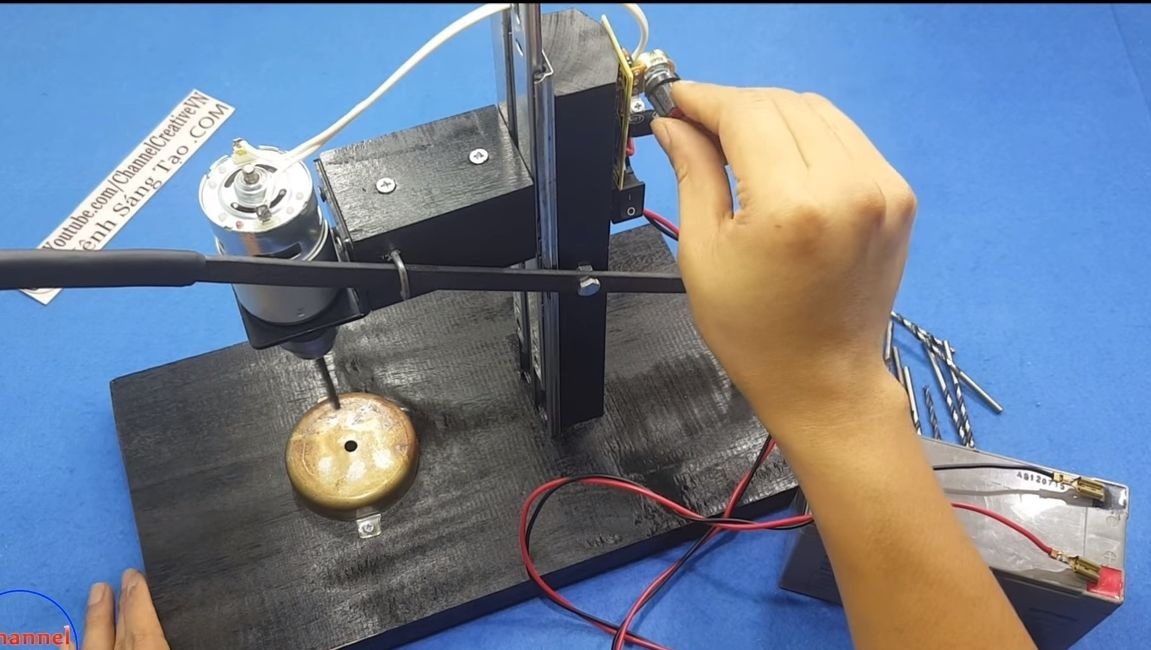
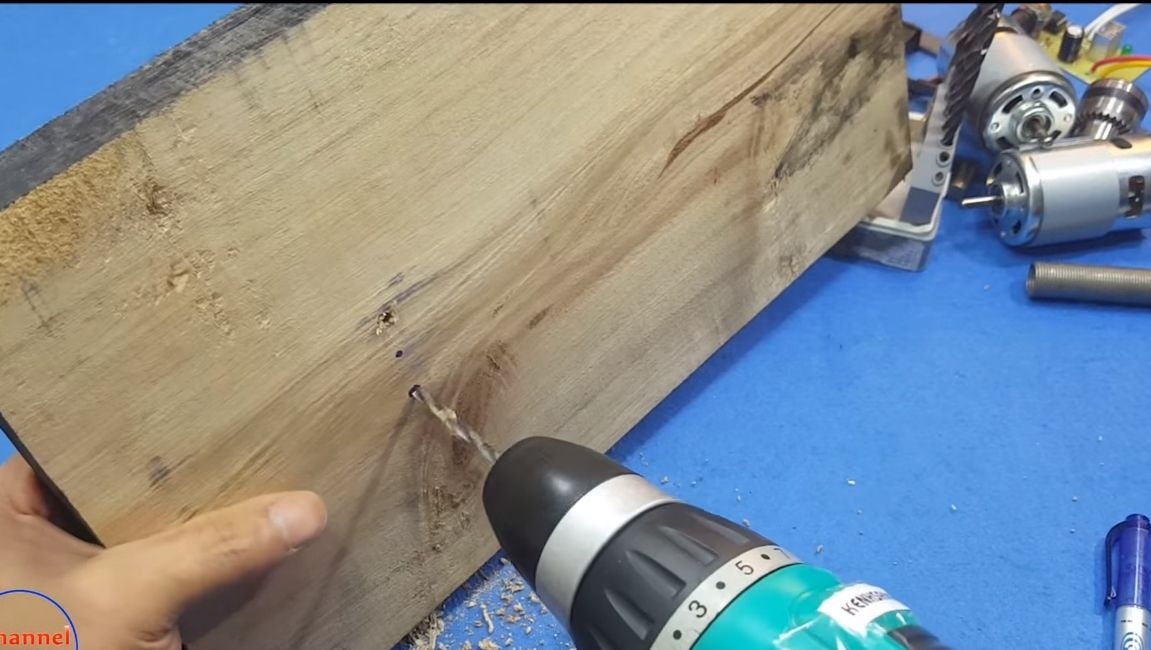
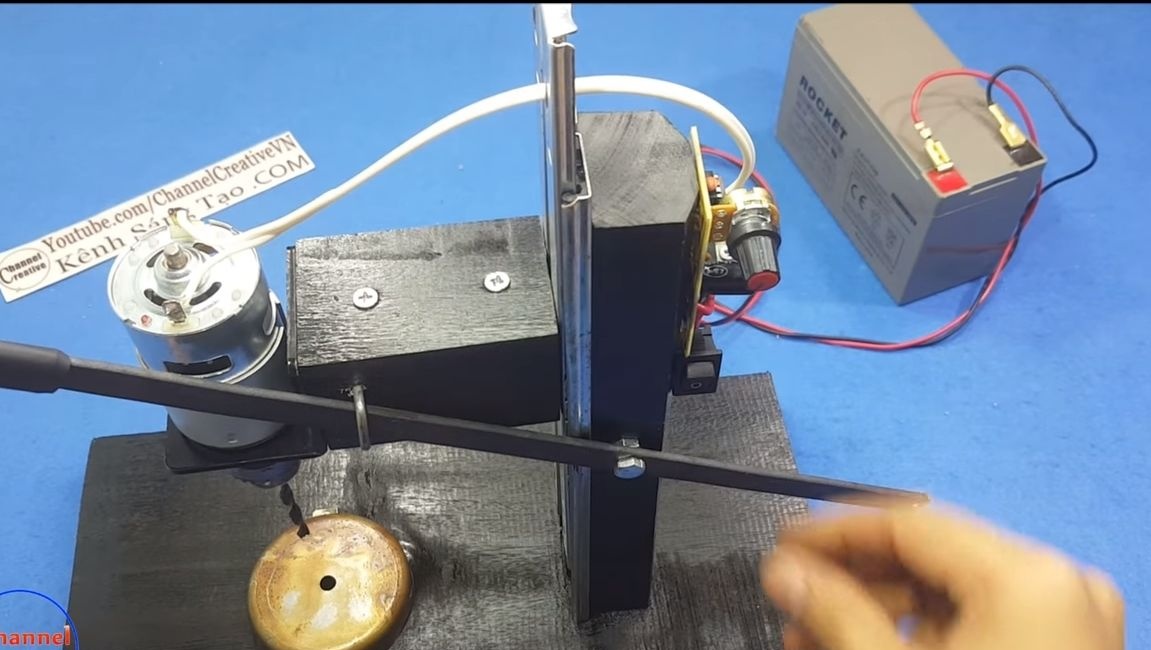
The machine is ready! It remains to supply power to the engine. The author decided to install a driver on the machine, which with a slight movement of the handle allows you to set the desired speed, but you can power the motor directly. We install the board, connect the power source and try to drill.
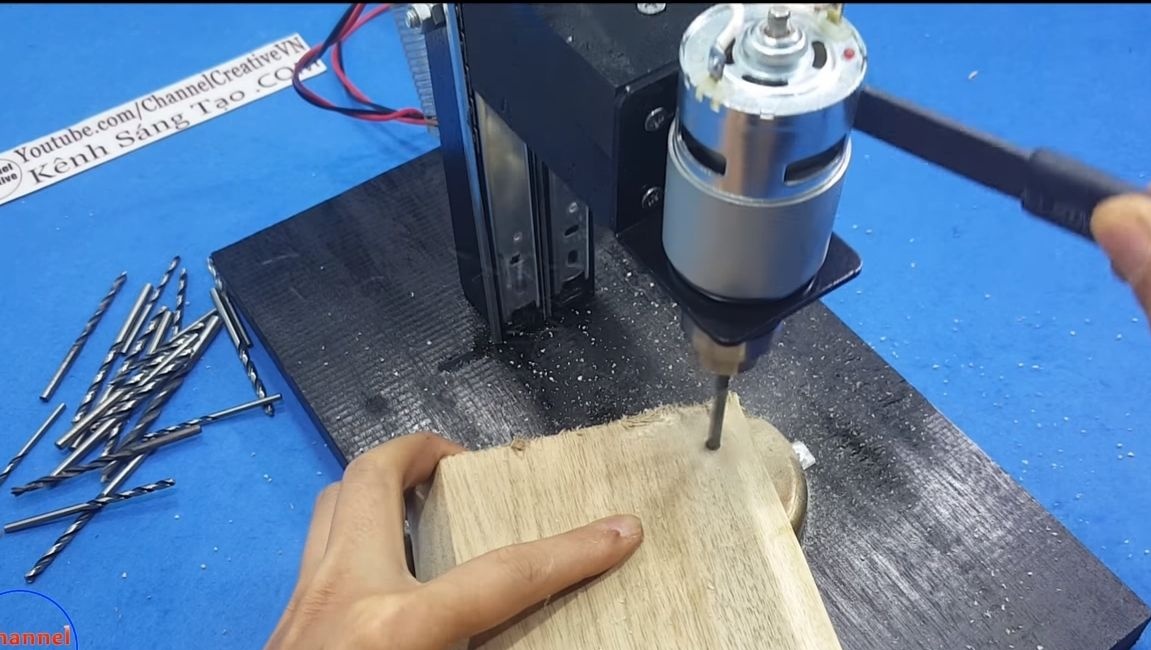
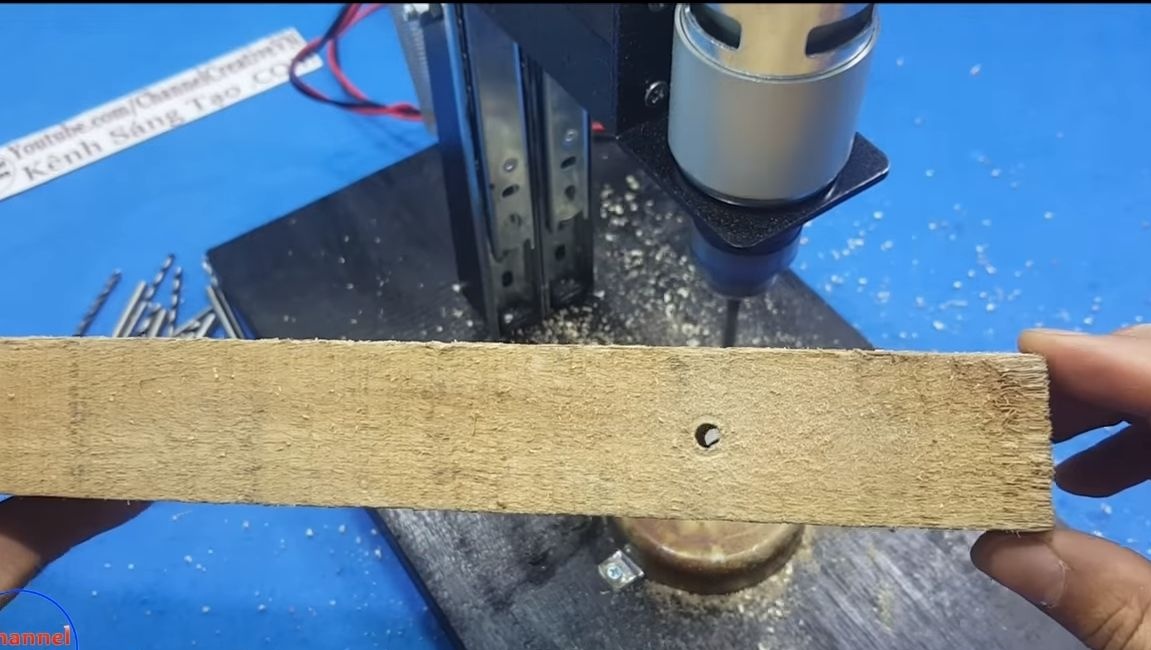
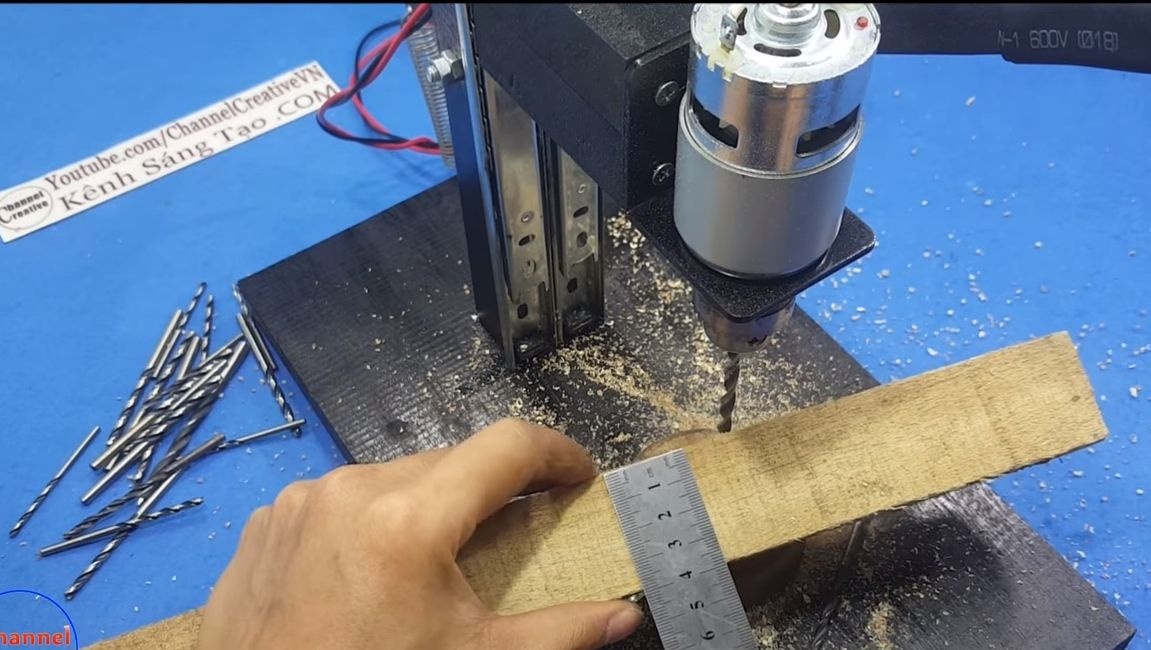
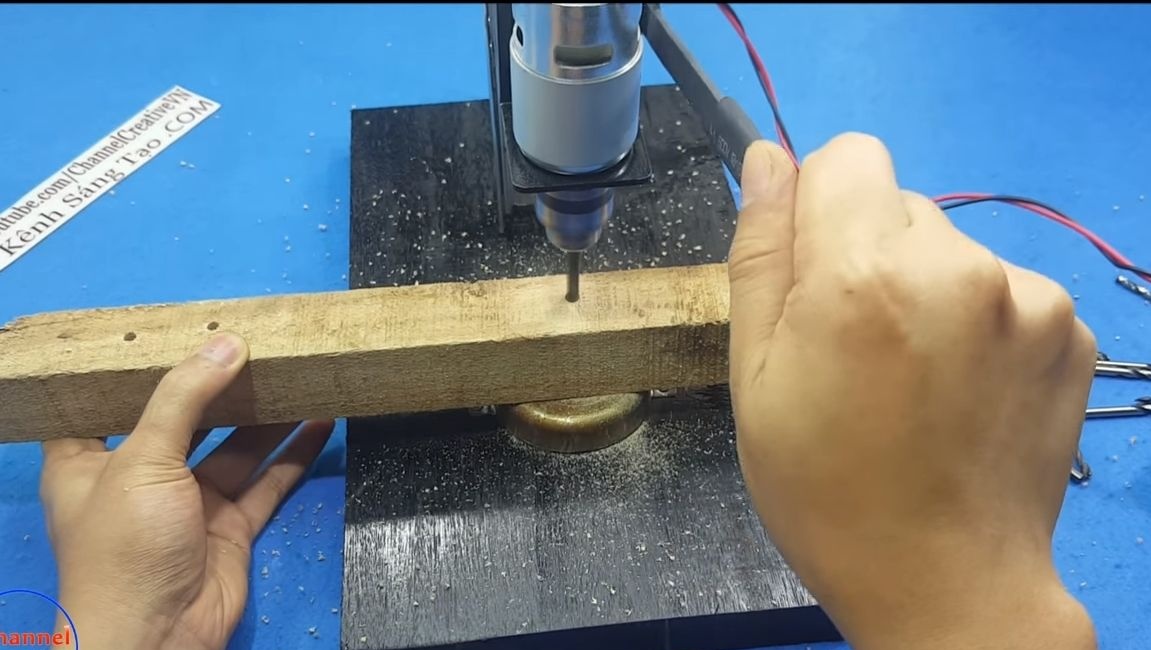
The video shows that the machine easily drills a wooden beam 4 cm thick through. With other materials, too, problems should not arise. Good luck and take care!