
Hello friends the inhabitants of our site! In this article we will try to assemble one of the many KIT sets, namely the watch. Having collected this KIT kit, you will get not only experience with a soldering iron, but also a reliable and practical watch that will take place on your shelf or desktop.
To build this KIT kit, you first need to purchase it. And you can buy it by going on this one. Also, during assembly, we will use a soldering iron and all soldering accessories, for example: a soldering mat, solder, third hand and so on.
Included in the kit.
1- Package with radio parts 3 pcs.
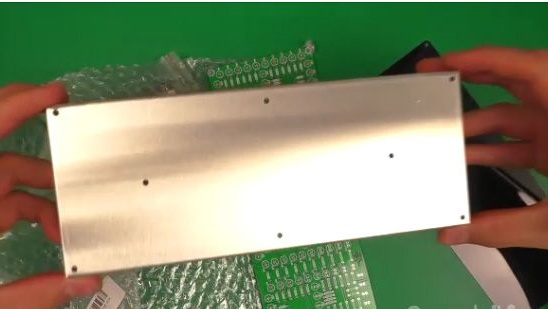
2- Metal case.
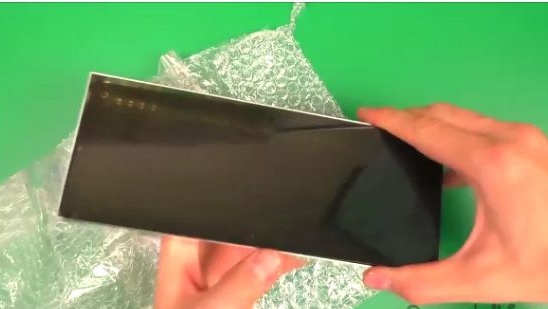
3- Orc glass.
4- Printed circuit board.
Getting to the assembly:
1- First, unpack our KIT kit. This kit comes in a case, and the case itself is made of metal. Everything is very high quality packed and I think you should not worry that something might break during delivery.


2- For starters, you can remove the film from the orc glass and metal case.
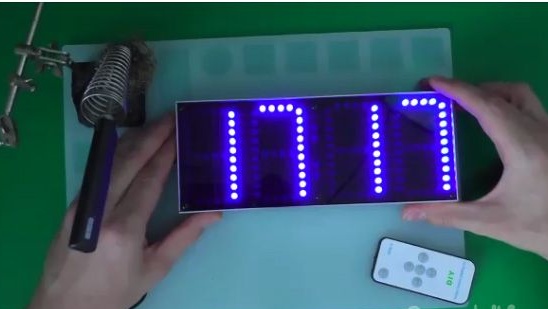
3- Around the same time, the clock should turn out after assembly.
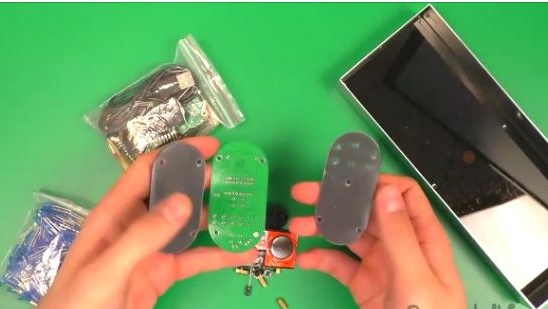
4- In one of the bags for the sake of details are all the components for assembling the remote control. I also advise you not to open all the bags at once, as they are distributed in groups, and you can all
mix up and torment a little while finding the right item.
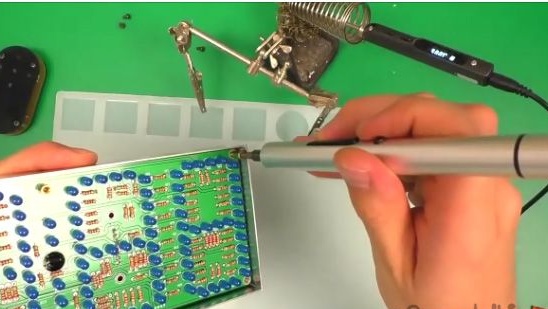
5- In the biggest bags lies the clock board and everything in order to collect it. It is also worth noting that there is simply a huge number of resistors that will take you a lot of time when soldering and will give you a soldering experience.
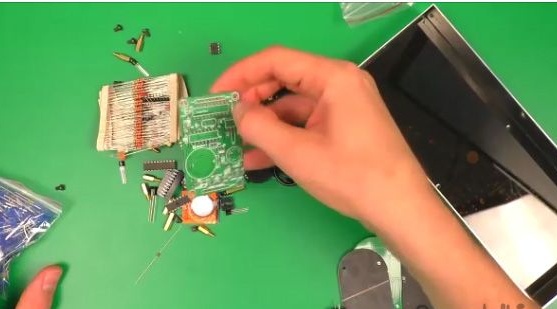
6- Well, in the third bags are blue LEDs. You can choose the color of the LEDs when ordering goods.

7- Let's start assembling the kit with the smallest and easiest. We install all the resistors in their place, the benefit is that all the resistors are of the same denomination and nothing needs to be measured. But first, we only install horizontal resistors, this is necessary so that the contact does not interfere or close.
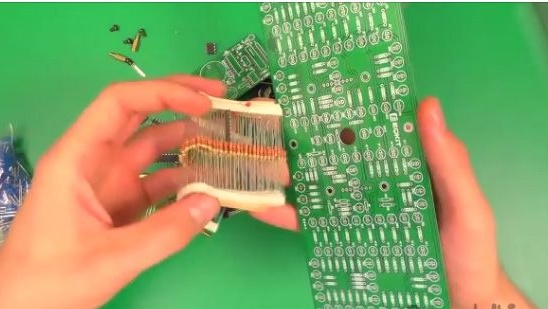
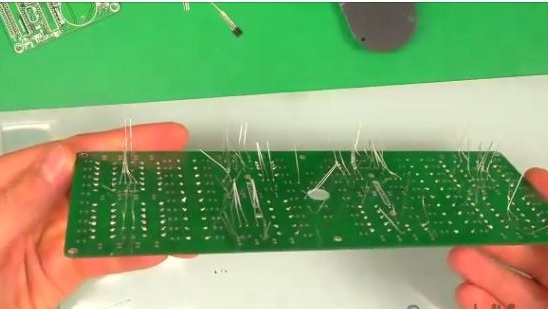
8- Something like this should look like a board with resistors installed on it.
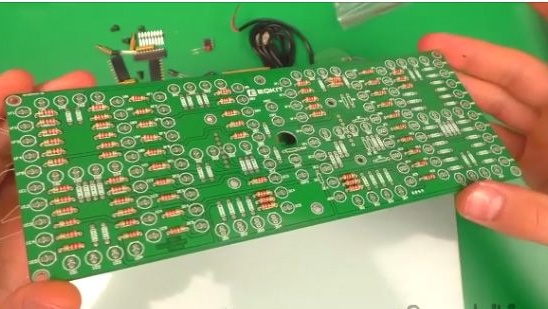
9- Chorus all the newly installed resistors.
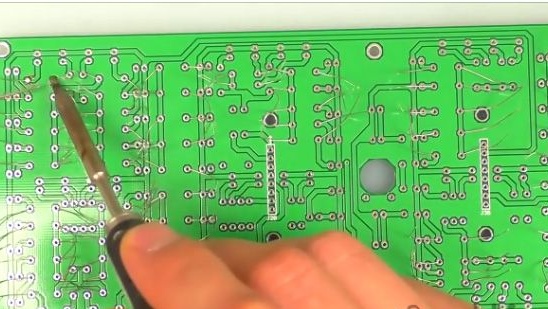
10- We bite off the excess contacts from the resistors with the help of nippers.
11- Now we install all other resistors, one spare resistor should remain.
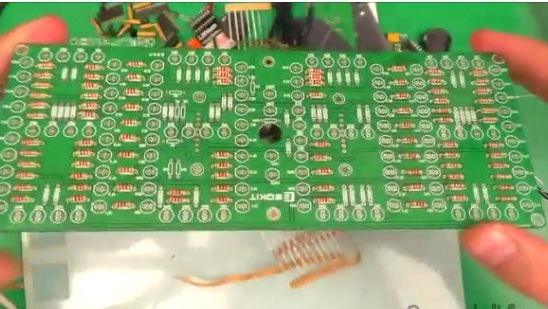
12- Solder.
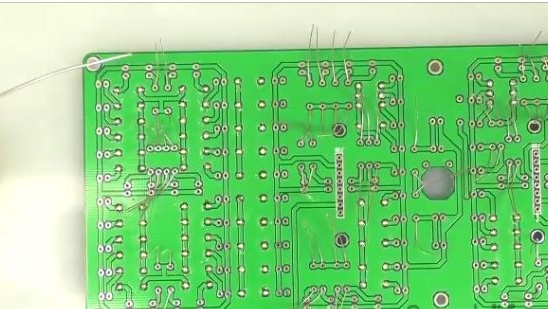
13- And bite off all the excess.
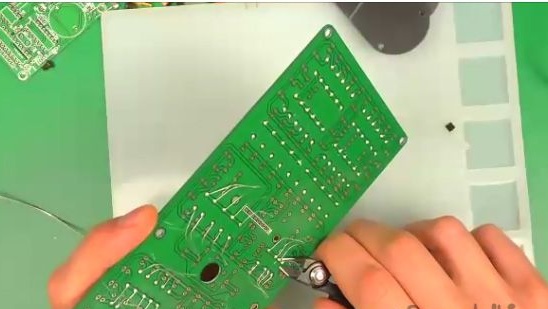
14- In a bag with LEDs there is also a tape with resistors. Insert them into unsigned places.
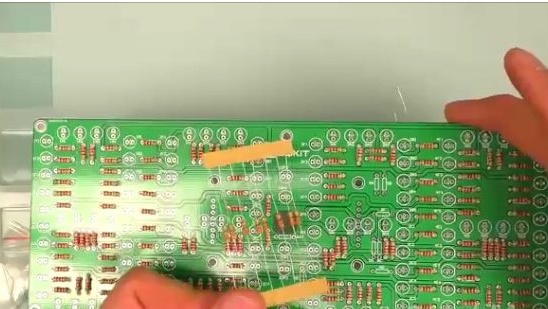
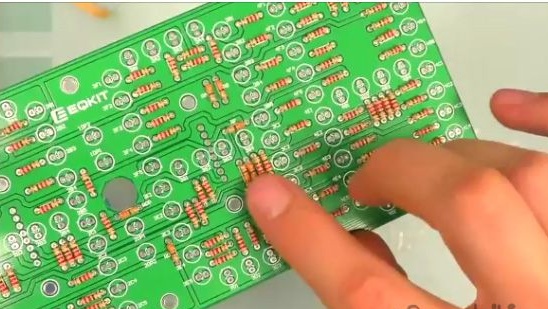
15- Solder them and also bite off the excess.
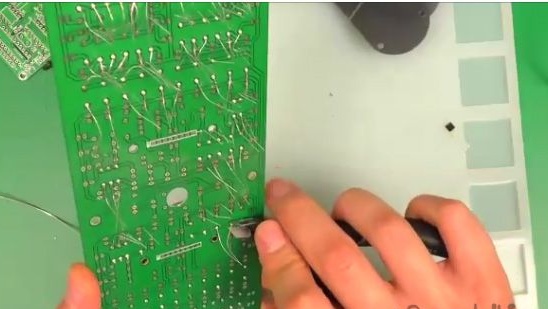
16- Then install the LEDs. The long leg is the plus set to the arrow, and the short leg minus the cathode is installed where the stick is.
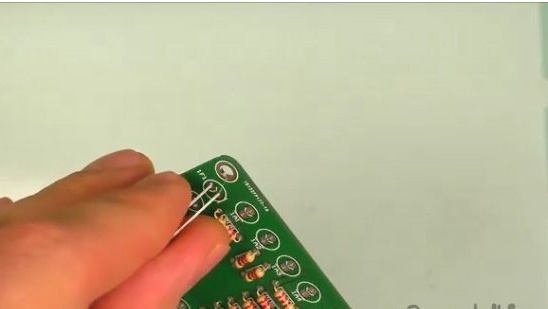
17- Set only one line of one of the numbers.
18- Solder one of the legs of each LED.
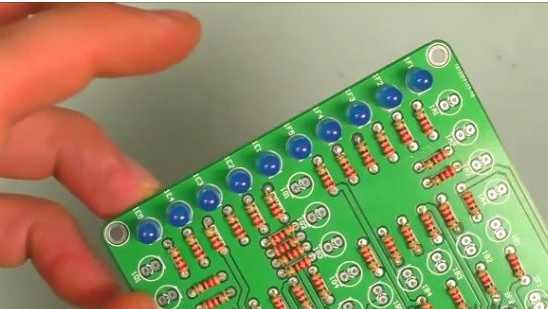
19- Let's fix the LEDs so that they stand all straight and solder the rest of the legs.
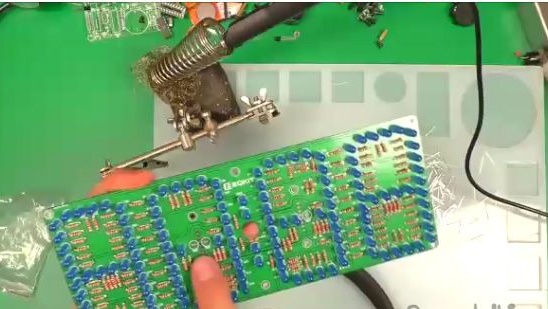
20- An approximately equal number of LEDs should work with you.
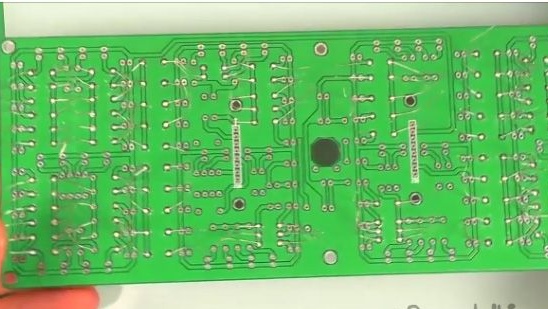
21- Well, we continue in the same spirit until we solder all the LEDs.
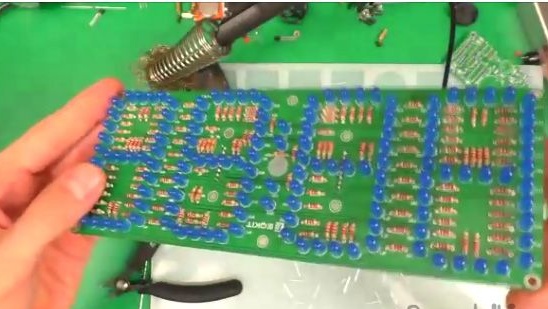
22- Something like this should happen to you.
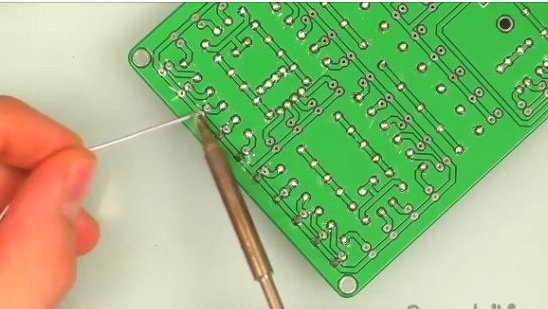
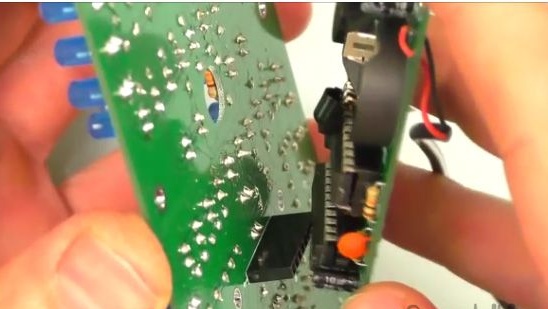
23- As you just saw from the last photo, you didn’t solder just three LEDs. This is necessary in order to easily install mother-type connectors on the board. It is necessary to solder them on the other hand, all because the control board will be connected to them.
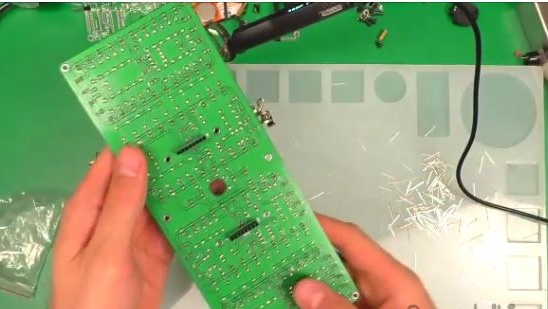
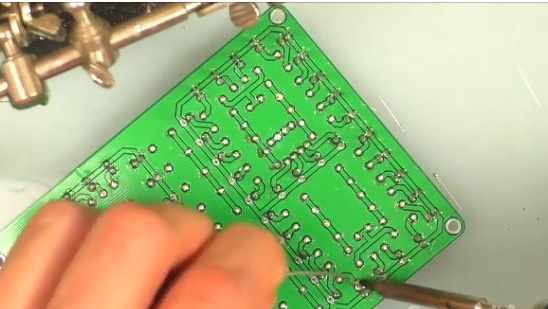
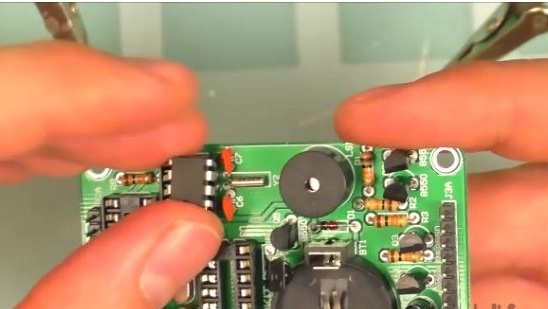
24- The main board is ready, it took about three hours.
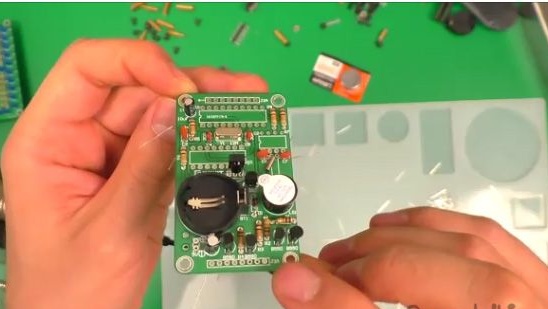
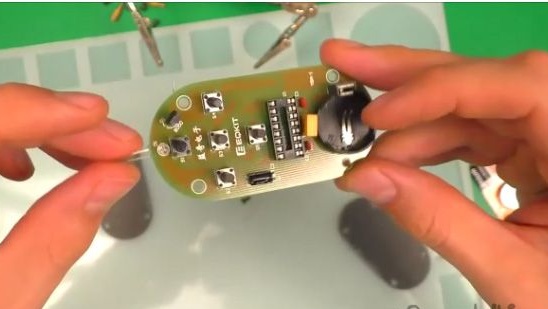
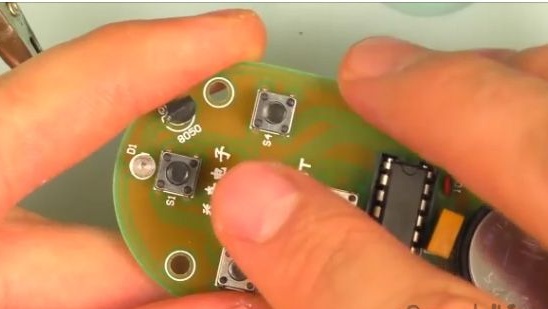
25- After we have assembled the main board, we will remove it to the side and take the control board and assemble it.
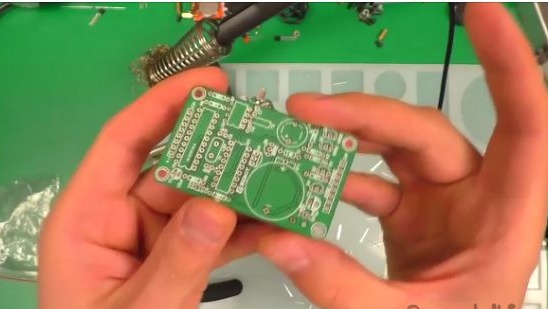
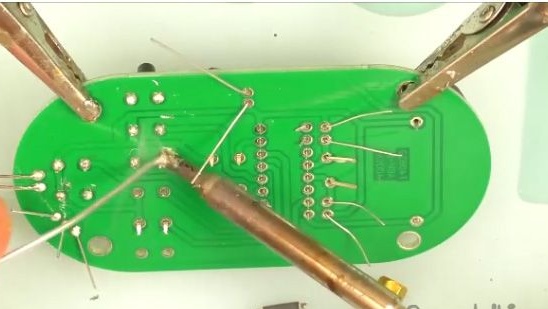
26- To assemble it will be a little more difficult due to the fact that there is a smaller solder, but in general it is soldered faster.
27- We will install all those details as in the photo, since they are all signed, numbered and it will be difficult to make a mistake.
28- Solder everything that we installed.
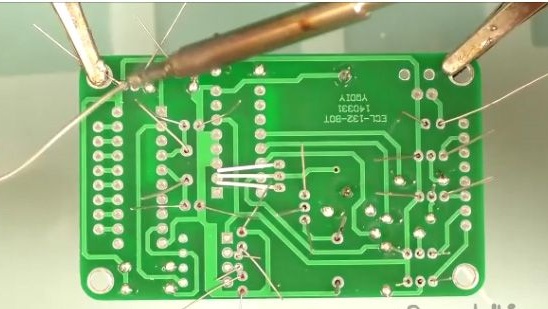
29- And bite off the legs of the components.
30- After which we will install the boards, installing the keys and connectors like the dad correctly.

31- Solder the wires to the power.
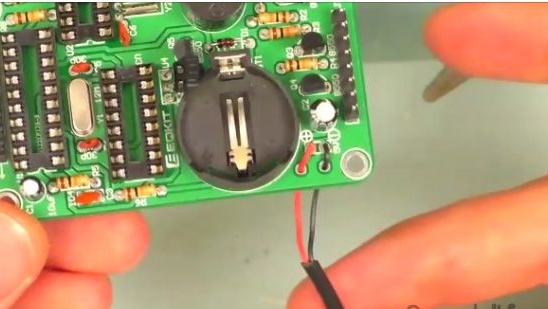
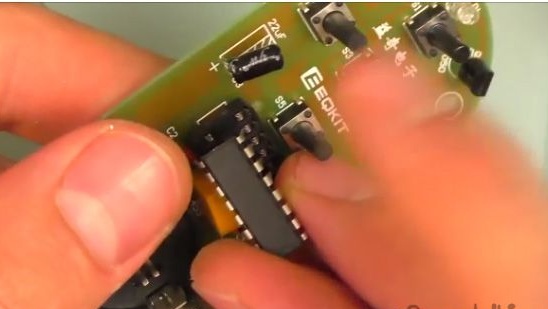
32- And the final step in the assembly of this board will be the installation of chips. You need to install them strictly by keys.
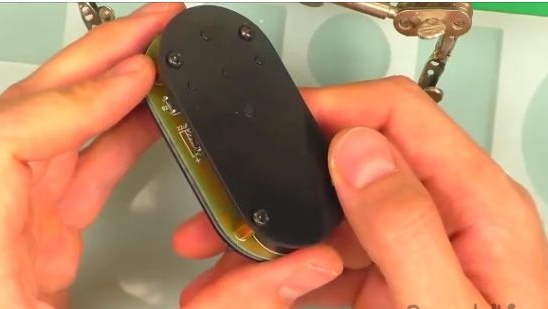
33- Connect the two boards just made, as it is shown in the photo, but before that it should install a battery on one of the boards. Keyed installation will also be very difficult to do this incorrectly.
34- Next, proceed to the assembly of the remote control. The remote control is the easiest in this set. You can immediately insert all the components into their places, you will definitely not mix anything up, even if this is the first time you see a soldering iron.
35- We solder.
36- Install the chip.
37- Put the battery in its place.
38- And assemble the remote control case.
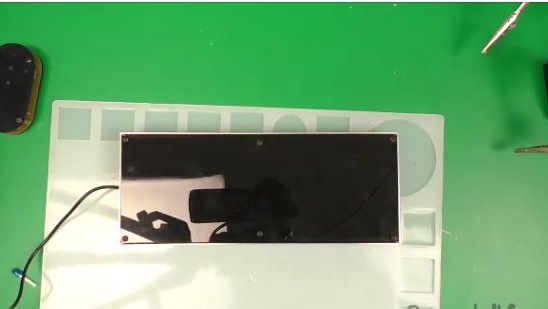
39- After which we proceed to the assembly of the watch case.
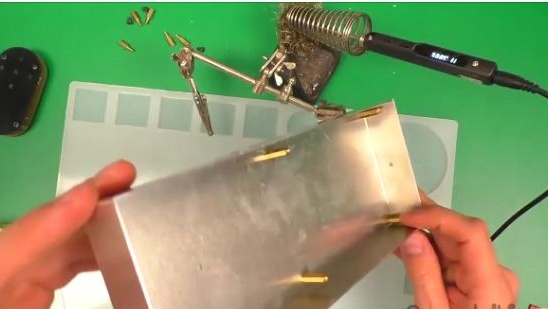
40- We place the display in a metal case.
41- We fasten the spacers.
42- Install and fasten the display glass.
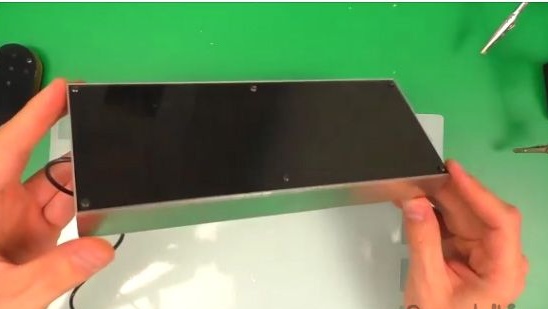
43- Done.
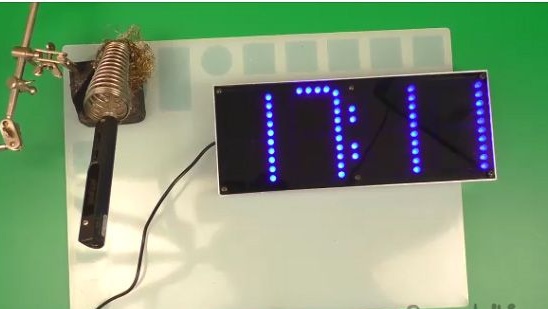
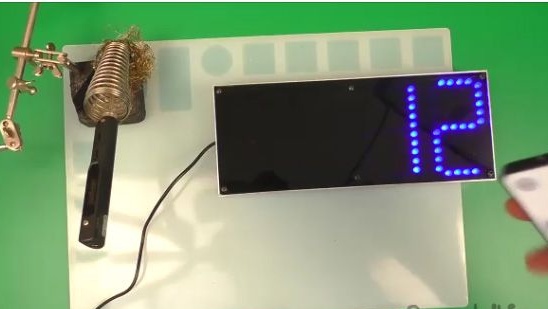
Now the most important thing is to check the performance of your assembly and configure the clock.
We insert food and cheers! Works.
I found another one of the same remote, but it is more compact and we will use it to configure it.
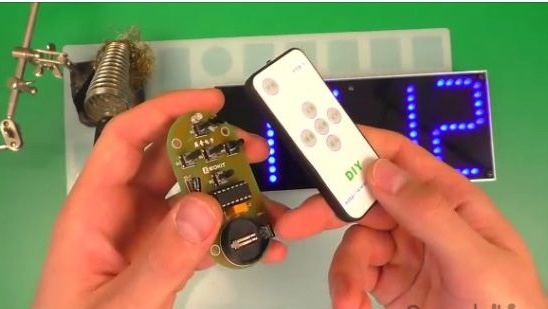
Click on the center. The first number will blink.
The up and down buttons adjust the time more and less.
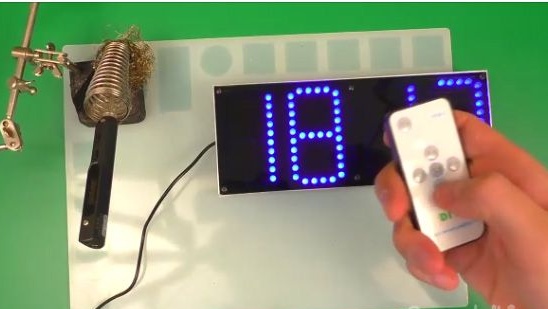
The buttons are left to right. Choice of setting minutes or hours.
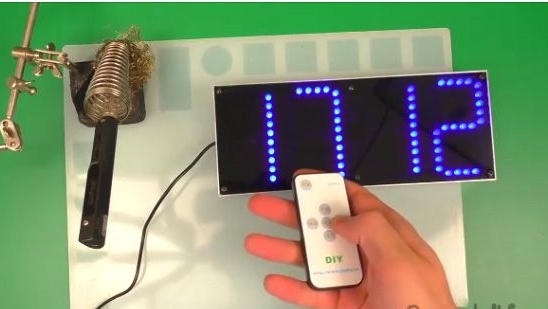
Click on the center again and go to the next setting, namely the alarm clock. If you turn it on and click on the center, then go to the setting of its operation. You can set up to five alarms at a time.
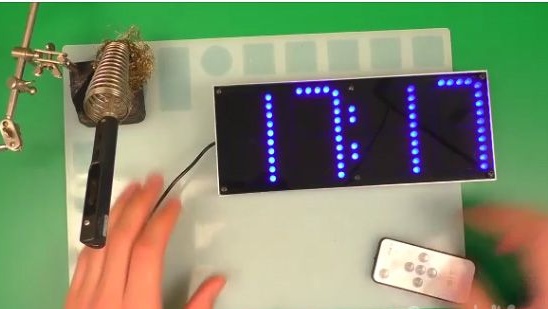
After the alarm goes off, it will beep for thirty seconds, and no buttons will turn it off.
Conclusion:
Well friends. We have succeeded. I hope this article will be useful to you and come in handy when assembling this kit kit. You also have a wonderful opportunity to watch the video assembly of this kit.