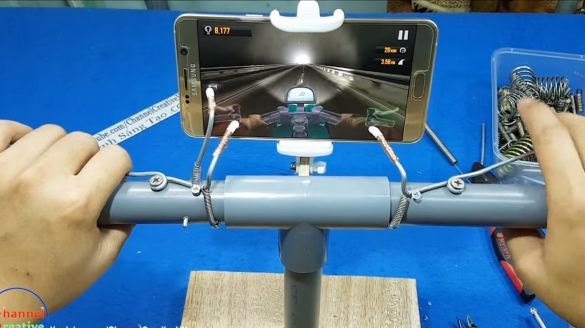
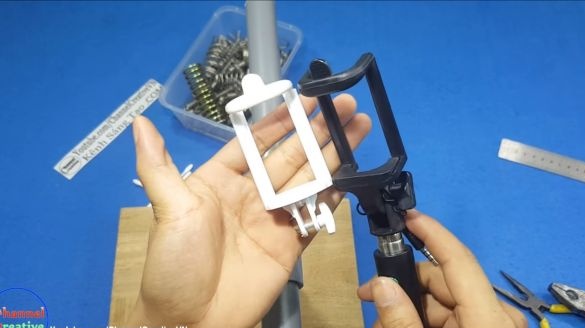
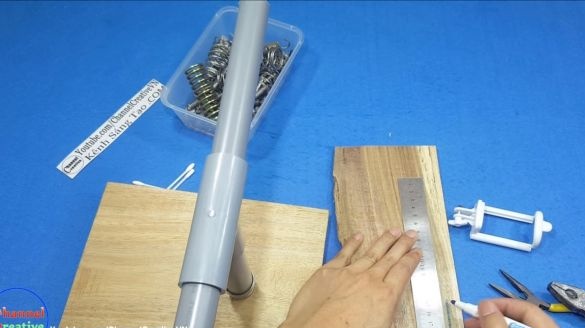
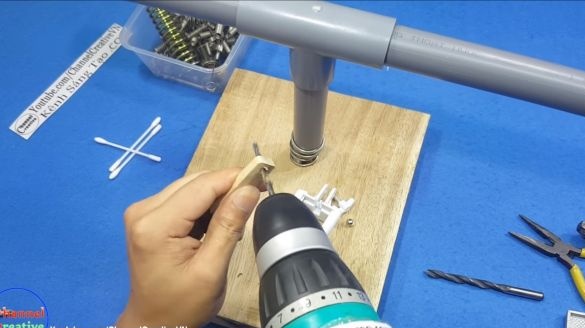
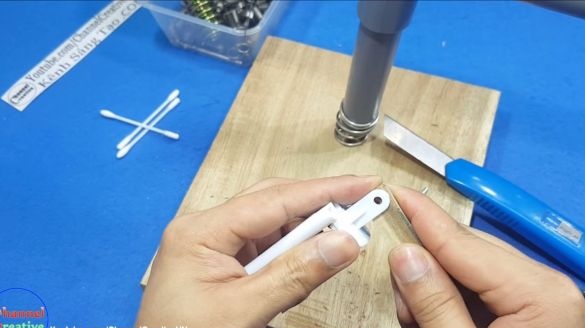
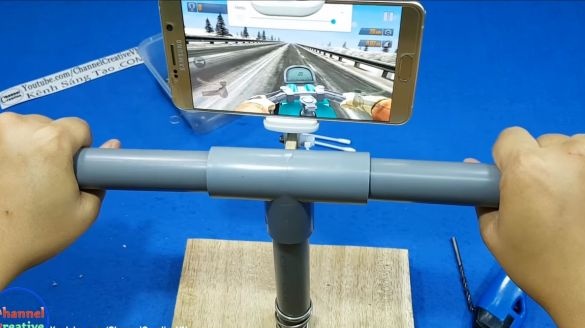
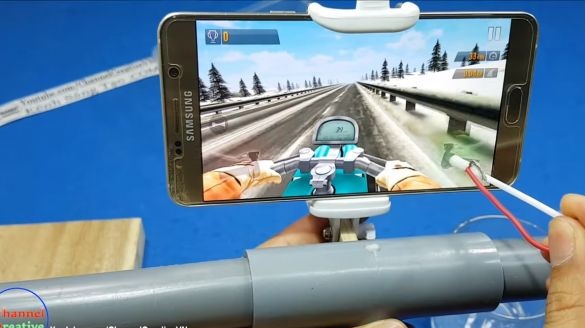
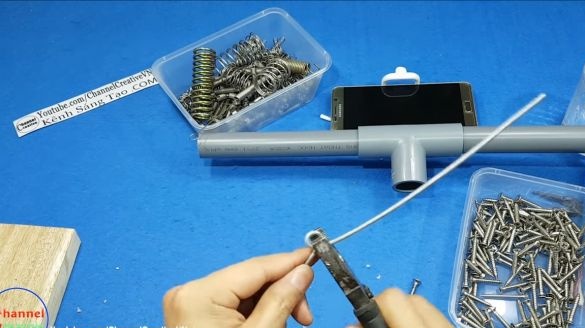
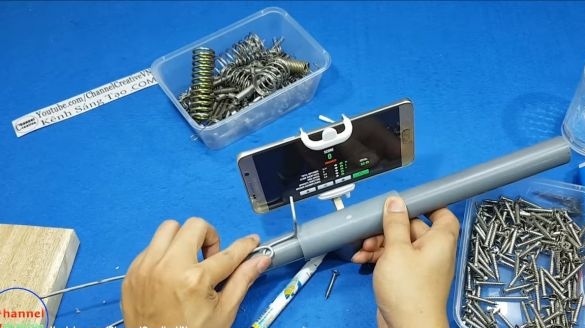
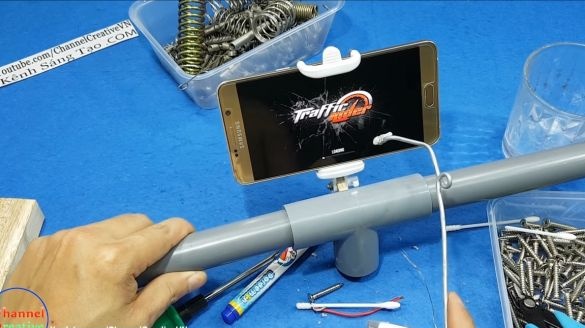
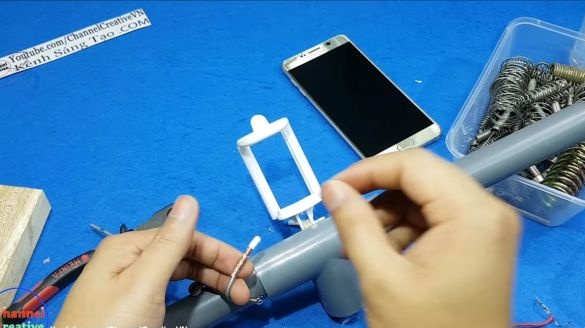
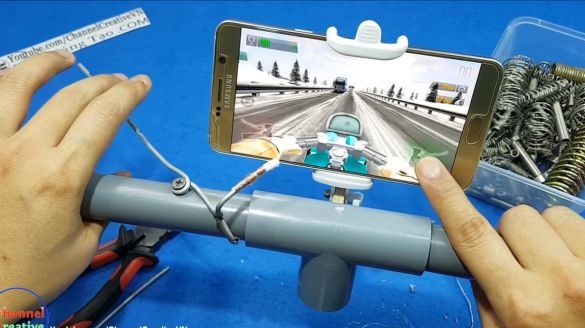
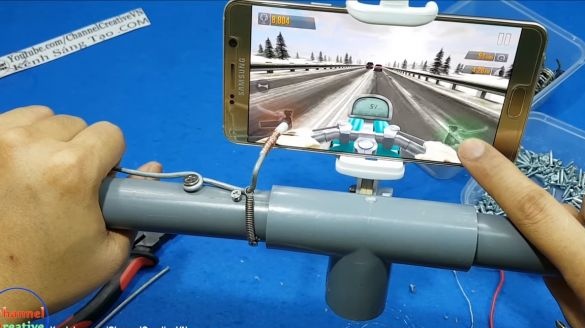
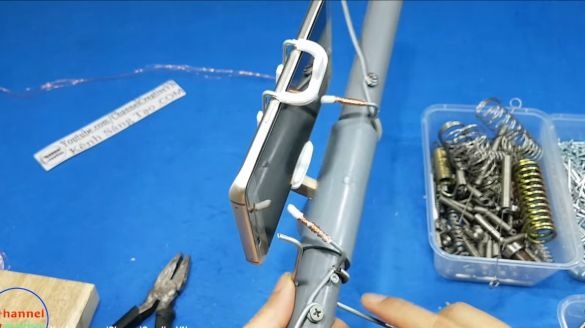
Hello everyone, if you want to expand the functionality of your own, take a look at this instruction. I’ll tell you how to make a simple motorcycle steering wheel, which will make the game on a smartphone much more realistic. Homemade it is very easy to assemble and a secondary school student or even a primary school student will cope with its assembly.
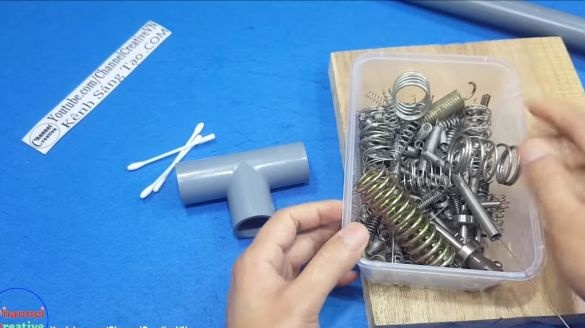
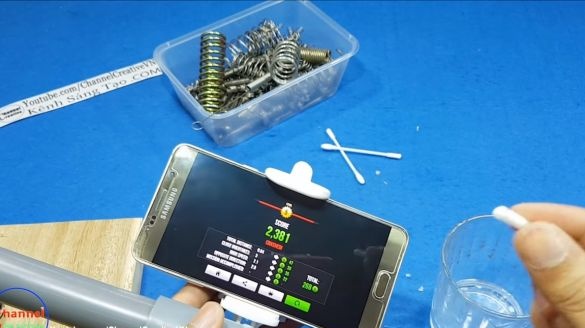
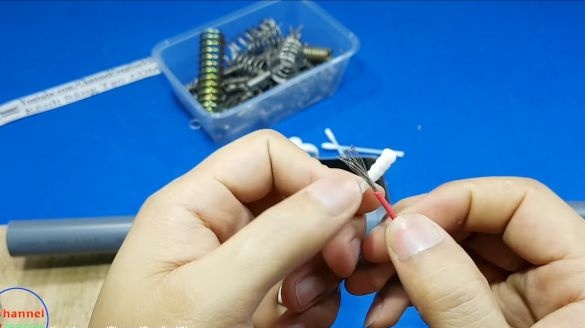
The steering wheel is made of PVC pipes, as well as several springs, wire, screws and other things. Theoretically, such a display can work with any display, including a capacitive one, like the author’s. Handlebars are conductors, they are made of wire. At the ends of the wire, wet cotton wool is worn, through which the human body contacts the touchscreen. In principle, personally, my touchscreen simply responds to wet objects, so contact with the body is not necessary.
Materials and tools used by the author:
Material List:
- tee for PVC pipes;
- steel wire;
- self-tapping screws;
-
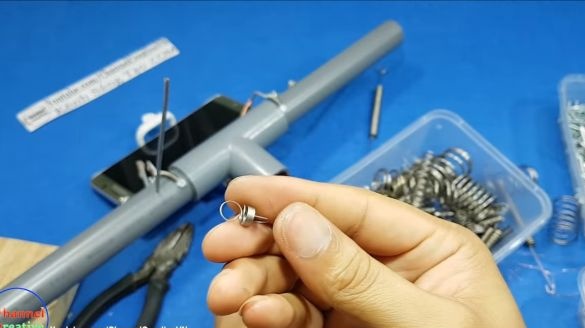
- 3 small and one large spring;
- a piece of board or plywood (for foundation);
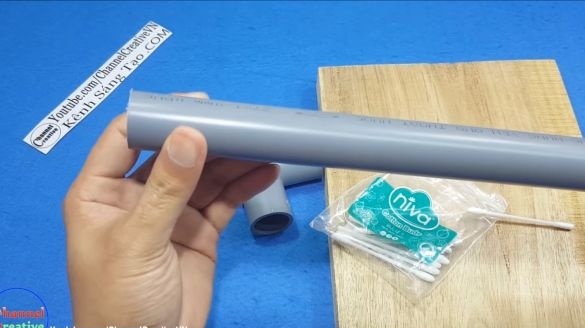
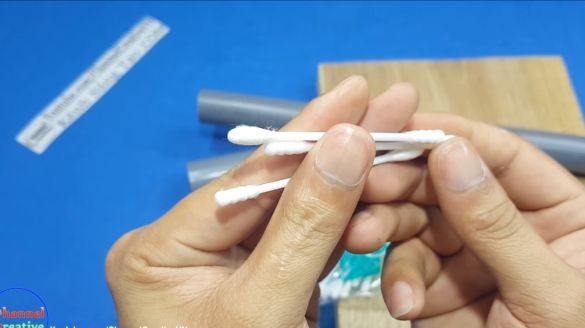
- cotton buds;
- holder for smartphone;
- a piece of PVC pipe;
- a piece of stranded wire.
Tool List:
- drill with a bat;
- glue gun;
- pliers;
- screwdriver;
- dremel or sandpaper.
Steering process:
Step one. Foundation preparation
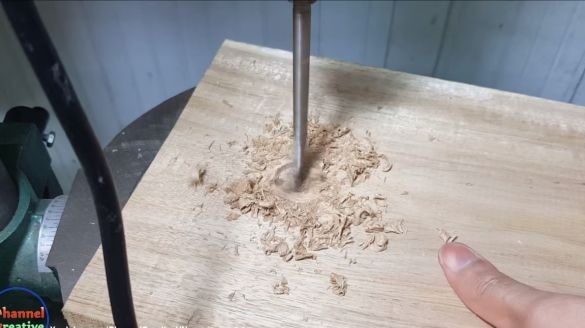
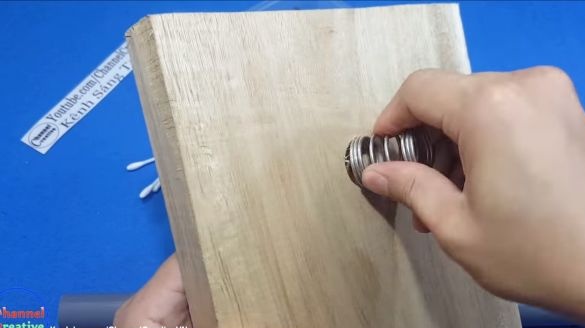
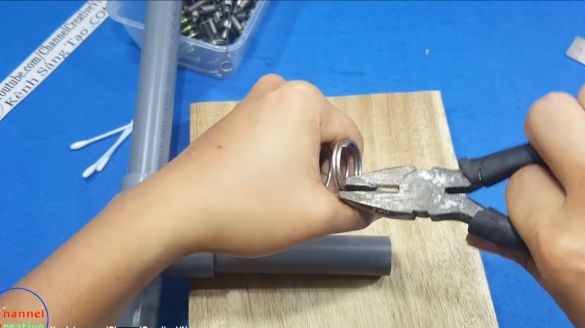
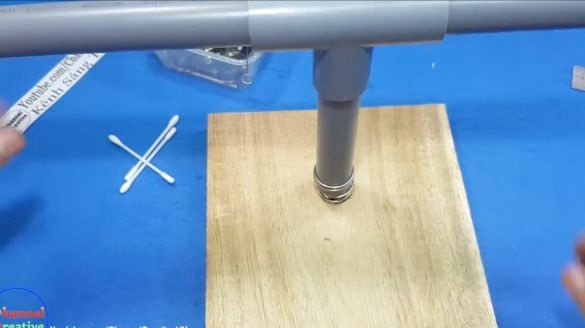
The basis is a piece of board. In it you need to drill a seat under the spring. Then the steering wheel is connected through the spring. Thanks to this, the steering wheel can be tilted, thereby controlling the motorcycle.
Step Two Prepare the steering wheel
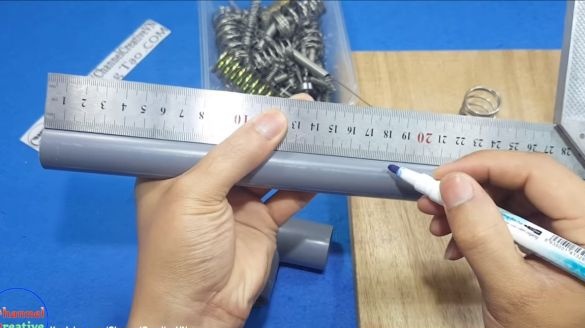
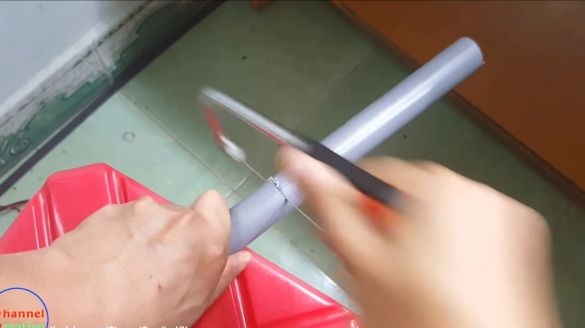
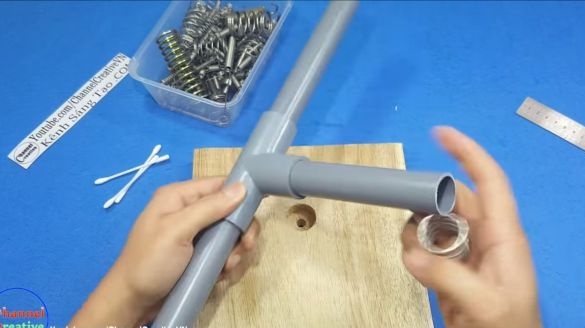
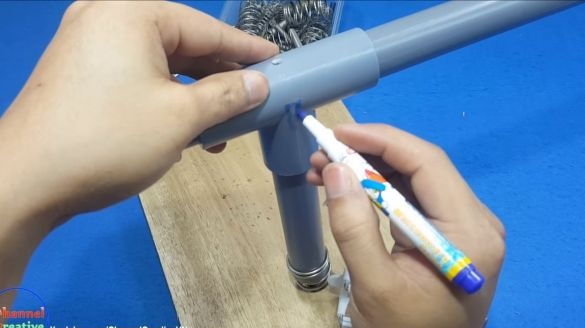
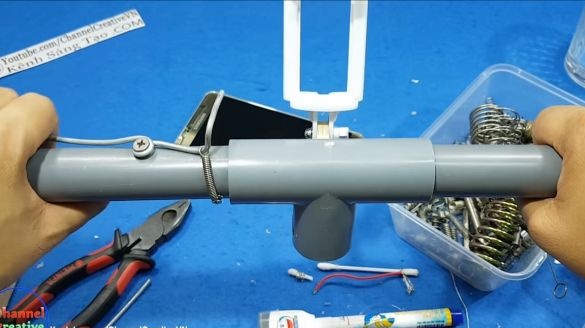
The steering wheel is made of three pieces of PVC pipe, as well as a tee. Cut the pipes to the desired length and connect the whole thing using glue. Then the pipe is inserted into the base through the spring. To insert the pipe, the spring can always be unbent.
Step Three Install the smartphone holder
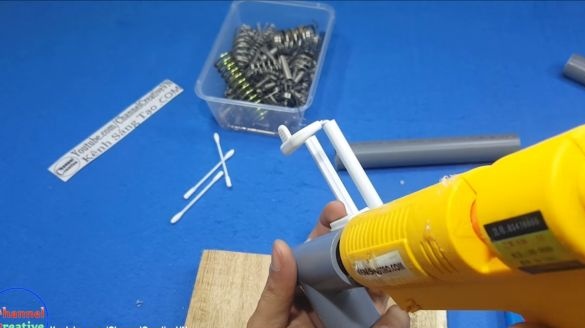
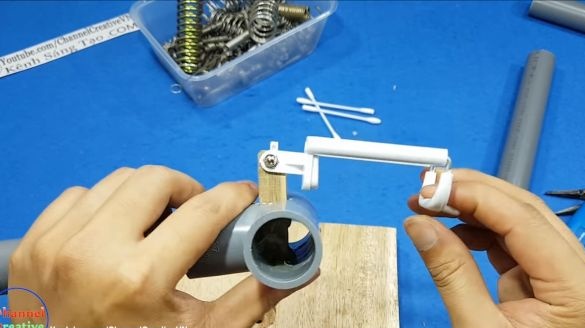
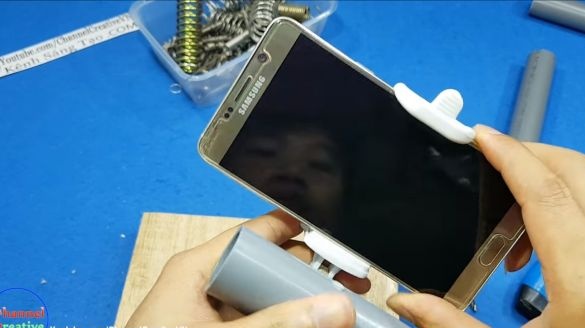
The holder will need to be bought, and if you try hard, you can do it yourself. It needs to be fixed in the center of the steering wheel and it is desirable that the holder has the ability to adjust.For fastening, the author cut a piece of the board and turned a window in the steering wheel under it. A wooden rod is inserted into the pipe and glued inside with hot glue. On the other hand, drill a hole and fasten the holder with a bolt and nut.
The steering wheel is almost ready, you can already try to ride a motorcycle. The only problem here is that there are no controls, it is impossible to apply gas, brake, and also to signal.
Step Four We make control knobs
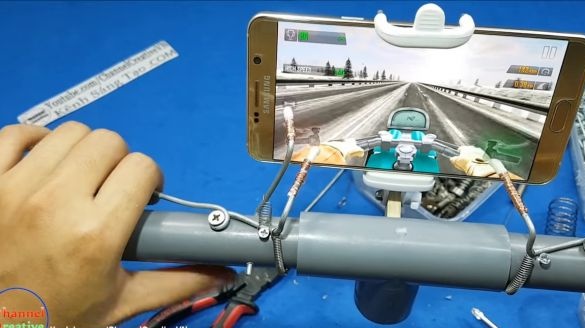
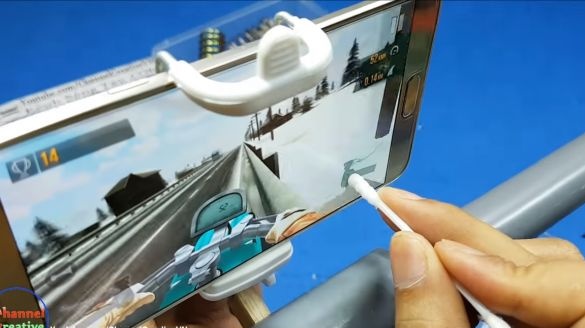
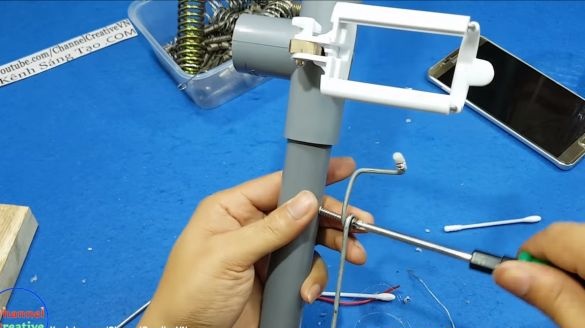
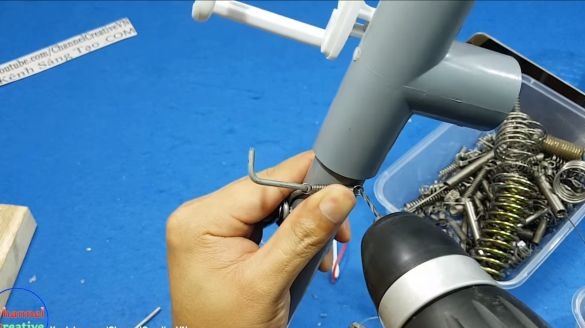
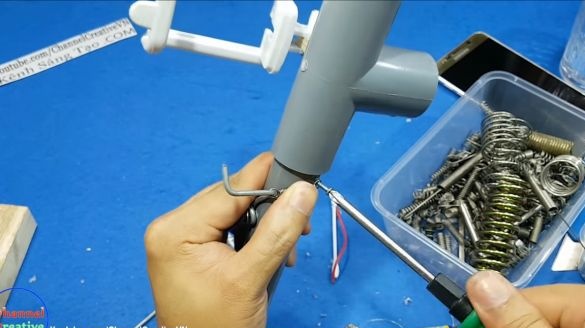
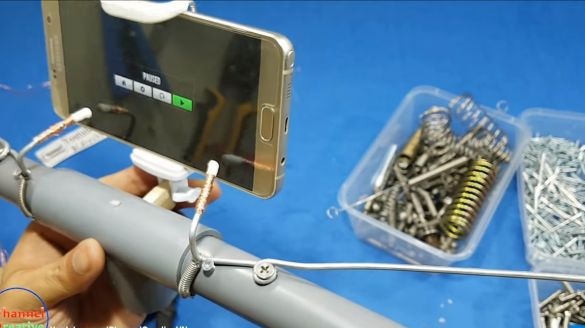
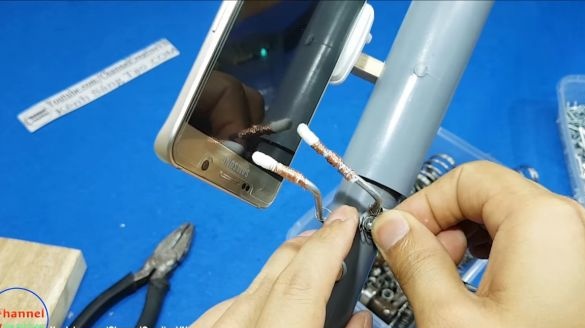
For the manufacture of control knobs a wire is used, cut off the desired piece and form the desired profile. Handles are attached with screws to the pipe. On the ends of the levers that are in contact with the screen of the smartphone, you need to install the tips of cotton buds.
We fasten them with a copper wire. As conceived by the author, wet cotton wool and wire should transmit current to the human body. But usually capacitive screens work just by touching wet objects.
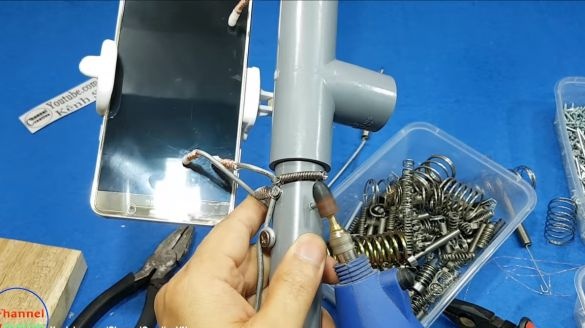
In order for the handles to return to their original state, springs must be installed on them. They can be made tougher to make the game more realistic. Fasten the springs with self-tapping screws. Also do not forget to install the limiters for the levers.
At the end you will have to make a signal button. It is done in a similar way, only the lever passes through the pipe. The author processes the tip of the button with a dremel so that the wire does not prick his finger. The signal button must also be spring loaded.
Step Five Assembly and testing
We install the steering wheel, and put the smartphone on the steering wheel. We start the game and try to ride. Do all buttons work? Great, congratulations! The most important thing during the tests is not to push the handles too hard, otherwise you can easily push a hole in the screen. To prevent this, it is best to make limiters when pressed. Do not forget to wet fleece with water. Good luck

