
If you are repairing electronics, you just need such a thing as. With it, you can quickly restore contacts on microcircuits, thereby returning to life a mobile phone, laptop and so on. Also, a soldering hair dryer allows you to easily change microchips, various SMD elements, the size of which is much smaller than a match head.
In this manual you will learn how to make a soldering dryer do it yourselfusing the most common soldering iron. Of course, there is no temperature controller and other bells and whistles, but homemade going fast, just with minimal cost.
Materials and tools used by the author:
Material List:
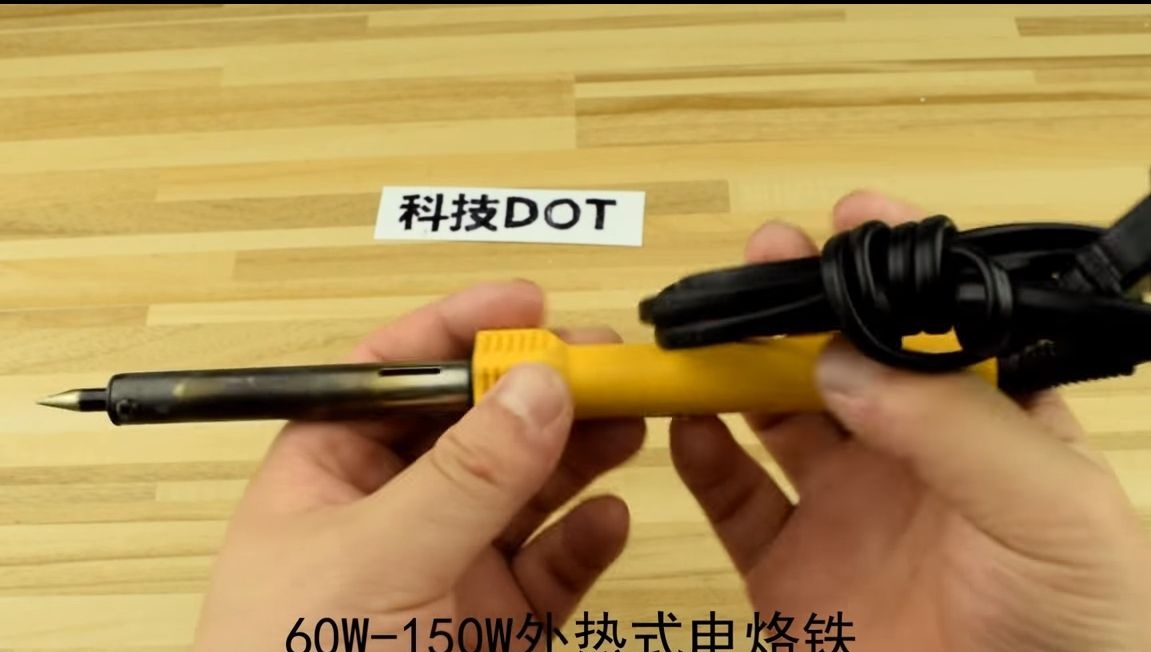
- soldering iron for 60-150 watts;
- homemade pump;
- self-adhesive foil;
- rubber hose;
- metal tube (nozzle);
- electrical tape.
Tool List:
- screwdriver;
- scissors;
- skillful hands.
The process of making a soldering iron:
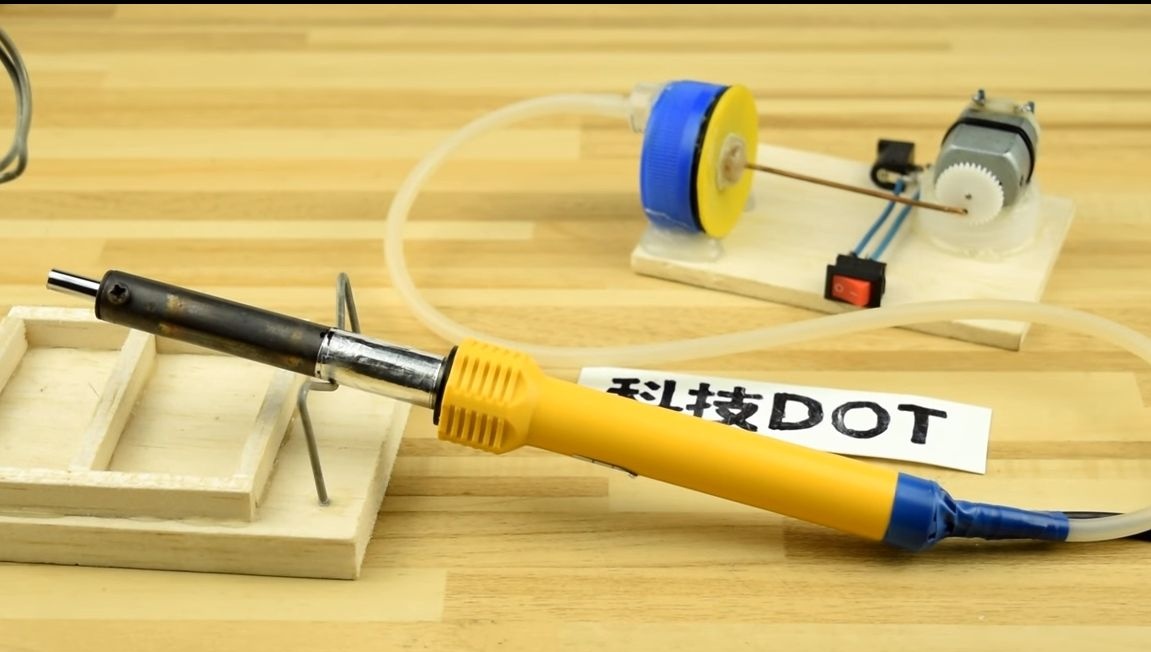
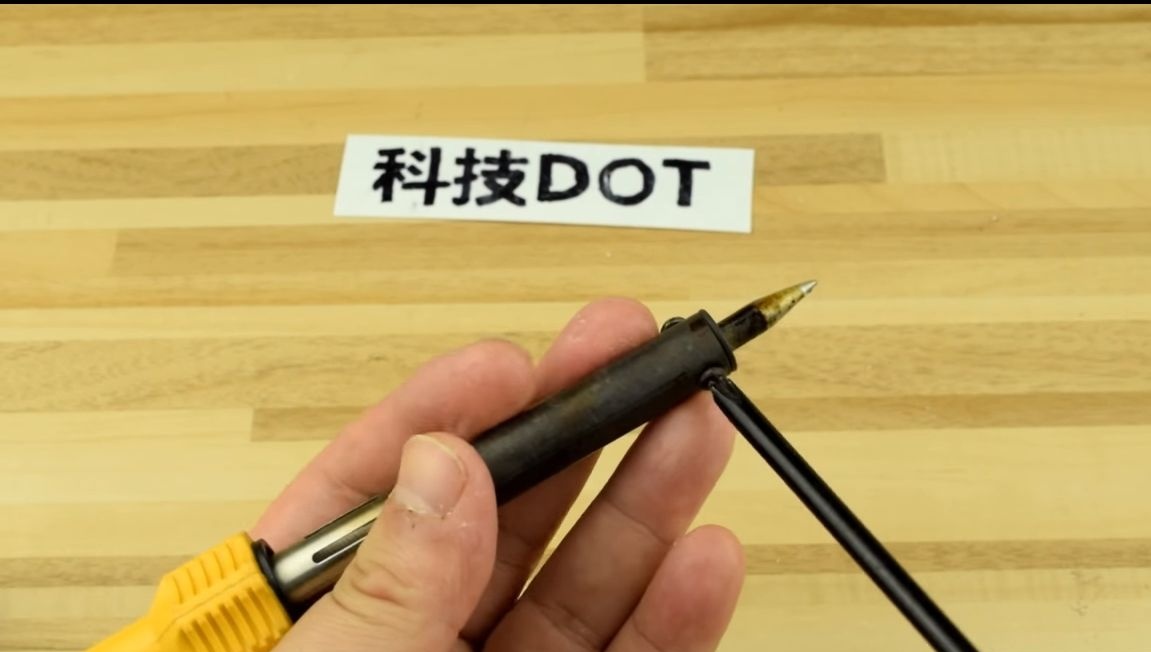
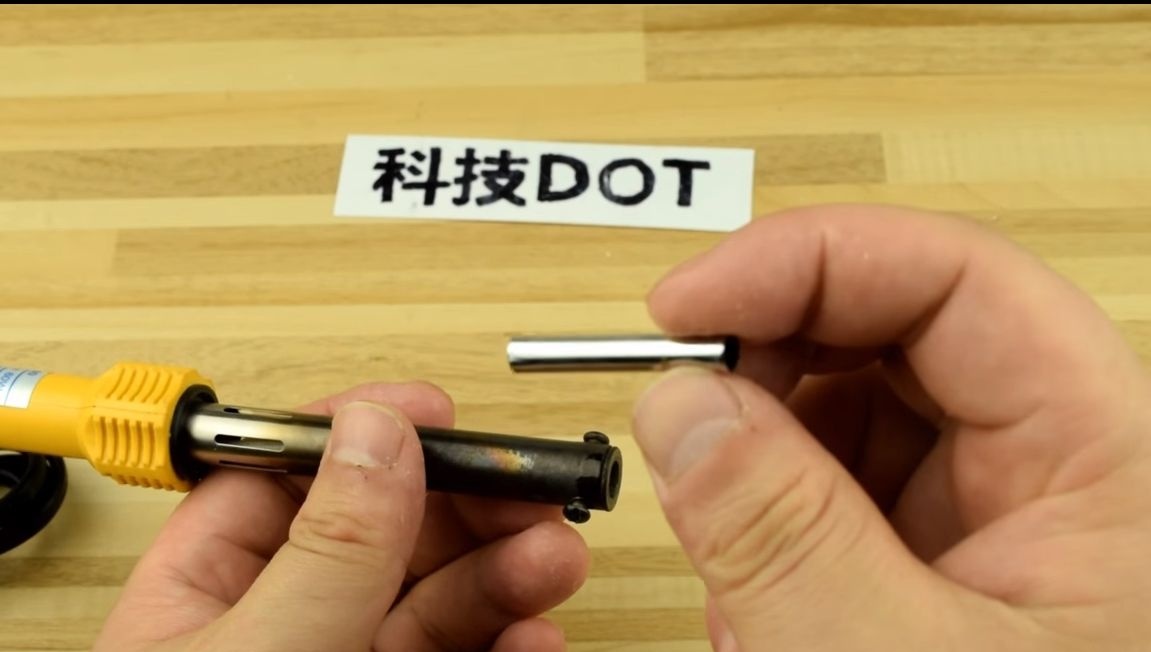
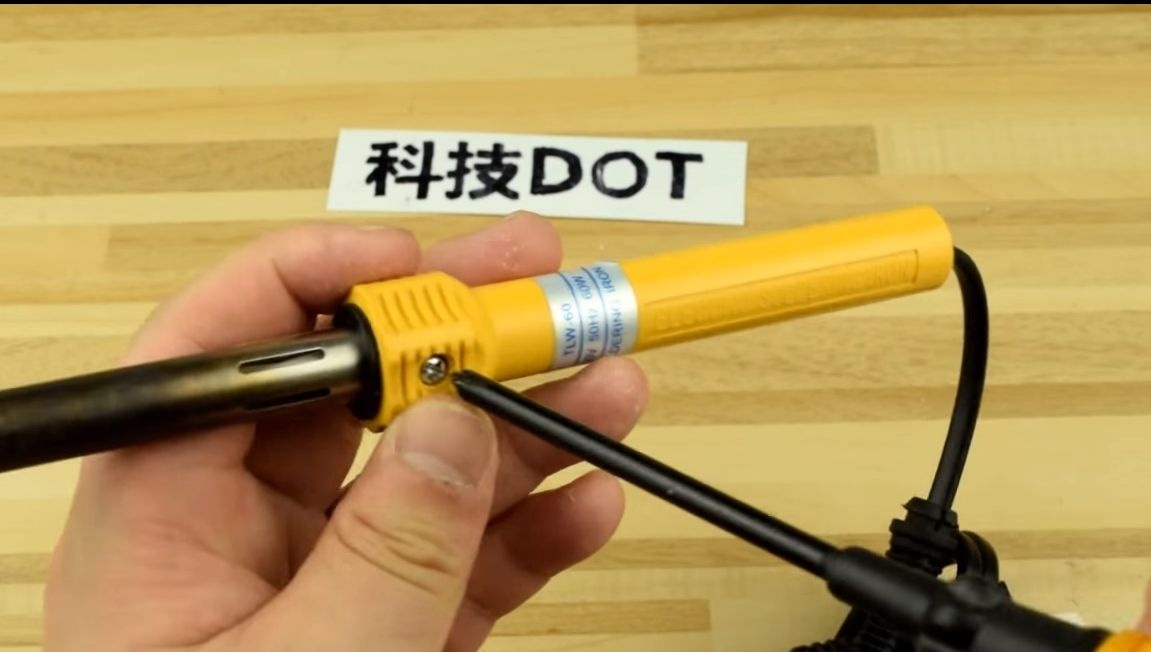
Step one. We disassemble a soldering iron
First of all, you need to take a soldering iron and remove the tip from it. Usually, you need to unscrew 2 screws.
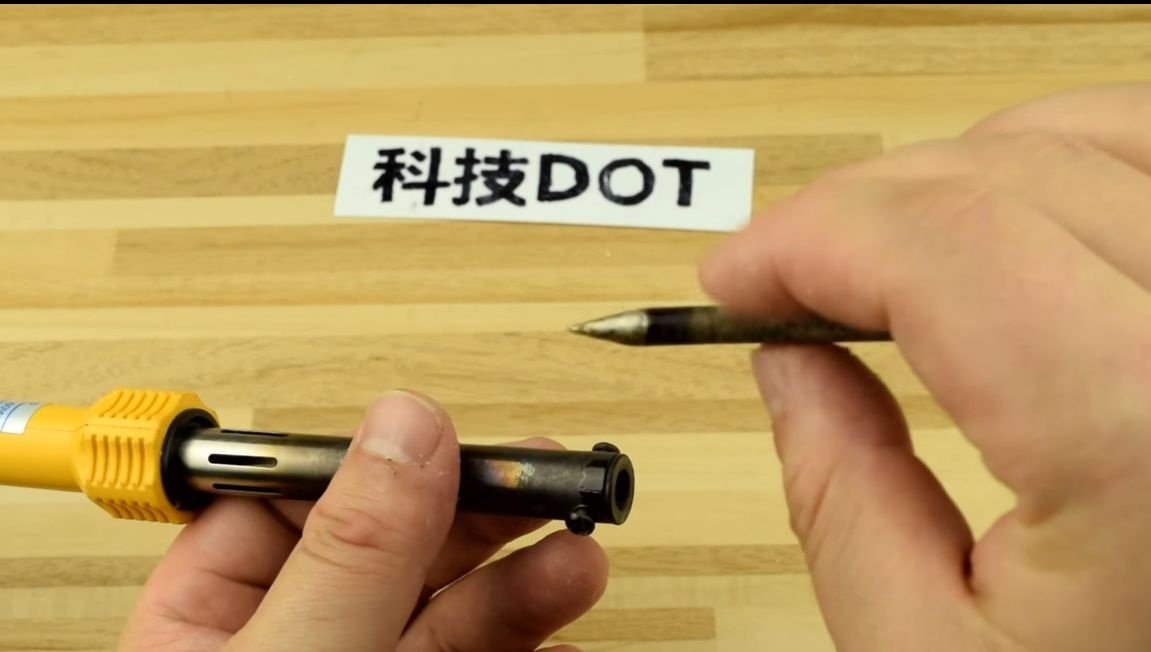
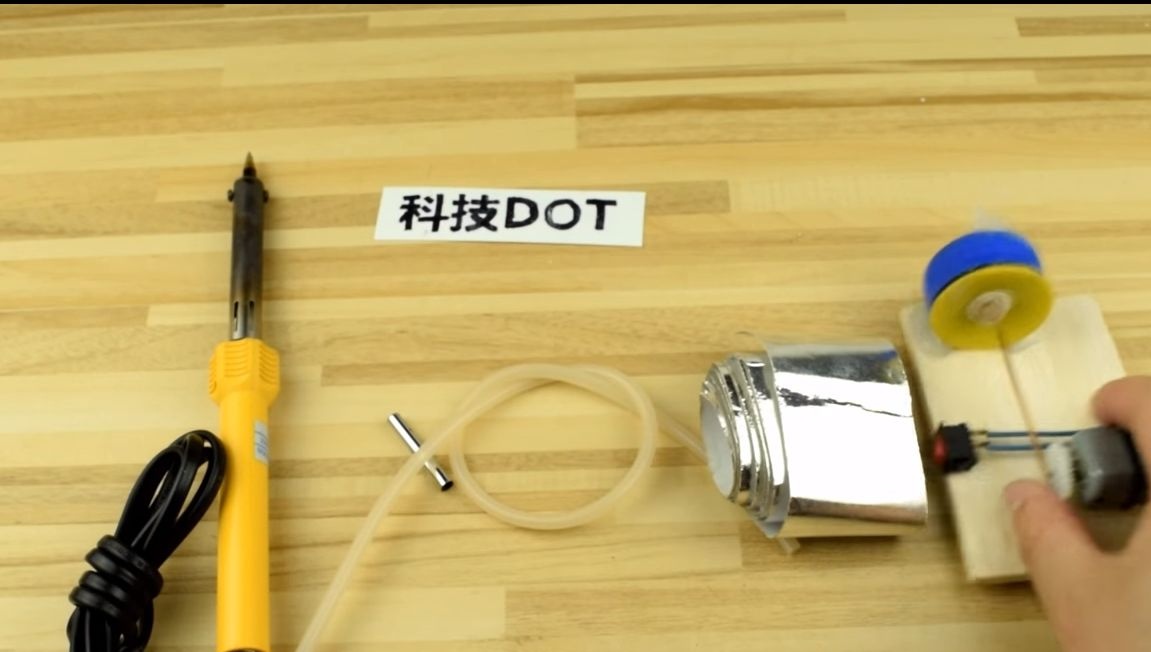
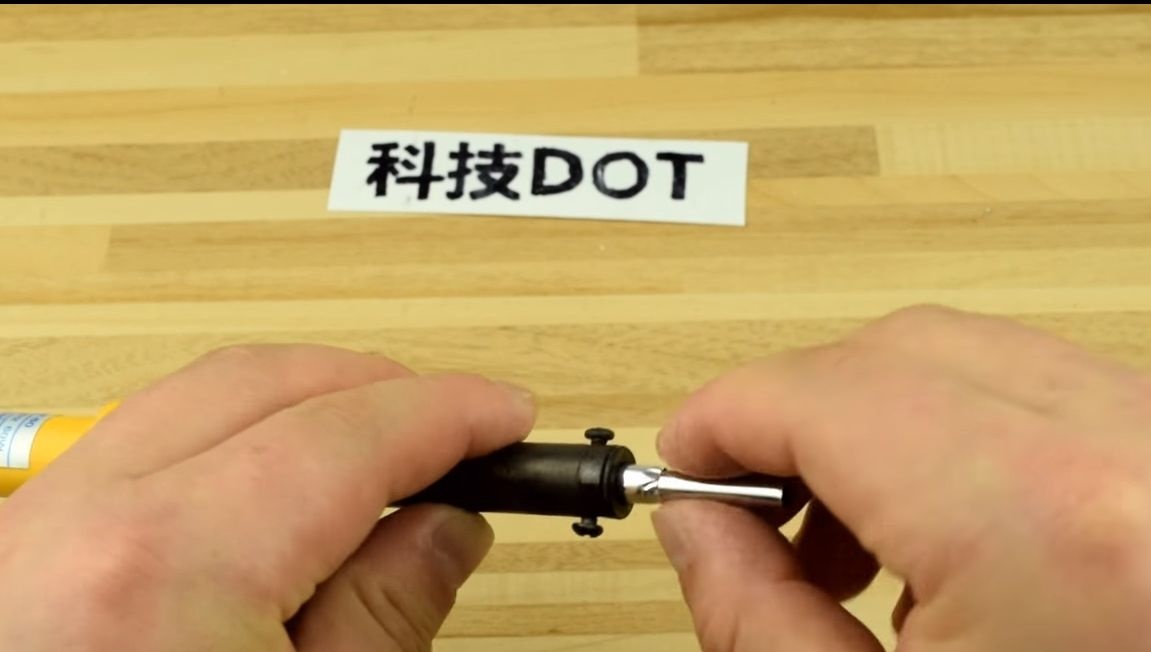
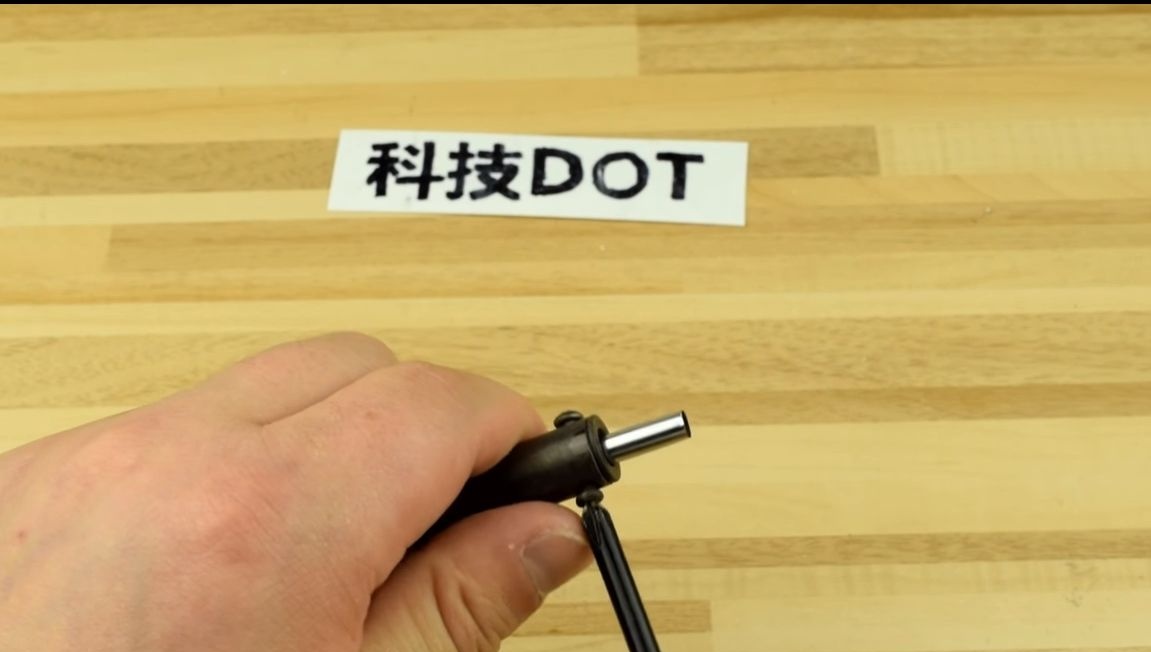
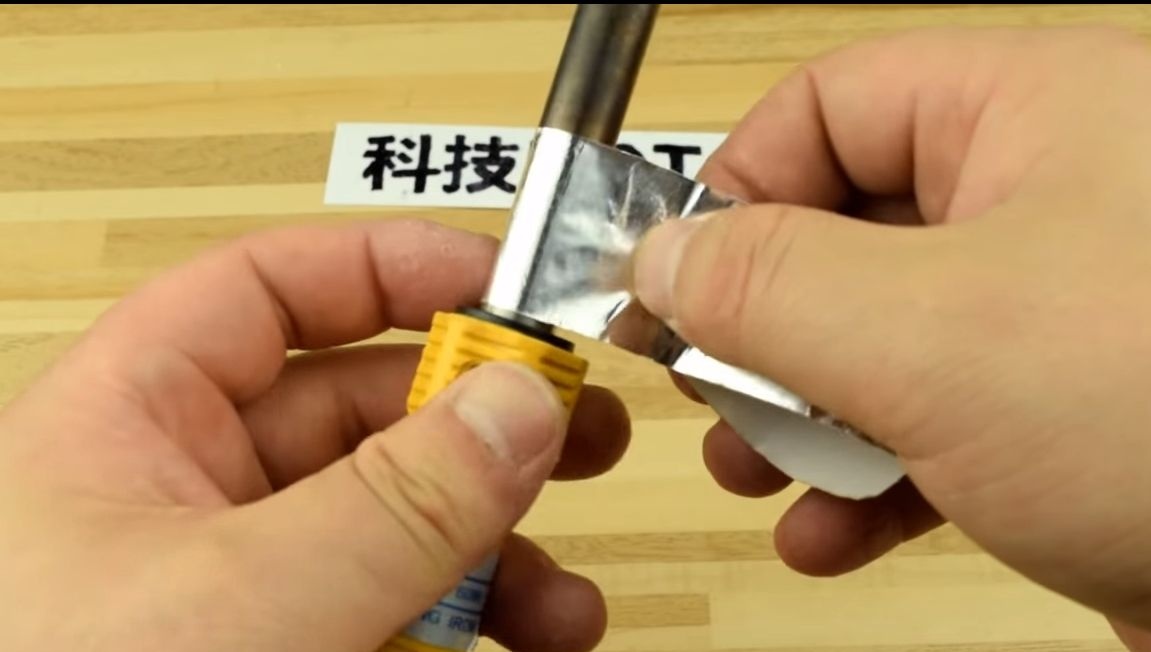
Step Two Install the nozzle
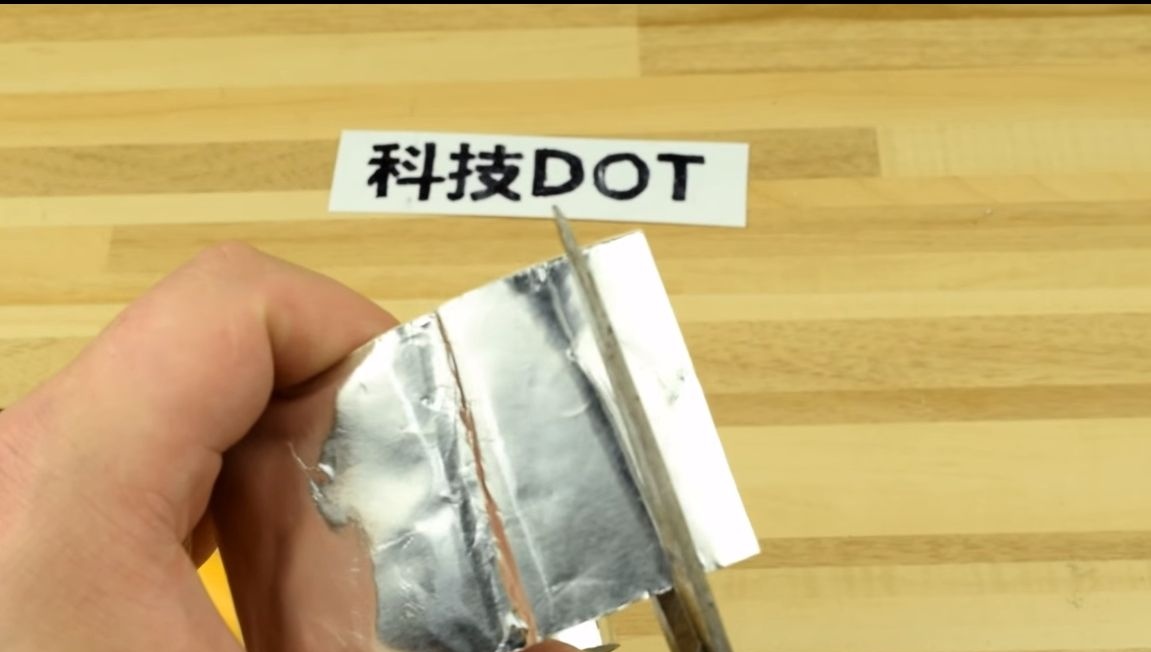
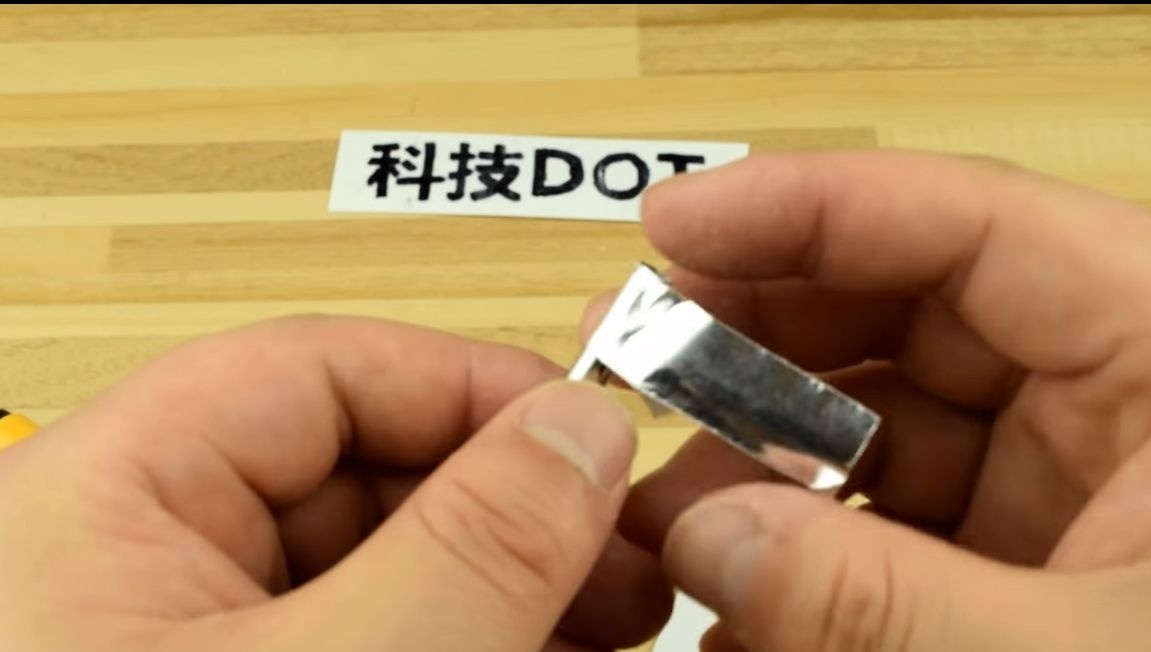
As a nozzle, a piece of a metal tube is suitable, in diameter it should be approximately the same as a soldering iron tip. The author got the tube a little smaller, so for its installation I had to wind the foil on the tube. In addition, the foil works as a sealant, does not release air.
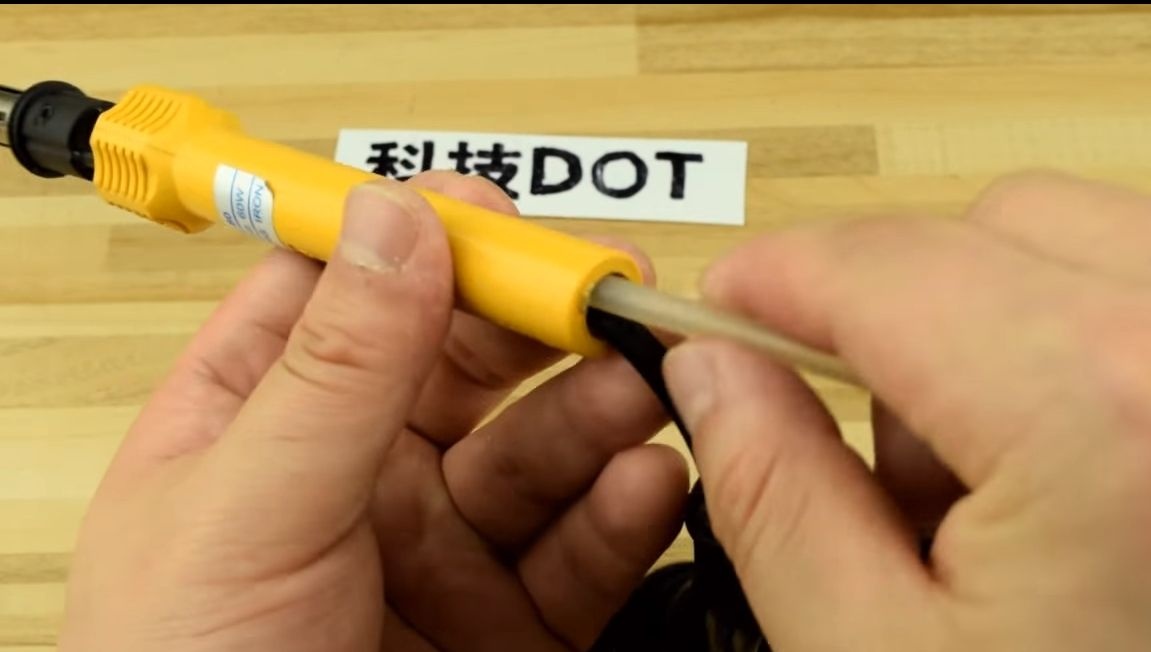
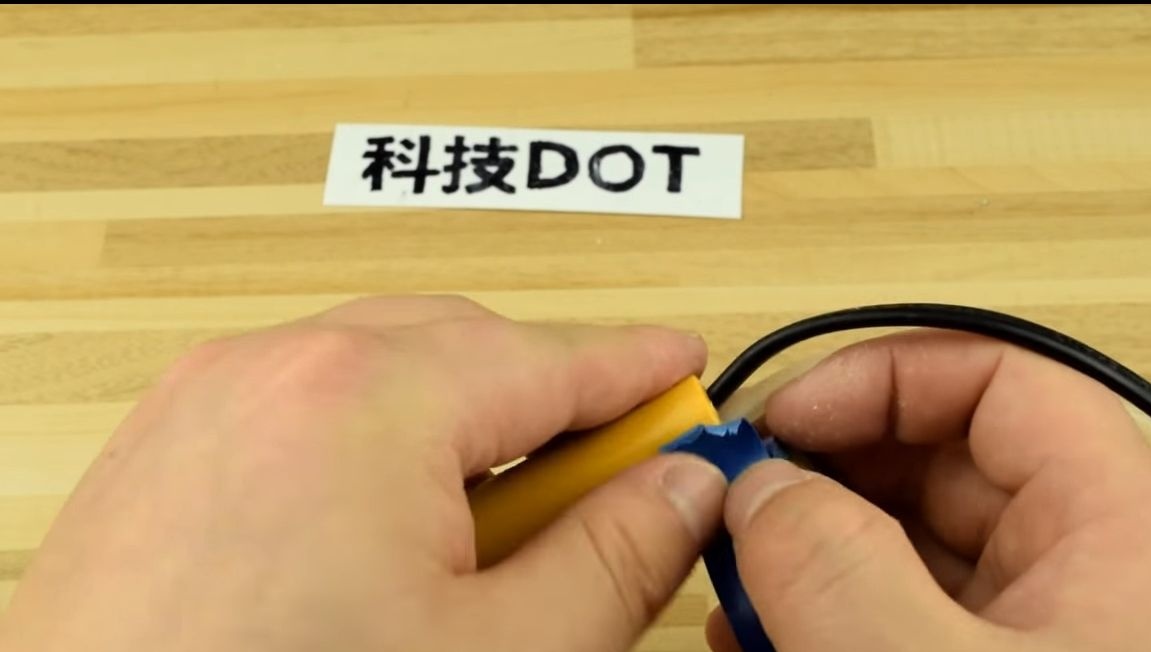
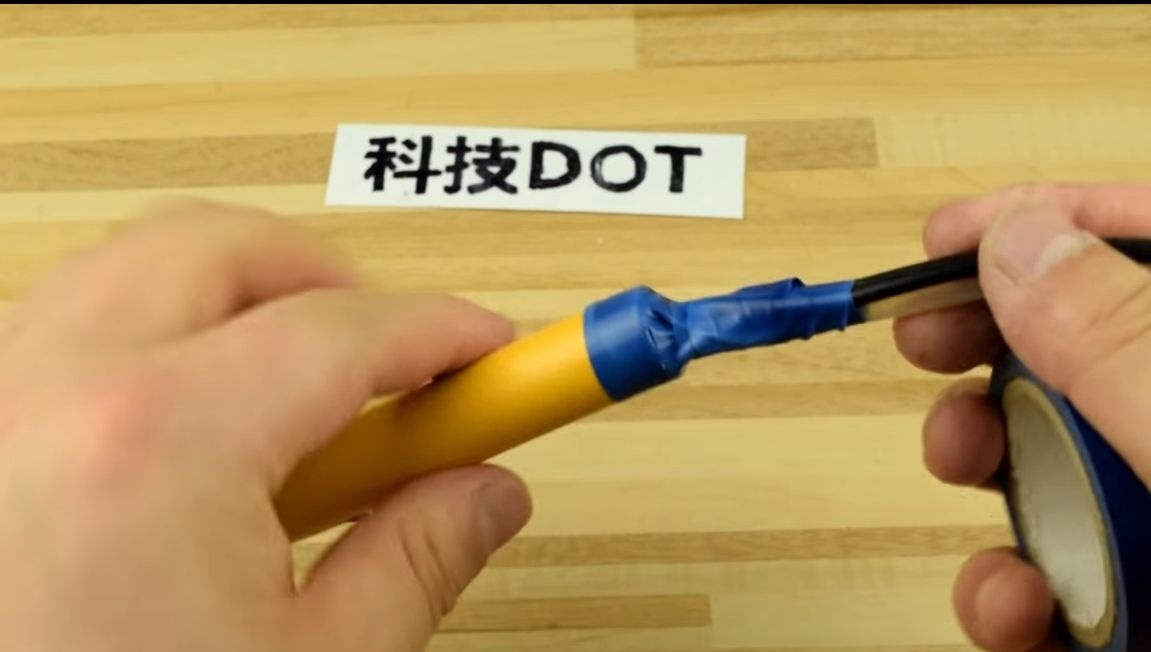
Step Three Connect the air hose
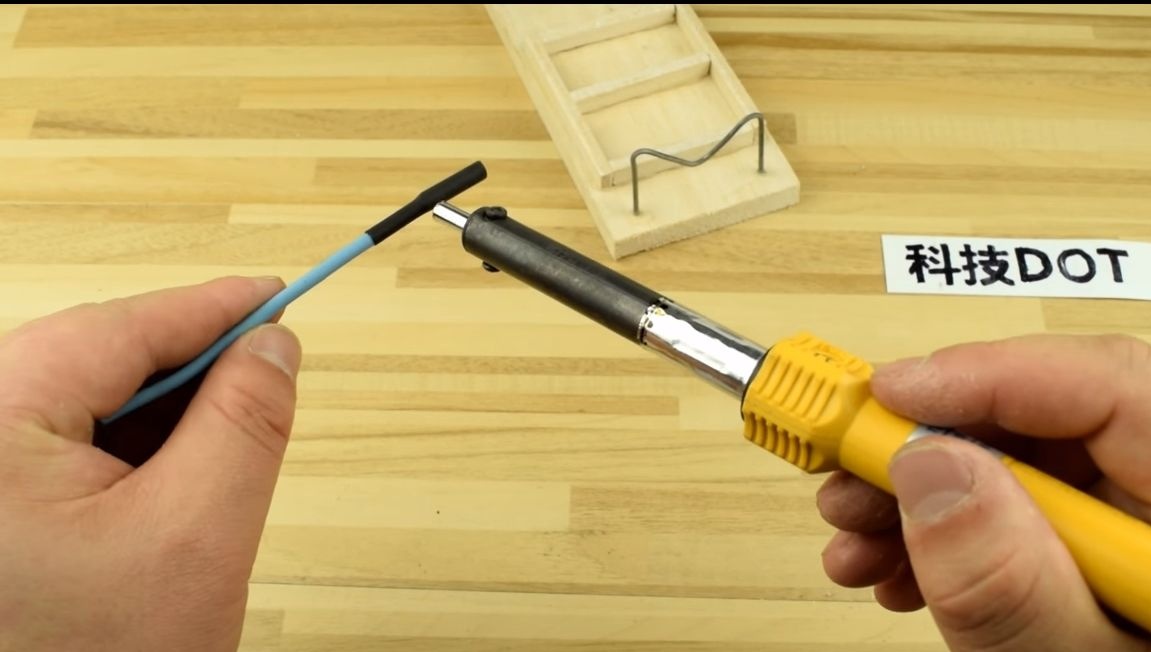
Most soldering irons have a metal tube inside the structure on which the heating element is wound. So, in fact, any soldering iron inside is hollow, and this is what we need. We remove the handle of the soldering iron and start the air tube inside, we collect everything back. To ensure tightness, the author winds the tube to the body of the soldering iron with electrical tape.
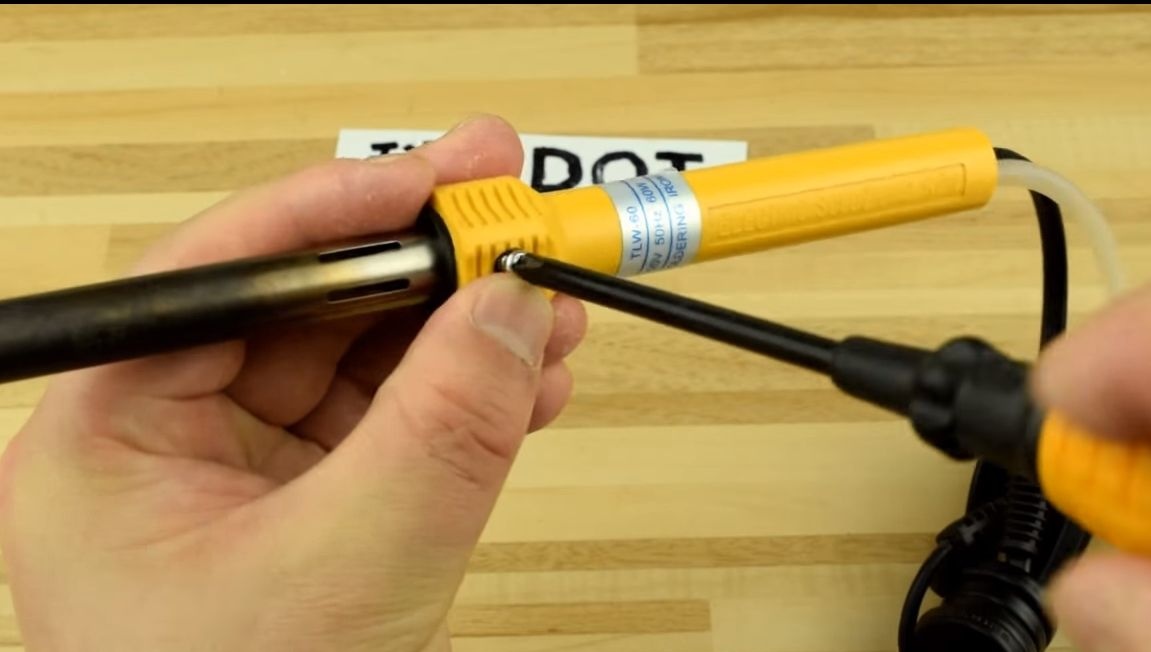
Step Four Additional sealing
Some soldering irons may have windows for ventilation, we need to plug them. For this case, the author uses foil. We don’t need ventilation, because air will go through the soldering iron so that it will not allow it to overheat.
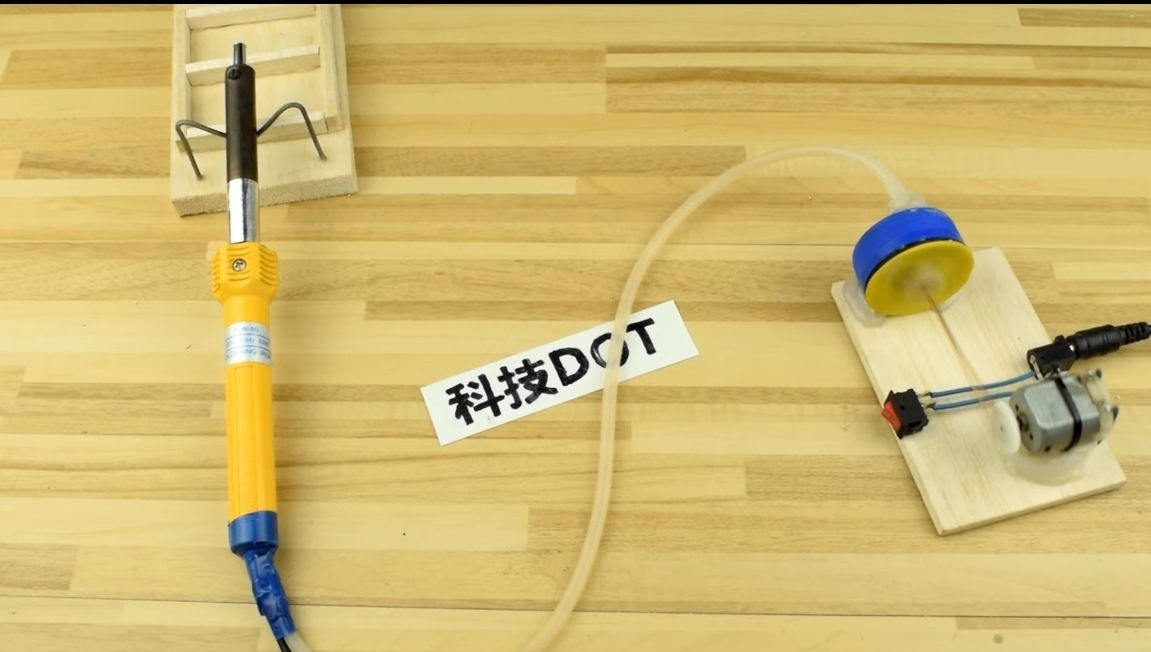
The soldering iron is ready, it remains to connect the pump!

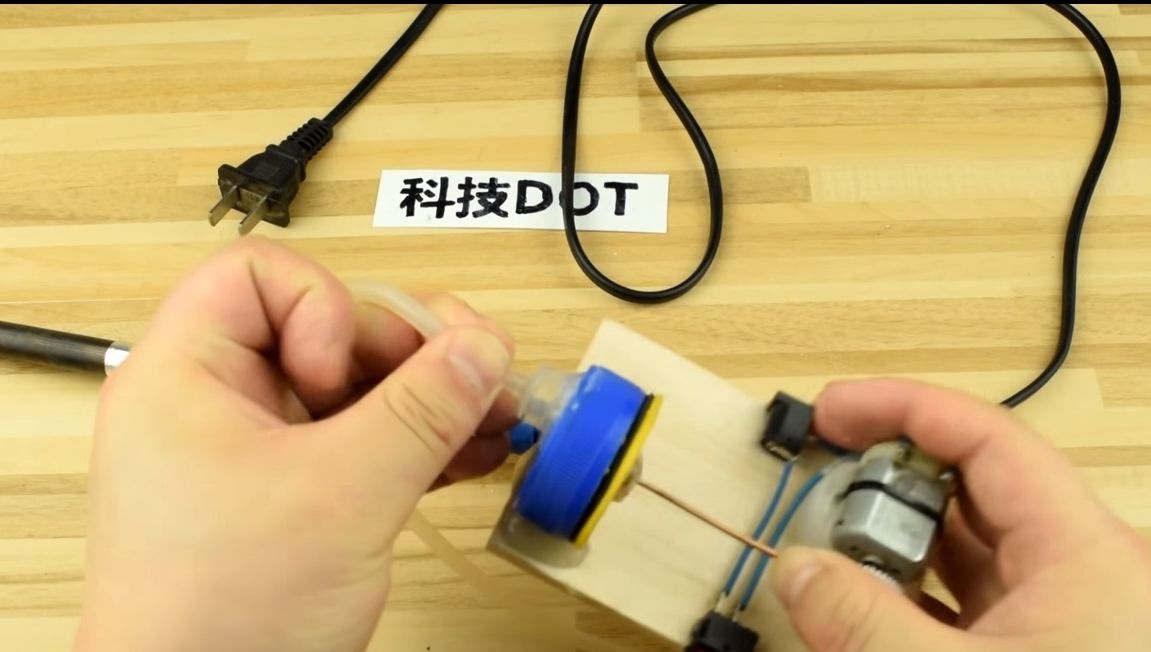
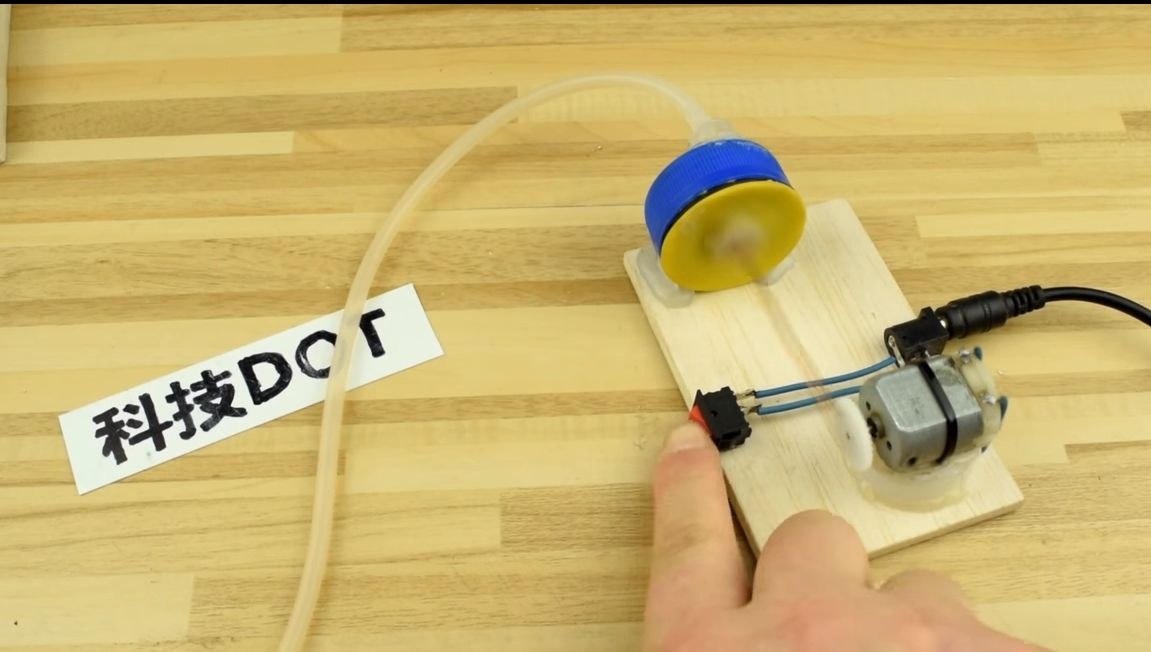
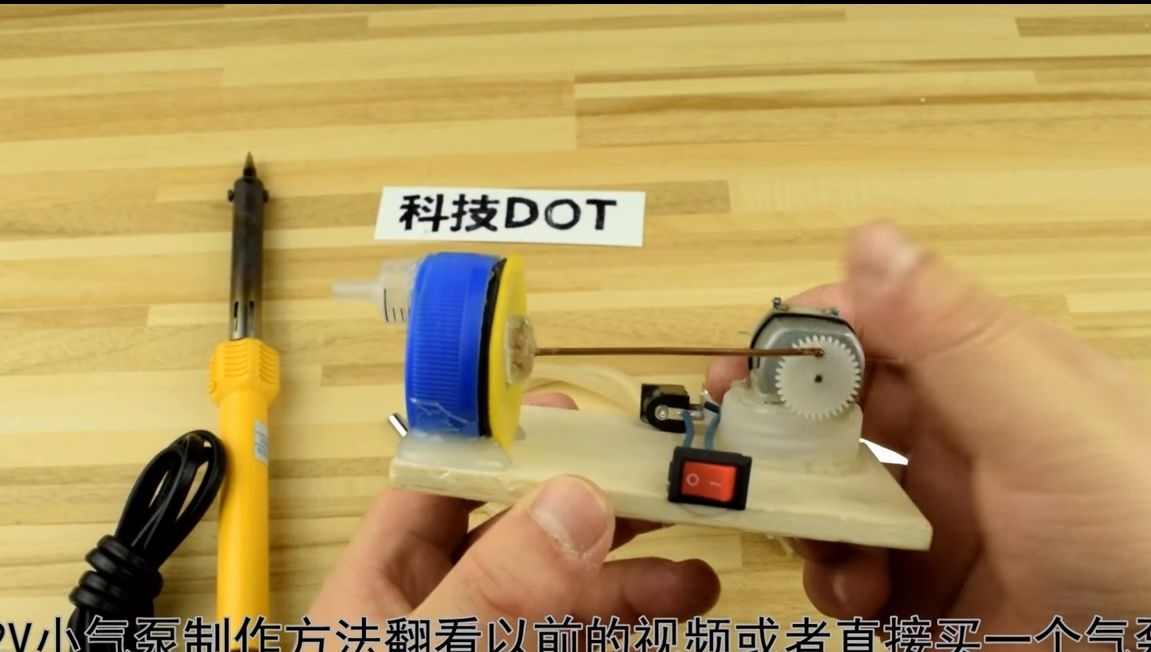
Step Five How is the pump arranged?
The author’s pump is home-made, but today you can buy one already made. The pump is made very simple, you will need a small motor, a plastic gear, a bottle cap, a syringe and other little things. Thanks to the crank, the motor makes the membrane work, it is made of a balloon. The syringe has self-made valves, one for the inlet, one for the outlet. As a result, the pump works.
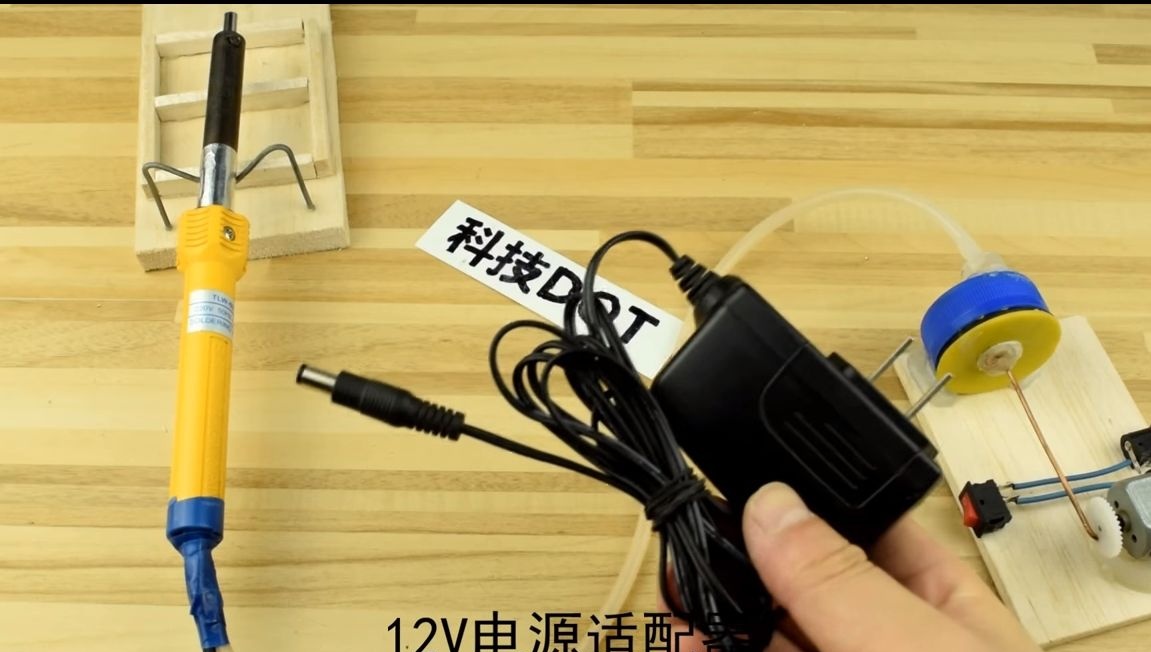
Step Six We connect and test
You can connect the pump to the soldering iron and try to solder. The author works quite well, easily melts the tin, seats the heat shrink tube, and so on. The stronger the pump will work, the lower the temperature of the soldering iron will be, since the air will not have time to warm up. Well, with a weak stream, the air will be hot, but the stream may be weak. Here it is already necessary to select an operating mode experimentally.
That's all, the soldering iron is ready, good luck!