
If you have problems with electricity, it's time to think about an emergency generator. Just such homemade I bring to your attention. With this generator, you can easily charge a mobile phone, laptop, as well as turn on more serious devices in terms of load. You can also take such a generator with you to nature, many fans go out to rest with a tent for a month or even all summer.
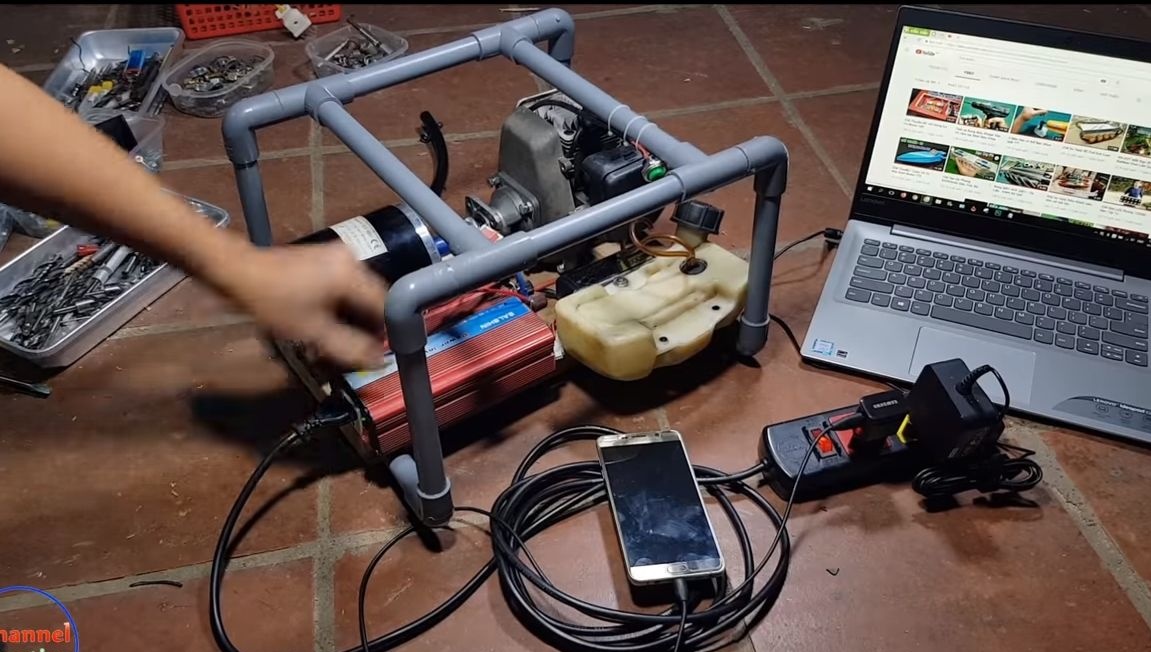
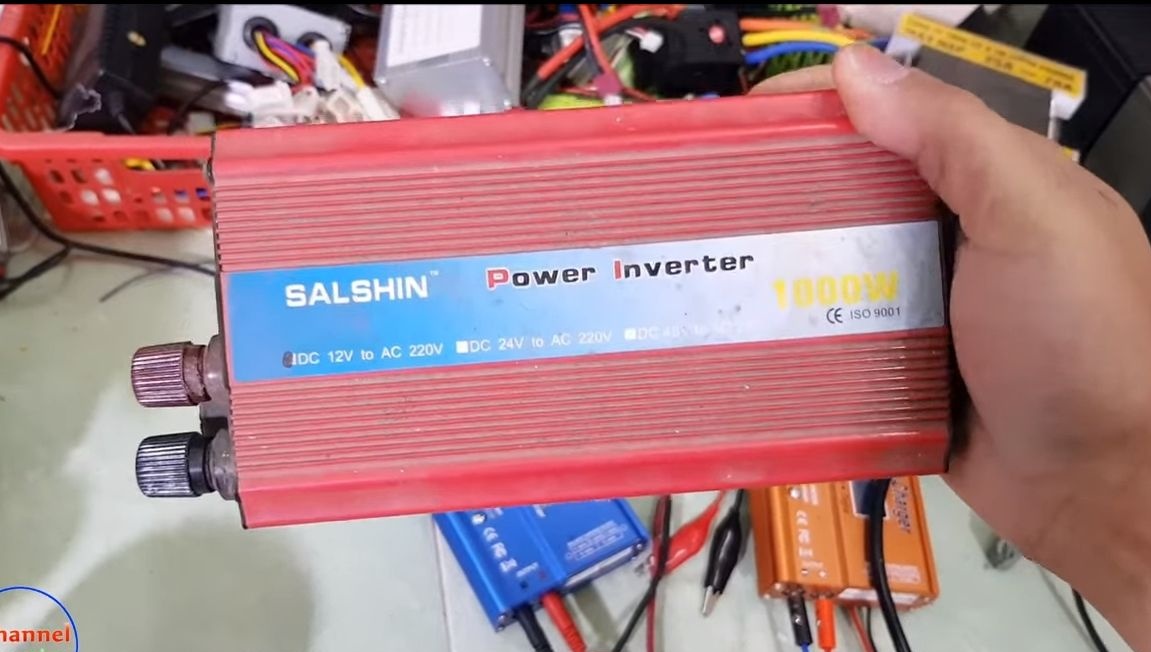
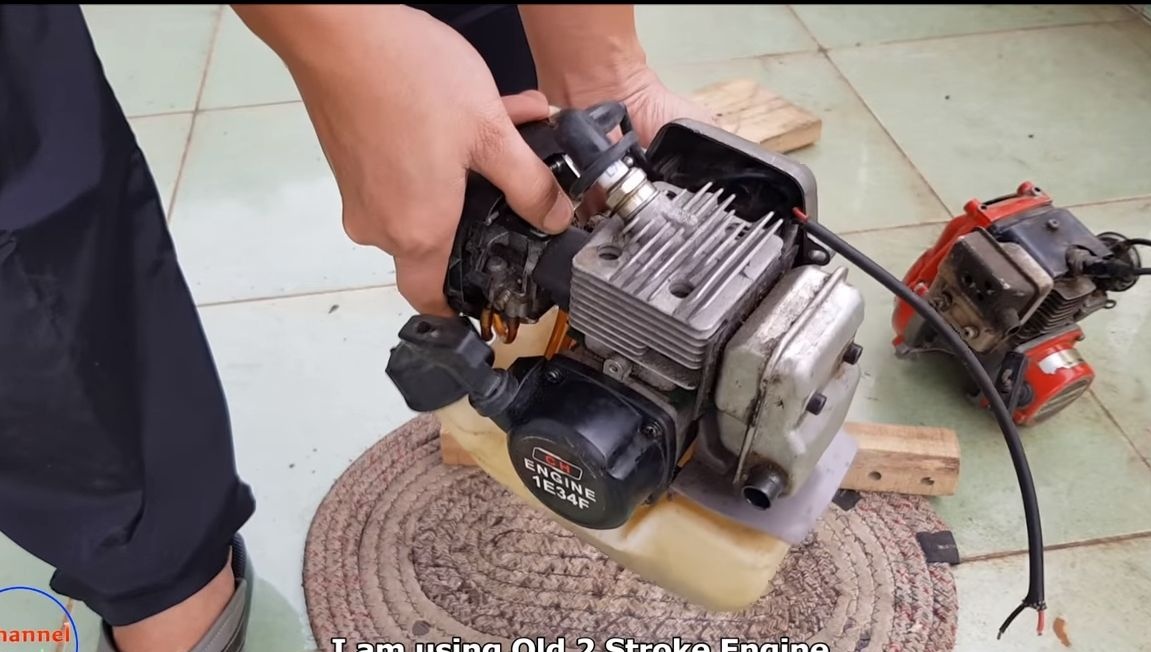
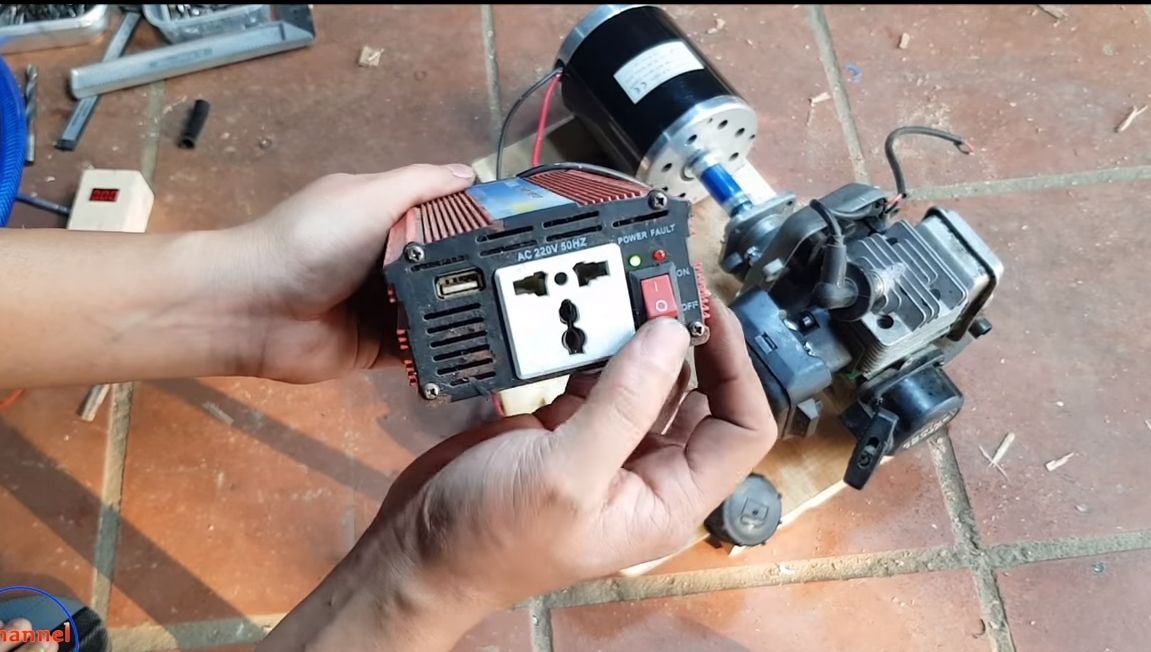
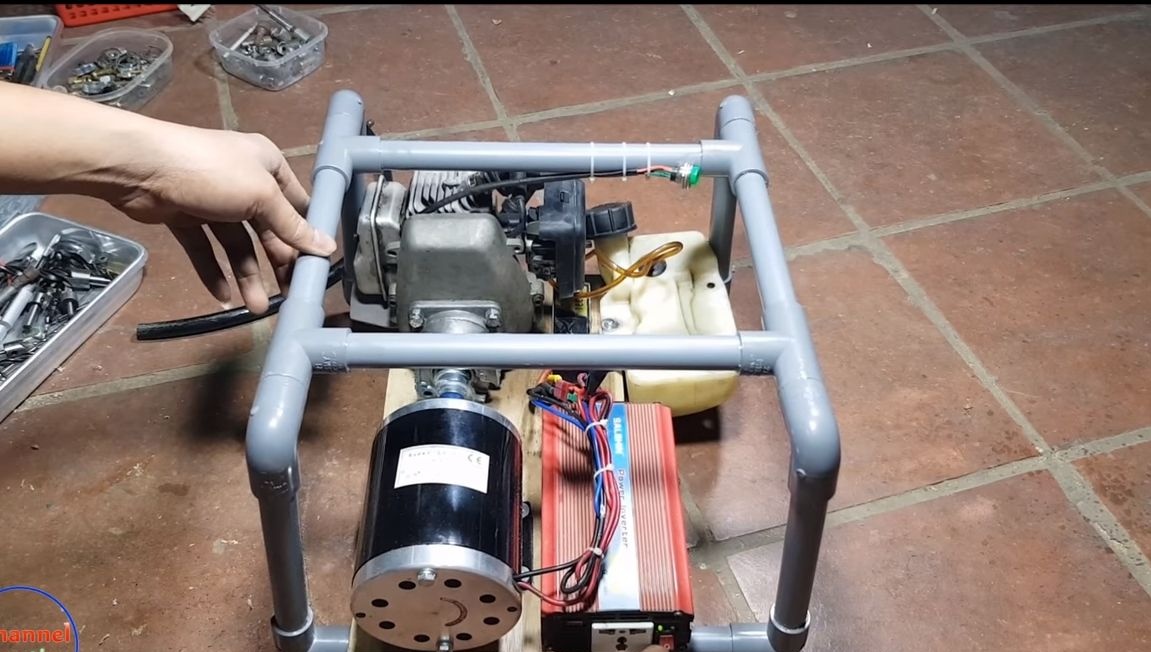
The homemade product is quite simple to manufacture, everything is arranged on the engine from a chainsaw, you can also use a motor from a chainsaw. A 12V motor acts as a generator, and the whole joke is that this motor can be used as a starter and start the generator by pressing a button. The basis of the generator is very simple, made of boards, and the frame is made of PVC pipes and other components. To get 220V, you need an inverter.
The generator consumes little gas, because the engine is small cubic, and it works at low speeds.
Materials and tools that the author used for homemade:
Material List:
- engine from a brushcutter;
- engine on 12V-24V (direct current);
- ;
- wires;
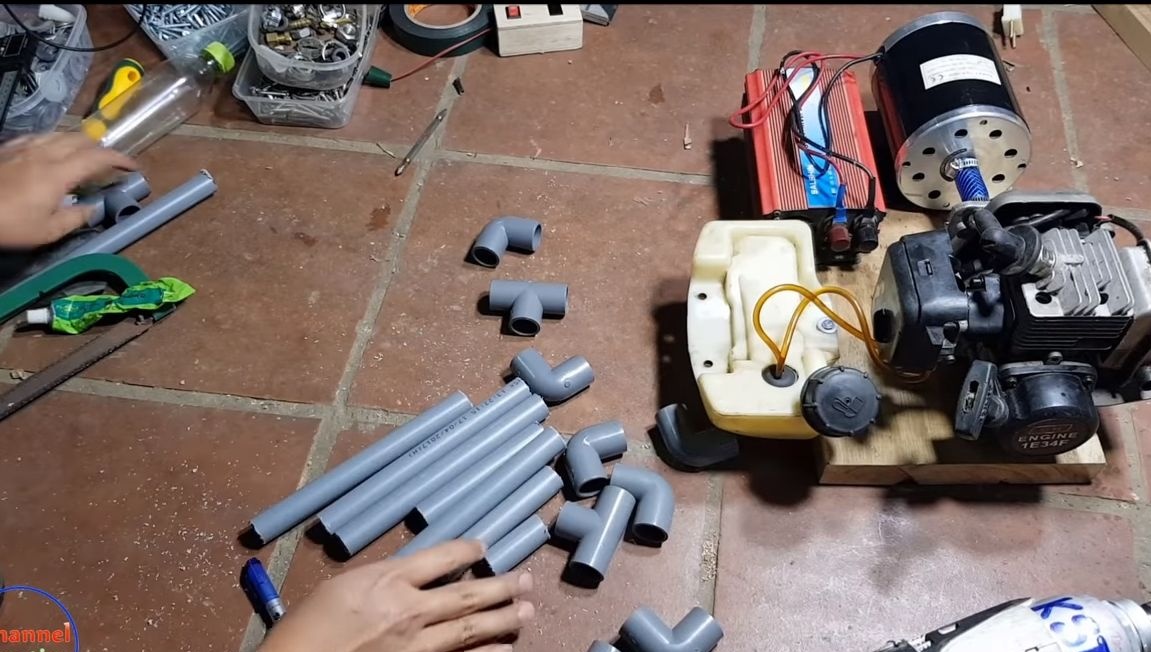
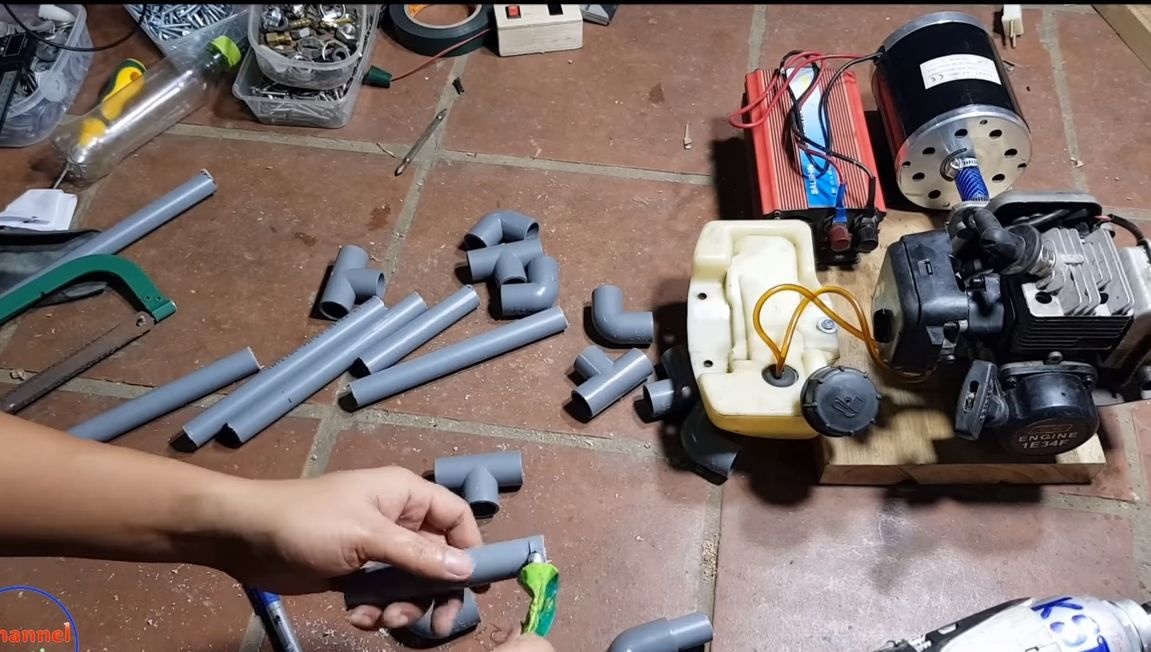
- PVC pipes, as well as tees, corners and other trifles;
- glue;
- a pair of rubber tubes (for coupler);
- a piece of board;
- clamps;
- buttons, screws, ties and more.
Tool List:
- drill ();
- screwdriver;
- circular saw (enough and hacksaws);
- voltmeter;
- screwdrivers, pliers and other little things.
Generator manufacturing process:
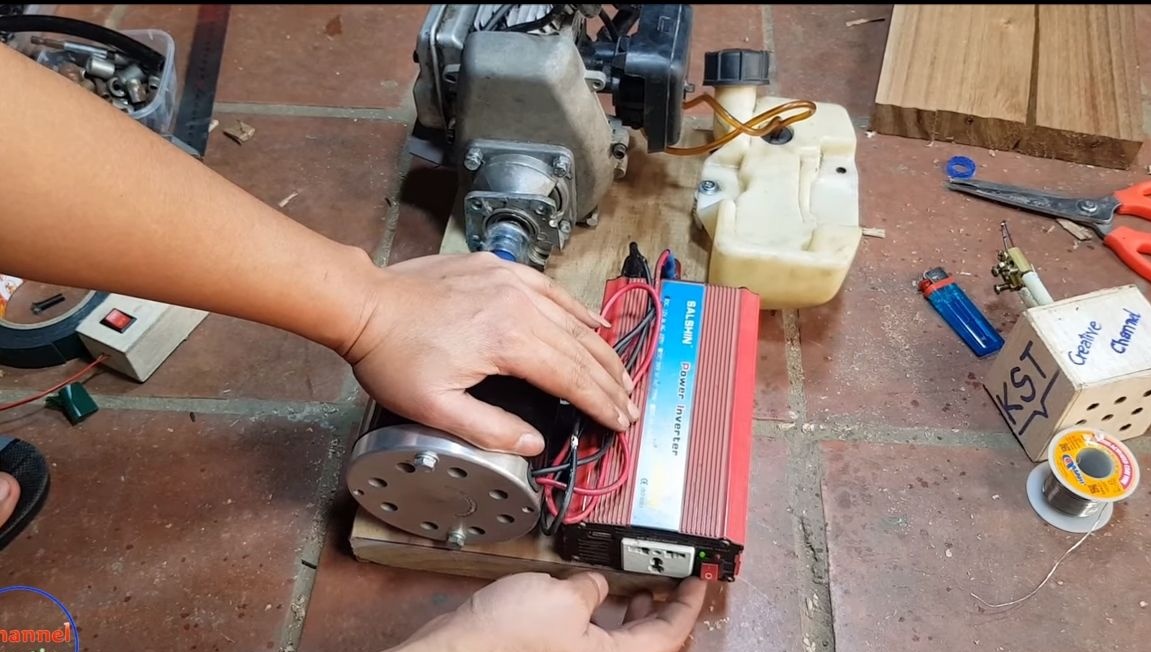
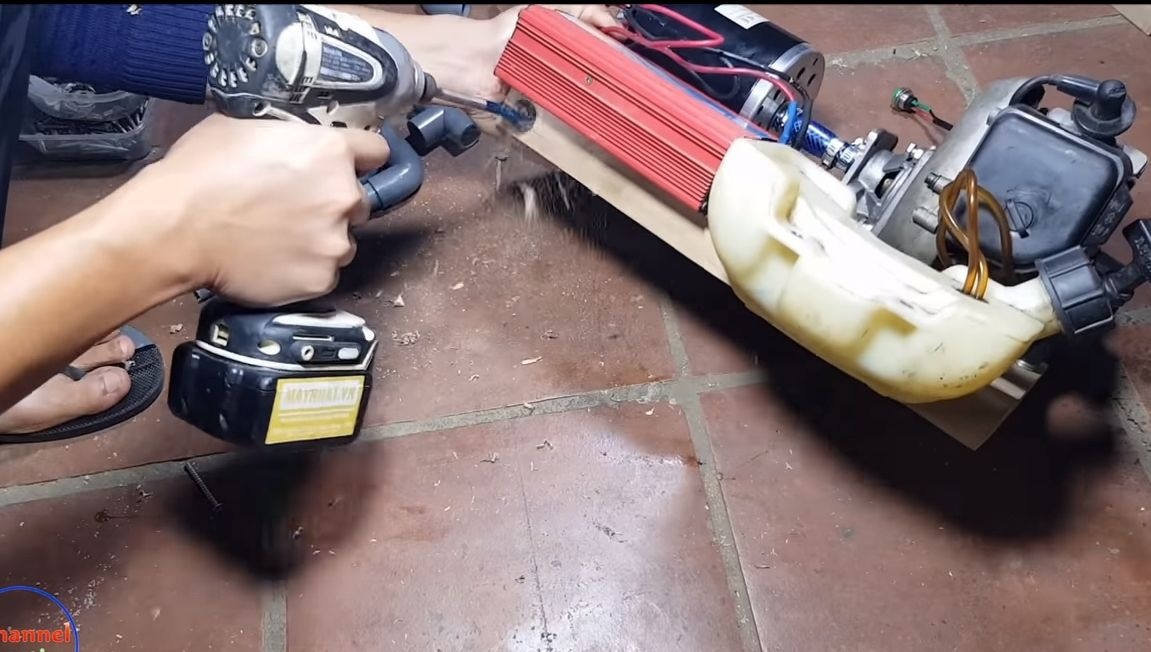
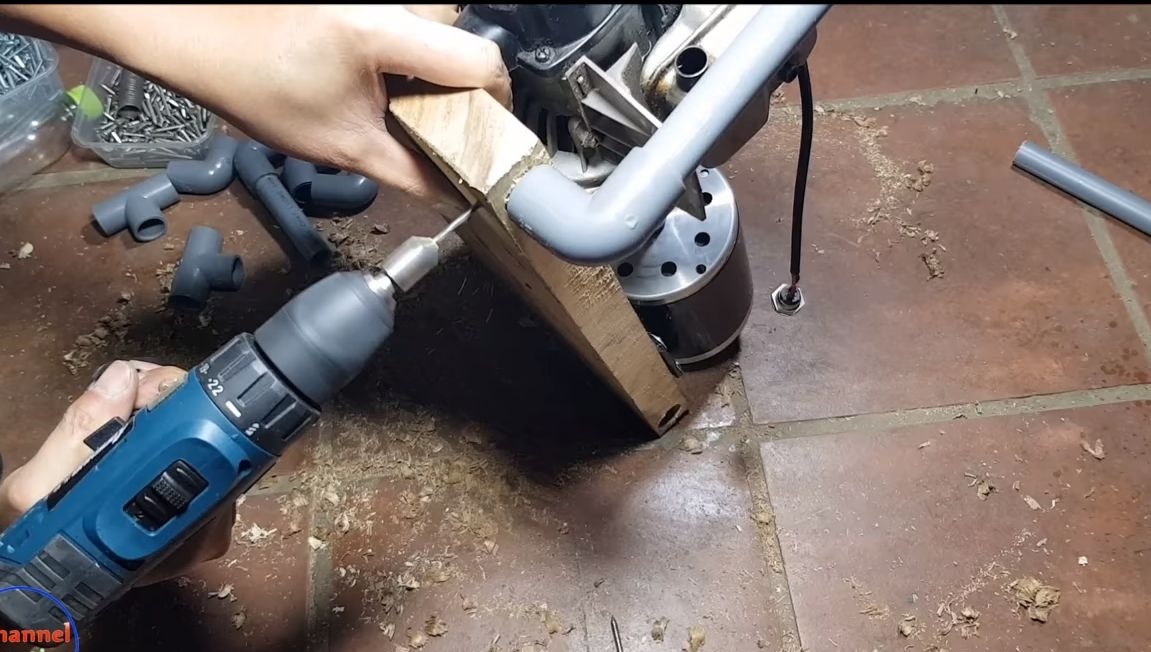
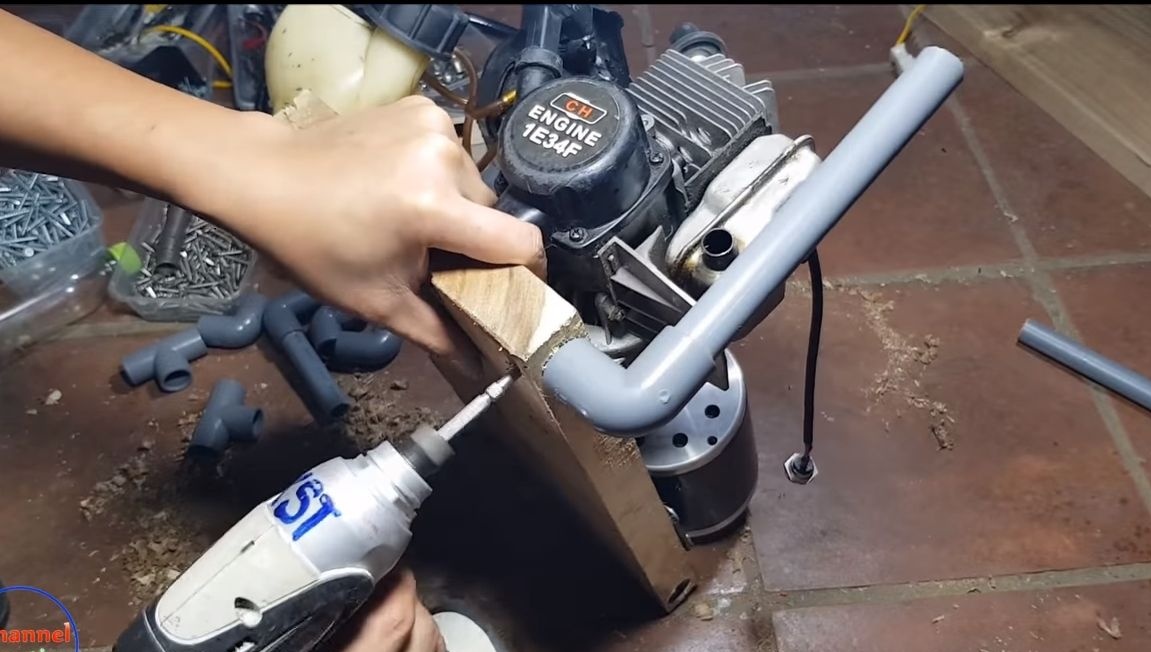
Step one. Install the engine on the base
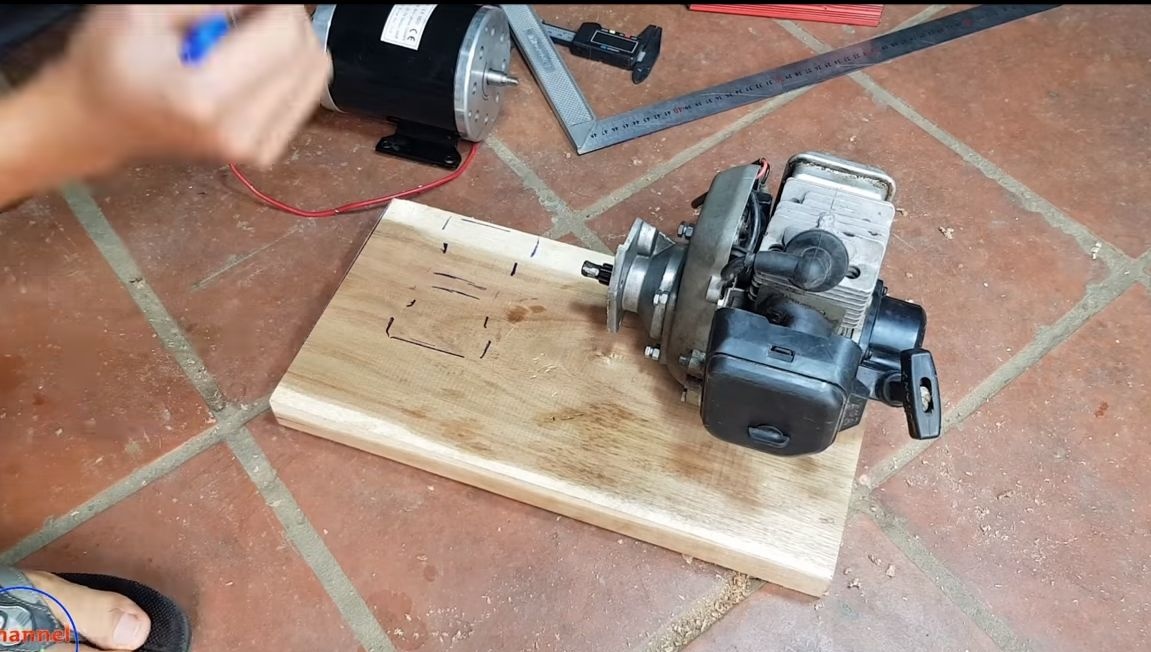
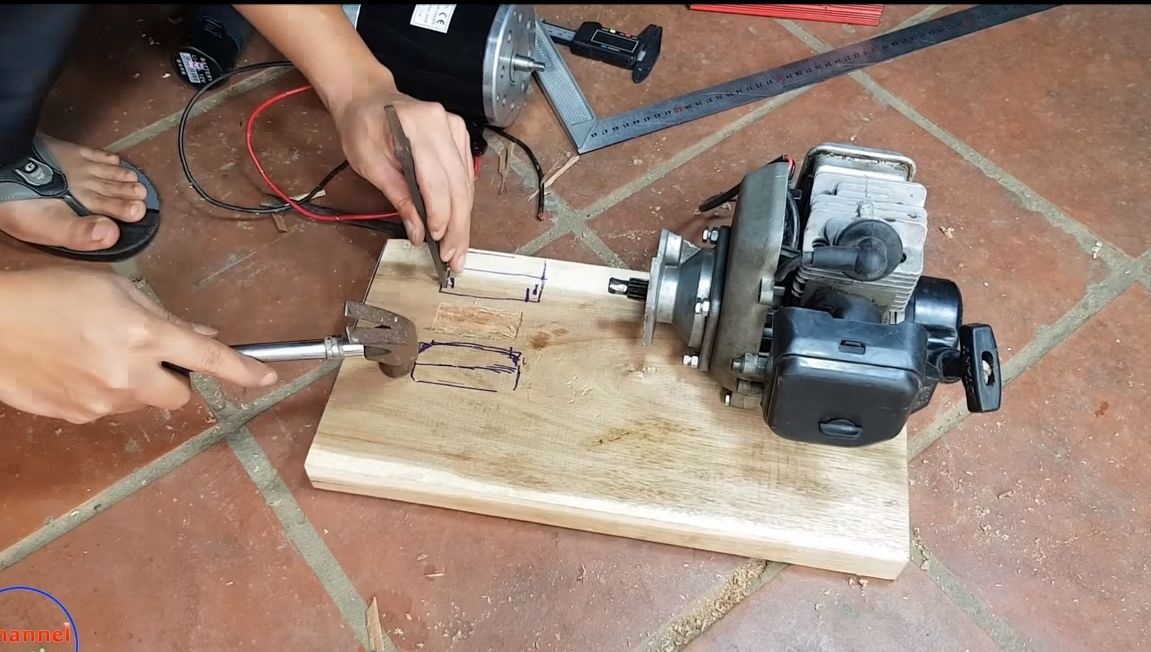
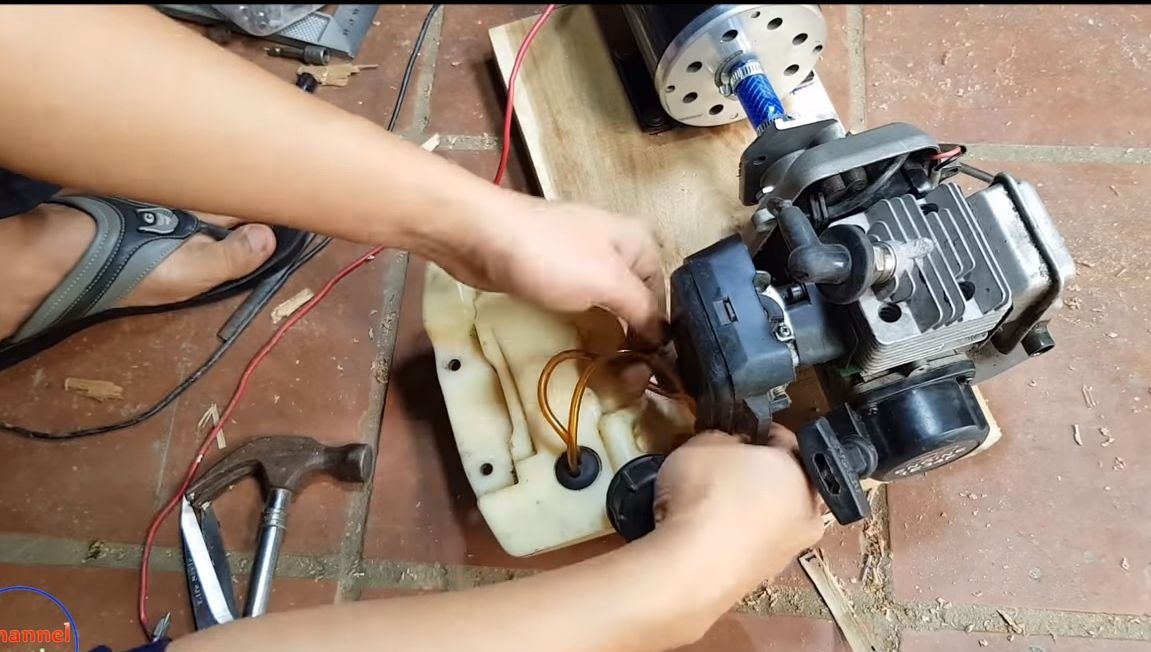
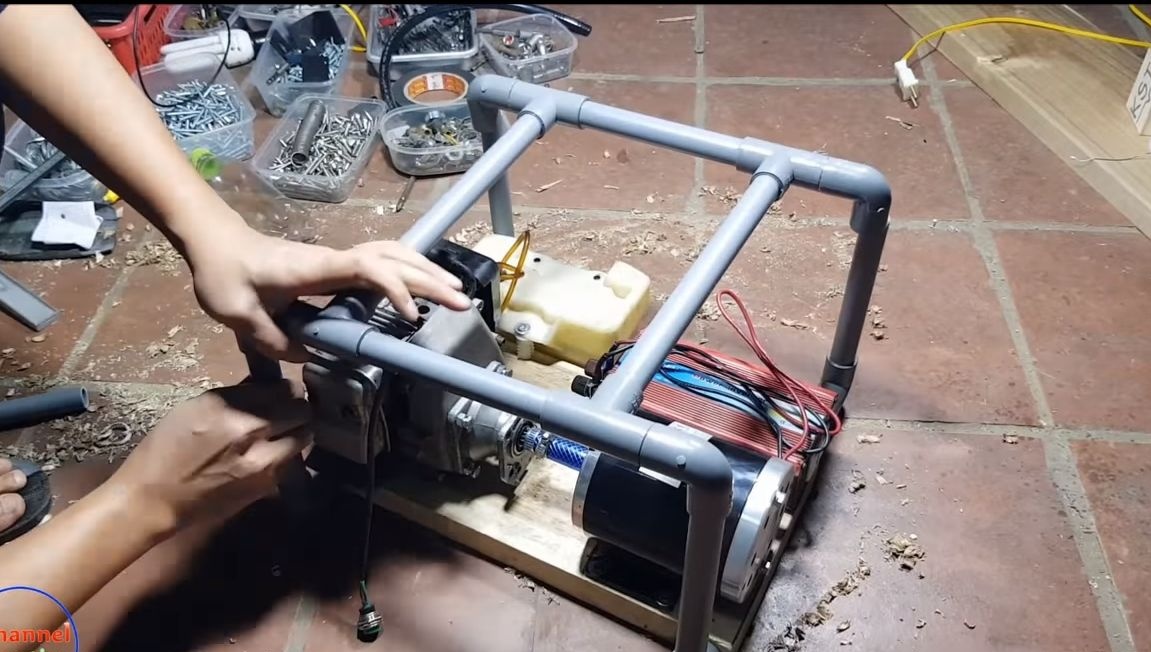
The first step is to install the gasoline engine on the base. As a basis, you need a wood plate, plywood, and so on, it is advisable to take the material more massive and heavier.

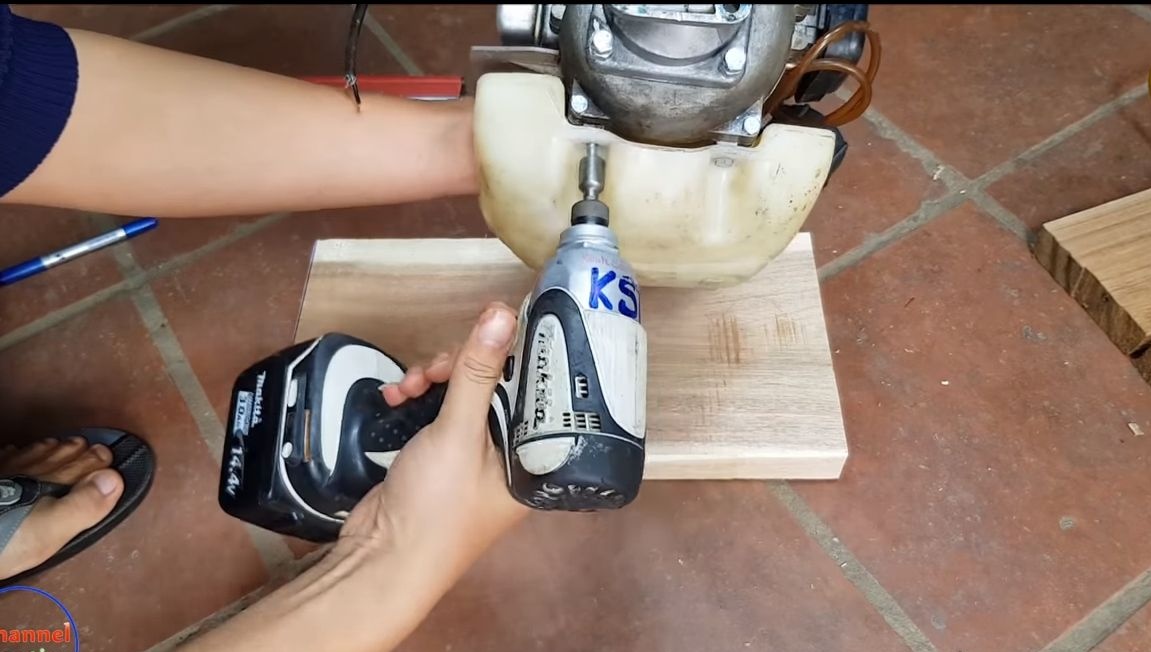
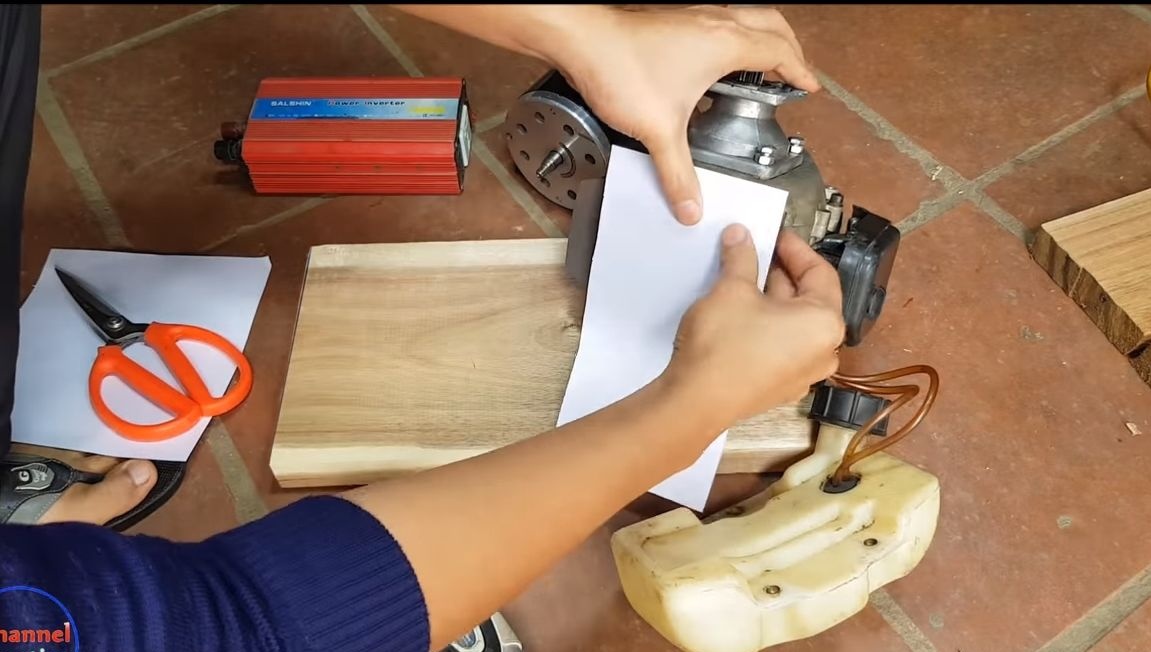

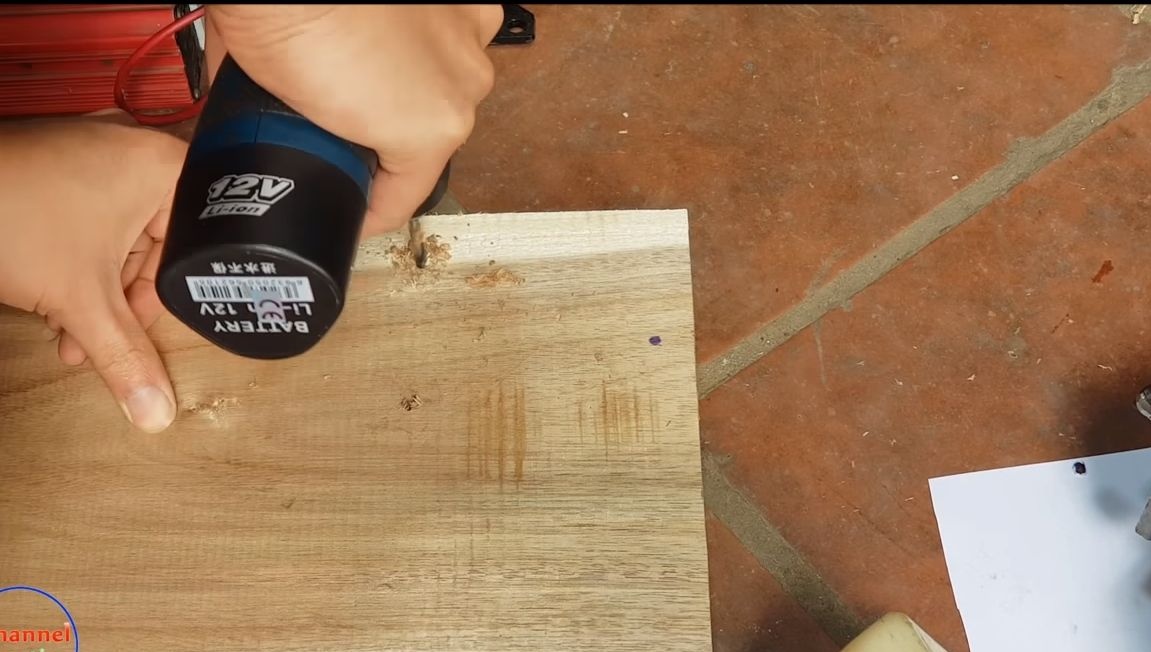
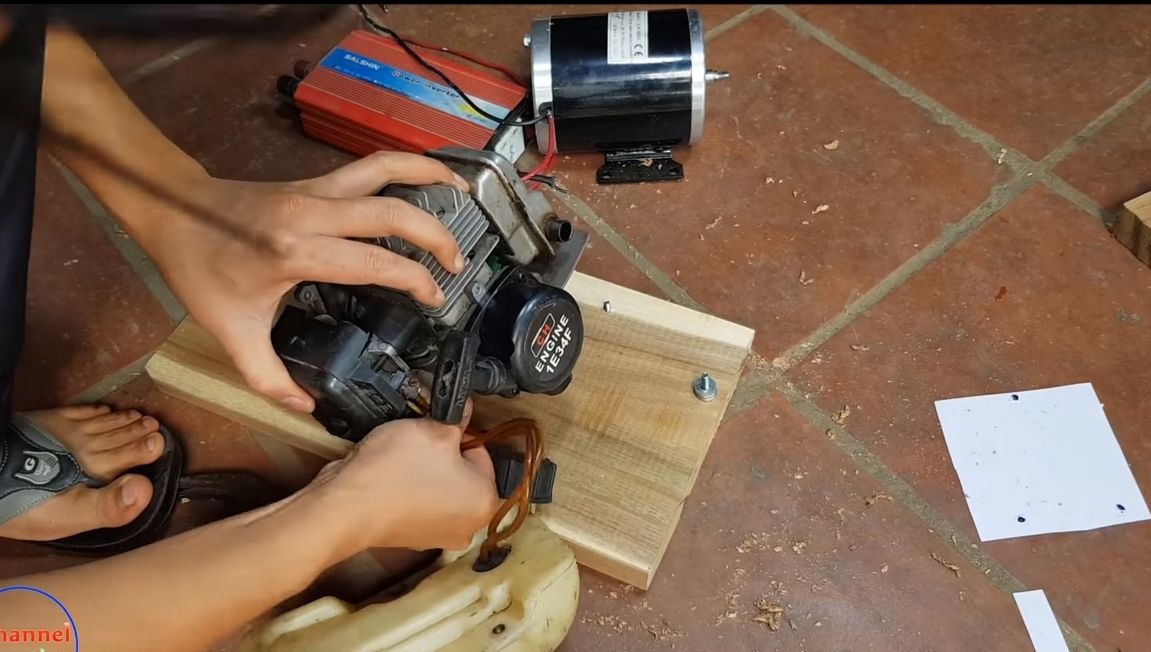
We remove the gas tank from the engine, it is located below. We attach a piece of paper, make a template and transfer it to the base. We drill holes in the base and install the fixing screws. That's all, now it remains to fasten the motor to the base stronger. It is advisable to install a rubber gasket between the engine and the base, it will work as a shock absorber, but the author does not.
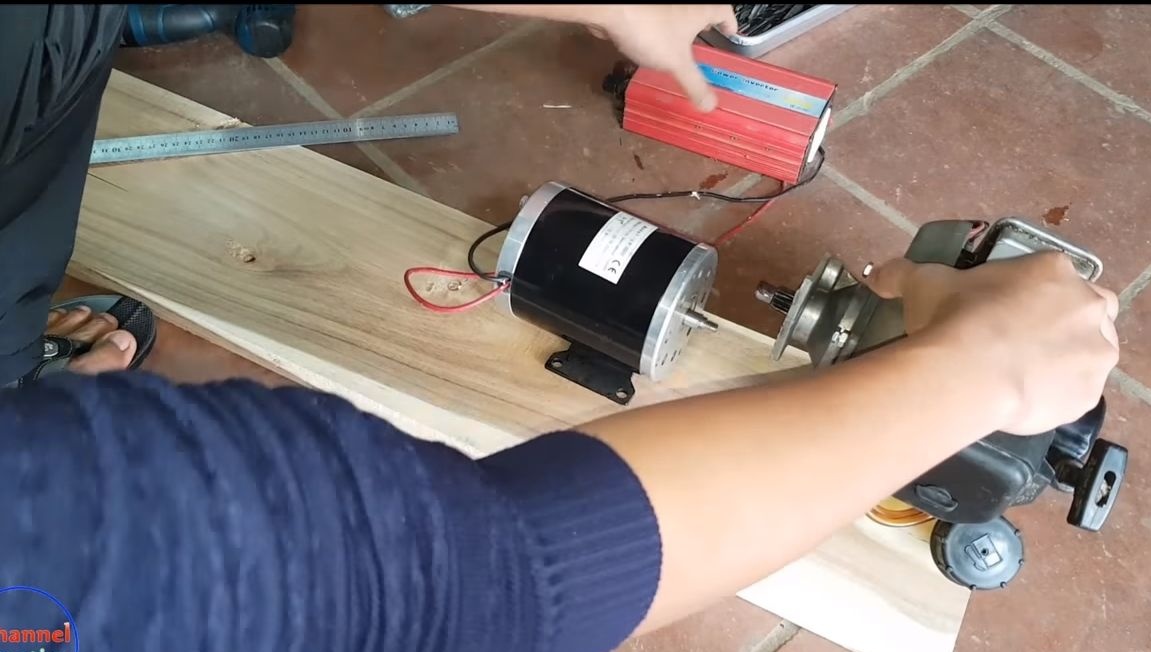
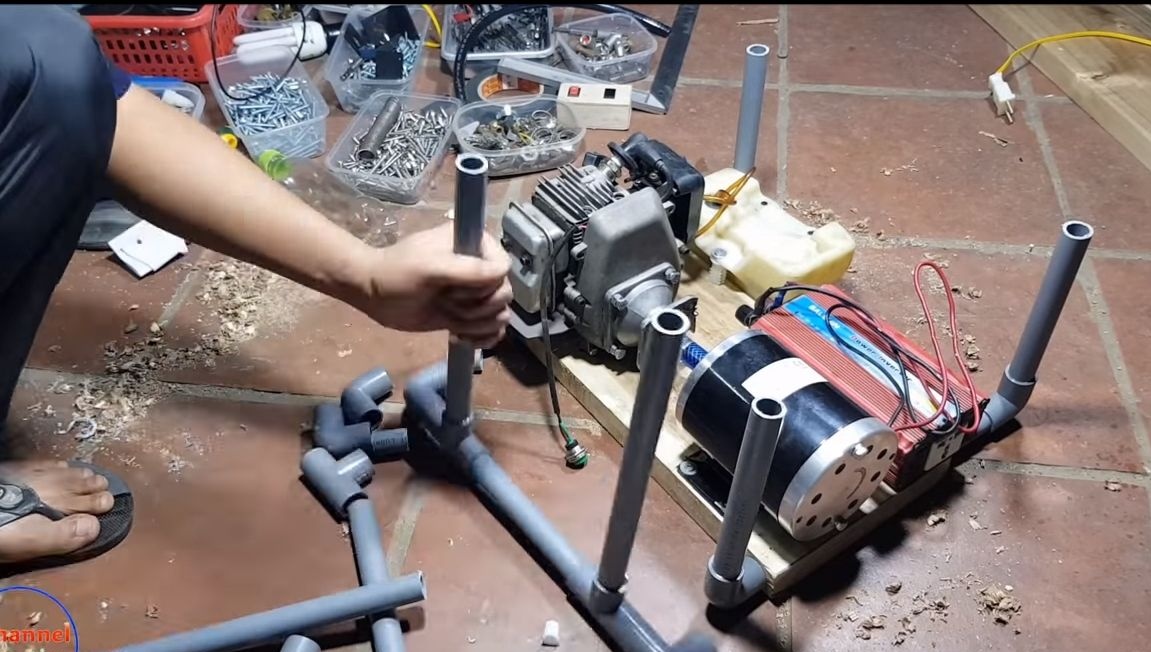
Step Two Generator Installation
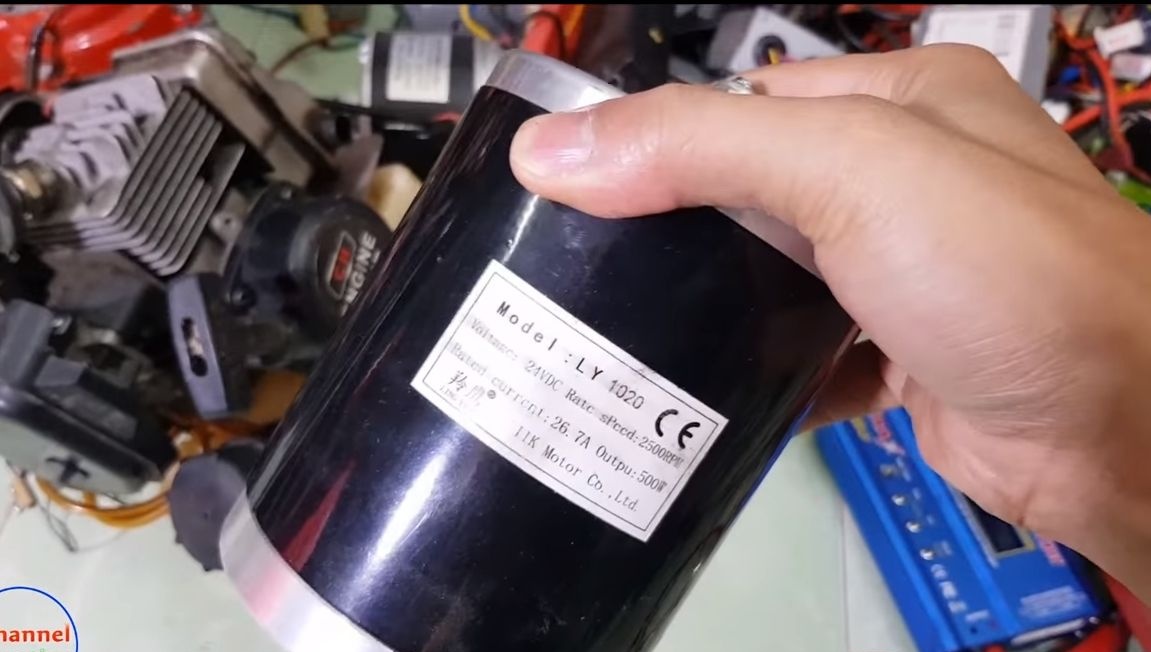
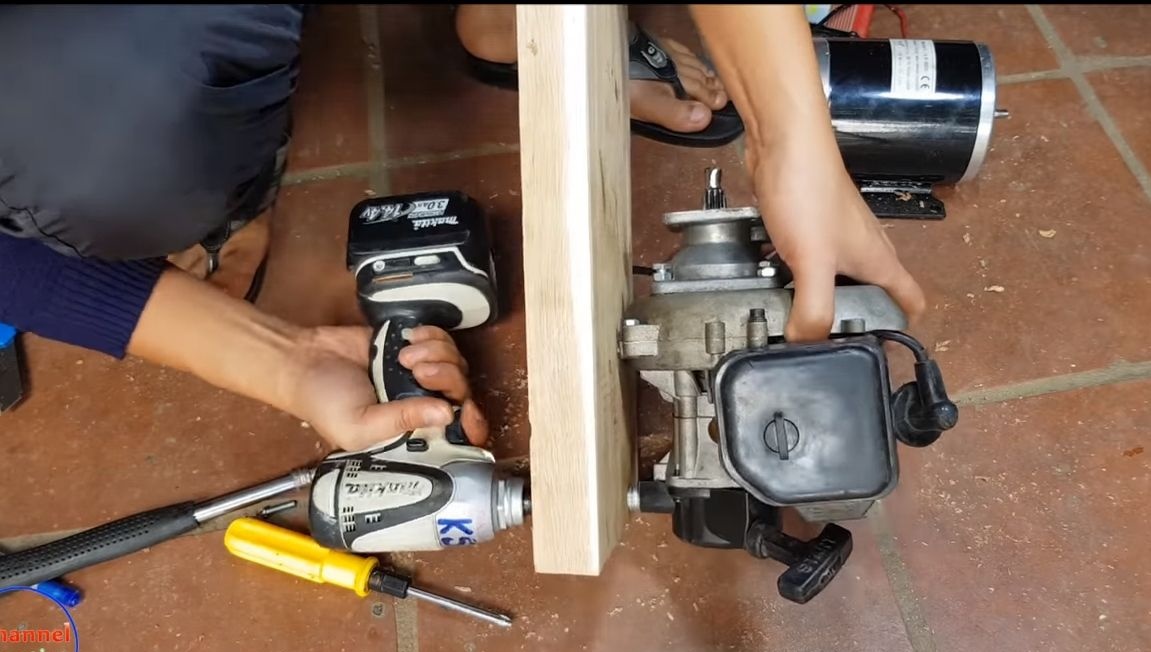
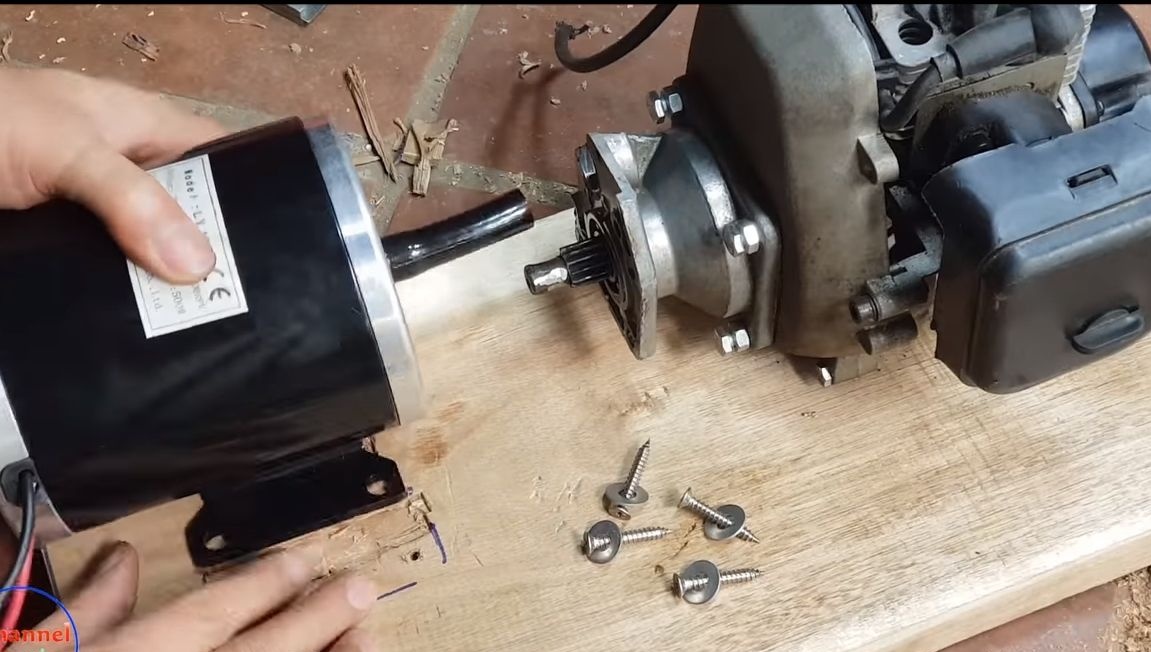
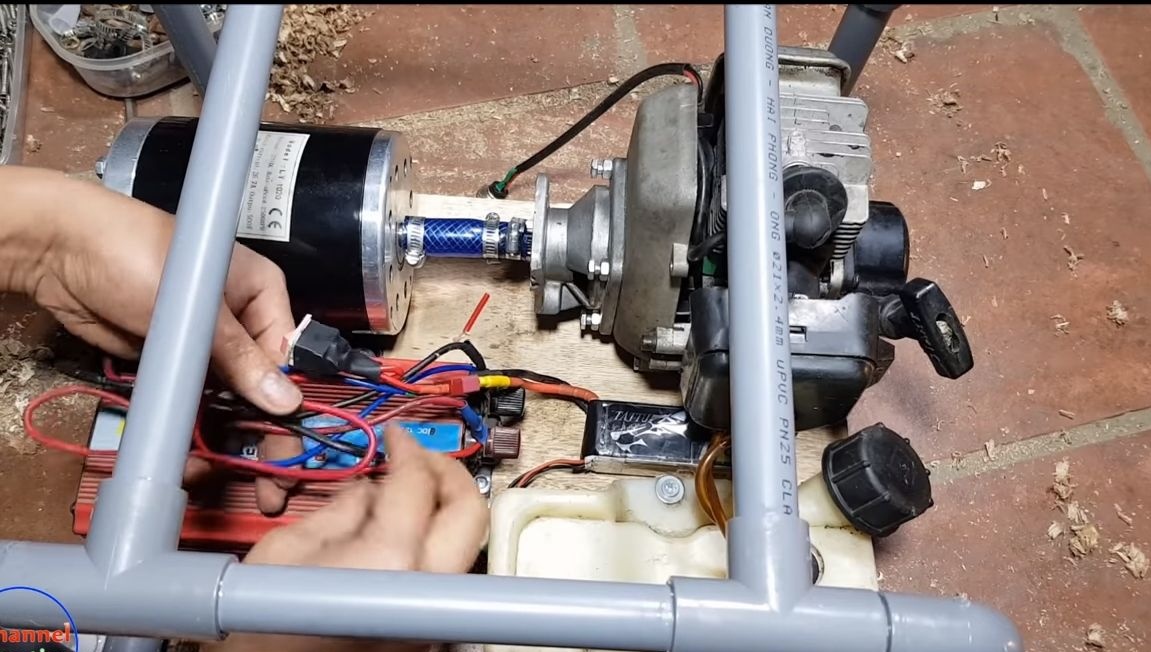
As a generator, we use a DC motor.For this purpose, you can try to put the engine from the wipers or the stove of the car, some types of starters and others may come up. The motor must have a magnetic stator so that the generator can operate without starting voltage.
Depending on its size and shape, we customize the motor so that its axis is flush with the axis of the engine. But do not rush to attach to the base, first you need to connect the axes.

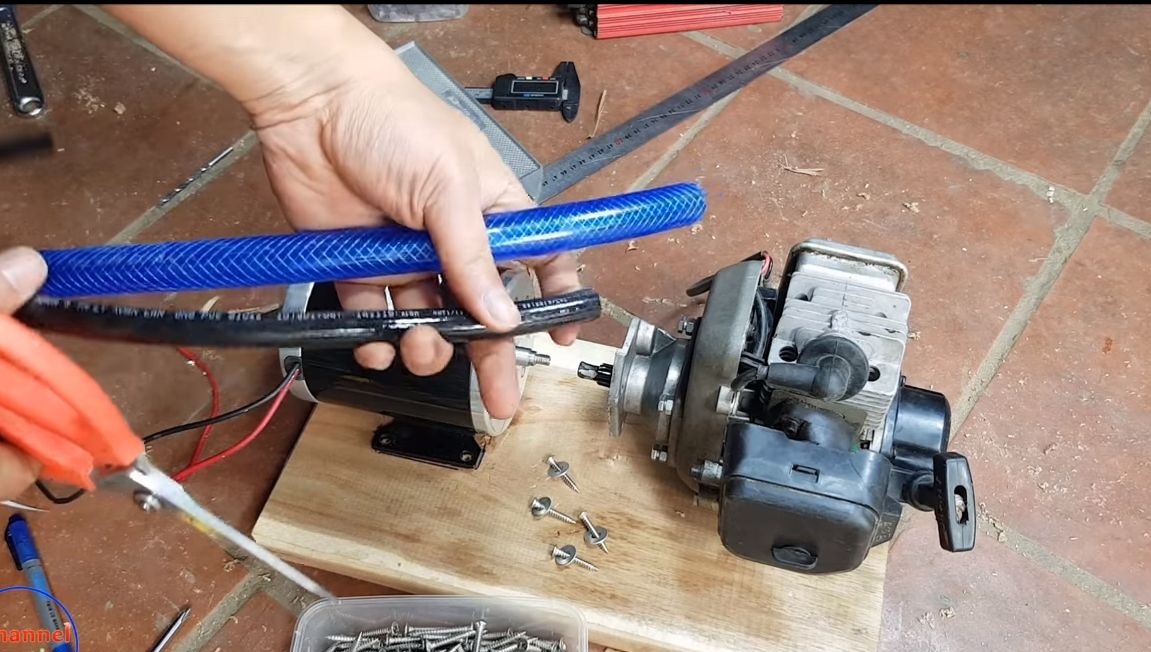

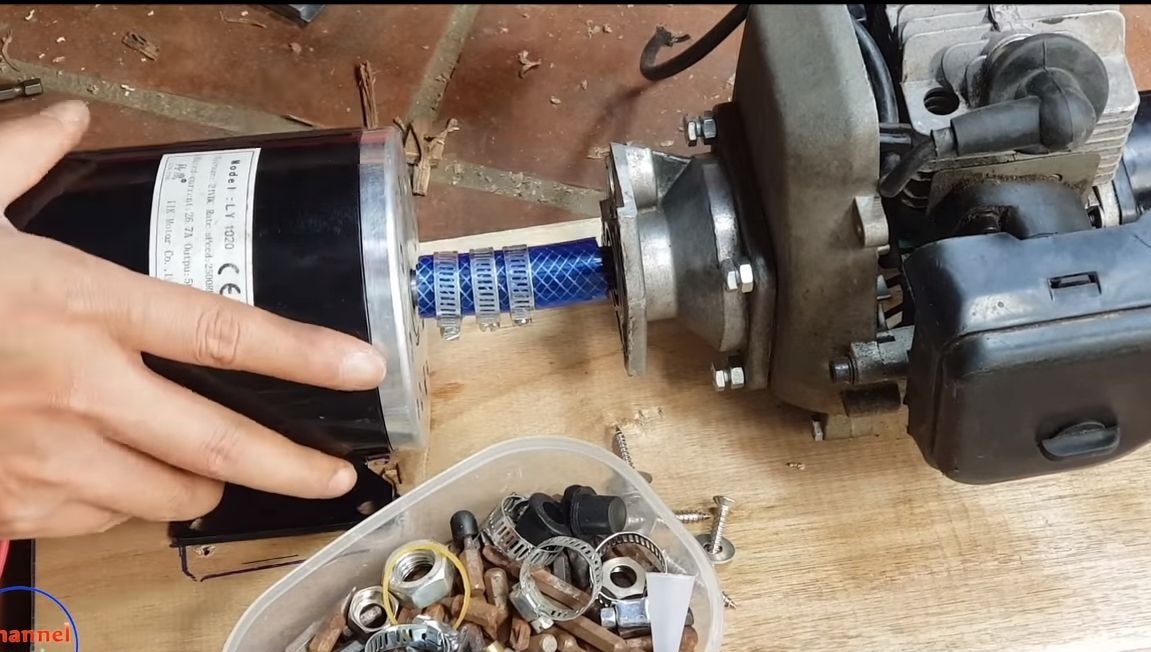
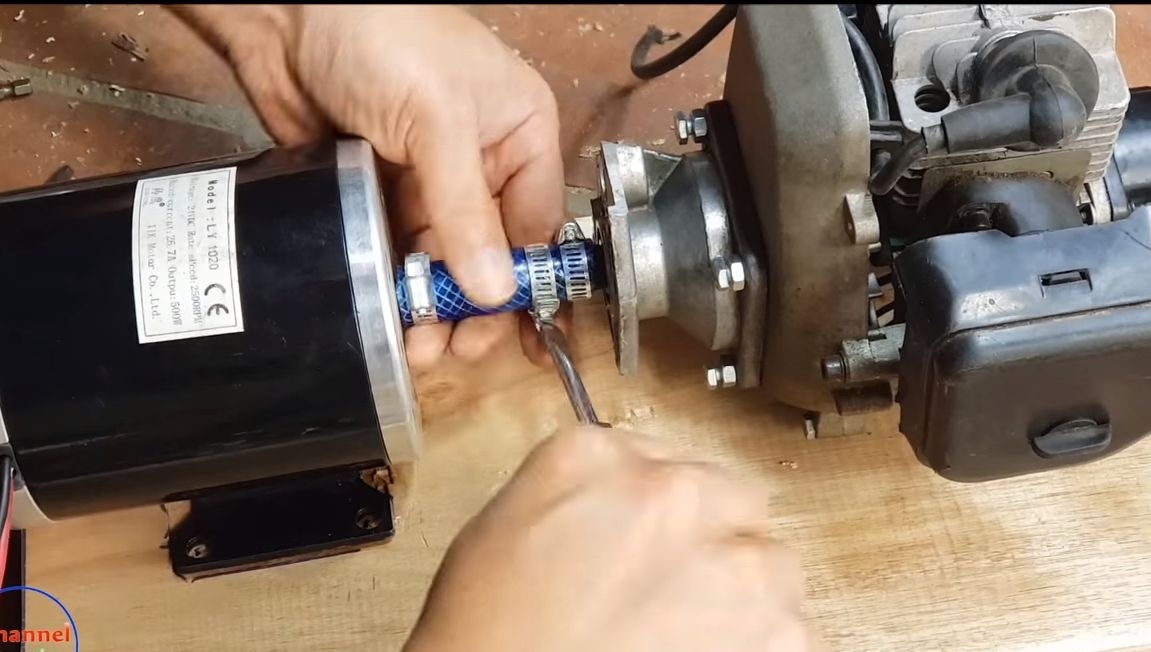
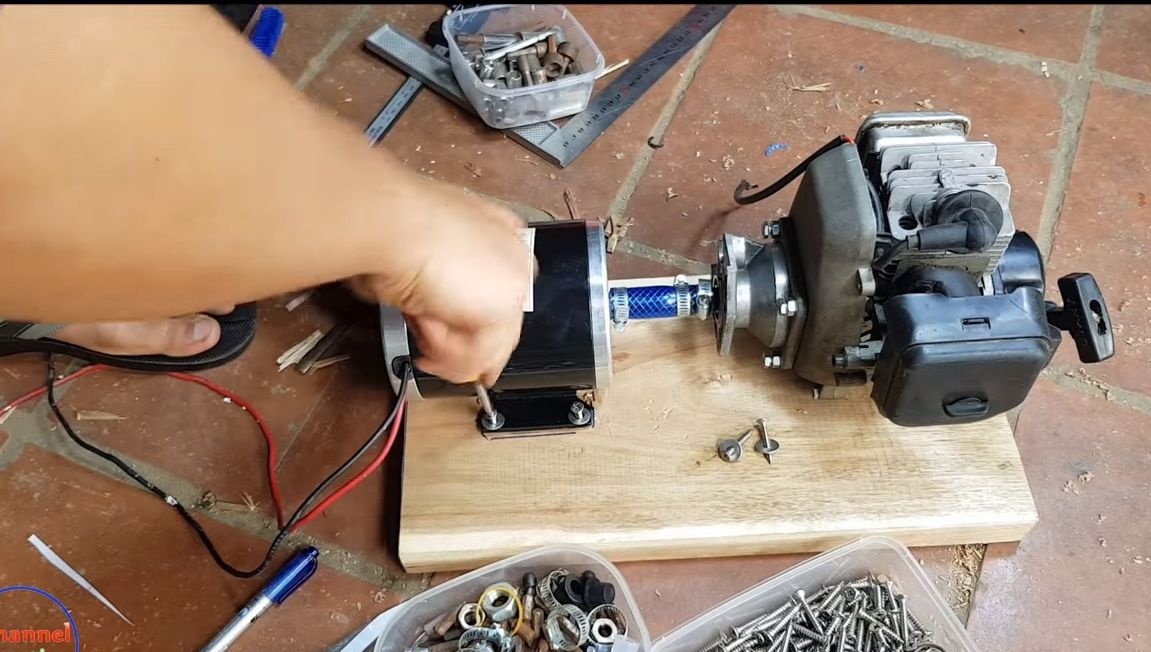
It is not advisable to rigidly fix the axles to each other, since you can’t ideally fix them precisely and there will be vibrations. To solve this problem, you will need a piece of hose. Just put the hose on the axle and then tighten the clamps. The connection is flexible, reliable and durable. Most likely you will have a problem, the axes will be of different diameters. But this is not a problem, we put a piece of hose on a thinner axis, and on top one more thicker one, which will fit on the shaft of a gasoline engine.
When everything is ready, screw the electric motor. This can be done using self-tapping screws, and it is better to use bolts with nuts.
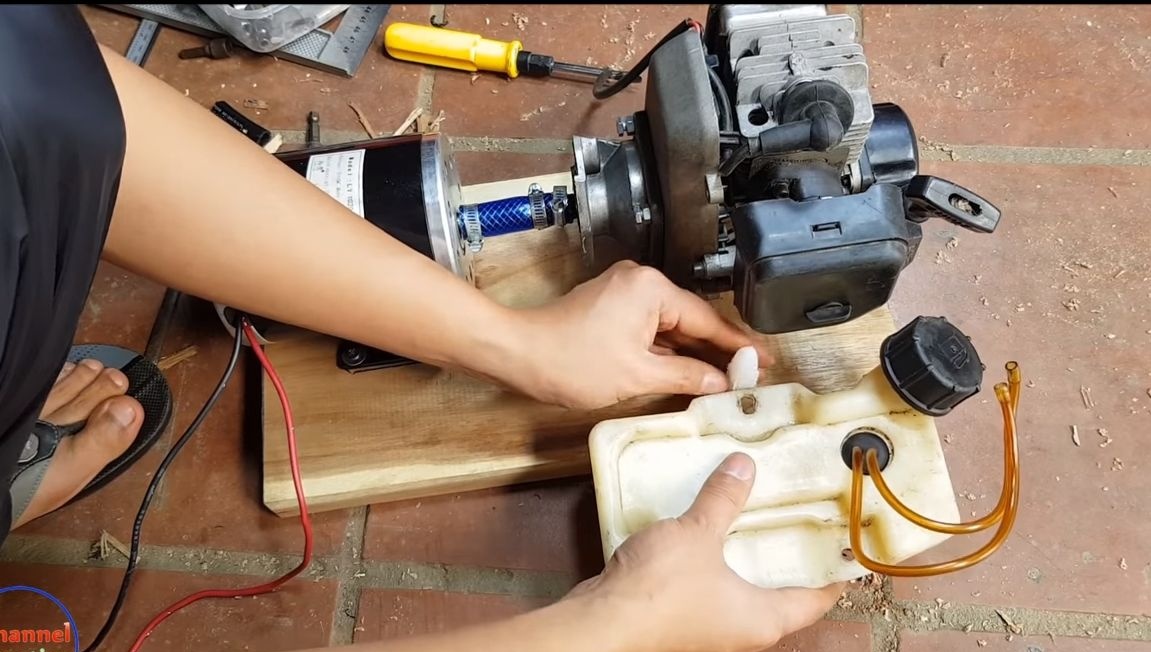
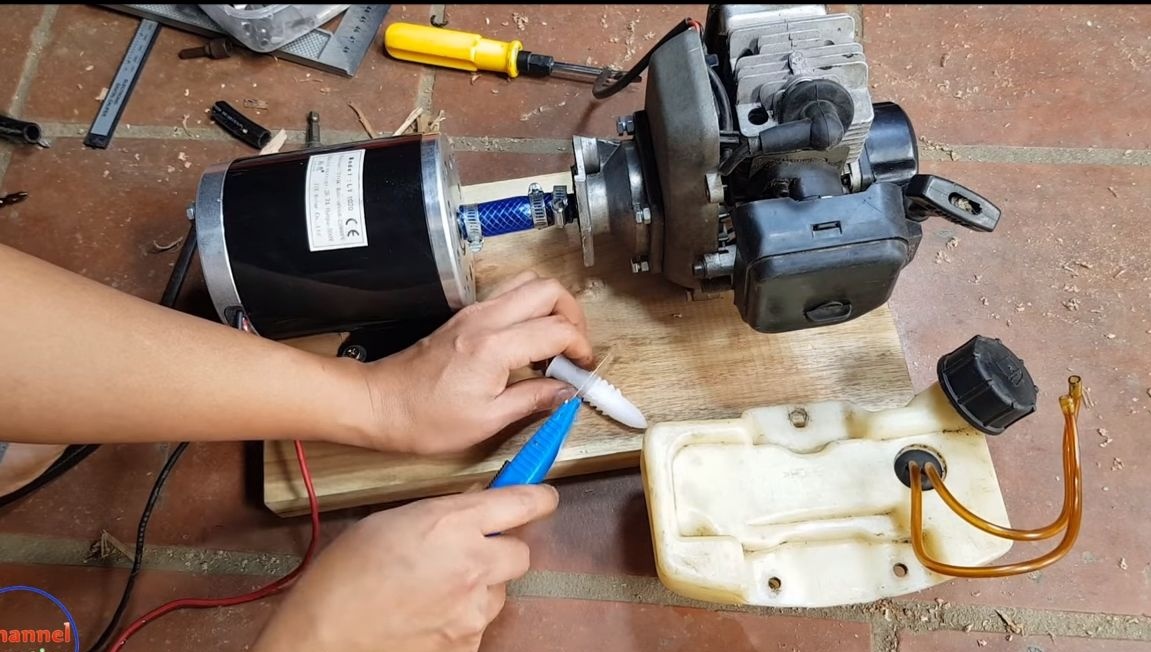
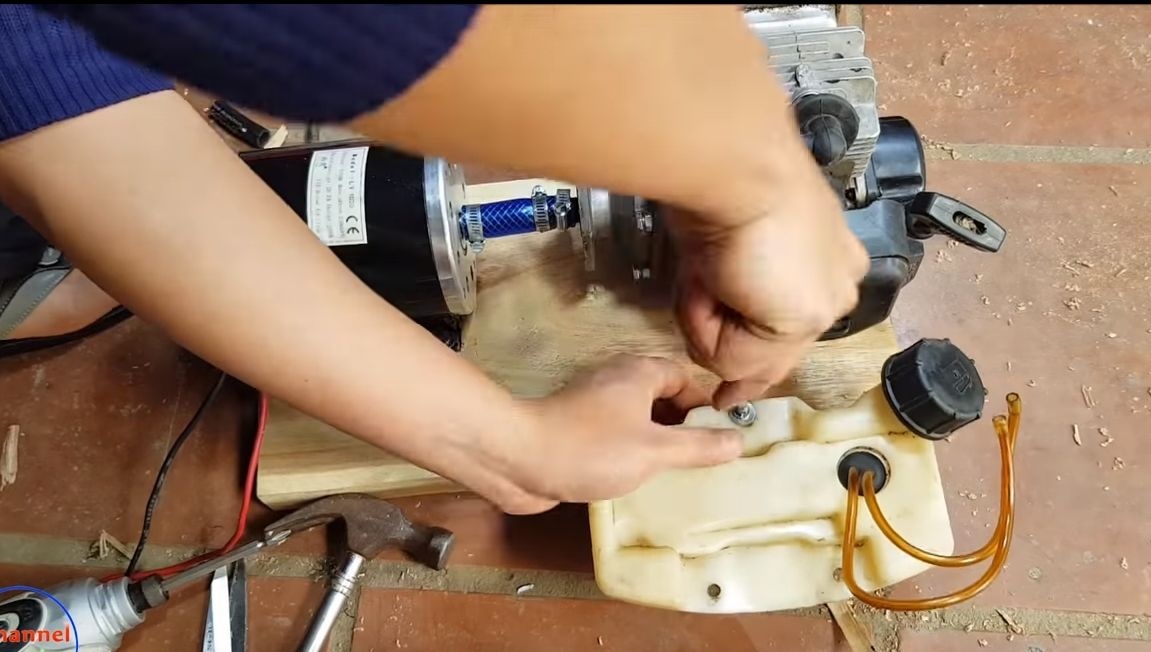
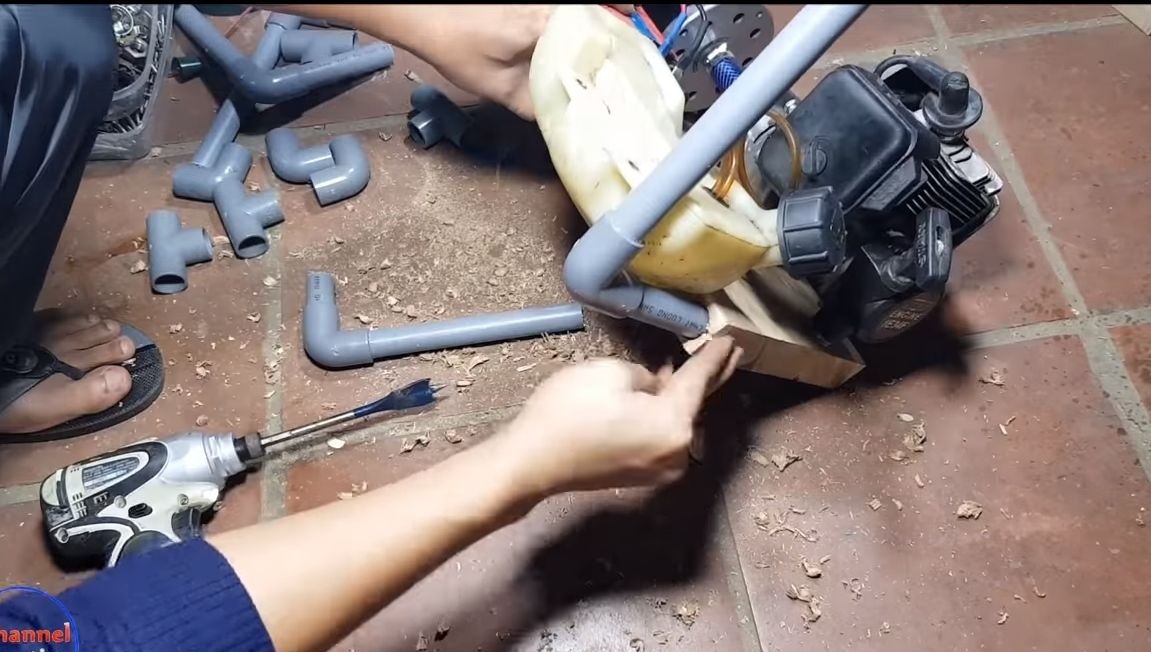
Step Three Fasten the gas tank
You can install and connect the gas tank. The author fastens it in just one ear using a self-tapping screw. Usually this plastic is quite fragile, so it’s better to secure the gas tank more securely. Connect the hoses from the gas tank, just do not mix them up. Do not forget to position the gas tank so that it is convenient to fill gasoline into it. Also, do not install a gas tank near the muffler.
Step Four Test run
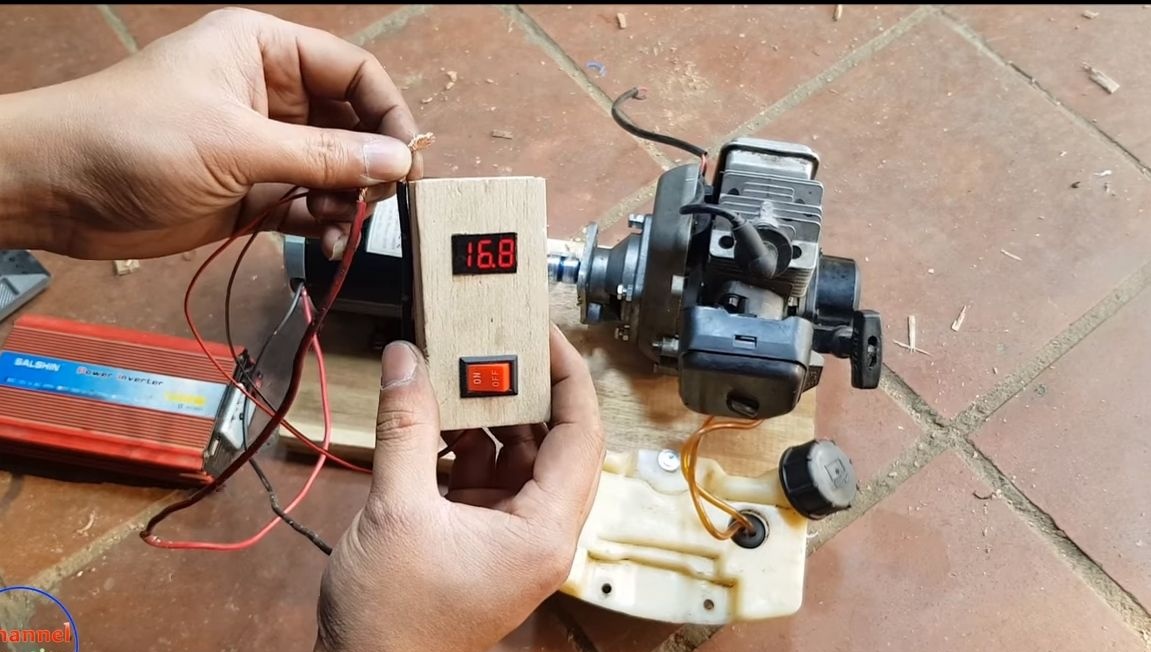
The main unit of the generator is ready, you can start the tests. We start the engine and measure the voltage at the motor terminals. Volts will vary with engine speed. Using the speed adjustment screw, adjust the motor so that the generator produces 13-14 volts. Under load, the voltage will sag and it will turn out just about 12V, this is enough for the inverter to work.
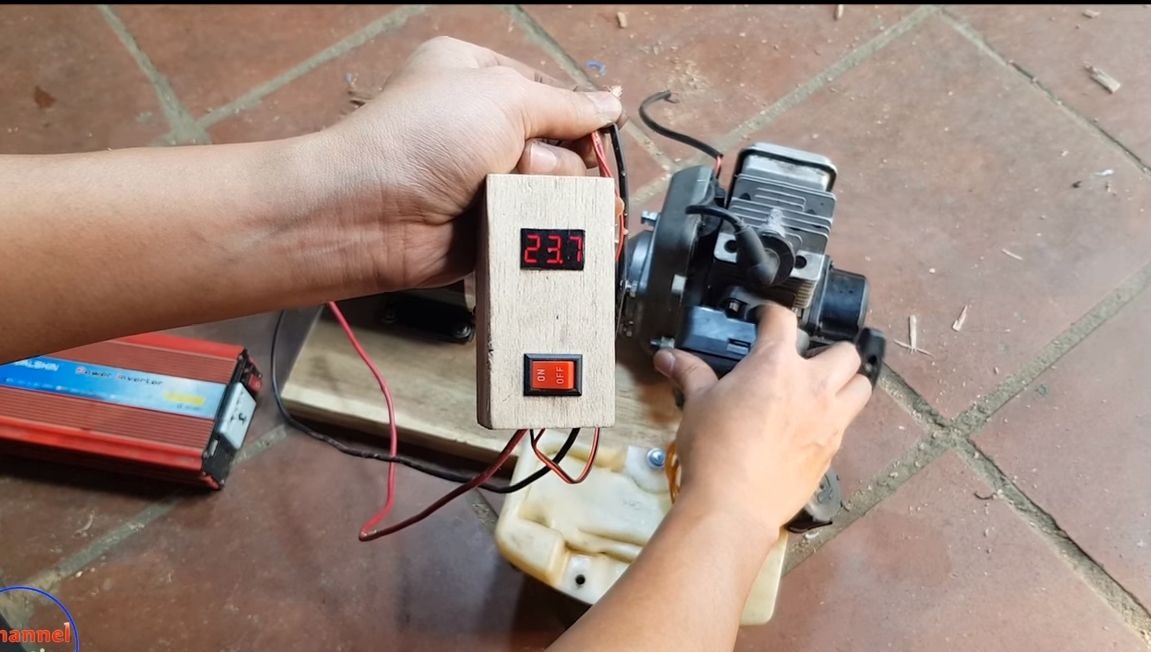
At high speeds, the author rises to 25 volts.
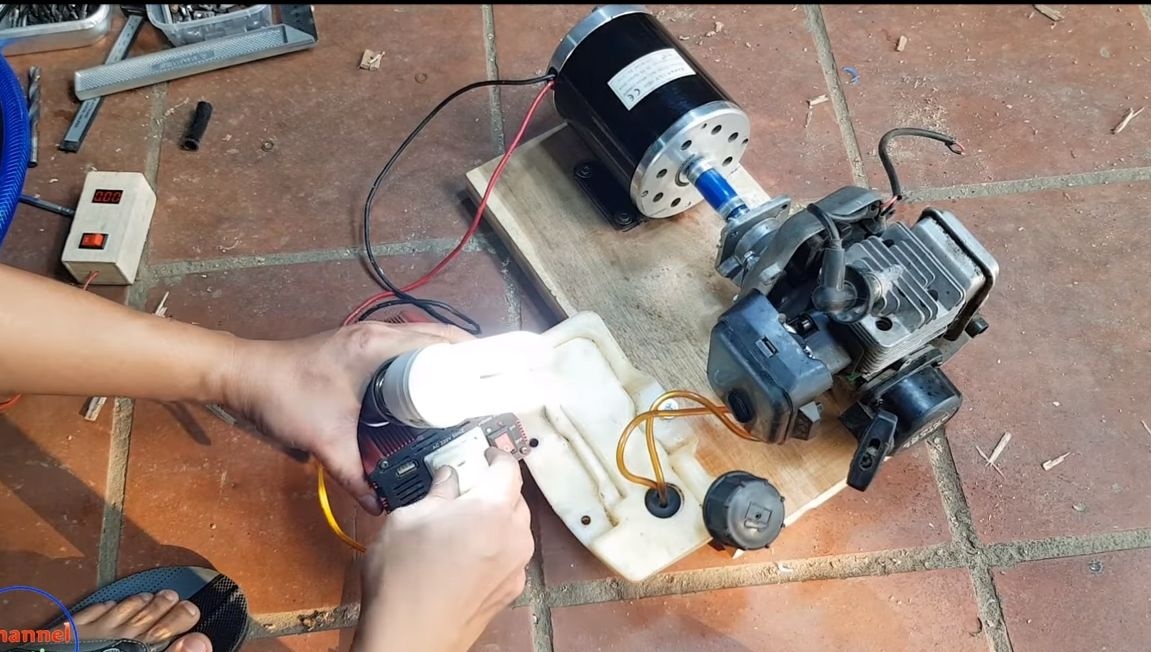
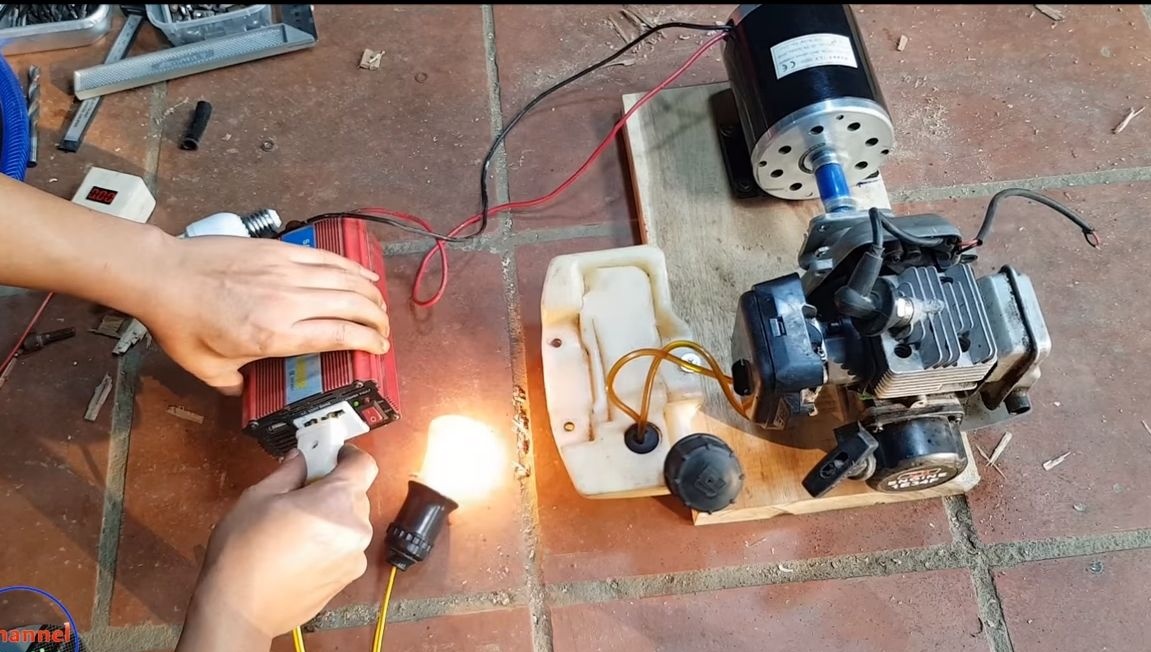
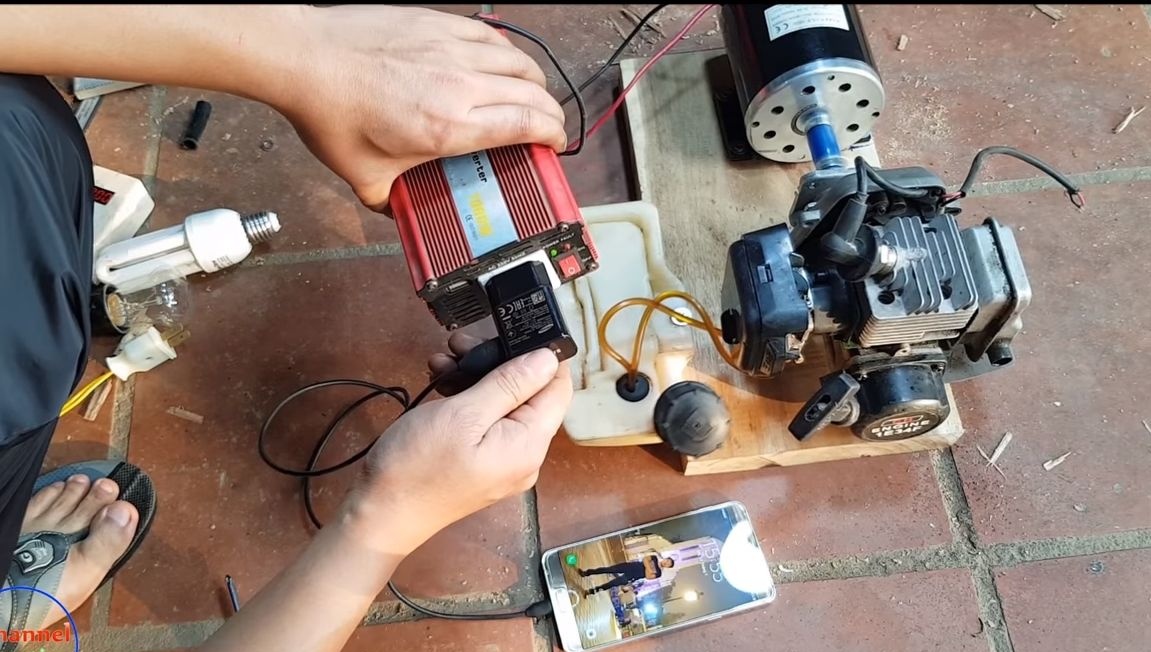
As soon as you set up the generator, you can, before that, do not forget to determine the polarity on the wires. We connect a light bulb to the inverter as a test. The author has no problems burning both a fluorescent lamp and an incandescent lamp, which consumes a lot of current.
Then you can connect a mobile phone, laptop, devices are charged without problems.
Step Five Final connection
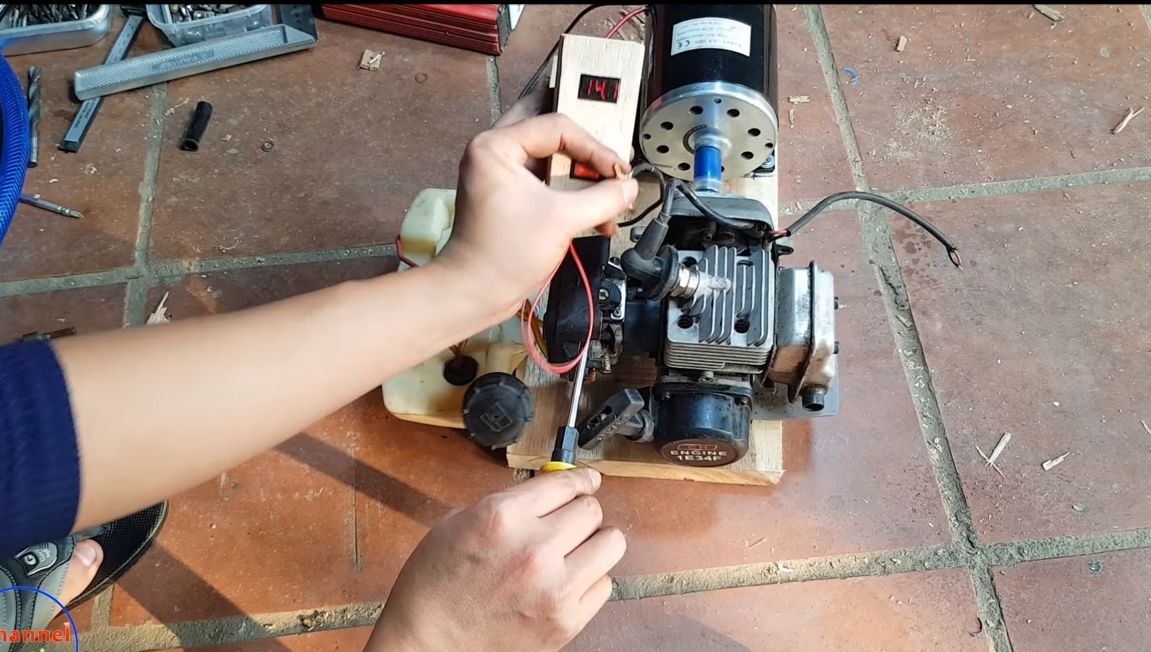
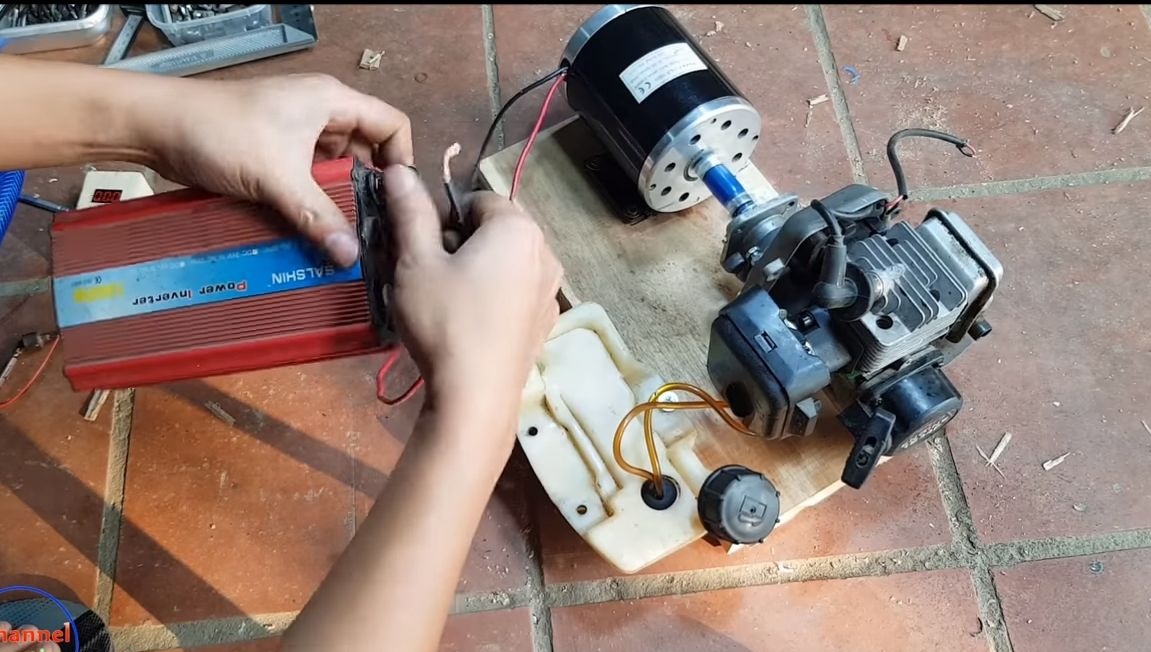
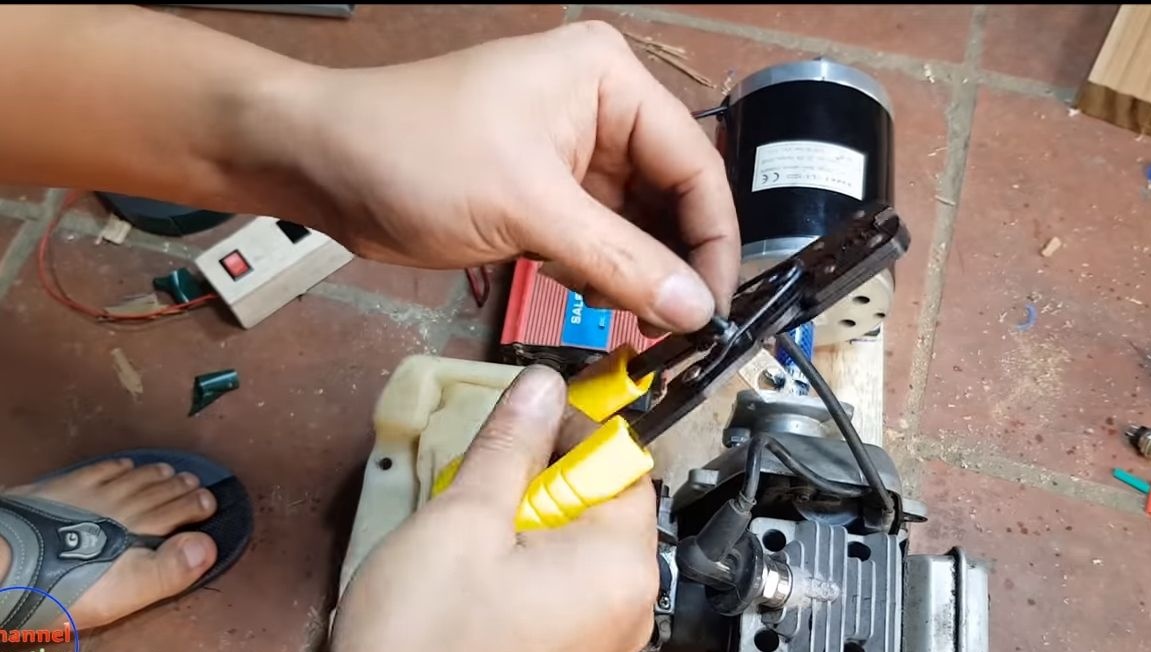
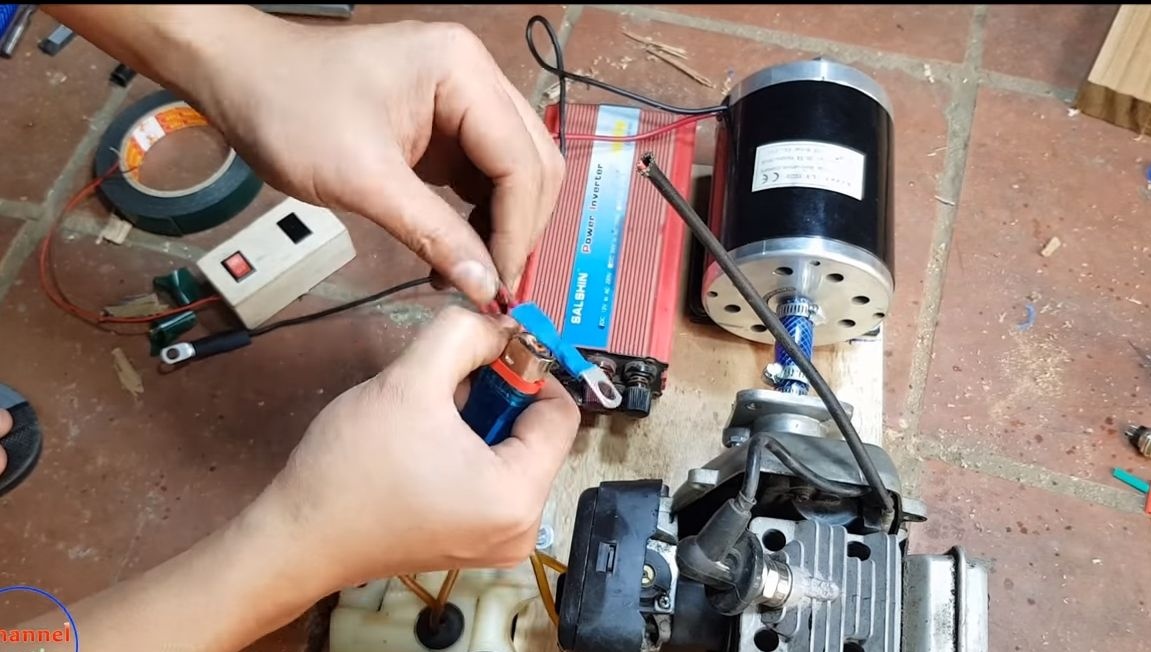
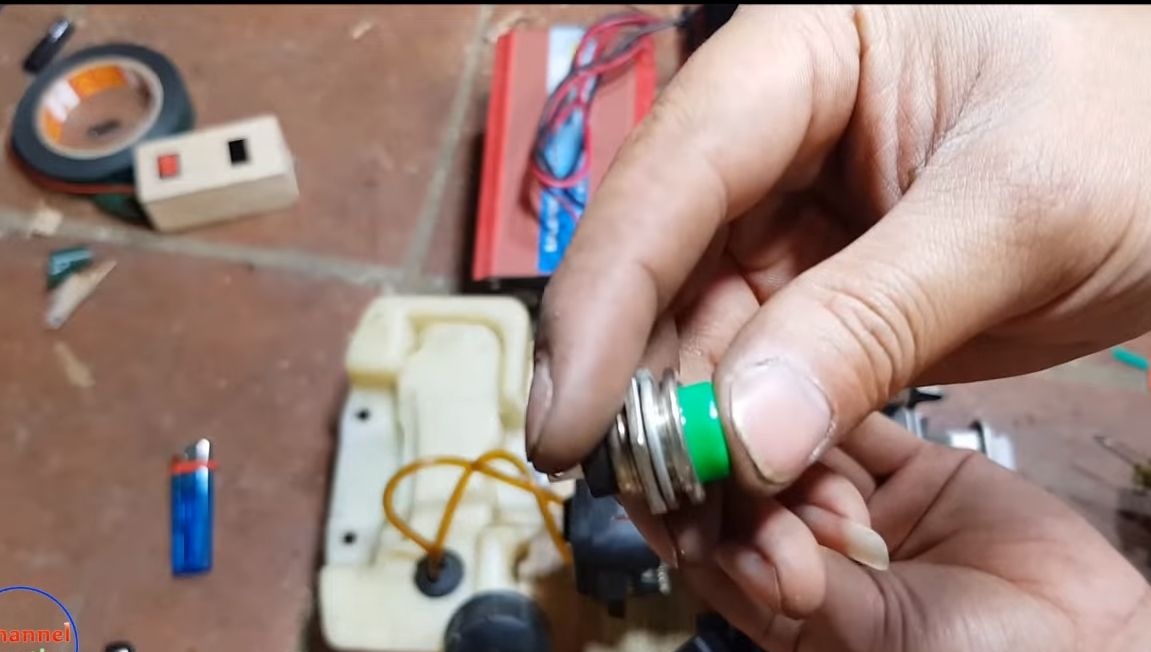
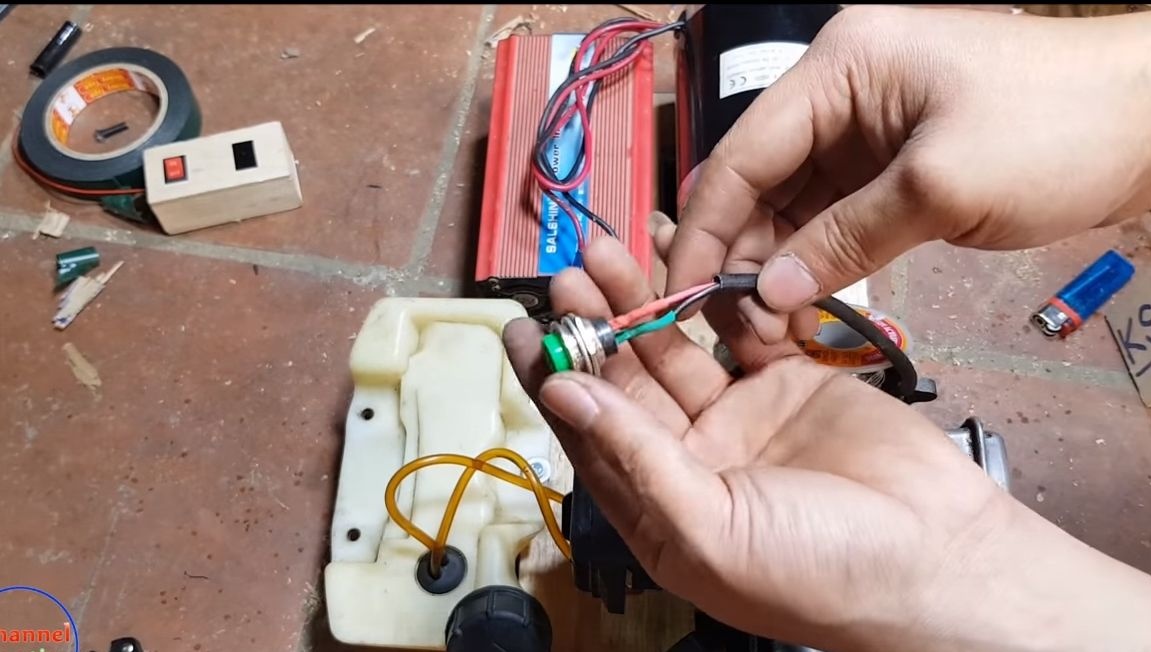
At the end, reliably connect the wires to the inverter, the author installed the terminals on them. In addition, you need to install a button on the ignition wires, this will make it easy to turn off the engine. The motor will stall when the contacts are closed.
Inverter securely fasten to the base. In order not to hang the wires, we fix them with plastic ties.
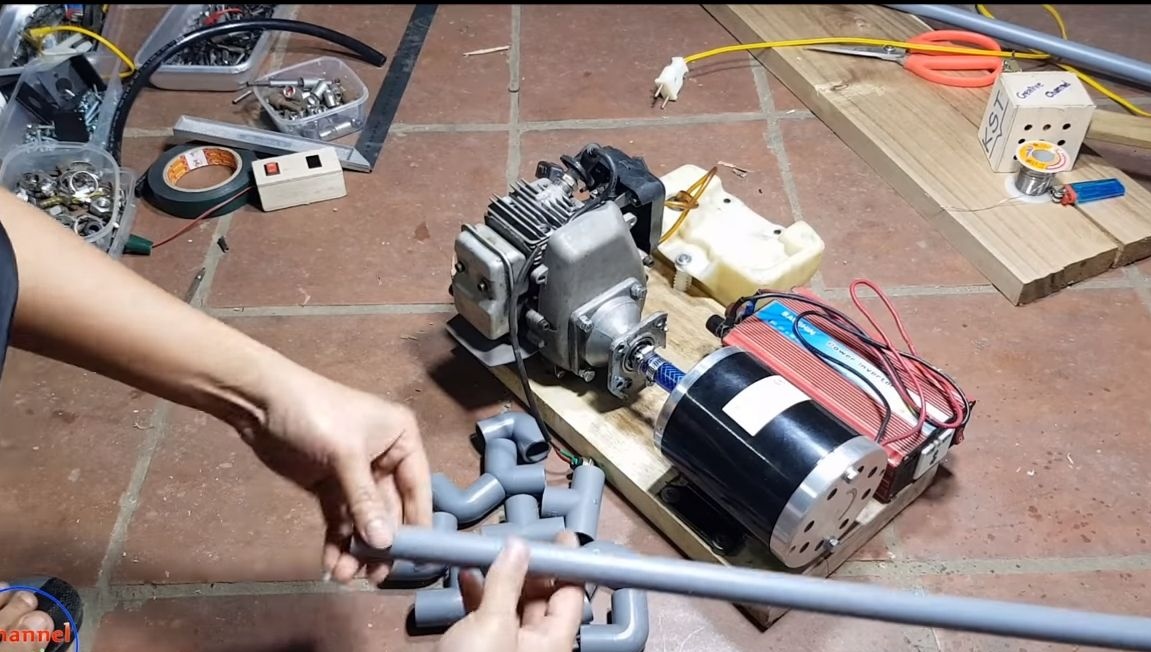
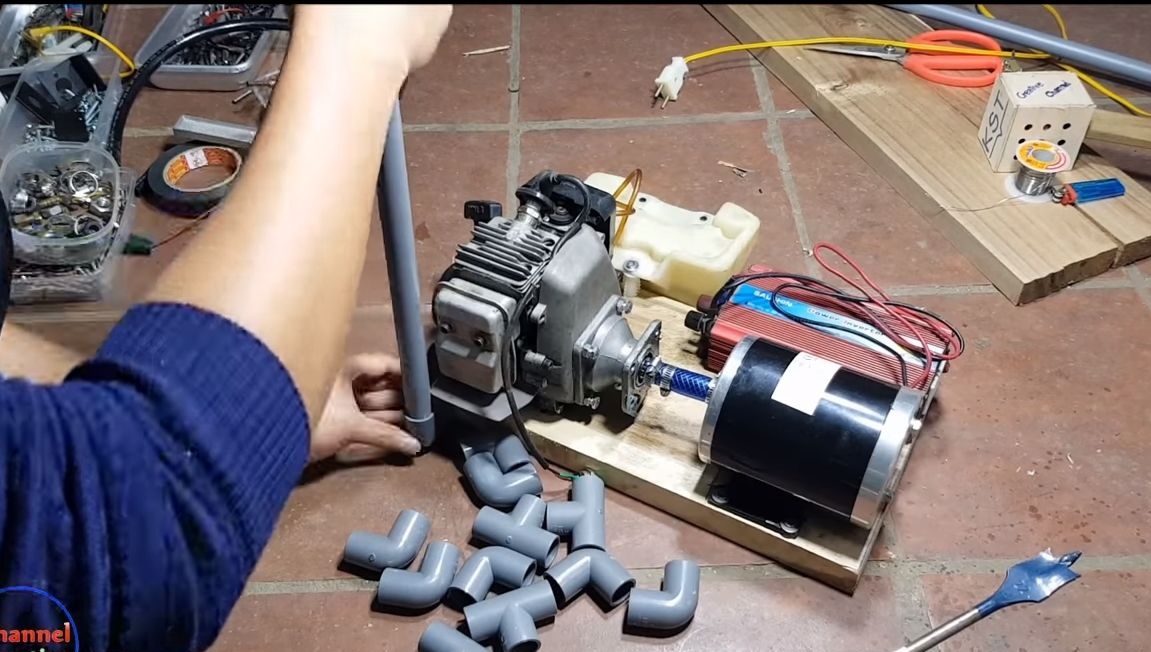
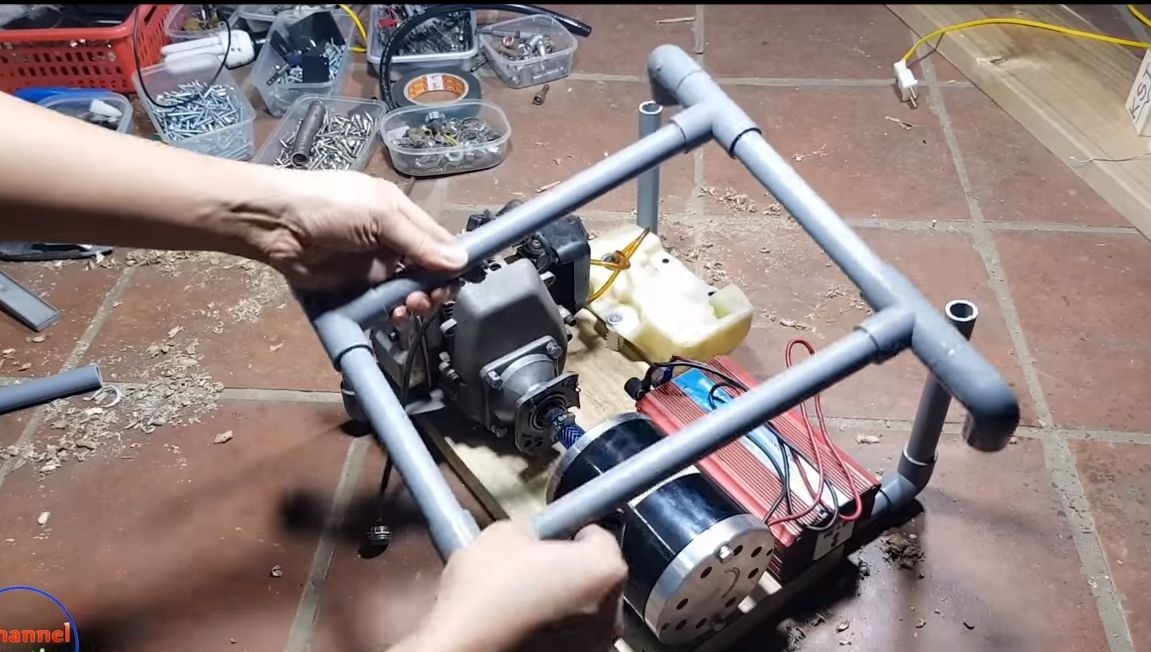
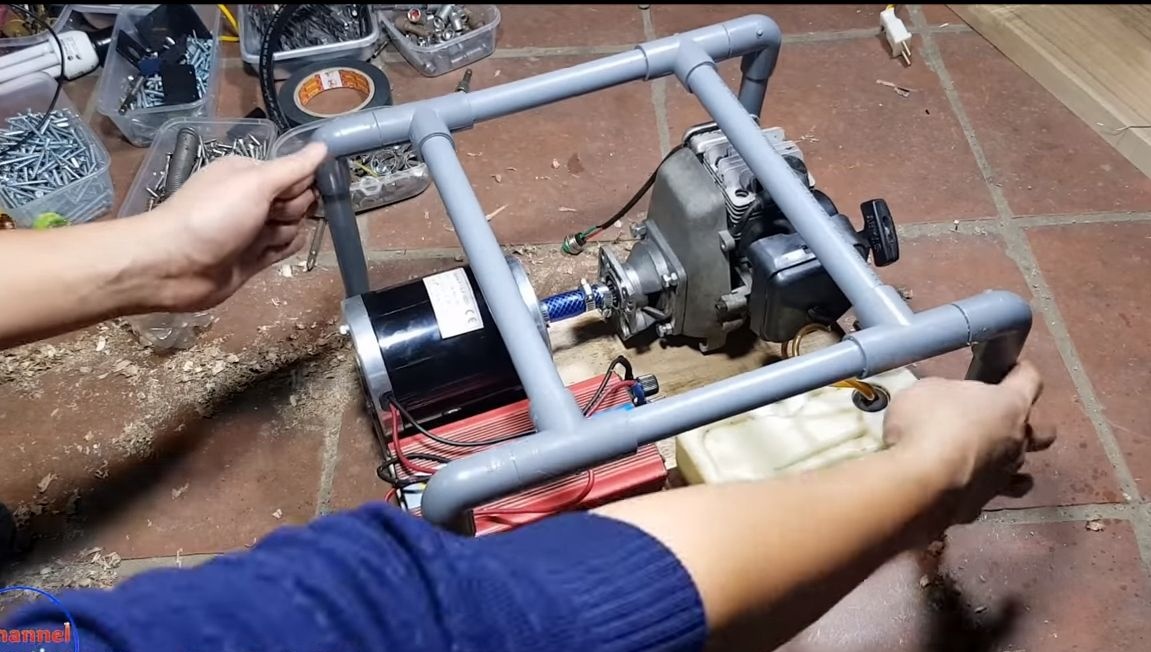
Step Six Frame manufacturing
The author collects the frame from PVC, here you will need pipes, corners and tees. Everything is assembled on glue, an epoxy or special one for PVC is suitable. We cut the pipes to the desired length, and then assemble the entire structure using tees and corners. The whole thing is attached to the frame, in it you need to drill fasteners with bat. And so that the pipes do not pop out, screw them with screws.
Now the generator can be quite conveniently transferred even to one person.
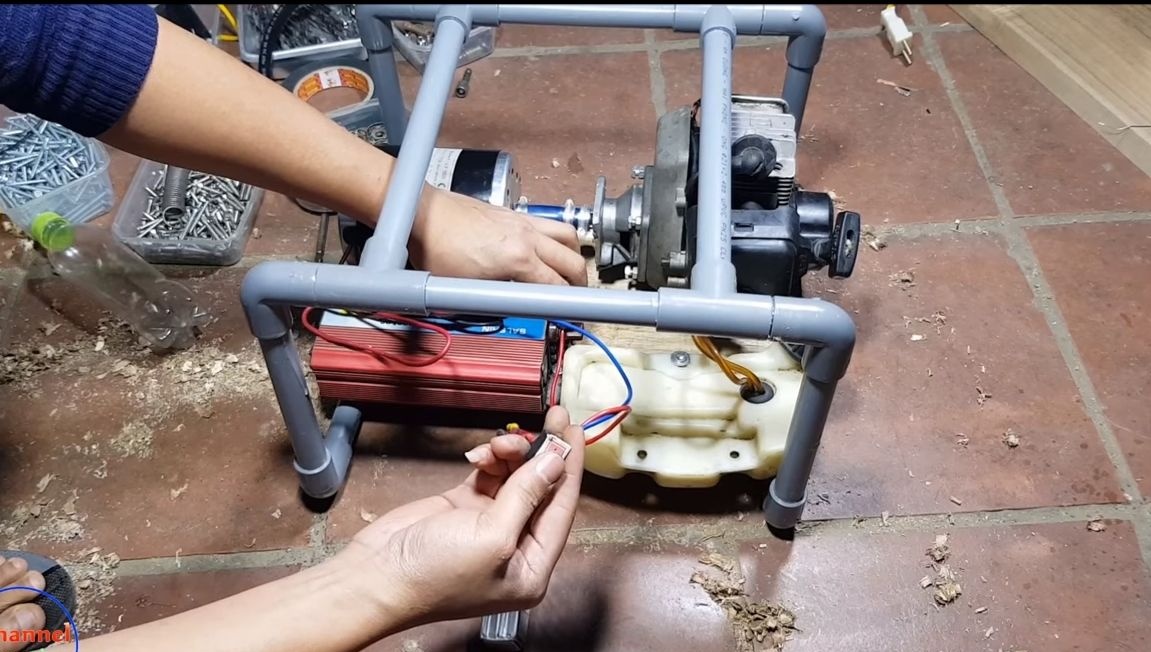
Seventh step. Starting the generator with a starter!
And finally, the most interesting, the author came up with the idea of starting the generator from a button. A starter that acts as a current generator acts as a starter. After starting the generator, the battery is recharged, so you will always have a charged battery to start, as in car.
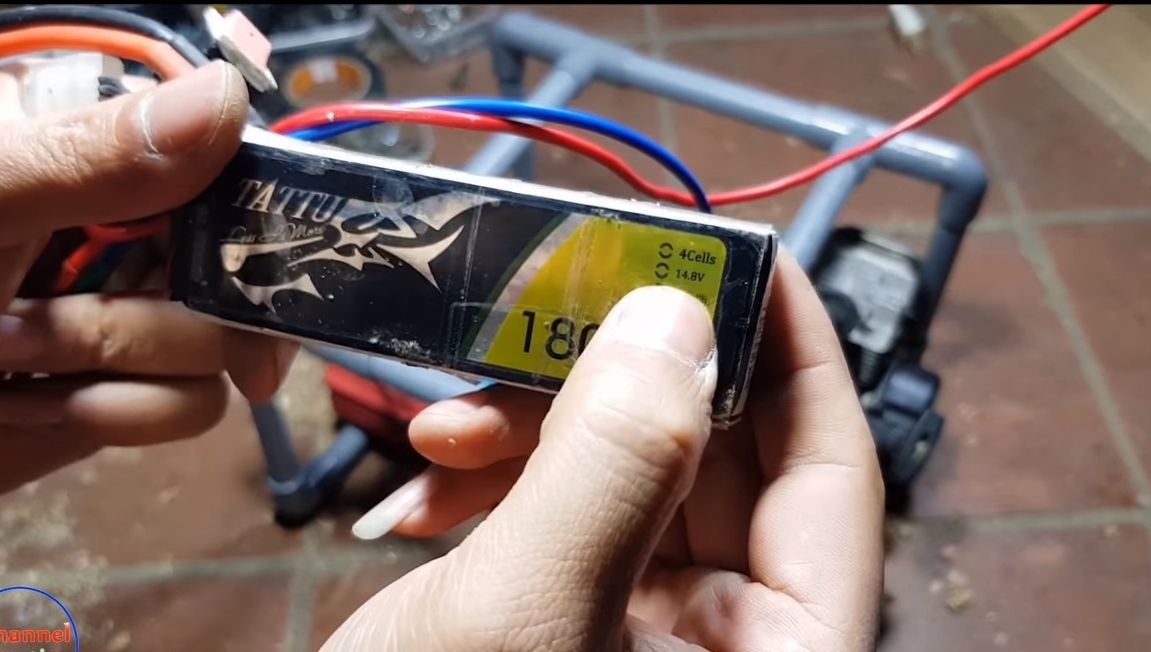
The battery will be needed with a controller that will not allow deep discharge and overcharging.

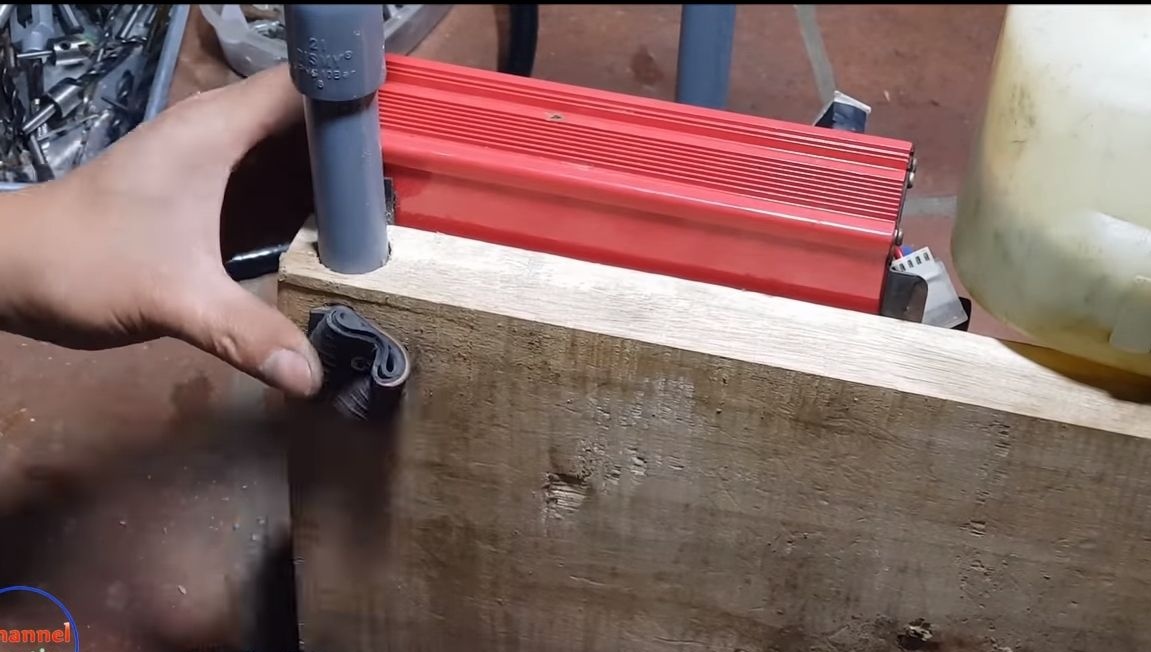
Step Eight. Fasten the legs
For the generator, you need to make legs, otherwise it will ride on the floor during operation. As depreciation legs, you can use rubber from cameras or bicycle tires folded several times. We fasten them with screws.
Step Nine. Everything is ready, we are testing!
With a light touch of a button, we start the generator, try to load it with various devices. As the load is measured, measure the voltage, if it sags very much, the generator speed must be raised. Also, do not forget that the electric motor under high load can overheat and fail. It is best to install a switch on the generator that will shut off the system when the generator or engine overheats.
To prevent overheating of the motor / generator, you can also install a resistor of the appropriate rating in the circuit in order to reduce the maximum load.
Do not forget to add oil to gasoline, as the engine is two-stroke. Use it in a well-ventilated area, well, or you can bring the exhaust pipe to the street. That's all, good luck and all the best!