» Electronics "Well a very simple inverter 12V / 220V

Well a very simple inverter 12V / 220V


Often in life there is a need to get a voltage of 220V from a lower, say, 12 Volt. For example, you need to connect the charger from the laptop to the car battery, this is not a problem. In addition, inverters are widely used in alternative energy. Usually they are put on windmills, hydroelectric power plants and so on, which in most cases generate low voltage.

Today we will look at how to make an inverter do it yourself. There is no complicated electronics, the set of components is very small, and the scheme is clear to any beginner. All you need to do is connect a few resistors, transistors and a transformer. Intrigued? Then move on to learning the instructions!

Materials and tools used by the author:

Material List:
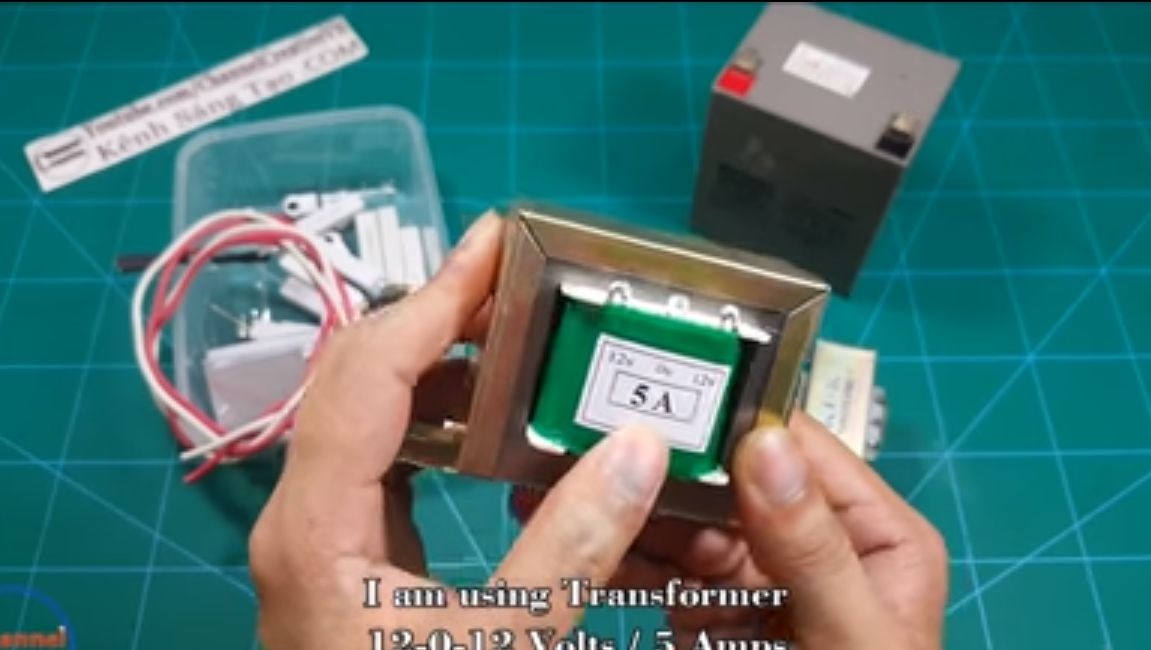
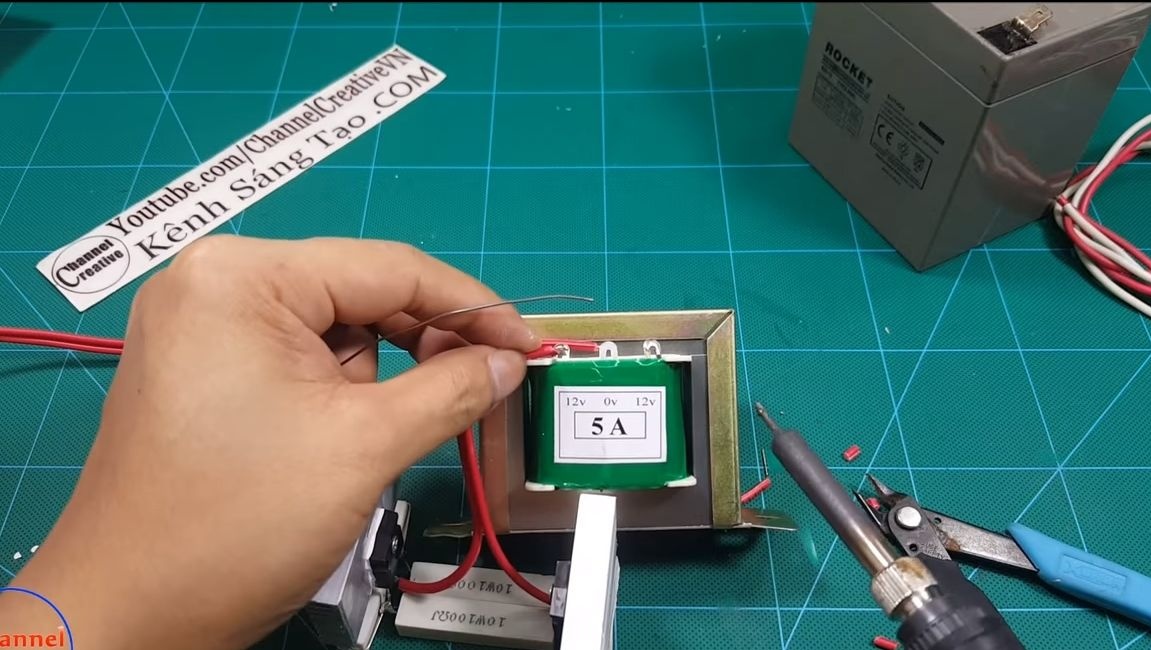
- transformer 12-0-12V at 5A;
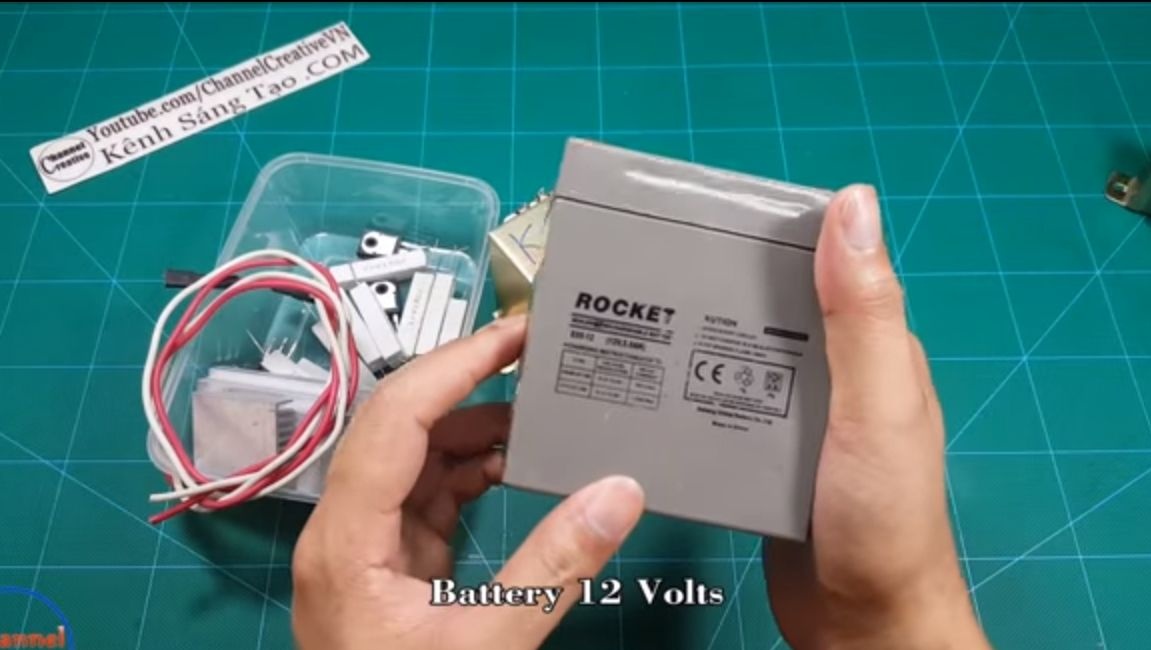
- 12V battery;
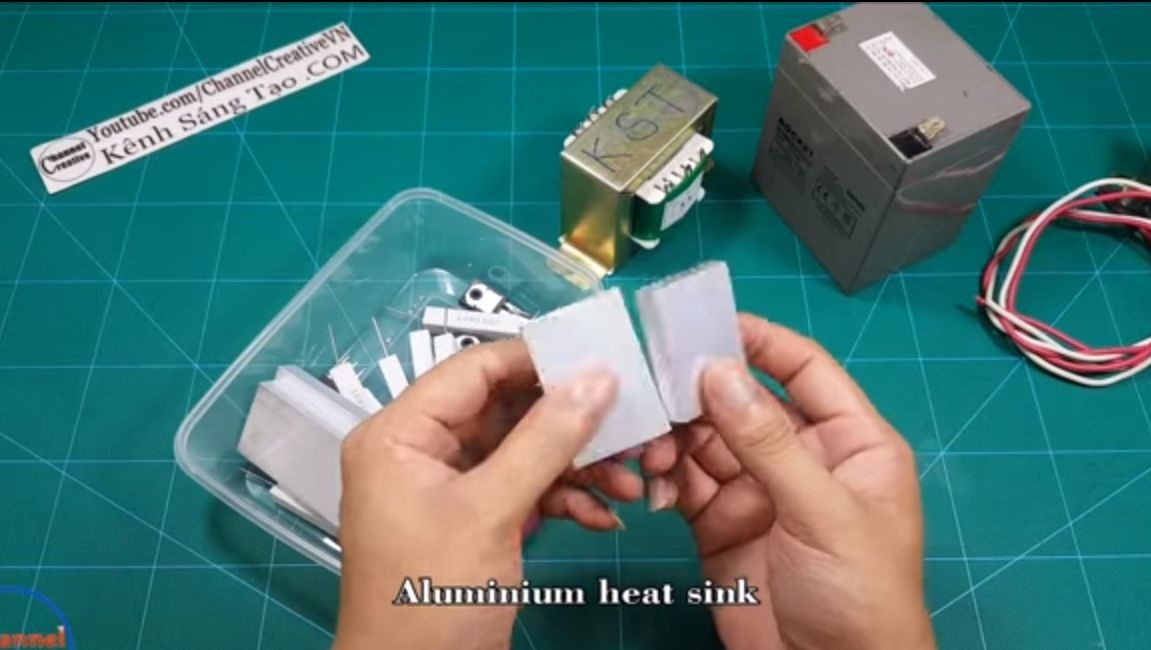
- two aluminum radiators;
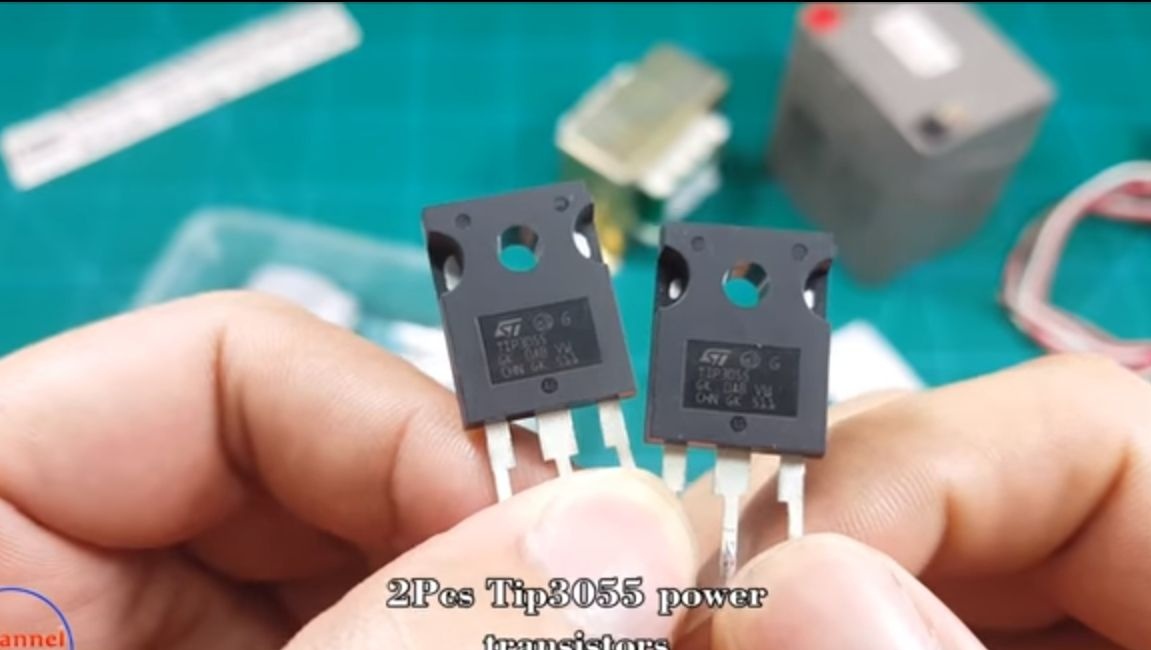
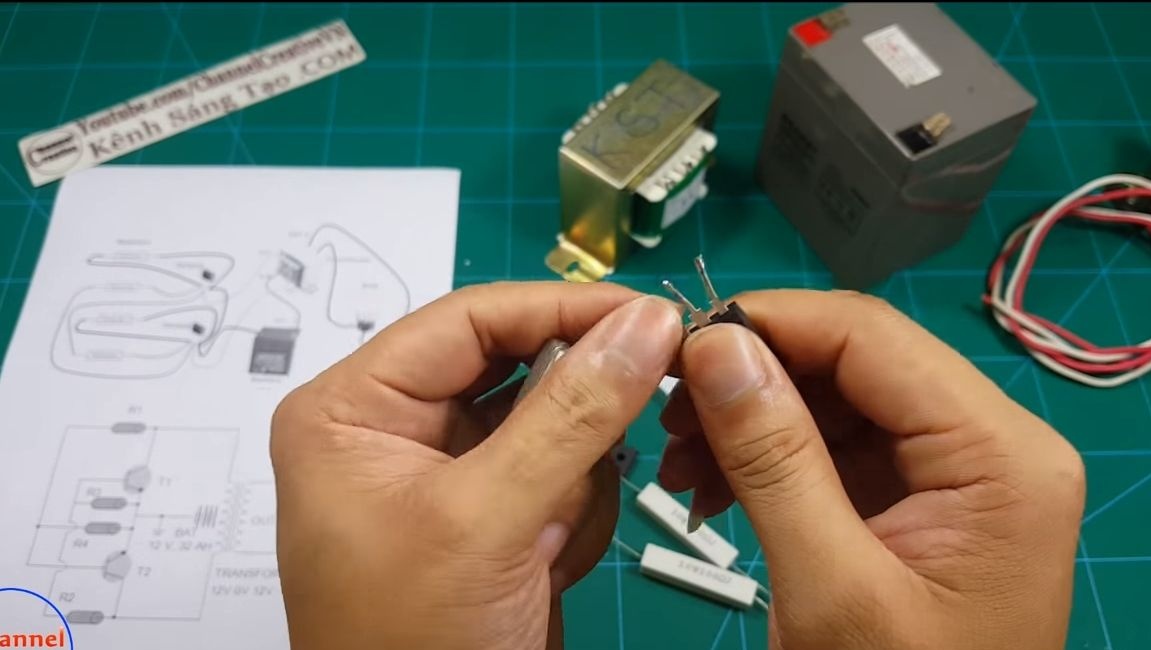
- two transistors TIP3055;
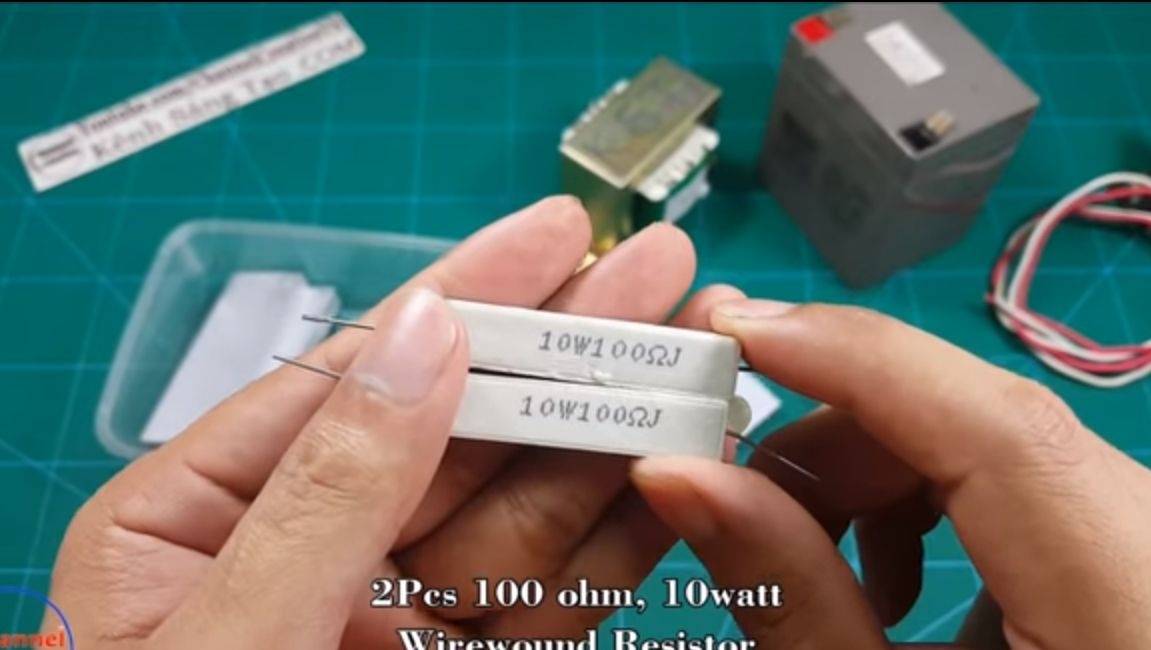
- two resistors 100 Ohm / 10 watts;
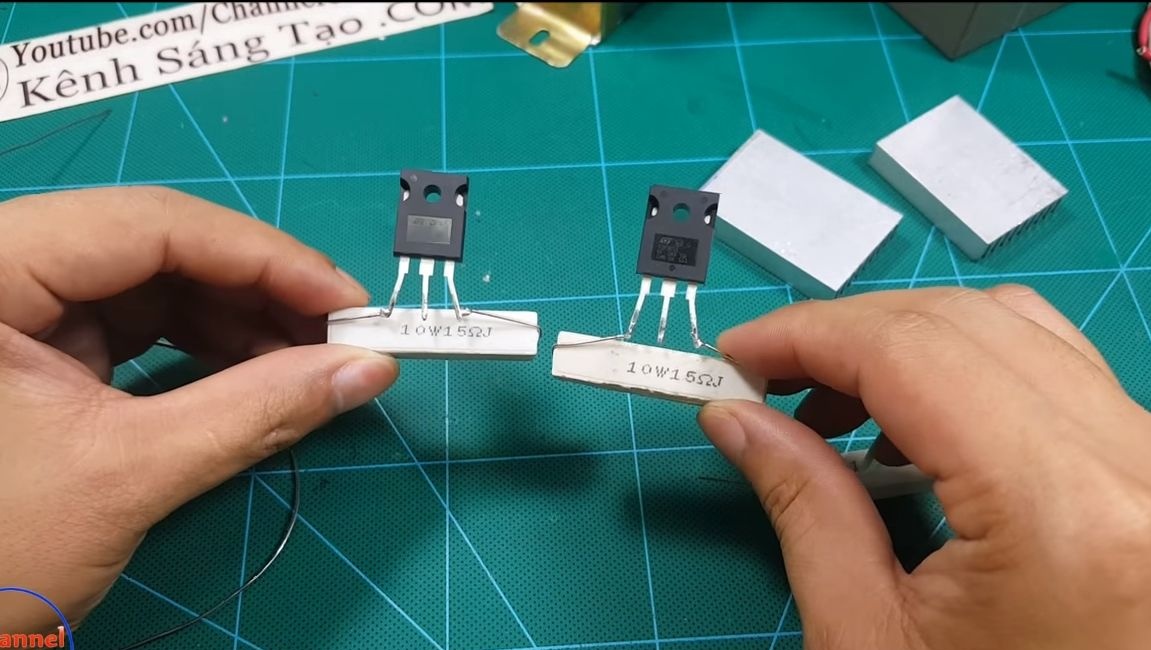
- two resistors 15 Ohms / 10 Watts;
- wires;
- plywood, laminate (or other for the manufacture of the body);
- socket;
- thermal grease;
- plastic ties;
- cogs with nuts, etc.


Tool List:
- soldering iron;
-
- ;
- nippers;
- a screwdriver.

Inverter manufacturing process:

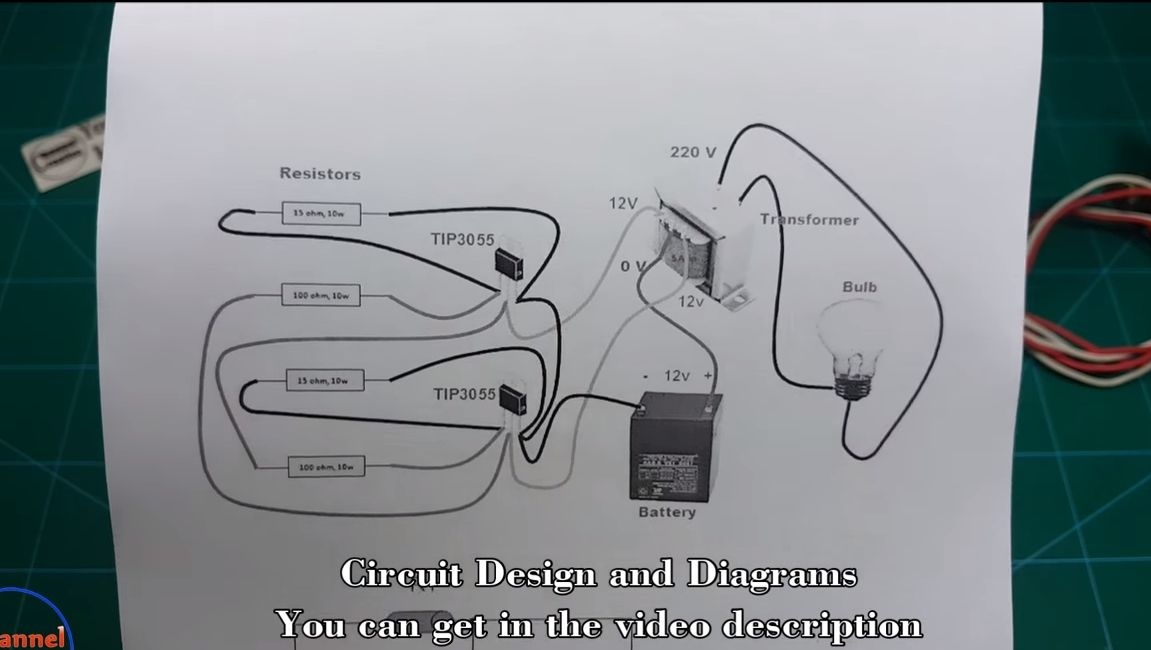
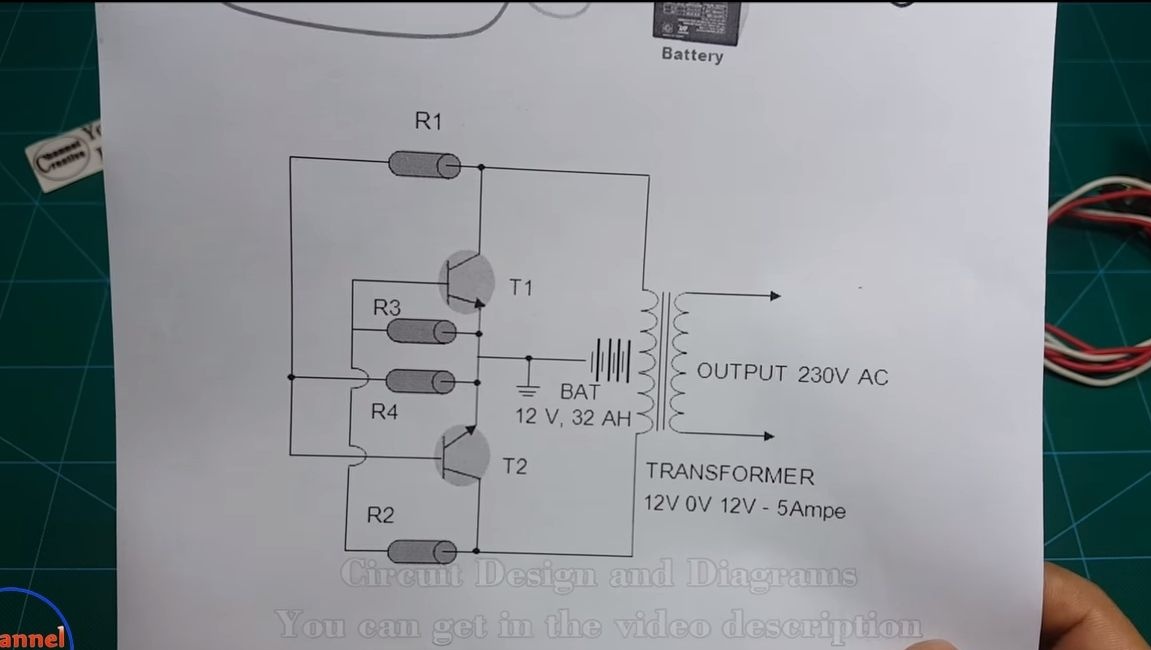
Step one. Check out the diagram
Check out the wiring diagram for all elements. There is how electronic a detailed diagram, as well as simple, intuitive, where and which wires to connect.


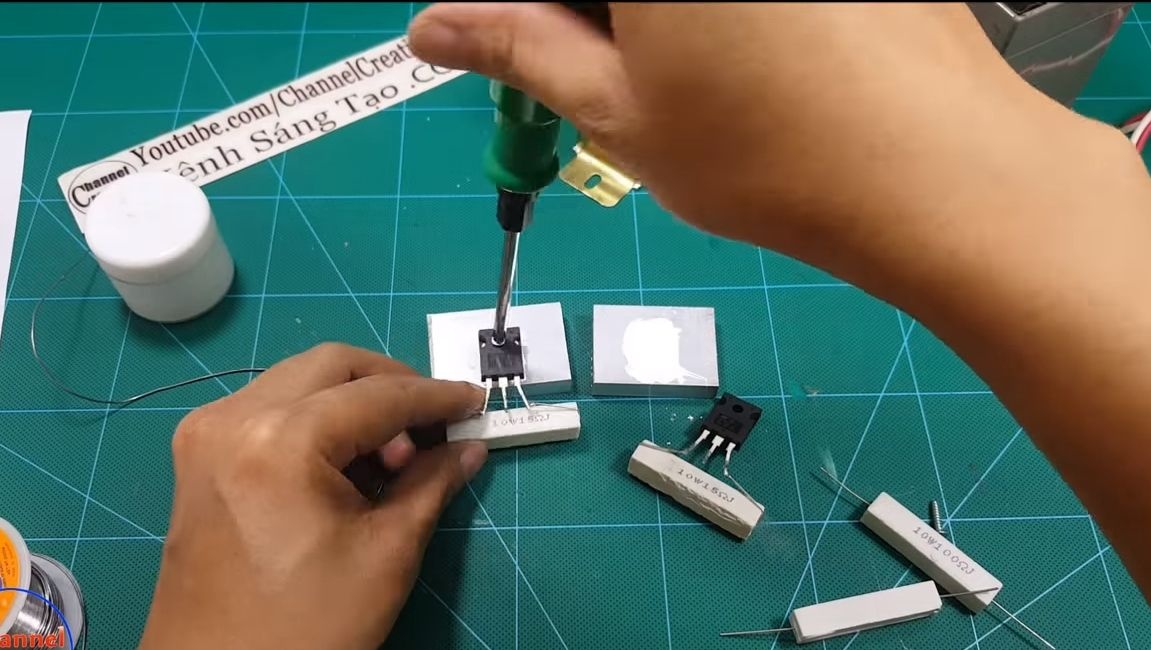
Step Two We collect two circuits from resistors and transistors
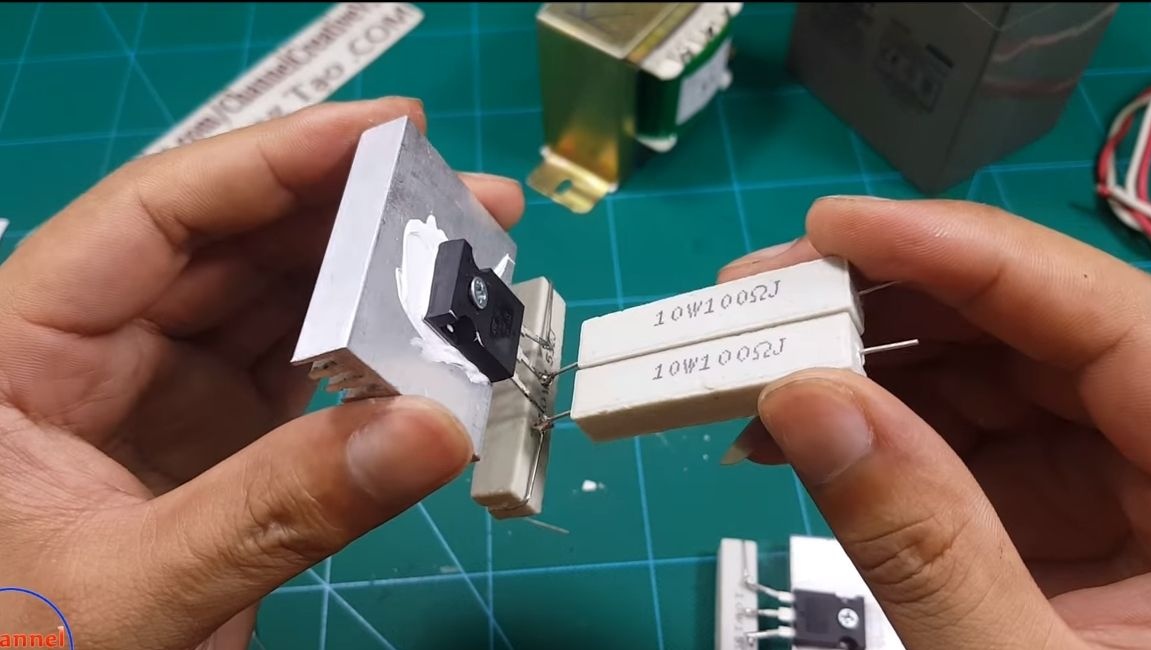
We take the transistor and attach it to the 15 ohm resistor, as seen in the photo. In the same way we fix the second transistor.
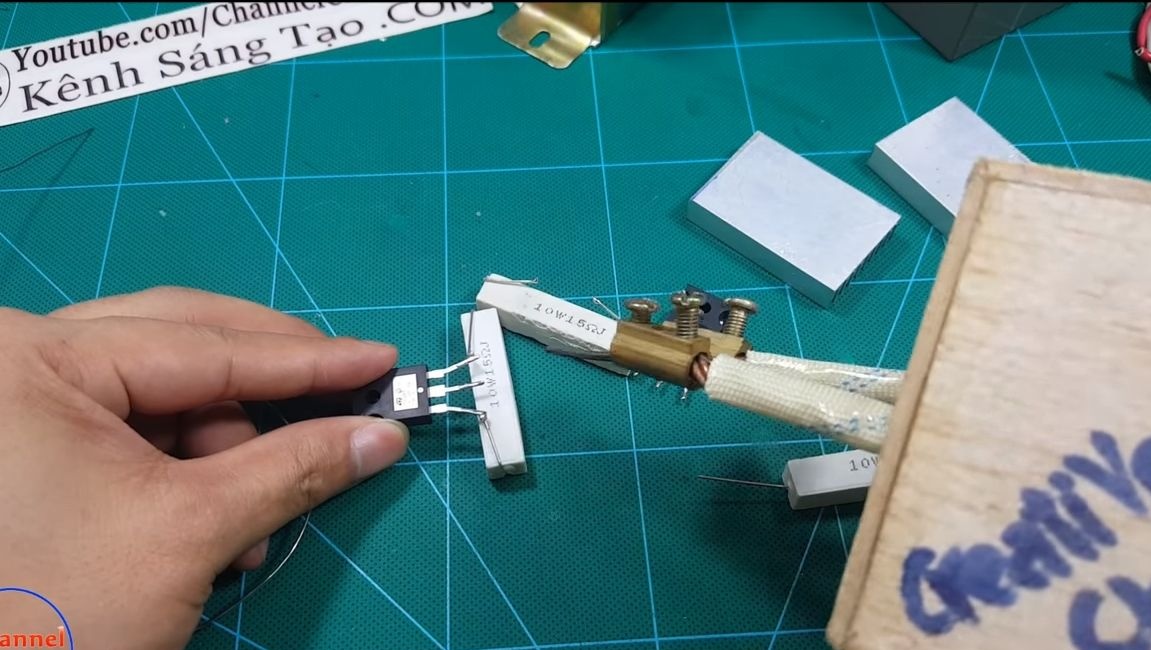
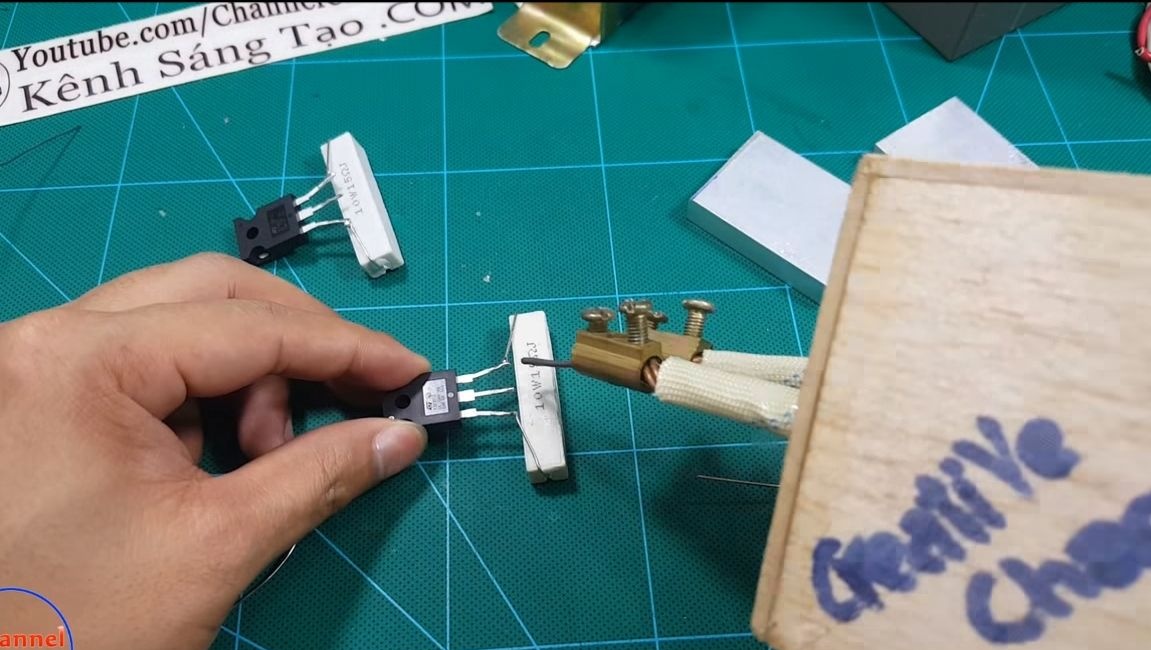
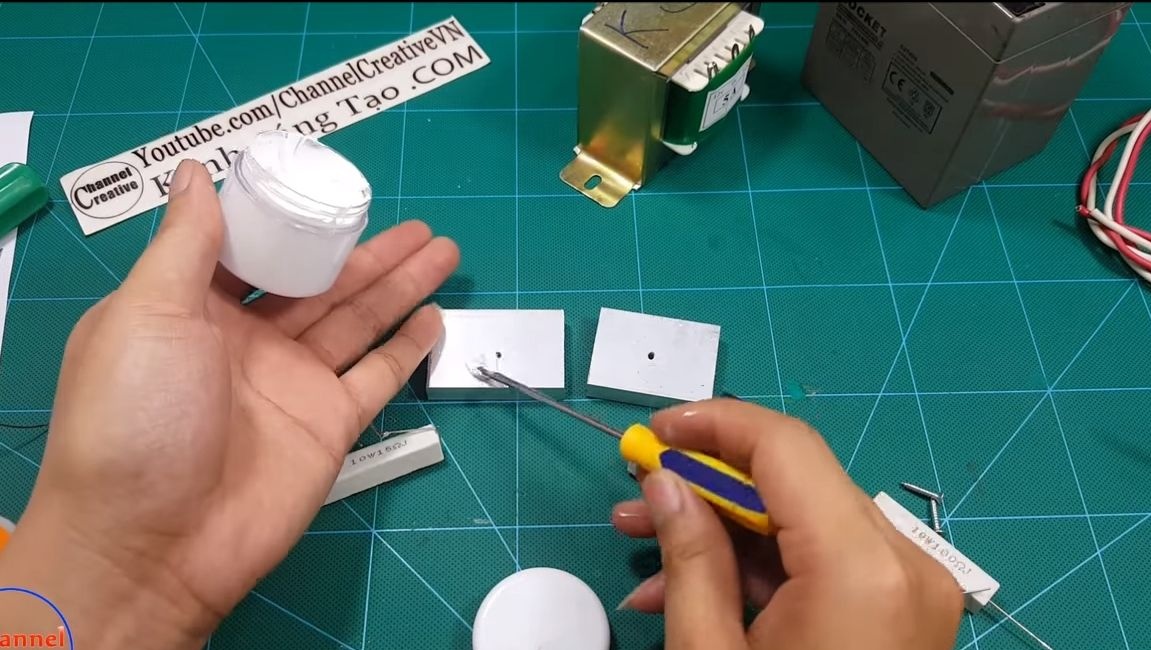
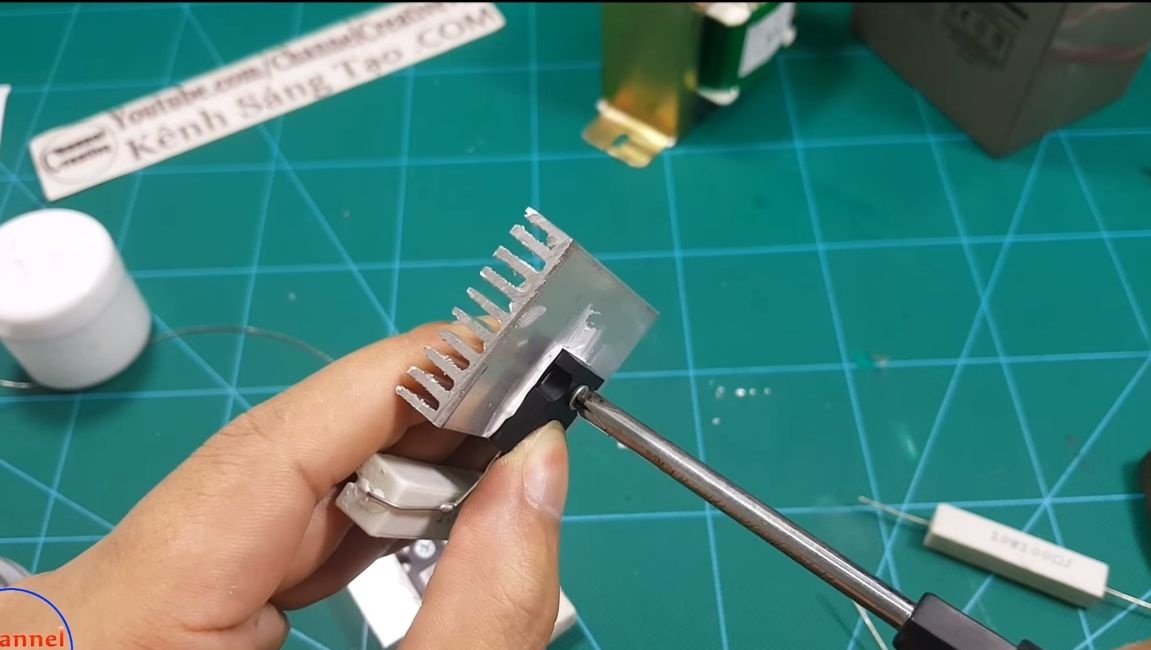
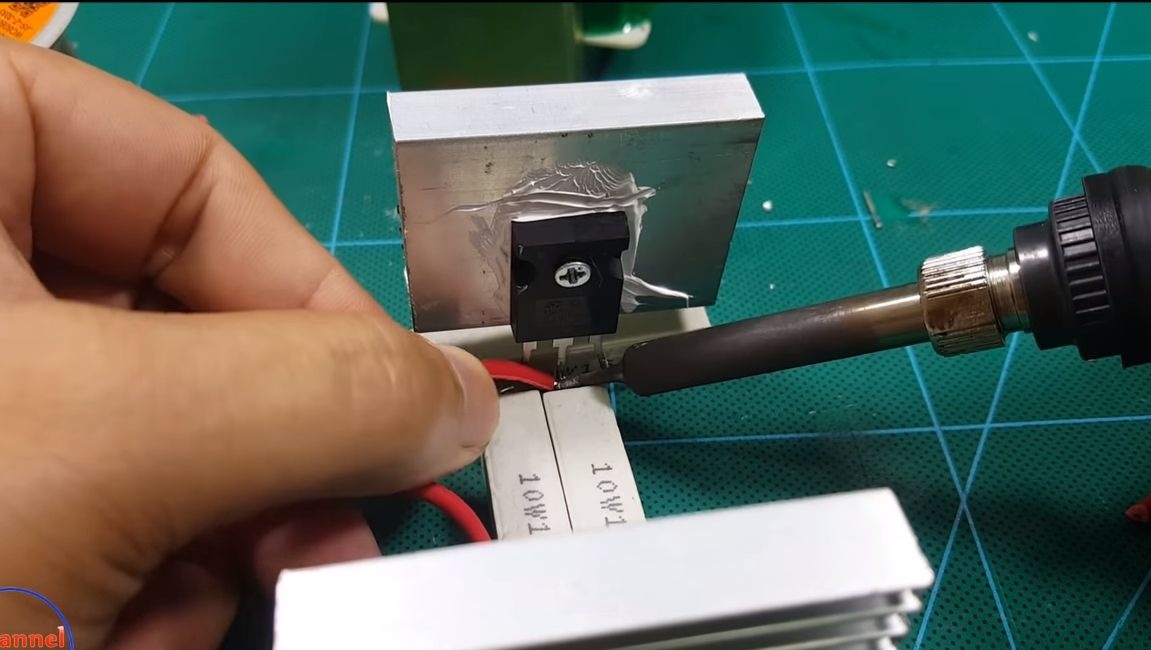
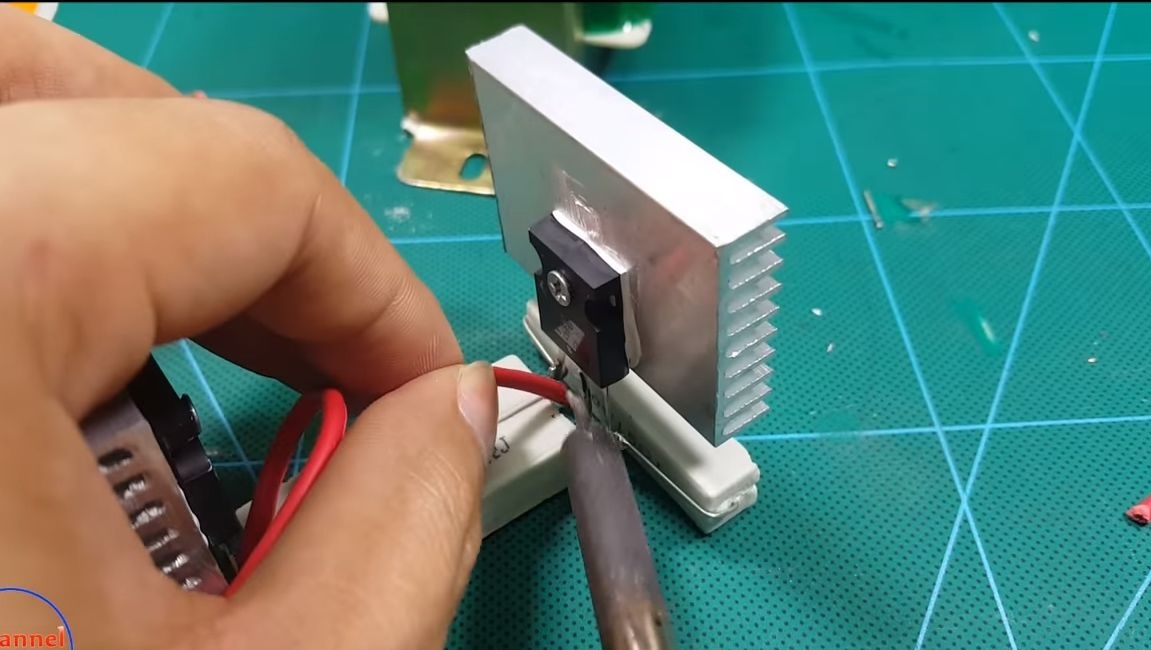
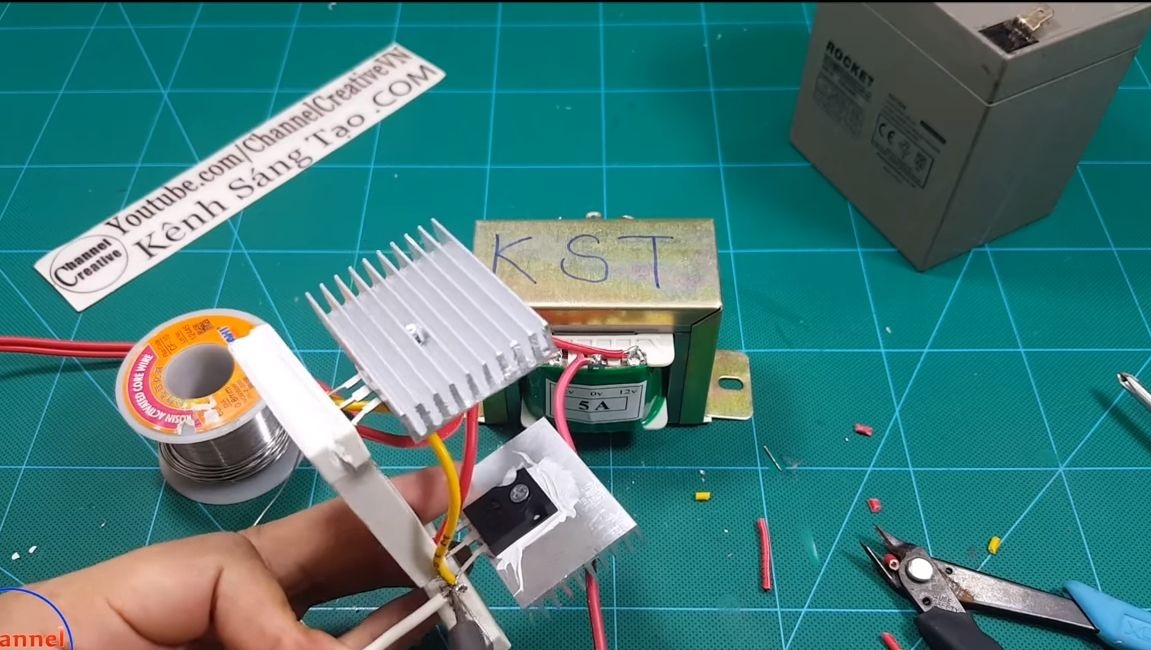


Step Three Radiator
During operation, the transistors will warm up, and if this heat is not removed, they can fail. Here you will need two radiators. We drill holes, apply thermal paste and carefully attract the transistors to the radiators with self-tapping screws.


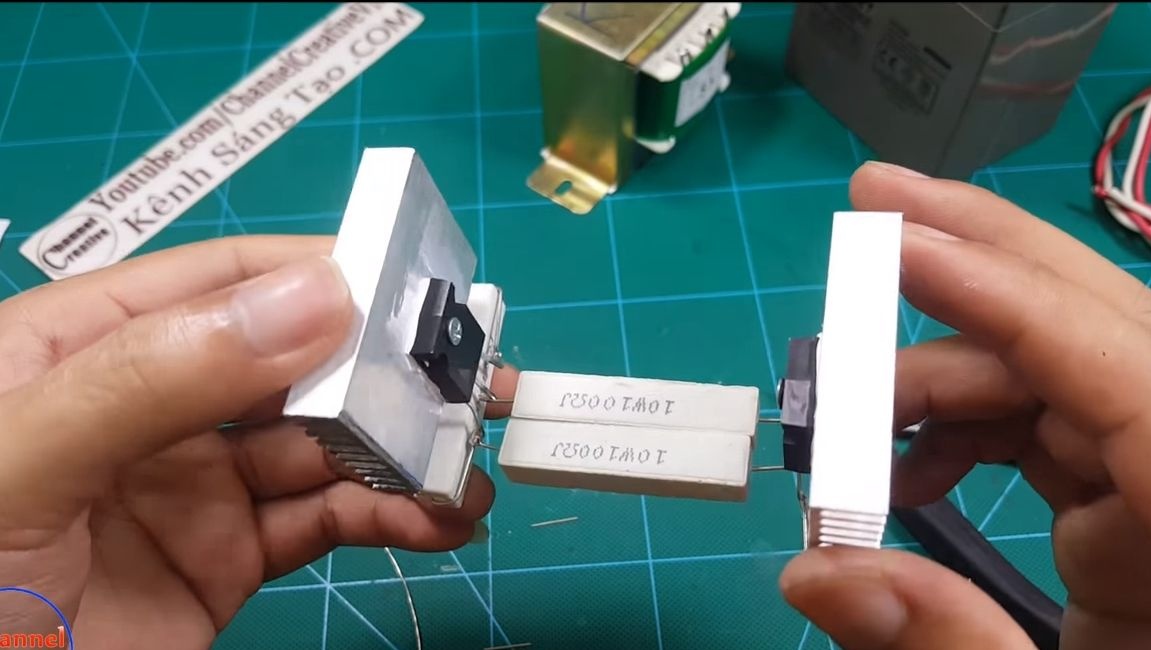
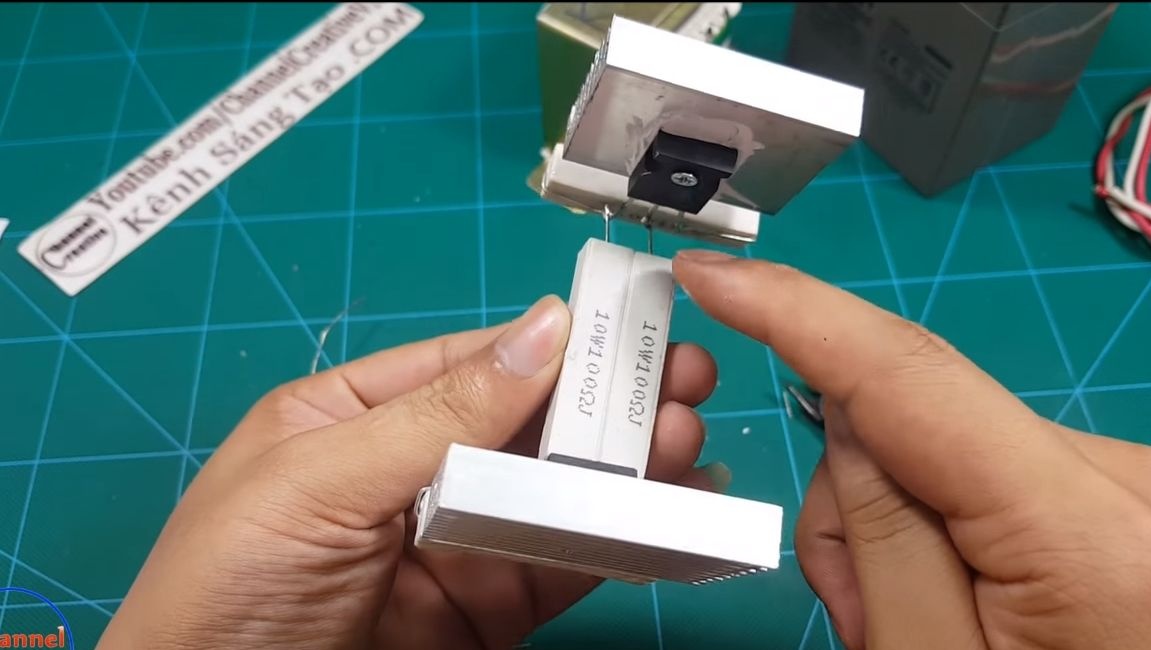
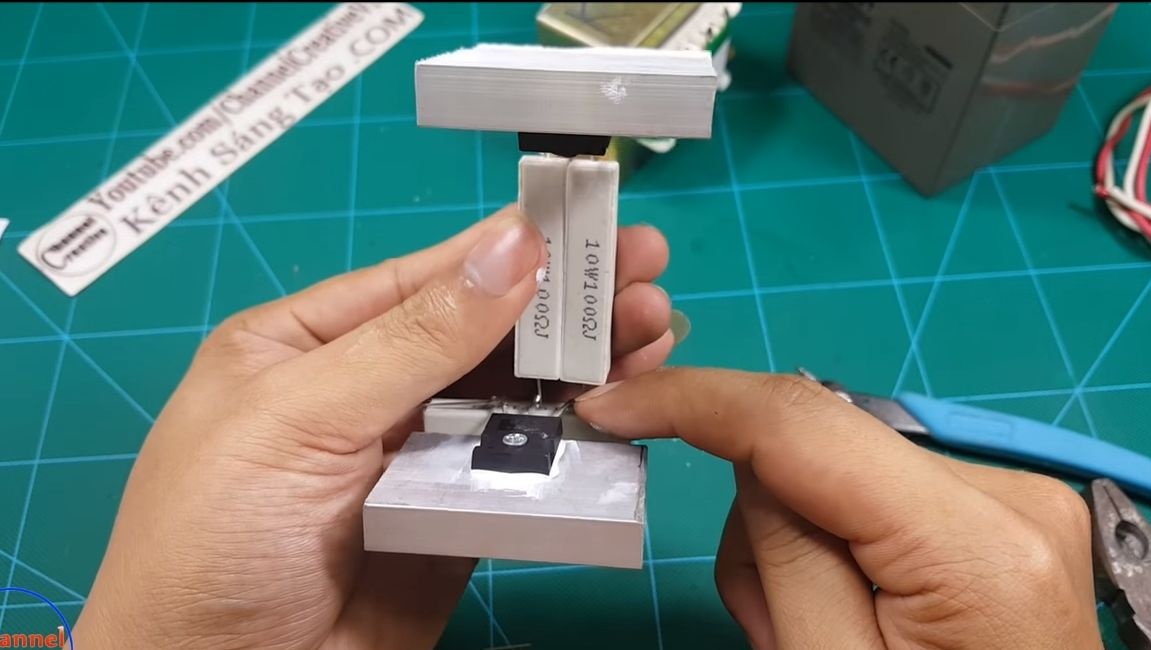
Step Four Connect two circuits with 100 ohm resistors
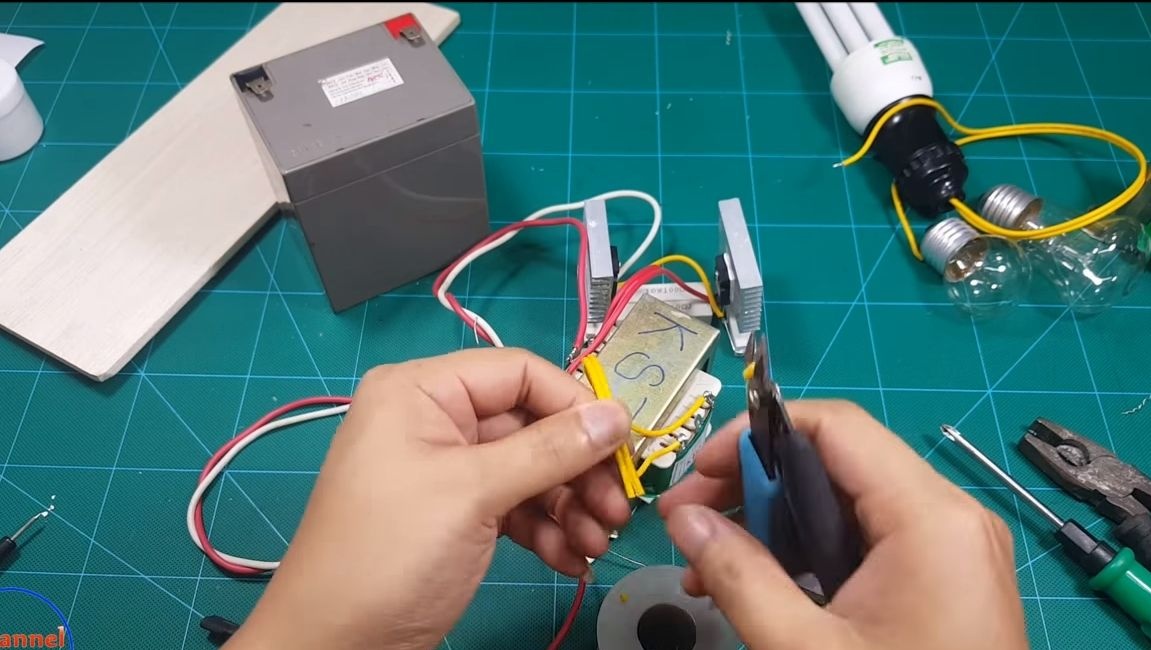
We take two 100 Ohm resistors and connect the two circuits diagonally. That is, you need to solder the contacts to the two extreme left legs of the transistors, if you look at their front part.


Step Five We connect the central paws
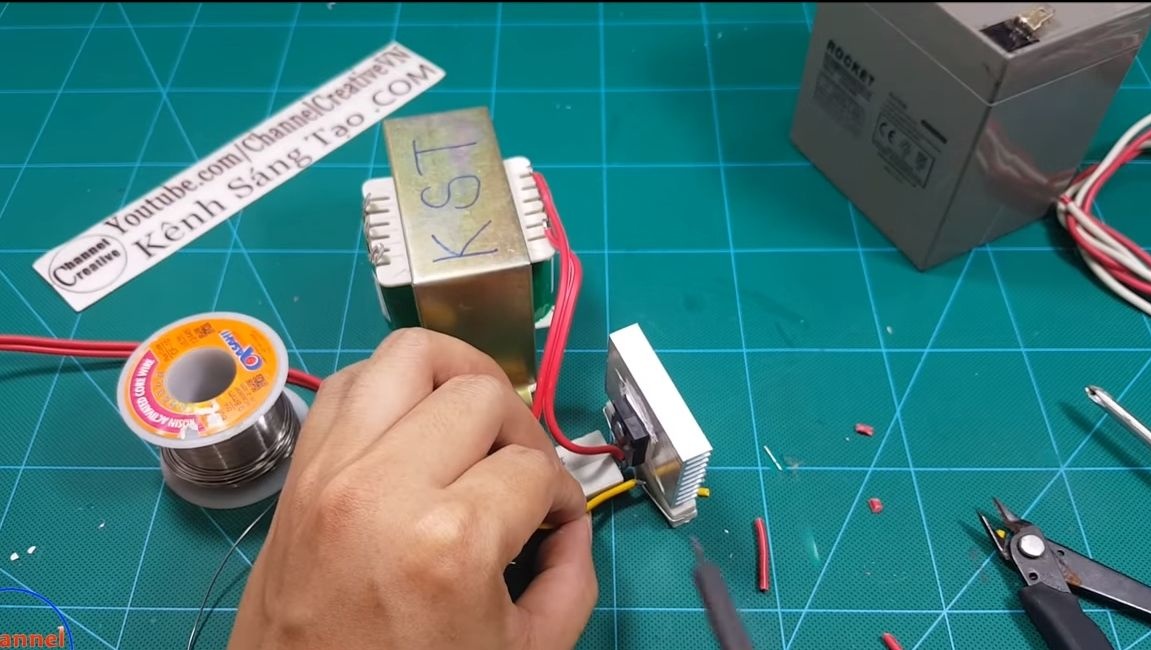
We take a two-wire wire cable and solder one wire to the central contacts of the transistors. Then these wires are soldered to the leftmost and rightmost contacts on the transformer, as seen in the photo.


Step Six Jumper
In accordance with the scheme, you need to install a jumper between the most extreme and right contacts of the transistors. Cut off a piece of wire and solder them to the paws.


Seventh step. Further connection
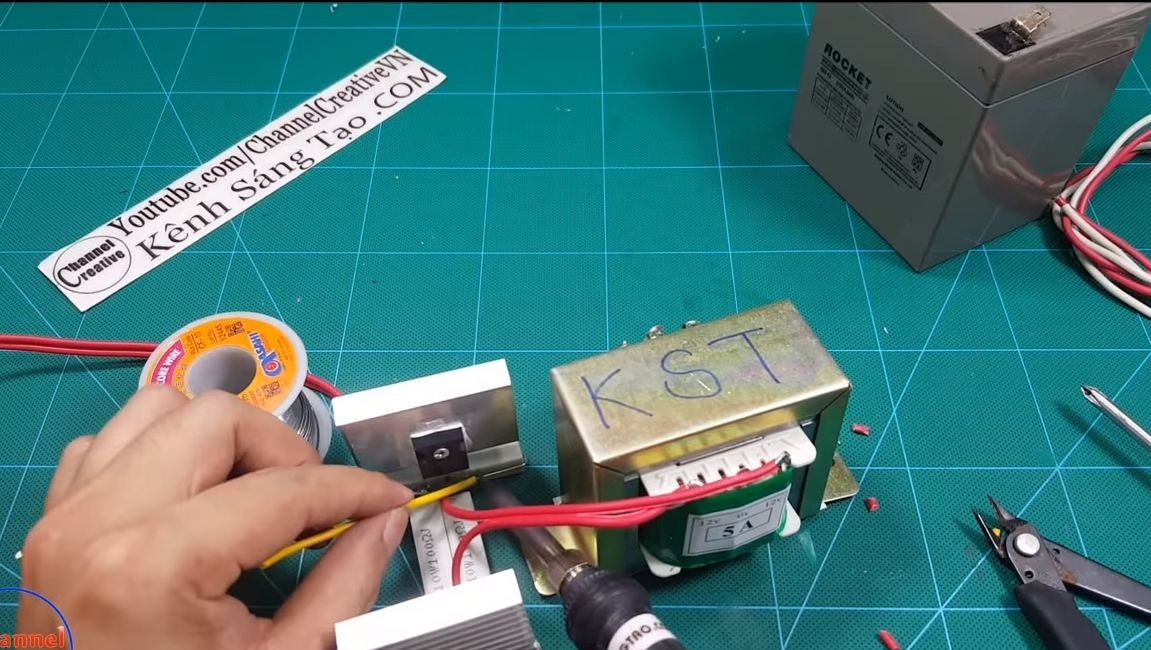
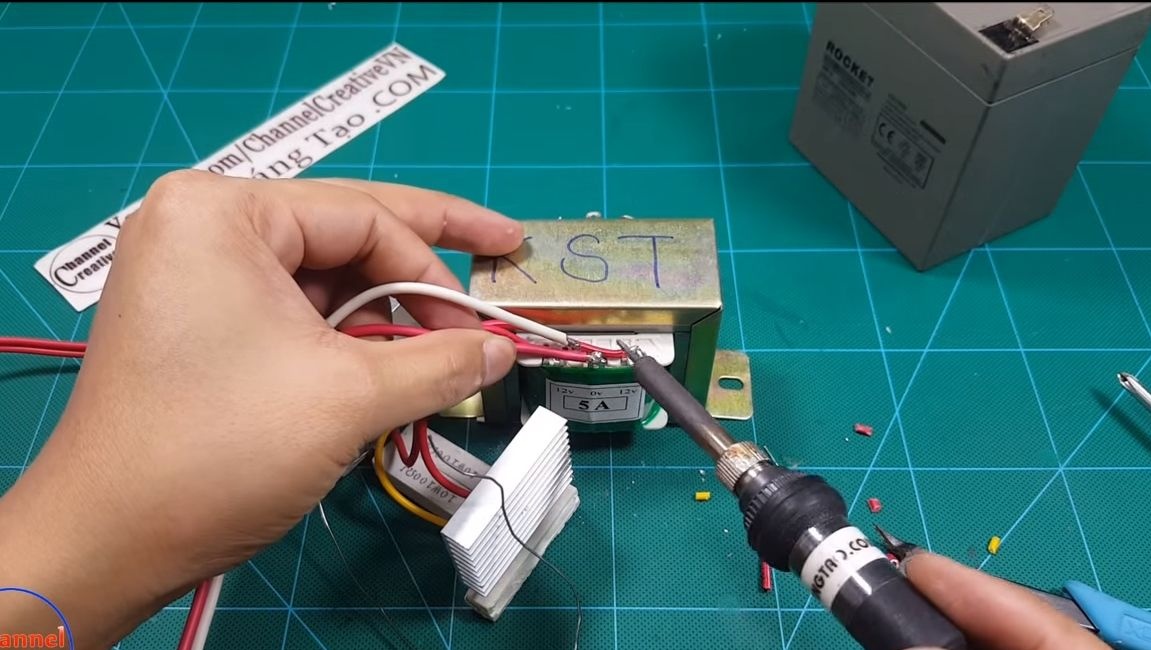
We take another piece of wire, it is pink from the author. Solder it to the central contact of the transformer, plus from the battery will be supplied to the transformer through it.

You will also need a piece of white wire, it will be minus from the battery, you need to solder it to the yellow wire, that is, the jumper installed earlier.


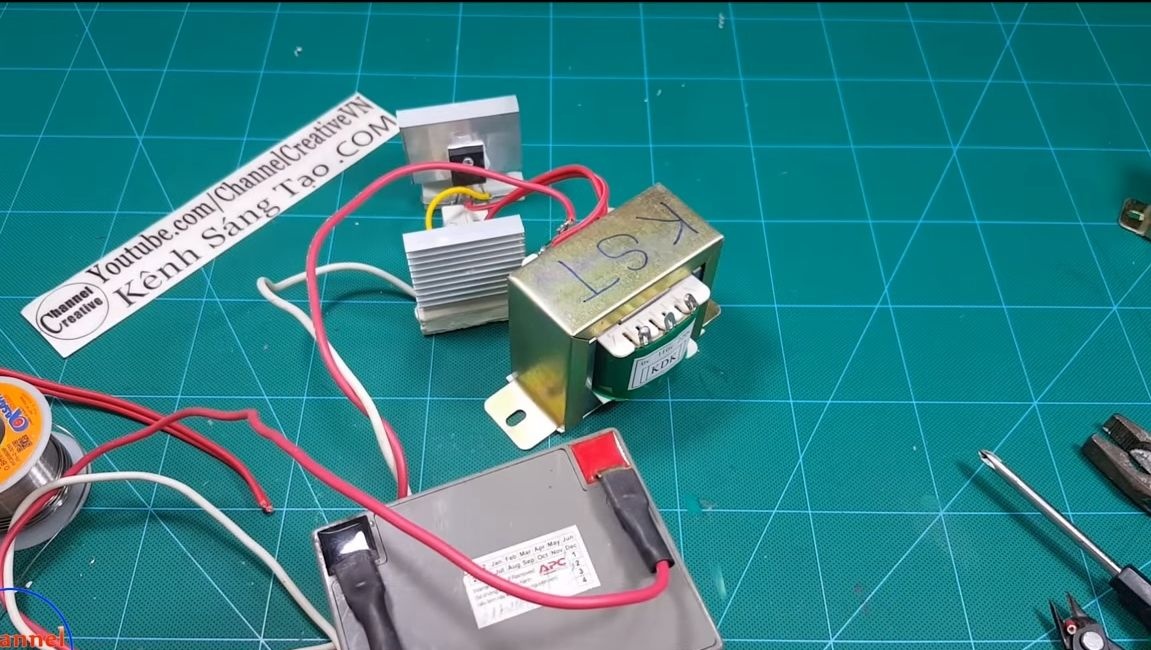
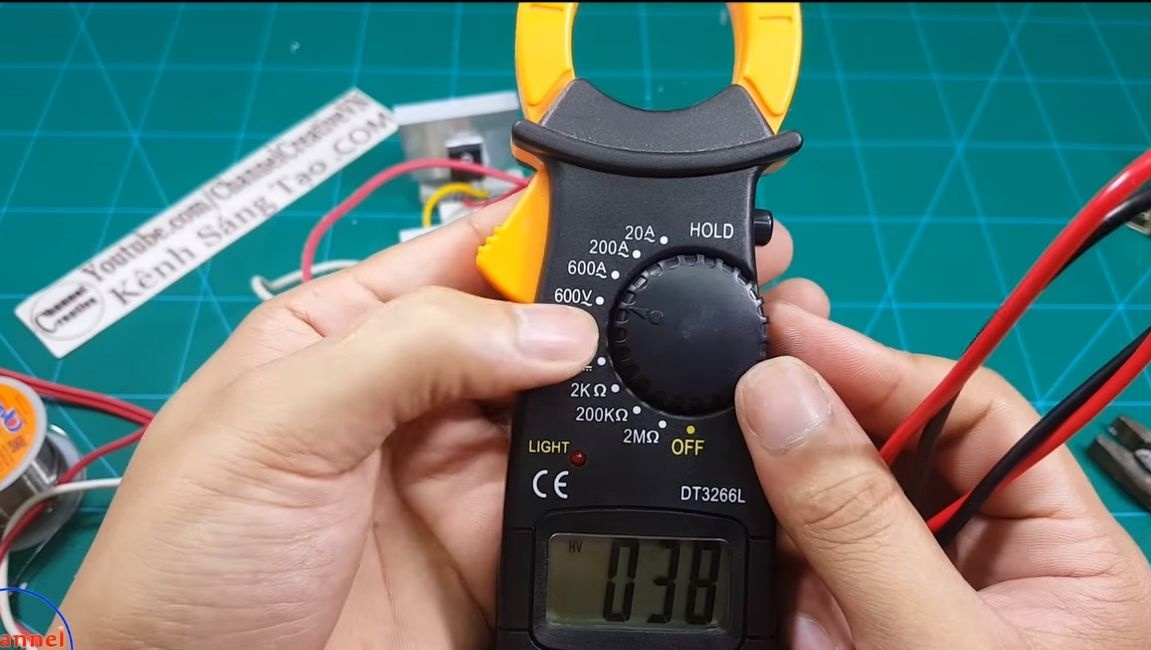
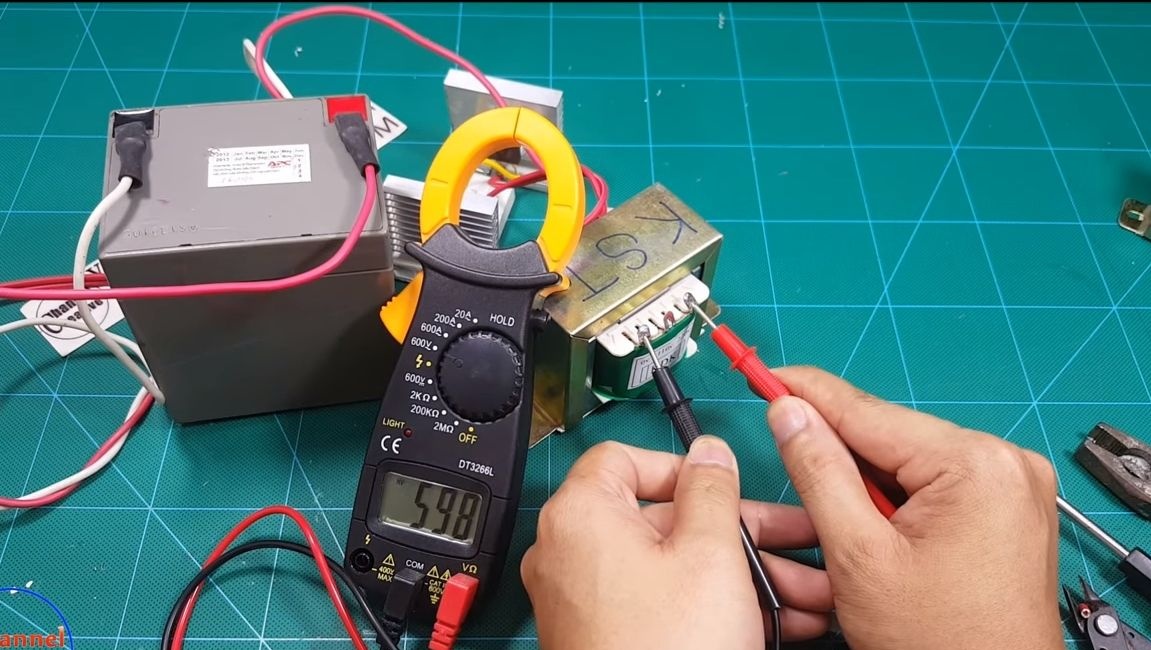
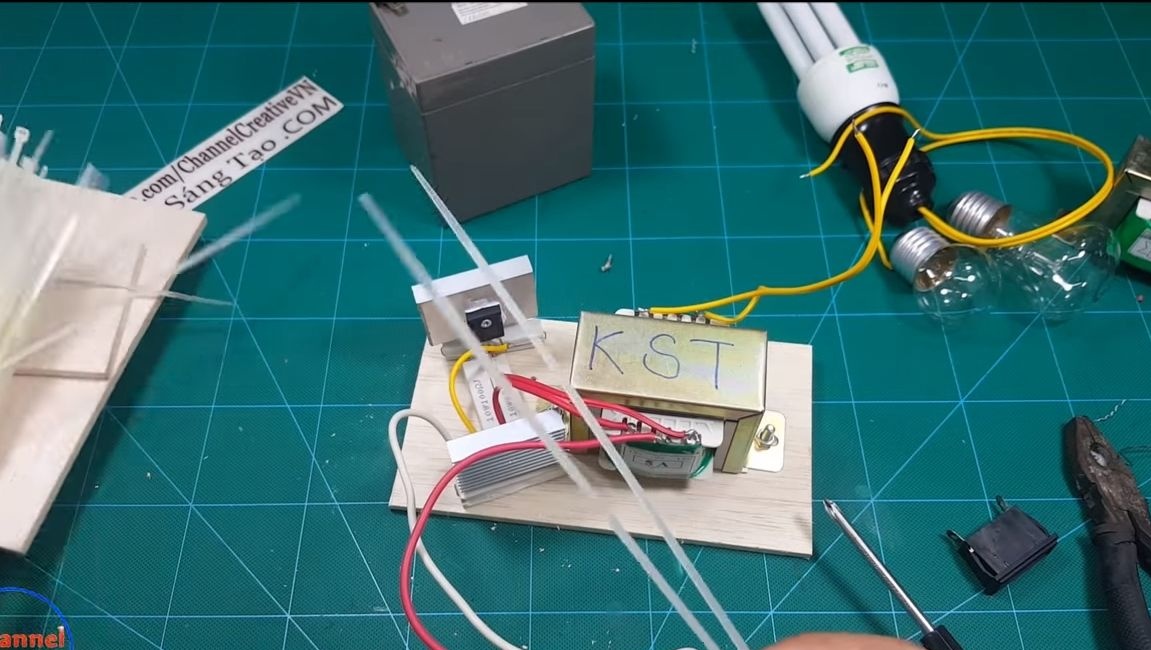
Step Eight. Testing!
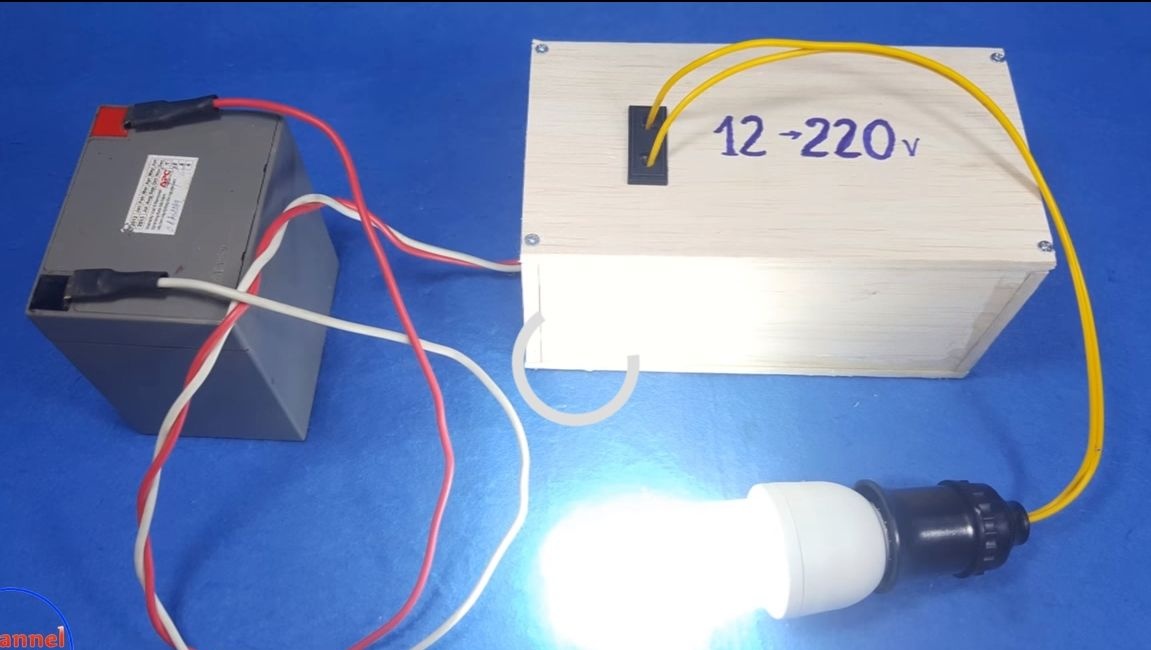
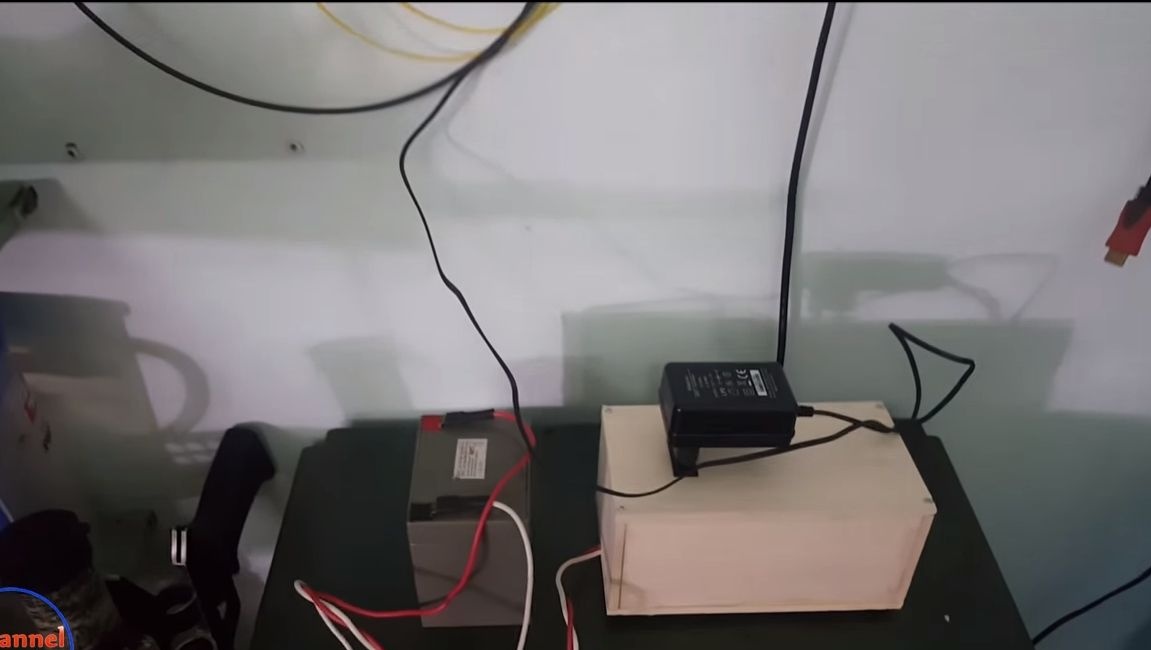
We didn’t have time to look around, as the electronic part of the inverter is assembled, you can test! We connect the battery and measure the voltage with a multimeter. It jumps in the range of 200-500V.
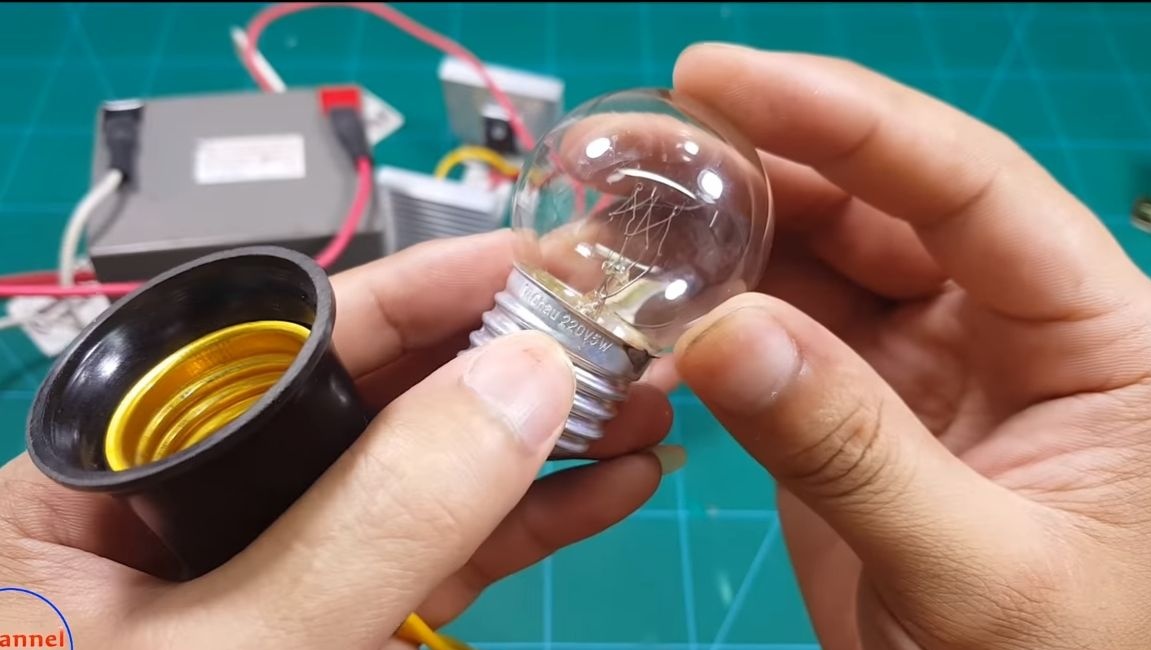
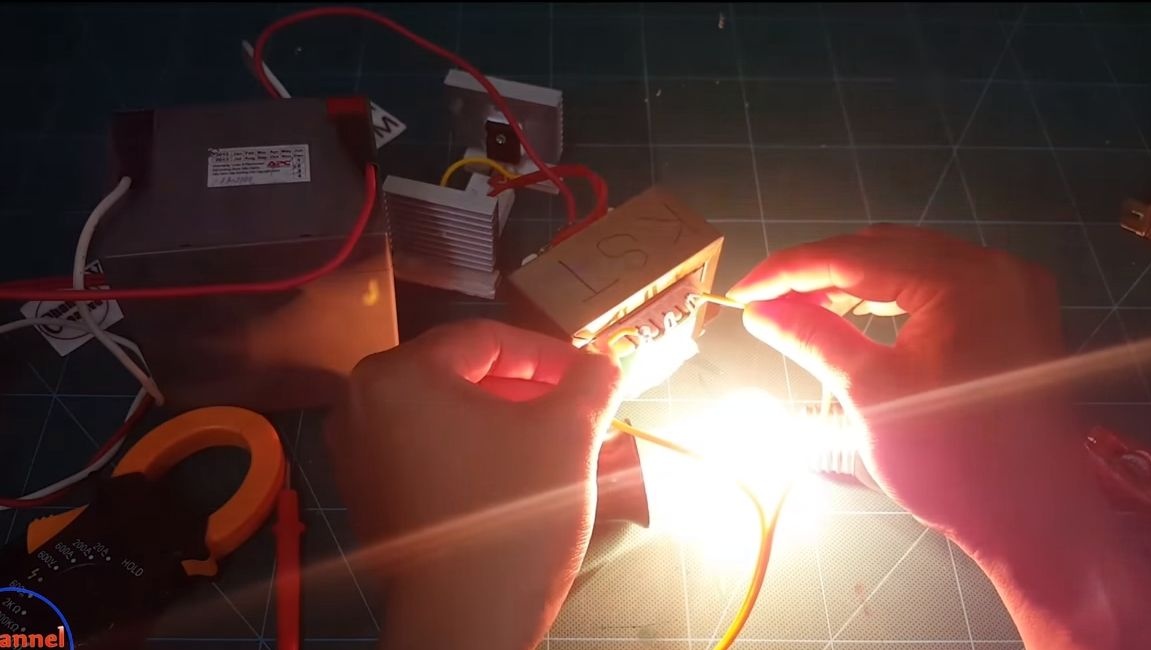
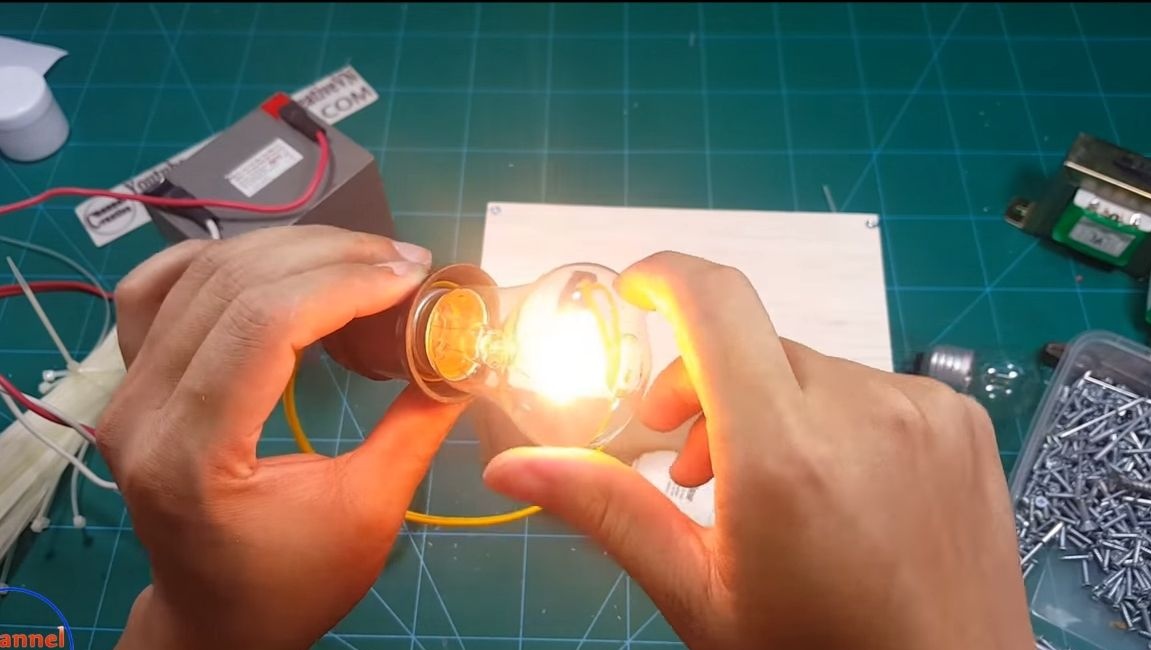
First, the author decided to connect a very weak 5-watt light bulb to the inverter, it caught fire without problems.


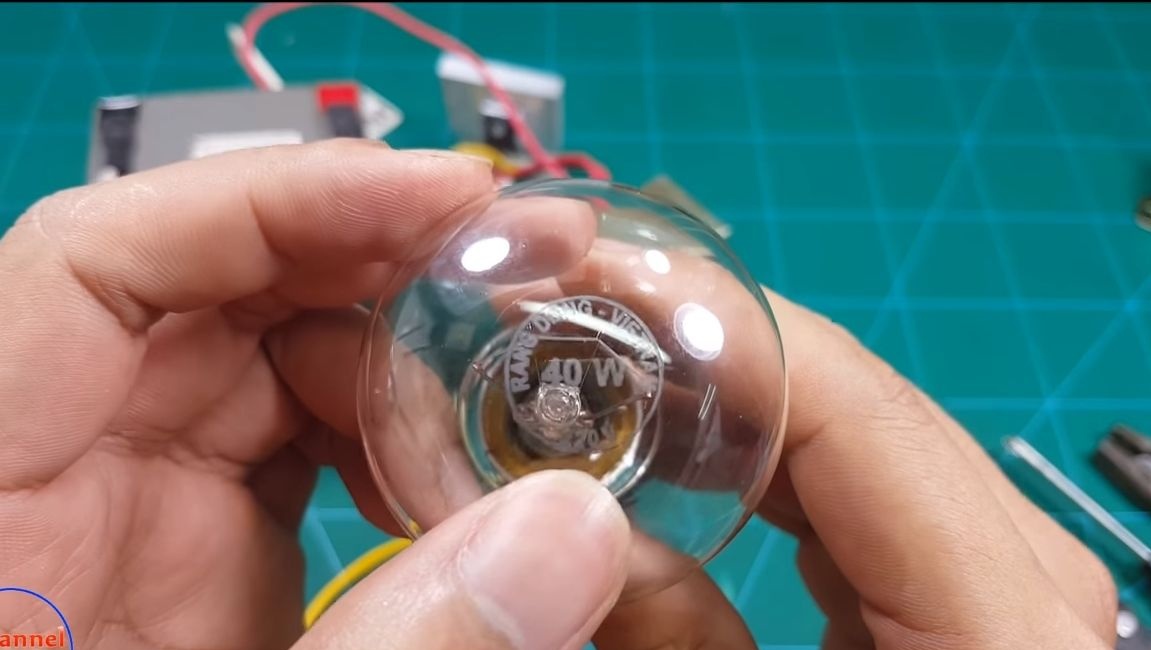
Then a more serious 40-watt bulb was connected, and it burns as if it was plugged into a power outlet at home, but actually it is powered by a small 12V battery.


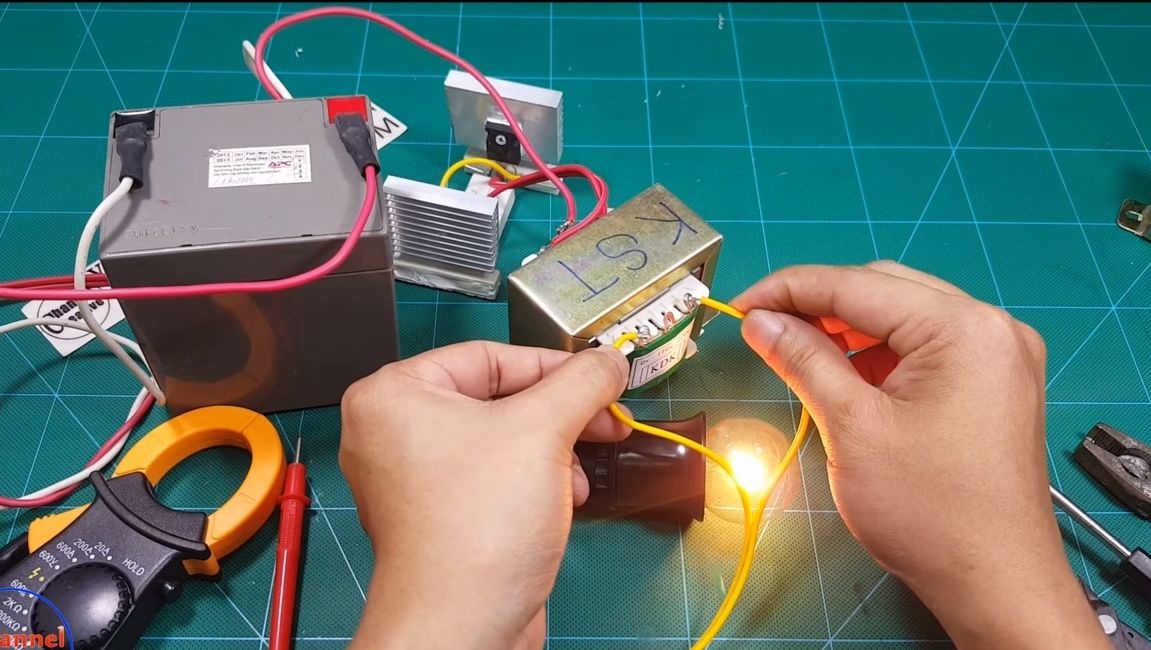
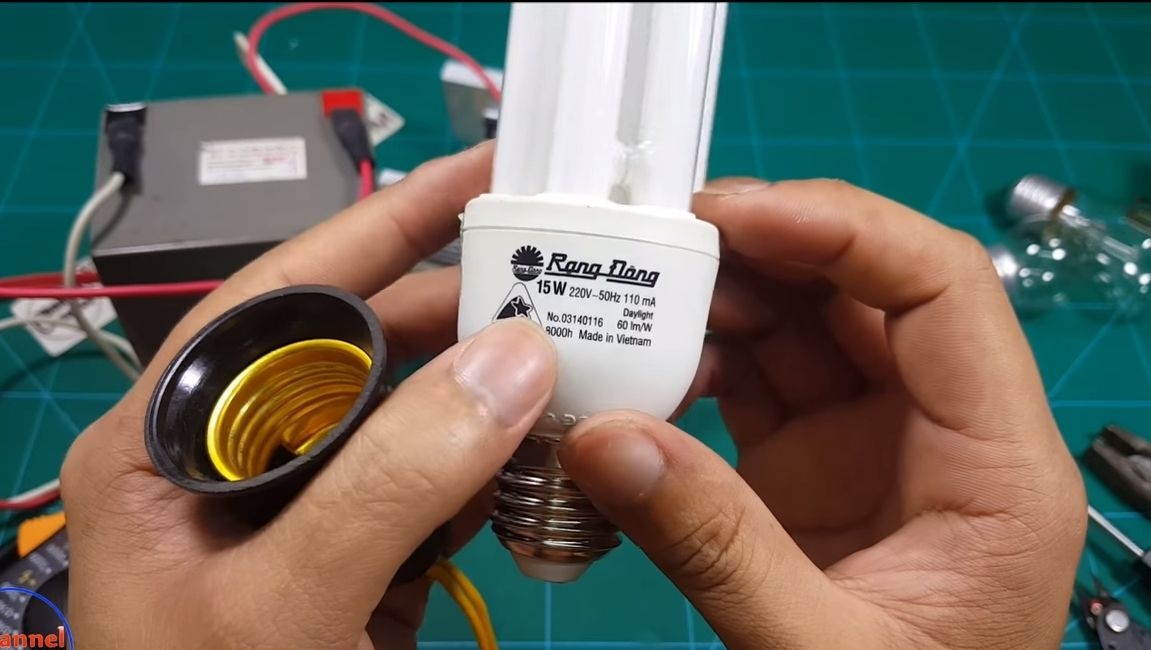
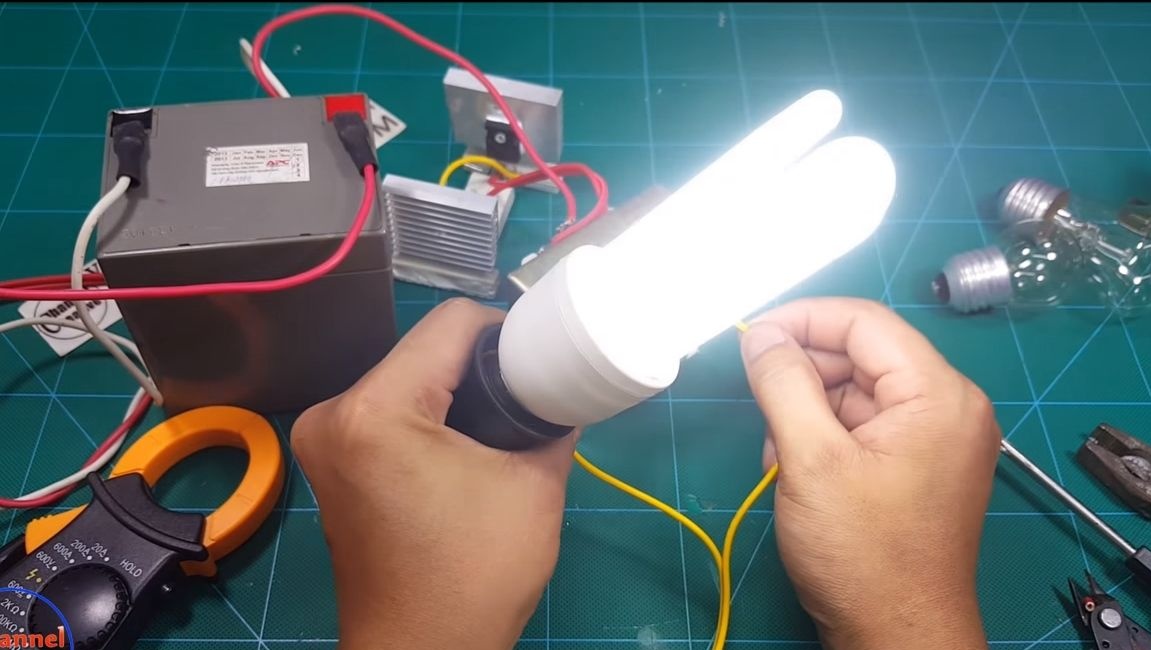
In the end, the author decided to connect a 15-watt fluorescent lamp, it also caught fire without any problems.


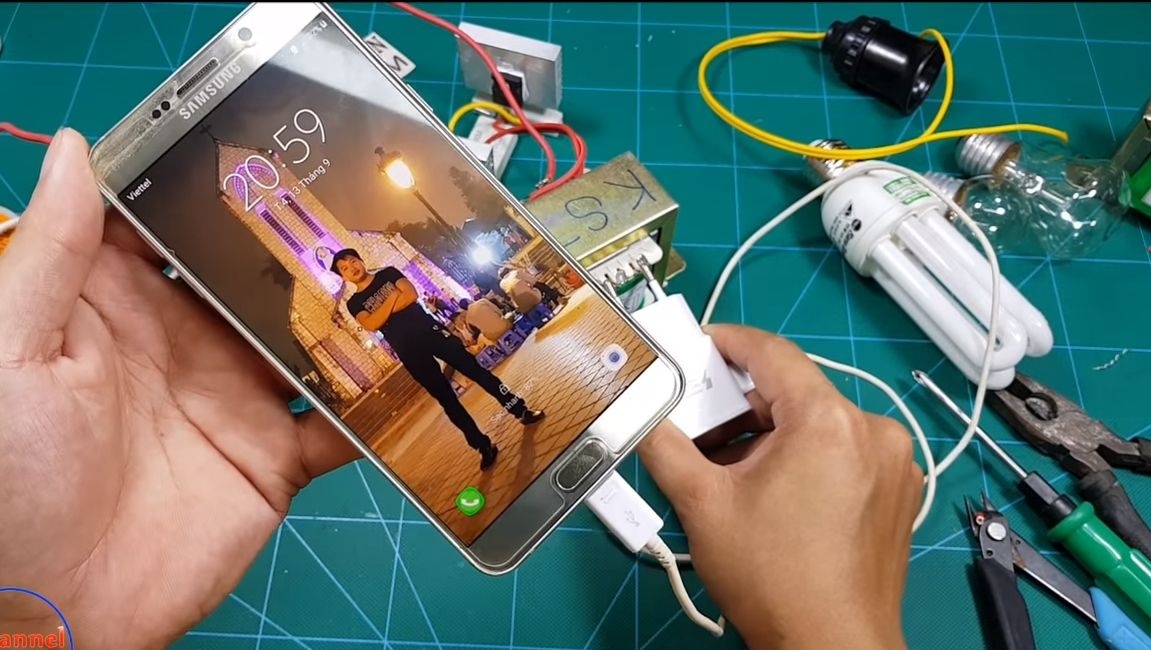
It was also decided to try to connect charging for mobile. The phone charges without any ado.

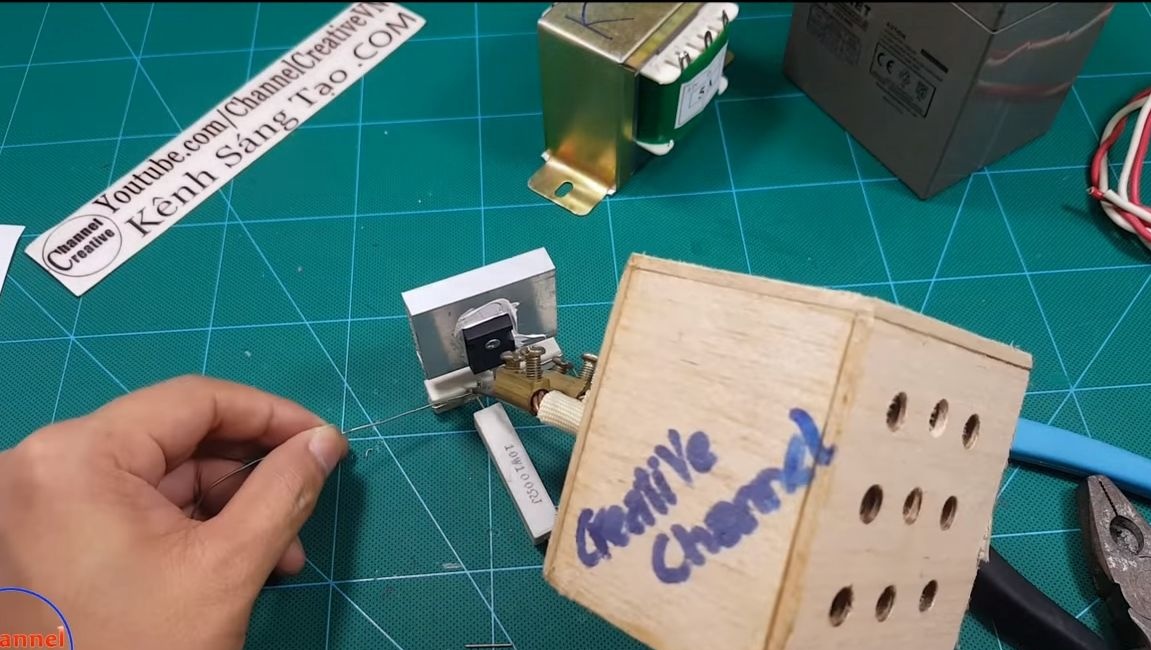
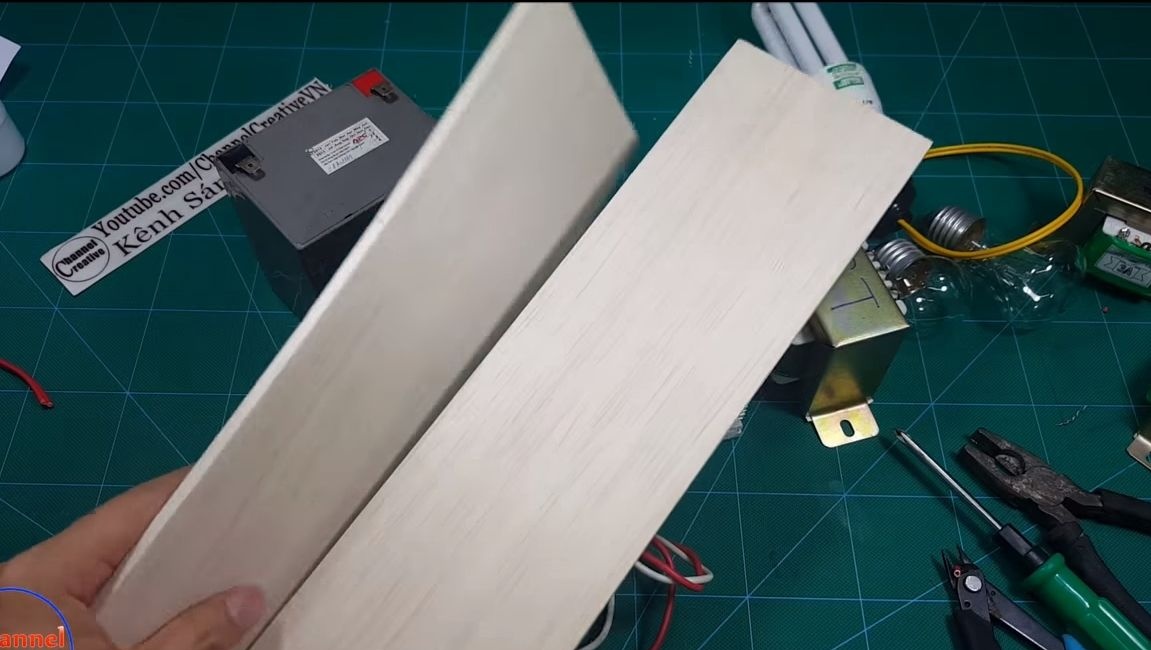
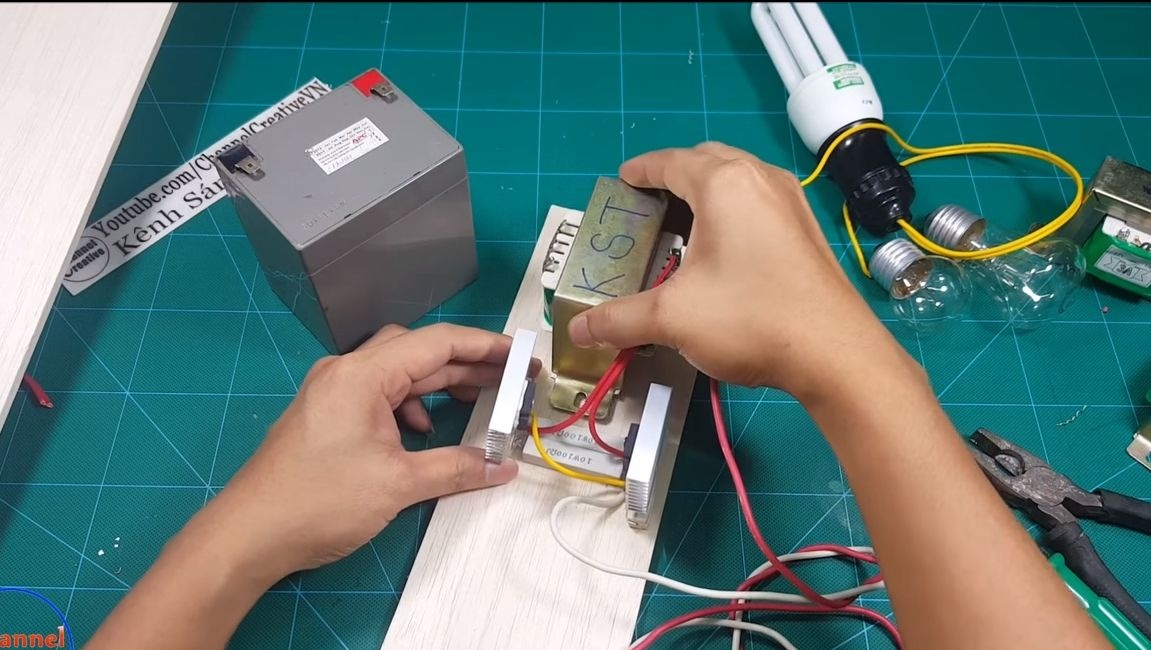
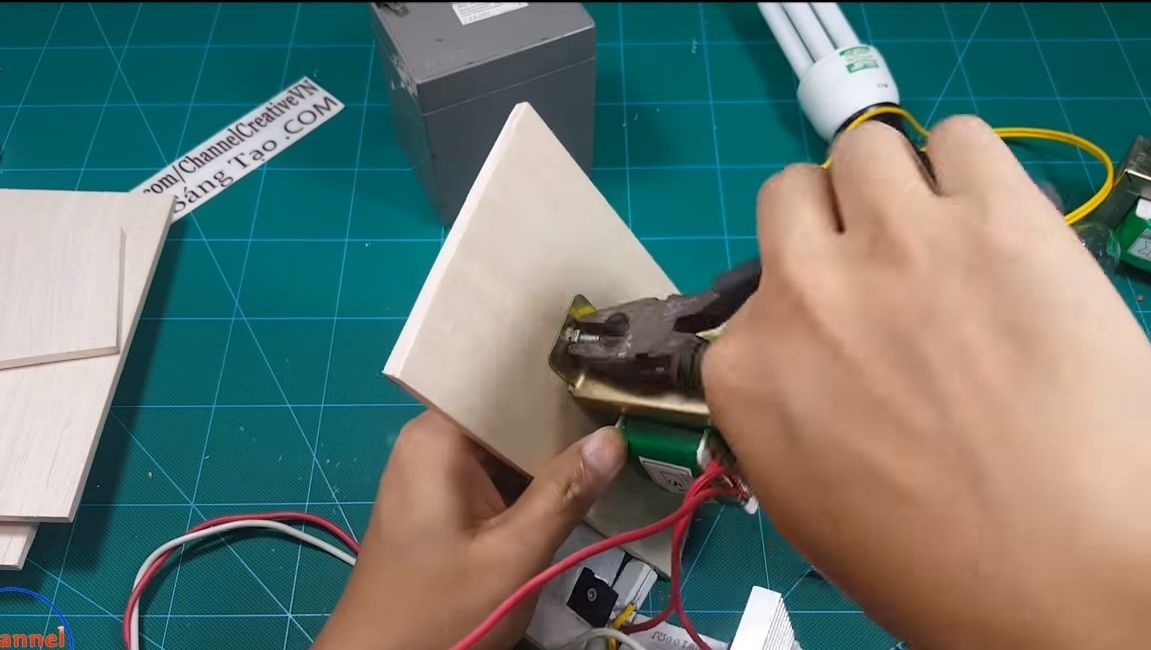
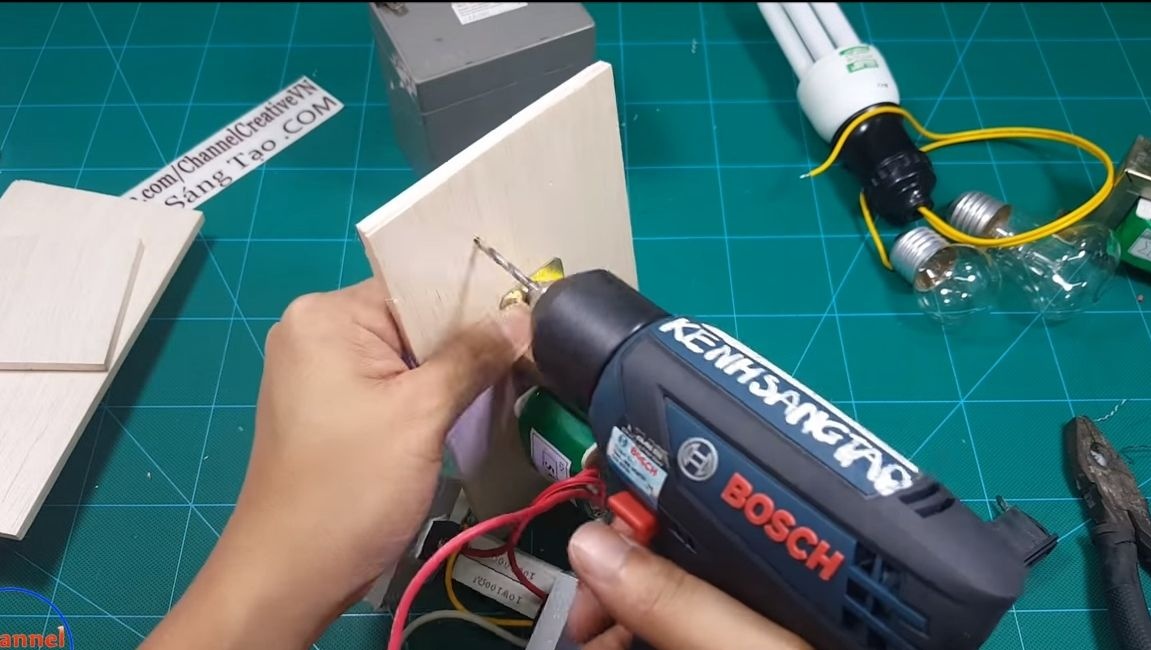
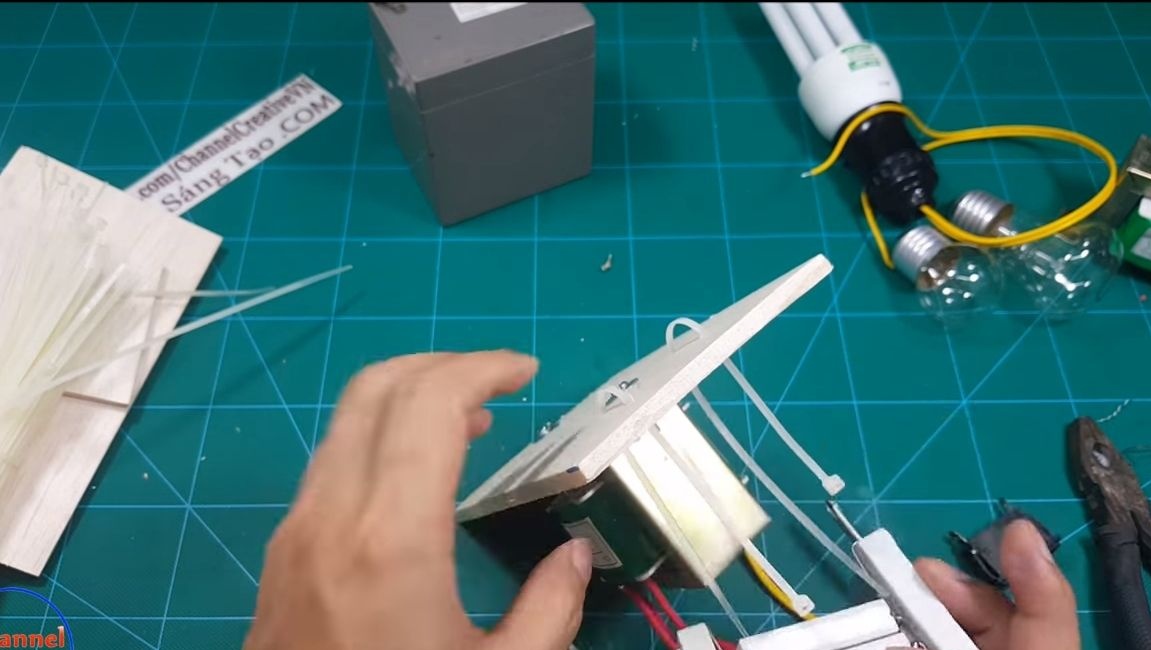
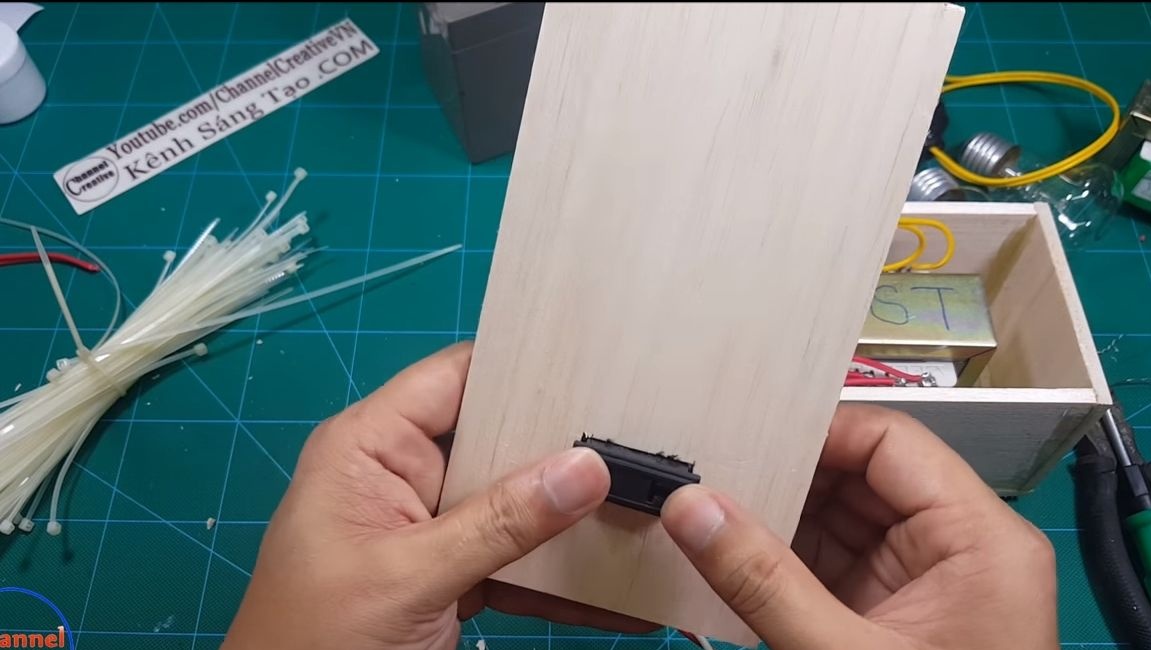
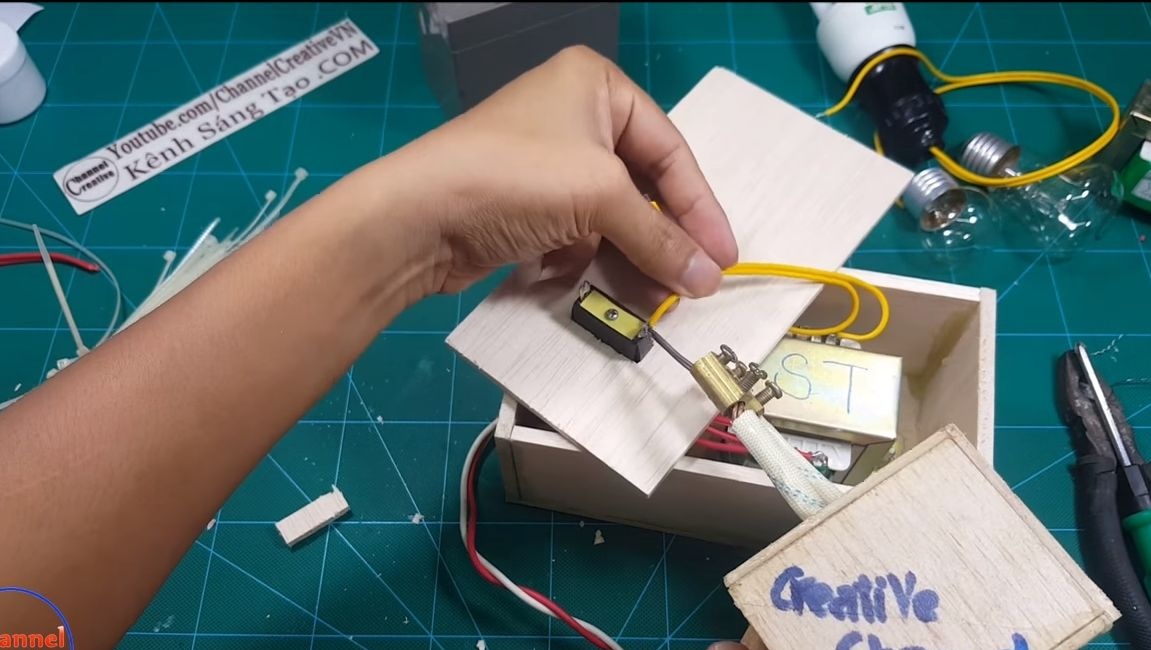
Step Nine. Putting the case together
To make everything safe and look aesthetically pleasing, we will make a housing for the inverter! To do this, you will need a socket, a piece of cable, as well as plywood, laminate or something similar. Cut the material to the desired pieces to make a box. We fasten the transformer to the base, for reliability, the author decided to fasten it with screws and nuts. As for the electronic part with transistors, it was decided to fix it with plastic ties. We drill holes and draw the lower resistors 100 Ohm to the base.


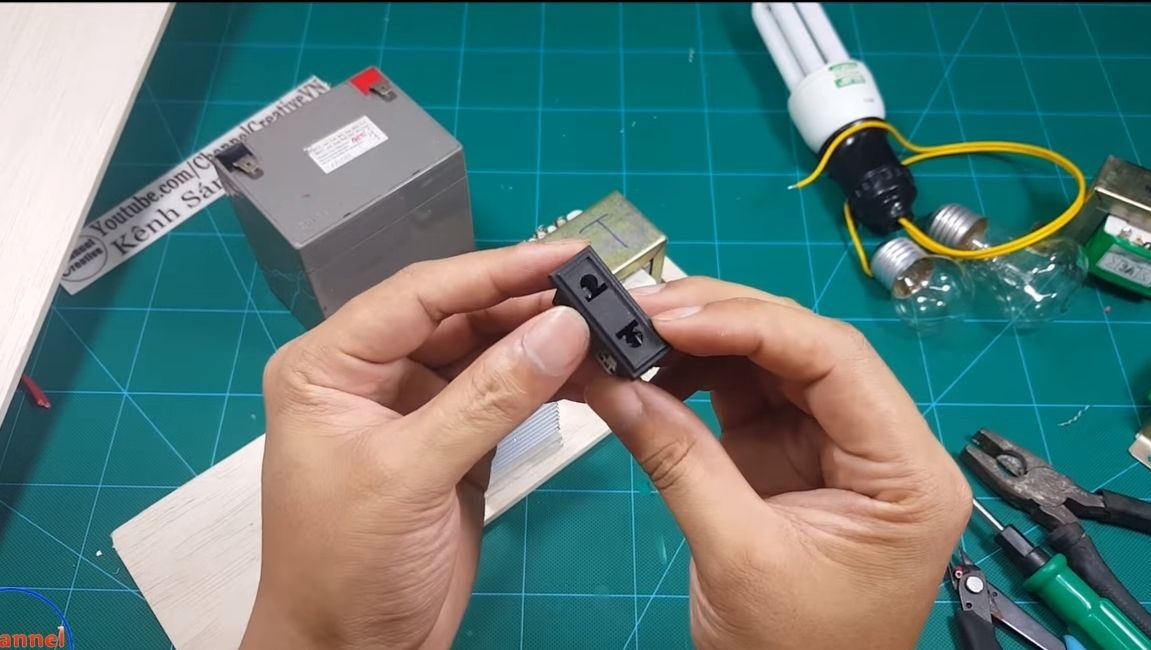
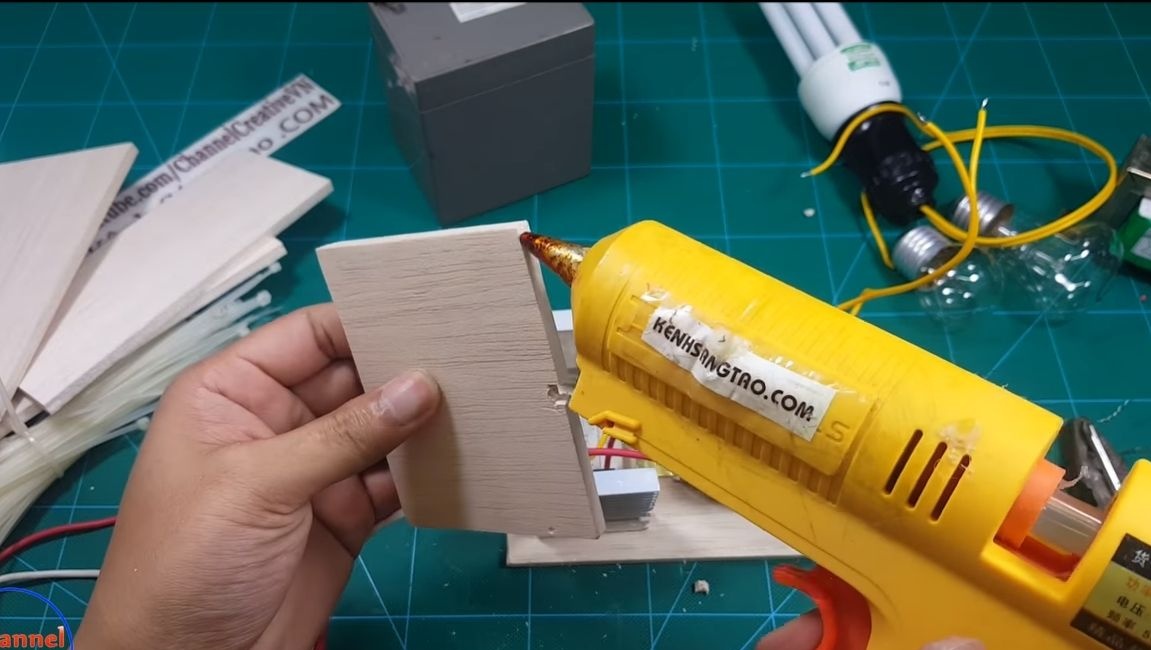
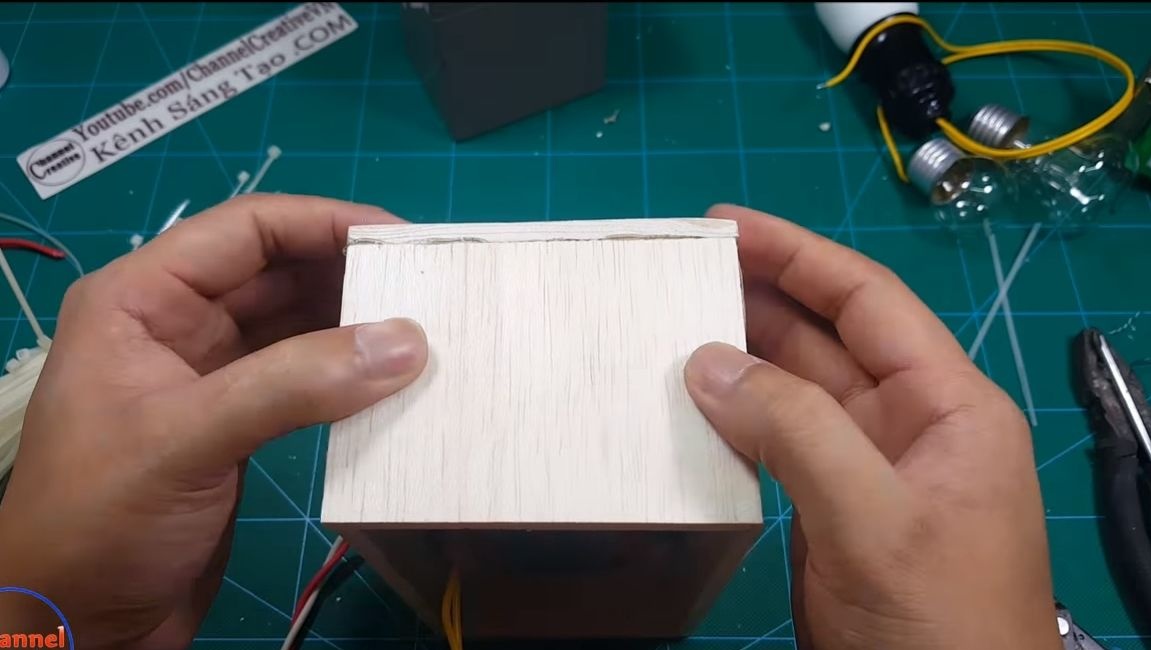
The case can be assembled, for these purposes the author used hot glue. As for the top cover, then you need to cut out a seat for it under the outlet. The author’s material is soft, he cuts the window with the help of an office knife. If the window is a suitable size, the outlet should lock in place. On the reverse side, it can be further strengthened with hot glue or epoxy.

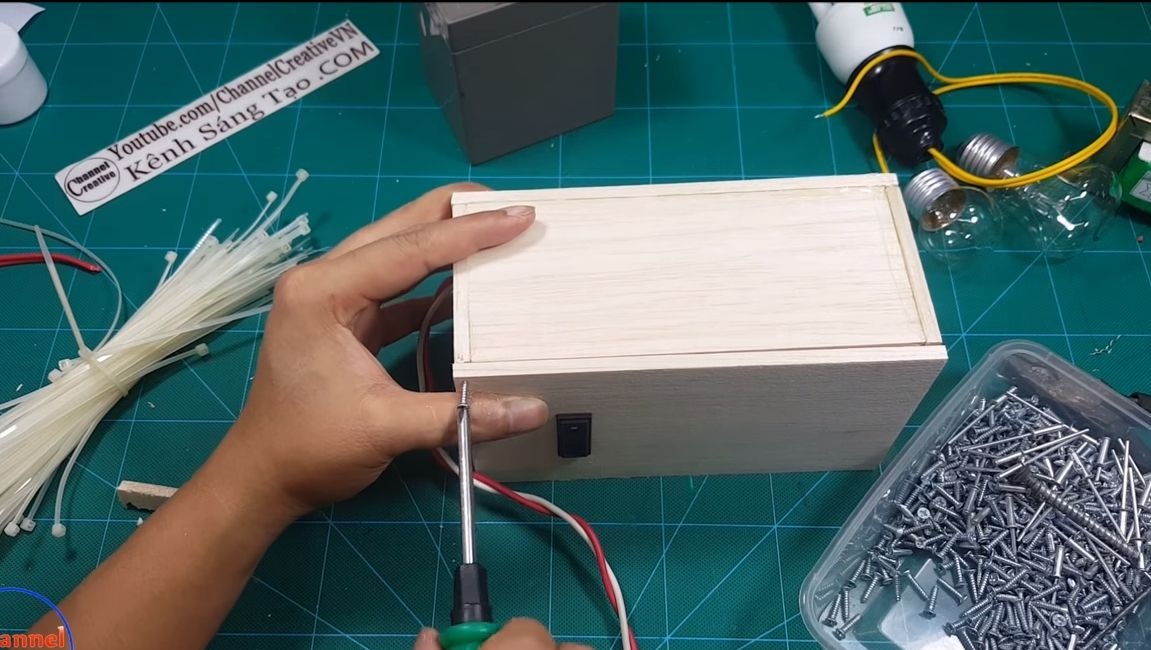
It's time to install the cover, we fasten it on the screws to have access to the inside of the inverter.


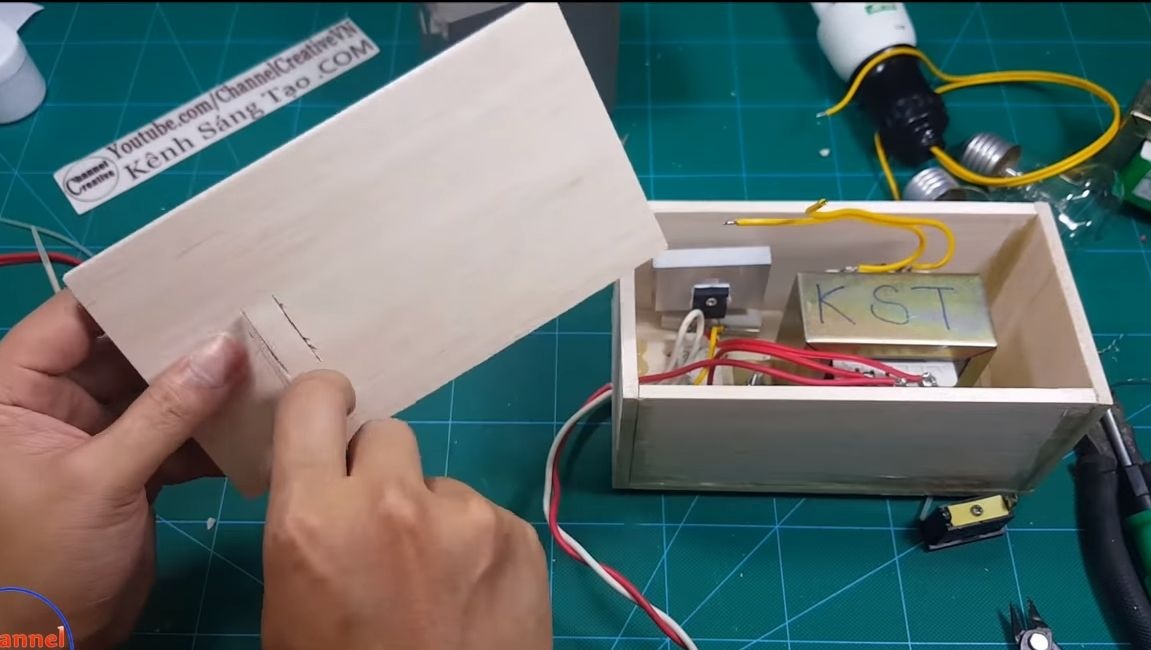
Step Ten Final tests


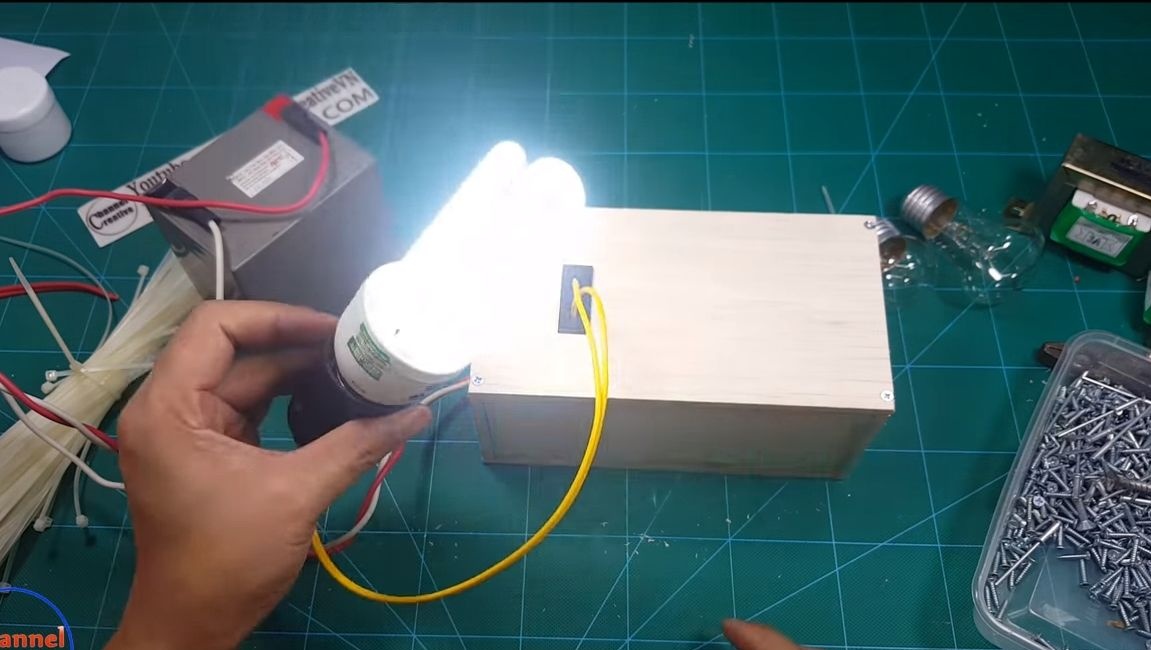
The inverter is ready, you can check! Light bulbs burn without difficulty, but what will happen to more serious electronics? The author tries to power the network router from his brainchild and it works without problems! Now you will not be left without WIFI, even if you turn off the lights.

That's all, good luck and take care! Do not forget during assembly that a voltage of 220V is generated, and this is life threatening!
9.7
7.7
8.7

Add a comment

    • smilesmilesxaxaokdontknowyahoonea
      bossscratchfoolyesyes-yesaggressivesecret
      sorrydancedance2dance3pardonhelpdrinks
      stopfriendsgoodgoodgoodwhistleswoontongue
      smokeclappingcraydeclarederisivedon-t_mentiondownload
      heatirefullaugh1mdameetingmoskingnegative
      not_ipopcornpunishreadscarescaressearch
      tauntthank_youthisto_clueumnikacuteagree
      badbeeeblack_eyeblum3blushboastboredom
      censoredpleasantrysecret2threatenvictoryyusun_bespectacled
      shokrespektlolprevedwelcomekrutoyya_za
      ya_dobryihelperne_huliganne_othodifludbanclose
20 comments
What is the point of feeding a router or charging through an inverter to 12/220 if it is much easier to connect stupidly via KREN5 (7805 in the bourgeois version)
It would also be nice to insert a fuse on the high voltage circuit. Suddenly overload with the load, so at least the transformer winding will not burn ...
Quote: Dimastik
Isn’t it easier to take a less powerful battery and simplify the circuit?
Still simplify ??! )))
What other transistors can I use?
Do not try to repeat THIS. Look for schemes in sources of reliable information: books, amateur magazines, on specialized sites.
Thanks! There are ferrite cores, there are permaloy cores from the receiver.
On steel, I did what the toys did, such as how to tickle a point. I just think how much this scheme is applicable with my details, and how to implement it better.
Sense to power the router from the inverter? In the first couple, people bought an inverter for a car and charged mobile phones from them through their native charges.
however, there the frequency is higher. I think it depends on the winding data of the transformer.

This primarily depends on the material of the core of the transformer. No one makes transformers on transformers made of simple electrical steel. It is necessary to use either a W-shaped or a ferrite ring of the brand 1000НН - 2000НН. No one makes converters with a frequency below 20 kHz. The higher the conversion frequency, the smaller the loss and the smaller the dimensions. If there is nothing at hand, you can take the core from the fuel assembly of the old TV.
What other transistors can I use? I have kt835, kt805, metal 2t803 and old people p213 - 217 already lying around. And if they can be adapted, what resistor values ​​should I use with them?
Further. As I understand it, the primary voltage is about the same as on a battery. That is, if I take a 6-volt battery, for example, then it’s worth taking a transformer 6-0-6, right?
A similar circuit is used in ESD inverters, but there the frequency is higher. I think it depends on the winding data of the transformer.
Resistors 3 and 4, I suppose, limit the current on the transistors, but in theory they should reduce power. Isn’t it easier to take a less powerful battery and simplify the circuit?
this is probably the brother aku oblique, it seems not krivorukov, but headless. especially pleased with the airtight drawer to protect against the release of "blue smoke".
Author
Yes, the 12V battery can also be directly connected to the phone ... It will be even cooler than the LED lamp
Why all this garden? Isn't it easier to power an LED lamp directly from the battery, without unnecessary losses?
This was the author under the left nickname ??? ))))
Or are there people who never read comments?
Quote: Dmitrij
But how does he turn on a 40-watt?

He has a more powerful transformer (> 60W)
Excellent! Details and suitable even for a teenager who does not really understand. I would do a little differently, I would replace the light bulb with a filament LED and add a solar panel with a charge controller, + akb of a larger capacity and you can feel more comfortable in the country without electricity.
Author
But how does he turn on a 40-watt?
I soldered this circuit on the TP-30-2 (220/15 + 15v). Power is small ~ 27W. Generated at 30Hz. When powered by a 12v battery. And the output is ~ 140v. To get ~ 220v at the output, you need to supply ~ 16v (for this transformer). When the load is connected (bulb 220v / 25vt), for example, it is squandered and the frequency is even less ~ 26Hz.
Resistors R1, R2 are very hot ... can be set ~ 120ohm
Resistors R3, R4 can be set to 1W.
Saboteur - Episode 1
I immediately remembered the personnel transformer TVK-110, though it does not produce 12/12, but a little more. And how many homemade items were redone on it in childhood ...
Quote: Pronin
I wonder what frequency this primitive multivibrator gives out.

Surely much higher than 50 Hz, then trans will overheat, and transformer powered devices will also work abnormally. Wild redneck (saving two capacitors) will lead to failure of both the converter itself and its loads.
central paws
These are paws on a cat or sewing machine, and the terminals or legs on electronic components.
A lot of pictures (for whom? Or for what?), But in the diagram the battery is not connected to the midpoint! I wonder what frequency this primitive multivibrator gives out. And I would not recommend connecting equipment to this misunderstanding. And if the battery (12V) is powerful, then the transistors will overheat (burn out), since there is no efficiency.

We advise you to read:

Hand it for the smartphone ...