

This is a must for every true master. Sometimes there is a need for repair of power tools, and namely - the replacement of bearings that wear out sooner or later. If you remove the bearing with a hammer, screwdrivers and other not very suitable solutions, there is a risk of damage to the axis, thread or individual components on the axis, more often it happens. And sometimes the bearing sits on the axis so firmly that it turns out to be removed far and not every puller.
In this instruction, you will learn how to make a simple, powerful puller that will always help you out in a difficult situation. To assemble it, you will need a piece of a thick-walled pipe and a thick steel plate. If you wish, you can make yourself several pieces of such pullers for products of various sizes. Let's consider in order how to do this device.
Materials and tools used by the author:
Material List:
- thick-walled pipe;
- thick steel plate;
- bolt and nut (larger);
- a metal rod (a handle is made of it);
- paint.
Tool List:
- ;
- (cutting disc, brush, and grinding disc);
- drill with large bits or a drilling machine;
- Lathe, cutting machine (optional).
Puller manufacturing process:
Step one. We prepare the main part
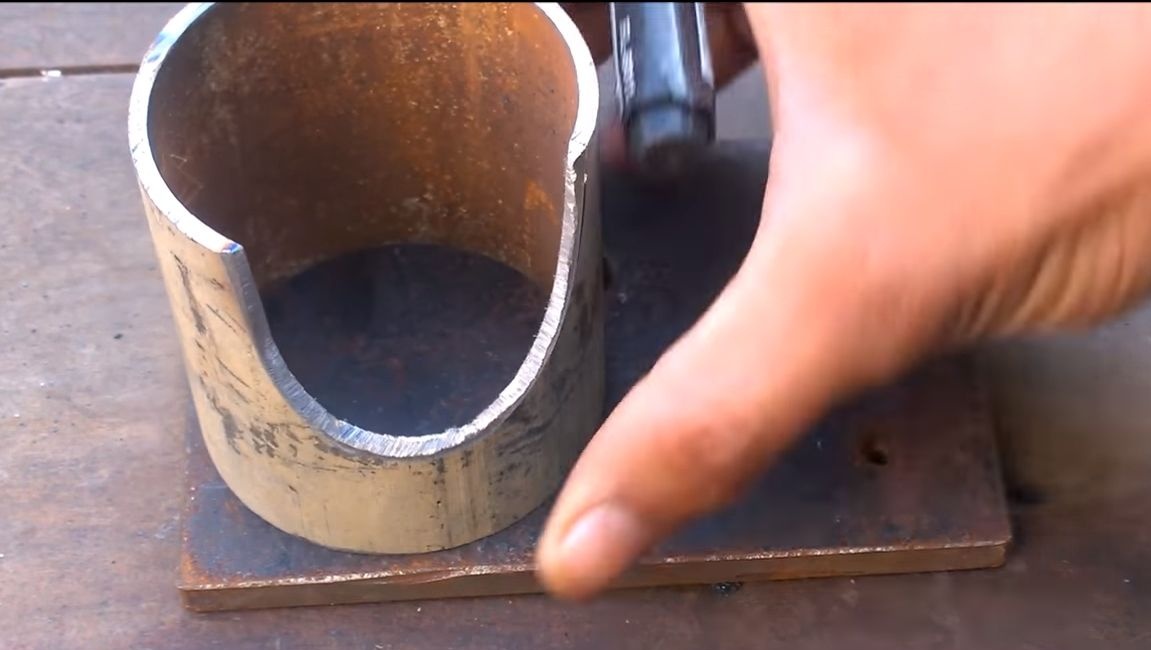
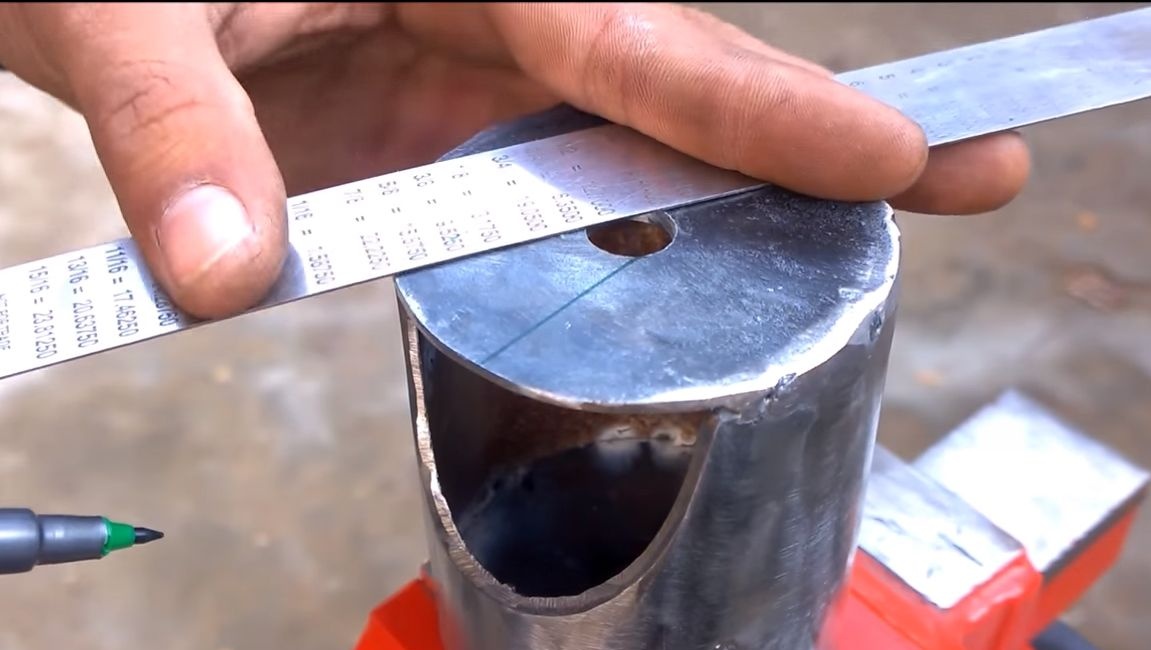
A piece of thick-walled steel pipe acts as the main part of the puller; it works like a frame. If the pipe is not strong enough, and the loads are large. It can easily bend. The wall thickness of the pipe must be at least 3 mm.
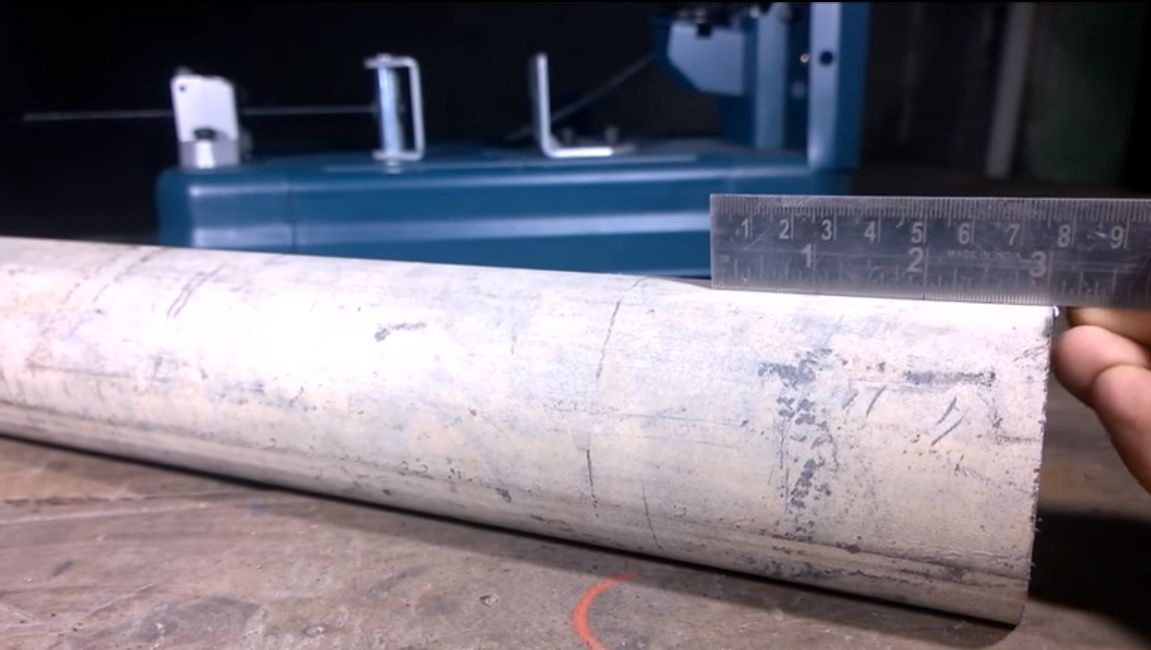
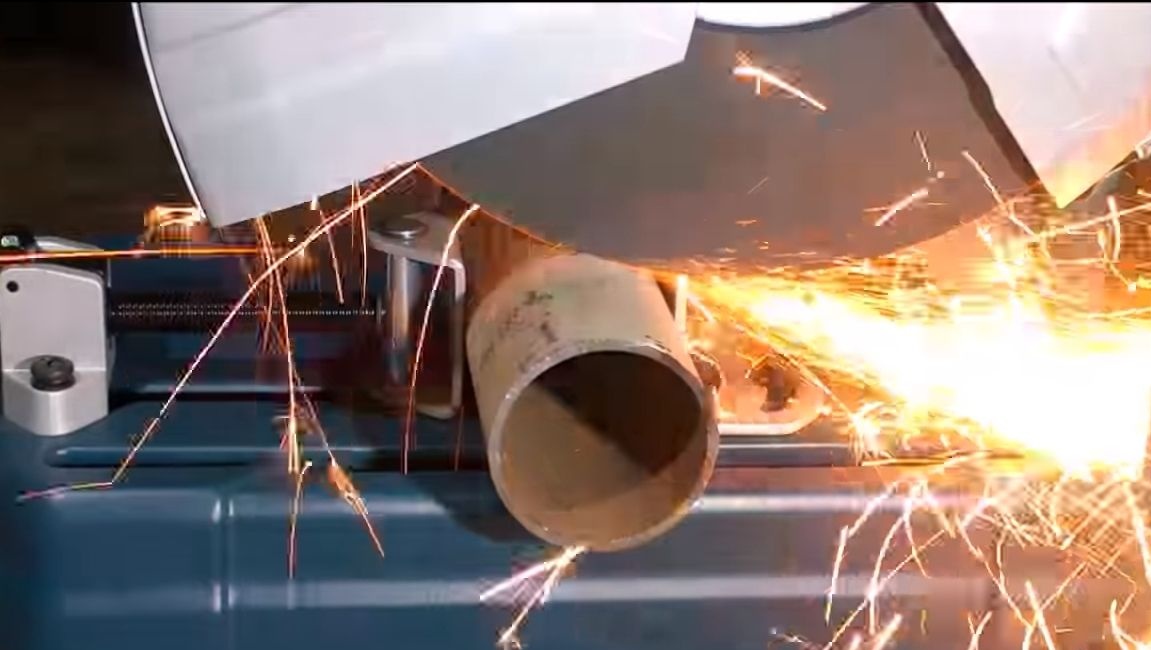
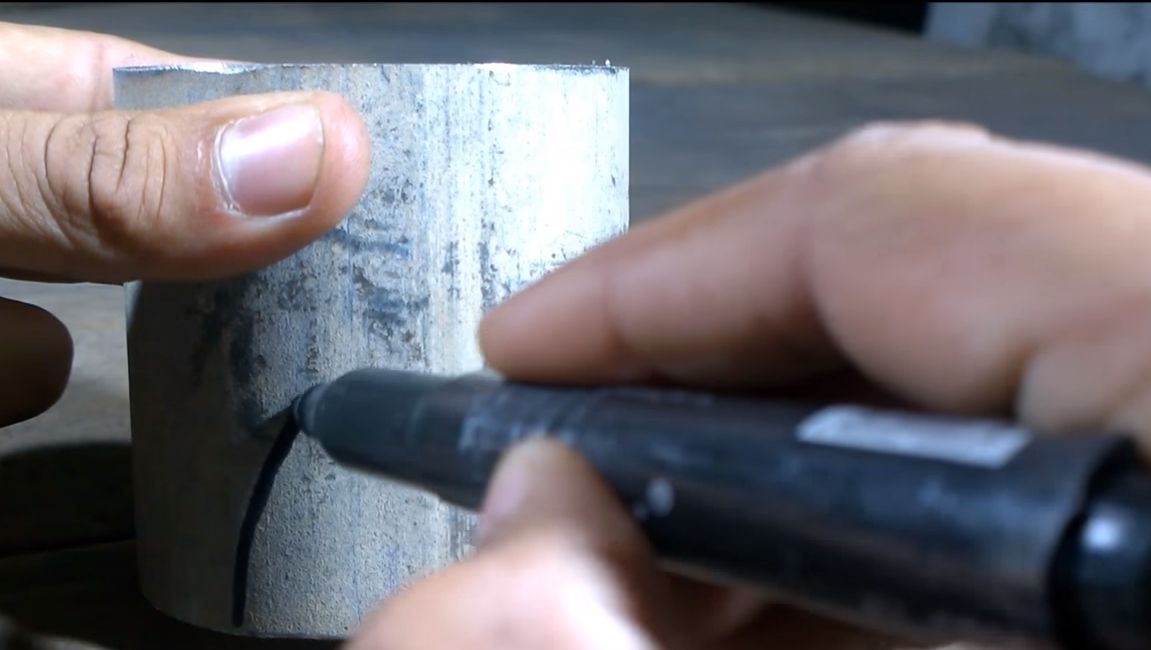
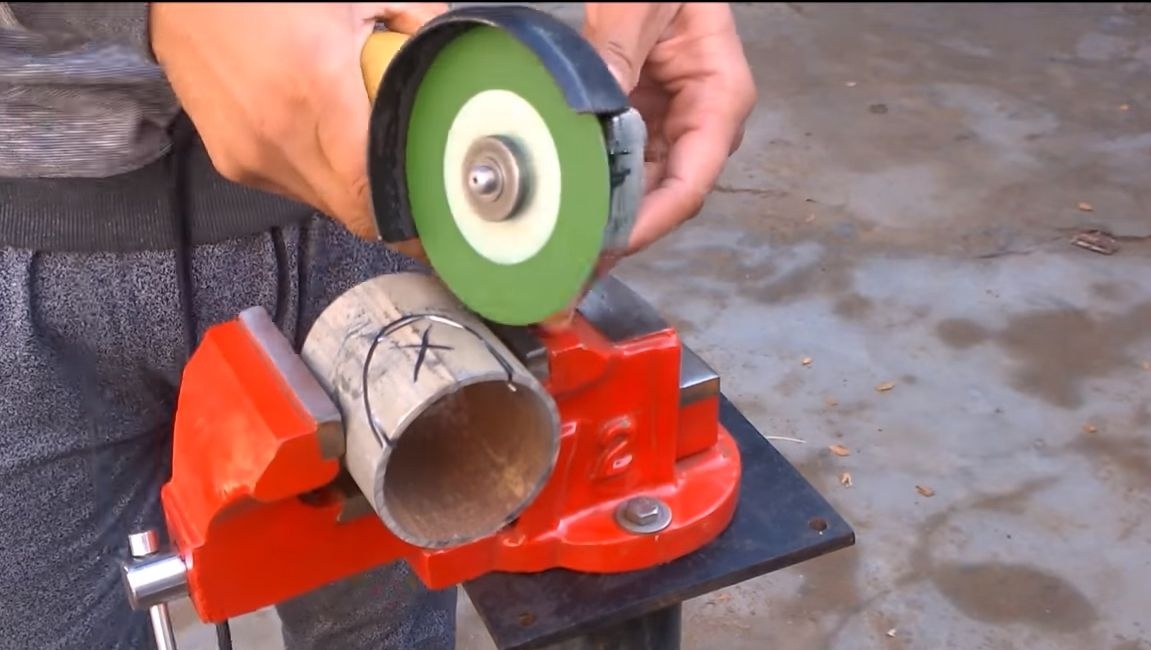
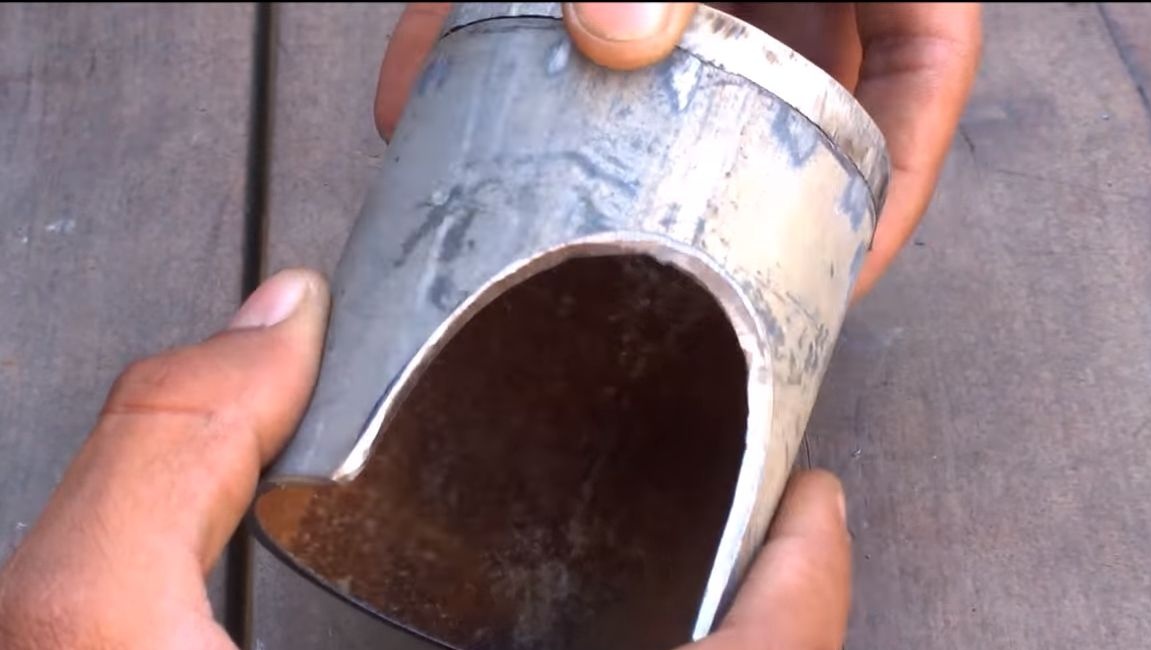
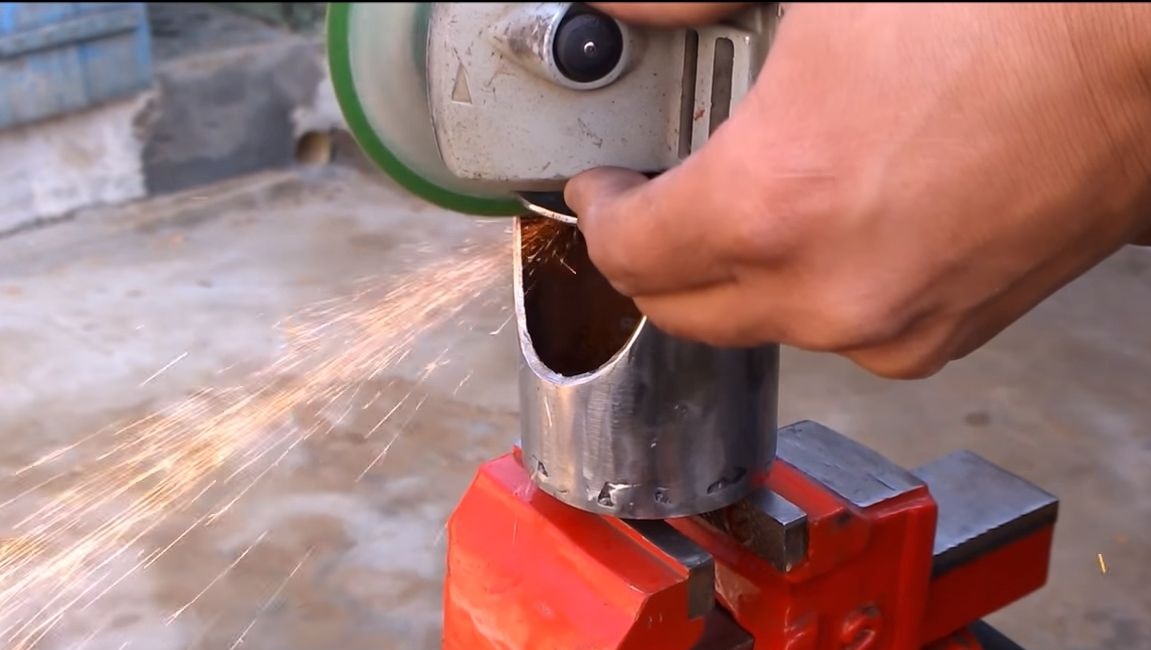
We cut off the desired piece from the pipe, the author uses a cutting machine for this, but everything can be done with a grinder. Now the hardest part begins, in the pipe you need to cut a window. This can be done with the help of a grinder, it is long, but quite feasible.
Step Two We make upper and lower supports
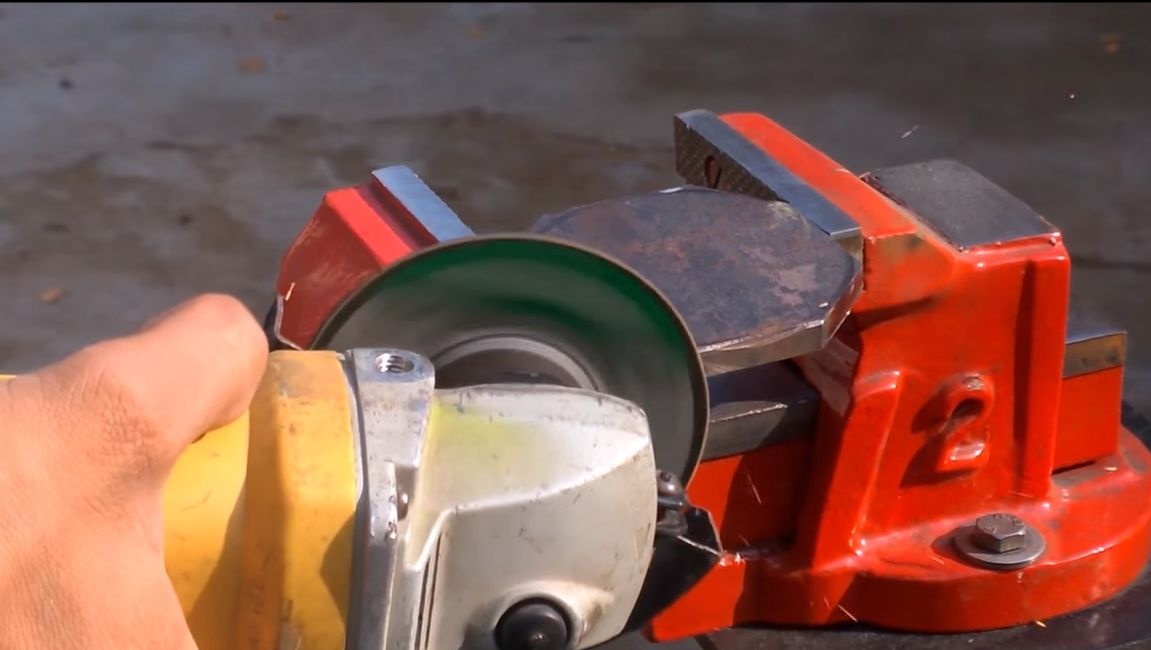
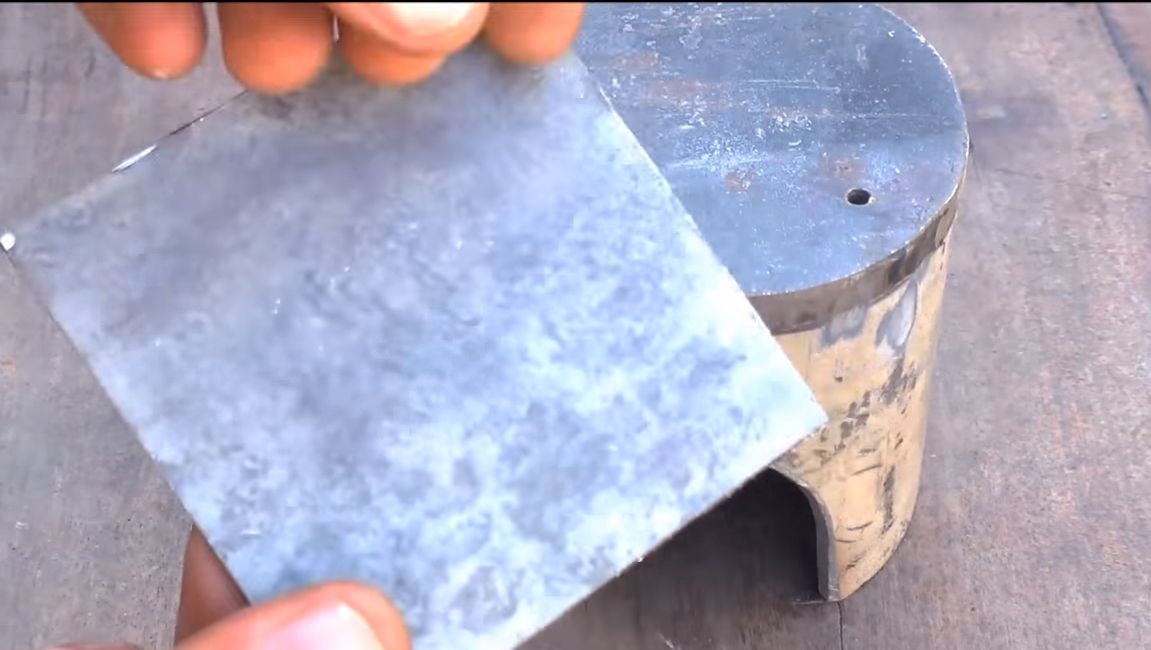
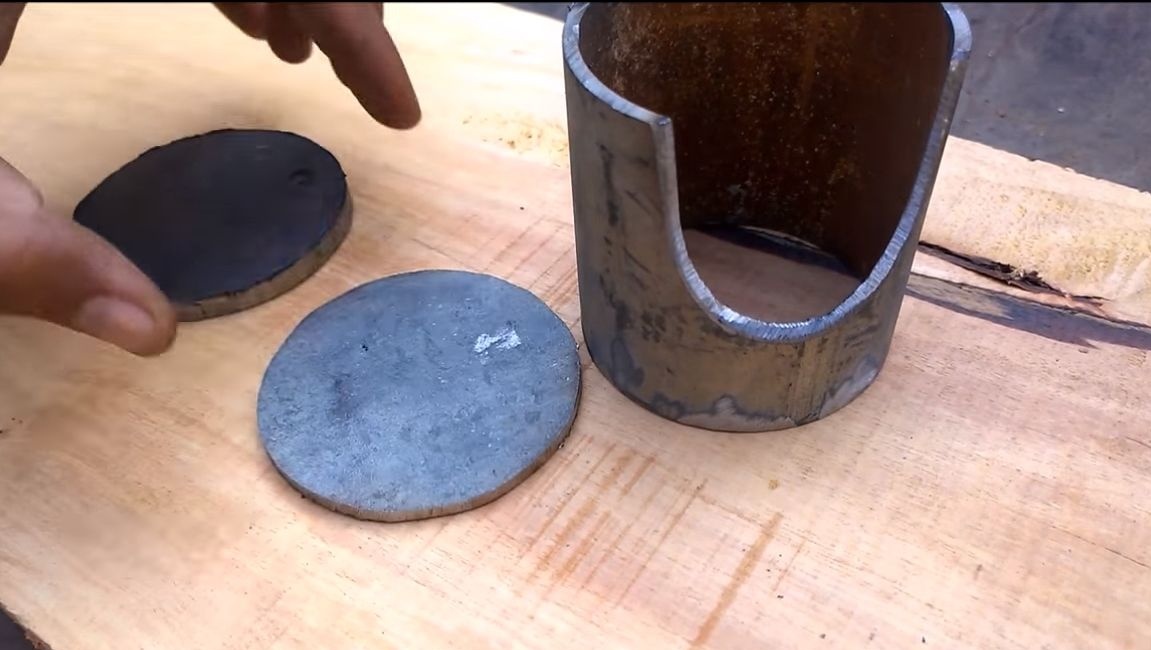
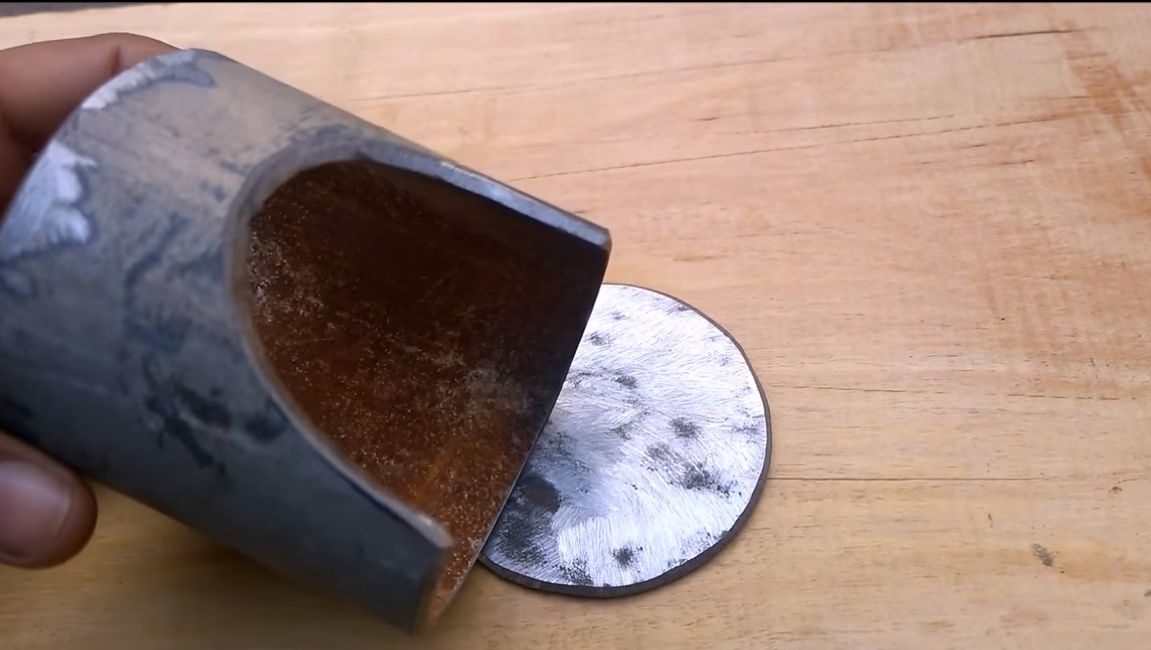
For the upper support, the author decided to use the most thick sheet steel. Cut a circle of the desired diameter. The author uses a grinder for work, first cut out the "polygon", and then with the help of a grinding wheel we bring it to the ideal.
Cut another circle in the same way. Here the author used steel a little thinner, but it is better not to risk it, since the loads on both supports are approximately the same.


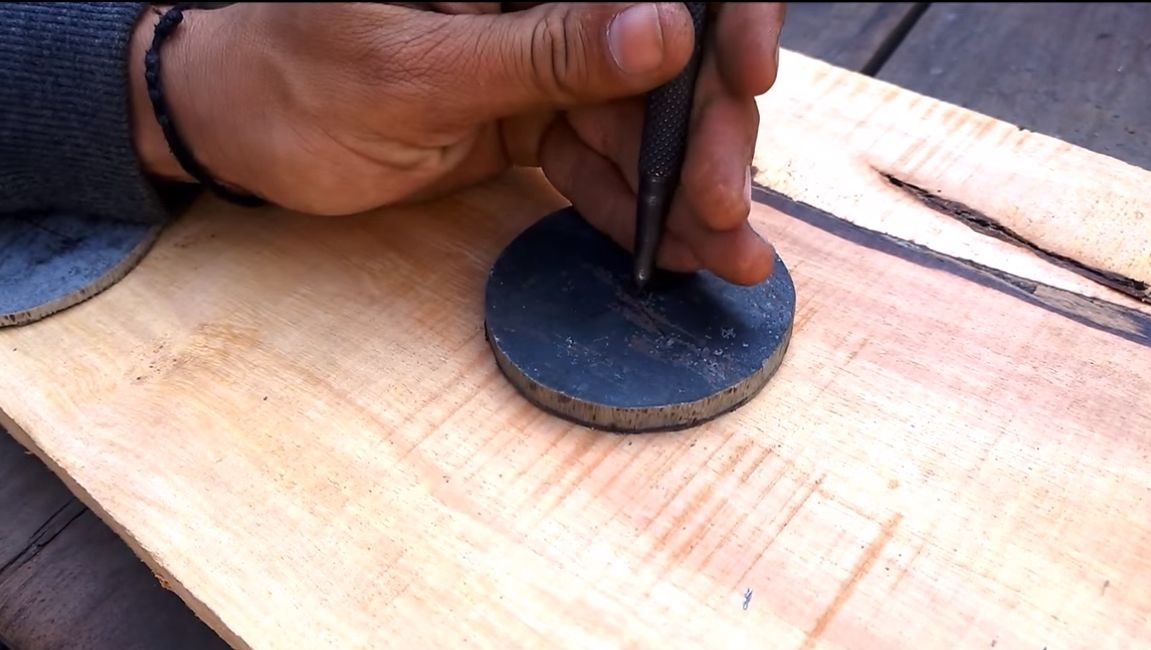
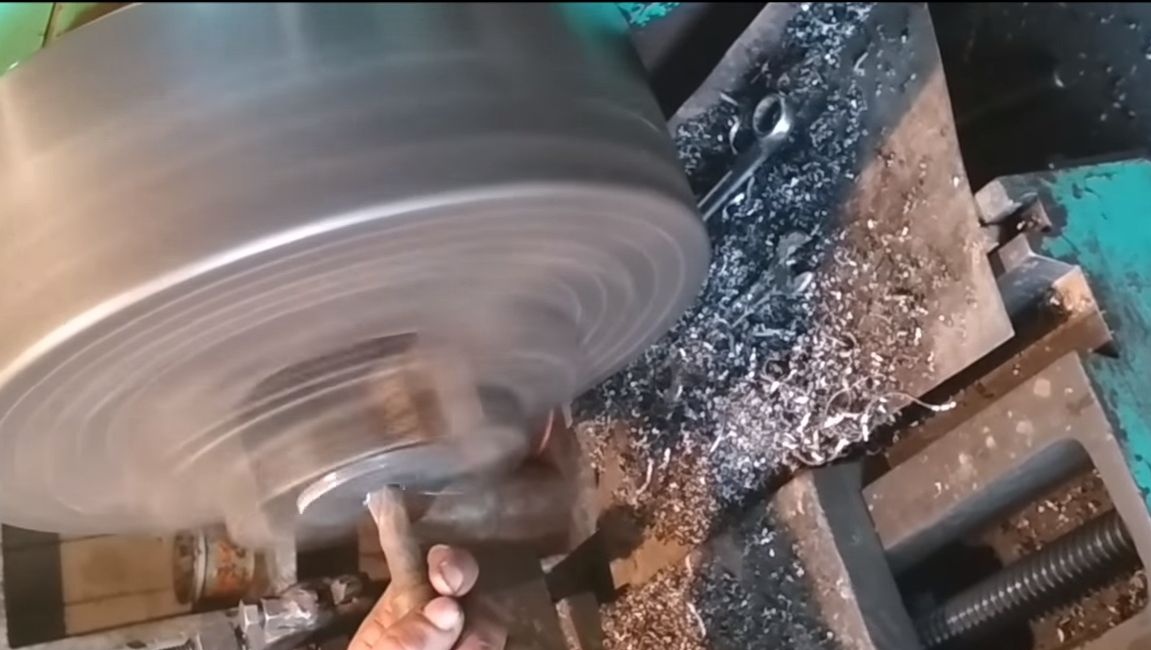
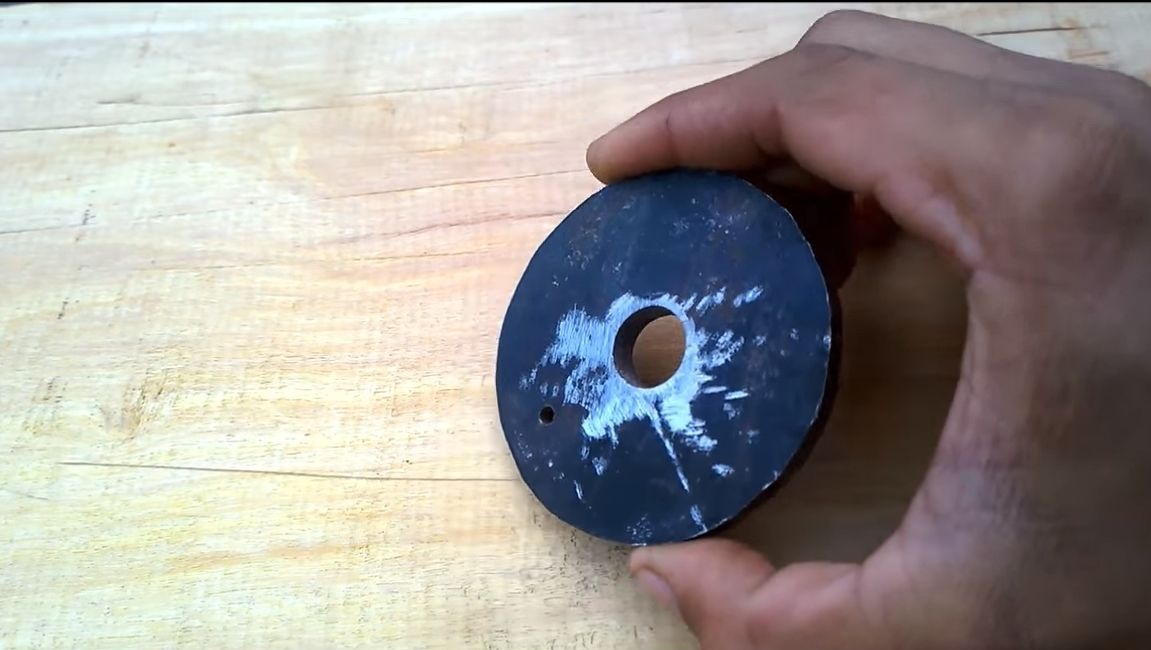
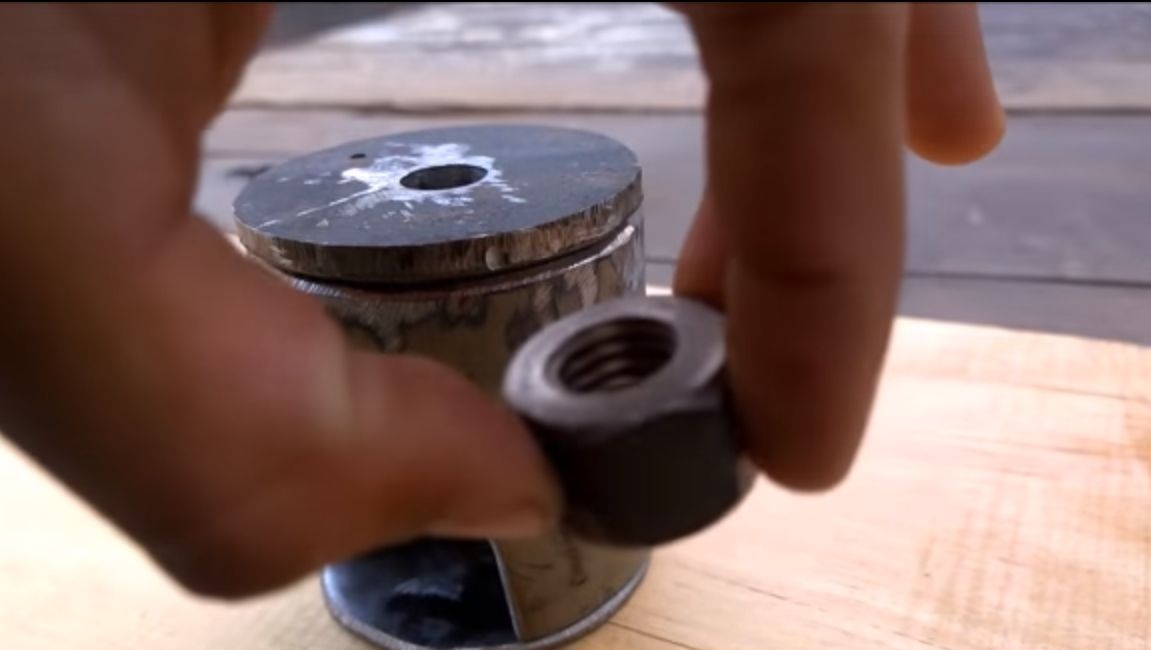
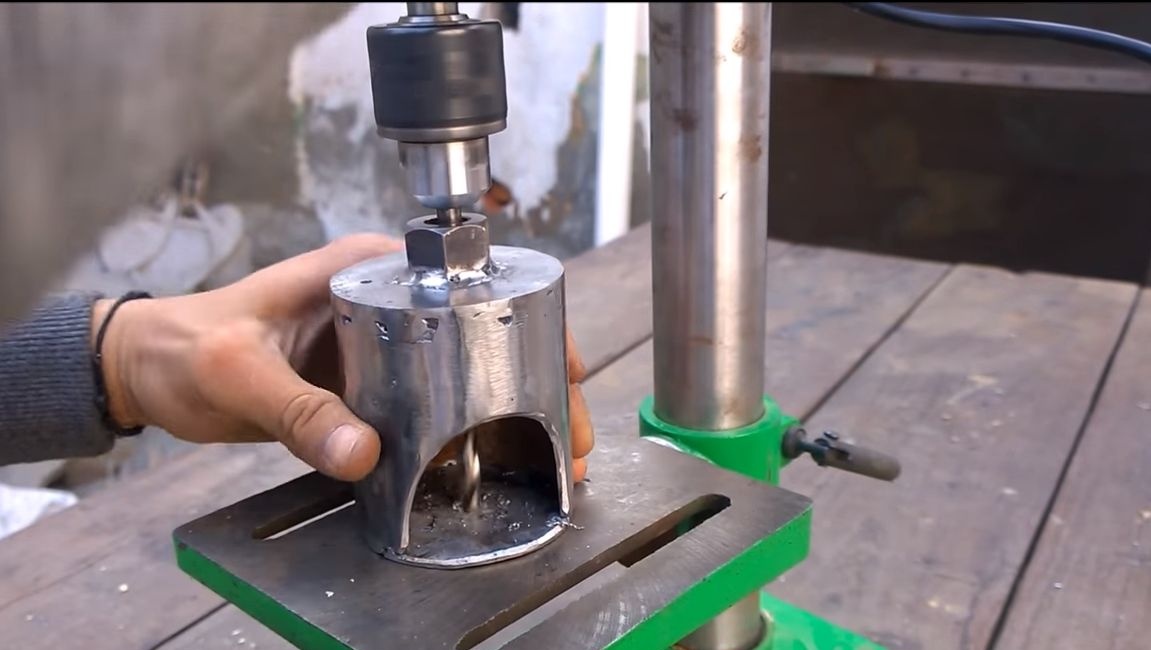
In the end, you need to modify the supports. In the upper support you need to drill a hole for the bolt.First, we drill a small hole with a drill, and then drill it to the desired diameter. The author used a lathe for these purposes.
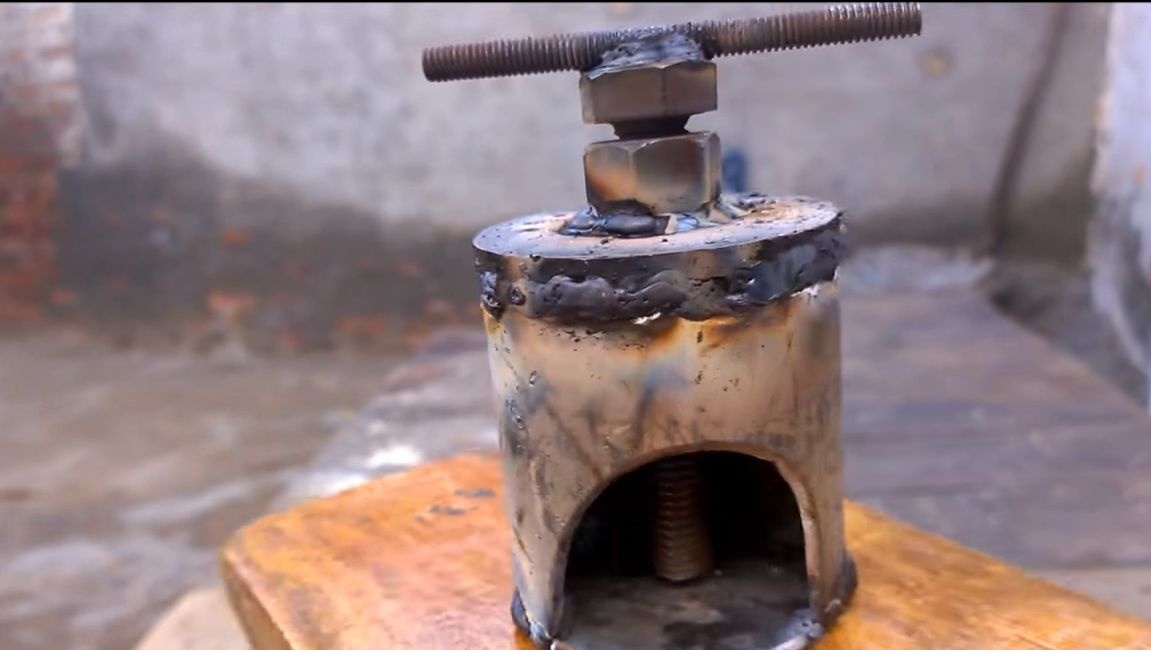
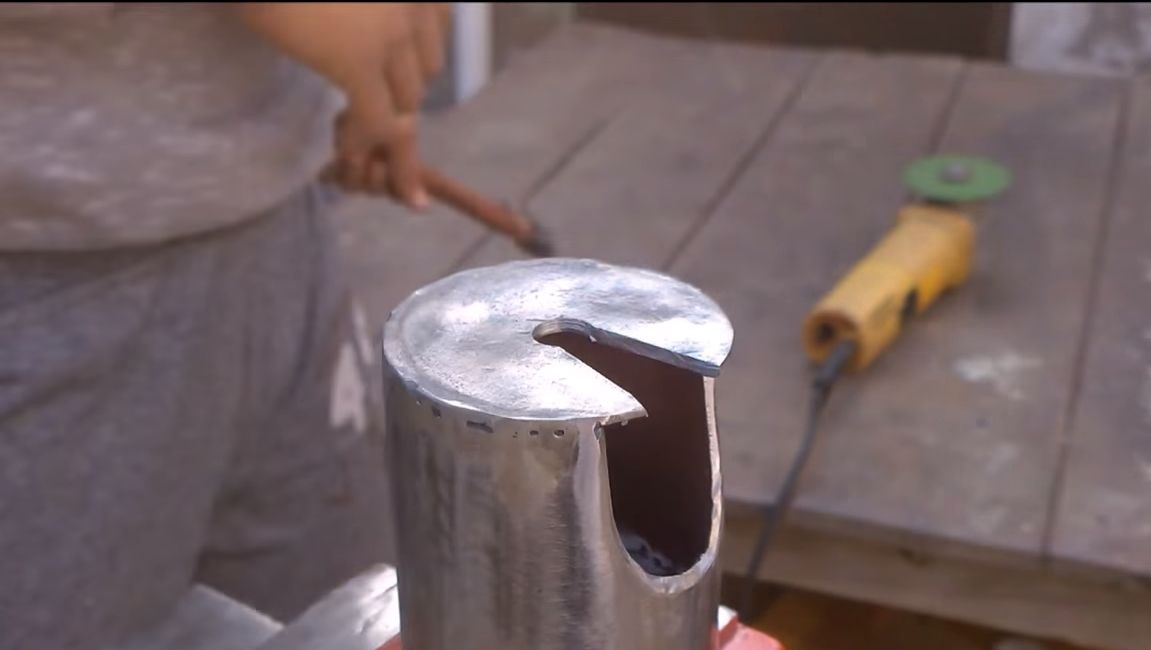
As for the lower support, we also drill a hole in it in the center, in diameter it should be slightly larger than the diameter of the axes from which you think to remove the bearings. Then cut a triangle shape to this hole. Supports are ready, move on!
Step Three Welding work
In this step, we need to weld both supports to the body. The welding seam must be good, reliable, set a larger current, so that the metal melts well.

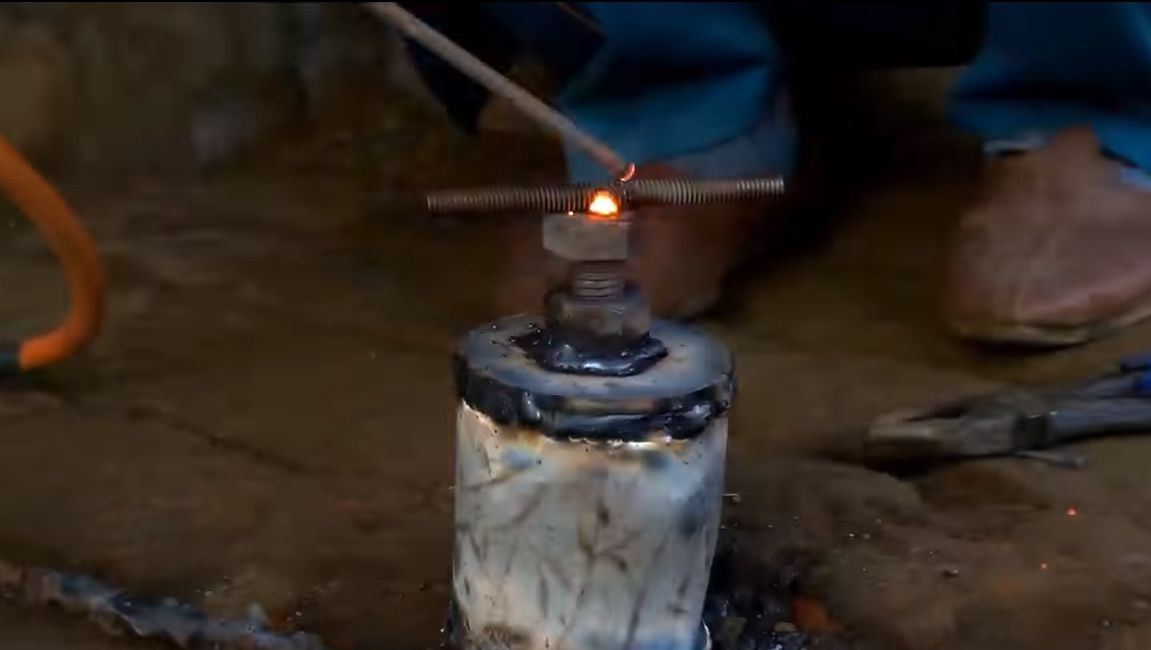
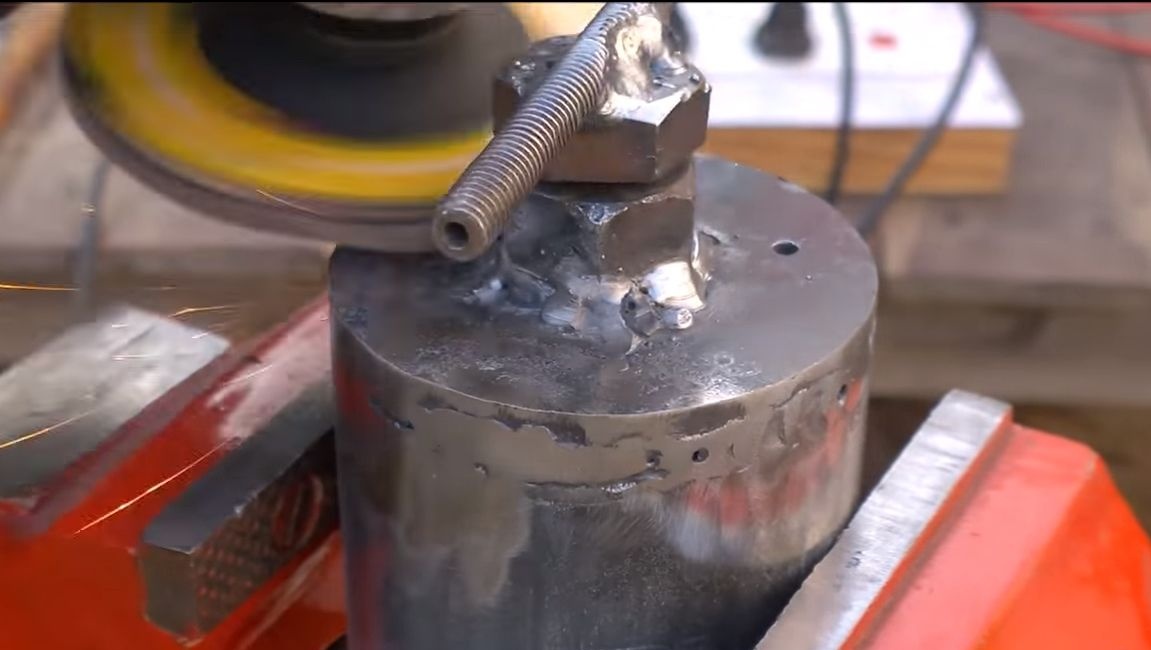
Having welded the supports, now you need to fix the nut. We wrap a bolt in it and insert it into the hole. Weld the nut well, but try not to overheat, as the metal may become soft. The author fixes the nut from above, but I would recommend fixing it from the inside, so it will rest on the support, and the weld to break may not be too reliable.
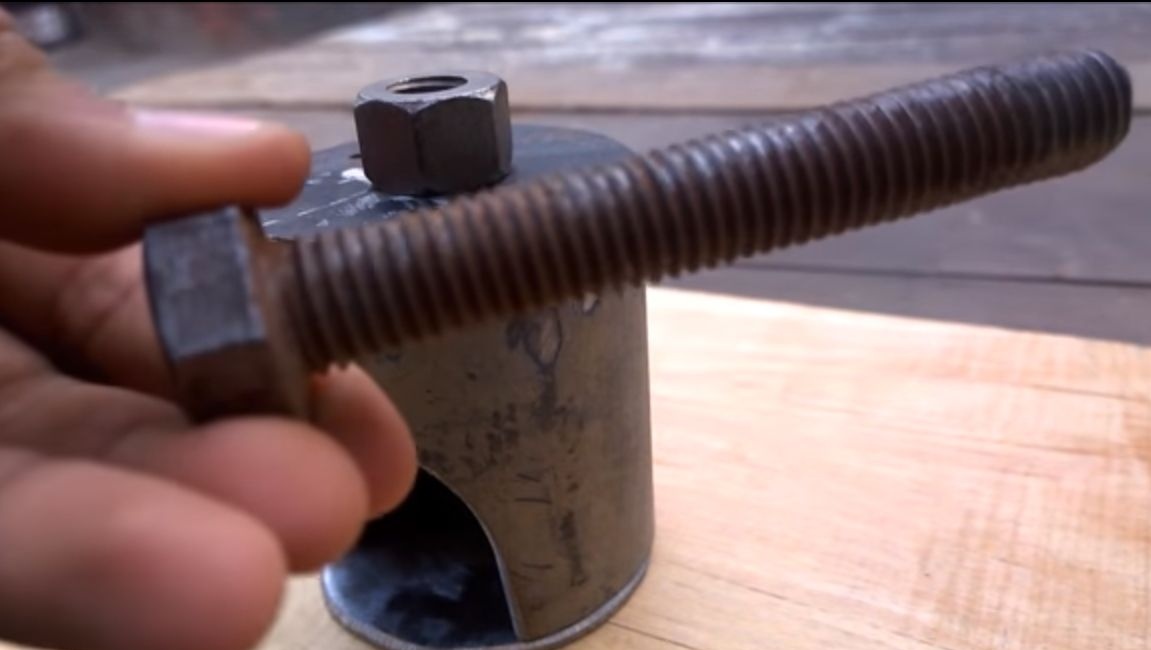
In the end, you will have to fix the handle, for this the author used a threaded rod. Using the handle, it will be convenient to remove bearings that do not sit too hard. Otherwise, you can always use a wrench.
Step Four Completion and test
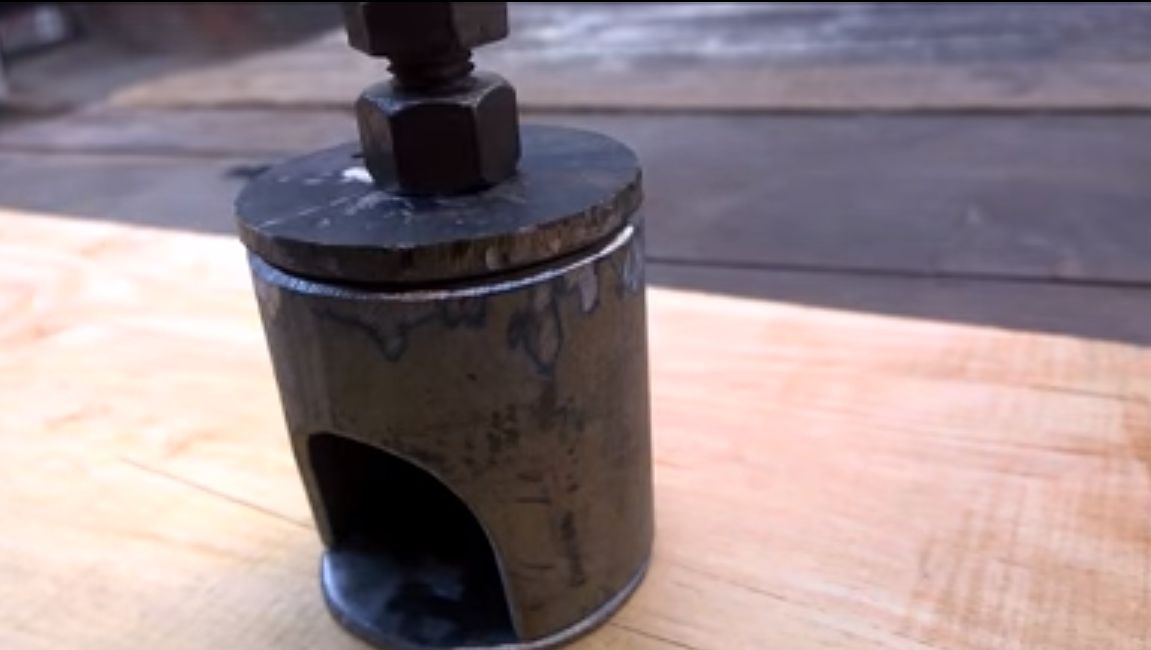
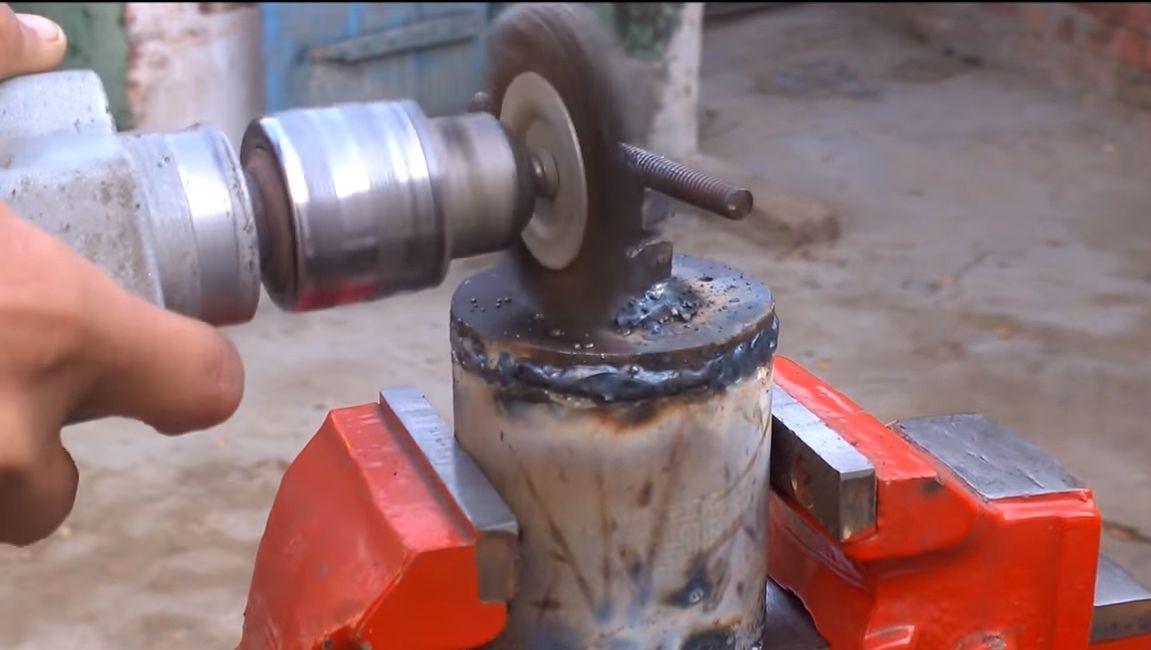
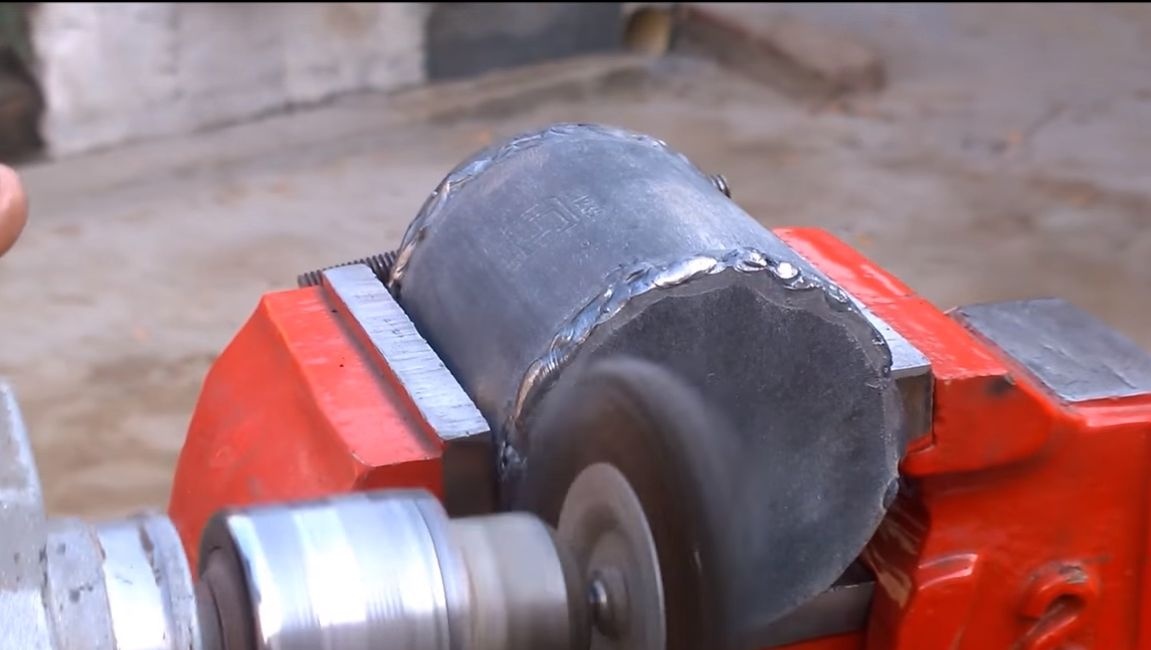
When you finish the welding work, you need to clean the welds, but this is rather a moment of aesthetics, there is little practical benefit. The author cleans the slag with a wire brush, and cleans the seams with a grinding disc. The whole body can be brought to shine. Now paint homemadeso that the metal does not rust.
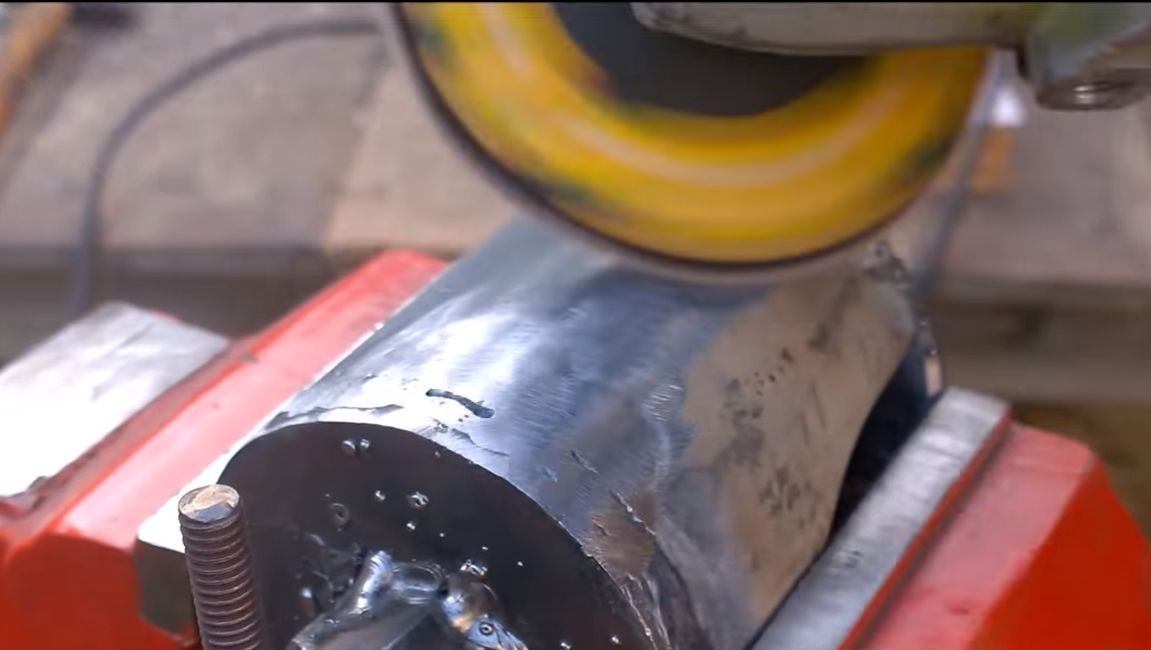

At the end, sharpen the end of the bolt so that it abuts when twisting into a “hole” provided on any axis. Also, be sure to lubricate the threads well so that the puller works easily and for a long time.
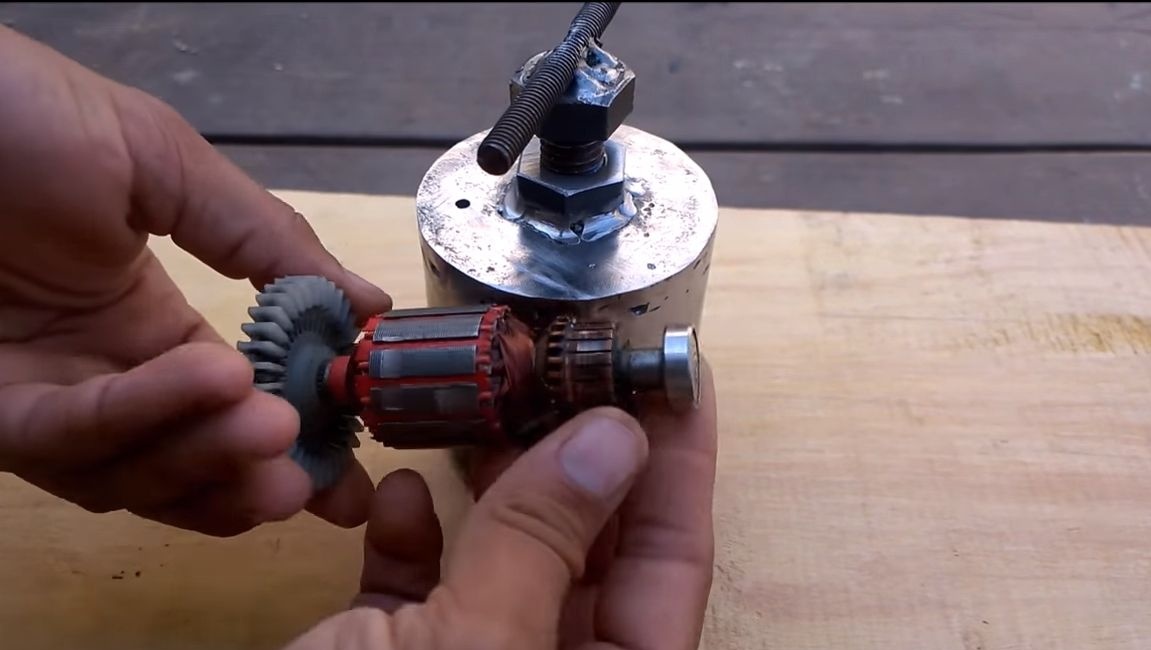
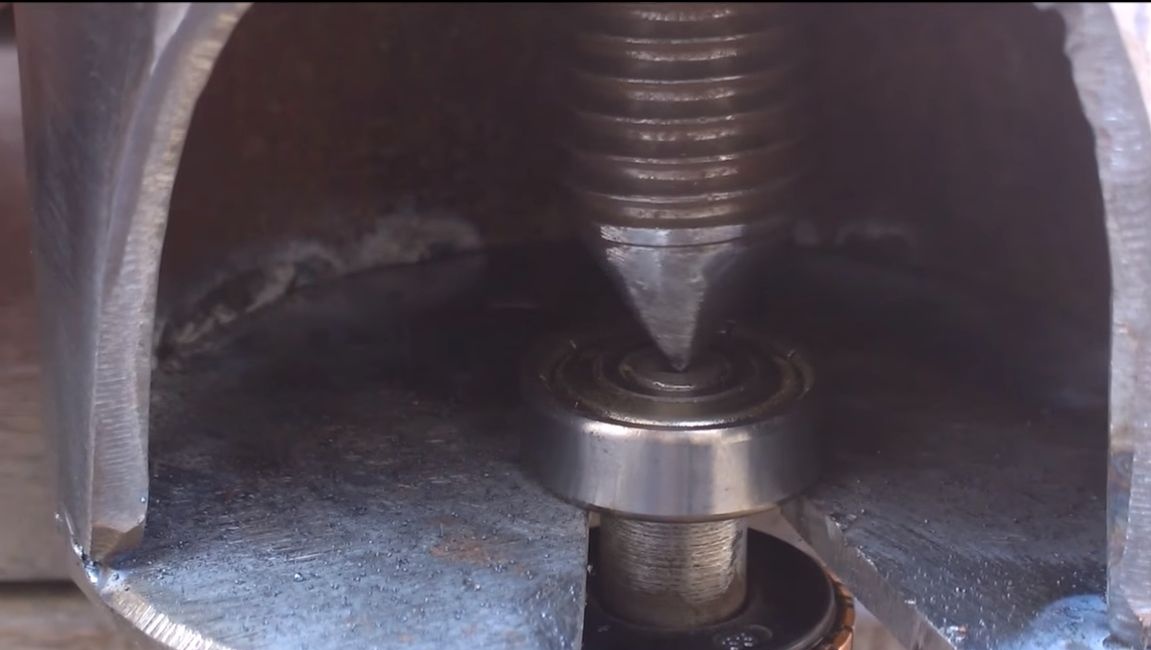
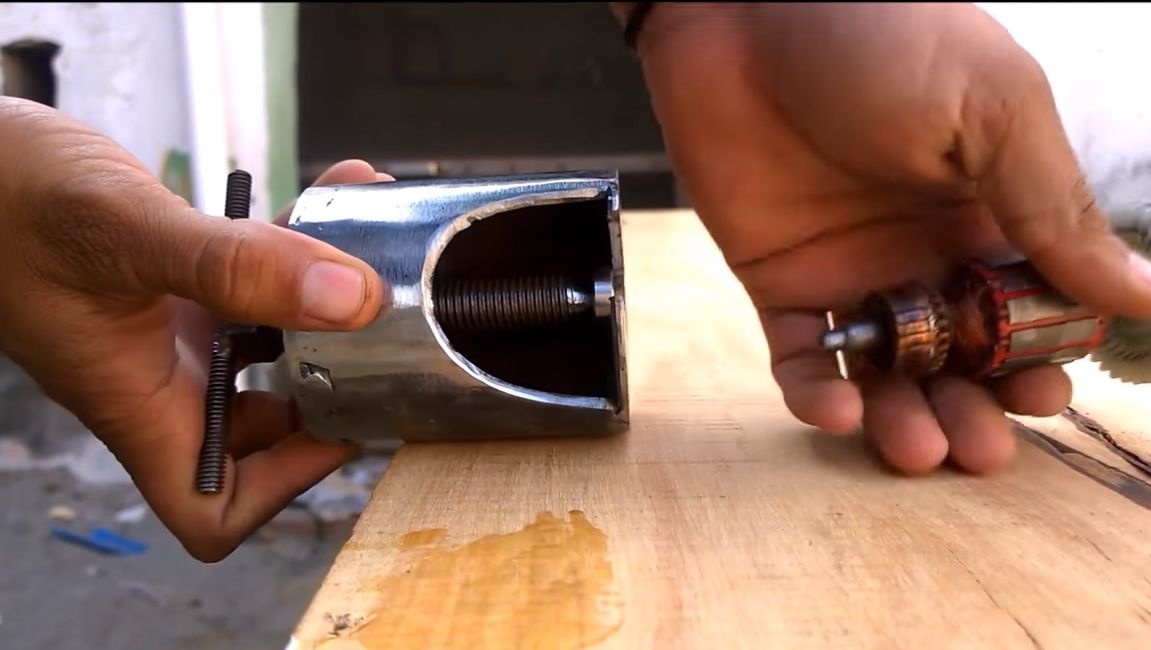
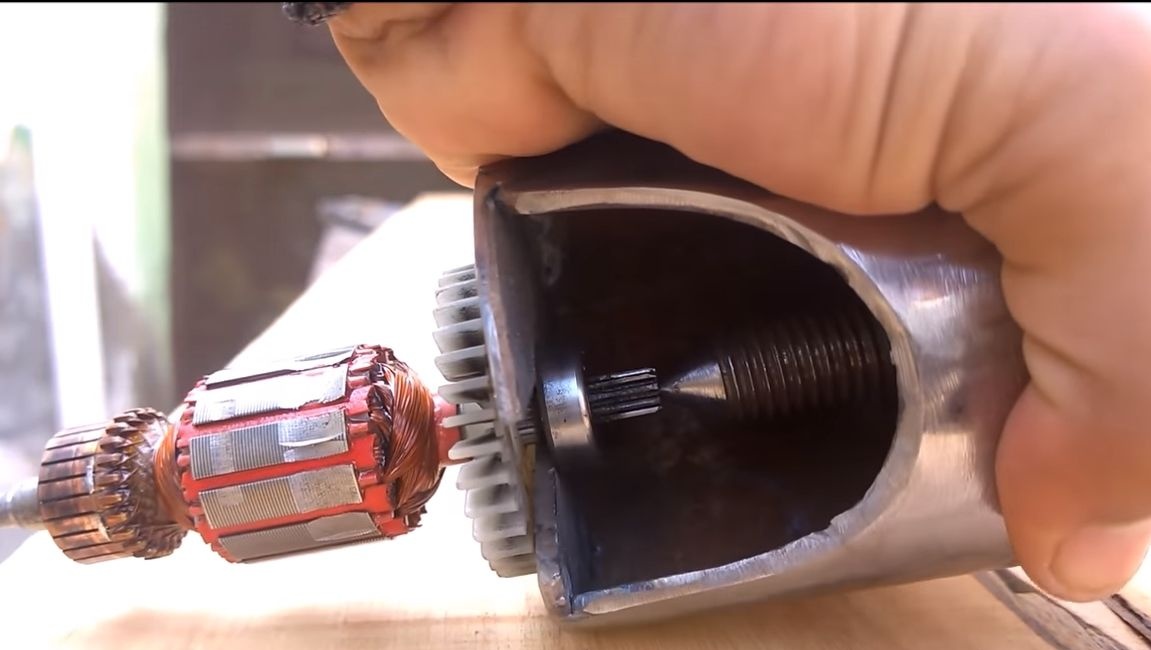
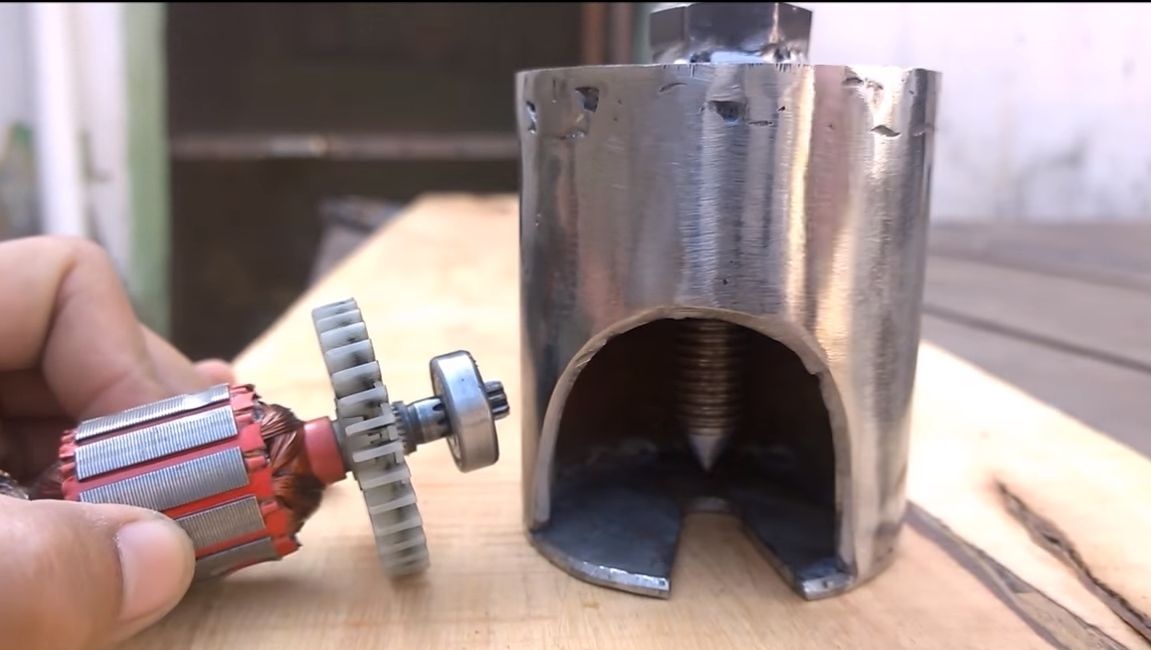
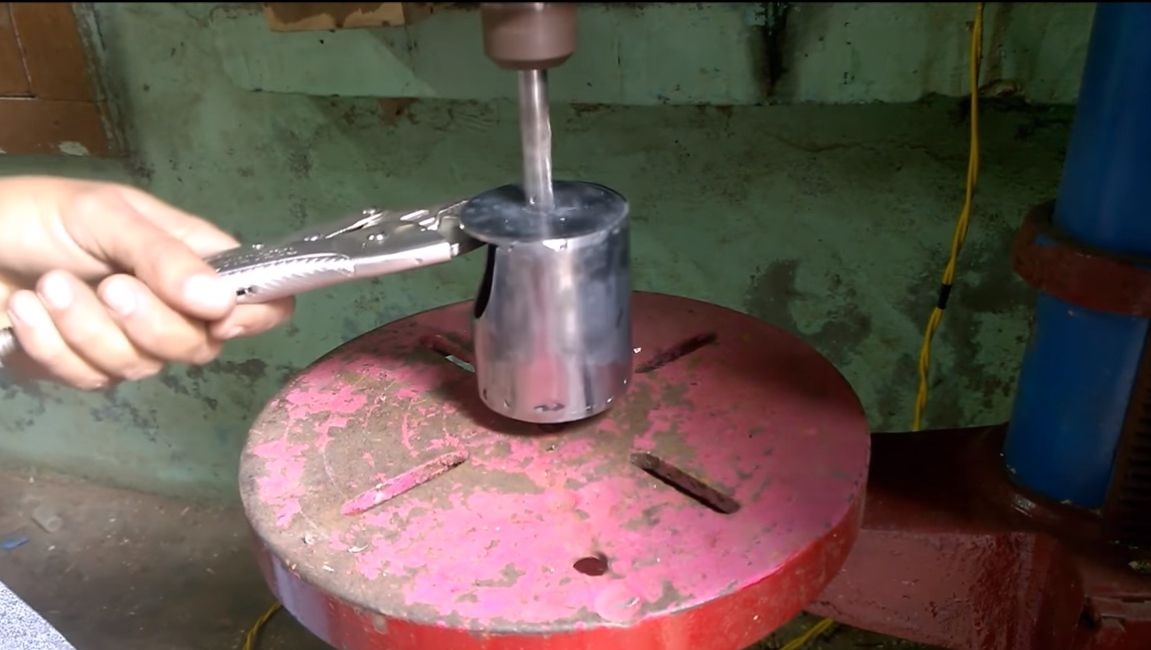
Well, check? As tests, the author tried to remove the bearings from the anchor of the drill and so on. Now everything is done easily and at the same time it is guaranteed that you will not damage the product. In addition to bearings, various bushings and other similar parts can also be removed with this device. If the axis is too thin, under the removable bearing, you can come up with a spacer that will rest on the base of the puller. Well, or you can make a separate puller for small parts, it’s easy to assemble.
Before removing, it is recommended to lubricate the axle with oil or WD-40, so things will go faster. That's all, good luck and take care!