
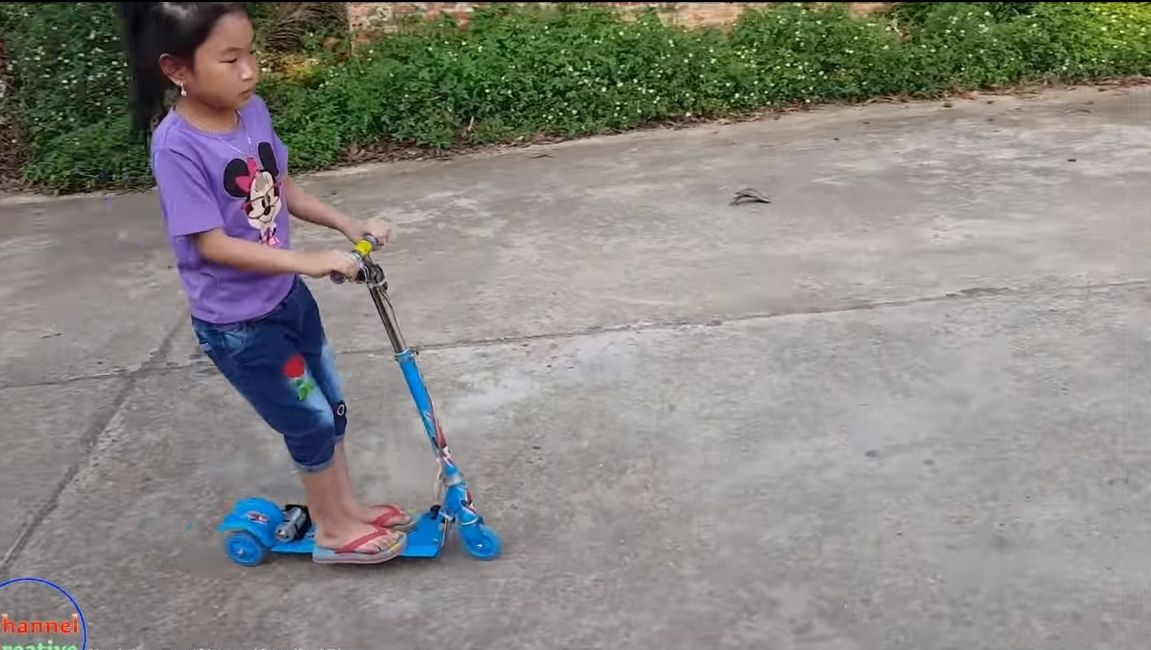

If you have a child, he will be very happy if you make such a scooter for him. It is done quite simply, you do not need to invent anything new, all the main details are easy to buy in China. As a basis, a ready-made three-wheeled scooter is used.
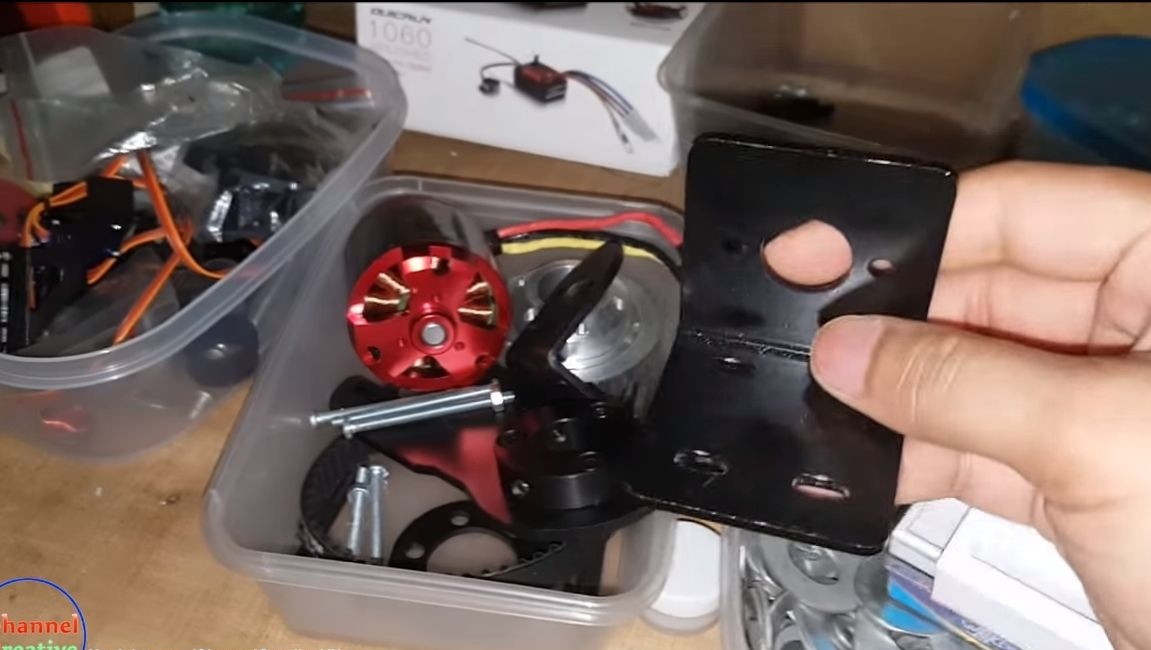
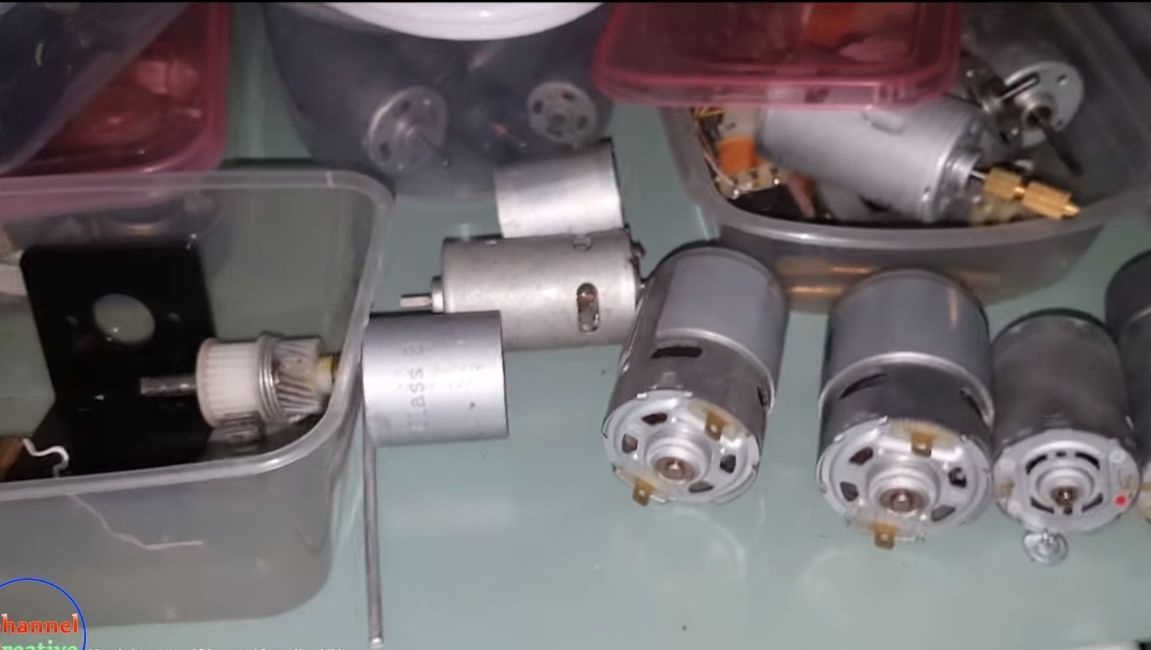
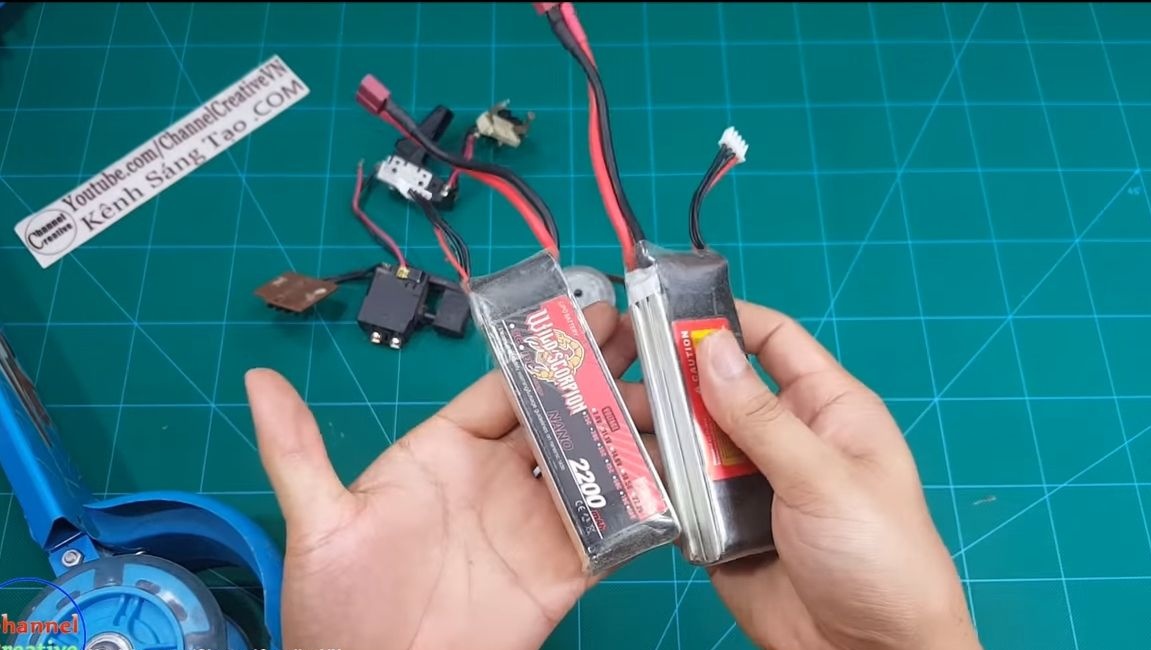
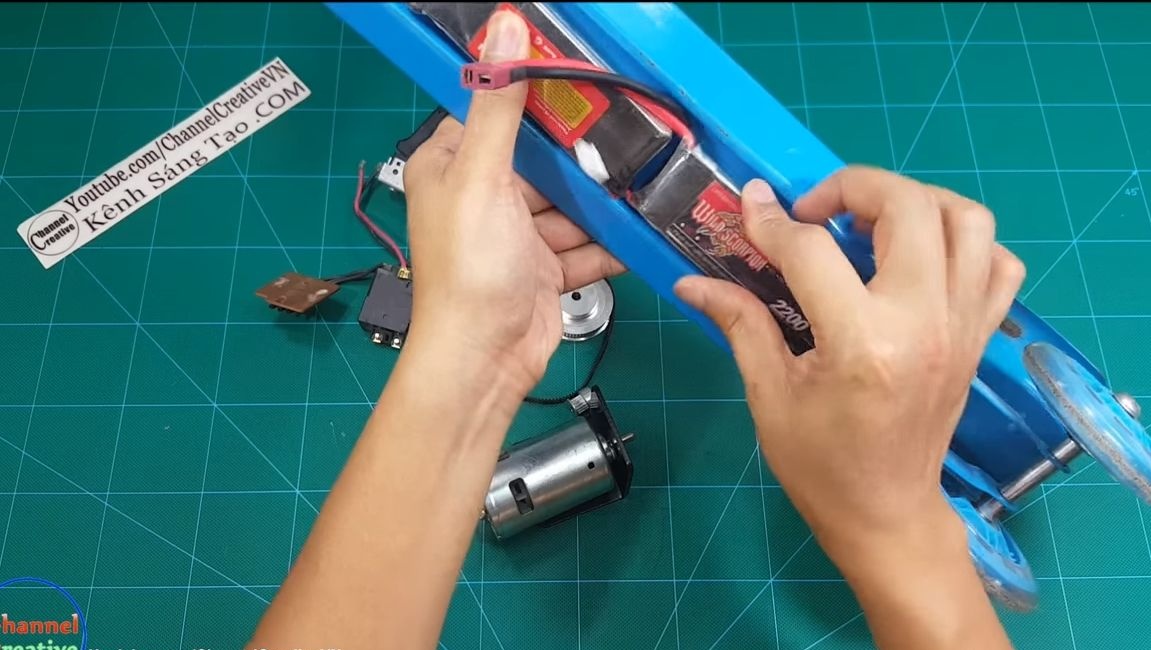
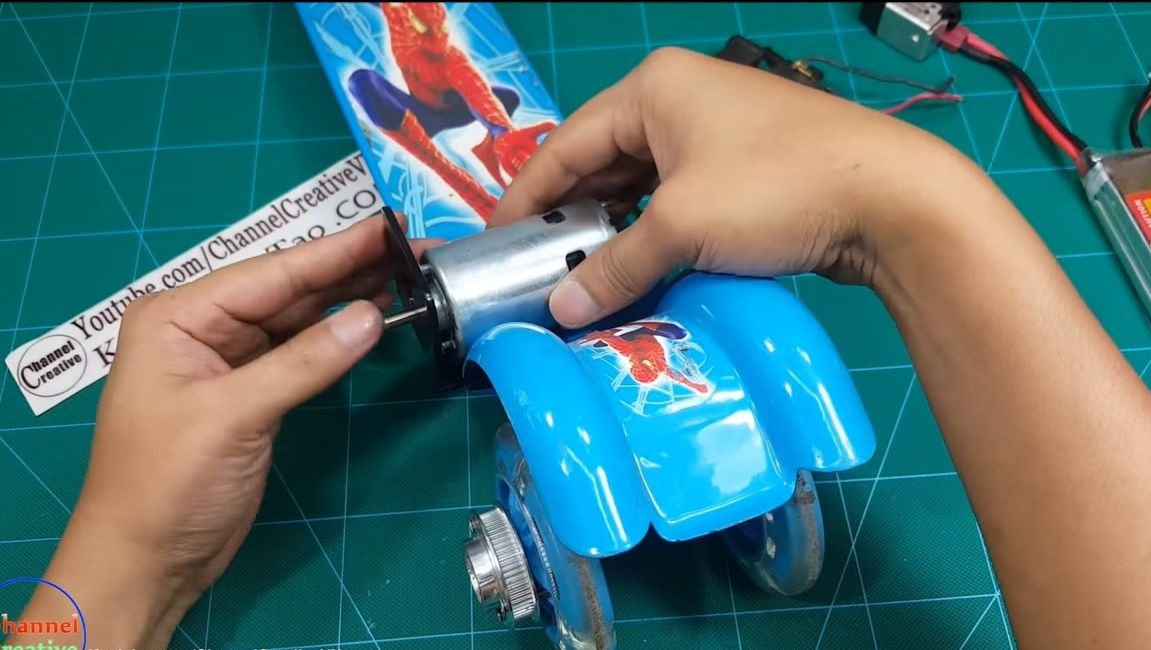
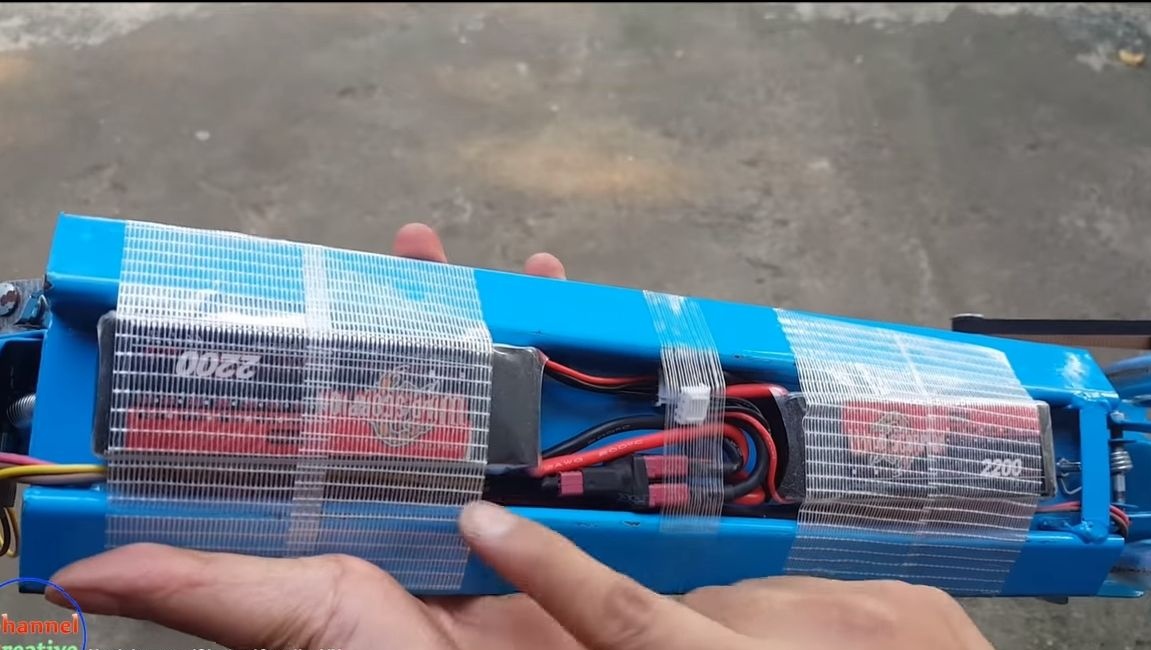
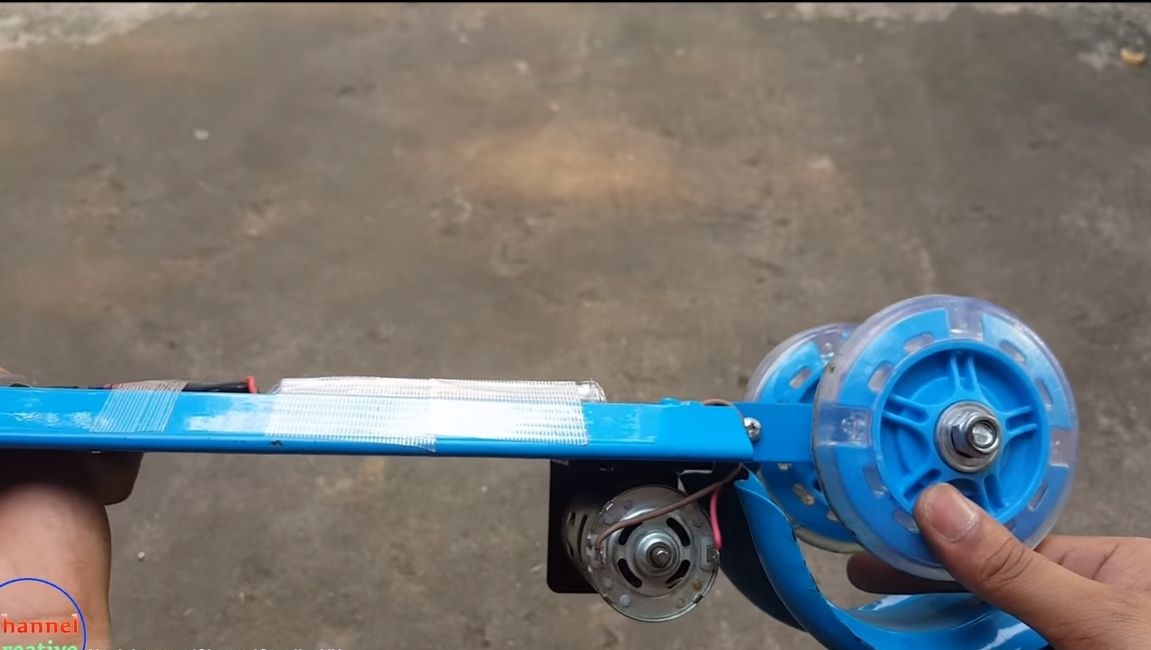
Power element homemade is the well-known 775 motor that is commonly used in various home-made home machine tools. This engine is powerful, hardy, has a fan inside the case, which forces it to cool. The battery here uses two pieces at 2200 mAh each.
Materials and tools used by the author:
Material List:
- Kick scooter;
- ;
- two batteries of 2200 mAh;
- wires;
- ;
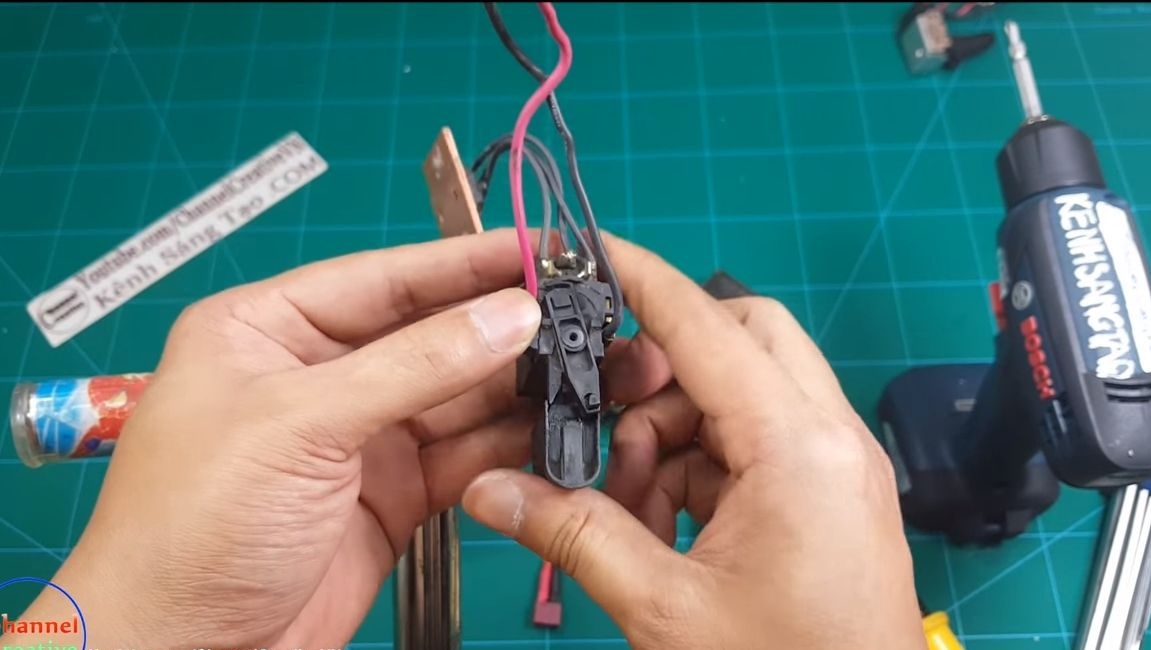
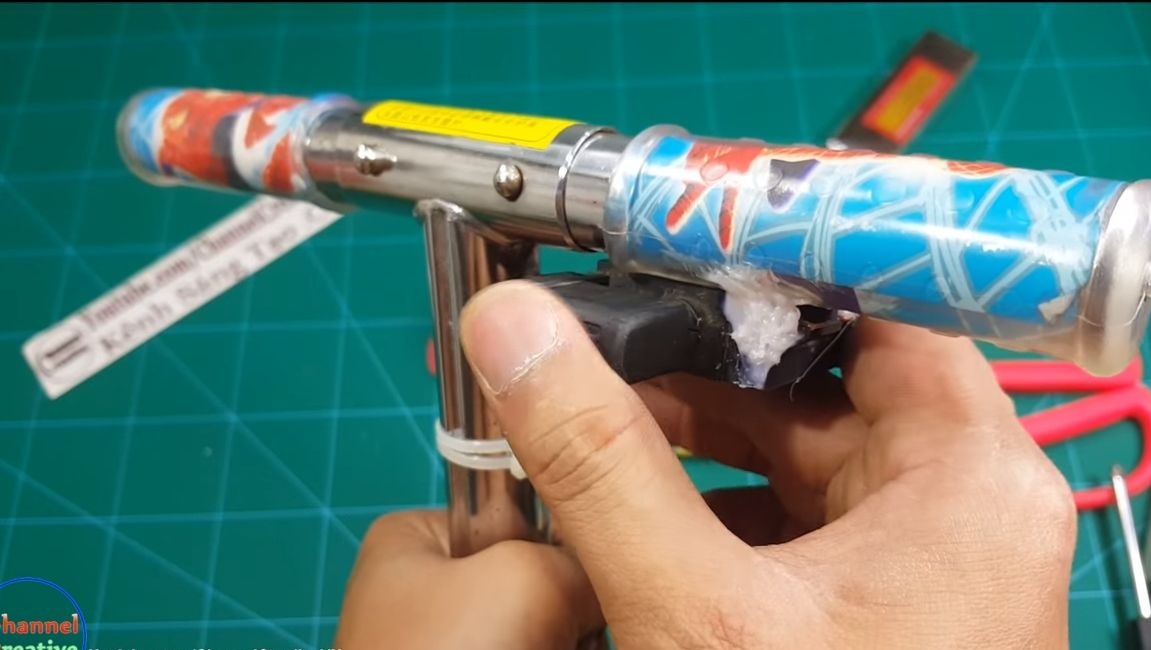
- switch from a screwdriver;
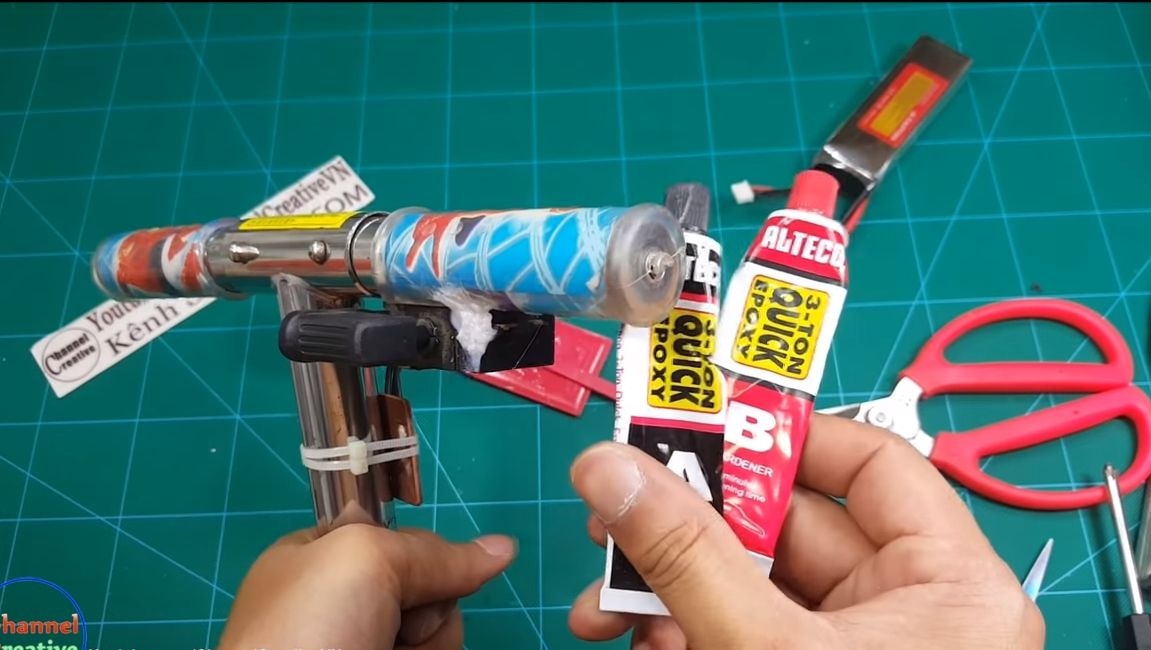
- epoxy glue, hot glue (or something similar for attaching the switch);
- cogs with nuts;
-
- plastic ties.

Tool List:
- drill with bits and drills;
- screwdrivers;
- pliers;
- adhesive tape;
- a screwdriver.
Scooter manufacturing process:
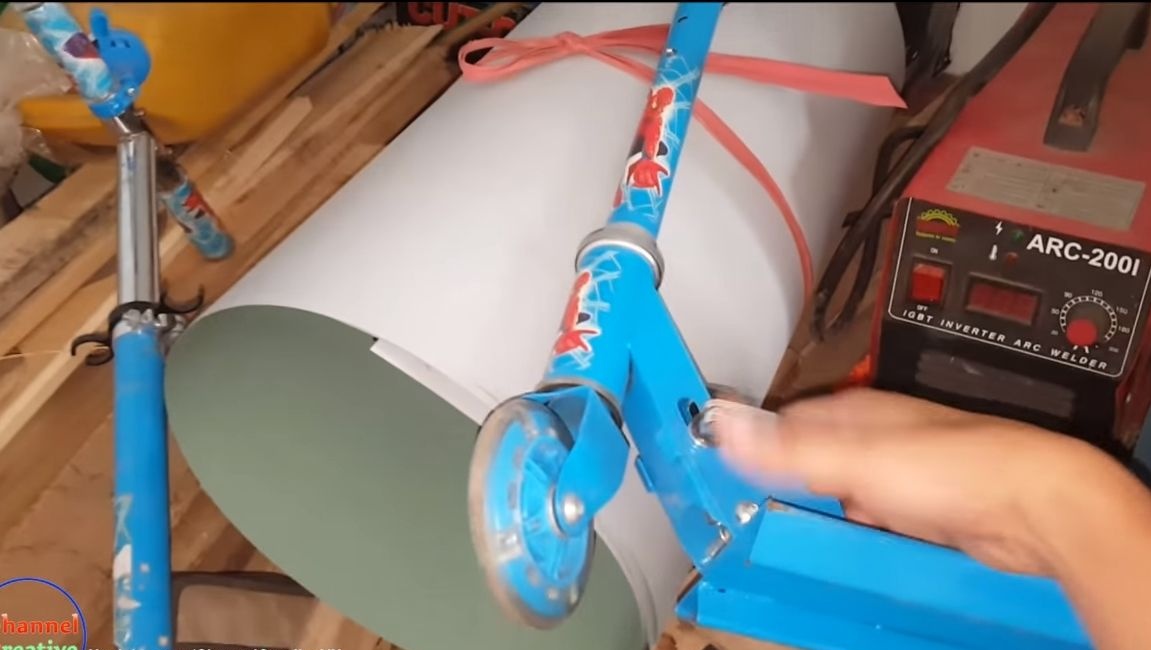
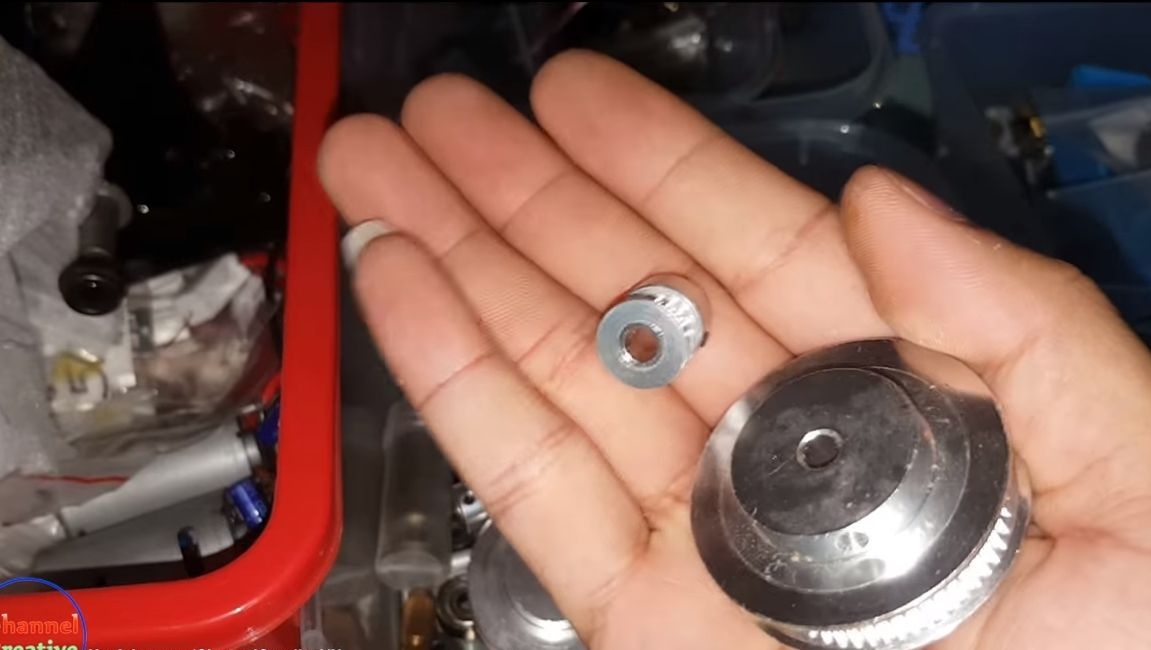
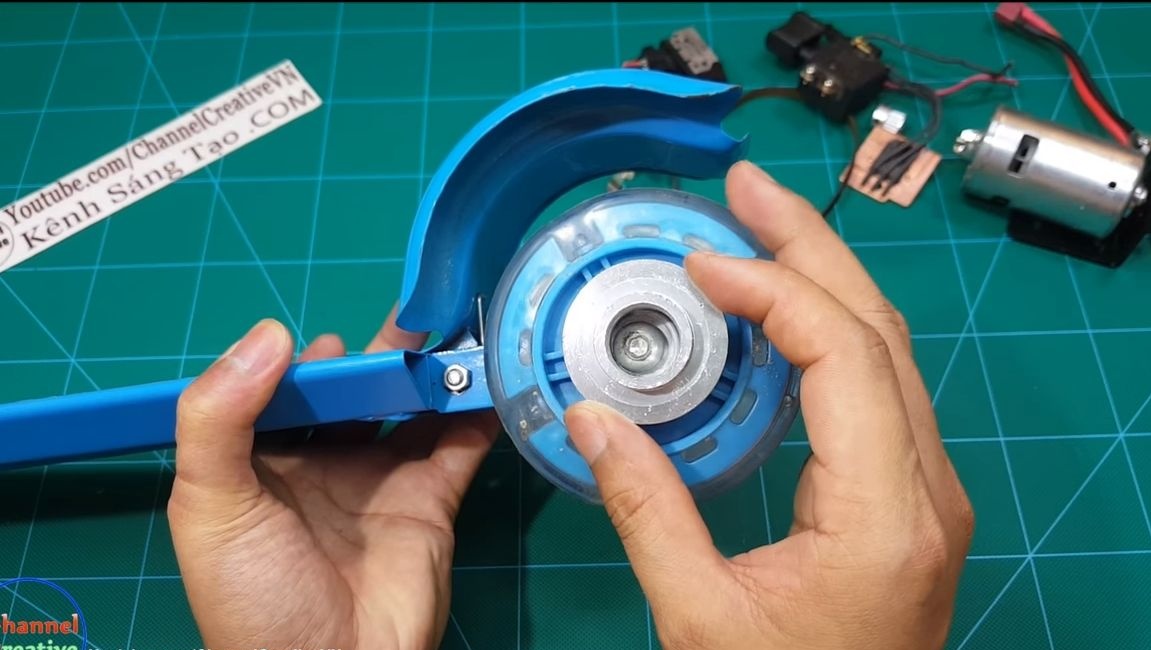
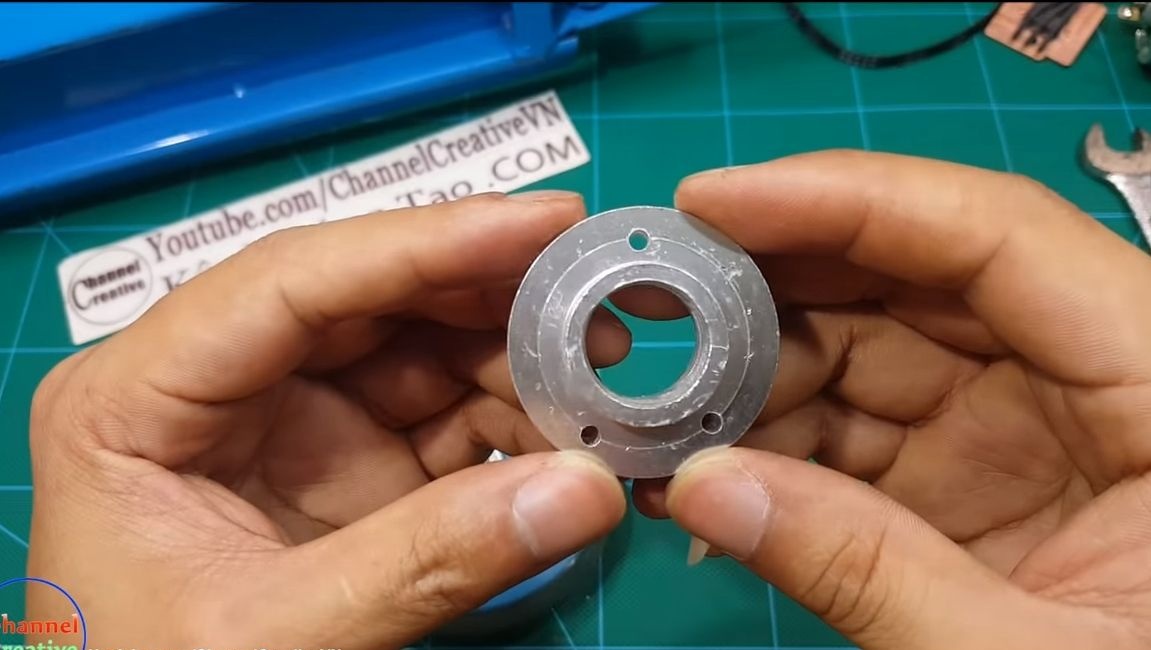
Step one. Install the driven pulley
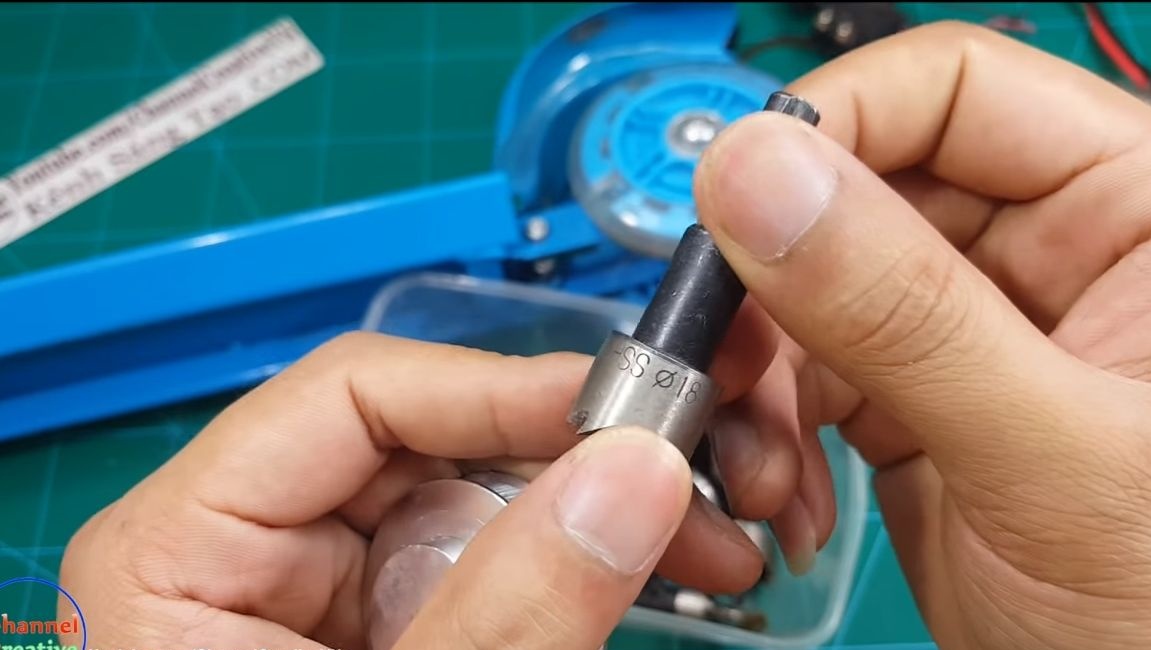
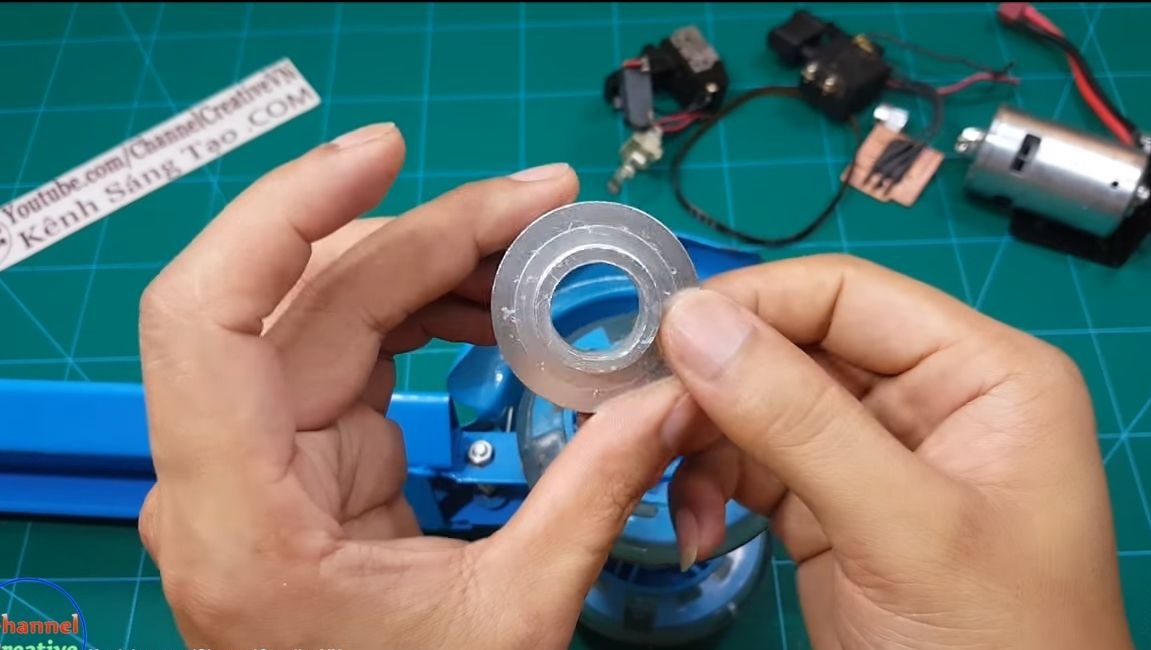
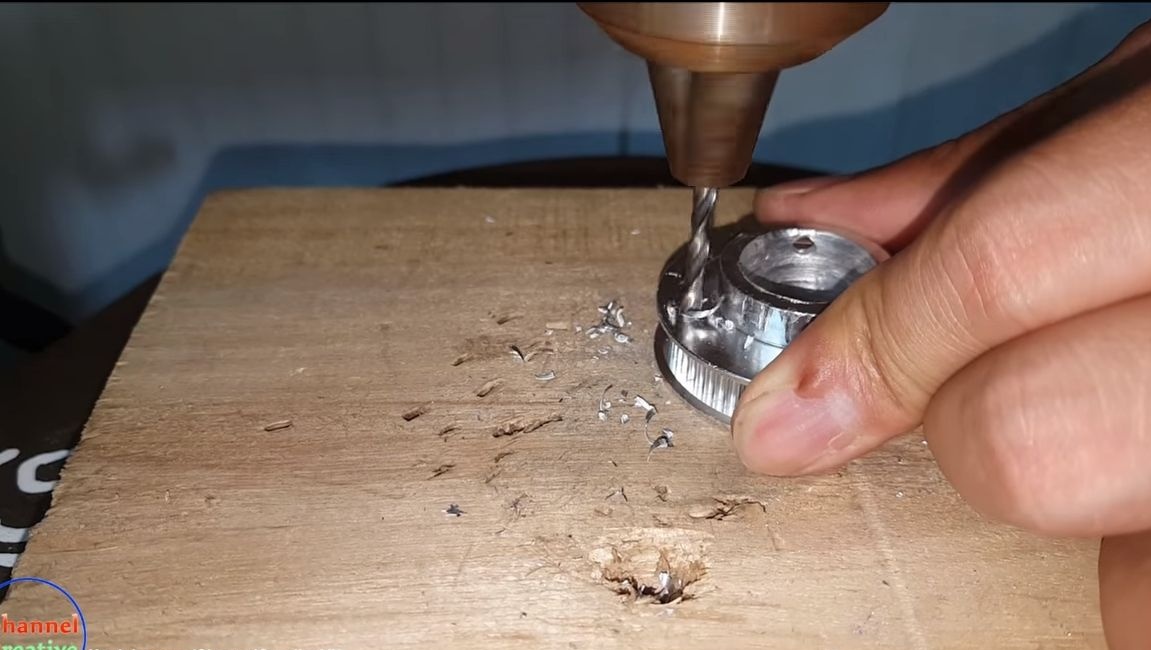
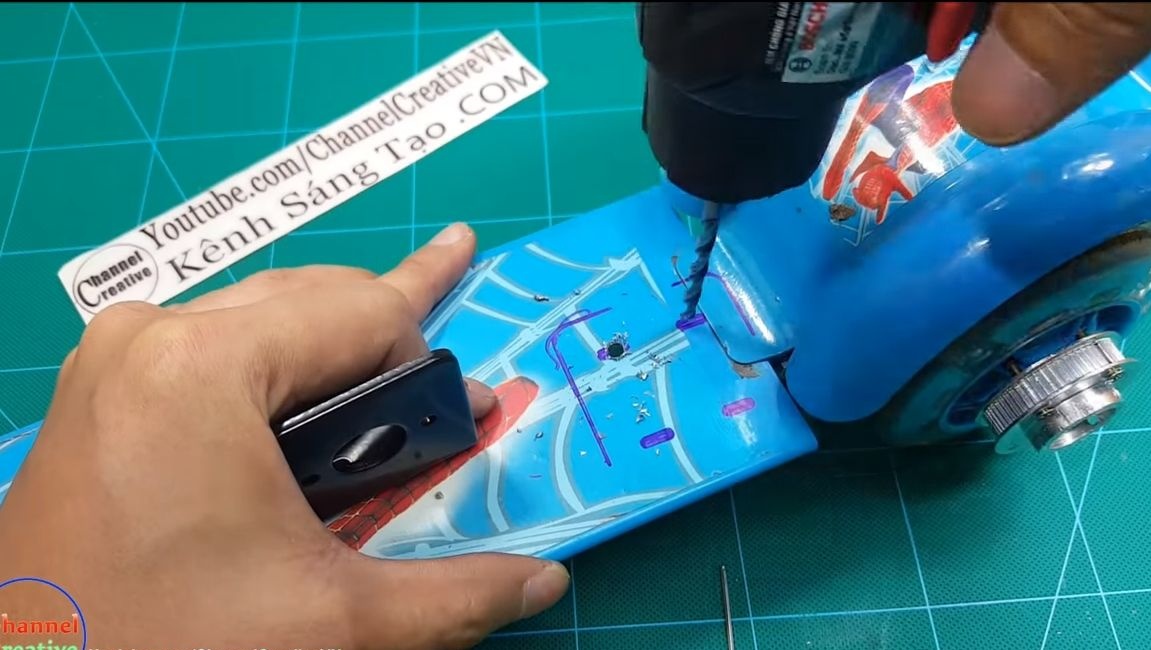
The transmission of torque from the engine to the rear wheel is via a reduction gear, and a belt drive is used here. First of all, we have to fix the driven pulley on the rear wheel. To do this, unscrew the nuts and remove the wheel. Further, in the center of the pulley, it will be necessary to drill a hole for the axle or nut of the wheel axis, depending on the design. The author uses a drill with the appropriate bit for these purposes.

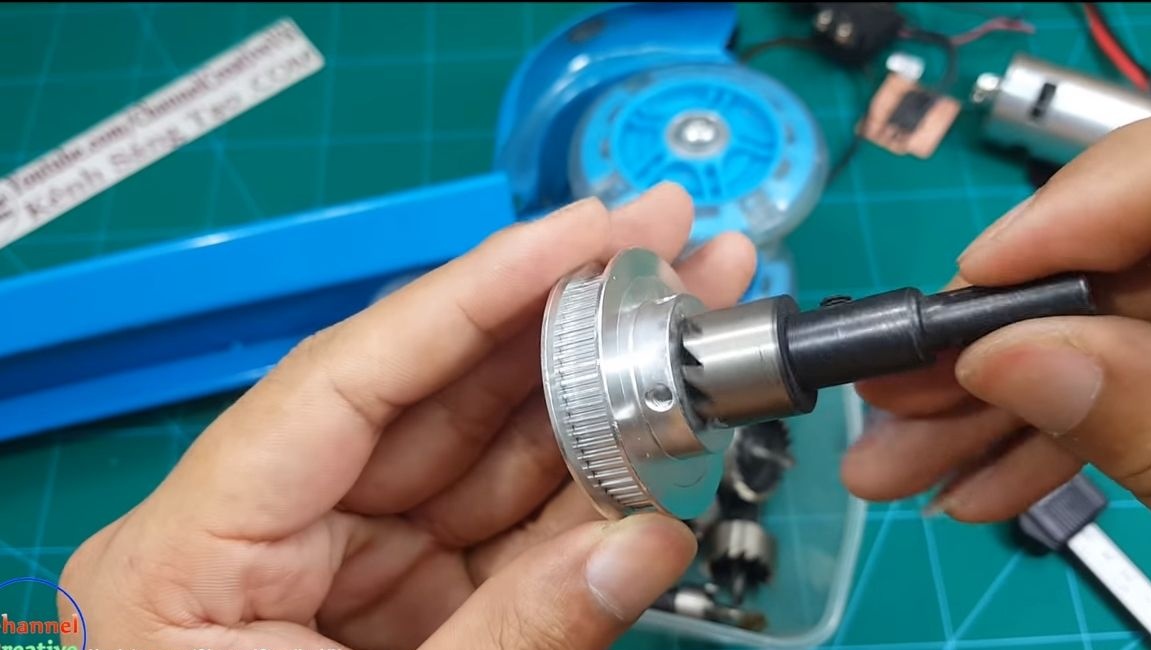
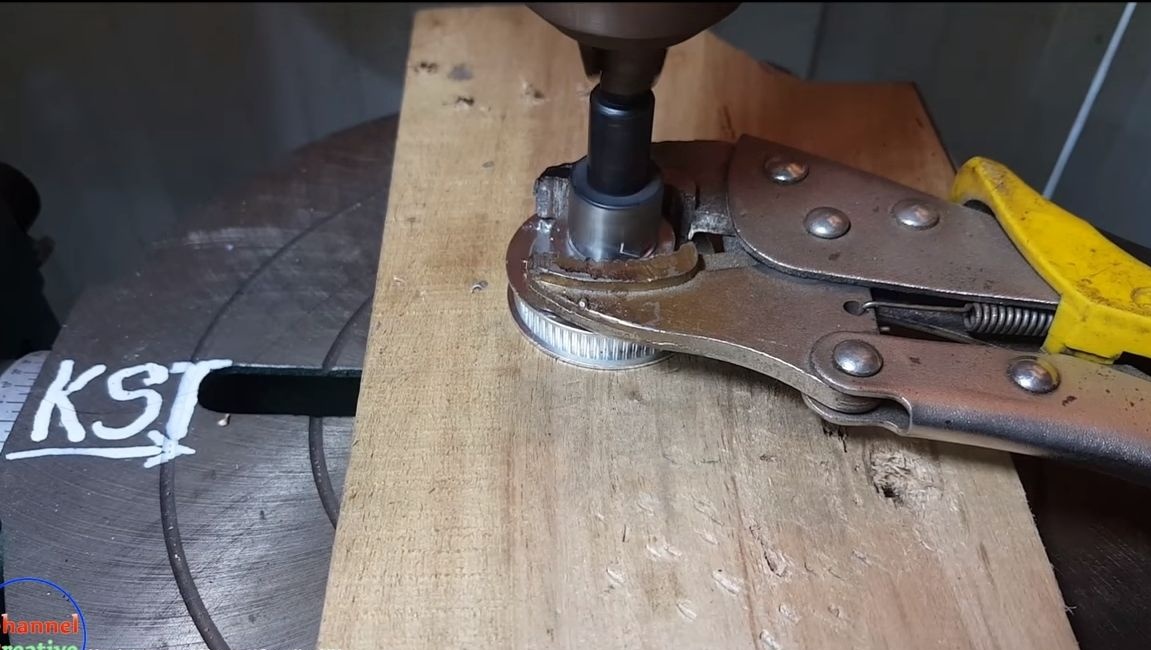
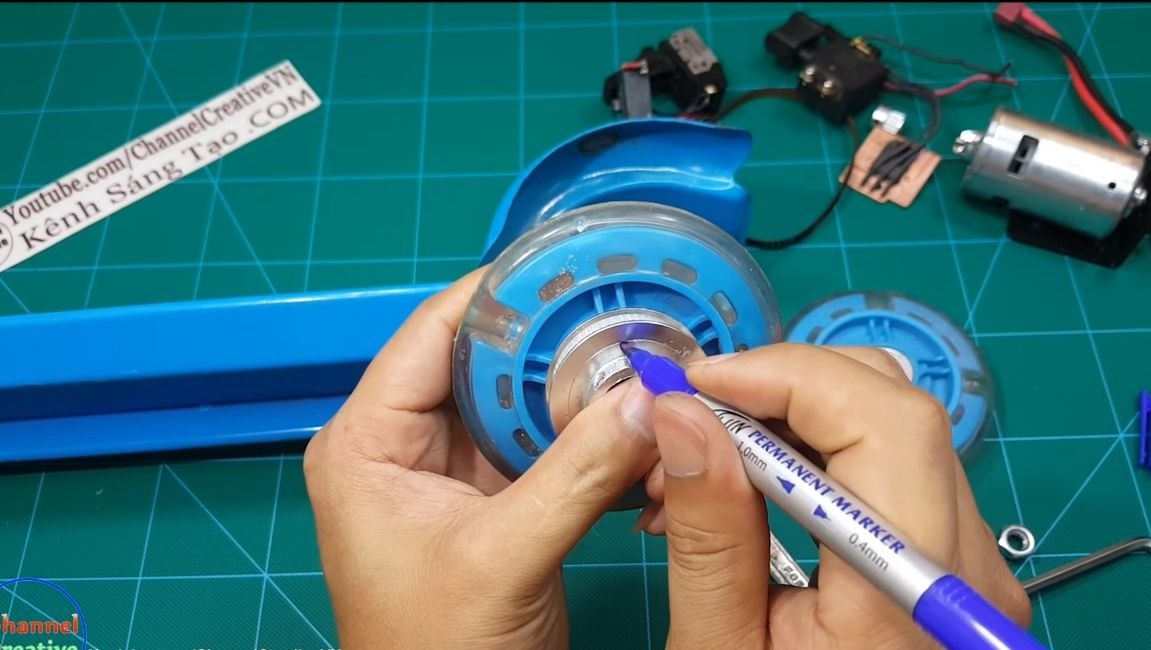
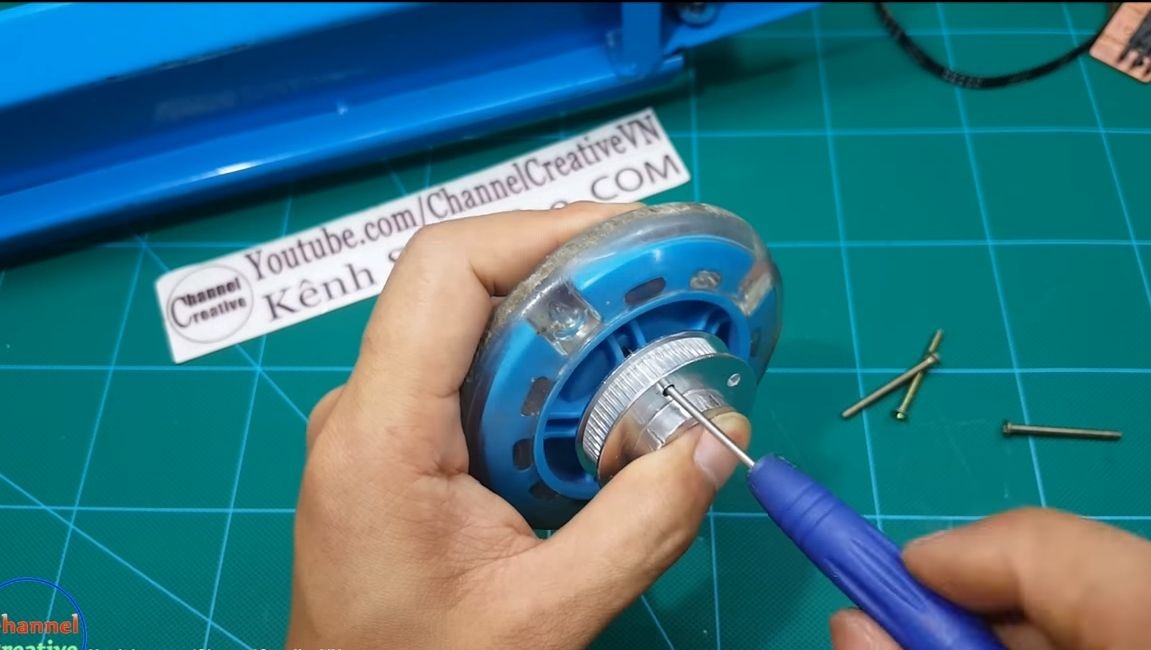
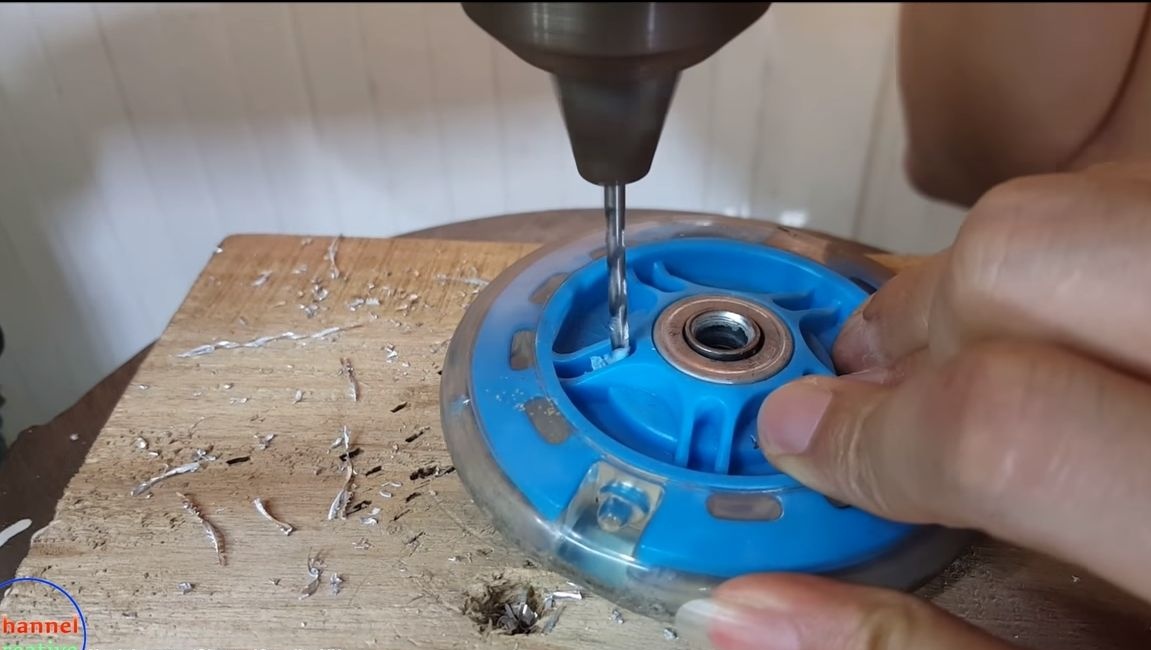
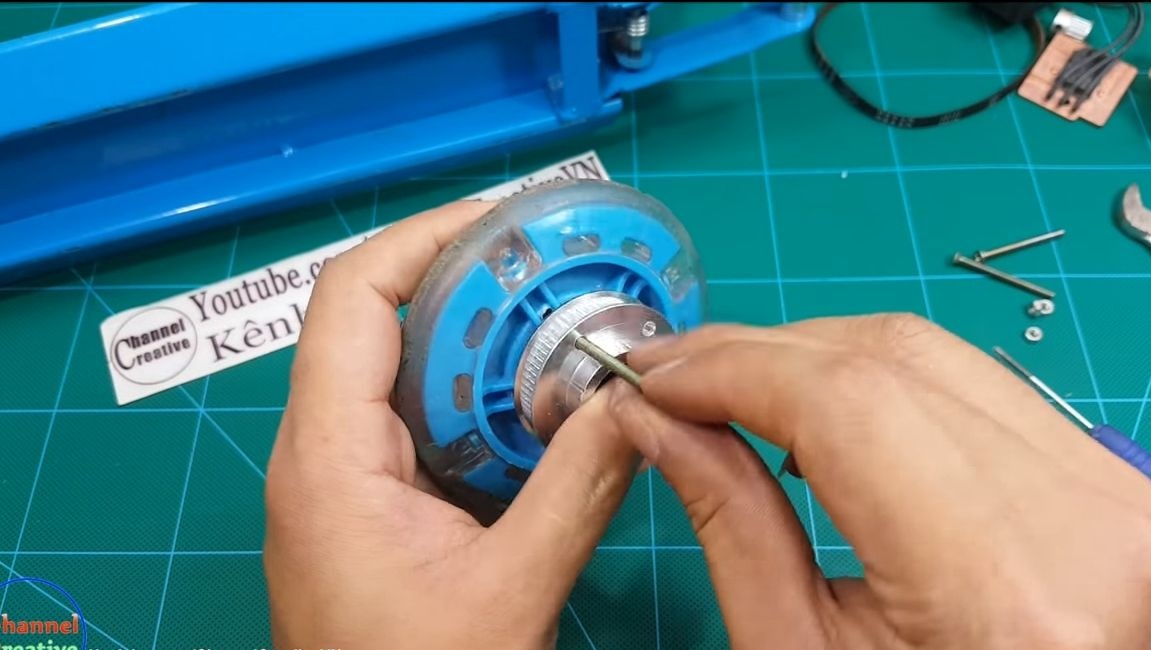
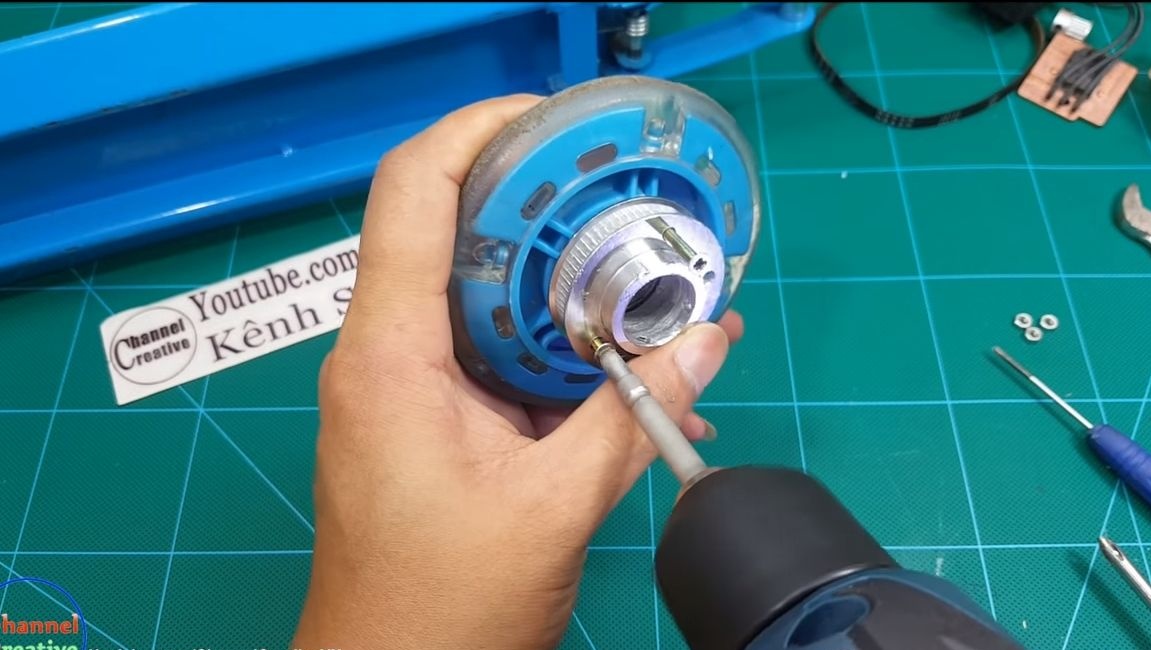
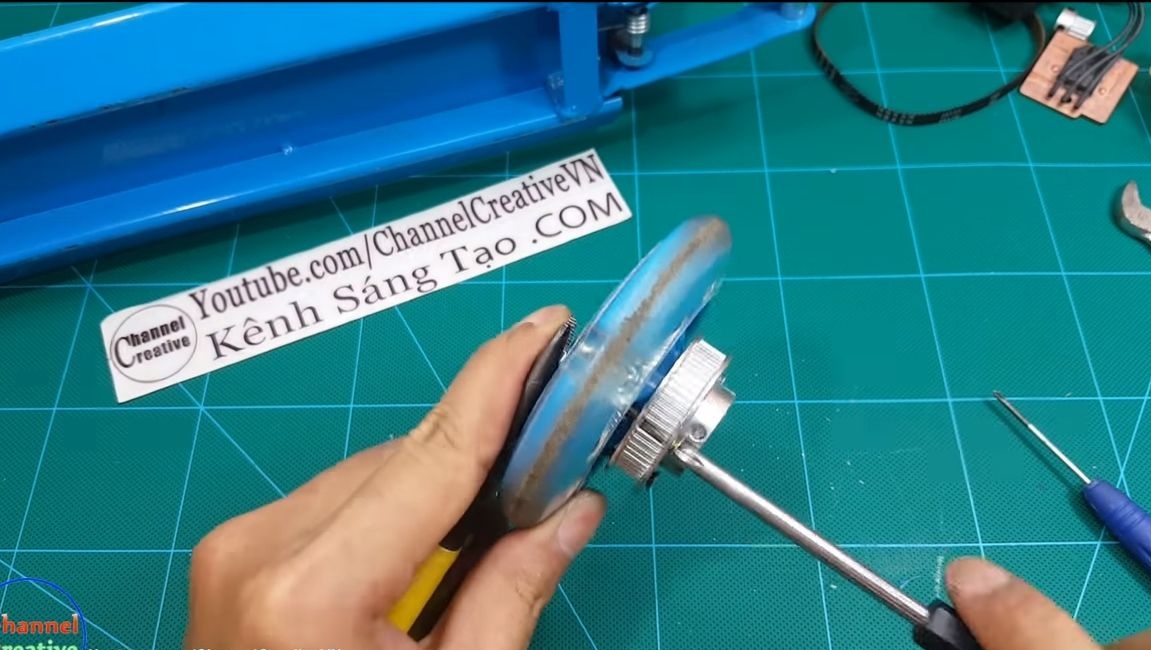
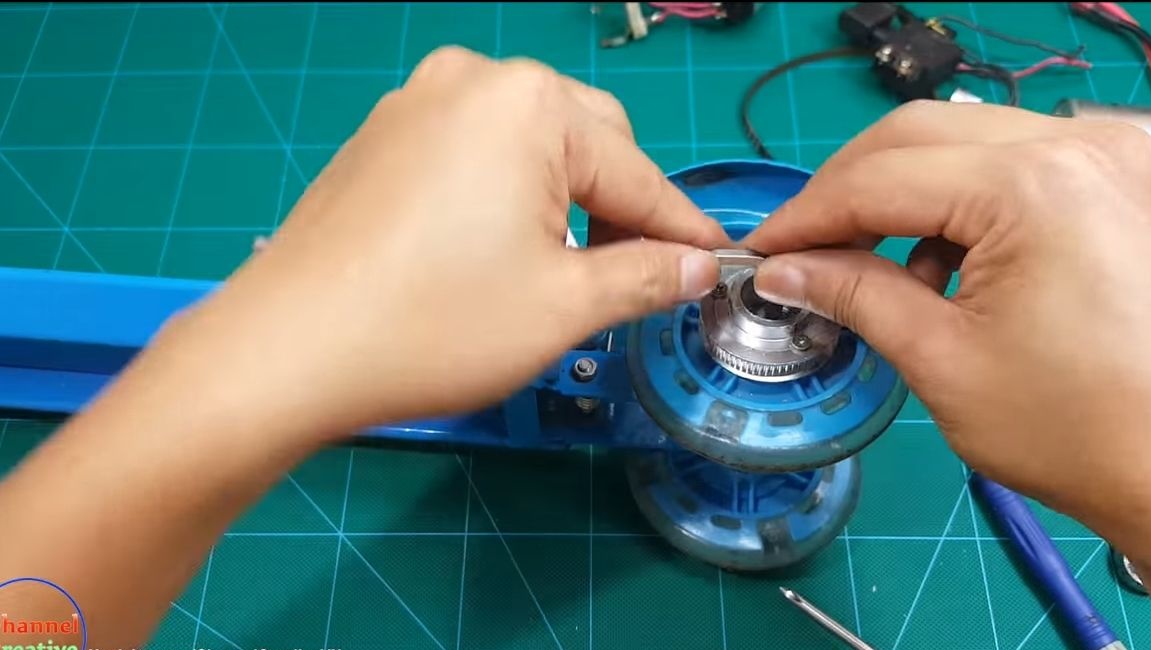
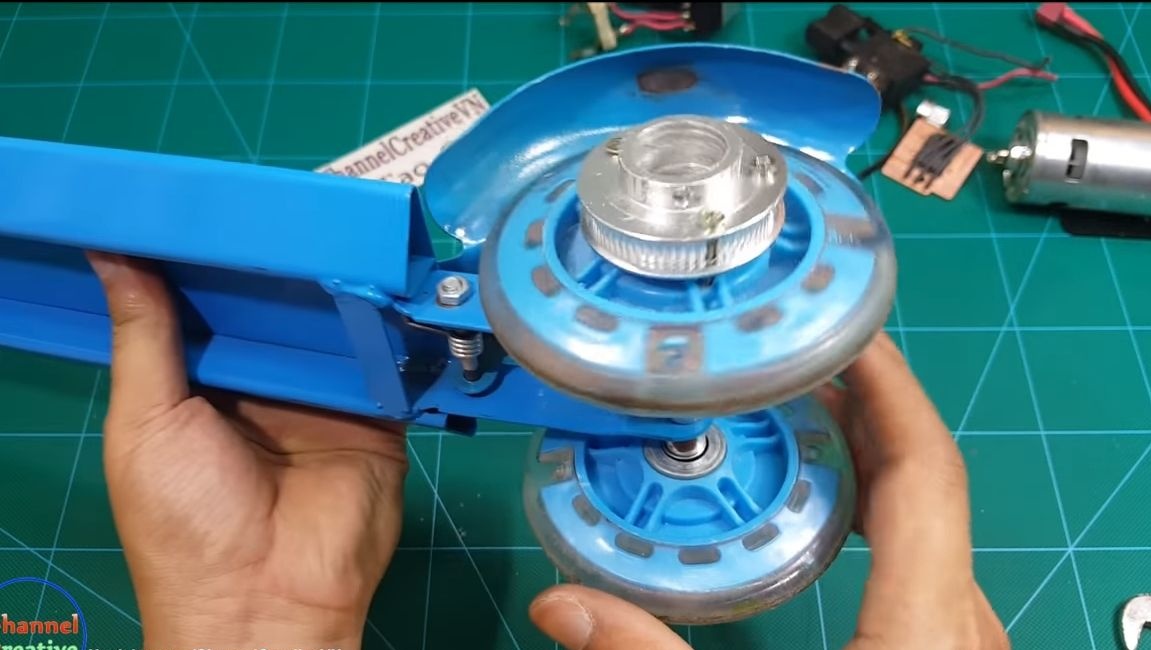
As soon as the pulley is ready for installation. We outline places for fixing screws, the author has 3 of them in total. We drill holes in the pulley and in the wheel. We select the screws that are suitable for the length and carefully screw the pulley to the wheel. That's all, half the battle is done, now you can install the wheels in their place.
Step Two Install the engine
To install the engine, you need a bracket, they are specifically for 775 engines, in extreme cases, such fasteners can be made of aluminum or steel itself. The first thing you need to do measurements, it is important for us to take into account the tension of the belt, it is desirable that it was possible to adjust the tension of the belt during use.
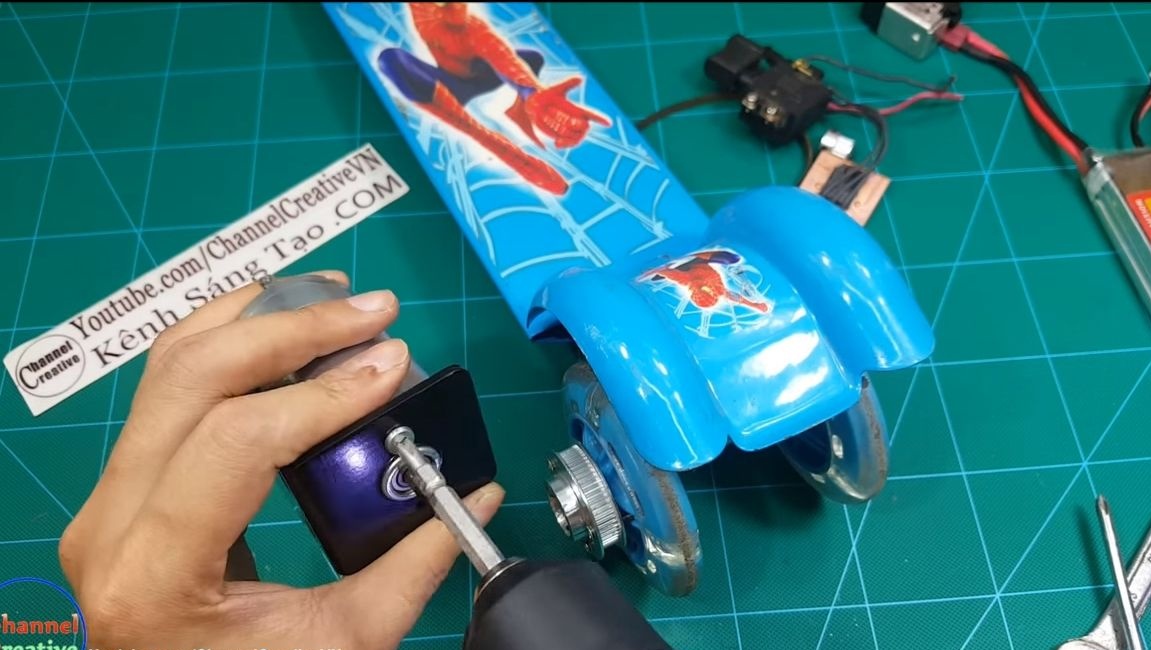
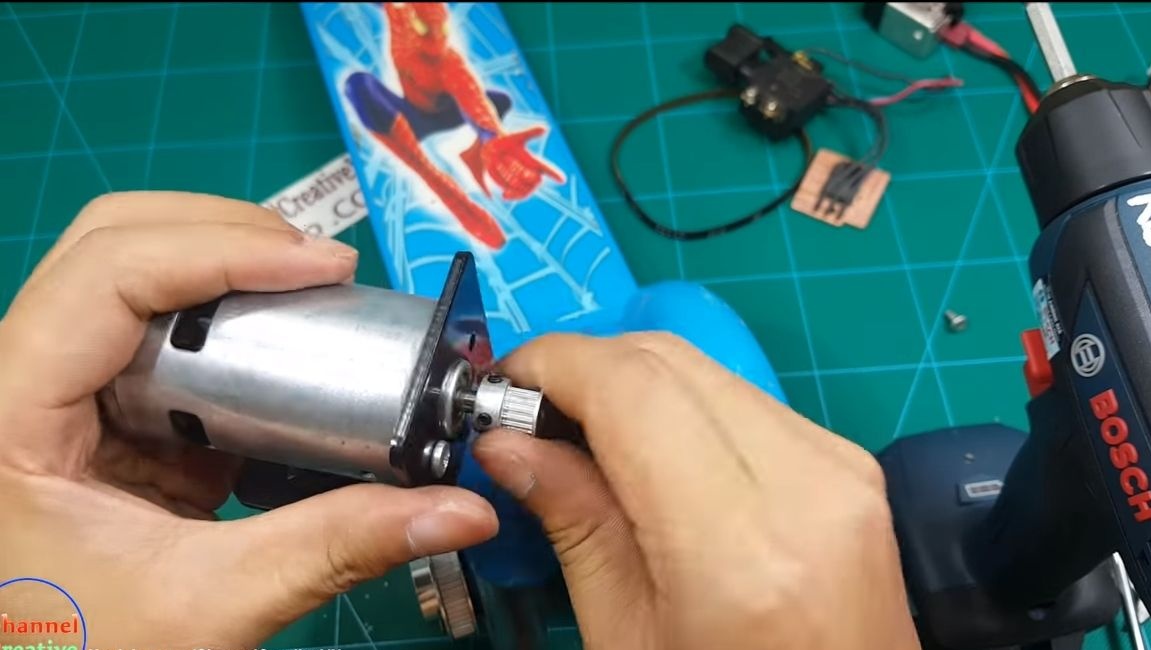
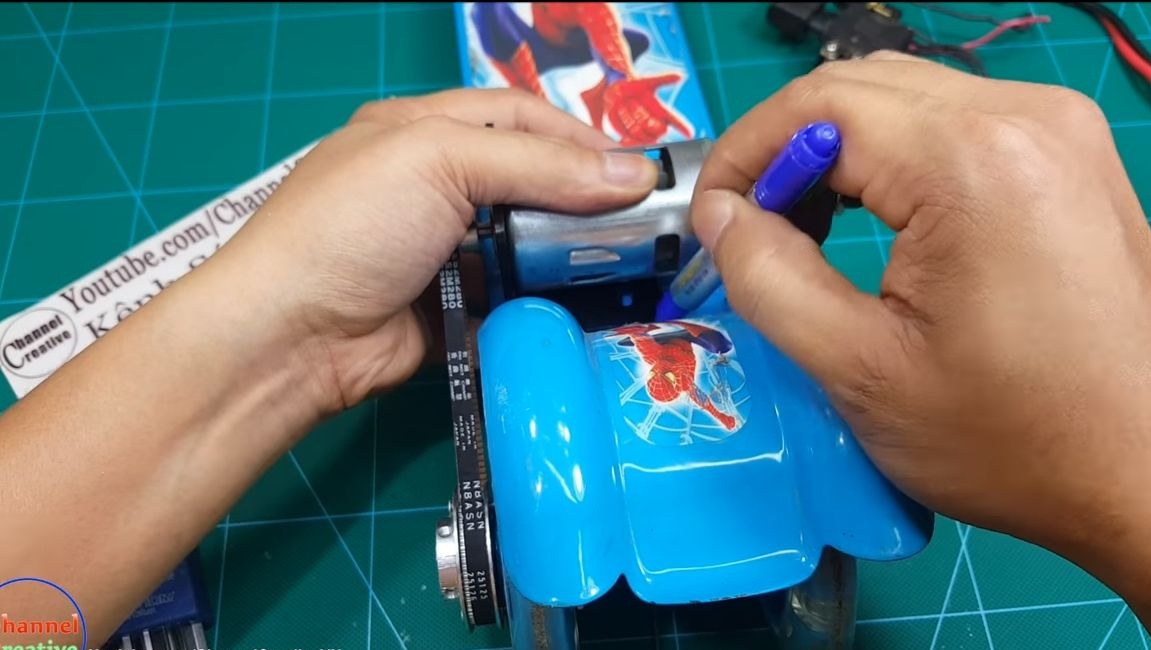
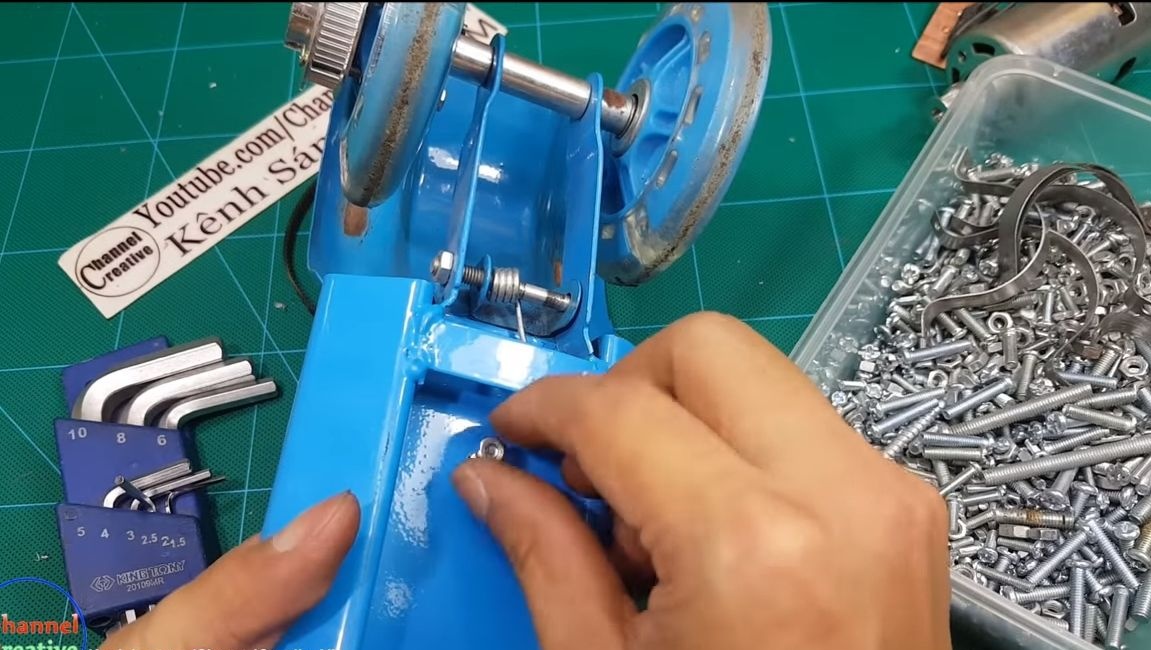

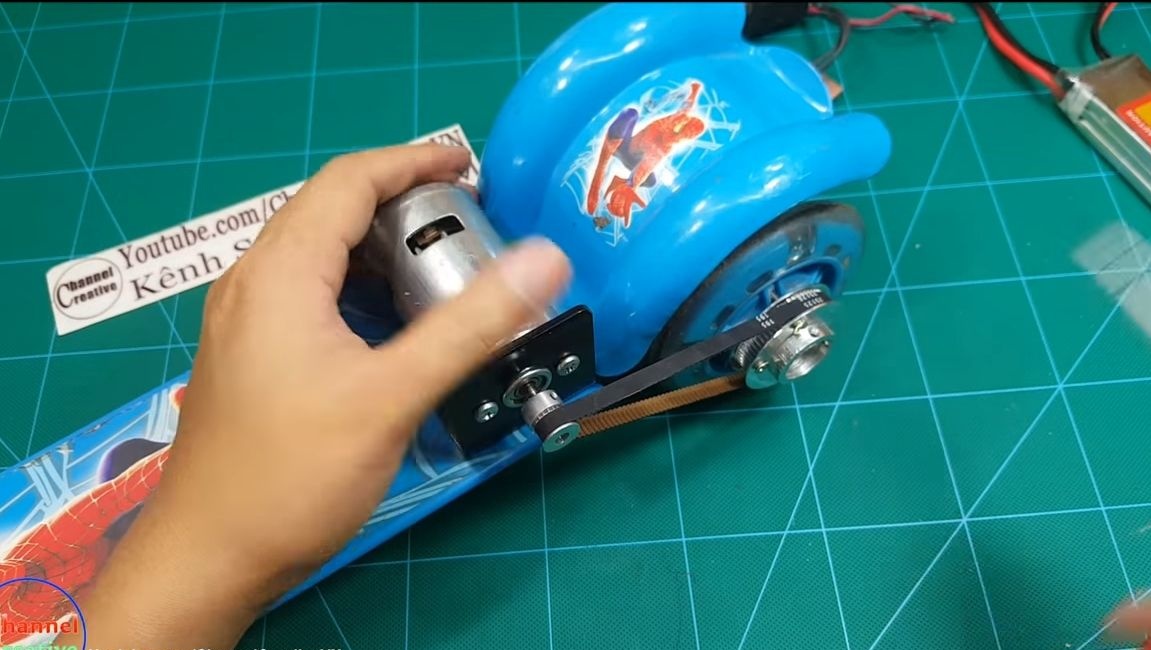
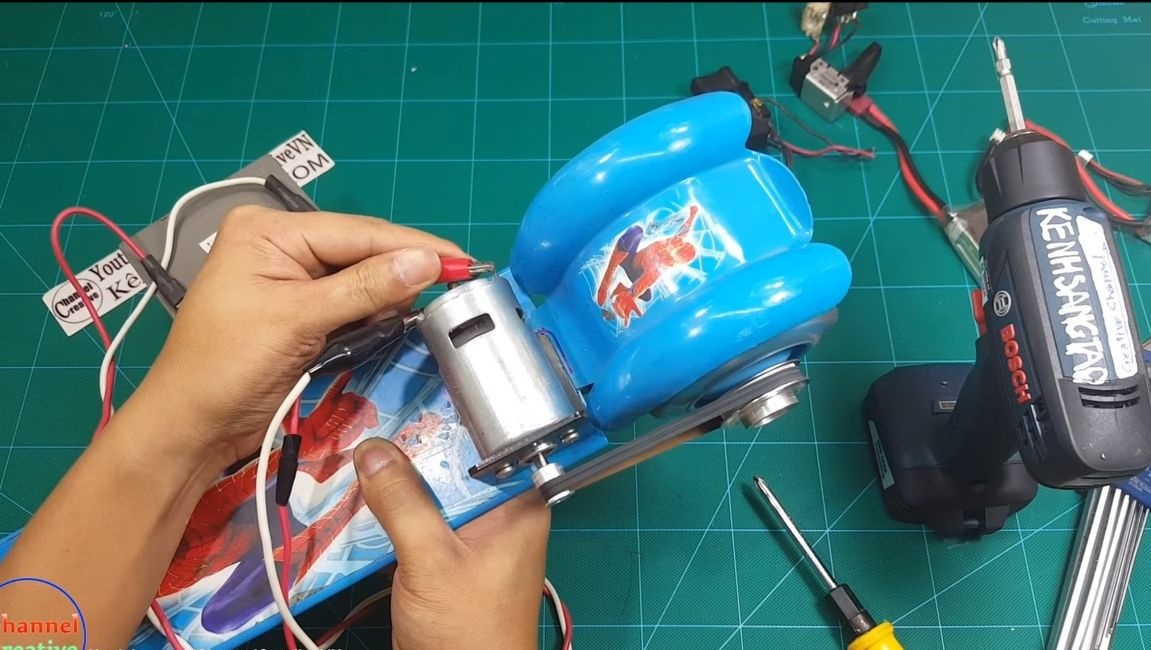
We outline the places and drill holes in the scooter. Now we select the screws with nuts and fasten the bracket. Almost everything is ready, it remains to install the engine and belt on the base. The transfer is ready, you can try to turn it on! The author feeds the motor from the battery, the wheel spins quite fast.
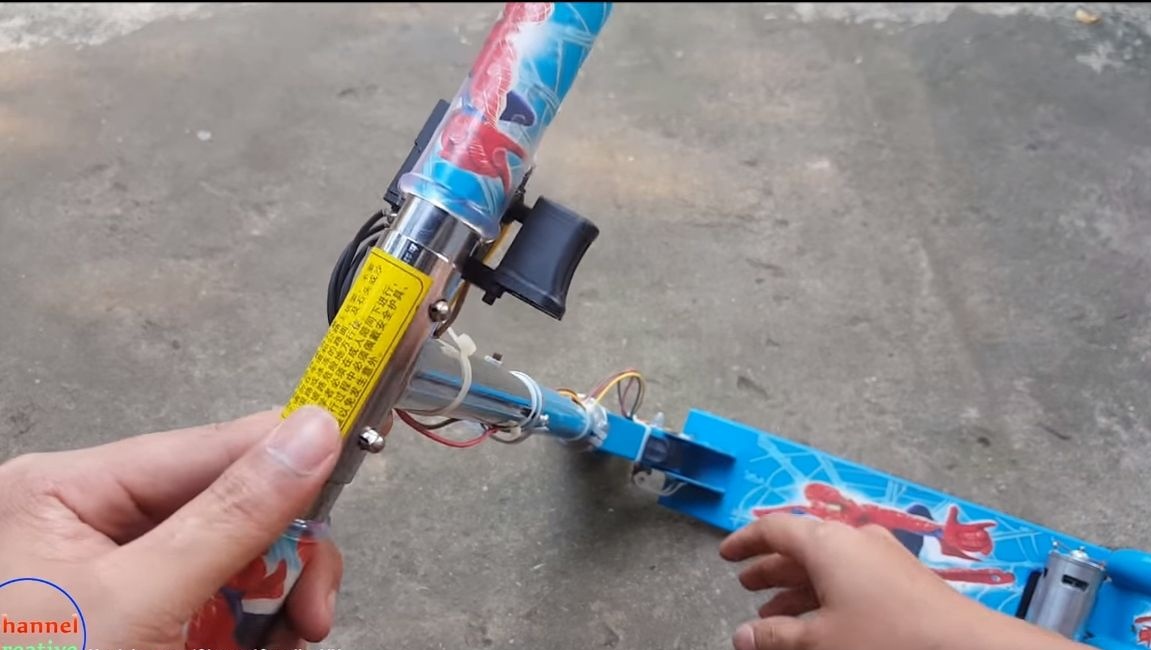
Step Three Final assembly
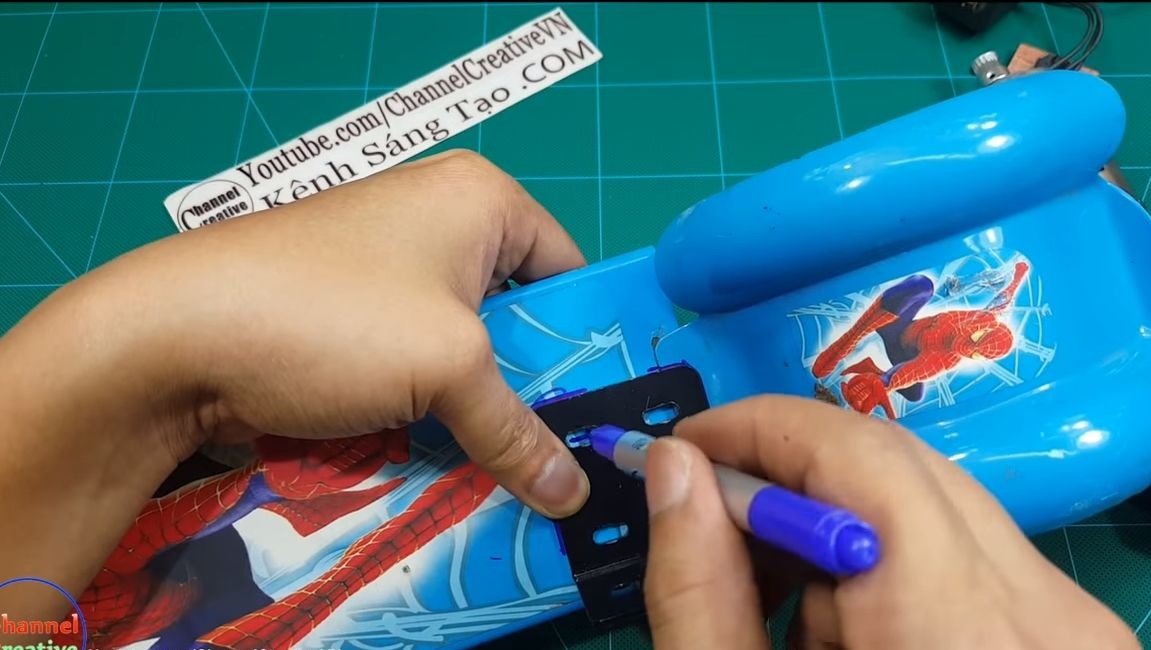
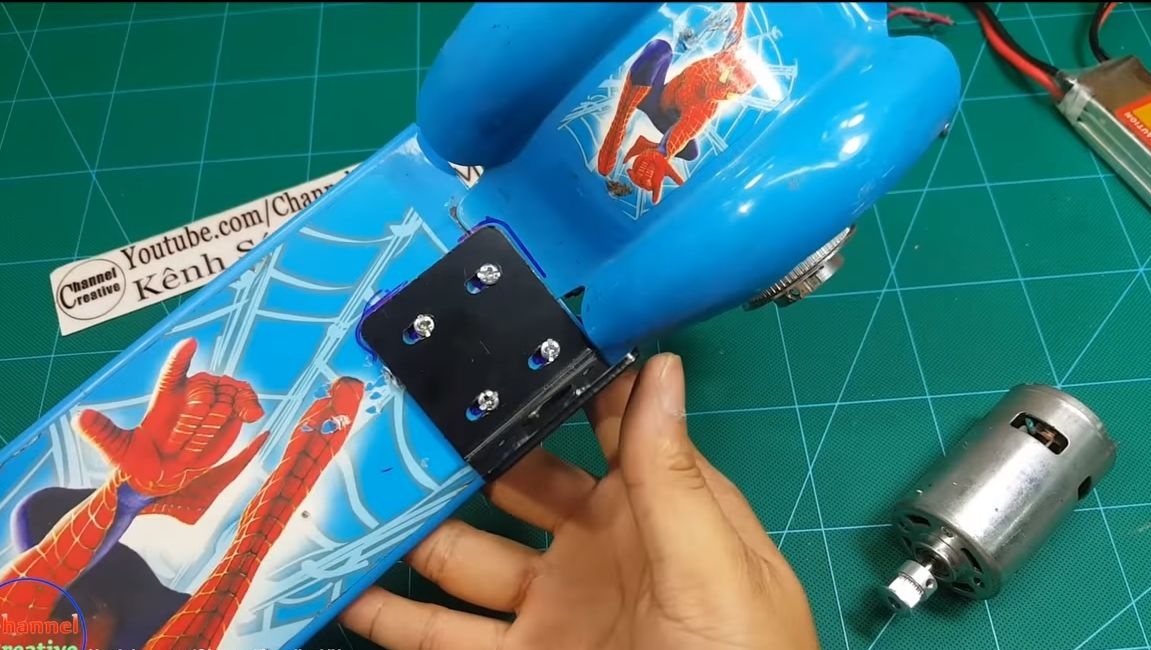
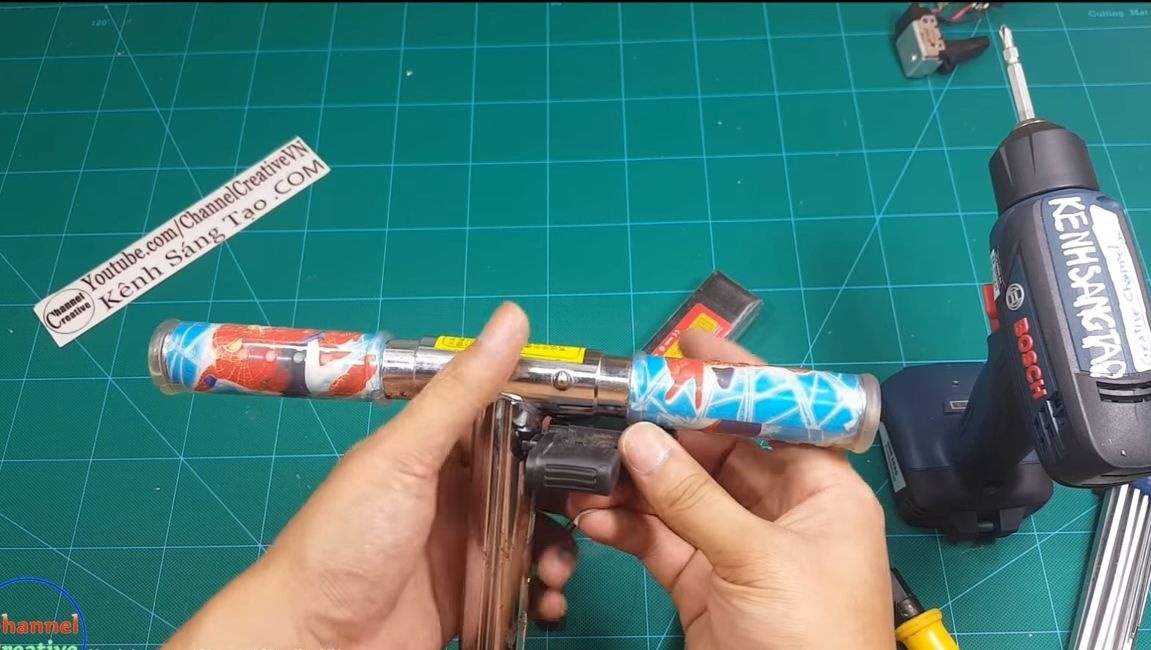
Install the switch on the scooter, as the author used the switch from a screwdriver. To fix the switch on the steering wheel, you need powerful glue, an epoxy or even hot glue will do. Additionally, the switch can be strengthened with a clamp.
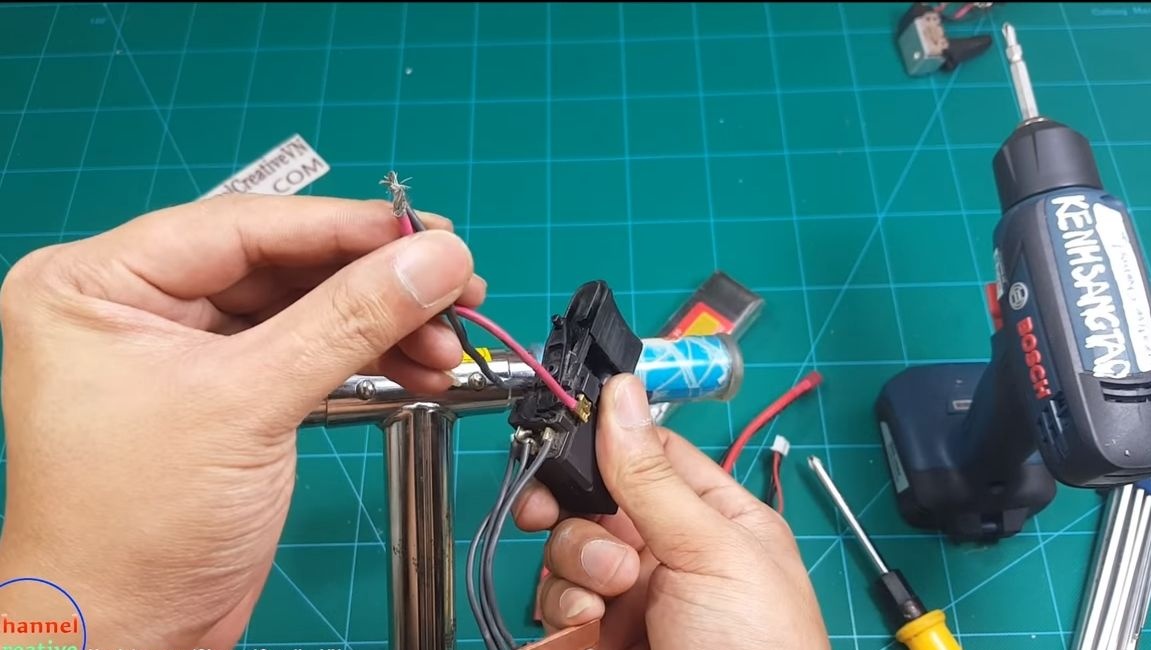
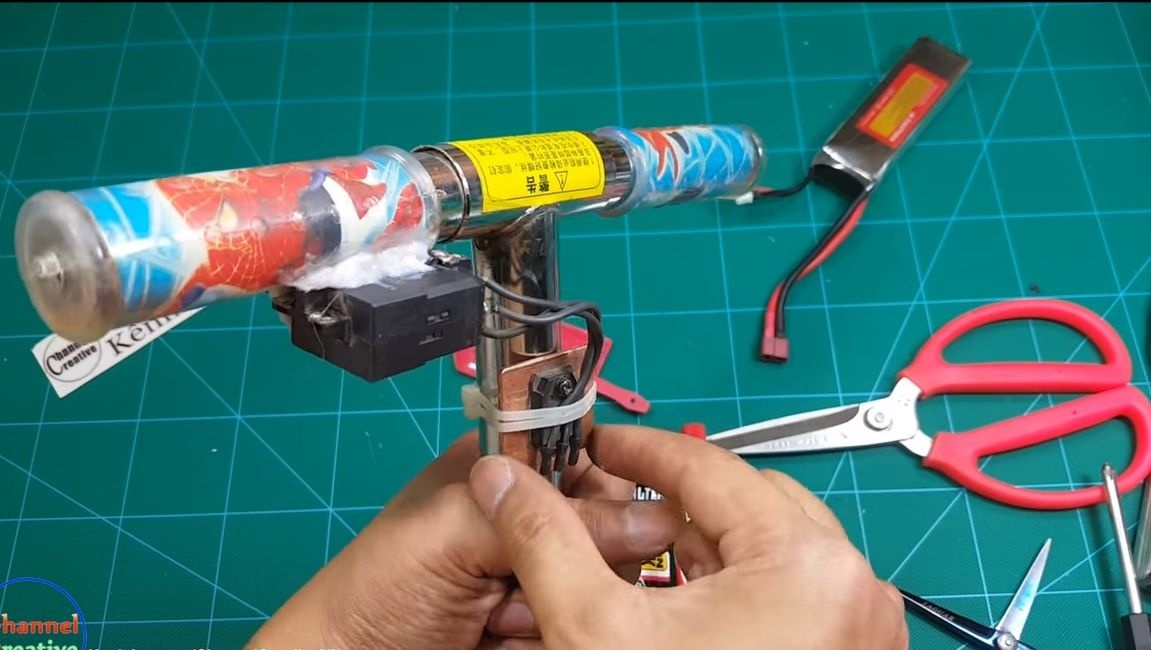
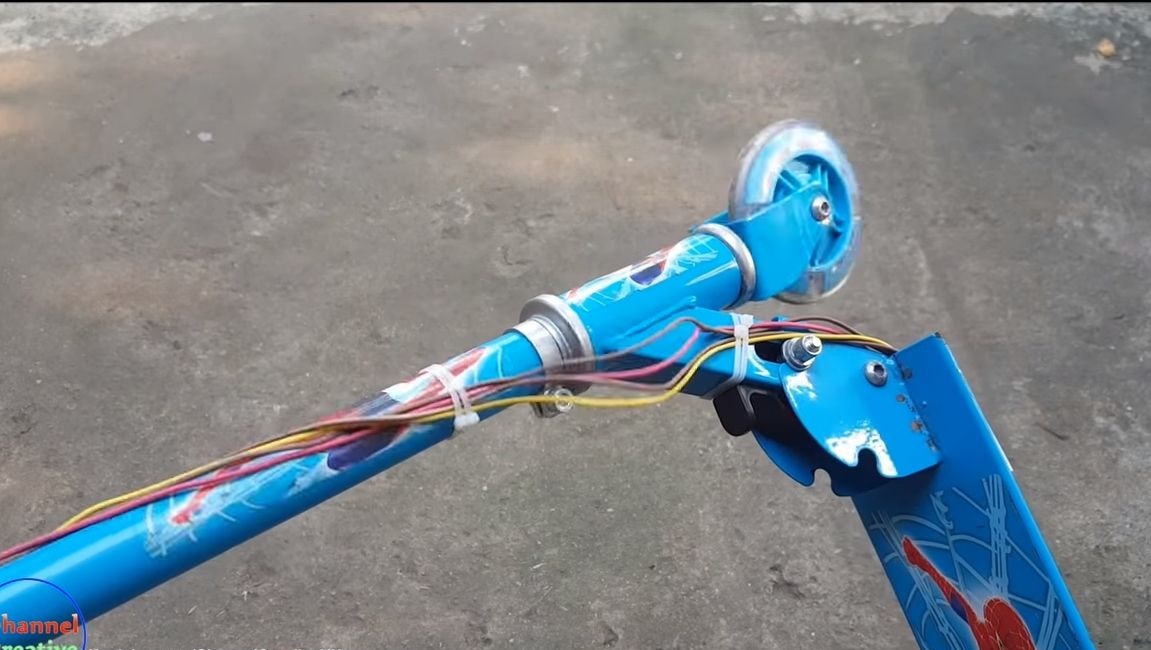
Run the wiring through the frame, use plastic clamps to secure it. Make sure that the steering wheel turns and that the wire length is enough. At the end, install the batteries. The author’s succinctly fit into the frame of the scooter on the bottom side, he simply screwed them with tape.
The scooter is ready! You can experience it. The girl in the video rides on it quite quickly, how much battery is enough for her remains a mystery. Of the design flaws, it is possible to note that the engine is not protected; it will quickly fail from the ingress of water and dust. Also, a protective casing must be made for belt transmission. Good luck