

Did your soldering iron torture you? He heats up for a long time, and even after heating, not all solders are soldered? Then you are lucky, you got exactly the right instruction. Today we will figure out how to make a simple, fast, very convenient and economical soldering iron. Its design is very simple, as a basis you will need a 12V step-down transformer. The device works on the principle of a burner, that is, the “sting” itself is a heating element.
The soldering iron is equipped with a keyboard type button, which means that it is turned on only when you hold the button pressed, that is, energy is not wasted and the service life is increased. As for the heating element, a piece of copper wire 1.7 mm thick acts as it. So, let's get down to manufacturing.
Materials and tools used by the author:
Material List:
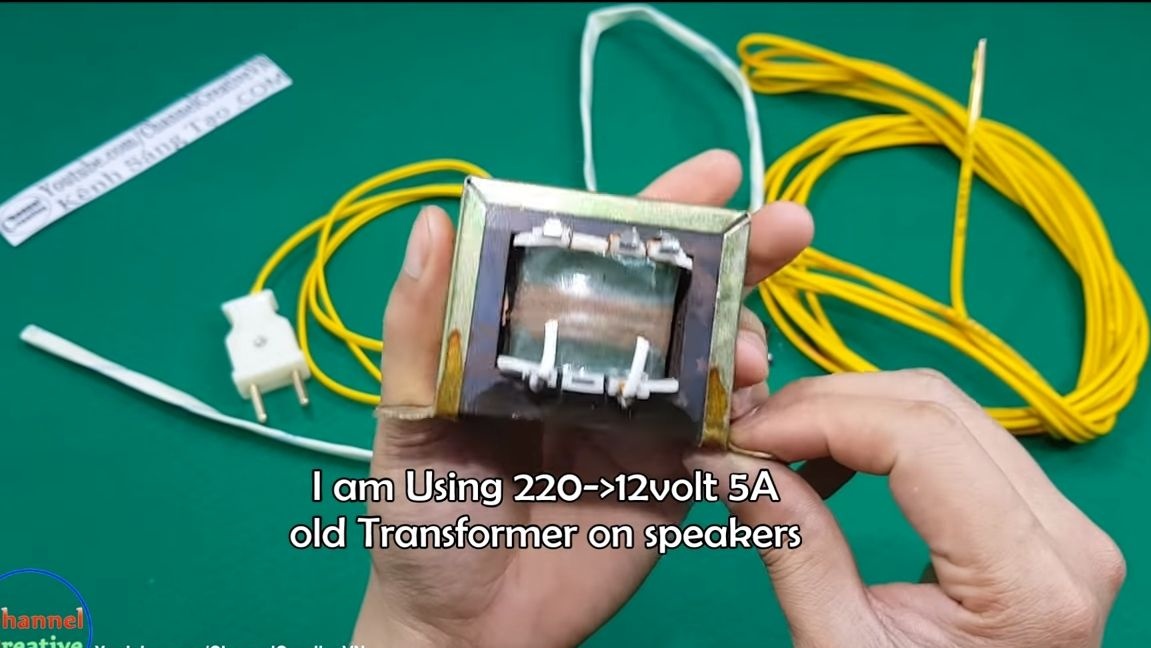
- transformer 220 / 12V (5A);
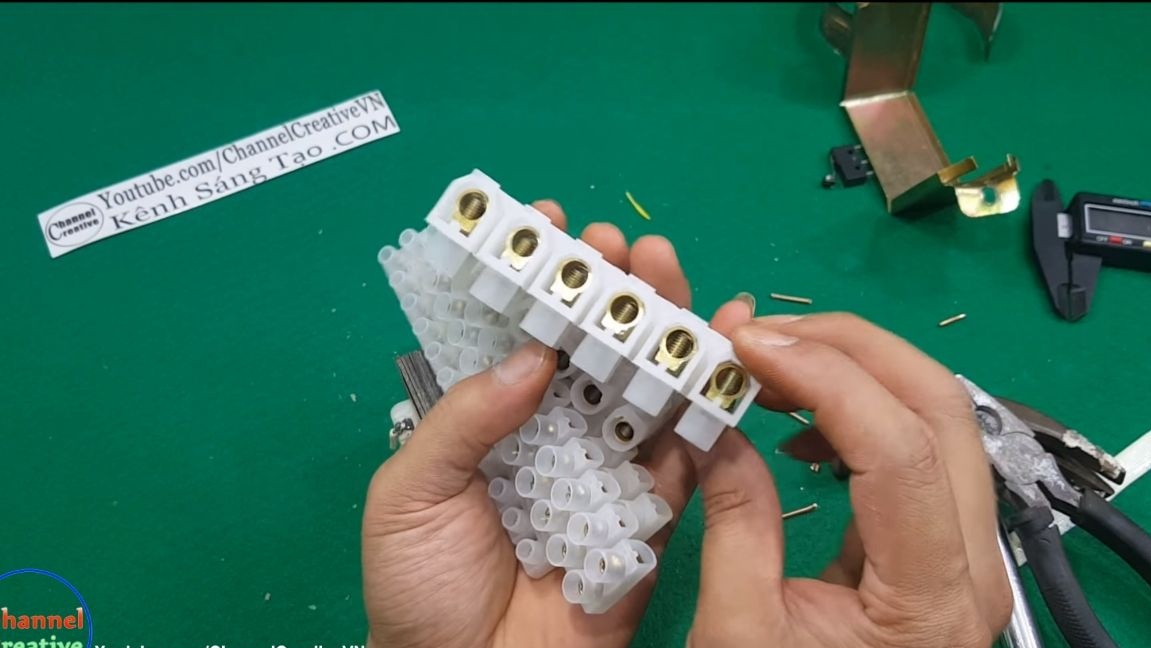
- two screw clamps;
- 250V at least 5A;
- plywood;
- copper wire with a section of 1.7 mm;
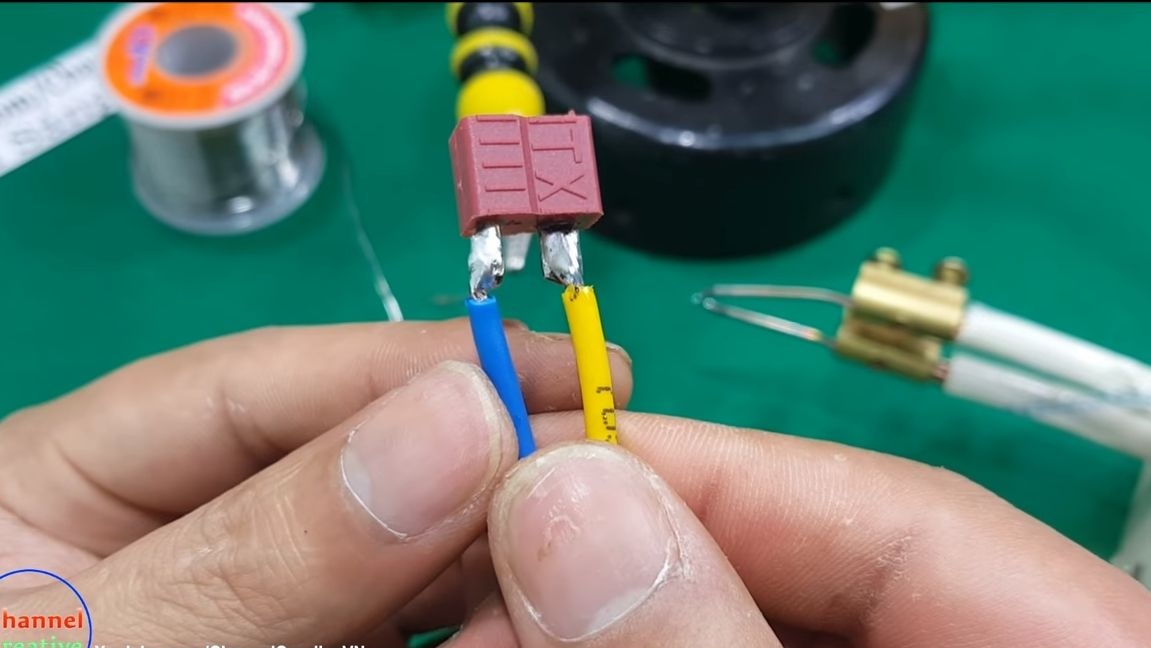
- cable with plug;
- bar for the manufacture of handles;
- a pair of screws;
- heat shrink;
- insulating tube.
Tool List:
- ;
- drill;
- screwdriver;
- pliers;
- heat shrink;
- scissors;
- lighter;
- .
The process of making a soldering iron:
Step one. We get the transformer
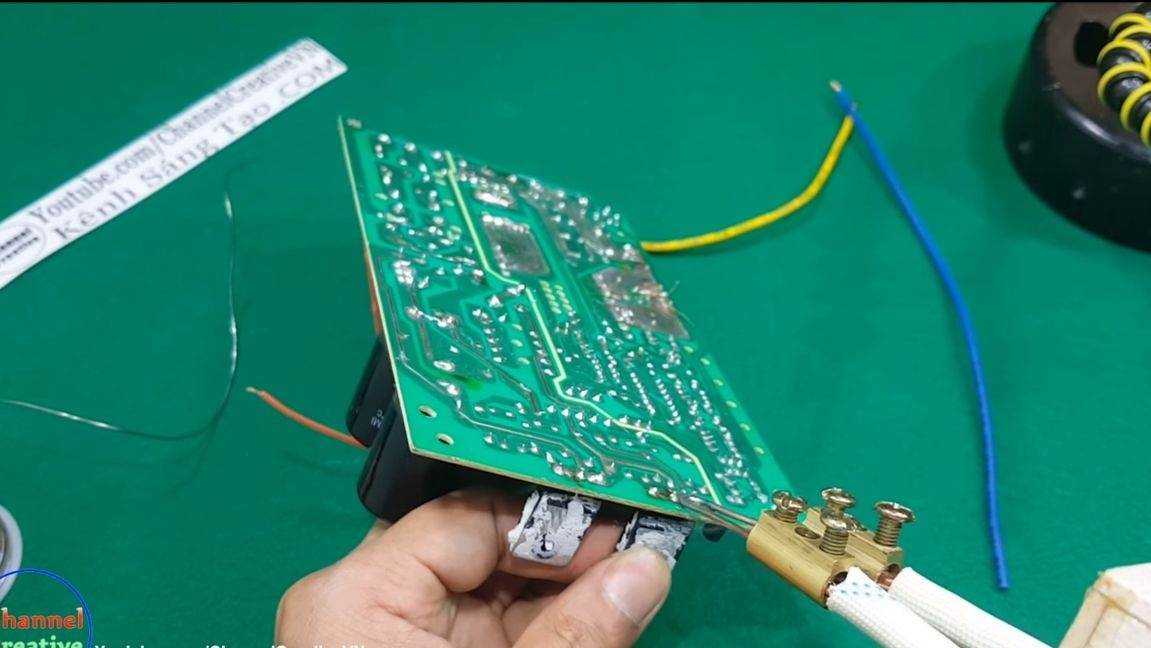
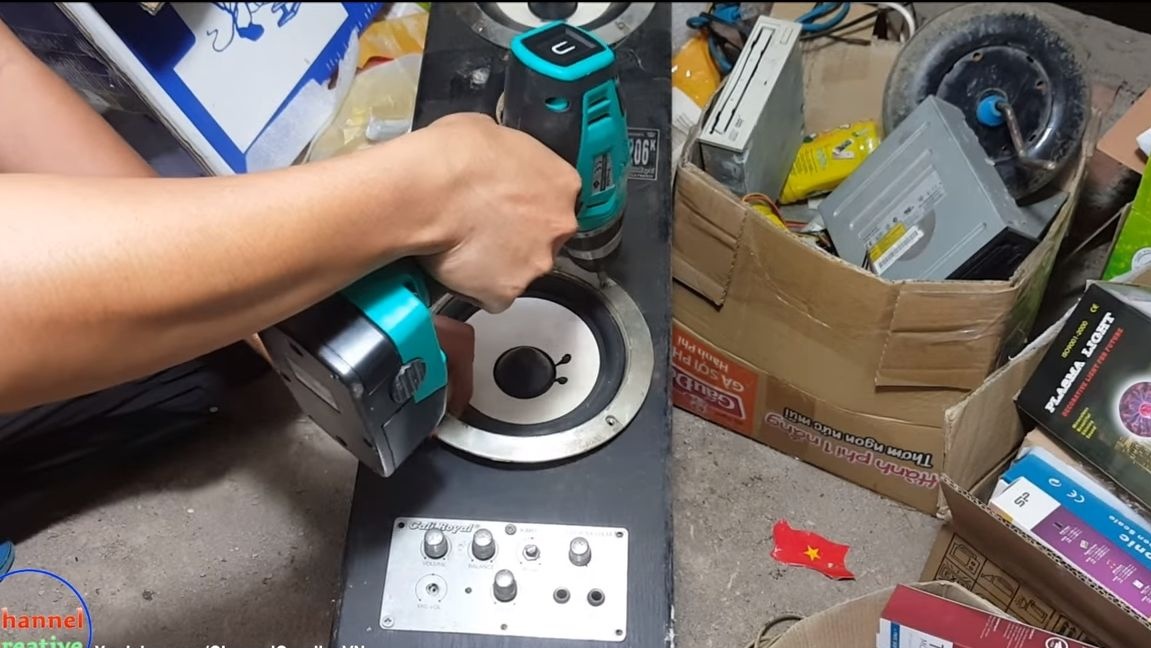
For a soldering iron, you need to find a step-down transformer 220/12 Volt by 5A. Such trances are quite common, they are often used in speakers, tape recorders and other household appliances. The author decided to sacrifice the old column, disassemble and pull out the transformer.
Step Two Transformer alteration
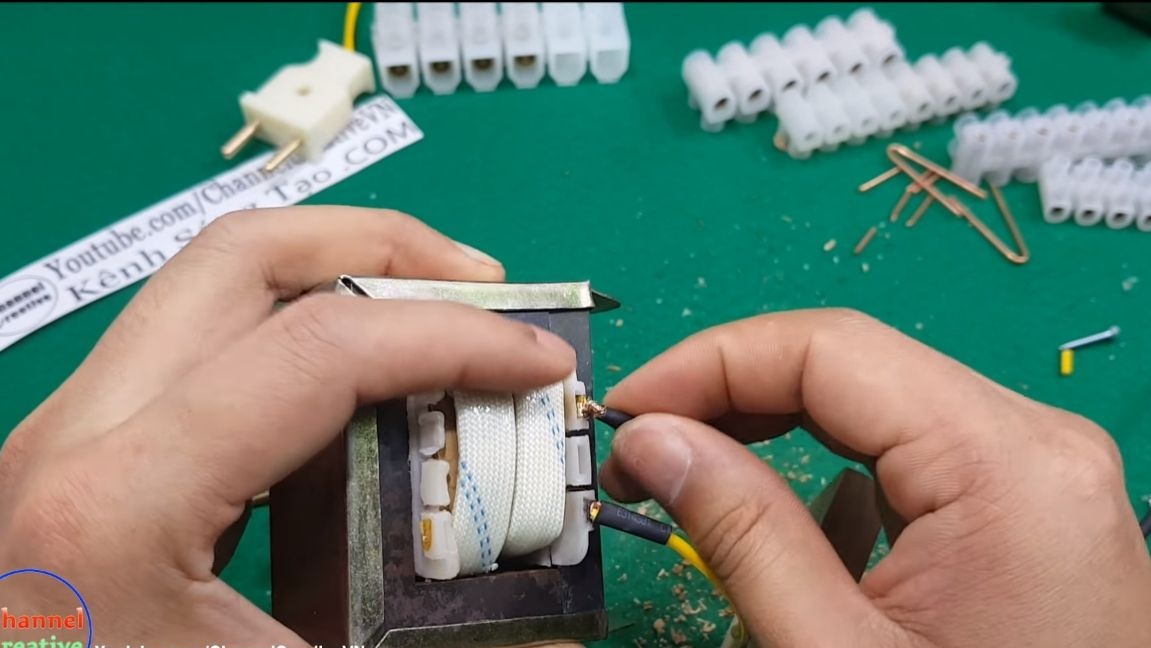
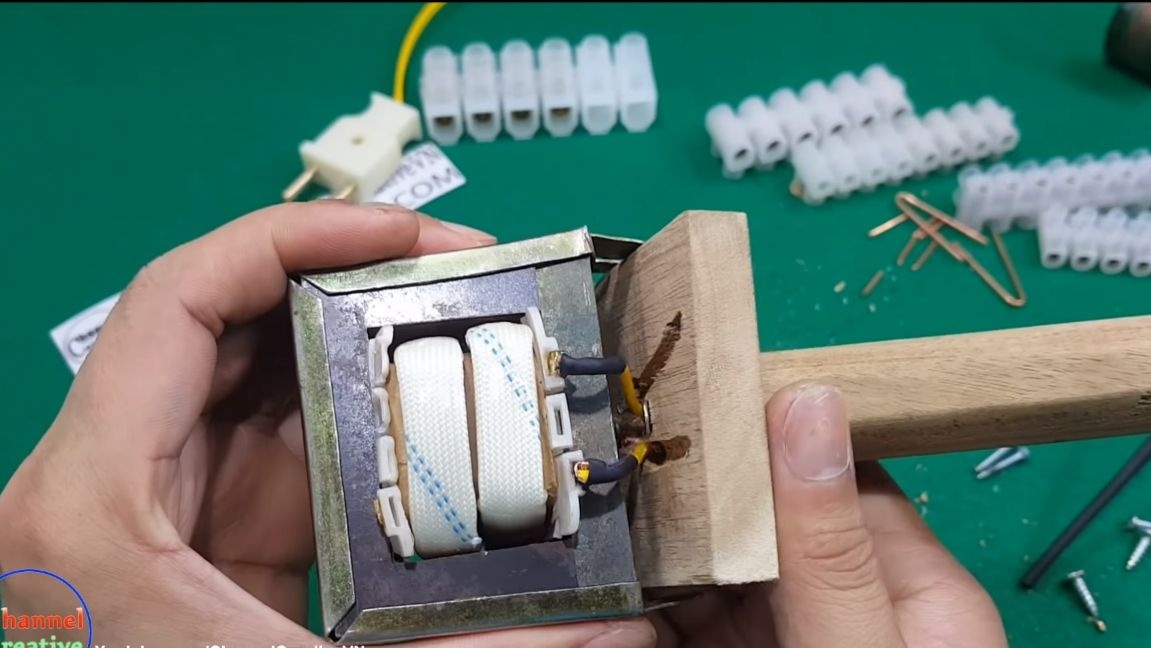
We have to redo the transformer, as a result, it will generate a high current, due to which the 1.7 mm thick copper wire is quickly heated. The essence of the alteration is to install the bus instead of the standard secondary winding, that is, the installation of a "power" winding.
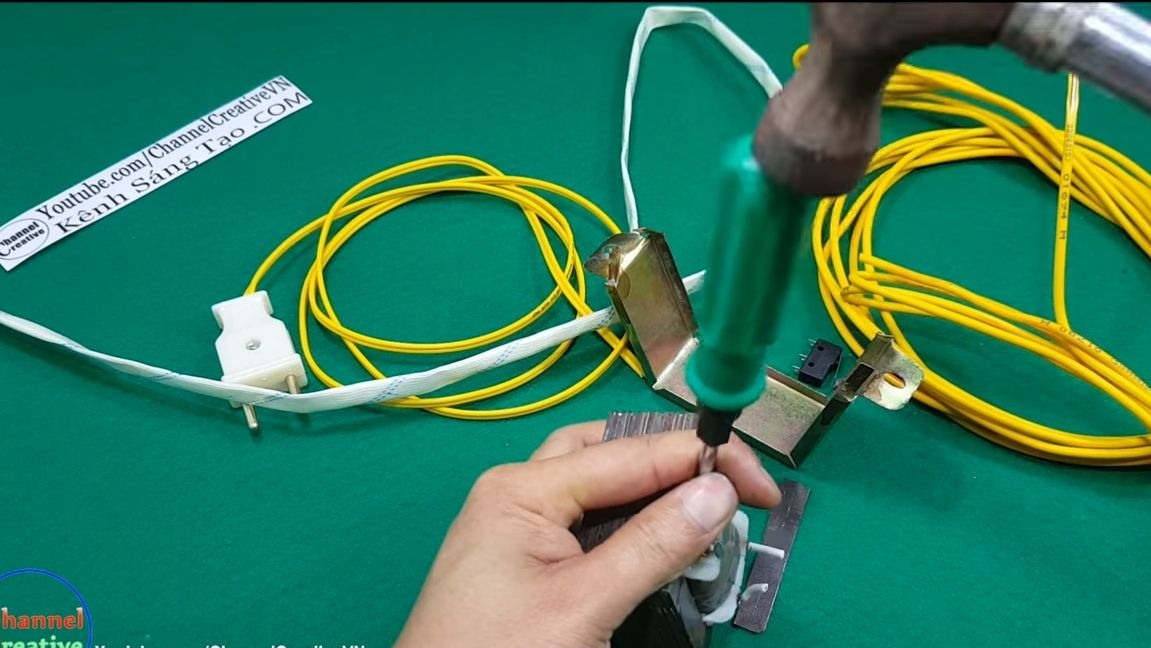

First of all, we disassemble the transformer, remove the case and disassemble the block of plates, try to remember their order, since you still have to assemble them back.As soon as you get to the secondary winding, remove it, all completely. As a result, you should have only the primary winding with two contacts.
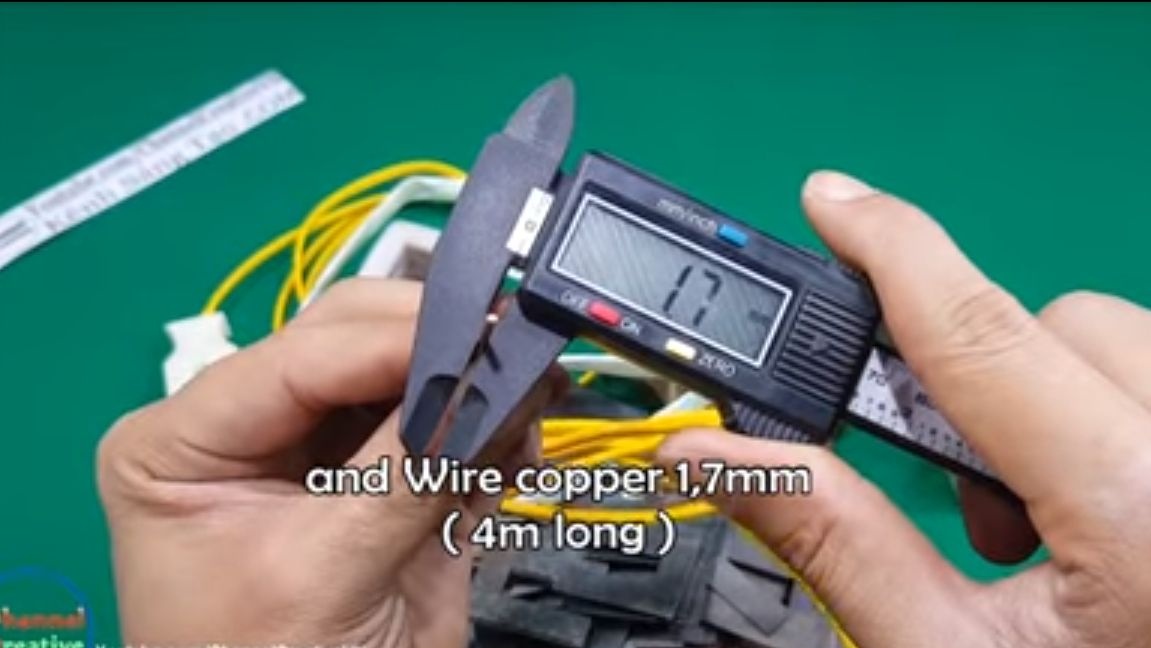
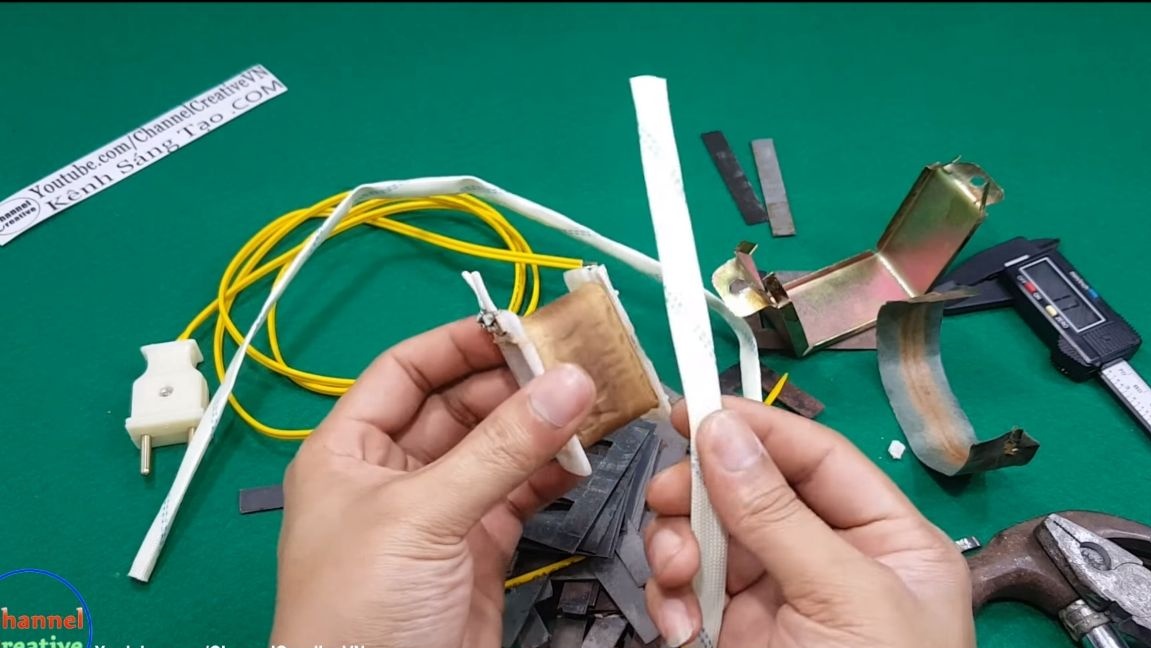
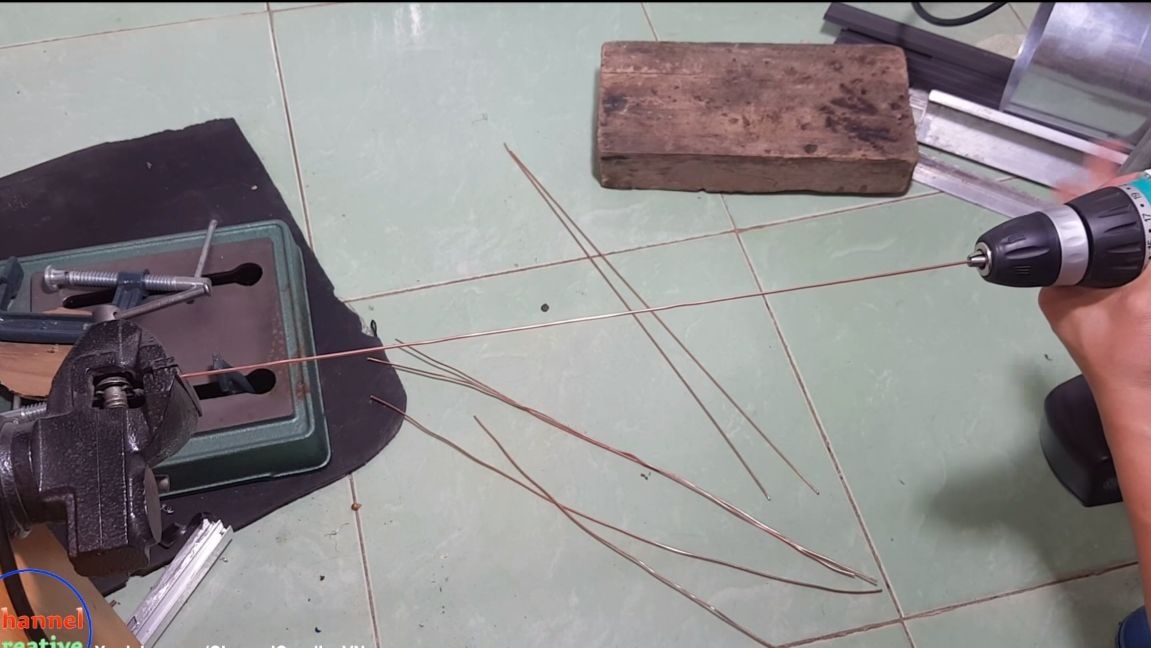
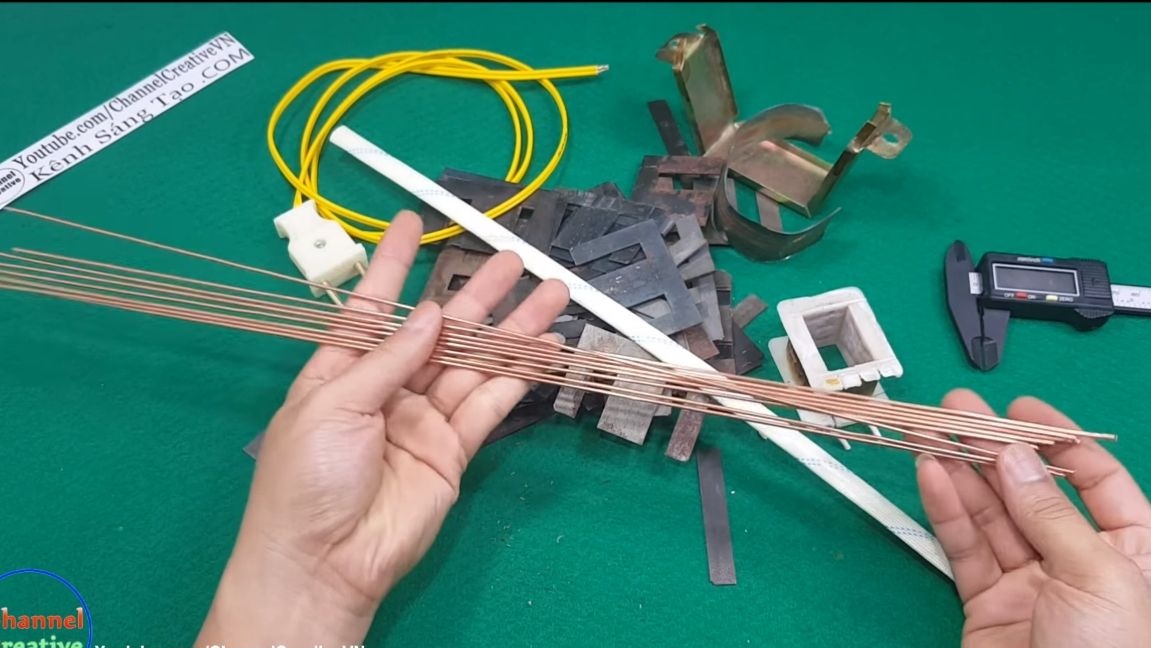
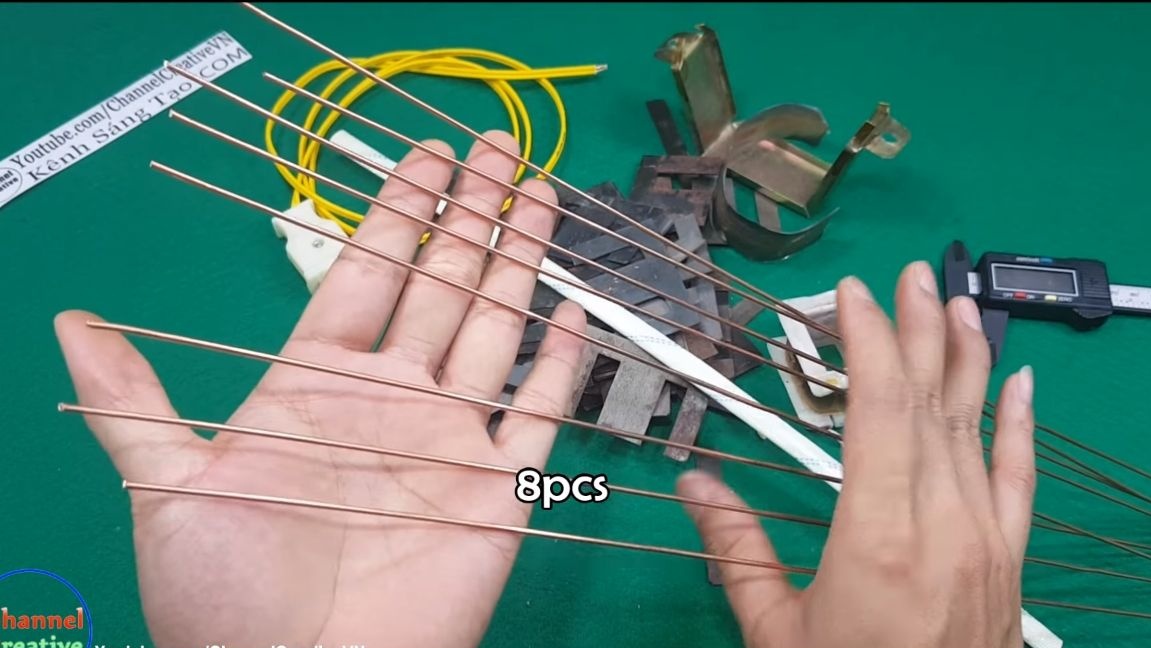
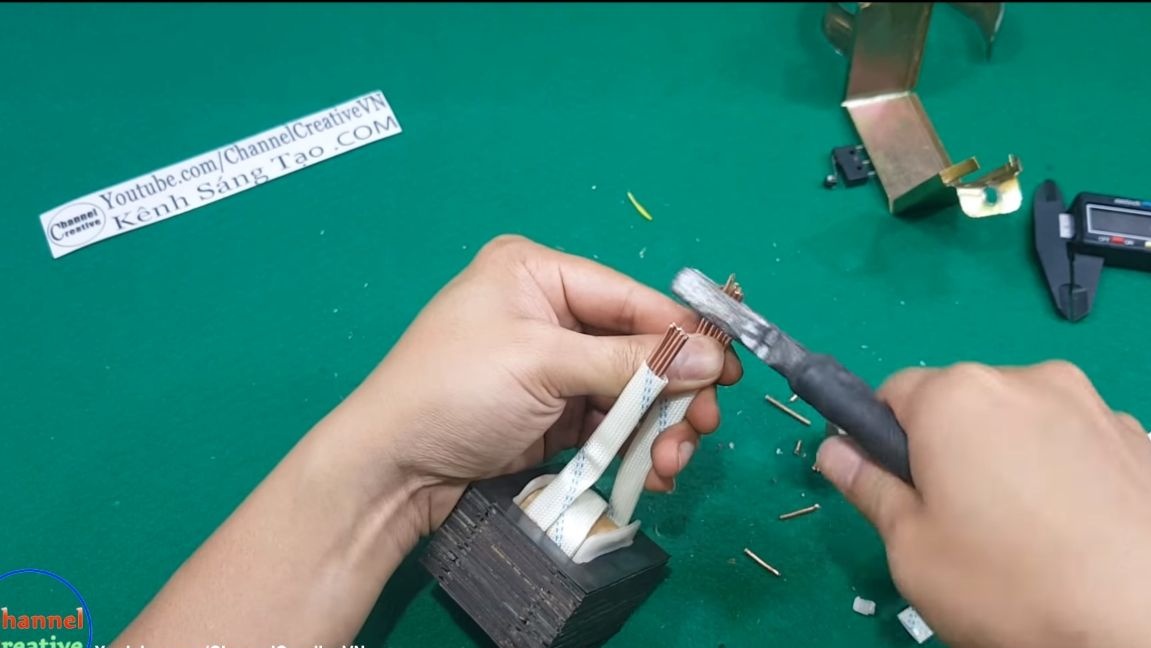
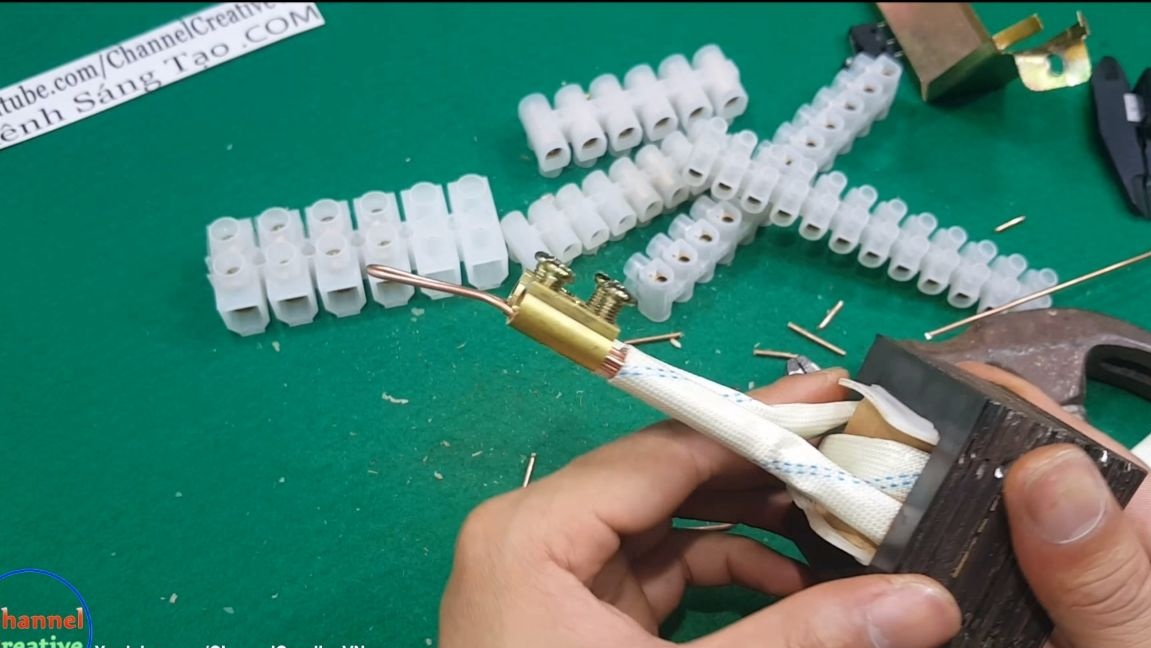
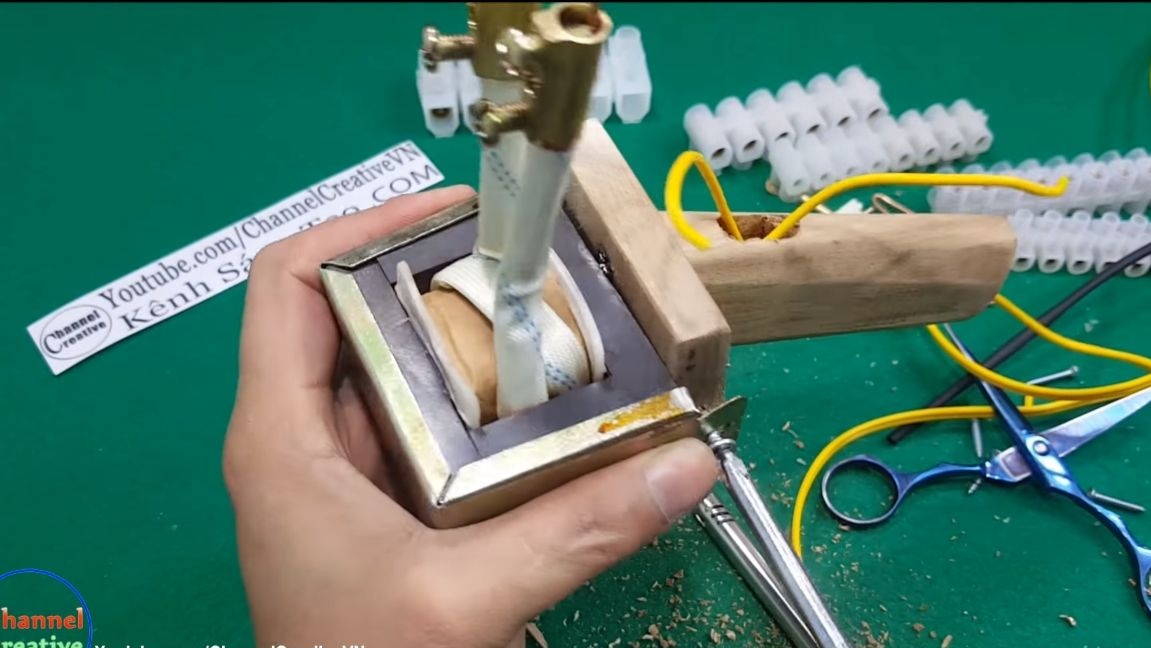
We make the tire. For these purposes, you will need 8 pieces of copper wire 1.7 mm thick. The length should be such that the tire can be wrapped around the primary winding. The author found a cable with a wire of this cross section and cut 8 pieces. To align the wire, use a screwdriver and a vise. We twist the wire in different directions, while pulling.
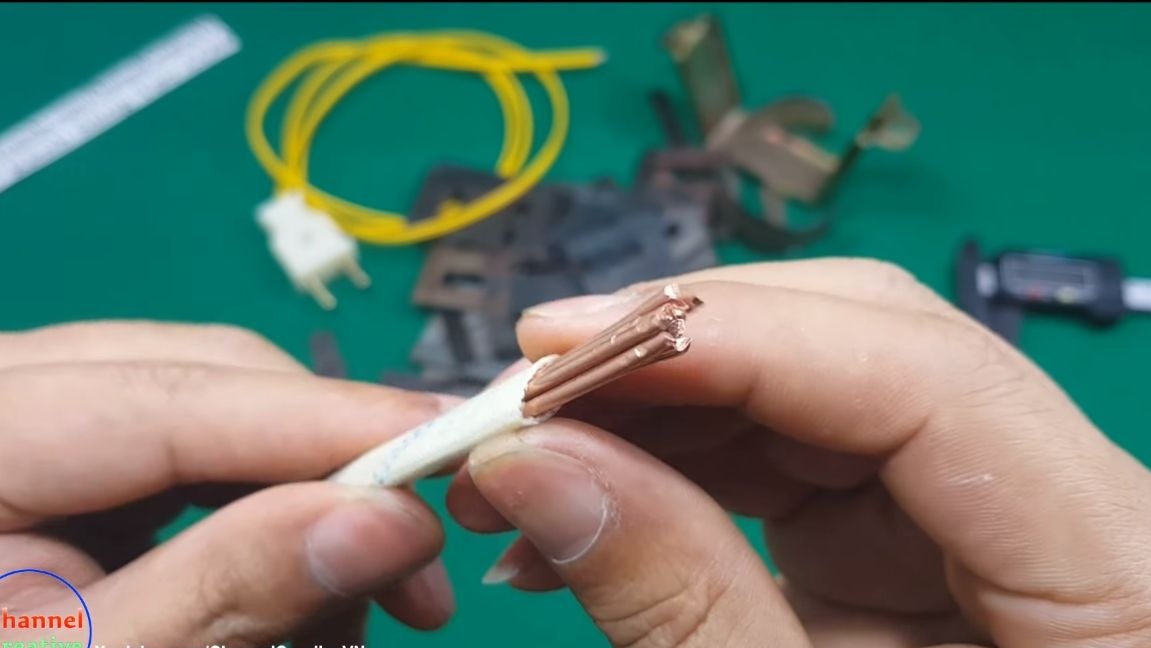
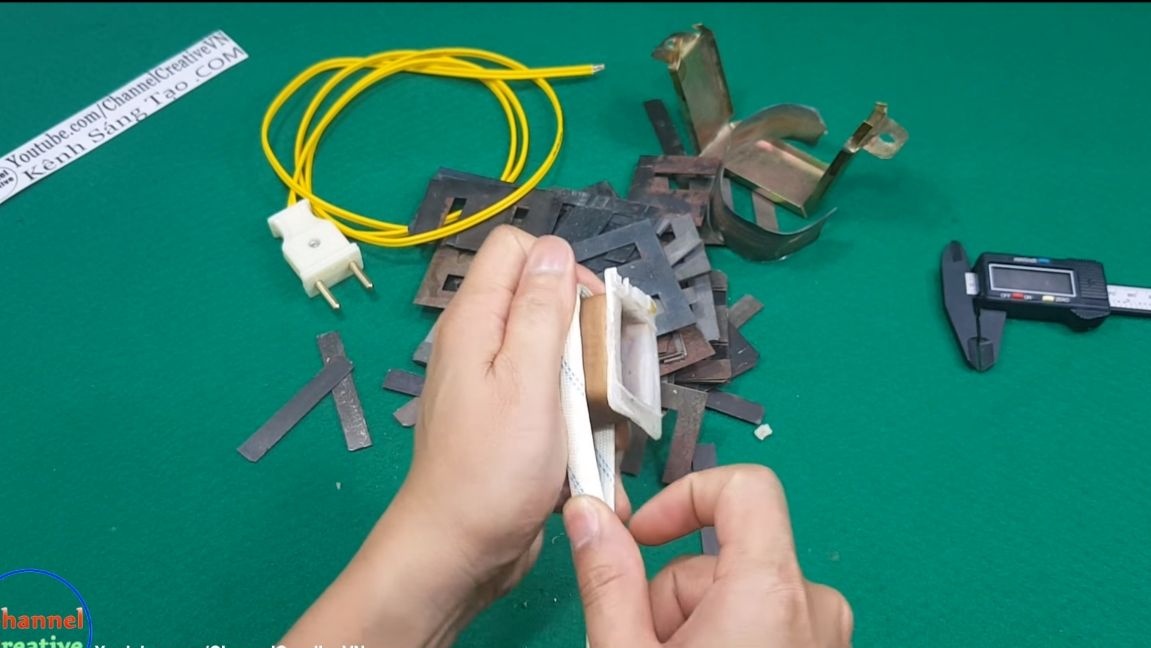
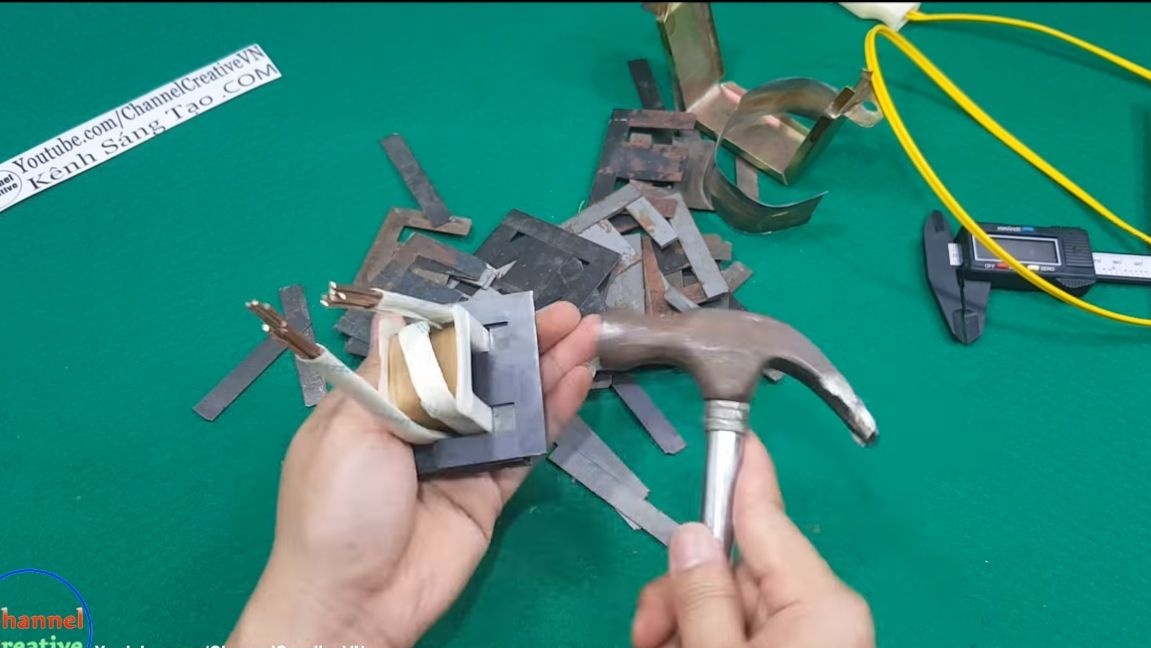
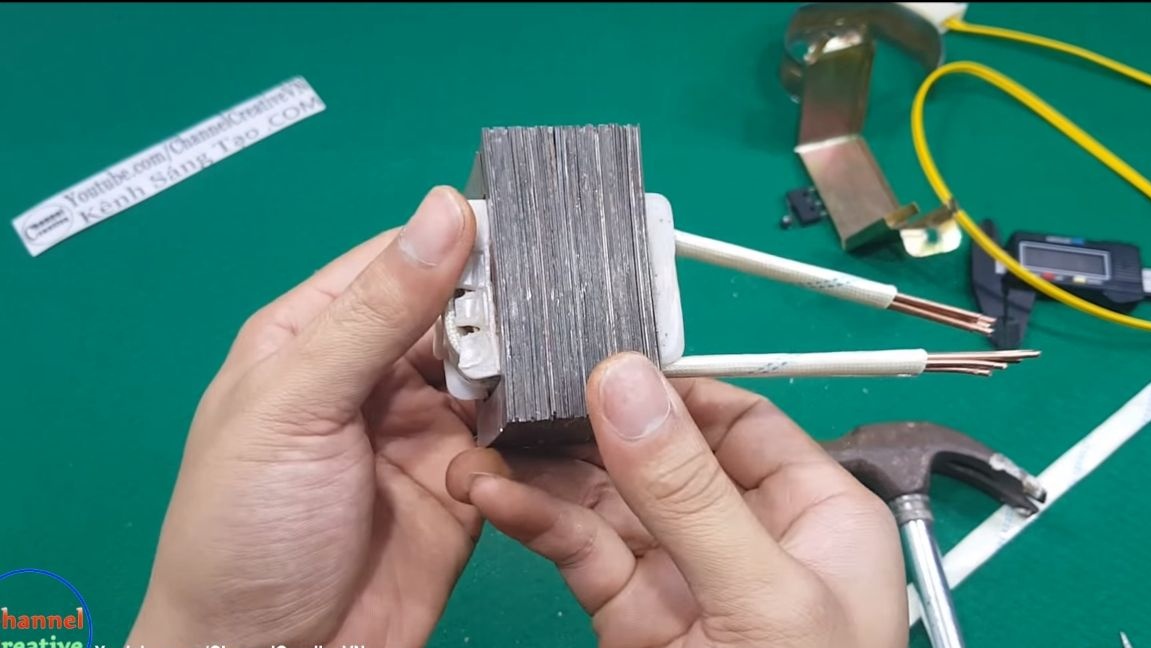
The tire can be installed! We install 8 pieces of wire inside the insulating tube, and then carefully make a loop around the primary winding, as in the photo. After that, you can assemble the transformer, install the plates in their place, use a hammer, preferably a rubber one.
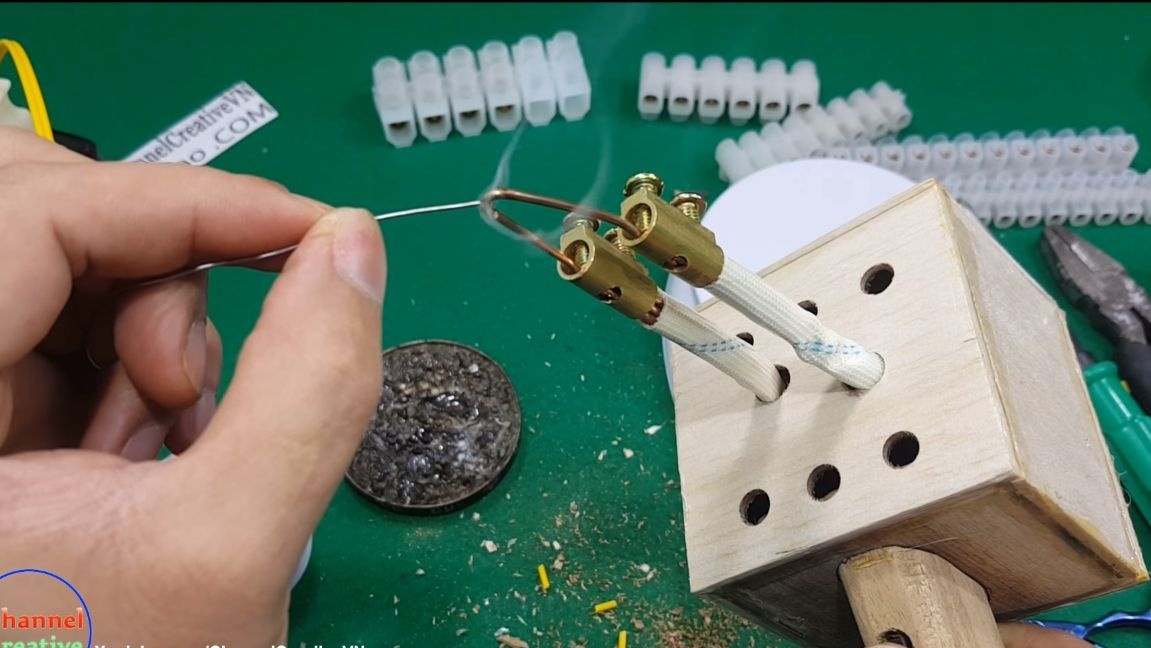
Step Three Sting Installation and Testing
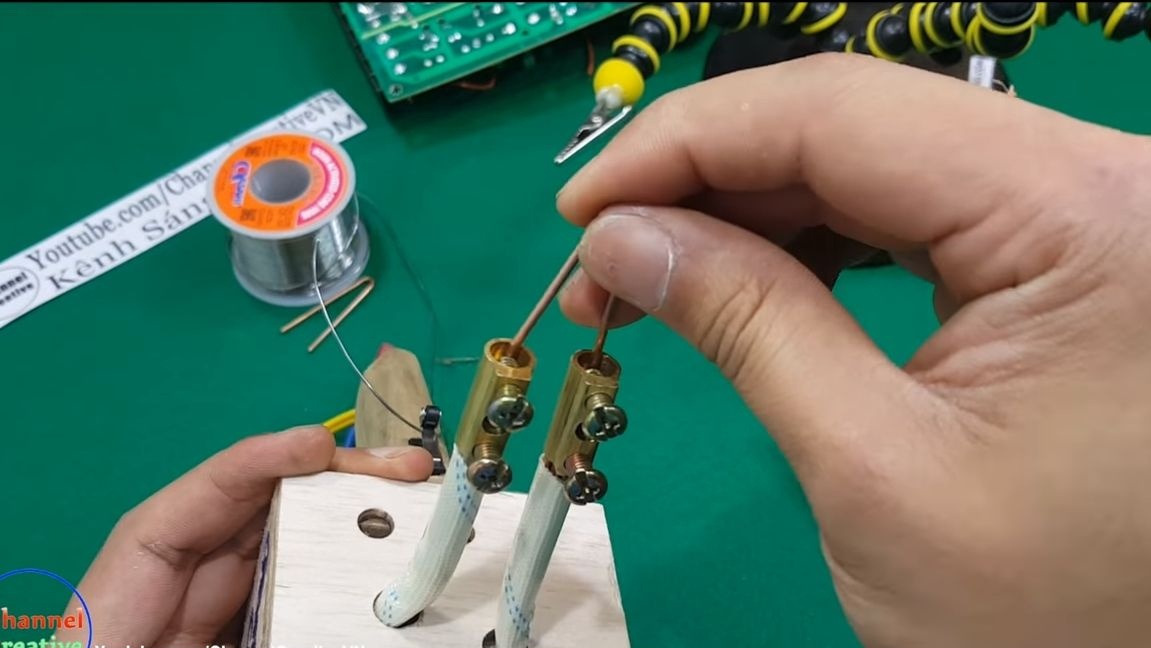
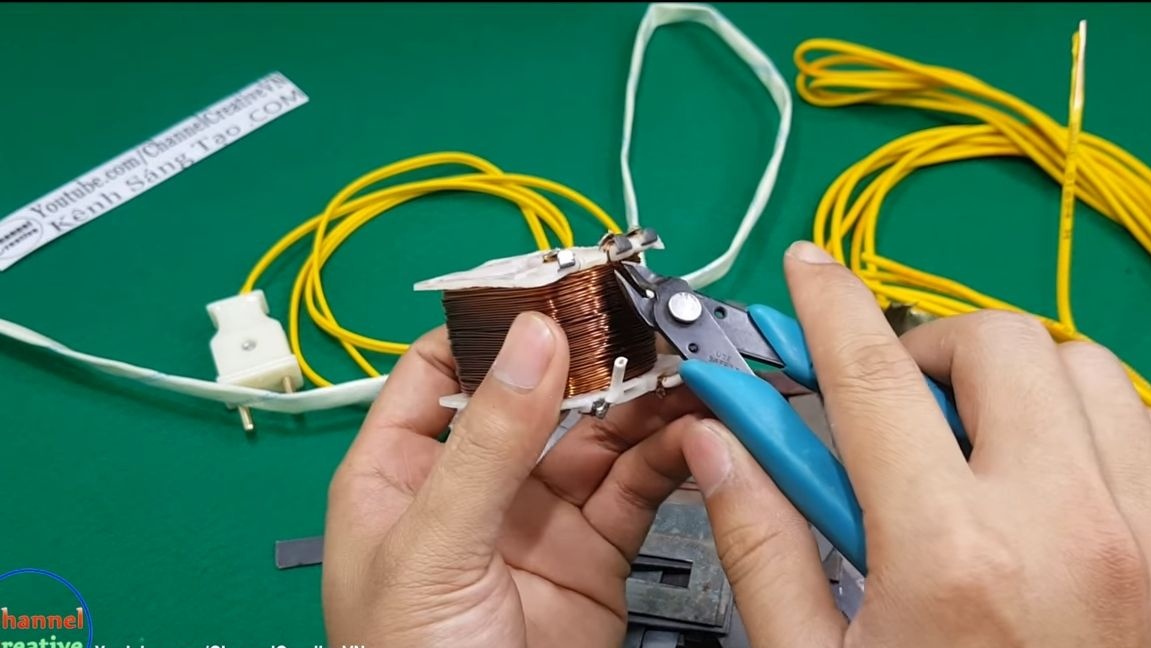
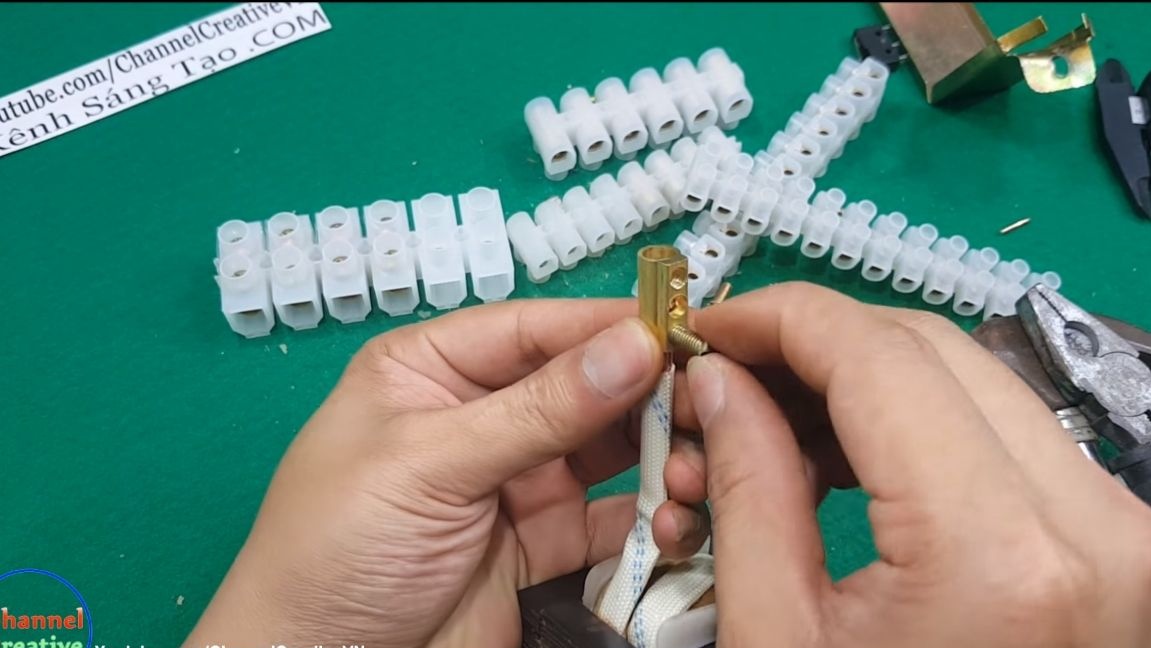
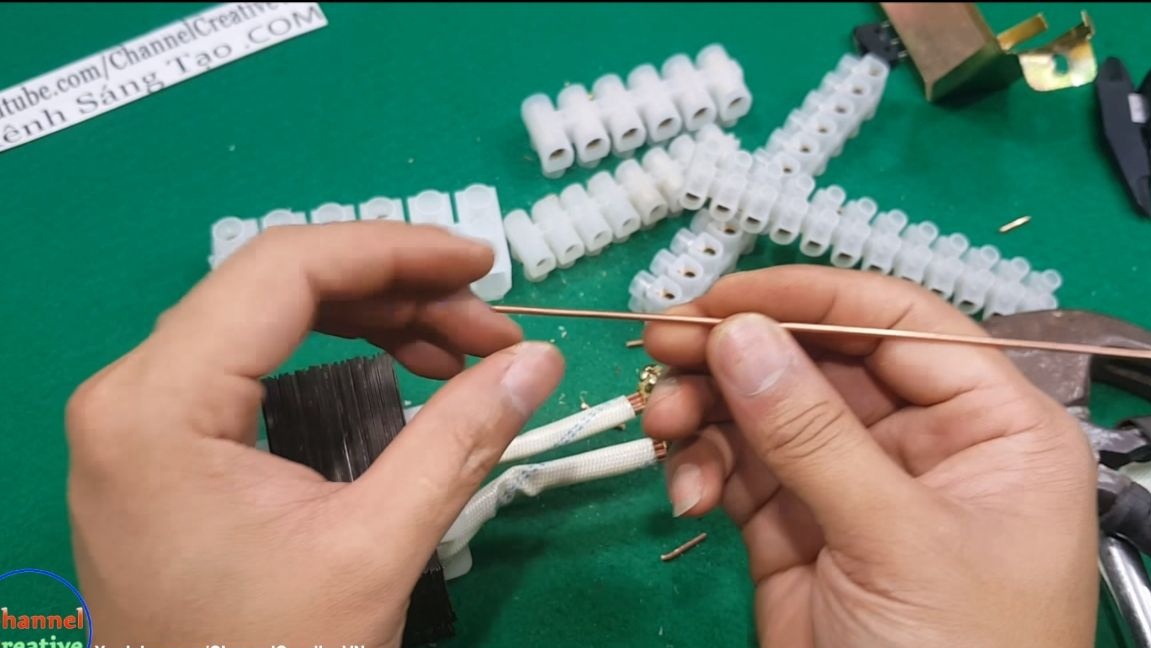
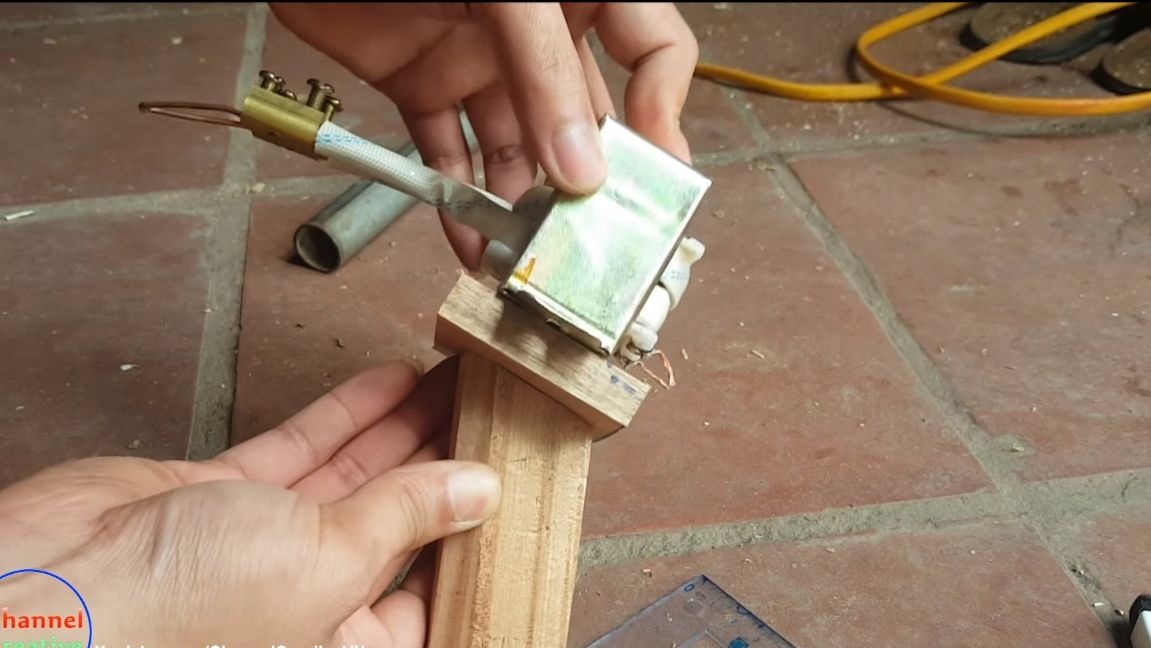
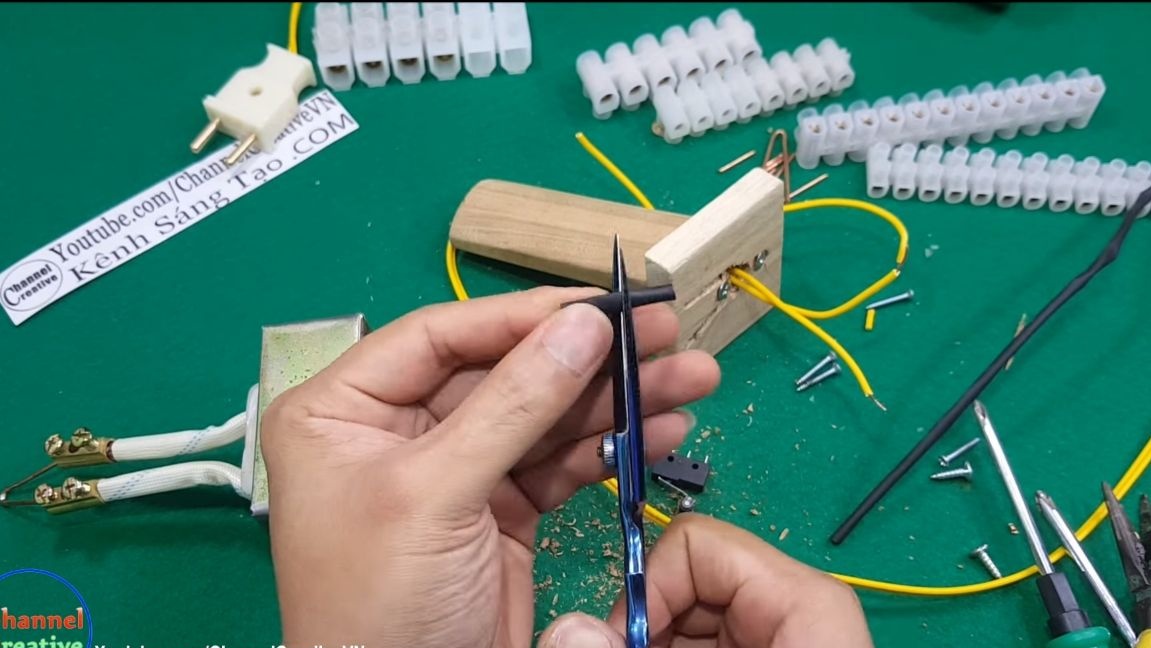
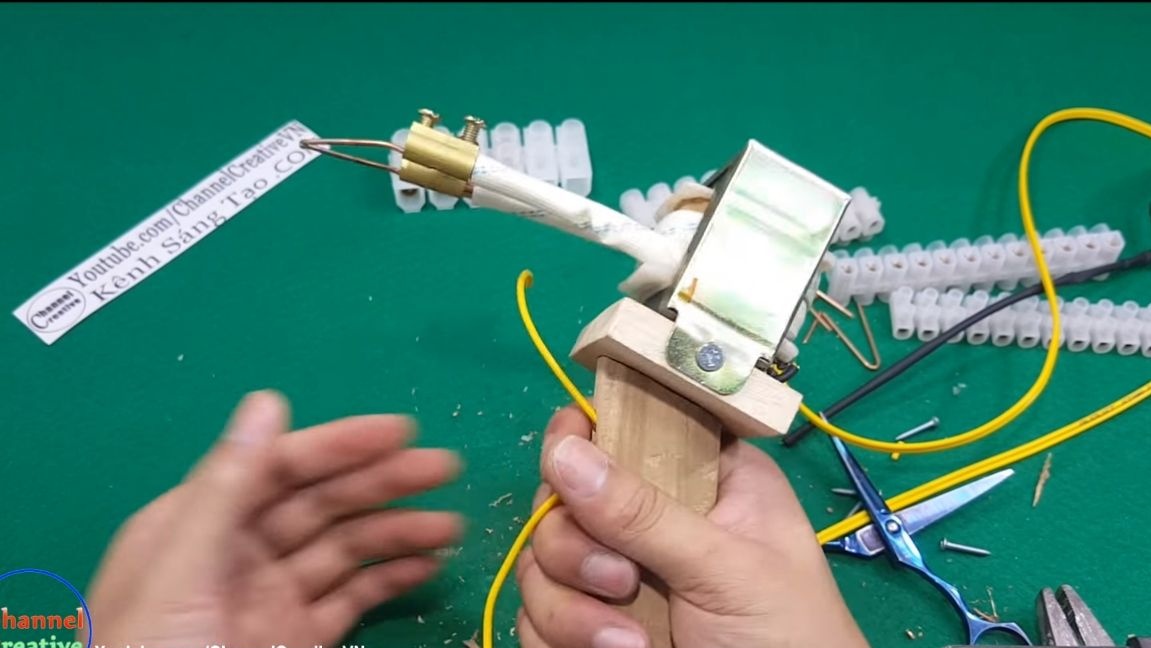
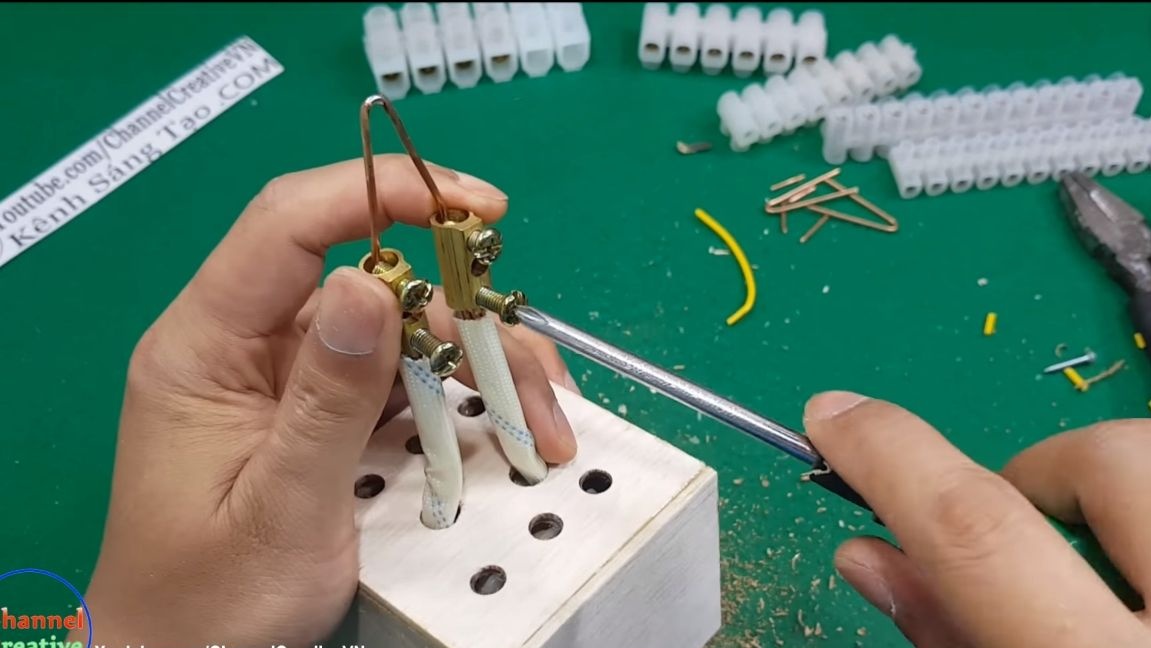
Cut the ends of the tire with wire cutters, they need to be aligned. Next, we install screw clamps on them, tighten the screws well so that there is good contact. We make a sting, for this you need a piece of copper wire 1.7 mm thick about 4 cm long, bend it in half in the form of the letter "V", and clamp it in the clamps.
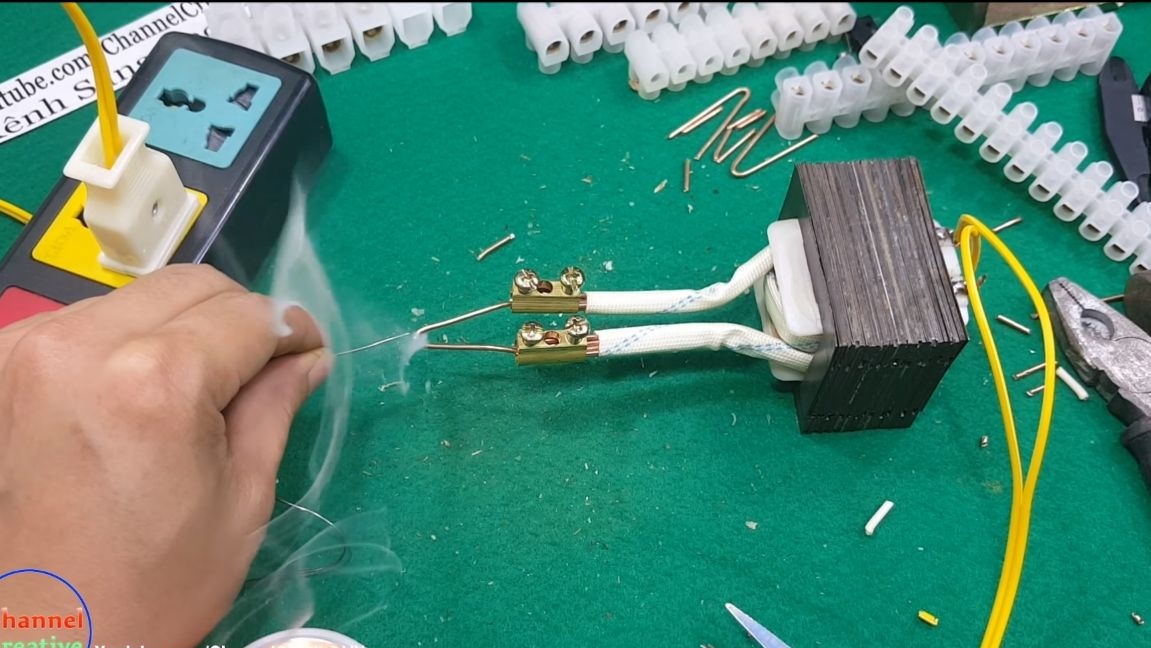
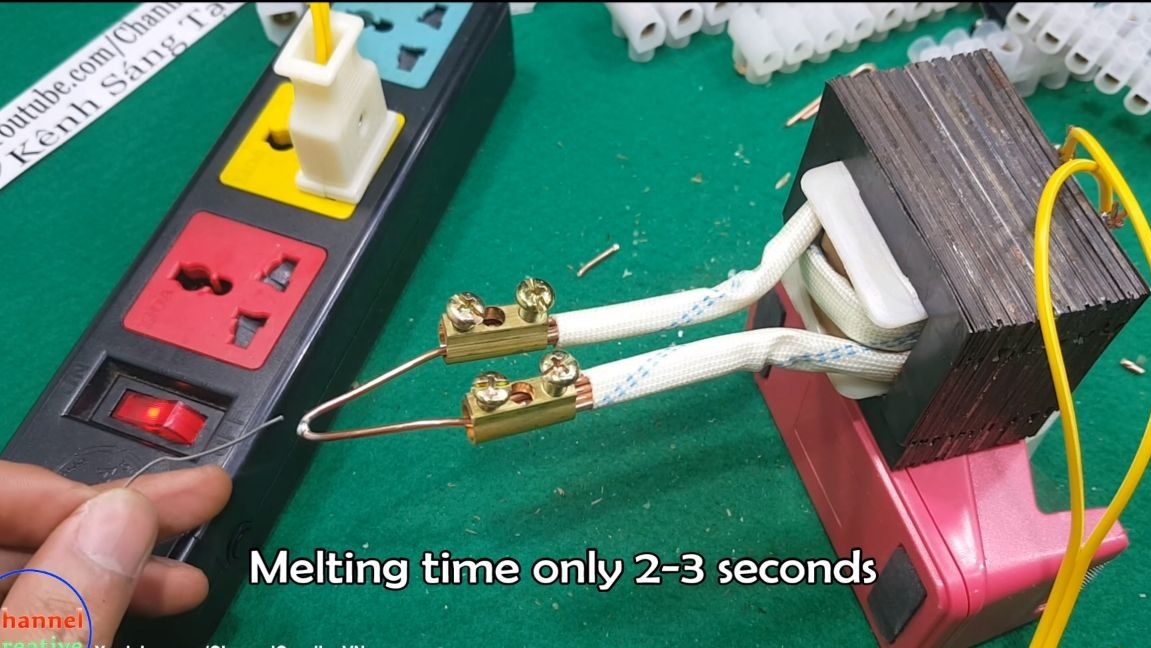
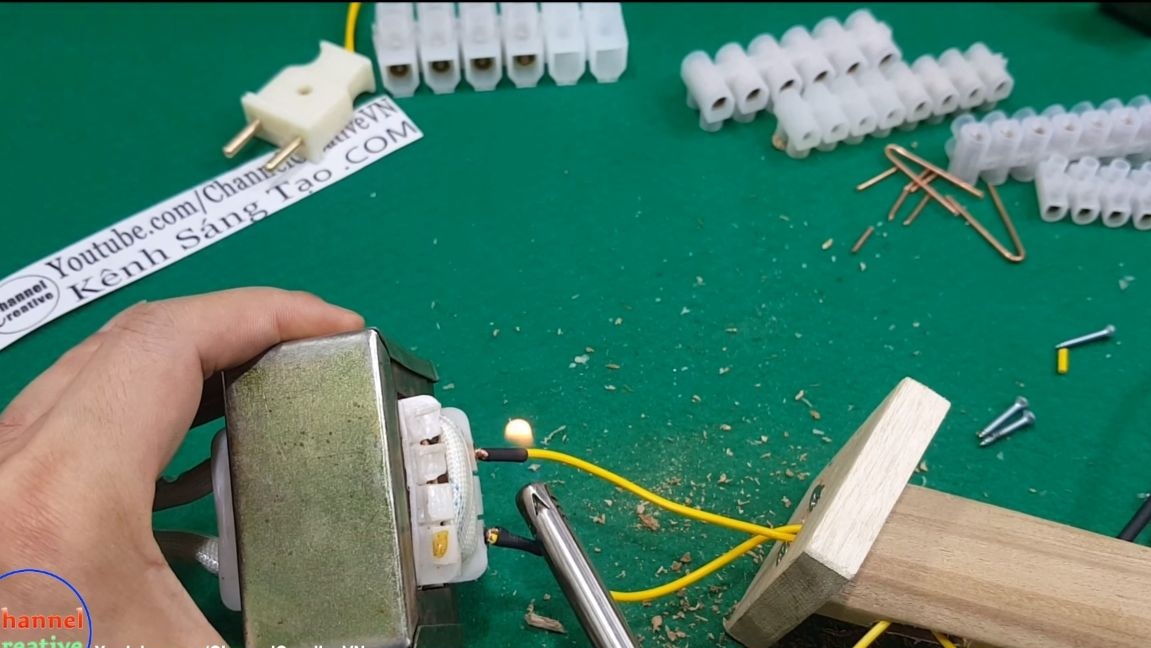
The soldering iron can be tested! We connect the cable with the plug to the transformer and plug it into the network. After 2-3 seconds, you can work with a soldering iron! It works flawlessly, melts tin in an instant. Due to the fact that the sting is copper, solder perfectly adheres to it.
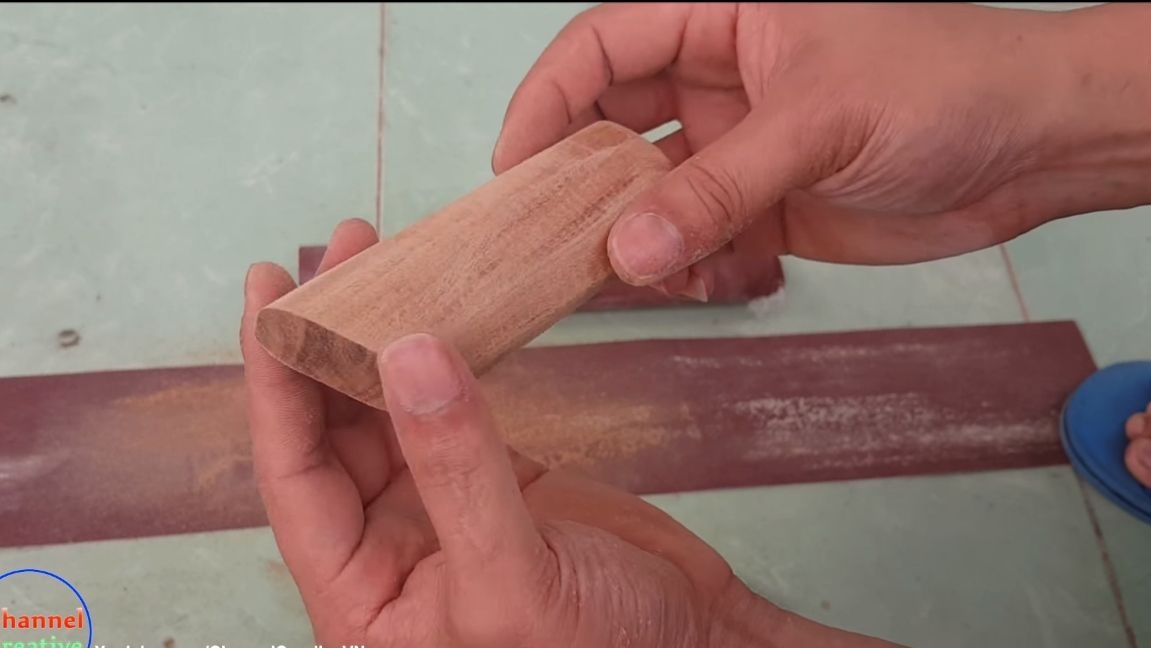
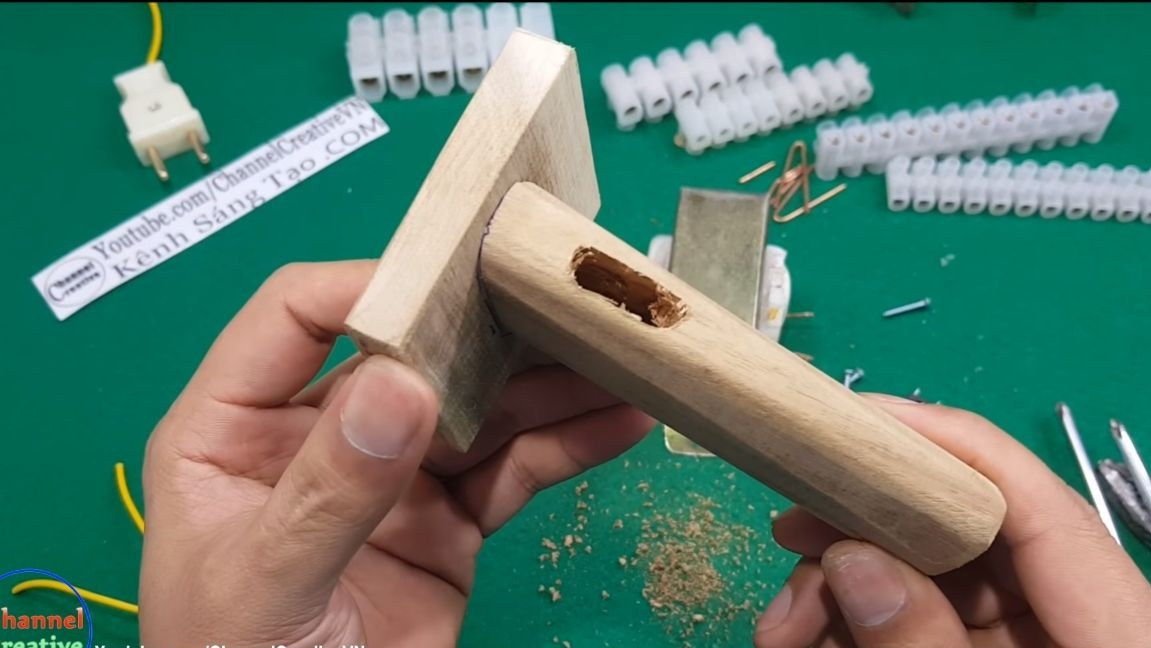
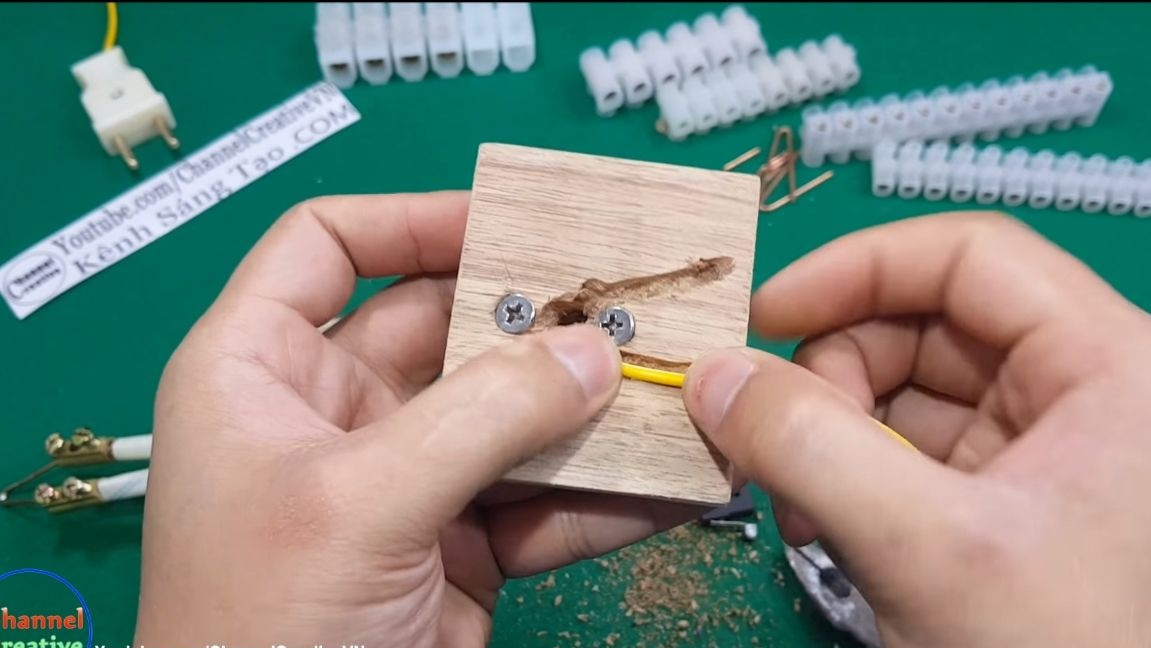
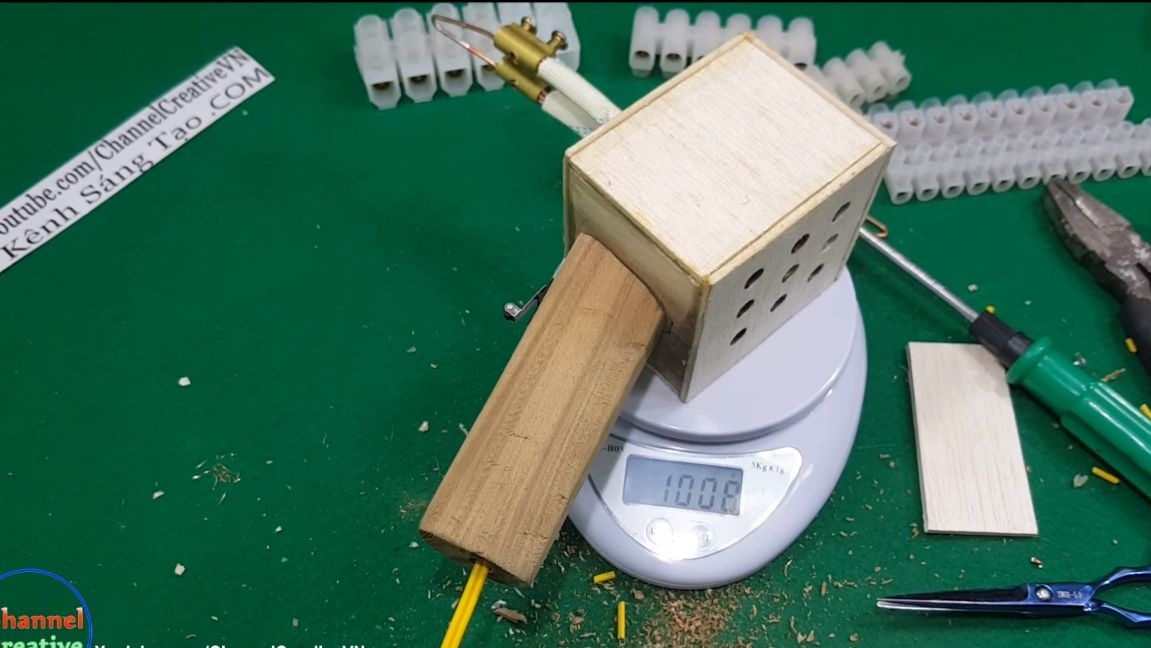
Step Four Make a pen
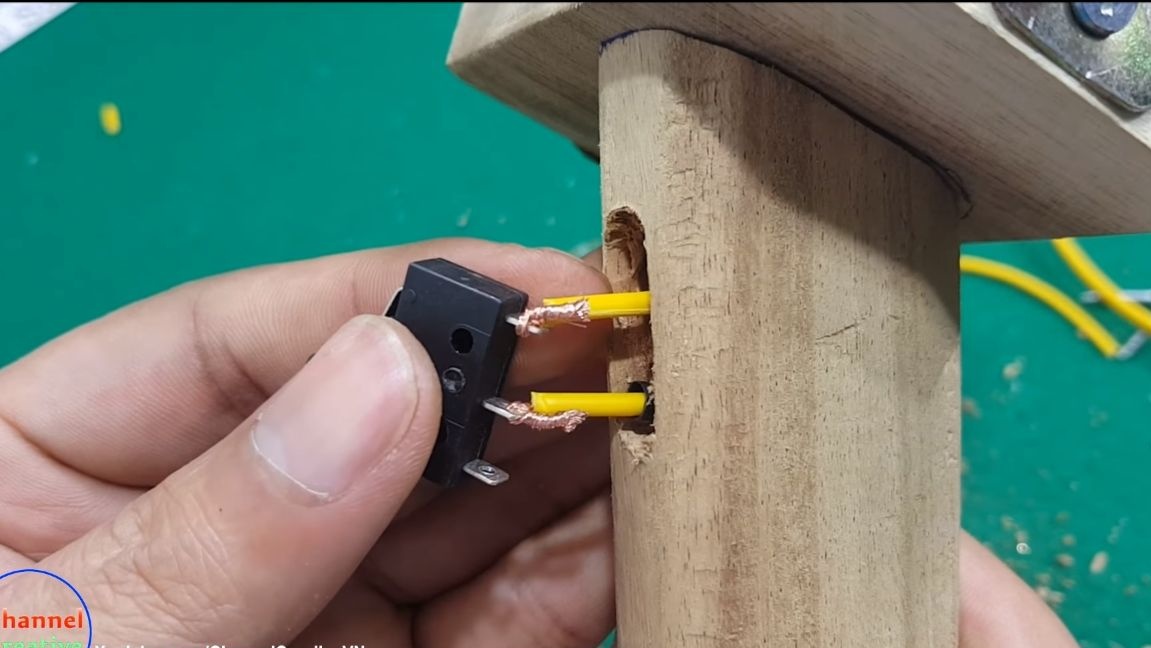
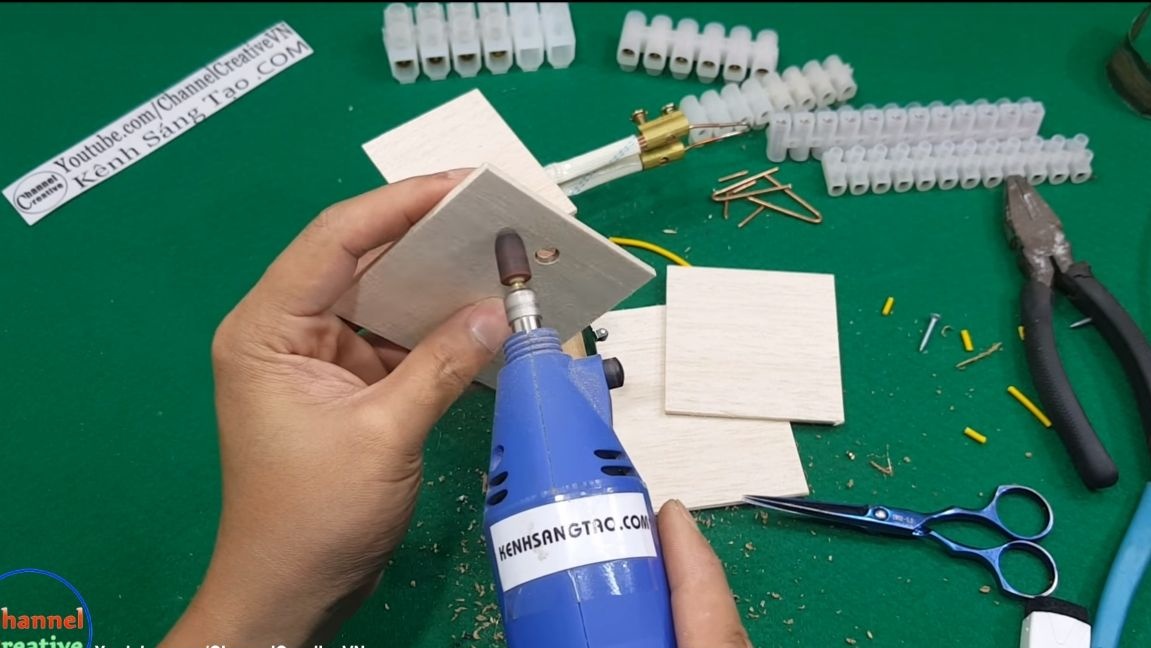
To make a pen you will need a block, as well as a piece of plywood or a board. Using a rasp and sandpaper we form the desired shape of the handle. Next, you need a drill, drill a hole along the entire handle, a cable will pass through it. You also need to cut a window under the switch, this can be done using the same drill.
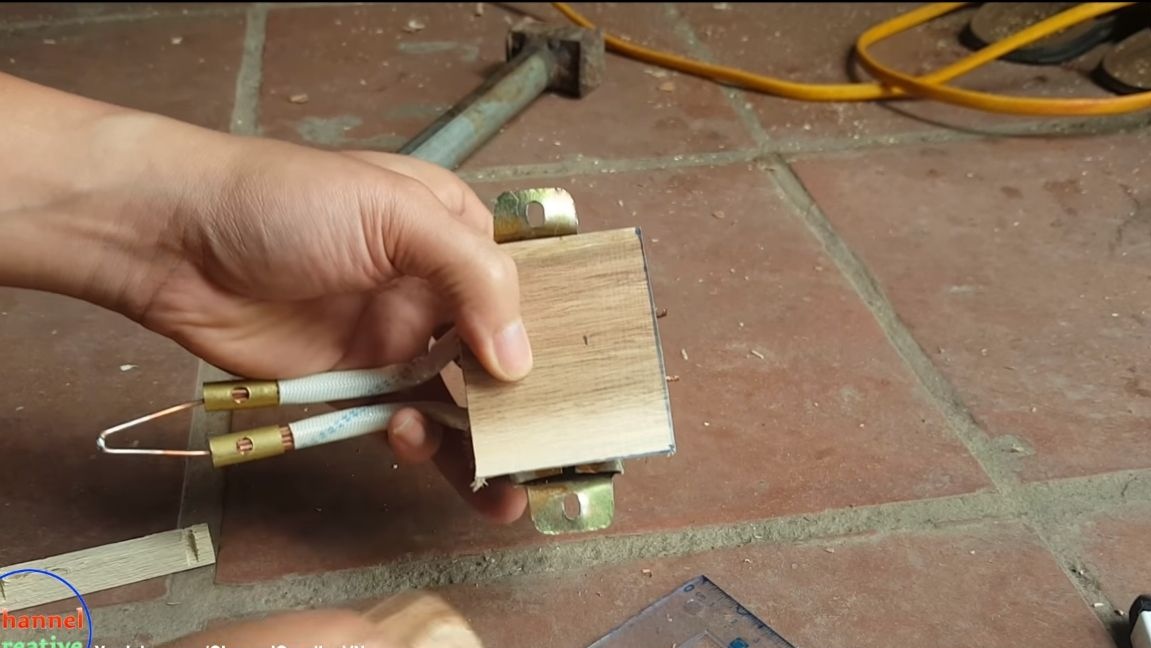


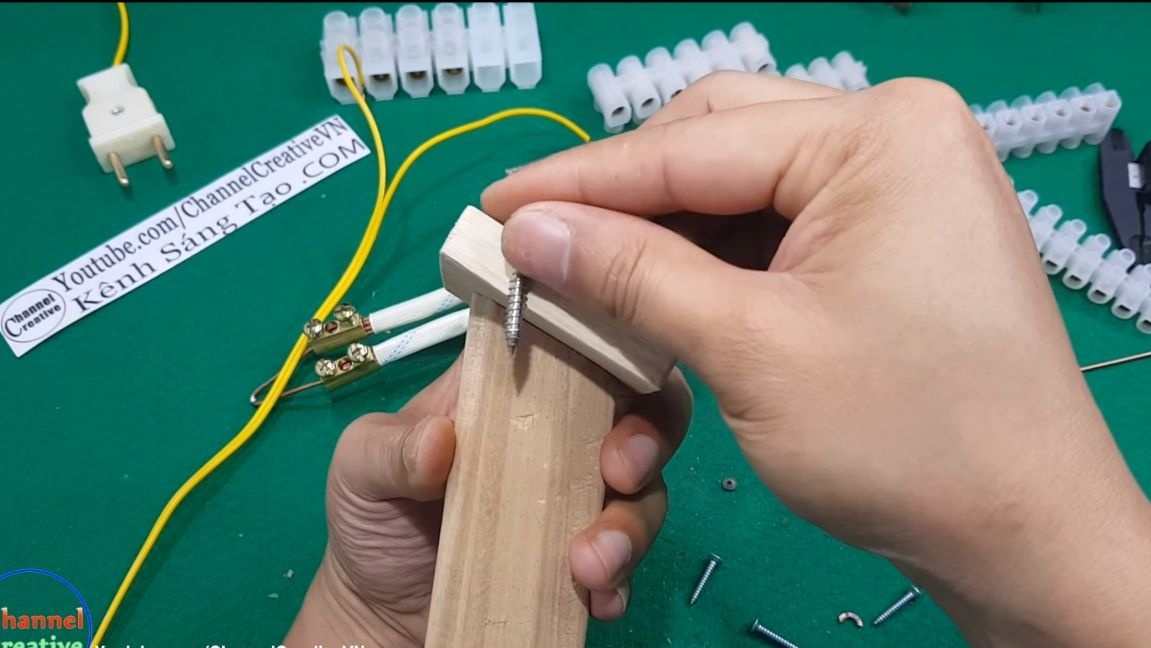
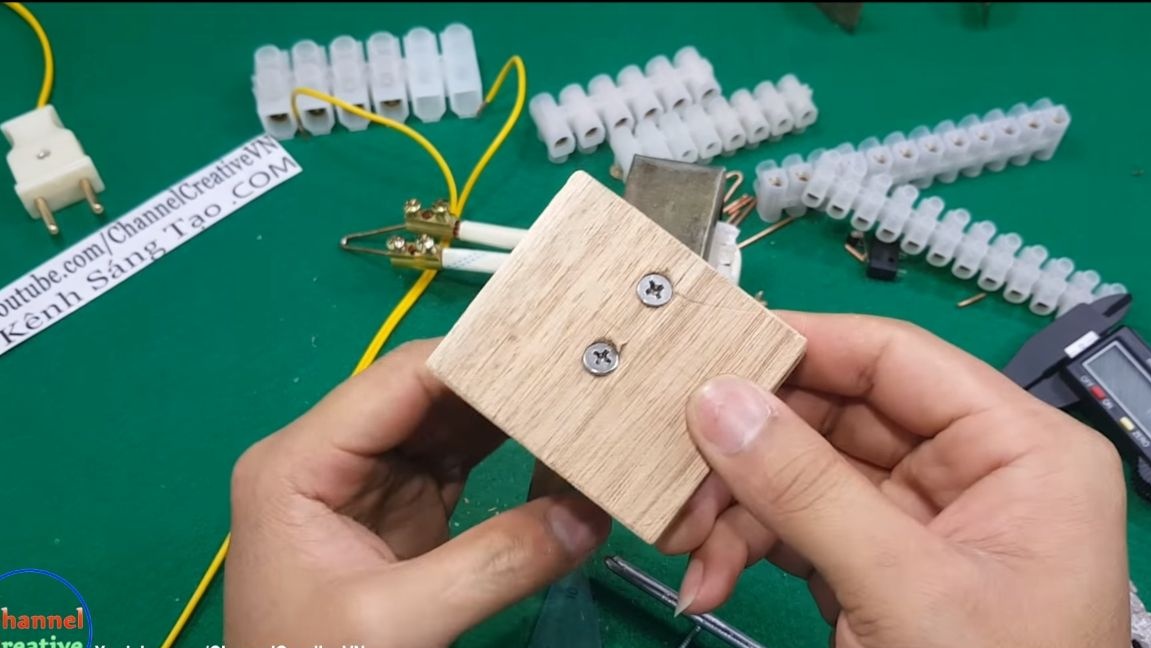
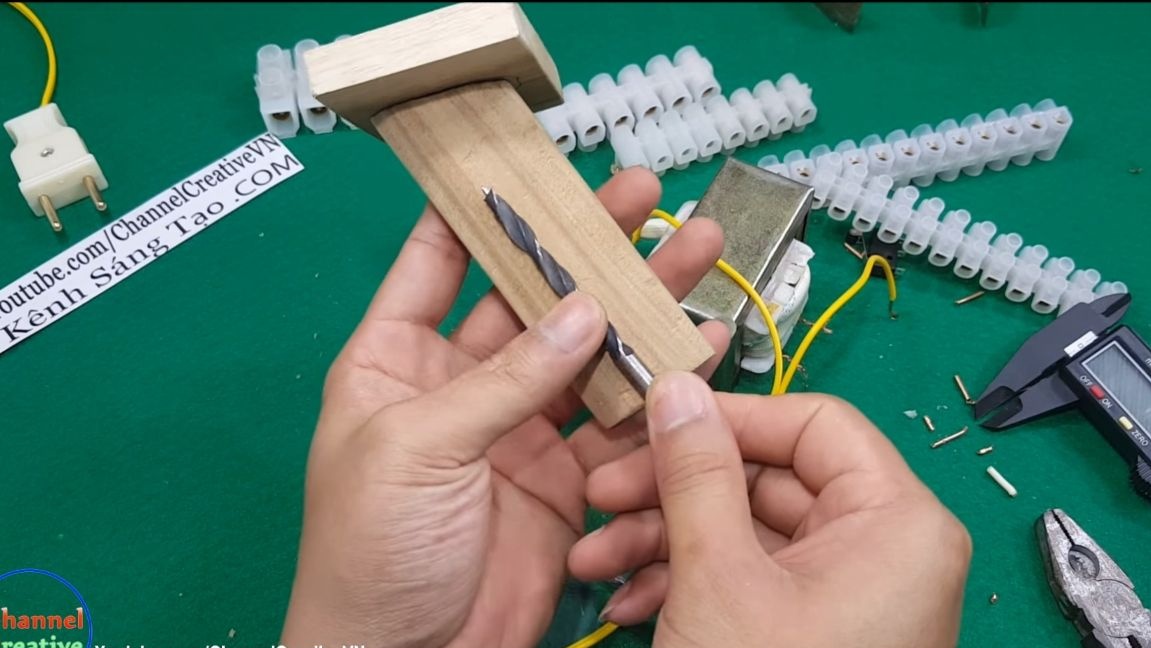
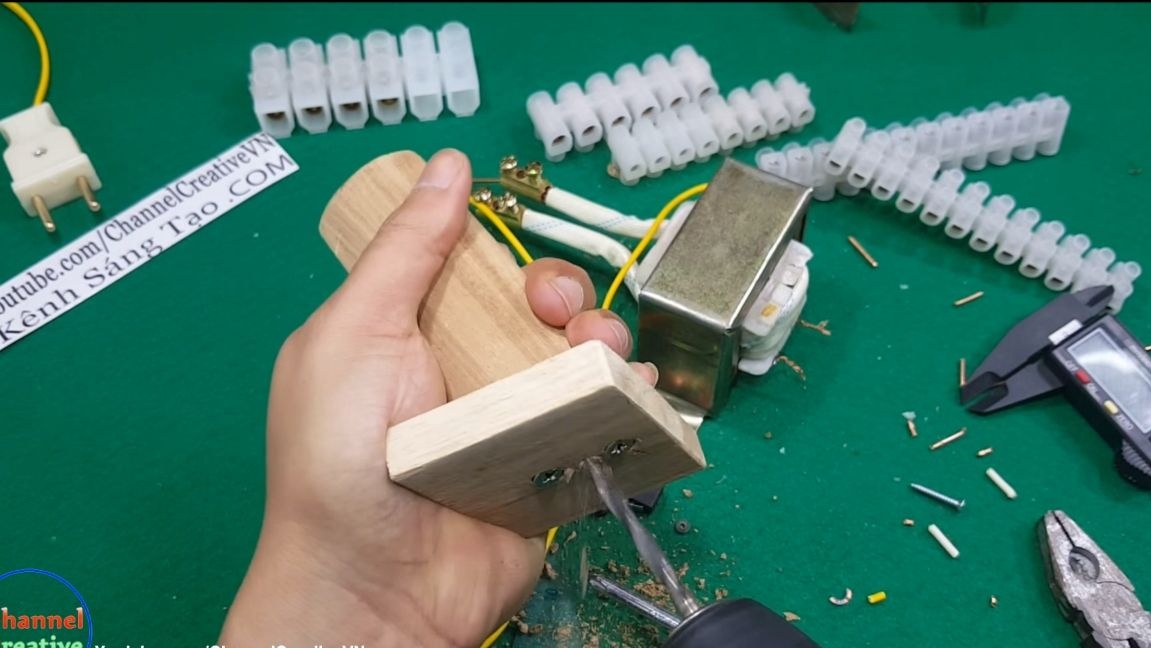
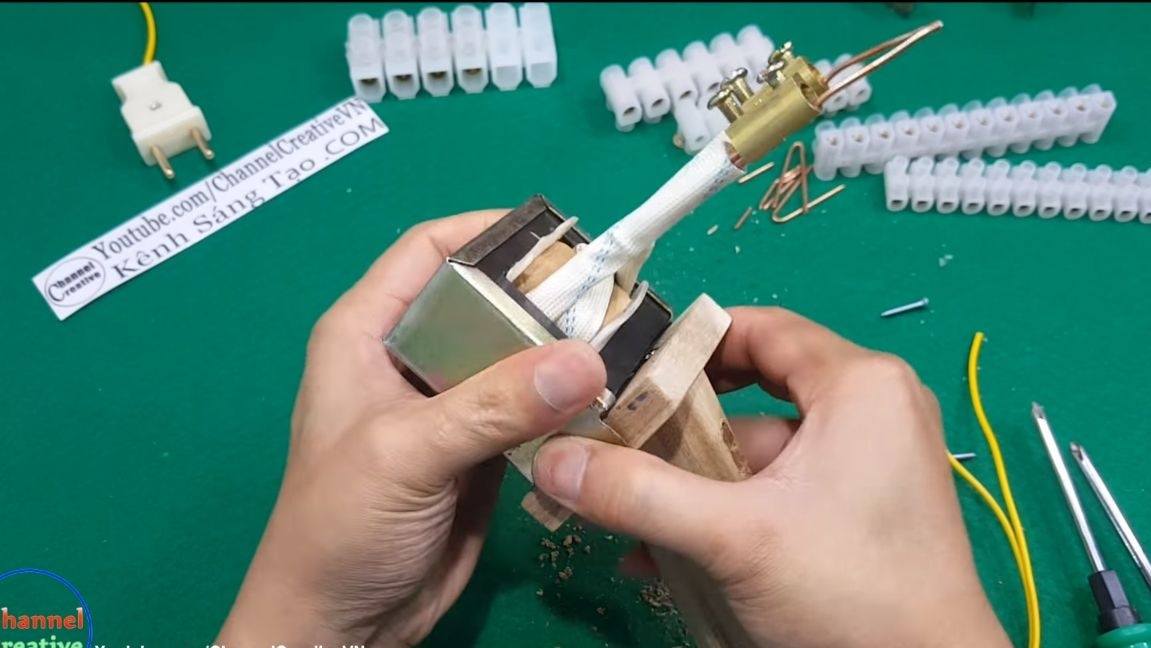
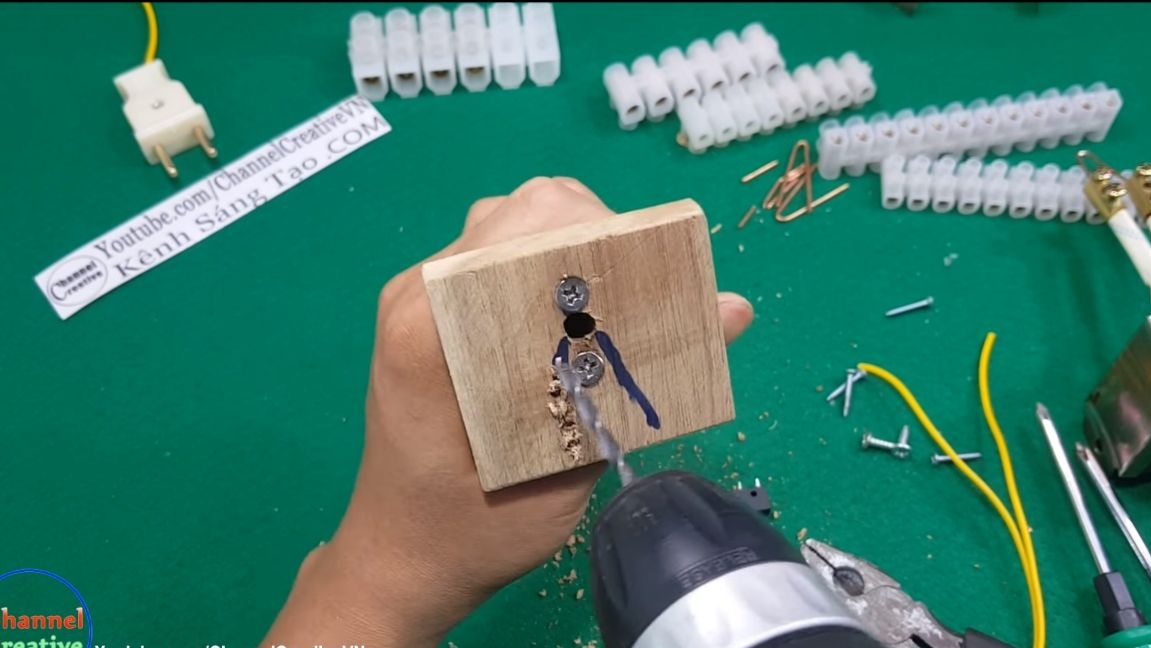
We fasten the platform for fastening the transformer to the upper part using self-tapping screws. On the site you need to groove the grooves for the wires so that they can pass under the transformer. Just drill a series of holes with a drill, and then combine them into grooves.
Step Five Soldering Iron Assembly
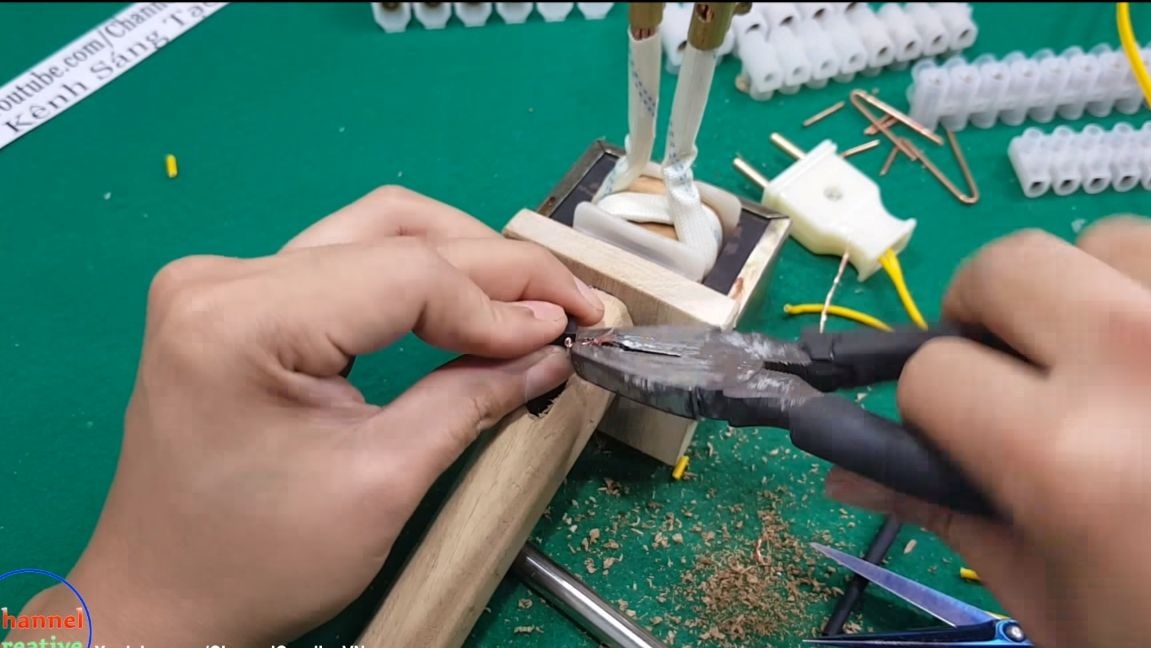
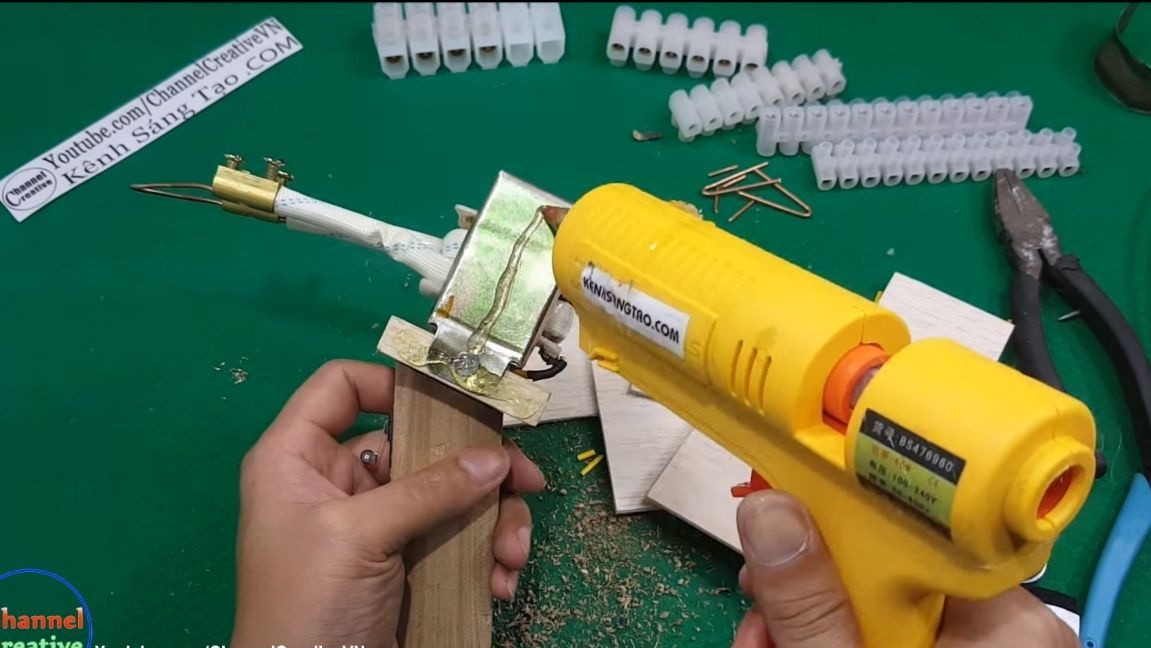
Let's start by installing a transformer, first pass the wires through the handle, the author basically does not use a soldering iron to assemble a soldering iron, since it would somehow look wrong. He screwed the wires to the transformer contacts and then insulated with heat shrink. But for fidelity, it is better to solder all such nodes.
We lay the wires along the grooves and fasten the transformer using self-tapping screws.
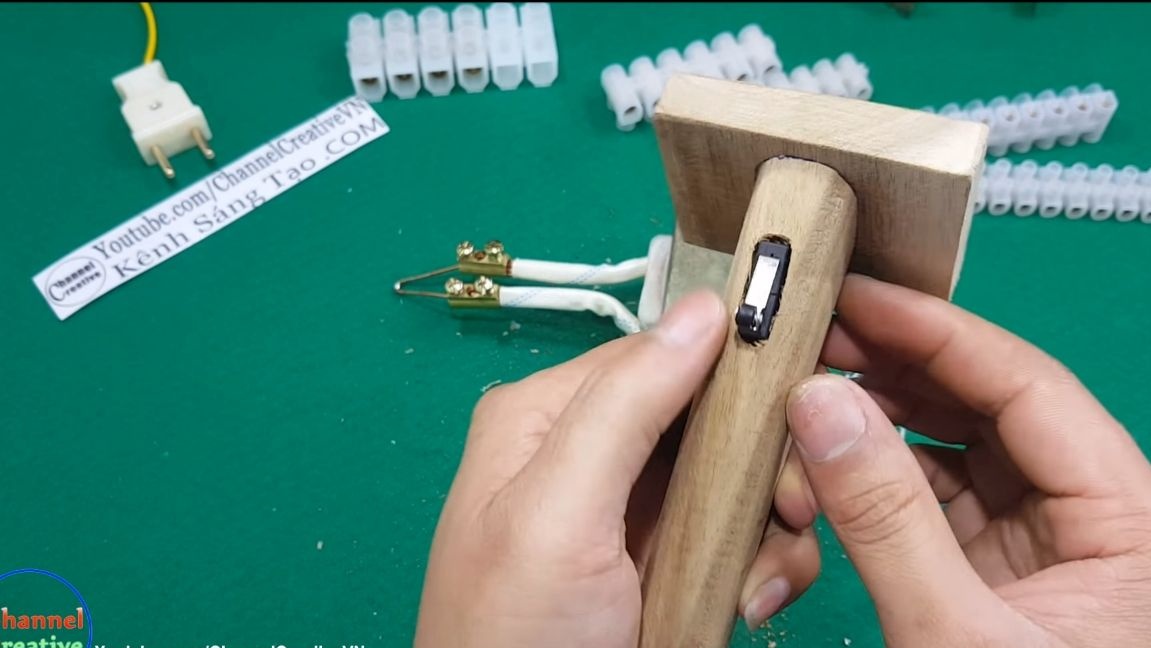
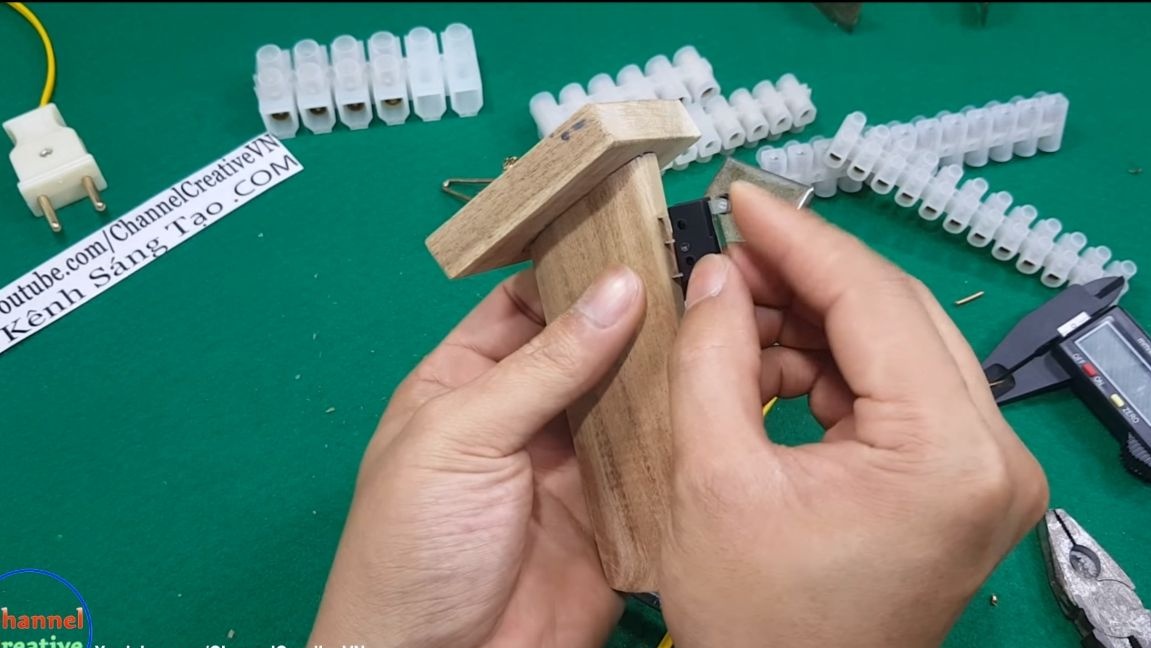
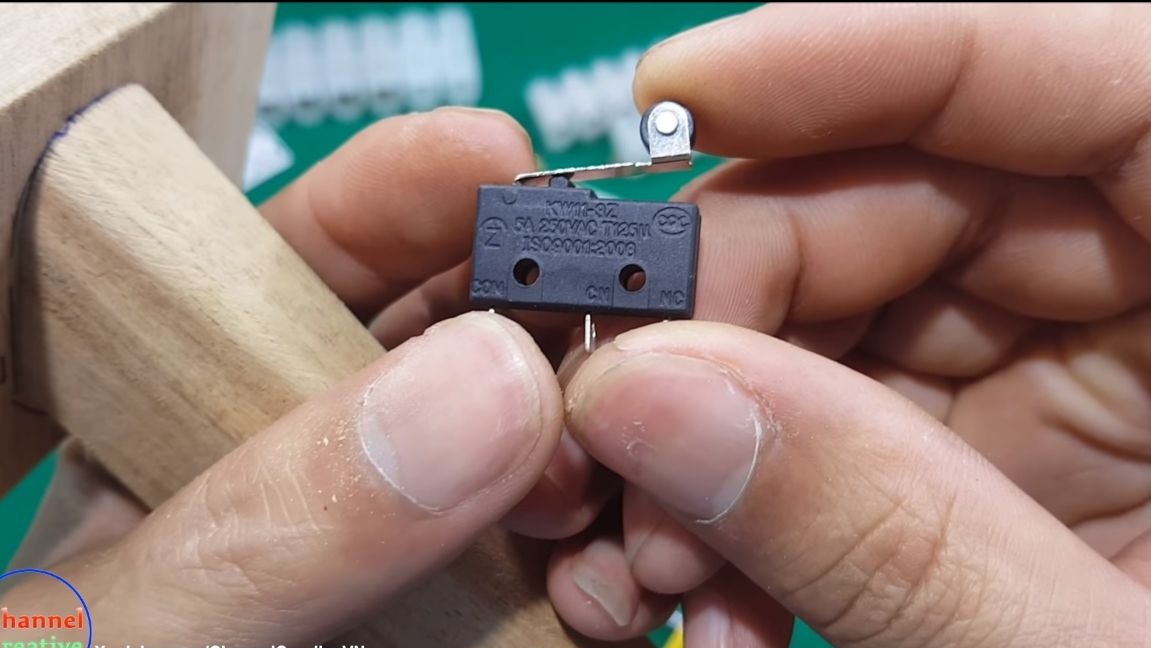
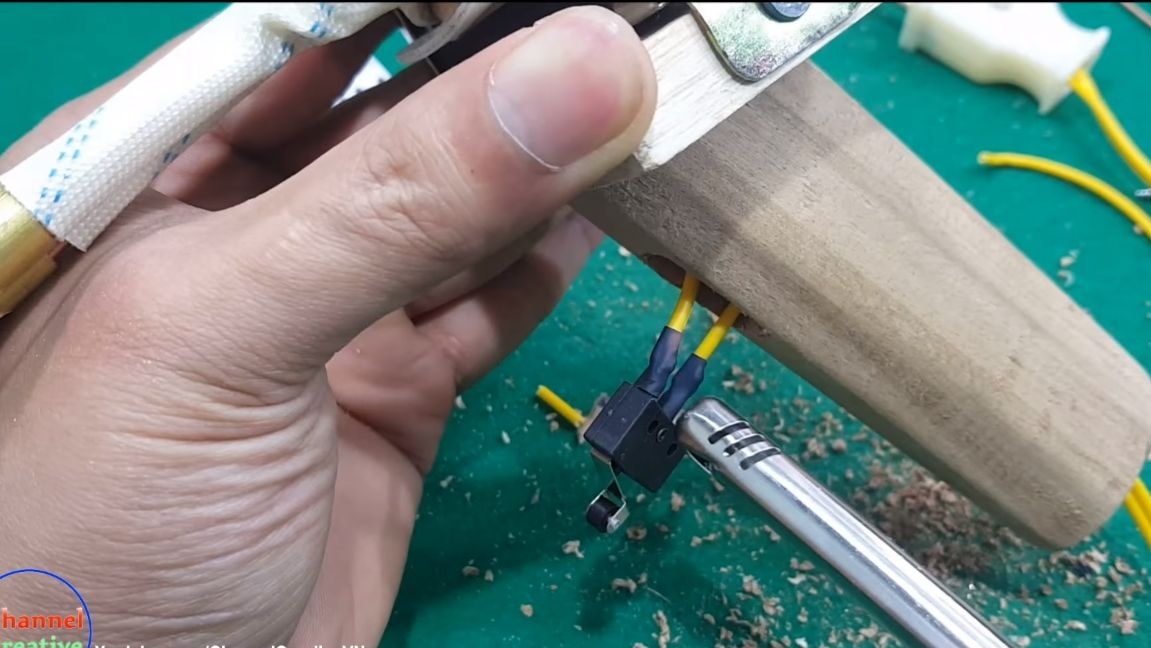
You can install the switch, here the author also does not use a soldering iron, we fasten the wires by twisting. Do not forget to insulate with heat shrink.
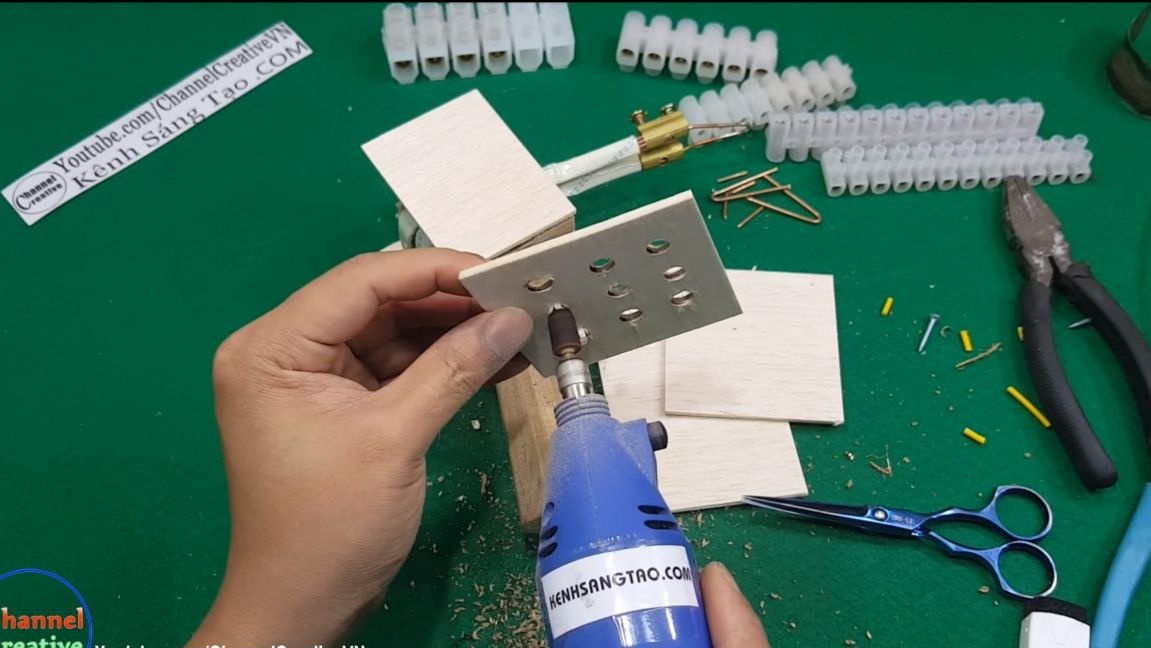
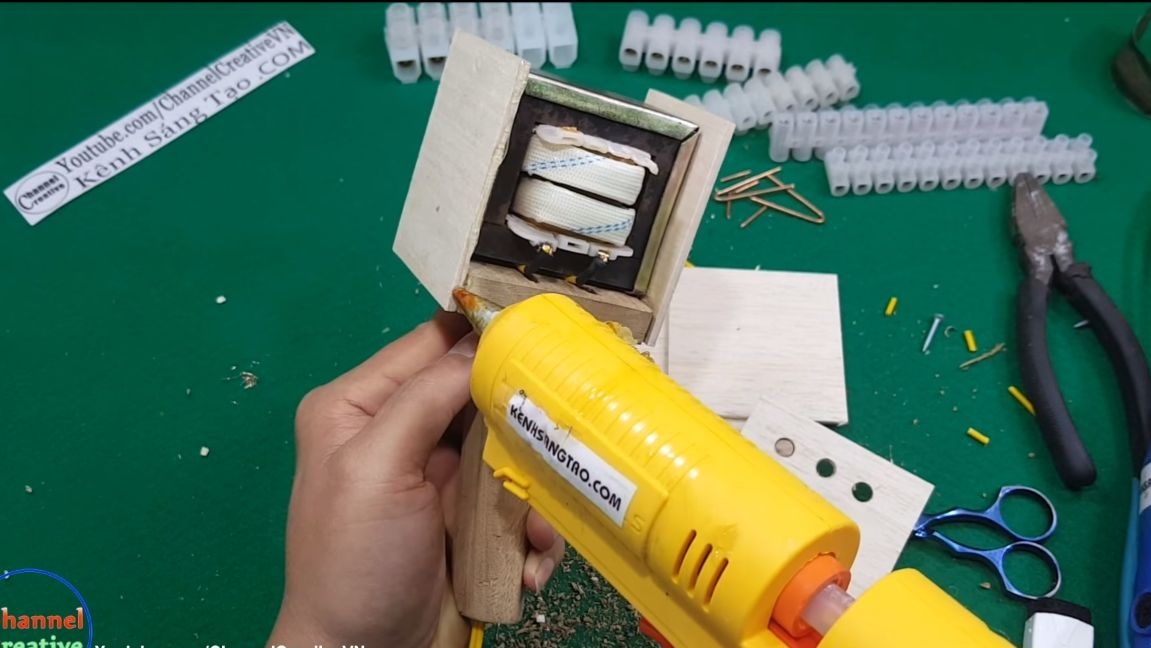
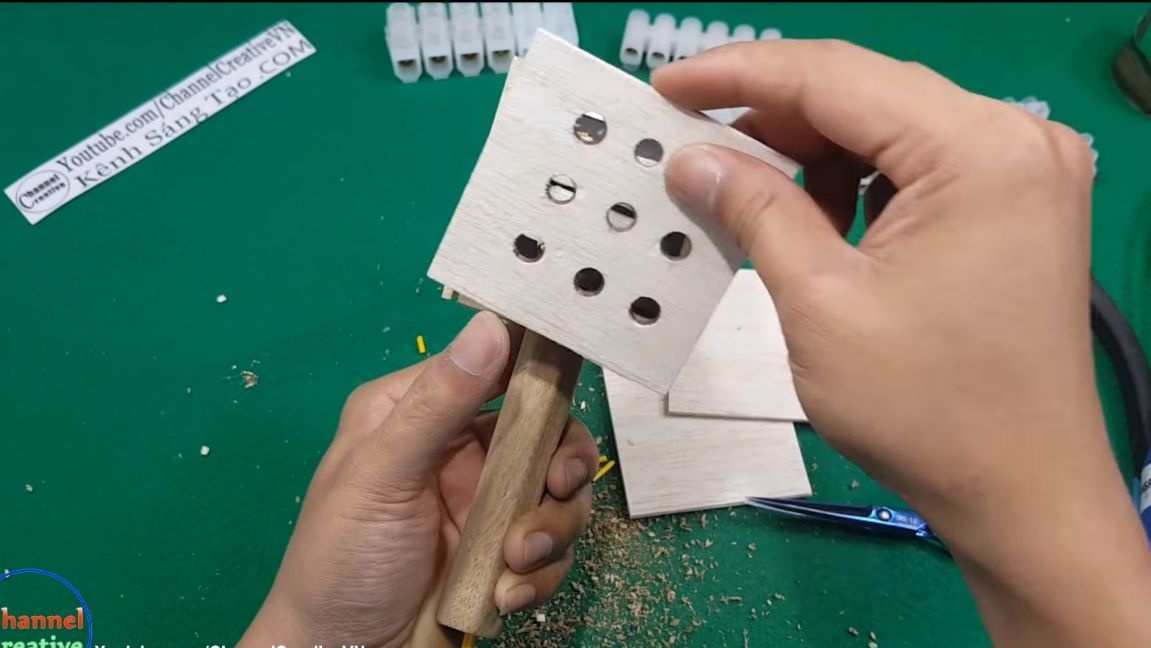
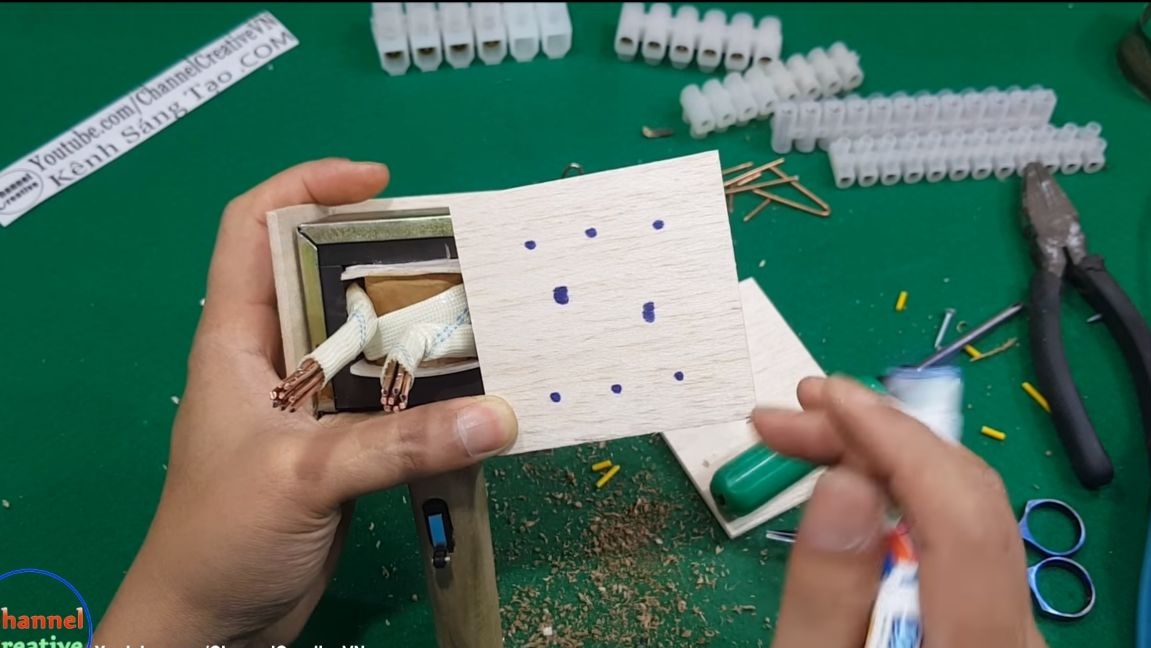
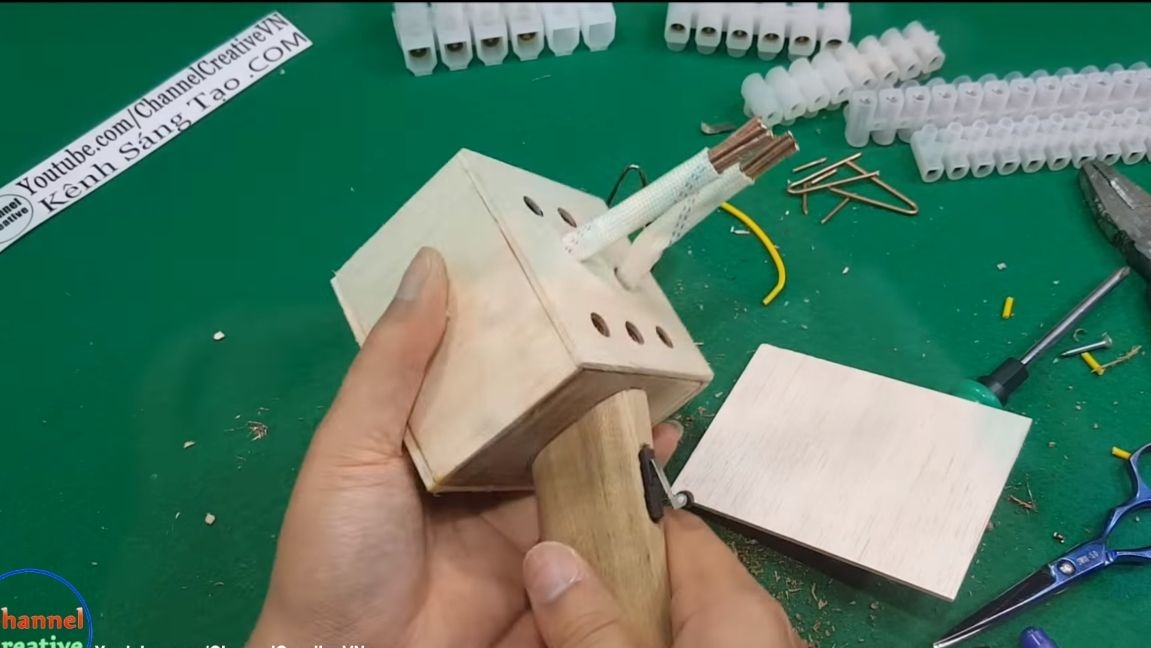
Now it remains to assemble the case, here you will need thick plywood. We cut the necessary blanks and glue them to the transformer using hot glue. We drill holes in the back wall, they are needed for ventilation, their presence is mandatory. The author drills holes with a dremel.
As for the front wall, it should also have ventilation holes, in addition to this, drill holes for the bus terminals. Well, at the end we glue the top cover as well.
Step Six Testing!
The miracle soldering iron is ready, you can test it! We install the sting and press the button, after 2-3 seconds the soldering iron is ready. After releasing the button, the tip also cools quite quickly. If desired, to get a higher temperature, you can install a stinger from a thinner wire.
You can also try to make a sting of steel, then it will heat up much more. Such a soldering iron can be completely used as a burner, they can cut plastic, polystyrene and much more. The tips are made very simple, for each material you can use your own tip. Good luck