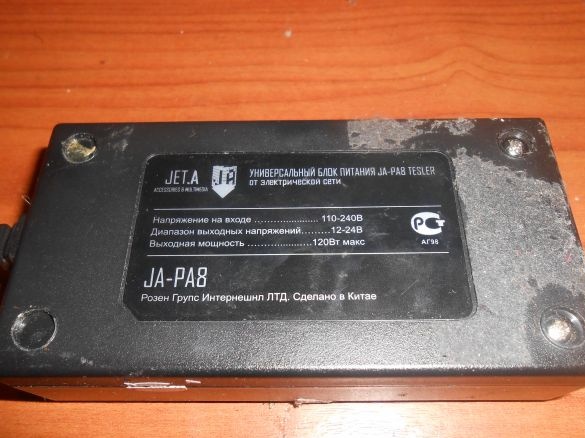
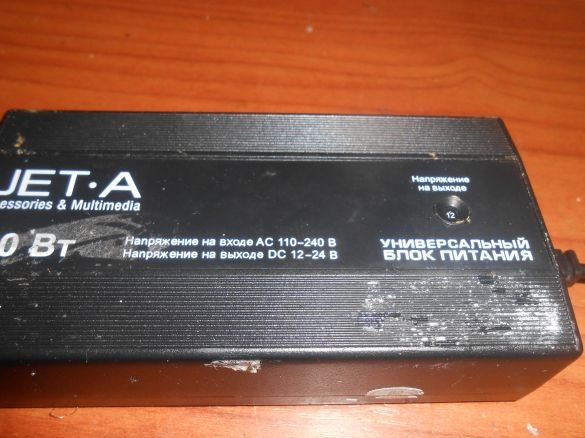
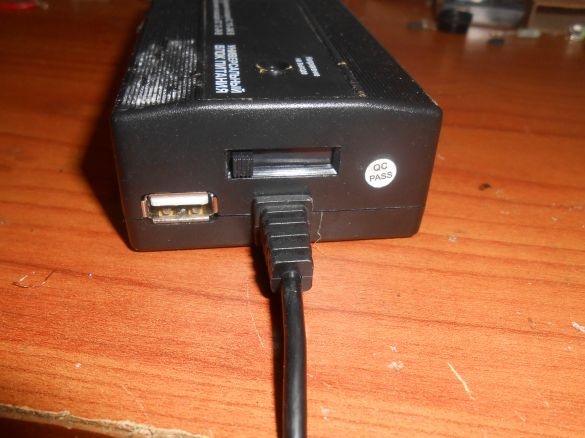
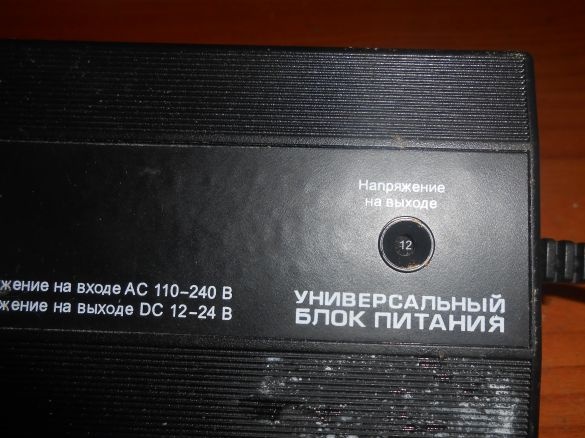
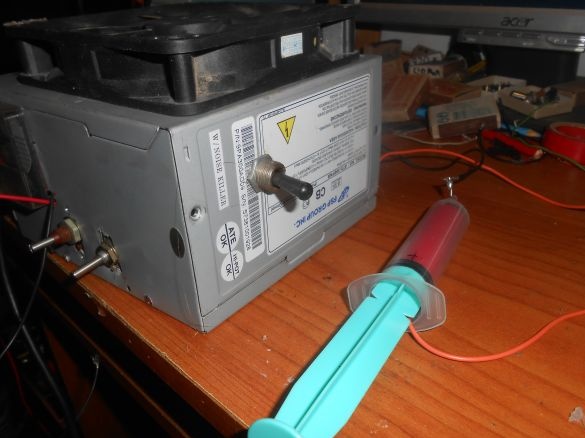
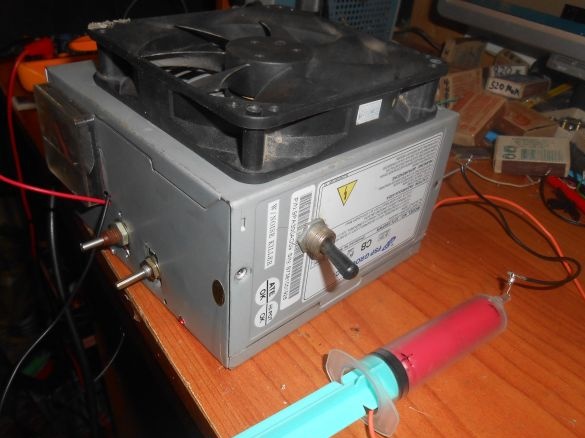
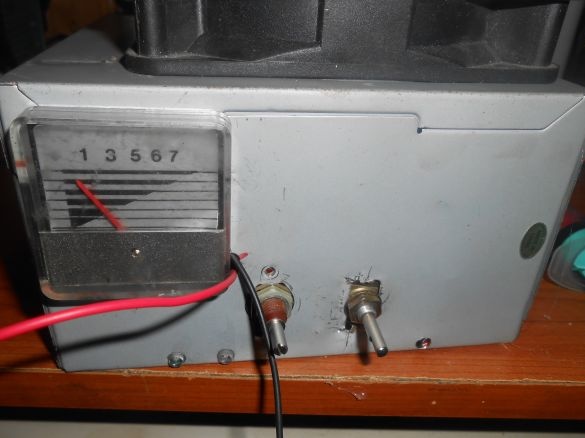
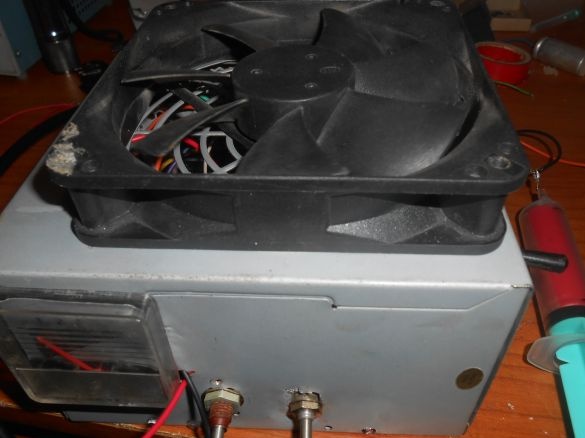
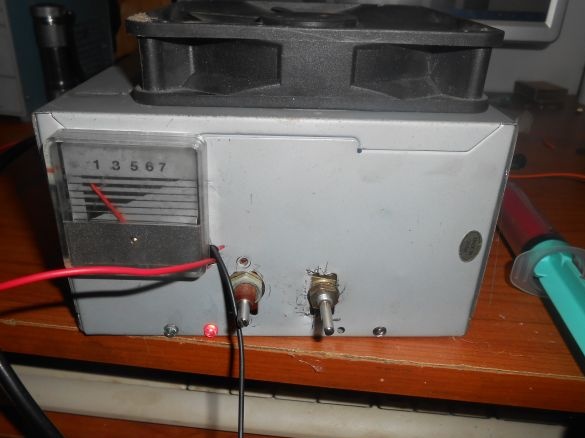
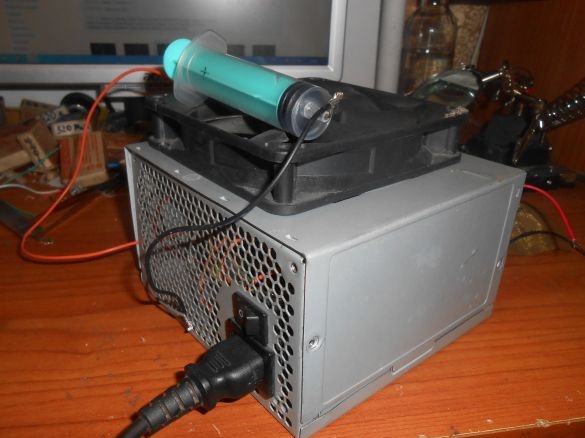
A charger for acid batteries has been covered, buying a new waybill comes out. I decided to make from what is, but there is a 120 W universal power supply with voltage setting.
But on reflection, he decided that charging the battery 10 Ampere BP is too much.
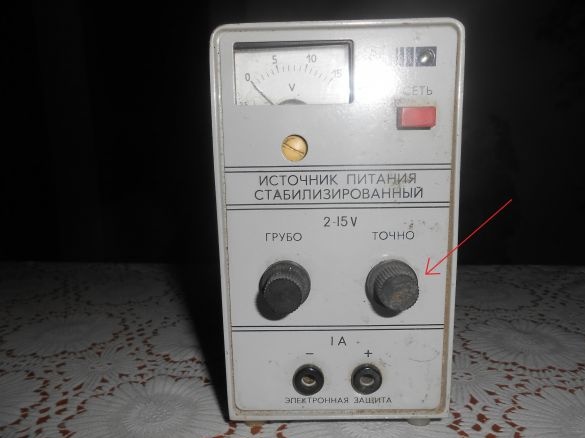
So you need something less powerful. I have a laboratory power supply
https://homediy.washerhouse.com/en/10106-blok-pitaniya-ips-1-vtoraya-zhizn.html
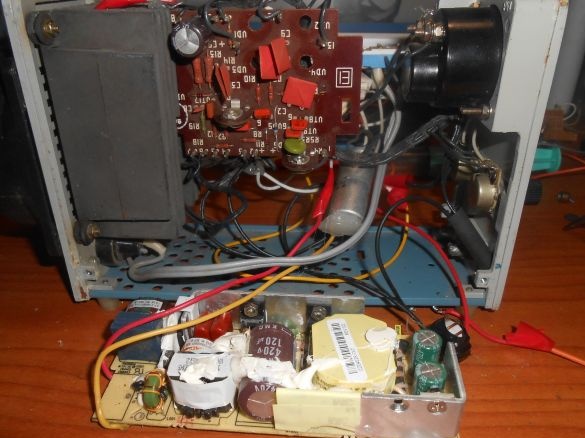
His heart is a 5 amp laptop power supply. Here we swap them, thereby increasing the power of the laboratory power supply. Let's get to work.
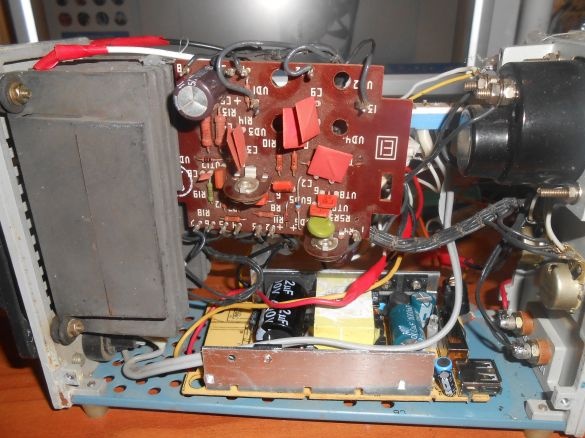
Instead of a 5 ampere power supply from a laptop, we connect a 10 ampere universal power supply.
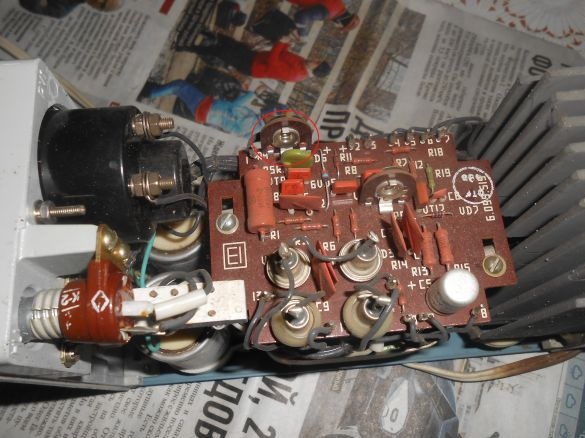
For one I bring the current adjustment from the board out, instead of accurately adjusting the voltage.
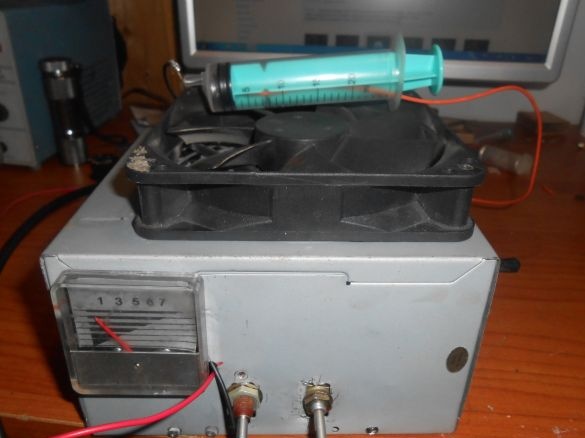
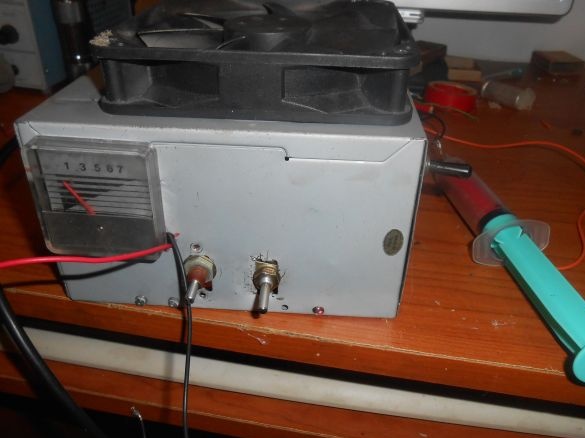
After all the manipulations, we get a full-fledged laboratory power supply of 120 watts, 10 amperes with adjustable current and voltage from 0 to 24 V.
Now we pass directly to the charging automatic device for acid battery.
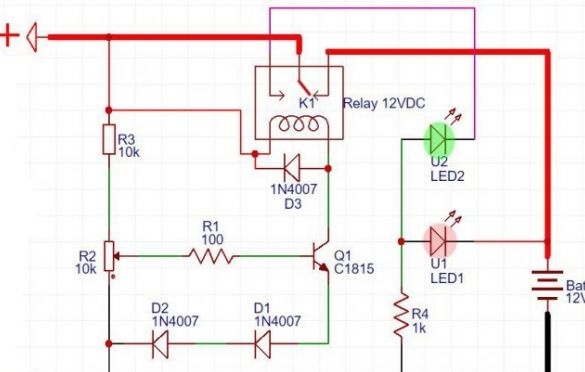
I collected the automation for the charger according to the scheme below. All components are not expensive and affordable.
That is, in fact, this is a relay programmable to operate at a certain voltage.
I set the charger to trip at 15V. That is, when the battery is charged up to 15 volts, the charger will turn off, so you do not need to constantly monitor the charging process.
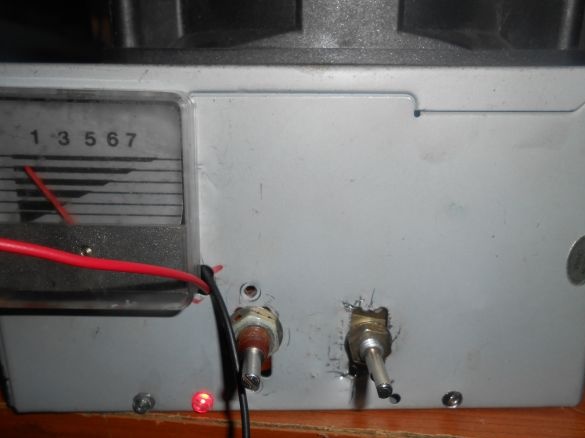
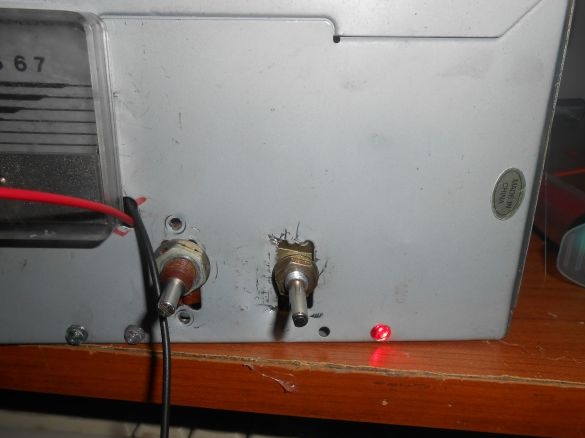
When the battery is charging, the red LED lights up
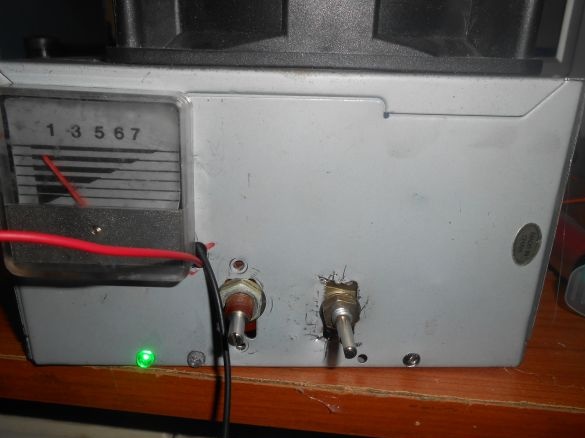
And when the battery is charged, the charger turns off and the green LED lights up, signaling the end of charging.
The response threshold is adjusted by resistor R2. Each user knows where the pheasant sits and therefore the threshold is set for its own. My pheasant is 15V.
Since you rarely use a battery charger to charge a car battery and the charger will be idle, so that it would not rust, I decided to supplement the charger with a charge for the 18680 type LI-ION battery as shown below
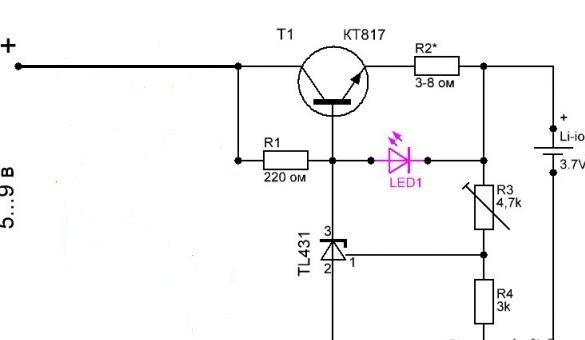
Minimum details, everything is available.
The scheme is very simple and reliable I will not describe who are interested, see for yourself
https://homediy.washerhouse.com/en/8964-zaryadnoe-ustroystvo-dlya-litiy-ionnogo-akkumulyatora.html
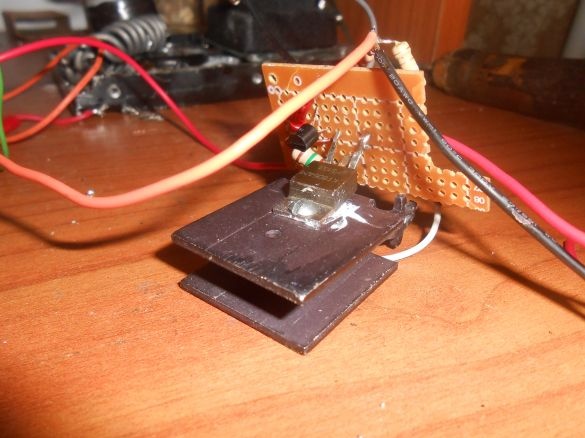
The only thing I’ll add is that I assembled it on the KT805 and on the radiator, still it’s a miracle to keep 5 amperes up to 300 mA and 4 volts ...
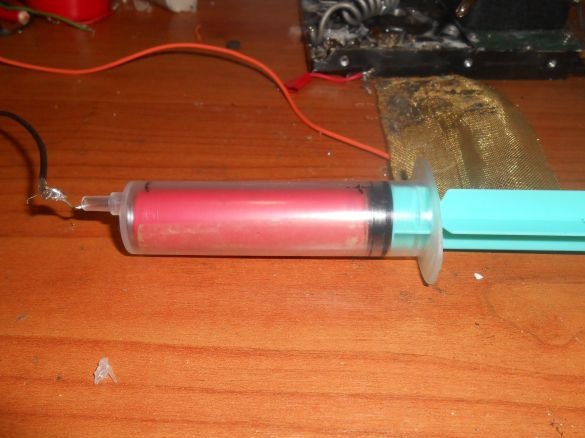
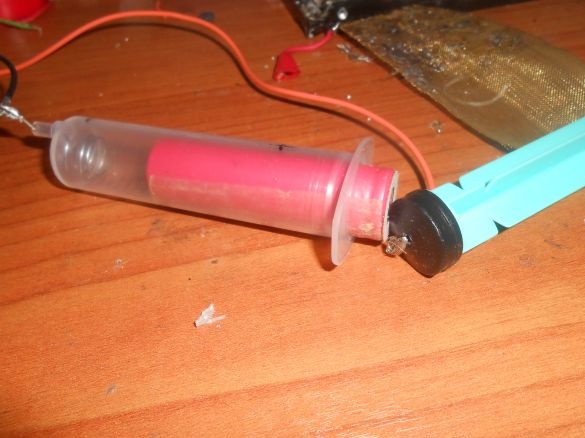
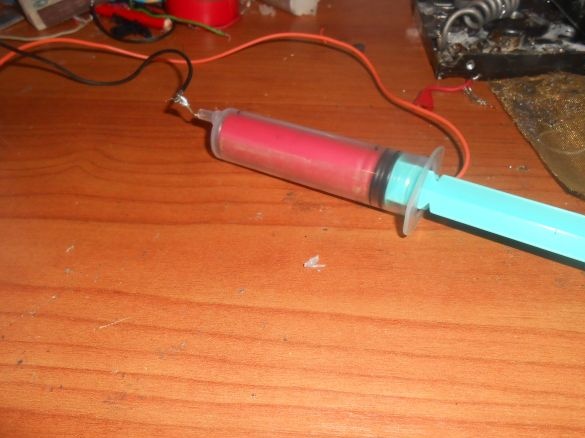
Type 16860 battery container made from 20 cc syringes
When charging the 18680 battery, the red LED is on, when it is off, it means it is charged.
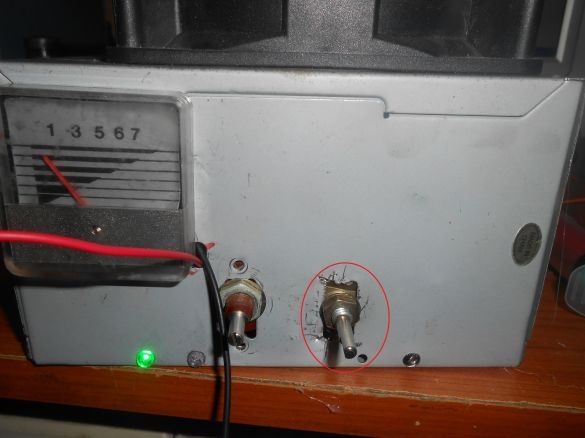
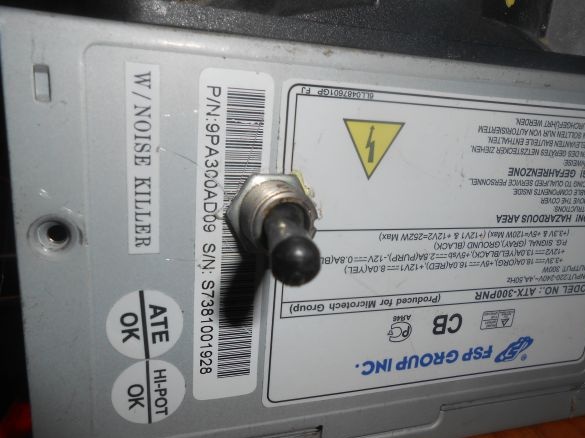
Switching charging modes made using the toggle switch
It remains to connect the crocodiles to the output wires and the charging, automatic, universal device is ready for operation. Good luck


