
Hi the inhabitants of our site! In this, I will try to describe and show the detailed assembly of the next kit kit from China, namely aliexpress. This is one of my favorite whale sets from China. This kit has an average level of difficulty, as in this kit there are very small elements that will be quite difficult to solder with a simple soldering iron with an ordinary sting. Ideally, of course, assemble this constructor with a solder dryer and solder paste. But we are not looking for easy ways and we will solder with the most ordinary soldering iron with a sting like an ax, the so-called “ax”.
As I already mentioned, this kit kit was purchased on the aliexpress website using this link. It is supplied in a regular bubble wrap. As you already understood, we will collect large multifunctional watches. And most importantly, in addition to the invaluable soldering experience, you will get very original and unusual watches that will decorate any desktop or nightstand in the bedroom.
This kit kit includes:
1- A bunch of LEDs.
2- Package with many items.
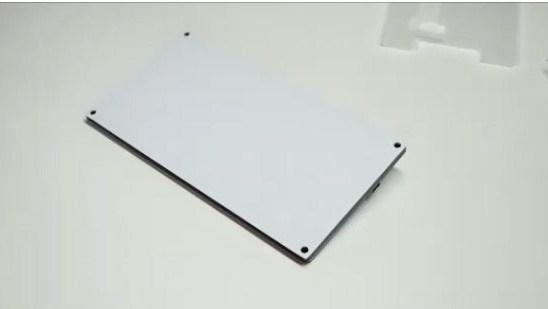
3- Watch case.
4- Micro USB cable.
Let's proceed to the assembly of large multifunctional watches.
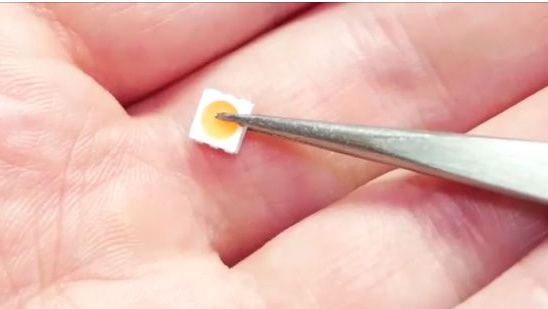
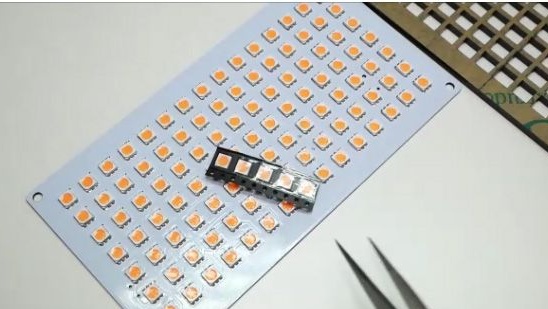
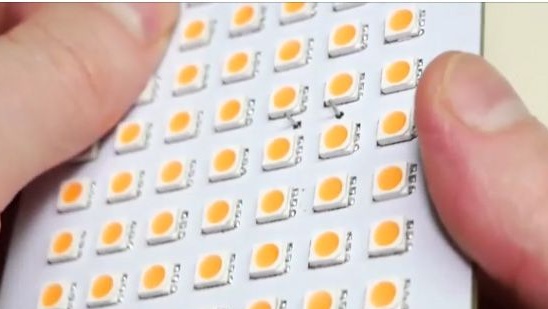
1- Let's start the assembly, probably the most important thing is the installation of LEDs. Our set of LEDs is pink, but when ordering this designer, you can choose one of many colors, such as green, blue, red and pink, and you should not forget that not all colors are available from one seller.
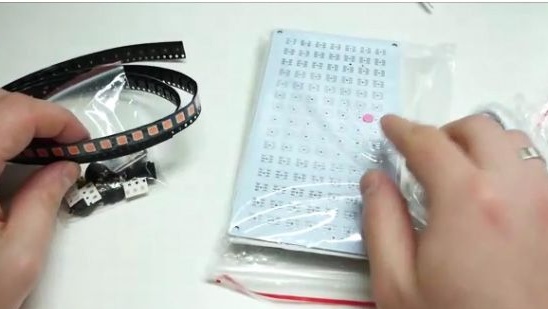
2- First, disconnect all the LEDs and add them somewhere, so as not to lose during the assembly process.
3- We take a printed circuit board and see on it a bunch of contacts to which you need to solder the LEDs.
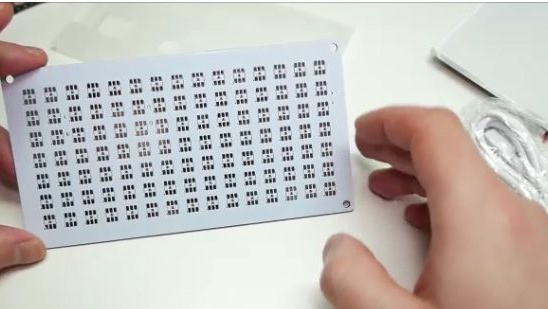
4- Please note that each LED has six legs and the board also has six contacts, but on the board there is a so-called key, one of the contacts is rounded and on the LED one of the six legs of the socket is rounded. In the photo it will be difficult to make out this key.

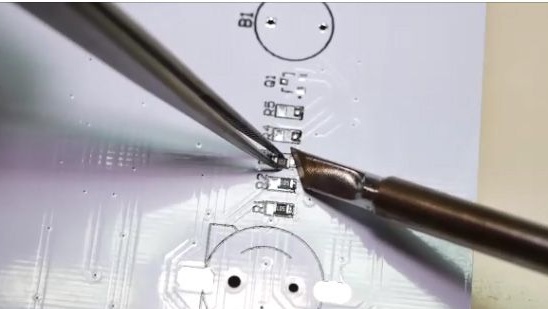
5- We tried many different ways to solder these LEDs. You can immediately say that it will be very difficult to do with a soldering iron for a long time and, probably, you can’t do it with a standard sting of a simple soldering iron. So we will use a flat sting in the form of an ax. In short, we found the best way to solder small LEDs. First, flux the contacts at the weld site.
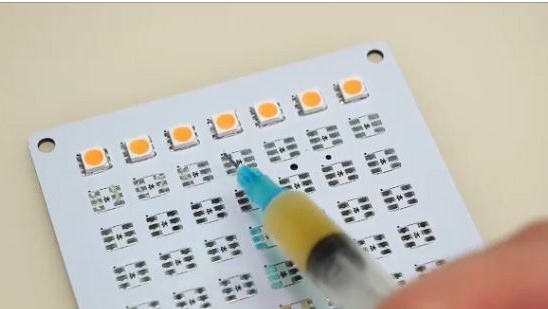
6- Then you should tin the contacts.
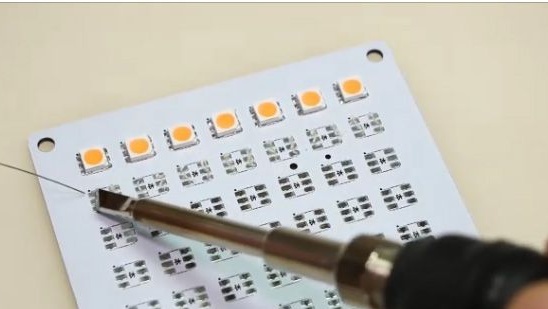
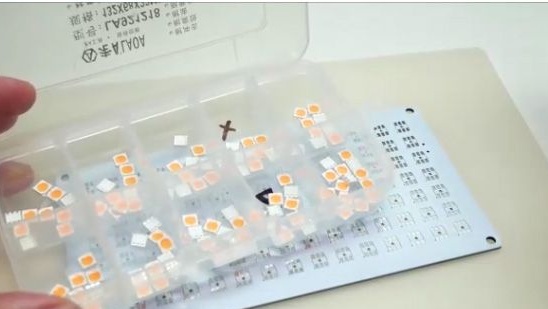
7- Next, use the tweezers to take the LED and attach it tightly to the printed circuit board, and with the other hand we apply a hot soldering iron until three pins are soldered on one side of the LED. Also, it’s worth remembering that the LEDs are plastic-based and it will be very easy to overheat.
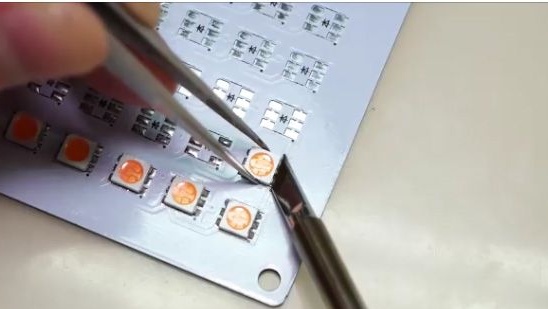
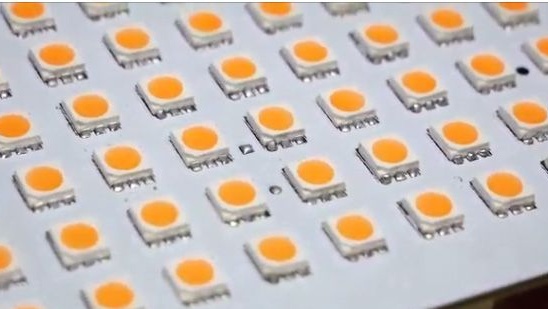
8- This is what the printed circuit board should look like after we soldered one hundred and five LEDs on it, you will also have five more spare LEDs left in case you still overheated the LEDs. By the time of soldering, one hundred and five LEDs will approximately take you an hour and a half.
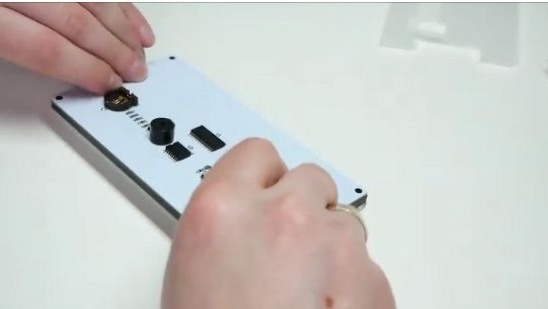
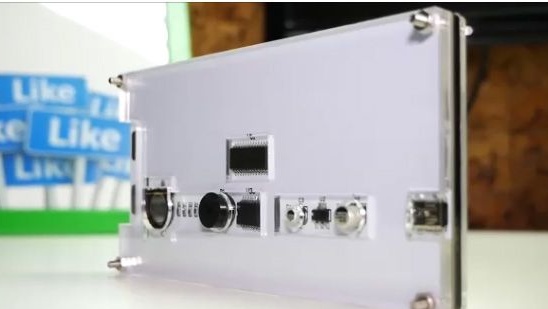
9- After which we will need to turn the circuit board over and proceed to install the remaining elements.
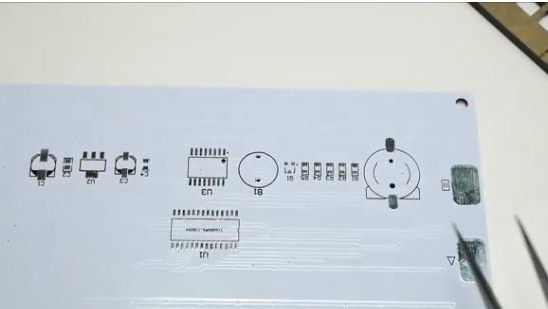
10- Next, we will need to install the next six elements, and also do not forget to apply the flux, and tin the contacts of the printed circuit board at the place of soldering.
11- Then apply the flux to the specified location (see photo below).
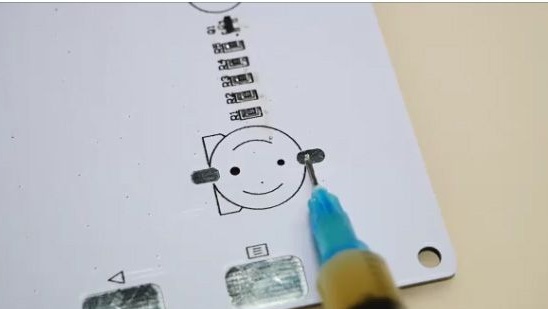
12- And we install the battery connector on the newly processed place and solder it.
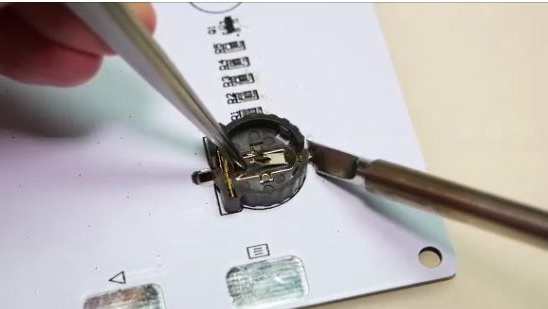
13- The board should look something like this at this stage (see photo below).
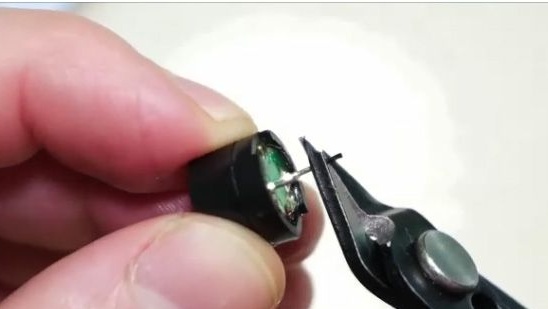
14- After which we need to install the speaker. But before that, we need to trim the speaker legs so that they
only a little protruded from the printed circuit board, otherwise we just couldn’t manage to assemble the data housing
hours.
15- Having called the contacts of the battery connector, and the contacts under the speaker, determine the plus and minus.
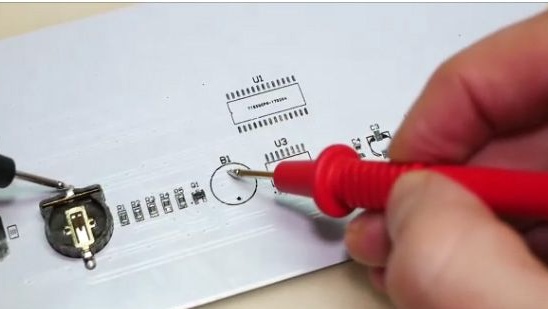
16- It turned out that the contact closest to us is a minus, and the distant one, respectively, is a plus.
17- Do not forget to trim the legs on the speaker, solder it to its place.
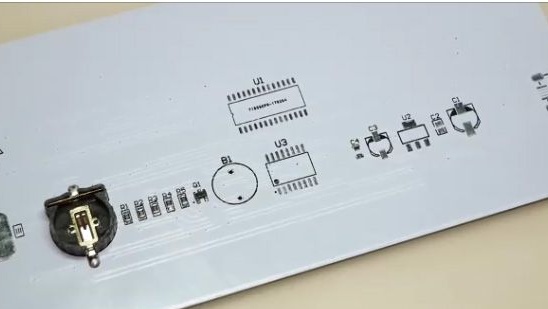
18- Ideally, it should turn out approximately, as it is shown in the photo below.
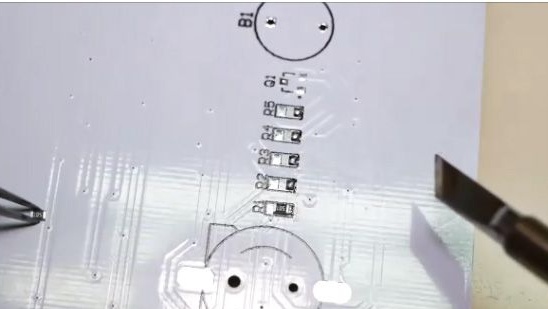
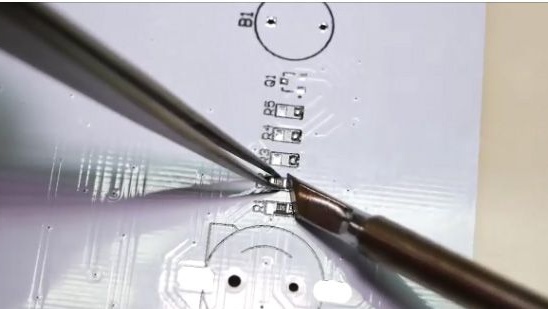
19- Solder two SMD capacitors at the same place as in the photo below.
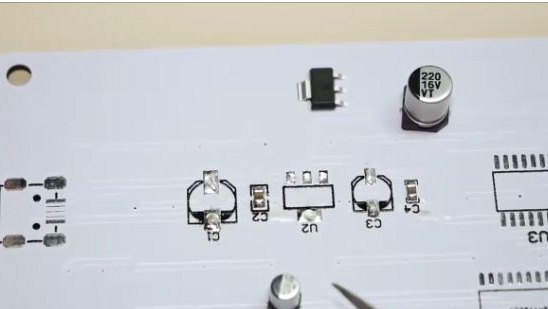
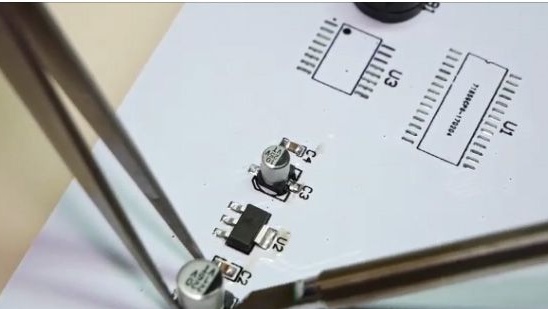
20- After which we solder two solid-state capacitors and a voltage stabilizer in place (see
photo below).
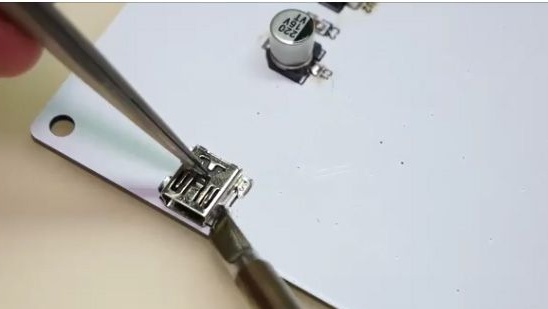
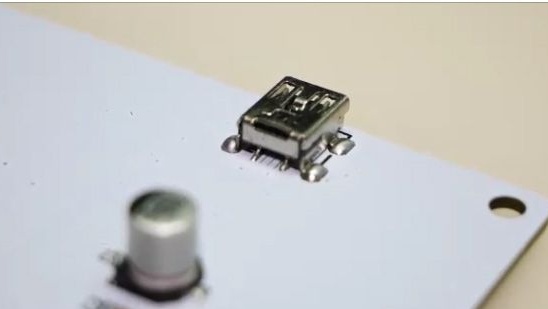
21- Next, solder the USB connector to the printed circuit board, to power the watch, having previously tinned the contacts.
[center]
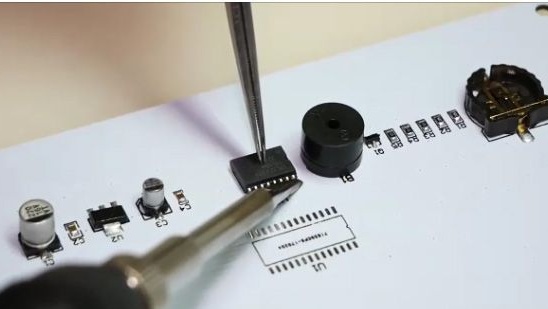
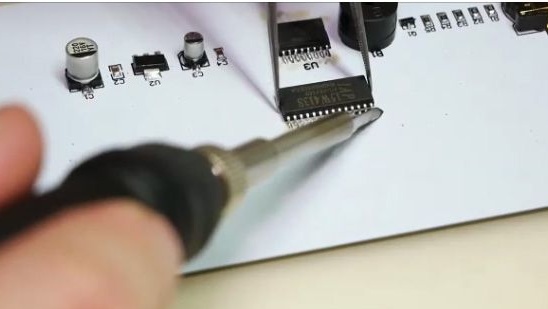
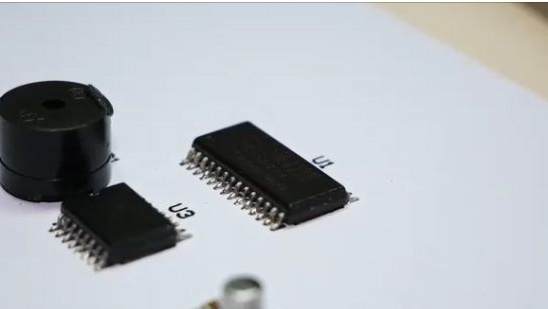
22- After which we solder the two microcircuits in a similar way, as we previously soldered the LEDs.
23- Now let's start on the side of the case.
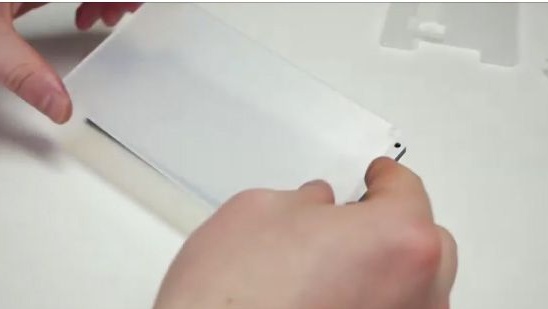
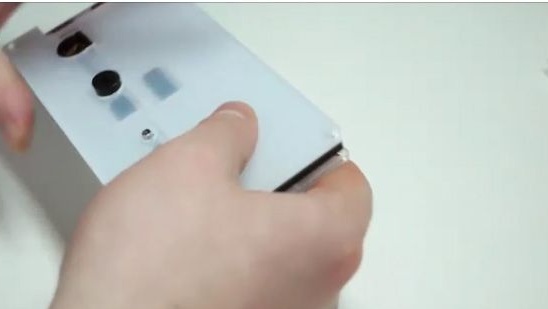
24- Take a panel of organic glass with square cutouts and remove the protective film from it.
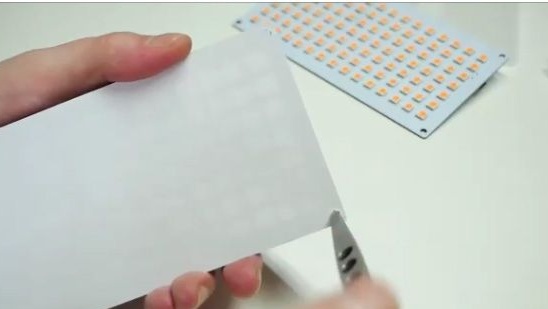
25- And on the panel just taken, we have to stick a big white sticker. You will need to stick it
very carefully, since it is just the baud size of this panel, but it’s good that there are two such stickers in the set and you can make a mistake once. These stickers will serve as diffusers of the outgoing light from the LEDs.
26- Then, with a sharp object, make holes for the screws.
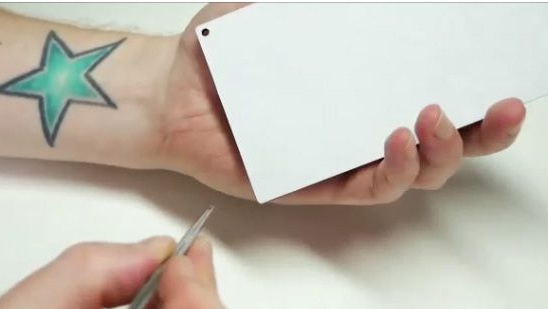
27- Ideally, you should have the same result as shown in the photo below.
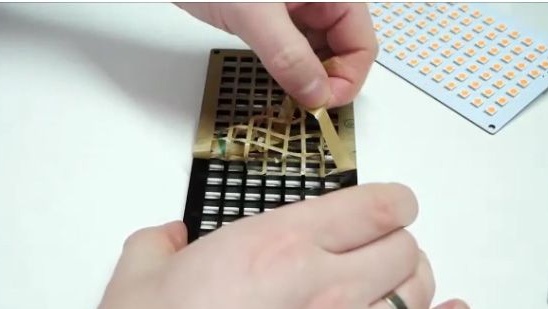
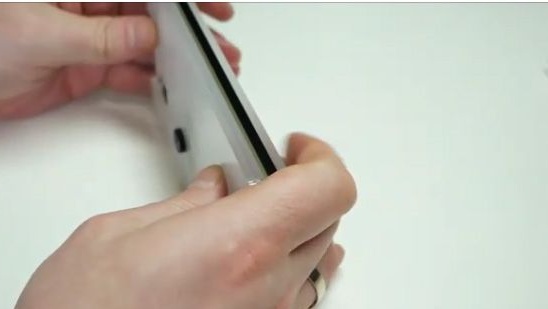
28- After which we will need to collect the so-called sandwich. From the beginning we put transparent organic glass on the panel.
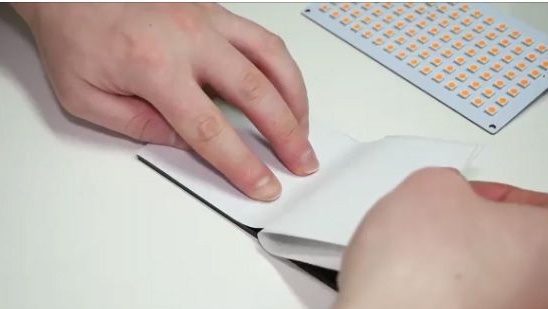
29- Then, holding the panels so that they do not disperse, we turn them on the other side.
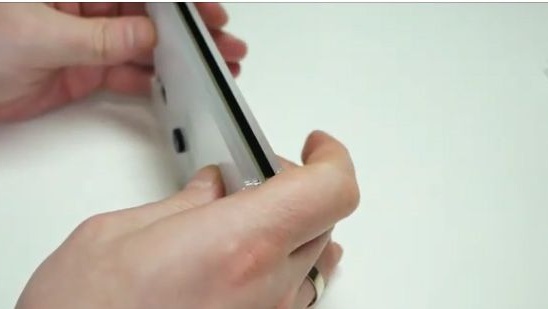
30- We attach the second panel of organic glass on which there are more holes.
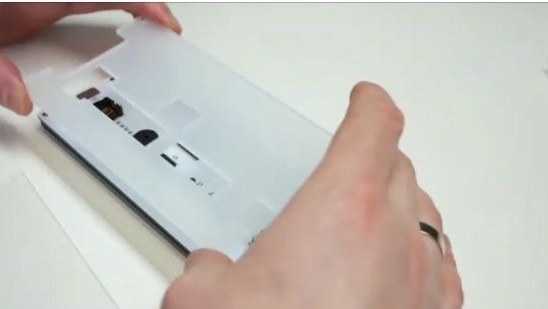
31- And then there is the third panel.
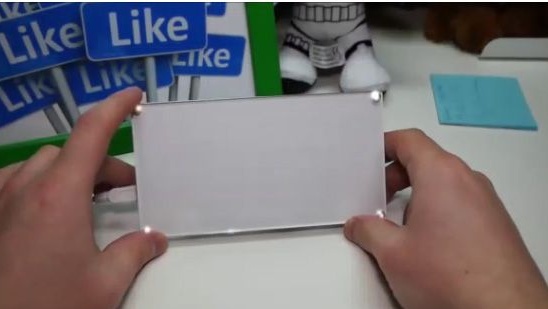
32- After which, holding all the layers, tap them with different sides on a hard flat surface, as if aligning a deck of cards. This is necessary in order to easily insert the screws into the holes.
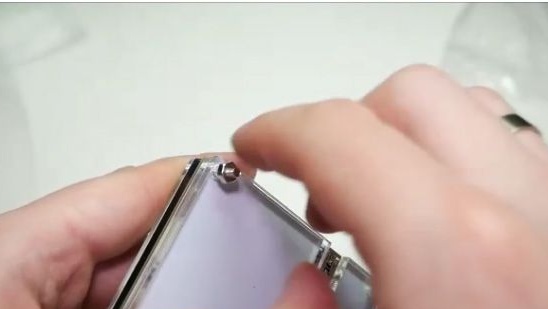
33- Well, now we put the screws into the holes in the case and tighten the nuts, but not very much, since the organic glass can crack, it will be enough to apply a little effort using the nippers.
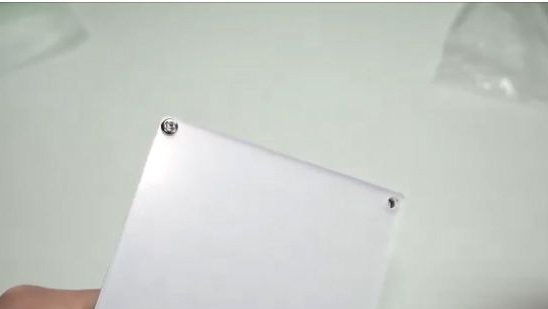
34- Done !!!
Setup and functionality:
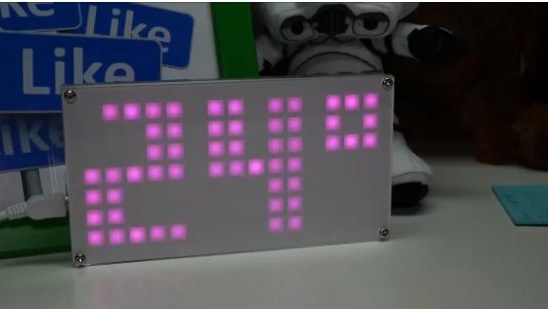
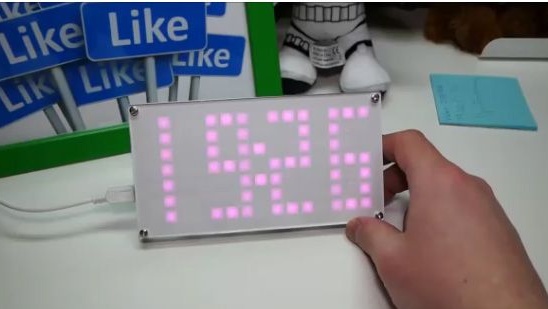
Well, after assembly, the most important thing is to check their performance by connecting power to them, if the clock began to show the time, then they are working and this means that you did it. But before we move on to setting the time, let's figure out what they can do.
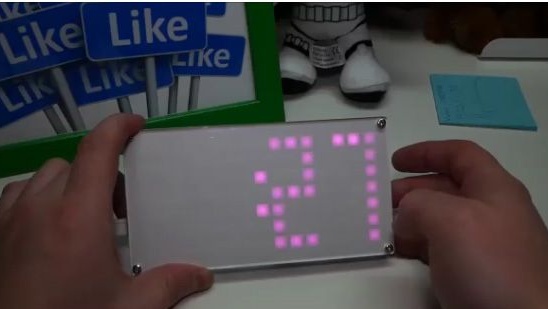
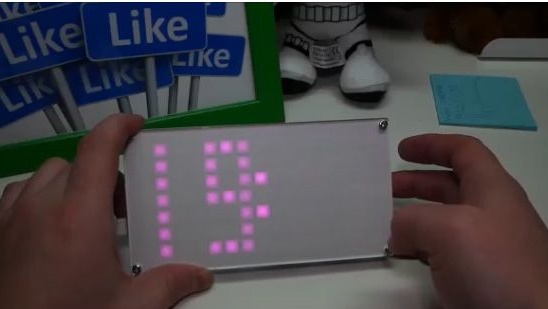
These watches, in addition to being able to show the time, they can also show the temperature in the room, date, congratulate you on various holidays such as New Year and Christmas, you can set the date of your birthday on them and they will congratulate you throughout the day. Well, another of the many but very important settings is the brightness setting which is very lacking on such watches.
Well, now let's move on to setting the clock itself.
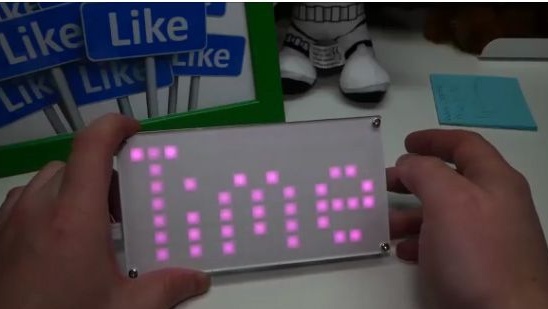
1- We supply power to the watch. And we see that the time lights up on the screen.
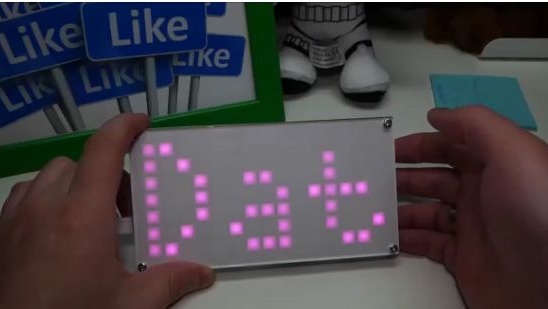
2- Clamp the bottom button and see that the inscription "time" appeared.
3- To change the time, press the lower button again.
4- And the upper button changes the time value.
5- After setting the minutes, to go back to setting the clock, briefly press the lower button again.
6- And to exit the date setting. Again briefly, click on the bottom button.
7- And we continue in the same vein, that is, a long press on the bottom button selects the setting, and briefly by pressing the belt you go to the setting of this parameter itself, the upper button sets the units of parameters.
Well, that's all thanks for your attention, I hope this article was useful to you. Also, if you need a more detailed adjustment of all parameters, then you have a wonderful opportunity to watch a video assembly of this homemade product.
[media = https: //www.youtube.com/watch? v = ljGwWr-AJNk]