The fact that they once came up with an incandescent lamp is also good, but now it is gradually losing its popularity as the "right" device for electric lighting. After all, an incandescent lamp heats up 95%, while it shines only 5%. Another thing is the LEDs, which on the contrary shine at 95%, although the drop in the price of LED lamps is not always so big. Here, someone would become a trillionder if the Sun suddenly disappeared.
Outdoor lighting (parking, road) usually requires a large brightness of LEDs, and the use of metal radiators is not always economically justified, and the diode on the street should still be inserted into the glass and aluminum housing to protect it from rain.
So what is a liquid radiator, one asks.
The fact is that the LED, like any semiconductor that is under load (high current and voltage on it) is heated. Sometimes such heating leads to its failure. In this case, metal heat sinks (radiators) are used, which are blown by running air. The disadvantage of this design of the radiator may be its bulkiness. You can compare with a car in which instead of an anti-freeze engine cooling system are air-cooled radiators (the size of an airplane’s wings).
There are also disadvantages of metal radiators: a large amount of space, holes in the body of the device for cooling (where dust or insects then fall), more weight, the use of special heat-conducting pastes or adhesives for better heat transfer to the radiator, empty heating of the surrounding space, so water cooling has some advantages .
As I researched, you can cool the LED by loading it directly into water (cold or room temperature). In this case, there is no need for paste, a radiator, and when in transparent water and a vessel, the LED will give out light no worse than in air, and you can take running water and, if necessary, use warm water for needs.
Ideally, I recommend: apply distilled or bidistilled water (it almost does not conduct electric current), connect low-voltage LEDs (an intense electrolysis process with gas evolution takes place at high voltage), serious waterproofing of the contacts in the water is needed.
The use of alternating current reduces the process of gas evolution, but the diode flickers very much - here it also depends on the frequency of the current. Flickering of light with a frequency of more than 30 Hz is almost not perceived by the human eye (which is successfully used in cinema and on television).
To set up an experiment, you need a minimum of materials and tools.
Tools and devices:
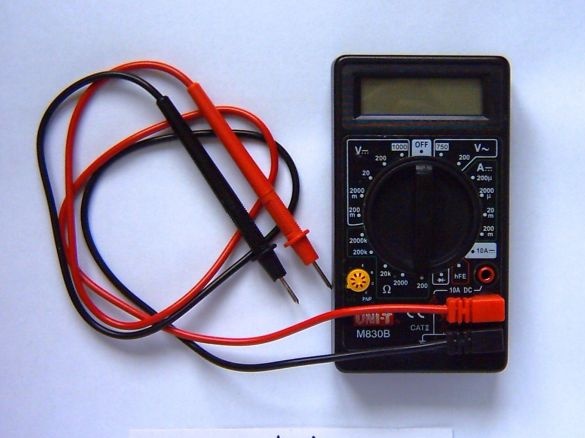
- multimeter (measure current up to 2 A);
- thermometer 100 degrees (optional);
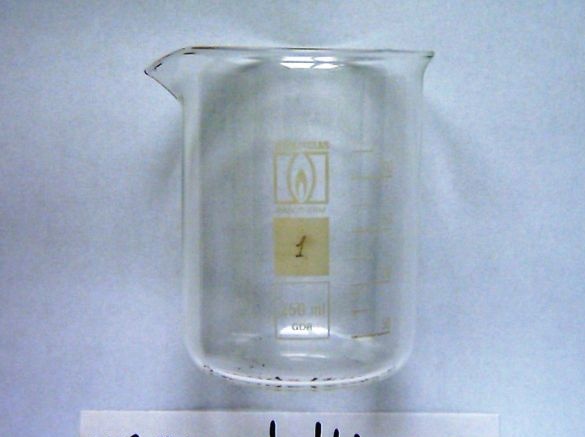
- a glass (glass, transparent);
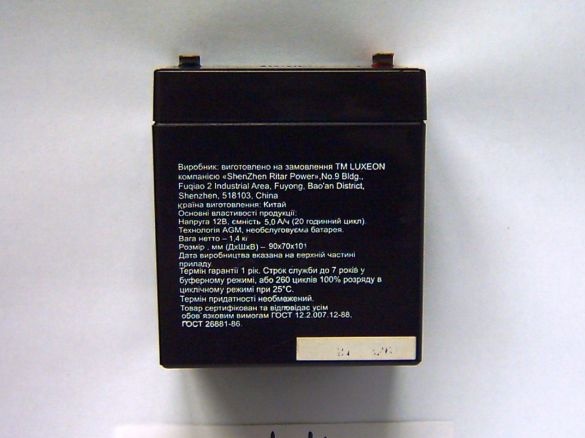
- 12-volt battery (or 12-volt power supply, rated at 20 watts or more).
Expendable materials:
- distilled water (200 ml);
- waterproof glue (15 g, or rosin solution);
- solution of brilliant green (15 ml);
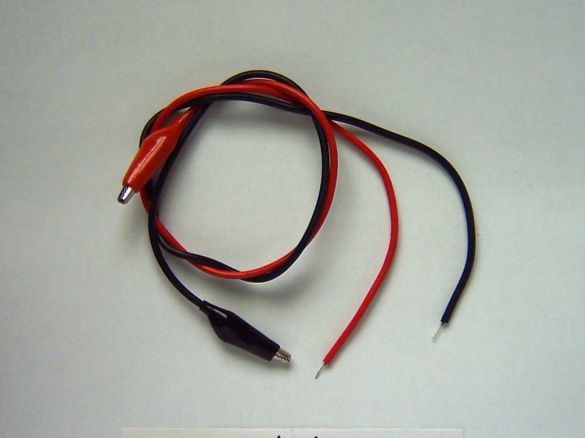
- connecting wires;
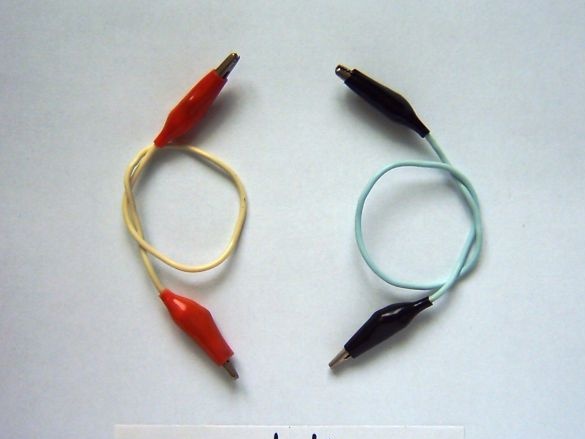
- "Crocodiles" (6 pcs.);
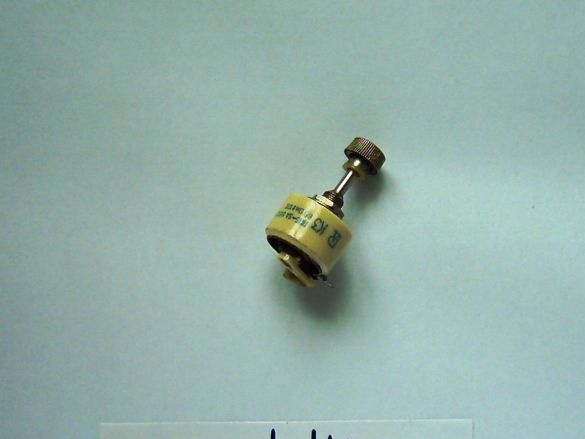
- variable resistor (at 20 W, range 0-68 Ohms);
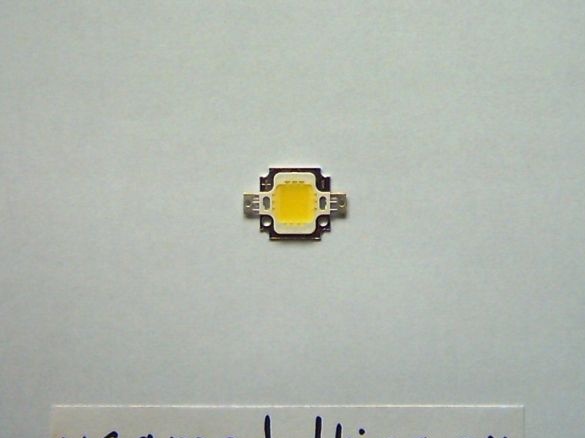
- white LED (12 V, 10 W);
- solder;
- rosin.
Stage 1.
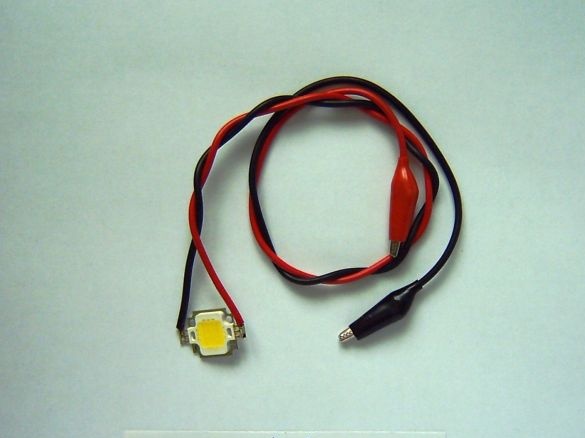
We begin the study by soldering the wires to the LED, when the solder cools down, we well coat the open contacts of the soldering surface with waterproof glue (or rosin):
Stage 2.
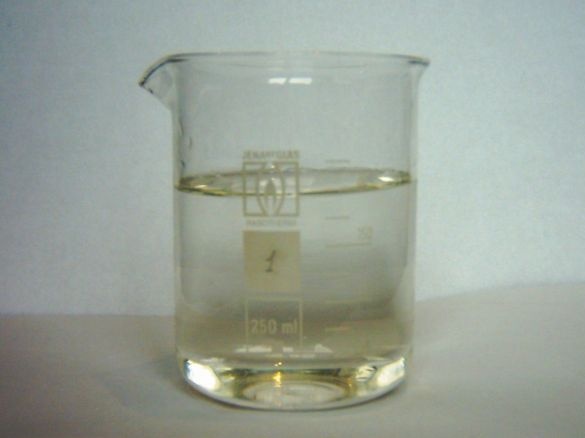
Pour into a glass of distilled water, about 200 g:
Stage 3.
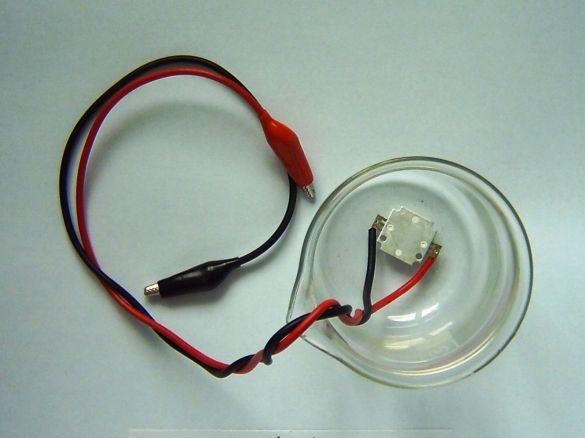
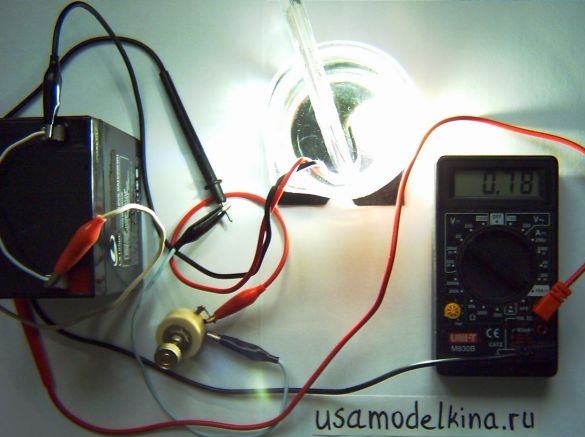
After the waterproofing glue dries, we load the LED on the bottom of the glass so that its own radiator is on top and the light-emitting surface rests on the bottom of the glass:
Stage 4.
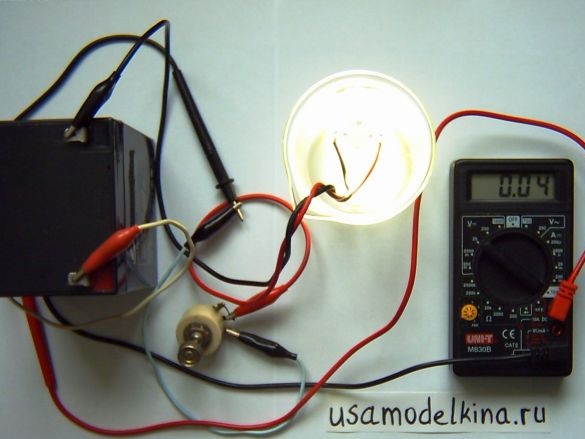
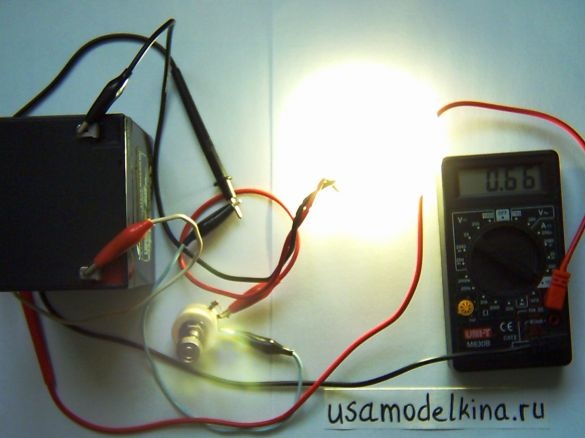
We put the resistor at the highest resistance and turn on the power, depending on the current value, we adjust the power of the LED glow with the help of a resistor. If gas is not released (means reliable waterproofing of contacts in water):
Stage 5.
We observe a change in water temperature depending on the magnitude of the current. For interest, you can measure the temperature of the water in the glass with a thermometer, it captures the "non-critical" temperature near the diode and we see the real cooling effect (the larger the volume of water, the faster the LED will cool down). Here, part of the heat comes out on top of the glass and is also given to its walls:
Stage 6.
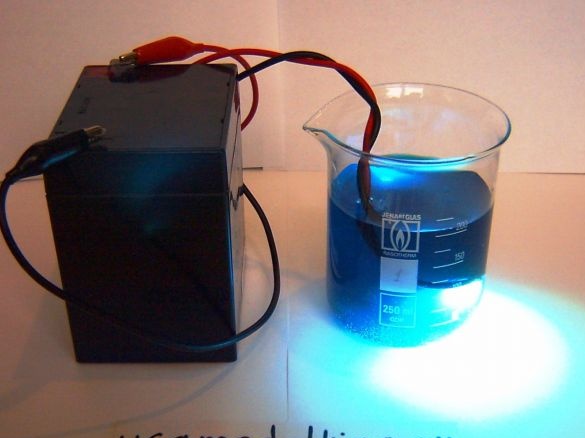
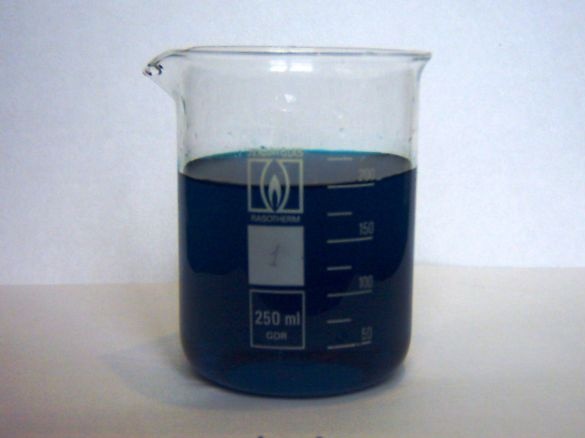
Add a little green water (about 0.5 ml) to a glass of water (200 ml), the liquid turns emerald color, by connecting an LED we observe a pleasant light green light. Iodine also gives color, but the iodine solution has less electrical resistance than zelenka. Do not forget also that green is very difficult to remove, so try not to stain it with anything superfluous:
Light can be of different colors, not only from a colored solution, but also from the colored glass of the vessel into which the diode is immersed.
Instead of water, it is permissible to use other liquids: clear oil, glycerin. Different liquids - different speeds of heating the glass.
For example, glycerin can be used instead of water, but its thermal conductivity is 2 times lower than that of water, while glycerin is an insulator, it does not badly protect contacts from corrosion, and can be easily washed off with water if necessary:
The advantages of transparent oil are also that it does not conduct current, protects contacts from corrosion, and also evaporates very slowly, although as disadvantages: the thermal conductivity of the oil is 5 times less than water, therefore there is a greater risk of overheating of the LED, the difficulty of washing off the fat.
In the next article, I will look at a practical liquid-cooled version with immersion for a floodlight.
Experience video:


