

In this article I will tell you how to make simple night vision goggles. Of course, they will not be super powerful like real ones, but getting in the dark to the right place in the room will not be so difficult. All the necessary details can be found in your home, you can order them from the Chinese, or you can simply read this article for general development.
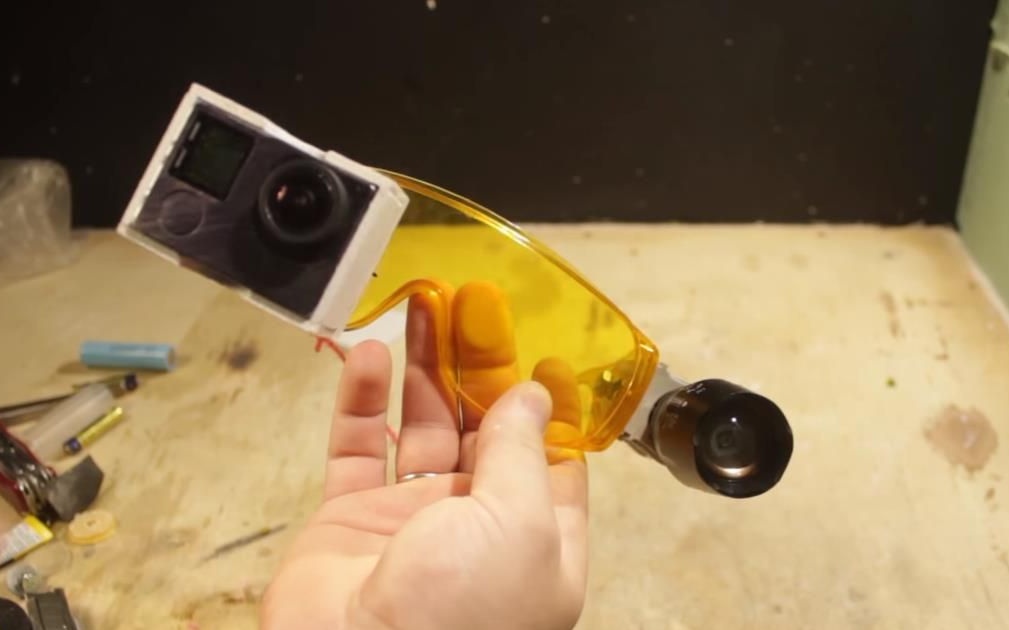
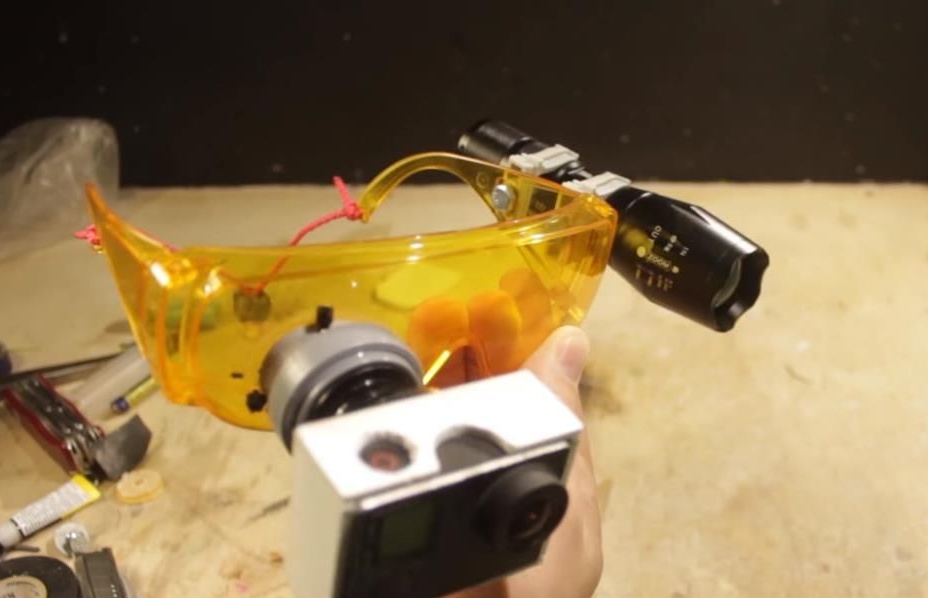
In the design of the glasses there is an action camera, in fact this is one of the main parts, so in the daytime they can be used as a first-person camera and shoot interesting videos.
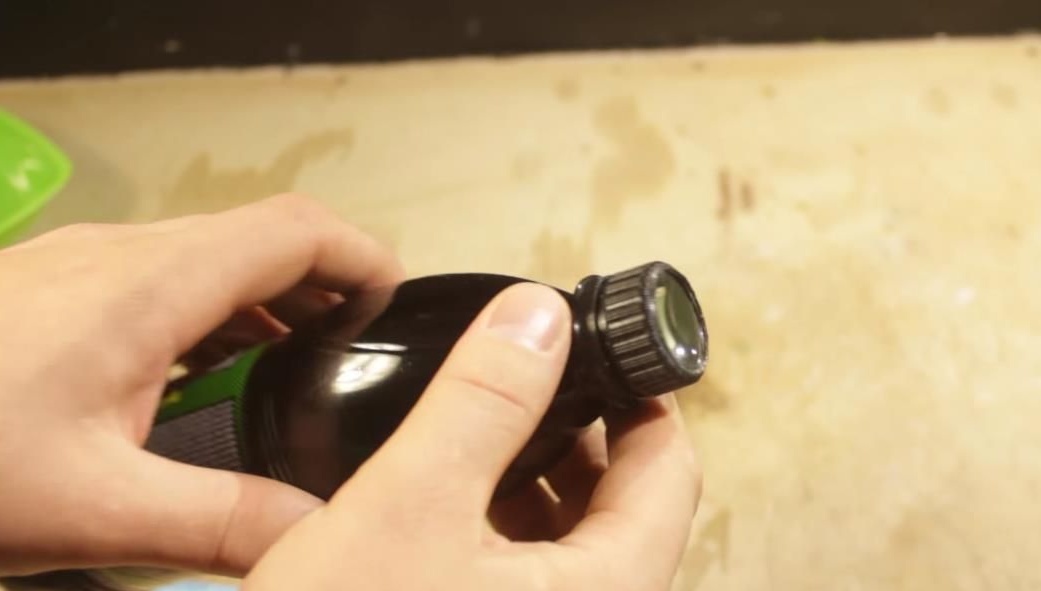
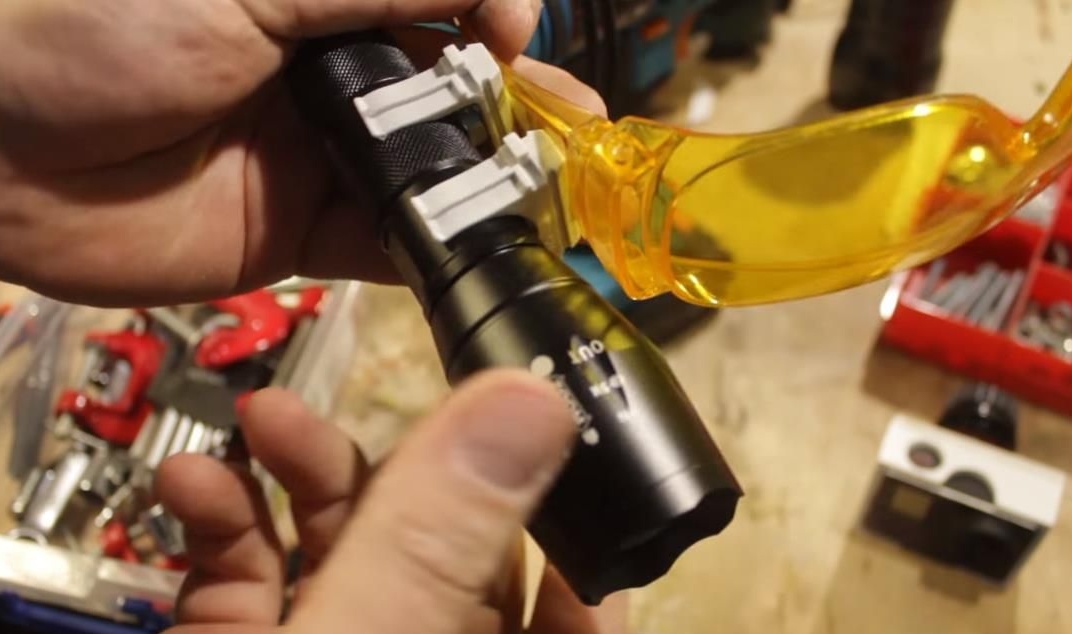
You will also need an infrared flashlight with a light wave of 850 nm, since this is the kind of light that is best perceived by the camera, but you can try replacing it with infrared LEDs with similar characteristics if they suddenly become available. It is convenient to use a flashlight in that you do not need to make a separate box for power and mount it much easier.
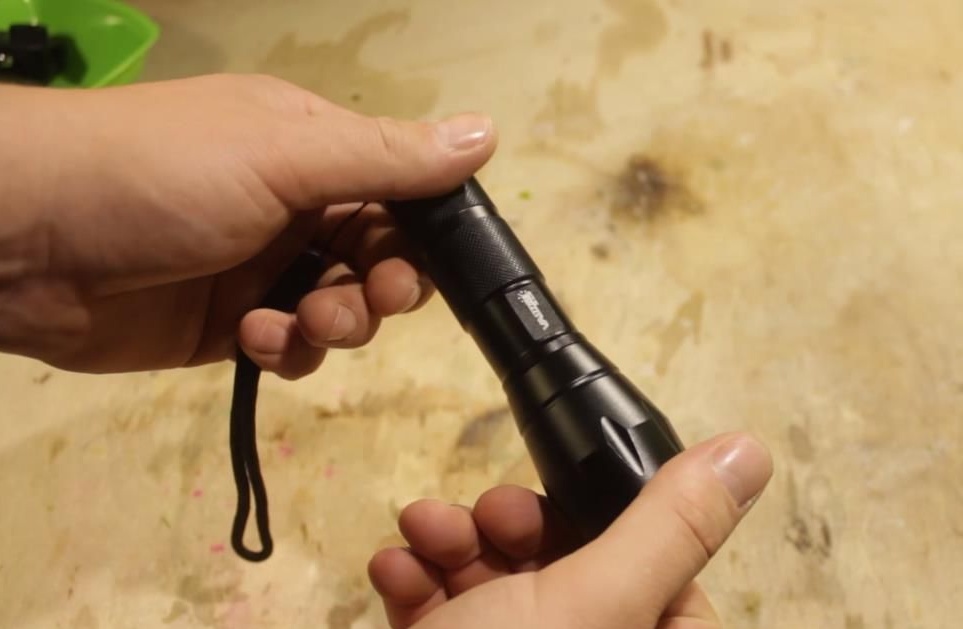
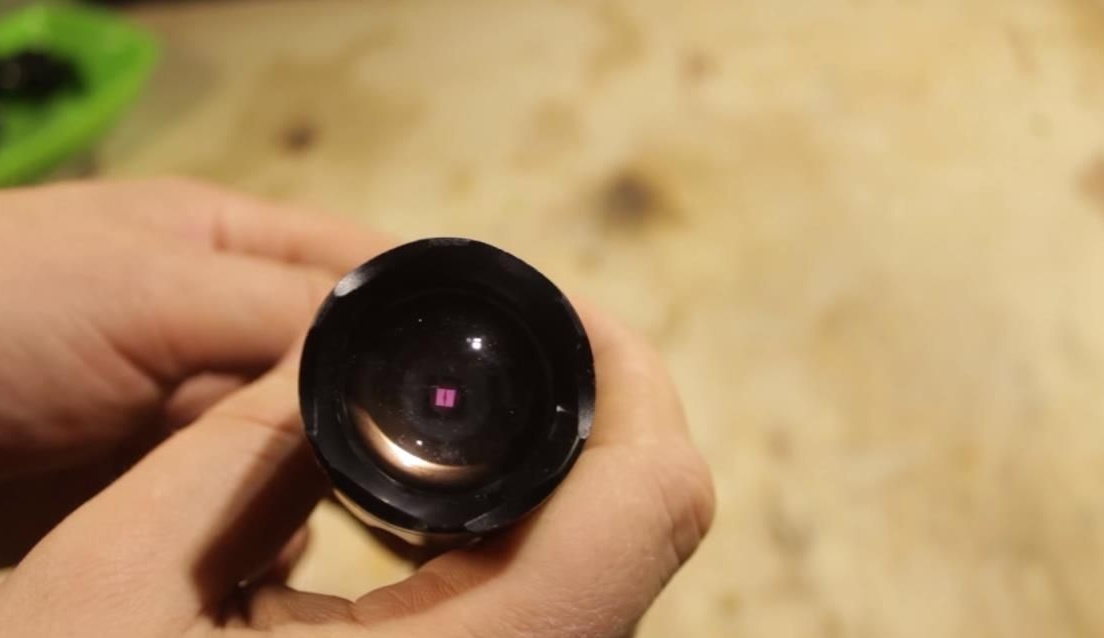
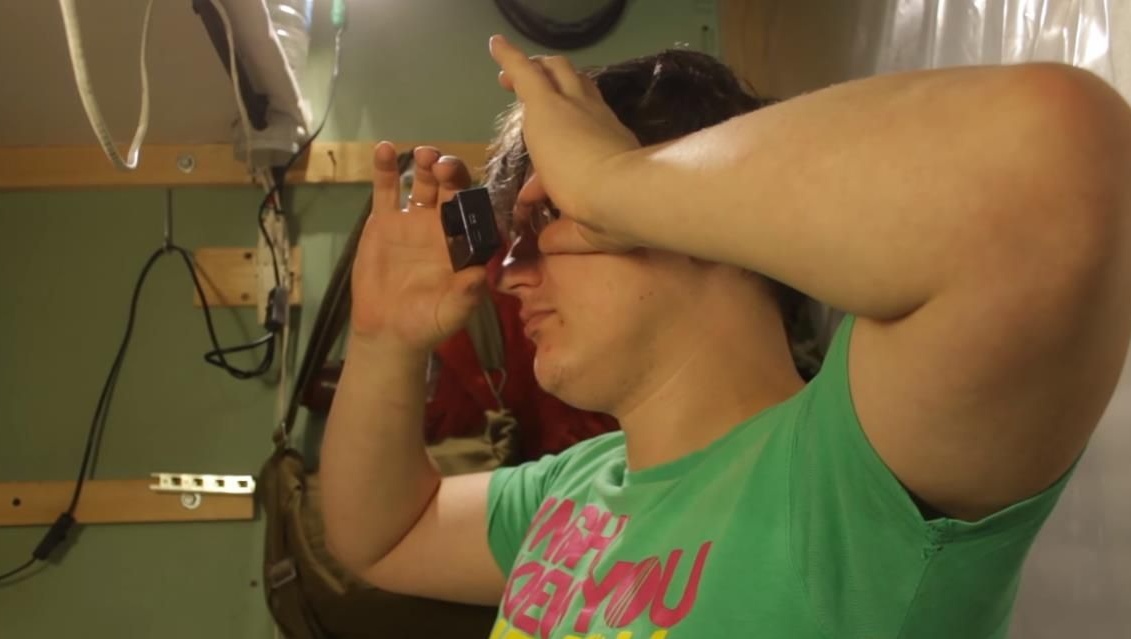
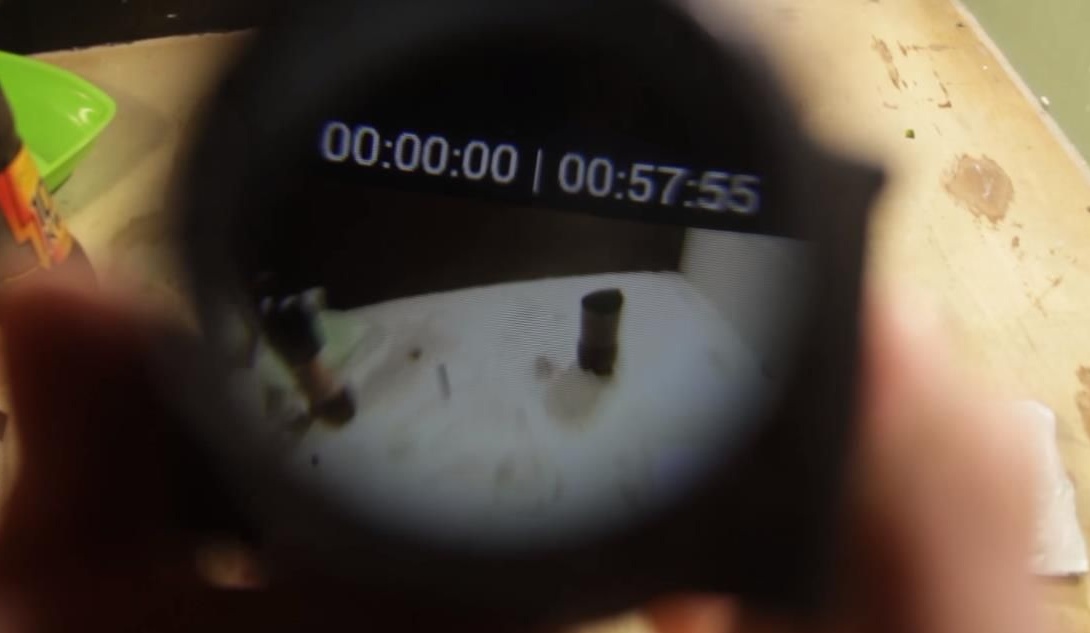
If you turn on the flashlight and look at the diode through the camera, then you can observe a lilac glow, this is infrared light. It is not visible to the human eye, but through the camera please!
But not all cameras of a lonely one perceive such radiation well, therefore the author used an action camera, since it coped with the task better than others, moreover, such a camera has many settings that will help improve the perception of radiation.
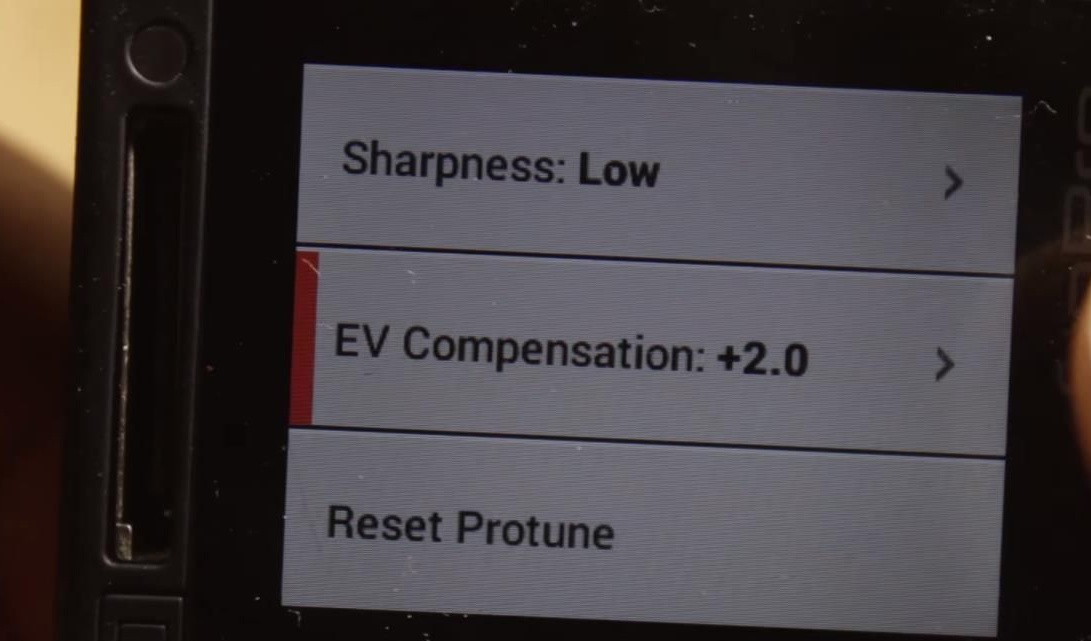
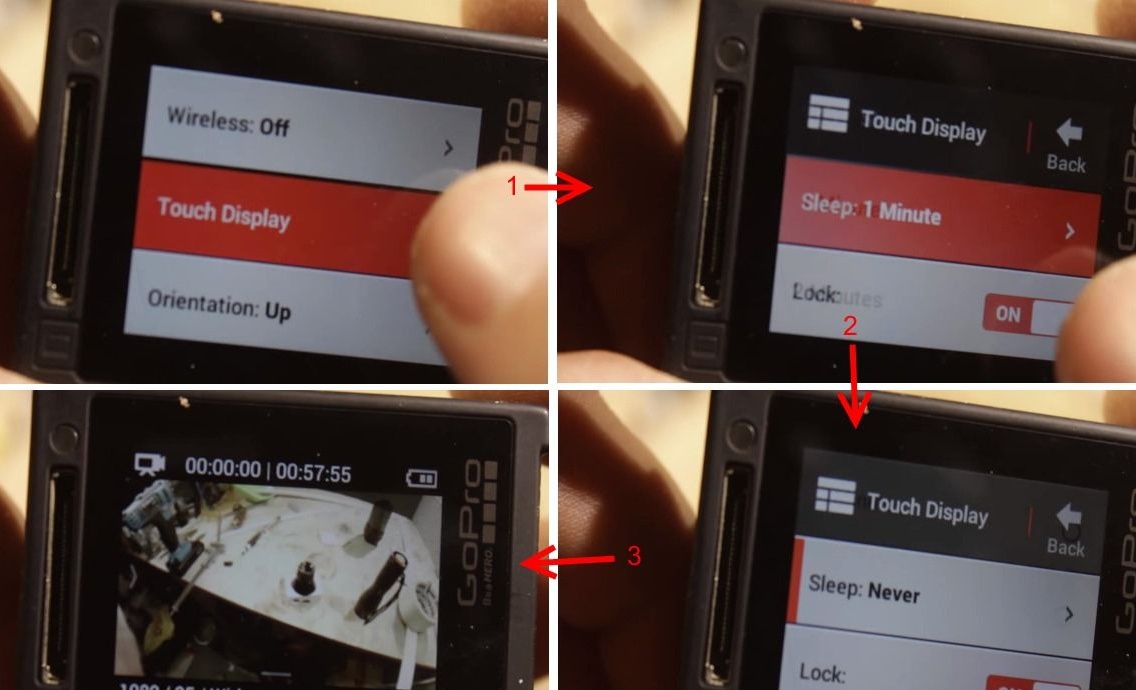
To improve the perception, the author recommends that you set the Exposure parameter to +2 in the camera’s settings and turn off the automatic shutdown of the screen so that the camera’s backlight does not go out.
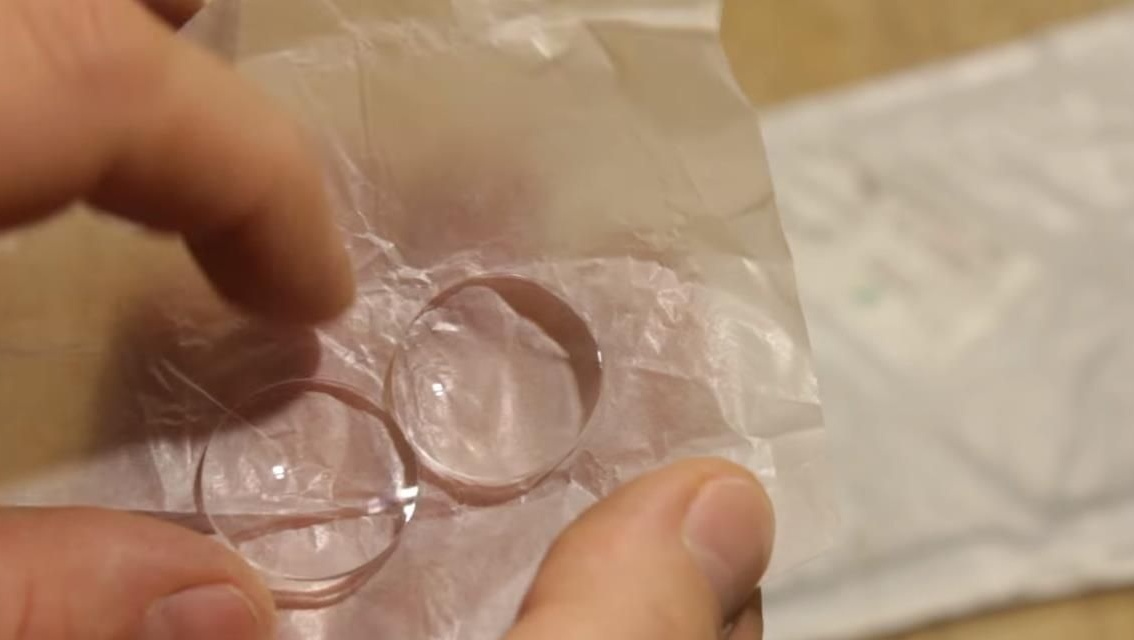
We also need lenses for virtual reality glasses, which were bought by the author on Aliexpress, they are needed to focus the eye on the camera screen, since the human eye is not able to focus on objects that are directly in front of them at a minimum distance.
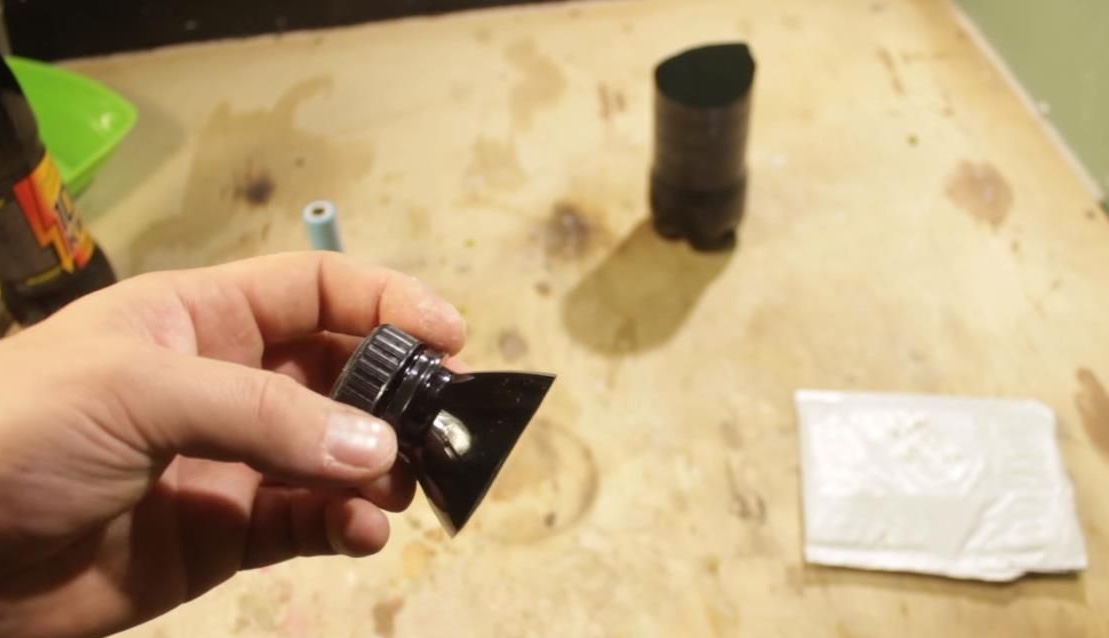
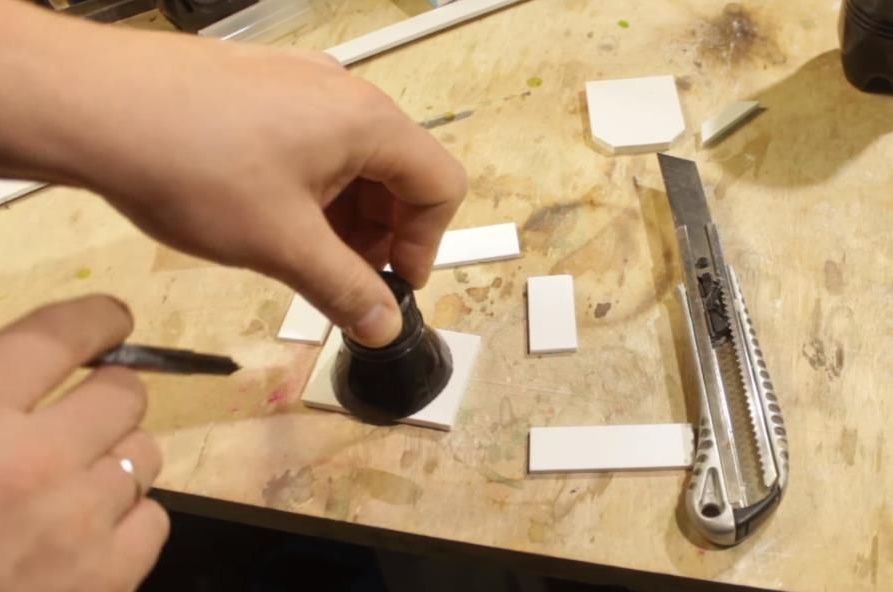
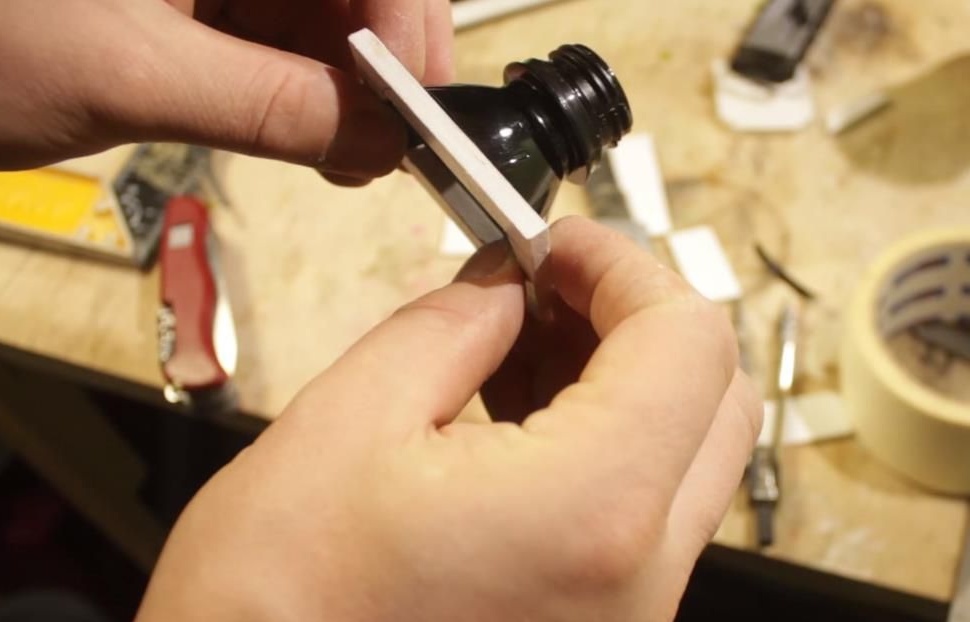
To fix the lens, you need to assemble the frame. Auto used for this purpose a dark plastic bottle from the drink.
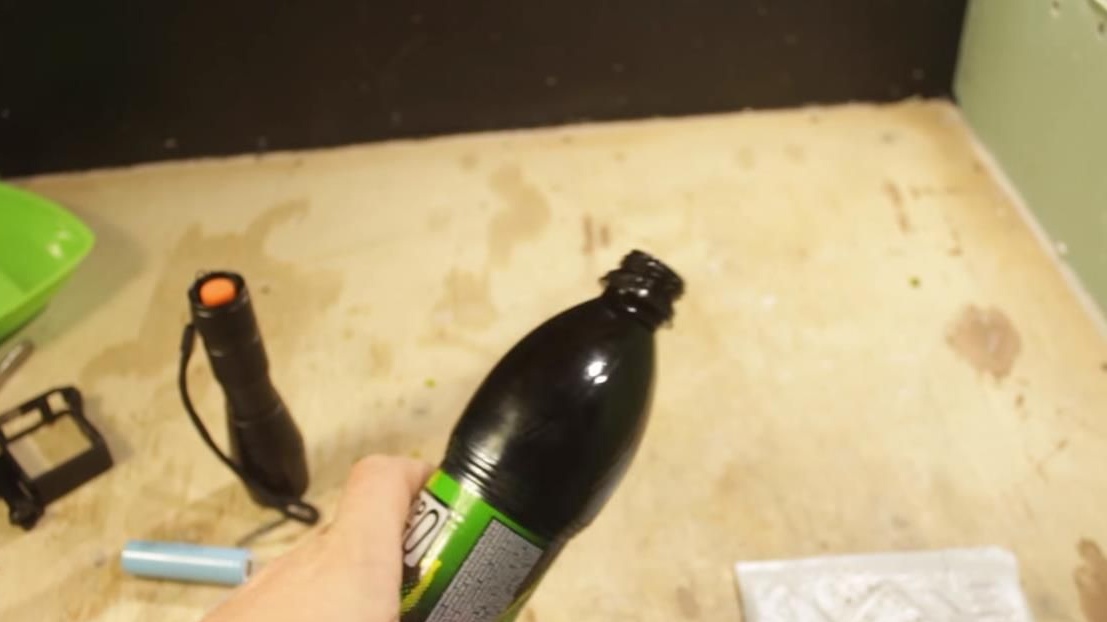
The lens fits the diameter of the neck exactly, it remains only to fix it there.
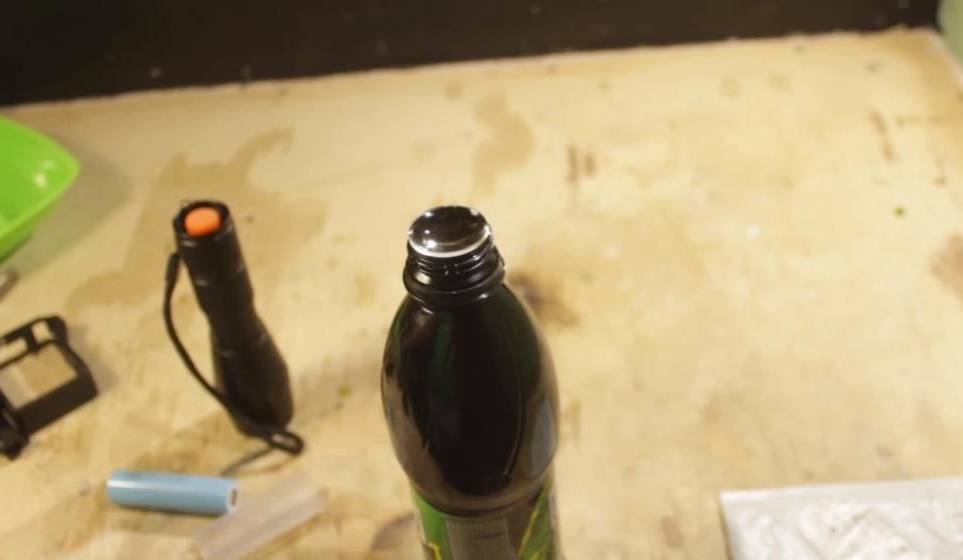
To do this, you don’t need to glue anything, you just need to cut out the middle part of the cork from the same bottle with a blade or knife.
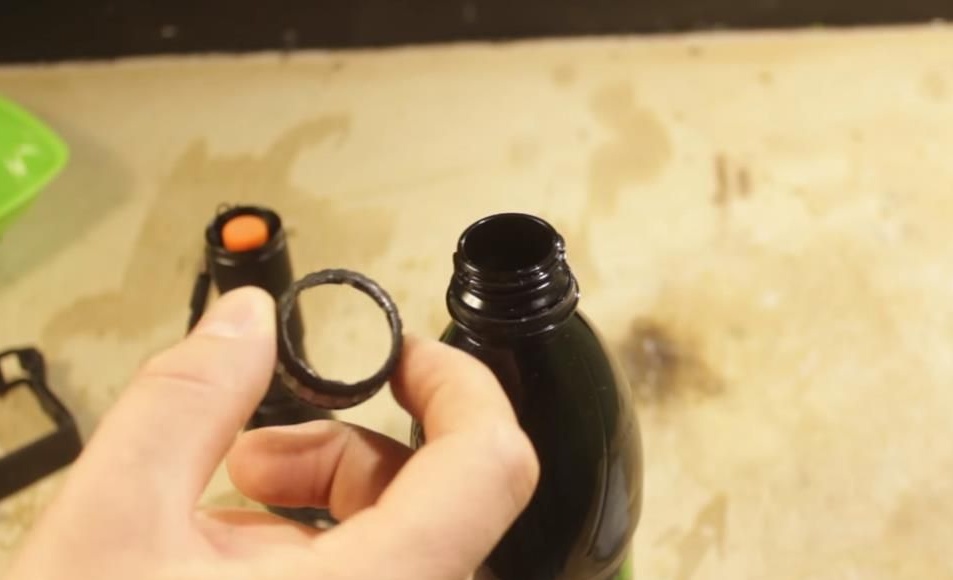
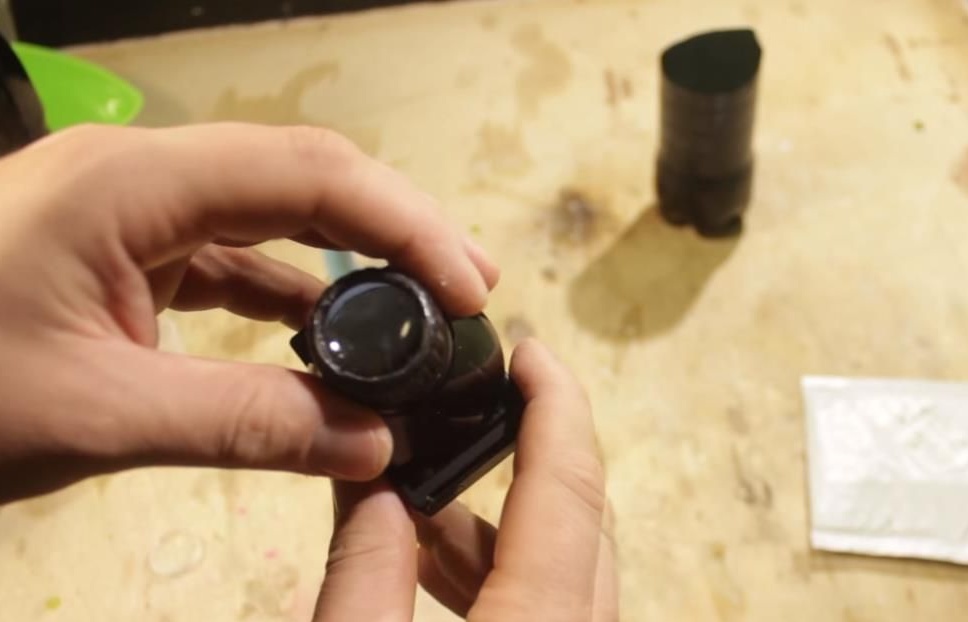
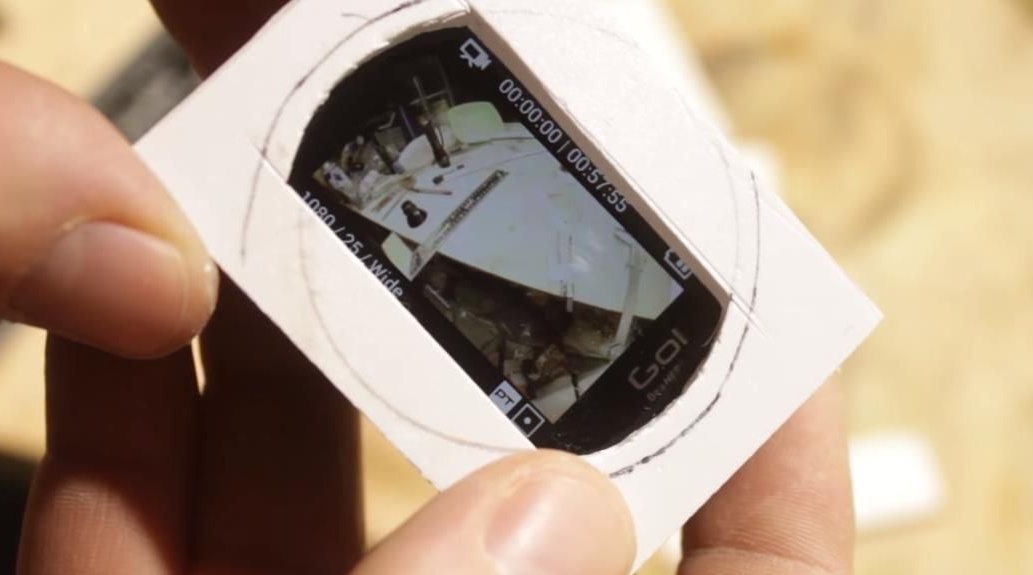
Then we put a lens in it and twist it onto the bottle. It seems that the lens was specially made according to the diameter of the neck, since the cork easily twists and fixes it.
Now you need to cut off the top of the bottle, while choosing a comfortable length at which the focus will be brought back correctly.
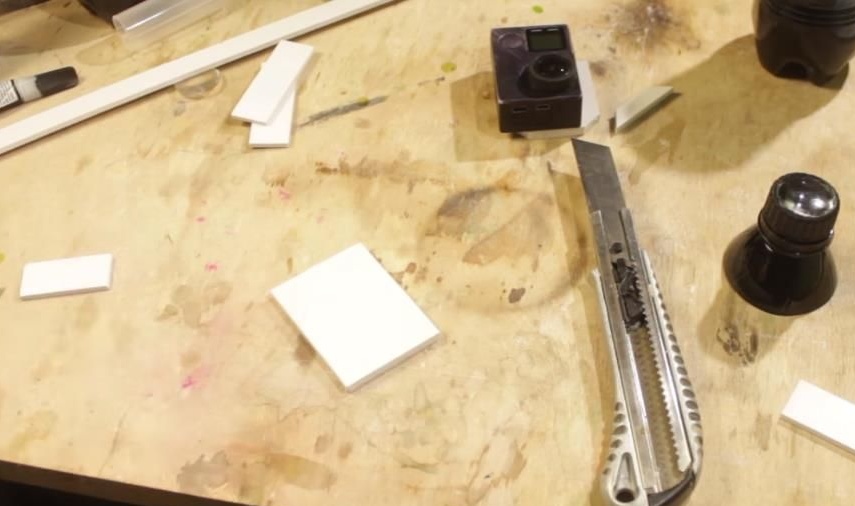
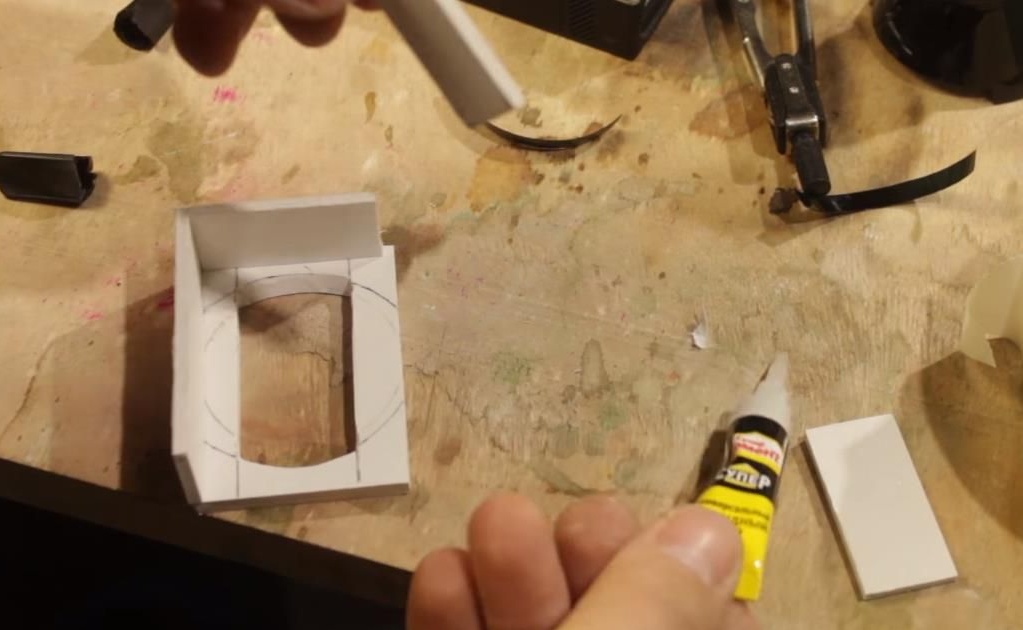
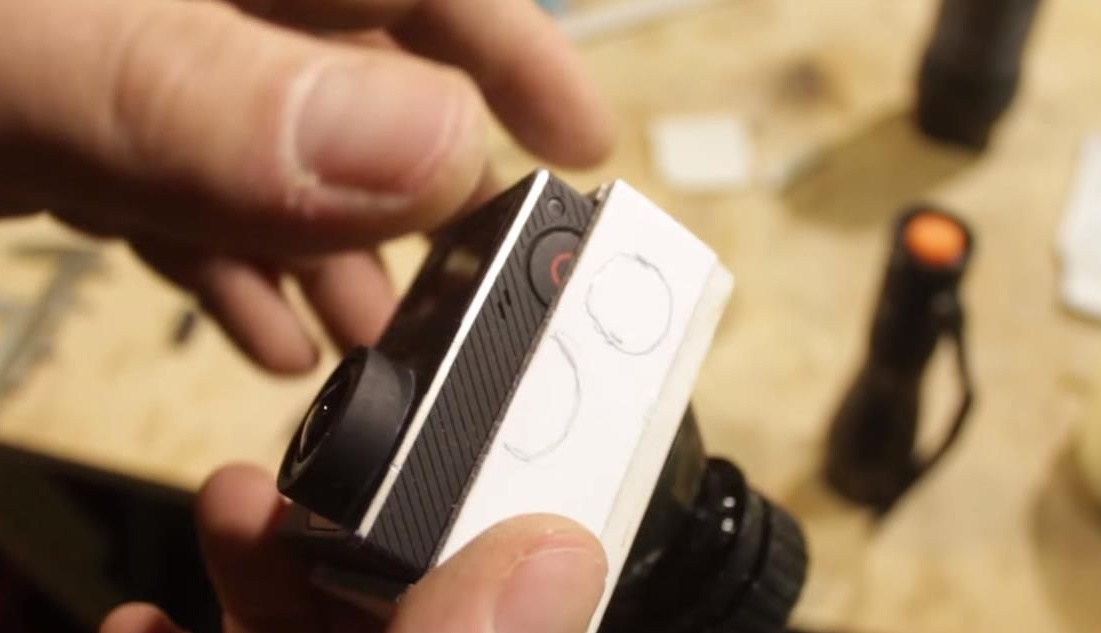
Next, you need to come up with a holder for the camera, to which the assembled optics will subsequently be attached. The author used foamed PVC plastic which is used in the assembly of models. It needs to be cut into pieces according to the size of the chamber to make boxes and glue them together with super glue.
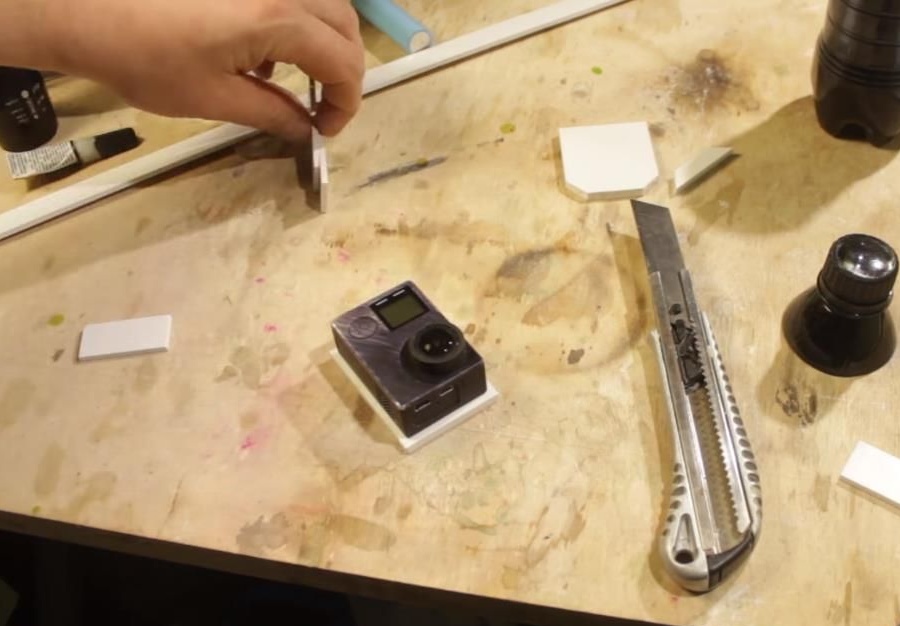
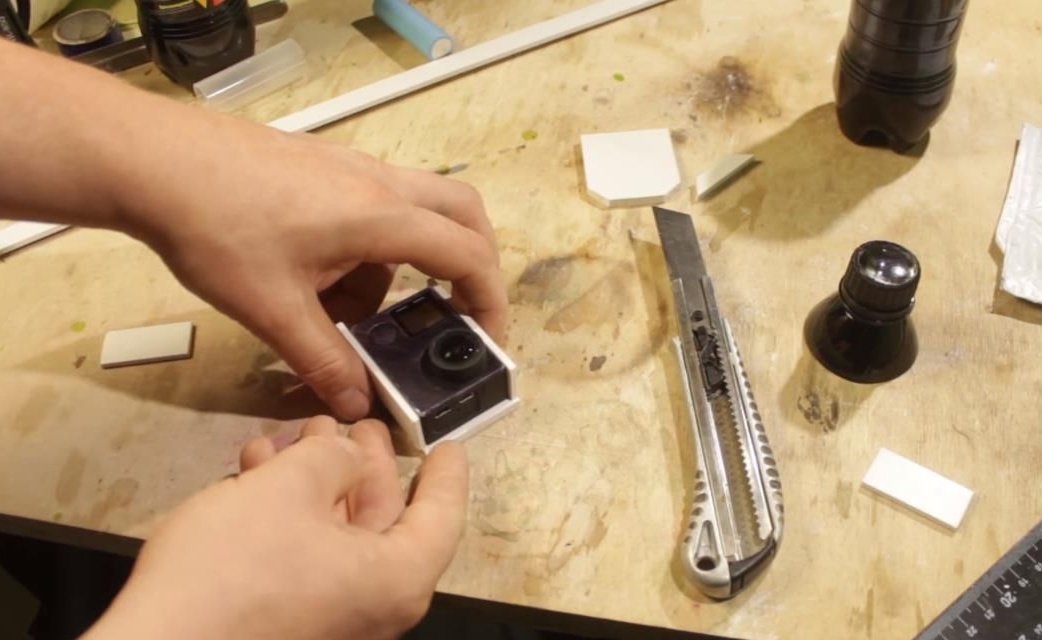
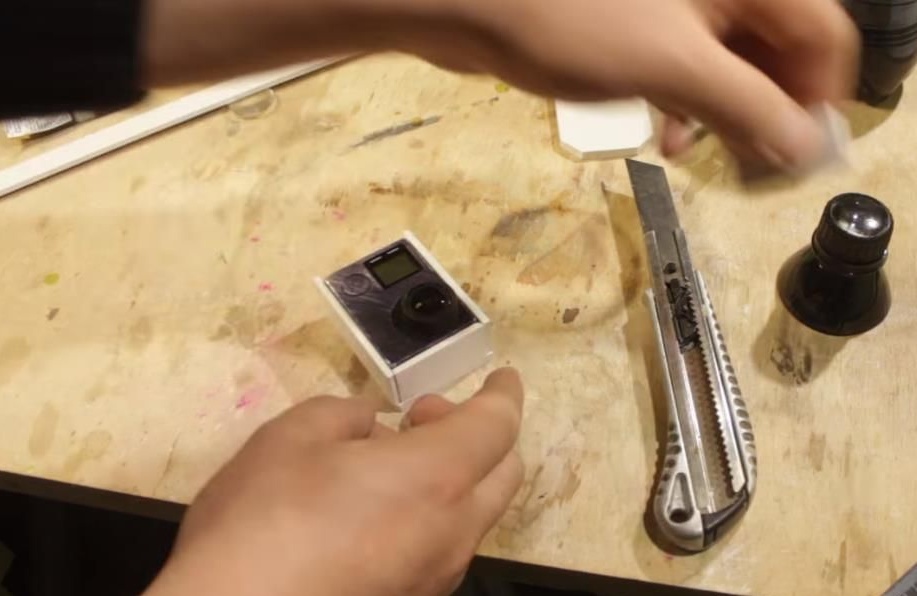
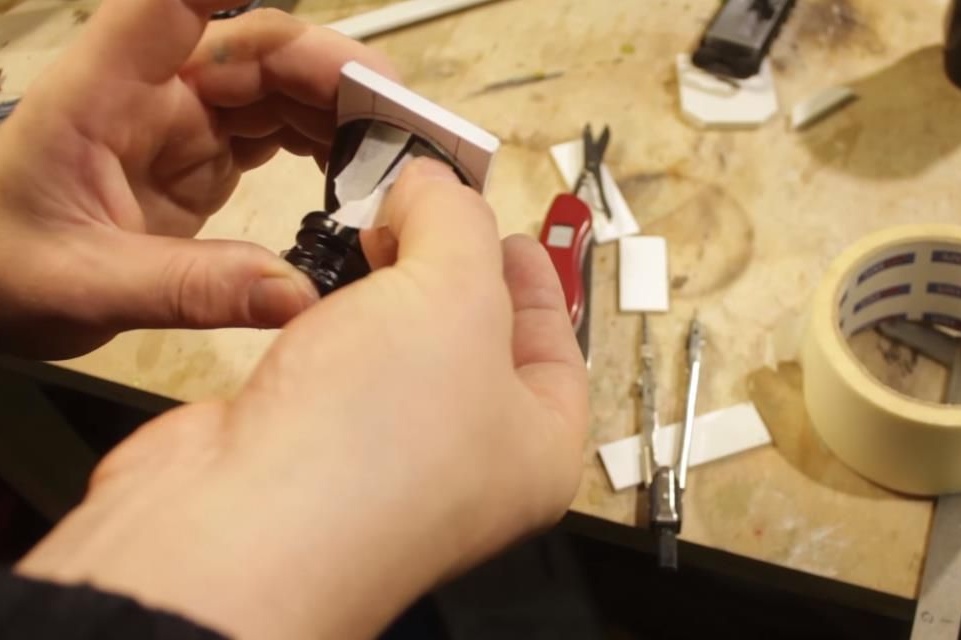
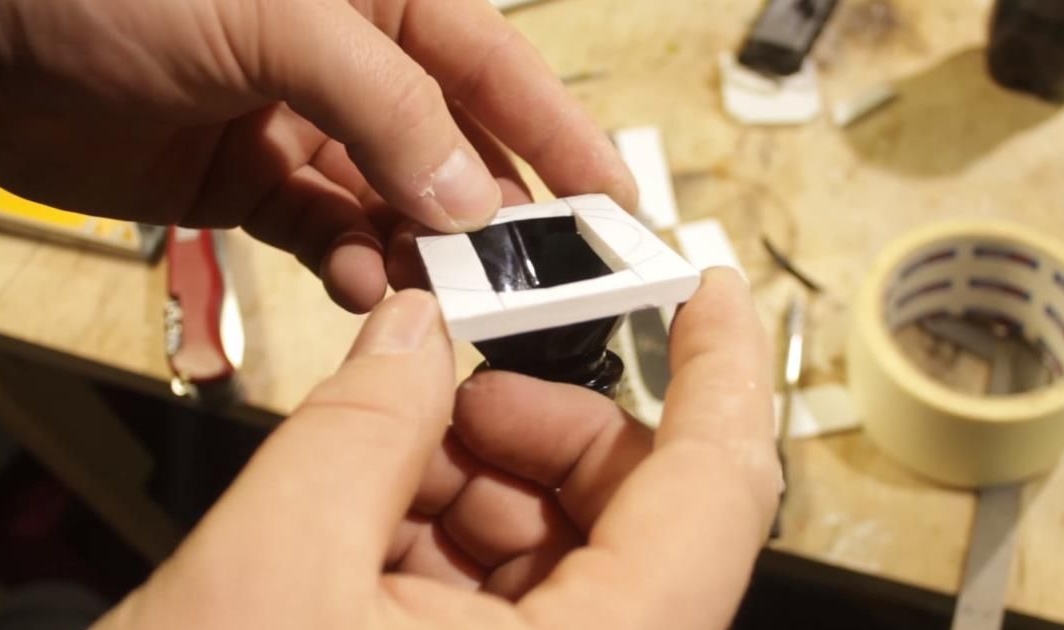
Next, from the side of the screen, you need to make a viewing window, for this we take a piece of PVC plastic cut to the size of the camera, attach optics to it, mark it in the center and cut a window to fit the screen.
Then you need to fix the optics from the segment of the bottle to this viewing window. To do this, mark the edges of the window with molar tape and cut off all the excess without touching the tape. You will get two protrusions that should be easily inserted into the edges of the window, after which we glue everything with super glue to fix it.
Next, glue the box, install the optics in place and glue it in a circle.

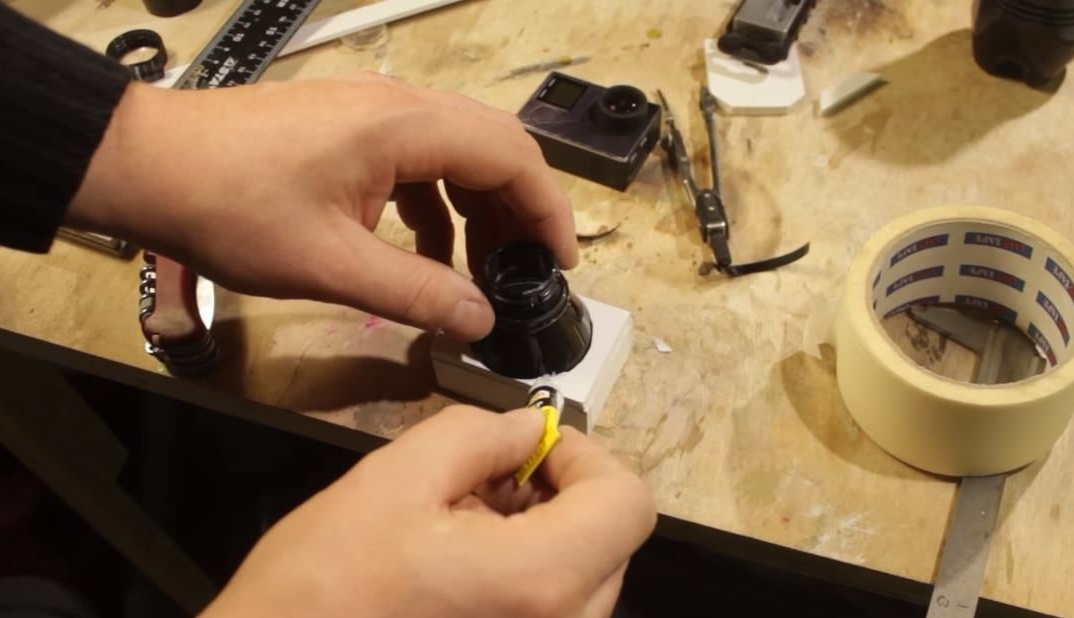
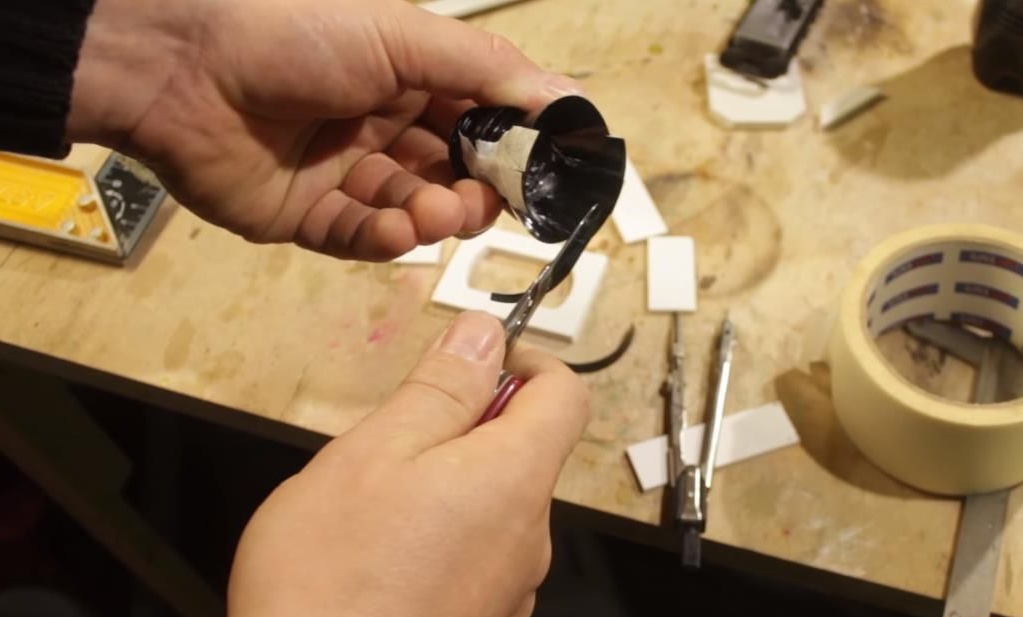
After assembly, the camera fits very tightly into the resulting box and there is a chance that the camera cannot be pulled back, so the author decided to make slots for the fingers and the record button. After a little refinement, the camera can be removed from the box without any problems.


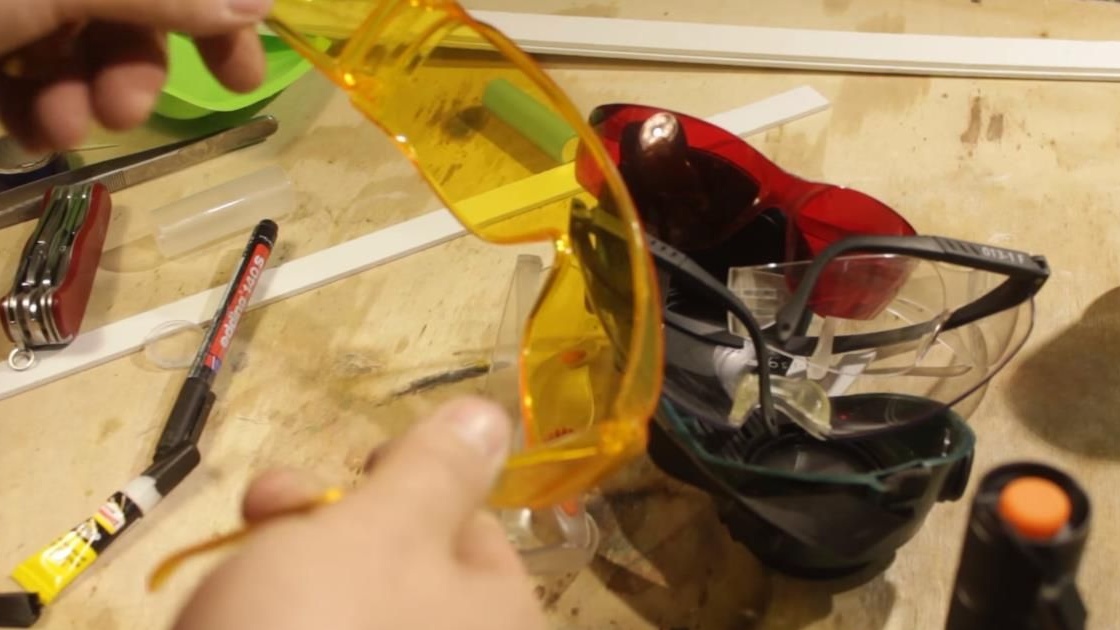
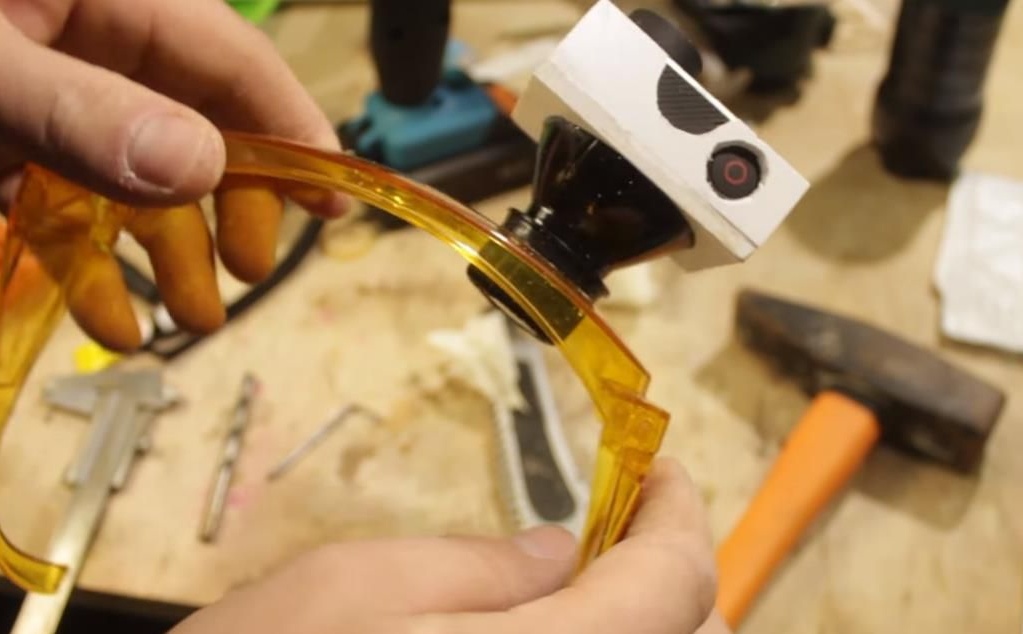
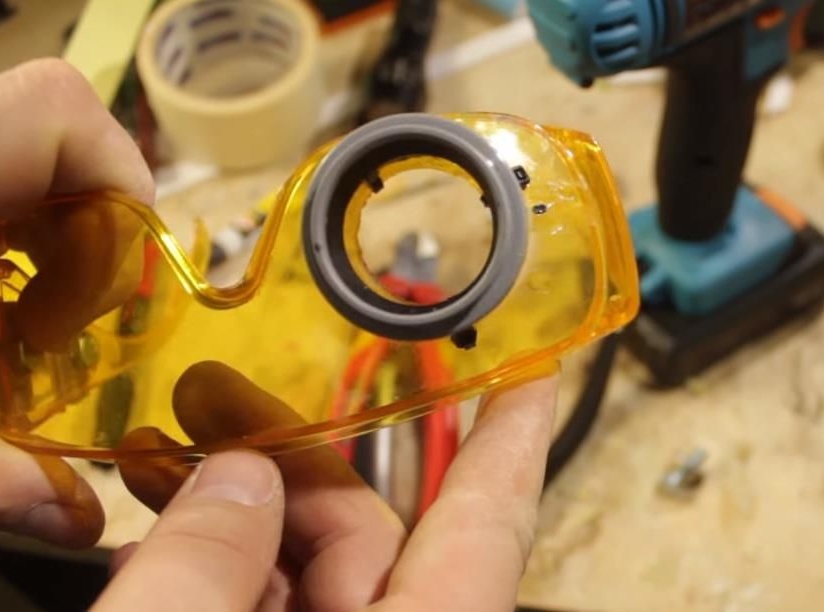
For the main frame, the author used protective plastic glasses.
Next, we apply optics to the glasses and try to find the center, with a marker we make a point in this place.

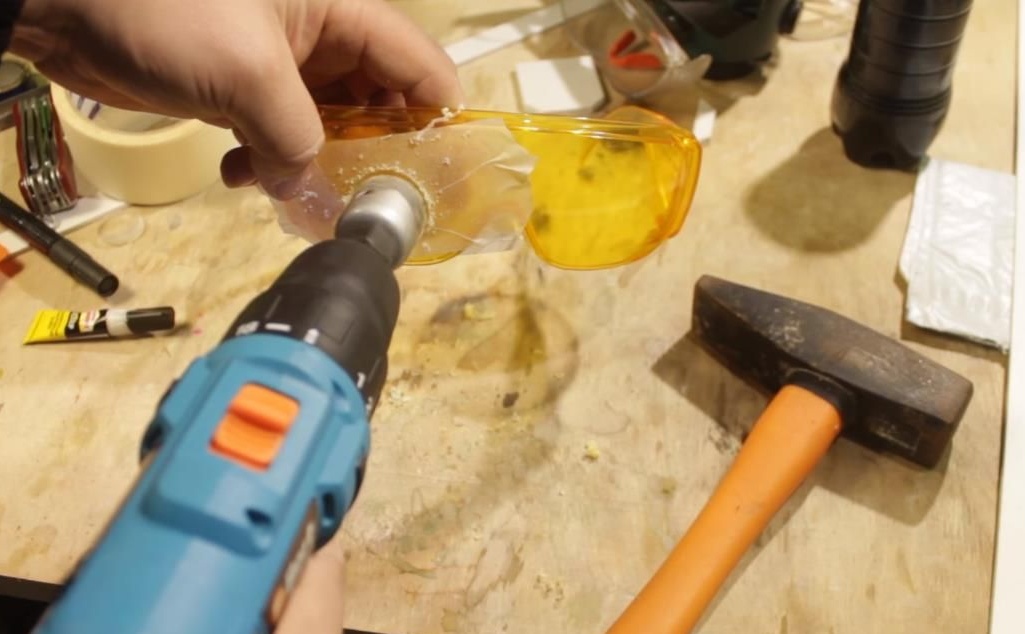
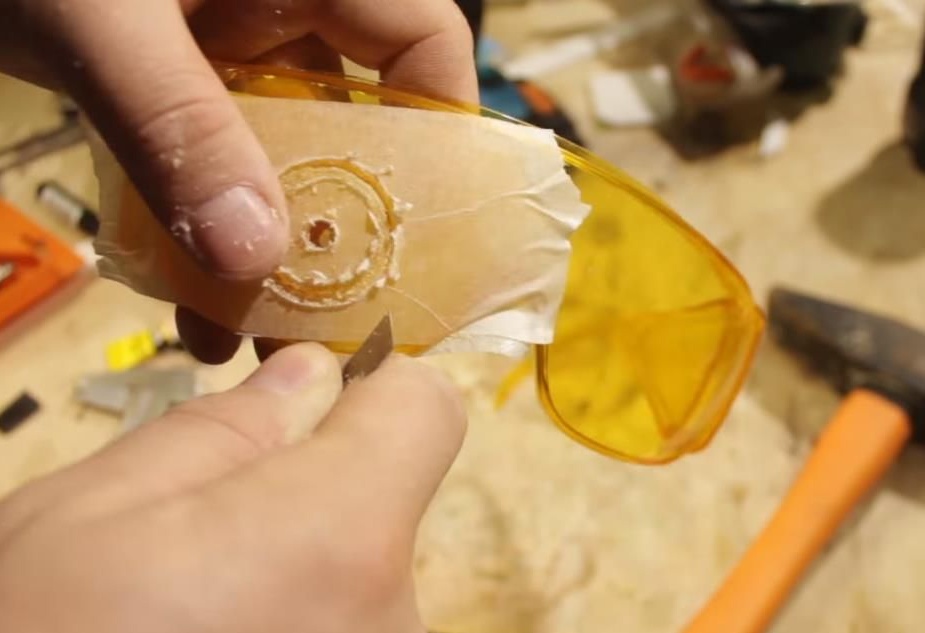
To protect the glasses from chips, glue the glass with molar tape. We take a crown and drill a hole in the center evenly from two sides. The author recommends that you do not drill completely, leaving a thin plastic, then finish the hole with a clerical knife, this will help to avoid possible chips and cracks during drilling.
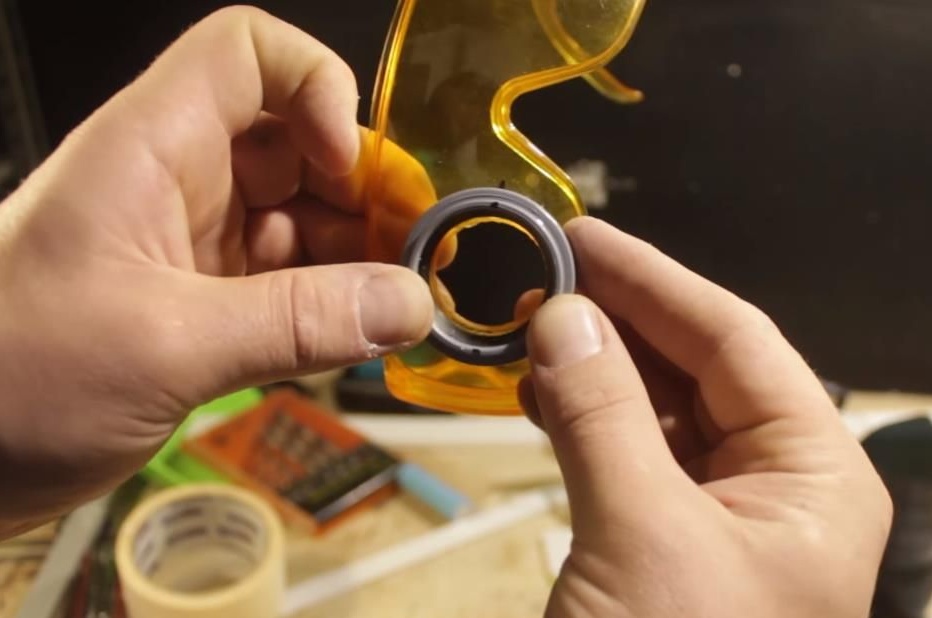
After the hole is made, the optician should be freely inserted there, but as can be seen in the photo, the camera is directed to the side and needs to be aligned.
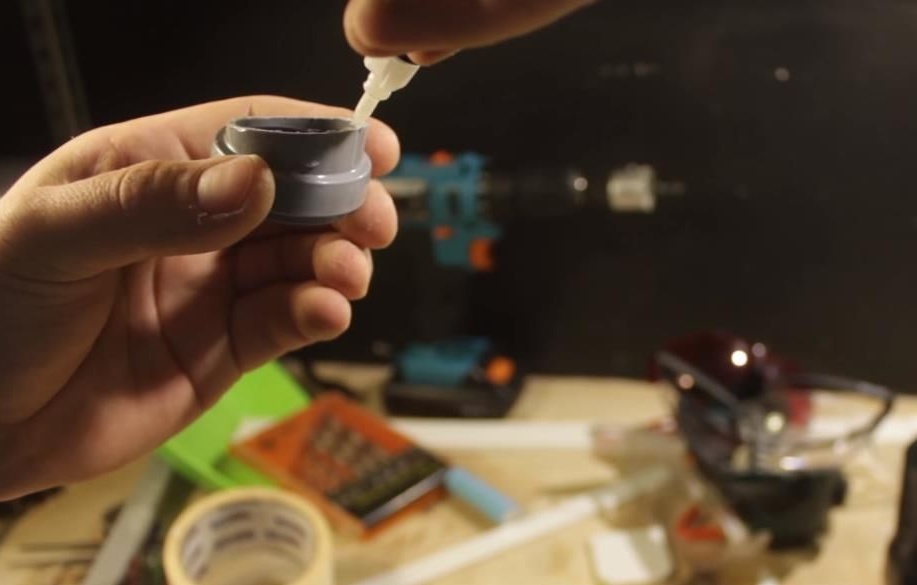
To fix this problem, the author took a piece of sewer pipe whose diameter is 32 mm and cut it at the right angle.

Then with the help of sandpaper I cleaned all the edges and using super glue glued everything in its place.
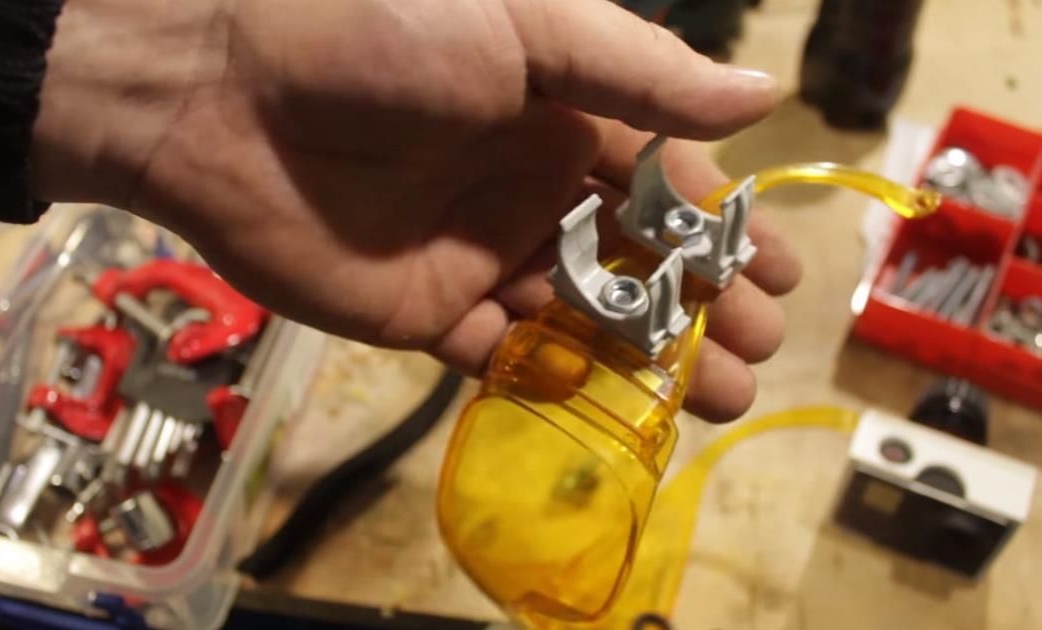
To fix the lamp, plumbing clips of the required diameter were used, which are selected based on the size of the lamp.
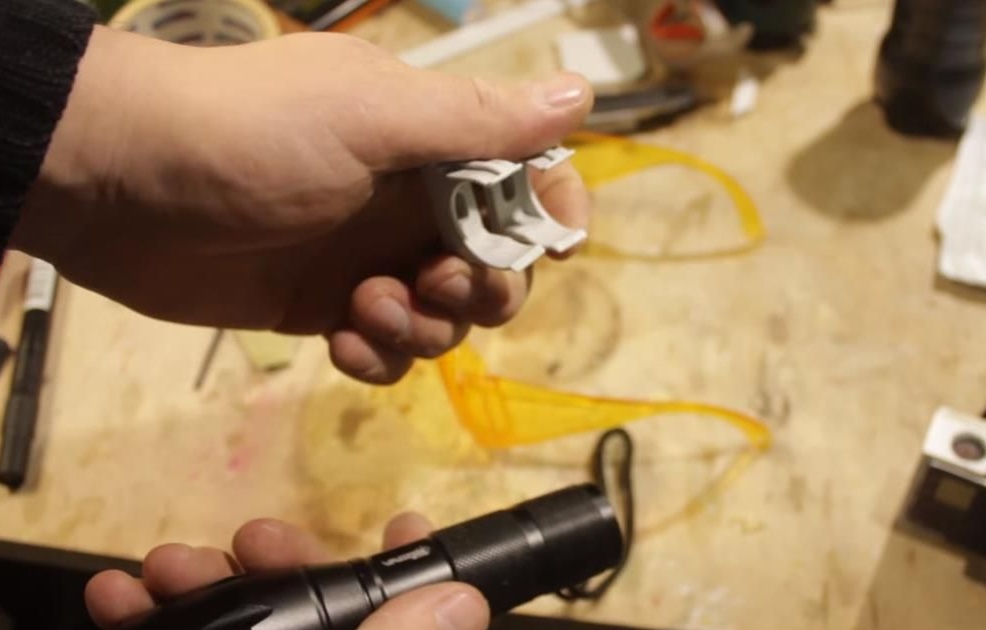
The clips are attached to the side of the glasses with bolts and a nut. After that, the flashlight is easily fixed and reliably holds in place. You can replace the infrared lamp with a regular one and, as mentioned above, shoot good first-person videos.
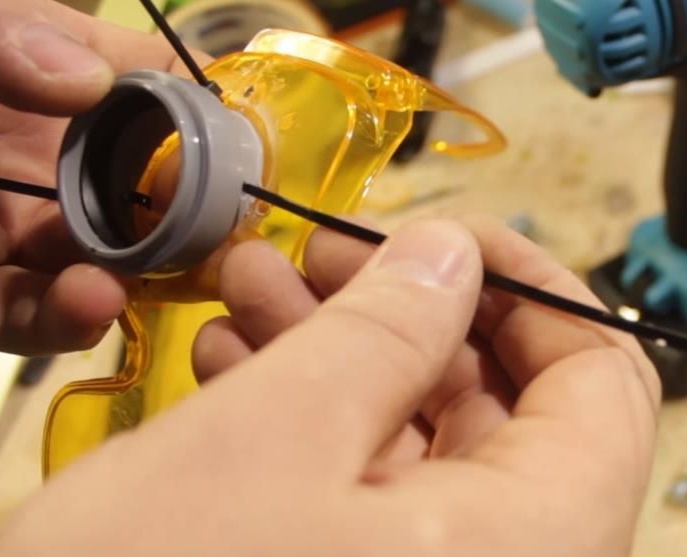
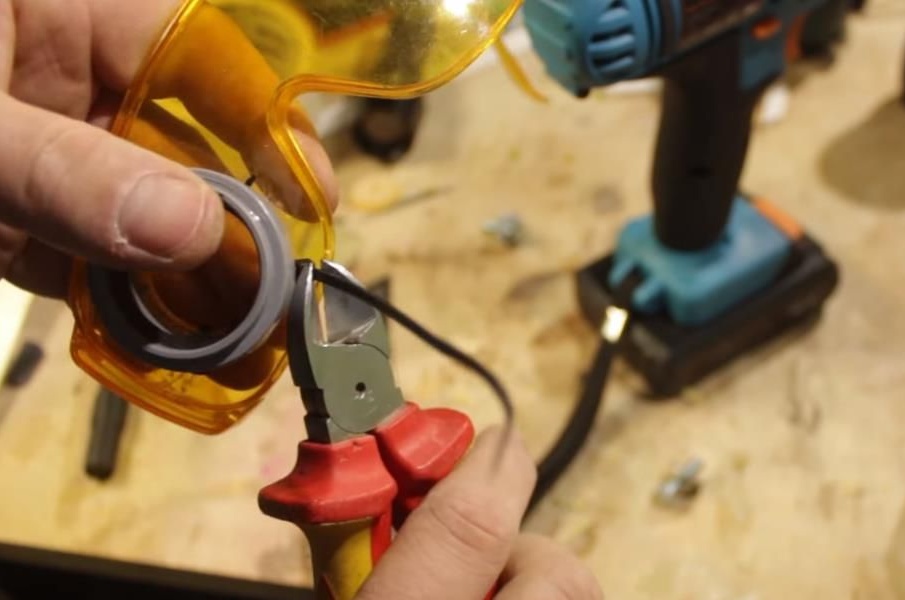
For a more reliable fixation, the author recommends fixing the 32nd pipe with nylon ties, since the camera has a weight and the fastening on super glue may not withstand it. To do this, with the help of a drill and a screwdriver, we make three holes in the pipe and three with glasses facing each other, run the couplers in them and tighten them, now it’s definitely reliable!
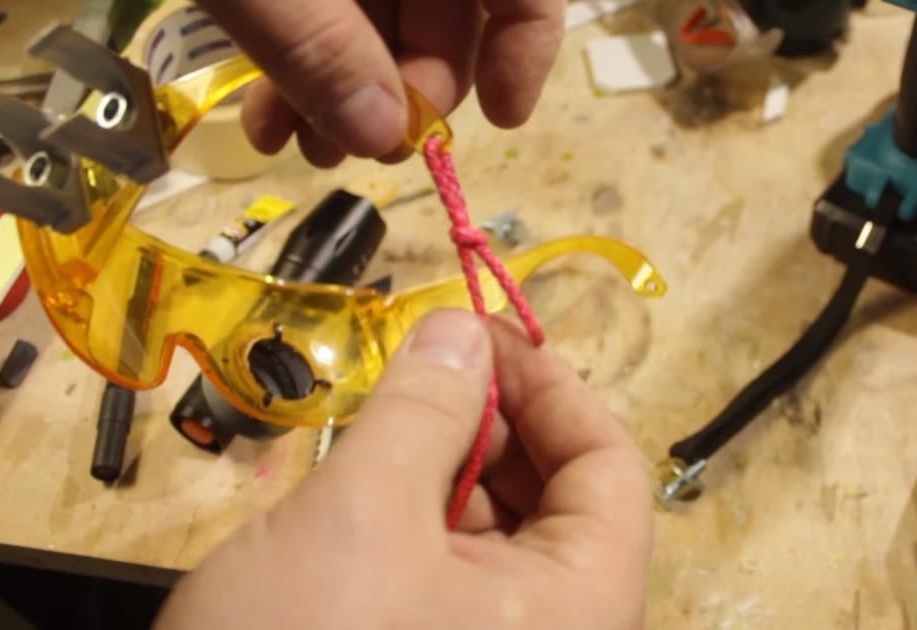
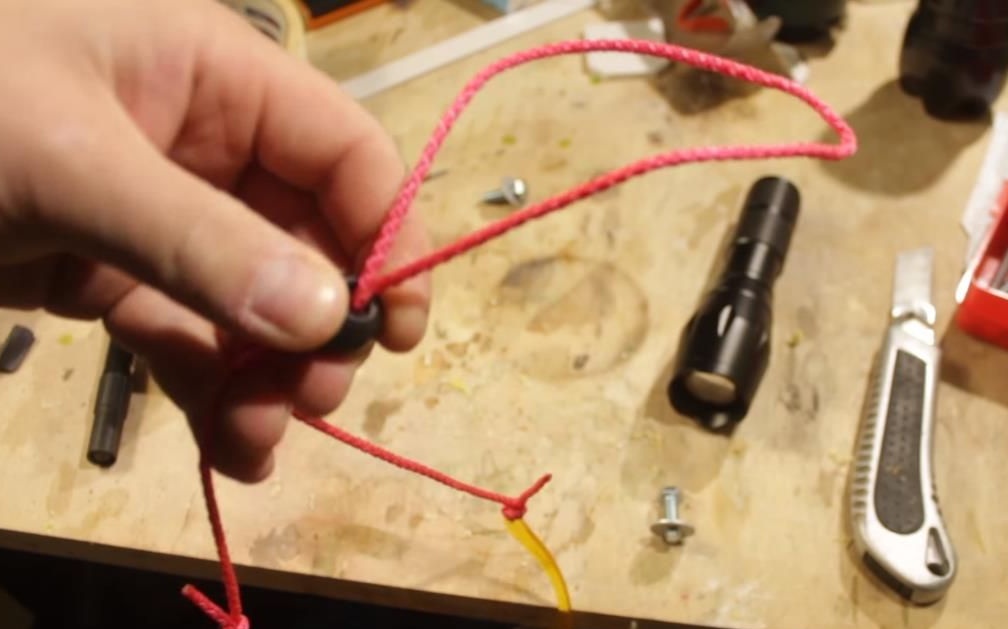
For general fixation of the entire frame, the author made holes in the goggles of the glasses, slipped a piece of rope there and installed a plastic lock, now you can easily select the required length and fix the glasses.
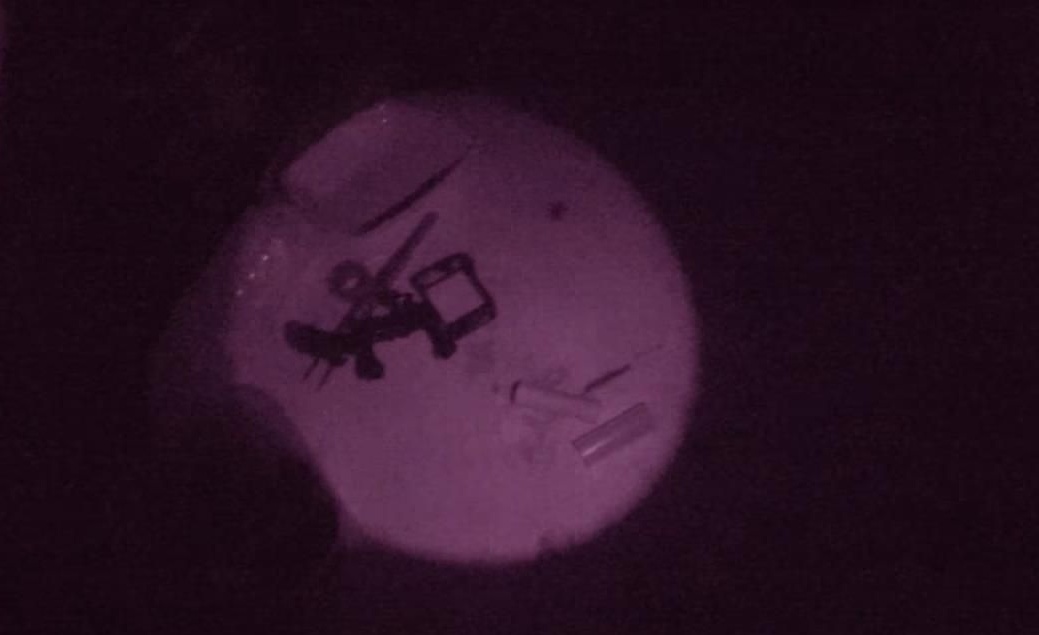
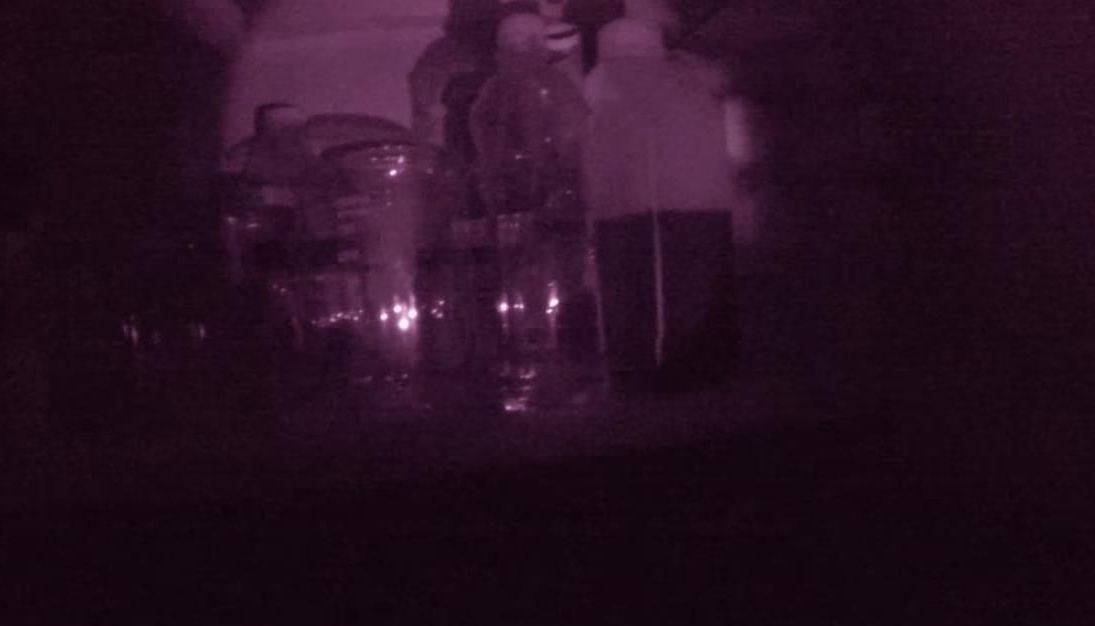
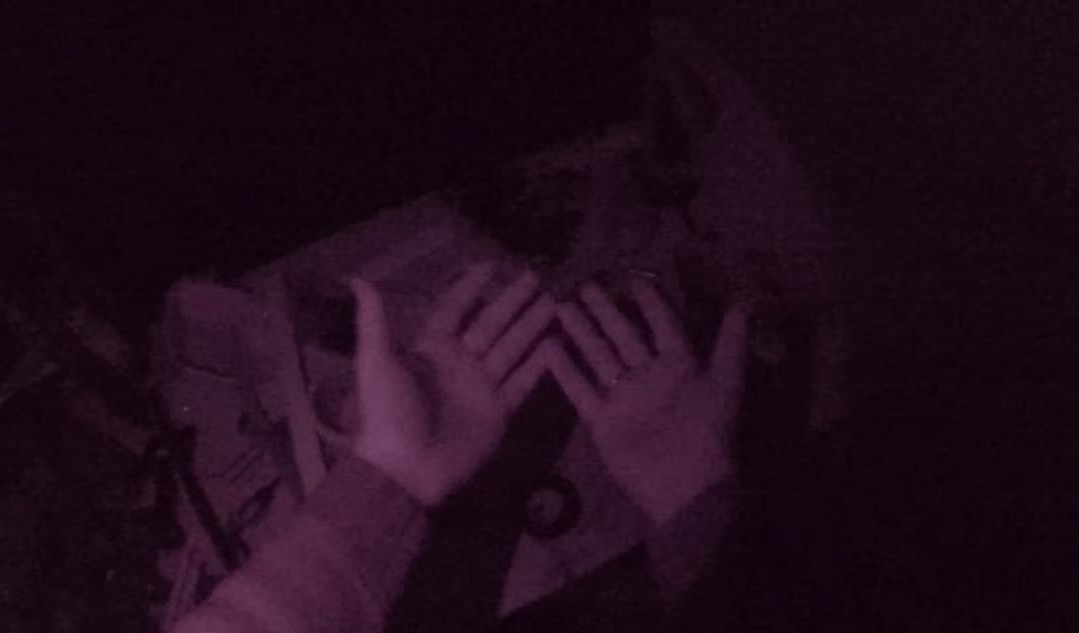
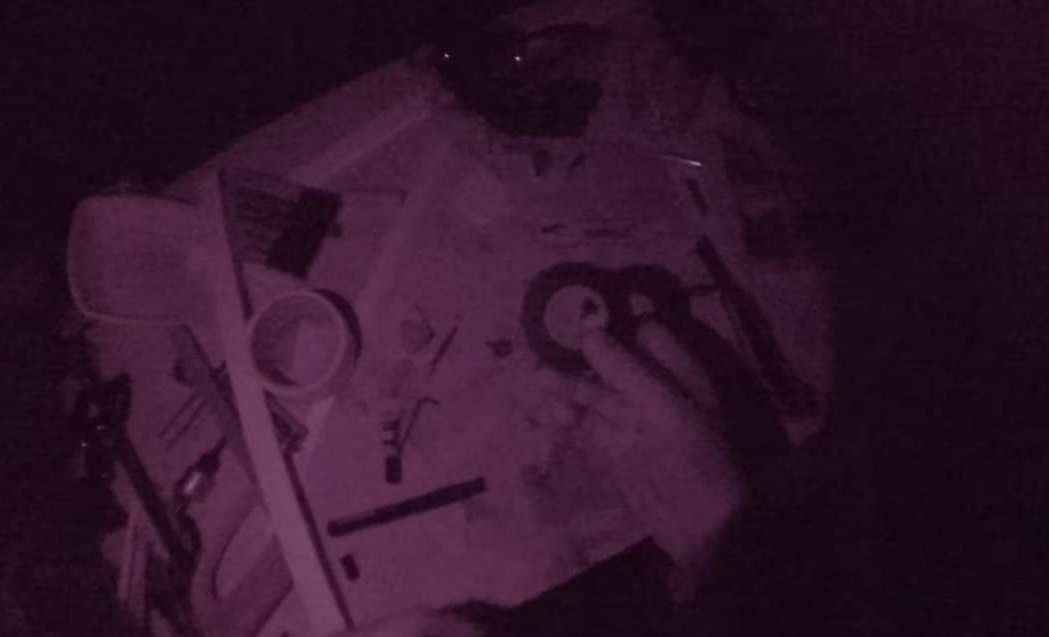
Well, the assembly of night vision goggles has ended! It turned out to be a fully functional device, using which you can easily move around the room in complete darkness, see objects and surroundings. And if you find a camera without an infrared filter, you get quite powerful glasses, which with such a flashlight will see tens of meters in front! The whole structure is collapsible, so in which case you can easily remove the camera and flashlight.
That's all, thanks for watching!
Video homemade: