
Part 1: Accessories and parts needed.
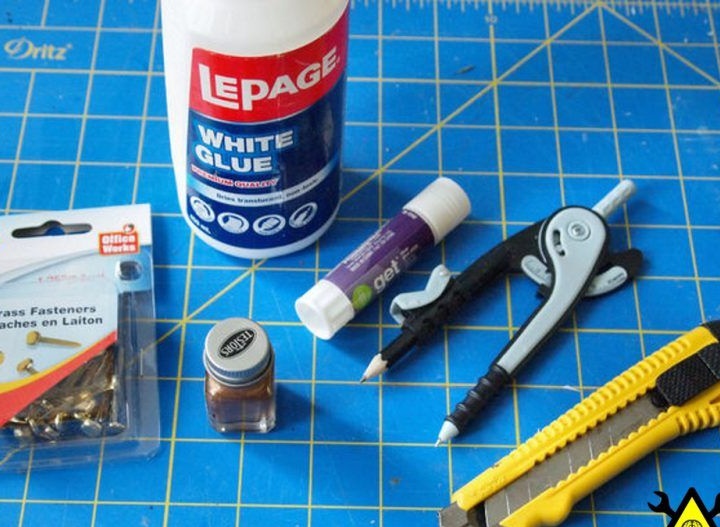
Details:
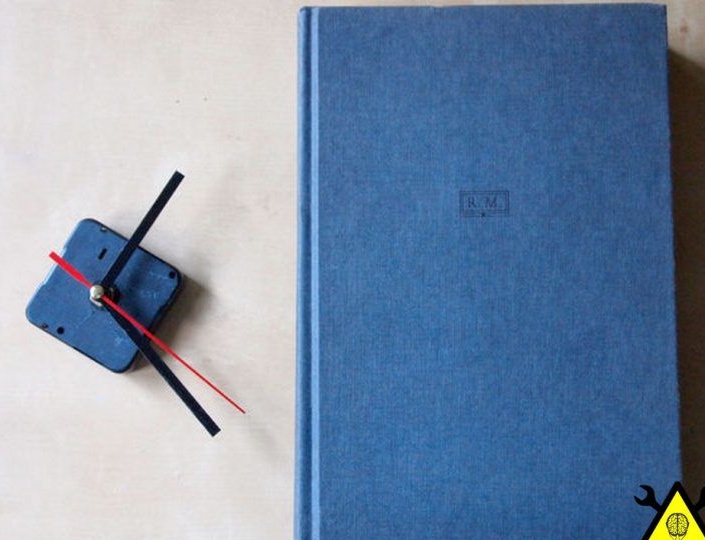
-Book (preferably with a solid base)
- watch mechanism
-Paper or cardboard
-Castle lock
-Gold paint
- Cocktail tube
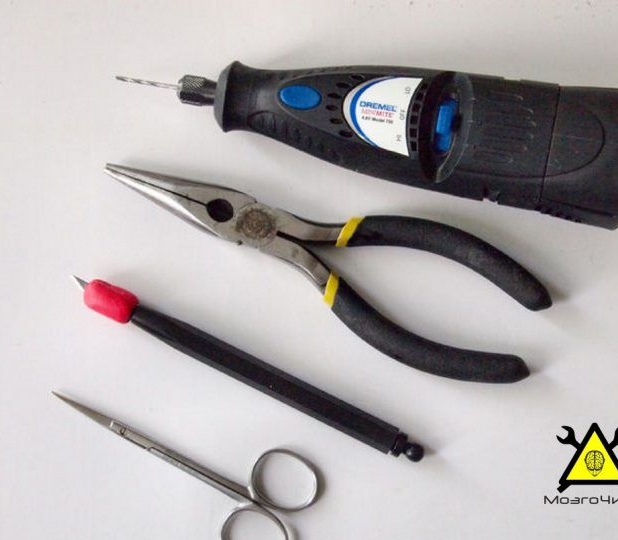
Accessories:
- Office scalpel
-Scissors
-Pliers
-Brush
-Office (compass and ruler)
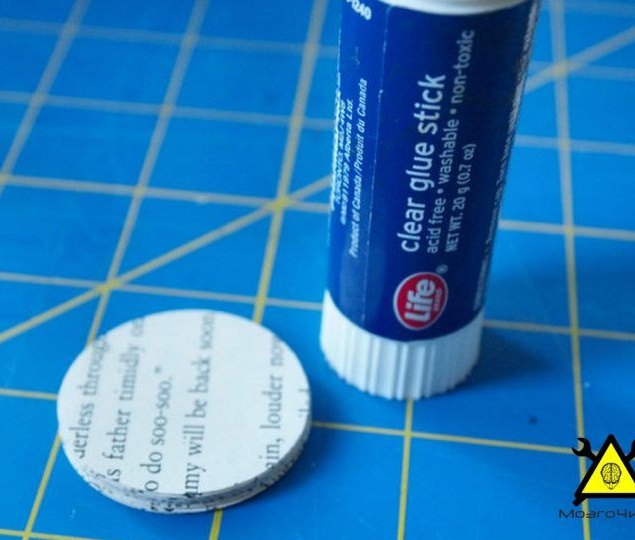
-3 types of glue (PVA, super and pencil)
-Pencil for writing
-Clips
-Insulating tape
According to the words, you can use the punch, but not necessarily.
Part 2: Location of the clockwork.
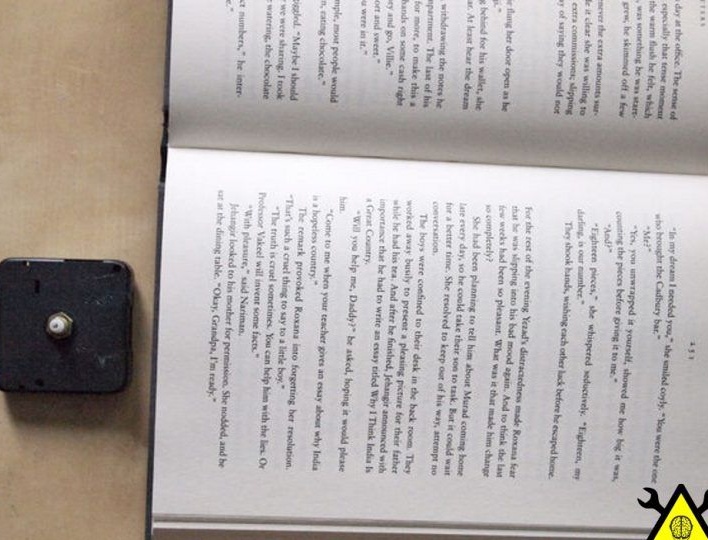
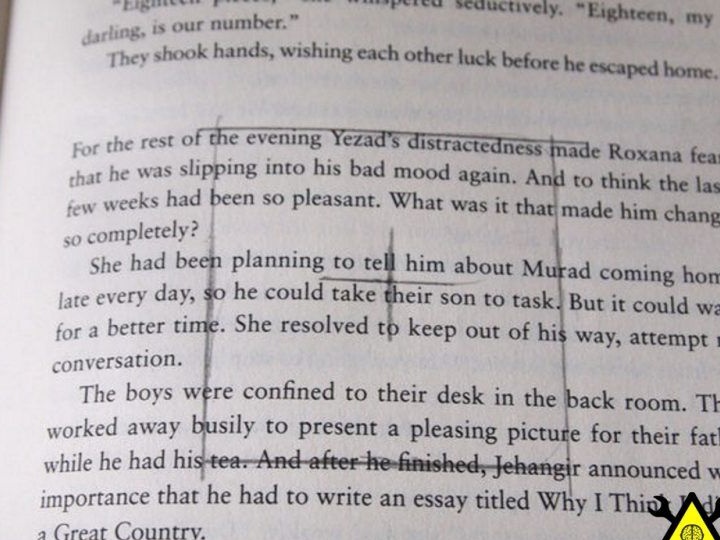
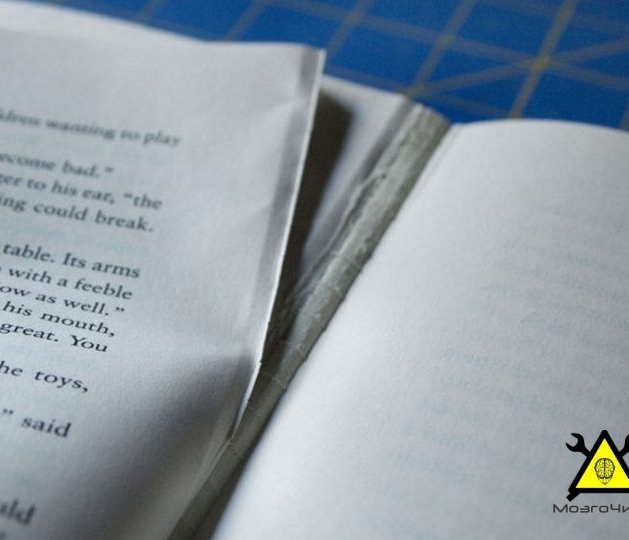
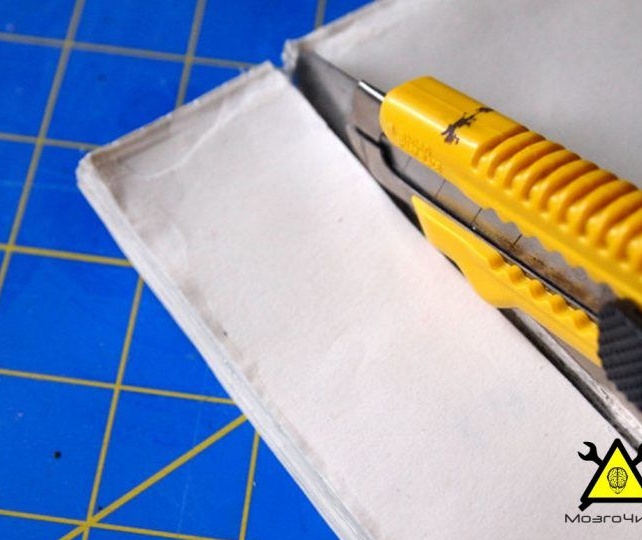
First, the author measured the thickness of the clockwork and calculated the number of pages in the book, which he later cuts out. Then he unfolds the book and searches for the middle of the page. Then he circles the clock mechanism at the center level that he recently found.
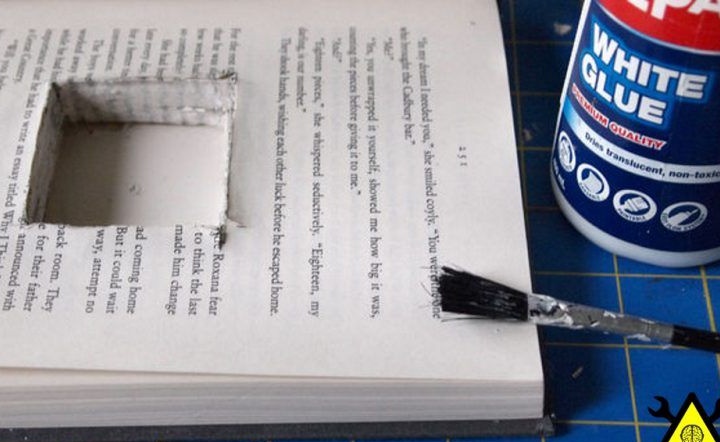
Now he cuts holes with a knife. After cutting, you need to make sure that the clock mechanism is well inserted. Next, the author removes the clock and glues the pages of the book together. For further excellent operation of the watch and for easy battery replacement, the author does not glue the last page.
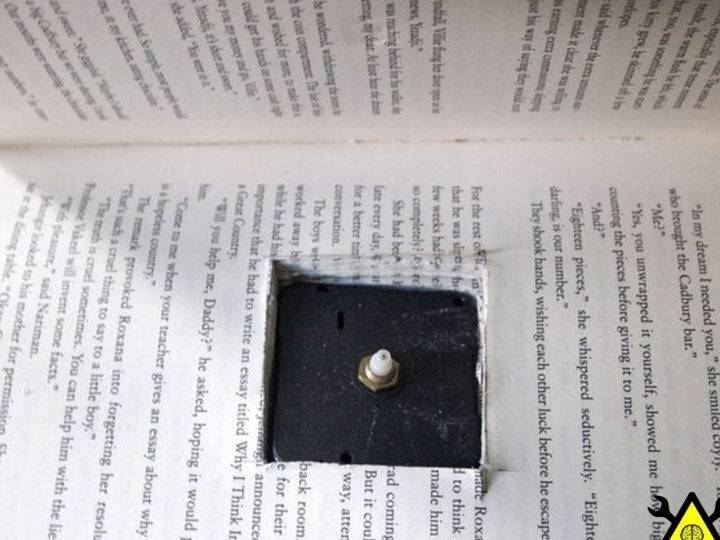
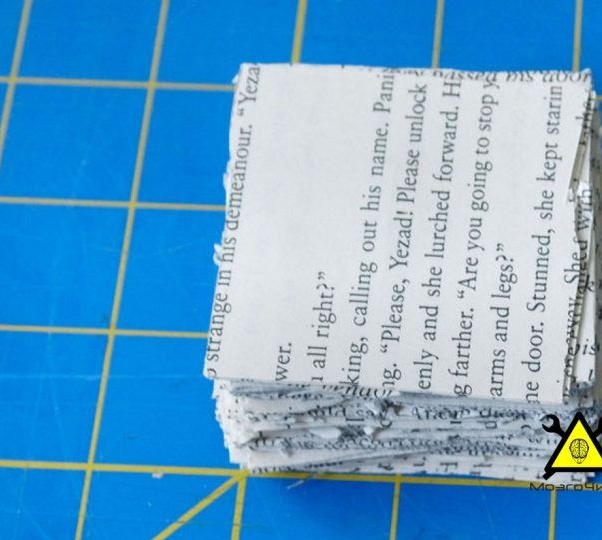
Save the chopped squares for the next step.
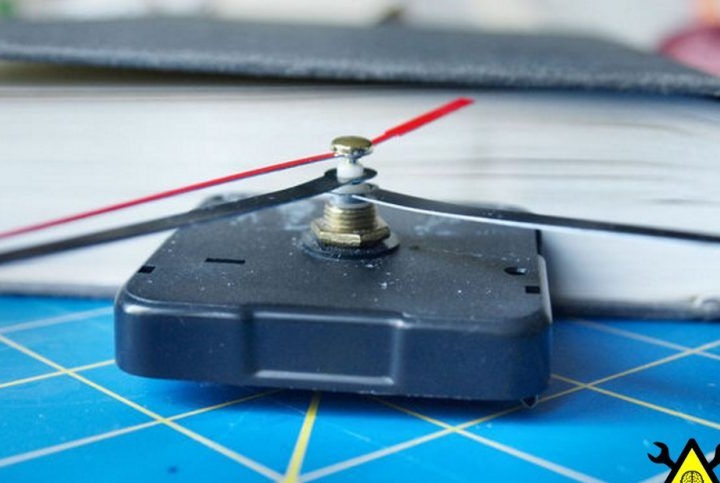
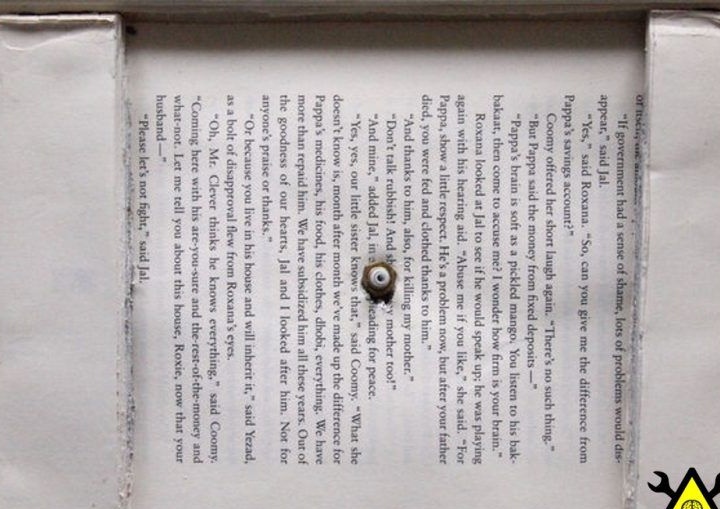
Part 3: Shaft clearance.
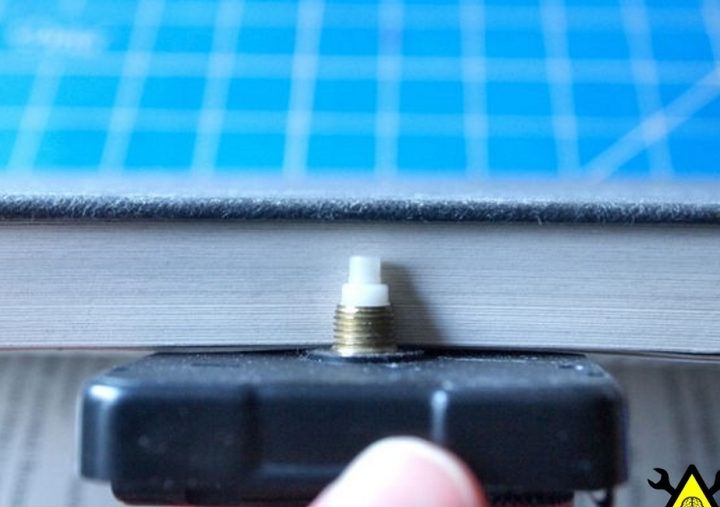
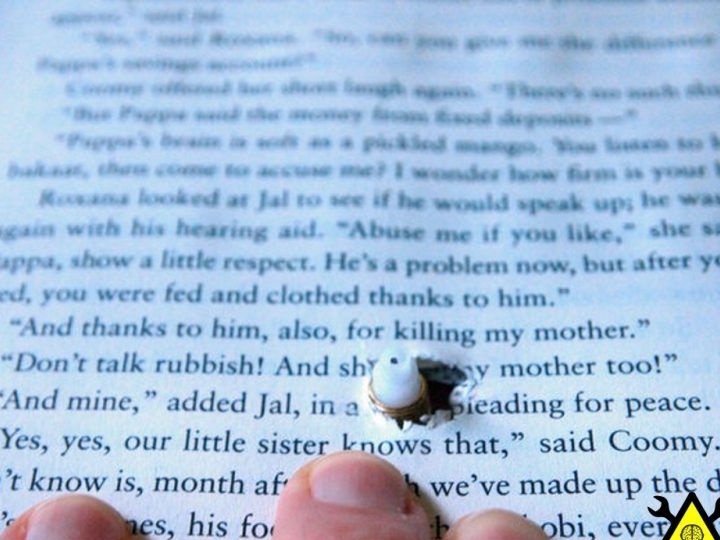
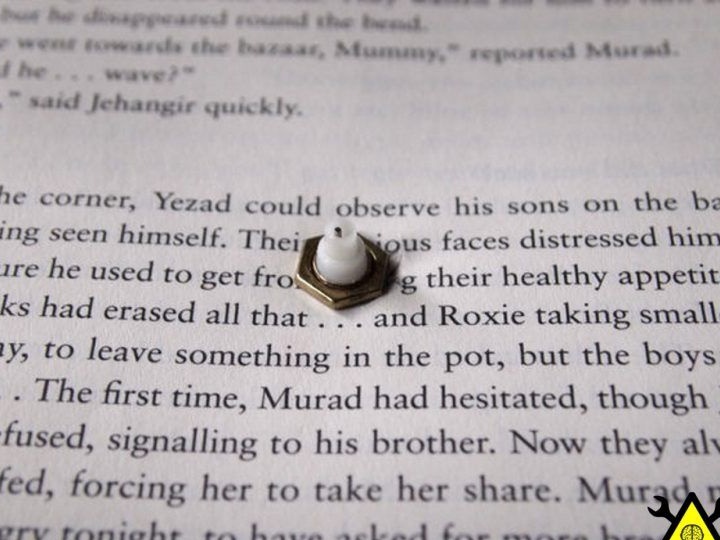
For easy installation of the mechanism and for easy closing after installing the book, the author tears off several pages from the remaining non-glued half. We leave several pages in front of the front polytour and cut out small circles in them, which are necessary for the passage of the shaft. Next, the author screwed the nut to fix it.

Part 4:
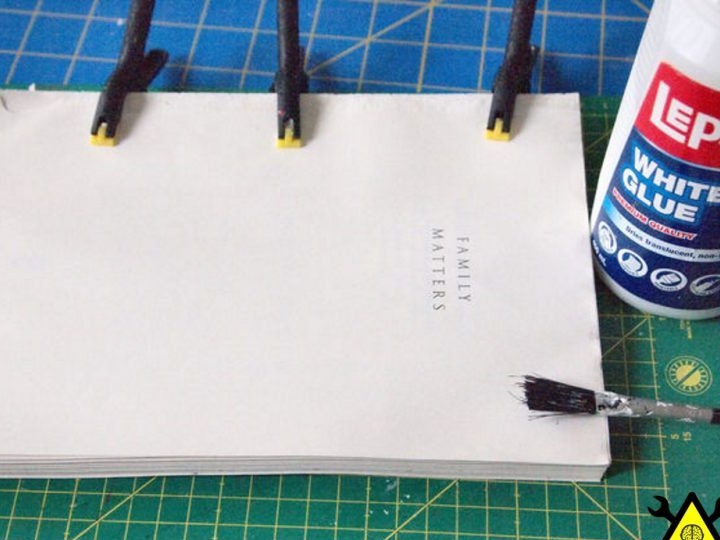
In order not to bother, the author glued torn pages, and then cut a couple of strips of 25-40 mm. Then he places them along the top and bottom of the book. They will be used as pads. According to the author, then it’s better to make sure there is enough space for the dial. We glue and fasten the strips with a vise to hold the structure until it dries completely. As a result, the facial palette will be based on stripes, not on the clock.
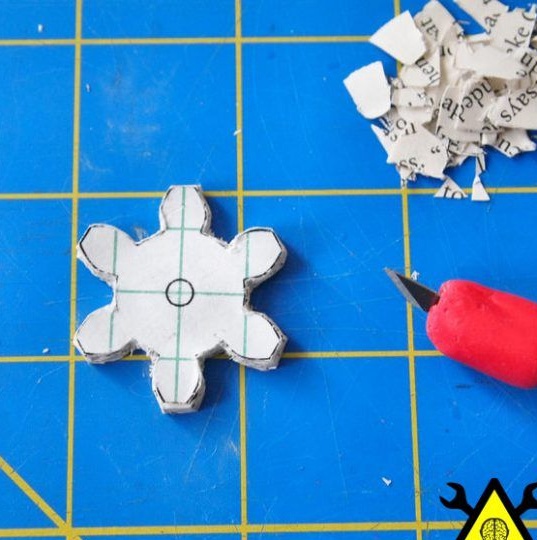
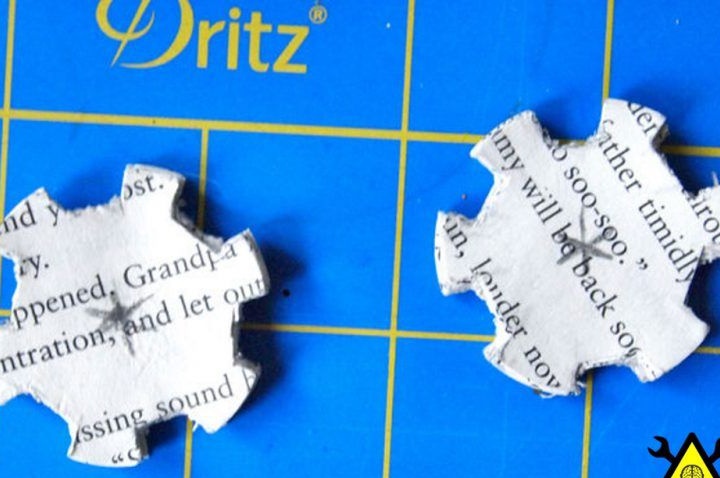
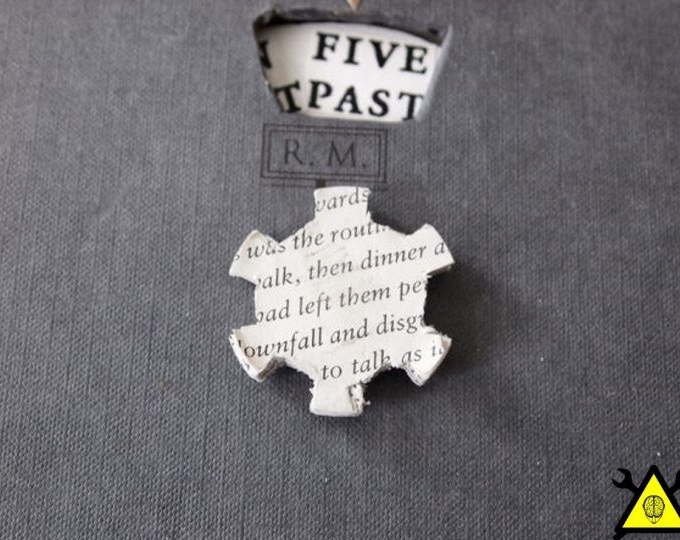
Part 5: Making the gears.
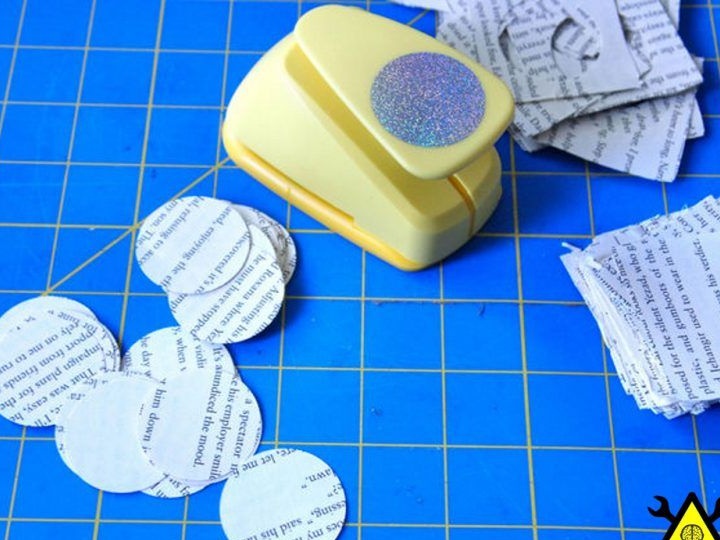
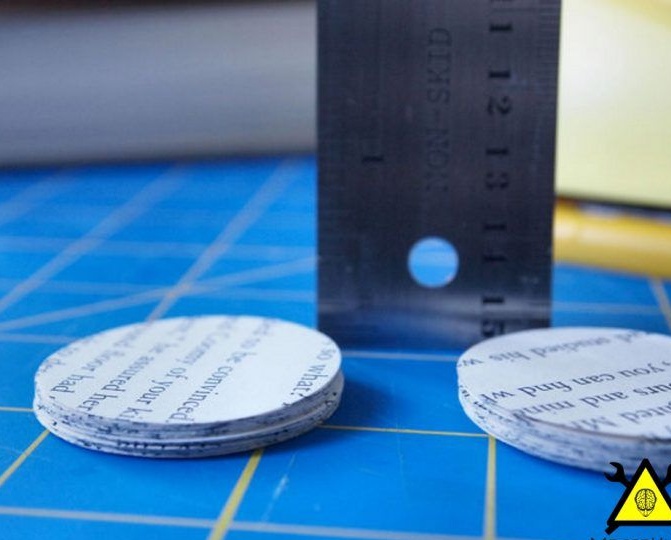
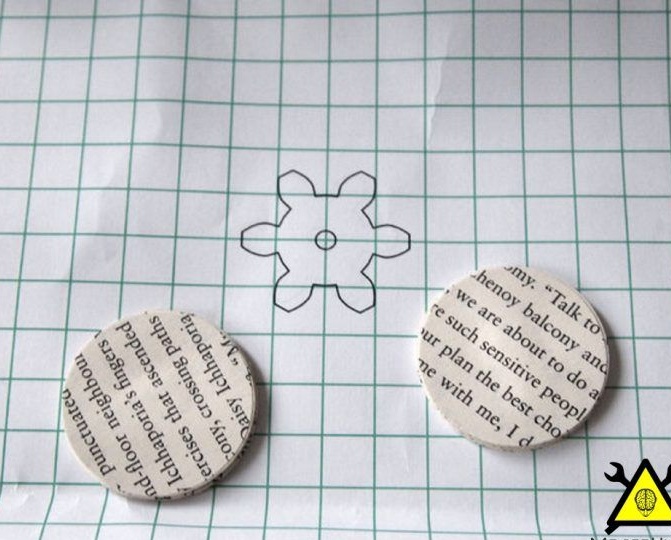
The author cut out 50 circles about 40 mm long in squares. Divide the circles into 2 columns and connect them. Next, cut the gears with a clerical knife.
In the first set, gears have a square tooth shape, and in the second one it is more complicated.
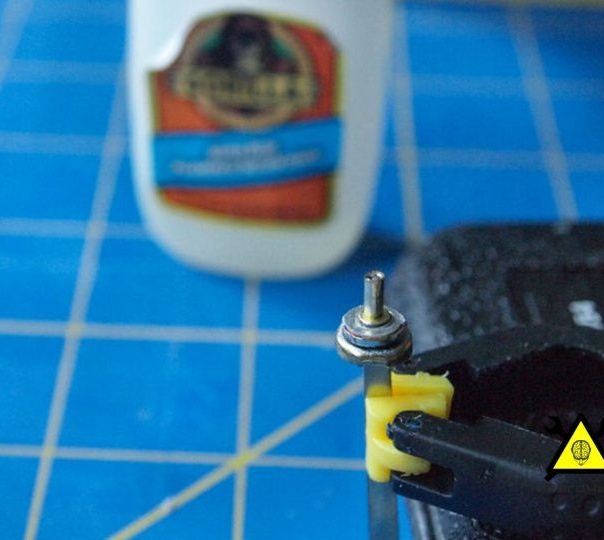
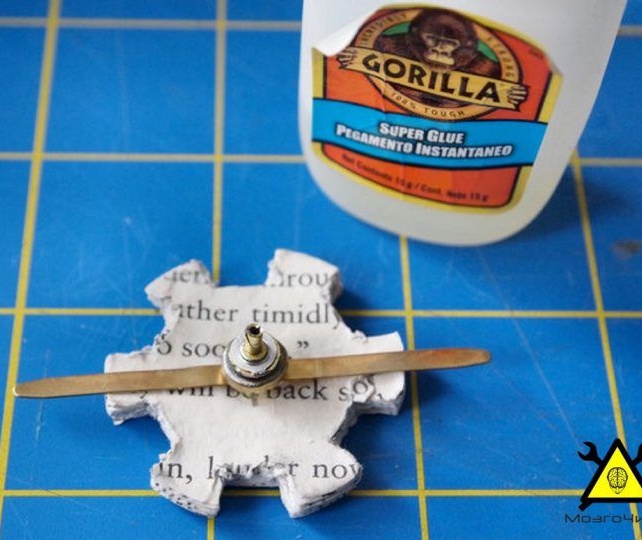
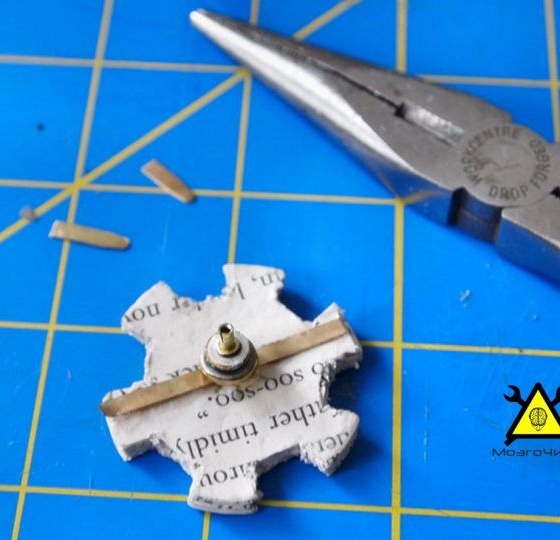
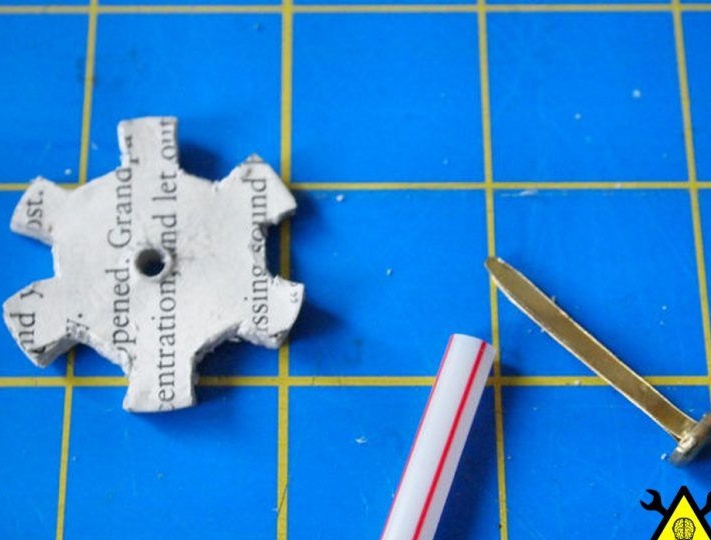
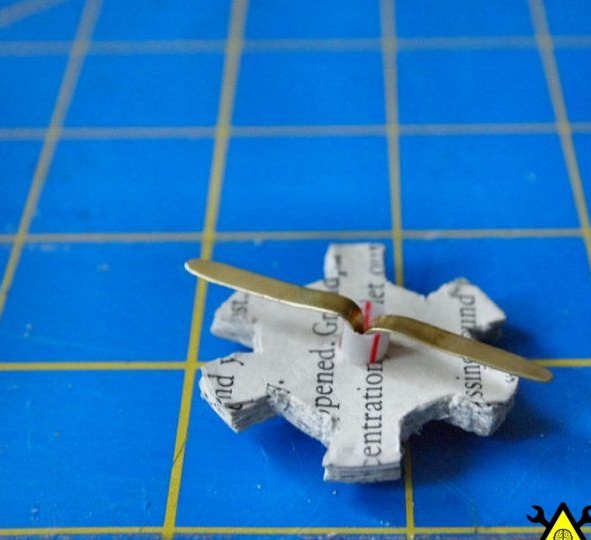
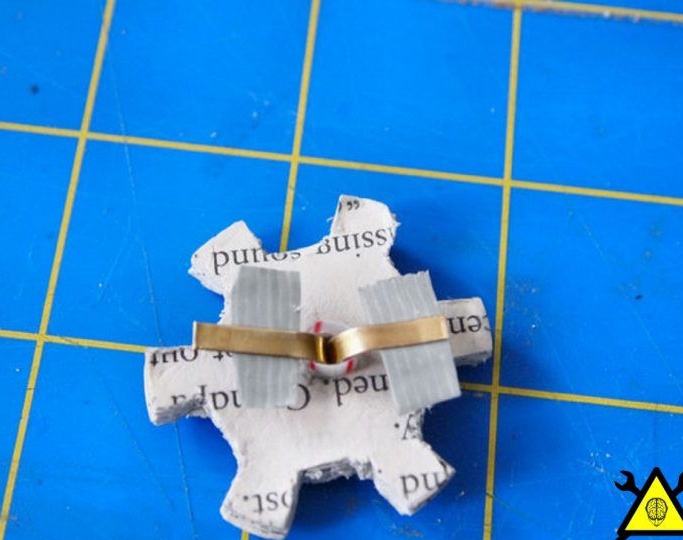
Part 6: 1 gear.
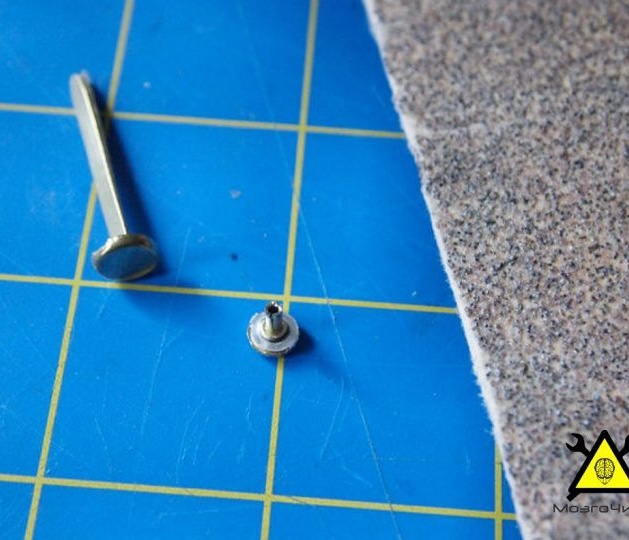
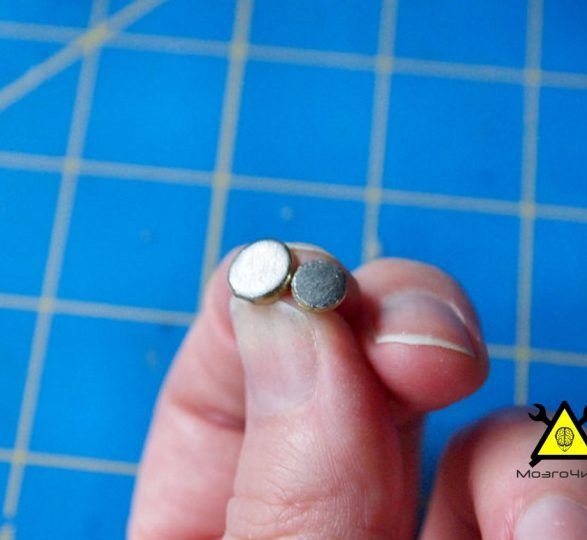
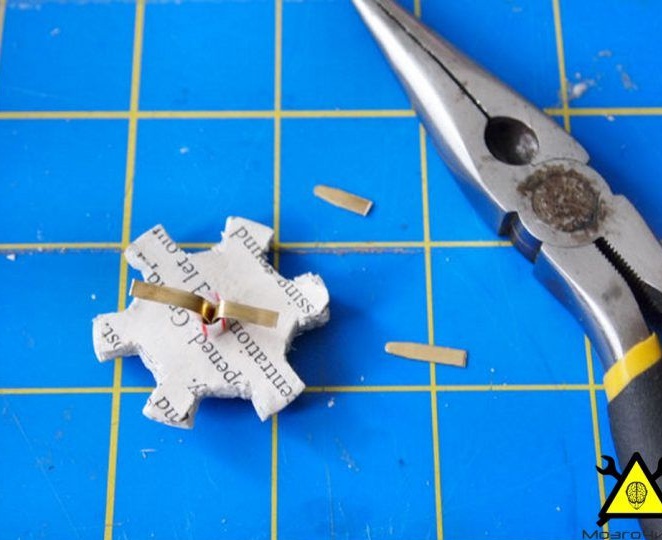
Mark the middle of the gear. 1 gear is attached to the arrow for seconds. We remove it and leave only the pin.Further, the author polishes the upper part with sandpaper and the same part of the mechanism to be fastened. We glue the fastened mechanism to the pin. After the glue dries, the author opens the fastener and glues its petals to the gear, knowing that the pin is located in the gear. Then he cut off the unnecessary parts that interfere with the work of the gear, using nippers.
Part 7: 2 gear.
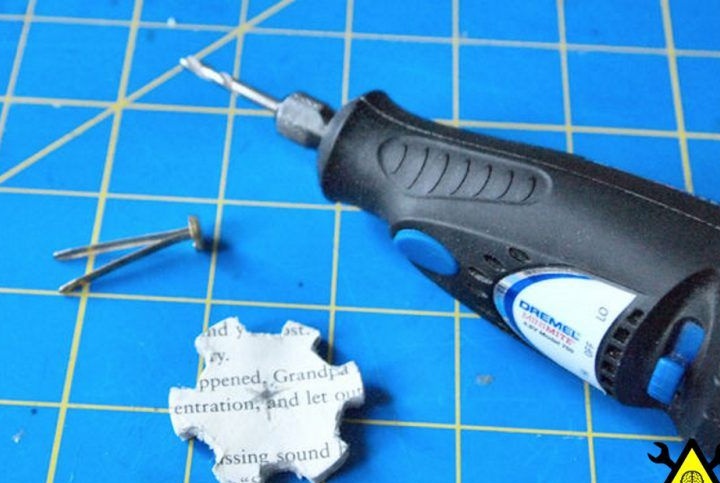
Now, the author drilled holes in the middle of 2 gears, large sizes, so that the button mechanism could easily fit into this hole. Next, the author cuts a small piece of cocktail tubing to remove the difference in height between the gears. Then the author installed the mechanism through the hole in the gear, added a piece of tubule and opened the petals of the mechanism. We cut the petals that interfere with the work of the gear, using nippers.
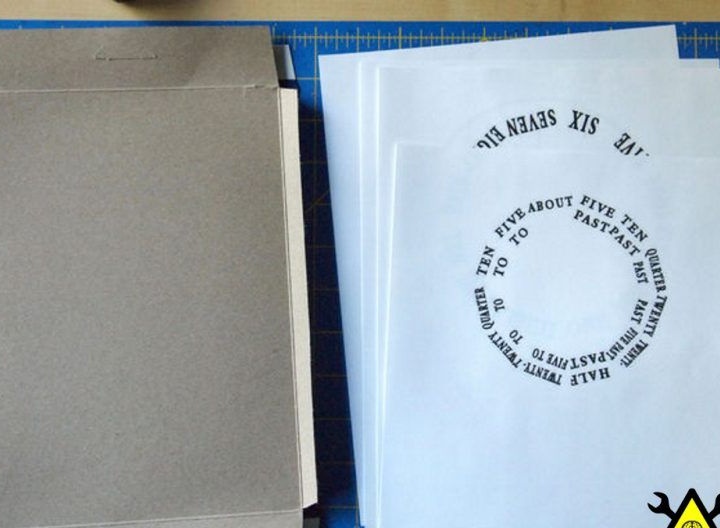
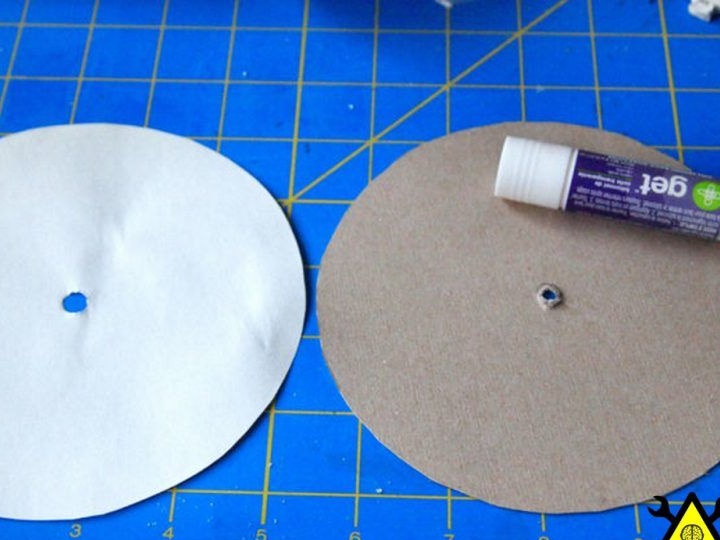
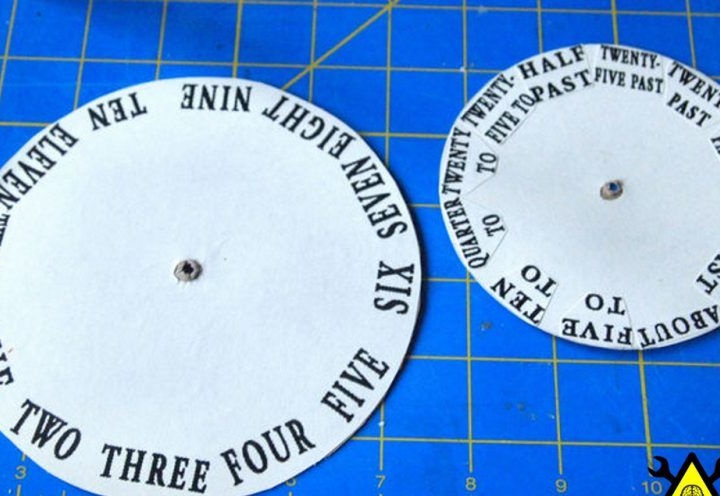
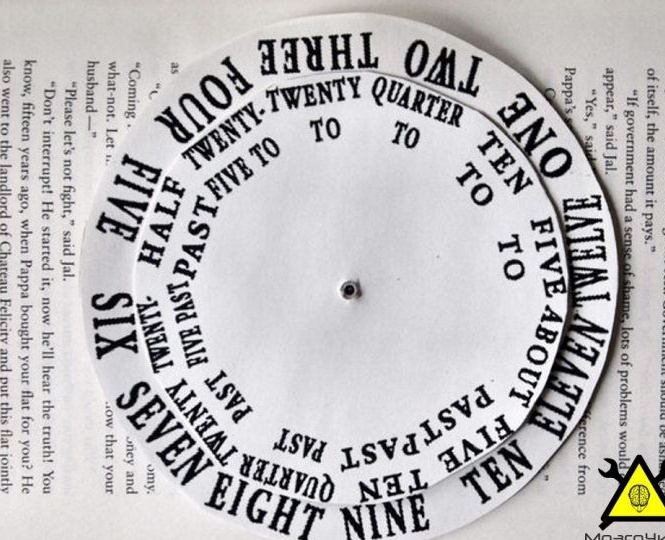
Part 8: Hourly and Minute.

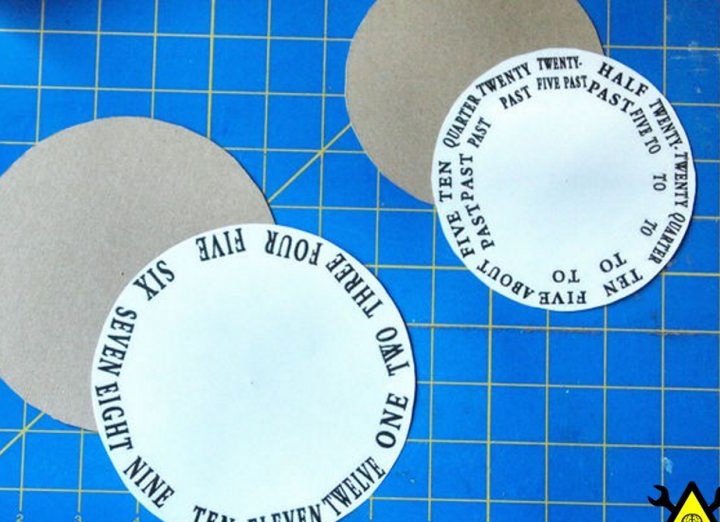
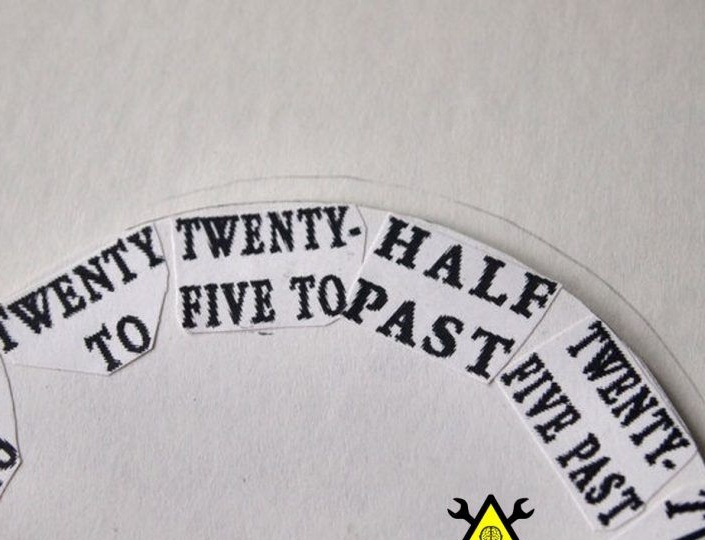
First, the author printed the template. Then he cut out circles and again cut out. Then he glued the templates to the cardboard. Then he made holes in the middle of the circles. We put the sentry on the lower and the minute on the upper shafts. The holes must be very tight so that the circles rotate with the shaft.
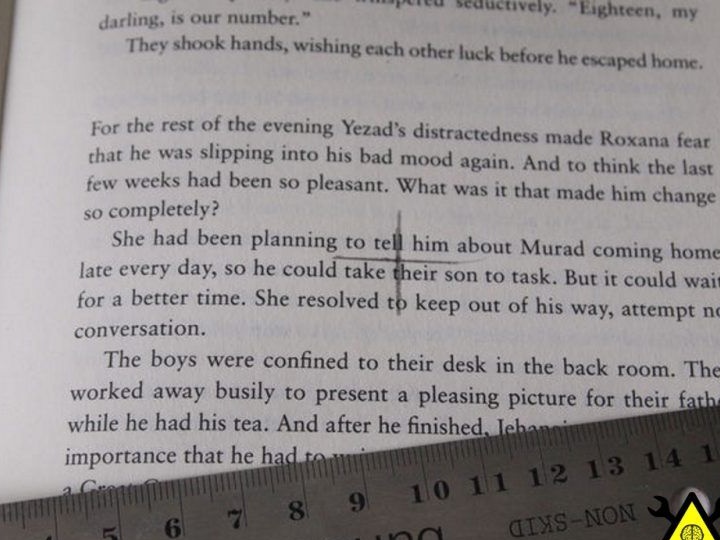
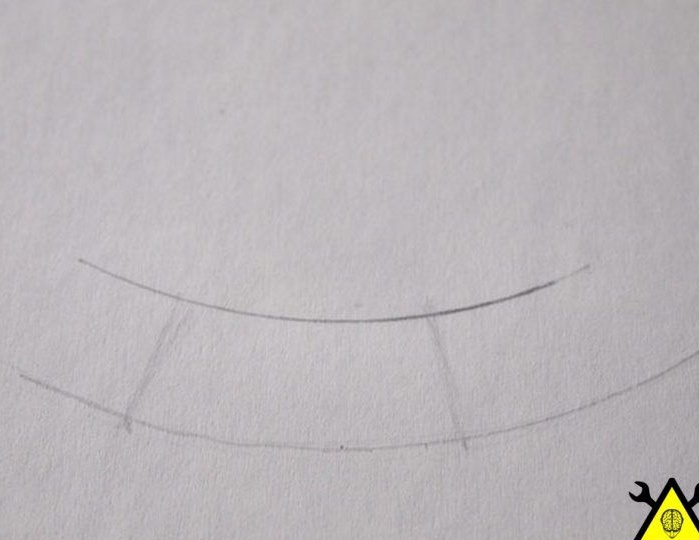
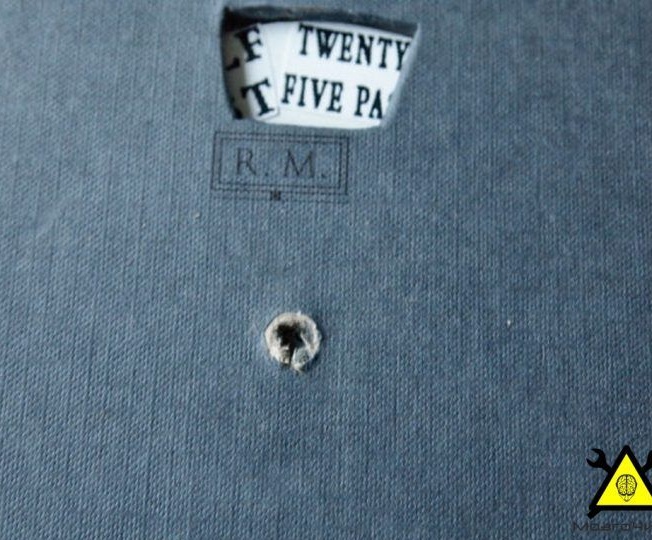
Part 9: Viewing window.
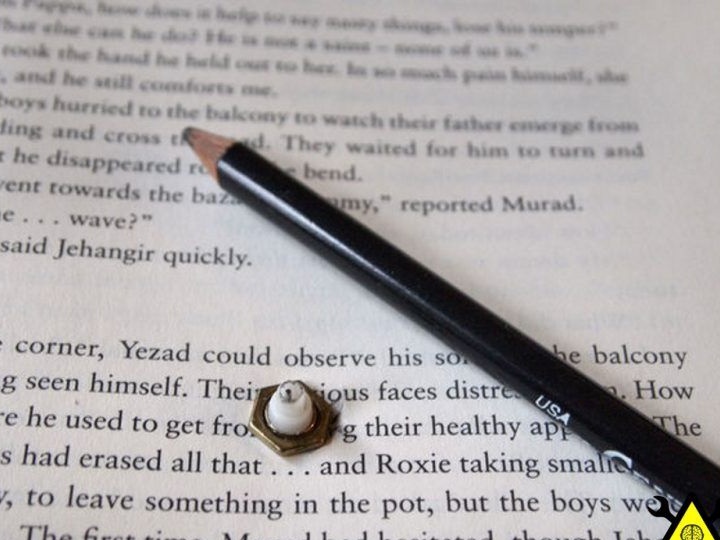
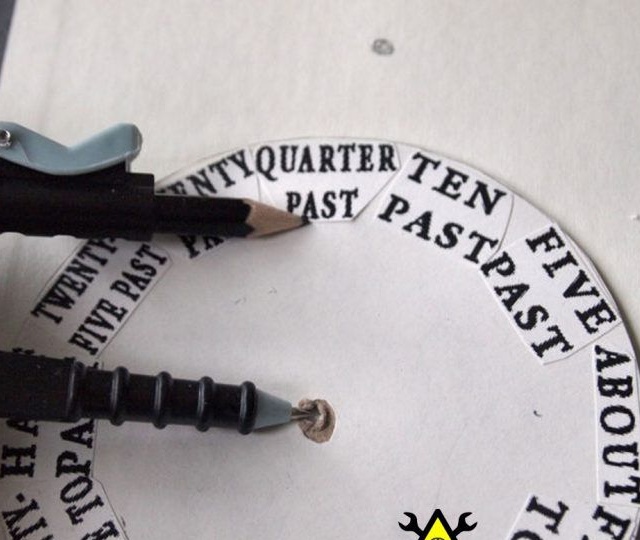
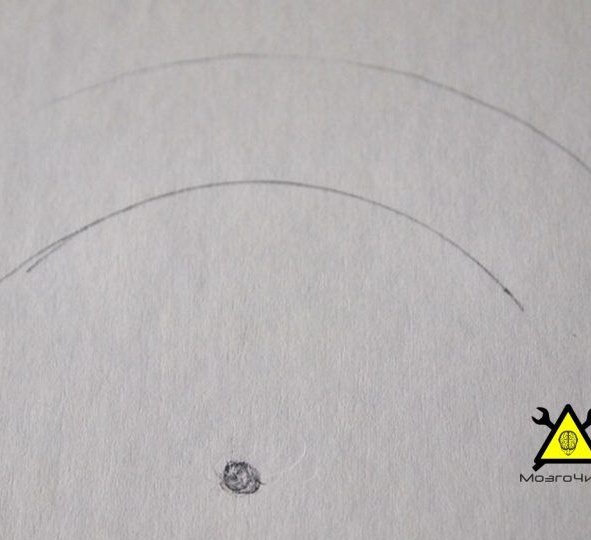
To correctly position the window, the author first made a marking for the location of the shaft with respect to the cover. To do this, the author put a little graphite on the shaft and tightly closed the lid. Next, we compare the central holes in the circle in minutes and draw a segment along the outer edge of the window. Using a compass, the author measured the length between a hole in a circle in minutes and the bottom of the text. Using this distance, he drew a semicircle just below the mark he had recently made. The width of the window is equal to the width of the text. Then the author did the same operation with the watch circle.
Part 10: Cutout in the palette.
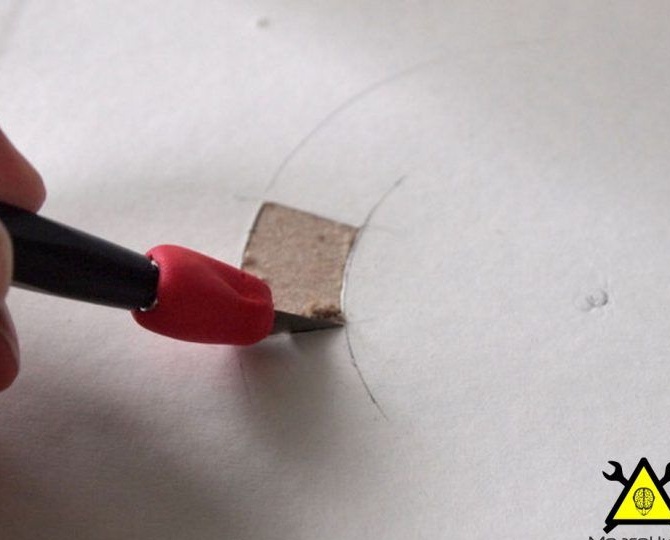
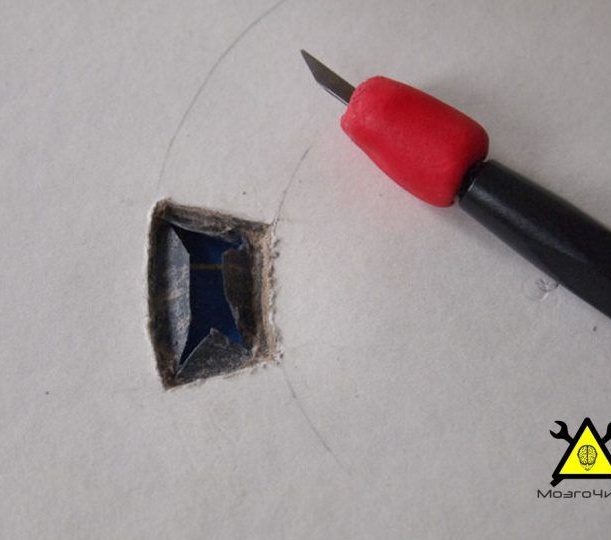
Using a special scalpel, carefully cut out the window for viewing. When you touch the tissue with a scalpel, you need to stop. It is undesirable to touch part of the fabric so that later it can be wrapped outside the inside of the solution. Further, the author cut the fabric layer, wrapped it and added a little glue to keep everything very tight.
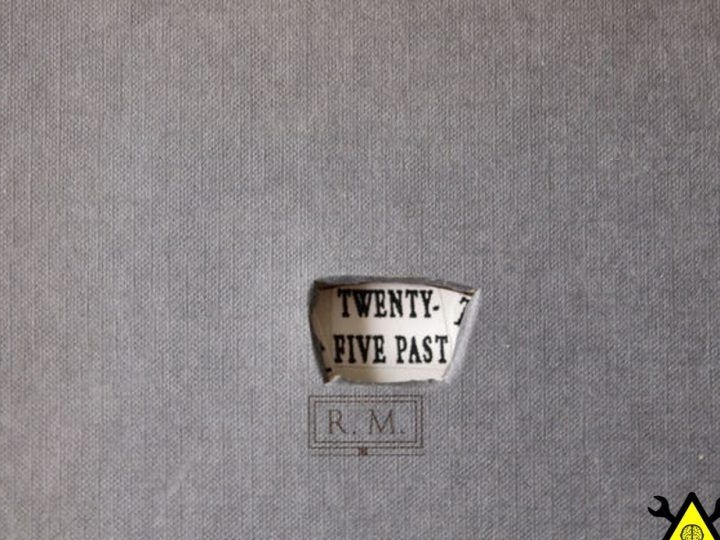
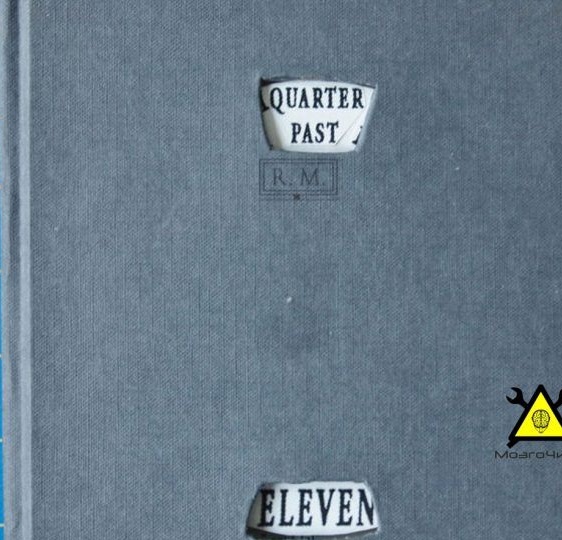
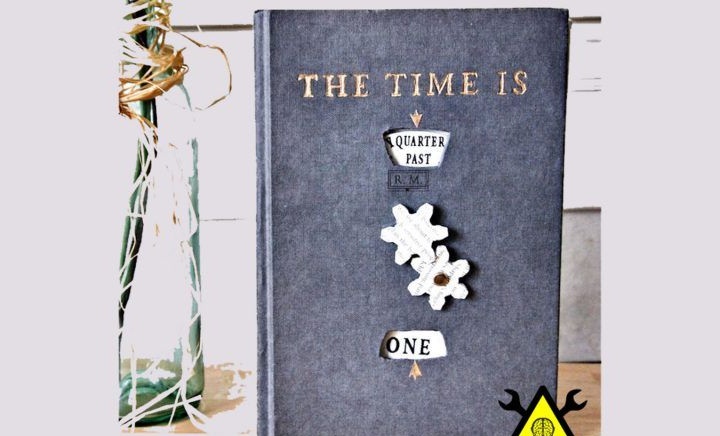
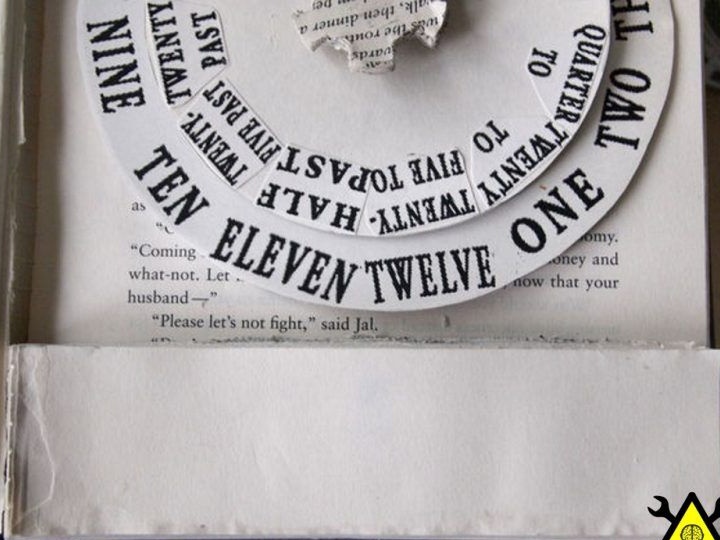
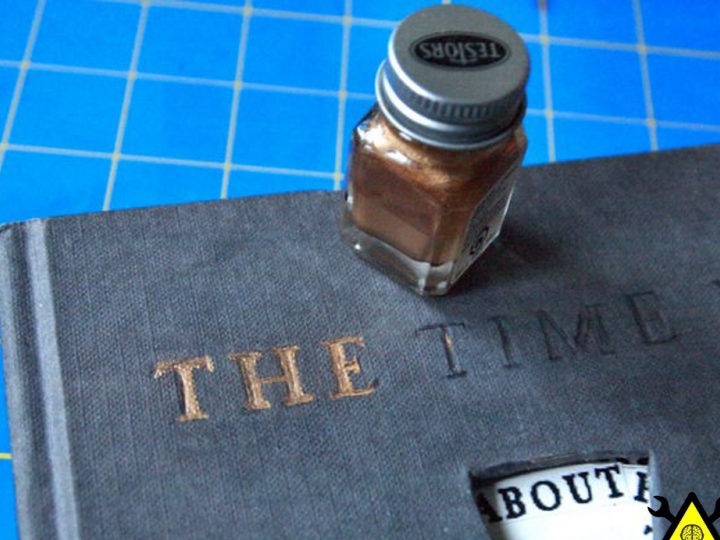
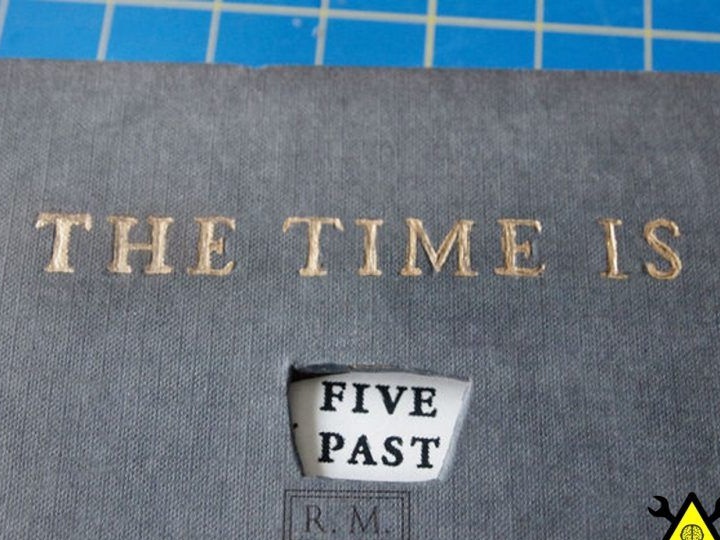
Part 11: Give the name of the book
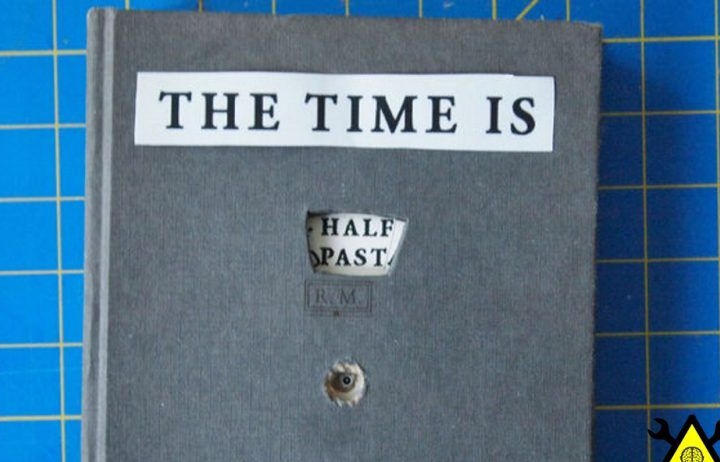
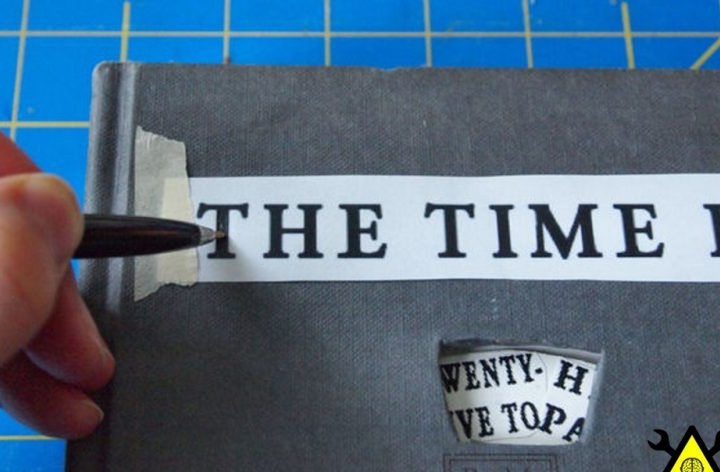
To begin with, the author printed the text (the font was the same as in the book), for minutes and hours. Next, the author glued it to the end of the lid and pushed the letters with a ballpoint pen, which was without ink. After that, he removed the paper and painted the letters with gold-colored paint. Further, it is desirable that you have a thin brush. At the end we set everything to dry.

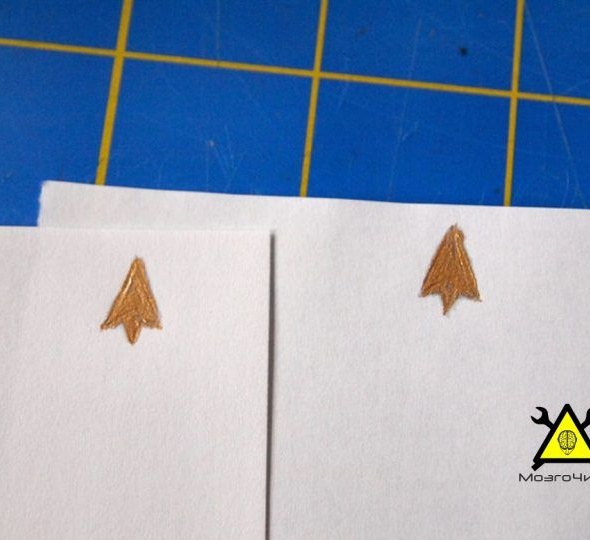
Part 12: Pointers

Then the author created a pair of arrows that are needed for time. To do this, he drew them on paper and painted them in the color of gold. Then I cut and attached them to the foreground.

Part 13: Placement of 1 and 2 gears.
Here the author drills the solution in the book under the pin 1 of the gear to attach everything to the clockwork. The solution should be of a decent size and not interfere with the advancement of the pin. To do this, we will use the label from part 9.
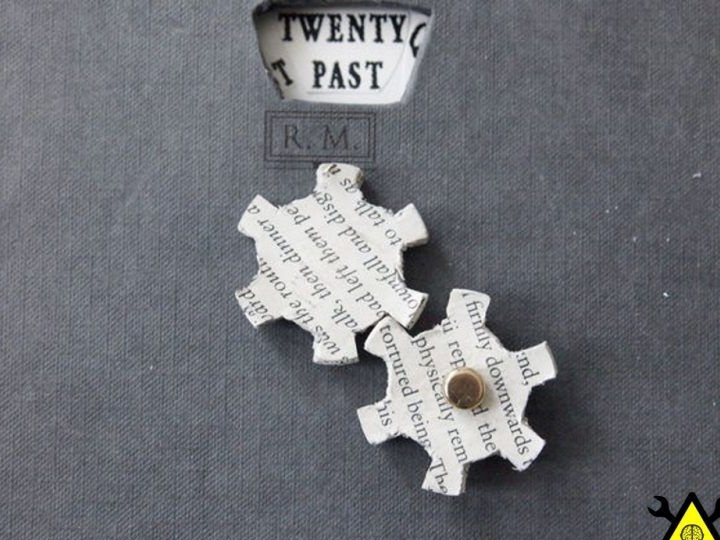
To place the first gear, the author placed the pin in the clock mechanism through the solution from part 12. Well, in order to place the second gear, he used electrical tape, which he stuck to the petals of the mechanism. Everything should be pretty accurate for rotating 1 and 2 gears.

Thank you very much for reading this article, I am very grateful to you. I hope she will help you a lot!