
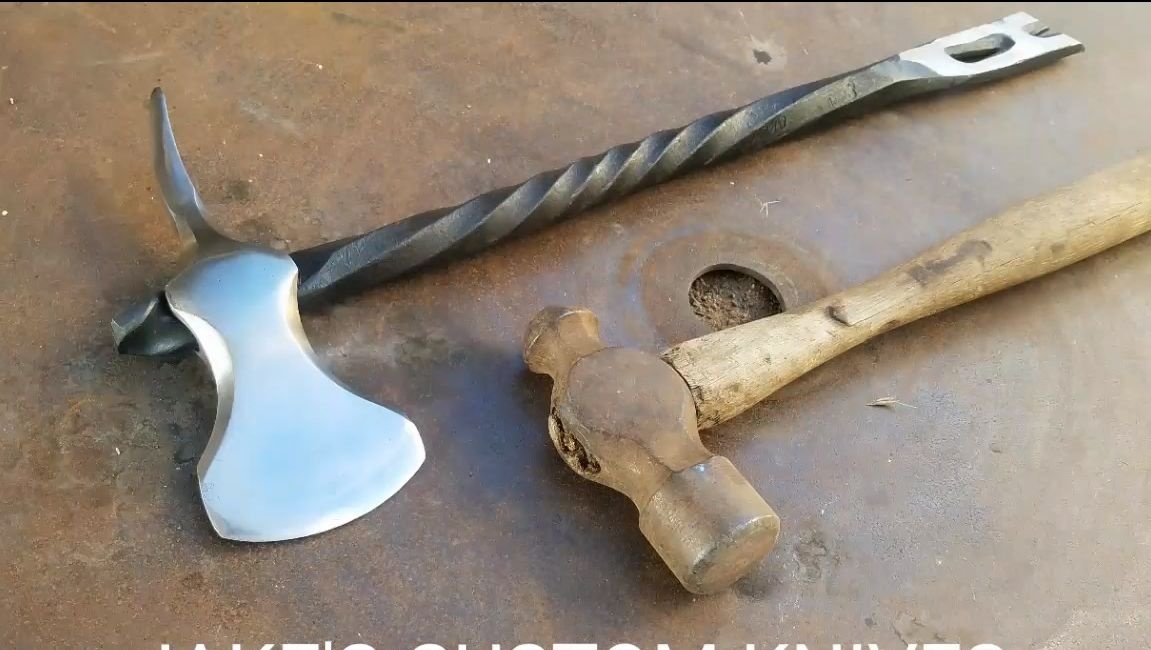

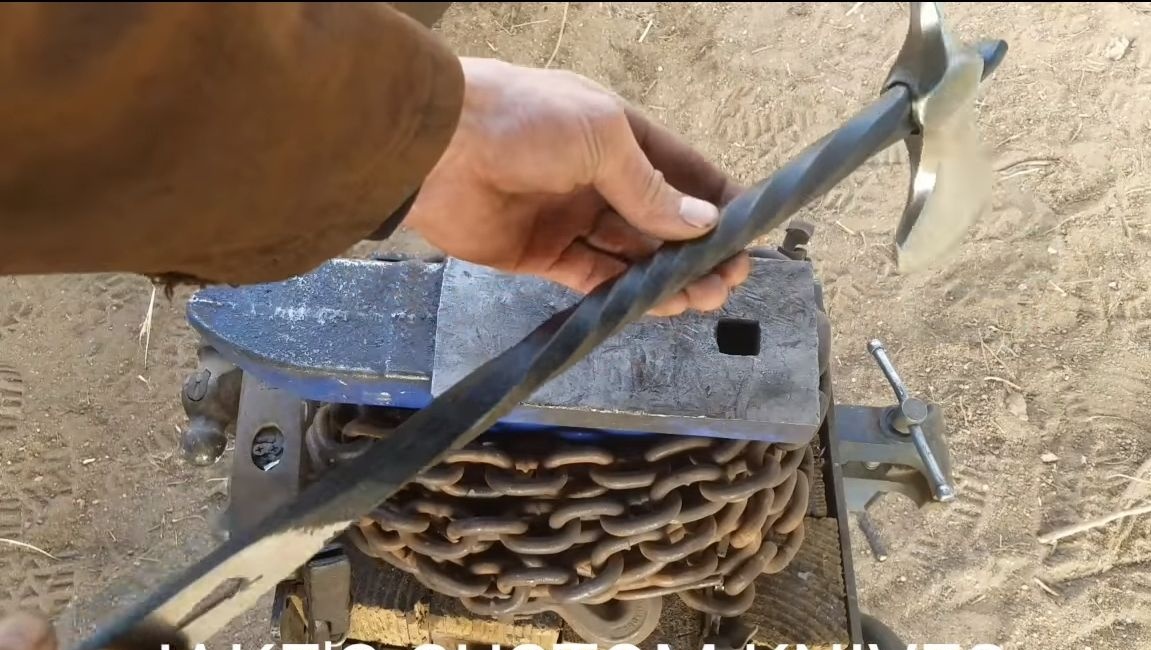
Greetings, reader! This time I will tell you how to make a cool ax out of an ordinary hammer. In addition to beauty, such an ax will have excellent characteristics, as tool steel is used in hammers, which is hardened and keeps grinding for a long time. The author’s hatchet turned out to be far from decorative, it can easily be used as a tool of a survivor. The handle of an ax is made of metal, as strong as the ax itself. At the end, the handle is sharpened for mounting, so you can easily tear off the boards, hammer something, and so on.
As you might have guessed, an ax is made by forging, so you need a furnace that can heat your hammer to at least 800 degrees Celsius. An anvil and a heavy hammer will also be needed. Everything is not complicated, just never forget about security. Use proper protective clothing, work outdoors, use eye protection and tight gloves. So let's get started!
Materials and tools used by the author:
Material List:
- a hammer (the larger, the more massive the ax will be);
- a mount or other similar item (to make a pen).
Tool List:
-
- vise;
- forge;
- adjustable wrench;
- engine oil (for hardening);
- gas-burner.
Ax manufacturing process:
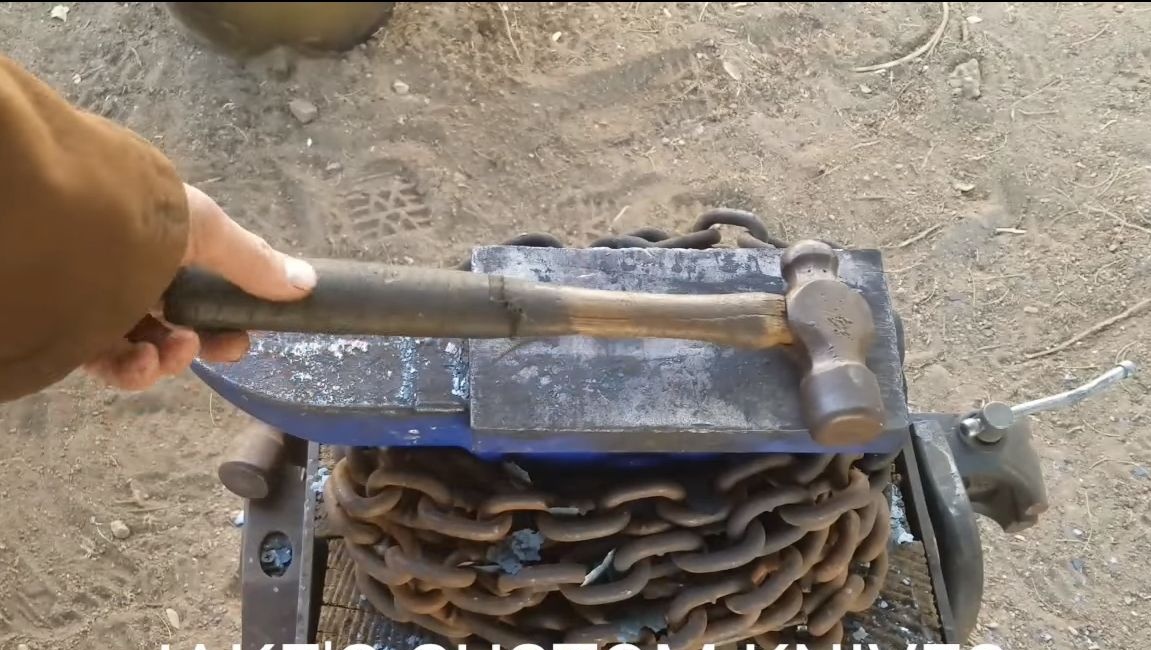
Step one. Getting started forging
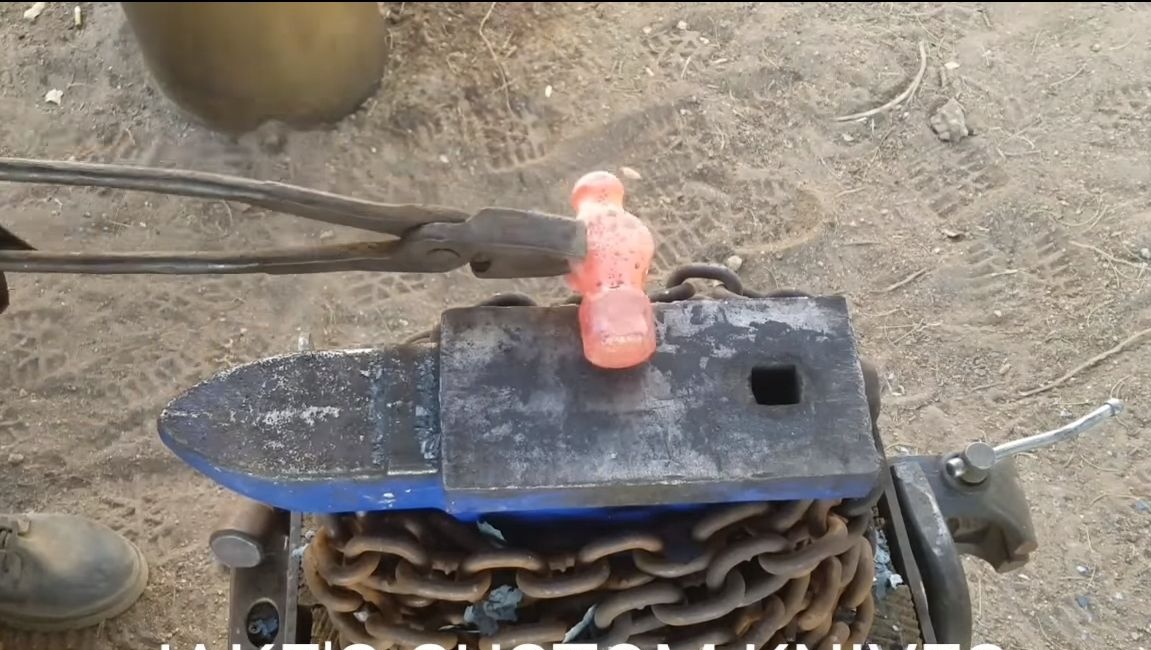
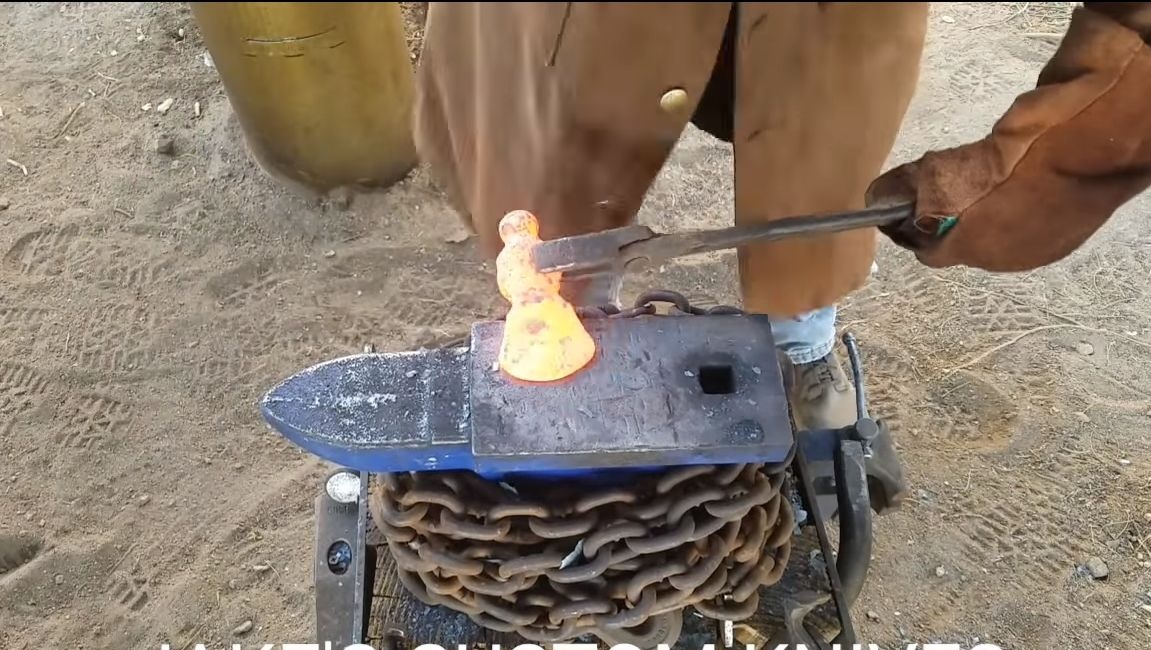
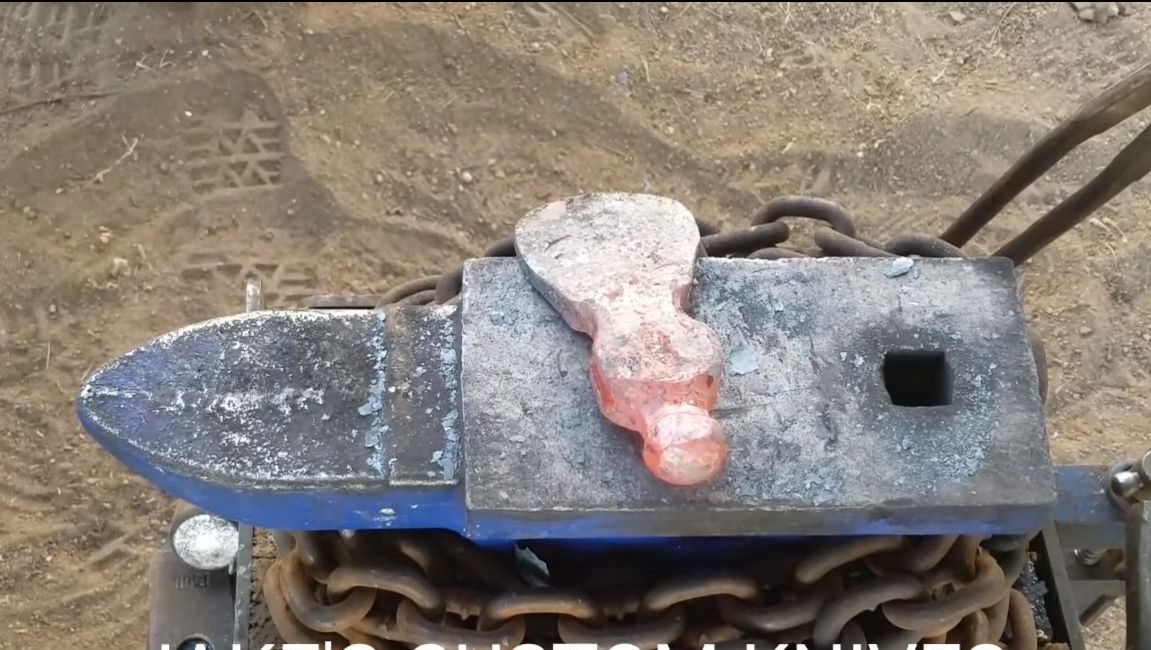
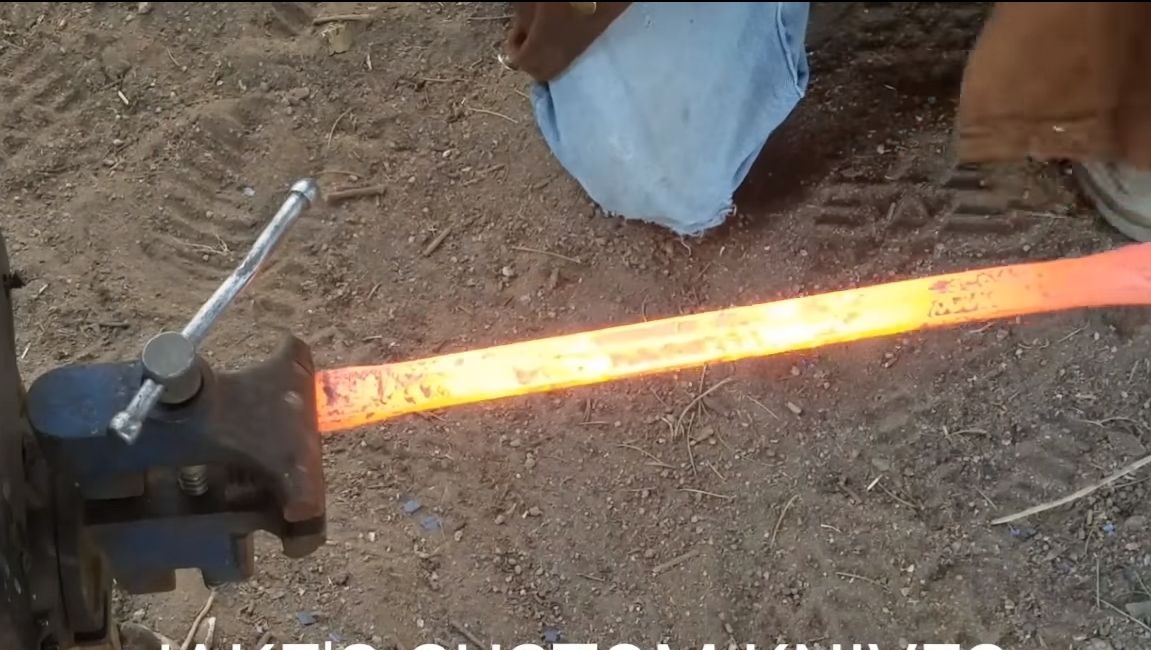
We take a hammer, remove the handle and throw it into the oven. Warm up the hammer to a bright red color, then the metal will become soft as clay. We get the workpiece, and work with a hammer on the anvil. First, we form the blade, the author perfectly stretches the metal to an impressive size. This process is tedious and time-consuming, but always in blacksmithing. To bring out one blade, you have to heat the workpiece more than once.
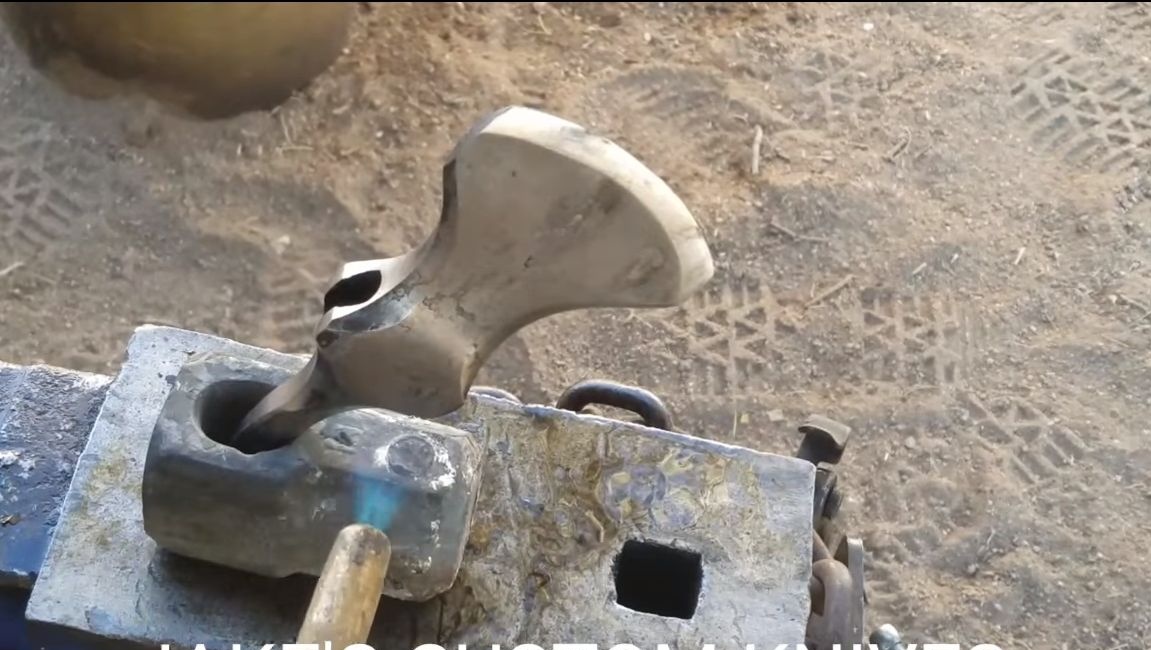
Next, we form the back, the author has a pointed end. Tu also extends metal to an impressive size.
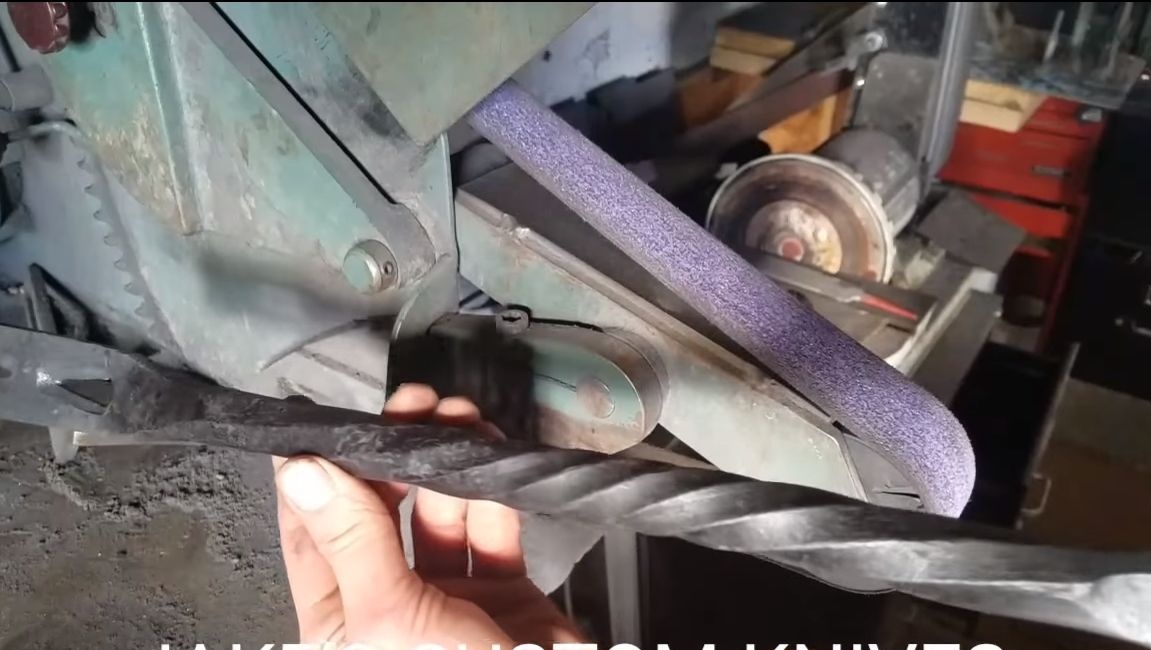
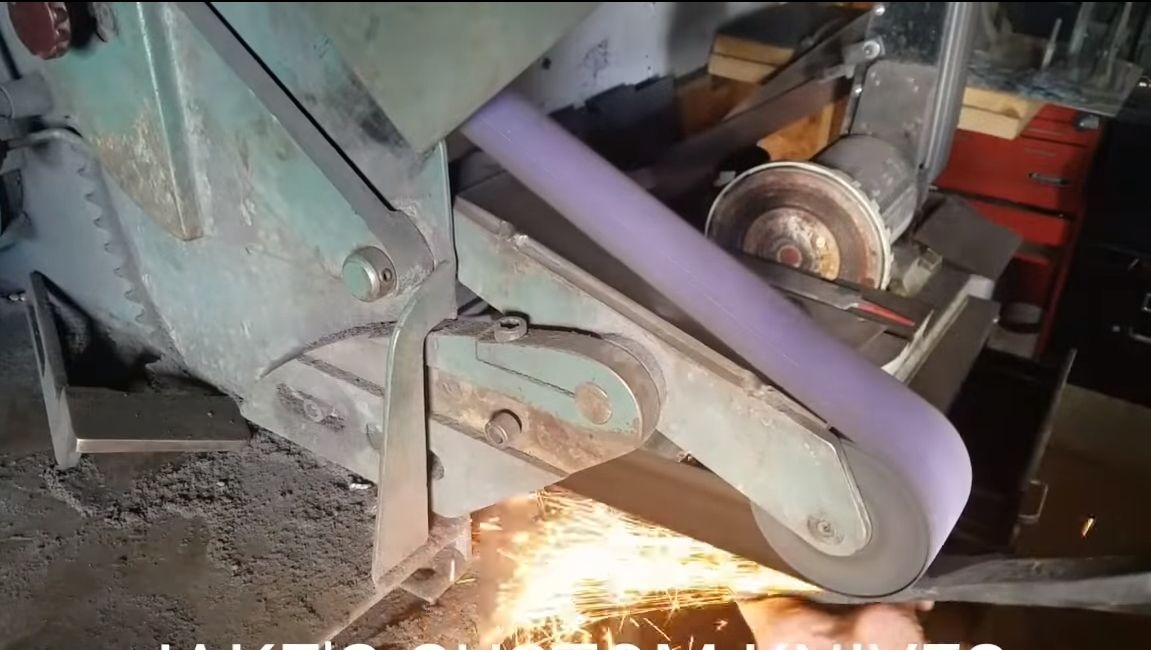
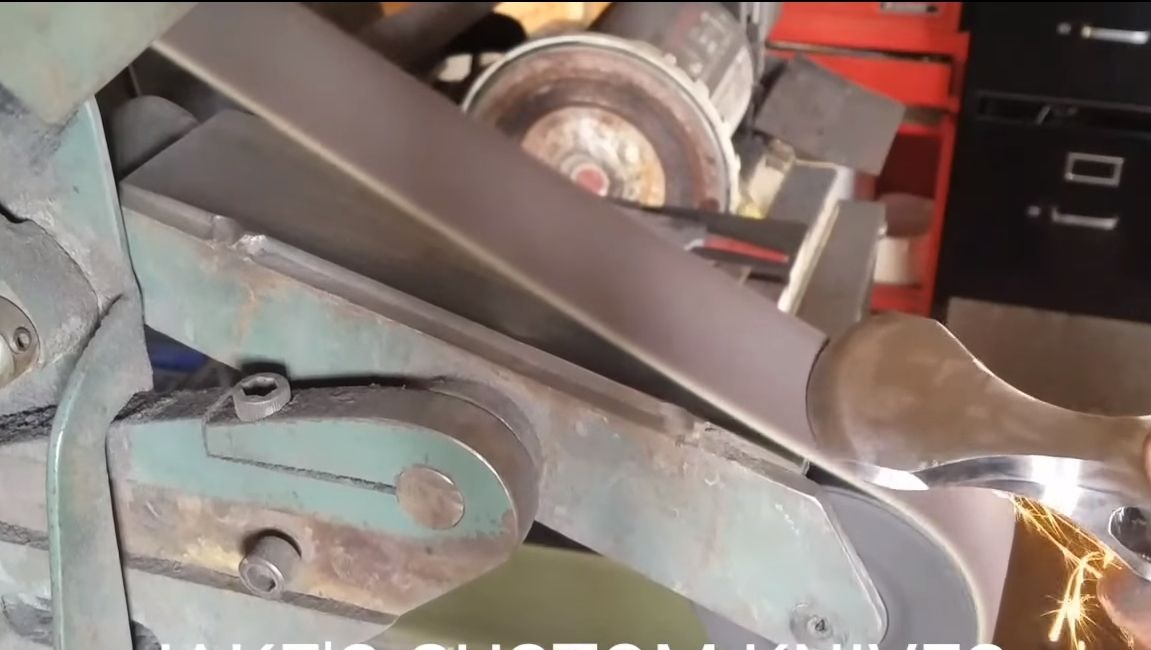
Step Two Grinding
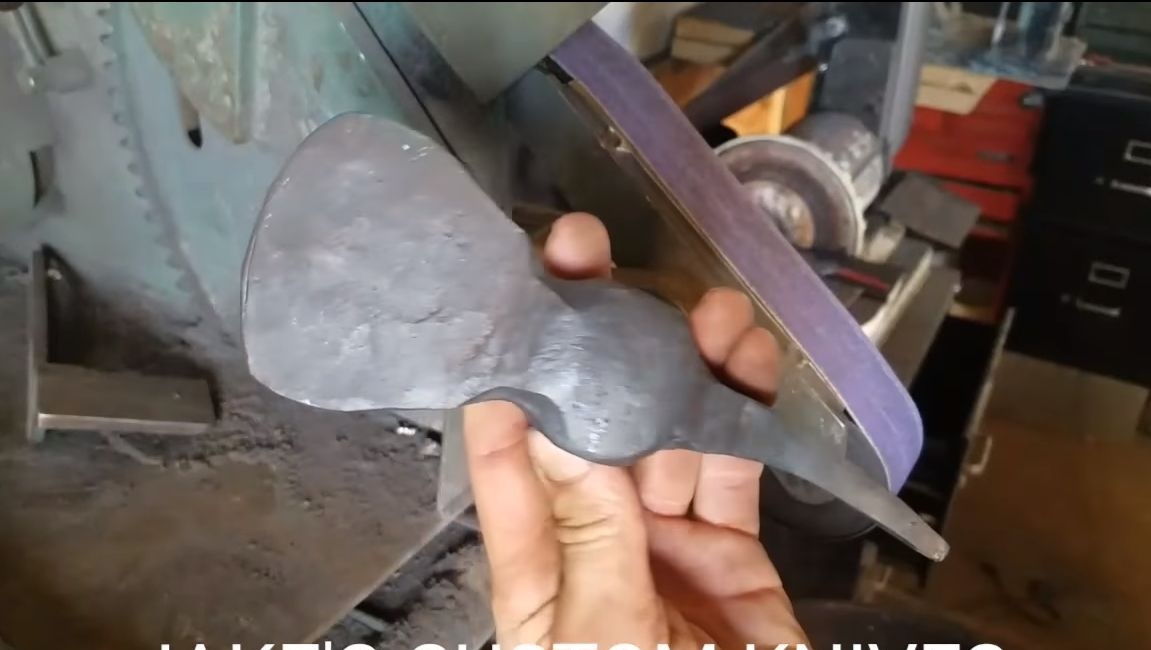
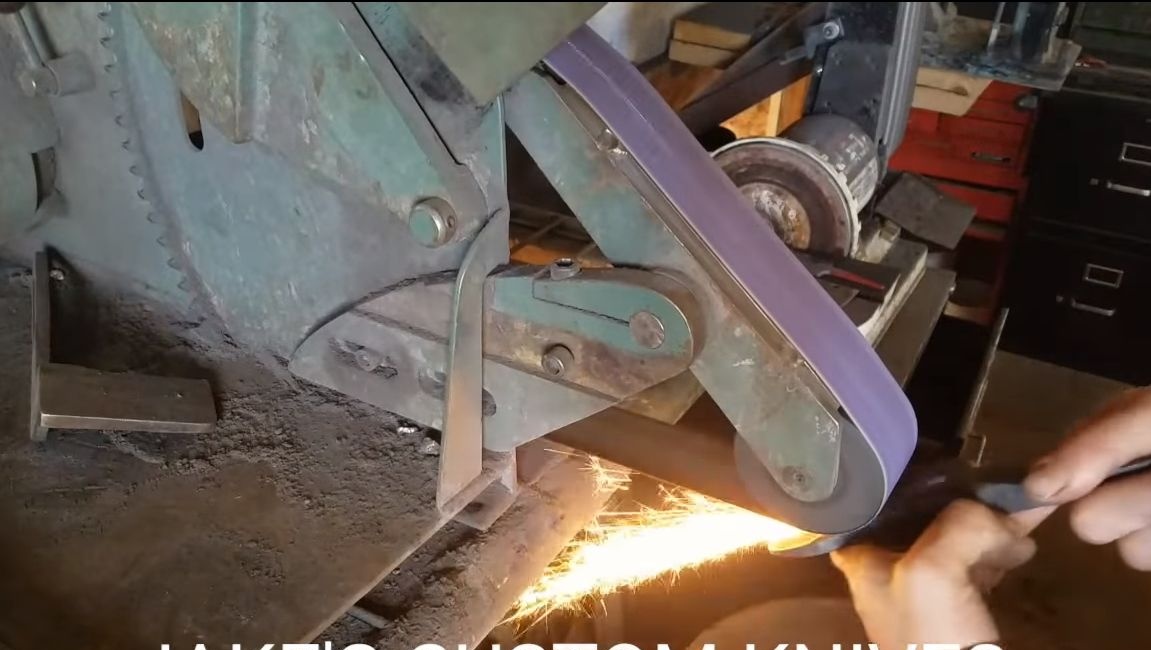
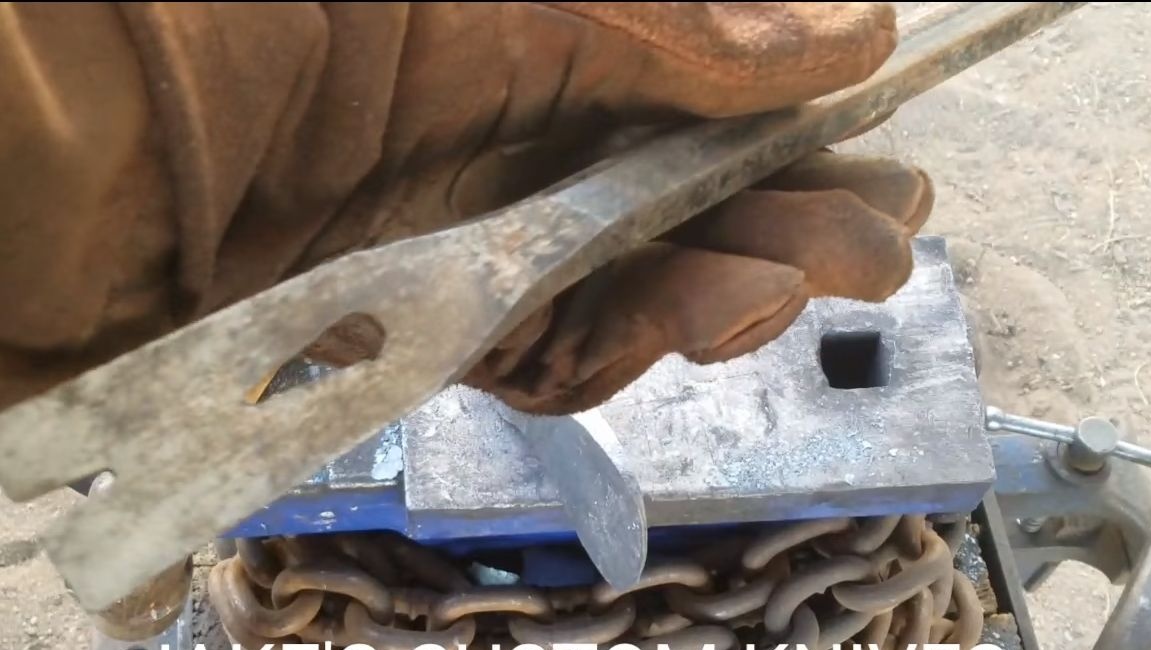
If the forging is finished and the main profile of the ax is formed, we proceed to grinding. Here you will need it, since to cope with such a task manually will be problematic, you need to remove quite a lot of metal. The author handles the ax well and makes its surface perfectly smooth. Also after this, a bevel is formed, that is, the main cutting edge of the ax. If desired, the bevel can be made at a slight angle, then the blade will be very sharp, although less durable.
Step ThreeHeat treatment
Do you want your hatchet to chop nails and there was nothing for him from this? Then you need to temper the blade. Hardening always includes two stages, this should always be remembered. The first stage makes the steel very hard, but brittle, and the second softens it somewhat, as a result, the steel begins to spring.
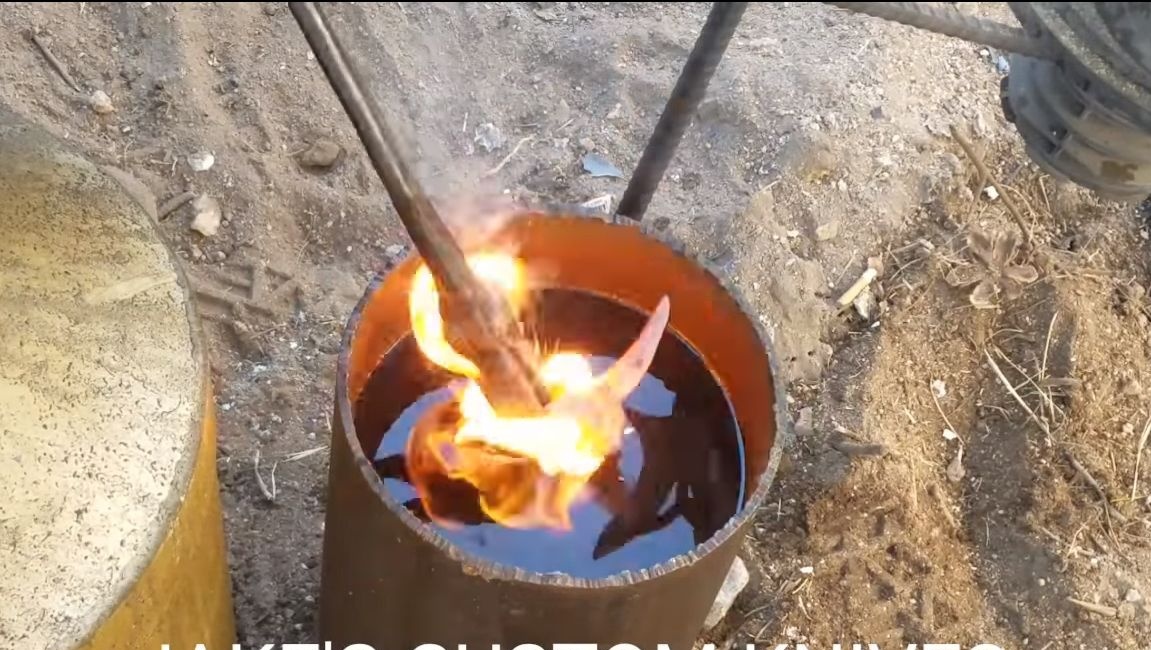
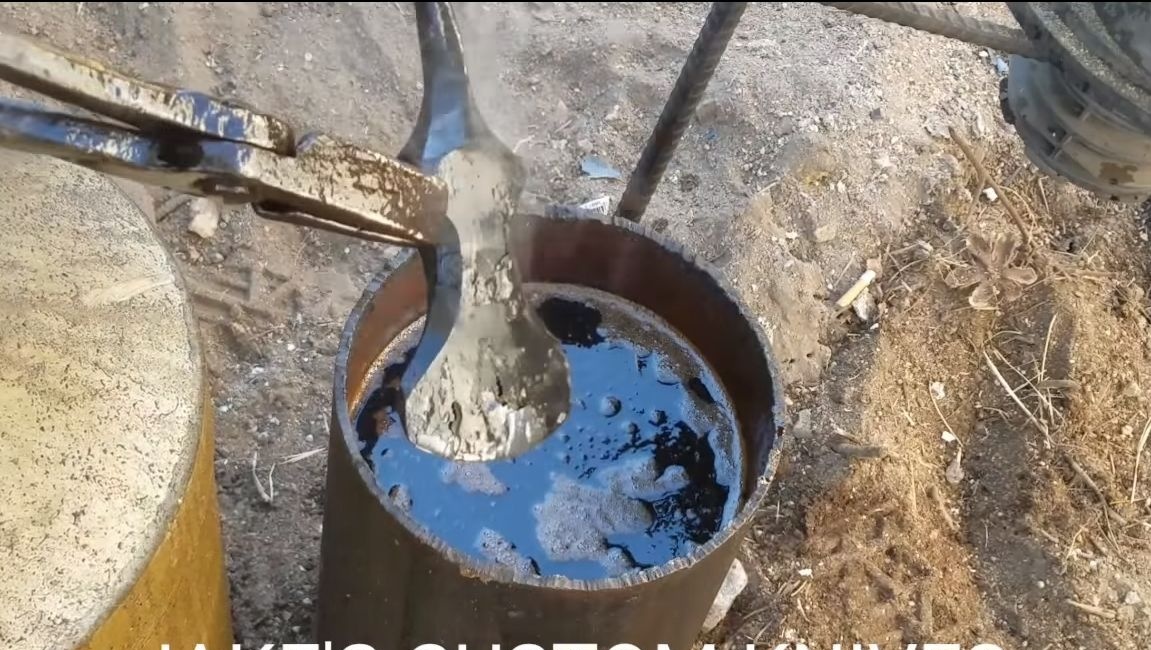
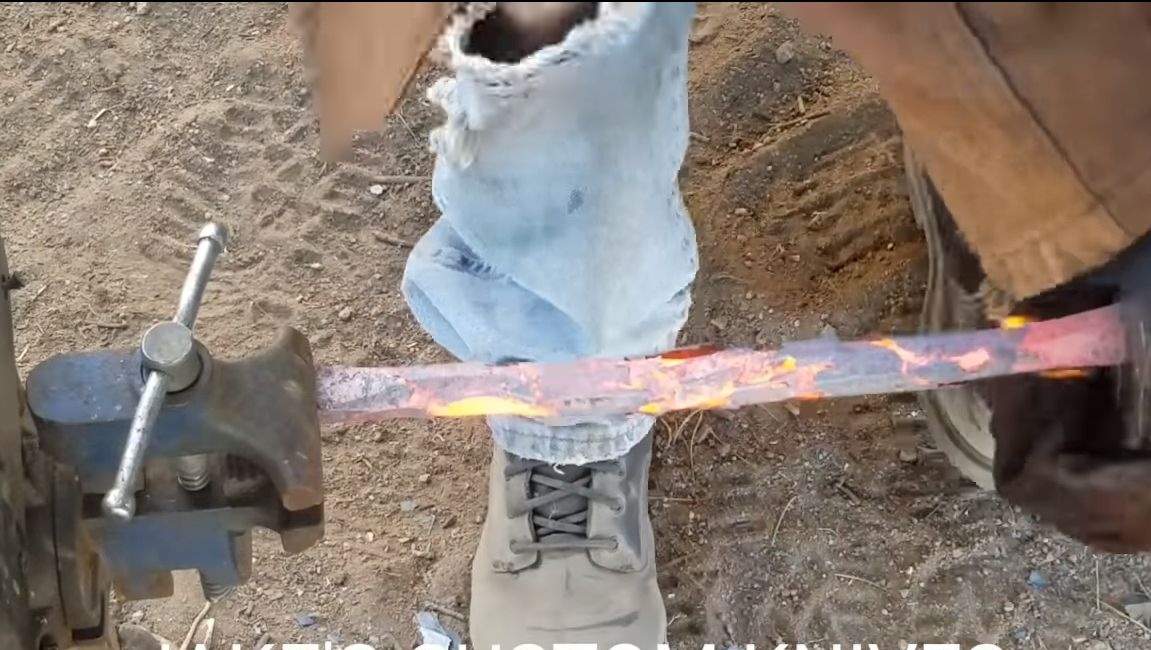
Let's start with hardening, heat the steel to red, each steel has a different hardening temperature. To determine the desired temperature in home Under conditions, bring a magnet to the hot metal, if it does not respond to steel, then it is ready for hardening. Then we lower the ax into the oil, the author uses automobile working off, but vegetable is also suitable. Be careful, as when immersing hot metal, the oil ignites and smokes. Keep the ax in the oil until the bubbles completely stop flowing.
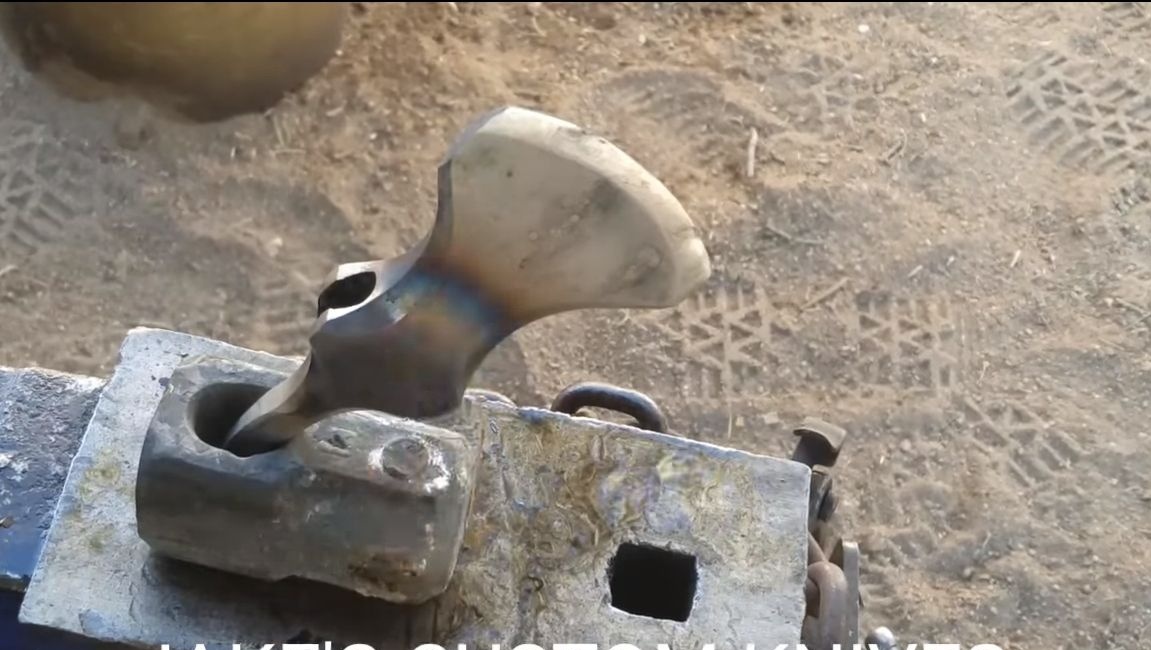
Now the last crucial stage remains - this is the release of metal. The author makes it with a gas burner. We heat the ax in the center where the handle will be mounted, this will not allow it to crack during operation. You need to heat until the steel becomes dark in color. Heat evenly on both sides. The author himself does not warm the blade, it must remain solid. In principle, some of the heat will still reach the ends of the ax and there will be at least a small, but still tempering of the metal.
Step Four Make a pen
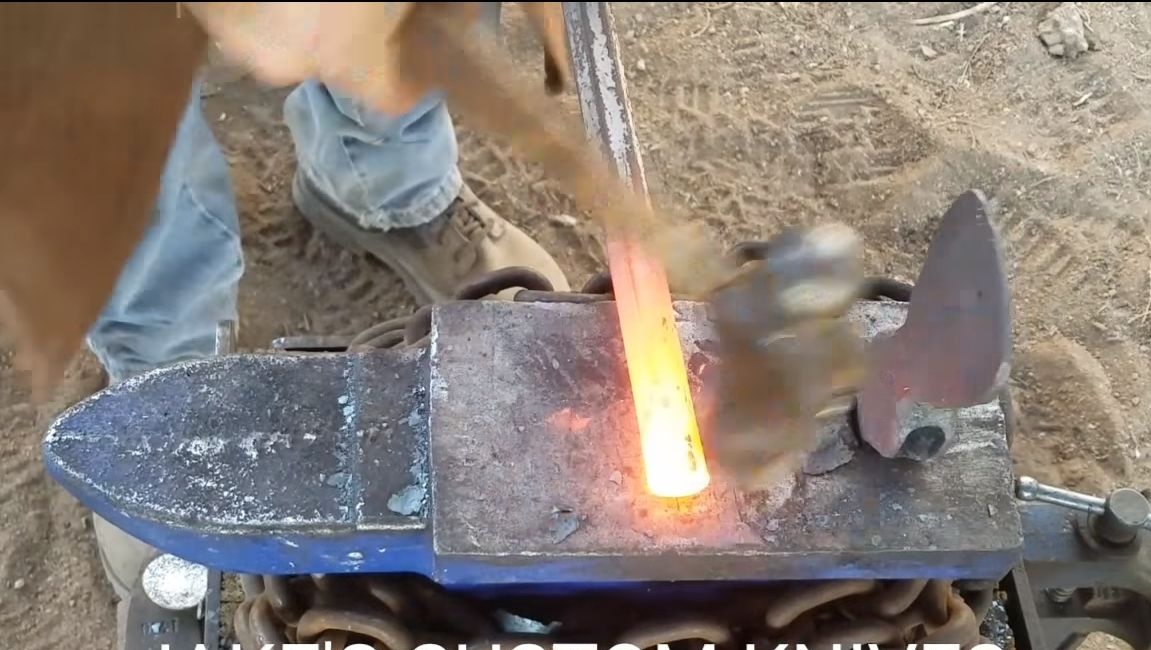
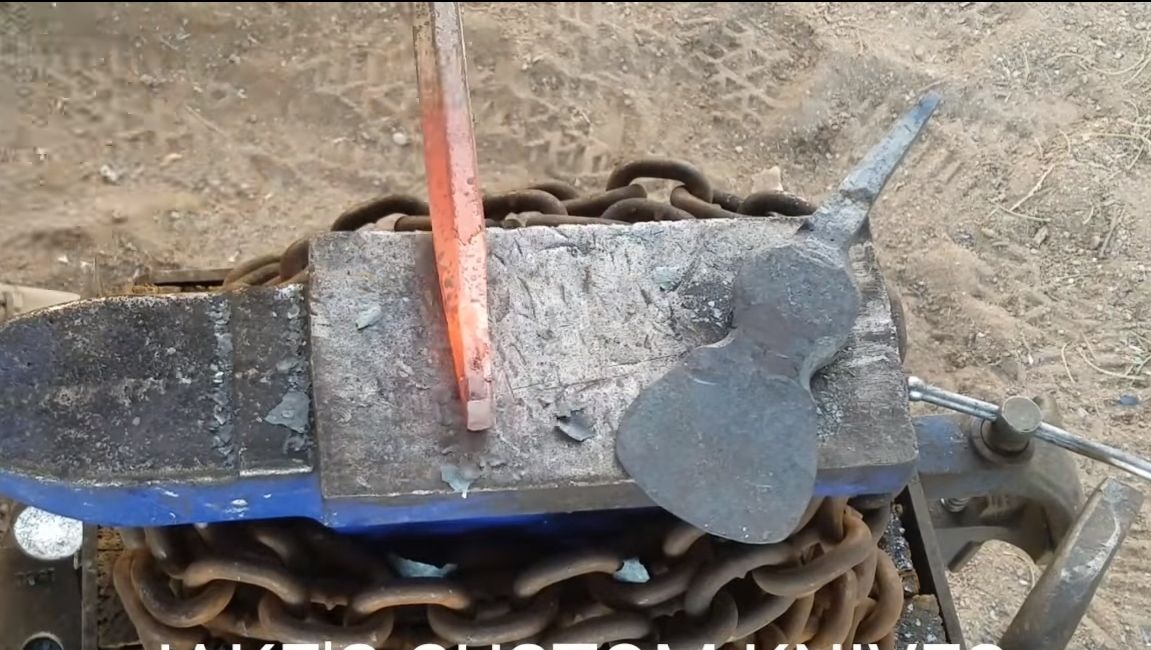
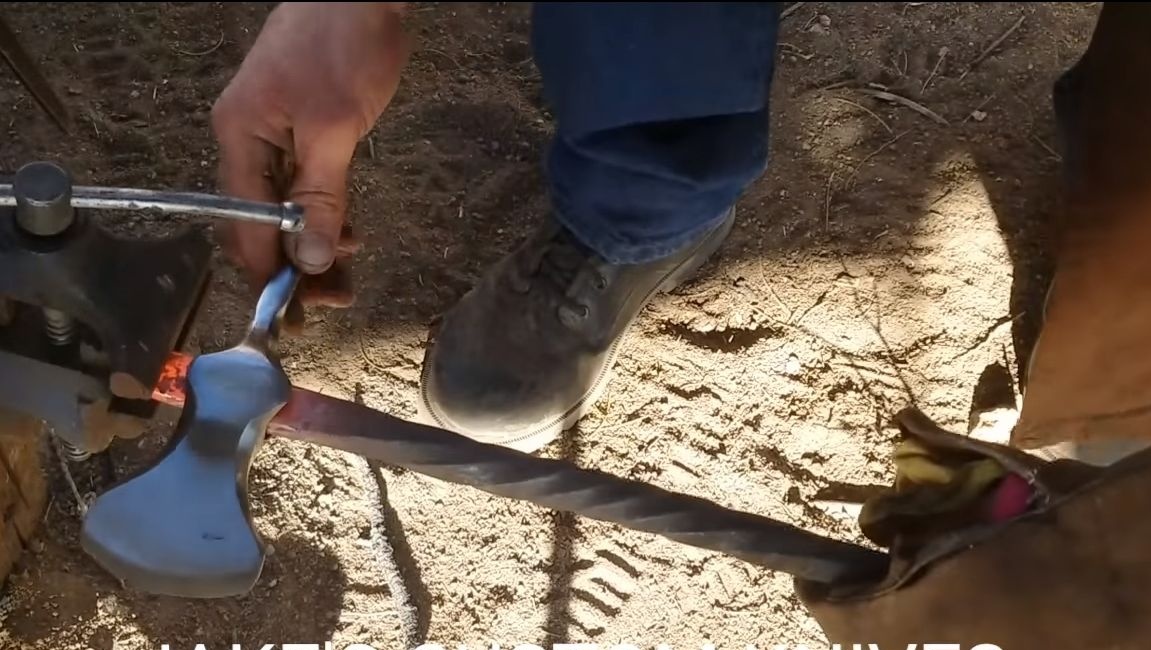
For the manufacture of pens, the author used a mount, and this tool is also made of durable metals. We heat up the end of the mount and form it so that it goes into the ax. After this, the mount is completely warmed up, and its edge is clamped in a vice. Using an adjustable wrench, we grab onto the mount and twist it, as a result, it gets the desired view. This process is quite dangerous, but with such a handle the ax looks cool.
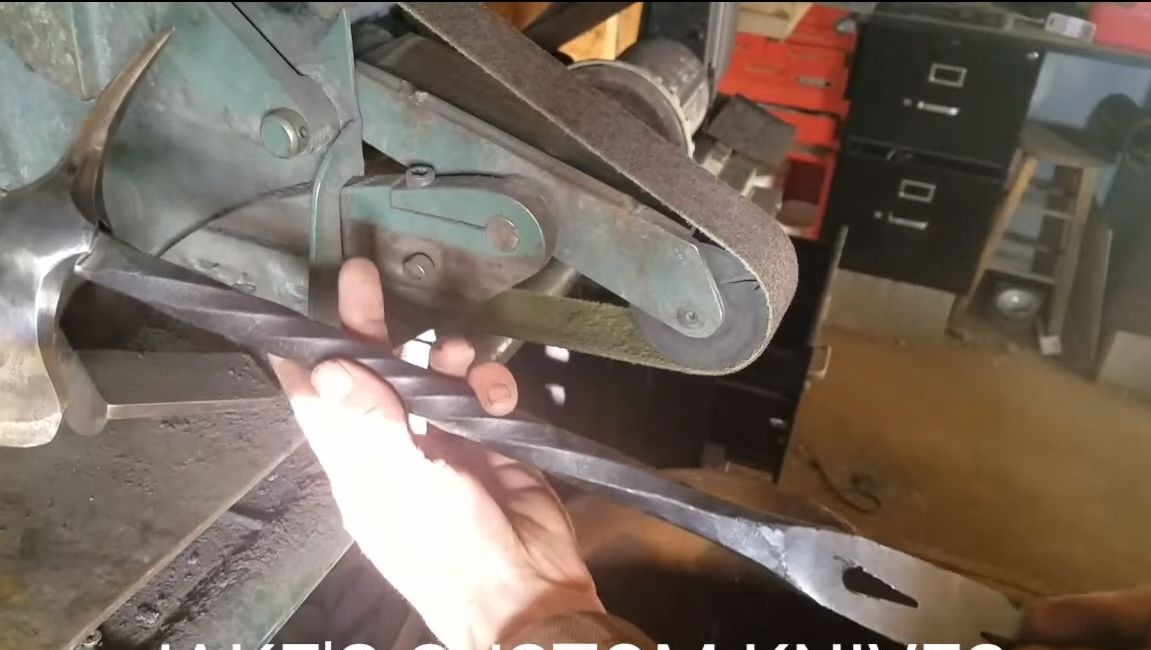
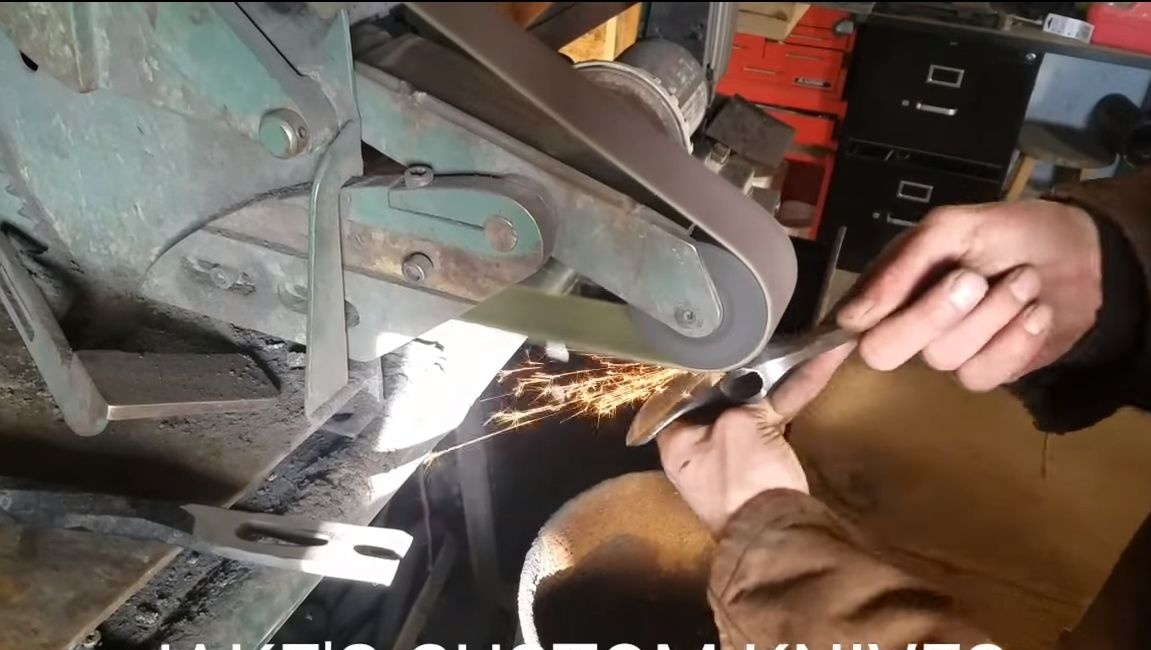
Step Five Final grinding
We go again to. Grind the surface of the ax to clean off the plaque that formed during heating. You can also sharpen it.
As for the pen, it also needs to be completed. Fit its end so that it fits perfectly into the ax. As for the other edge, it can be sanded, sharpened and so on.
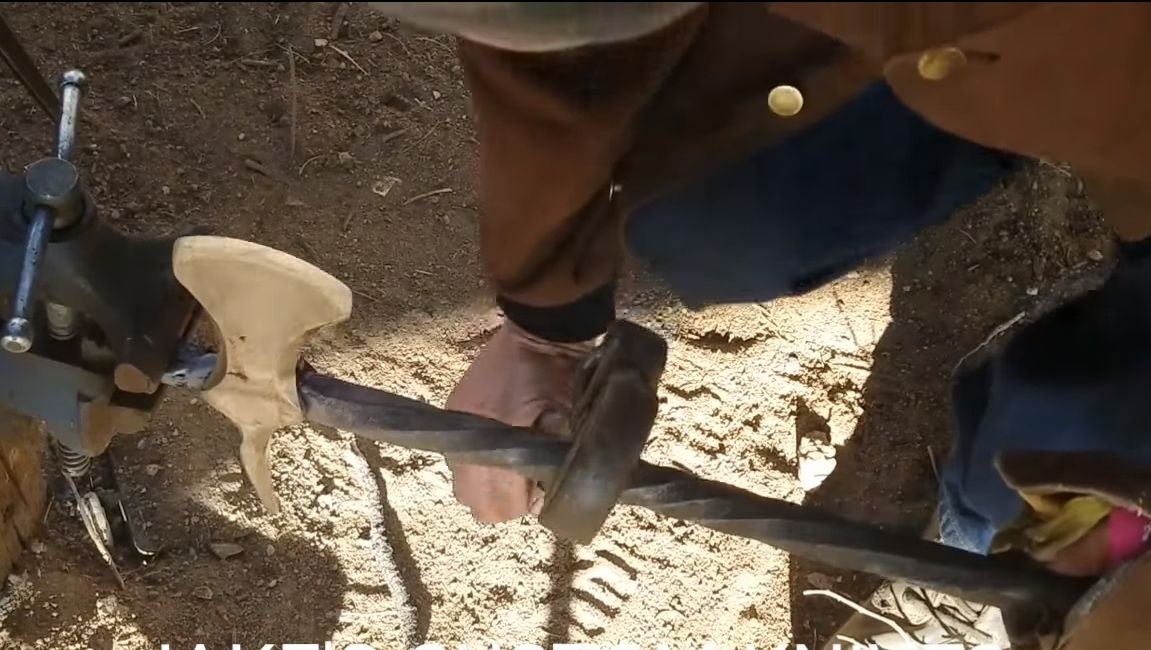
Step Six Ax assembly
To assemble the hatchet we take the handle and heat its edge red-hot. Next, put on a hatchet, and clamp the end of the handle in a vise. Again, using an adjustable wrench, twist the tip of the handle. When everything cools down, we get a securely fixed ax on the handle.

That's all, the masterpiece of art is ready! If you wish, you can polish the ax to a shine, and the handle will remain a beautiful dark color. Of course, this steel will rust over time, so for storage it is better to put a layer of oil on the hatchet. That's all, good luck!