
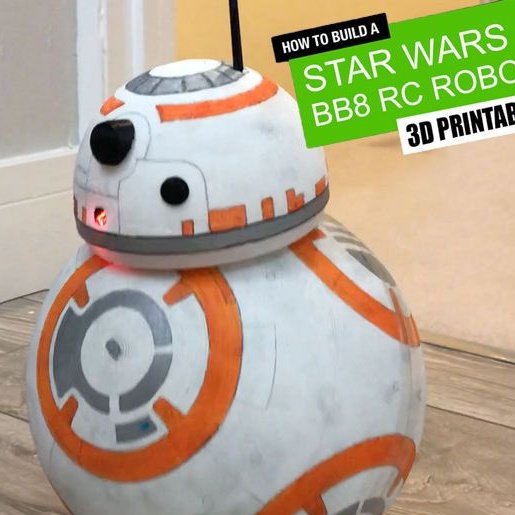
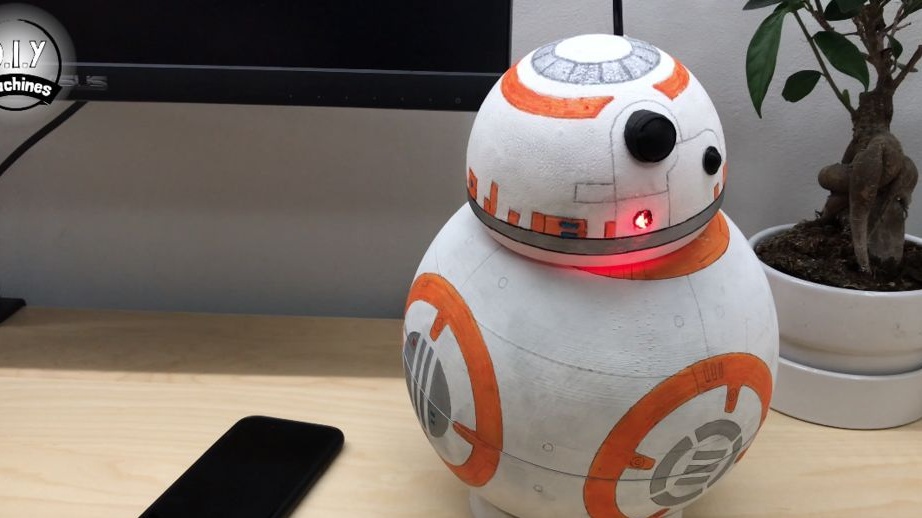
Who or what is the BBC Eight? The BBC Eight is a character in the legendary Star Wars saga. BBC Eight first appeared in Episode VII: The Force Awakens. Later, robot models appeared on sale. Robot moves. The robot is controlled using a smartphone or joystick. An interesting feature of the robot is its head. The head of the robot is mixed throughout the body and it looks pretty funny. On Ali BBC, eight costs from 1,500 p. Our Master decided to make BBC eight by himself.
Tools and materials:
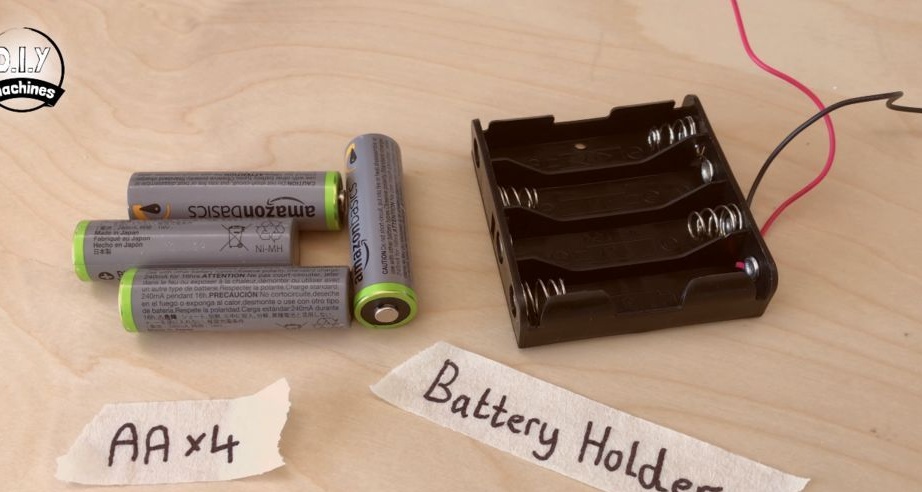
- AA-4pcs batteries;
- Battery compartment AA;
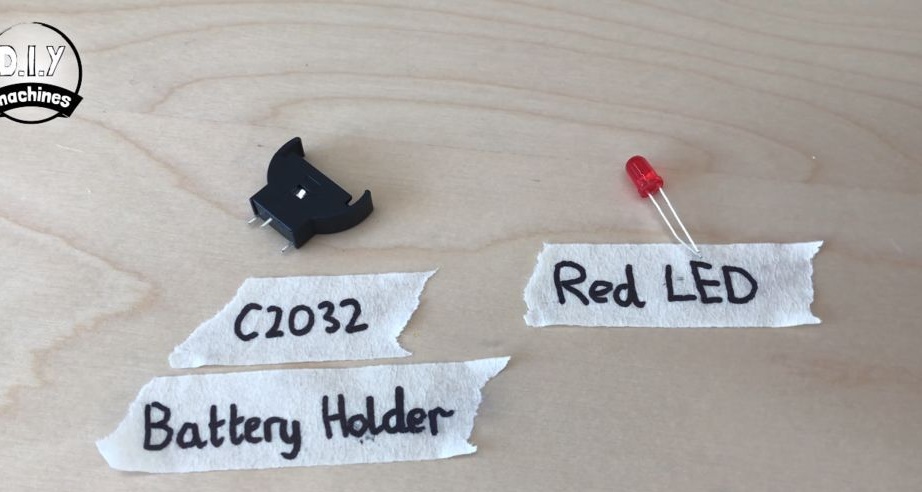
- Battery CR2032;
- Battery compartment CR2032;
-Aerosol paint;
-Markers;
-3D printer;
-Wire;
-Soldering iron;
-Cable tie;
-Glue gun;
-Foam cutter;
-Red LED;
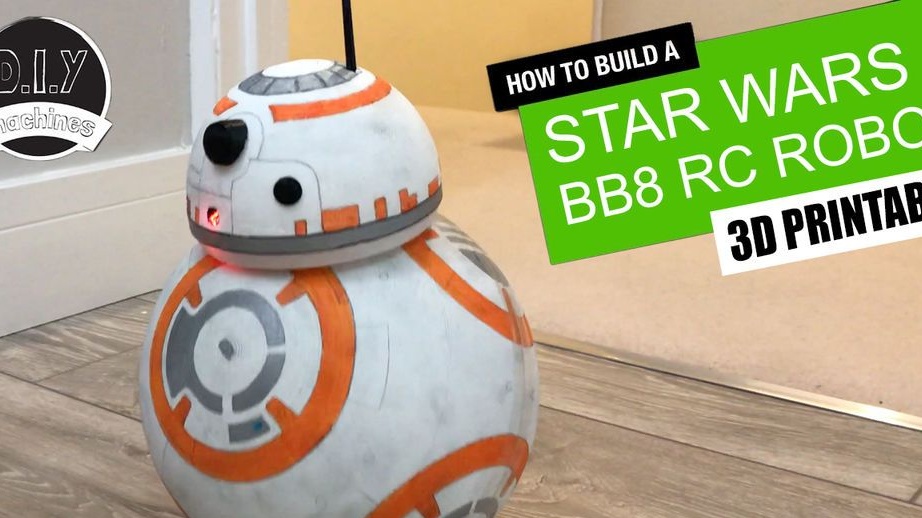
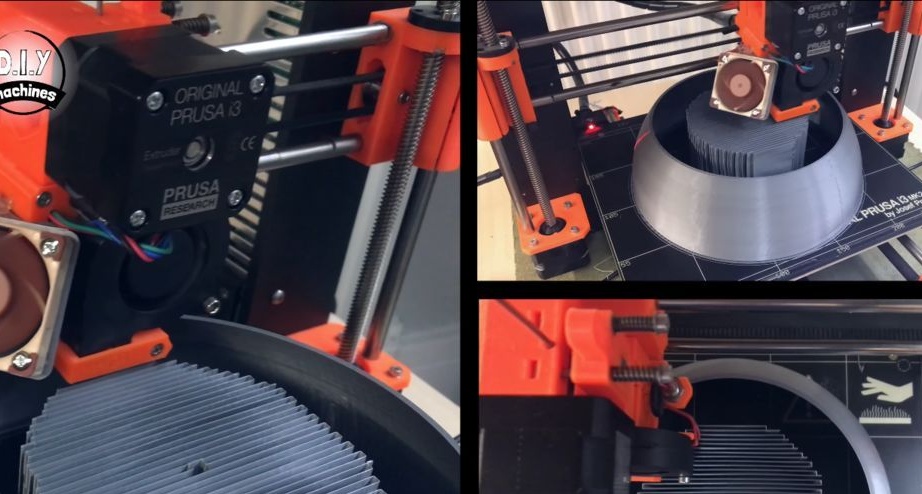
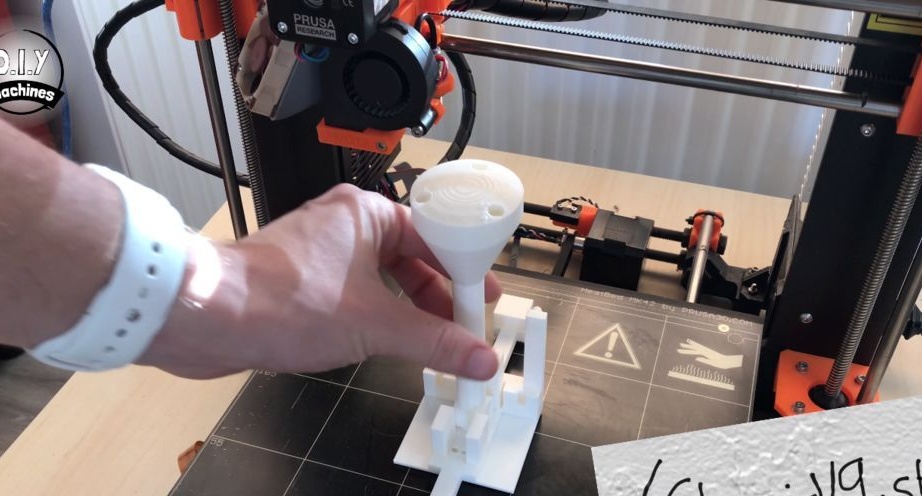
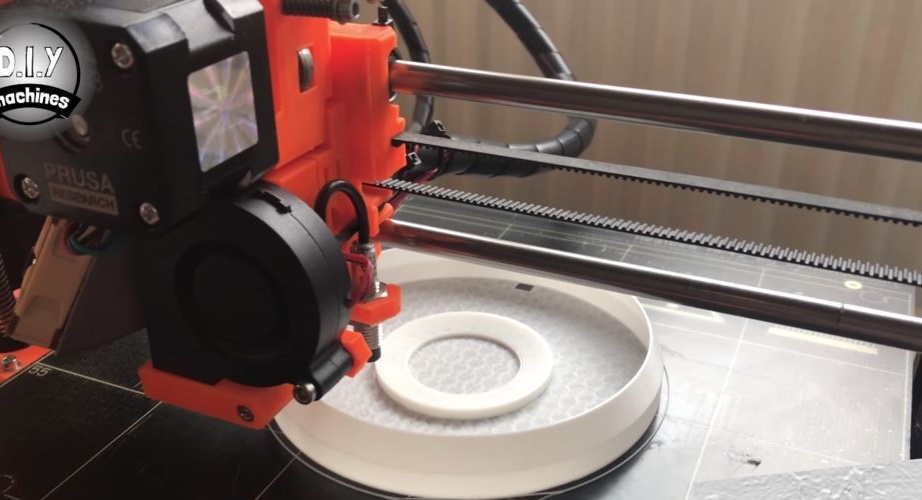
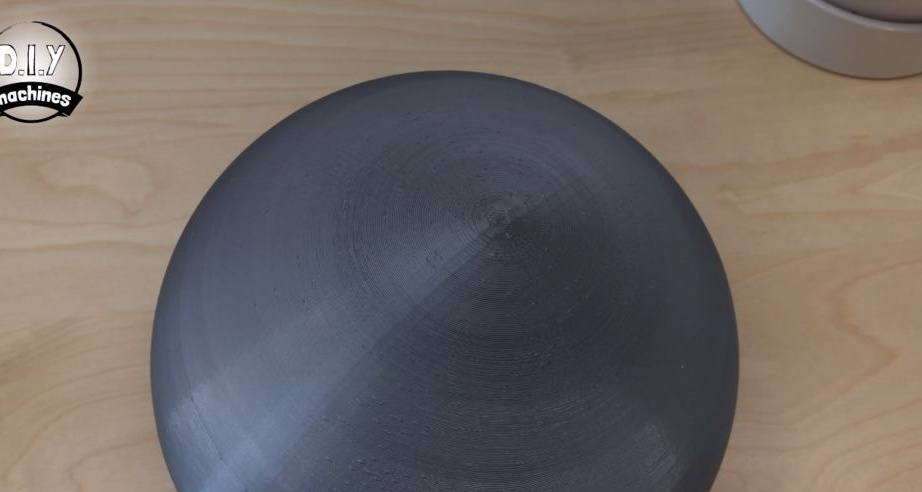
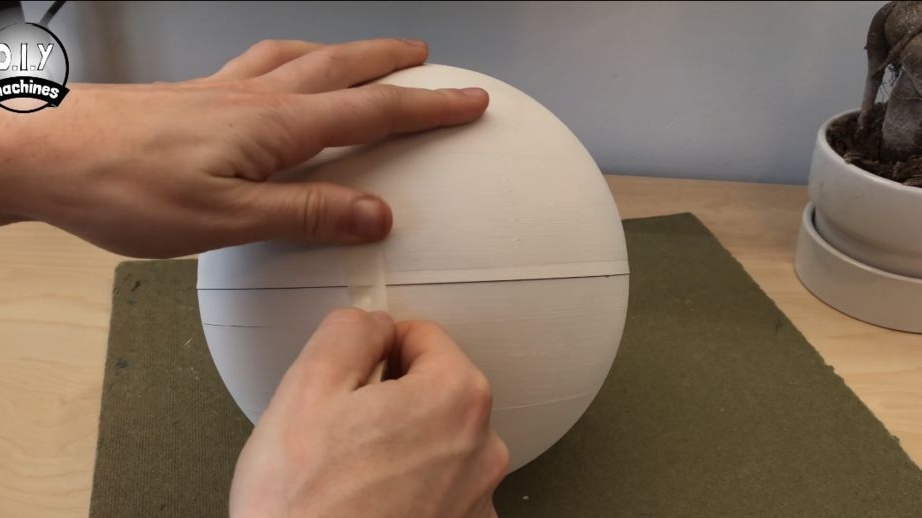
Step One: 3D Printing Hemispheres
First, the master prints two hemispheres on a 3D printer. Files can be downloaded. Also two files are attached below.
Step Two: 3D Printing Chassis
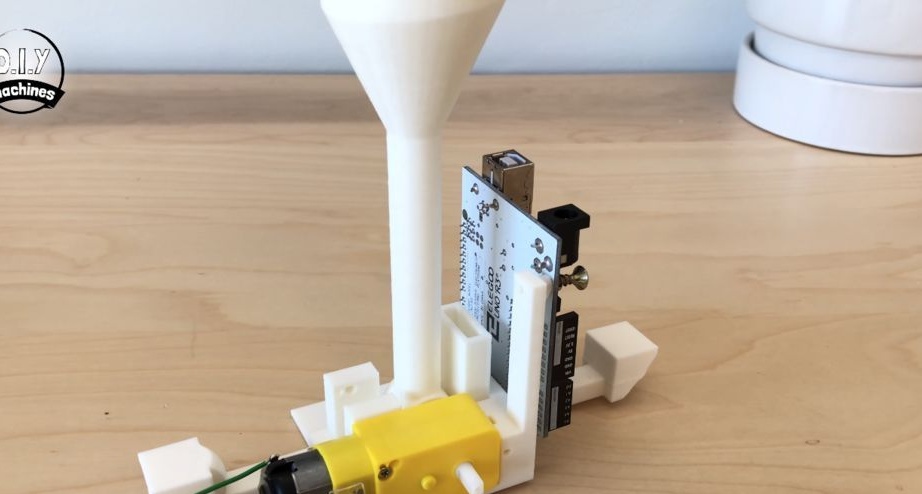
Prints the chassis. Then fastens to the chassis Arduino Uno. Link to the file below.
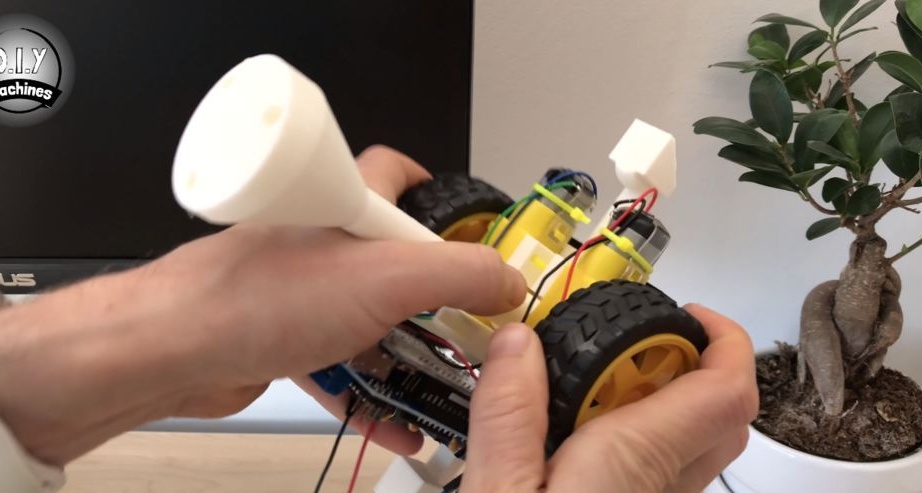
Step Three: Gear Motor
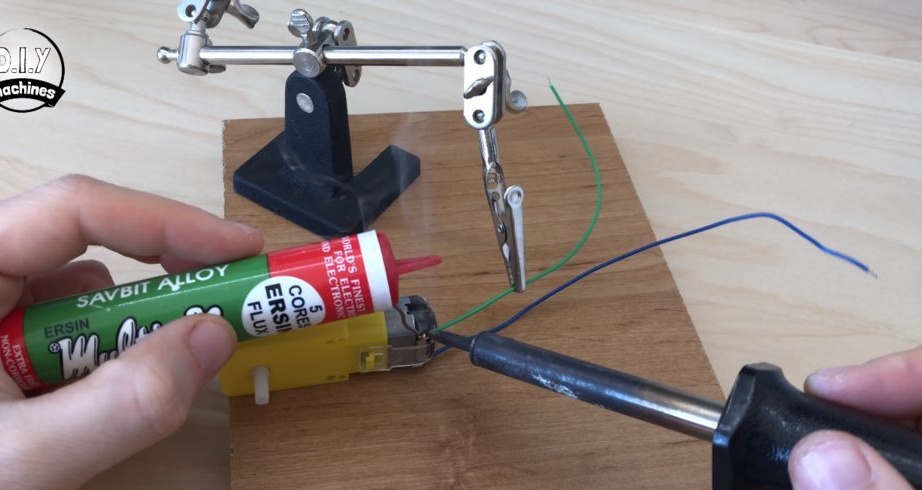
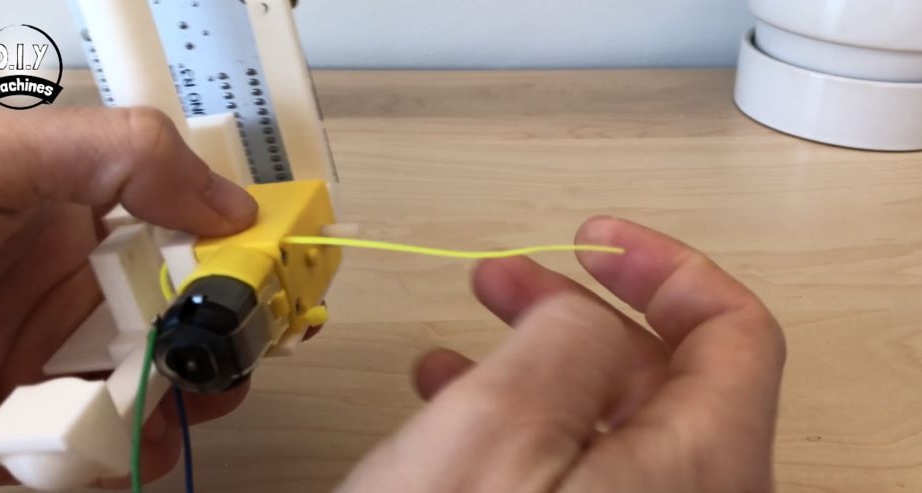
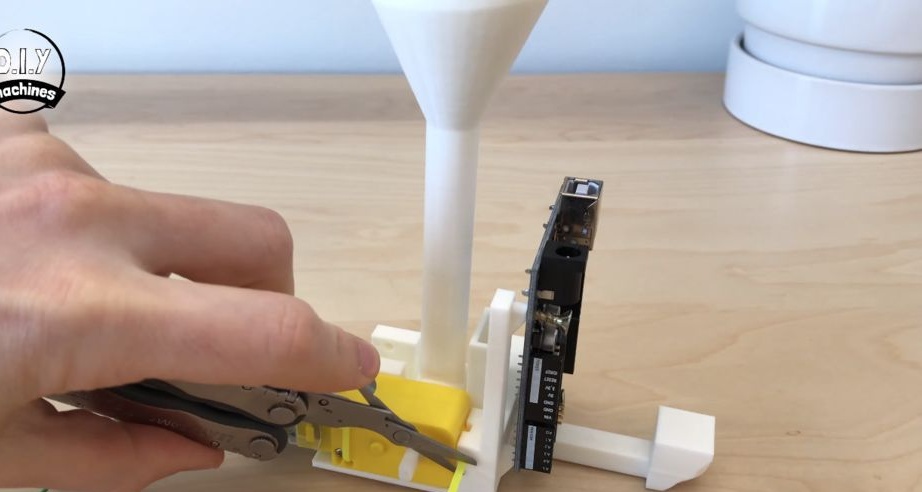
Solders to the contacts of the gear motors wires. Installs gear motors on the chassis.
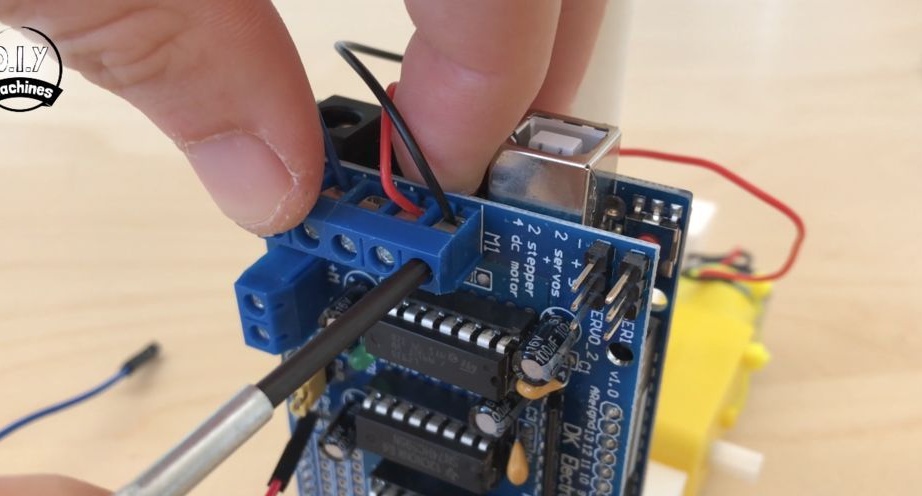
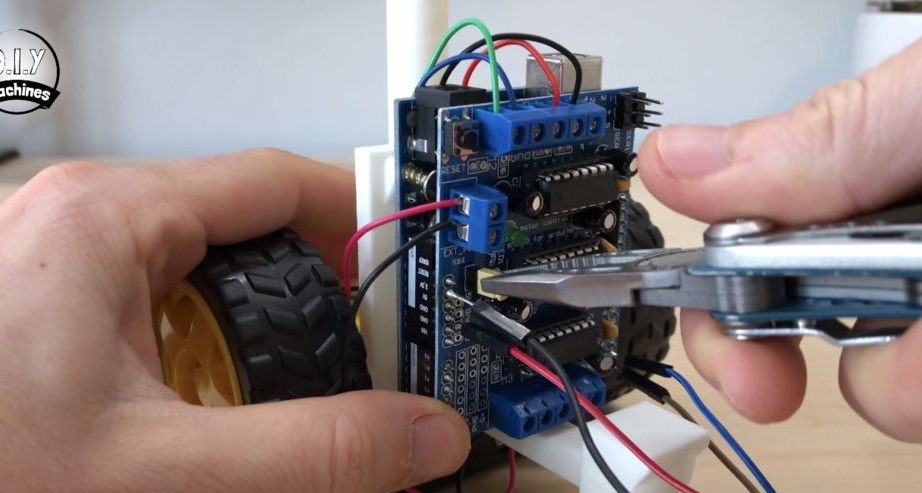
Step Four: Engine Driver
Solder wires to the driver contacts. To better navigate the wires are multi-colored. Blue-1; black 3.3; brown-0; red-GND (ground).
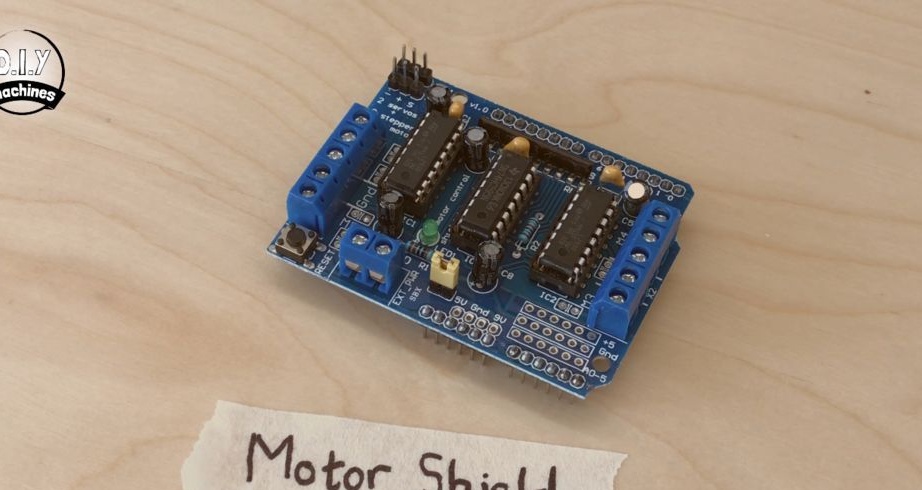
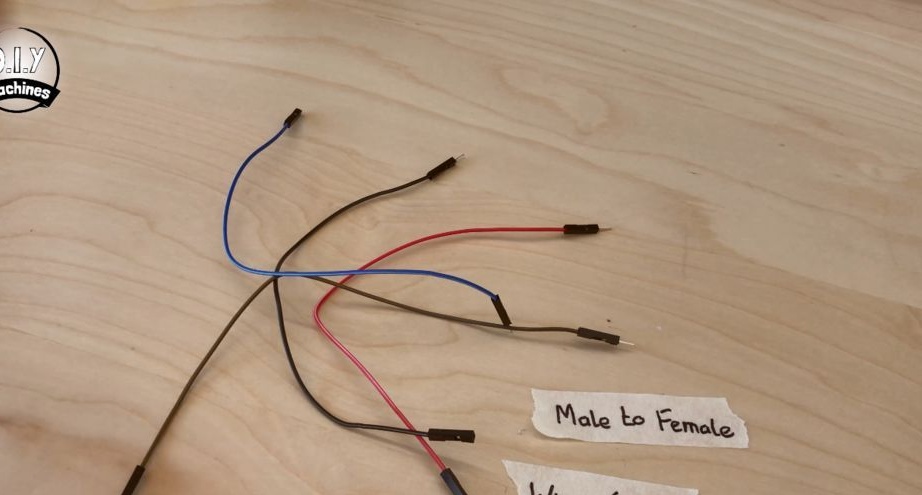
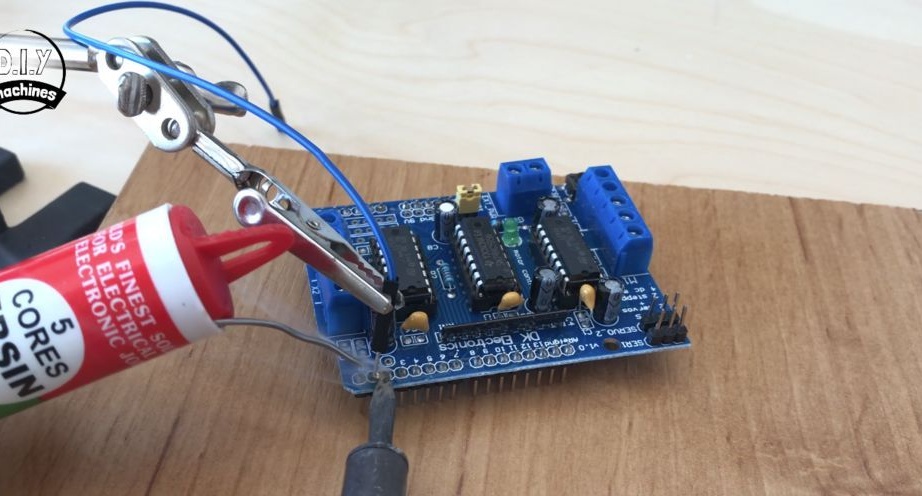
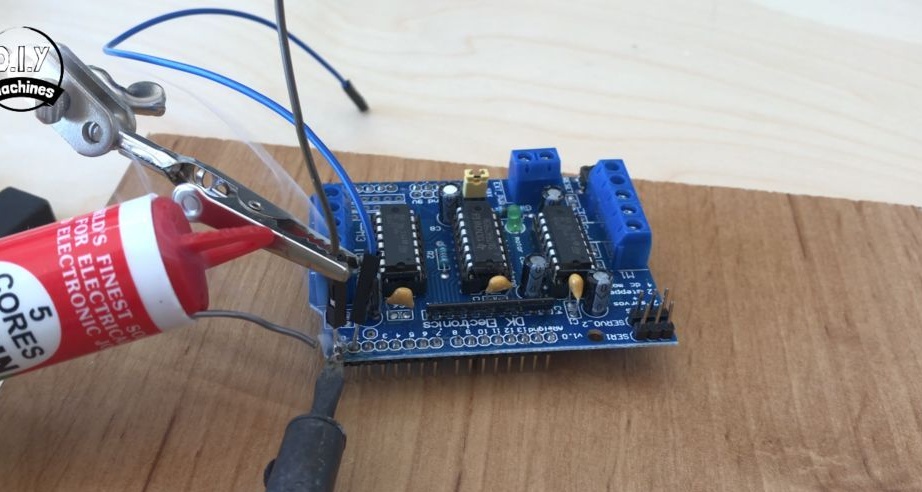
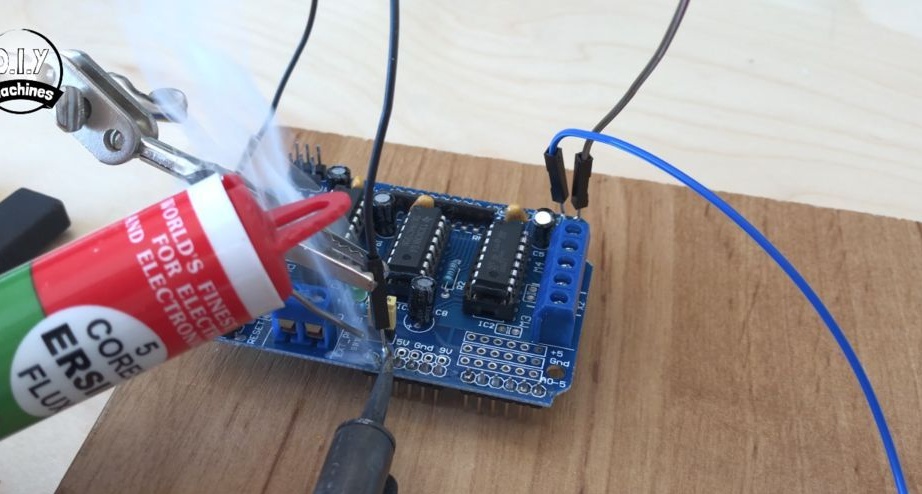
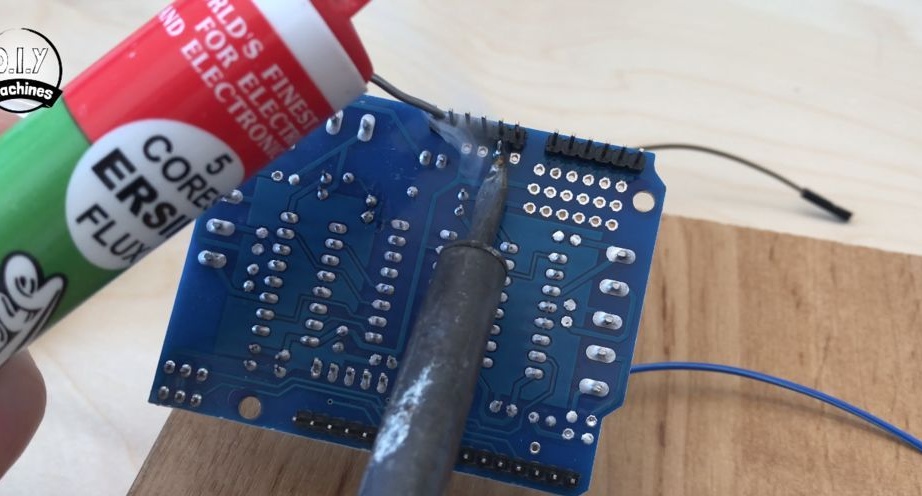
Installs the driver on Arduinka.
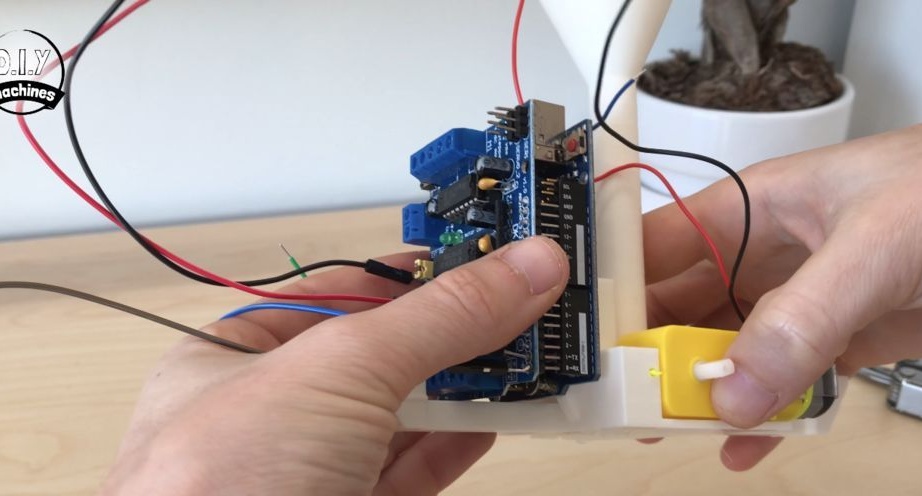
Connects the engine to the driver. We look at the photo, the first engine M1, the second M2.
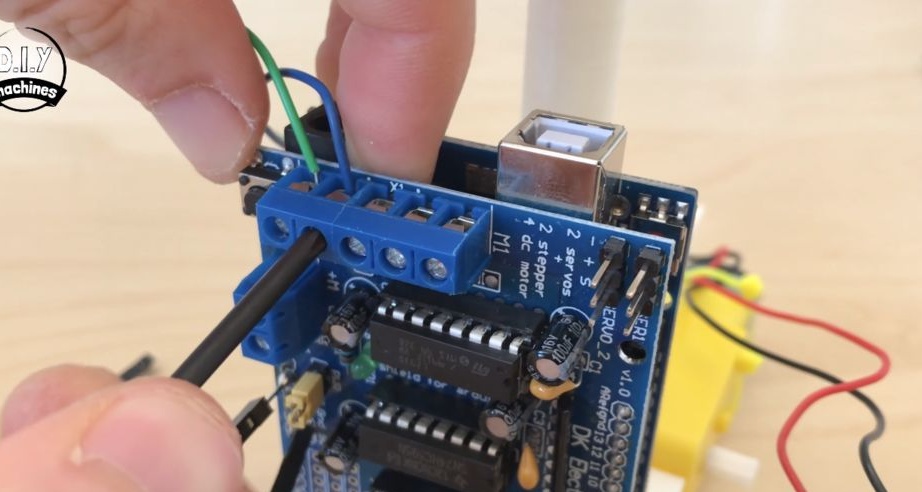
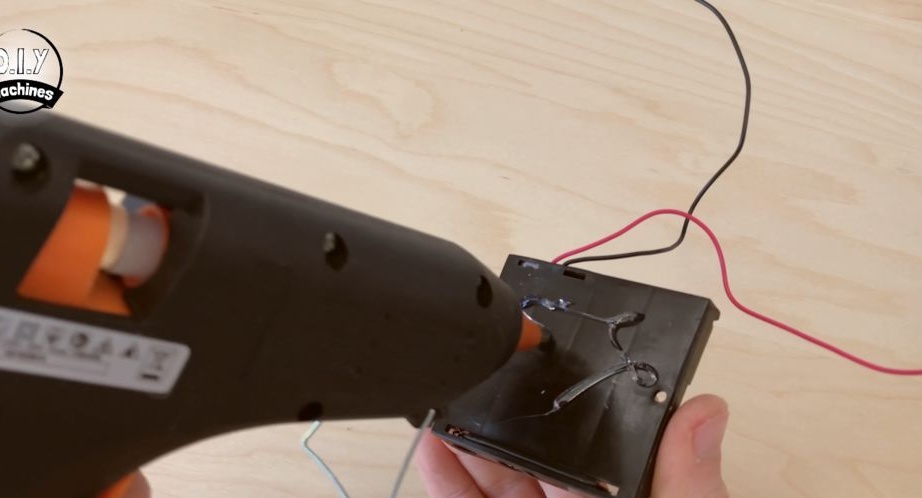
Step Five: Power Supply
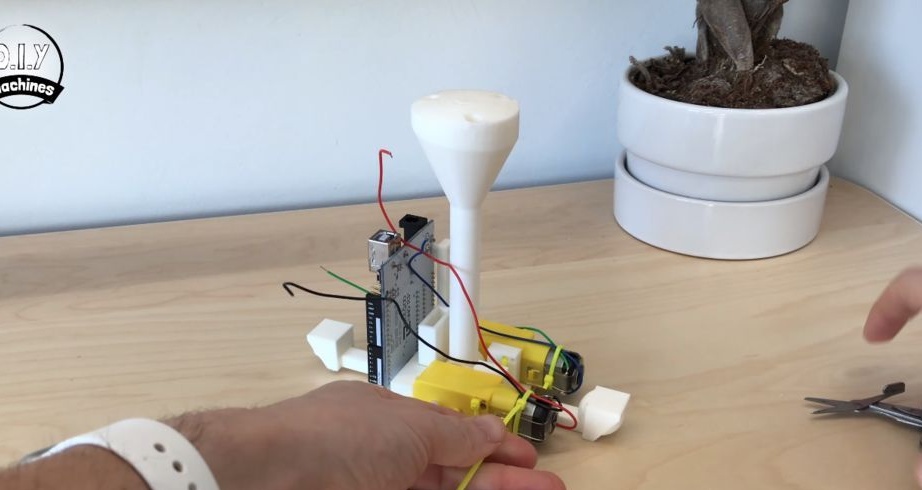
Glues the battery compartment to the chassis. Connects wires to the driver (see the last photo).

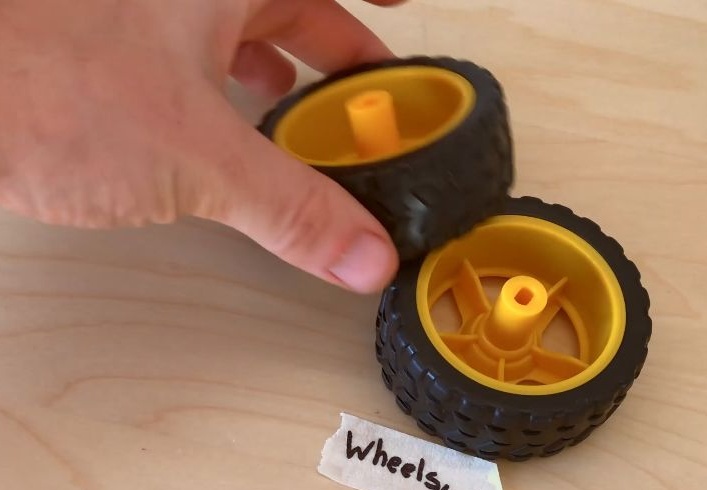
Step Six: Wheels
Sets the wheels.
Step seven: download the code
Temporarily removes the jumper.
Then it inserts the batteries into the holder and connects the Arduinka to the computer.
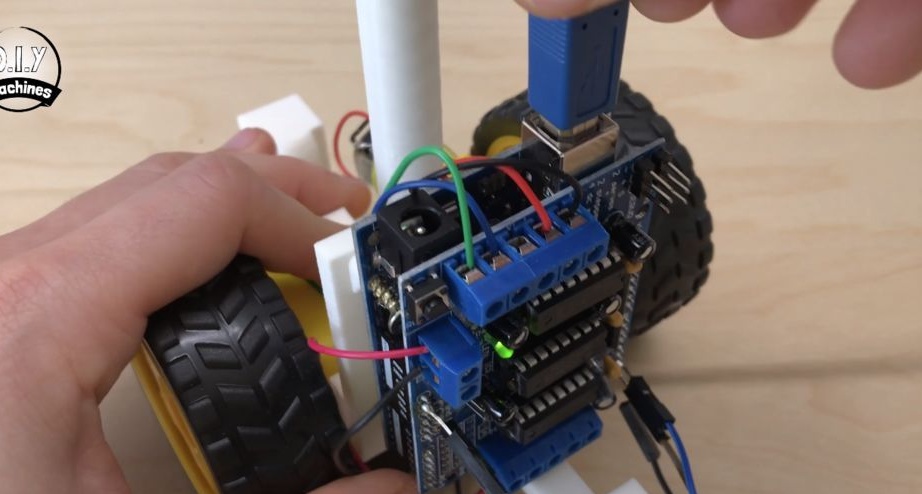

After loading, you can check the execution of commands.
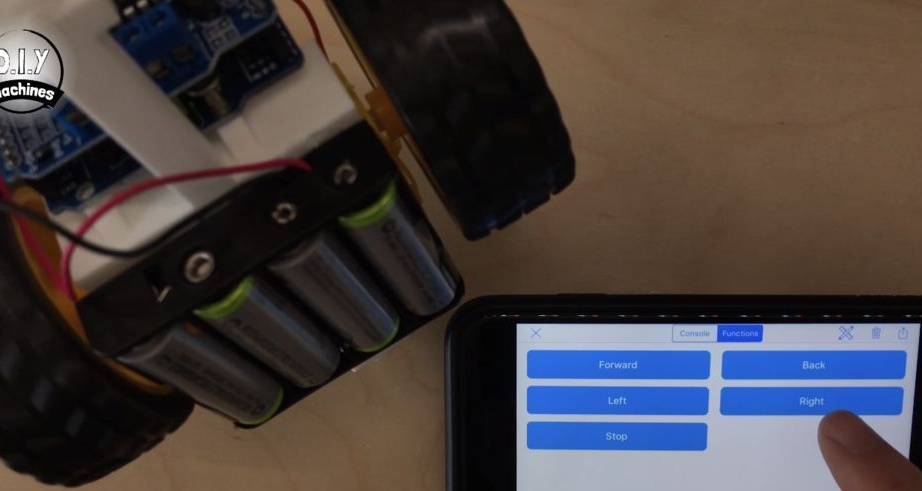
F - asks him to move forward.
B - orders him to return.
L - to the left.
R is right.
S-stop.
If the wheels turn in the opposite direction when the command is forward, you can change the code. In line 45 we change the word “BACKWARD” to “FORWARD”, in line 53 “FORWARD” to “BACKWARD”. Then we load the code again and check.
If everything is correct, disconnect the cable and put the jumper in place.
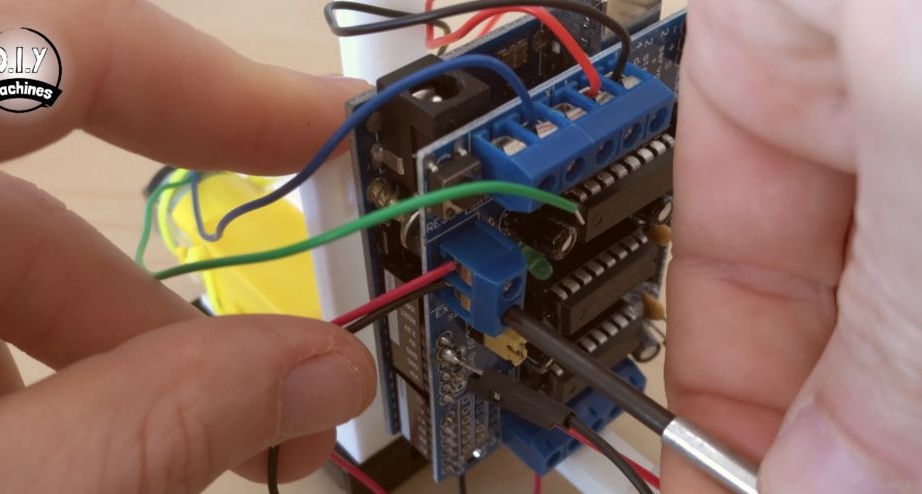
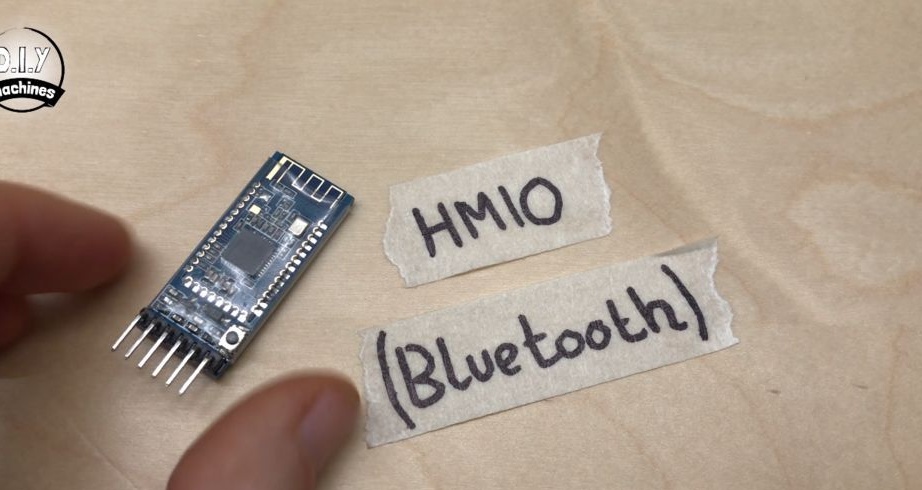
Step Eight: Bluetooth Module
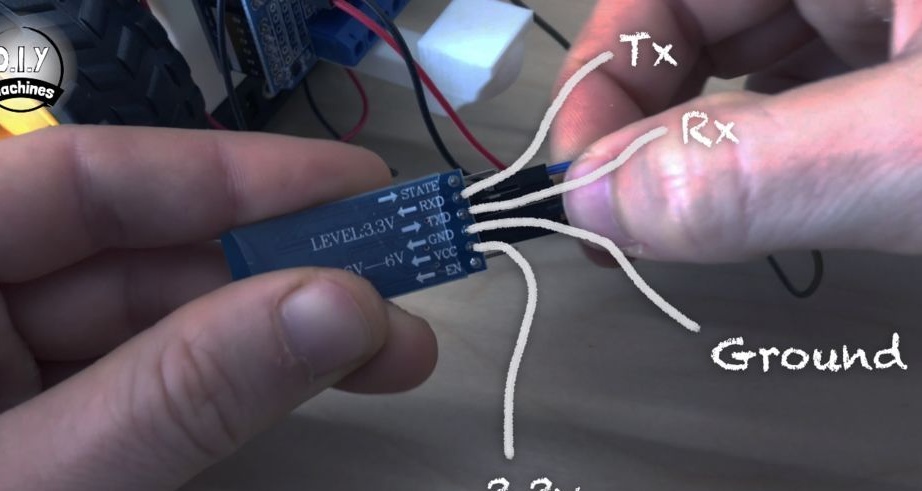
Next, connect the bluetooth module. He looks at the pinout on the driver and connects. The wire is blue (1 / RX) to the TX module, black (3.3) to VCC, brown (0 / Tx) to RXD, red GND to GND module. If everything is connected correctly, the LED should light up.
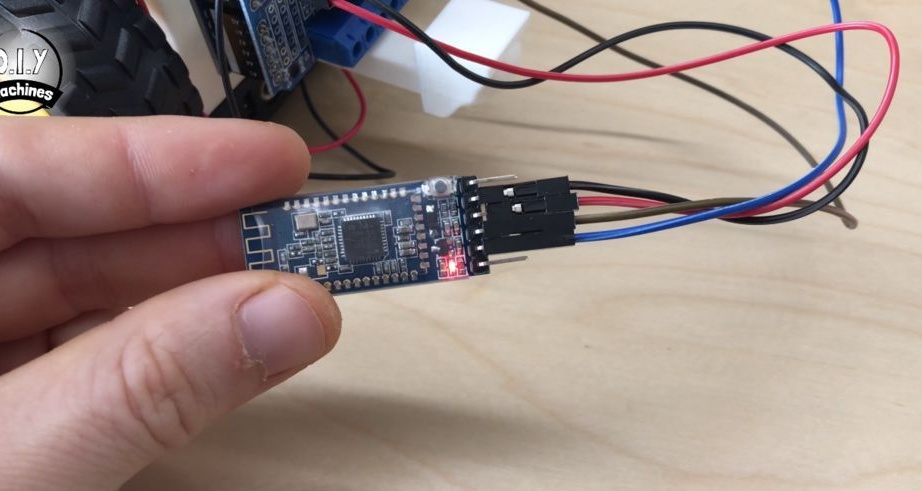
Installs the module on the chassis.
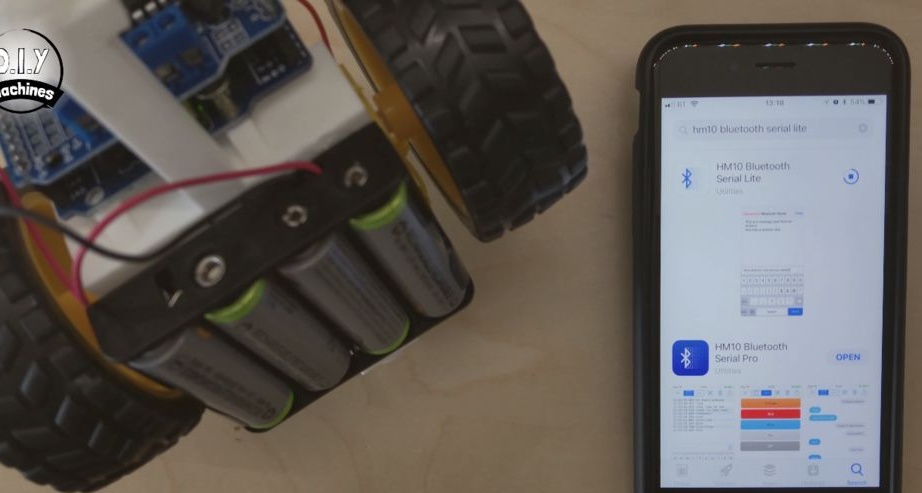
Next you need to connect to the module. Since the master has an apple smartphone, he uses the program "HM10 Bluetooth Serial Pro" from the apple store. For Androids, in the Play Market, there are also a lot of programs. It checks the operation by sending the commands 'F', 'B', 'L', 'R' and 'S'. You can also use the virtual joystick.
Step Nine: Test
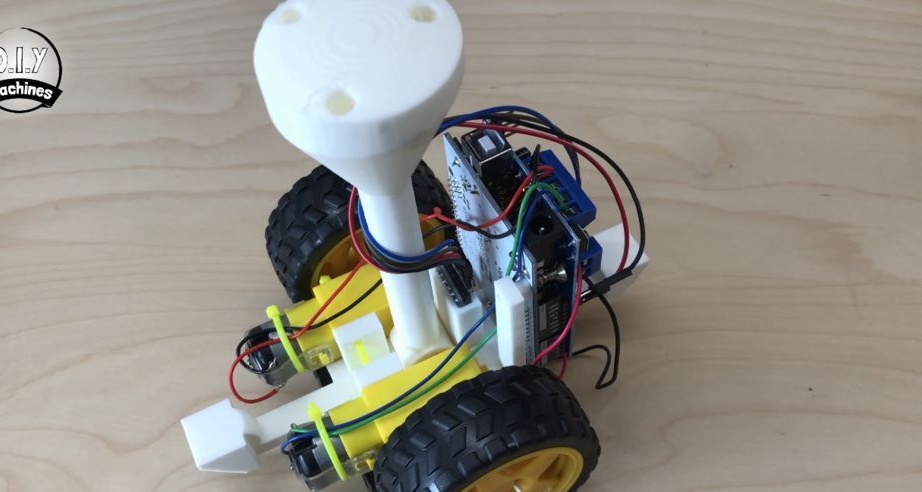
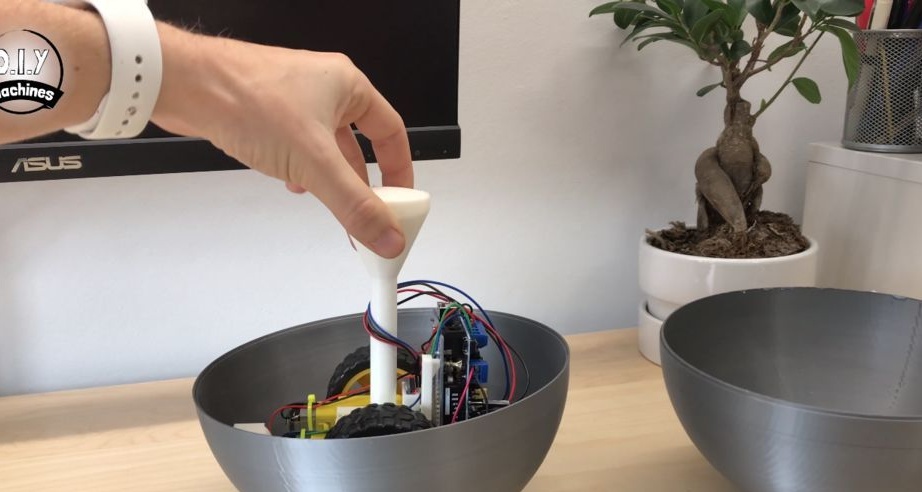
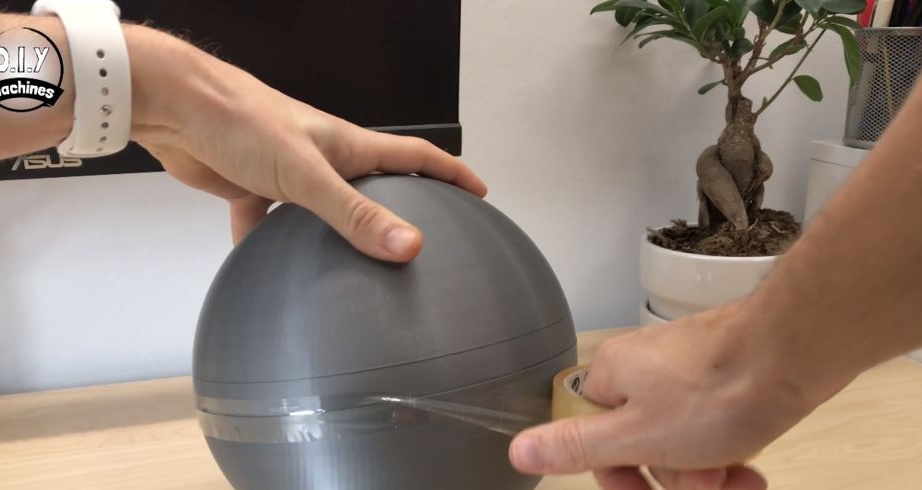
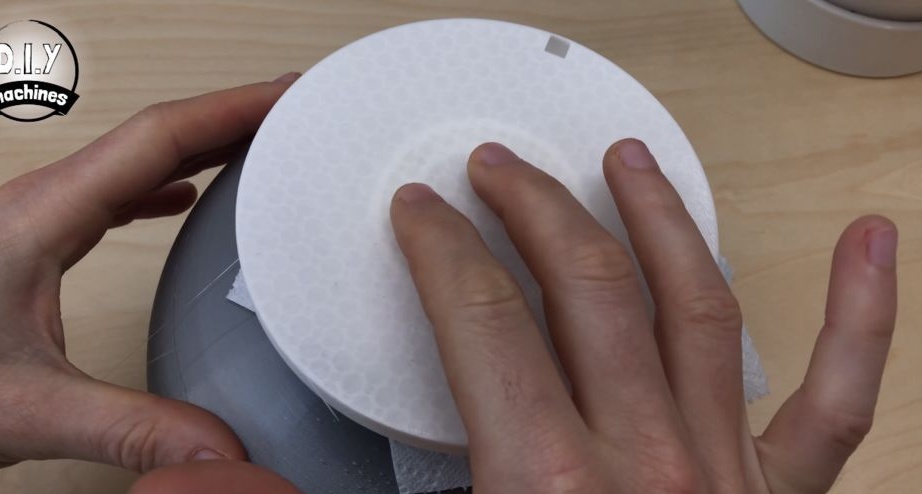
Installs the chassis in hemispheres. Closes the second half. At the junction, rolls with tape. Now you can check how the droid moves.
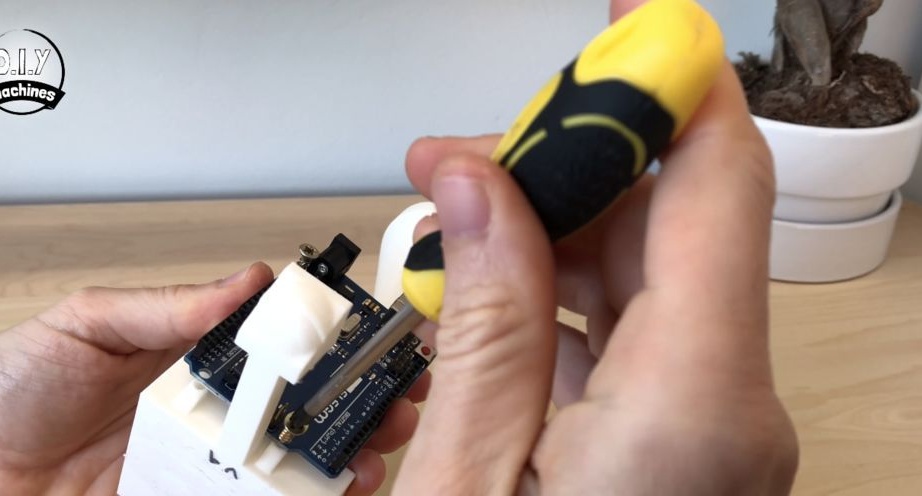
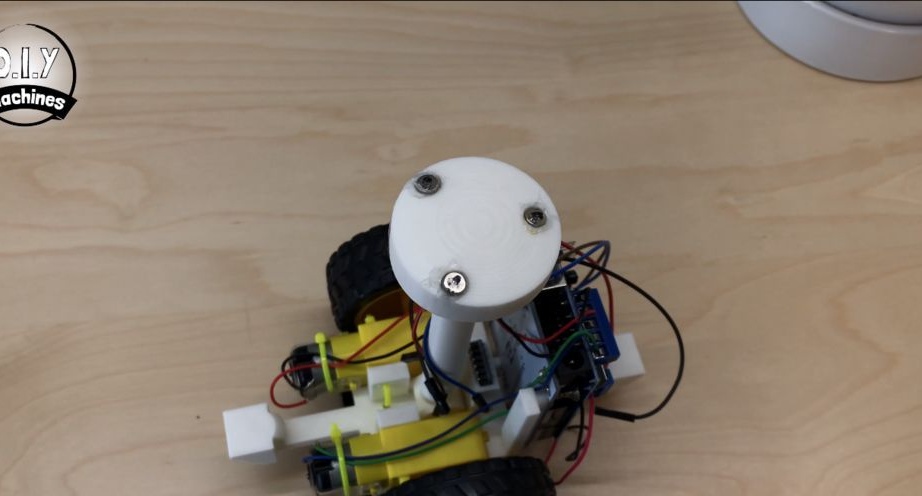
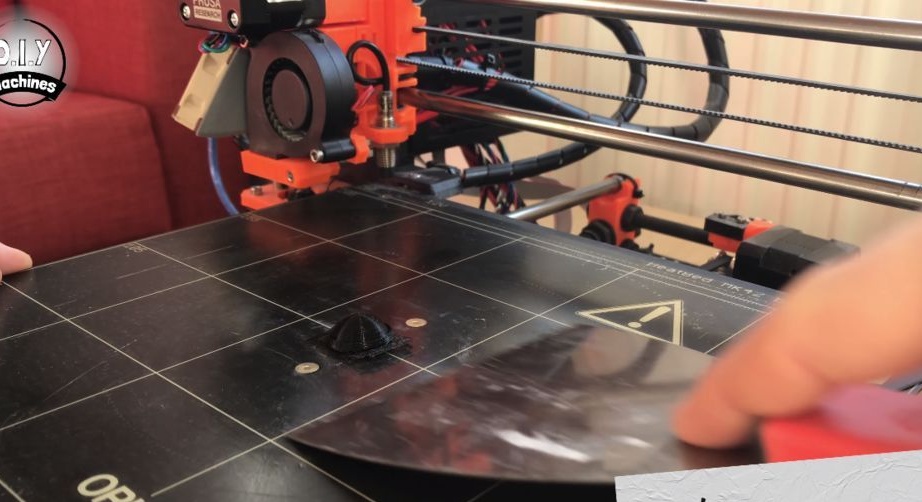
Step Ten: Head Base
On a 3D printer, prints the part for the droid's head. You can download it below.
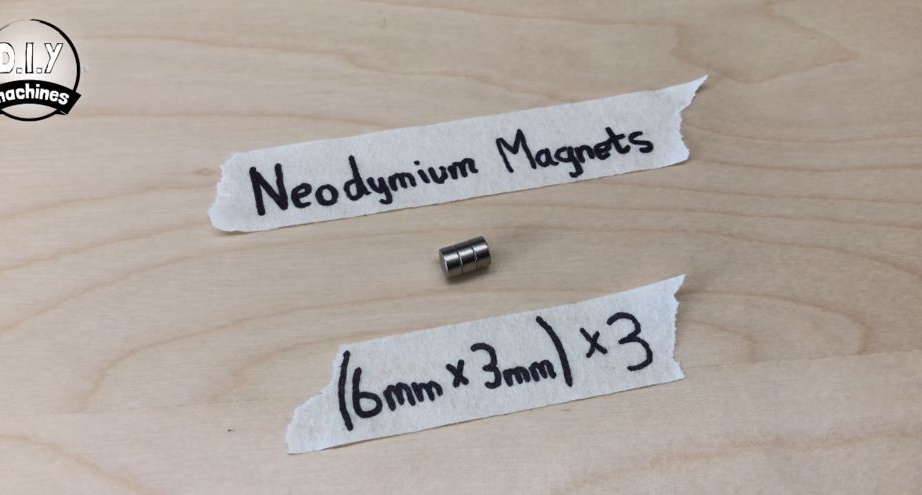
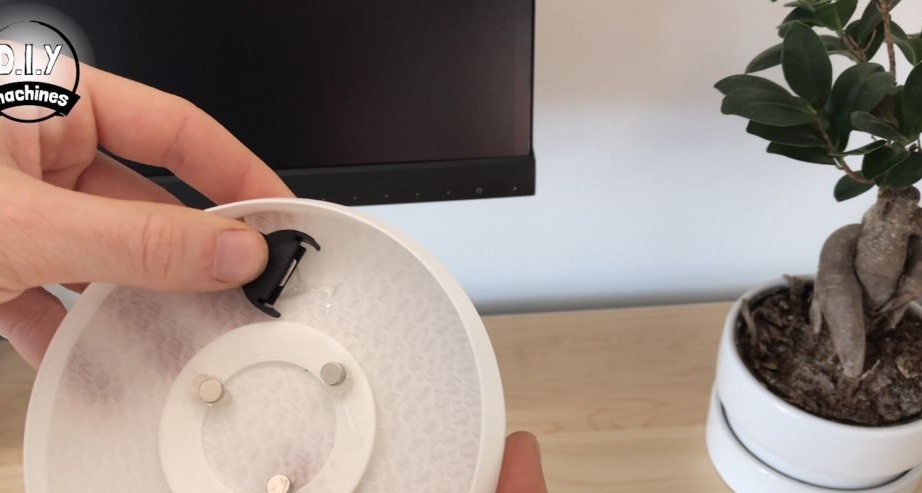
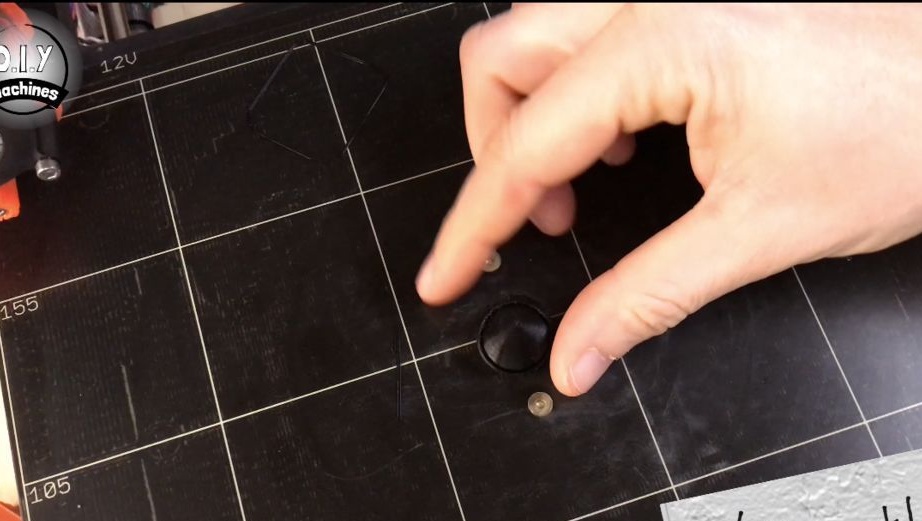
Step Eleven: Magnets
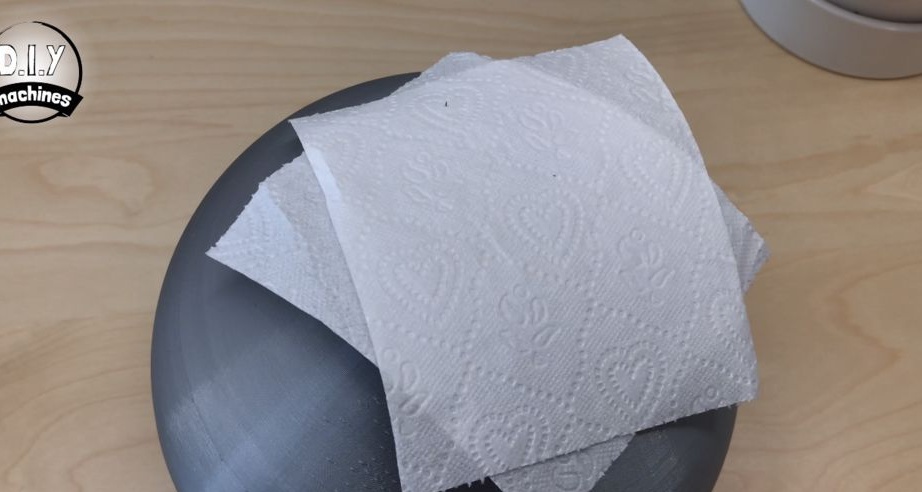
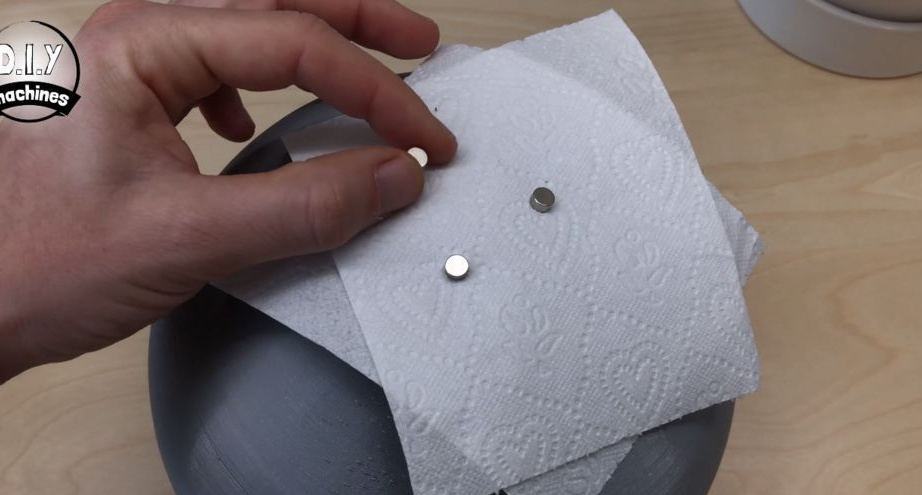
Disassembles the body and glues magnets to the upper landing gear. It is important that the magnets look with the same poles up.
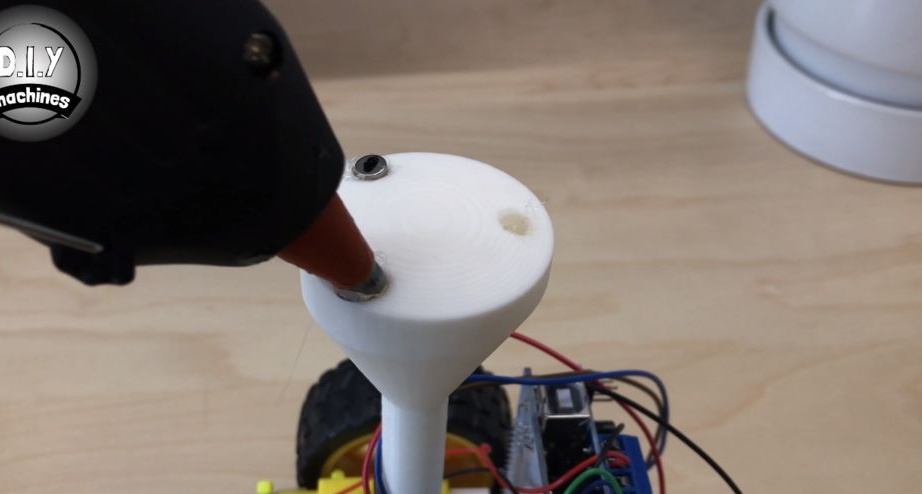
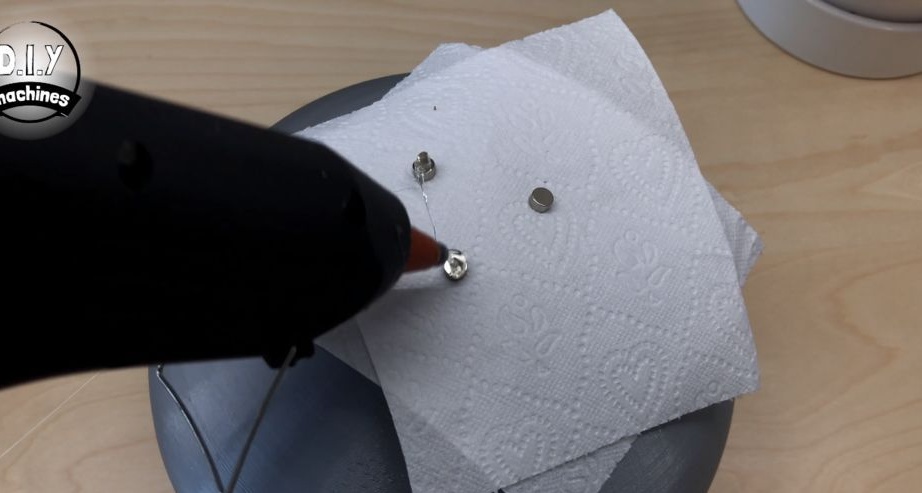
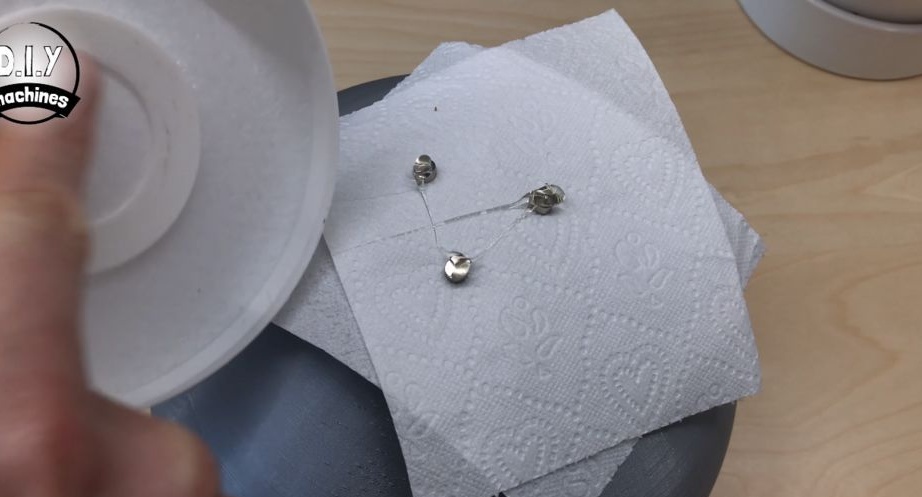
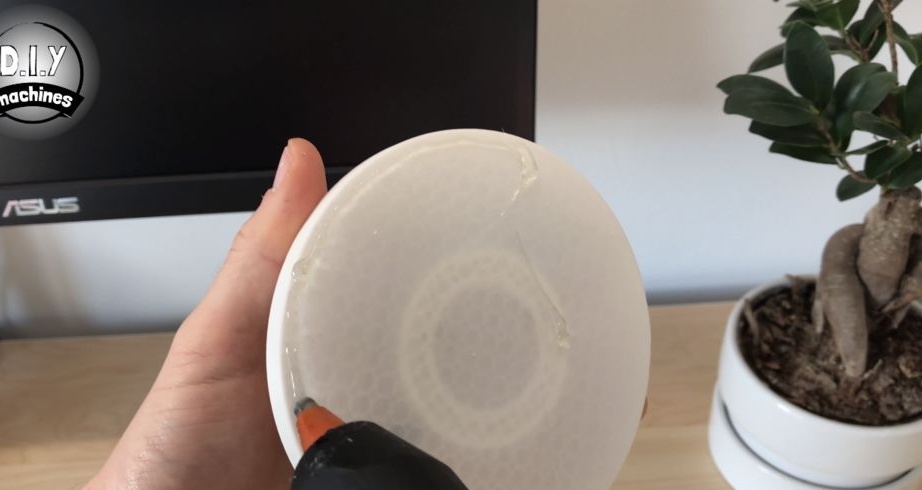
Collects the droid's body again. Puts two napkins on the upper body. Three magnets are magnetized on top of the napkins. Apply hot-melt adhesive to magnets and adhere to the base of the head. Then flips and removes the paper.
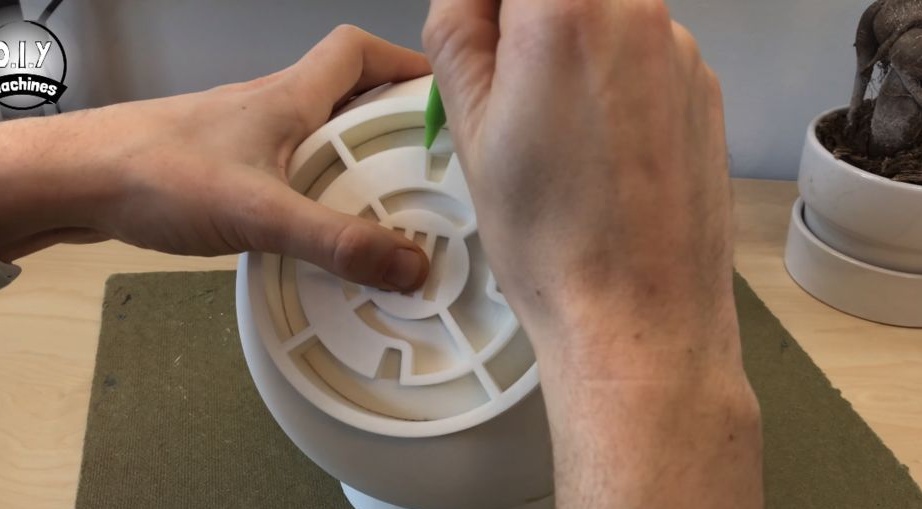
Step Twelve: Droid Head
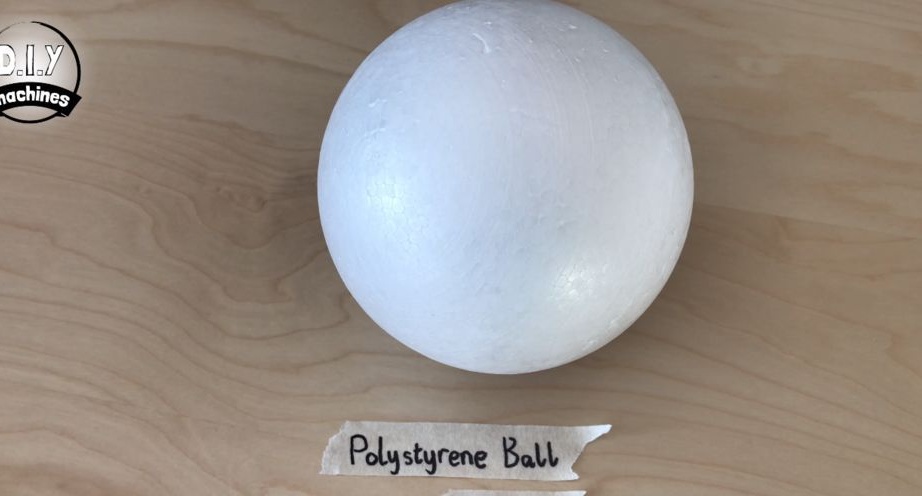
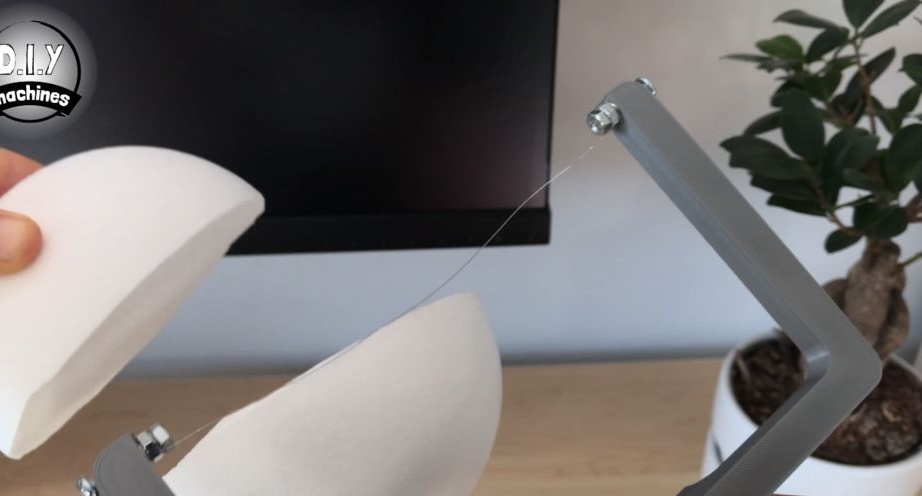
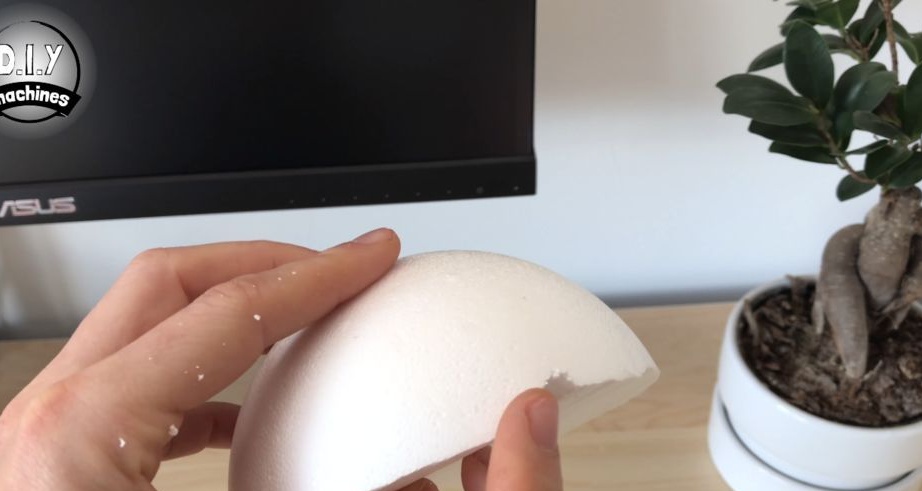
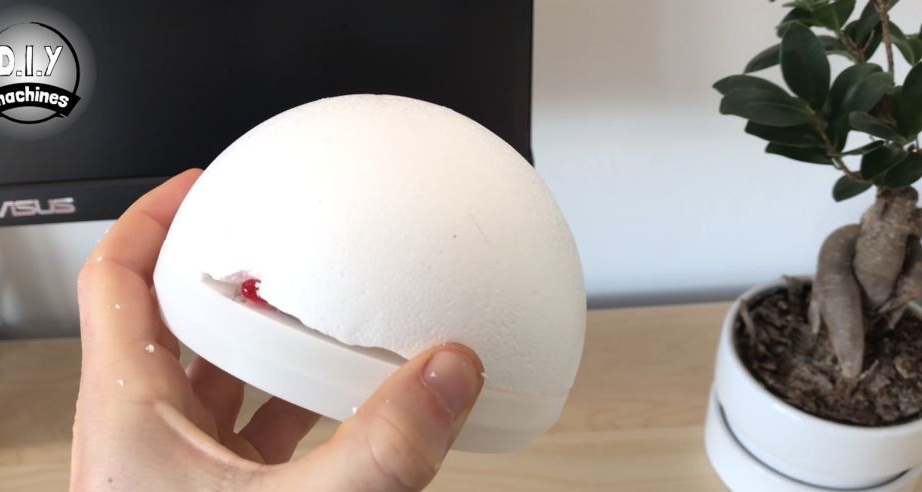
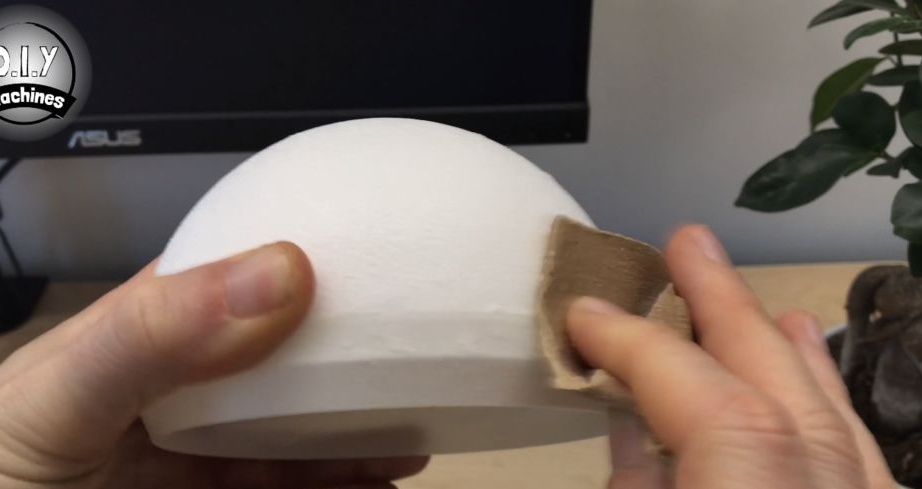
A foam cutter cuts a polystyrene ball.

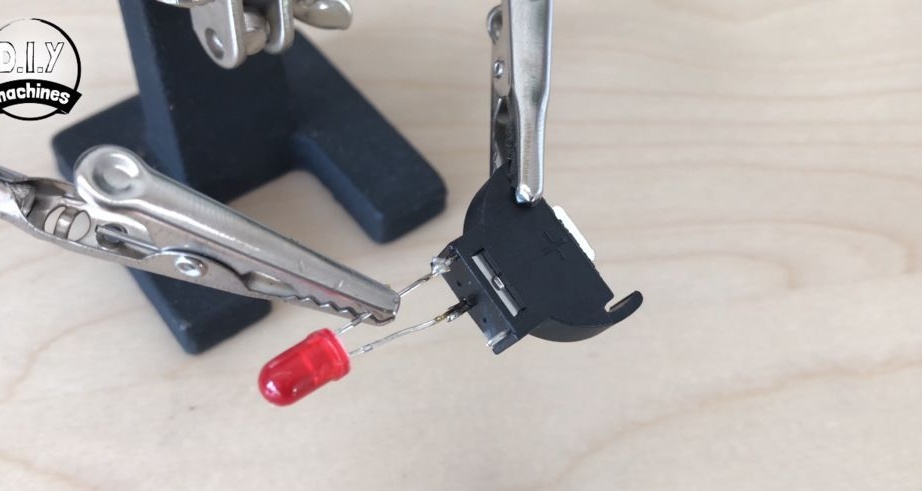
The red LED solders to the contacts of the battery compartment. It bends it and inserts into the hole of the base. Glues the compartment with hot melt adhesive.
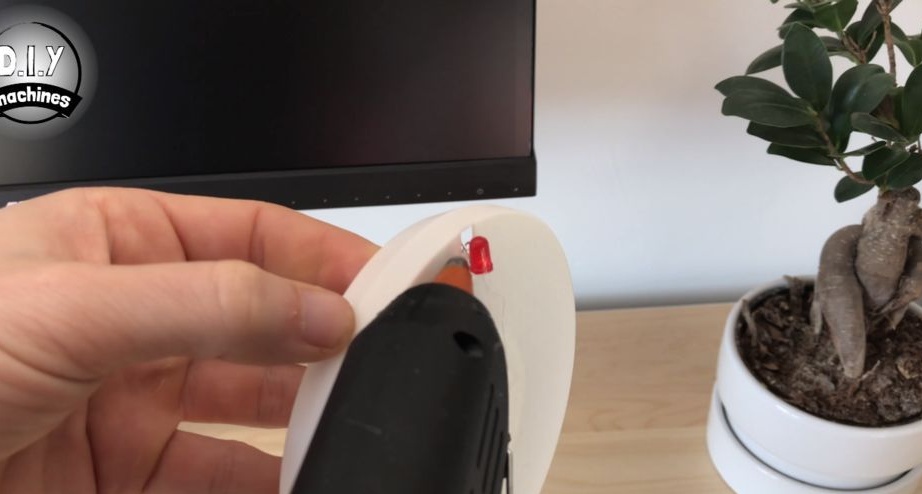
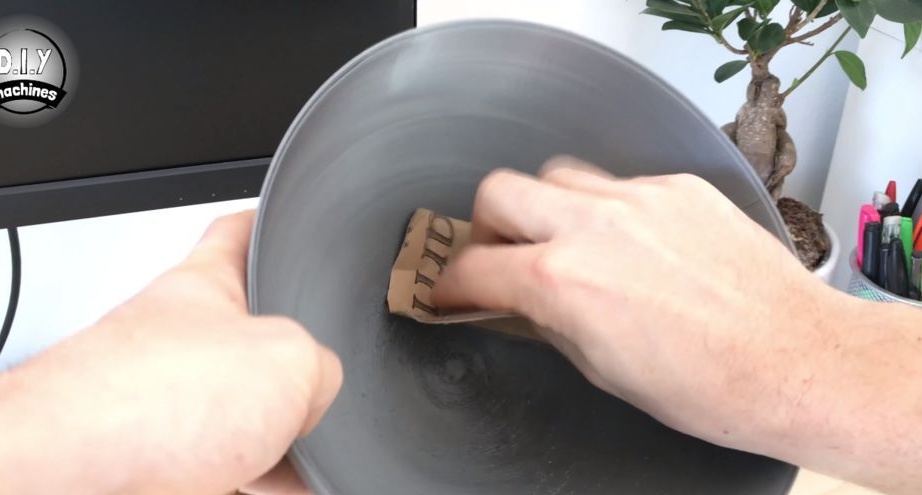
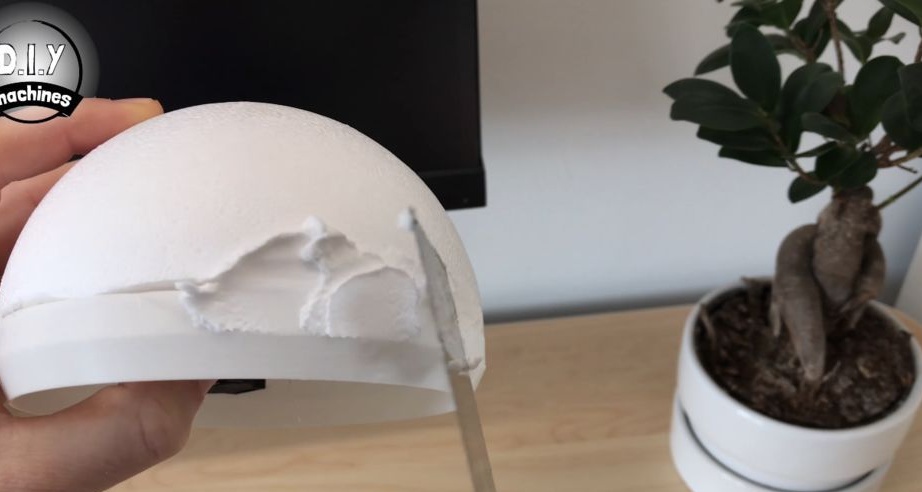
Then hot glue sticks to the base half of the cut ball. First you need to make a cutout for the LED. After the glue has hardened, it processes the joint with sandpaper.
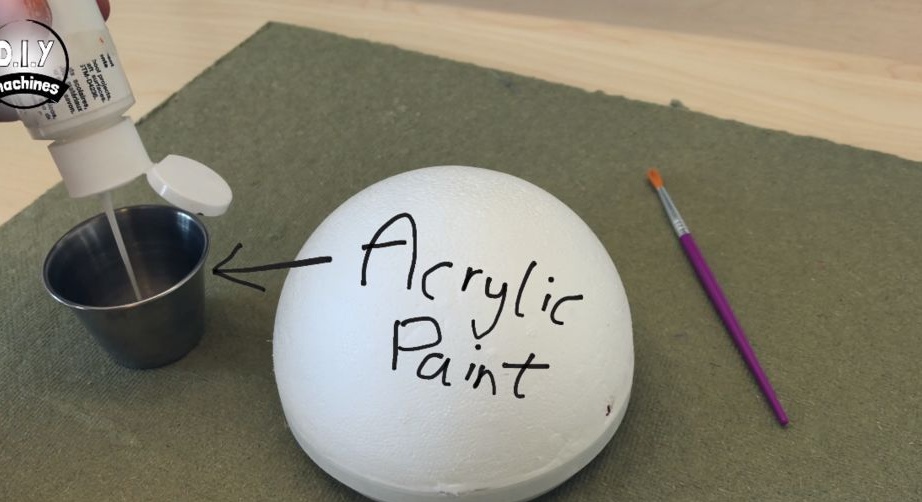
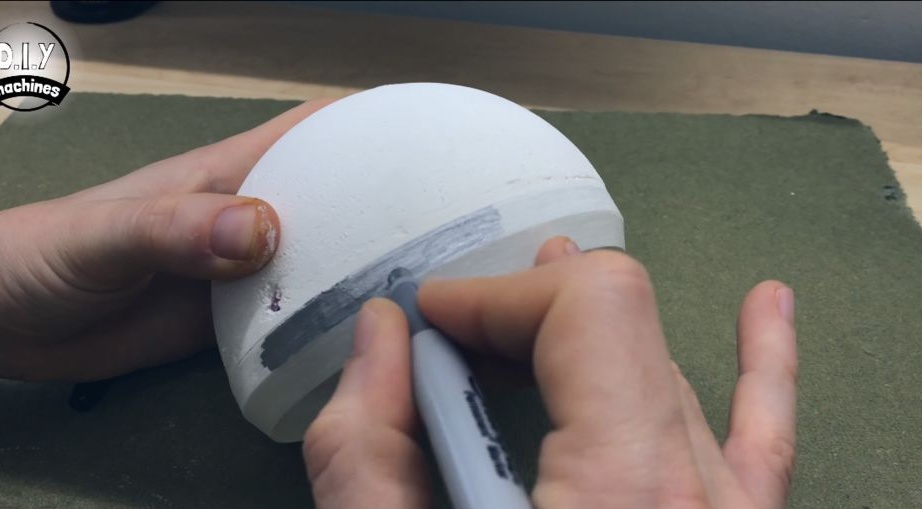
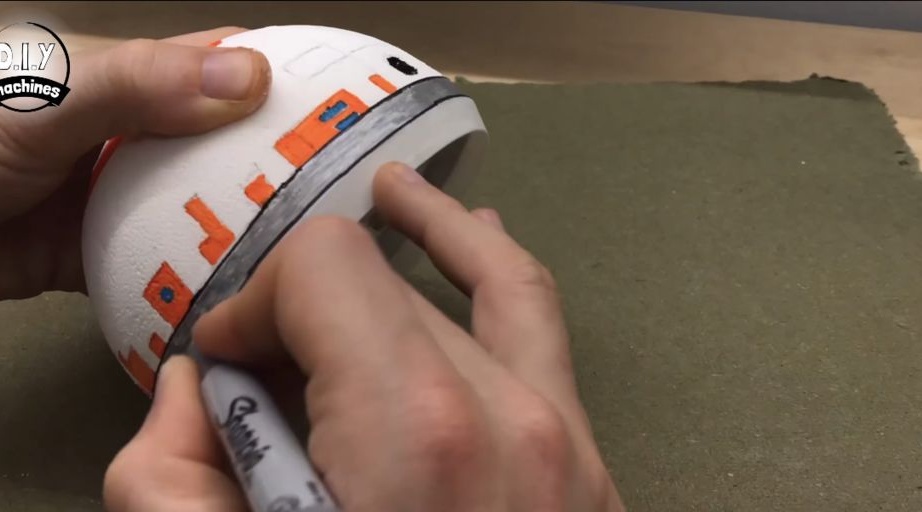
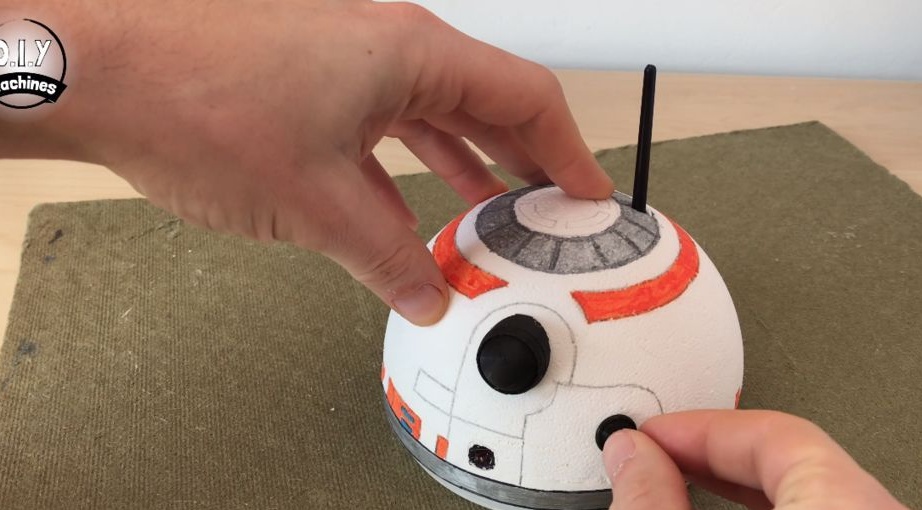
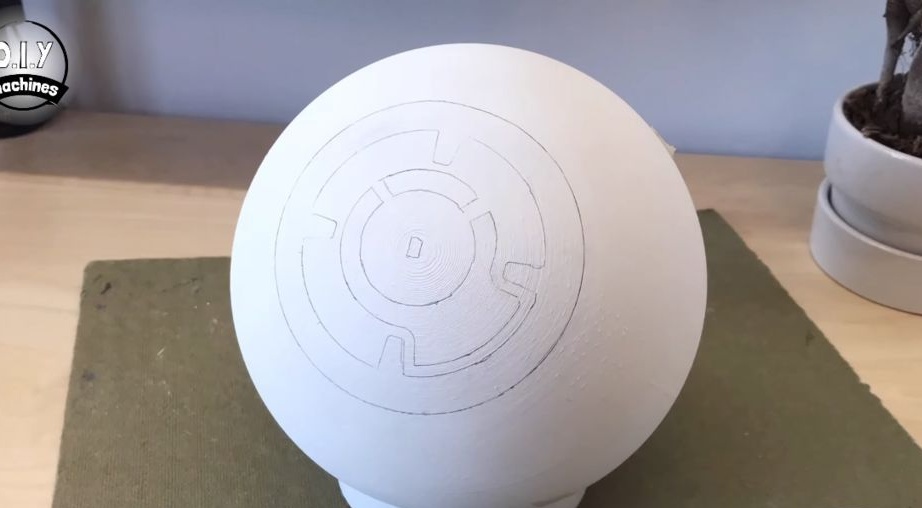
Step Thirteen: Head Coloring
Apply three layers of white acrylic paint to the surface of the head. After drying, the paint is applied.
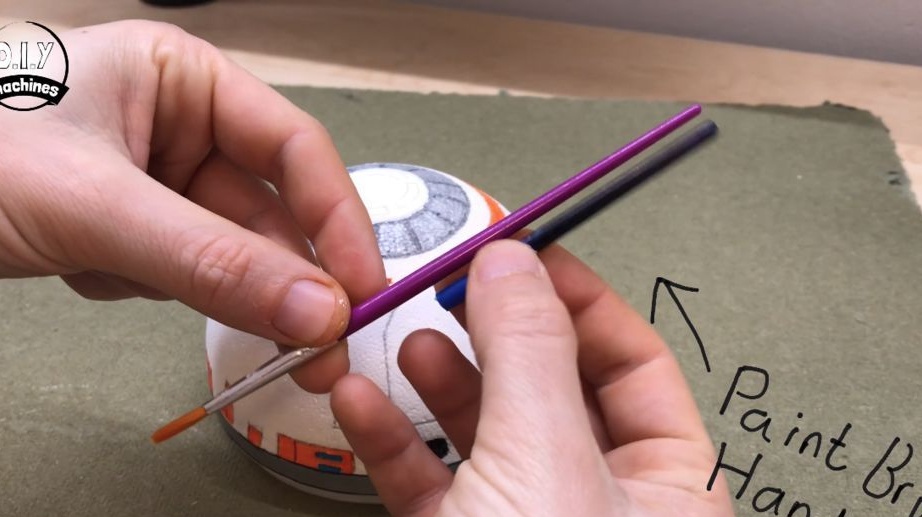
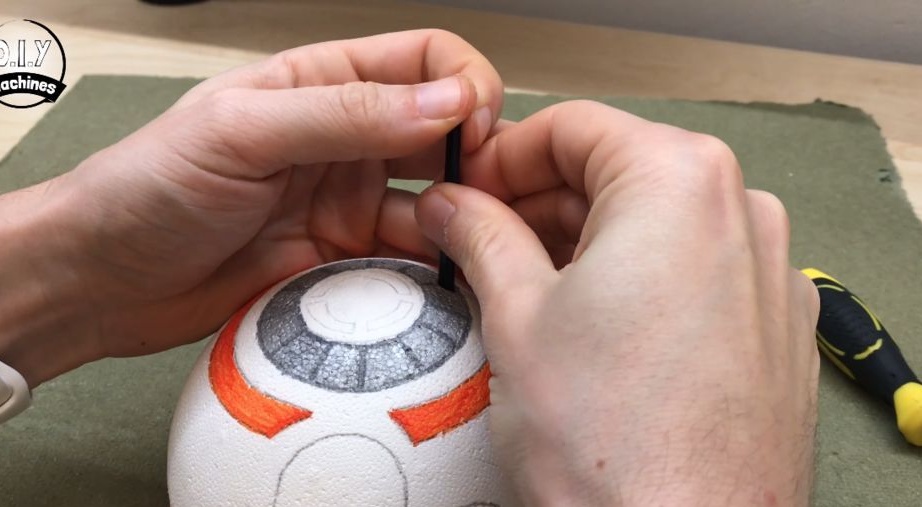
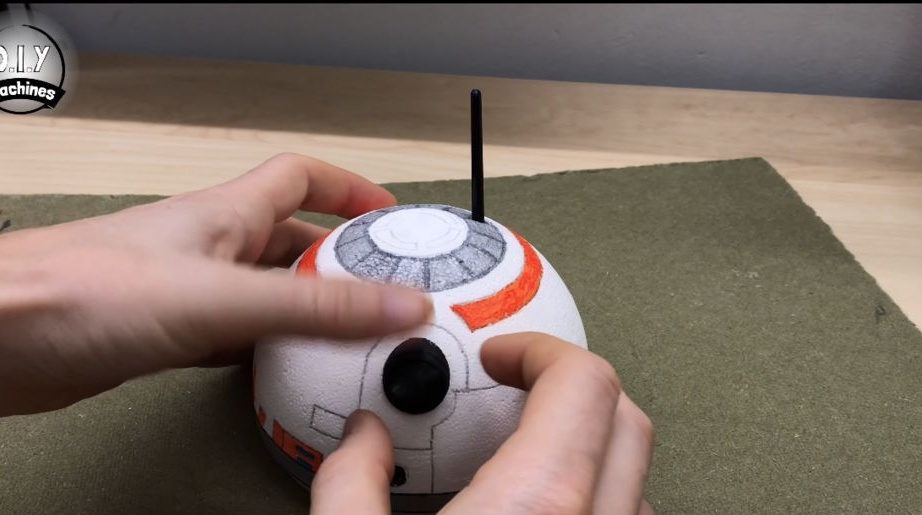
Step Fourteen: Antenna
The master made an antenna from a brush handle. Cut off a piece and painted with black paint. The sensor and eye were printed by the master on a 3D printer. File below.
Glues the antenna and sensor.
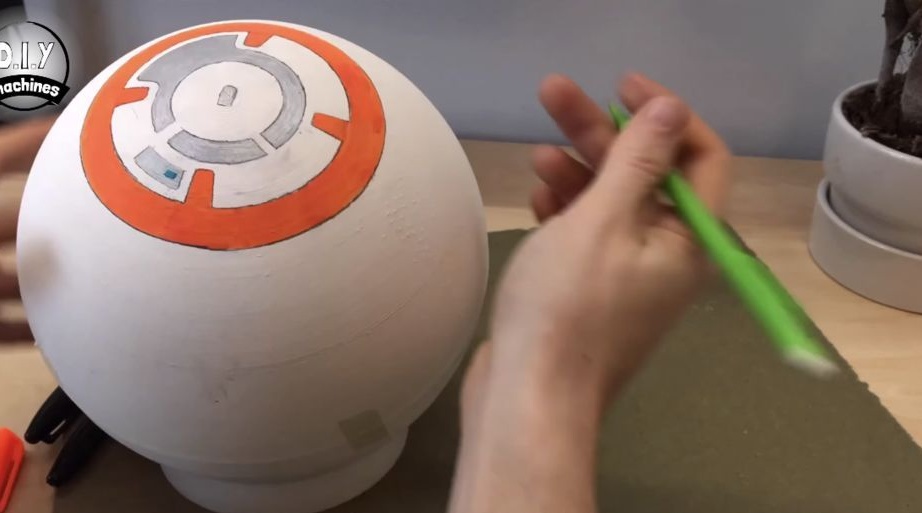
Step Fifteen: Body Coloring
Now it's time to go to the torso. Apply a white primer to the surface. After drying, it draws a picture.

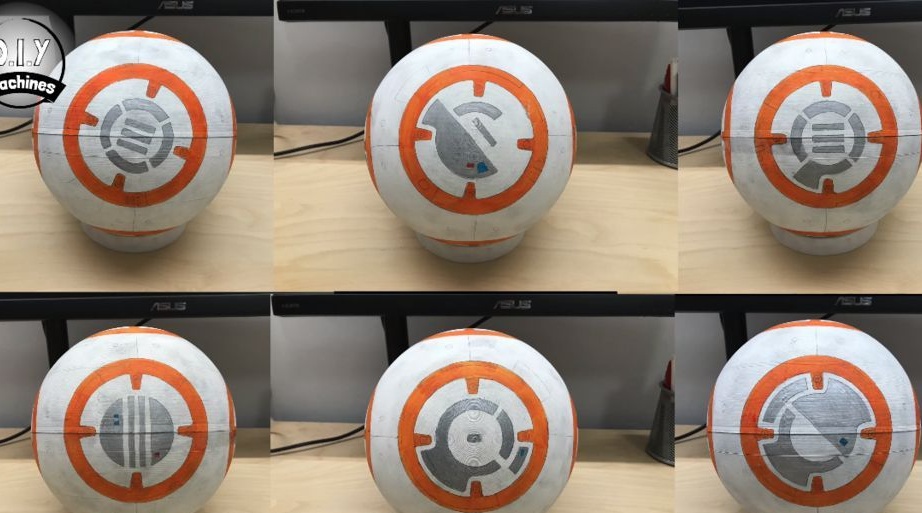
BB-8 astromechanical droid is ready. Now you need to do and go ahead, to conquer the universe.
The whole process of making a droid can be seen in the video below.
[media = http: // https: //youtu.be/x67xsED77lM]