
If you want to make yourself a high-quality knife and you are stopped by the fact that there is no other similar tool in the workshop, take a look at this instruction. The master makes a quality machete sword using only a hand tool! In the manufacture of the author did not even use an electric drill, the holes were drilled with a hand drill!
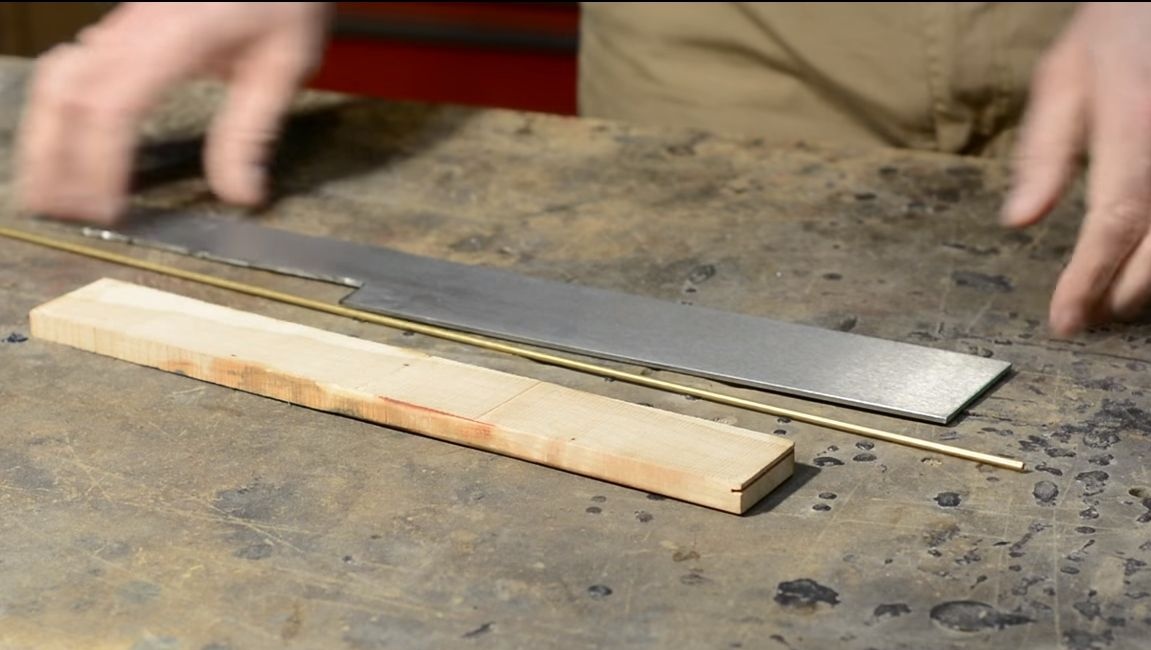
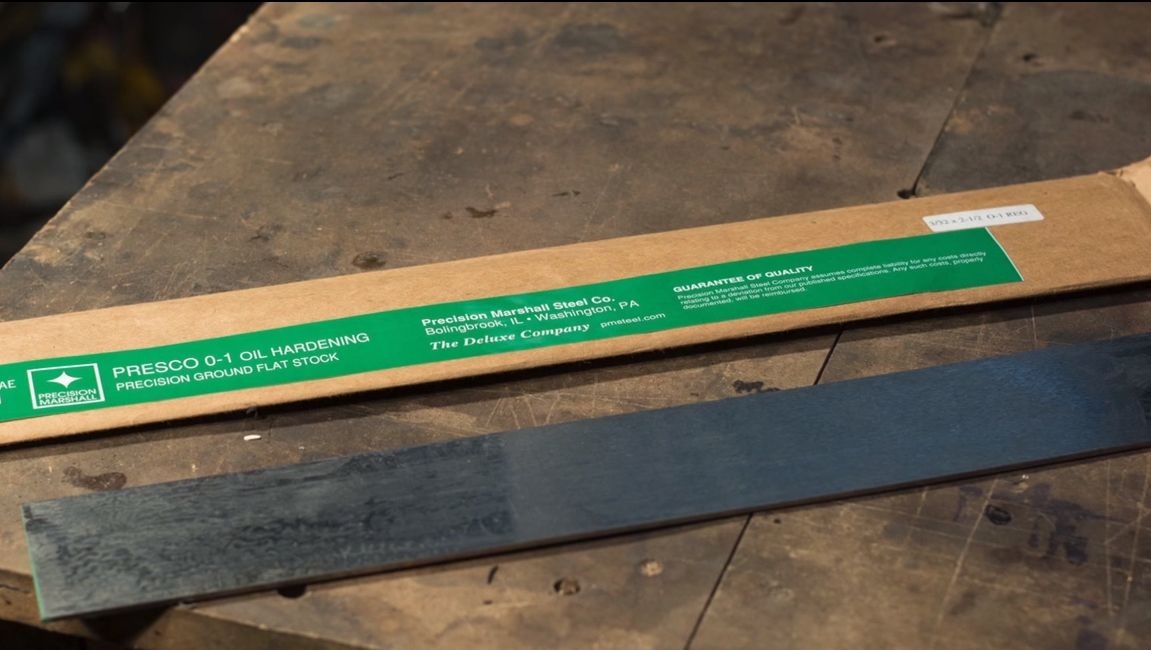
The metal used to make the sword was 1050, which is an excellent steel for making knives, common in America. Such steel is very hardened, and this is very important in the manufacture of the cutting tool, since otherwise the blade will not keep sharpening. As for domestic counterparts, this includes such steel as “50” and “50G”. To make a knife, you will need high carbon steel. We pass to the manufacturing process!
Materials and tools used by the author:
Material List:
- steel 1050 ();
- thin details (for overlays);
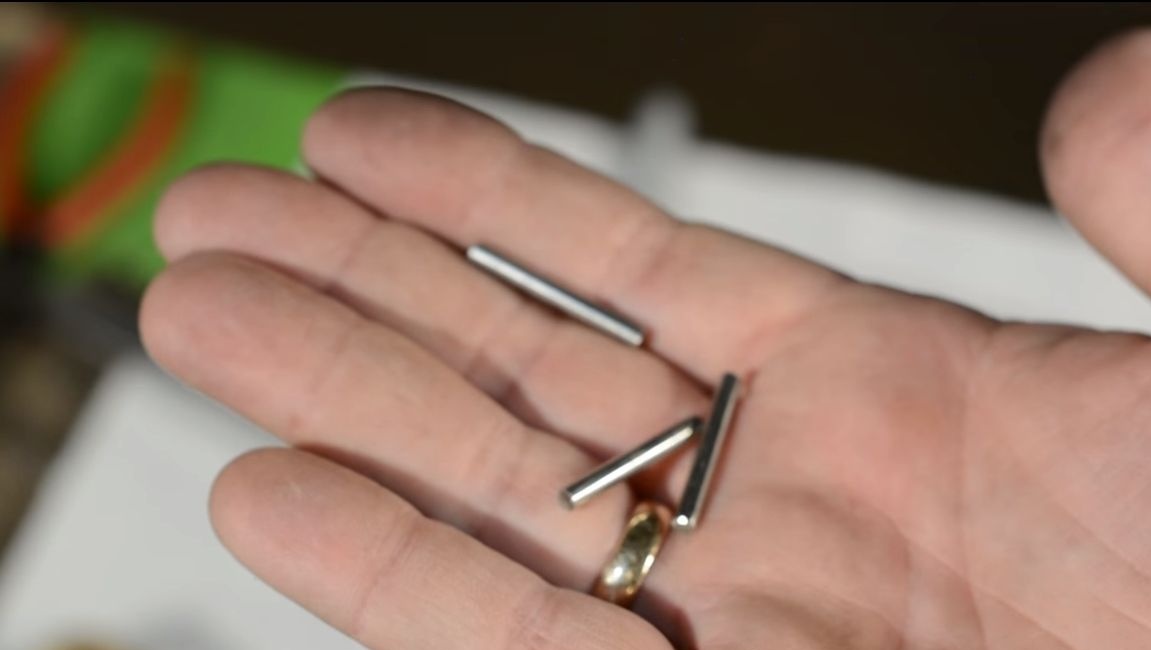
- pins (brass, steel and others as desired).
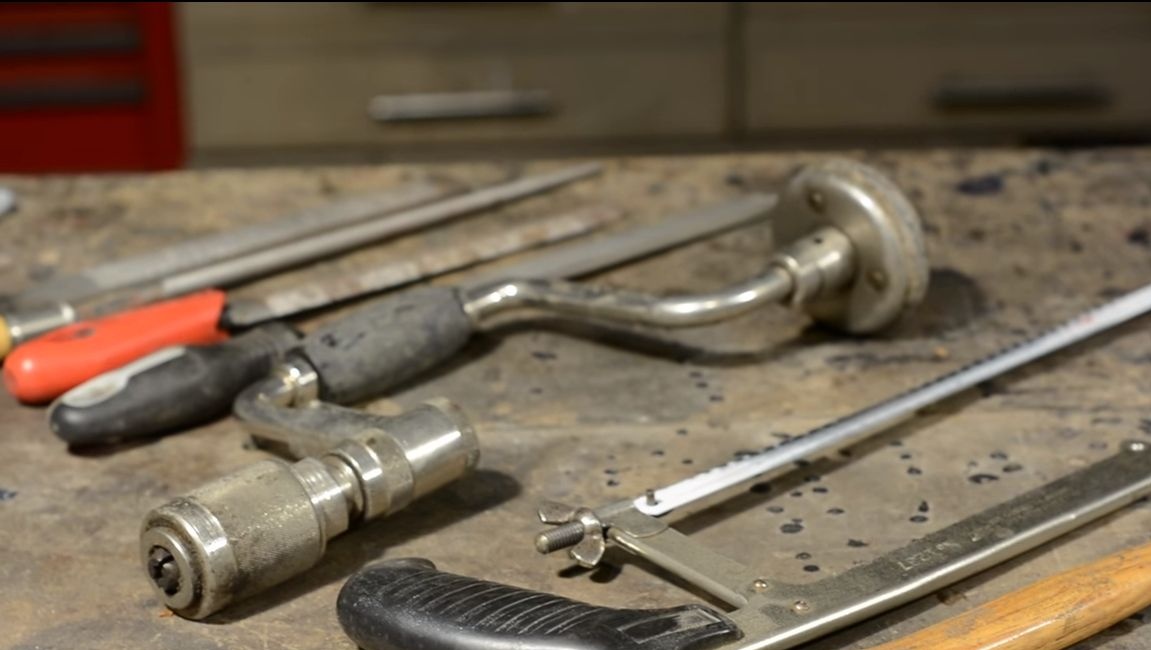
Tool List:
- a hacksaw for metal;
- saw on wood;
- hammer;
- drill;
- files for metal and rasps;
- a chisel;
- burner;
- household or special oven (for annealing);
- oil for hardening;
- sandpaper;
- epoxy adhesive;
- oil for wood.
The process of making a machete:
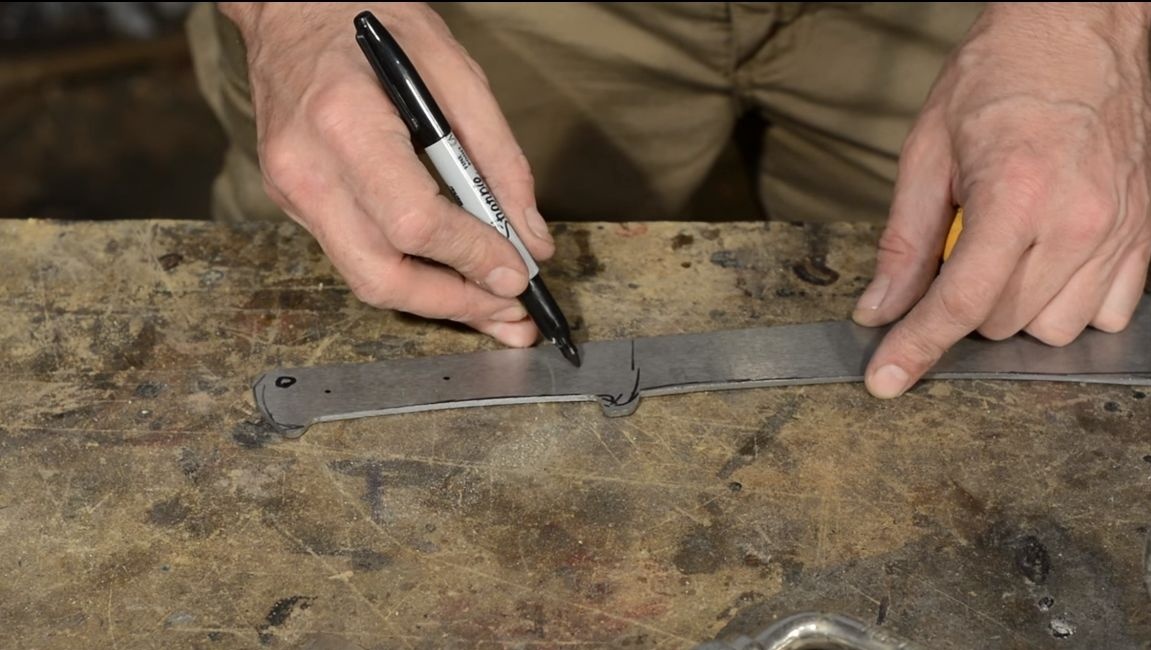
Step one. Cut the primary profile
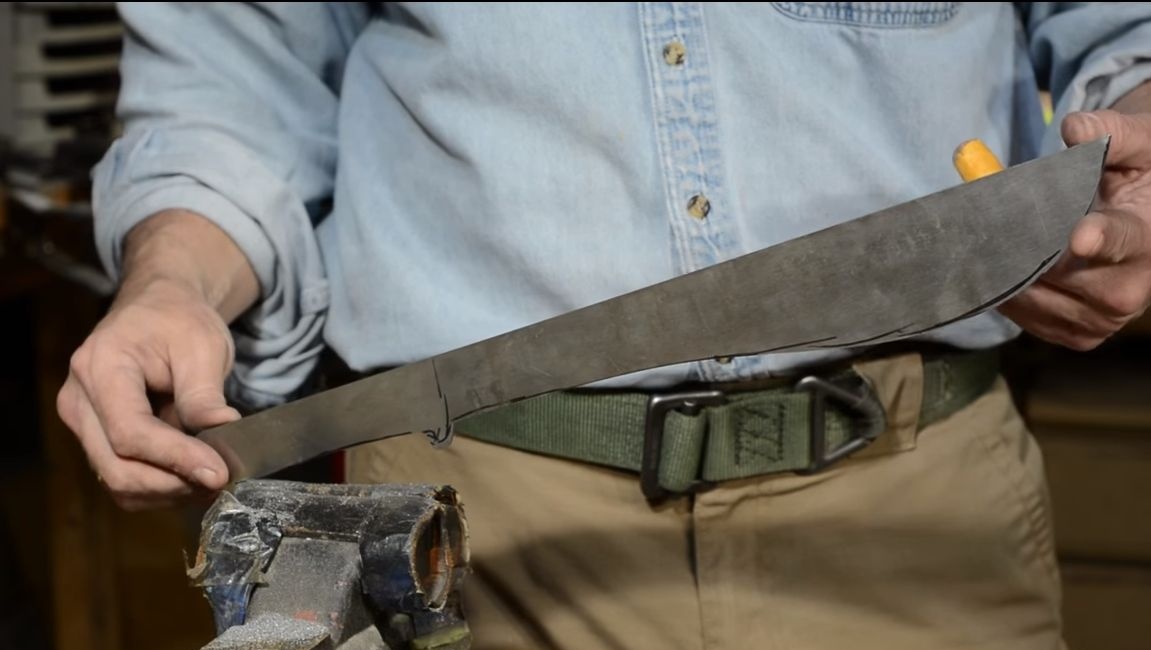
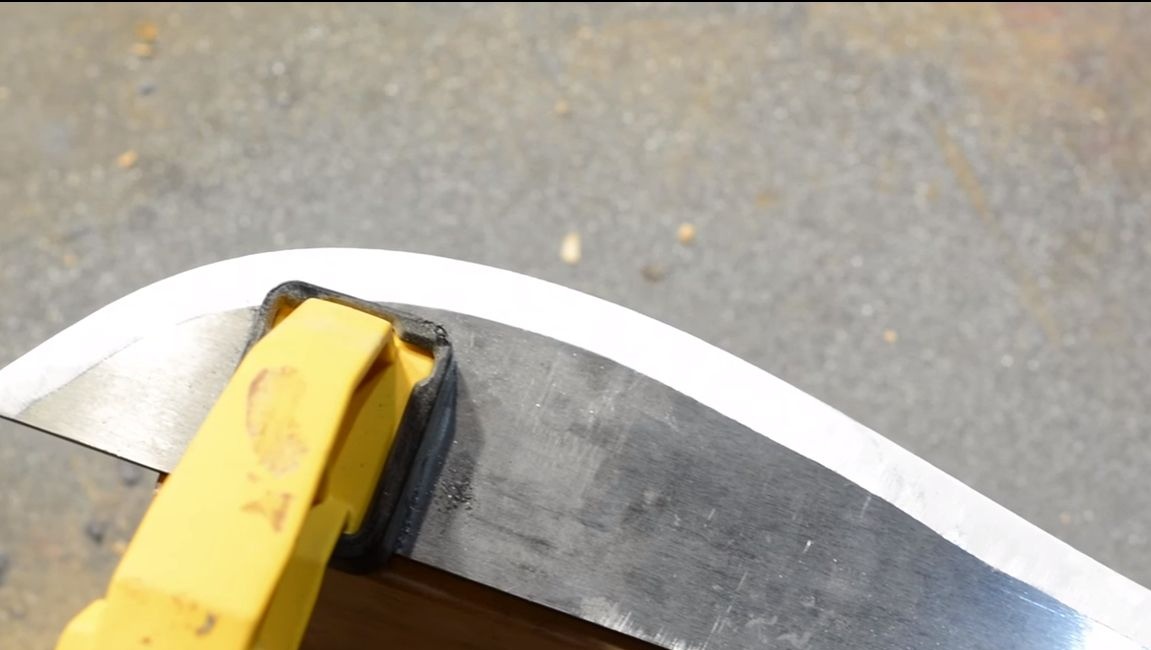
The author used 1050 steel as a blank, metal can be bought in America without any problems. Domestic analogues are steel 50 and 50G. We draw the profile of the blade on the metal using a marker and proceed to cutting.
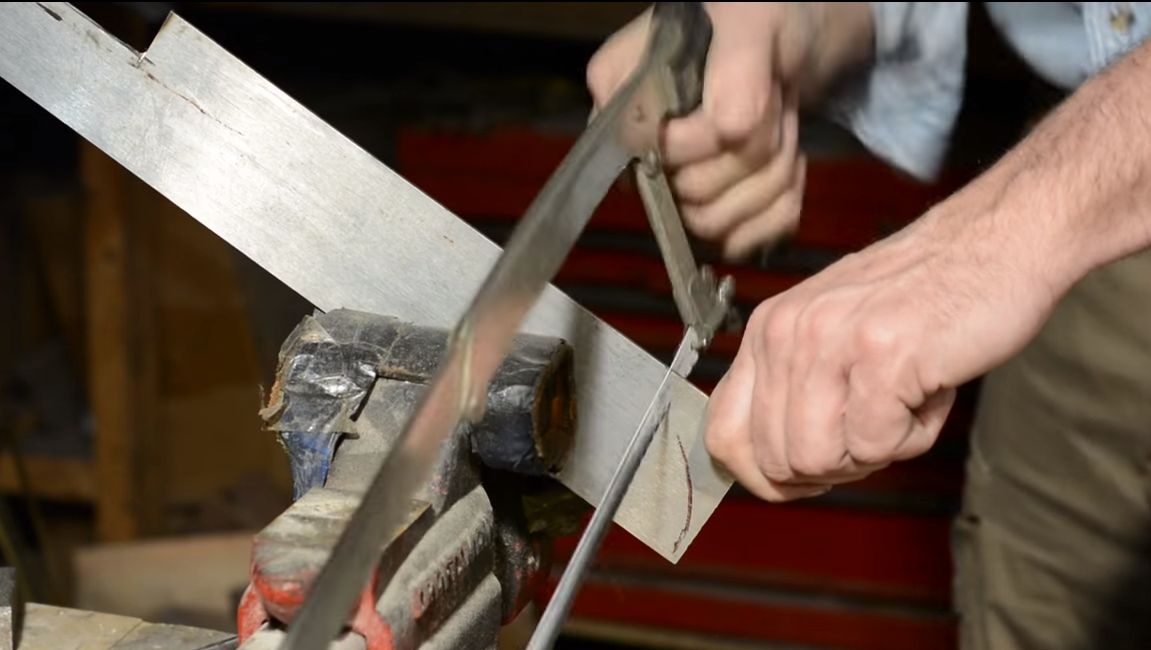
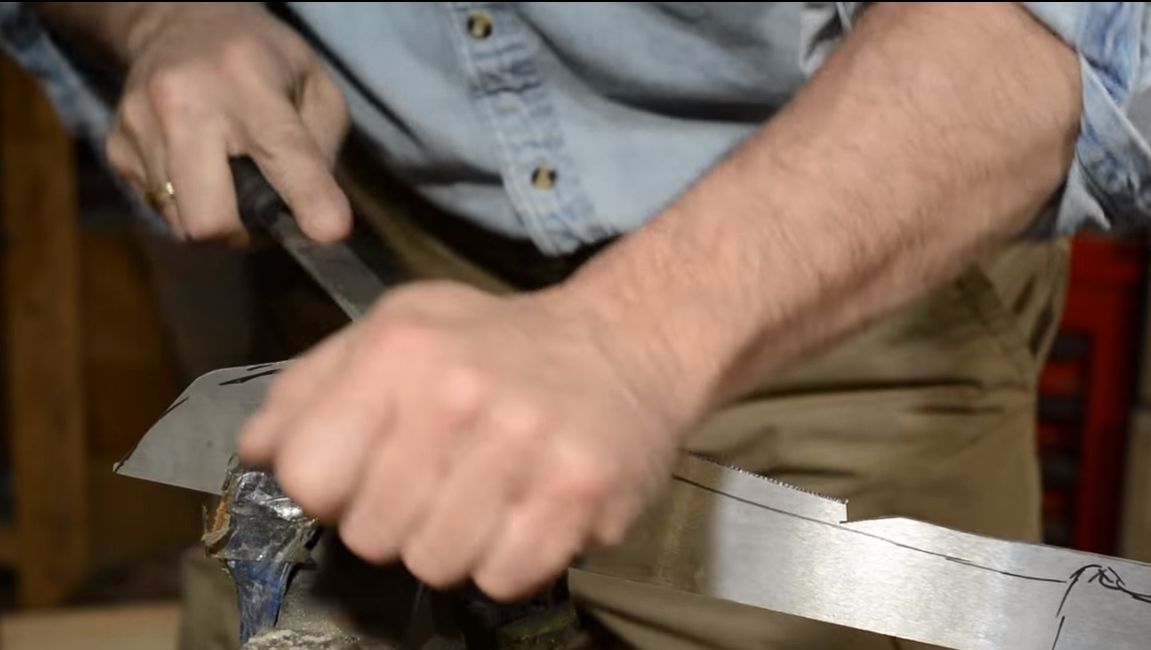
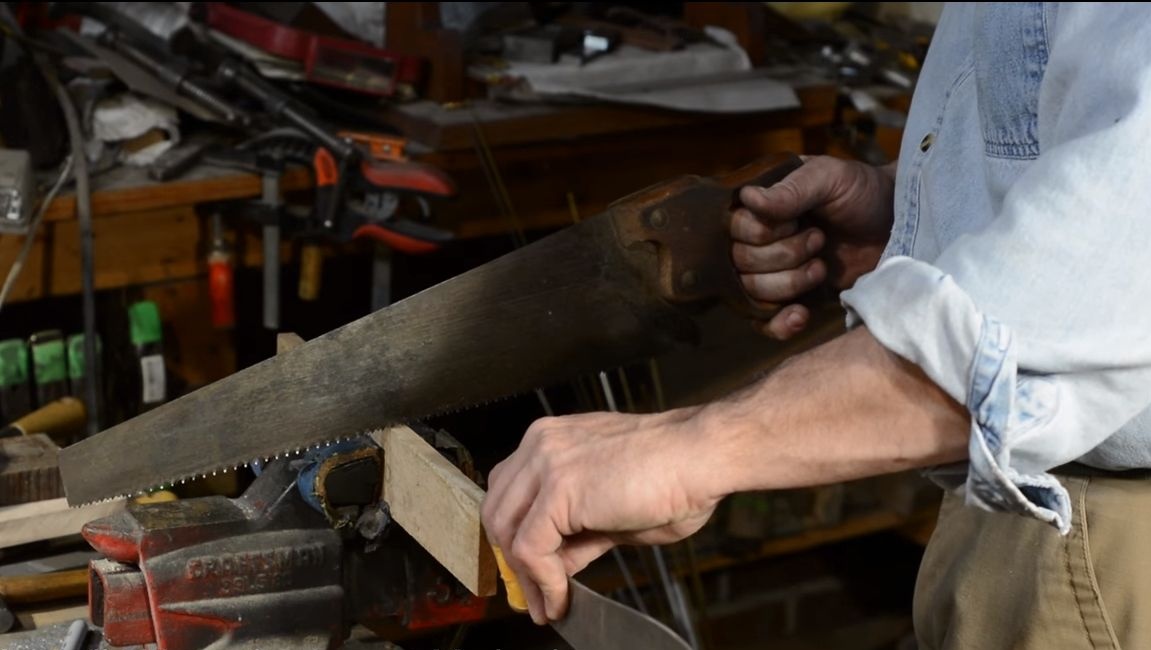
The author clamps the workpiece in a vice and cuts the primary profile using a conventional hacksaw for metal. Since steel is not hardened, it is cut quite easily, most importantly, be patient.
After that, we arm ourselves with a good file and grind everything that we could not cut with a saw. Carefully process the profile along the contour. The author removes a fairly large amount of metal with a file.
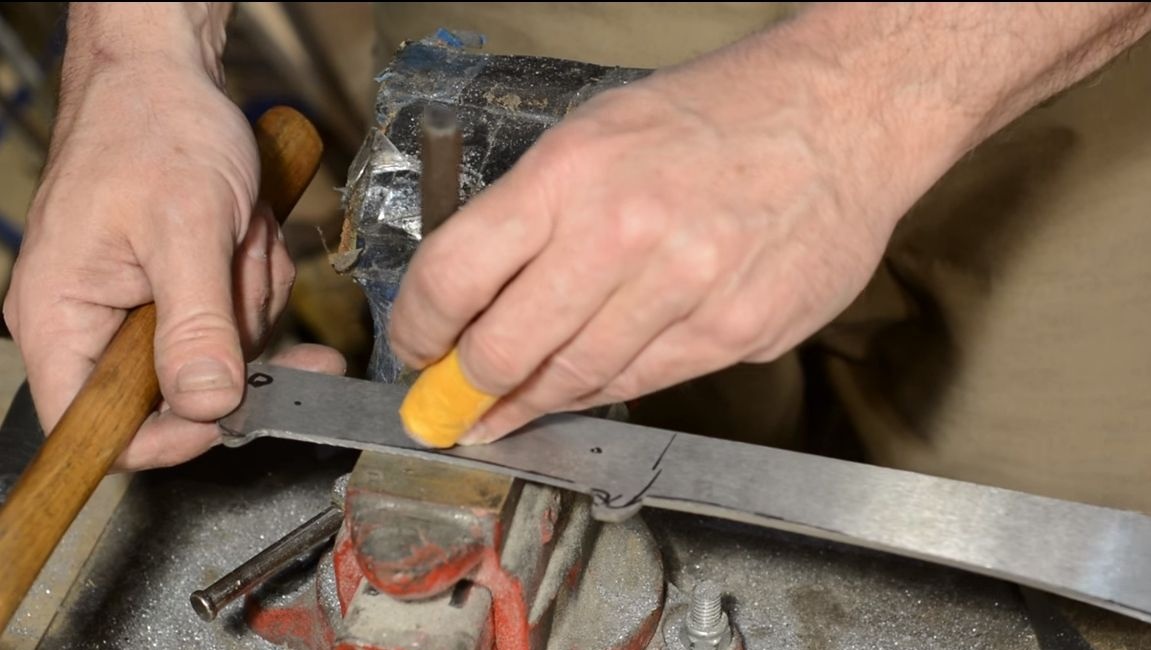
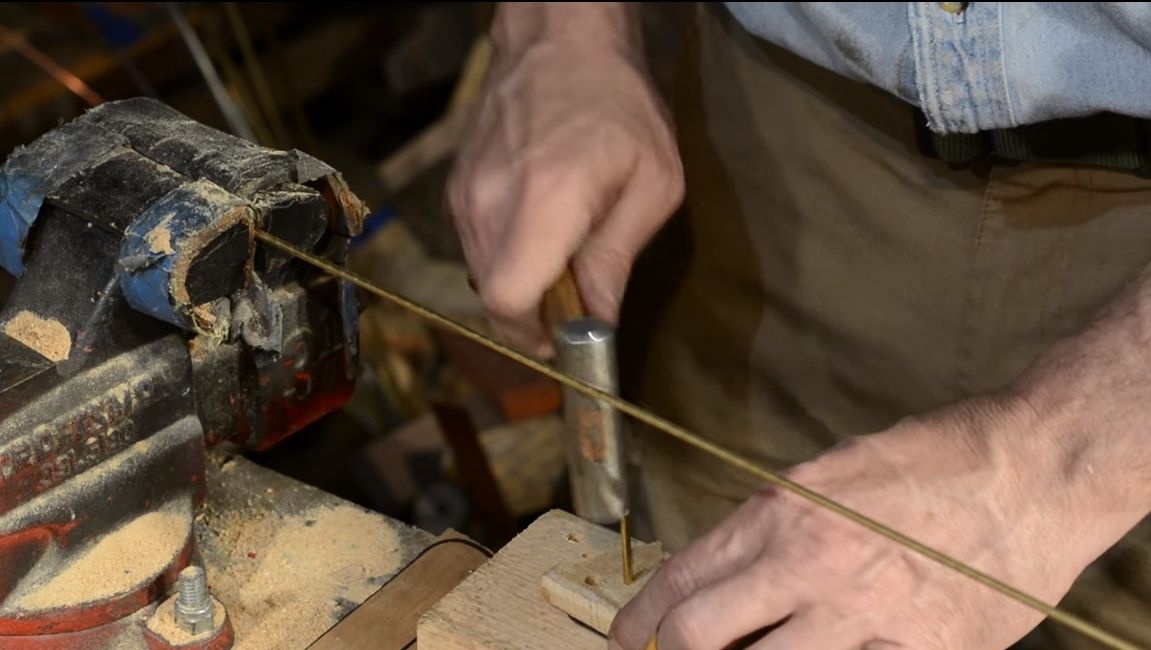
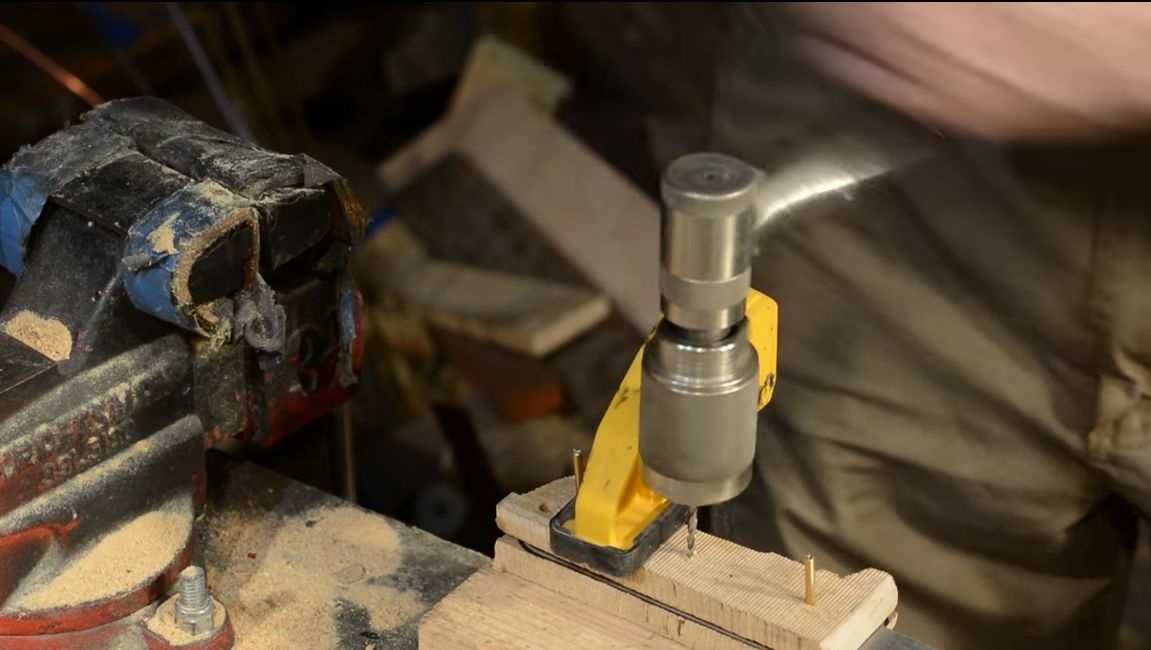
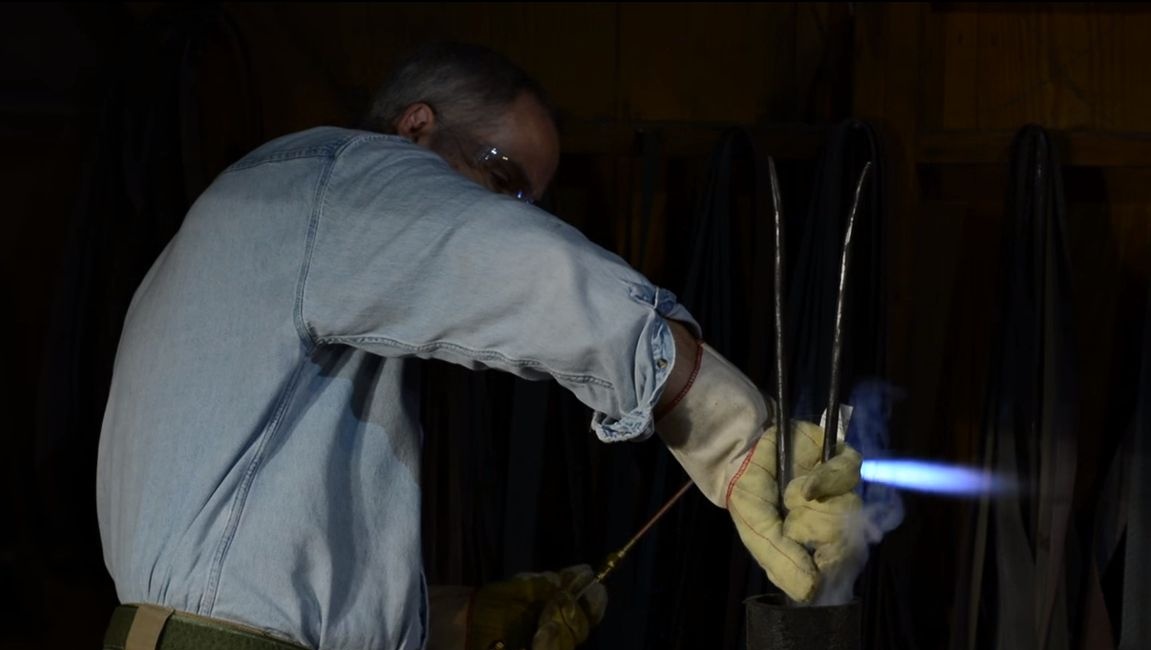
Step Two Pin holes
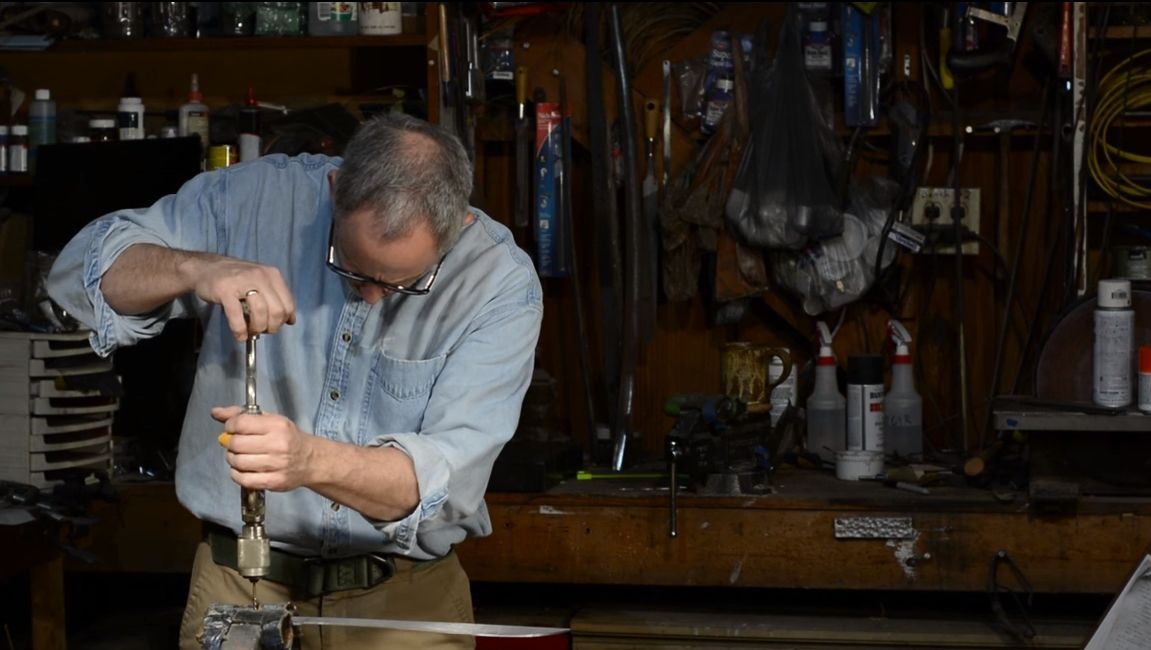
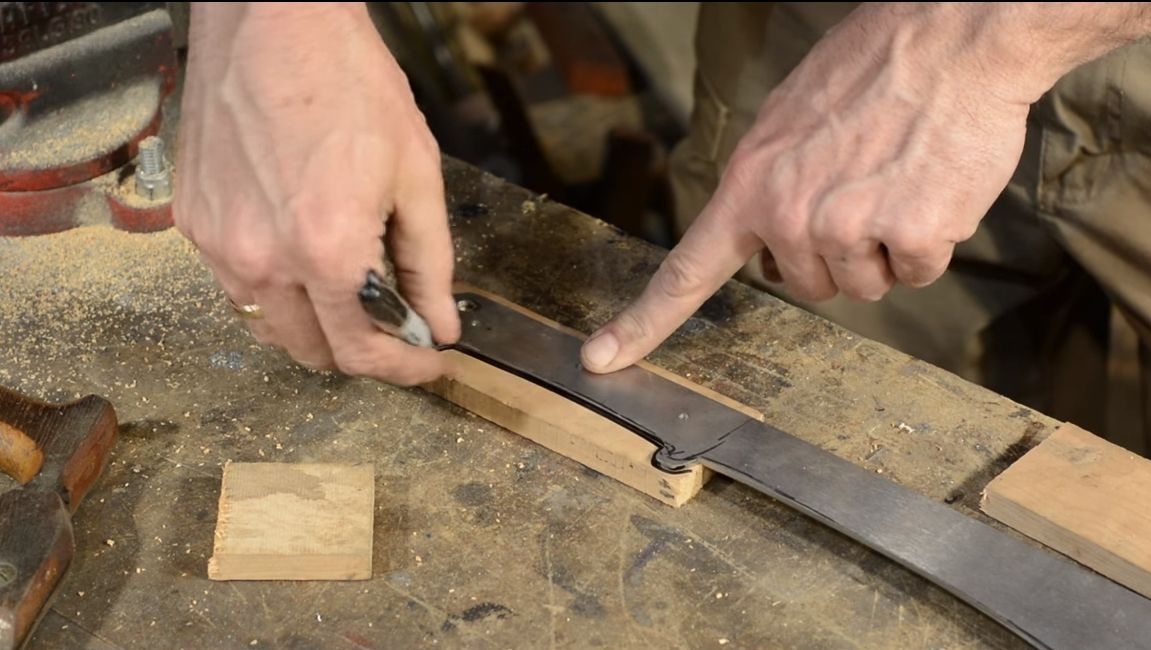
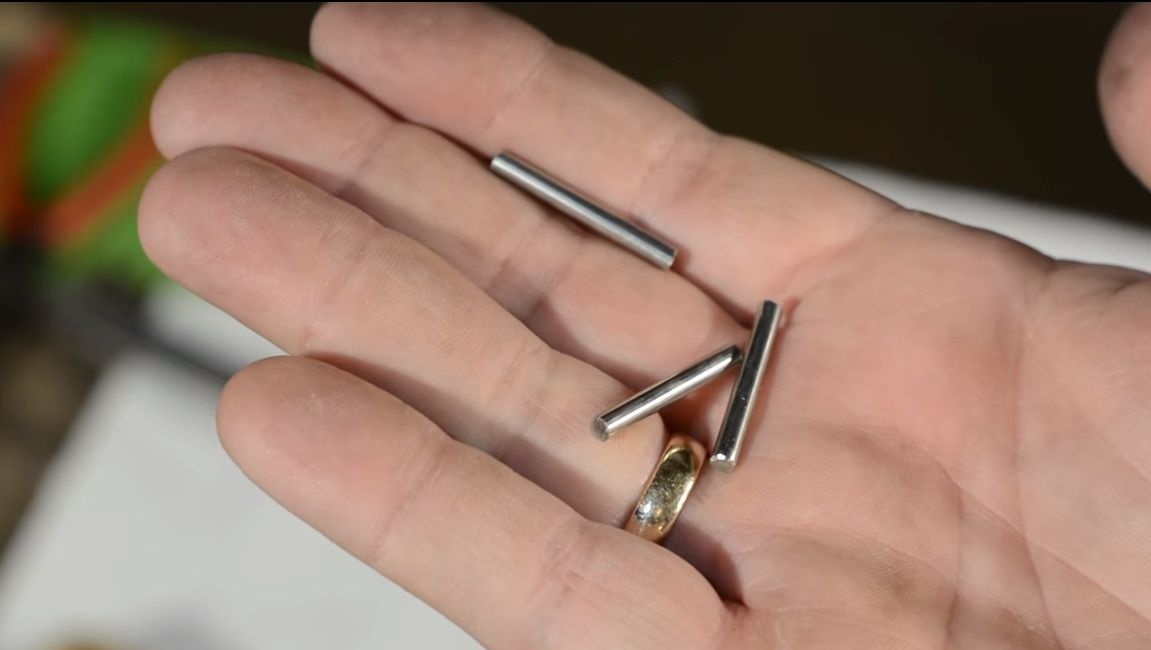
Next, you need to drill holes for the pins. How many of them will be and of what metal they will be, here everyone decides for himself. In the classic version, it is customary to use brass rods, but steel is also suitable, even ordinary nails can be used. Drilling holes is extremely important before hardening, since then it will be almost impossible to do.Hardened metal can only be drilled on the machine with a drill with a special tip.
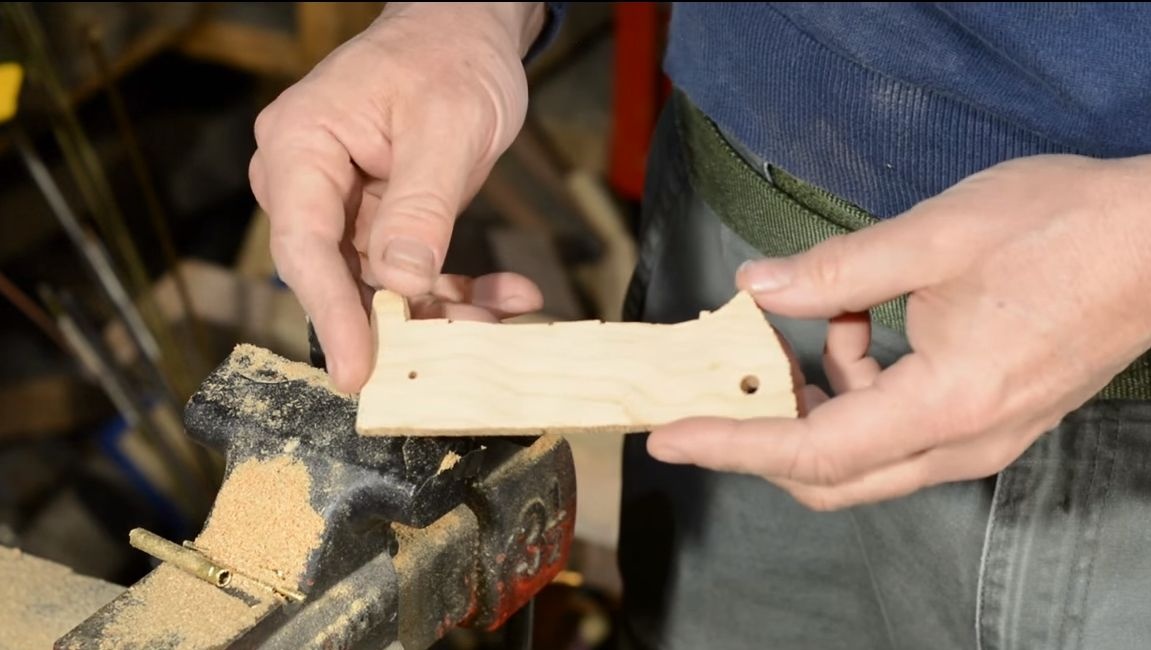
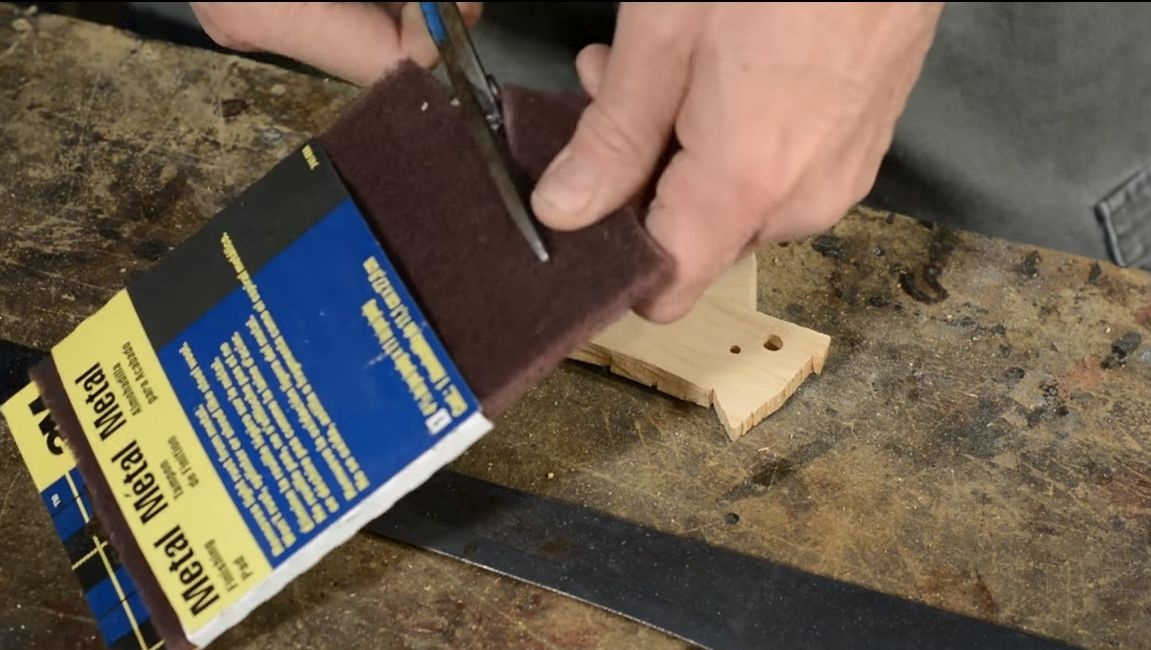
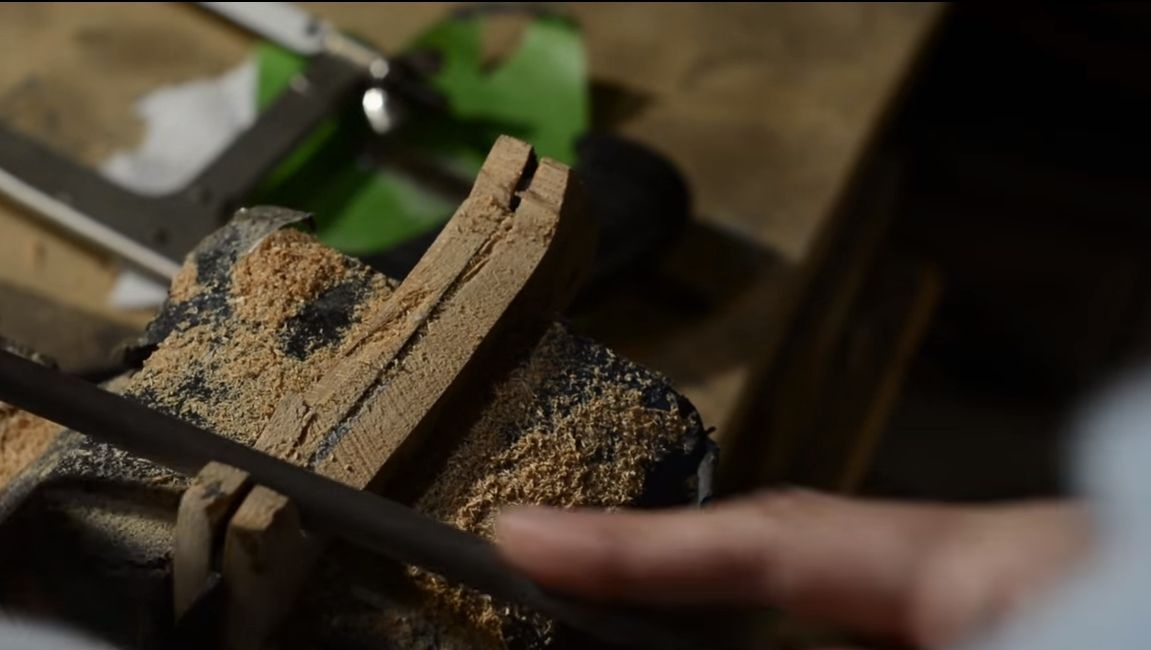
Step Three Handle pads
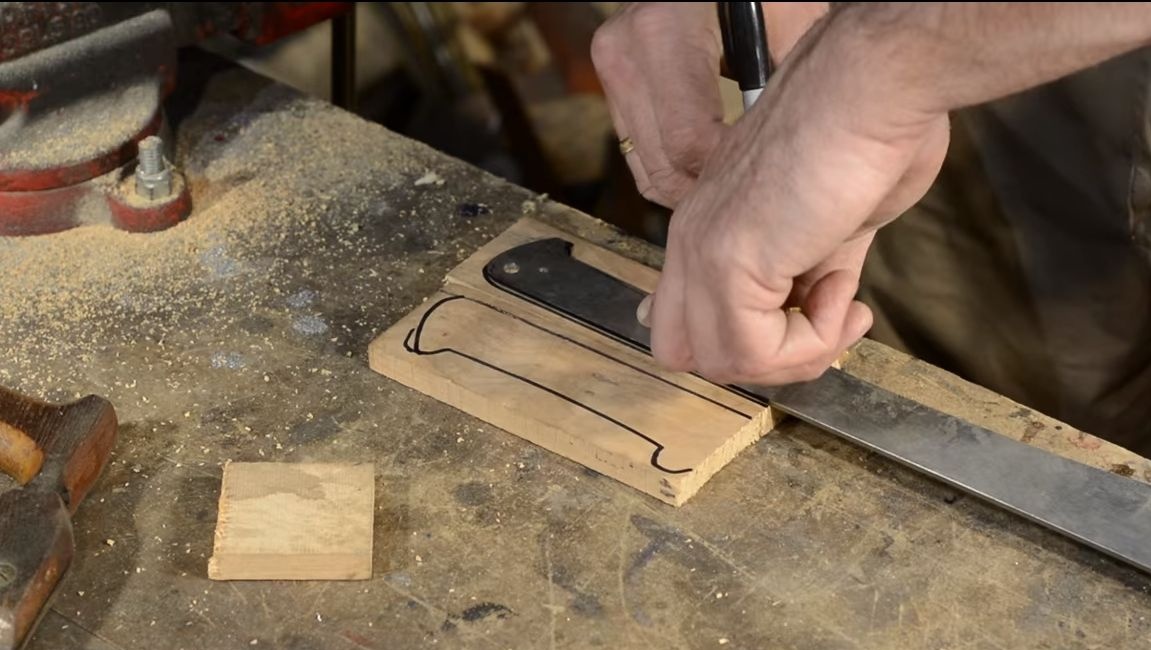
We proceed to the manufacture of linings, here you will need two thick dostochki. Fold them together and try to hold in your hand, the handle should not be too thick. We apply the shank to the props and circle the marker.
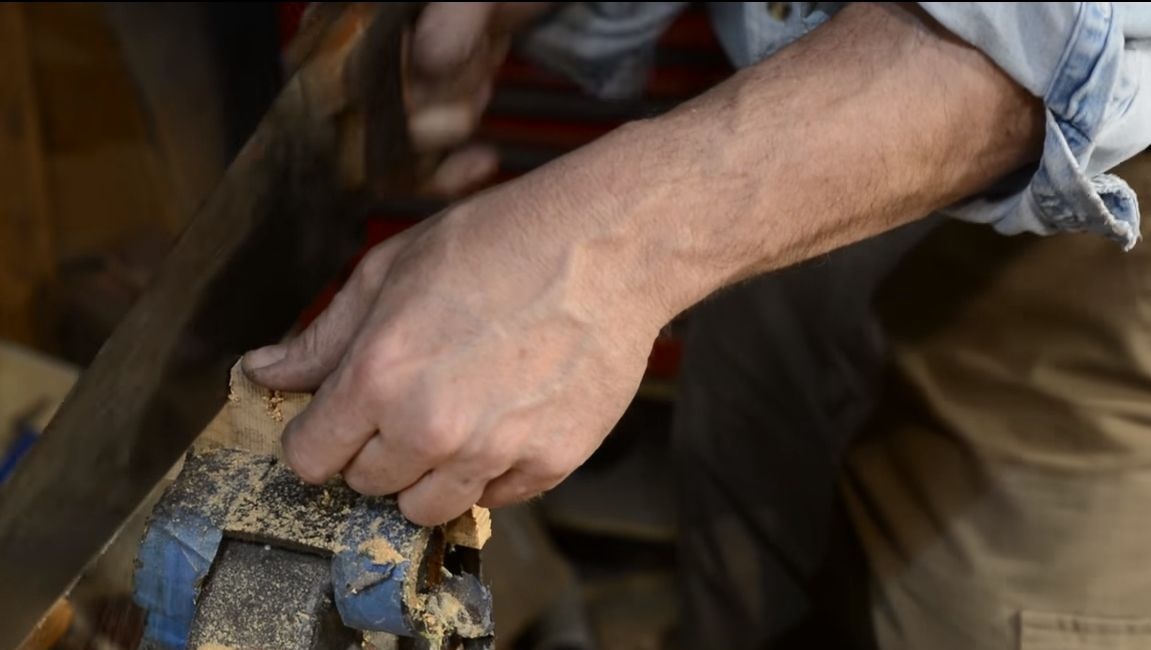
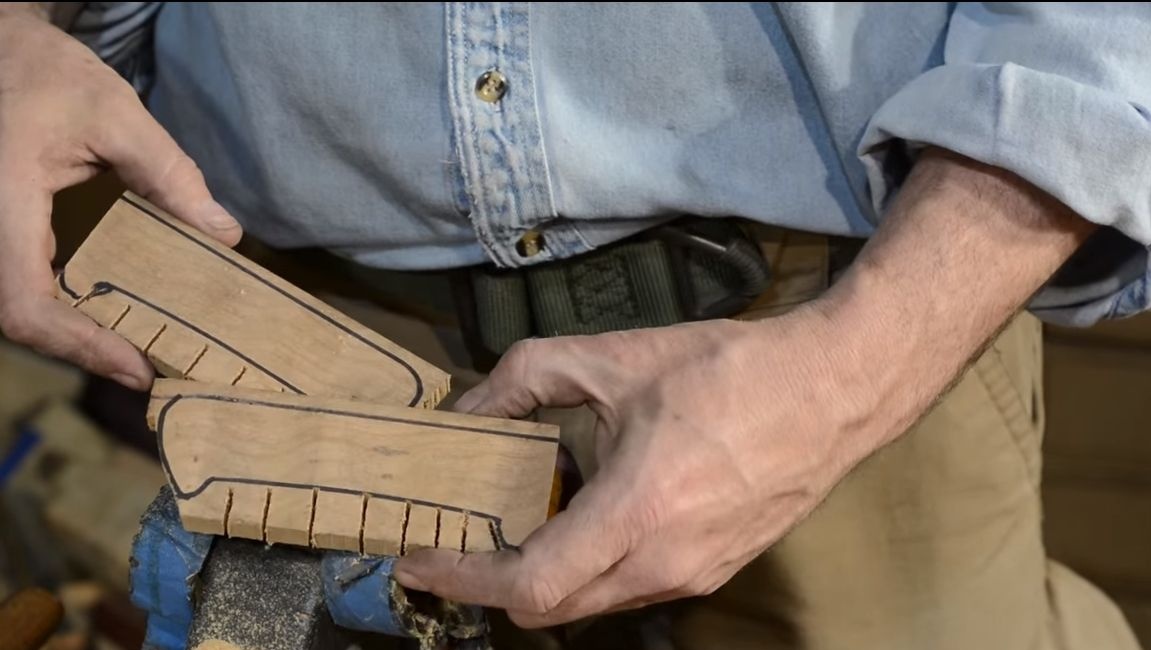
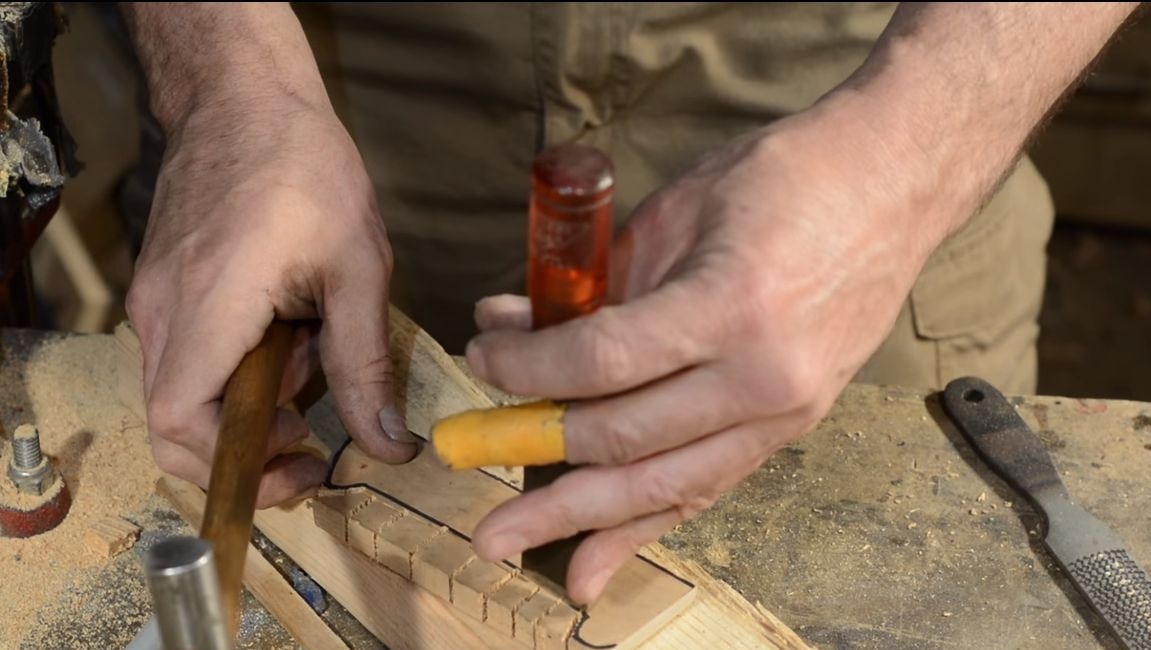
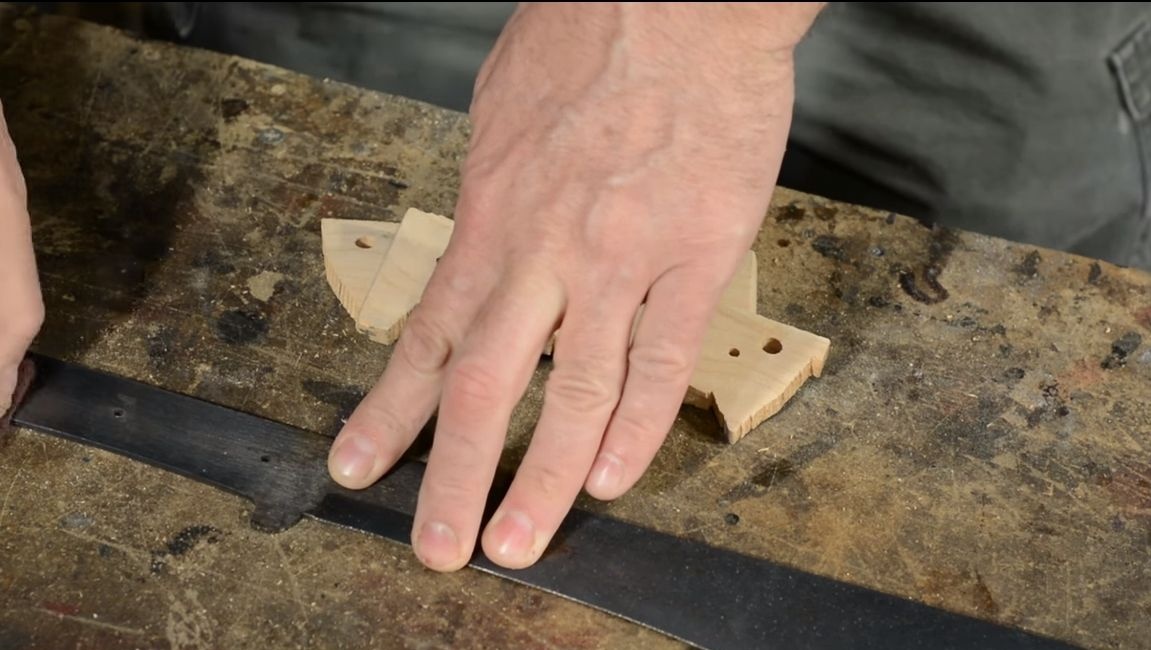
Now the linings can be cut! And since we have only hand tools in stock, given the lack of a hand jigsaw, we will cut with a chisel! Make cuts around the handle profile where the material cannot be cut with a hand saw. Well, then we take a chisel and cut off the interfering parts. The remaining rough edges are removed using a rasp.
In the end, you will have to drill holes for the pins and try to dry assemble the handle. If desired, you can trim it on the sword with files.
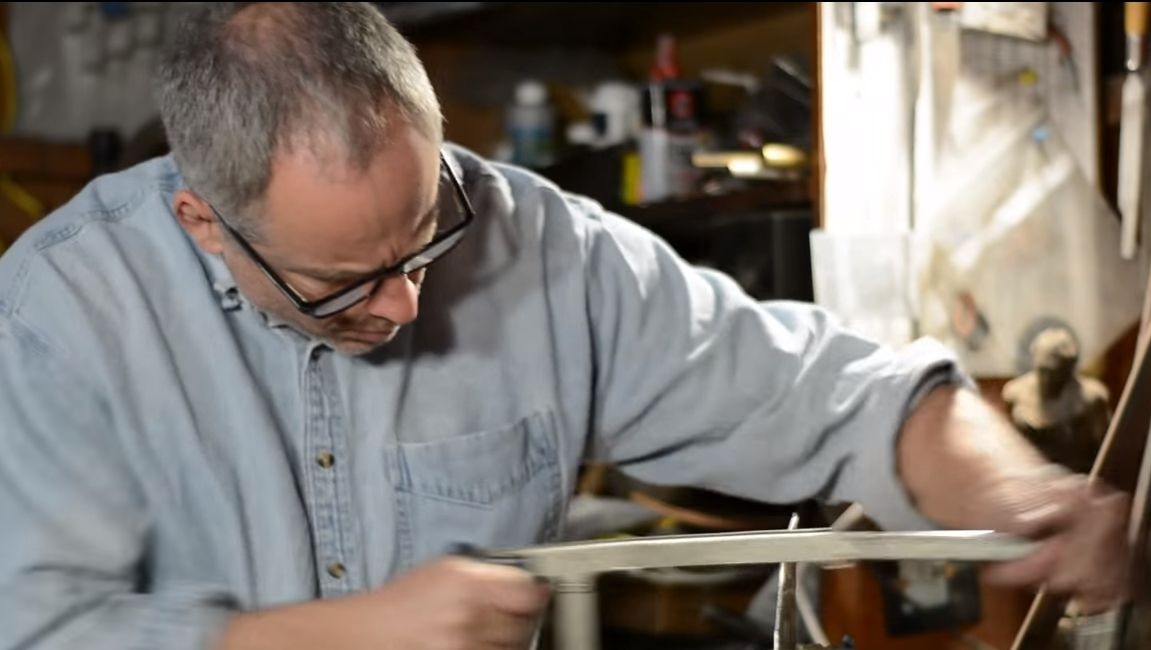
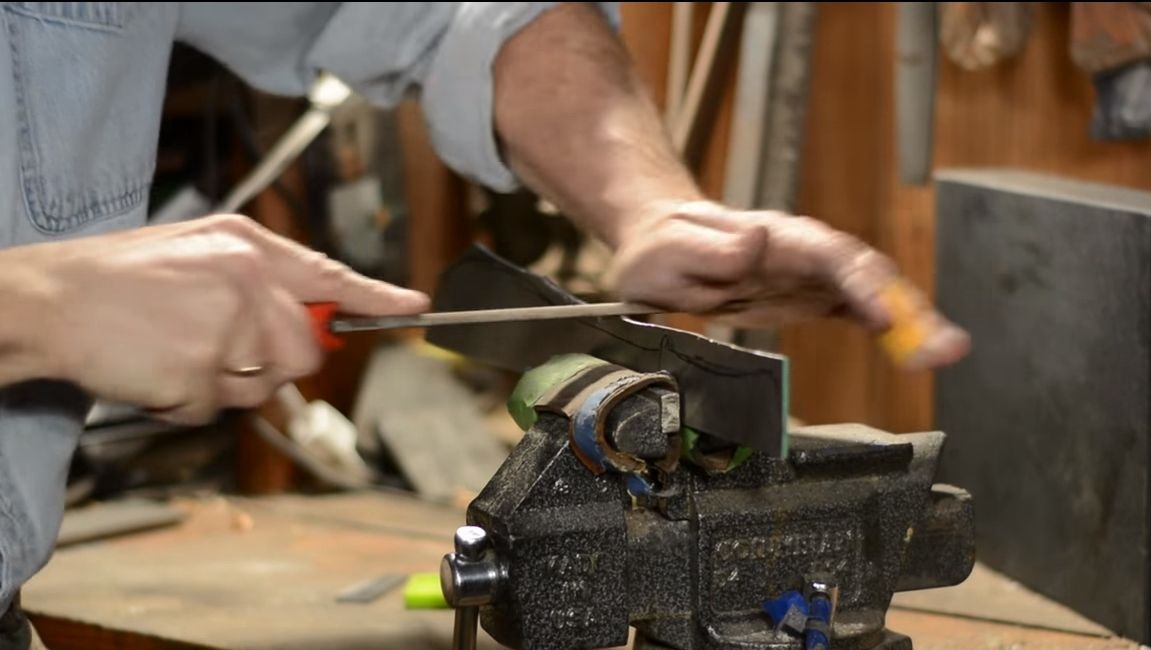
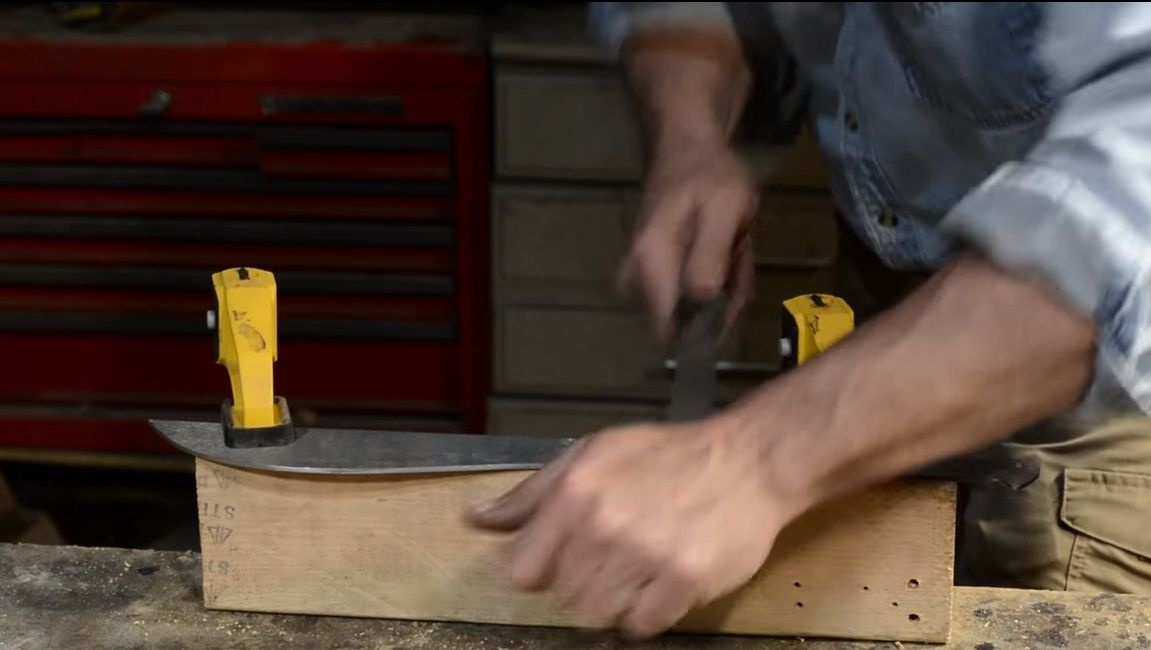
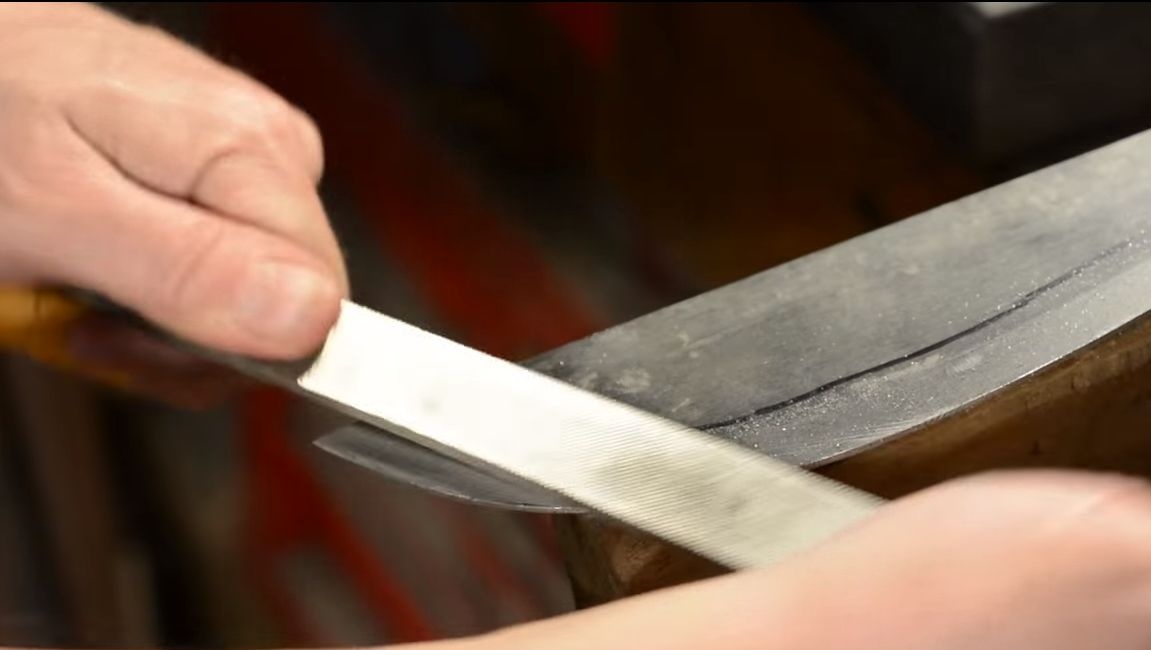
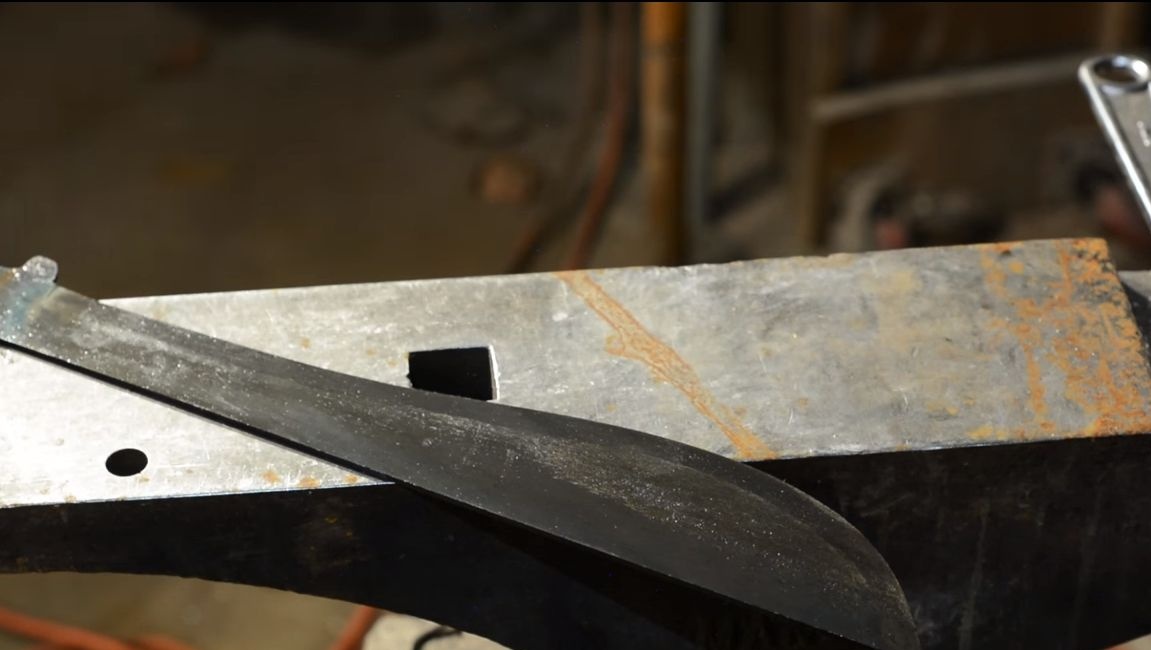
Step Four We form bevels
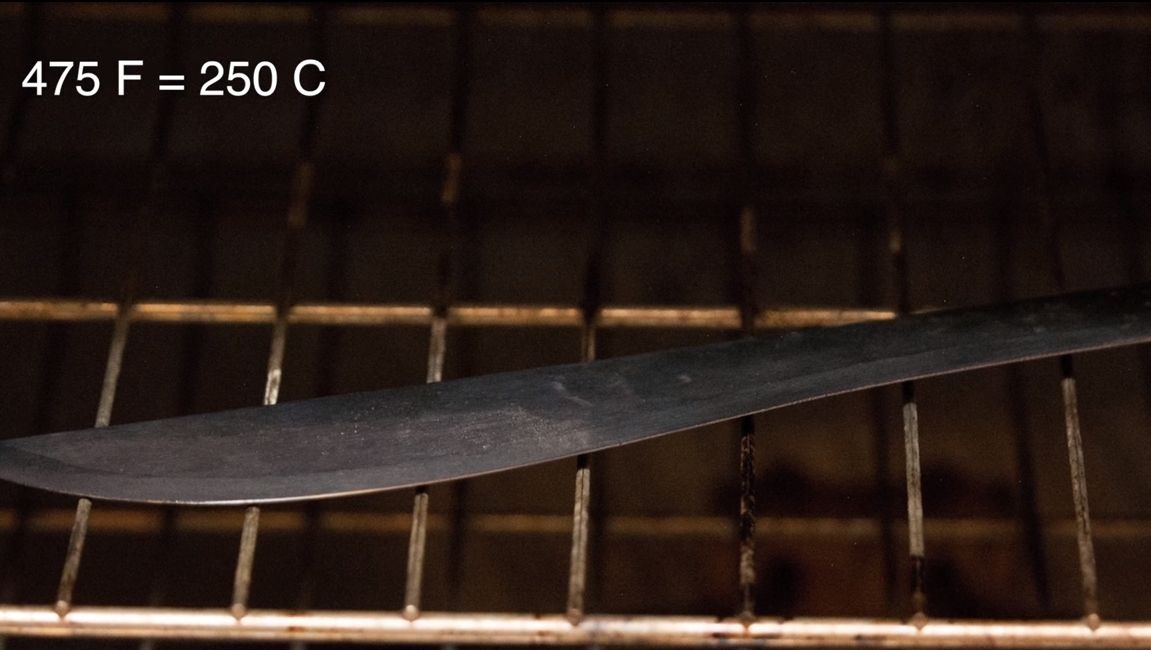
To form high-quality bevels, we fasten the sword on a flat wooden bar. Now we take a file for metal and proceed to the formation of the cutting edge. First we make a bevel on one side, and then on the other. For fidelity, you first need to mark everything on the blade to get the same angles. On this, all the basic work with metal ends, further hardening is to be done.
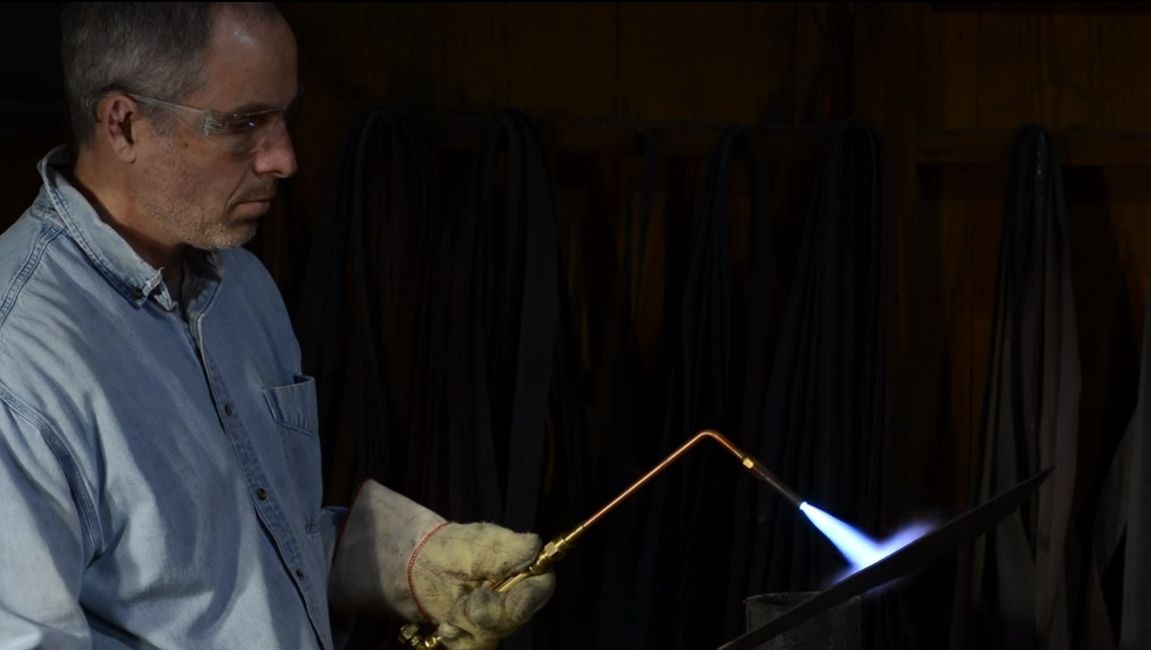
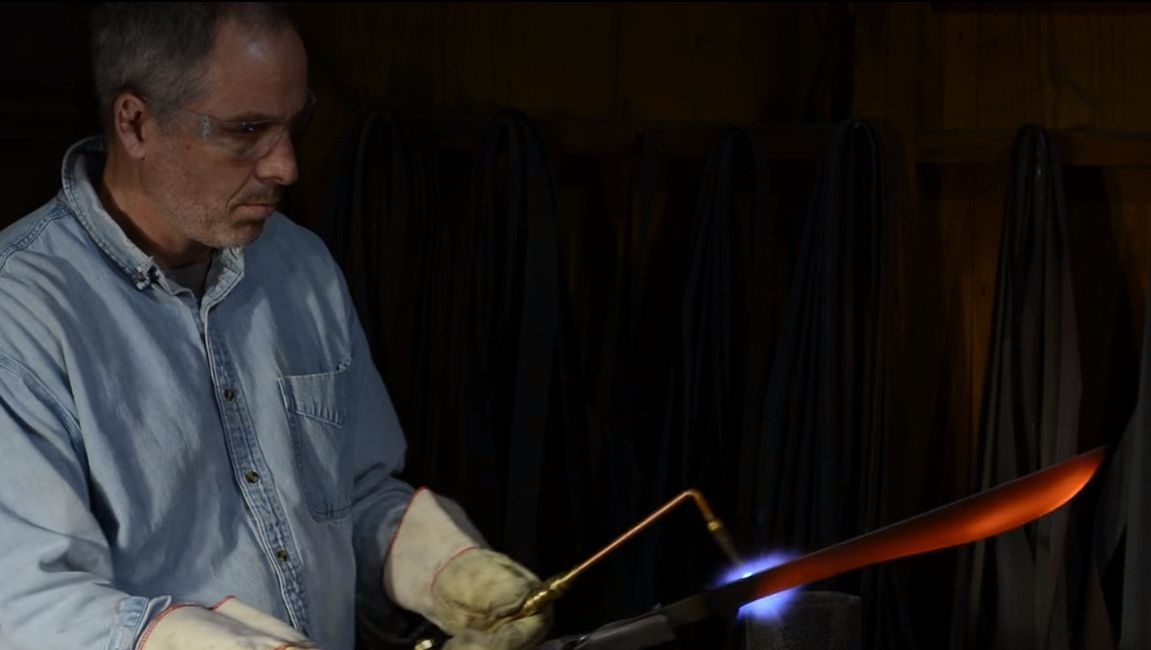
Step Five Getting to the hardening of steel!
The author did not use a furnace for hardening the sword; a gas burner was enough for him. We drive the burner gradually up and down to evenly warm the blade. Ideally, steel is heated until a magnet stops attracting it. In color, the metal should go from bright red to yellow, this corresponds to a temperature of 900-1000 degrees Celsius. Now we are cooling the blade in oil, mineral or vegetable is suitable, many successfully use automotive mining.
If the steel is properly hardened, it will be so strong that it will not be taken by a file.
Now comes the next important stage of metal strengthening - this is its vacation. After hardening, the steel will be too fragile for the sword to be used for its intended purpose. Vacation allows you to give it spring properties. For this procedure, you will need a furnace with a temperature of 250 degrees Celsius, we heat the blade in it for an hour or two. Then the oven must be turned off and allowed to cool with the blade in the closed state. Vacation done!
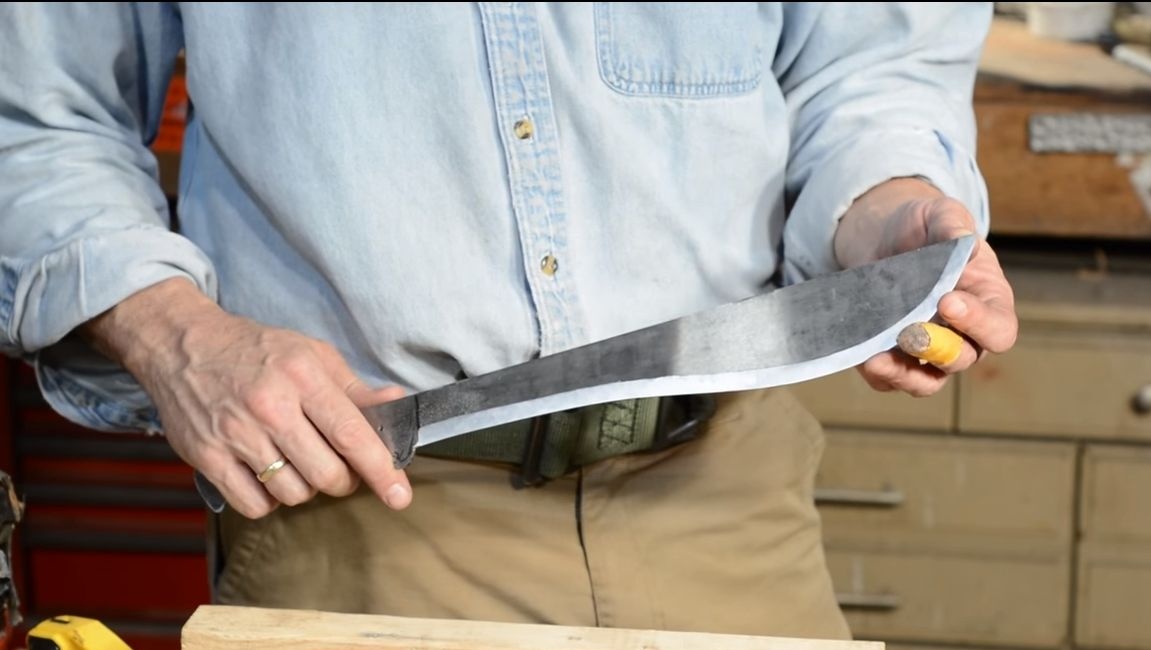
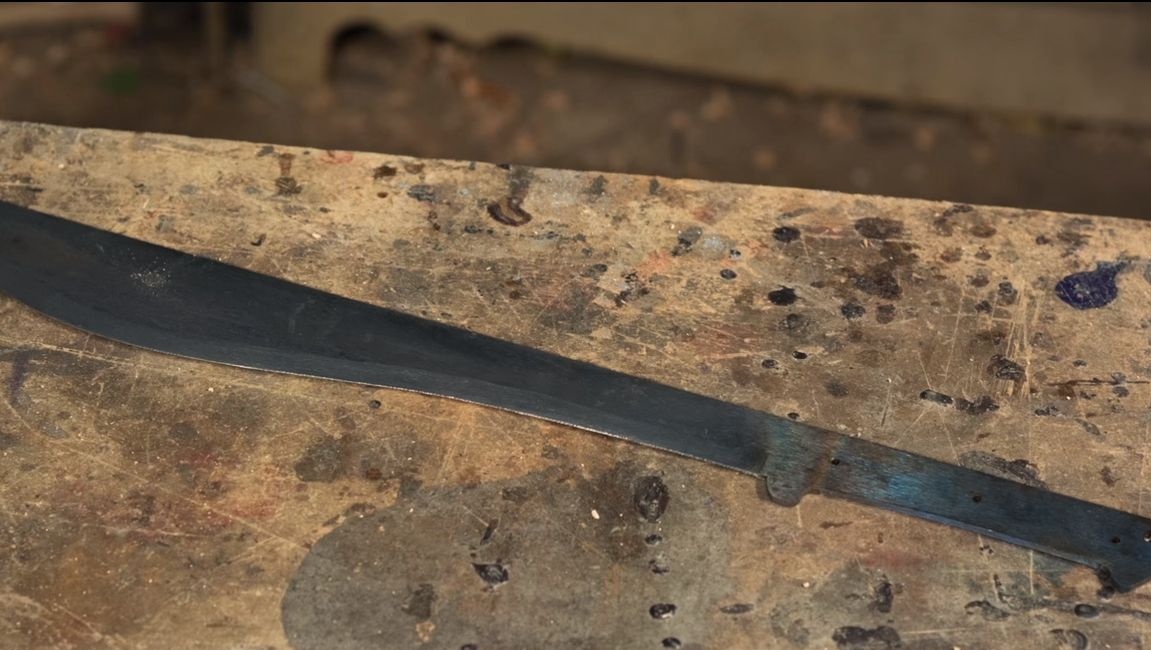
If you wish, you can polish the blade after hardening, but with a dark patina it looks much cooler. All you can do is polish the bevel area.
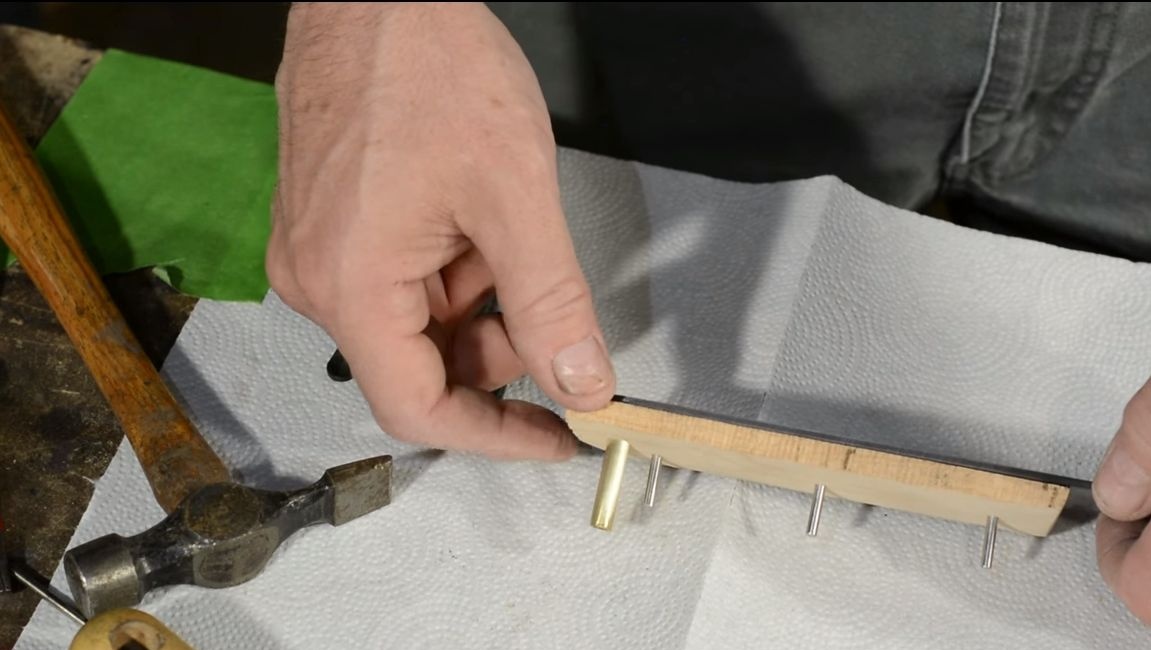
Step Six Glue the handle
To assemble the handle, you will need epoxy glue. We apply glue to the previously made pads and collect the handle on the pins. In order for the glue to adhere well to the metal, it must be carefully cleaned with large emery paper. After machining, the steel can still be wiped with acetone.
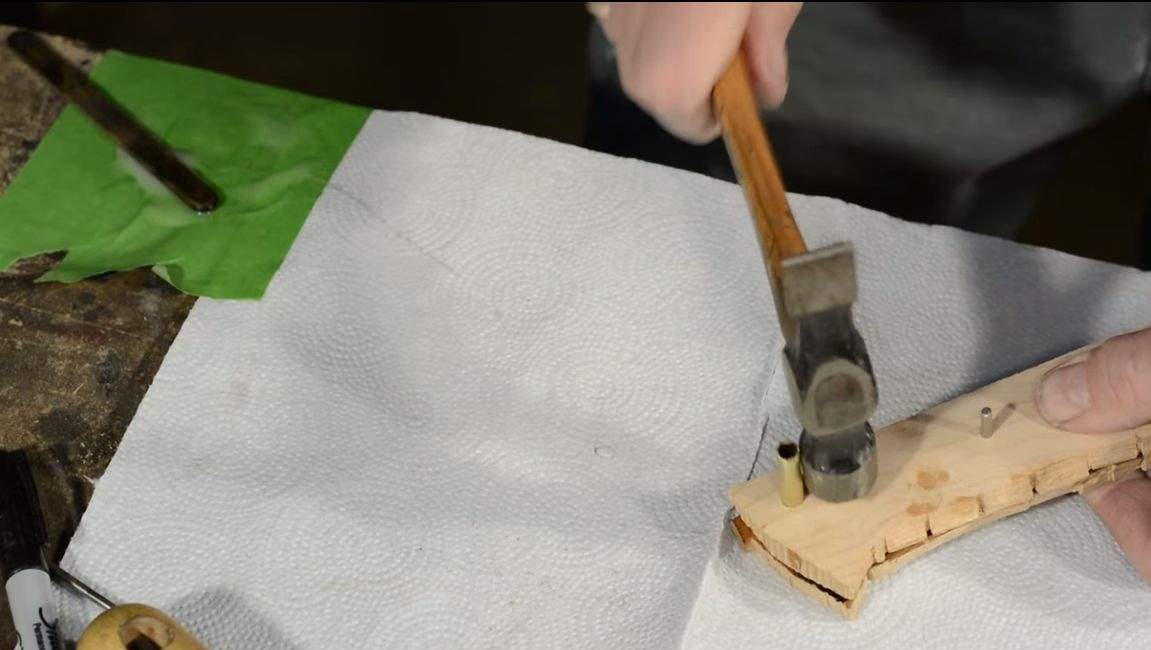
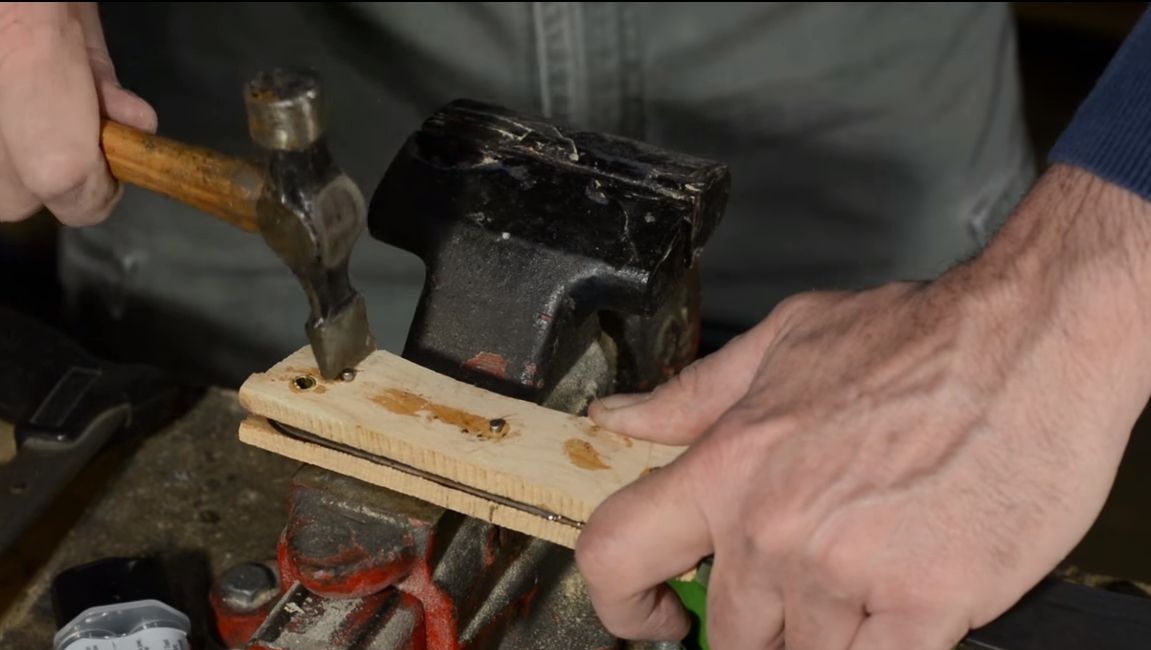
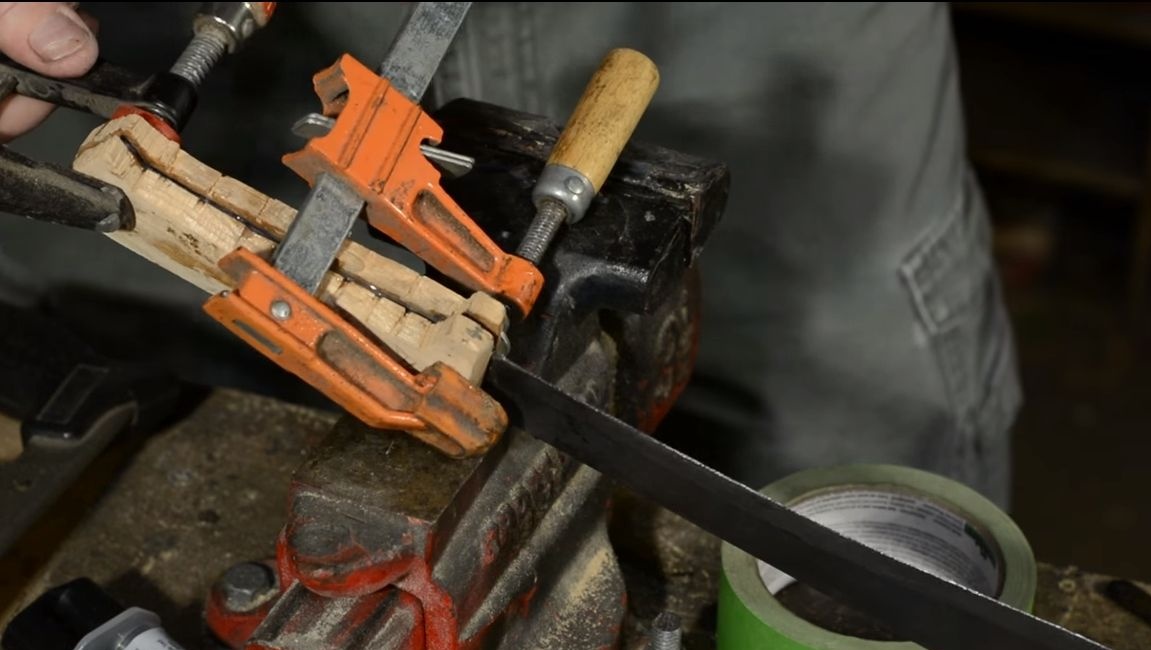
We hammer the pins, and tighten the handle well with clamps, it is advisable to use more clamps so that the handle sticks together qualitatively. The author decided to rivet the pins a bit for reliability, but this is not necessary. Leave the glue to dry for 24 hours at room temperature, and preferably more.
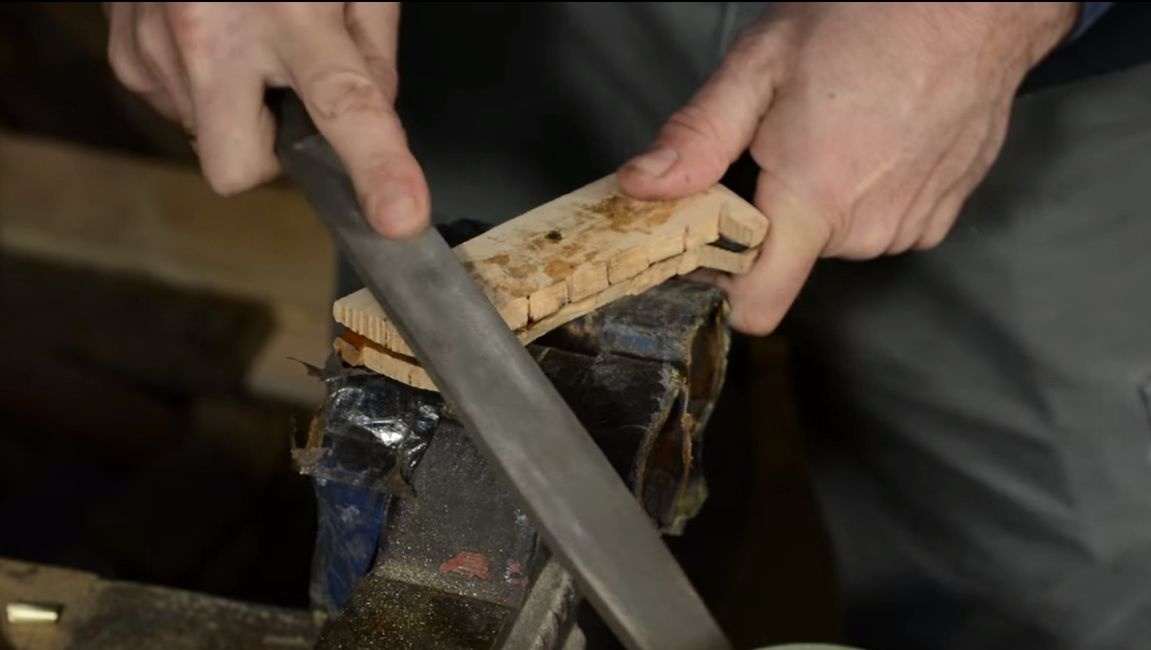
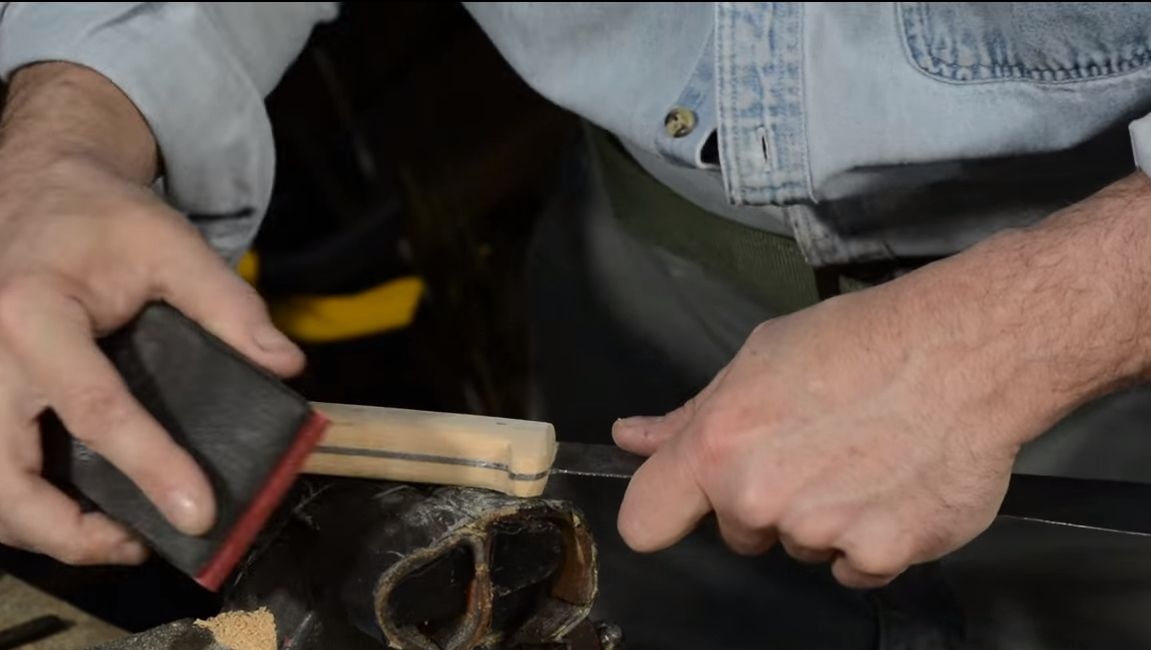
Seventh step. Pen finishing
When the glue dries, hold the blade in a vise and proceed to handle processing. First you need a rasp, with it we form the main profile of the handle. Next, take a round file, it will be needed for bends and other hard-to-reach spots. The handle must be aligned flush with the metal.
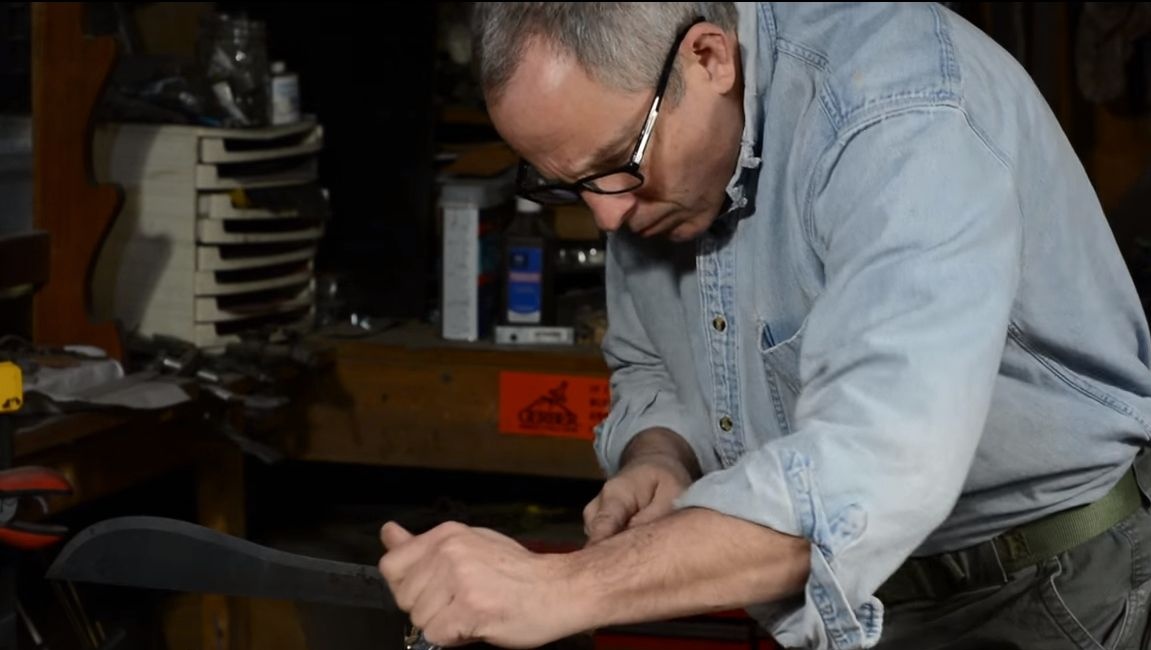
Now we take a large emery paper, with it we make the surface of the handle even and smooth, remove the rough scratches left by the file. If you wish, gradually reducing the grain size of sandpaper, you can make the pen absolutely smooth.
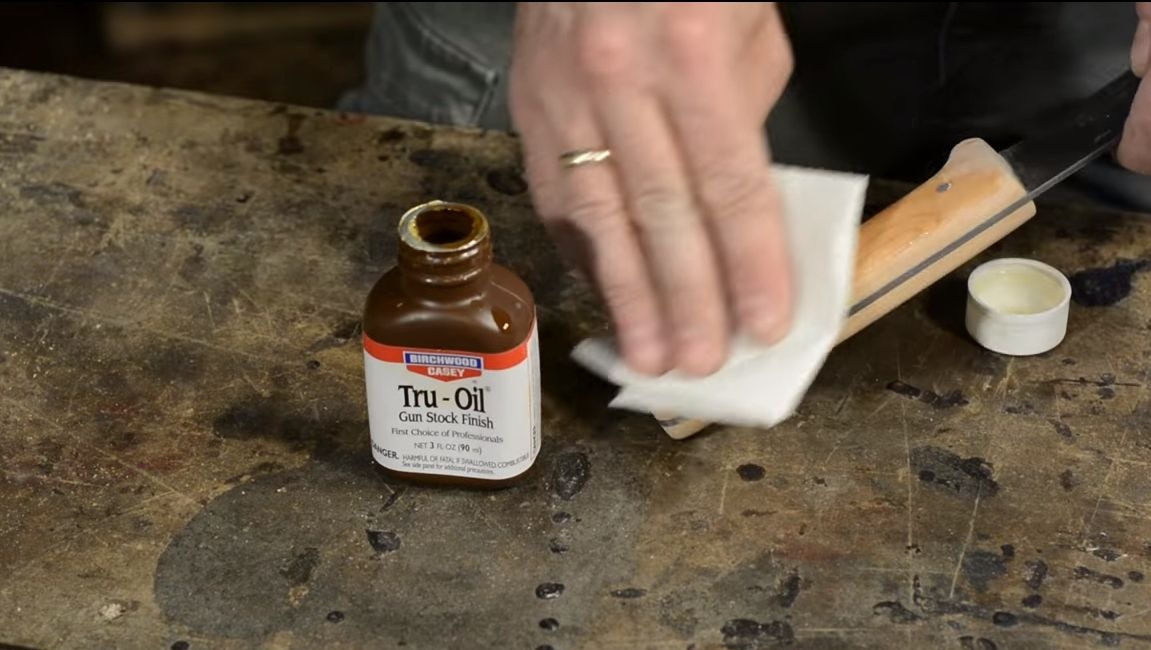
The final stage of the work will be wood impregnation.Thanks to this, the material is protected from moisture, from which the tree cracks and quickly becomes unusable. As an impregnation, you can use special oil for wood, they come in different colors. As for simple solutions, ordinary linseed oil is quite suitable, after application it dries. We apply so much oil until it ceases to be absorbed into the tree.
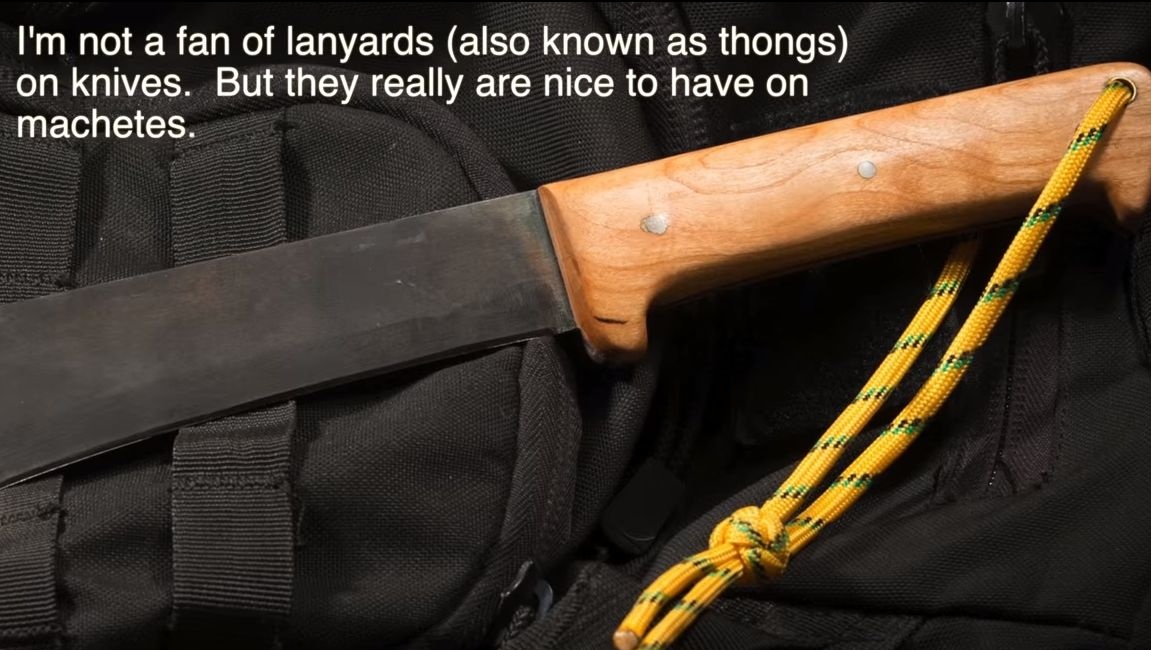
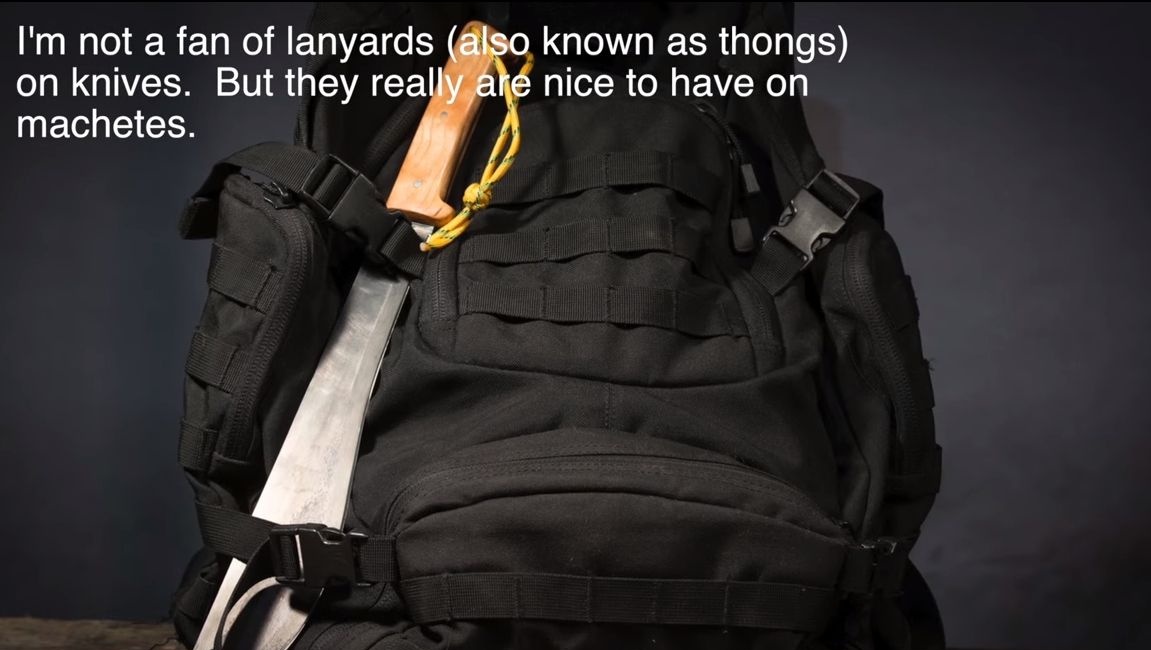
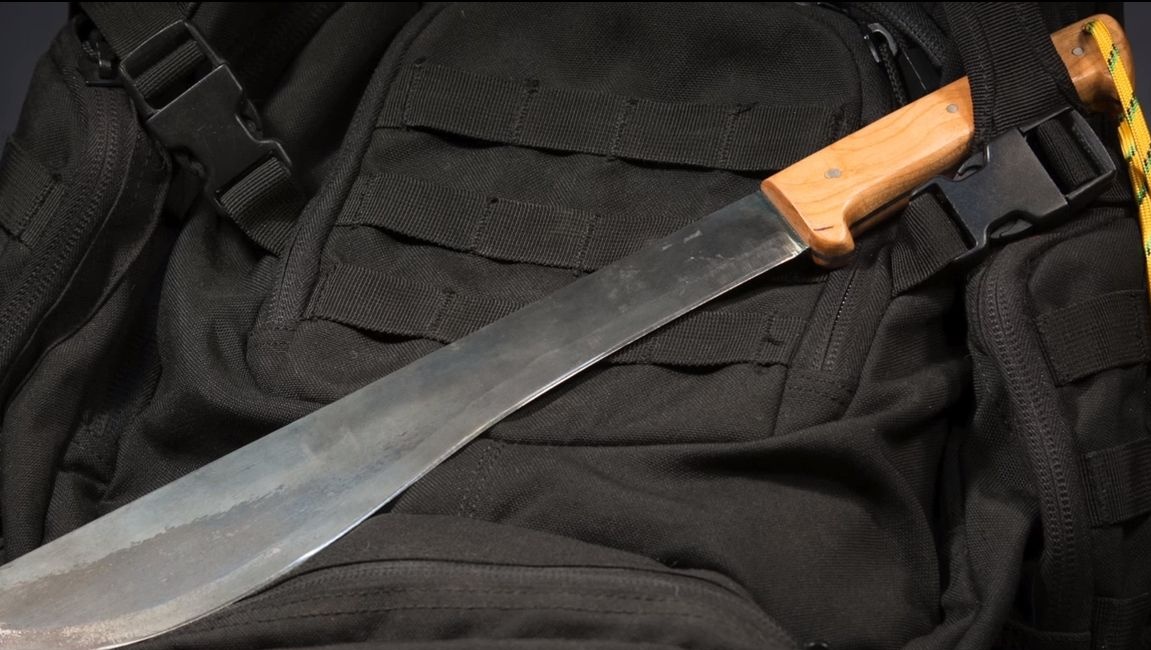
Machete is ready! If you wish, you can sharpen it to the state of the blade, but this is not very necessary. Now no thickets will stop you in front of the set goal! Fasten the strategic rope on the handle so that the sword can be hung or fixed on the backpack. Good luck and take care!