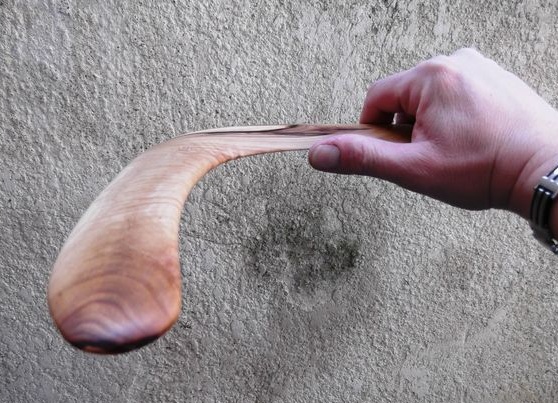
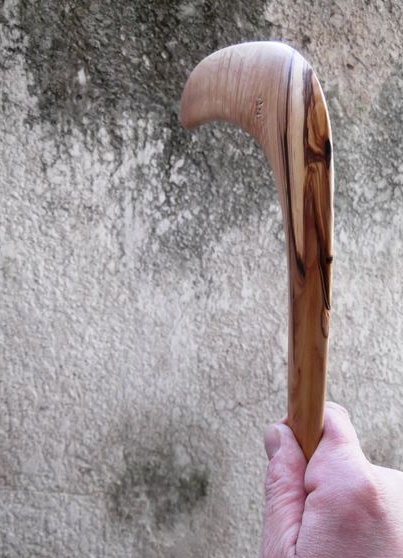
What and how is a boomerang made of?
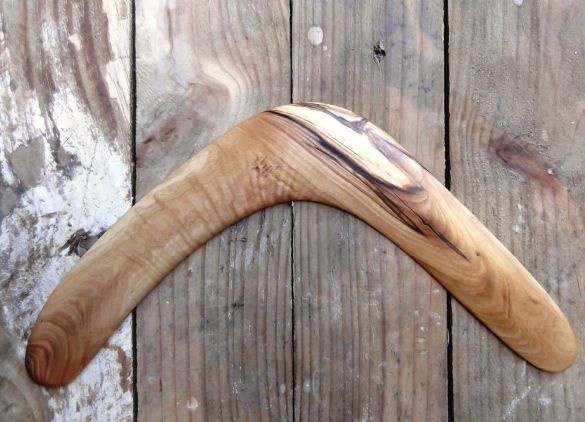
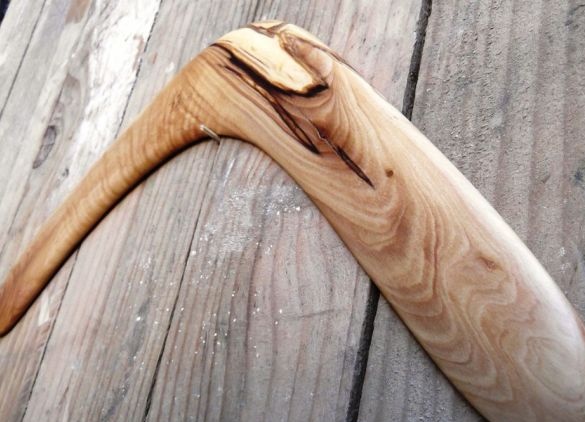
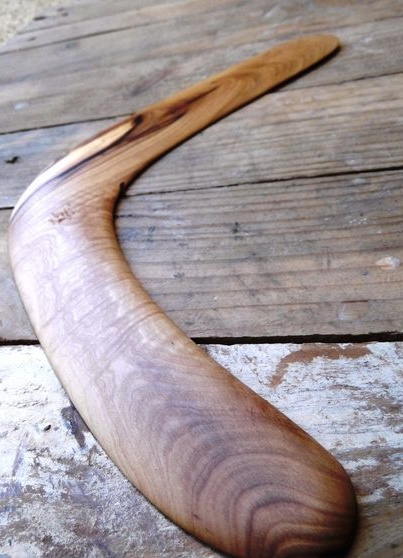
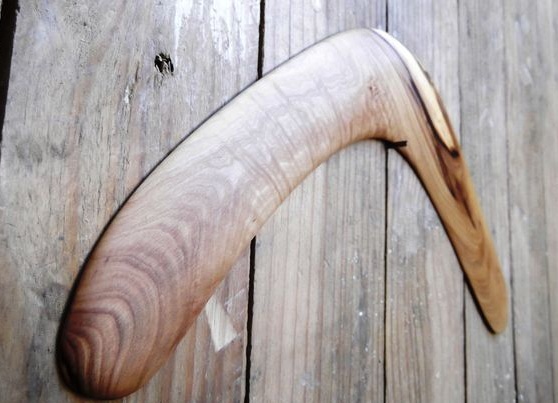
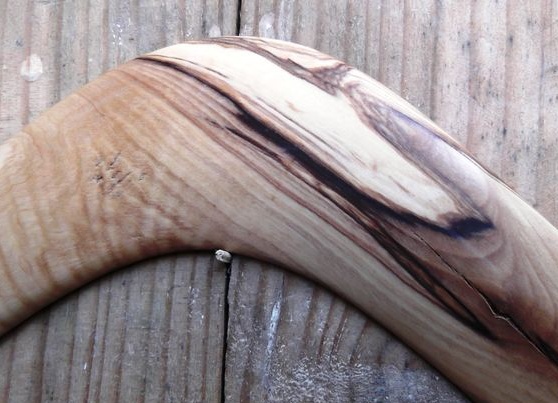
Make a boomerang of real raw wood.
According to the author, a boomerang will turn out to be very durable and beautiful from real untreated wood. Also, this process can be considered creative and stress relieves well during its manufacture.
It is very easy to make a boomerang out of ordinary plywood. With ease, thanks to a jigsaw you can cut a boomerang and that's it, but it will not be so durable. How then to make it from a solid tree? From a real tree, according to him, a boomerang will be much stronger and more effective.
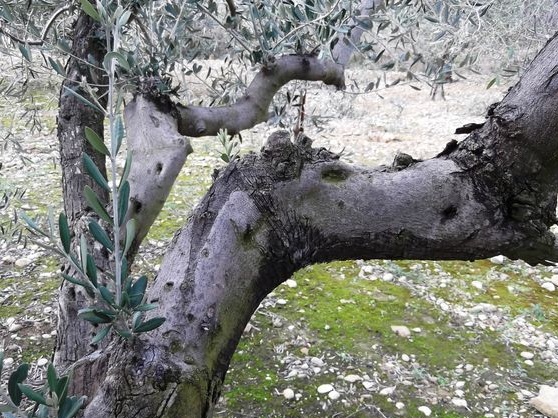
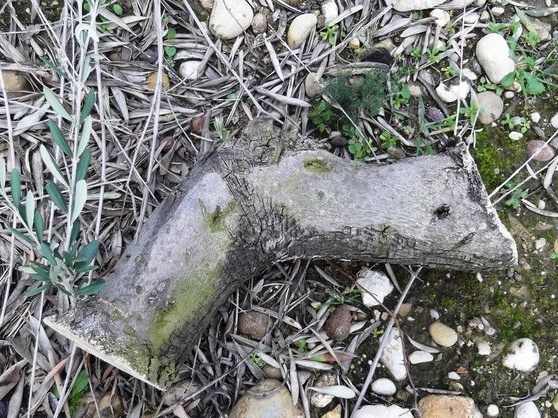
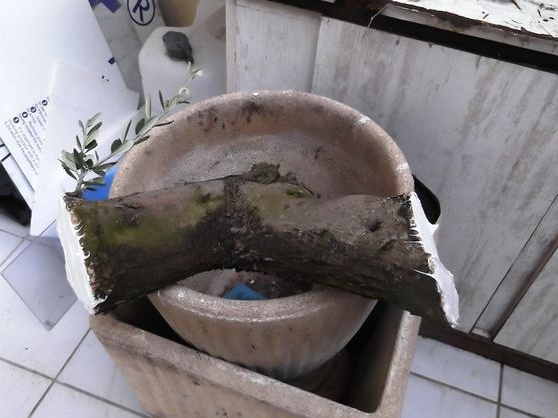
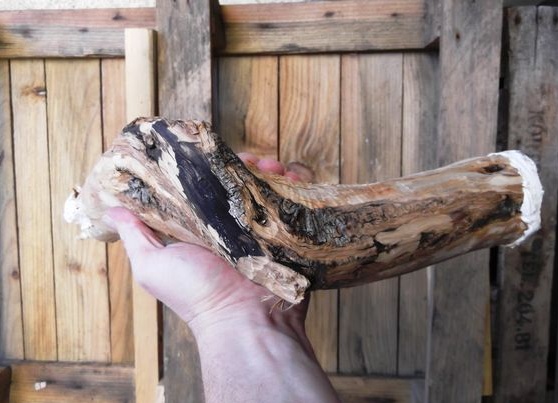
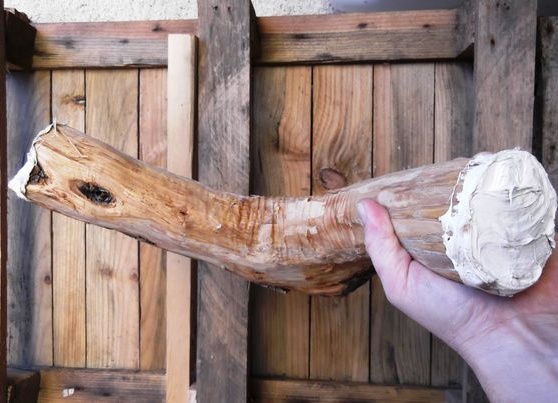
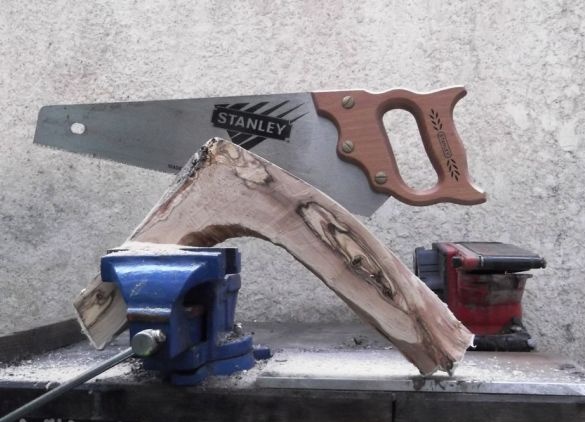
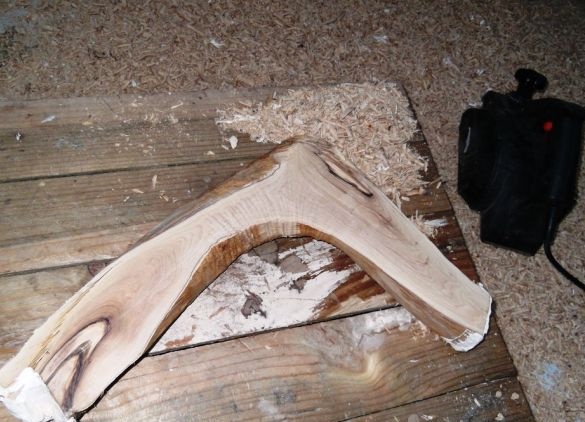
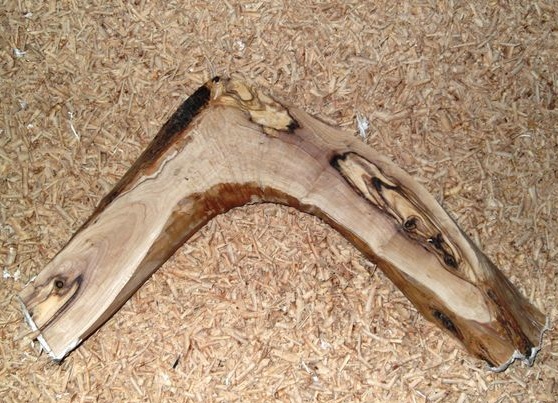
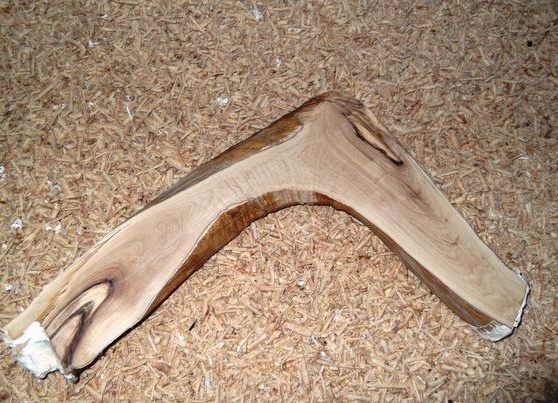
In the beginning, he picked up a piece of wood, which is bent at 90 - 100 degrees. To do this, it is better to take a tree such as: oak, linden, birch.
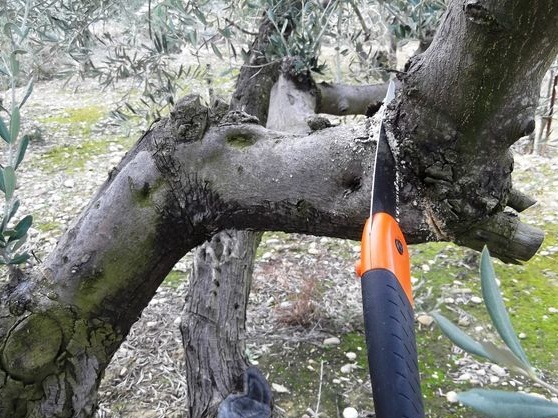
It is better to go to the forest or planting and find there a suitable piece of wood that meets the criteria. Most importantly, do not forget to bring a saw or ax. The best option for a branch is a branch with a diameter of 10 cm.
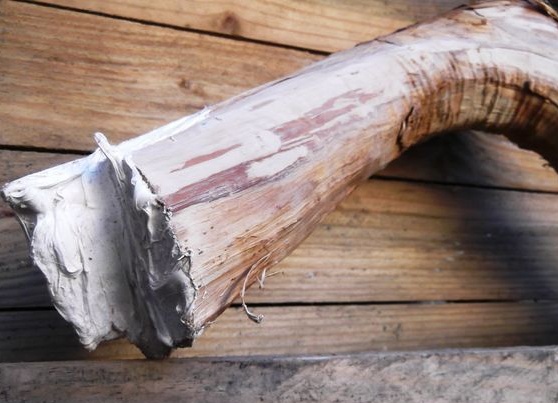
It is unnecessary to take raw materials and rot. If you still take it, then you have to first restore it to its optimal form, inherent in it, and then work with it. Store logs in a well-ventilated place. When drying it can not be kept in the sun.
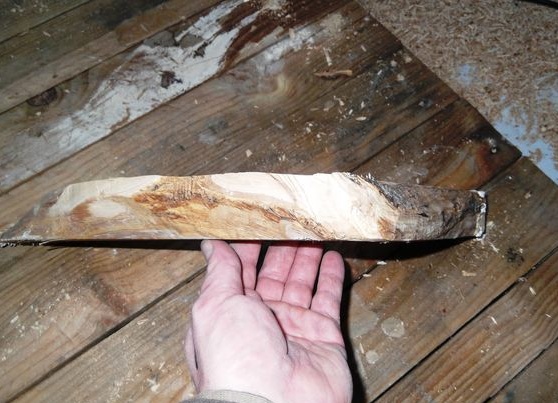
Now let's get to work. The first step is to cut off partly on each side so that the tree is flat. On each side, the thickness should be equal. To simplify the work, the author used a circular saw. The processing of a circular saw itself is very dangerous therefore, it is better not to rush.
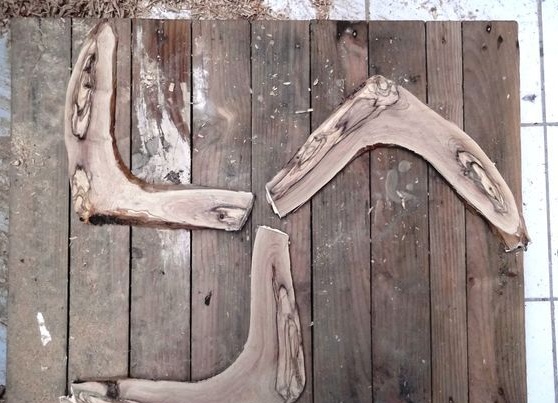
We cut the sides on the sides not very much so that it is possible to make several boomerangs from 1 piece.
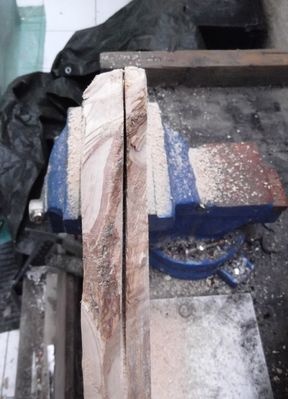
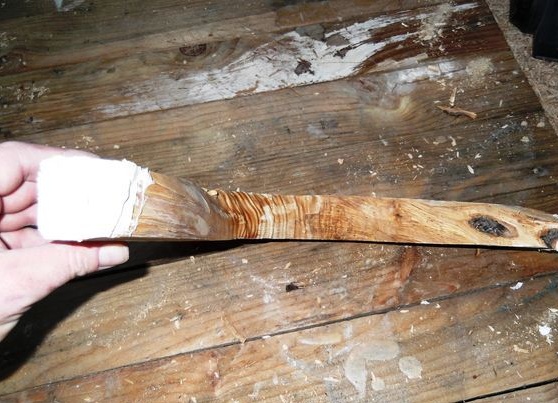
We clamp the log with clamps and saw it, in equal parts, with a circular saw or a hacksaw.
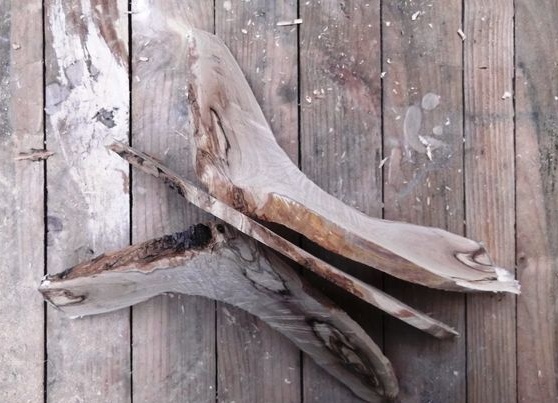
He came out with about three similar blanks, 10 mm each.
Now he began to isolate. When you do a boomerang, the form itself is optional. Here it all depends on your imagination and you can make any drawing of the future boomerang.
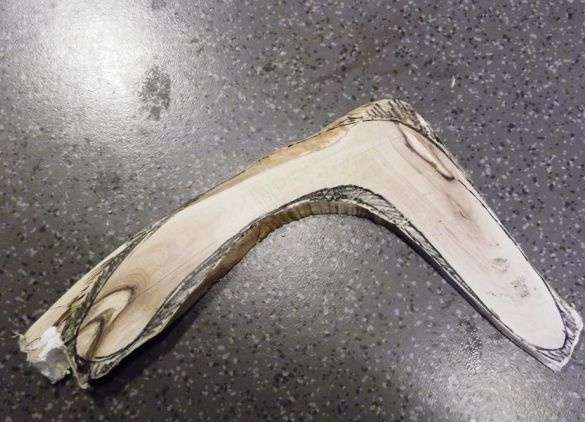
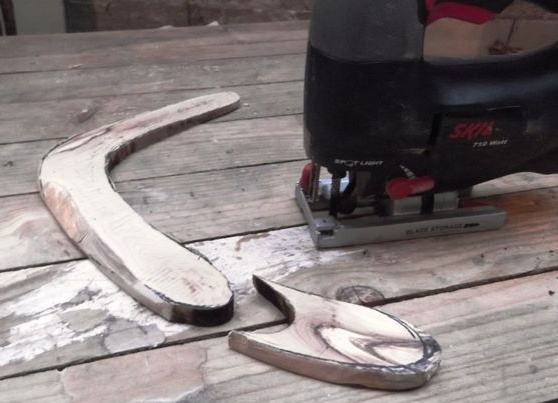
The author cut off the excess parts with a jigsaw.
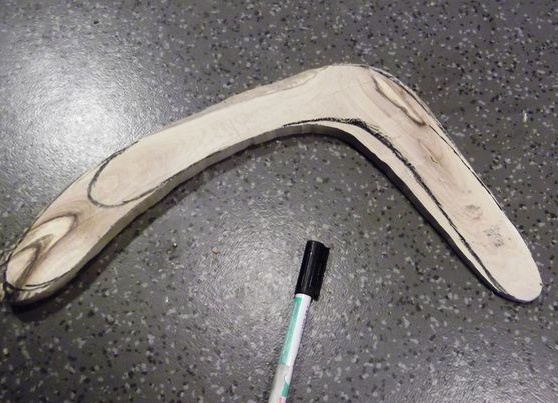
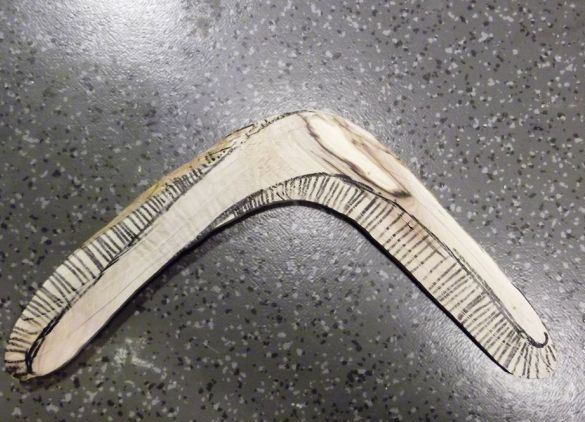
Here he is already shaping the boomerang wings. We then select unnecessary parts in the future drained parts with a marker.
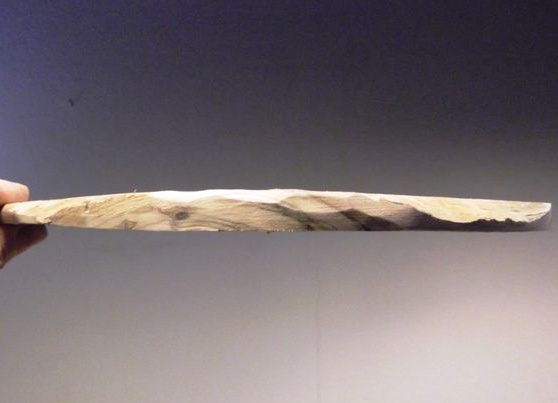
If there is any difficulty in marking or manufacturing, it is better to use the drawing above. Red dots are thickness.
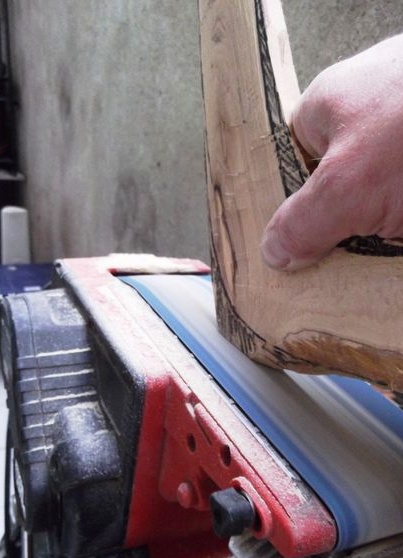
To handle the ends, he took a sanding machine and set to work. We process only from the outside of the boomerang. The most important thing is not to write it off and do everything carefully, because one wrong cut and that's it, homemade spoiled.
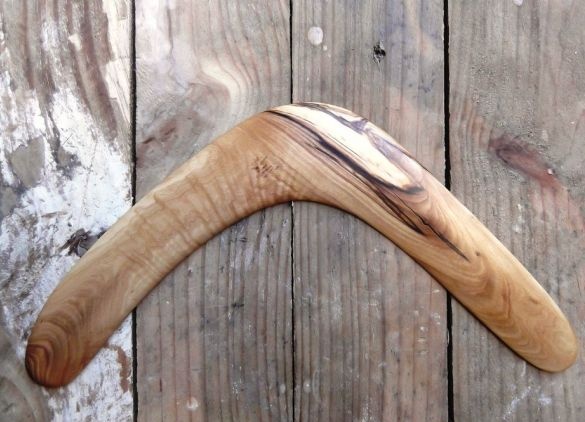
In the end, the author processed the entire boomerang until it was completely smooth so that there were no scratches.
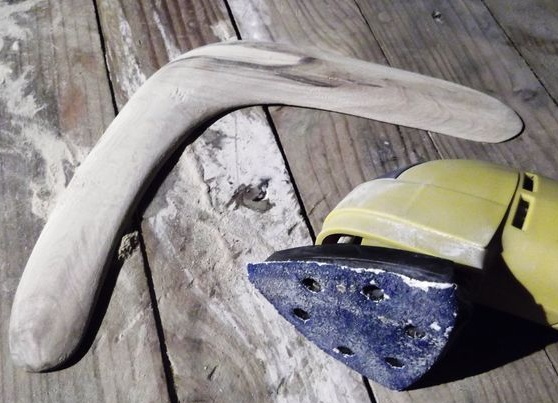
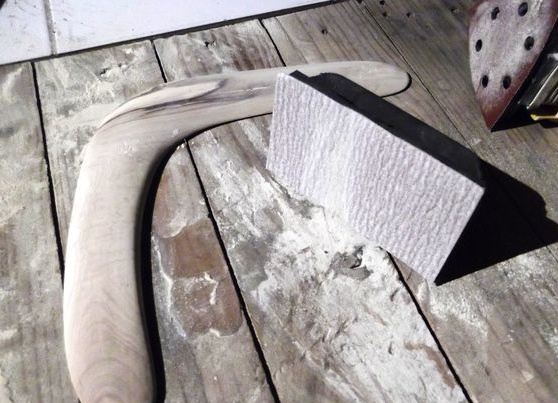
Here it remains to completely cover it with varnish, so that it is protected from weather conditions. That's the bottom line, a great thing is ready to use. Only first, wait for the moment when it dries after the varnish.
Thanks for reading this article, I hope it helps you with something. Good luck to everyone, bye!

