

Hello to all lovers homemade, in the search for a particular idea for homemade products, we look for a video on a similar topic in which the author shows his invention, in some cases we ourselves are these authors. So, in order to shoot with high quality, namely in terms of picture quality, good light is needed, since not all beginners will shoot with a professional camera, which shoots well in low light. It is for this purpose that I decided to make myself a softbox on an LED strip, which will be a good assistant when shooting videos.
Before reading this article, I suggest watching a video about the assembly of this homemade product and it is possible to suggest what to upgrade in this design or even replace it.
To make a softbox do it yourself, you will need:
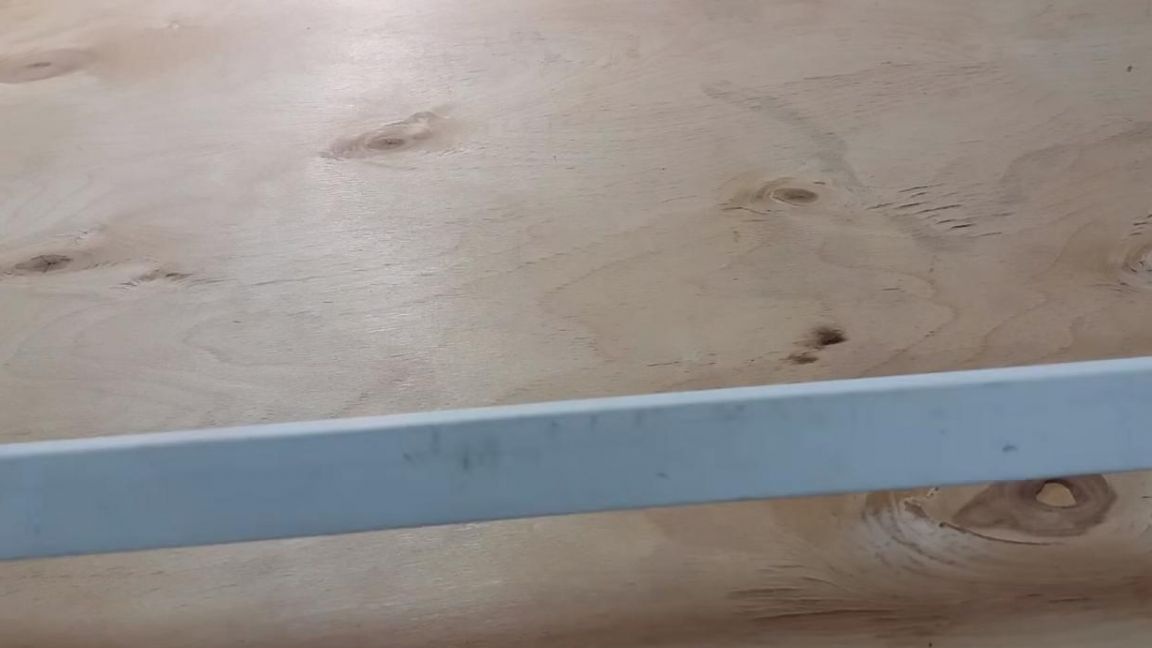
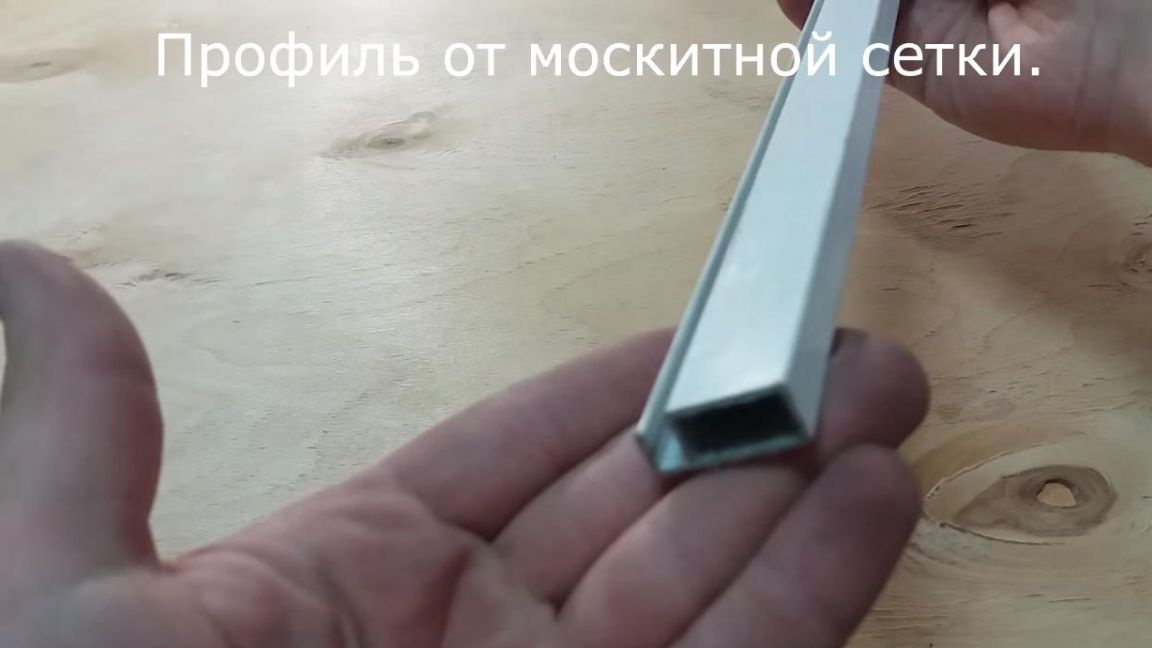
* Mosquito net profile
* Alucobond
* 12V LED strip
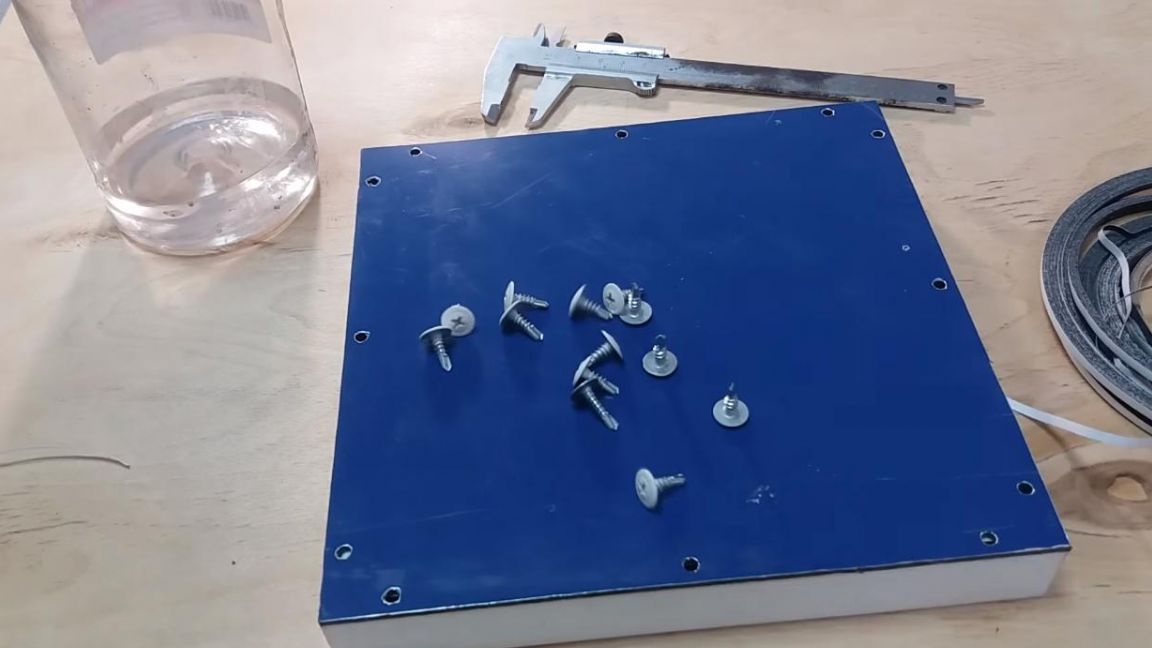
* Caliper, ruler
* Soldering iron, solder, flux
* Double-sided tape
* Screws with a press washer
* Screwdriver
* Drill 3 and 6 mm
* Plexiglass
* Drill
* 12 volt power supply
* Aluminum bar
* 5.5mm power socket
* Some wires and wires
That's all it takes to create a good light for your videos.
Step one.
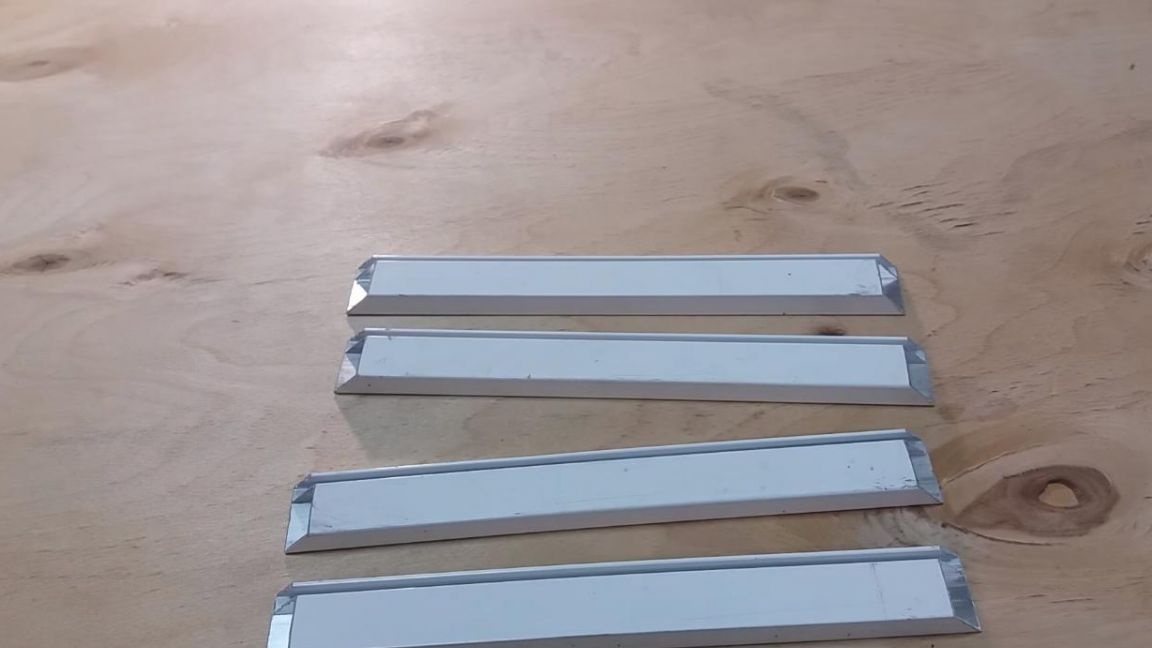
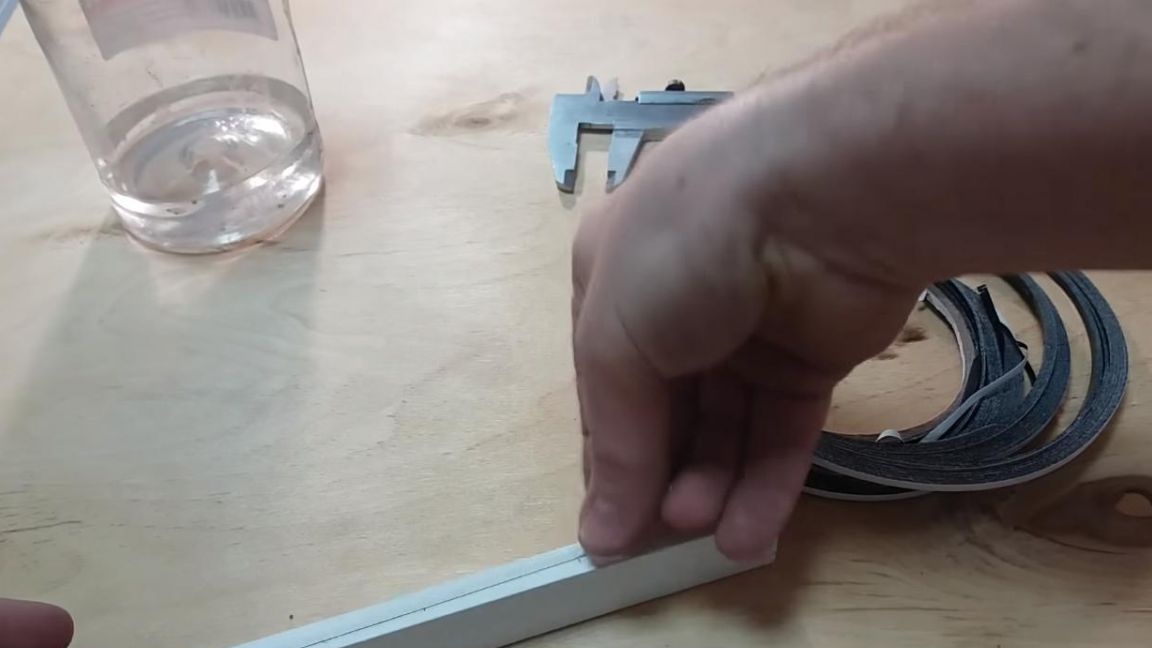
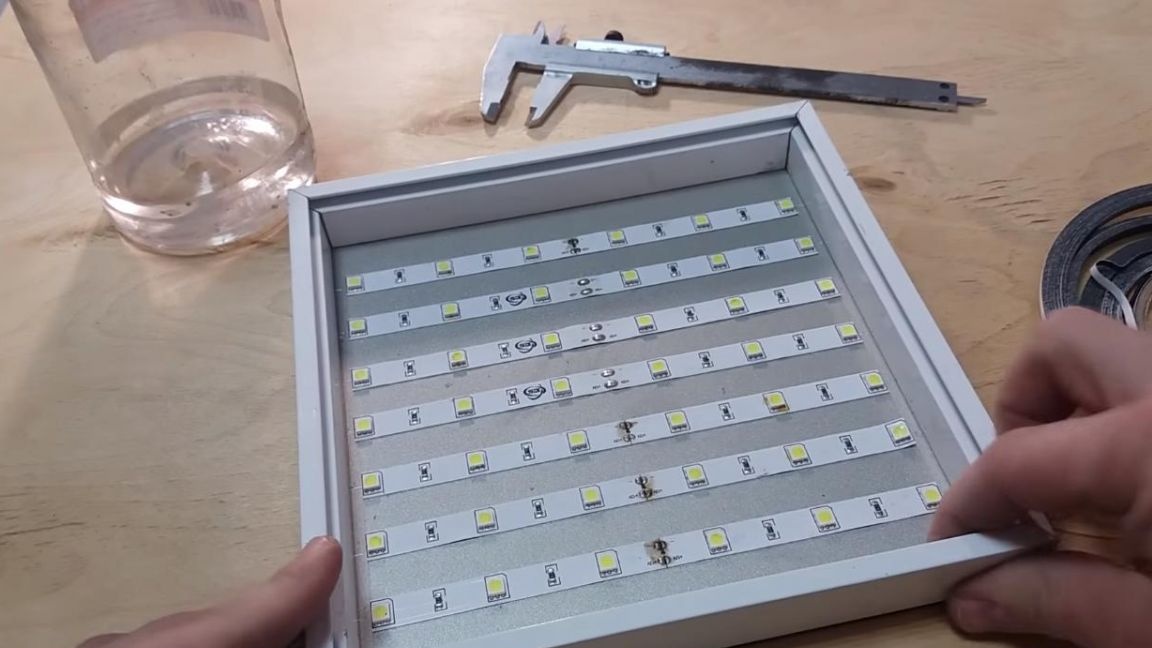
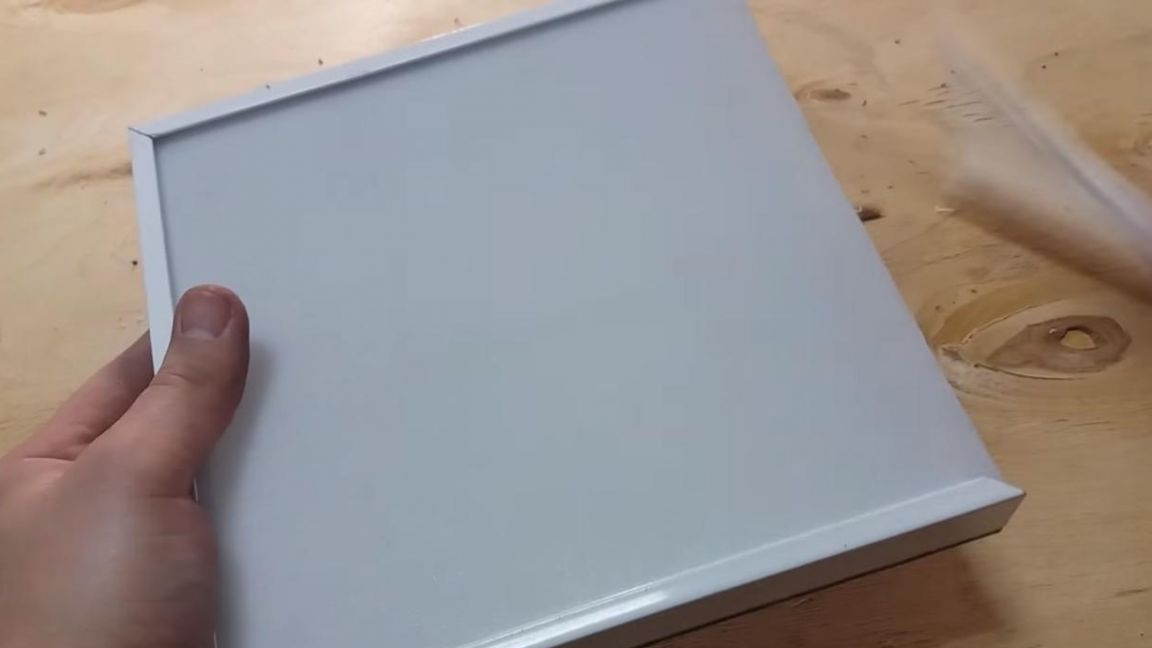
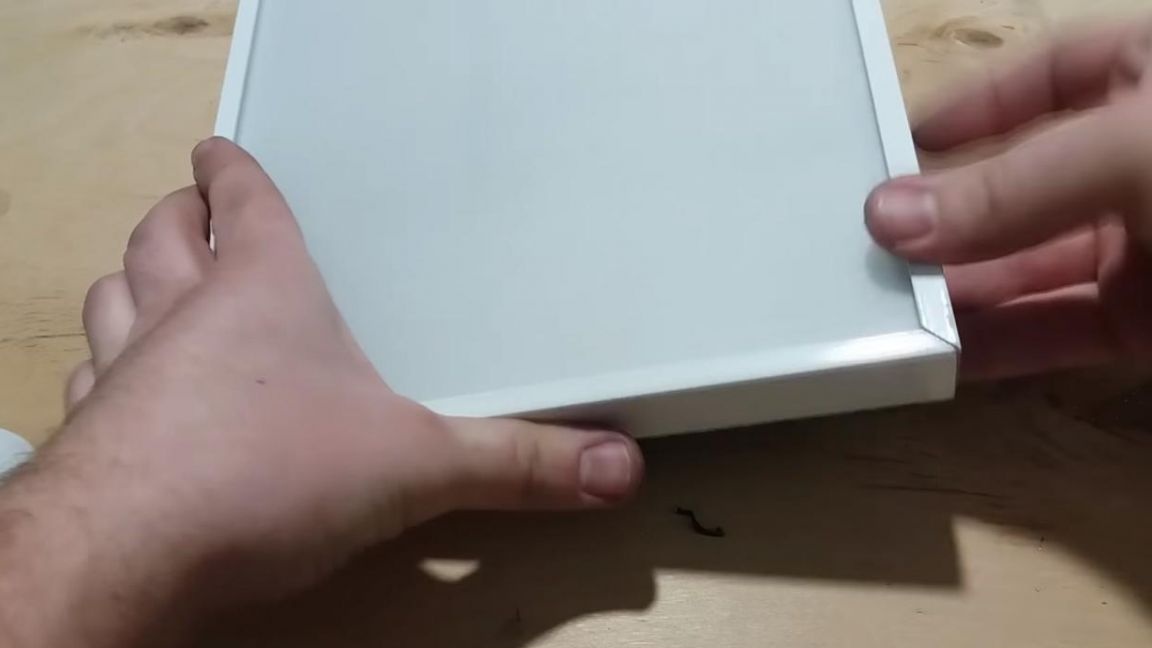
First of all, you need to determine the material of the softbox coffers, the profile that is originally intended for the mosquito net fits most successfully here. The advantage of this profile is that it has a groove where you can later install the same plexiglass or another filter of the desired color.
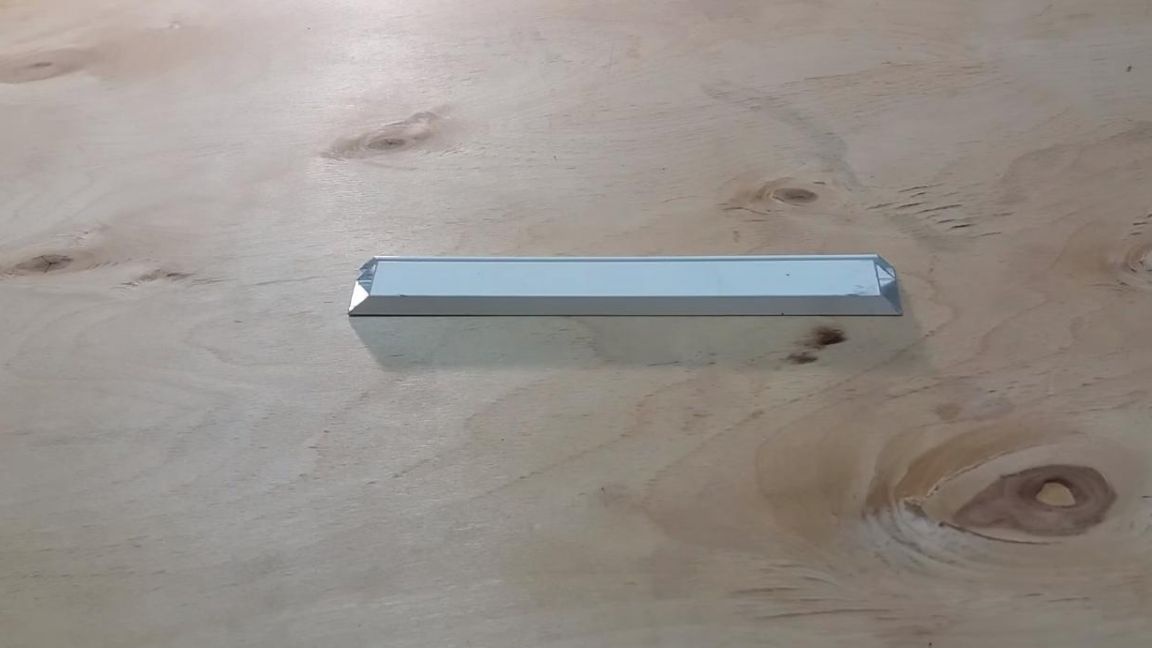
This profile needs to be sawn into four identical parts, we make a saw cut with an angle of 45 degrees in order to further connect them into a square. It is advisable to clean the edges after sawing from metal shavings, if any.
Step Two
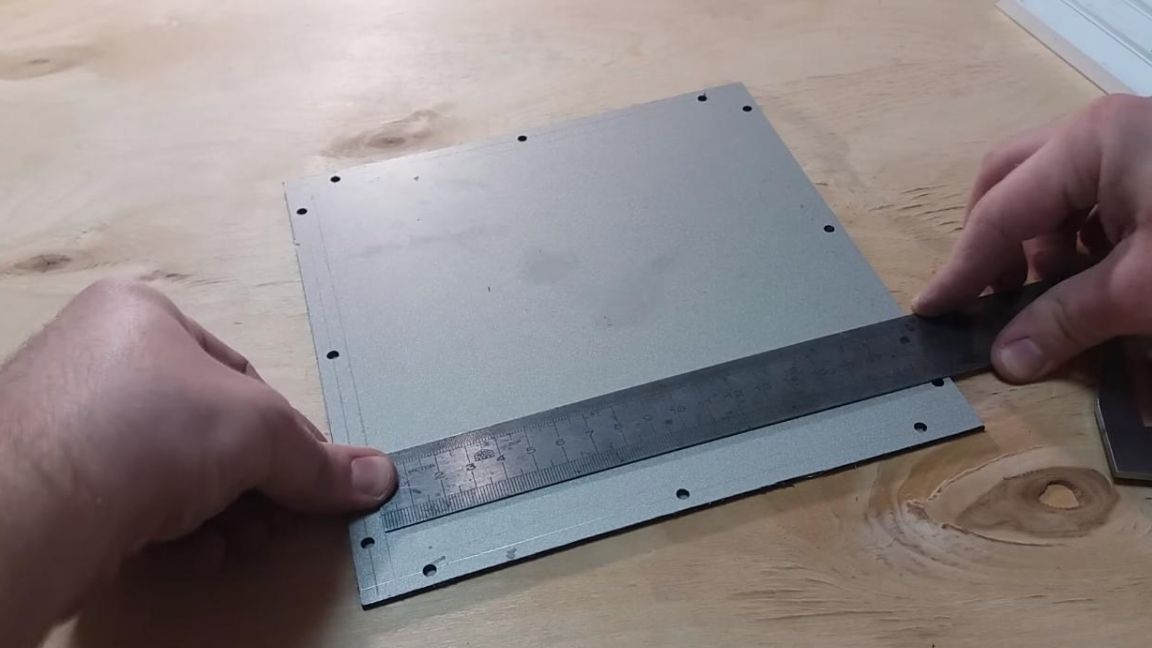
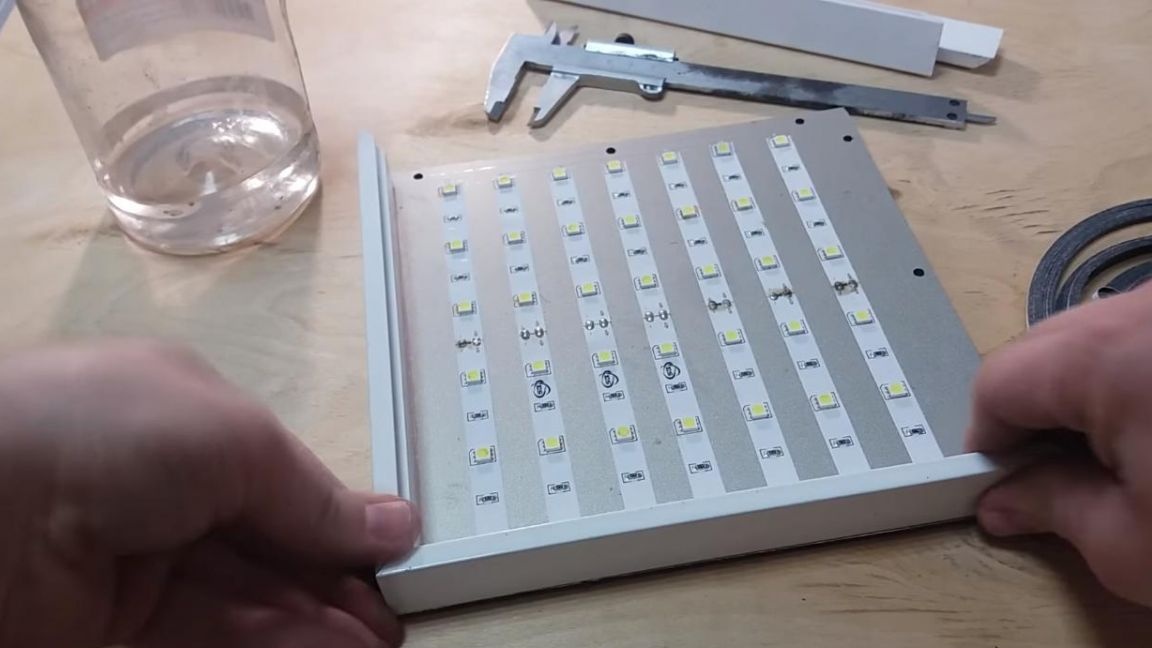
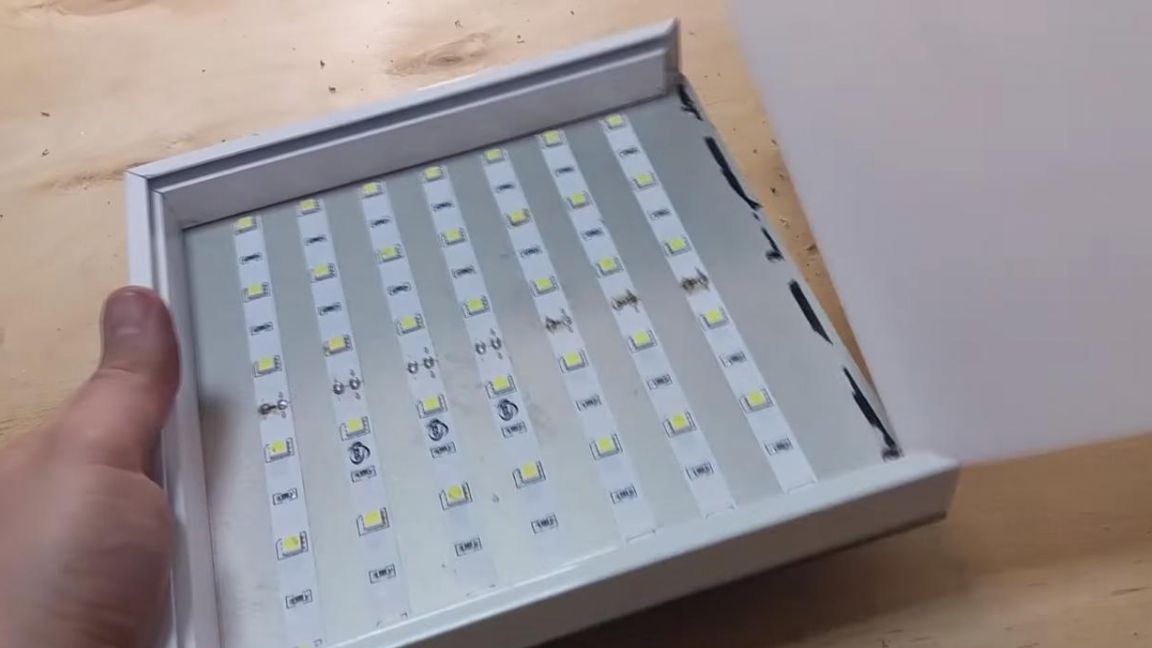
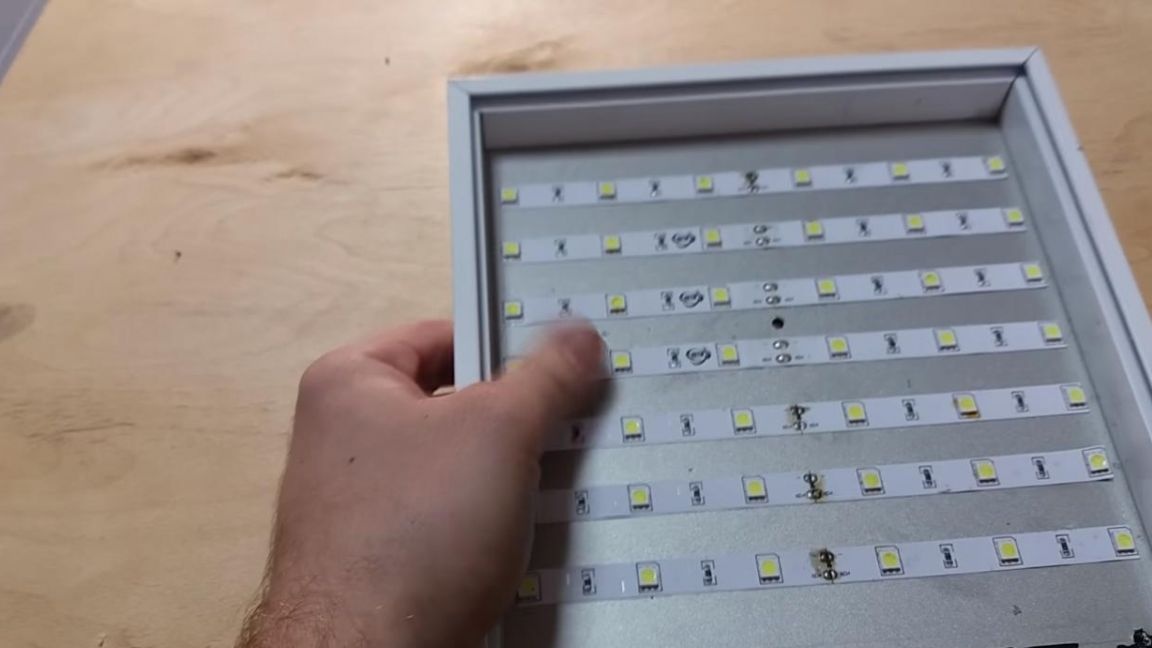
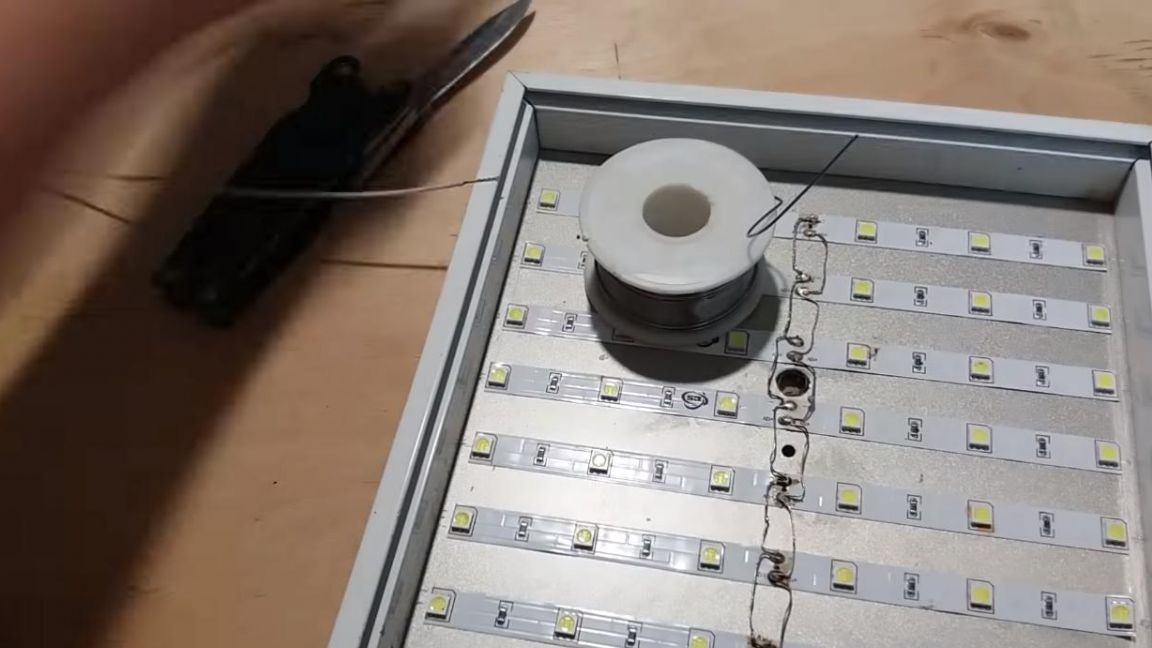
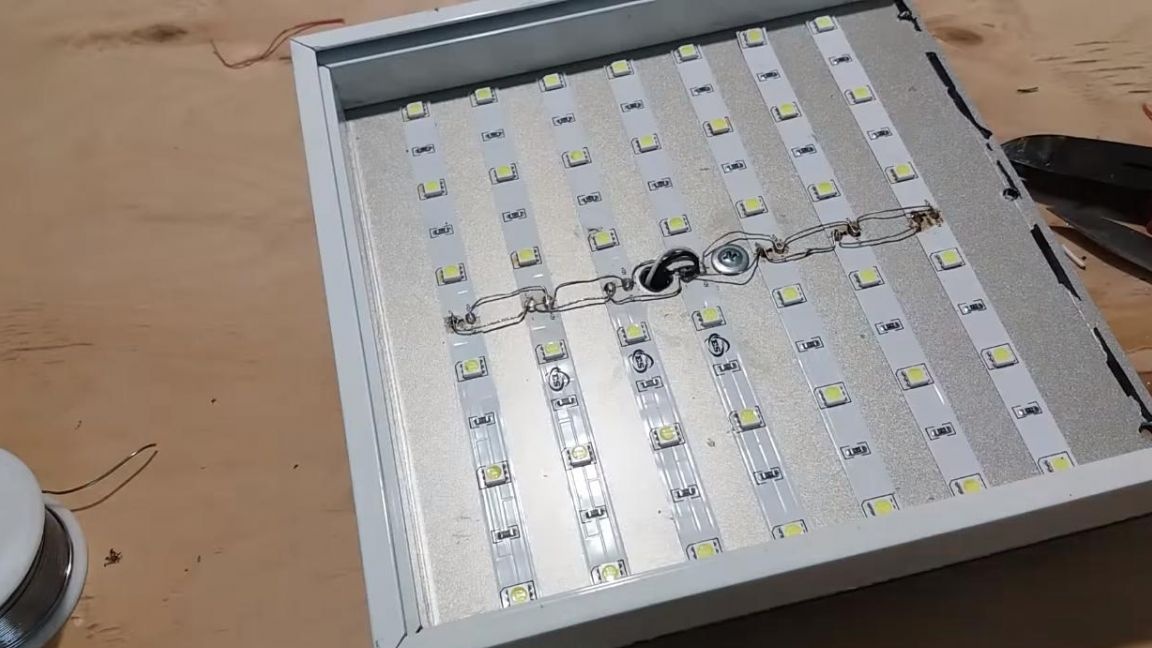
The main part, or it can be called the base, will be the alucobond, on which we mark and stick the LED strip, cut into pieces of the same length.
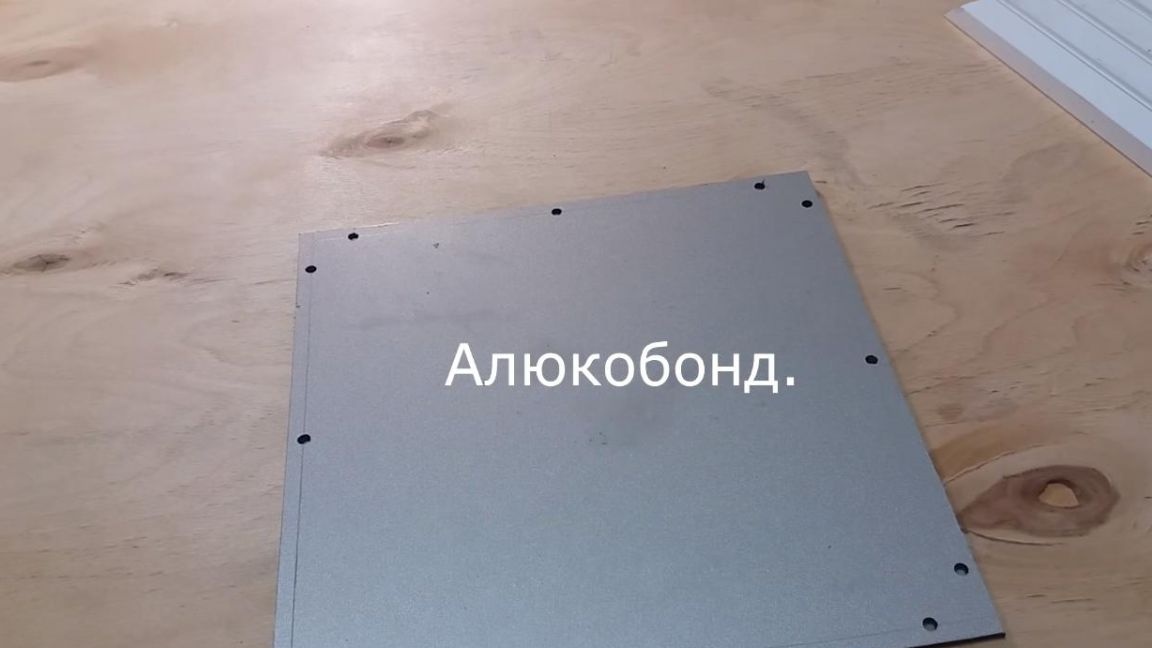

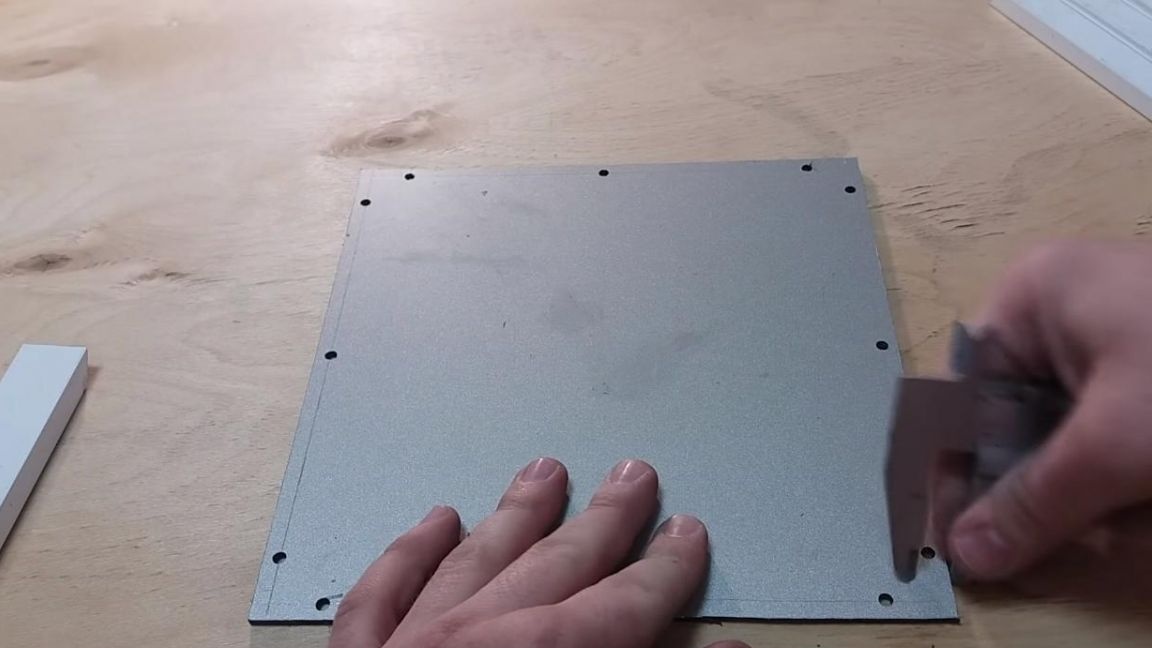
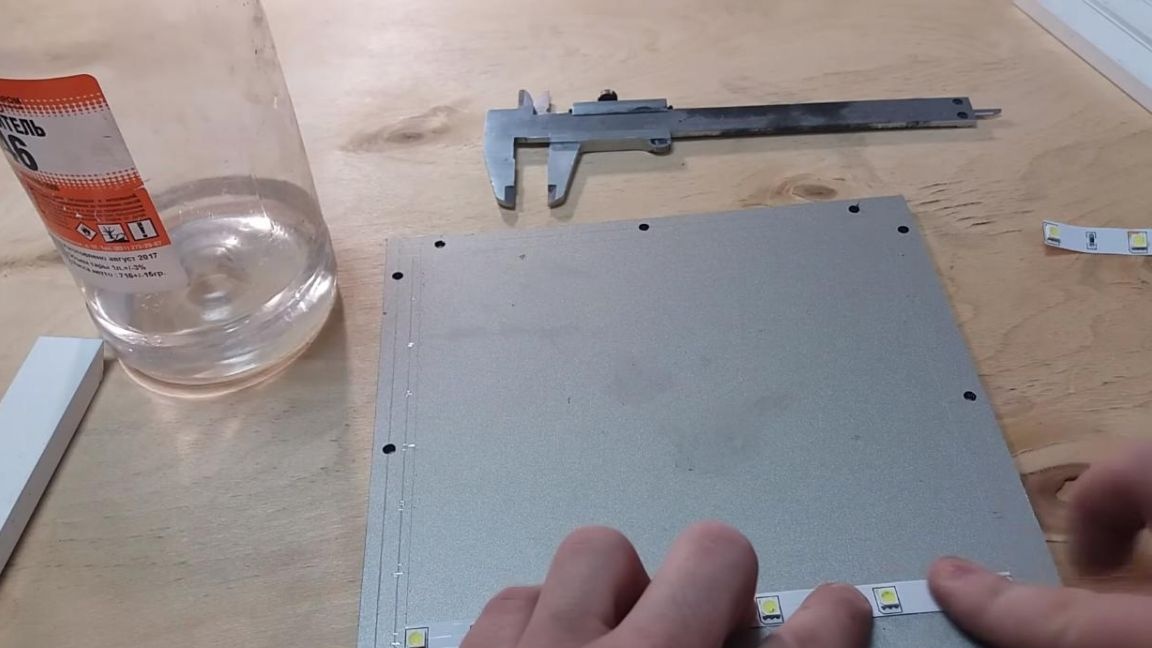
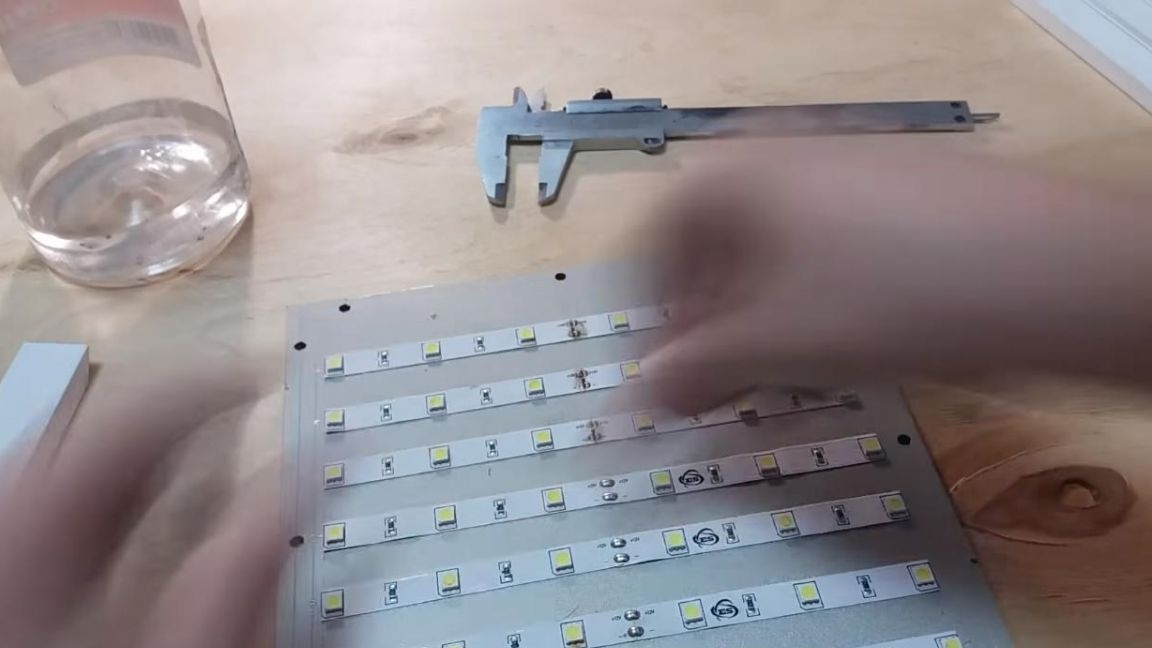
In this case, the alucobond will also serve as a heat sink, which will save the LEDs from overheating, since during the glow they are not slightly heated.
Step Three
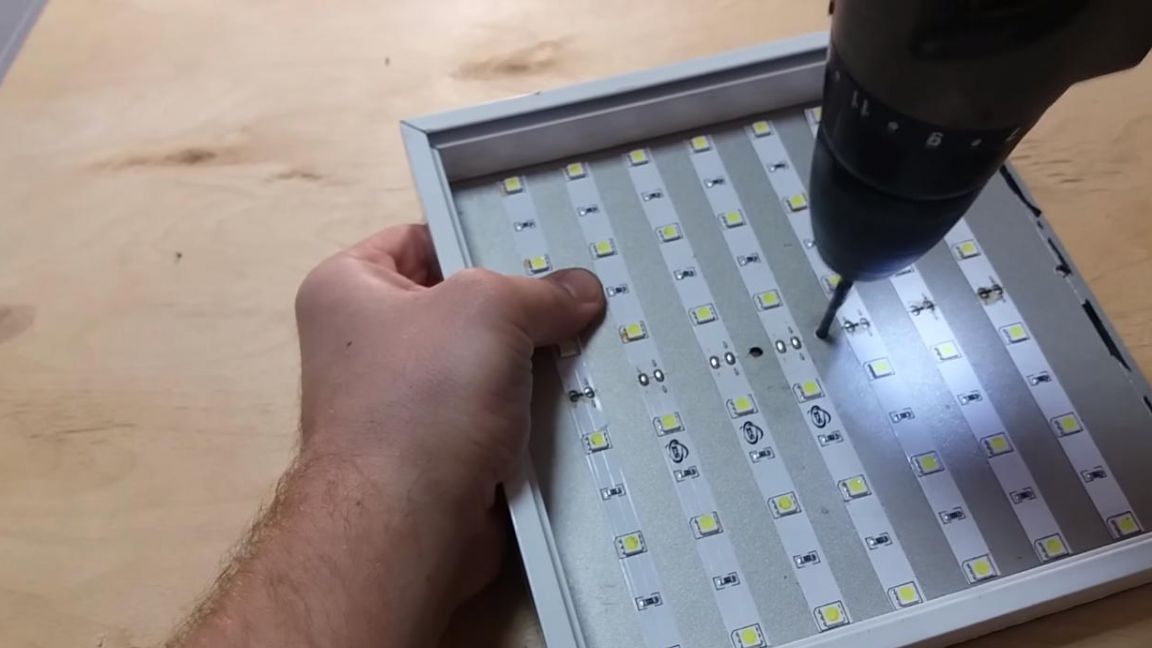
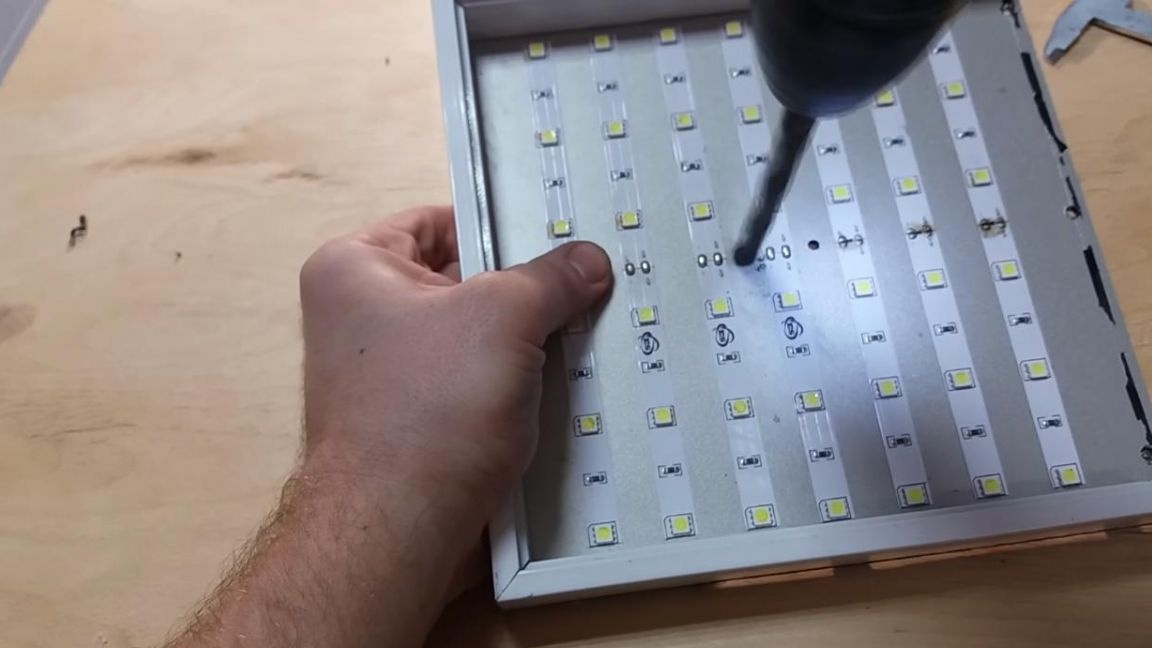
After installing the LED strip in its place, we go to the pre-cut profiles, we glue them to the base with double-sided tape.
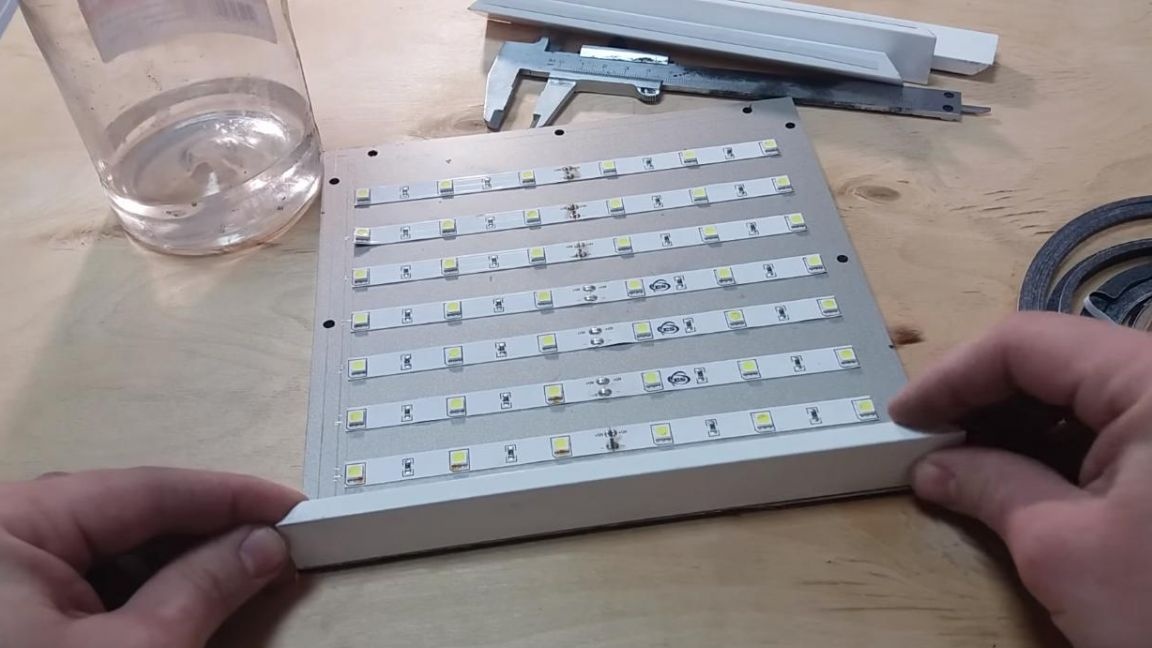
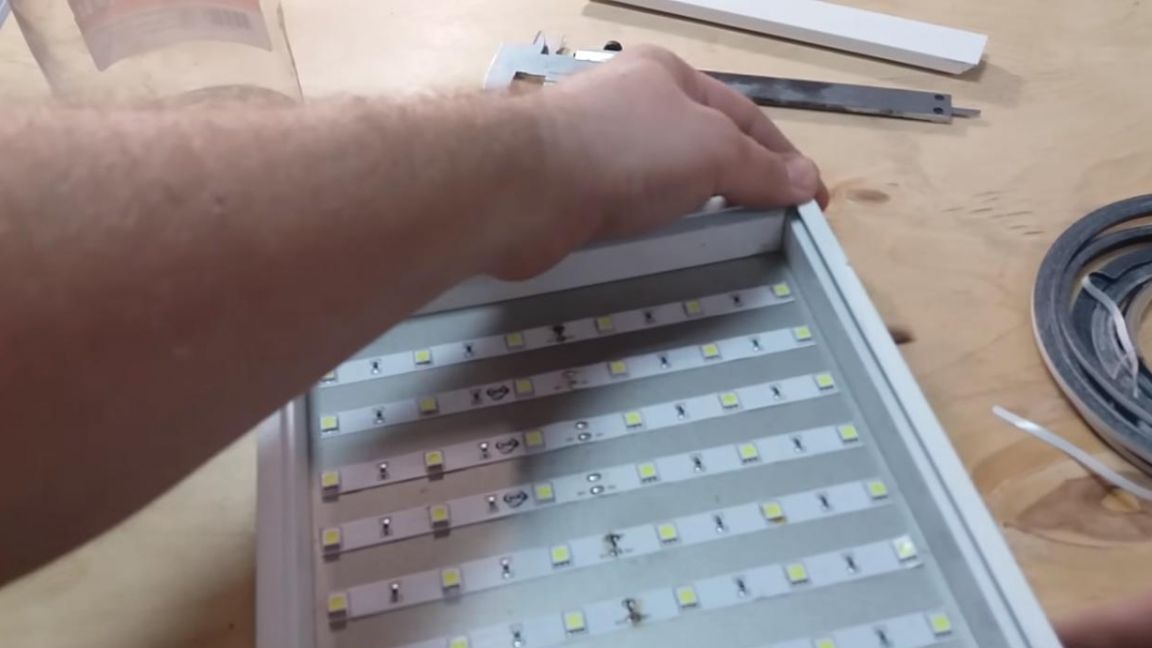
After gluing on the reverse side, we fasten them to the screws with a press washer using a screwdriver.

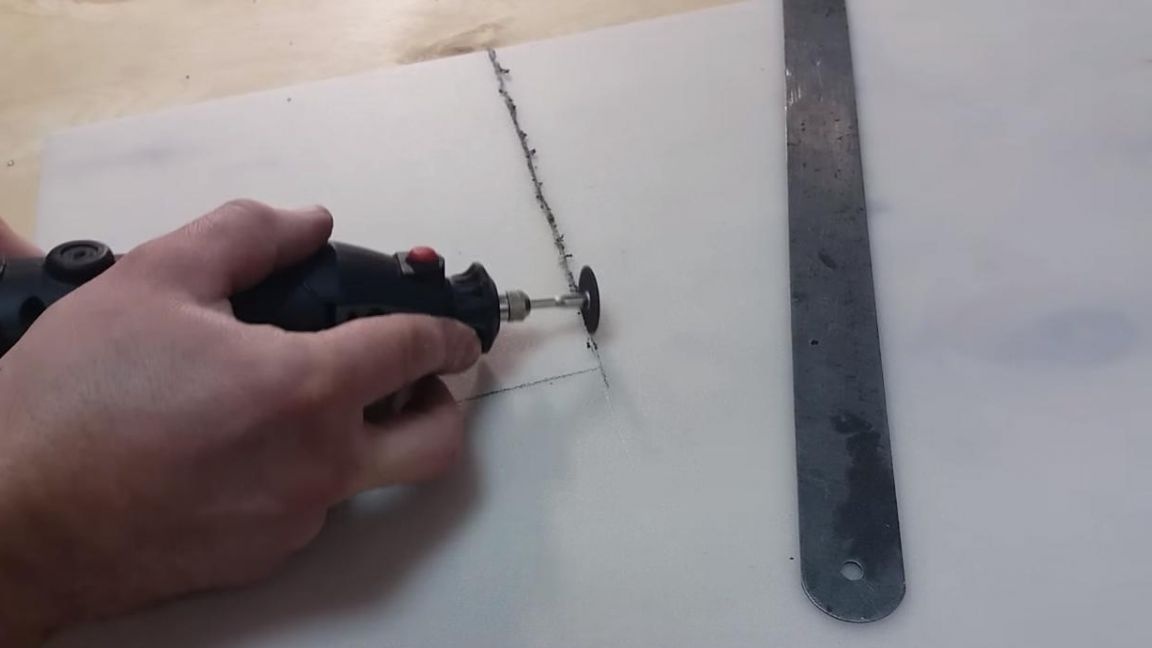
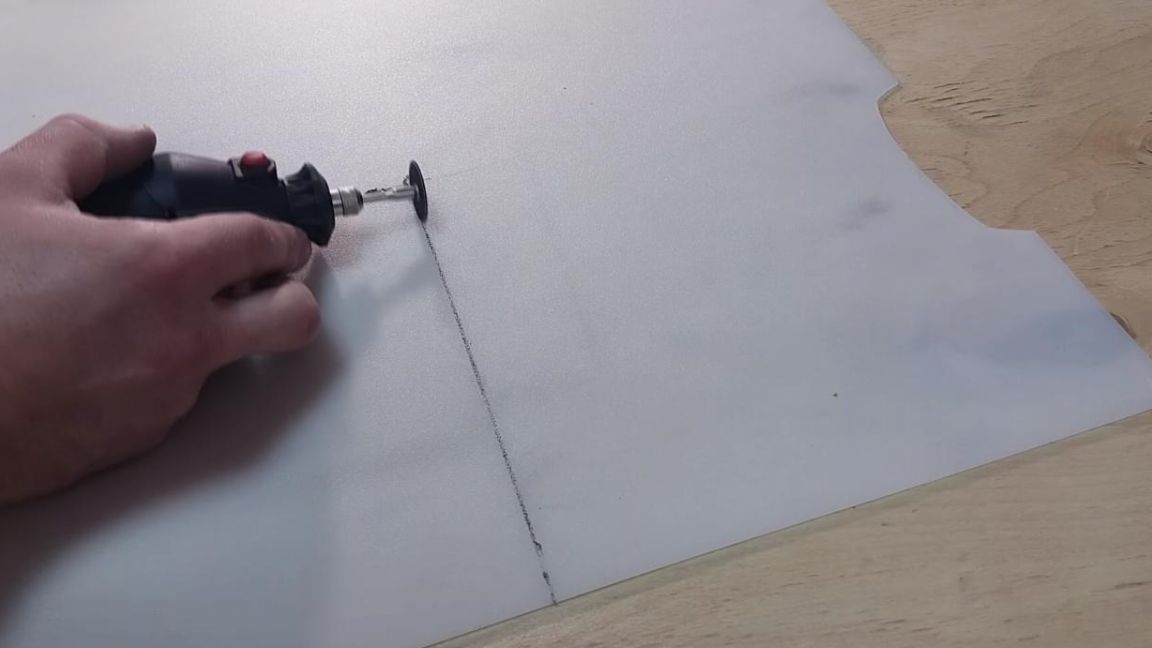
Step Four
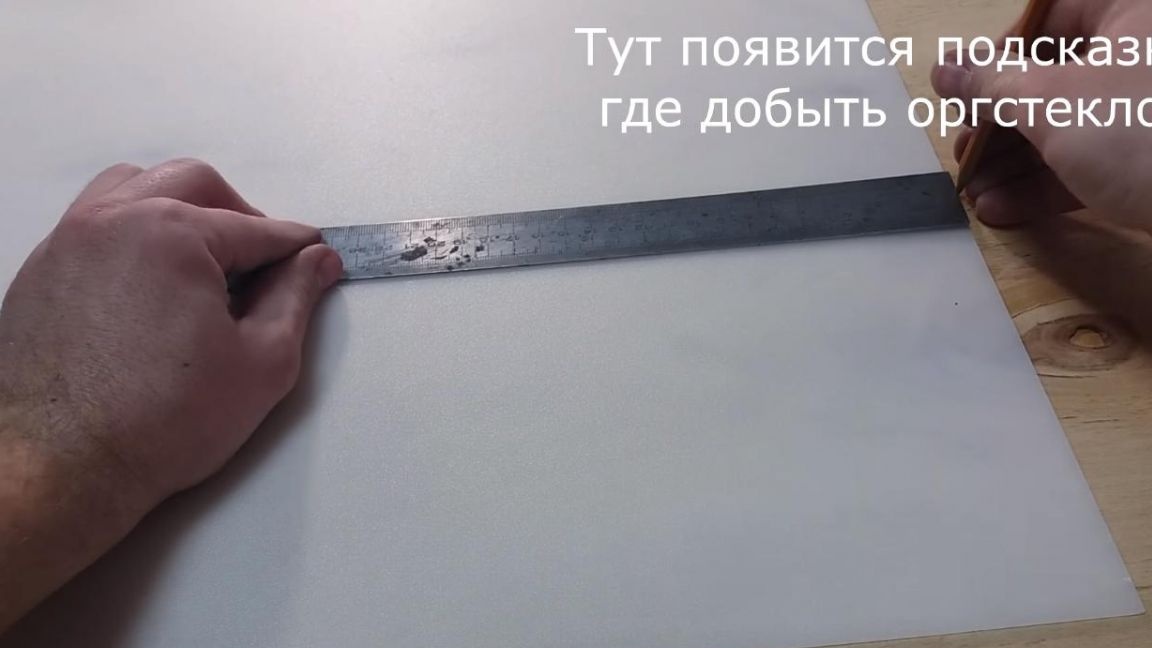
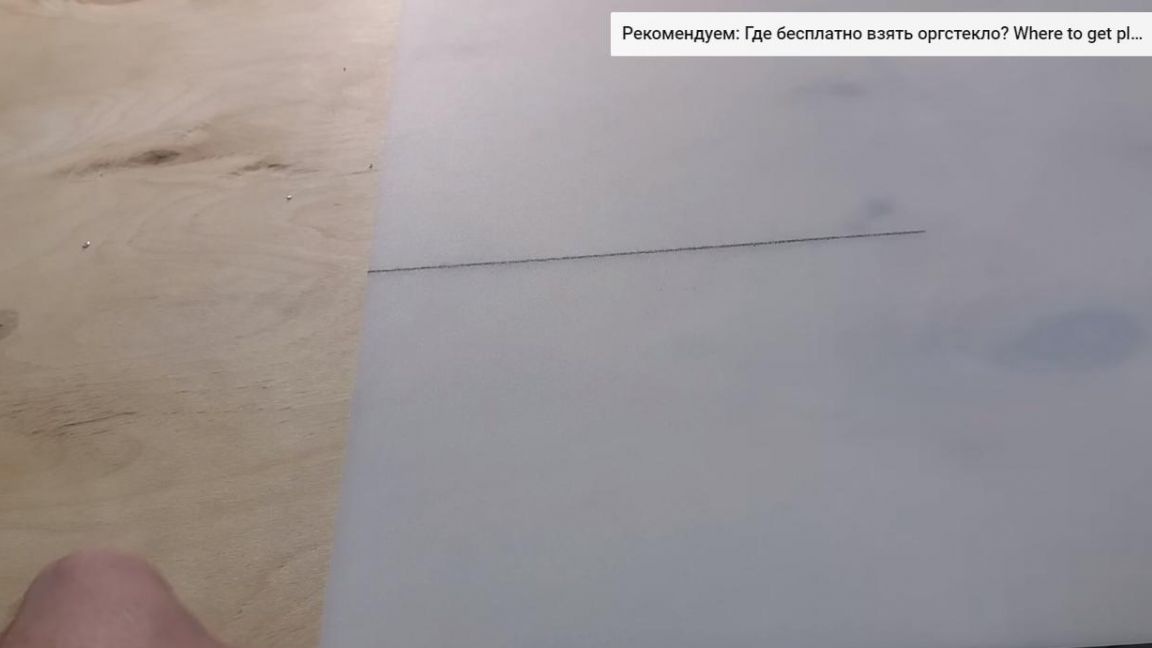
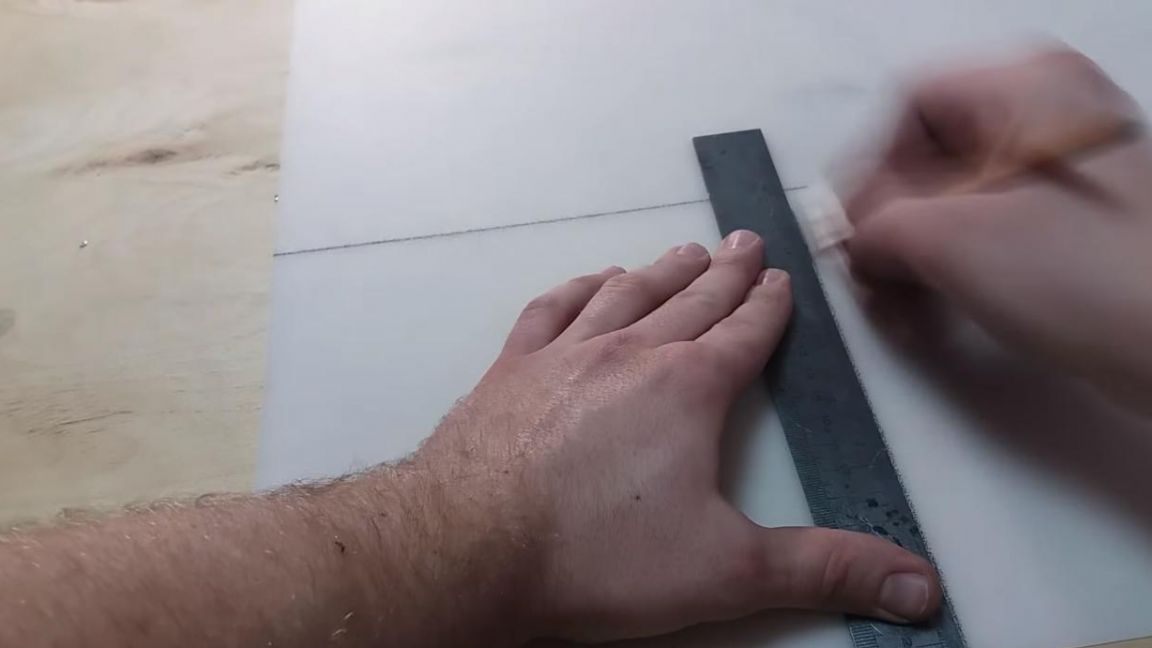
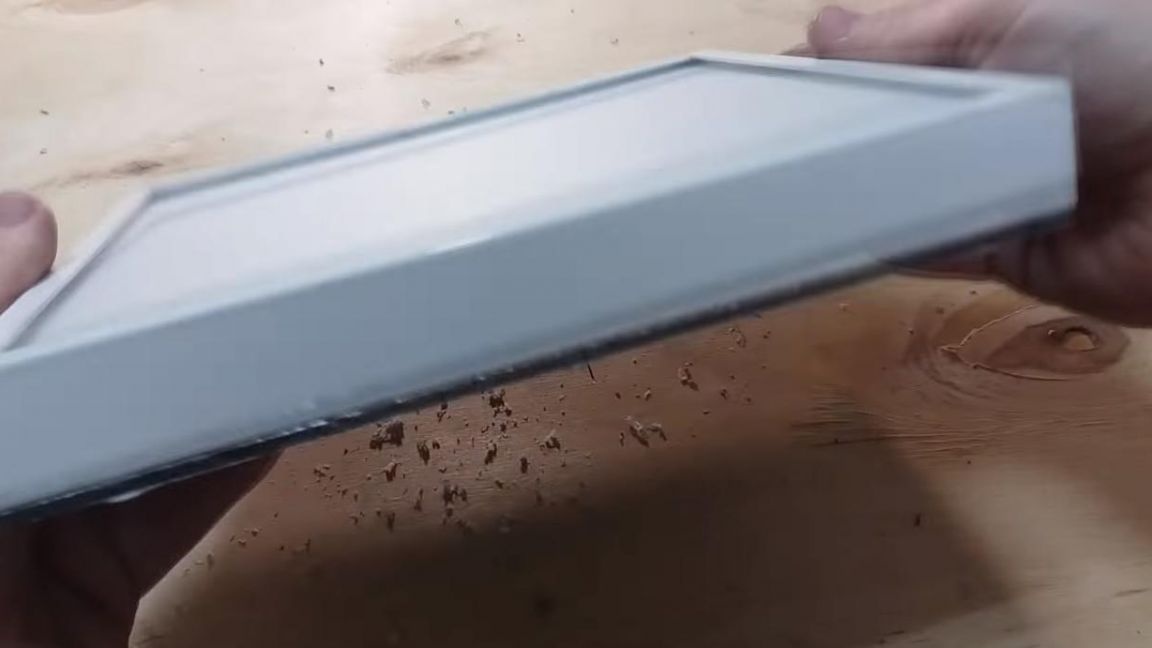
To get a smoother glow, you need to install plexiglass in the profile groove, you can get it, for example, from a non-working LCD monitor. We mark out the necessary sizes and use a drill with a disk to cut out the desired piece.

After that, we clean the edges with a knife, since the rotations of the drill are high and the plexiglass partially melted at the place of the cut, which can complicate installation in the grooves.
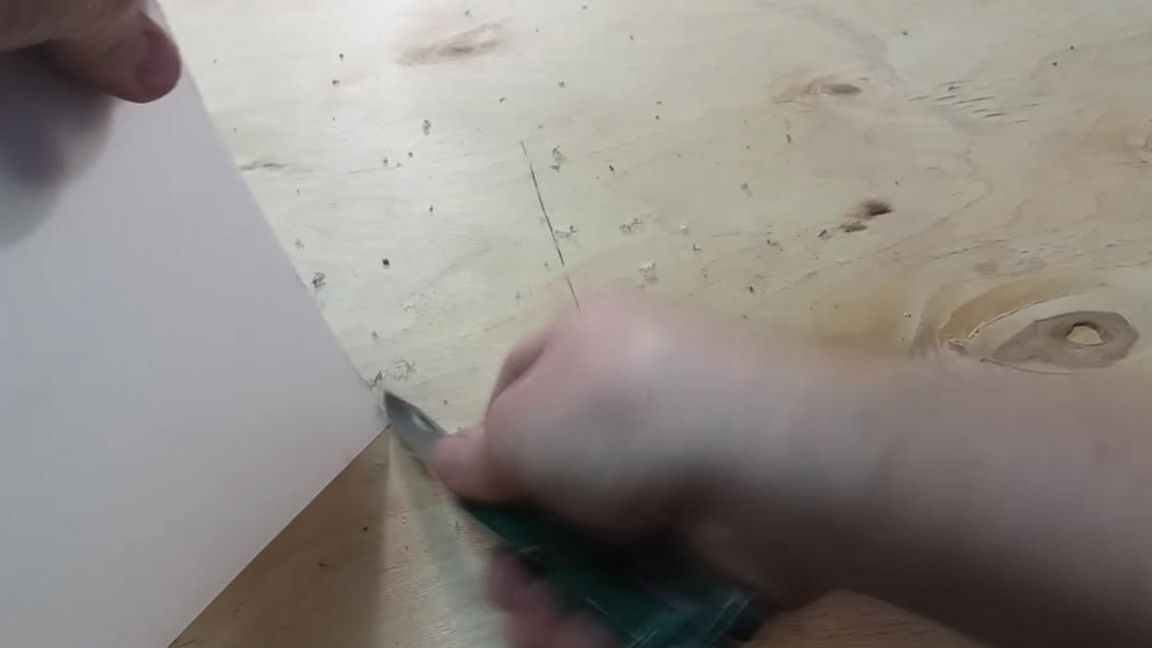
After trimming the edges, you need to check how it sits in the profile.
Step Five
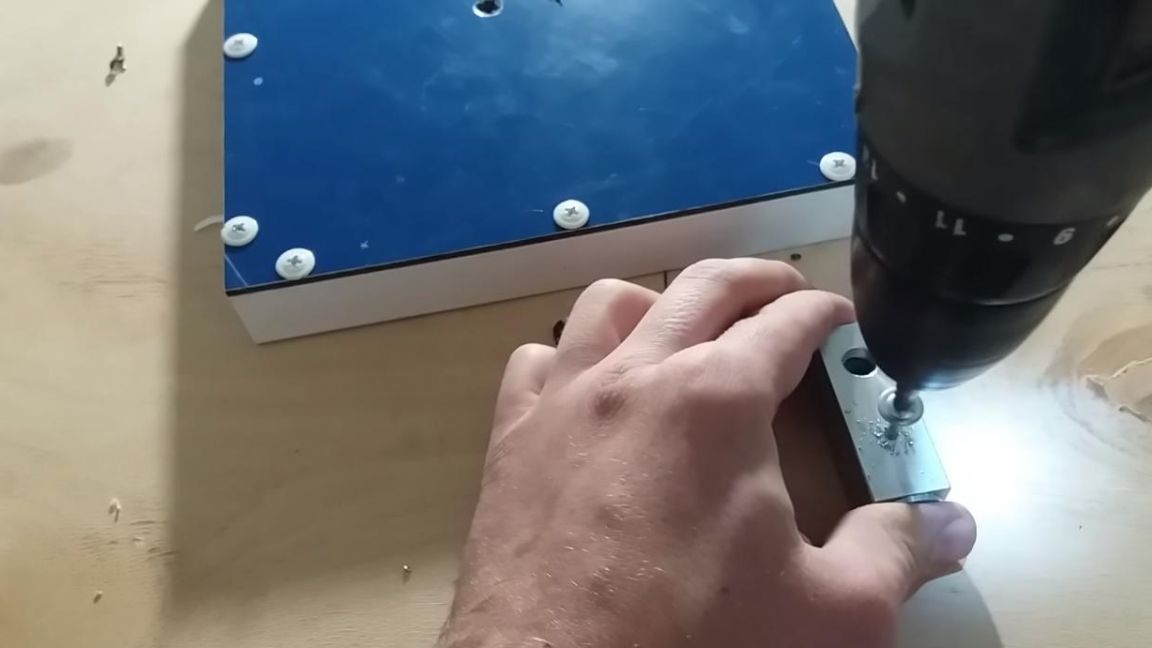
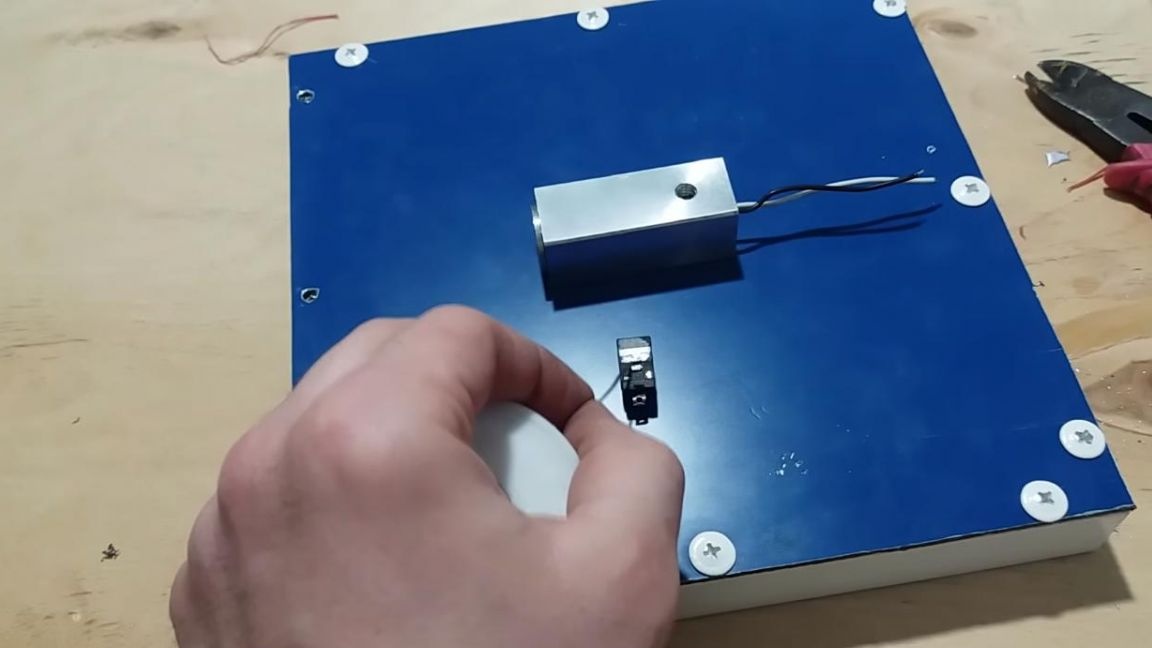
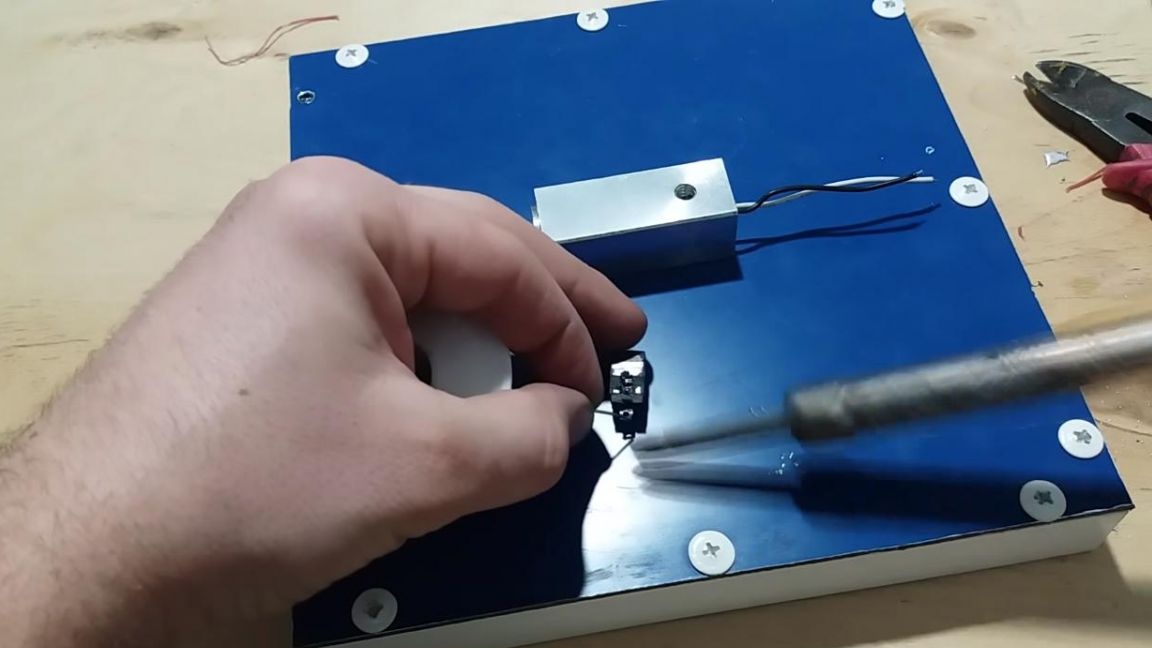
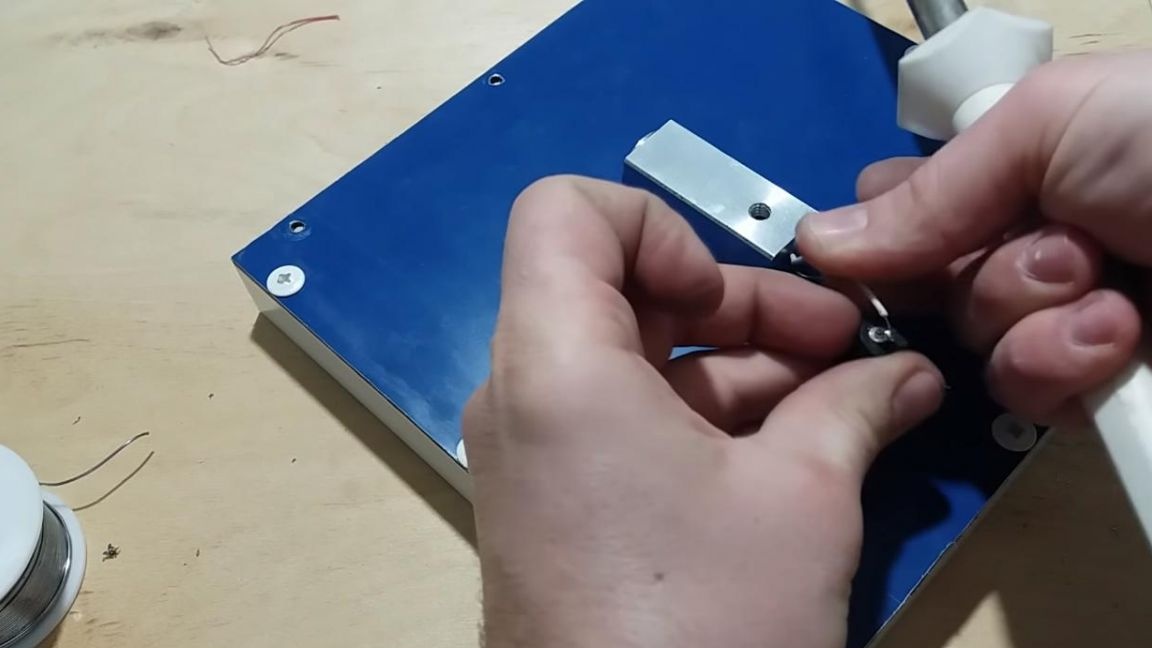
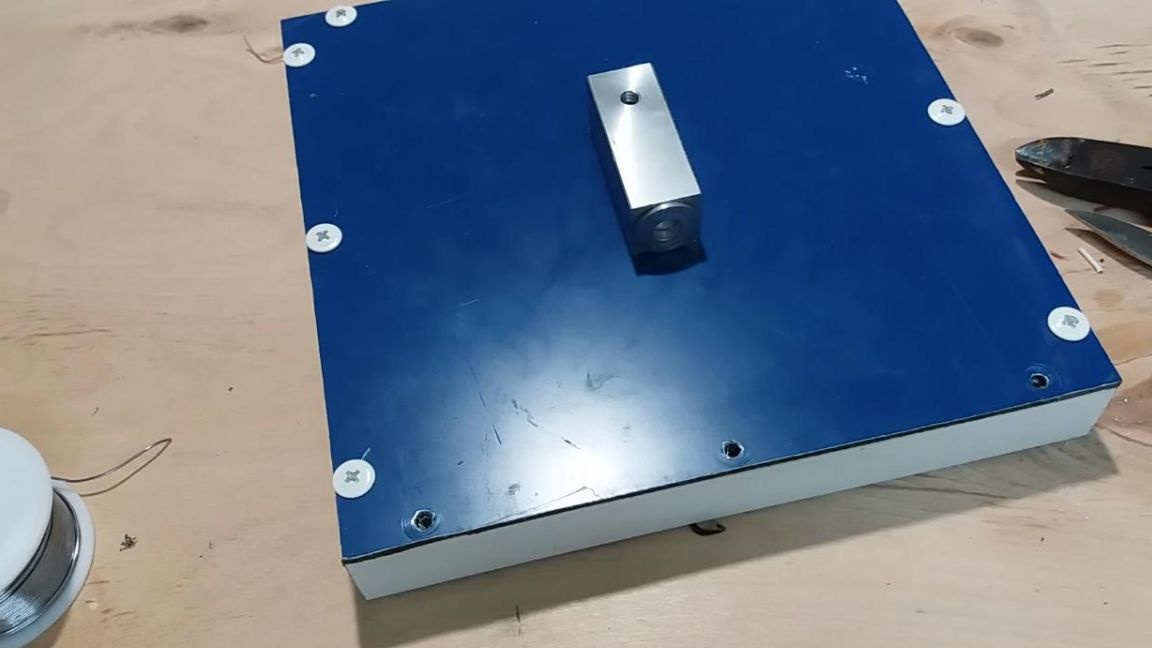
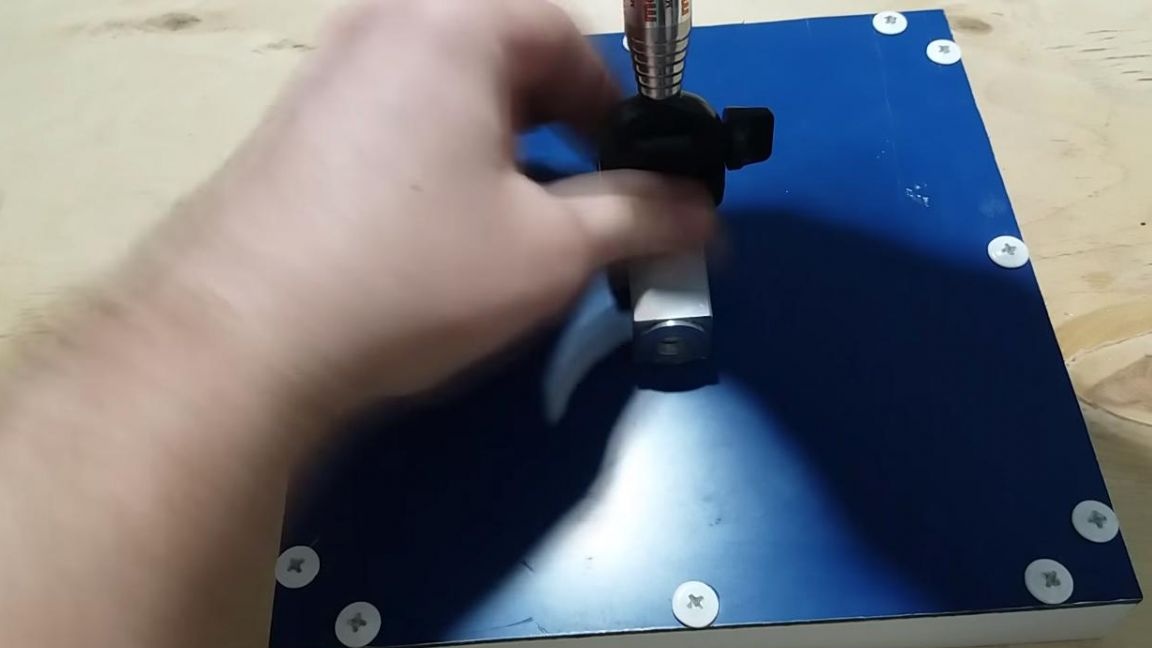
To mount the softbox on a tripod, as well as to place the power supply socket, an aluminum case was invented made of a bar on a lathe.
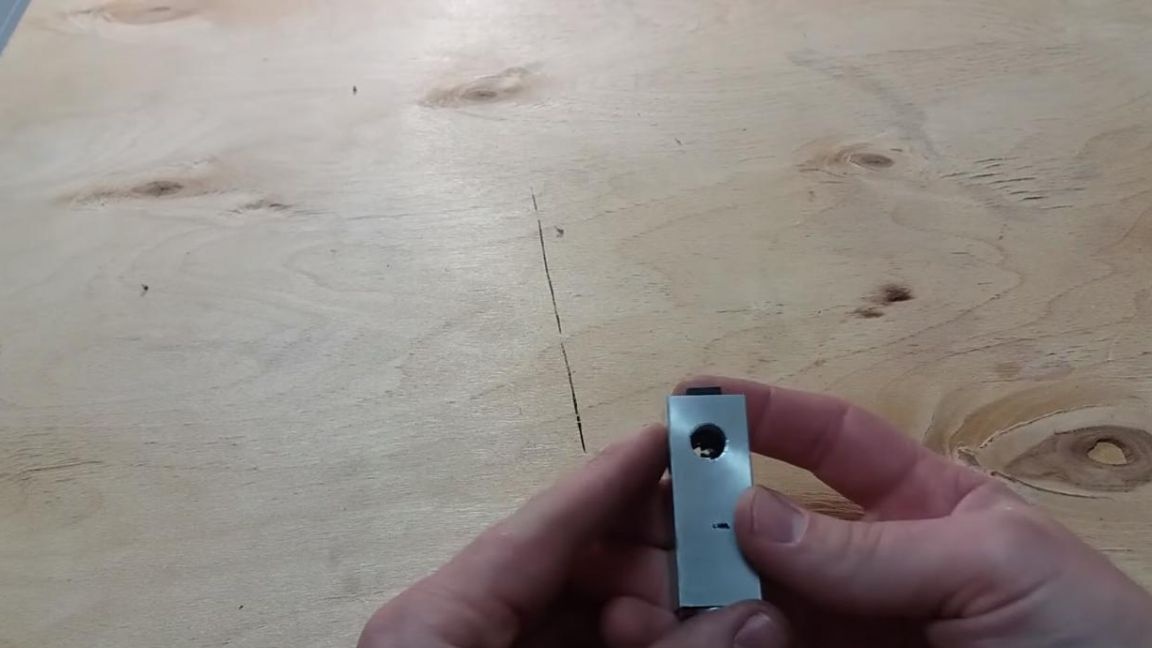

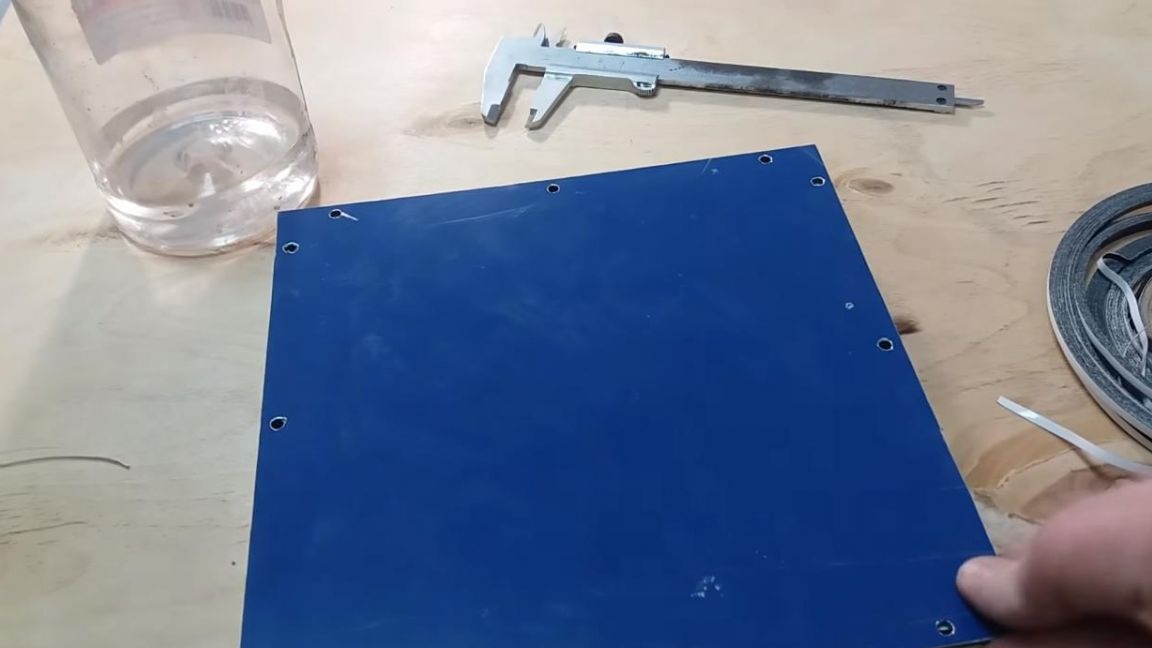
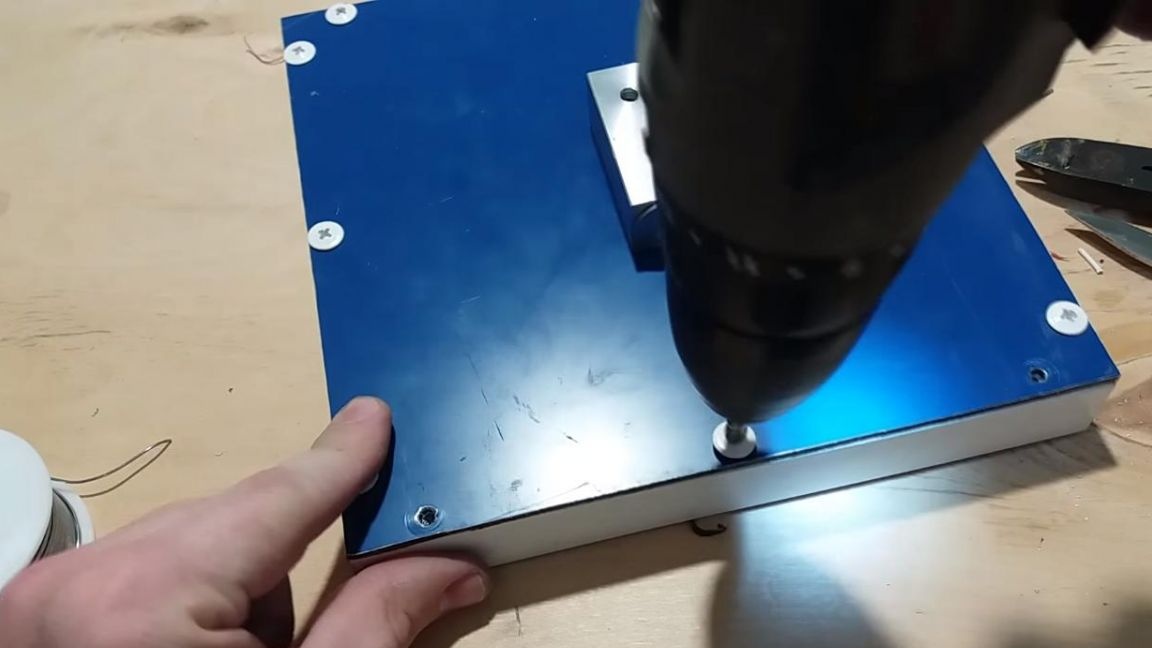
In the base for this case, we drill two holes with a 3 mm drill, and then drill one to 6 mm.


We drive away the self-tapping screw in the case for threading in it, this will be needed in the future.
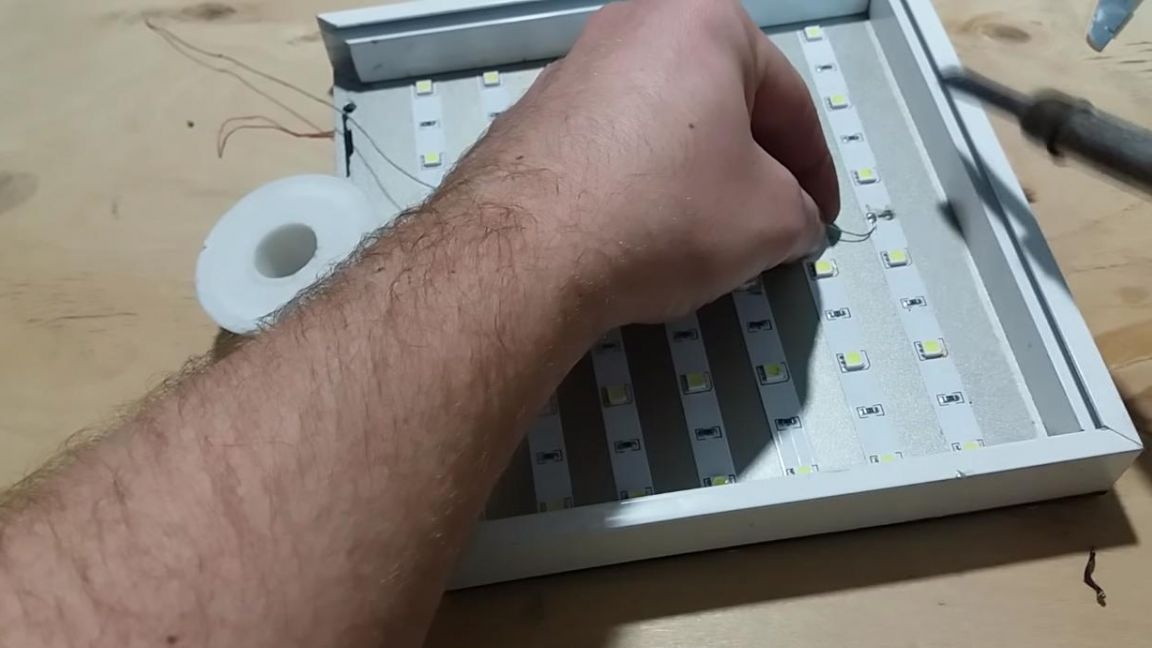
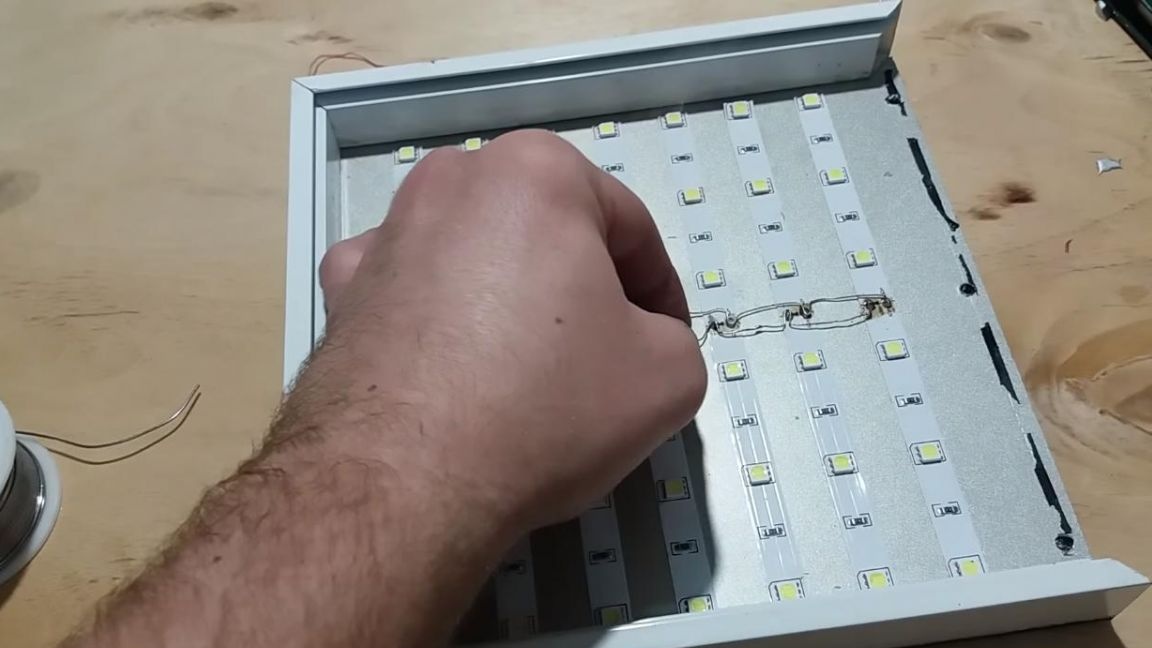
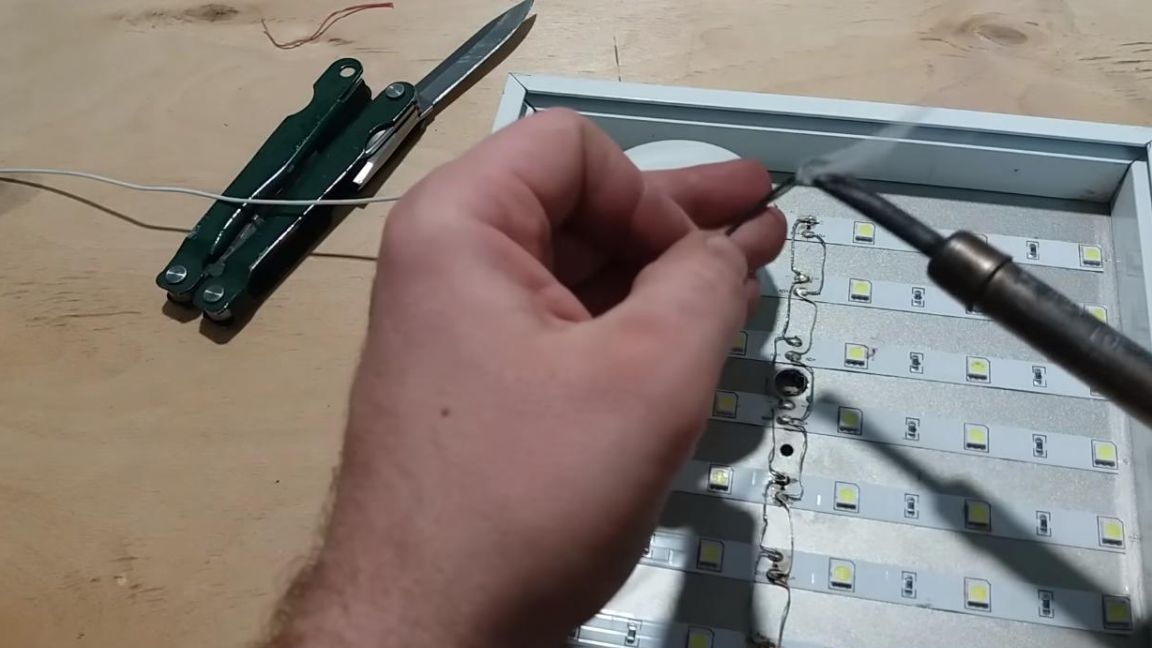
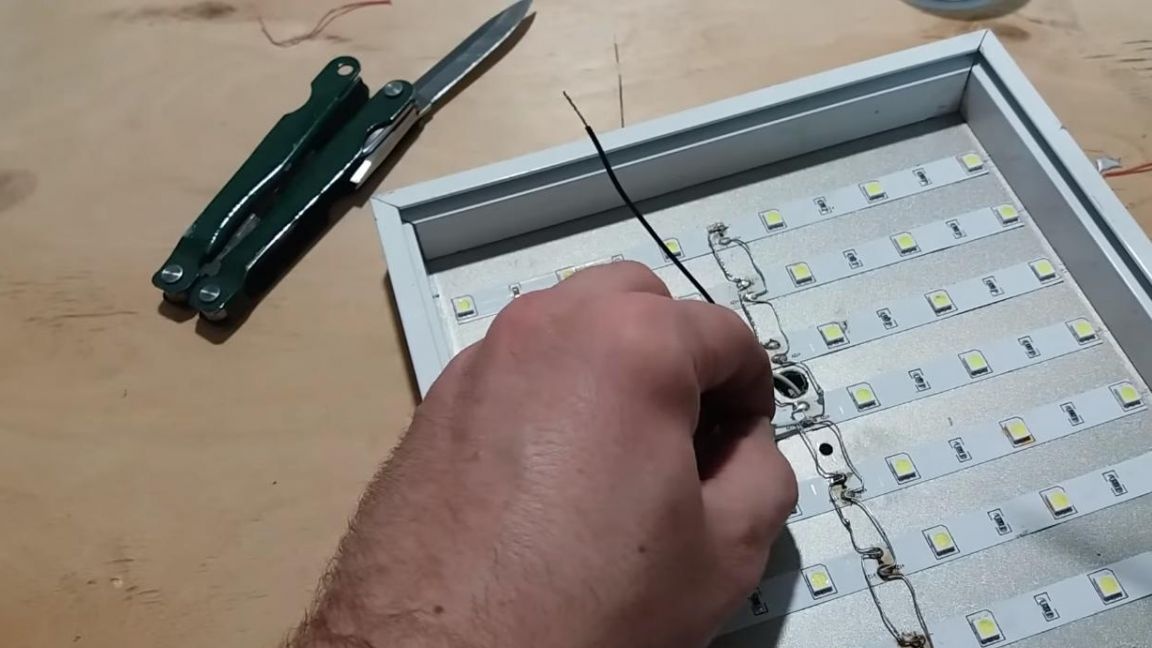
Step Six
Now we will deal with electronics, solder a wire to one of the poles of the LED strips with a soldering iron, then solder to the other pole in the same way, after which we fasten the previously made aluminum fastener and thread the wires into it that need to be soldered to the contacts of the strips, the closer the better.

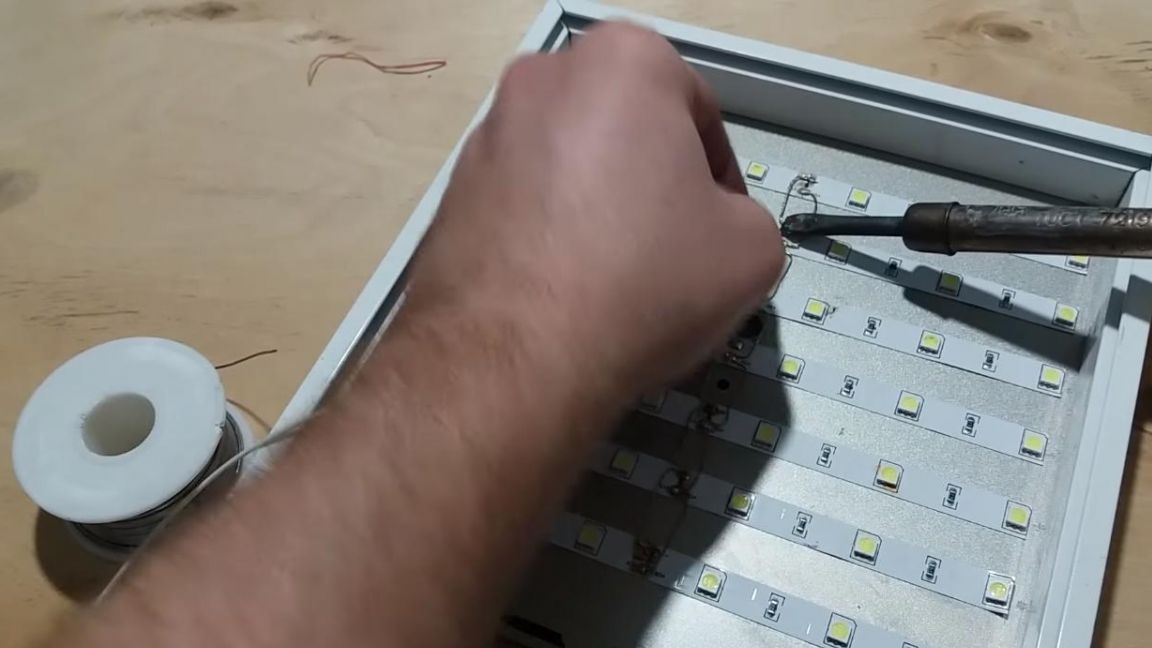
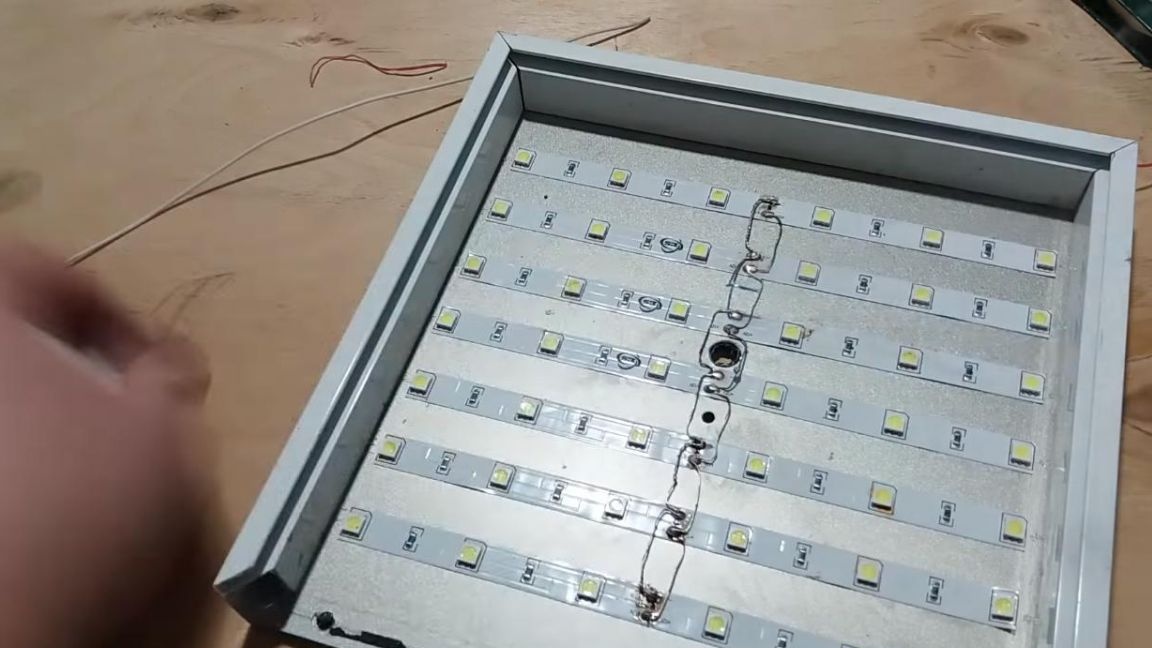

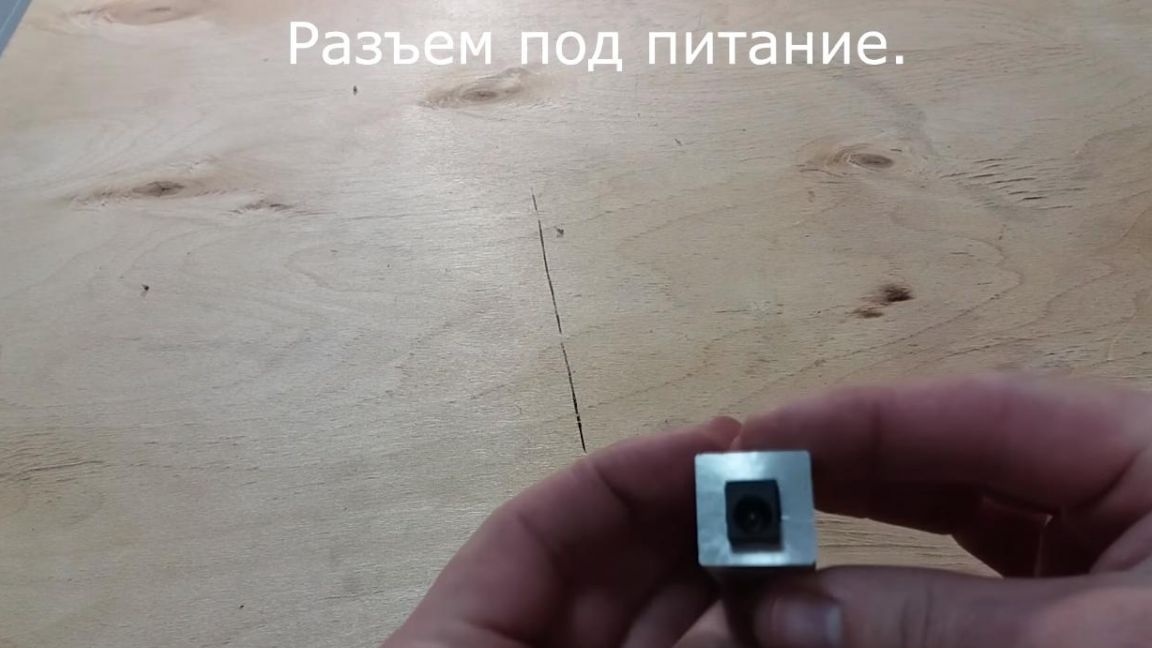
In the case we install a connector for connecting the power supply, soldering wires coming from LED strips to it in advance, after soldering, we compact them into the case as compactly as possible.
Seventh step.
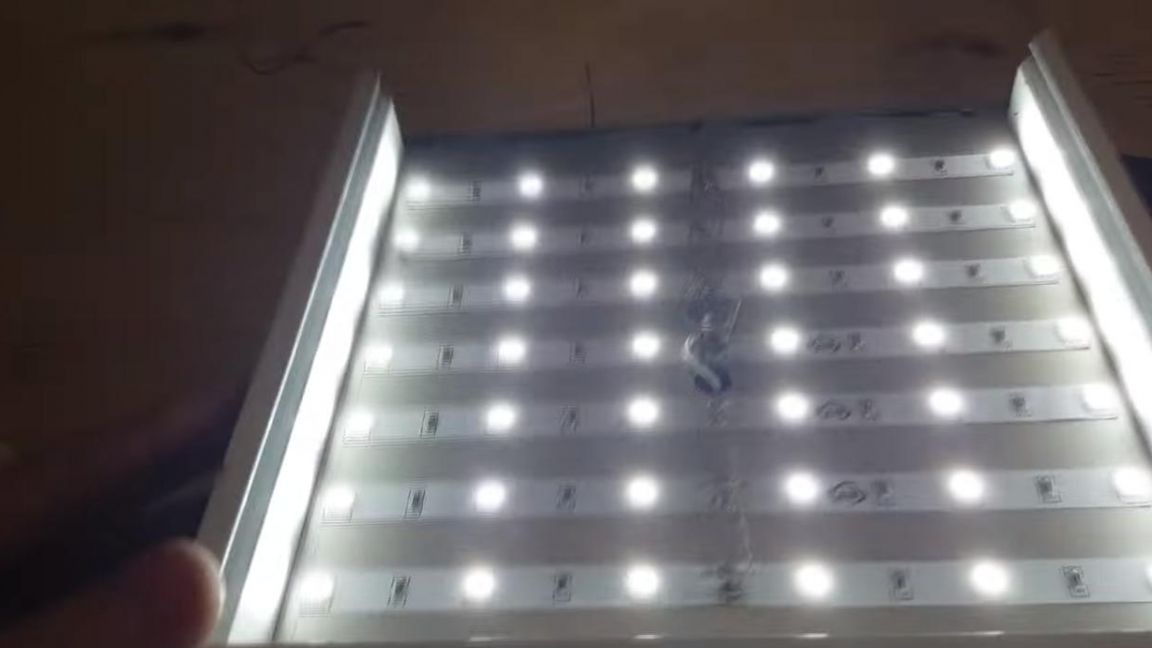
We check the homemade work, we connect 12 volts to the power connector and if everything works, then we spin three screws that hold the side profile and install the softbox on the tripod.

For mounting on a tripod, a 1/4 inch hole is also provided, which can be easily cut with the necessary taps.
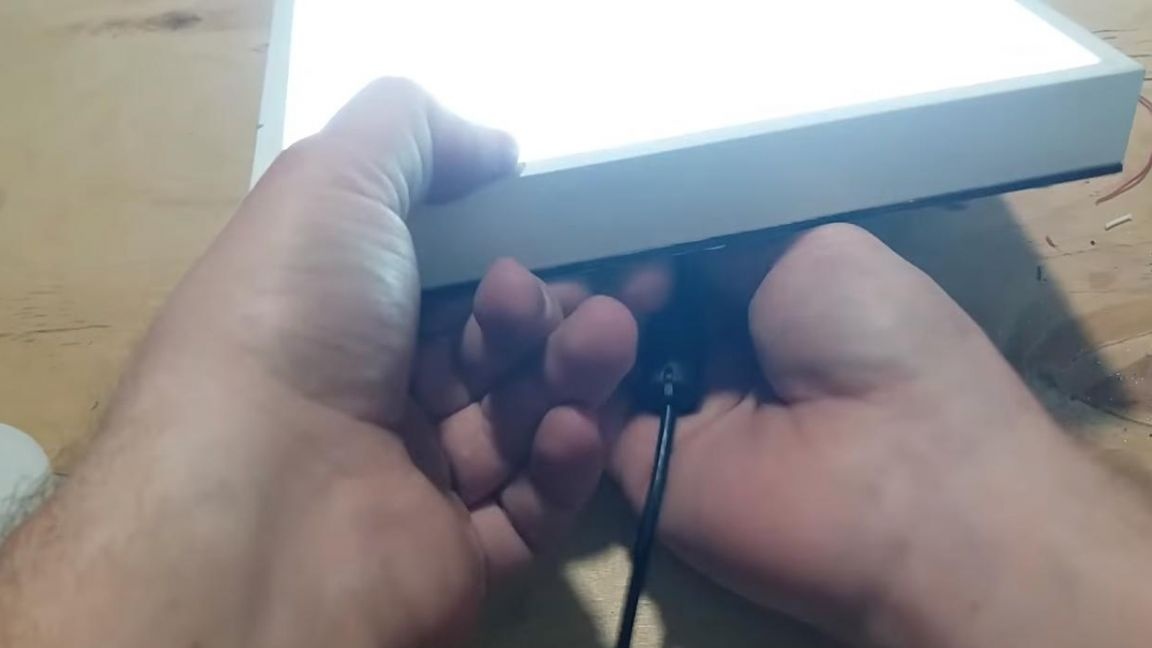
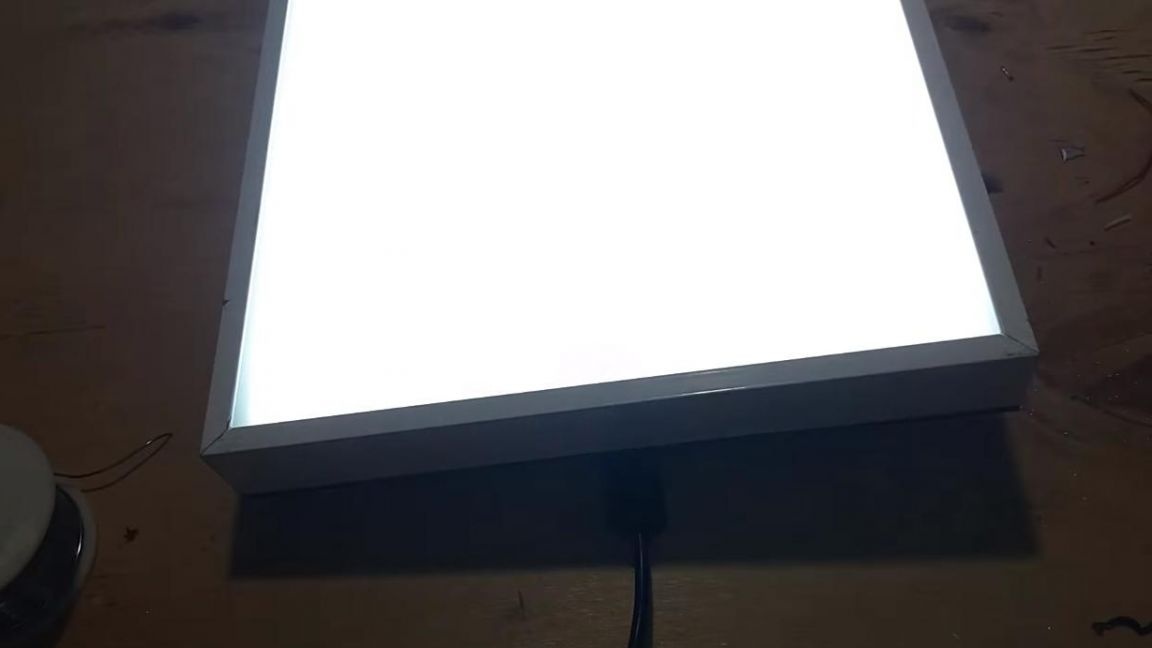
That's all for me, I consider this homemade product very successful, because with it I’ve got a lot more light in the frame, which in a good way affected the quality of the picture.
Thank you all for your attention, successful homemade products and creative ideas.