
Why do it at all?
I think many have encountered such a problem of pouring soda from a plastic bottle into a glass, the drink may splash, and so on, which is very uncomfortable and requires a lot of action when your hands are busy.
With this dispenser, all these problems are a thing of the past; thanks to it, it becomes much easier to pour drinks, especially with one hand. Also it will be very convenient not to party when there are many guests.
Generally homemade very interesting and useful, so let's get started.
And so for a simple dispenser we need:
corrugated cardboard
crowns
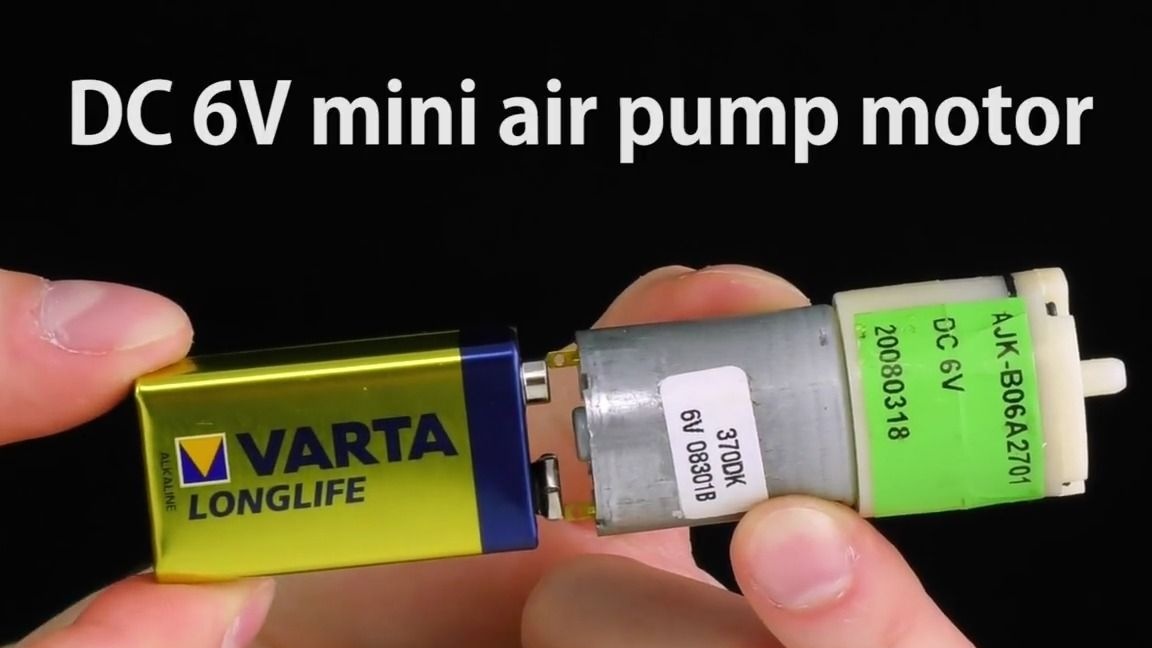
-3 mini electric pumps (can be ordered from China for only 60-80r, but here)
- tubes from a dropper
- rubber tube 0.5-1 cm wide
caps for plastic bottles
-3 buttons without lock
wire
Of the tools we will also need:
-stationery knife
thermal glue
-scissors
soldering iron
nippers
screwdriver
-drill
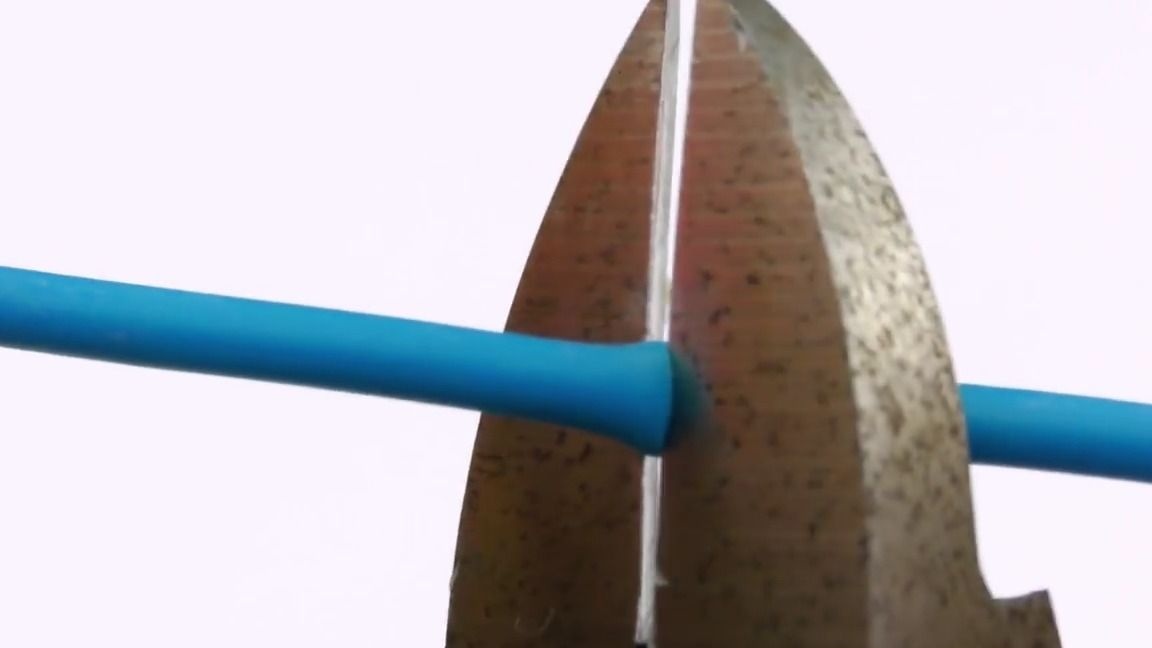
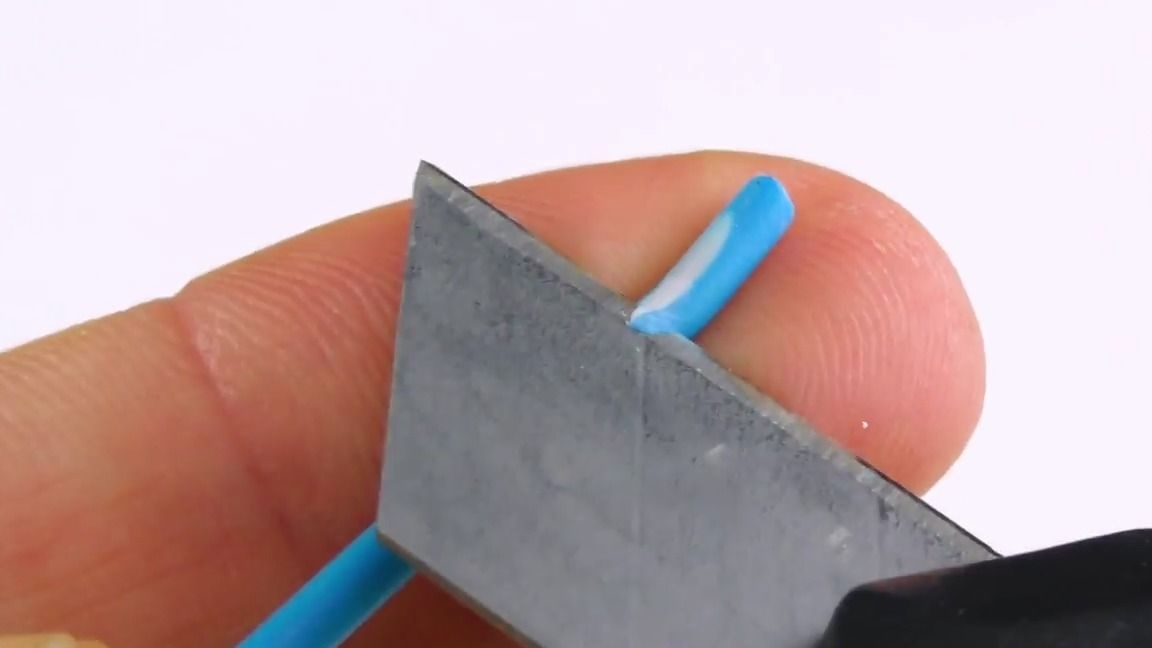
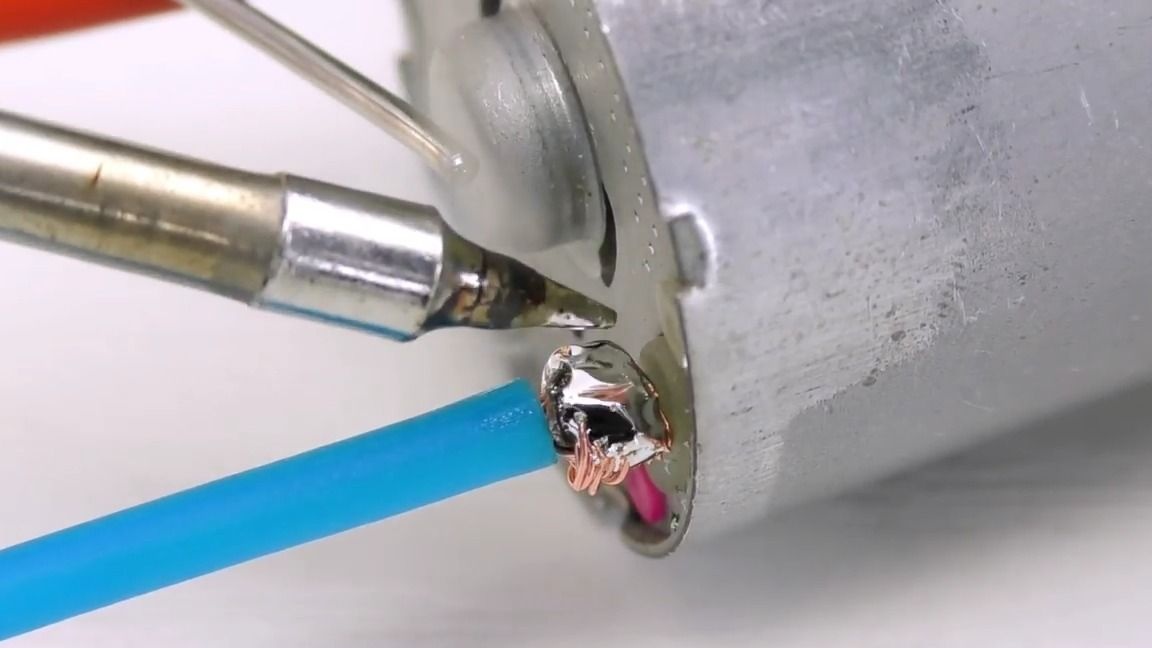
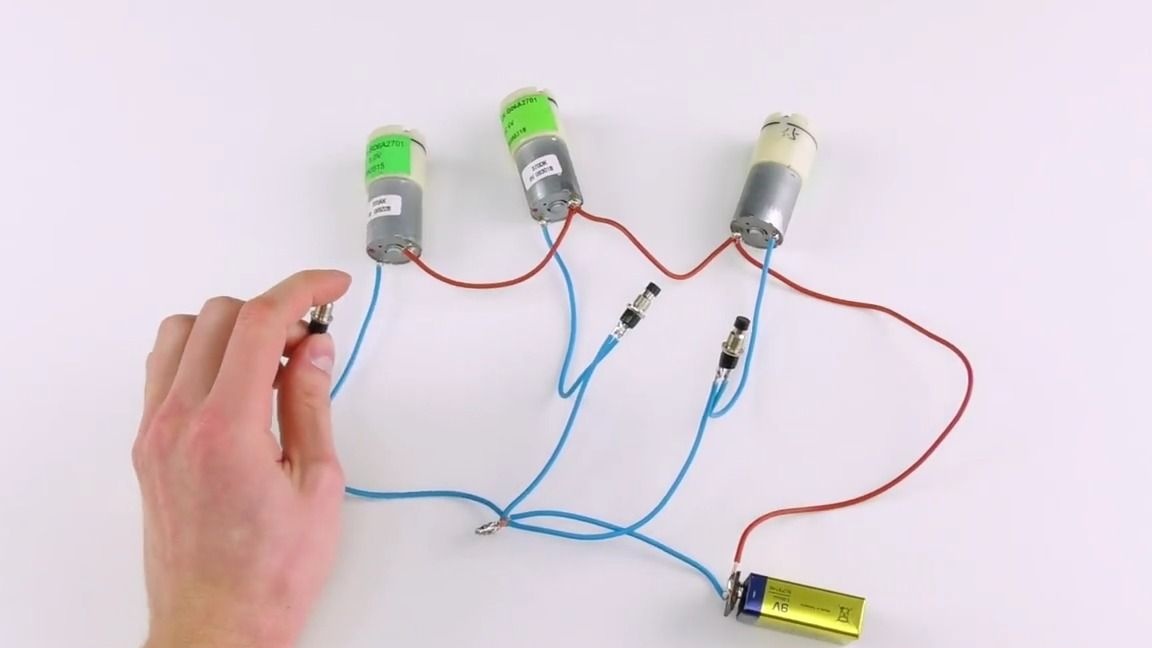
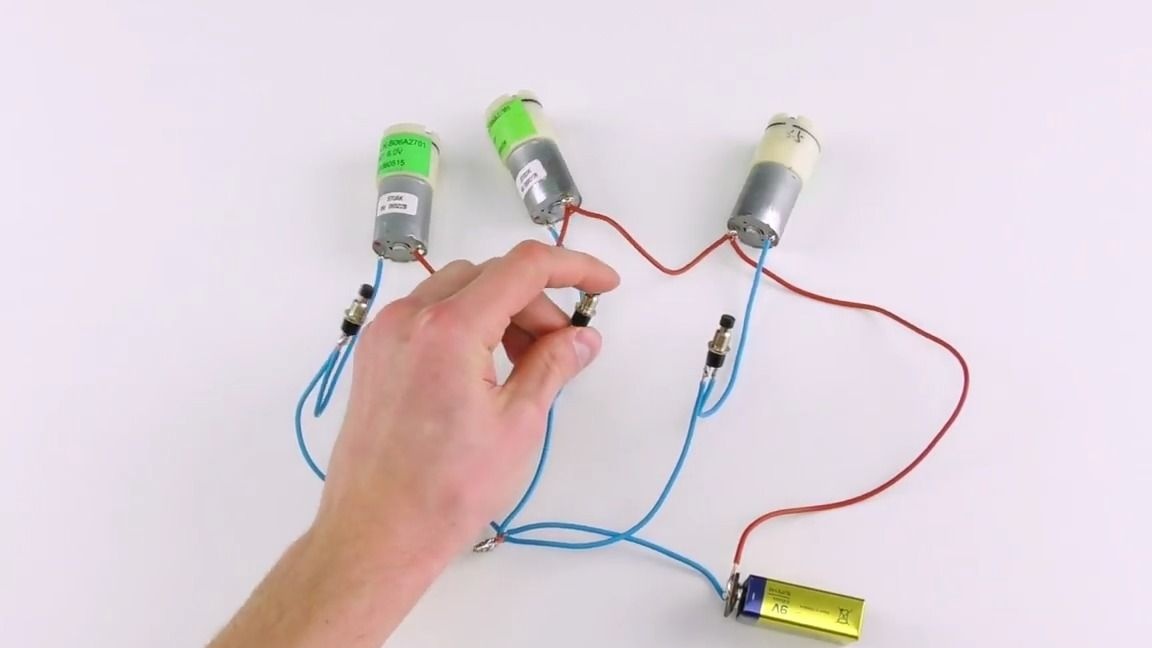
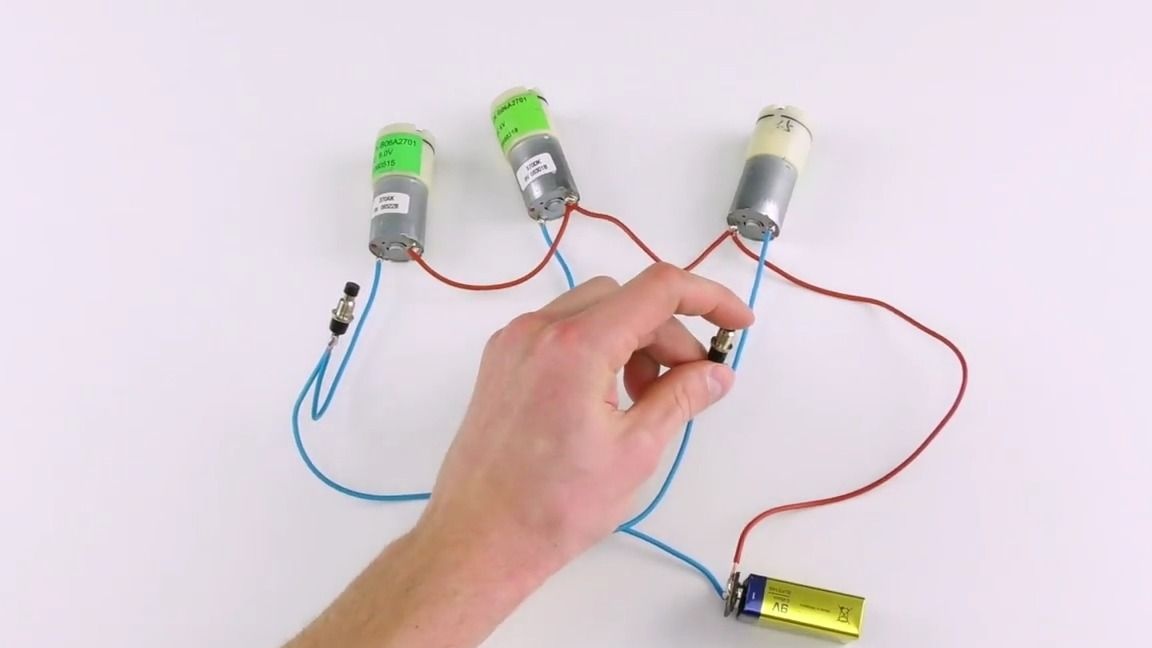
And so, first of all, you need to cut the wire into pieces of 5-20 cm, after which they need to be stripped and soldered together all three electric pumps with buttons and a cantor from the crown so that when you press one switch, one pump that is connected to it works, it is also necessary insulate with tape or heat shrink all bare contacts, in general, as shown in the photo:

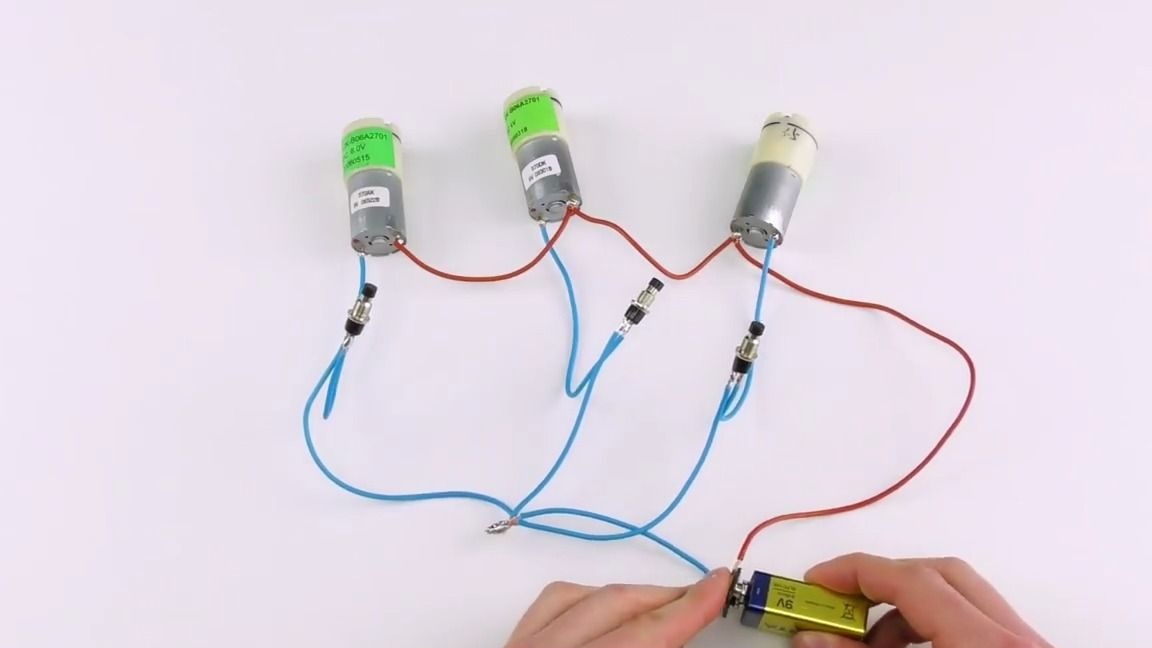
We test, connect the crown and if each of the three motors individually operate from its own circuit breaker switch, then we can continue further:
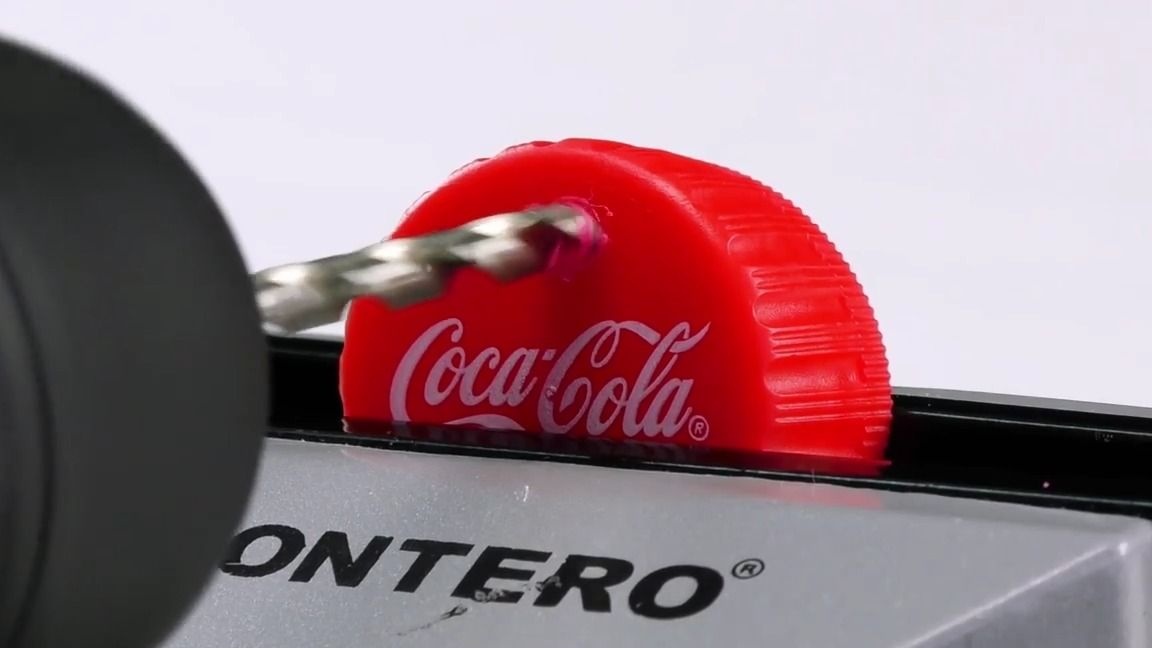
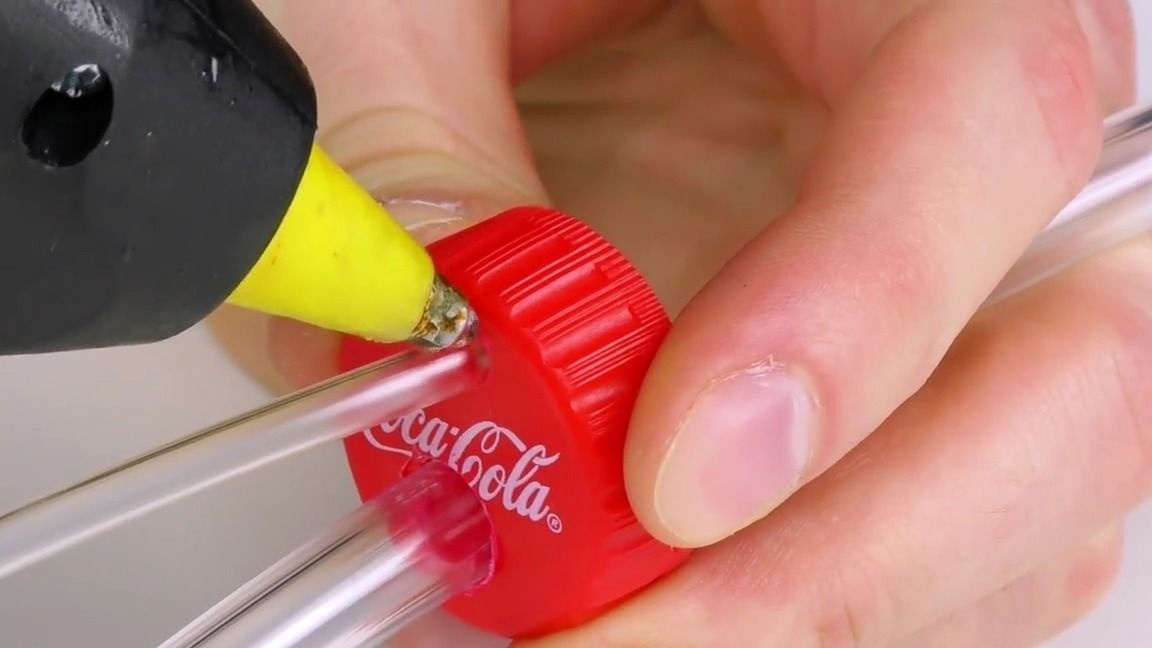
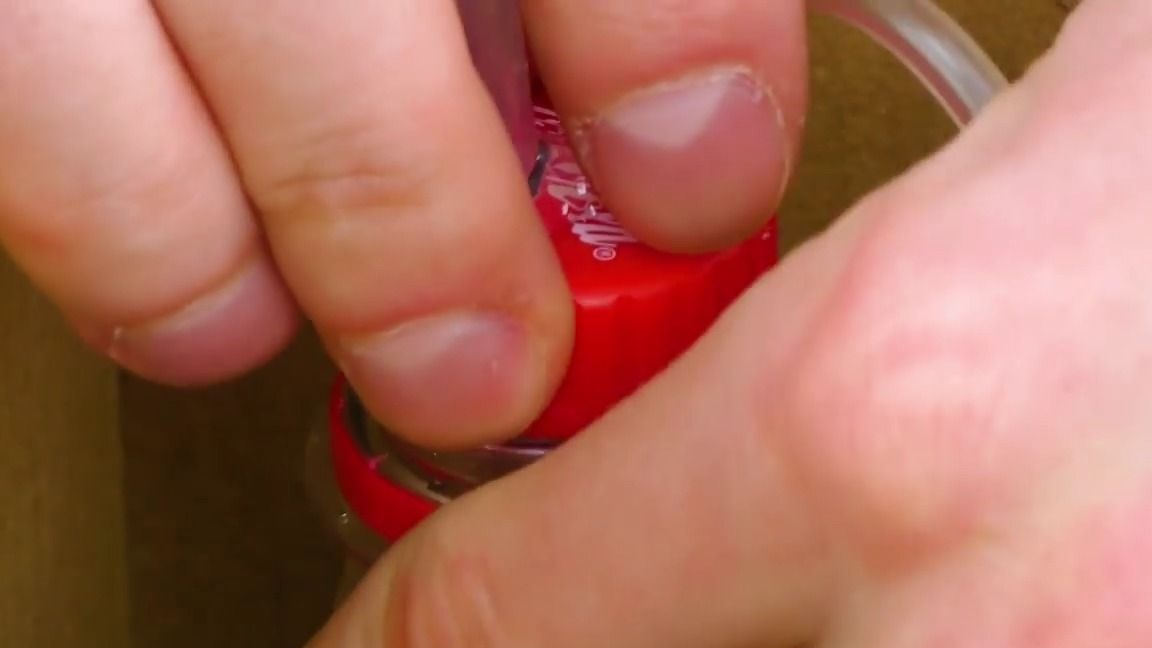
Now we take the roof from the plastic bottle, clamp it in a vice and use a screwdriver to drill two holes, one for the dropper tube (using a 4-5 mm drill, the other for a wide pipe (using a 10-12 mm drill):
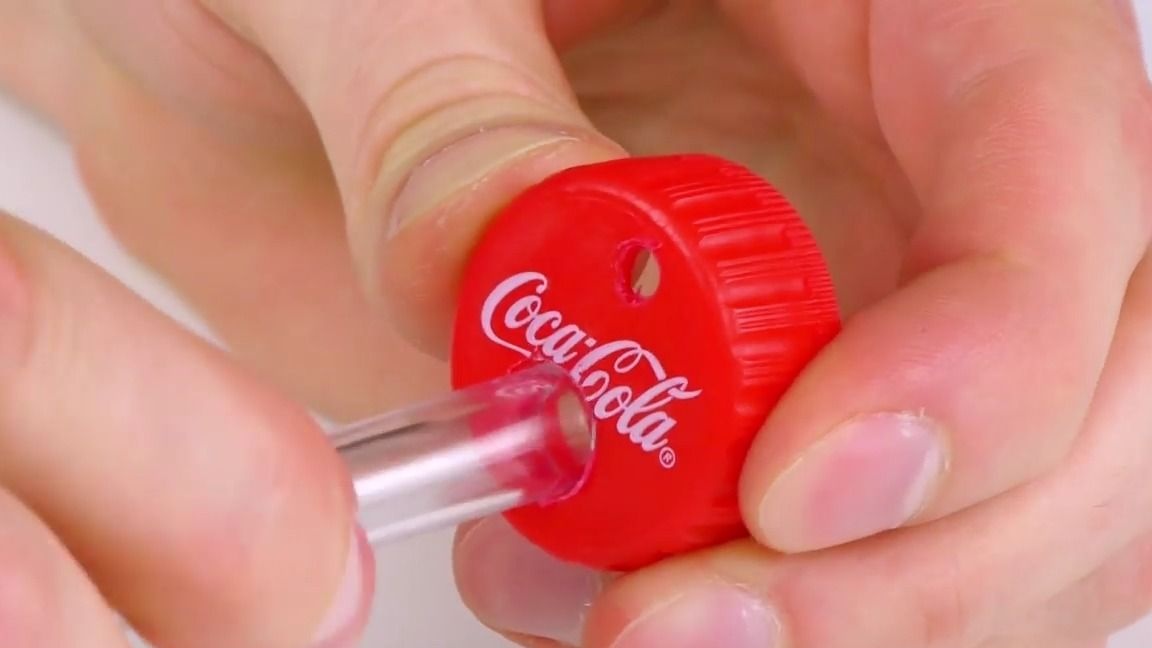
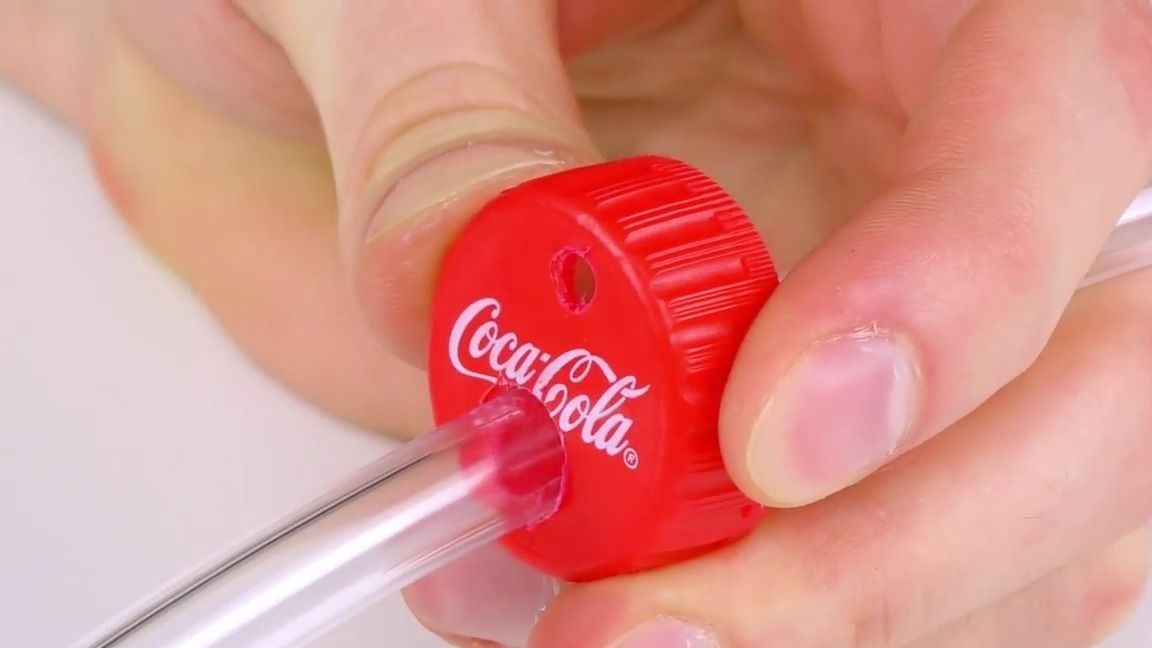
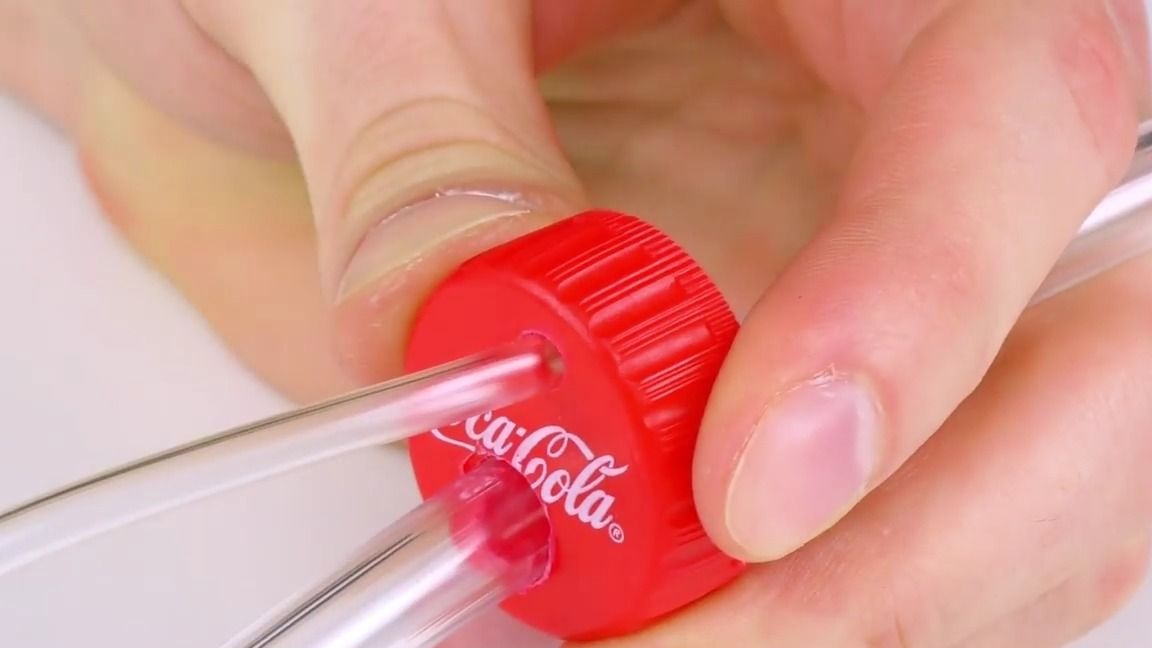
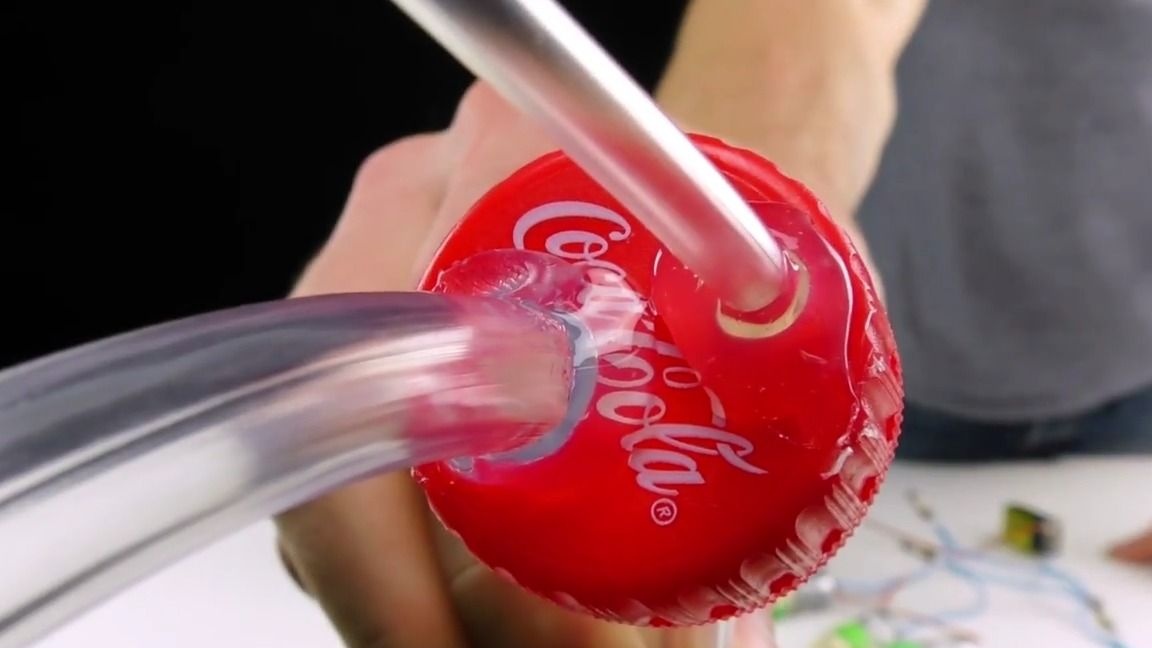
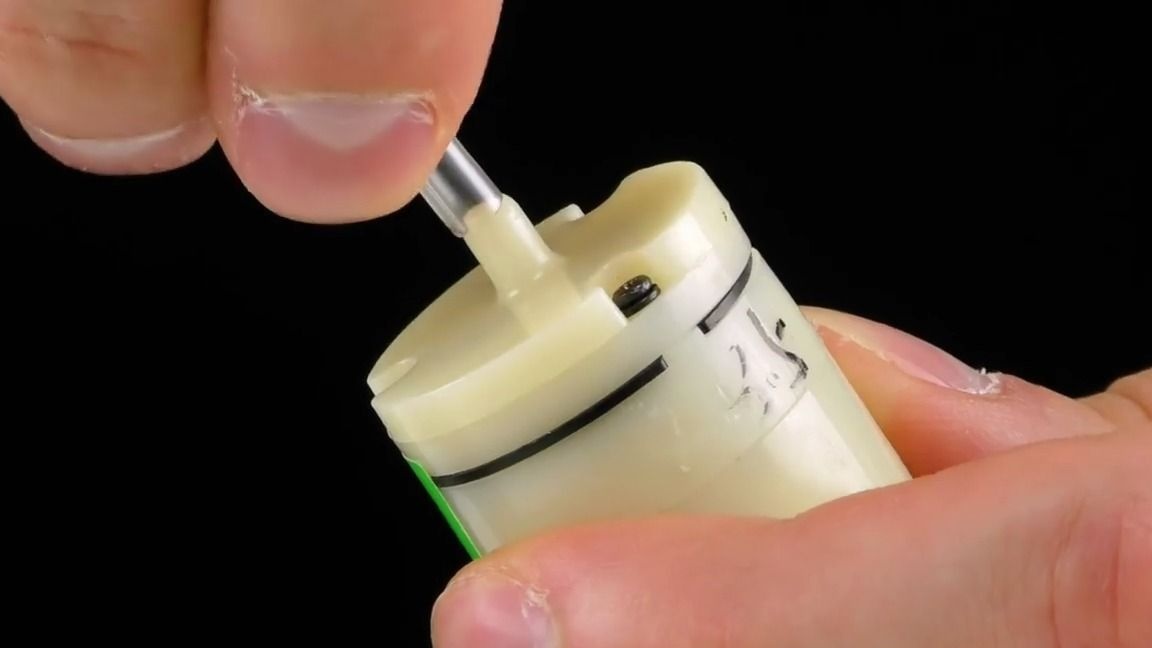
We take the tubes and insert them into our holes, after which we glue thermo with glue from the outside, but in no case from the inside. In total, we need to do such manipulations with 3 bottle caps:
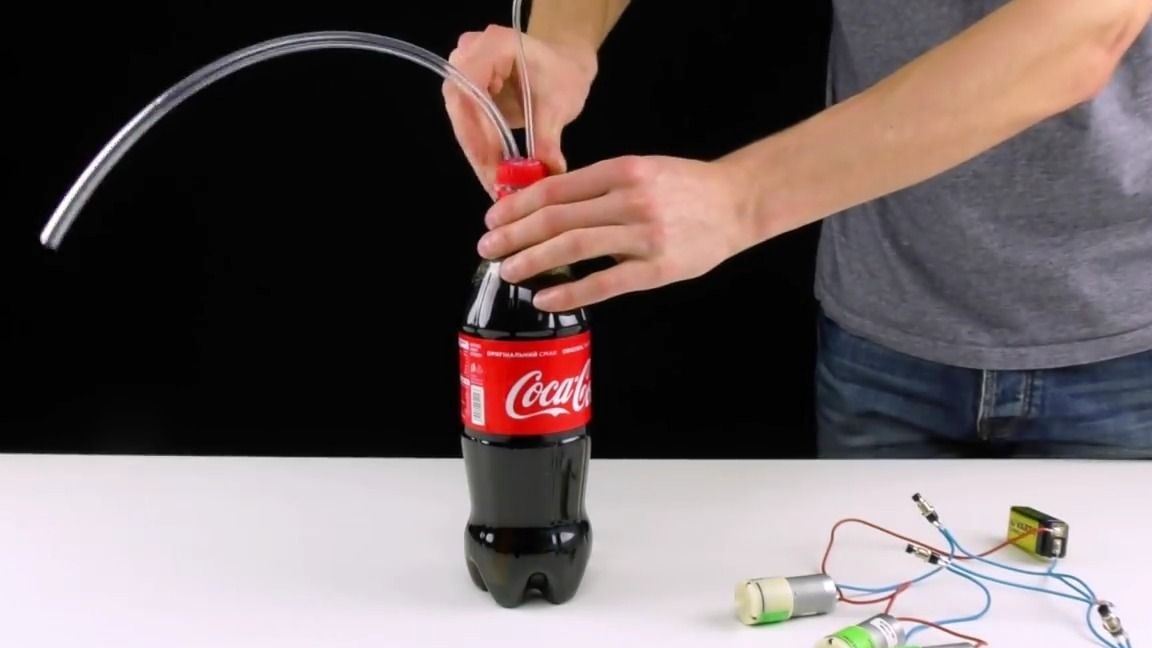
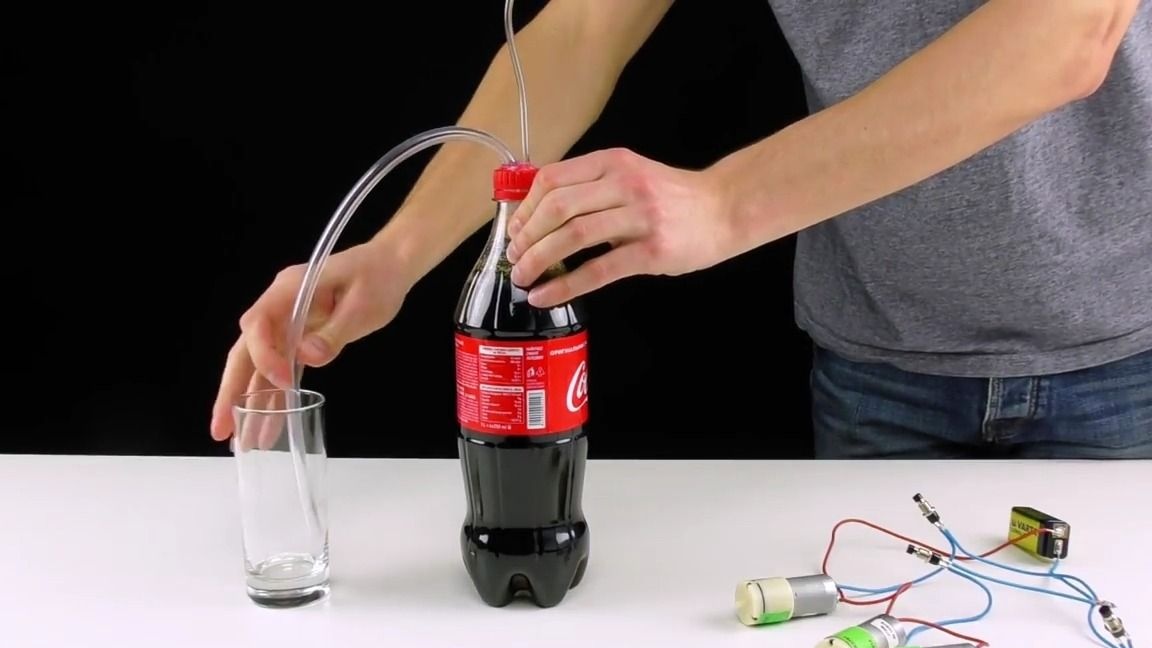
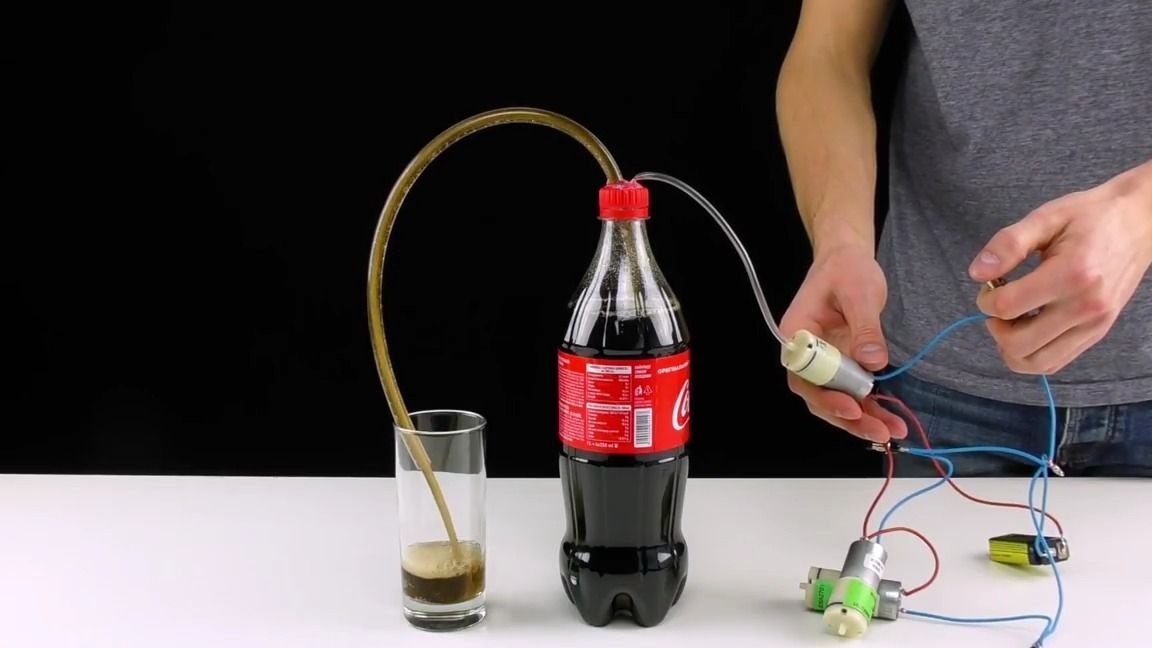
We check our design for operability and tightness (before testing it is best to rinse the tubules with water so that they are clean, and preferably sterile) we put one of the blanks on a bottle with a drink, put a thick tube in a glass, and put a thin one on the nose "electric pump, connect the crown to our circuit and press the button connected to the pump, if the drink began to pour into a glass, then everything works correctly. It is important that everything is tight:
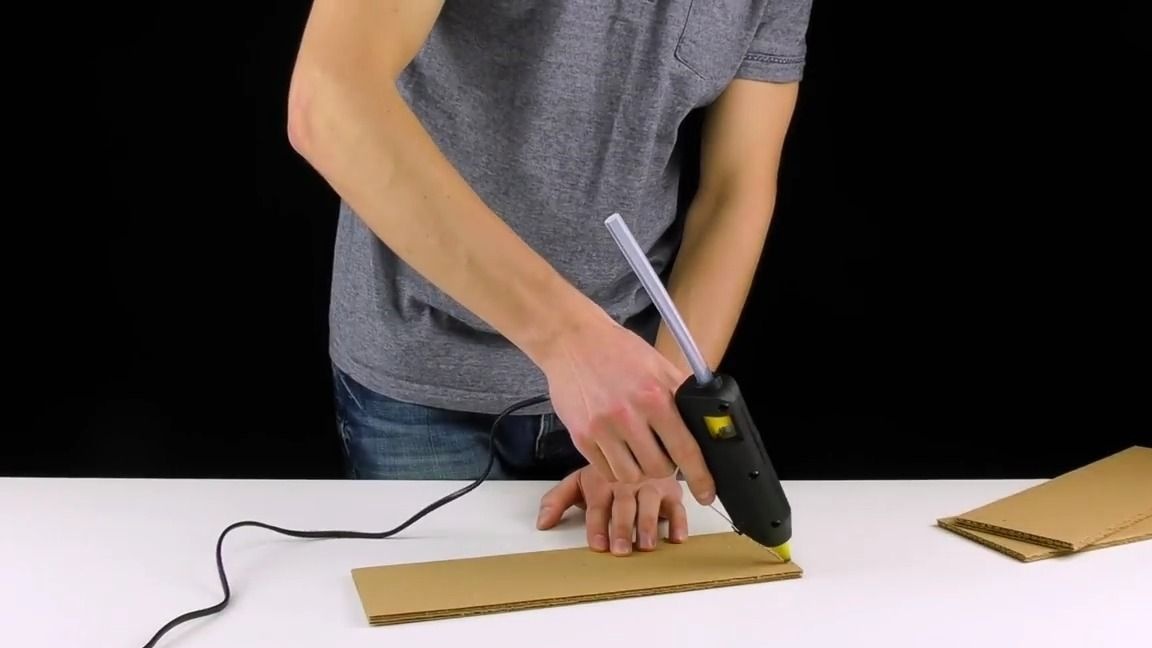
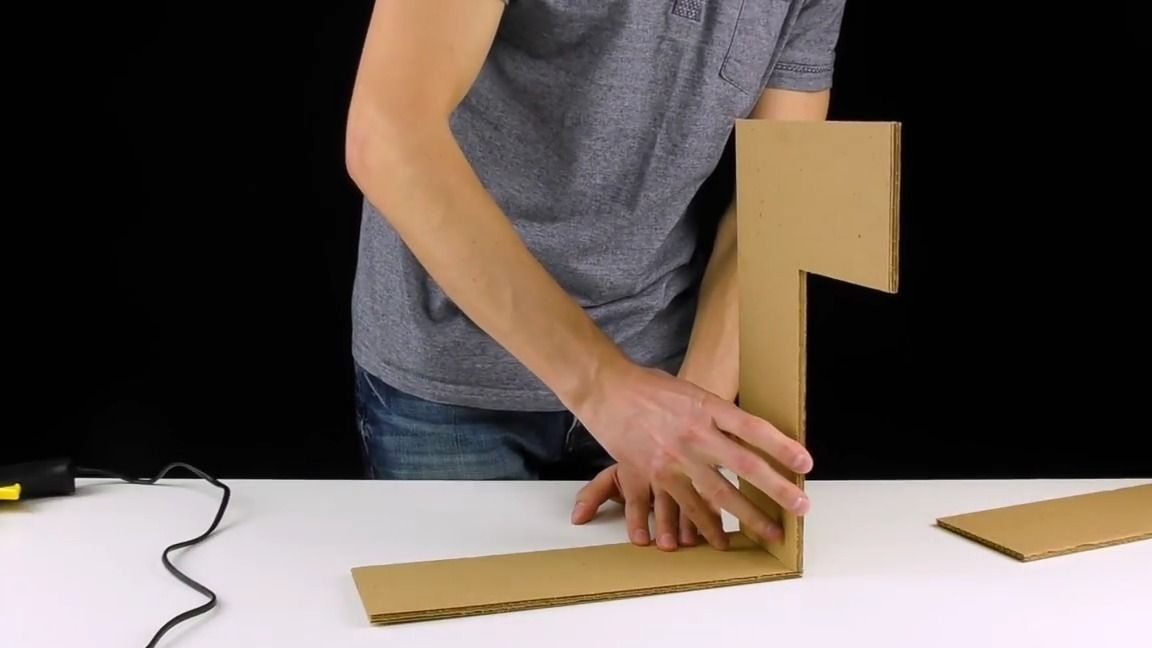
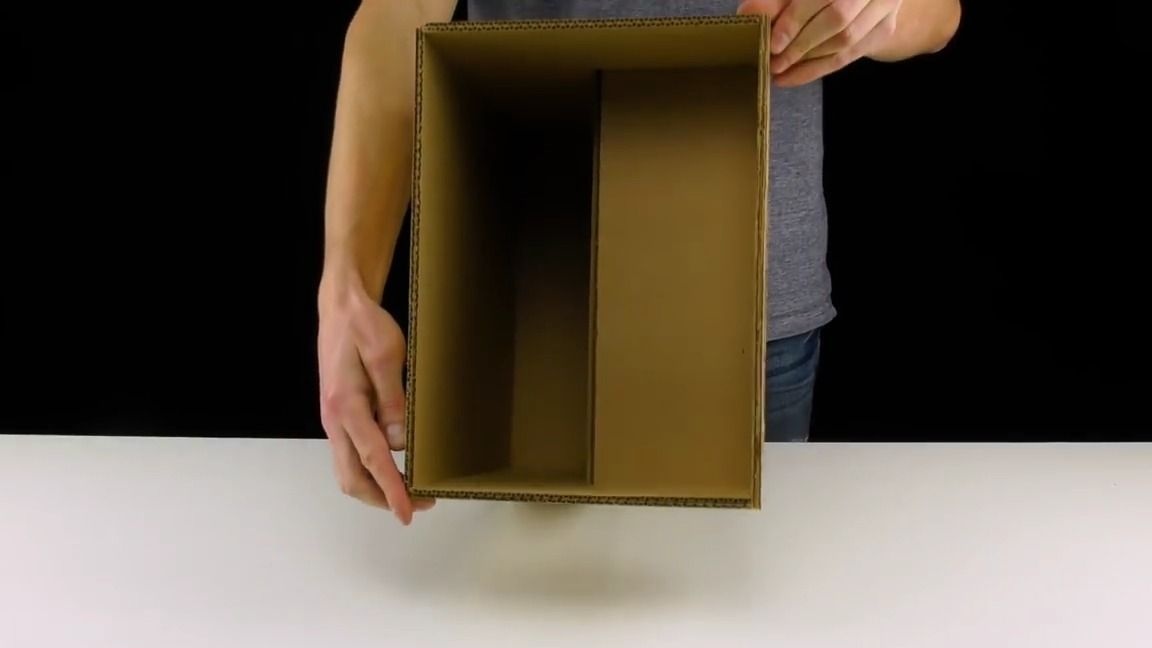
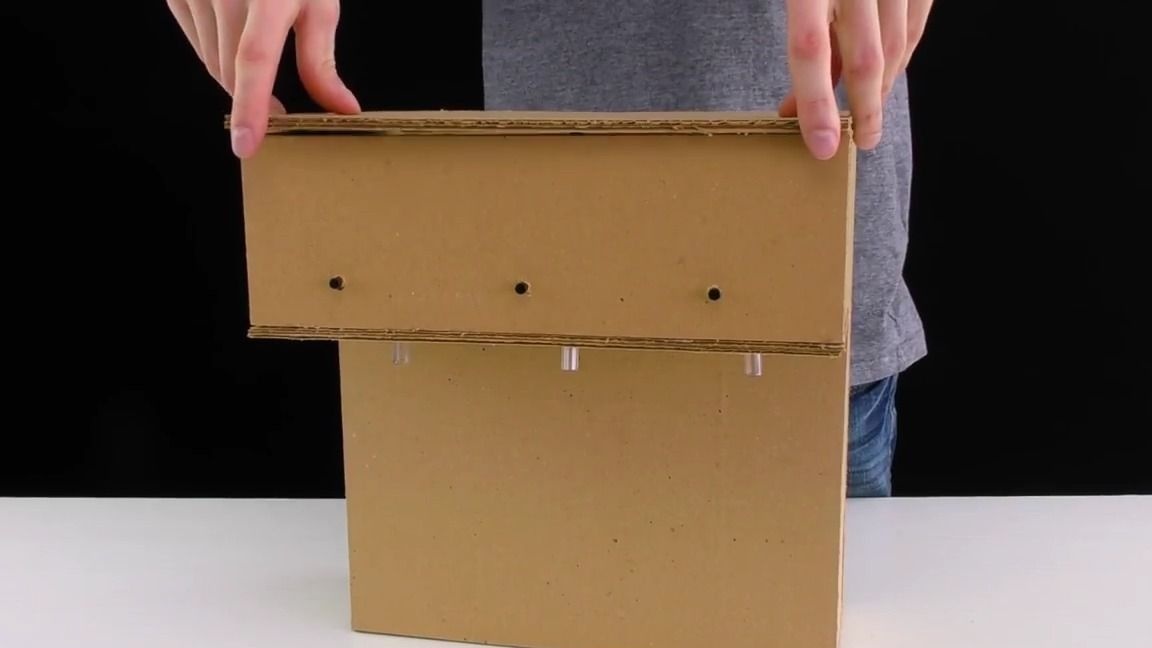
We start assembling the dispenser case, for this we just do everything as shown in the photo, but in principle you can do it as you wish:
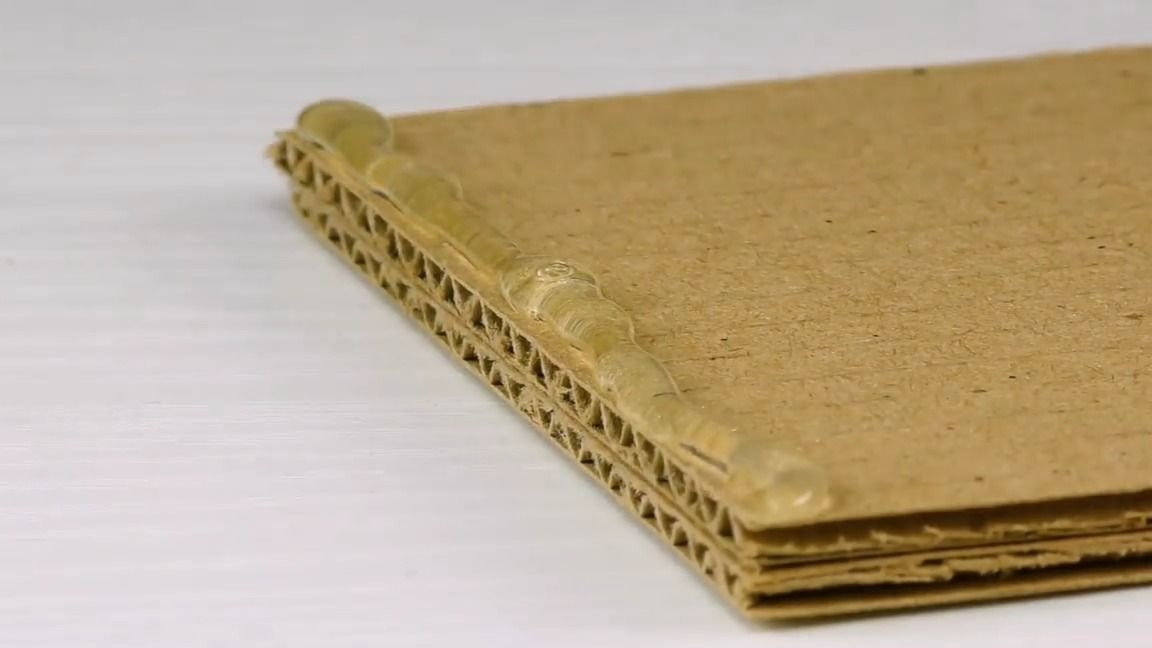
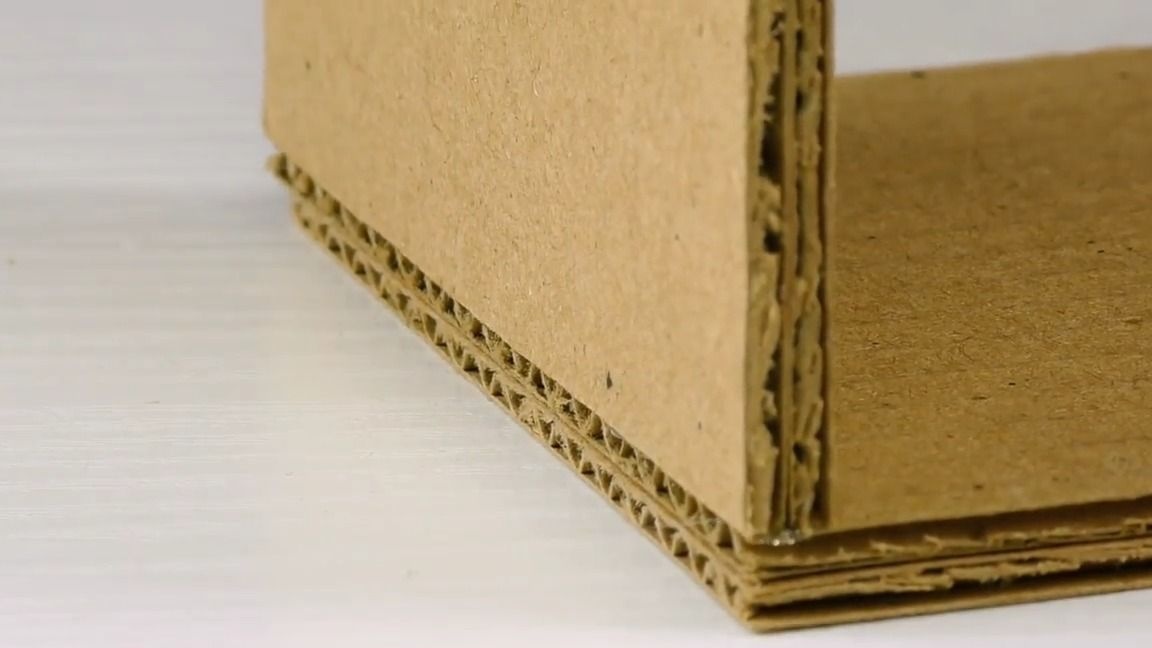
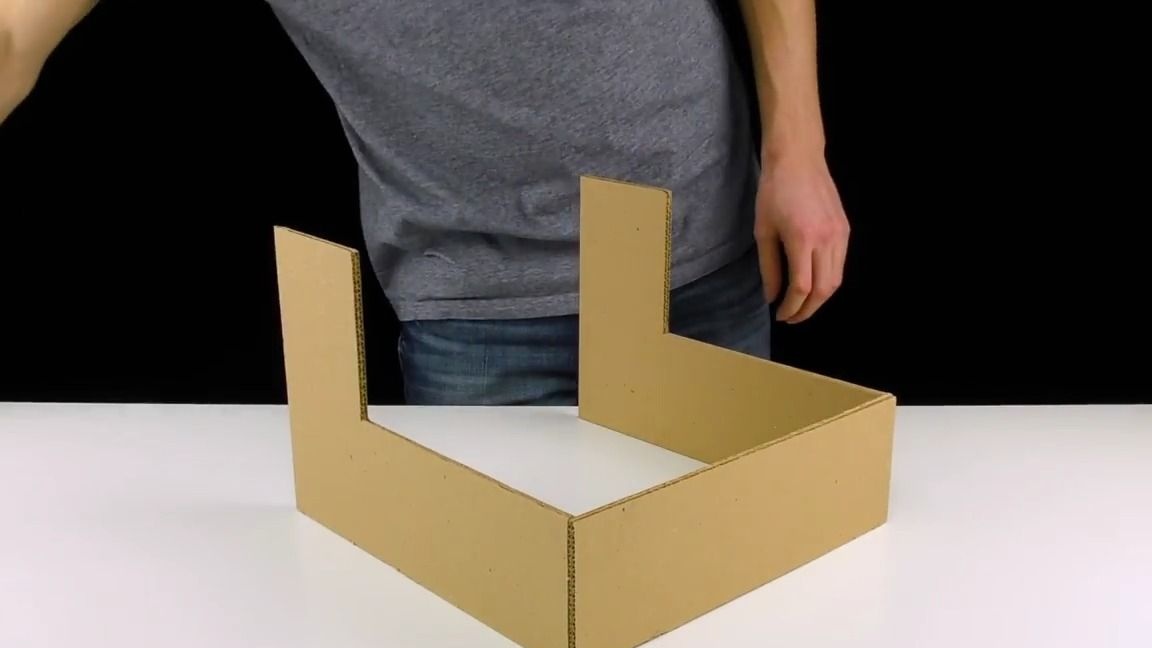
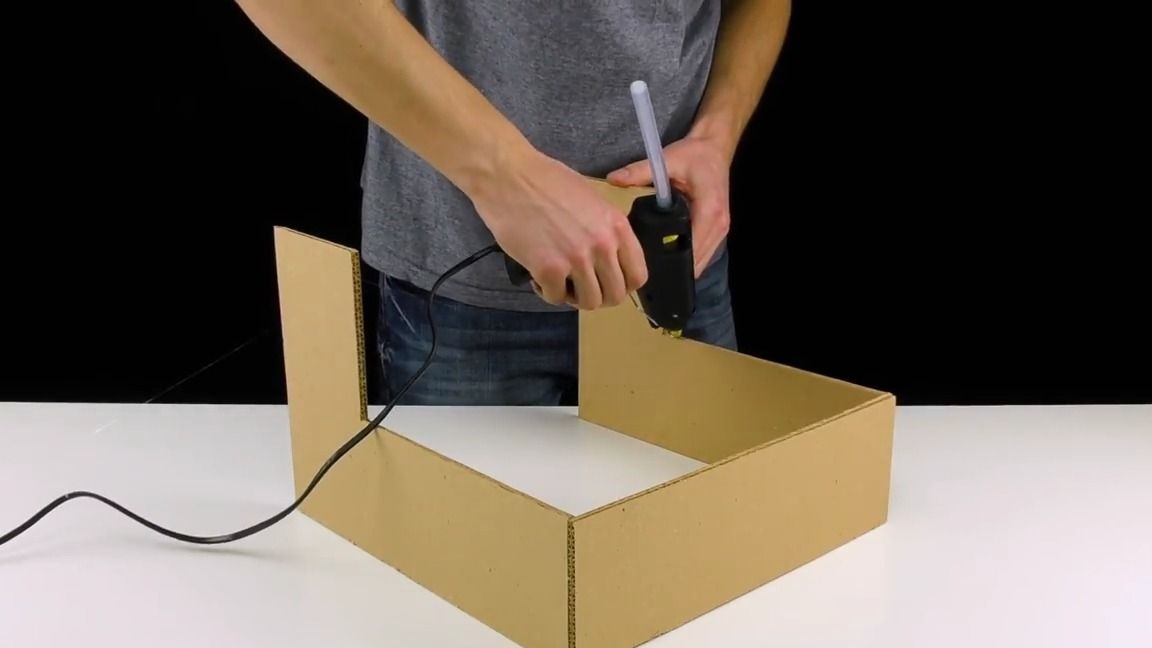
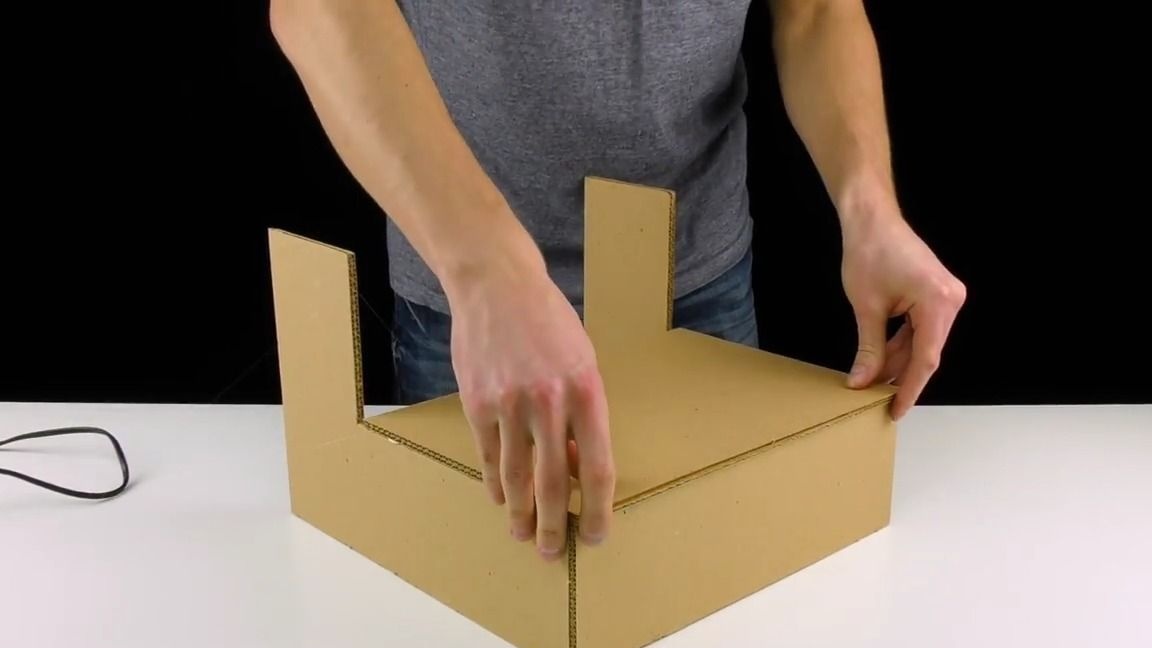
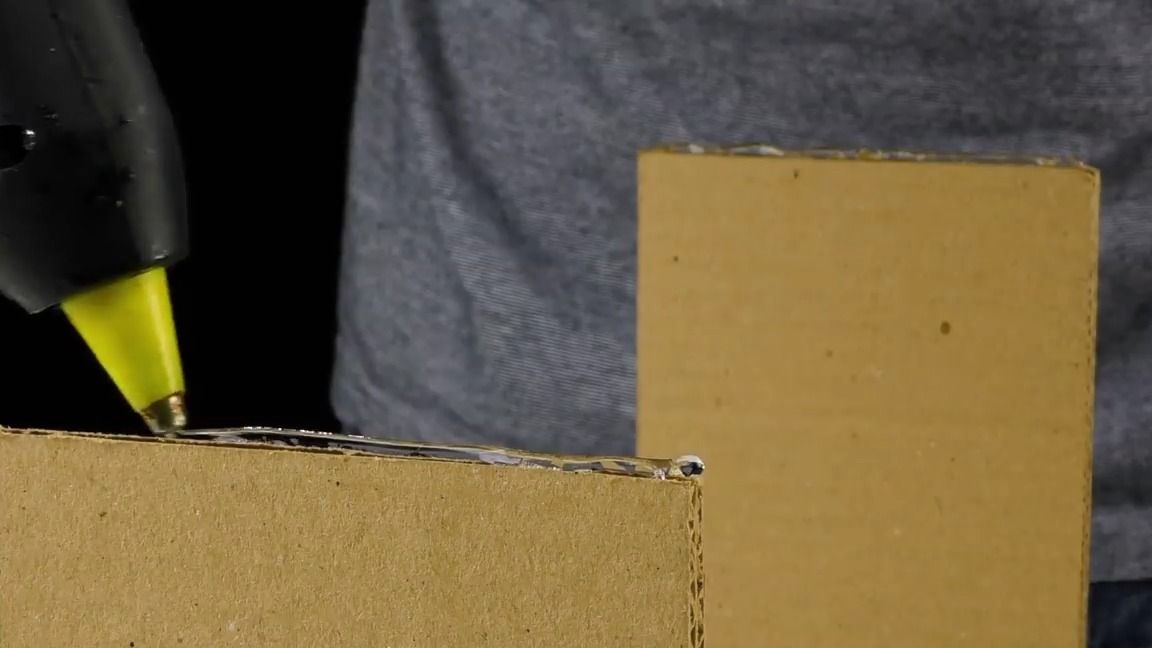
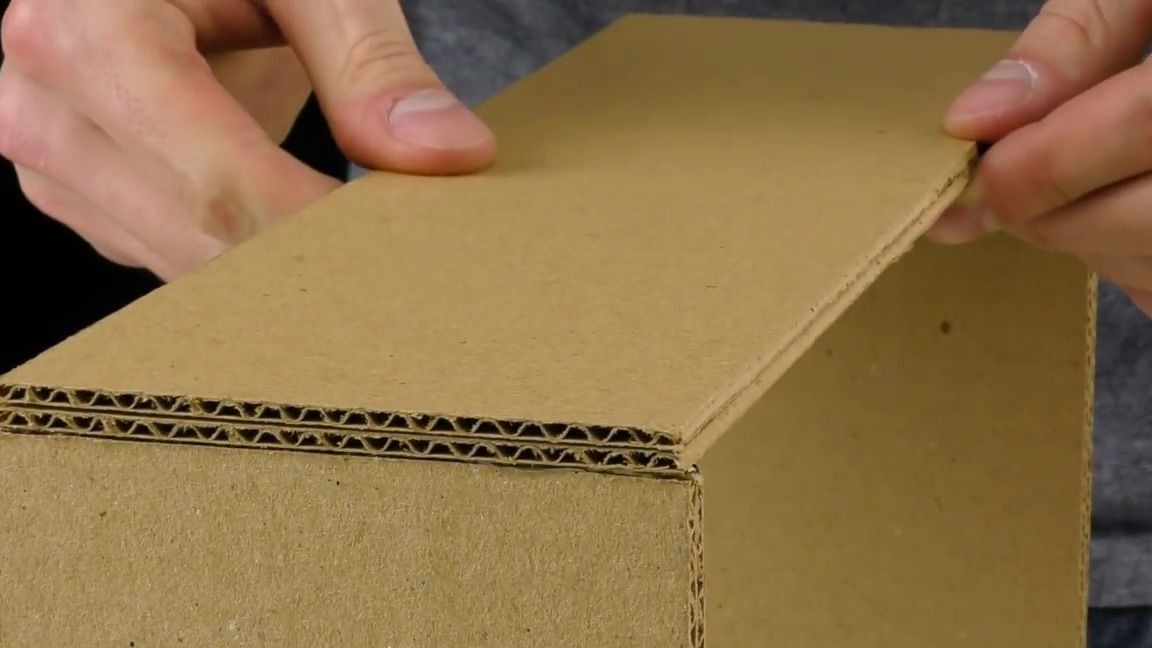

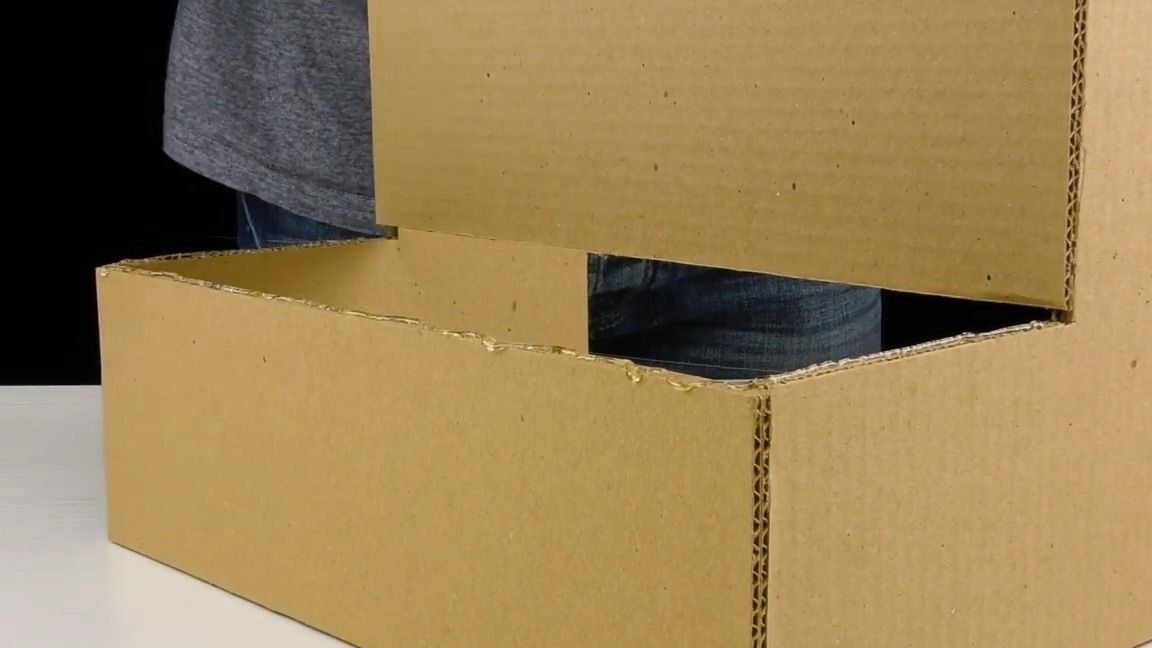

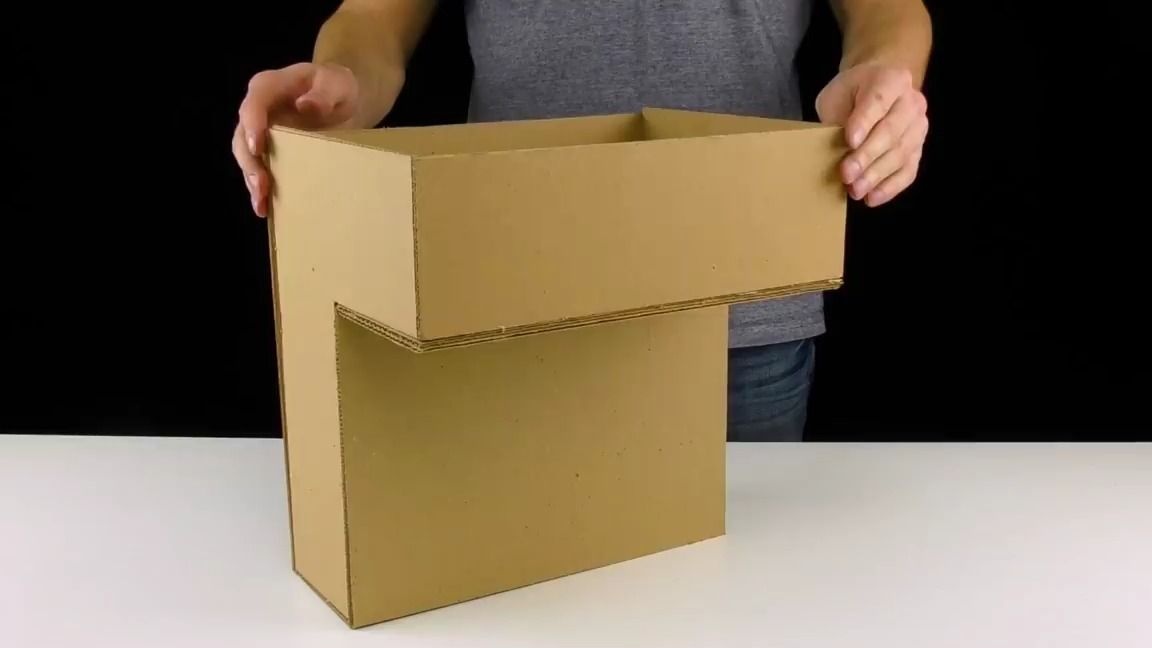
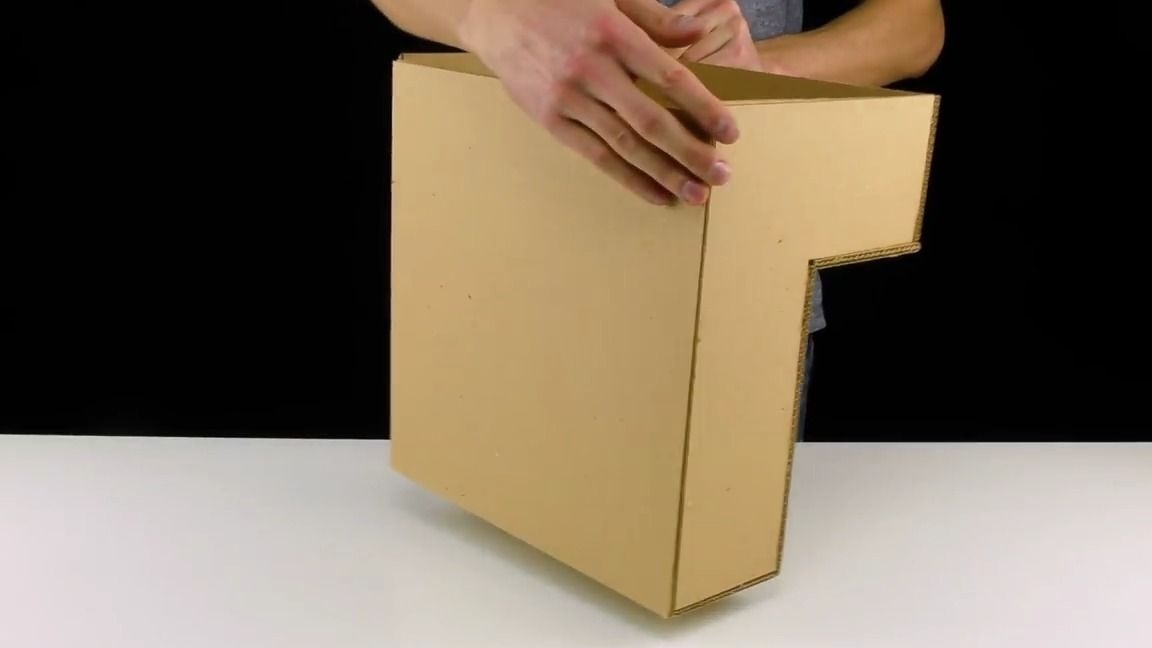
Here is the case from different angles:
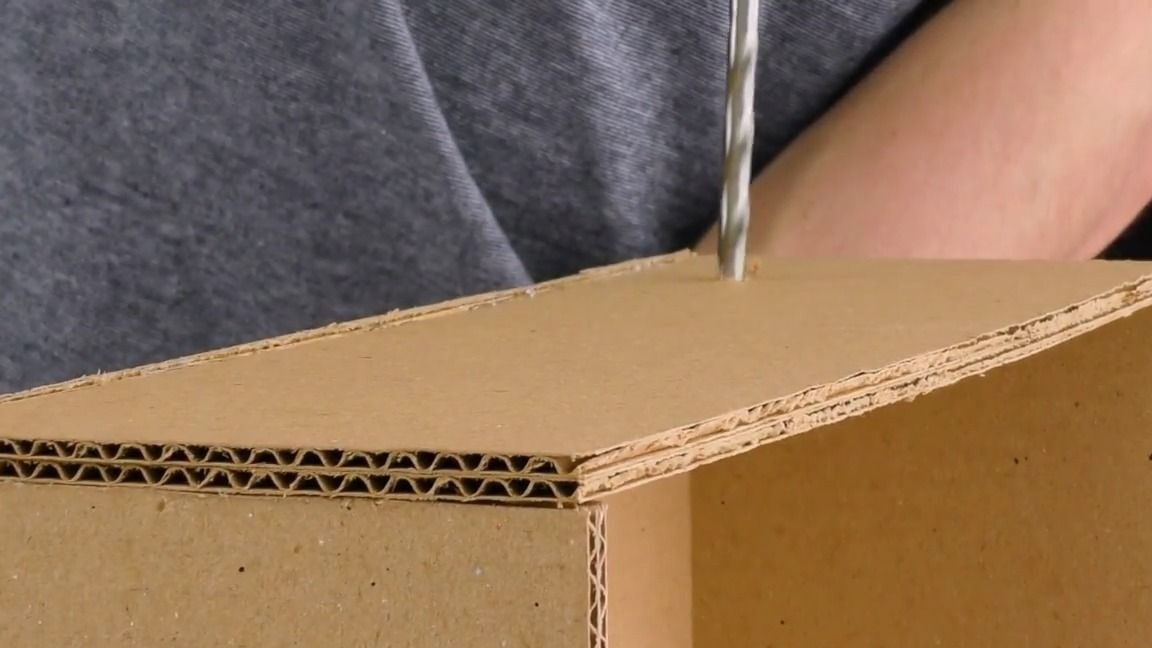
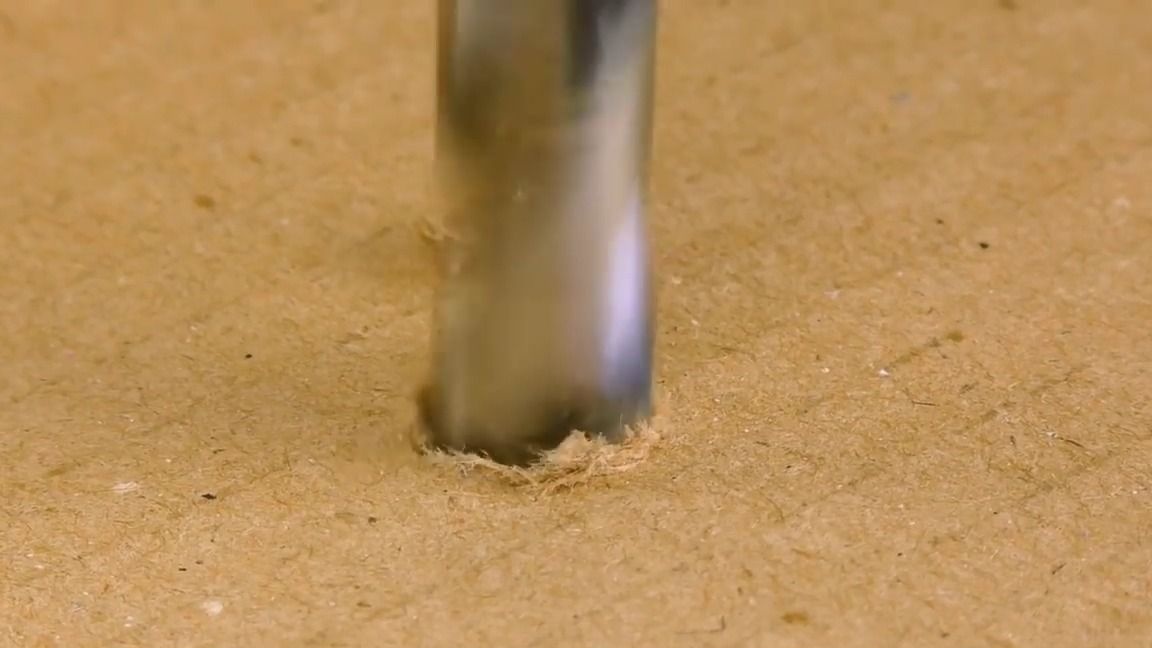
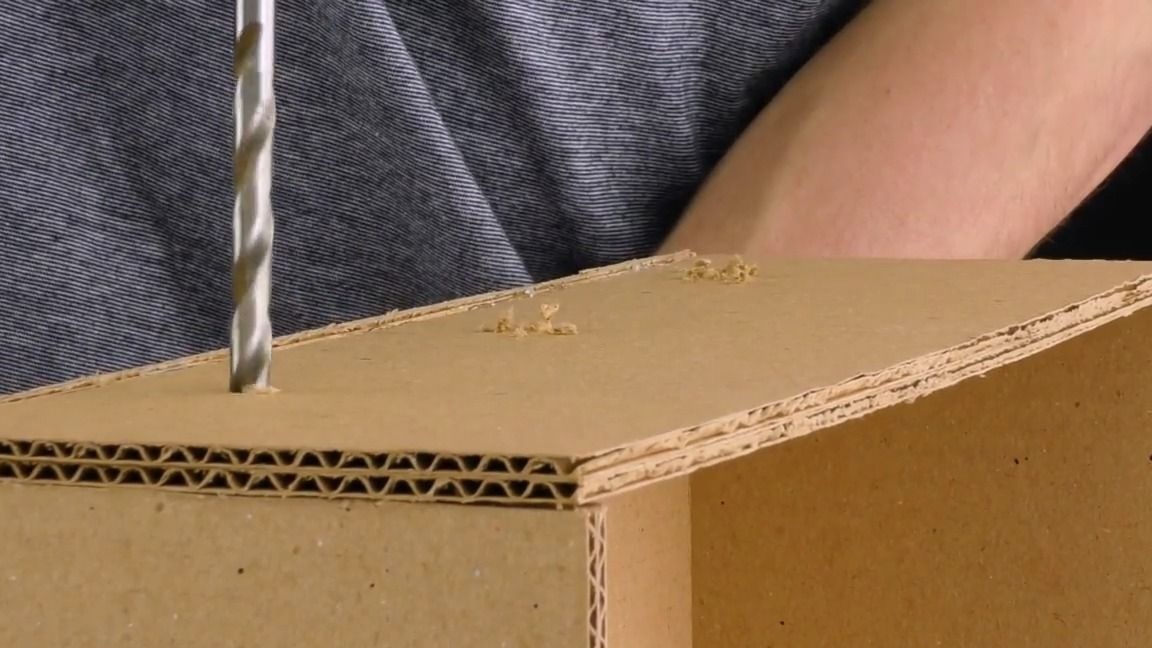
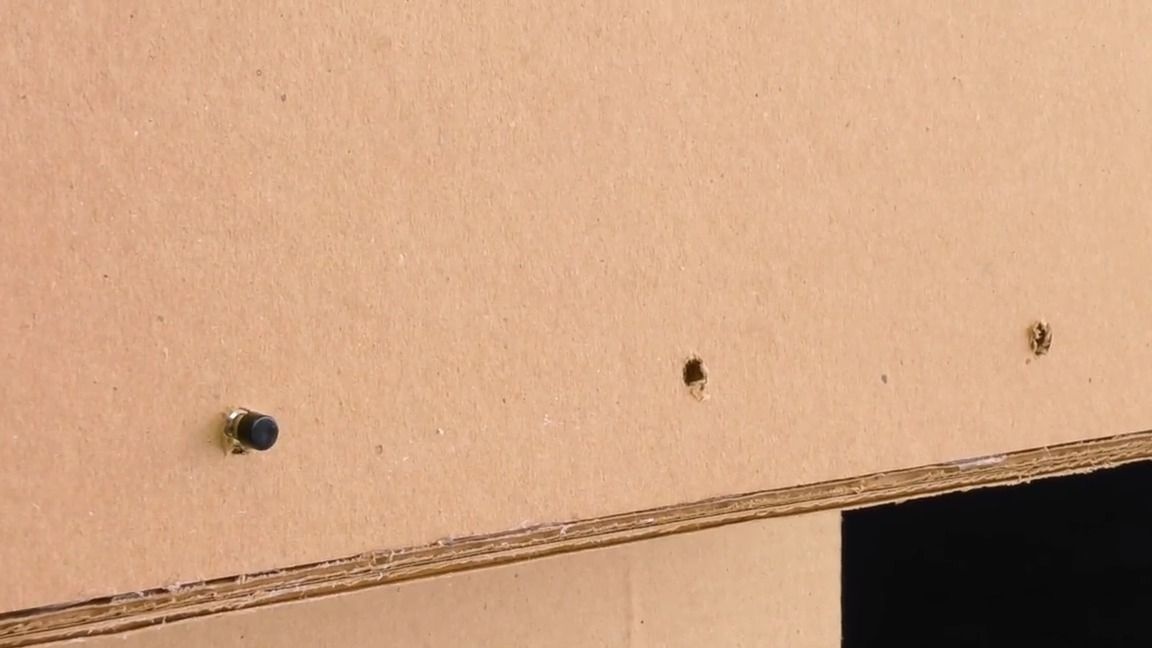
Using a thin drill, we make three holes for the buttons and three holes for the thick tubes through which the drink will pass:
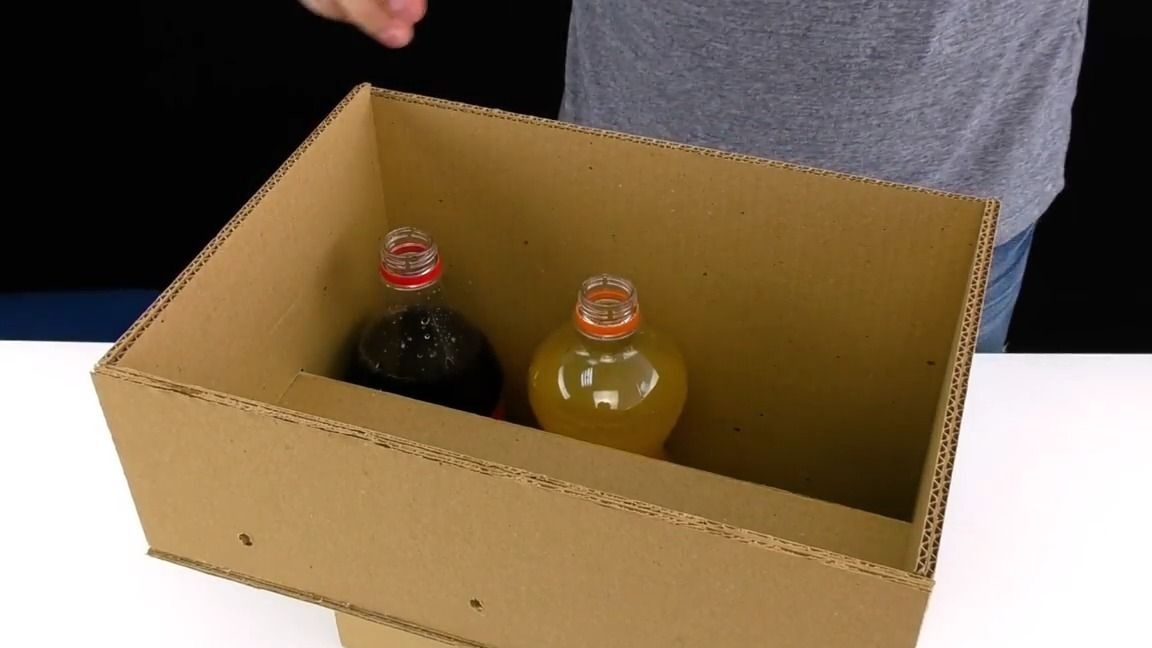
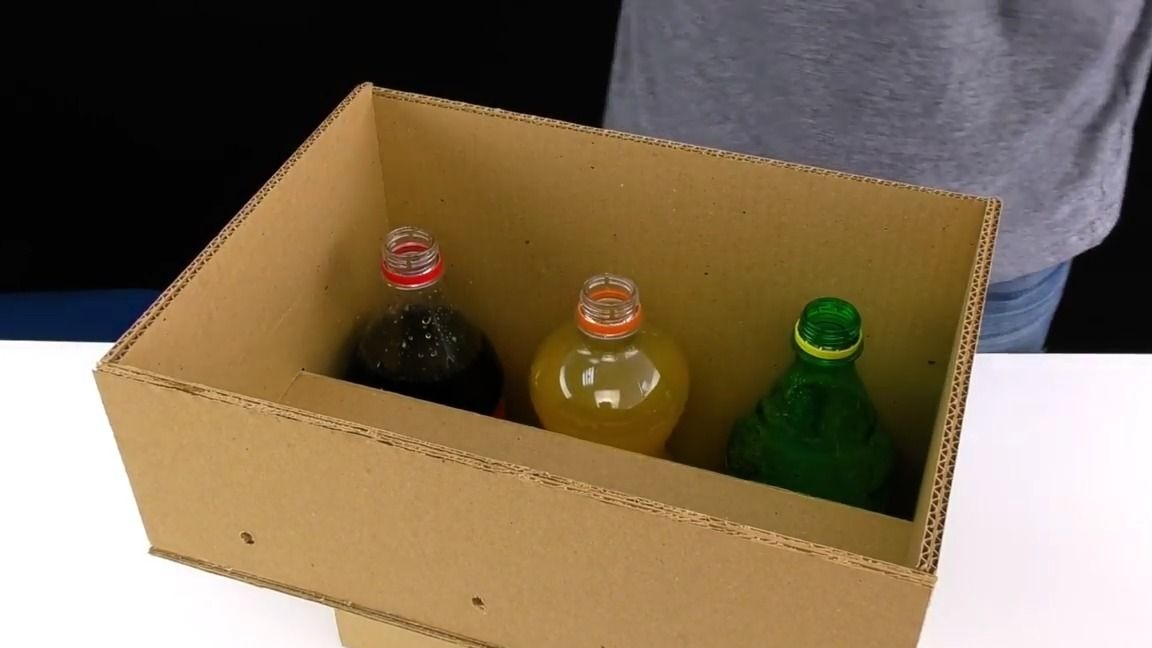
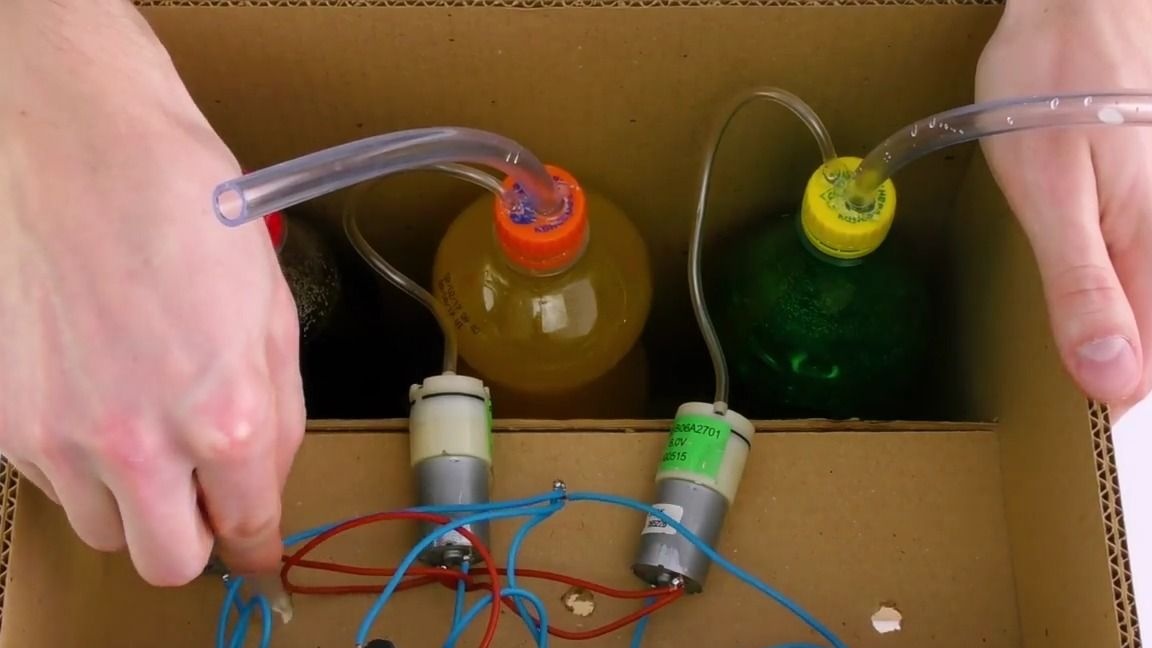
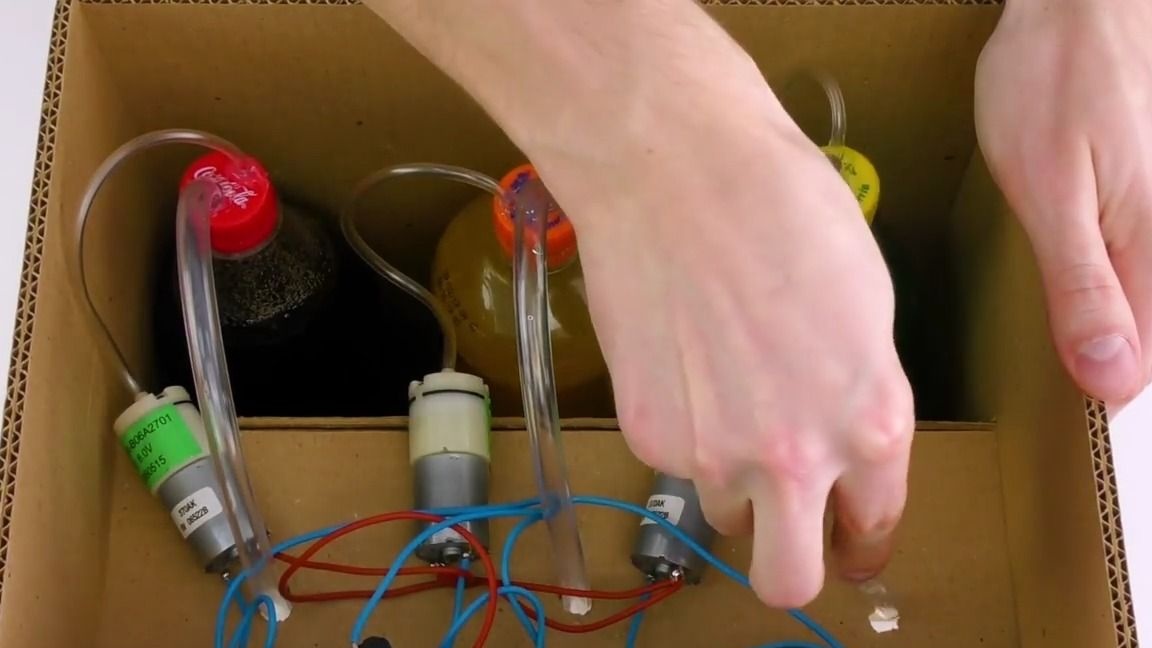
We place the bottles with drinks and removed caps in the dispenser body:
We put our caps with tubes on each bottle, after which we put on one thin tube that goes from the caps on each "nozzle" of the electric pumps, insert the switches in the holes made so that each switch is opposite the bottle to which its electric pump is connected . Then we glue the switches on the back with thermo glue:
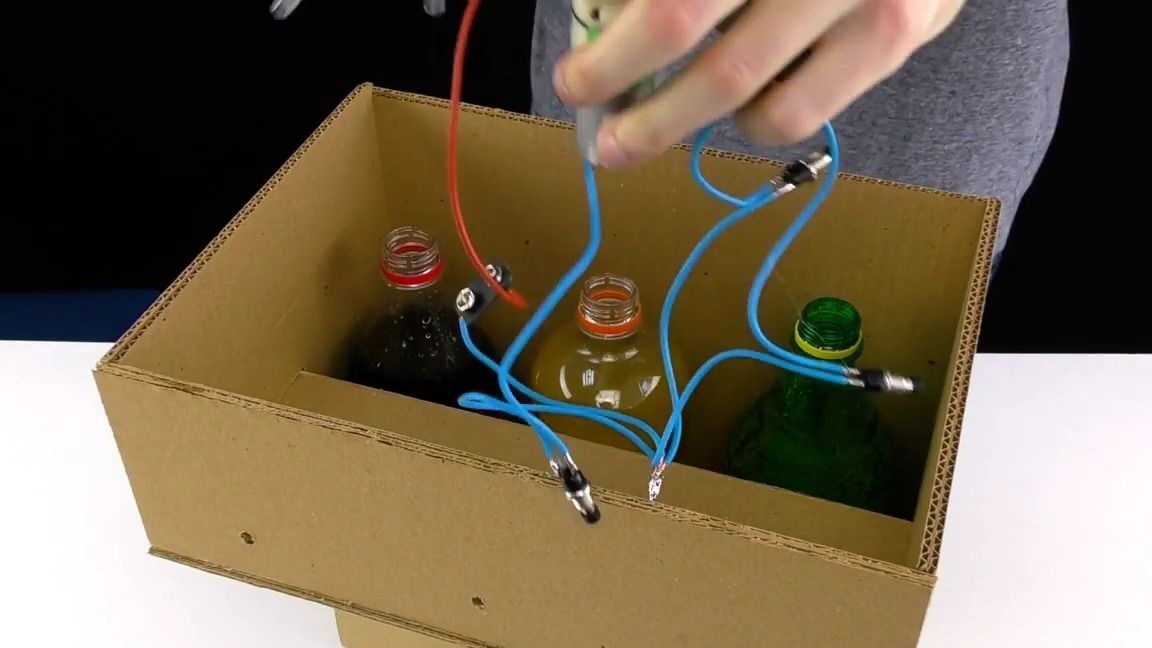

We take thick tubes and insert them into the holes on which they are located, the motors can also be mounted on this design:

We close the entire structure on top with a cardboard lid, but do not glue it:
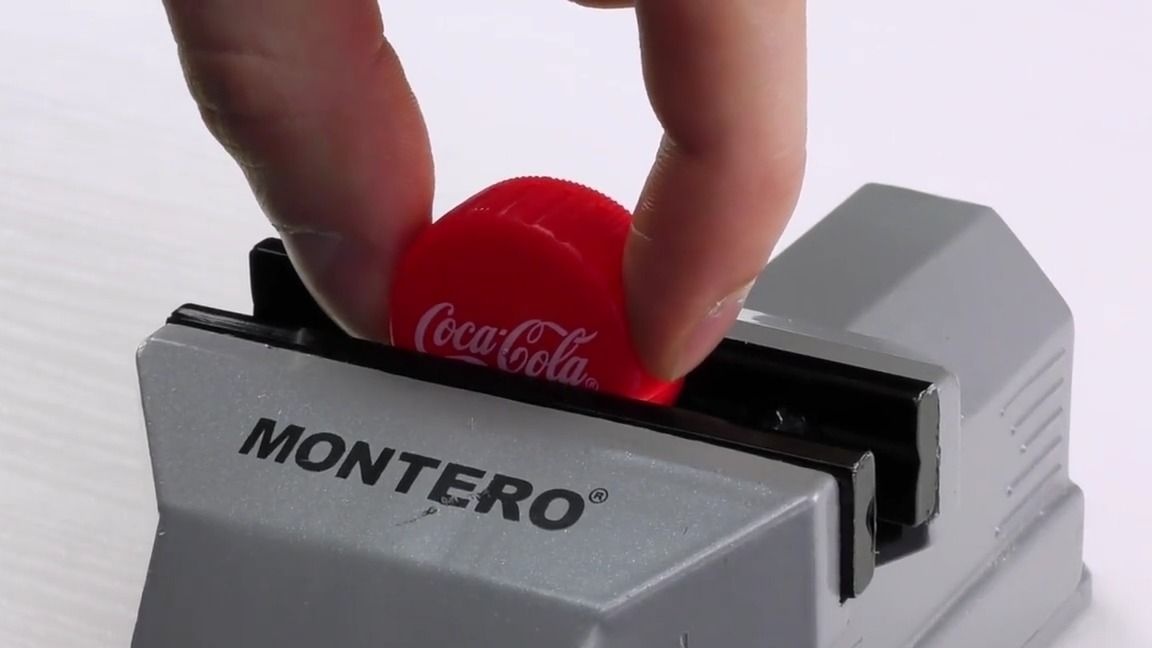
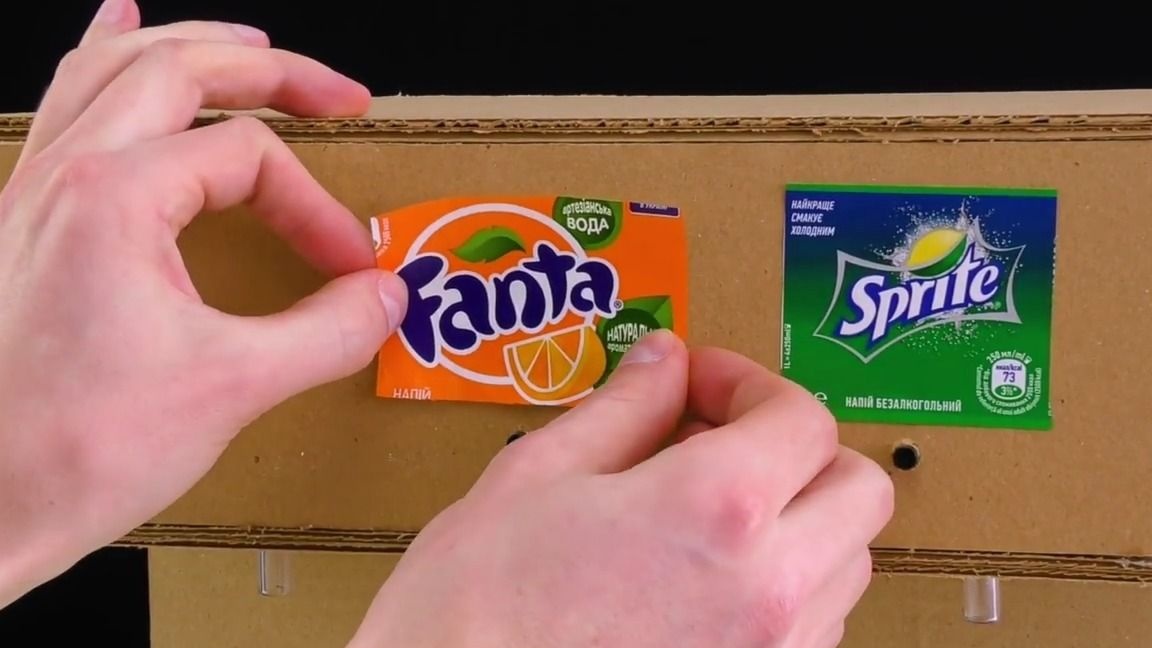
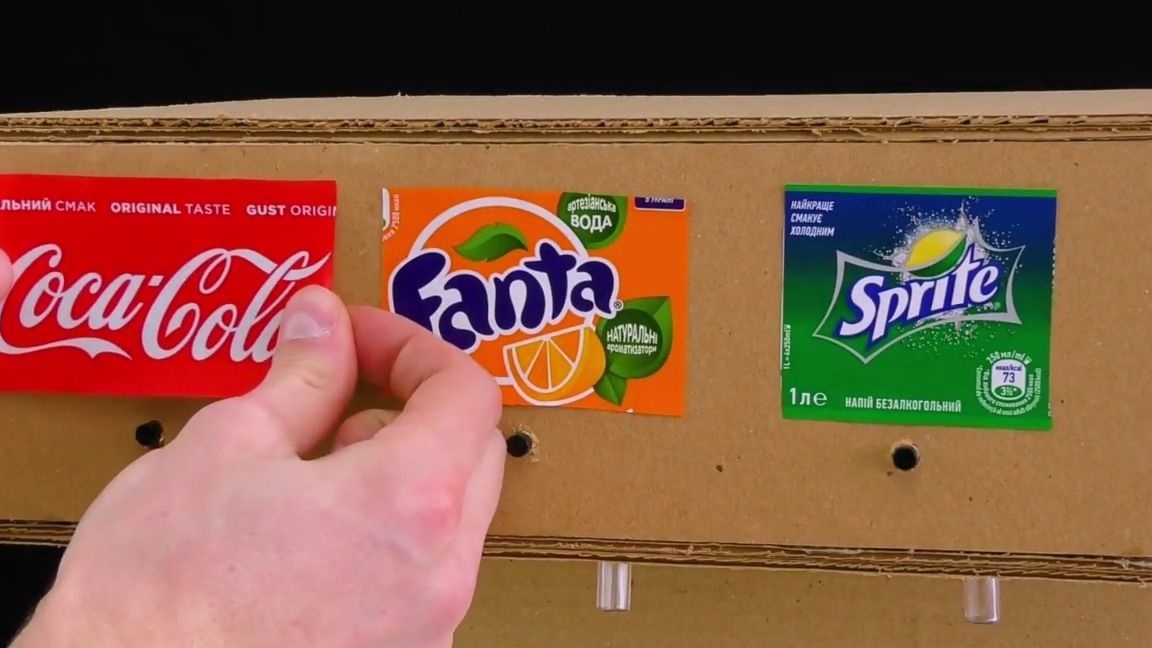
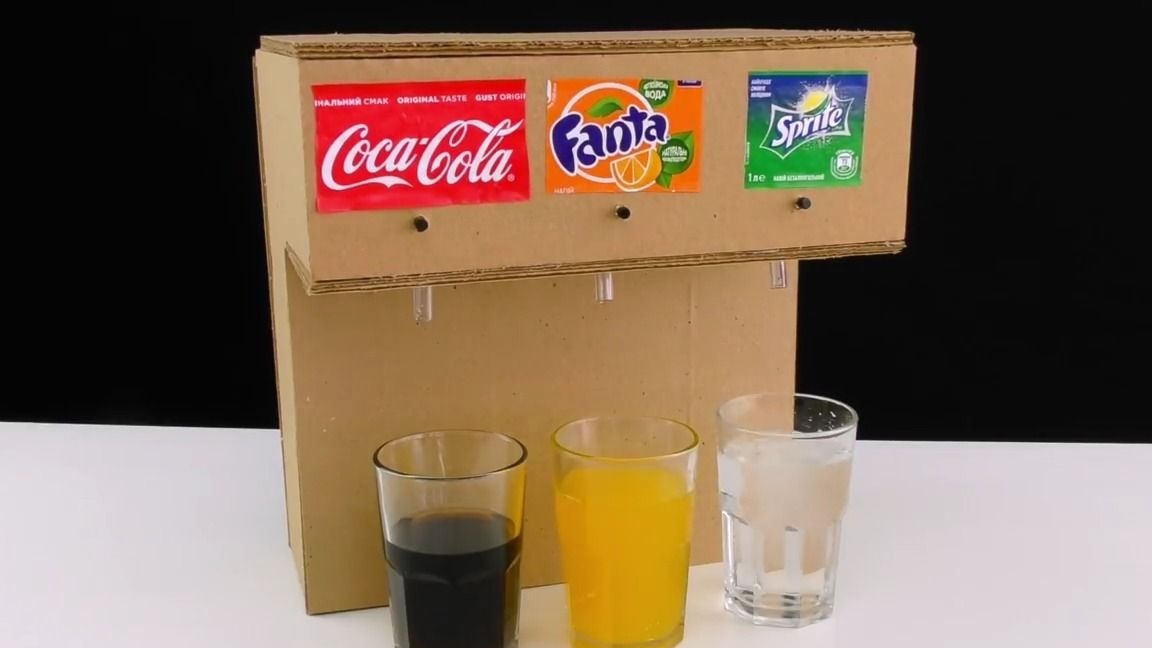
Cut from the labels of each drink these are the pieces with the name of the drink and paste them in front of the drink to which this label belongs:

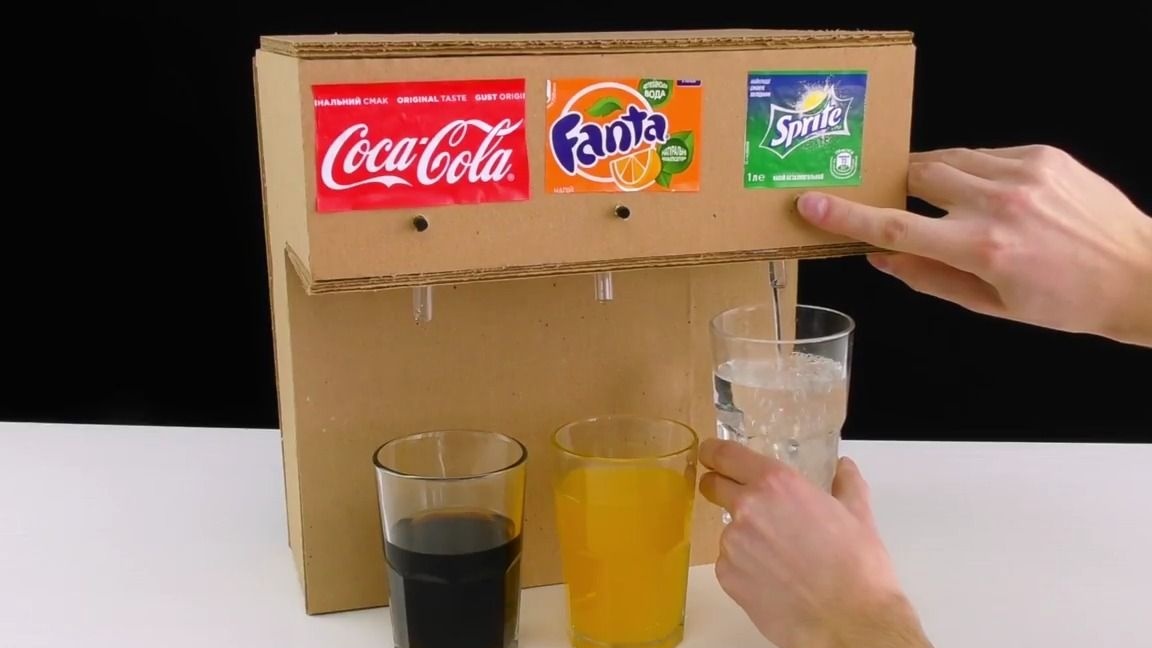
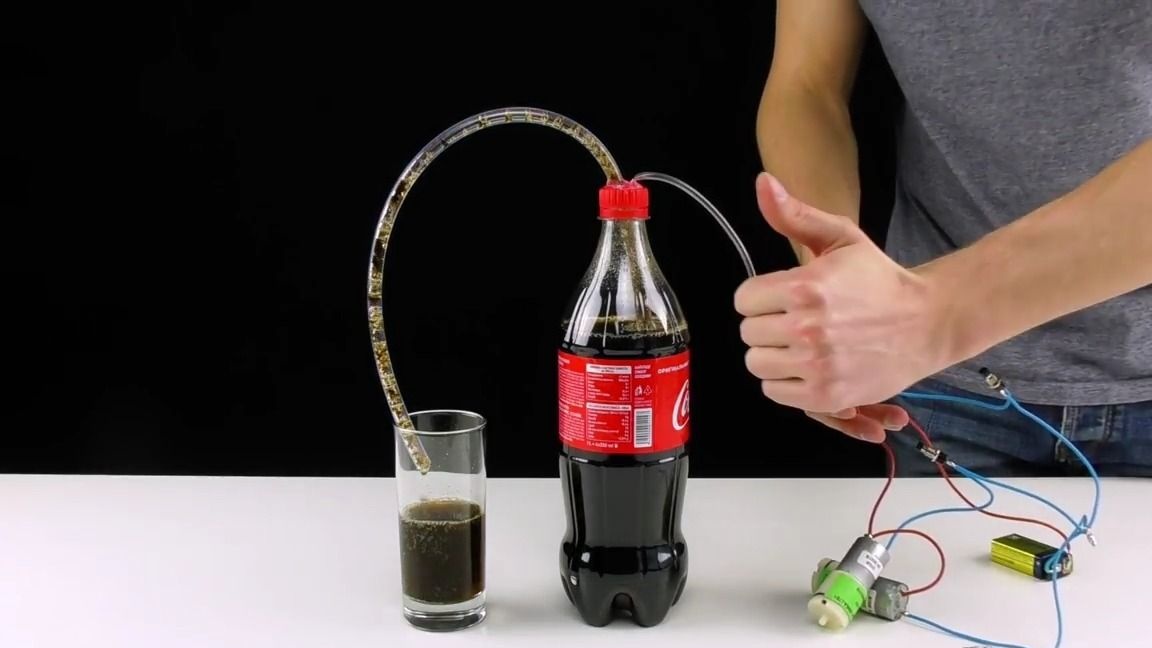
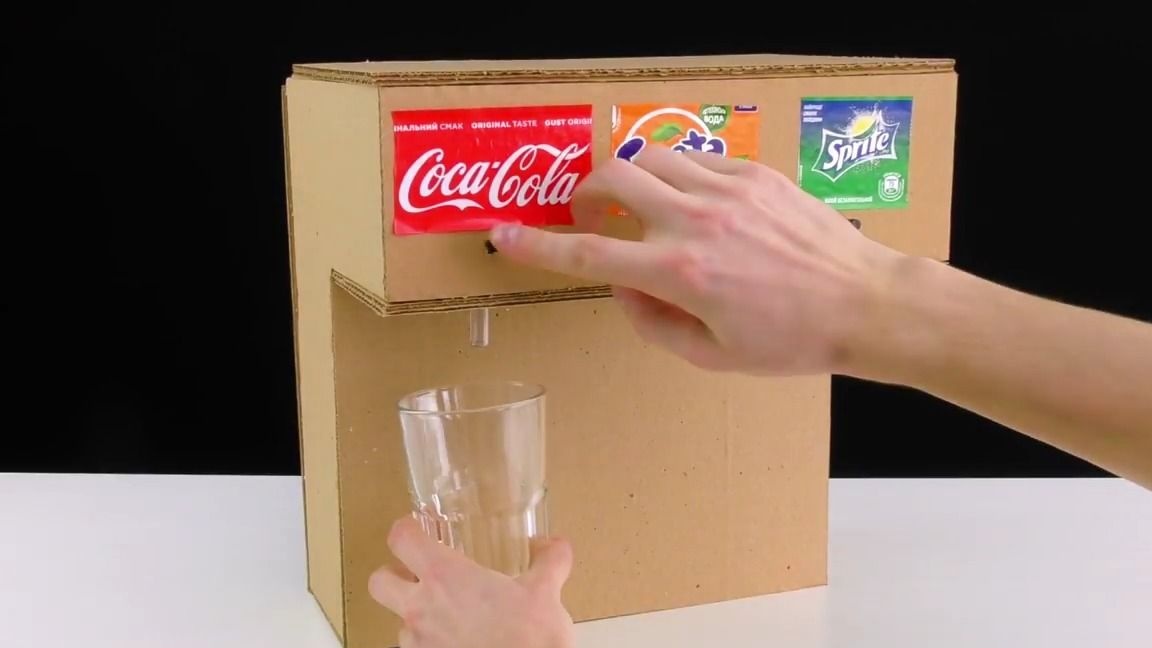
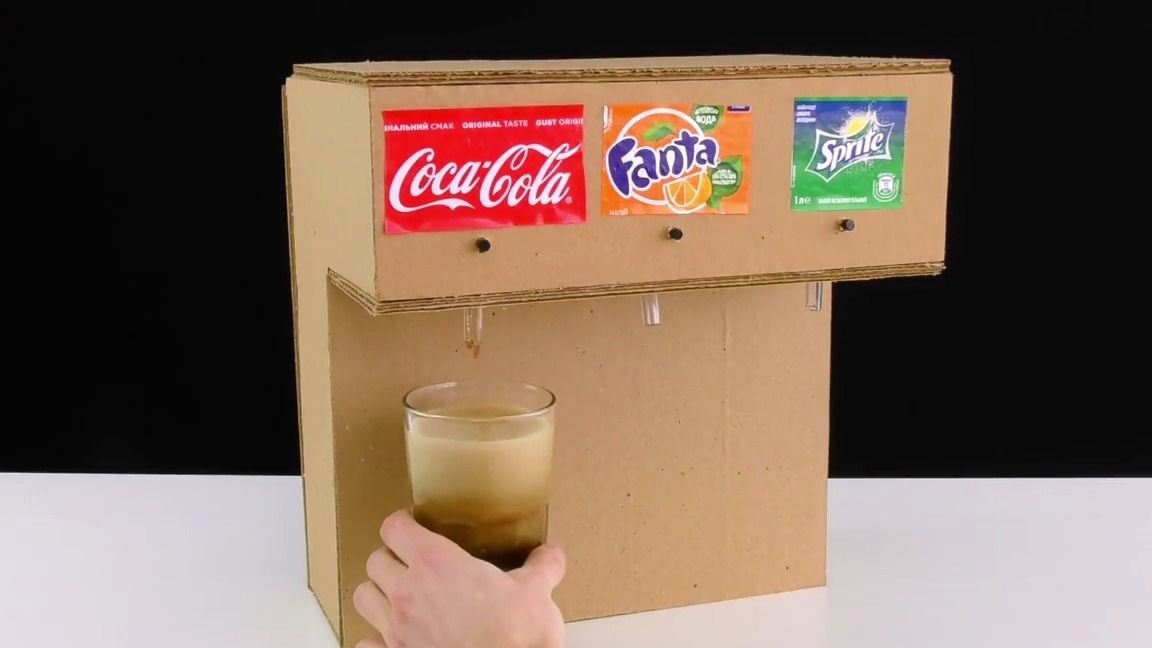
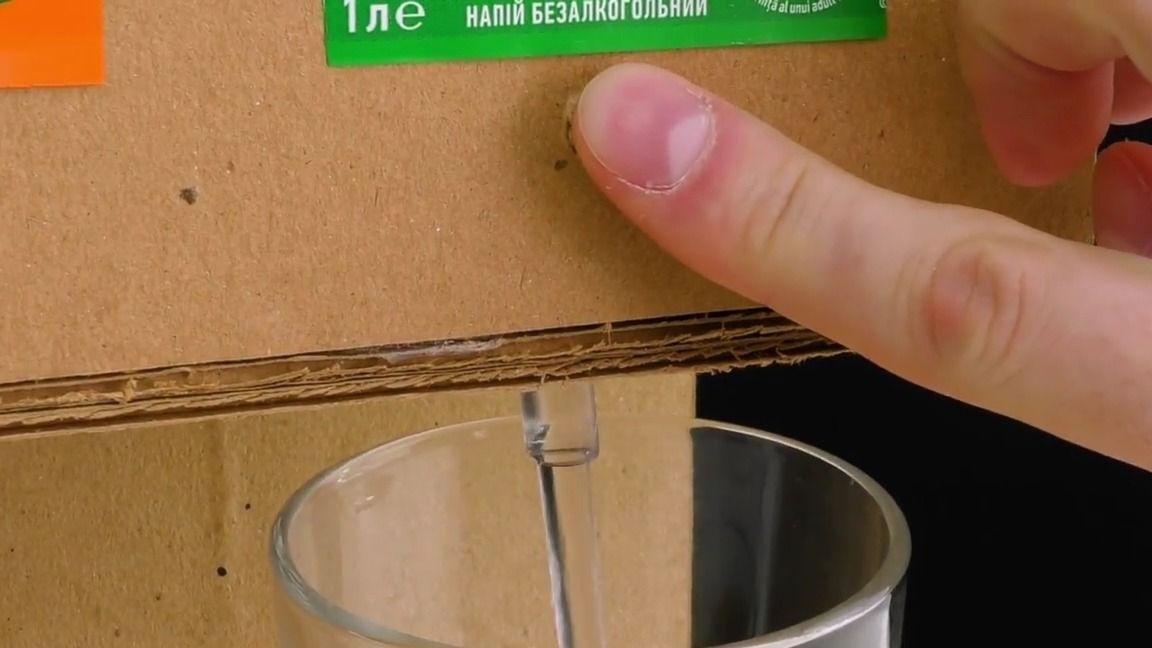
That's it! A simple electro dispenser and it remains only to test it! To do this, just take a glass, put it under a thick tube and press a button, at the same moment the electric pump starts pumping air into the bottle, there will increase pressure and the drink will begin to be pushed out of the bottle through a thick tube and fill the glass. Once there is enough drink in the glass, just release the button and the drink will stop flowing. This is very convenient especially when your hands are busy.
Best of all, test all three buttons to see if all drinks are poured equally well.

Here is the author’s video with detailed assembly and testing:
Well, thank you all for your attention!