
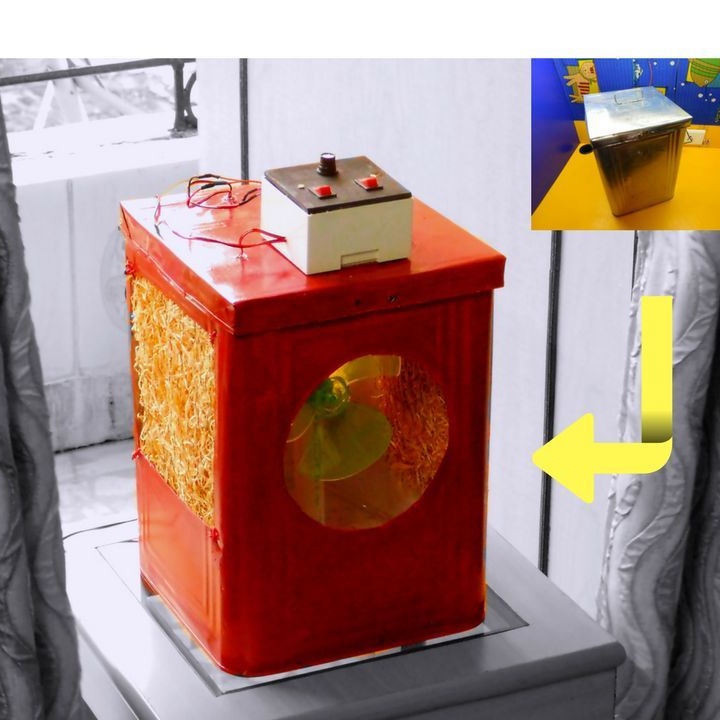


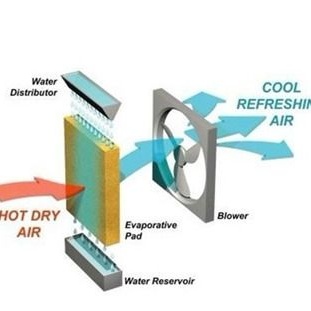
In this article, a Master from India will introduce his model evaporative cooler. First, let's look at what kind of device it is. Evaporative cooler is a device designed to create comfortable air in the room - chilled, purified and moistened. Air cooling occurs due to the evaporation of water, and also requires less energy than conditioning.
Evaporative air cooler is a device consisting of a fan, a water pump and a filter system. The fan draws in air through openings in the housing and passes it through a filter that is constantly wetted by water. The heat of the air promotes the evaporation of water and the subsequent cooling of the air.
An important rule is the following: how much air was supplied into the room through the air cooler, the same should be removed from the room through windows, doors or exhaust ventilation.
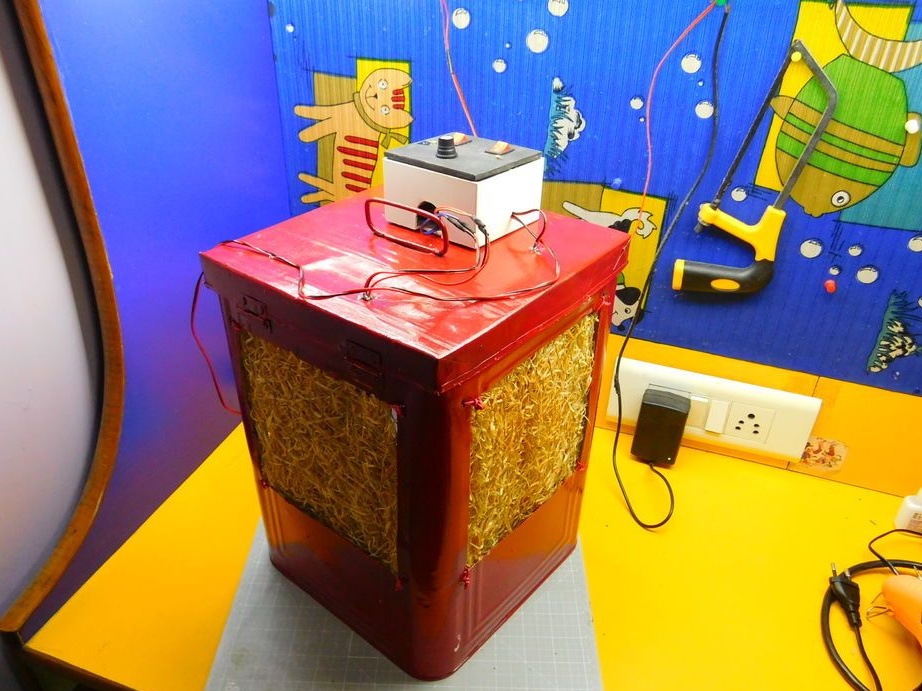
Air coolers are both stationary and mobile. It was the mobile that made the Indian master.
Tools and materials:
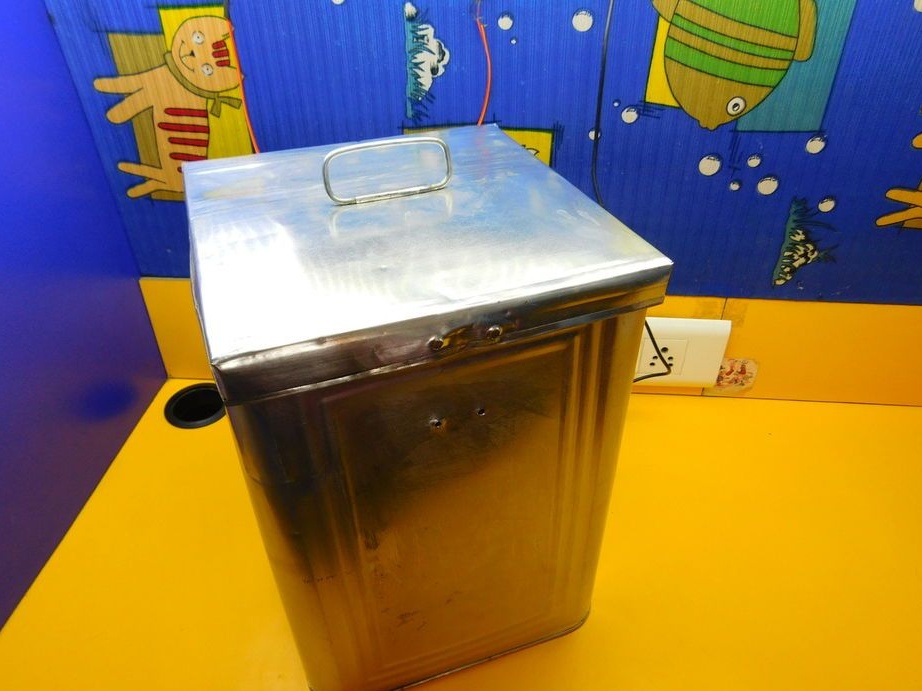
-Metal box;
-Wire mesh;
- Filler (as a filler, the master uses dried grass Hus);
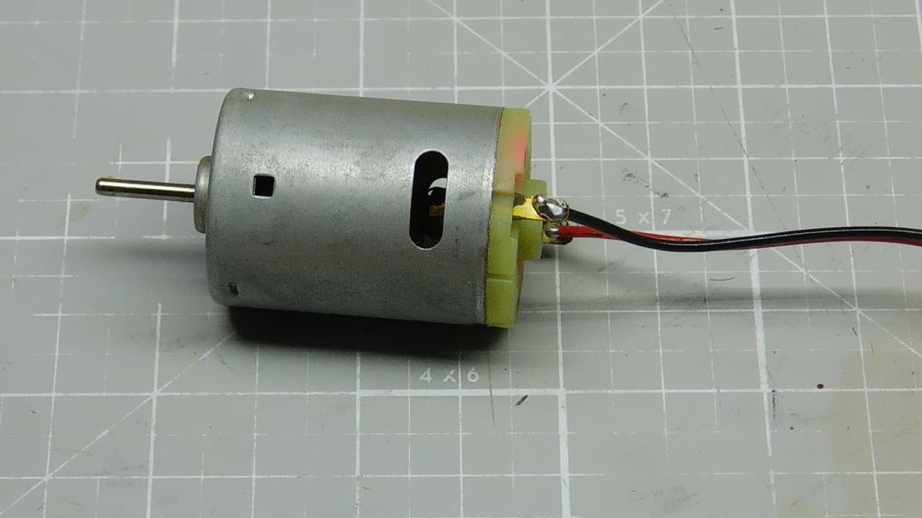
-12V electric motor;
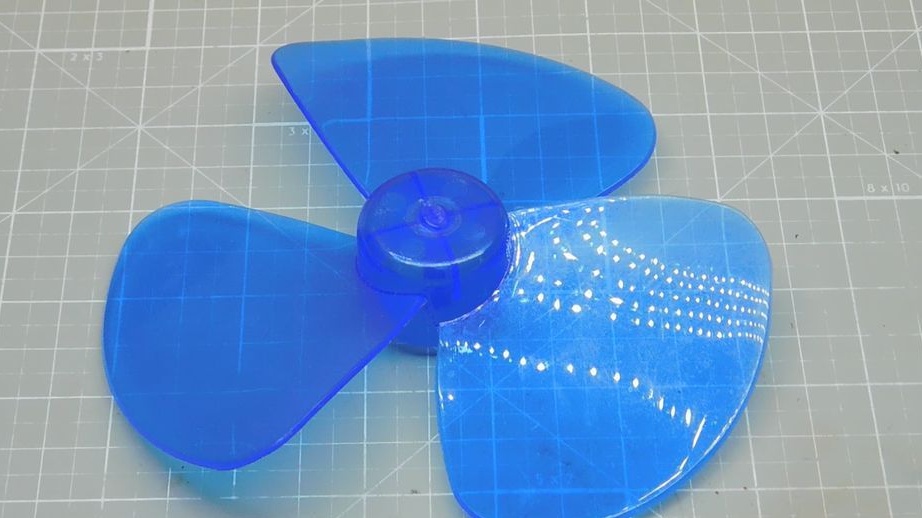
- blades;
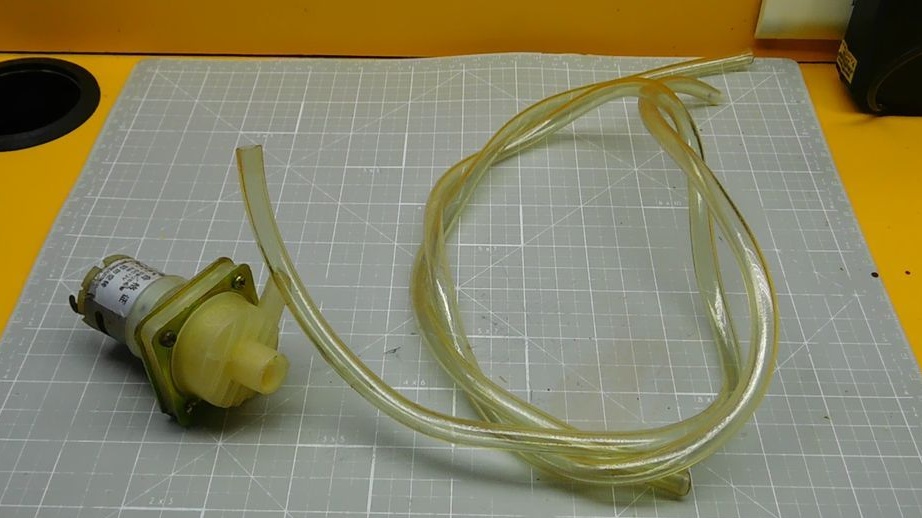
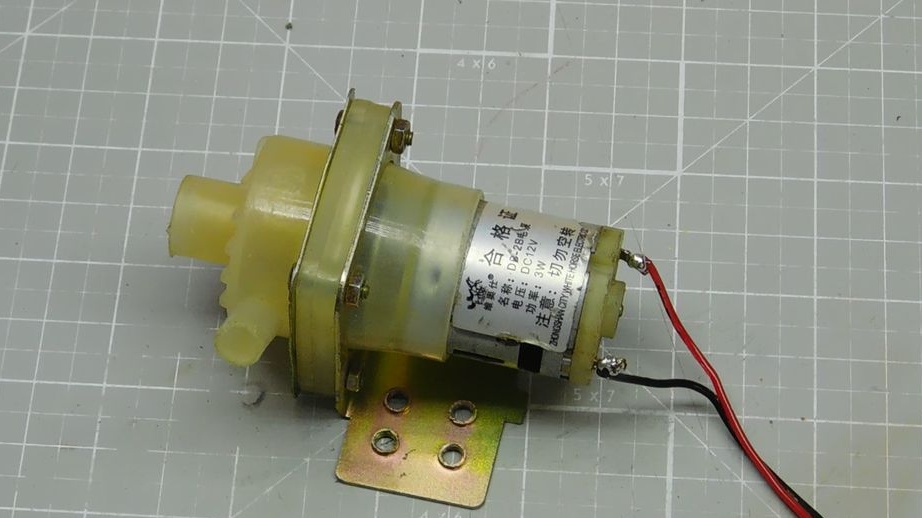
- Pump 12 V;
-Tubes;
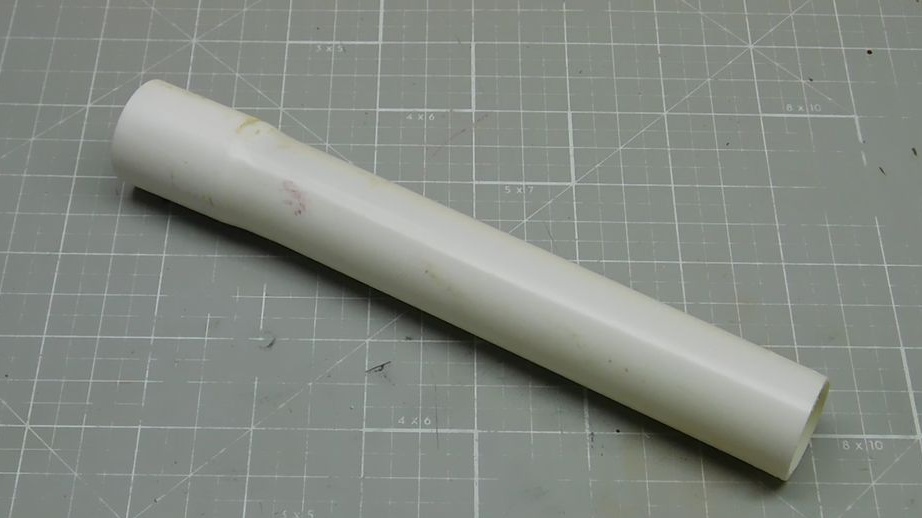
- PVC pipe;
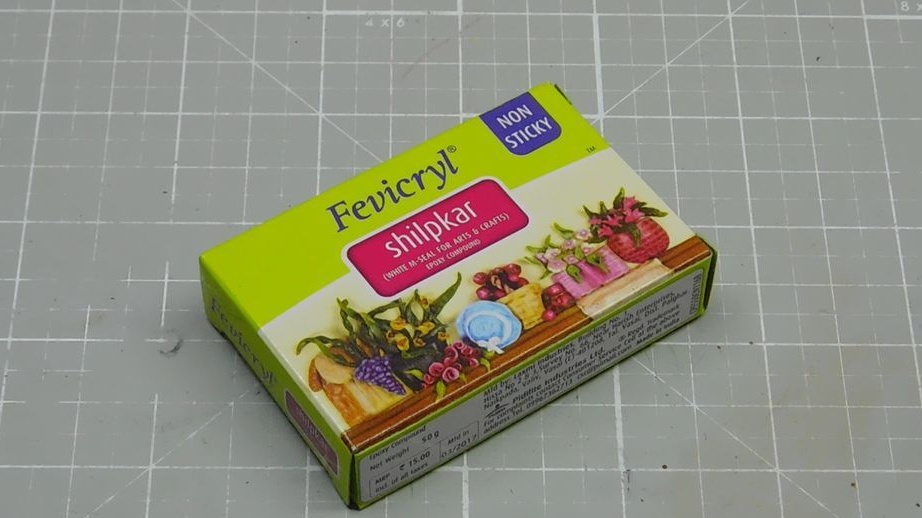
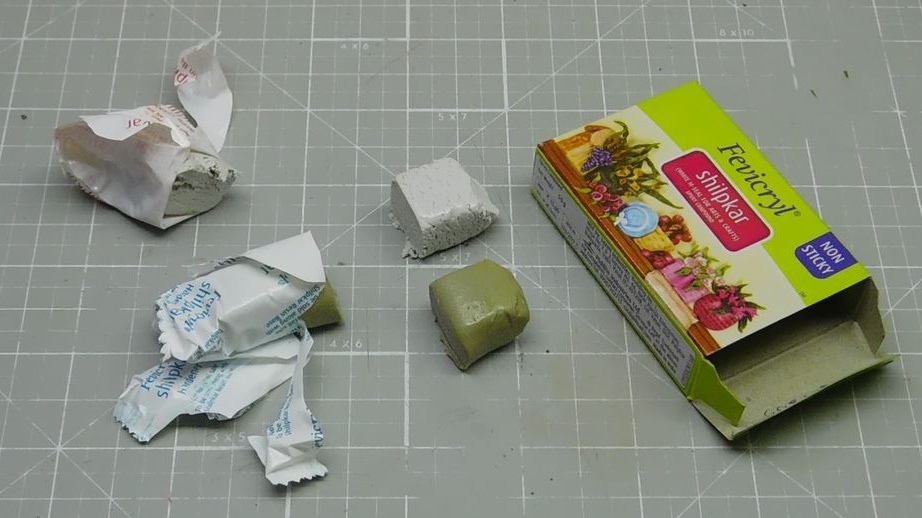
-Cold welding;
-Plastic cover;
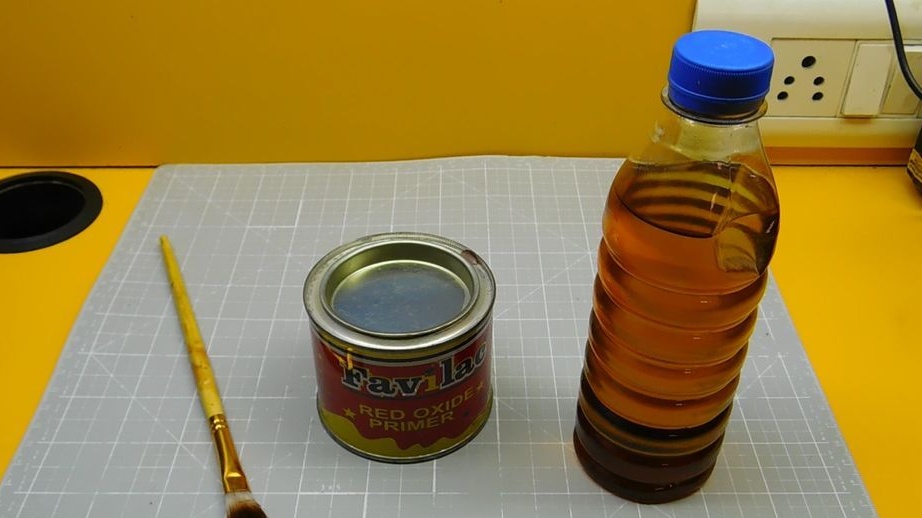
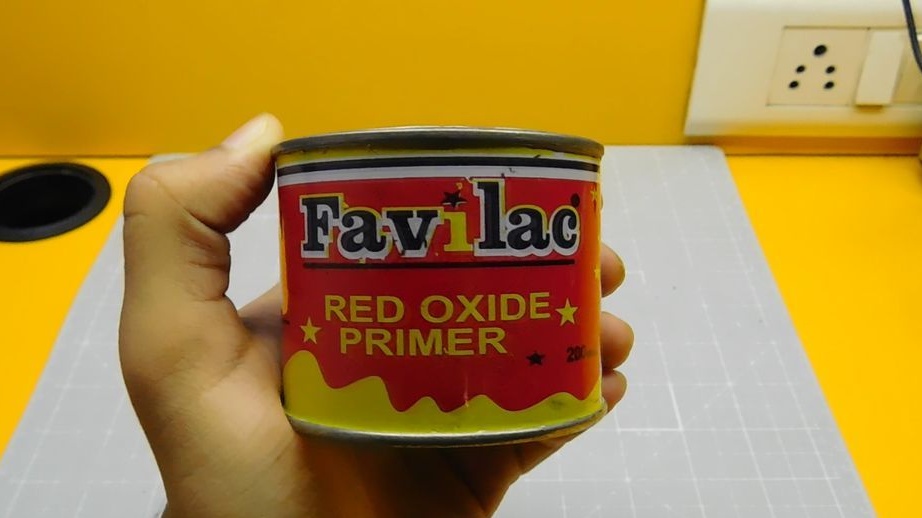
-Primer;
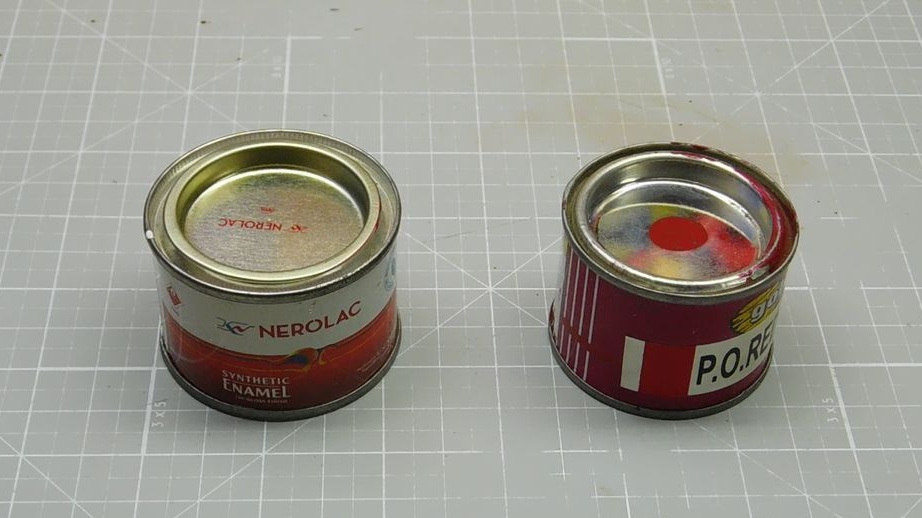
-Paint;
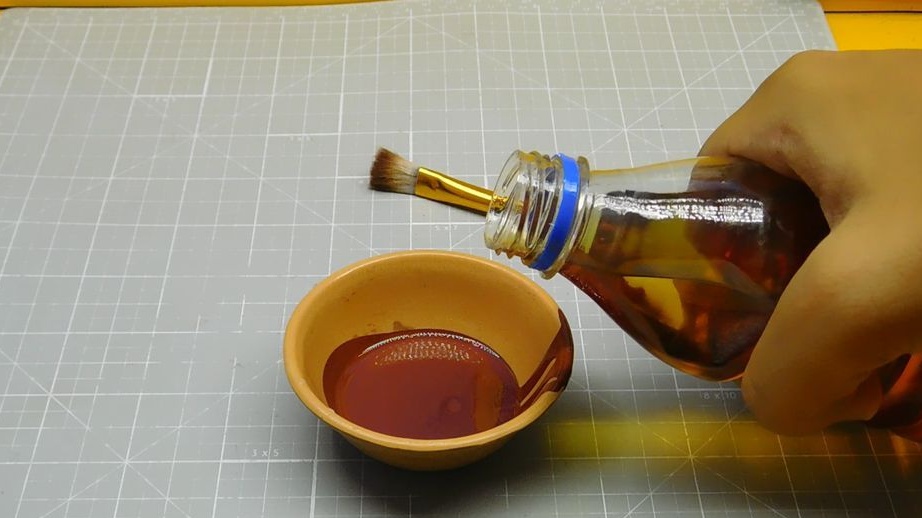
-Solvent;
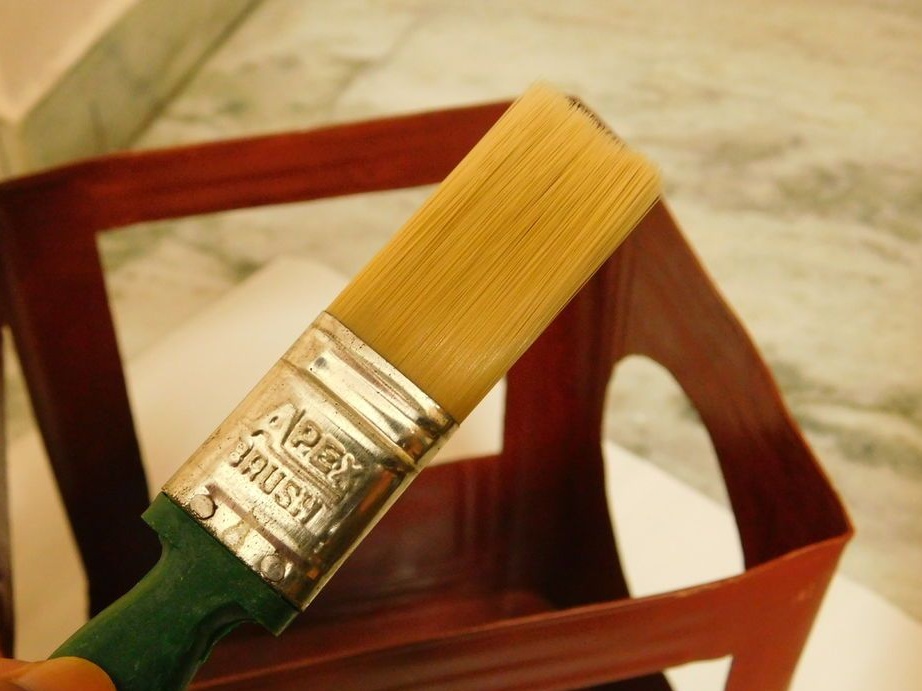
- brush;
-Wire;
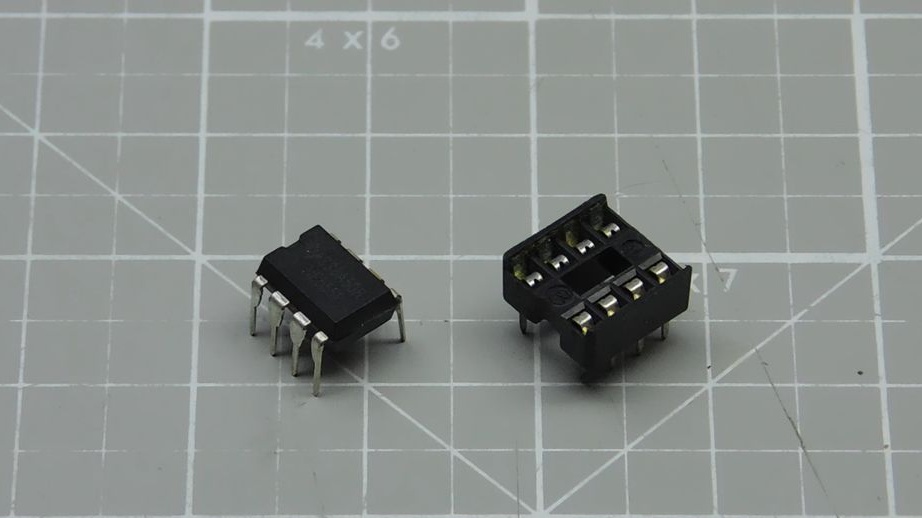
Chip LM555;
8-pin connector
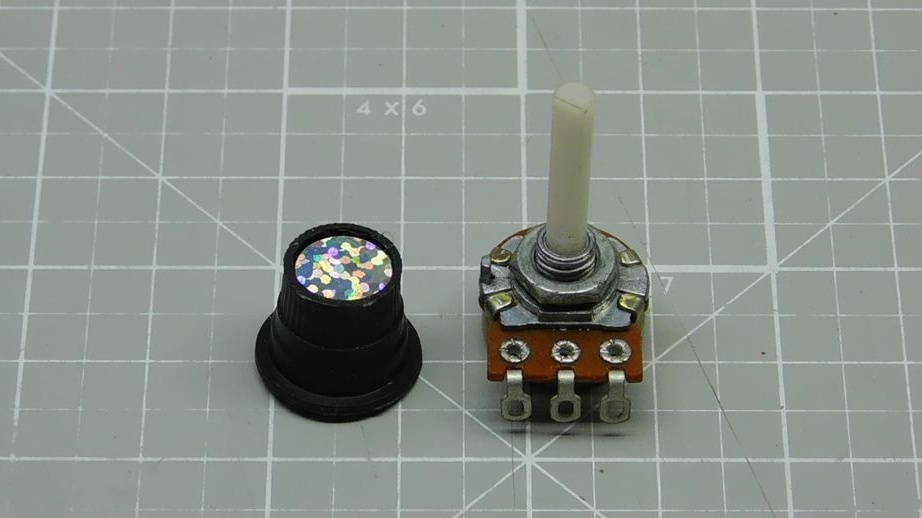
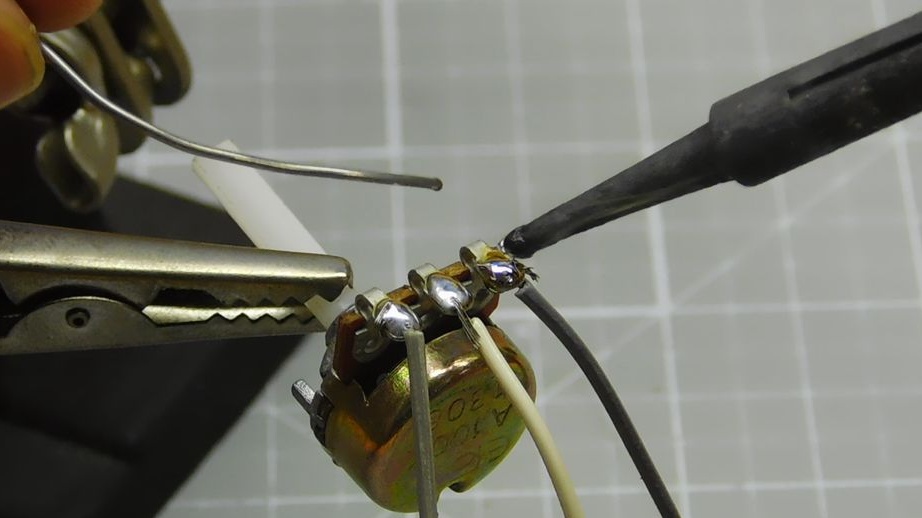
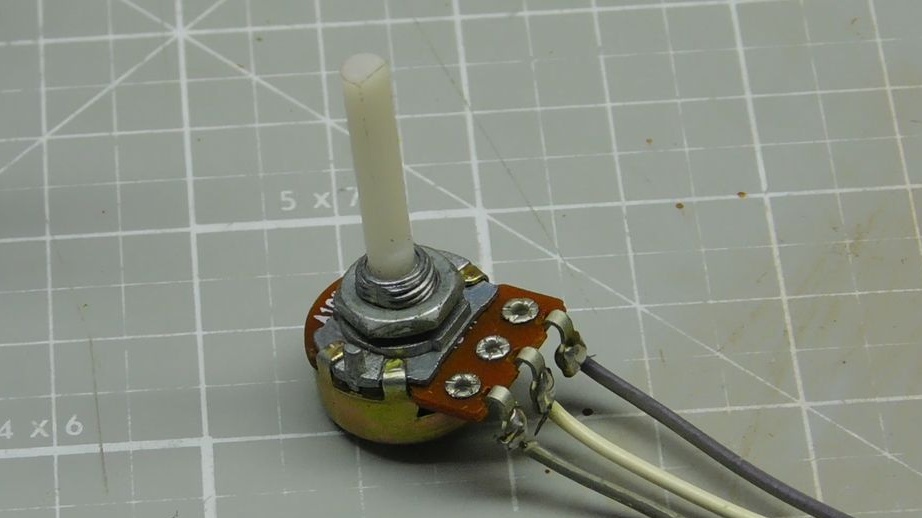
Potentiometer 100 kOhm;
-Handle for potentiometer;
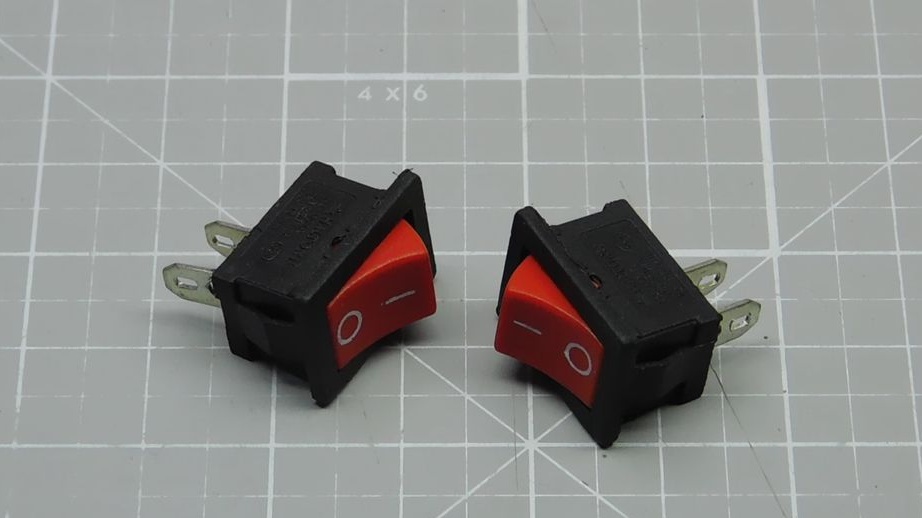
-Switches-2 pcs;
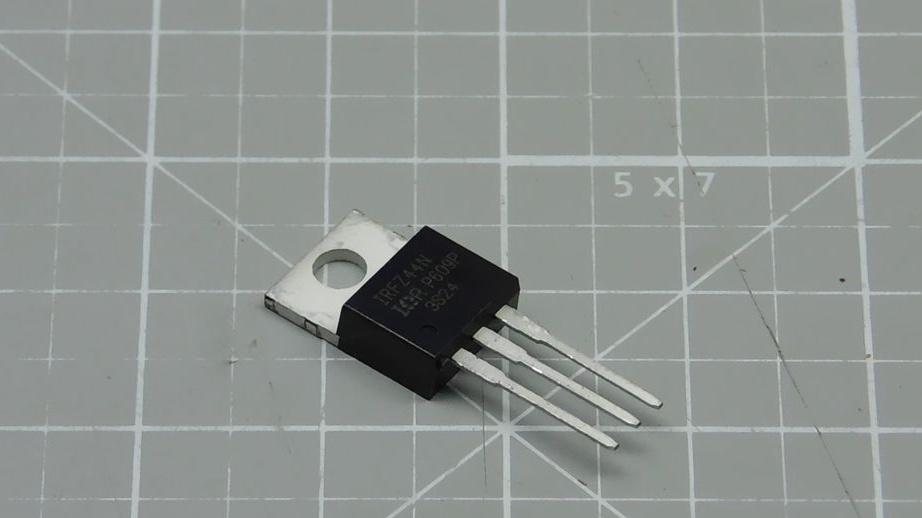
Transistor IRFZ44N;
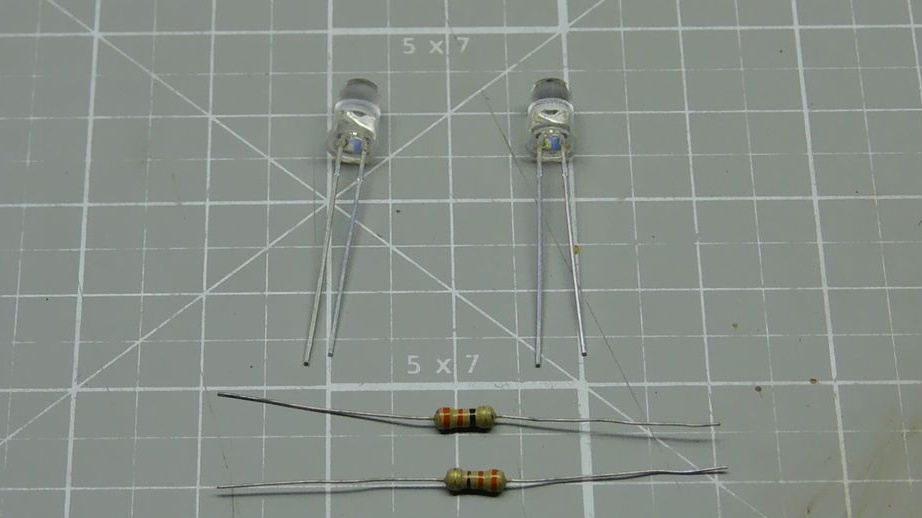
-Red LED - 2 pcs;
- Resistors 1 kOhm - 2 pcs.;
- Resistor 1 kOhm;
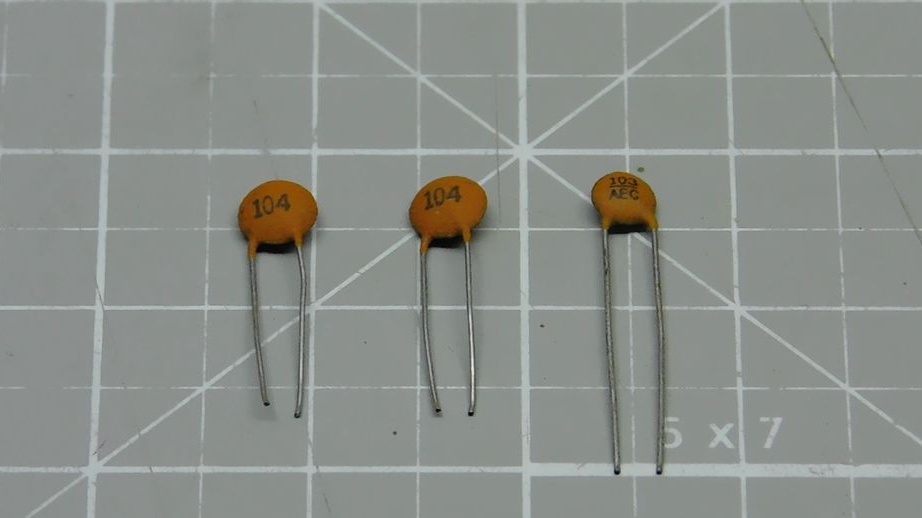
Capacitor 0.1 uF;
-Rectifier diode IN4007 - 2 pcs.;
- terminal blocks;
-Circuit board;
-Dremel;
-Drill;
-Rule;
-Marker;
-Sandpaper;
-Nippers;
-Hammer;
-Screwdriver;
-Wire;
-Soldering iron;
-Board;
-Glue gun;
-Fasteners;
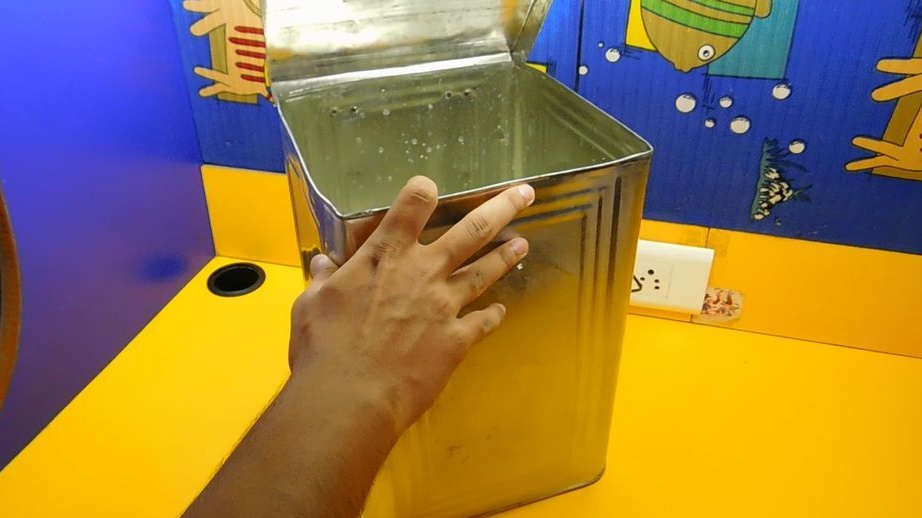
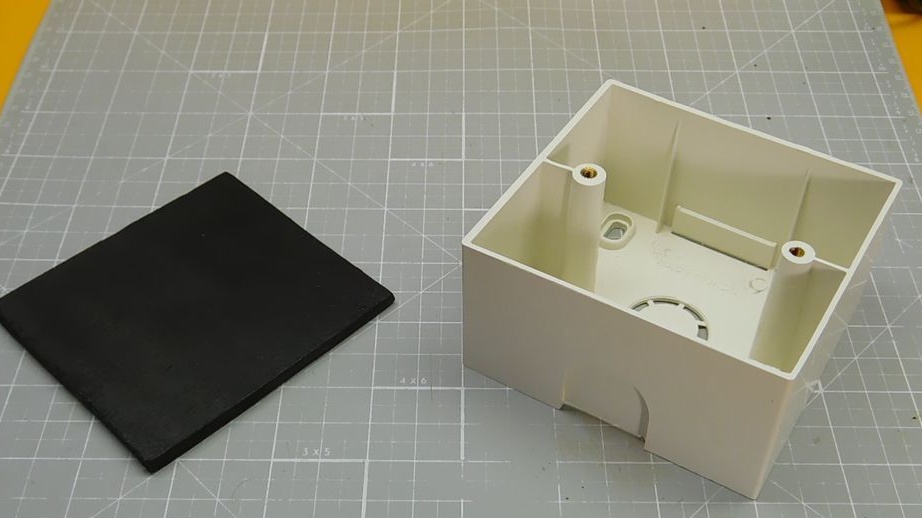

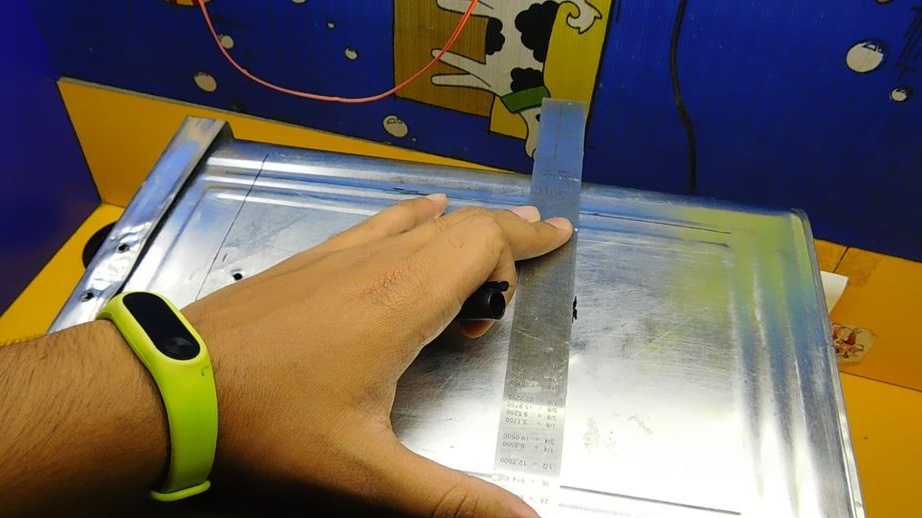
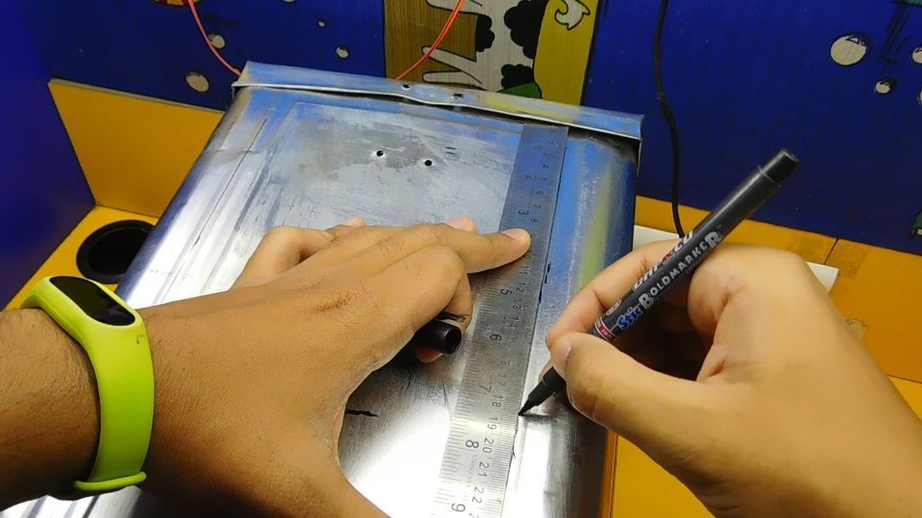
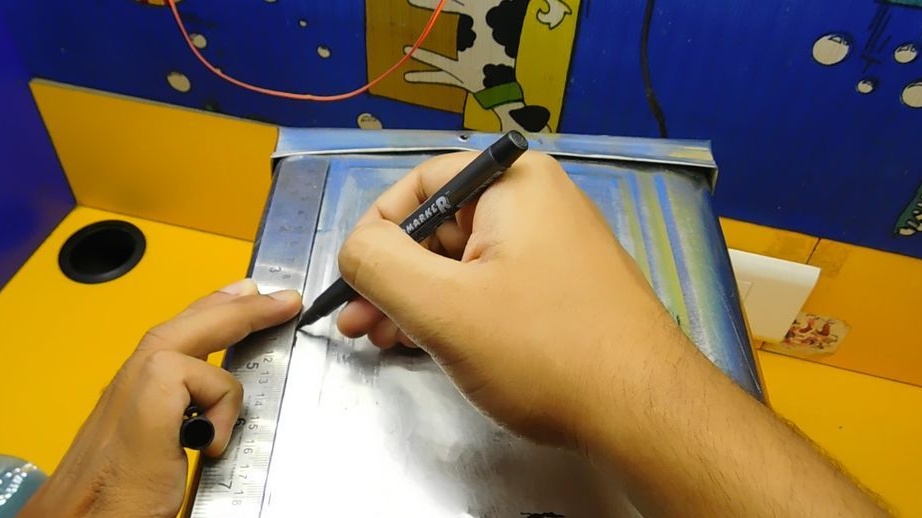
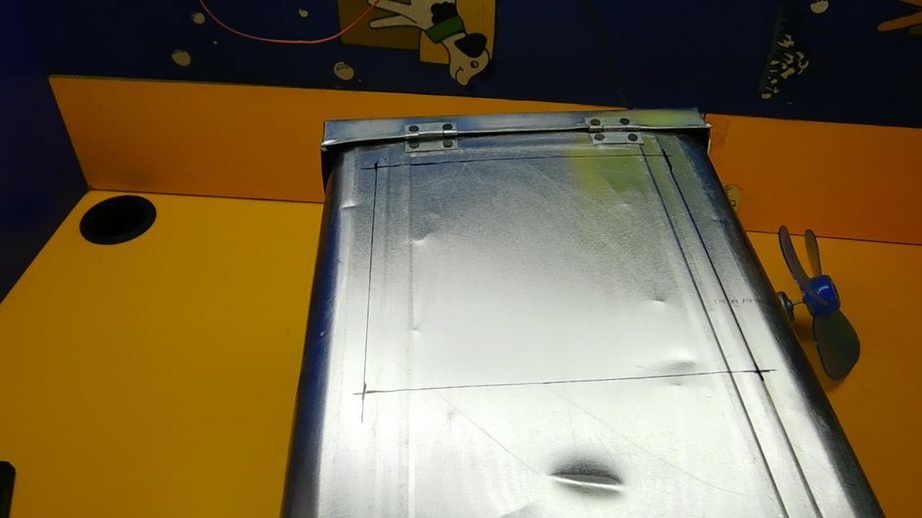
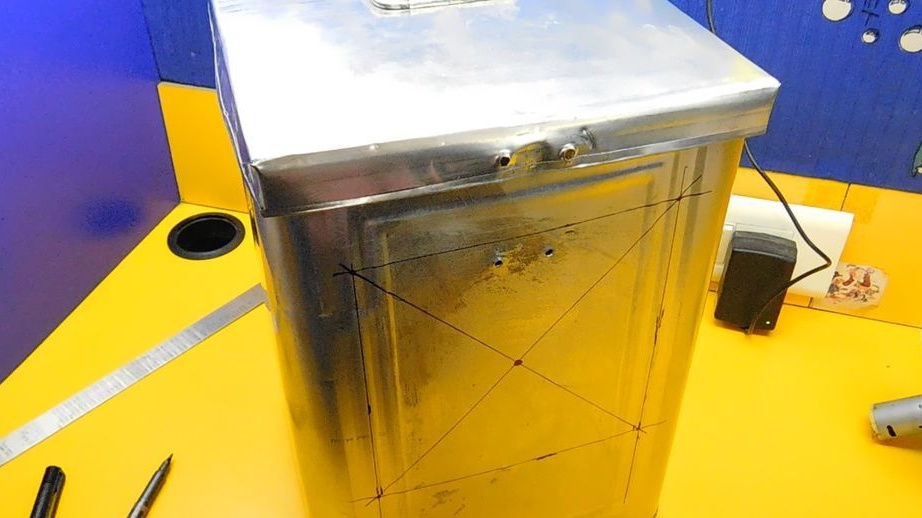
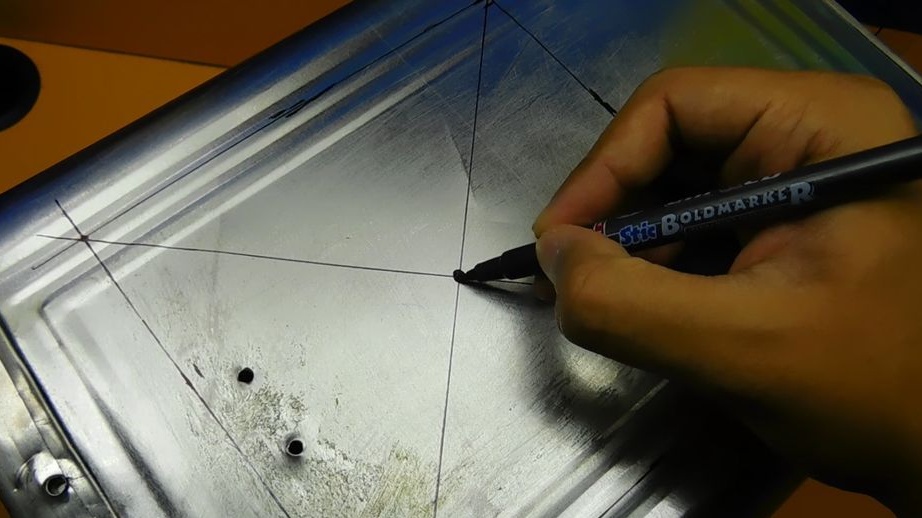
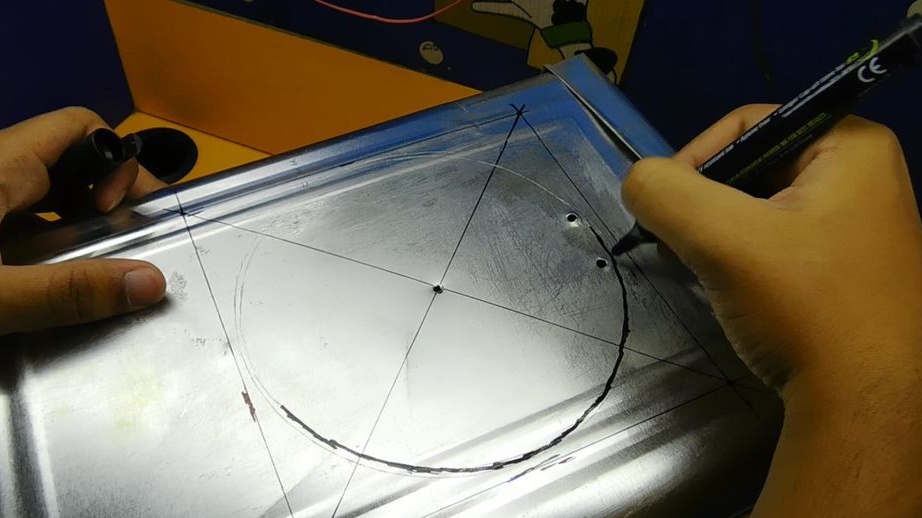
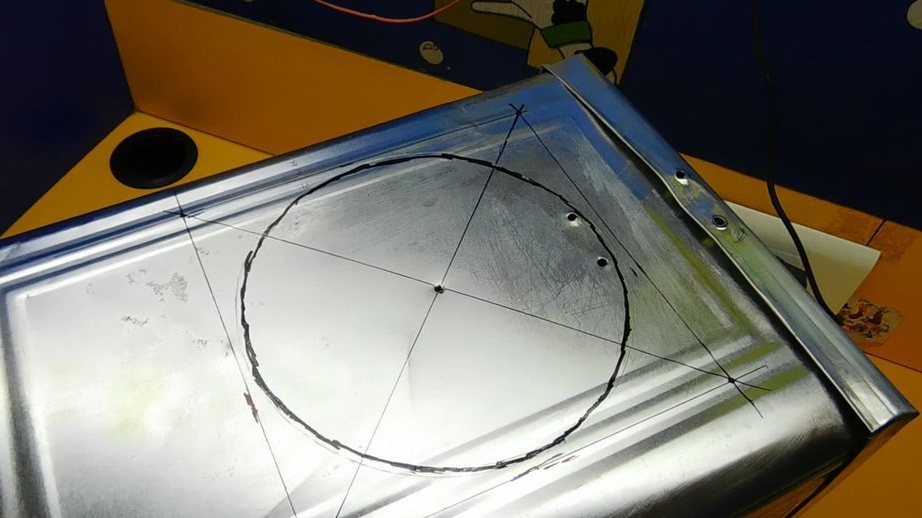
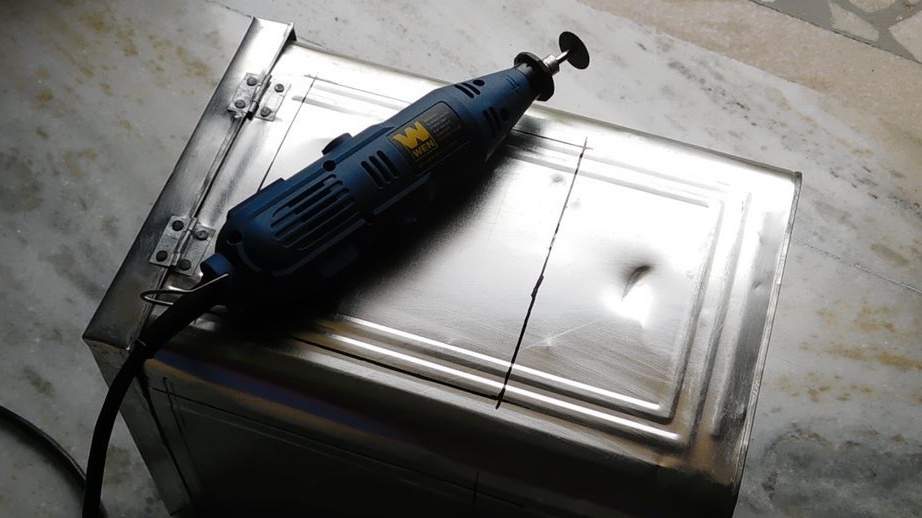
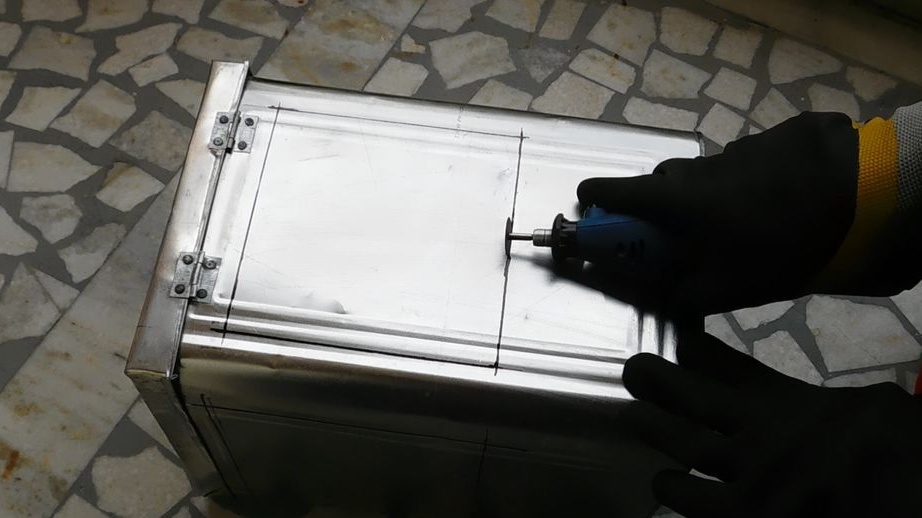
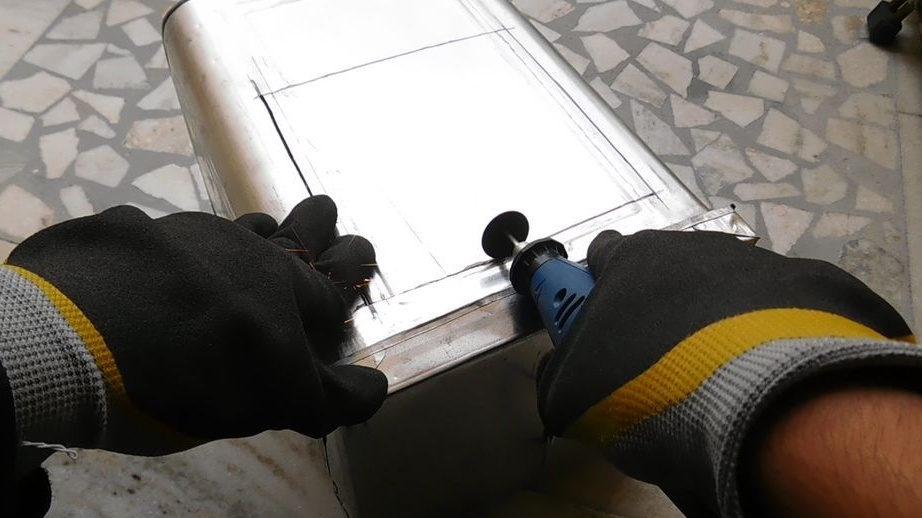
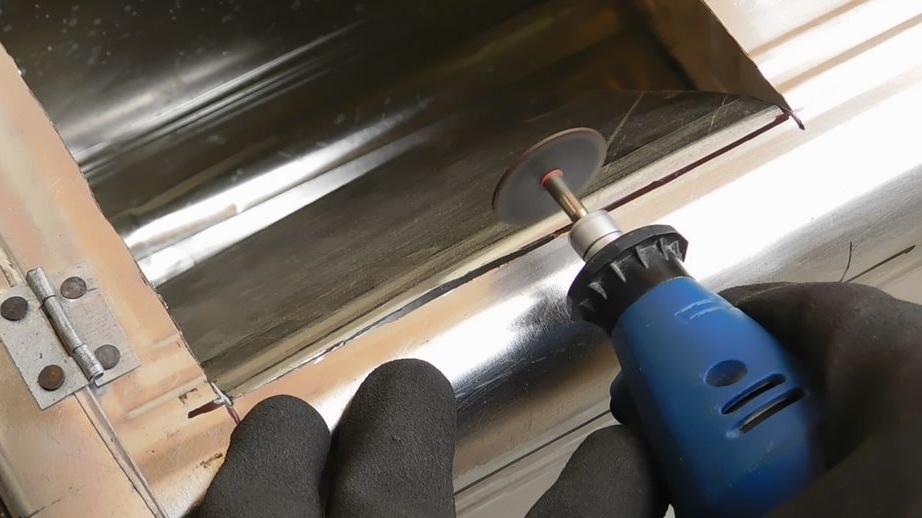
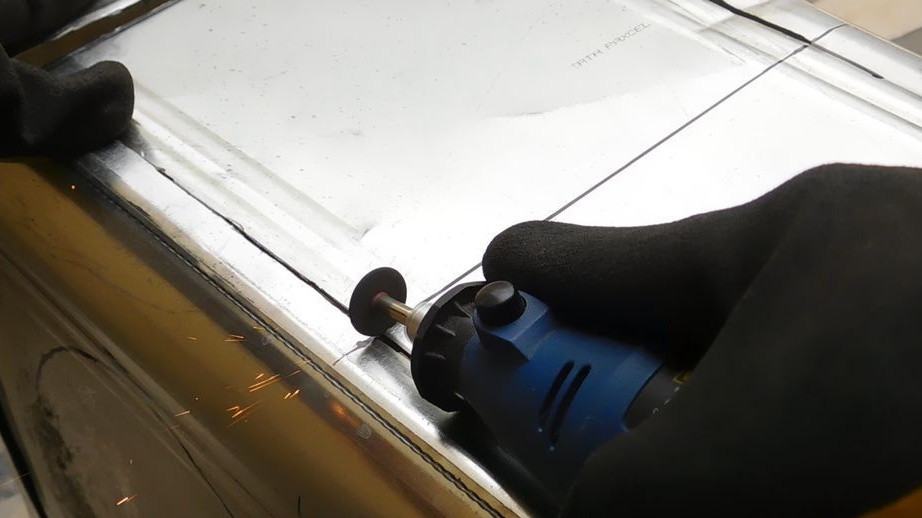
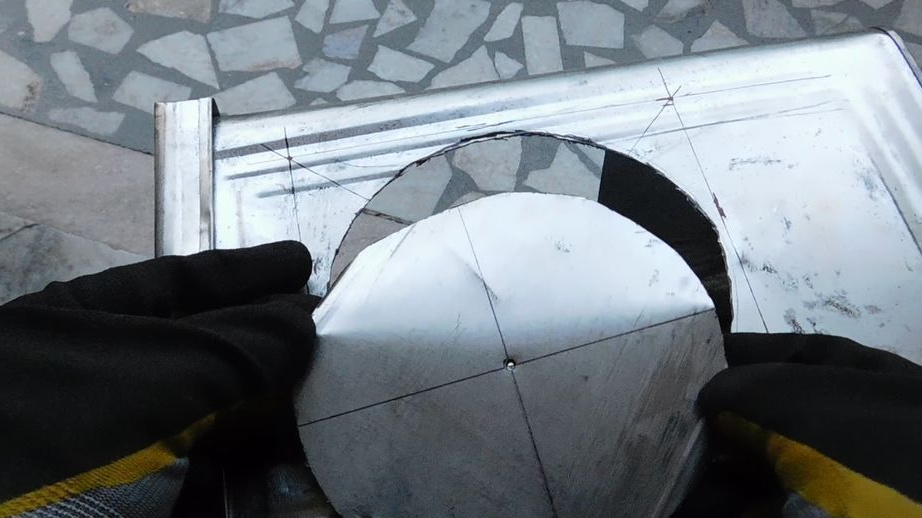
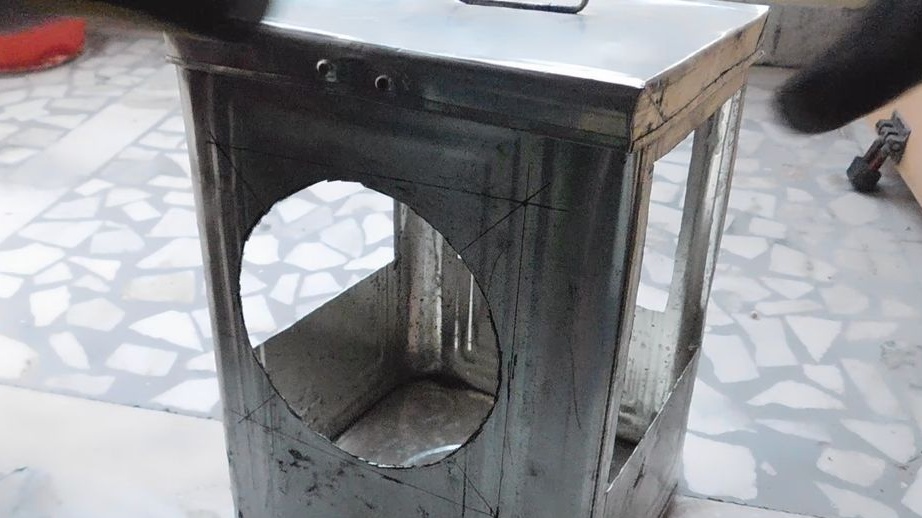
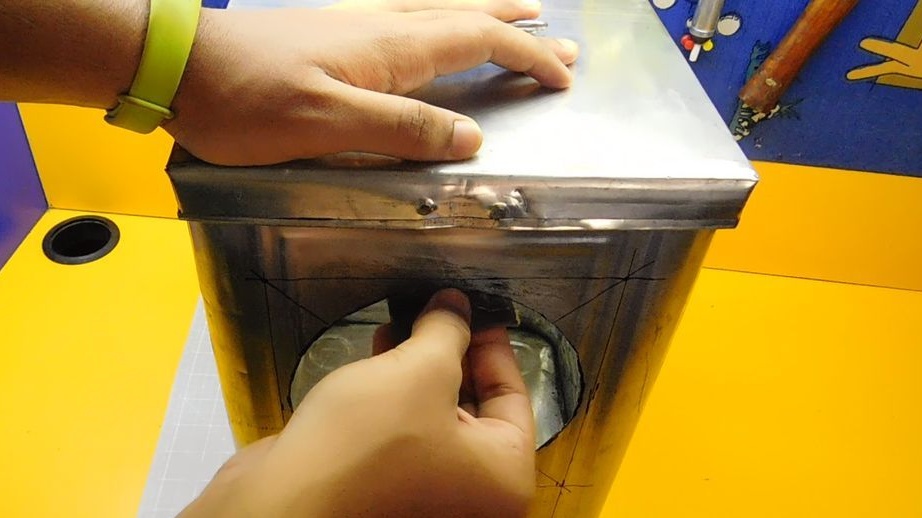
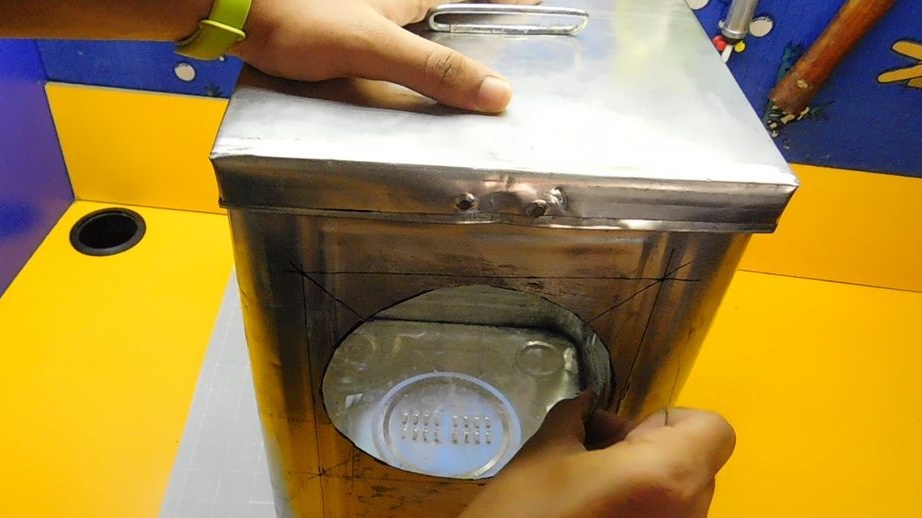
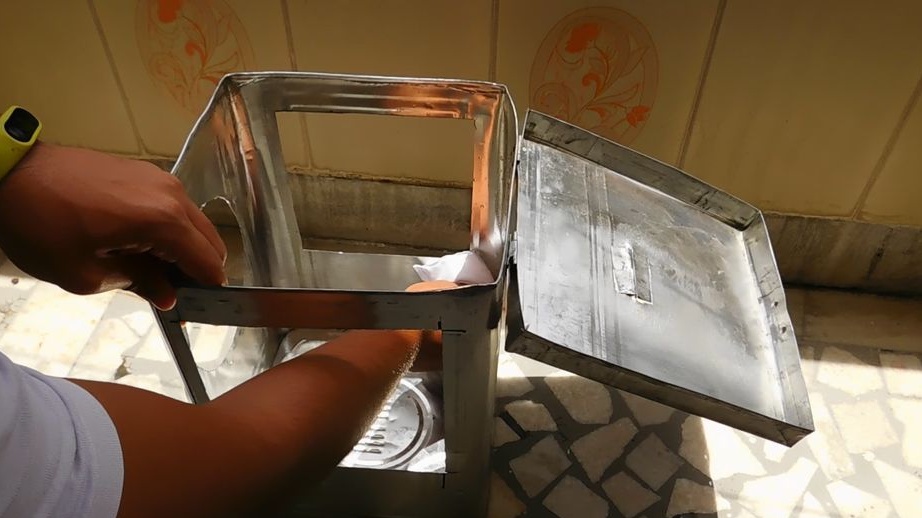
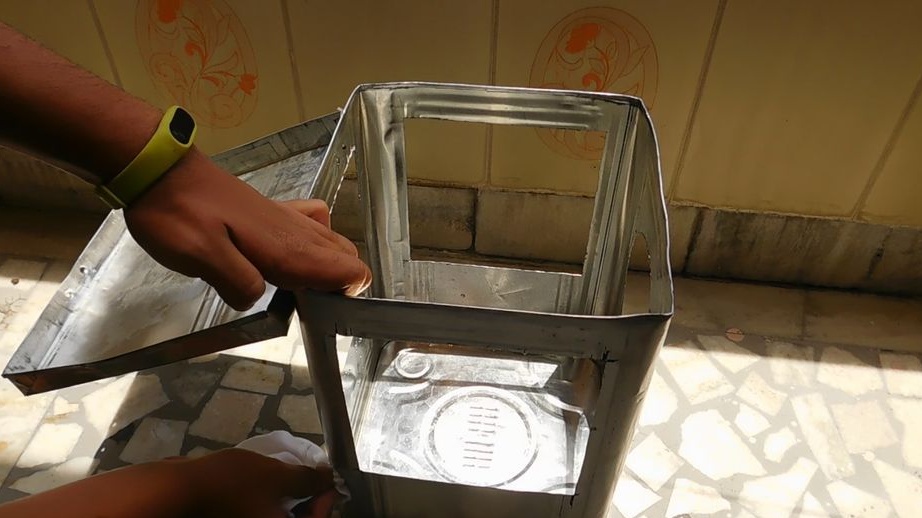
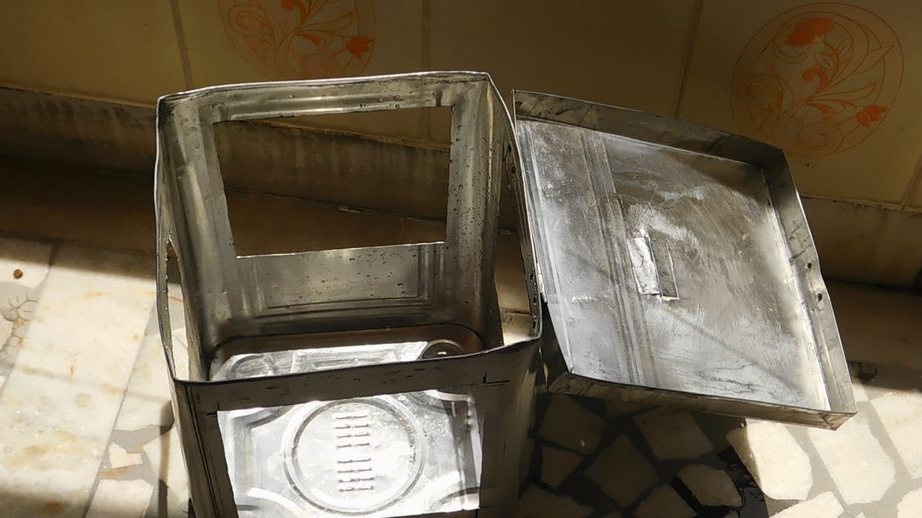
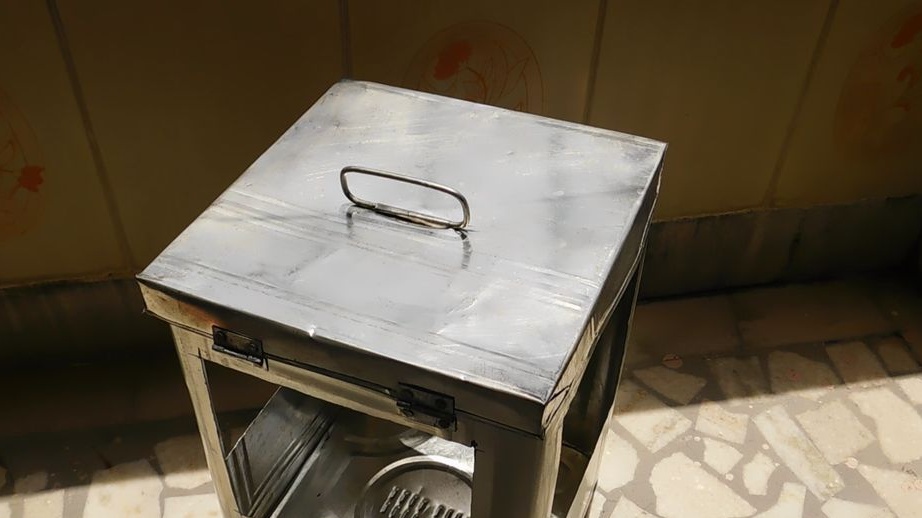
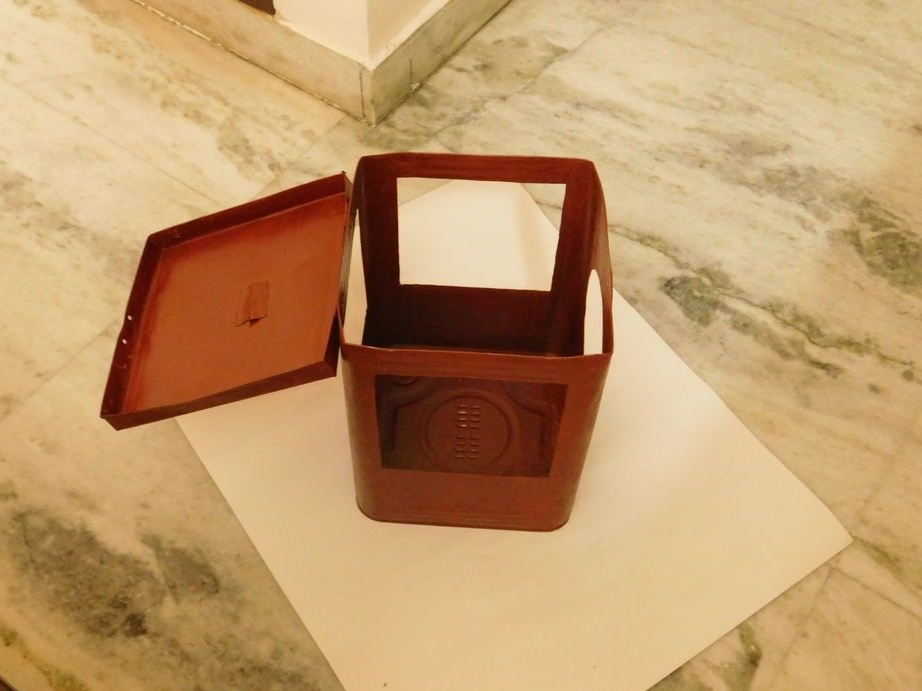
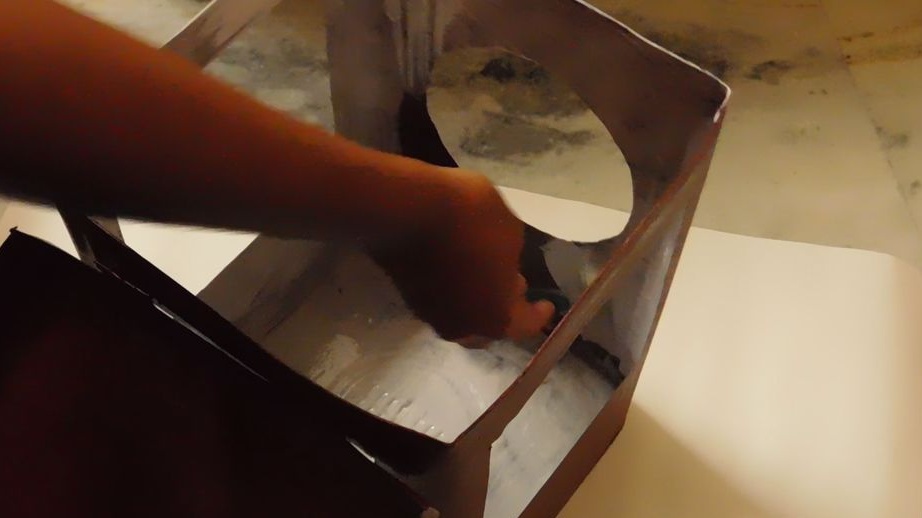
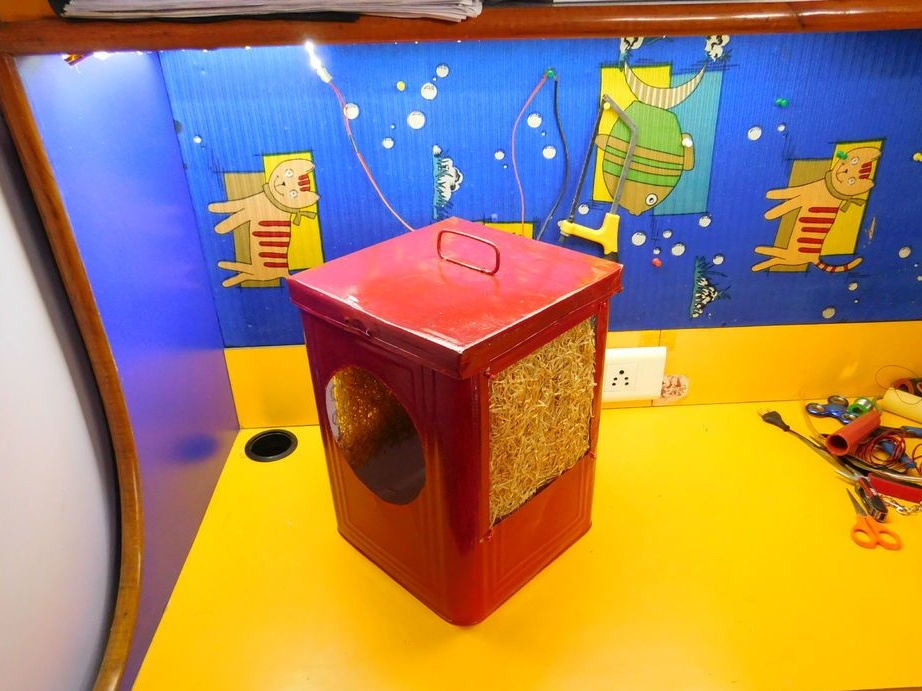
Step One: The Case
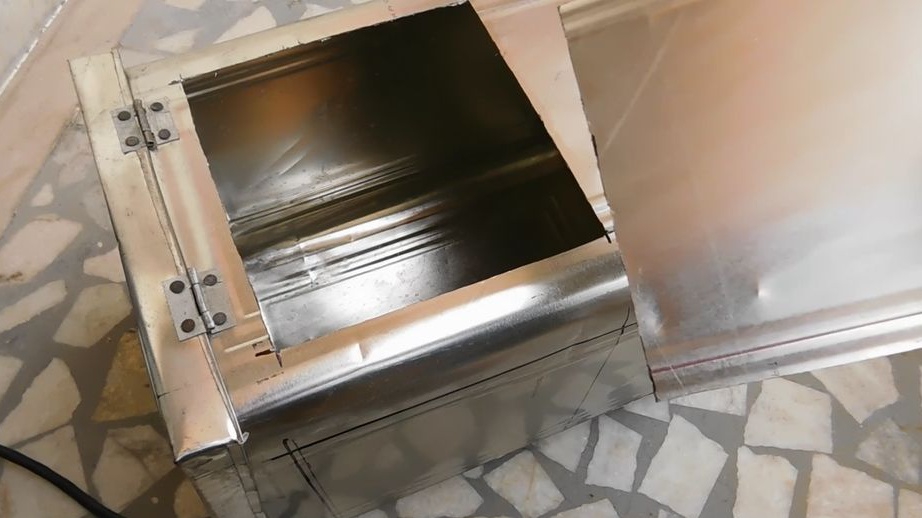
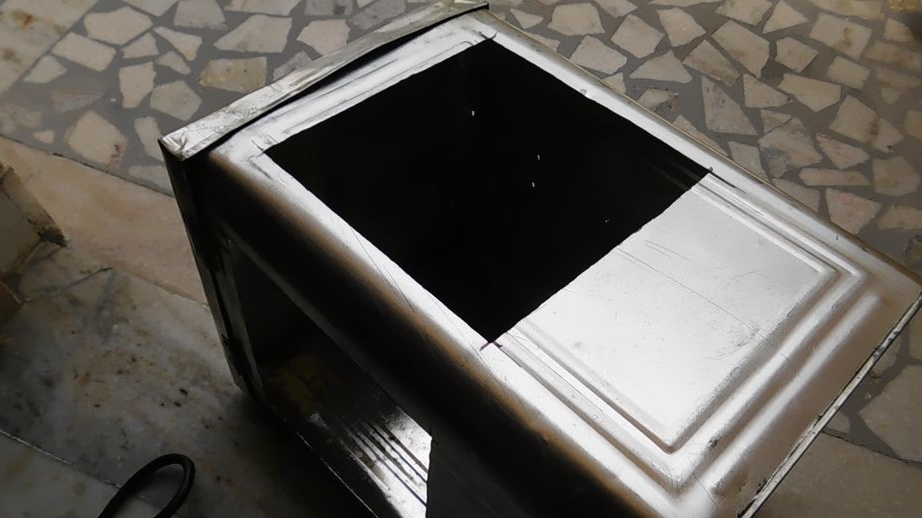
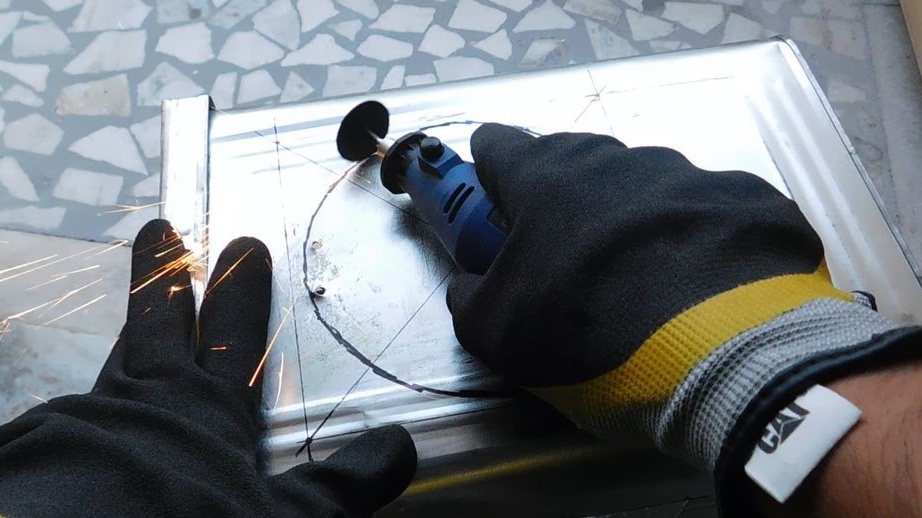
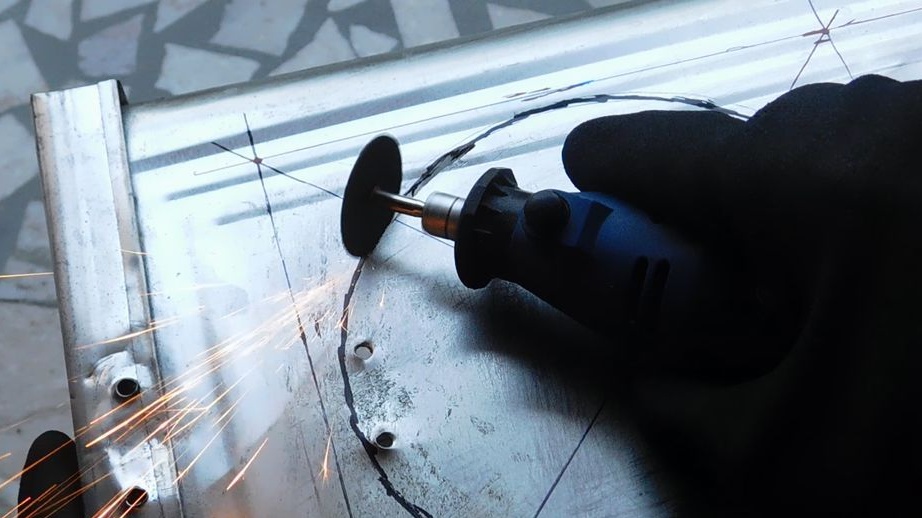
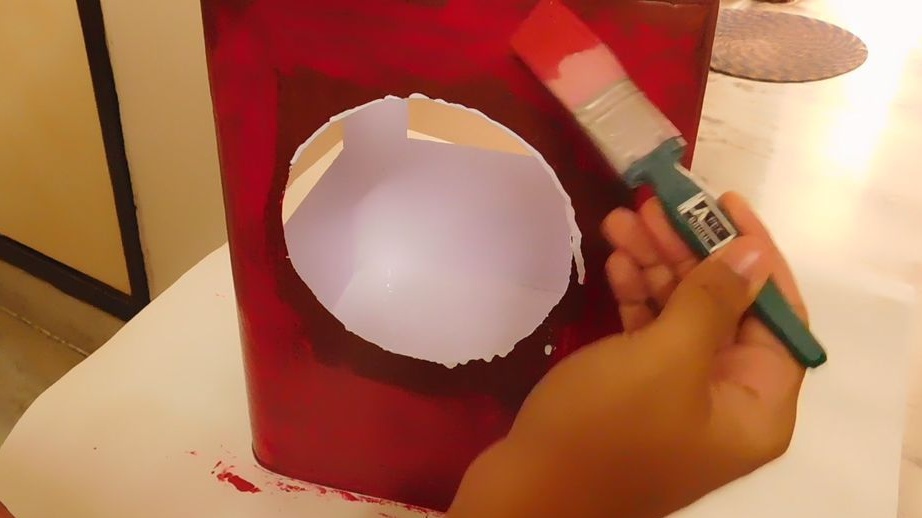
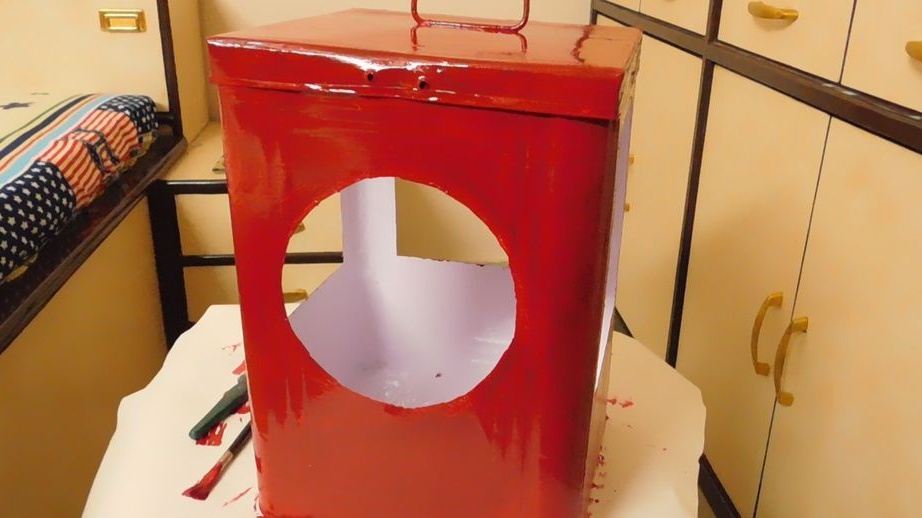
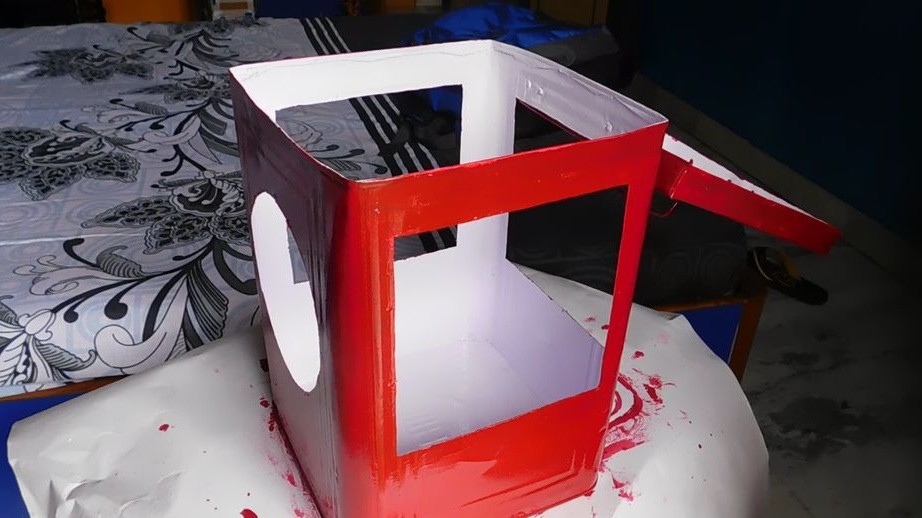
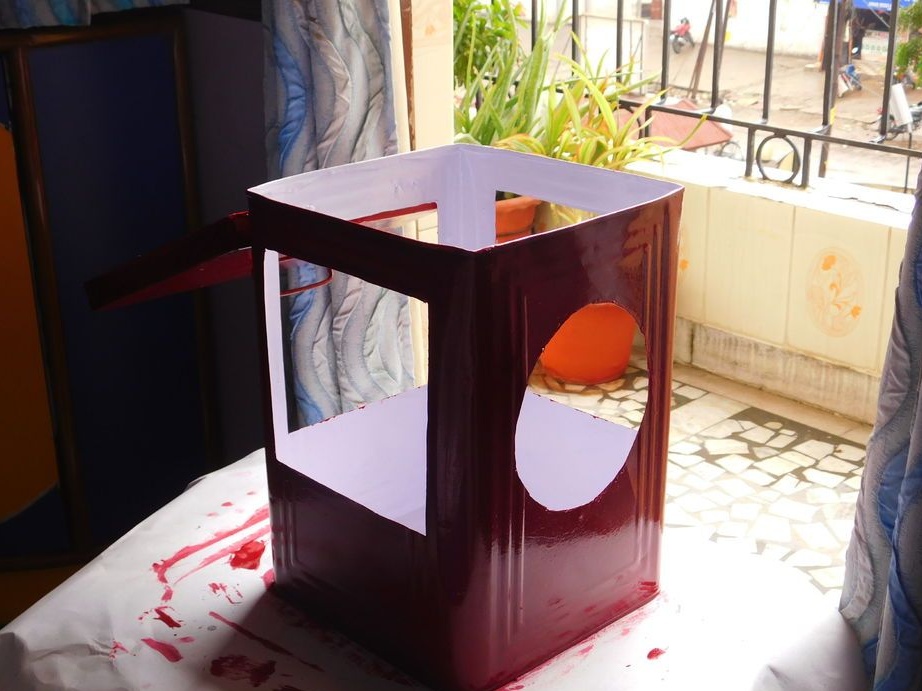
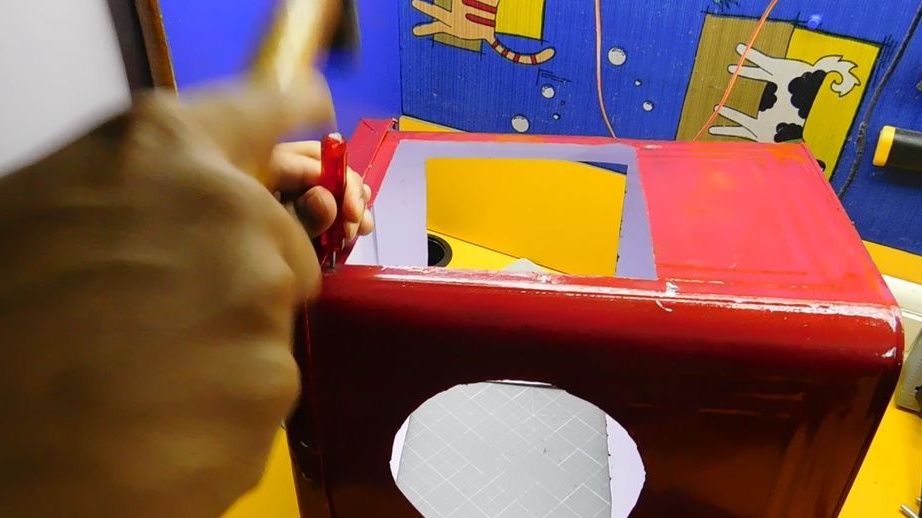
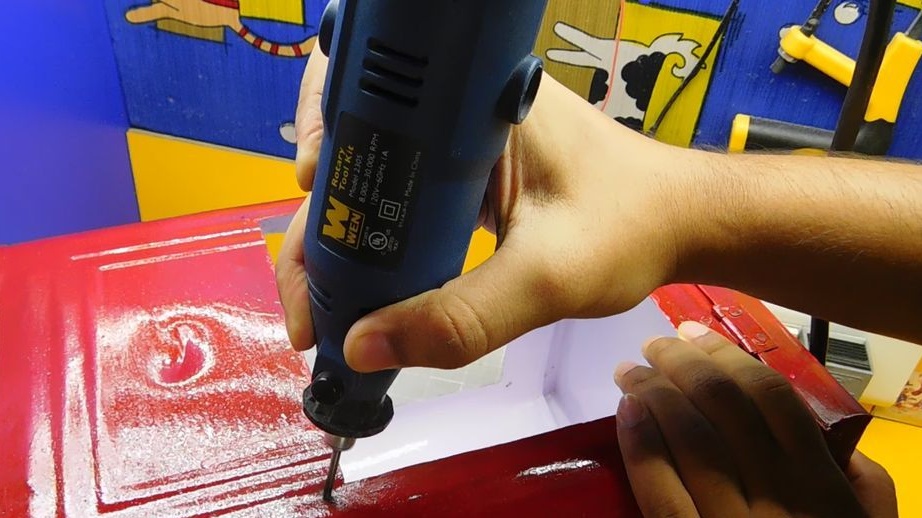
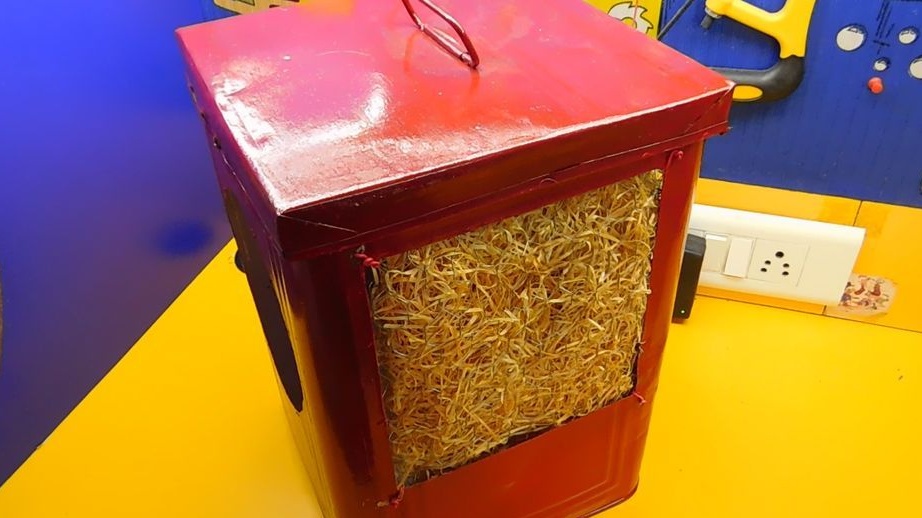
The body was made by a master from a metal box 32.5 * 22 * 22 cm high. He makes markings. Slightly stepping back from above, cuts out 17 * 17 cm squares on three sides. On the fourth side, cuts a round hole. The diameter of the hole is 2-3 cm larger than the diameter of the blades.
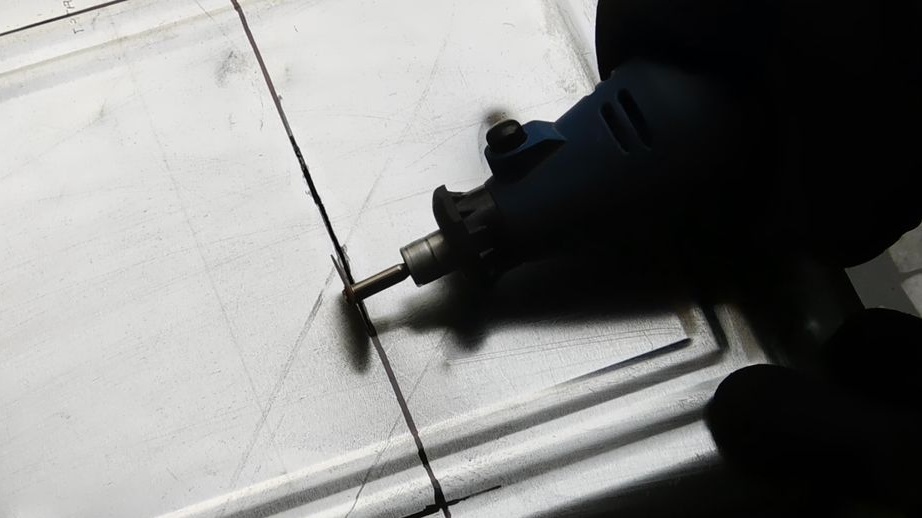
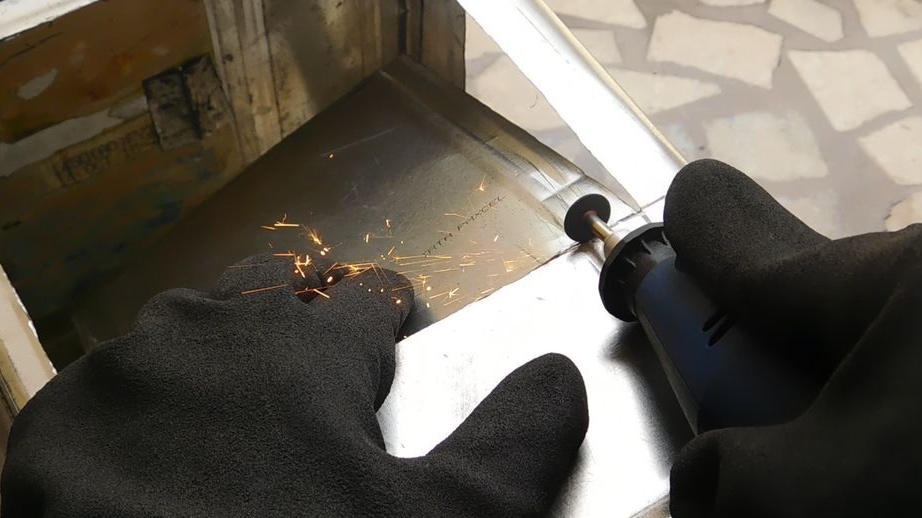


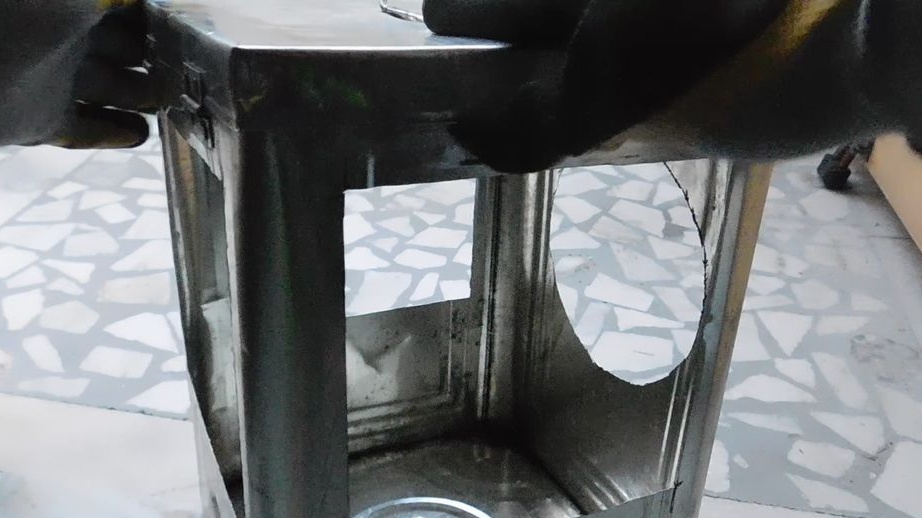
Sandpaper removes burrs around the edges.
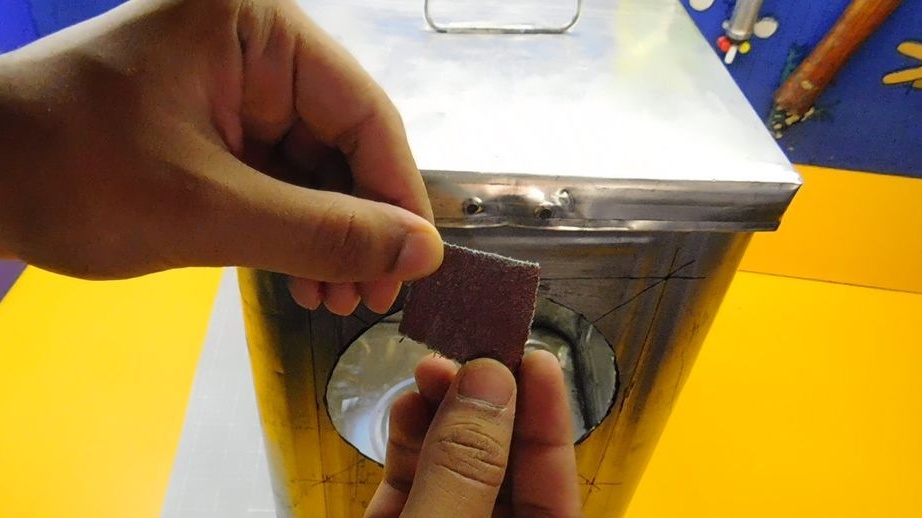
Washes with detergent and dries.
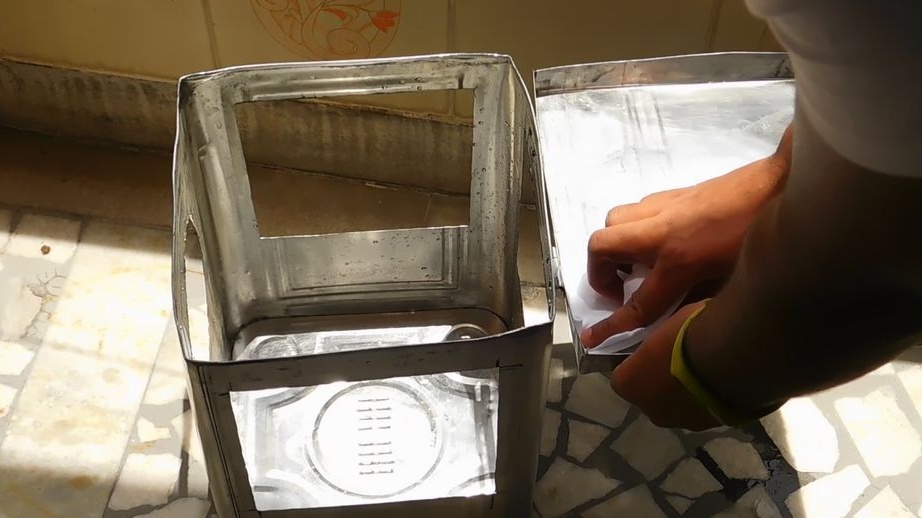
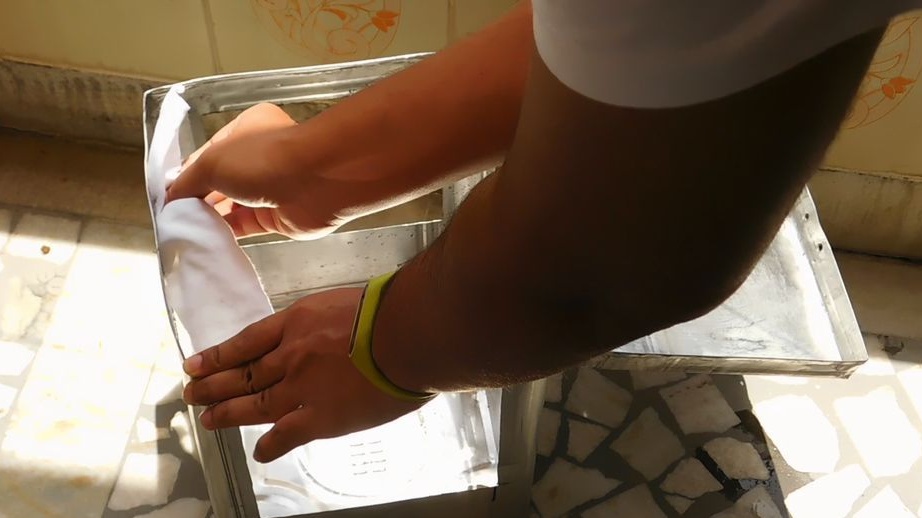
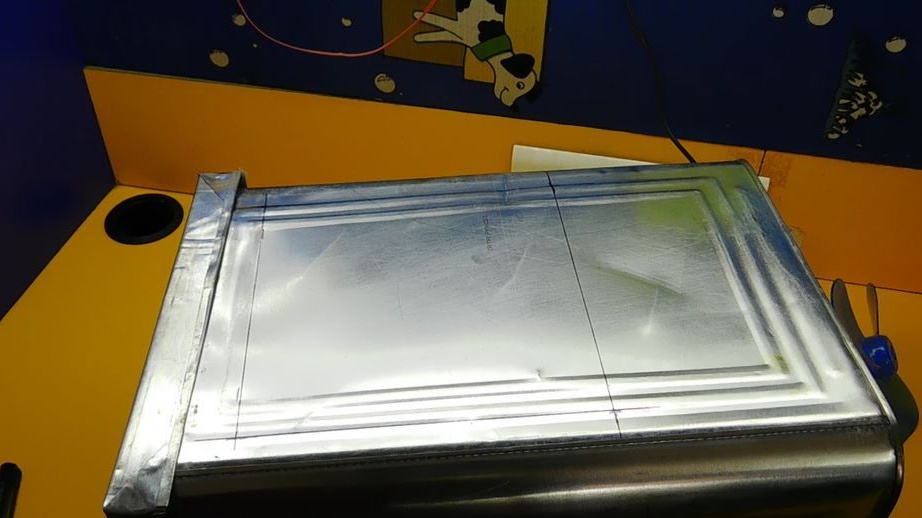
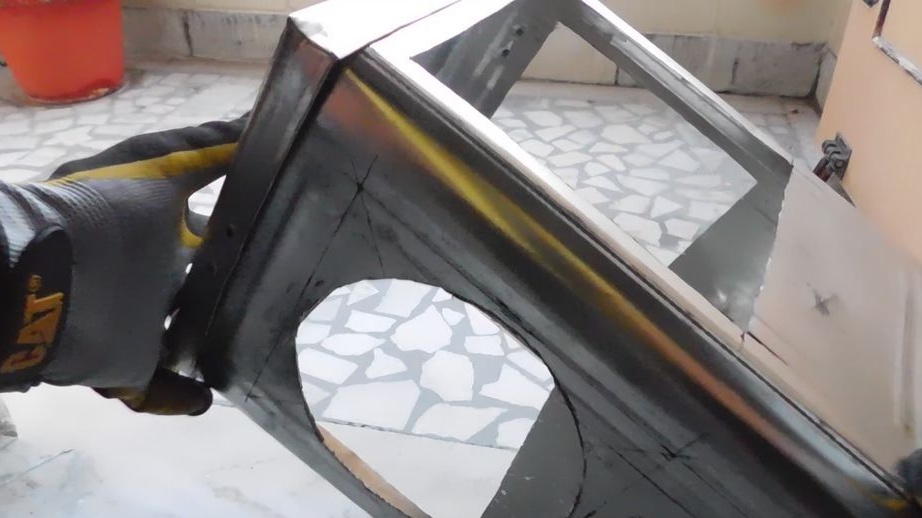
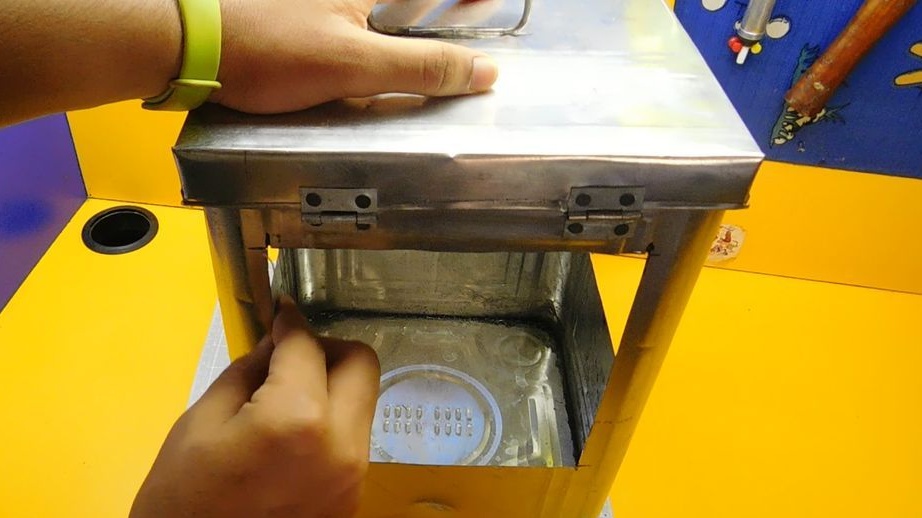
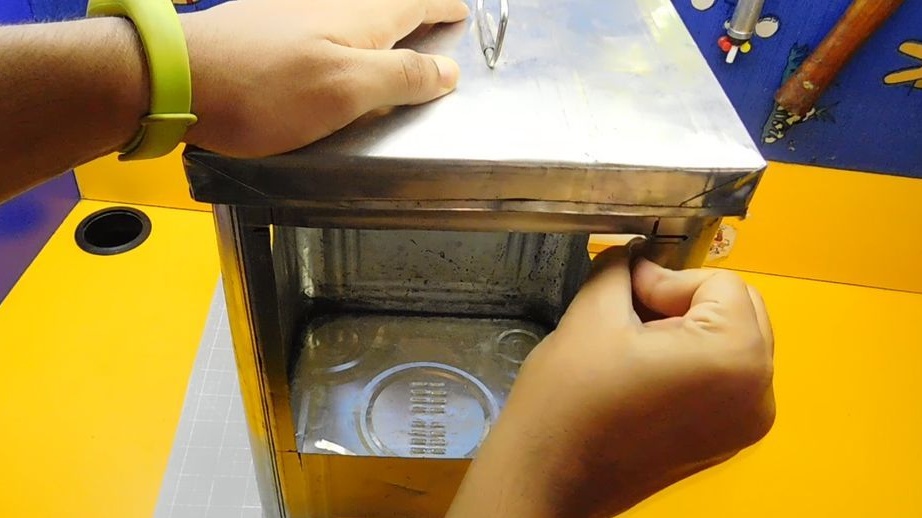
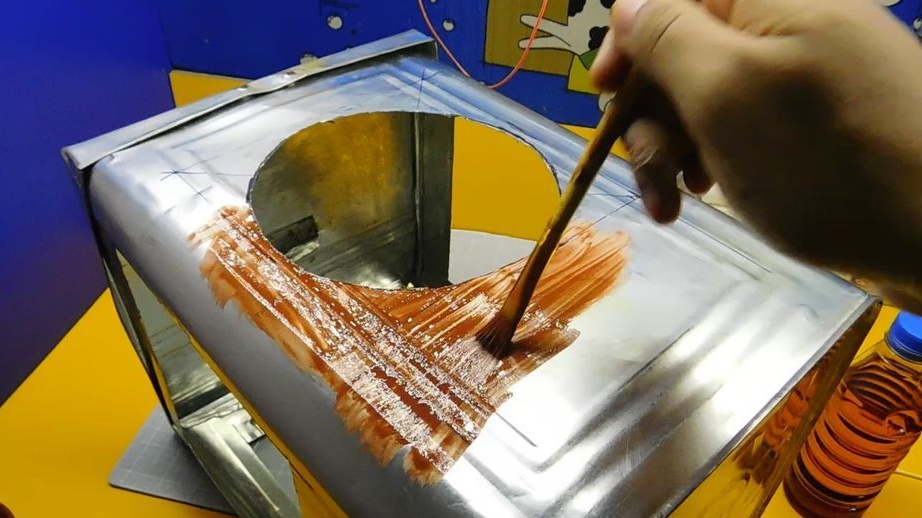
Step Two: Painting
The evaporator body will constantly come in contact with moisture. To protect the case, the master covers it with a primer. The primer is applied in two layers. Drying time between layers 12 hours.
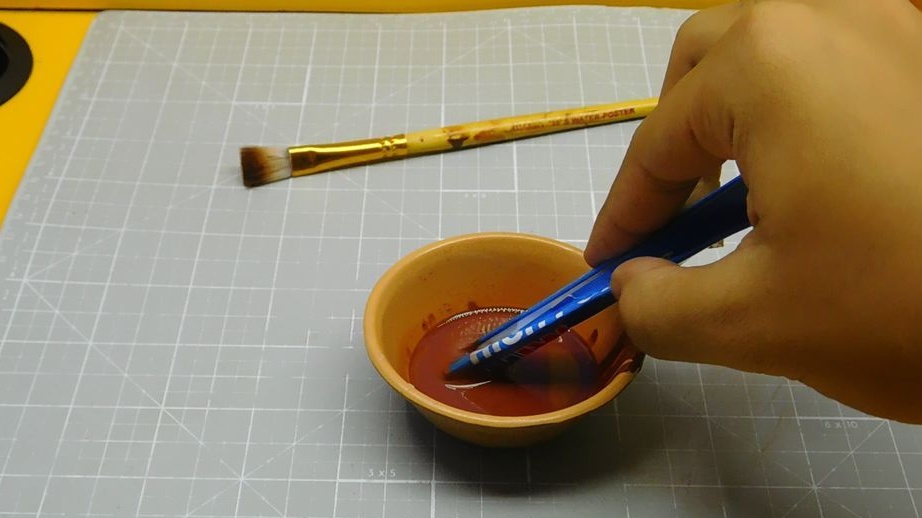
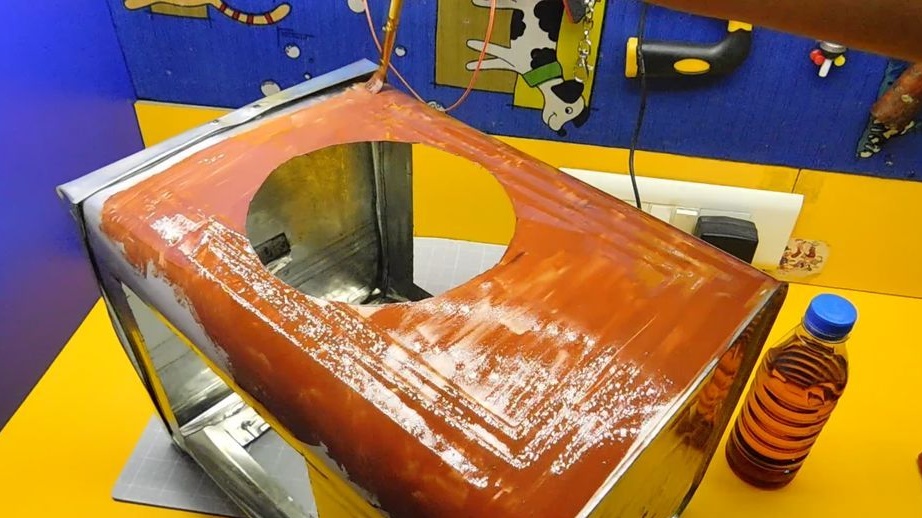
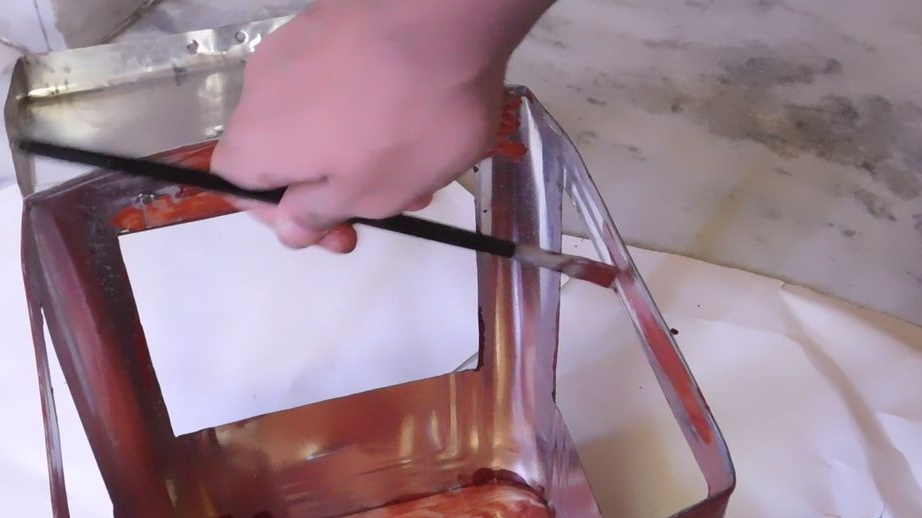
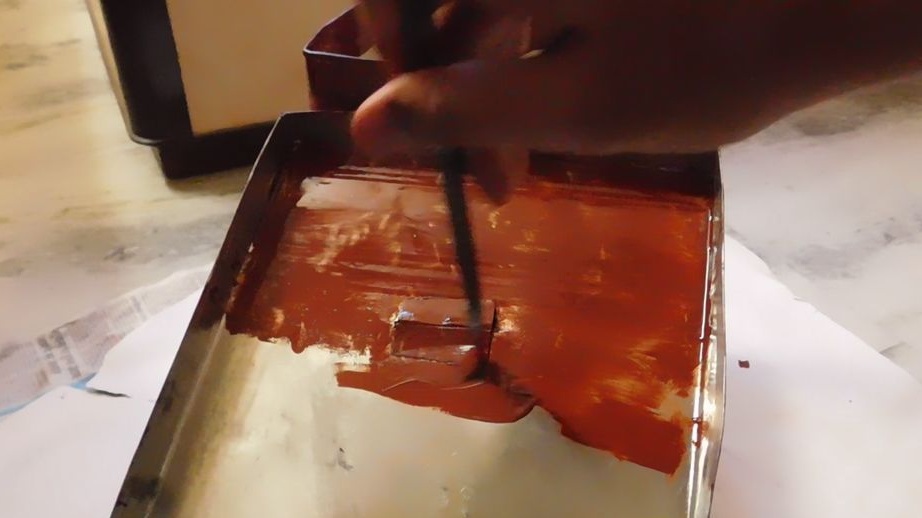

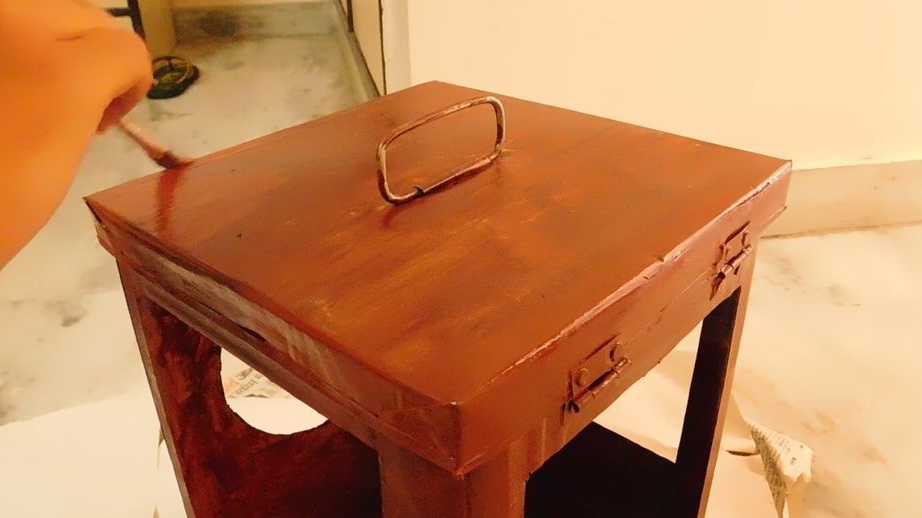
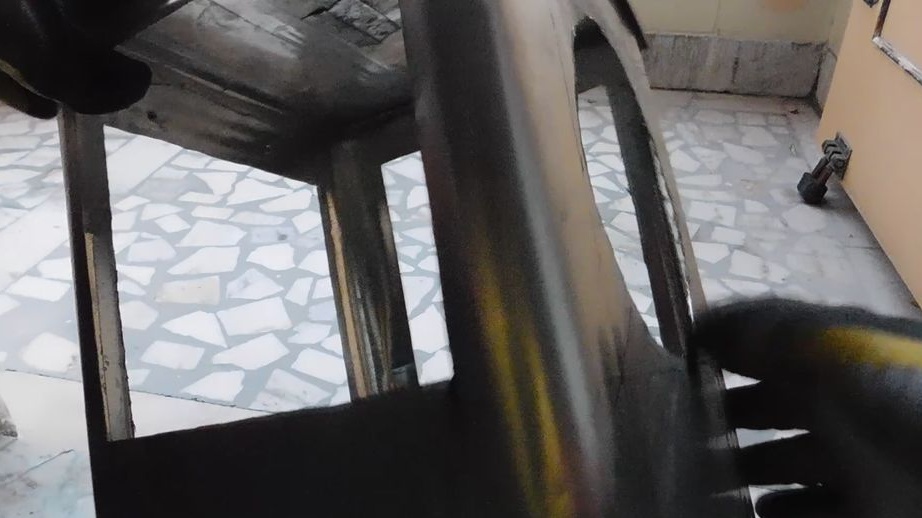
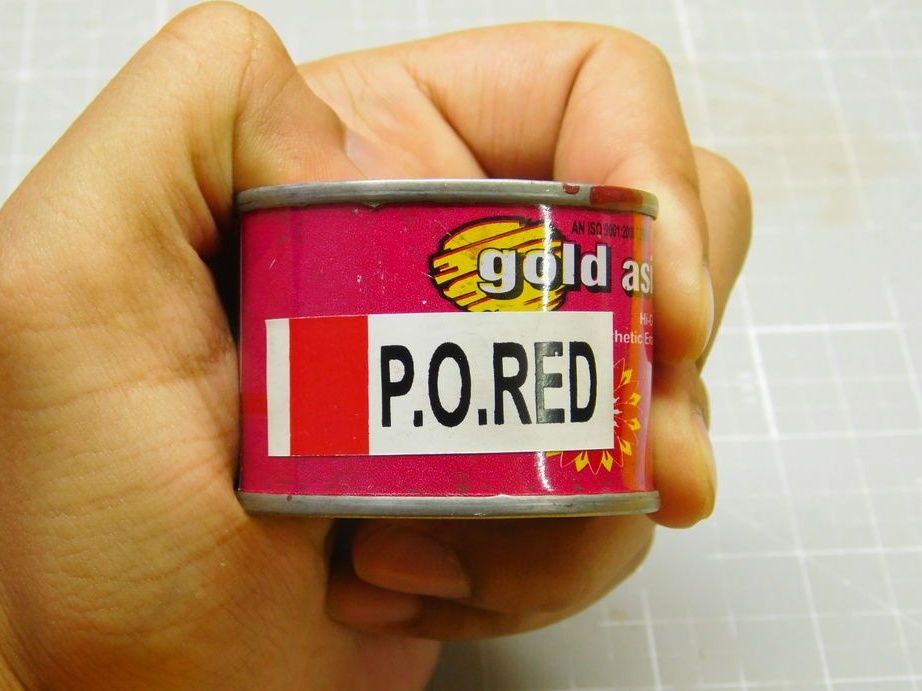
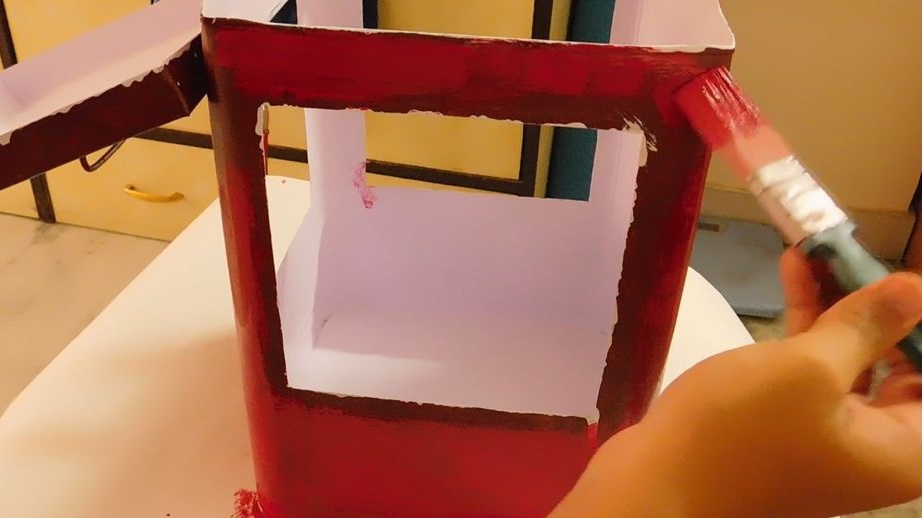
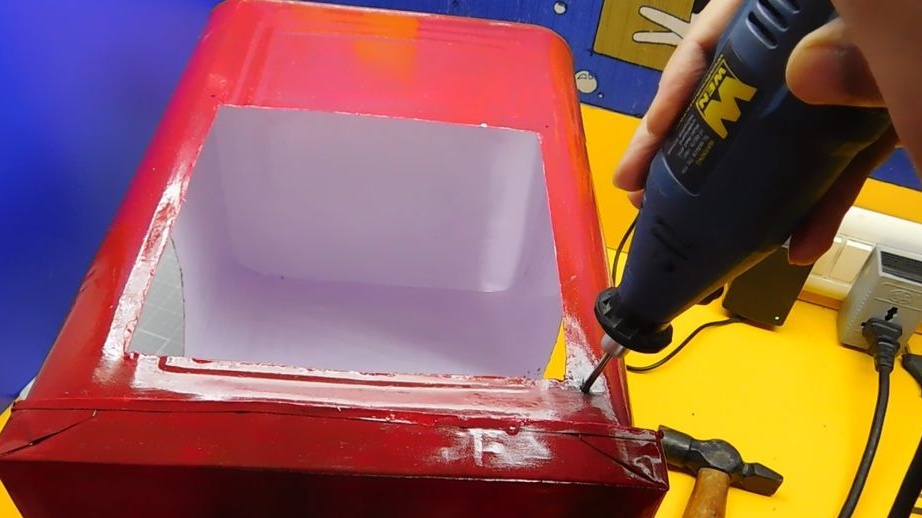
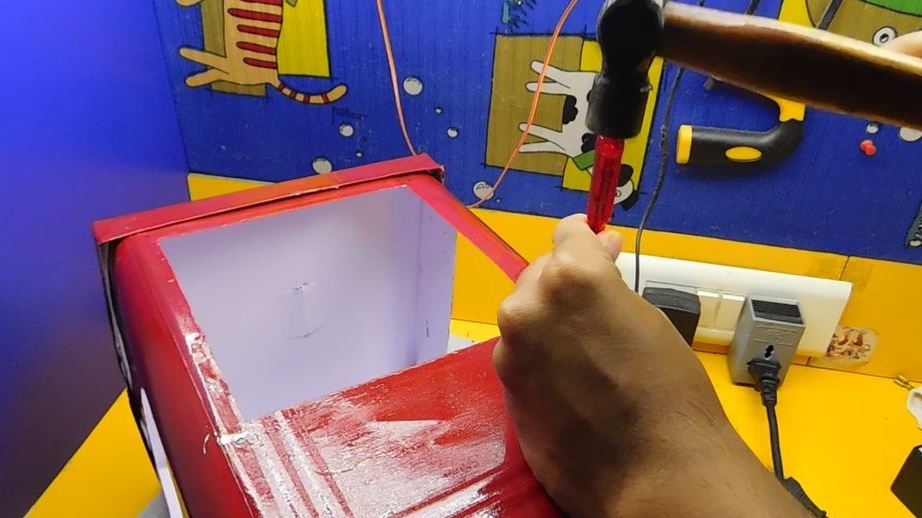
After drying, the primer stains in two layers. Drying time is also 12 hours.Inside colors in white.
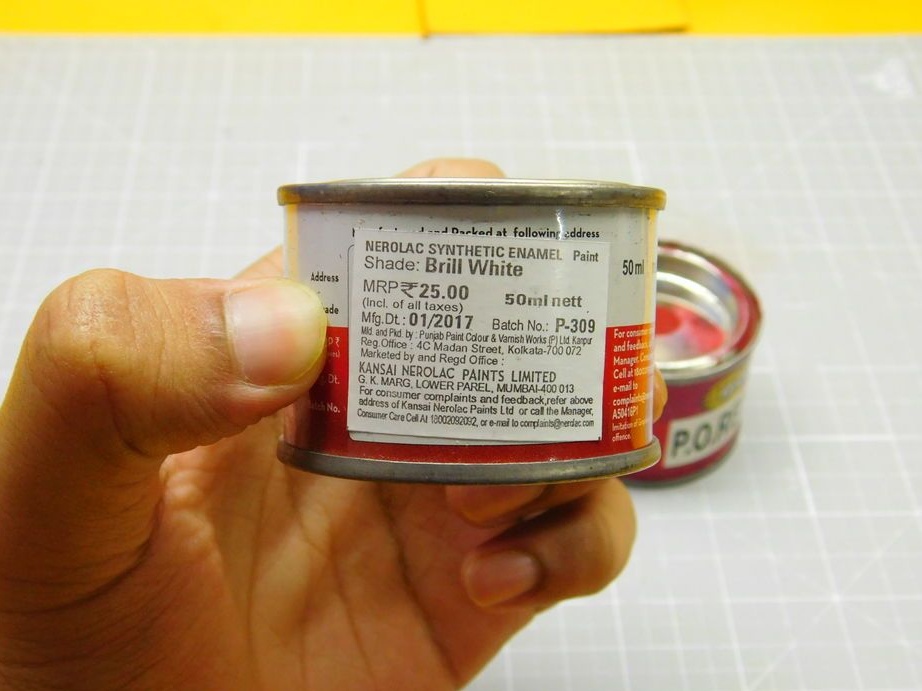
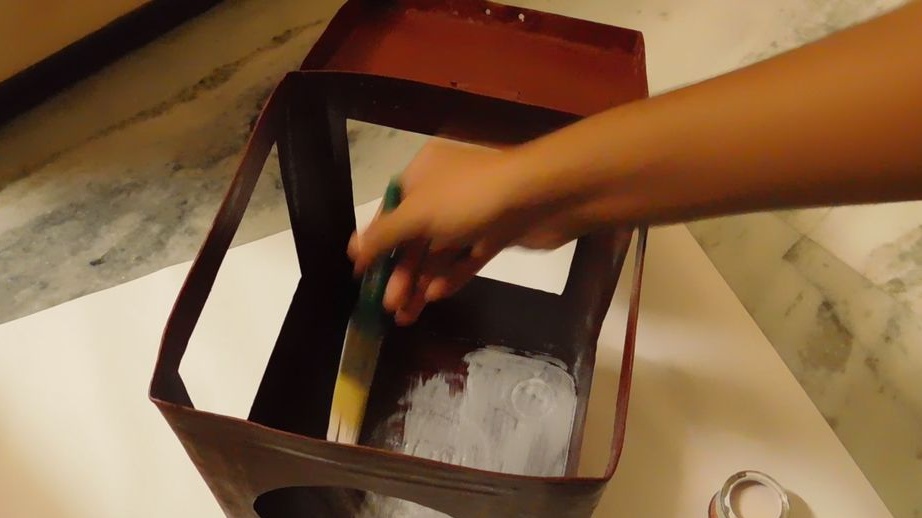
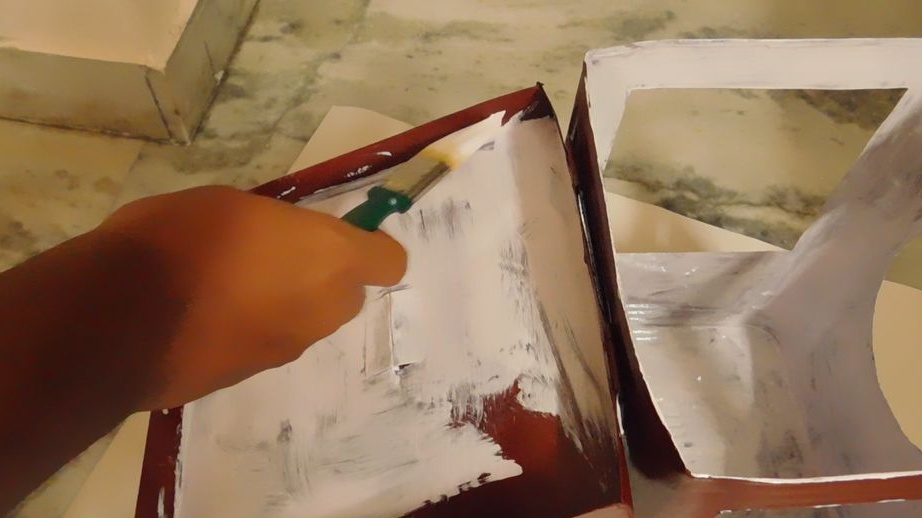
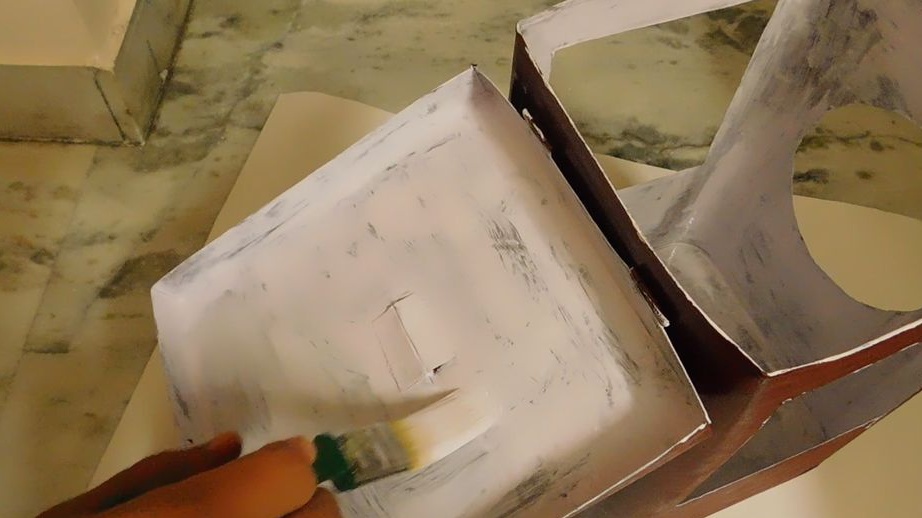
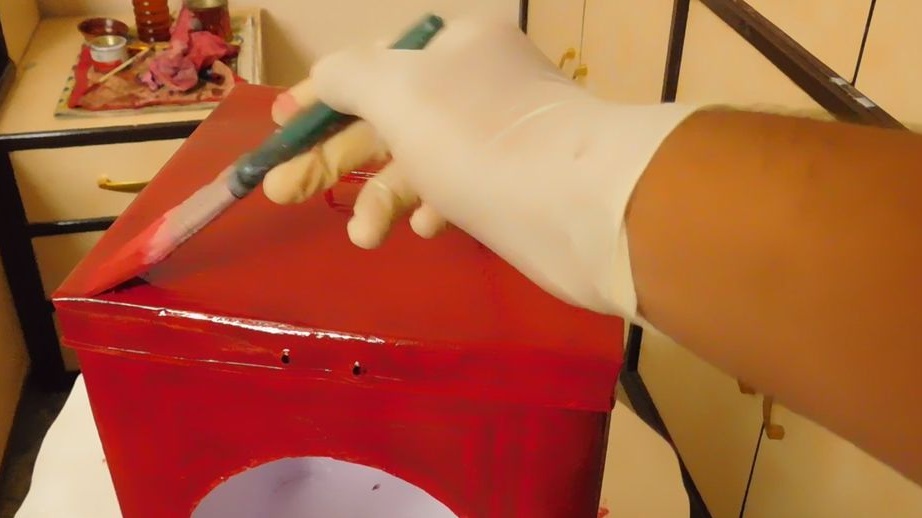
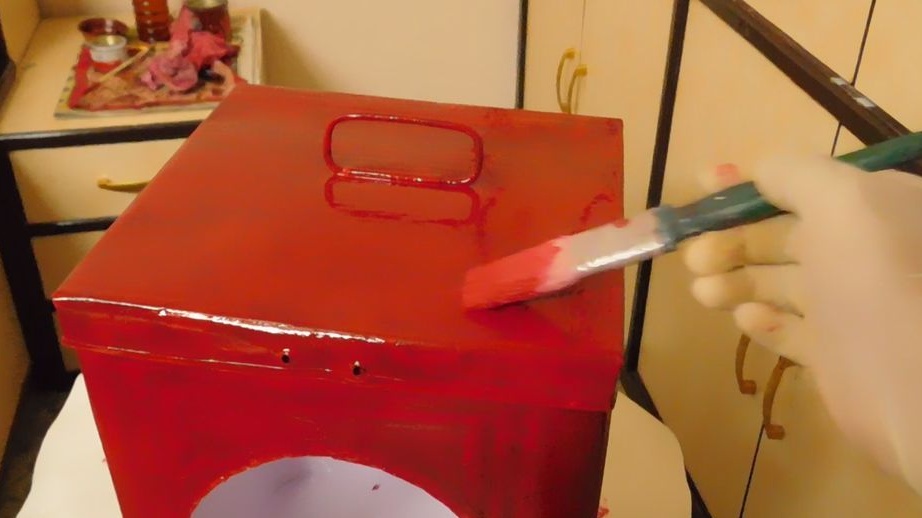
Outside in red.


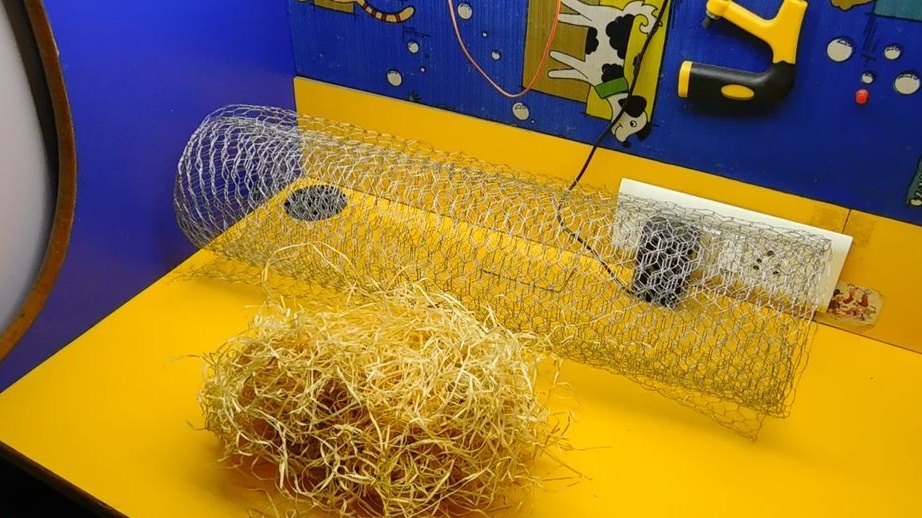
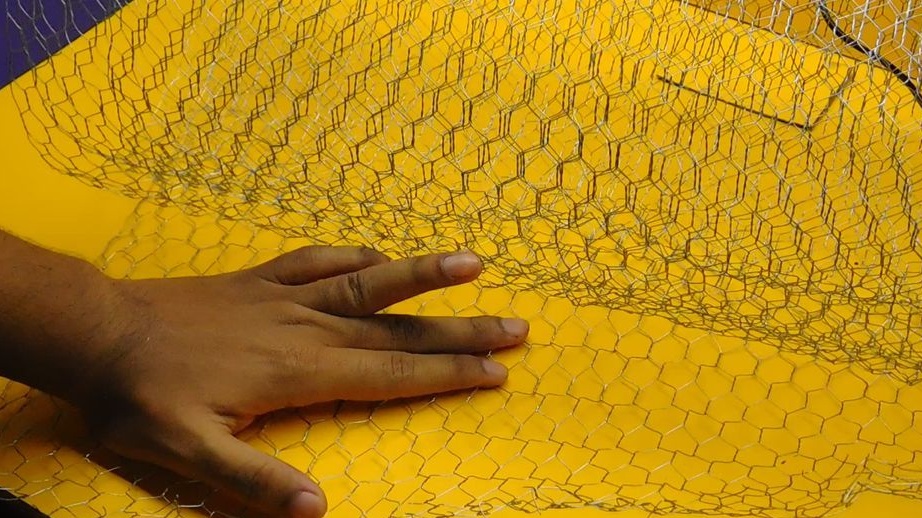
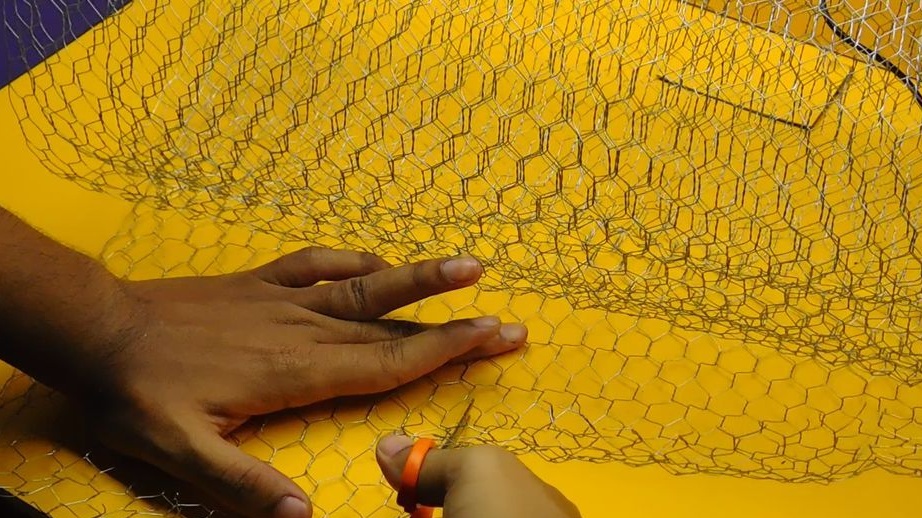
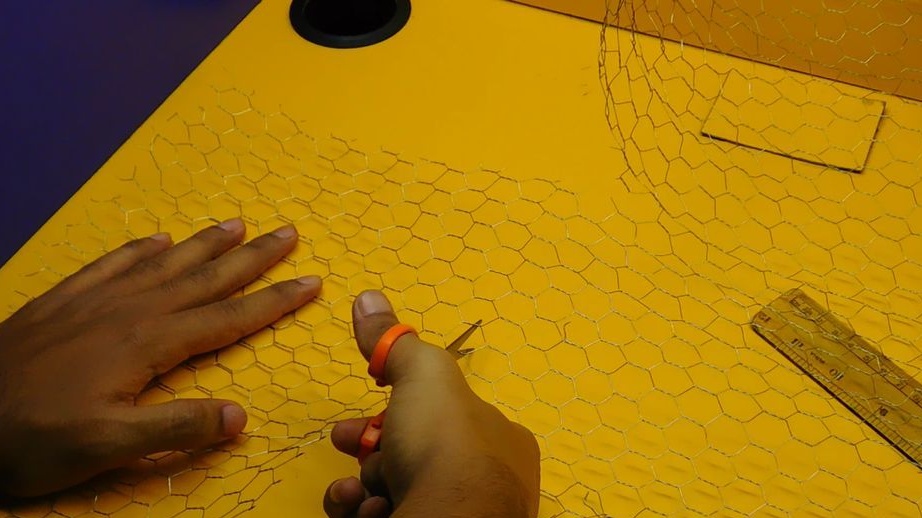
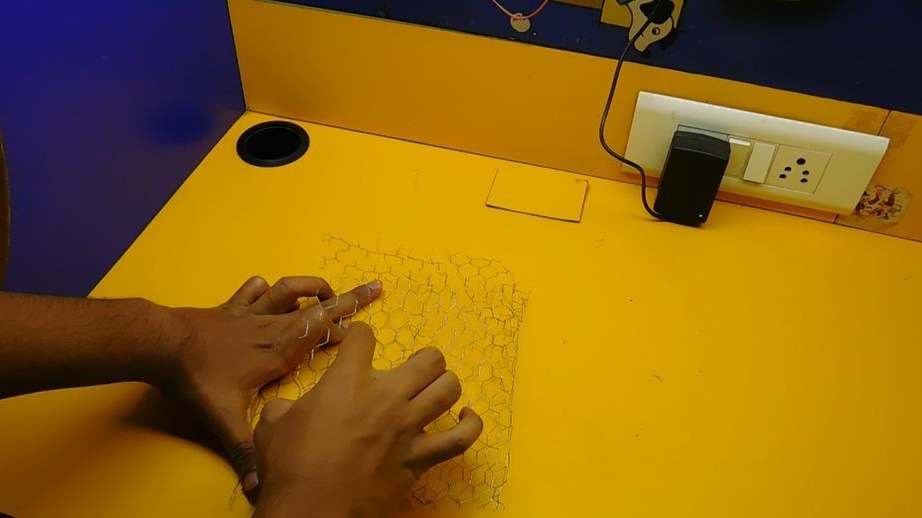
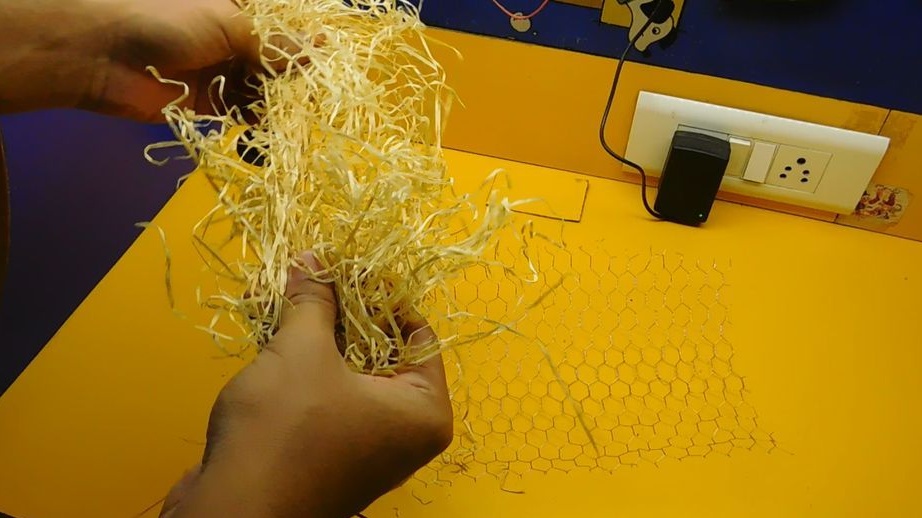
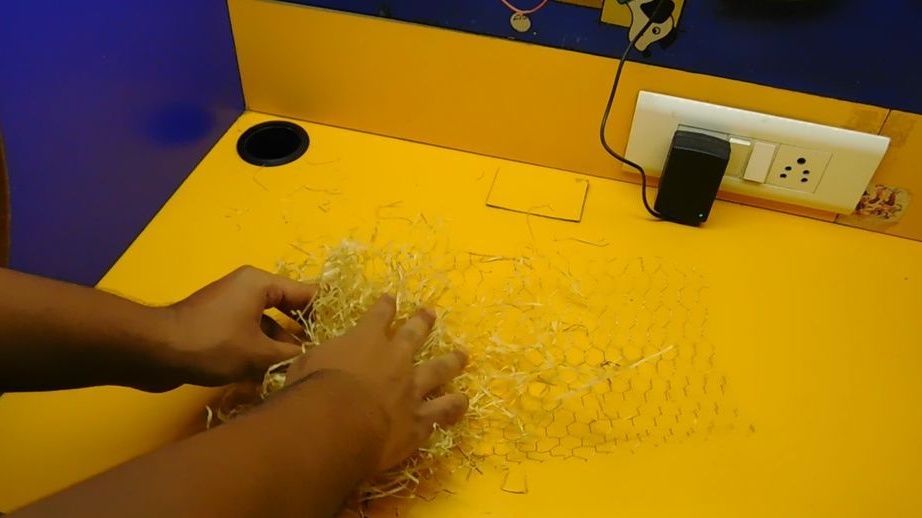
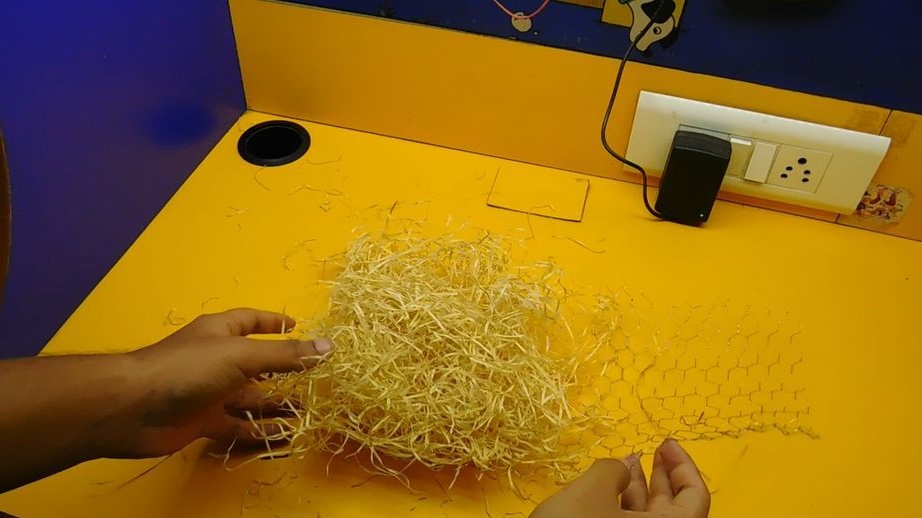
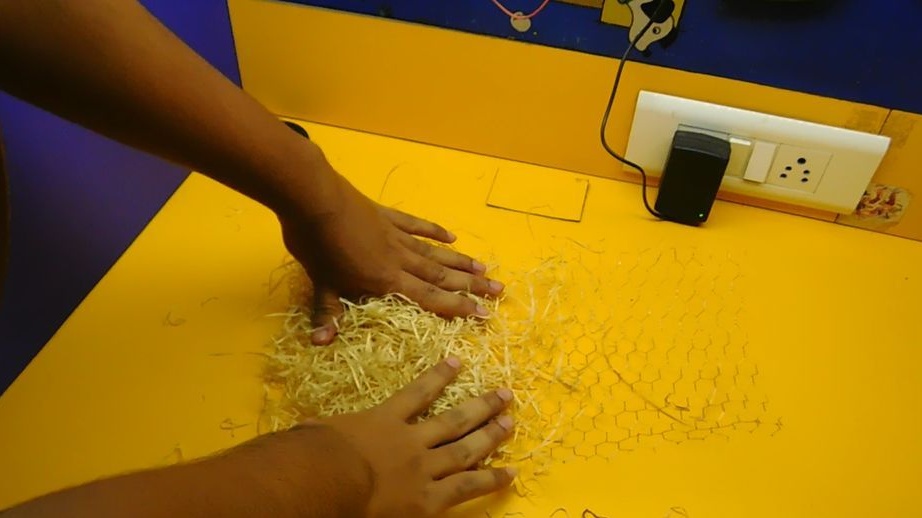
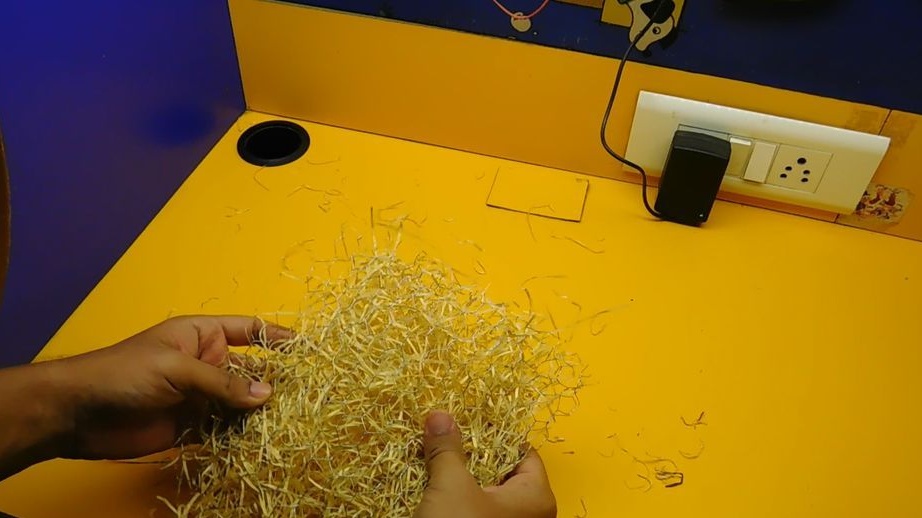
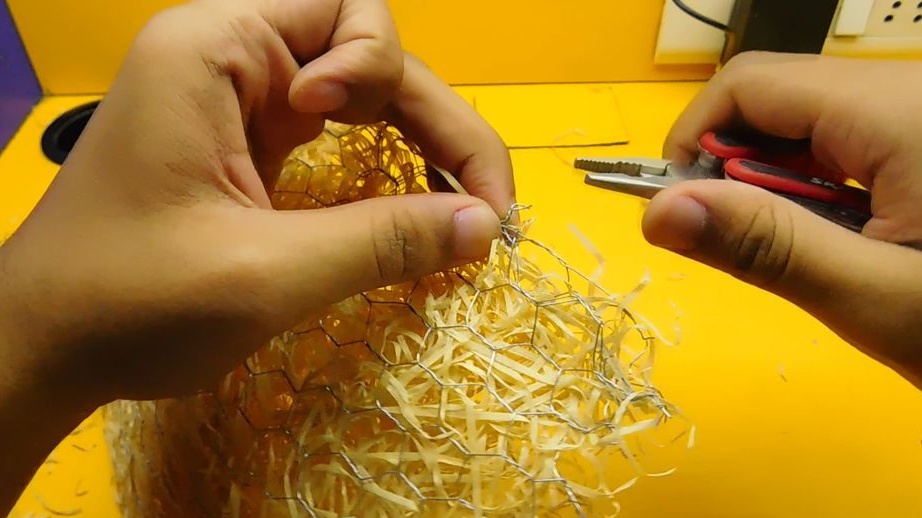
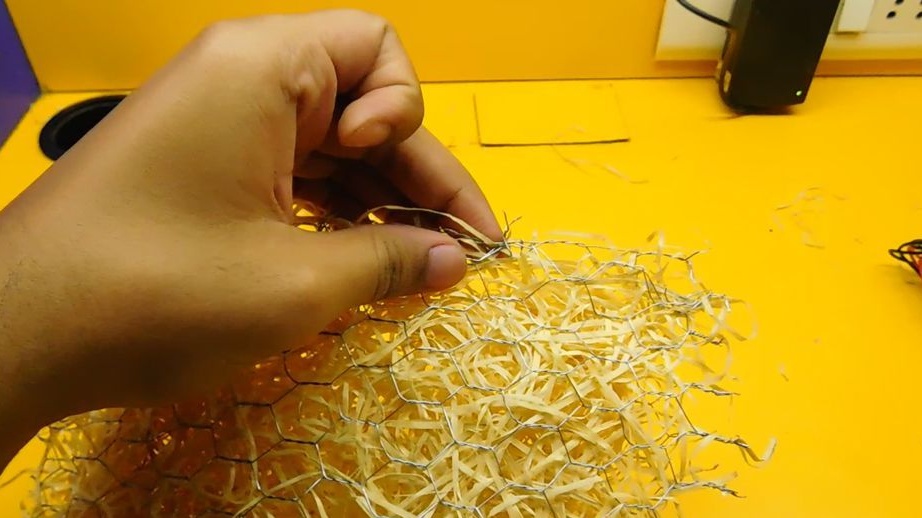
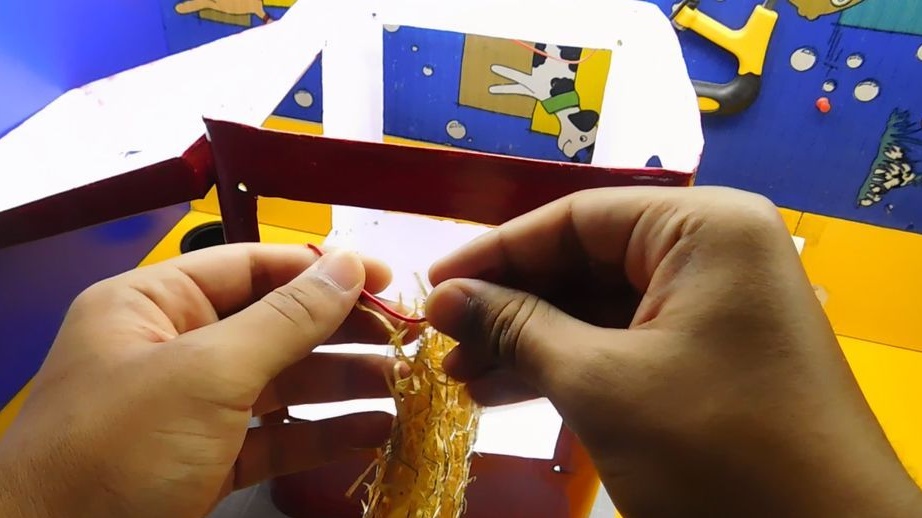
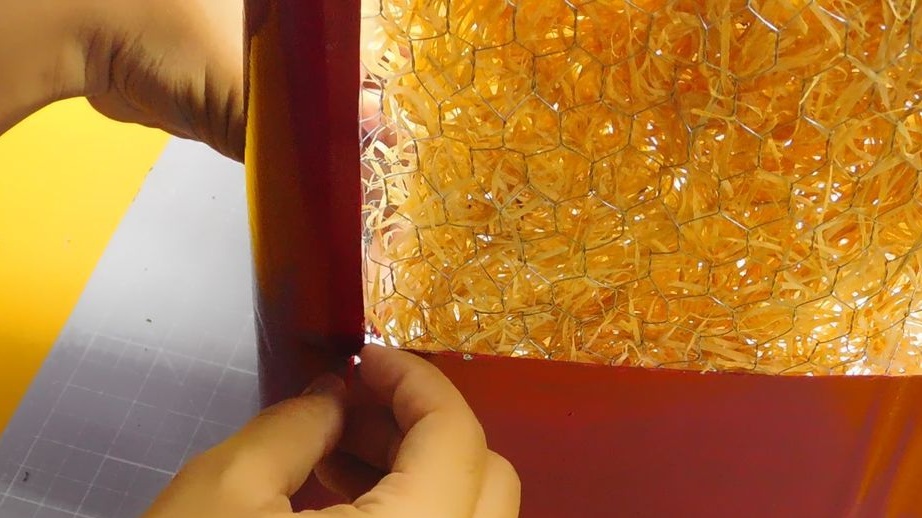
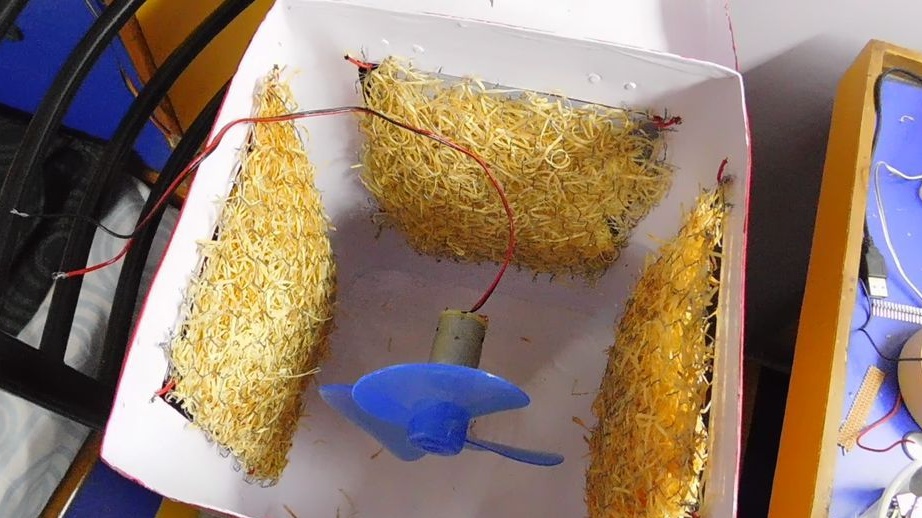
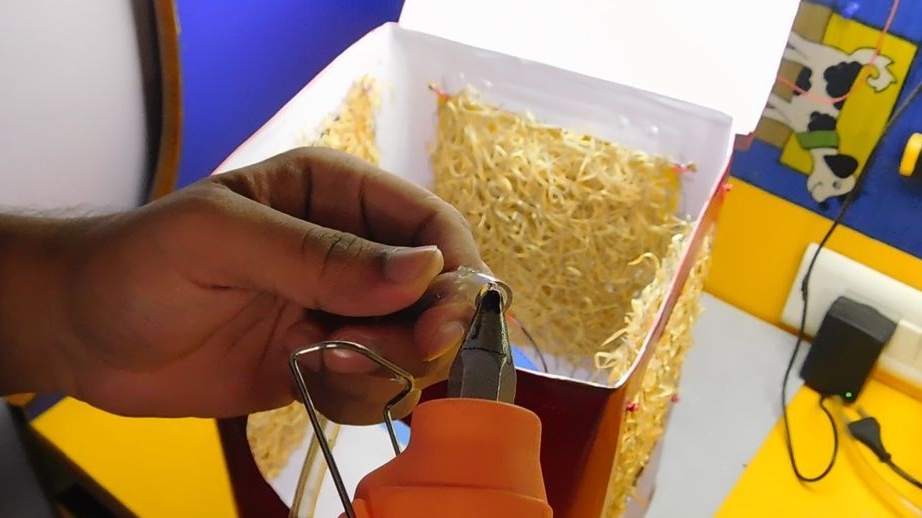
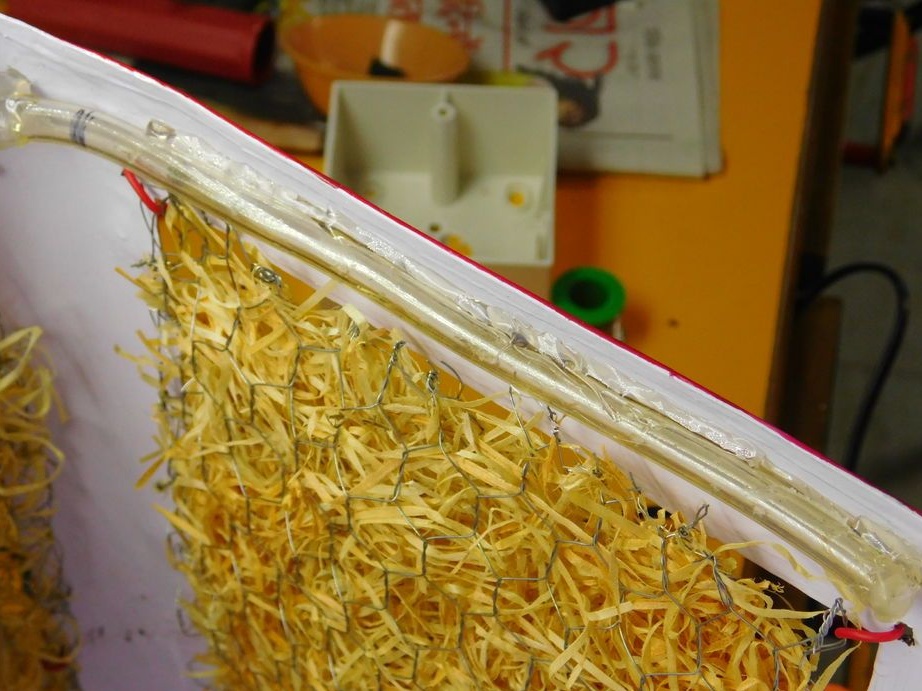
Step Three: Filter
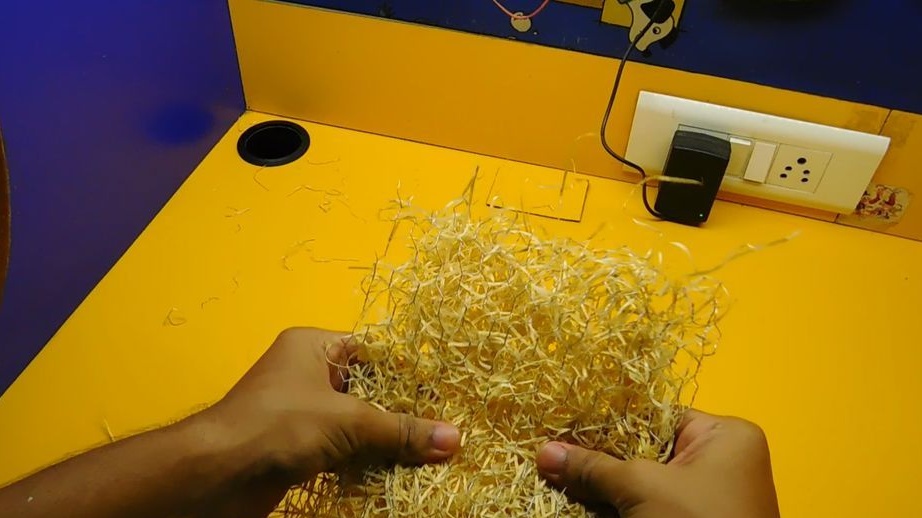
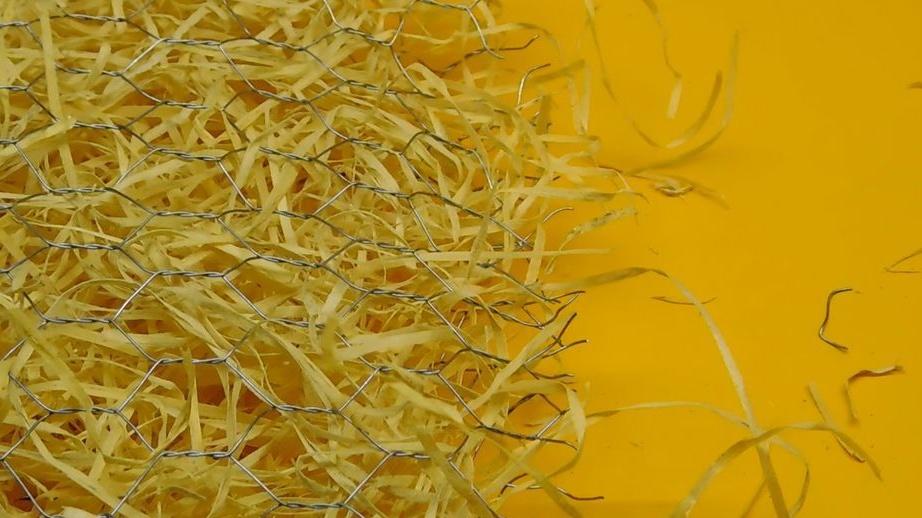
Then the master makes a filter. As a filler, the master uses the dried grass Khus. Hus is an herb that grows in some states of North India.
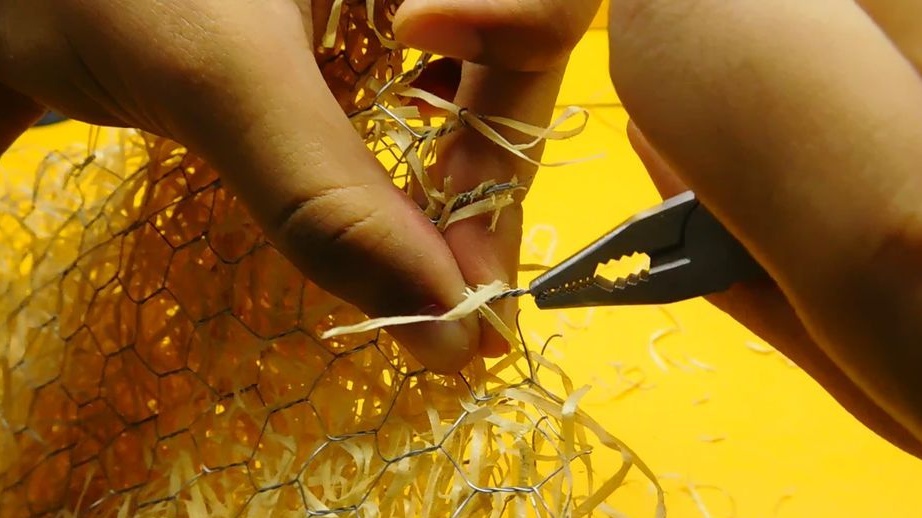
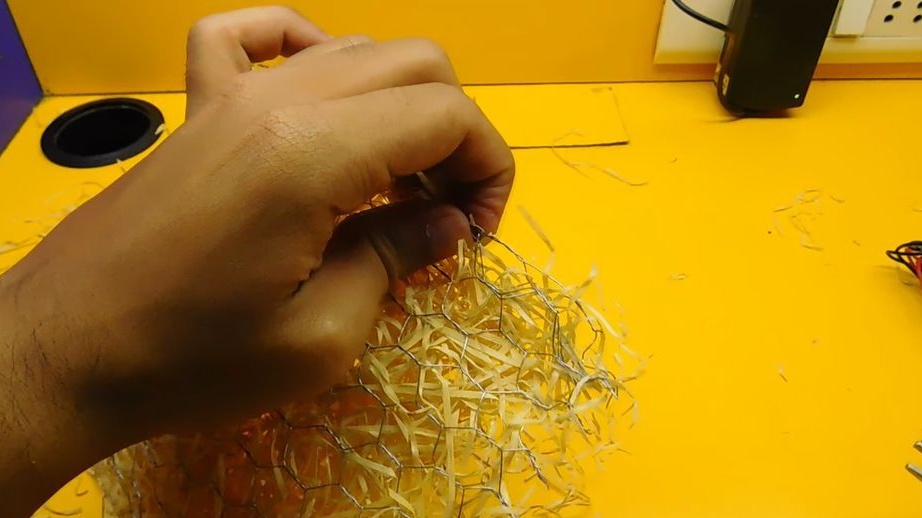
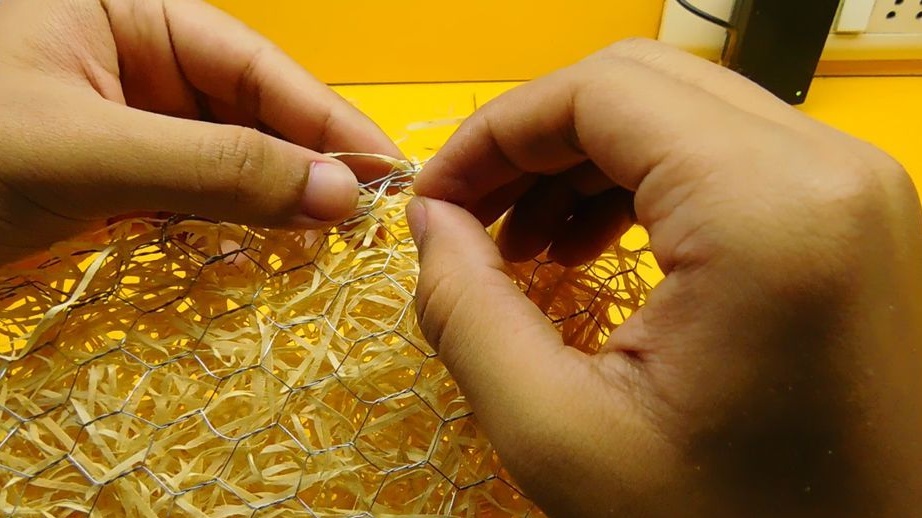
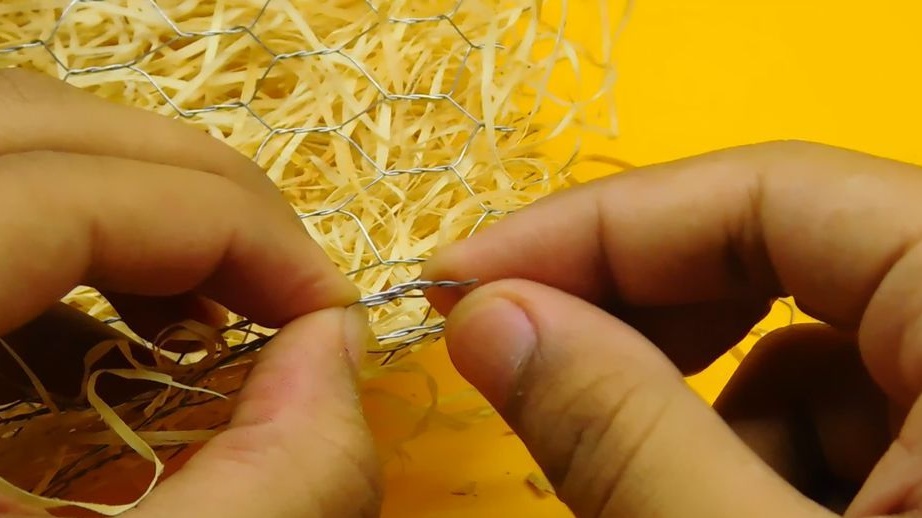
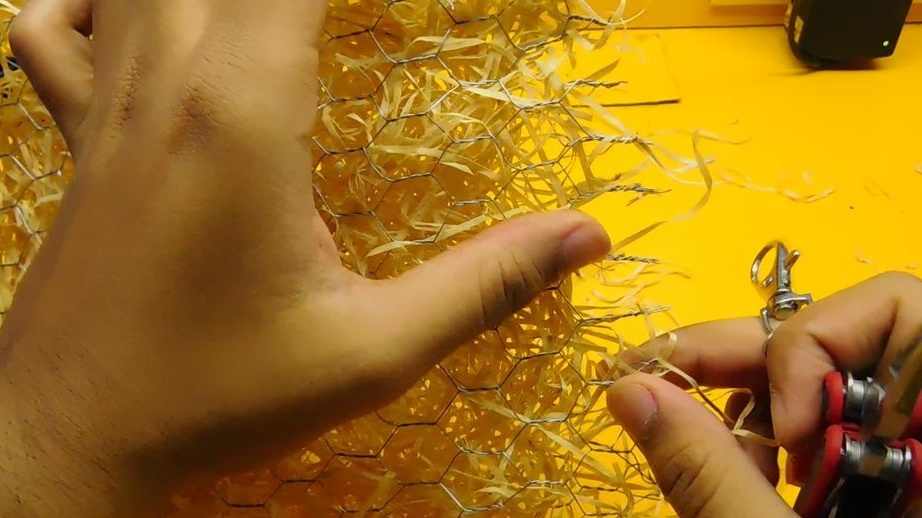
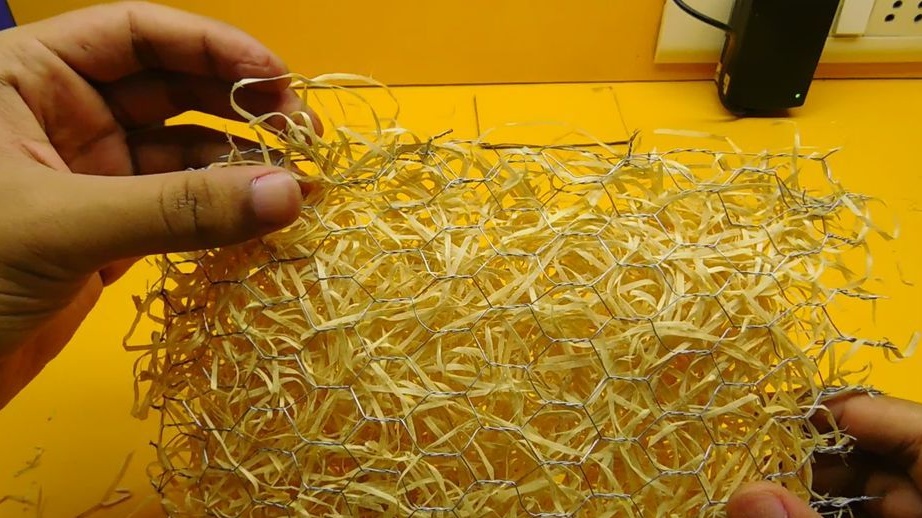
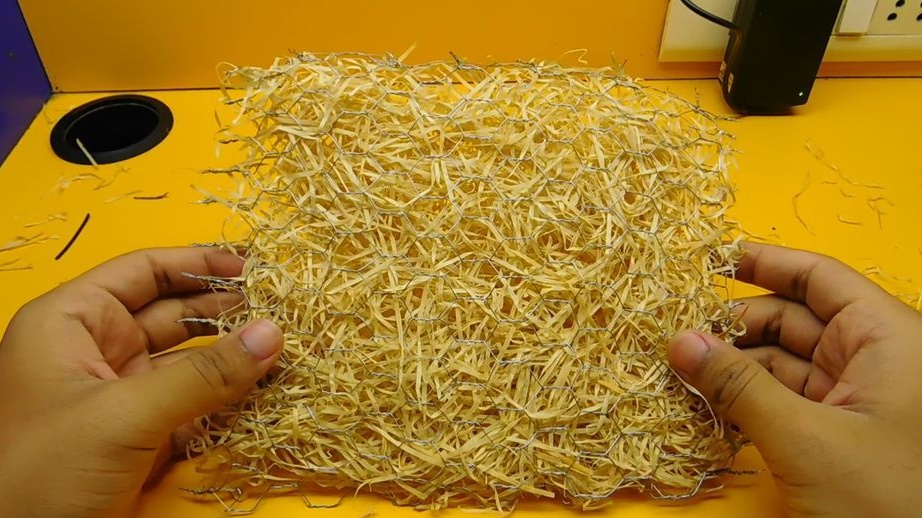
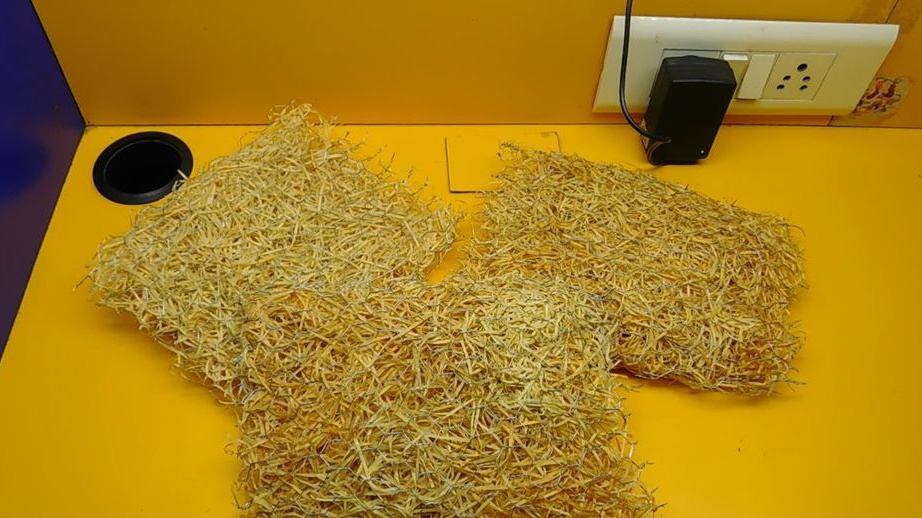
Cut a piece of mesh 40 * 20 cm. Bends it in half. Lays grass inside. The edges of the filter are wired. The cooler needs three of these filters.

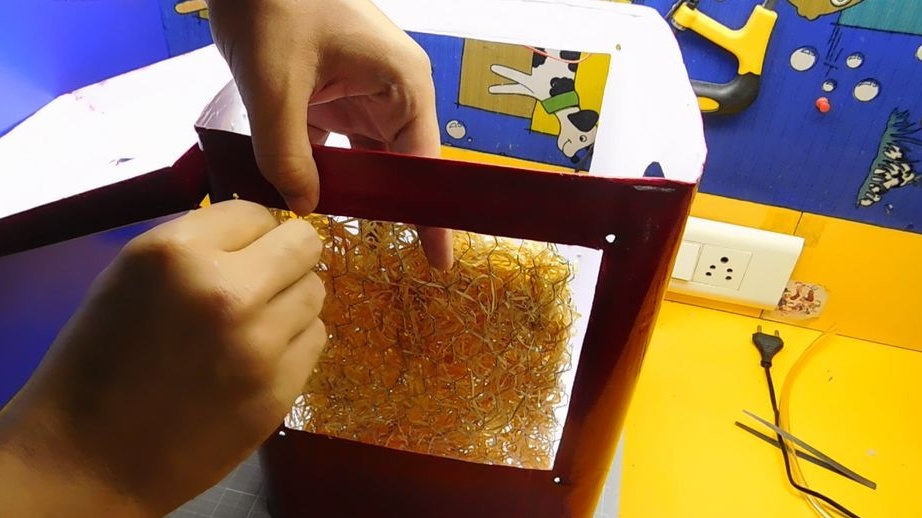
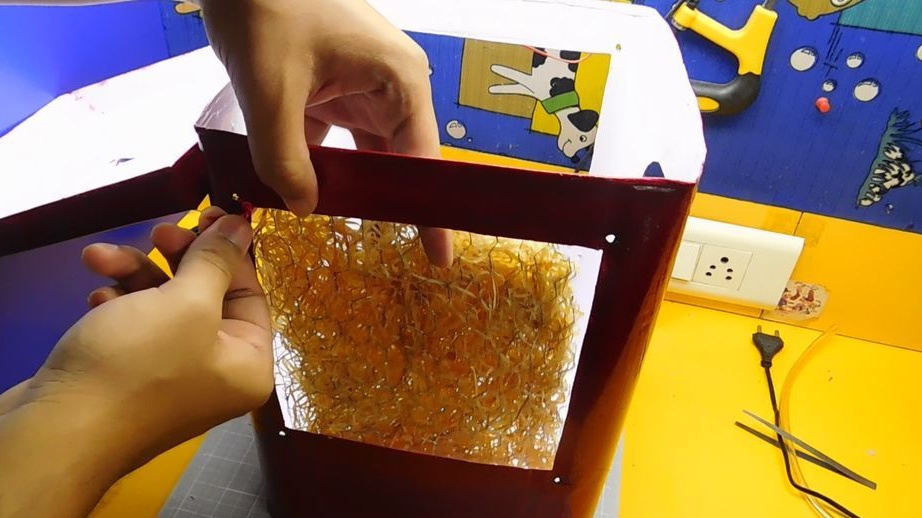
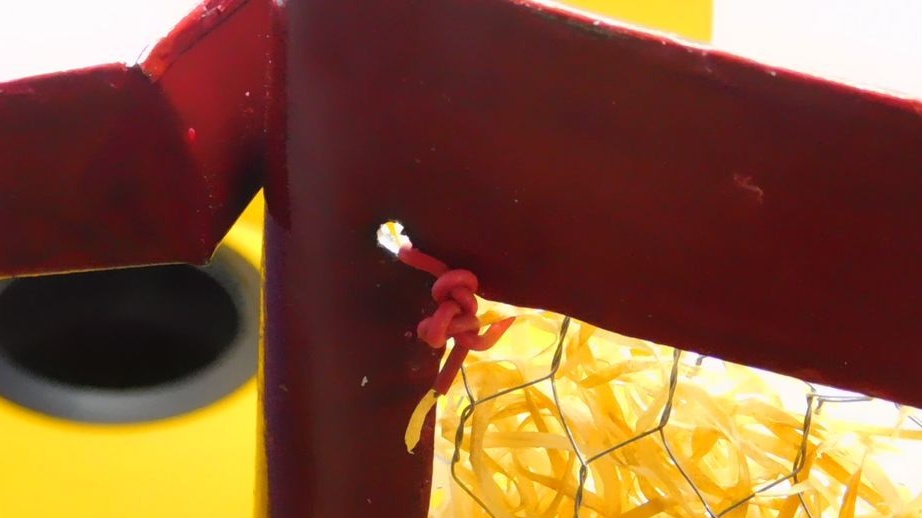
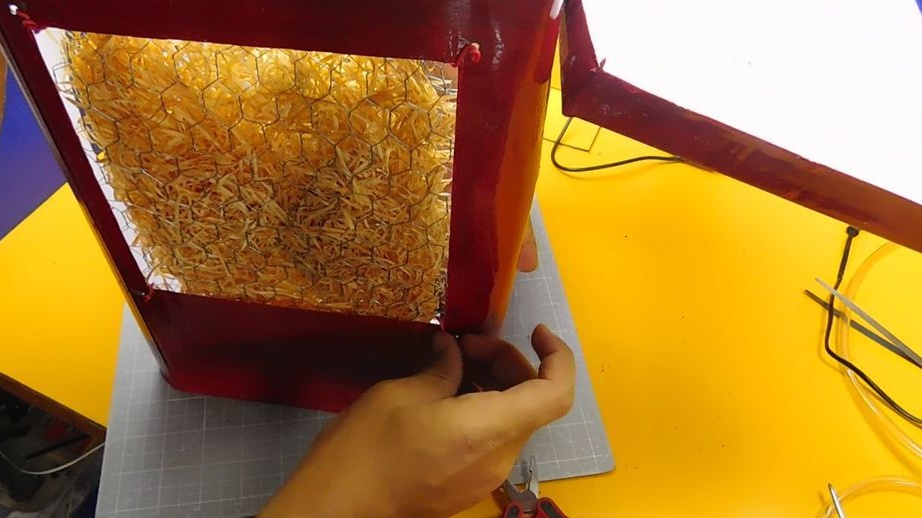
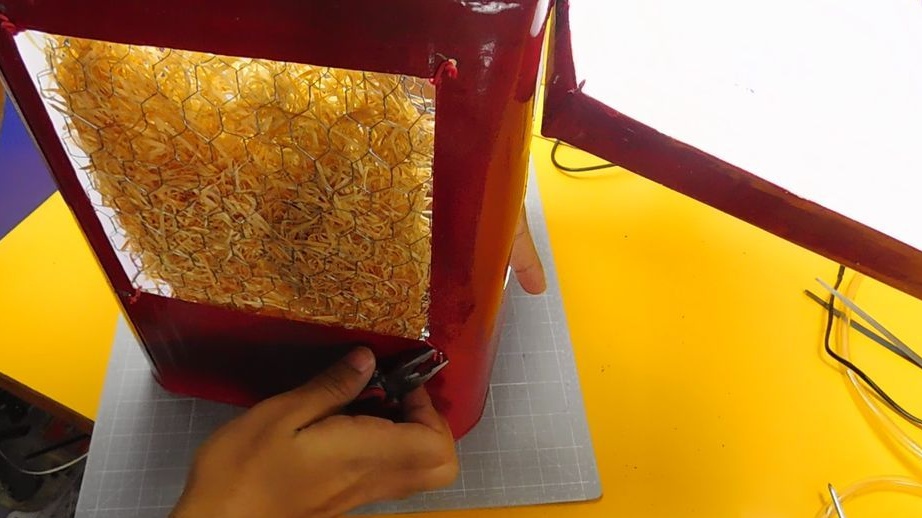
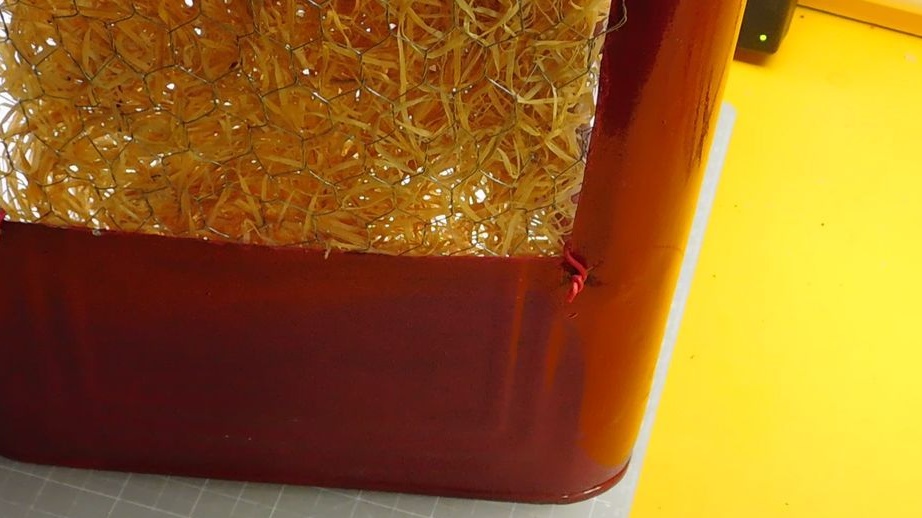
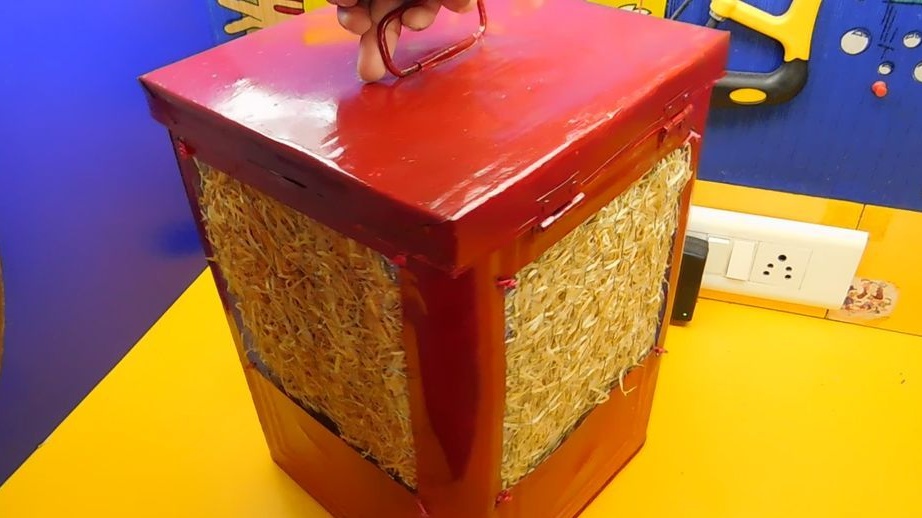
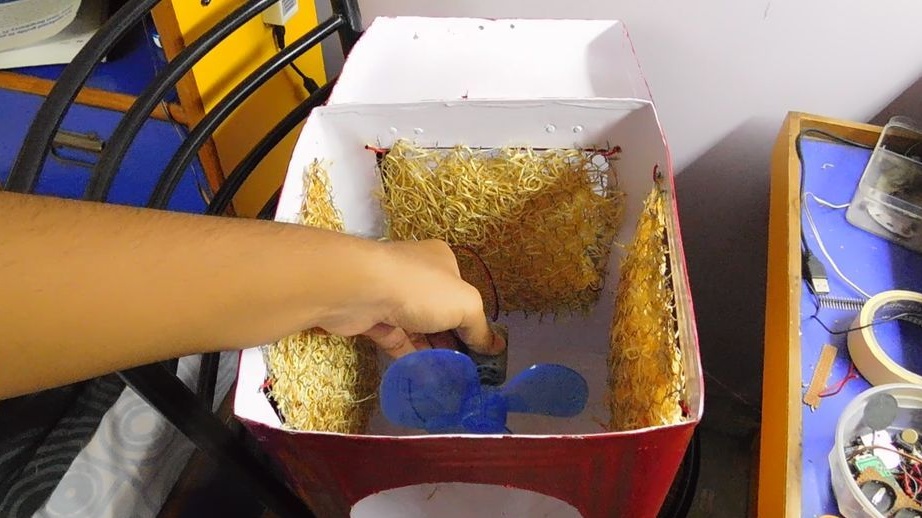
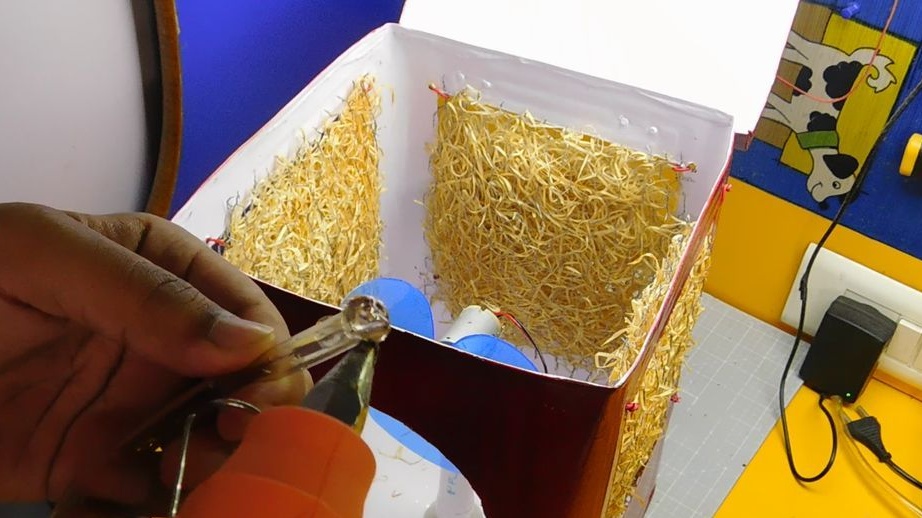
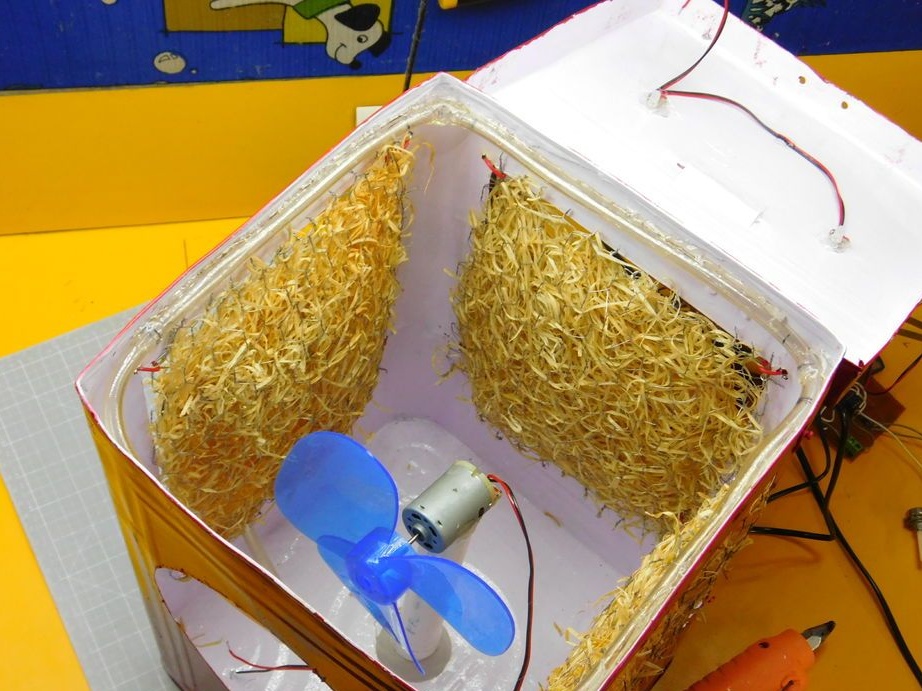
Step Four: Filter Installation
Filters are installed in the openings of the housing. In the corners makes holes. Installs filters on the inside. It is fixed by wire.


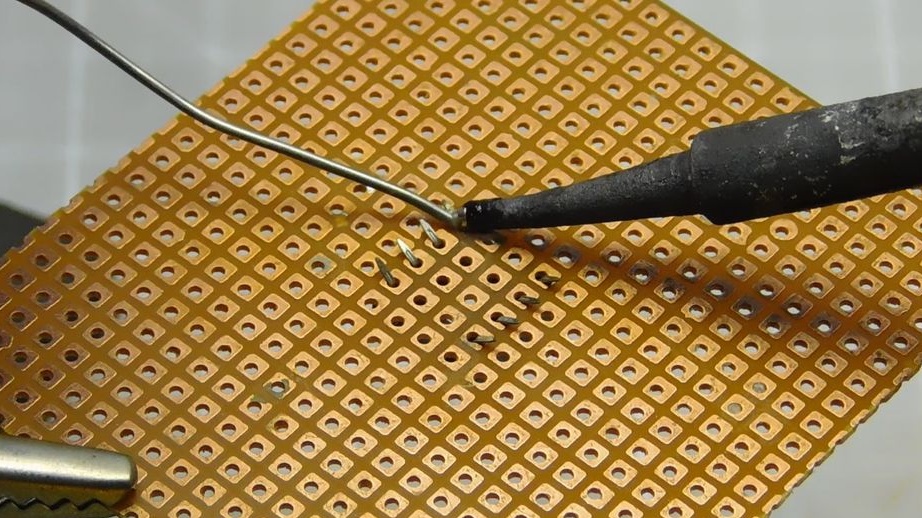
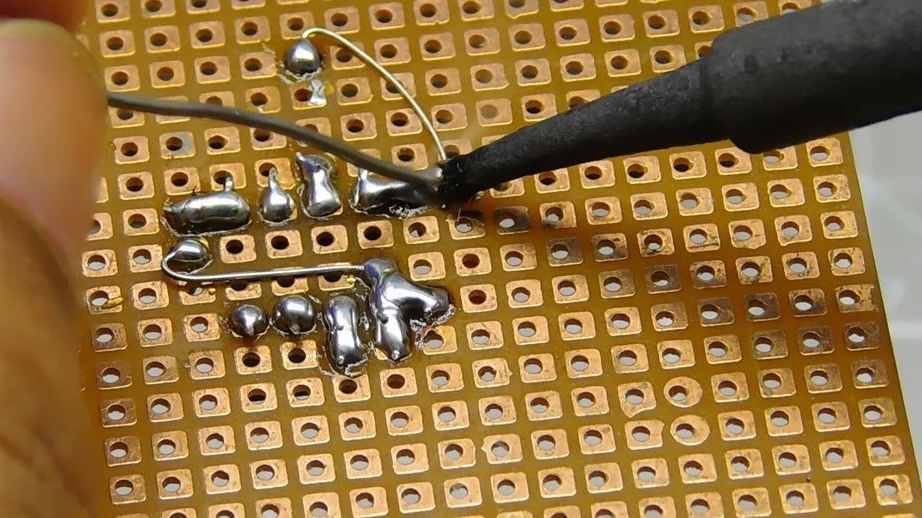
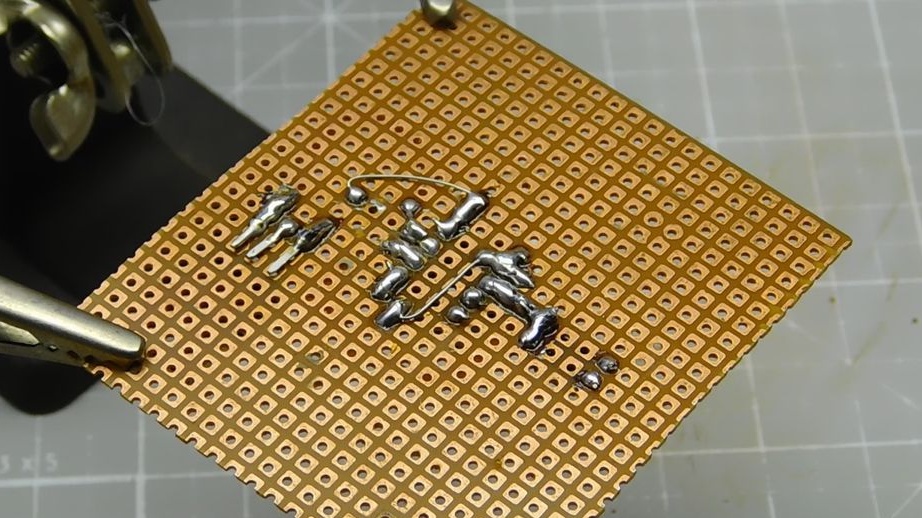
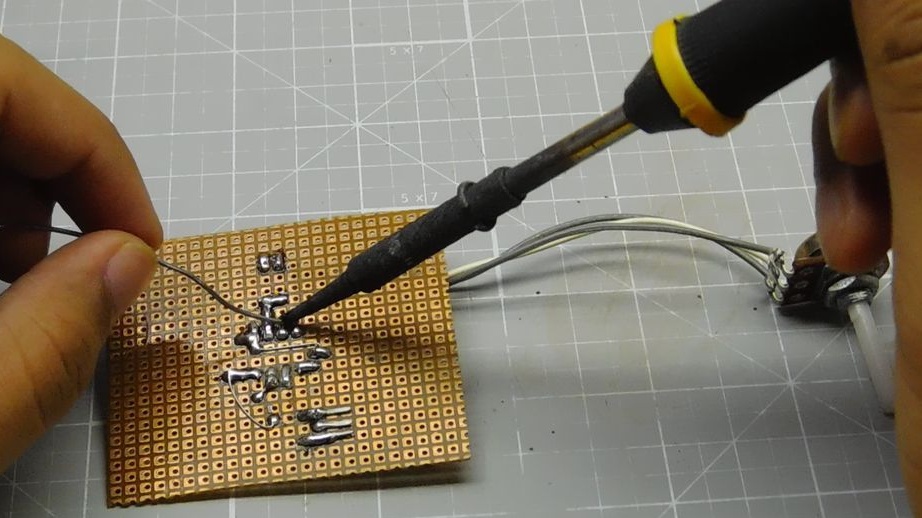
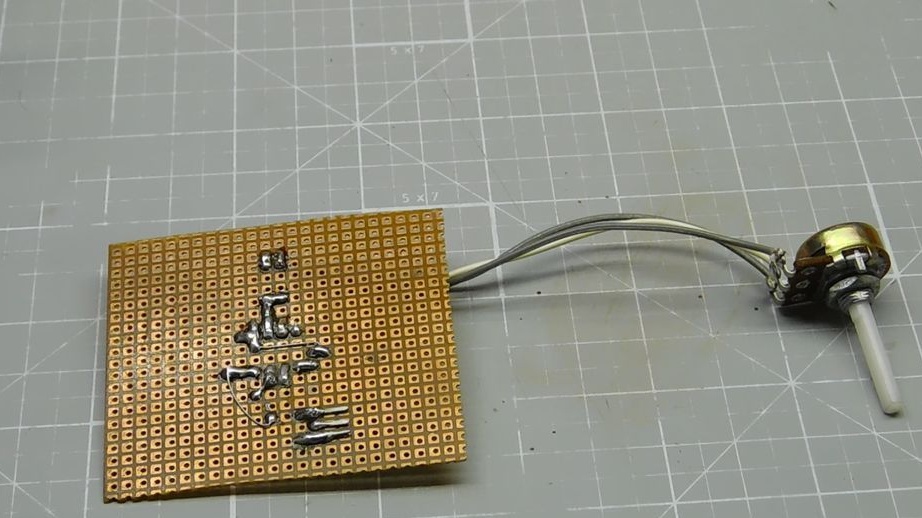
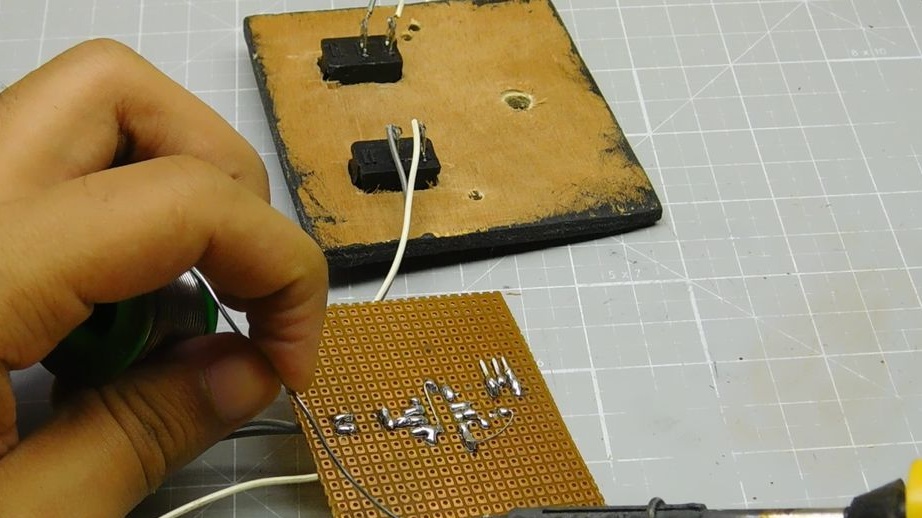
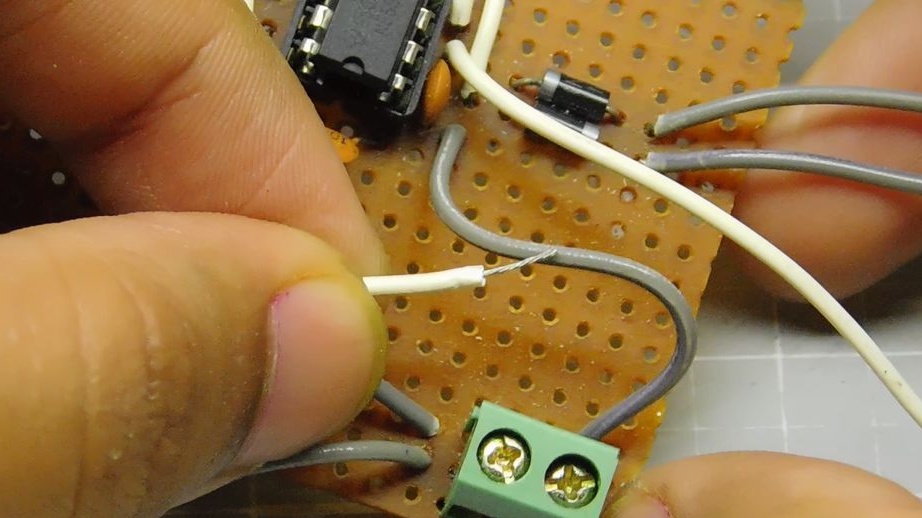
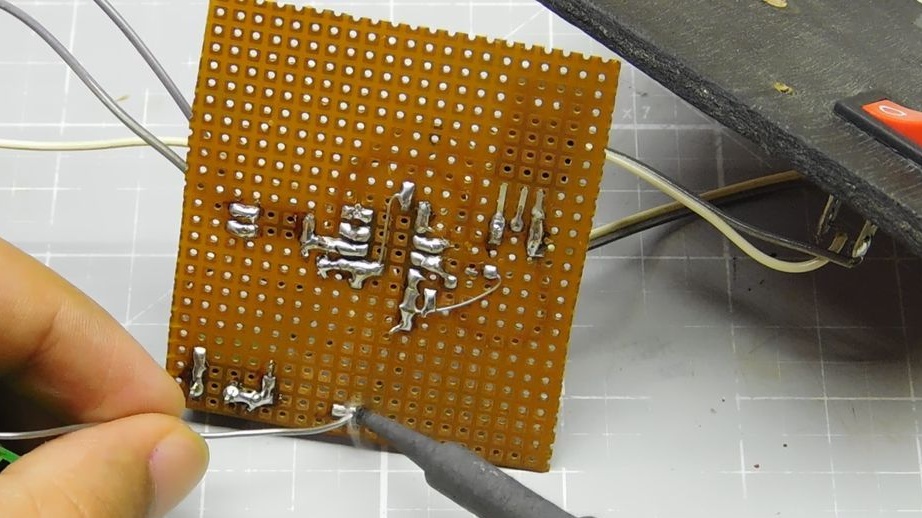
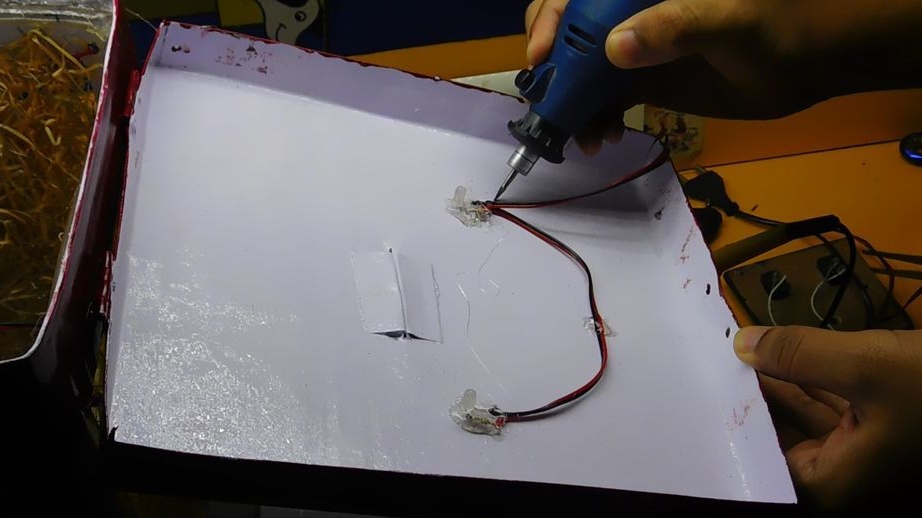
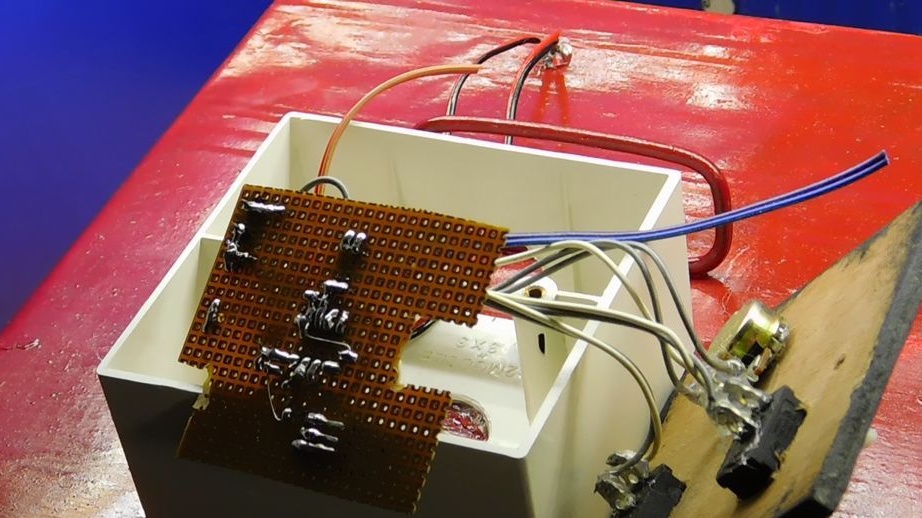
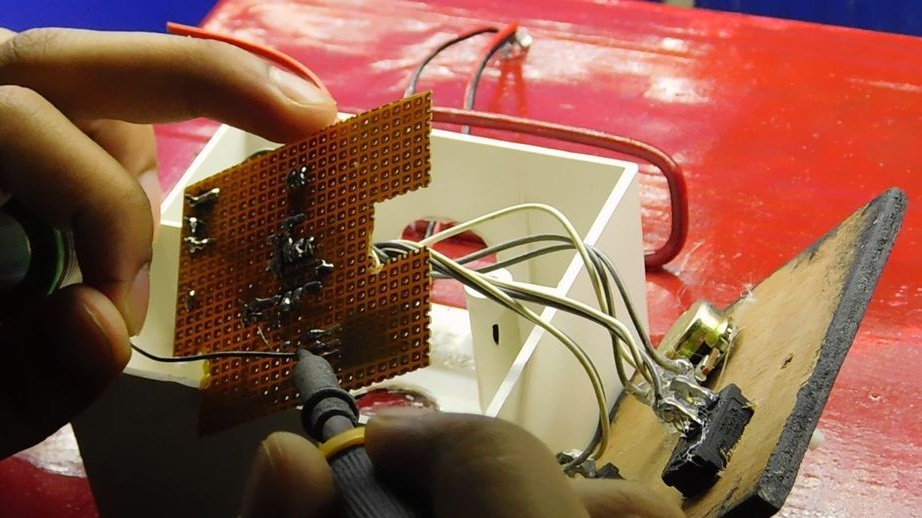
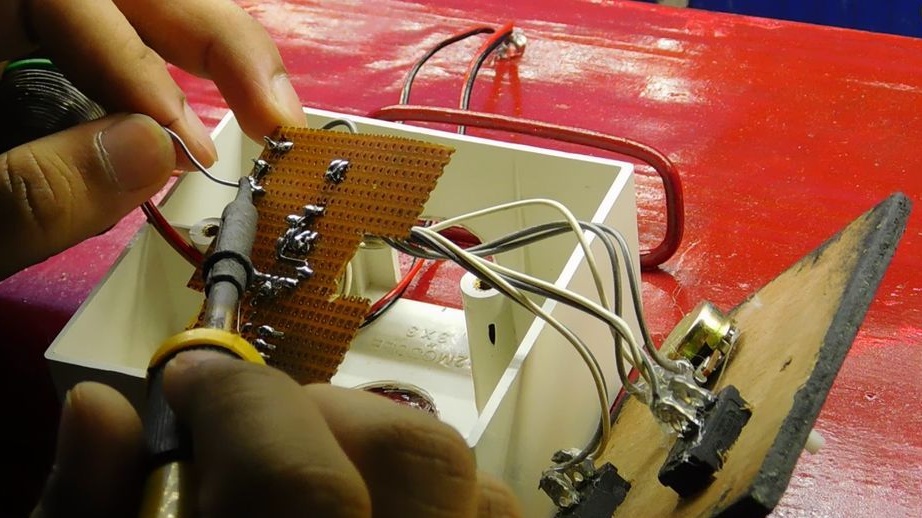
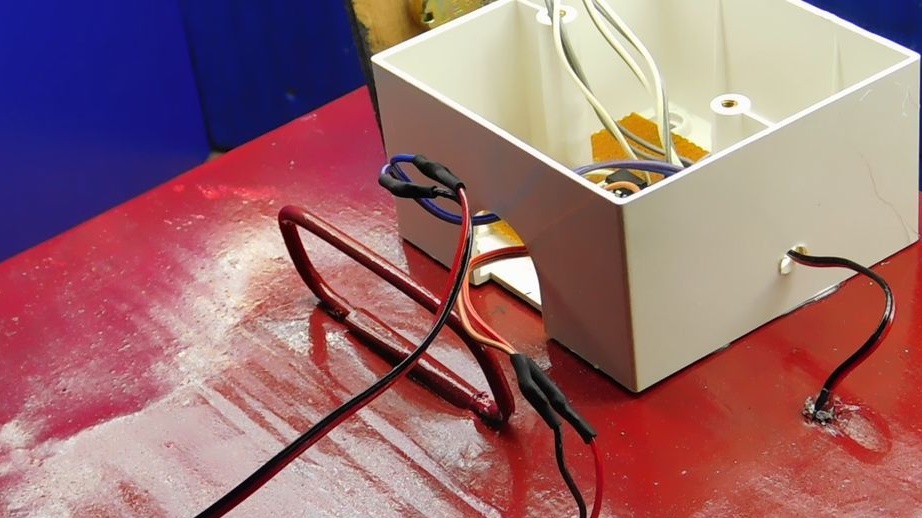
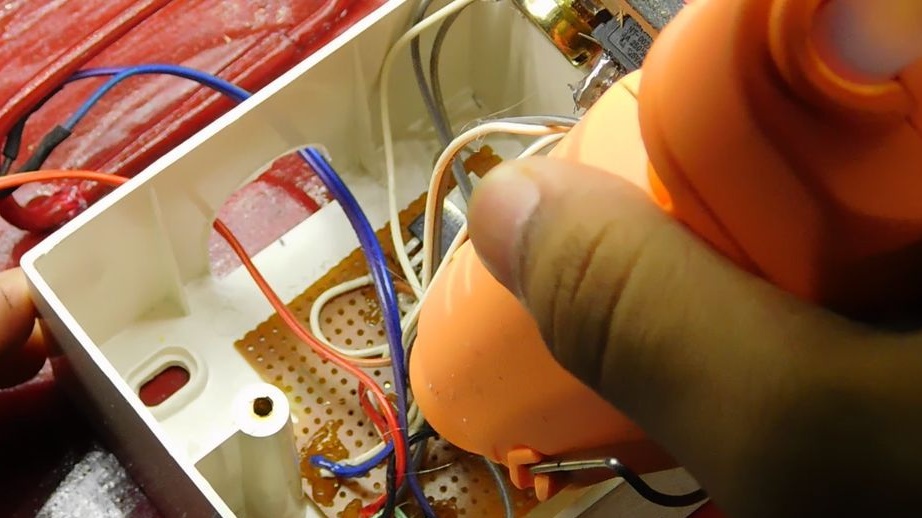
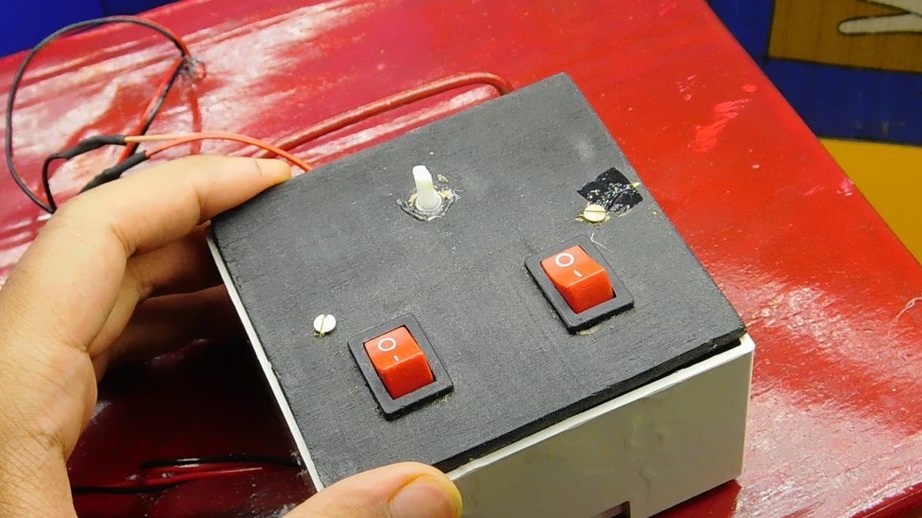
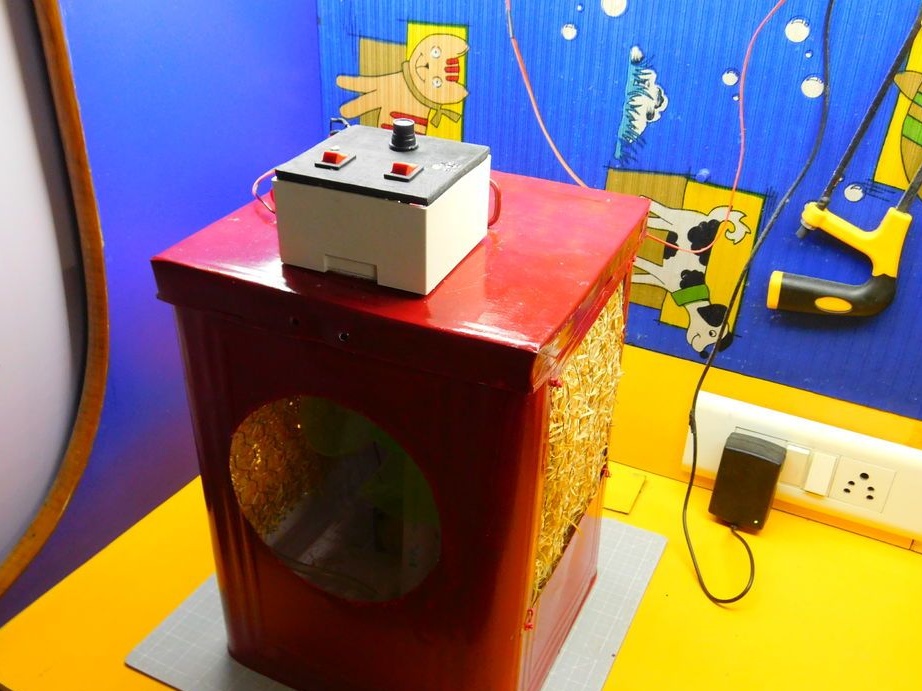
Step Five: The electrical part
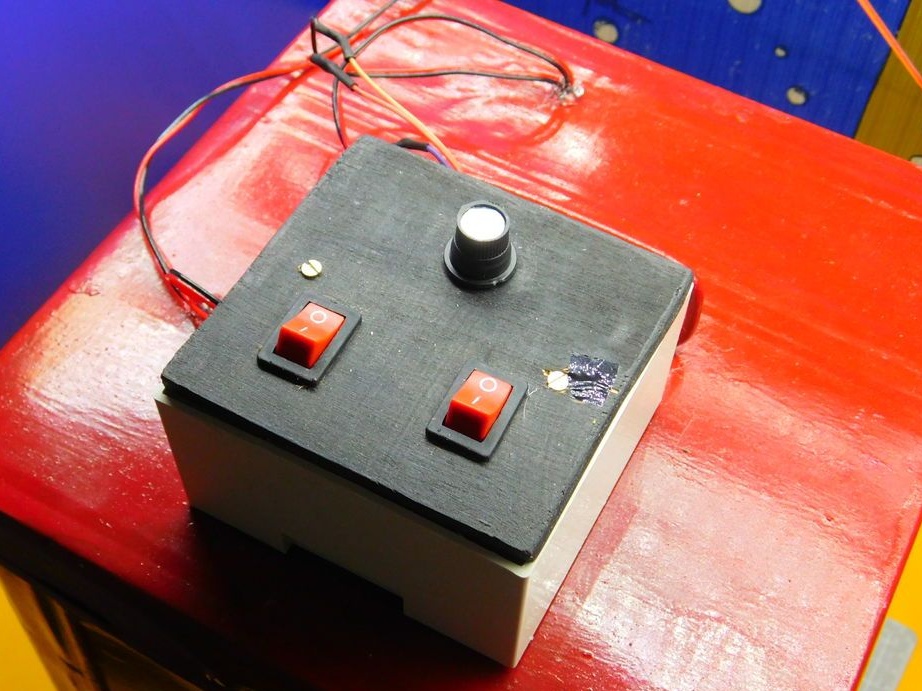
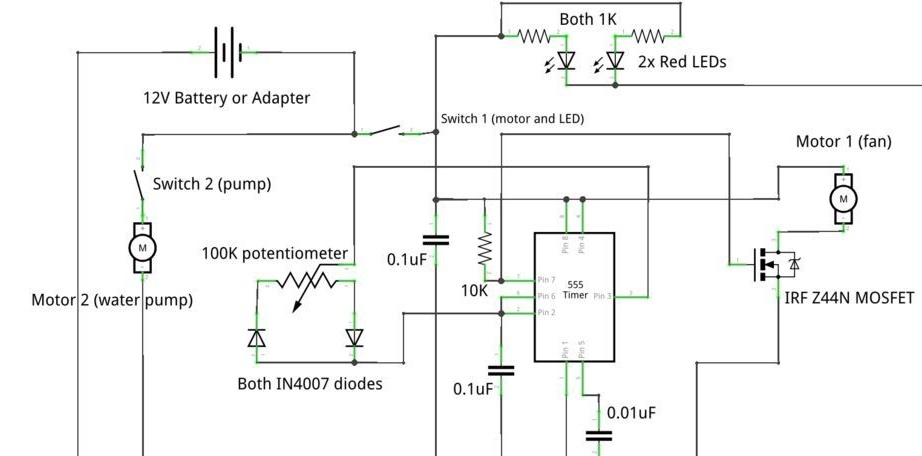
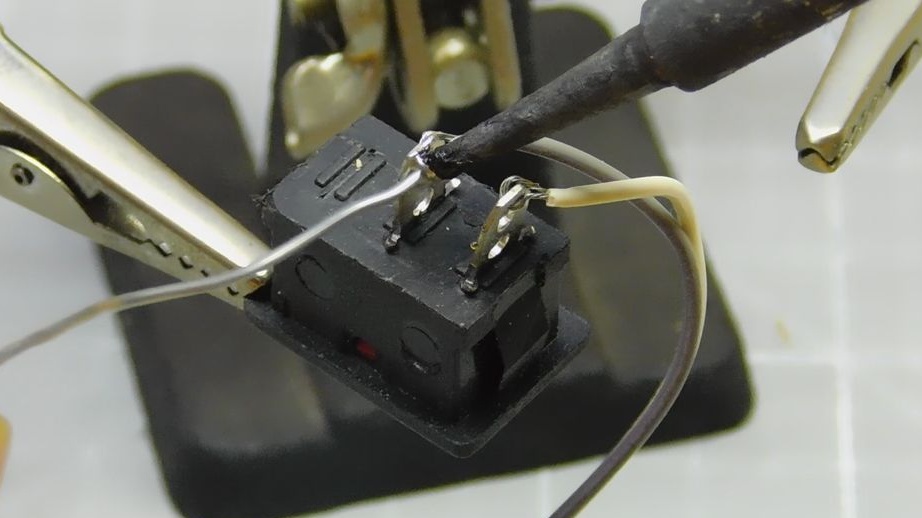
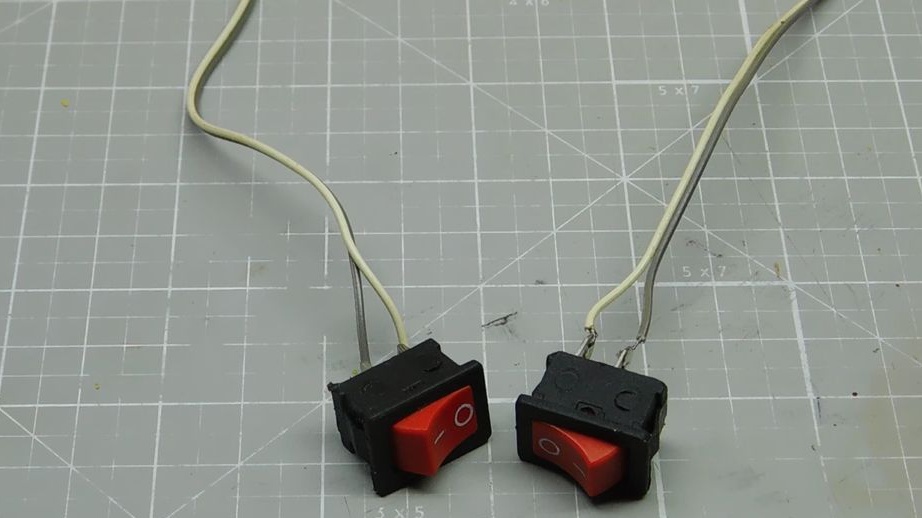
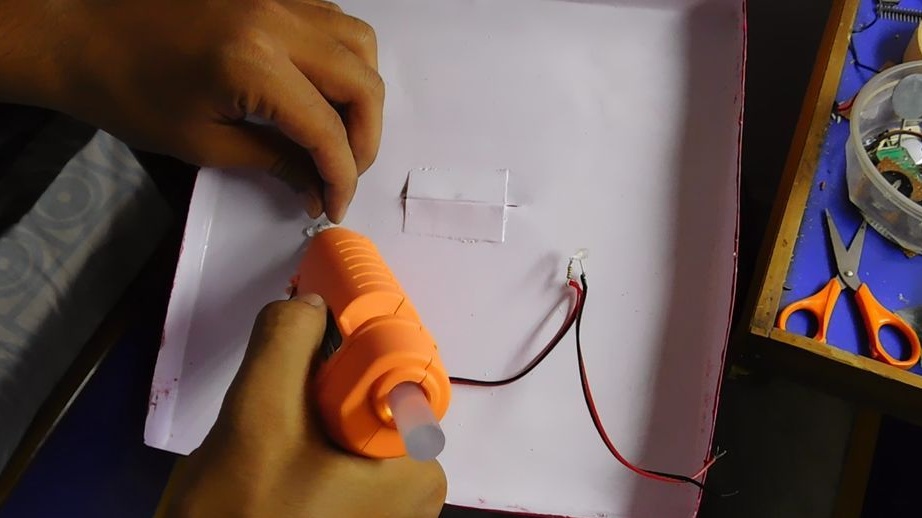
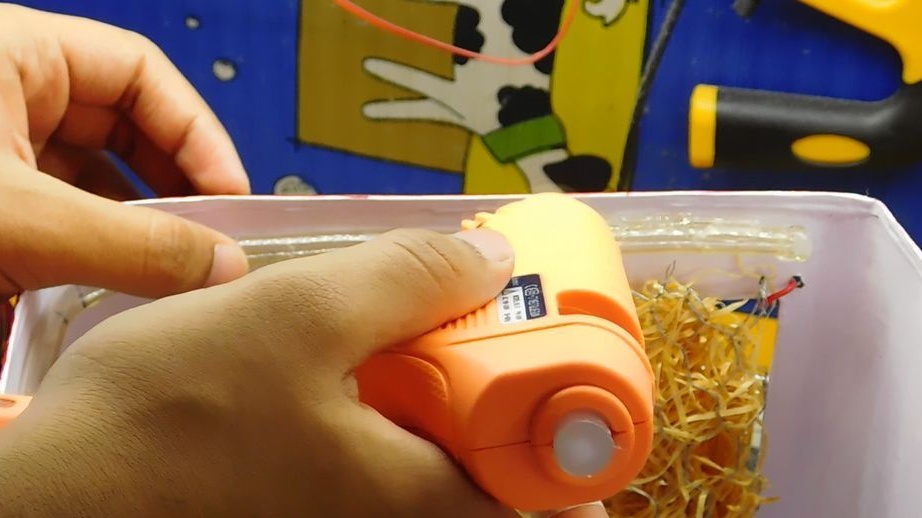
All connections inside the case are insulated with hot-melt adhesive. As you can see in the circuit diagram, there are two circuit breakers in the circuit diagram, one includes a pump and a second fan. Those. Only a fan can be used. The speed of the fan motor is regulated by a potentiometer. According to the master, you can do without regulation of rotation. In this case, the scheme is much simplified. The cooler is powered by either a 12 V battery or a power supply.
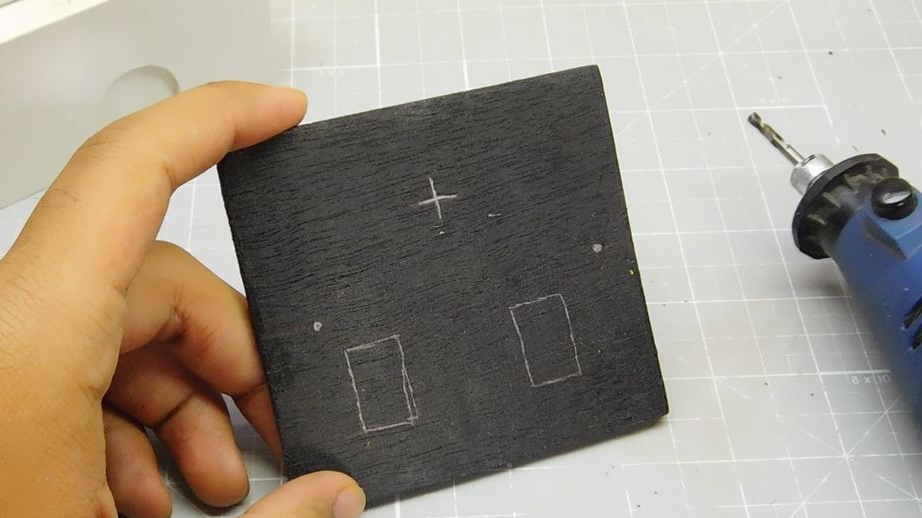
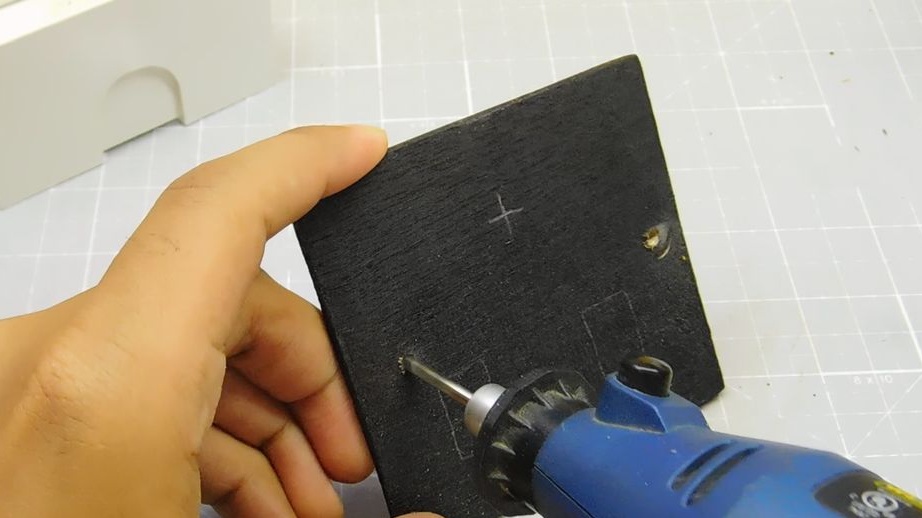
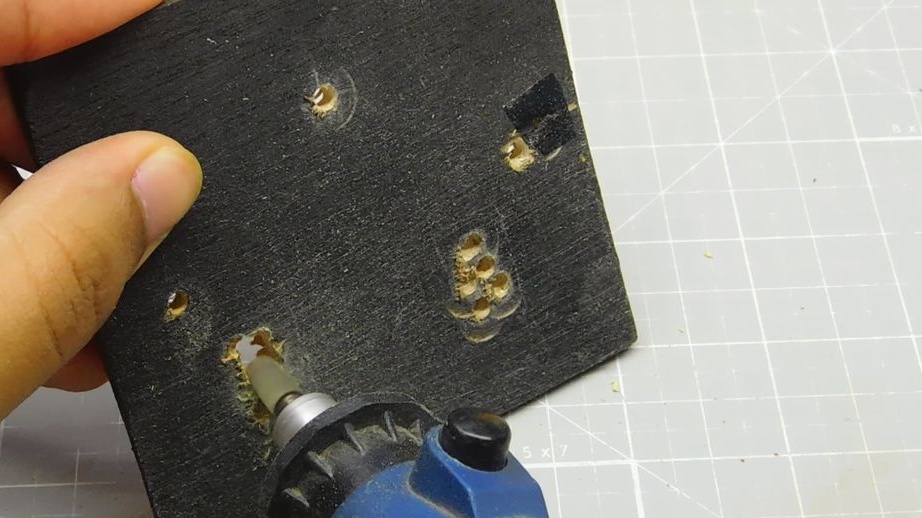
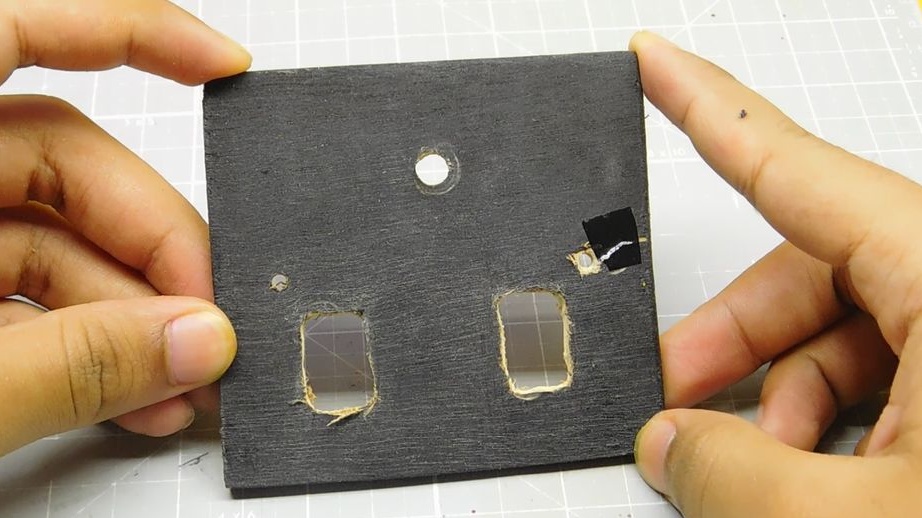
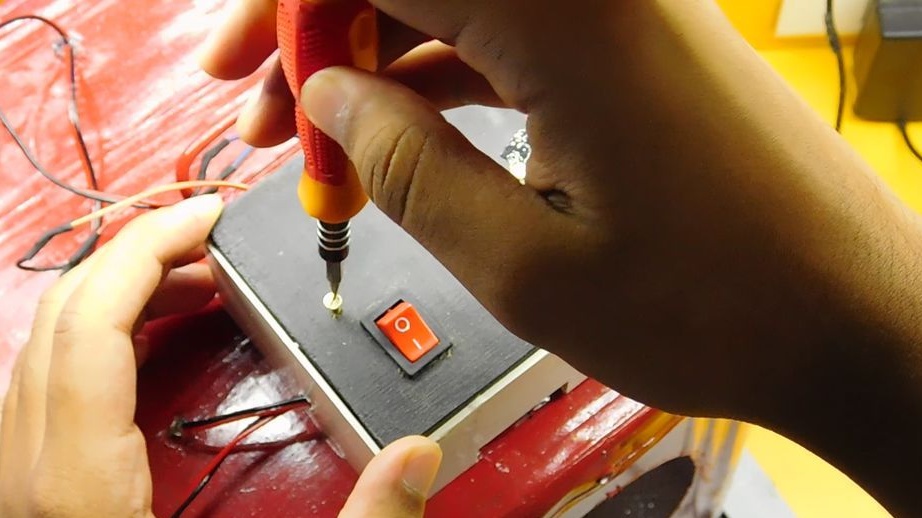
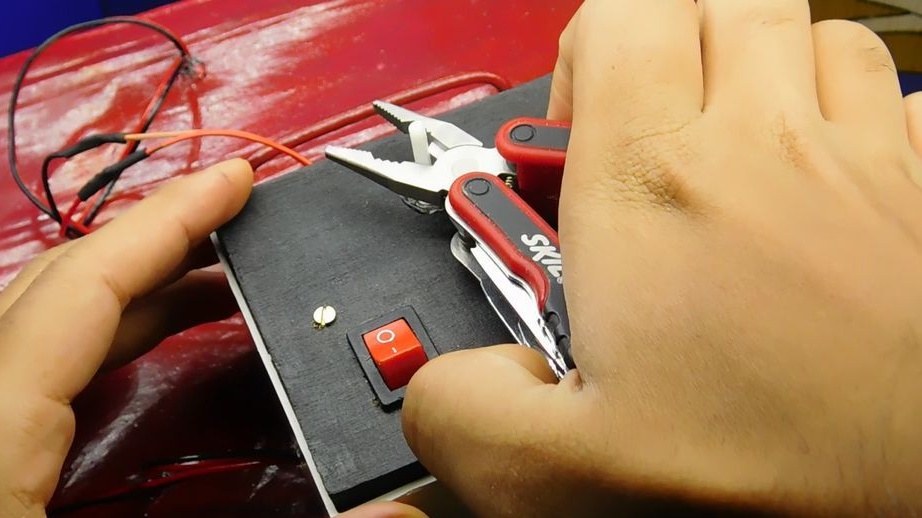
For the switches, the master made a wooden block.

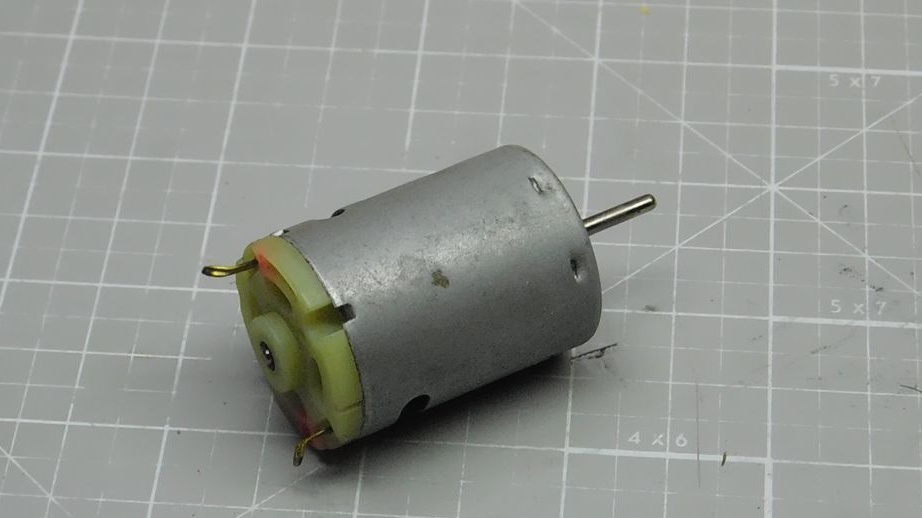
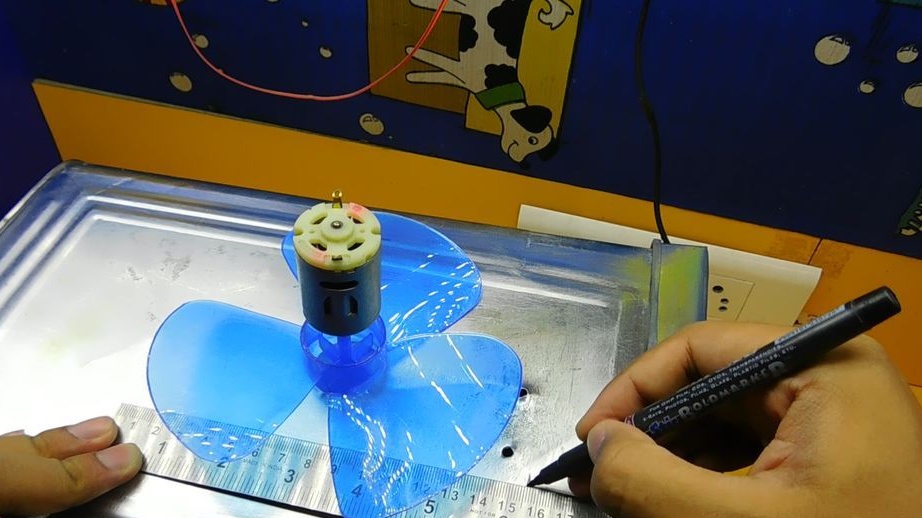
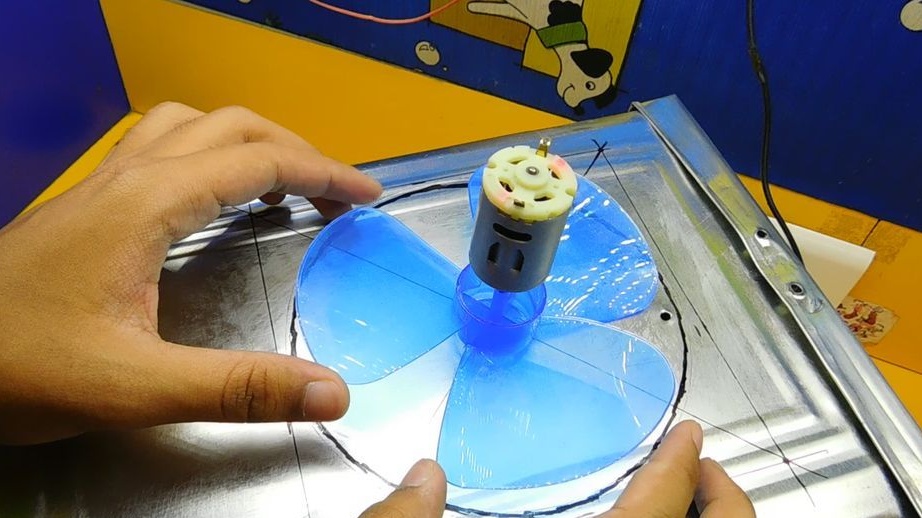
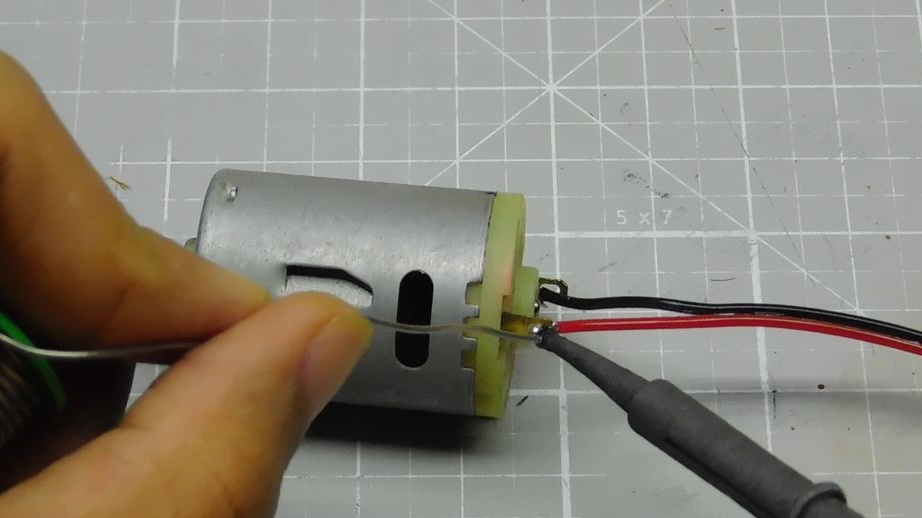
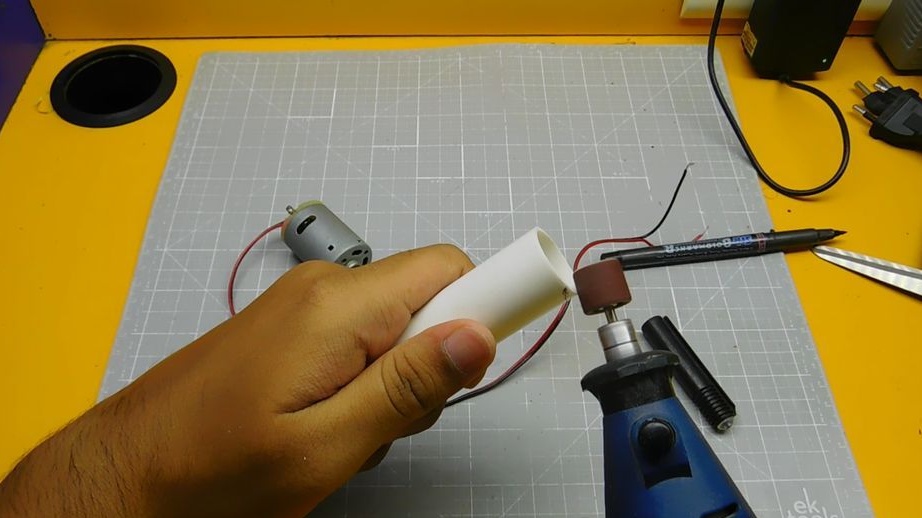
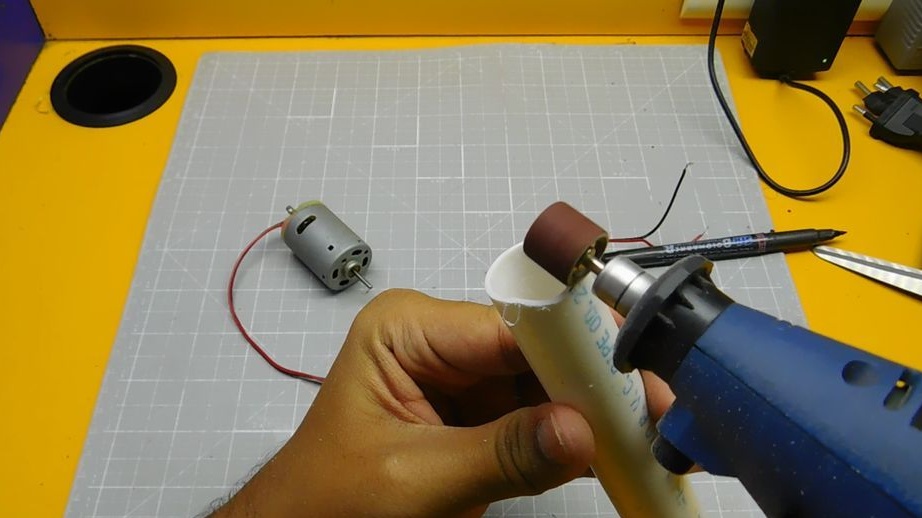
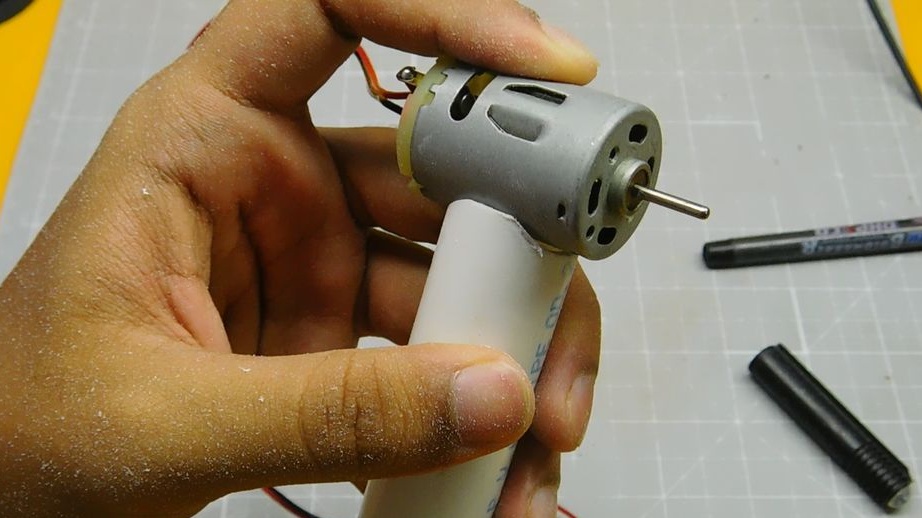
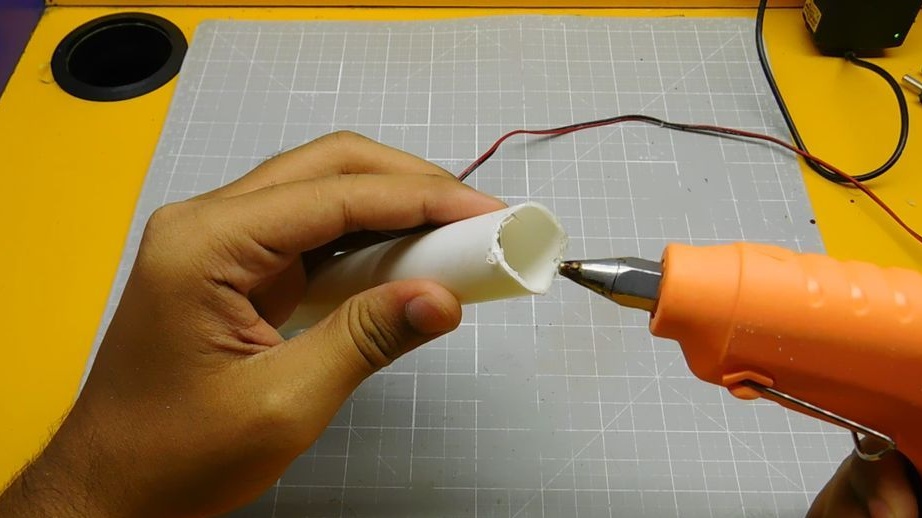
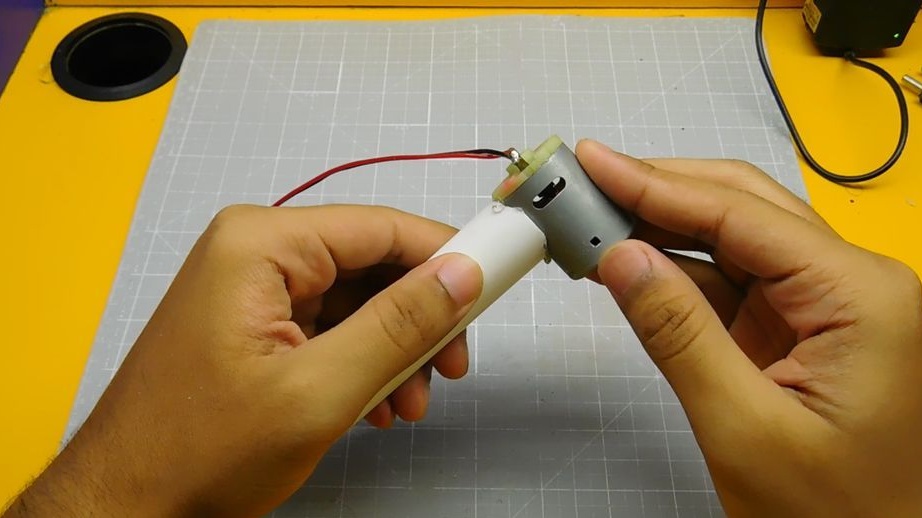
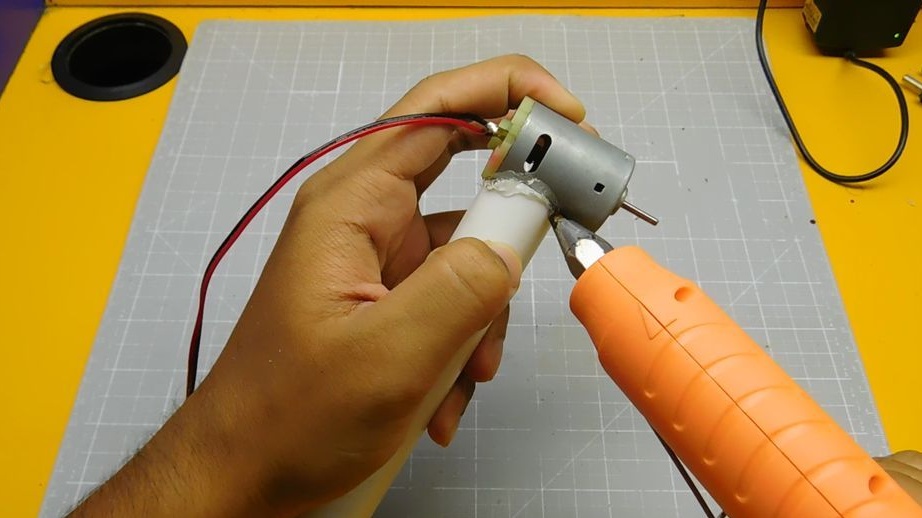
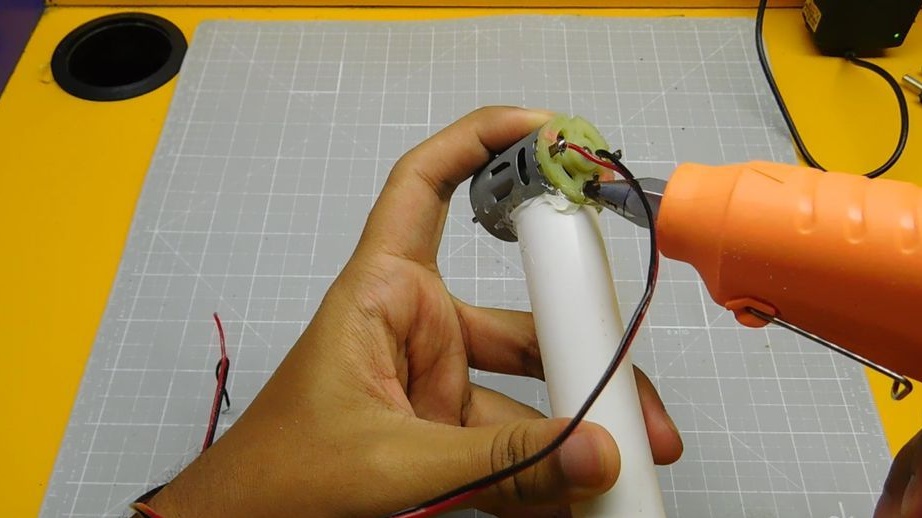
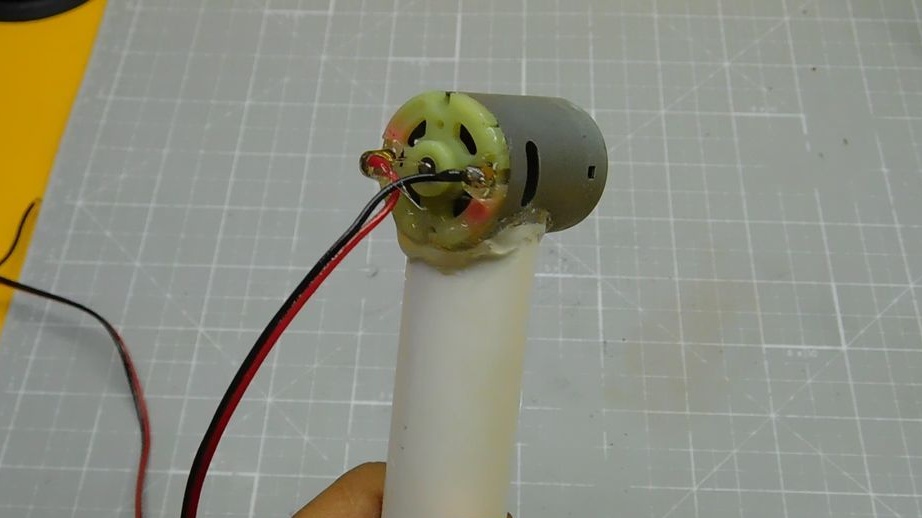
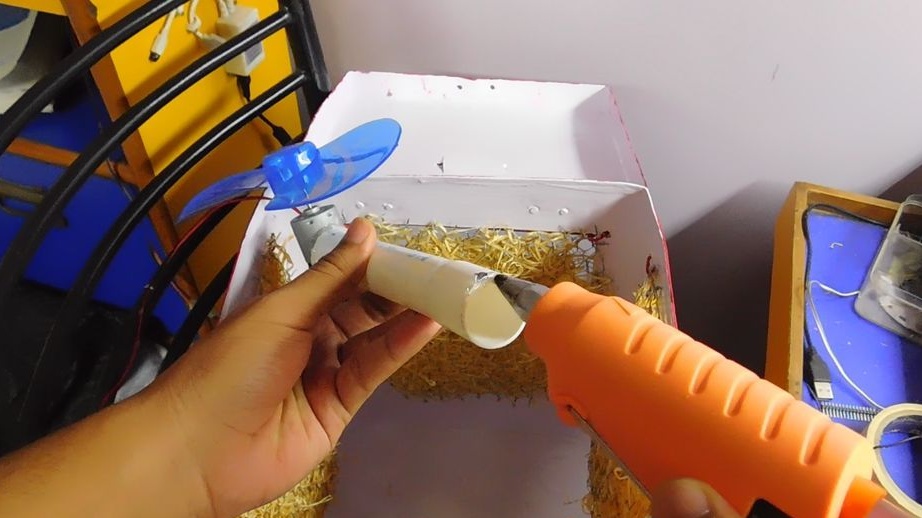
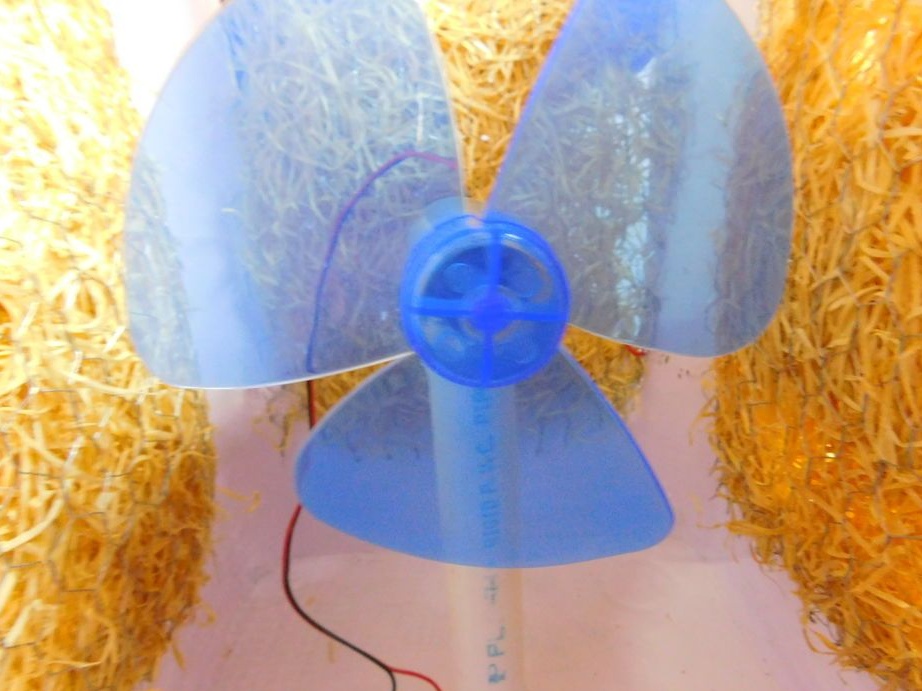
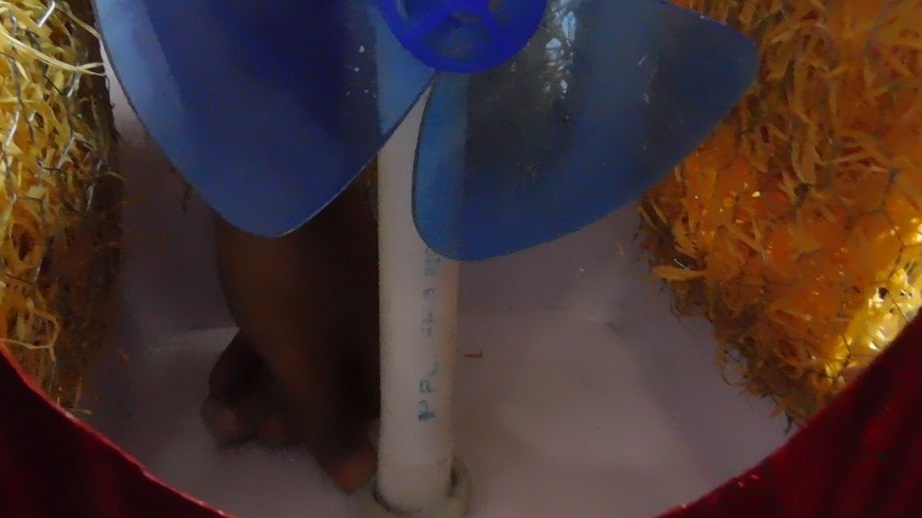
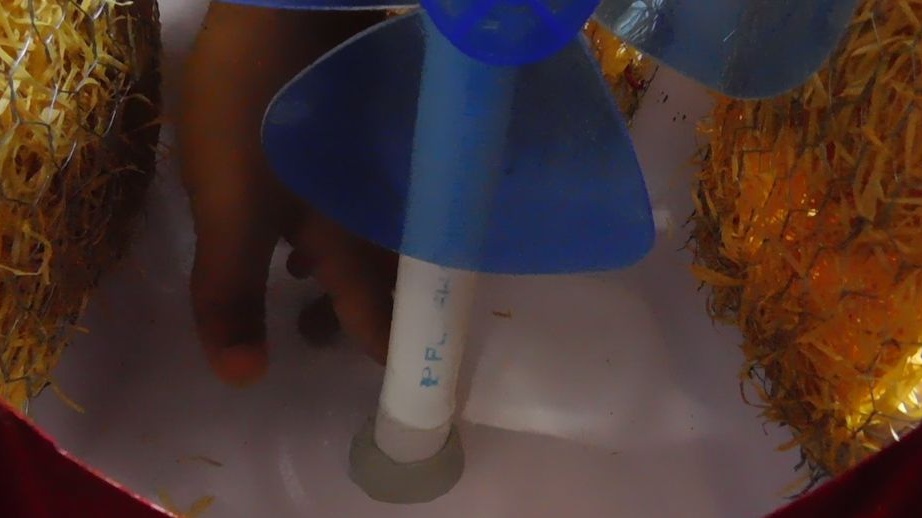
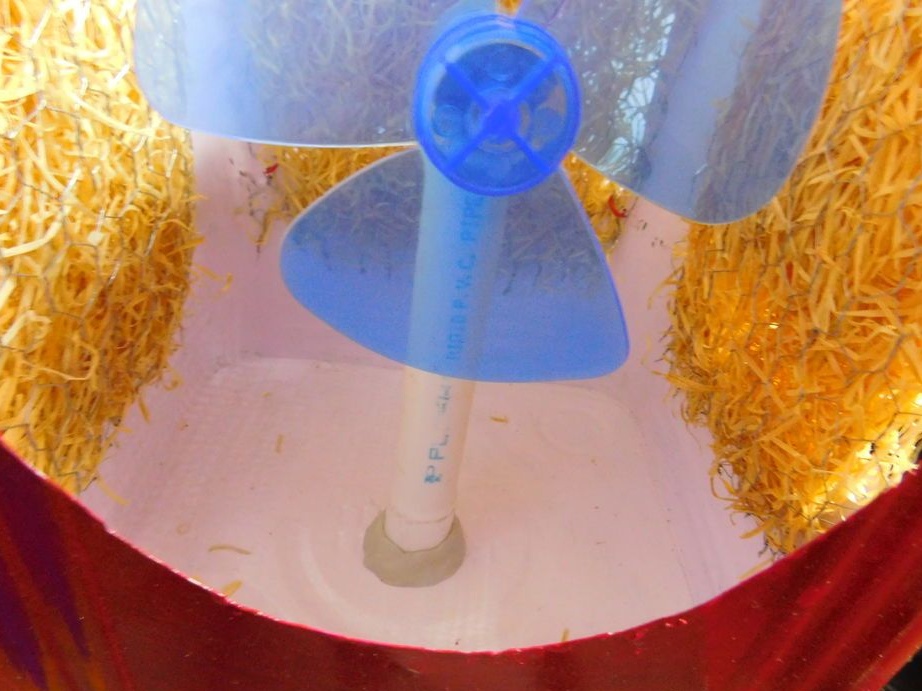
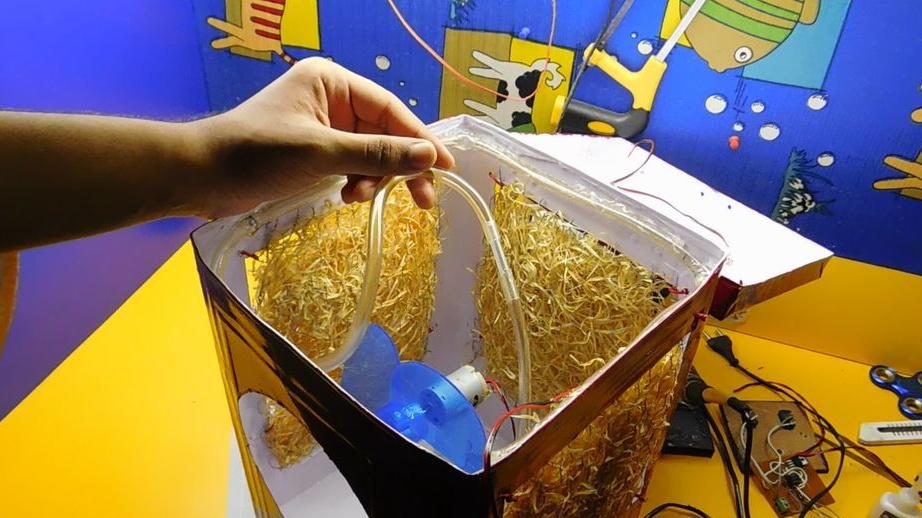
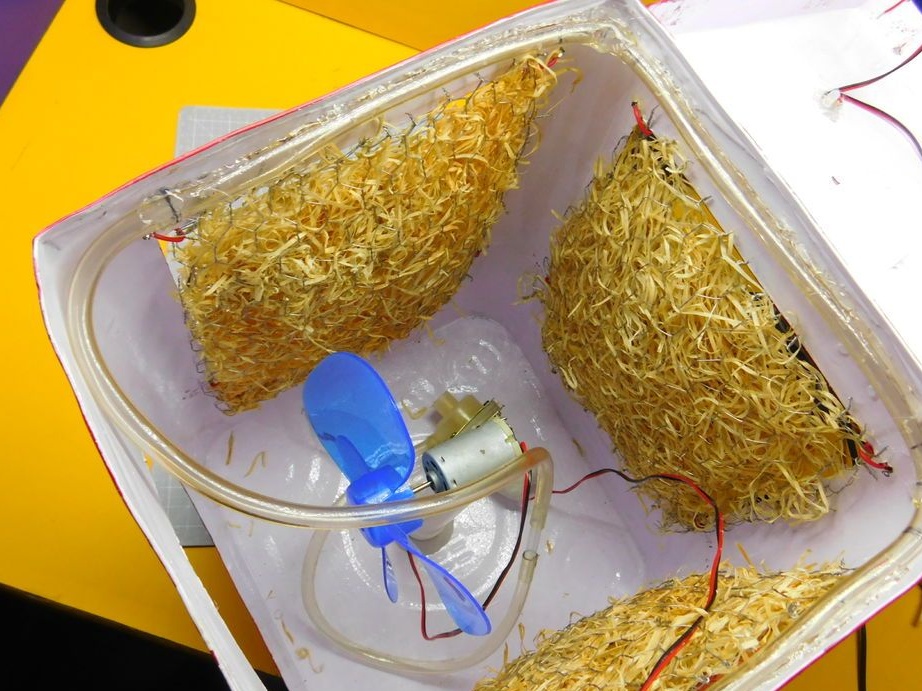
Step Six: Fan
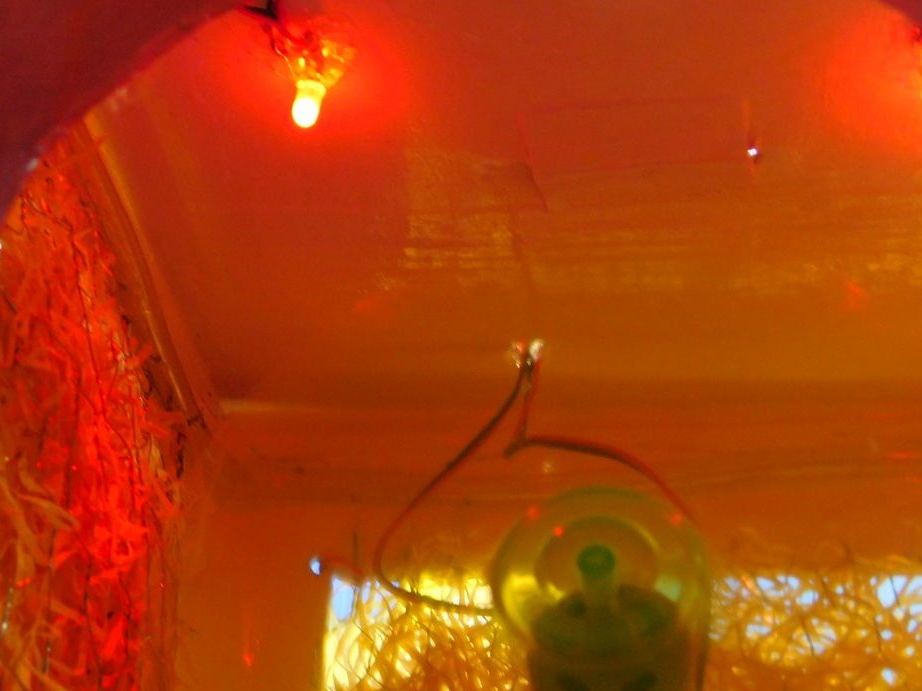
The fan is mounted directly inside the case. Soldered wires to the motor. He fixed the blades on the shaft. The master made a rack from a PVC pipe. I glued the engine to the rack, and the bottom of the rack to the body, with waterproof glue. The height of the fan blades should be on the same axis with the opening of the housing.
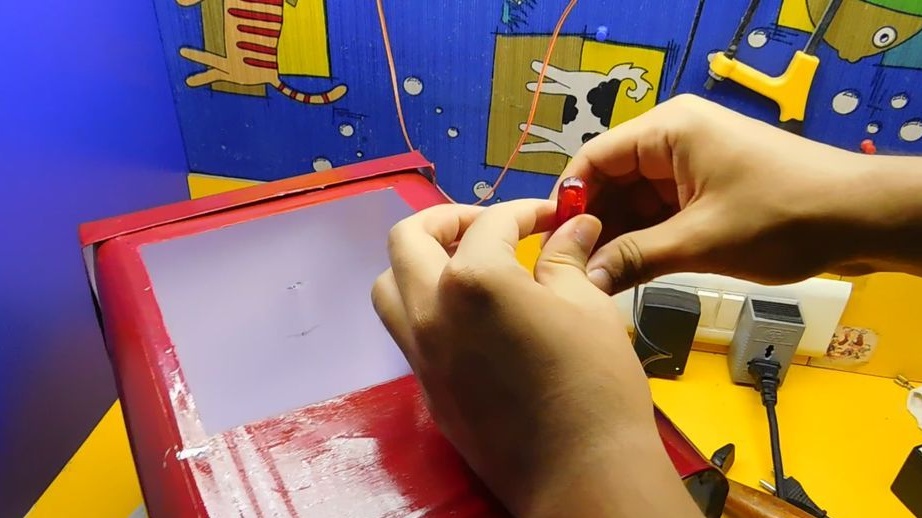
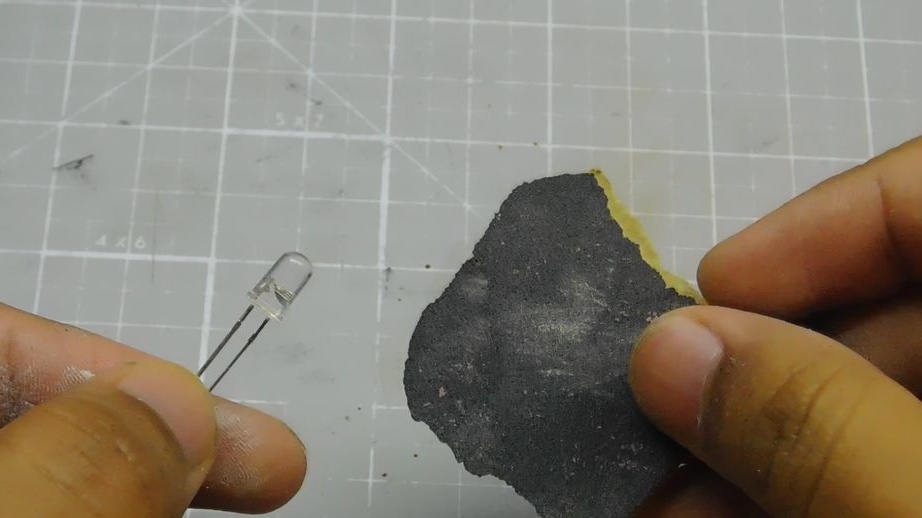
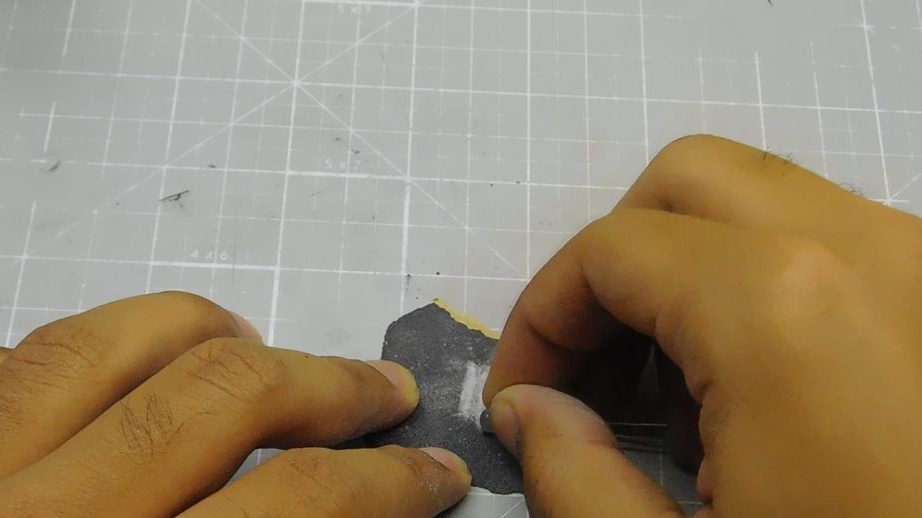
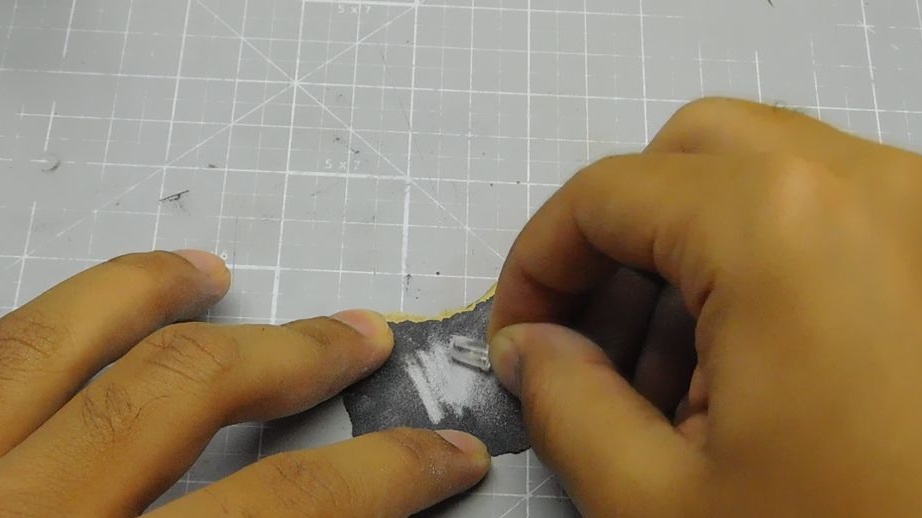
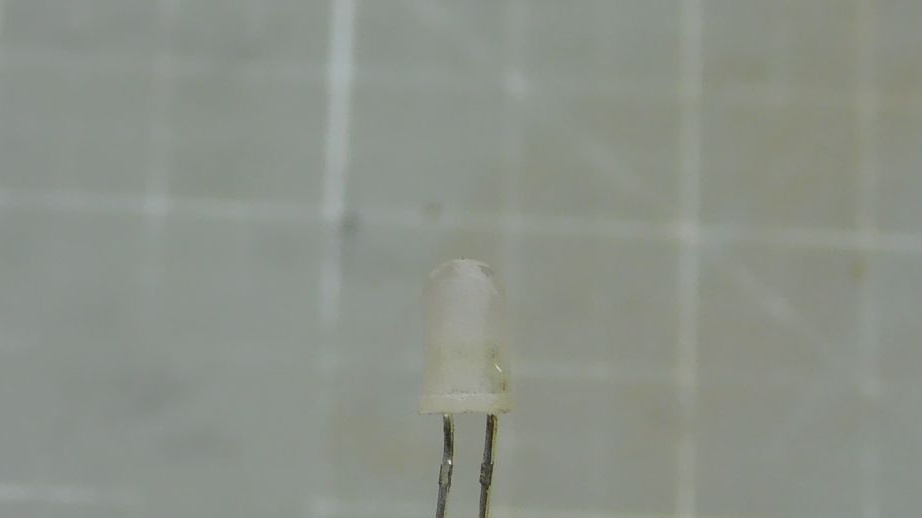
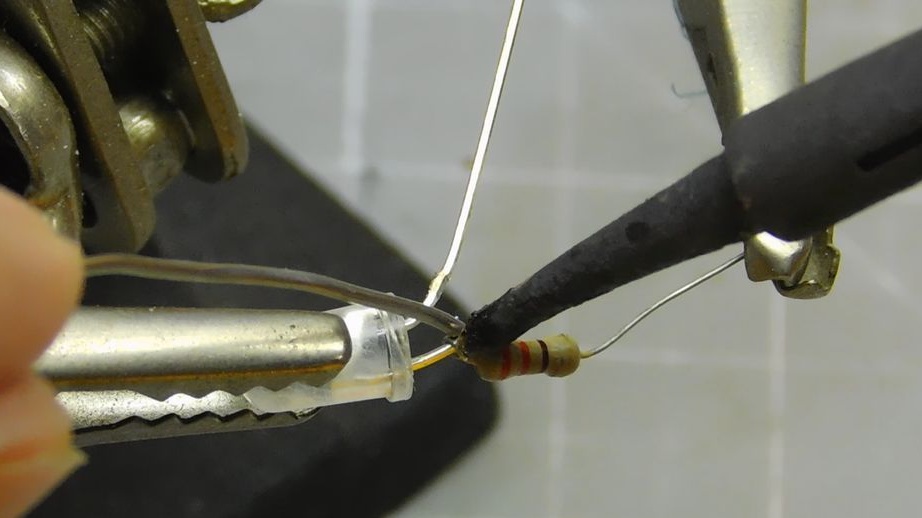
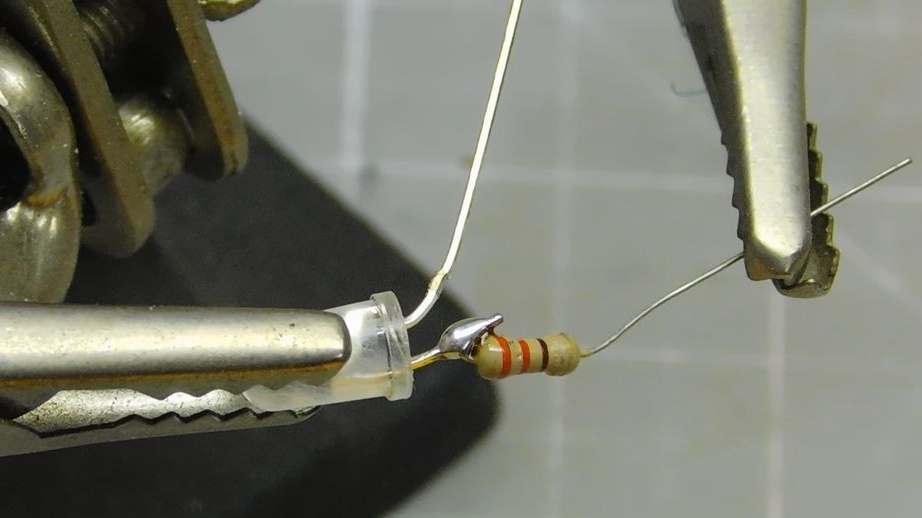
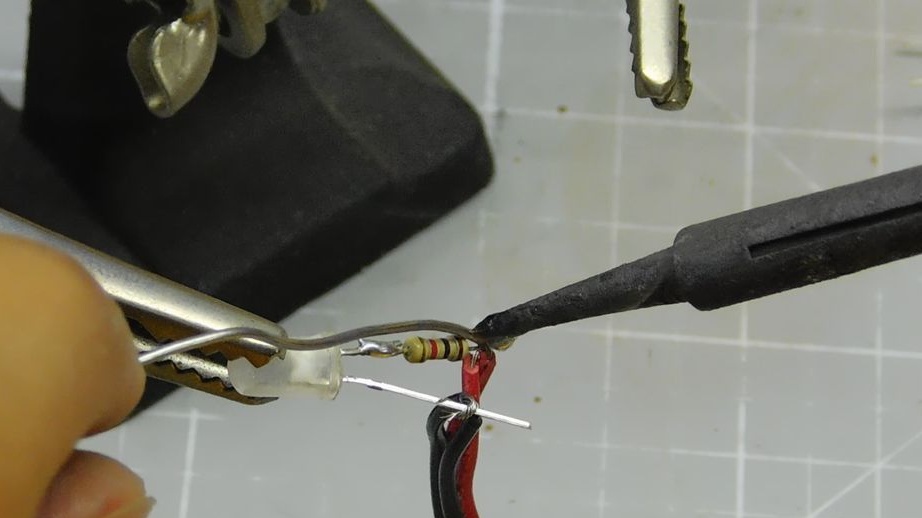
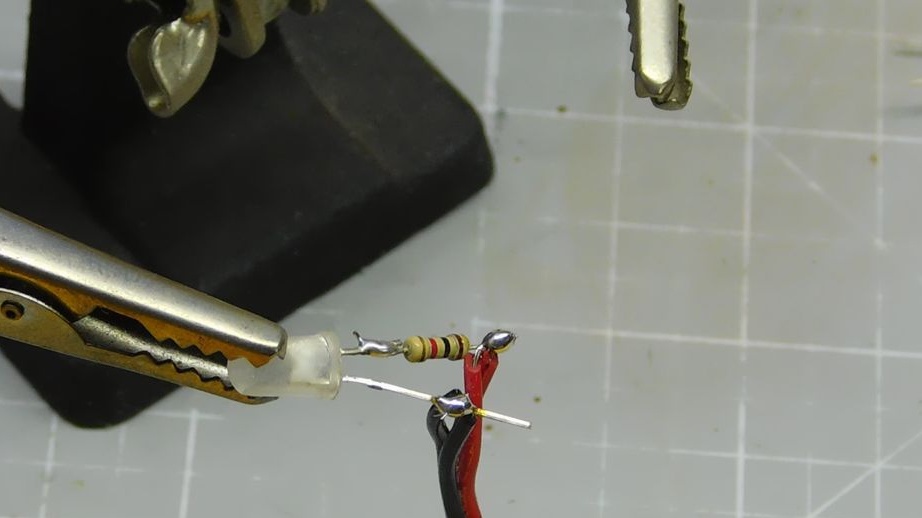
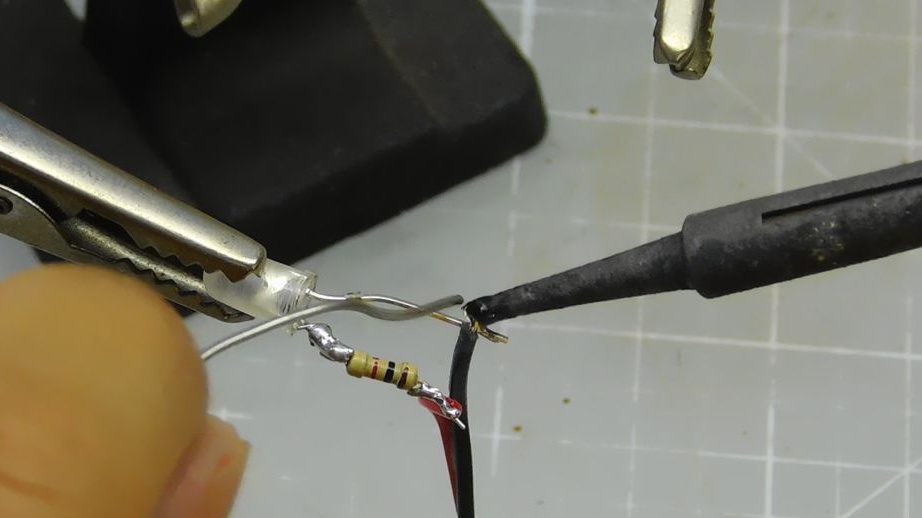
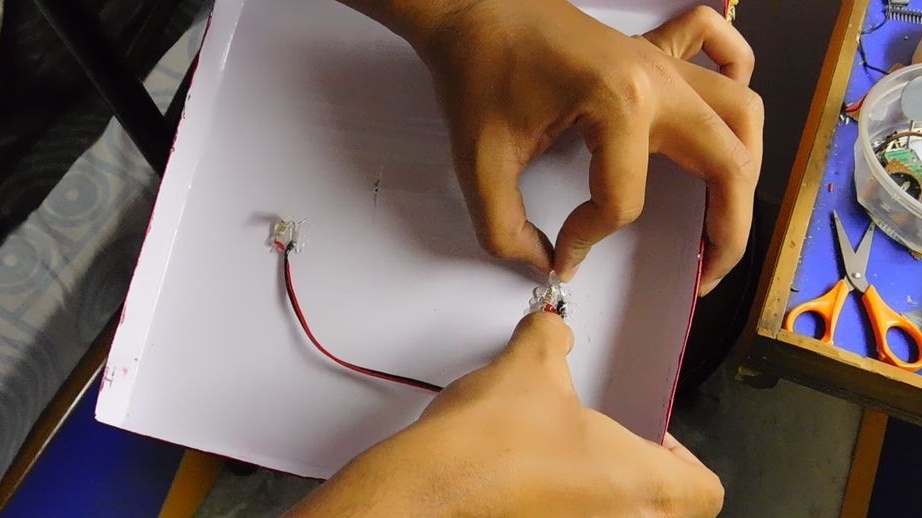
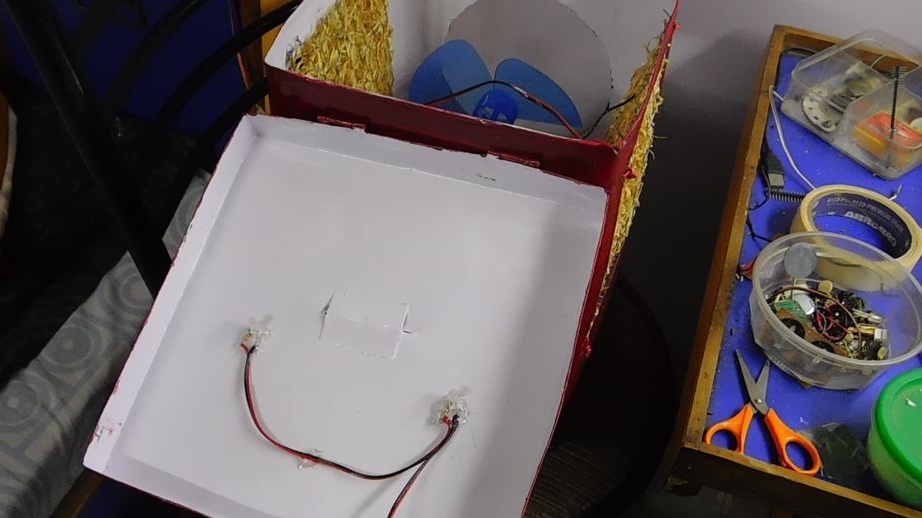
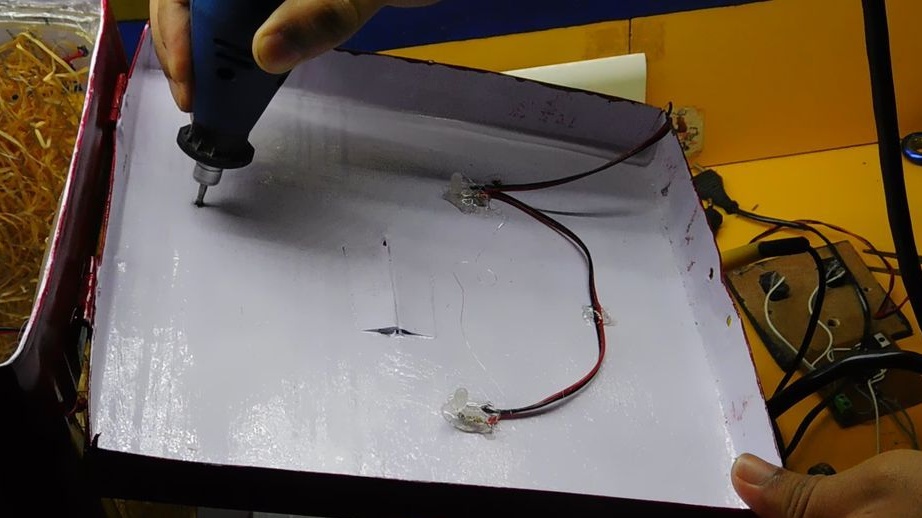
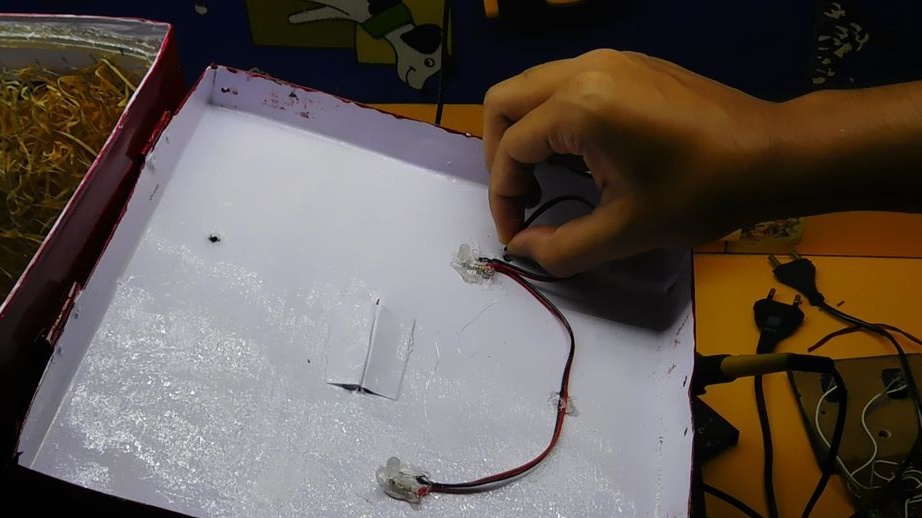
Seventh step: LEDs
The master places two red LEDs under the housing cover. LEDs play the role of an indicator and backlight during operation of the device. To diffuse light, the master pre-skins the LEDs.
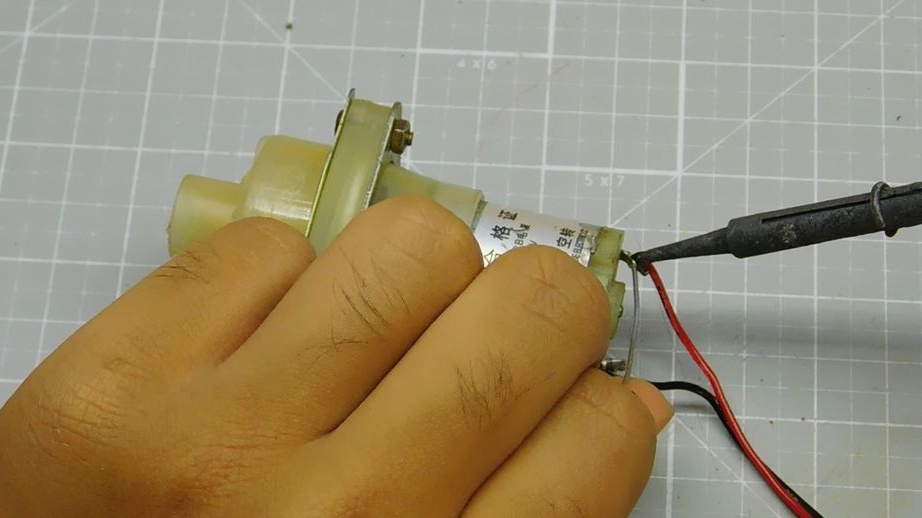
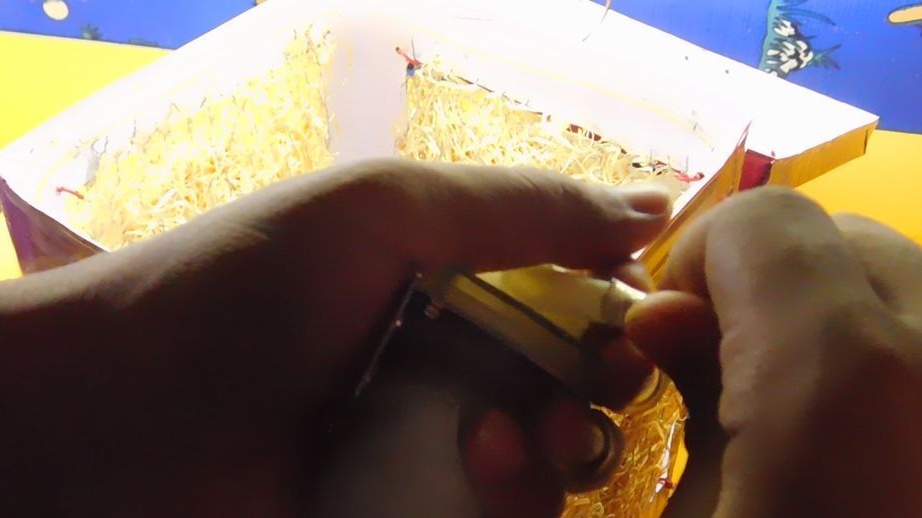
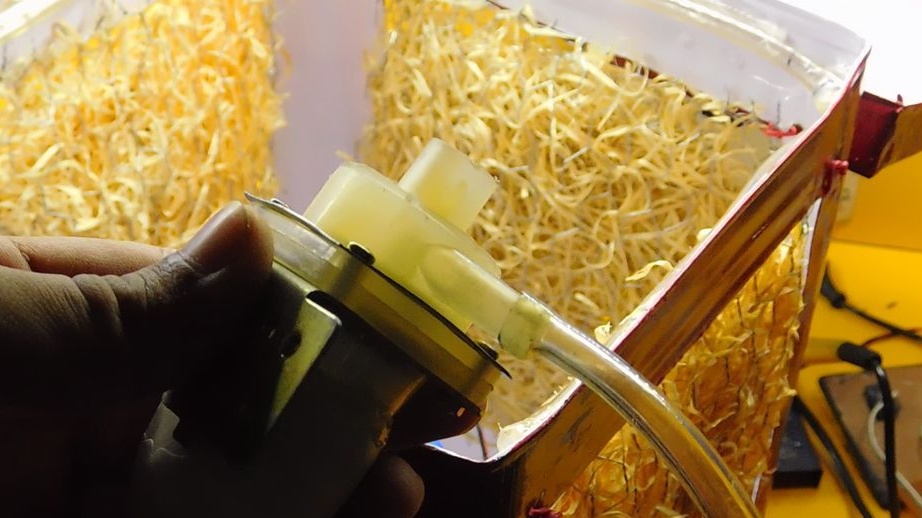
Step Eight: Pump
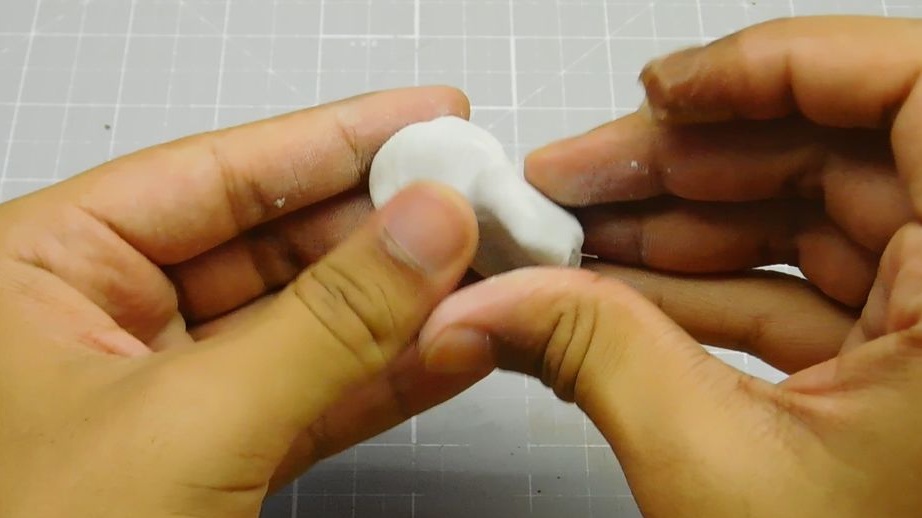
Since the master did not have a submersible pump, he made it from a non-submersible pump. Solder the wires. Covers all openings and contacts with a special epoxy-based sealant.

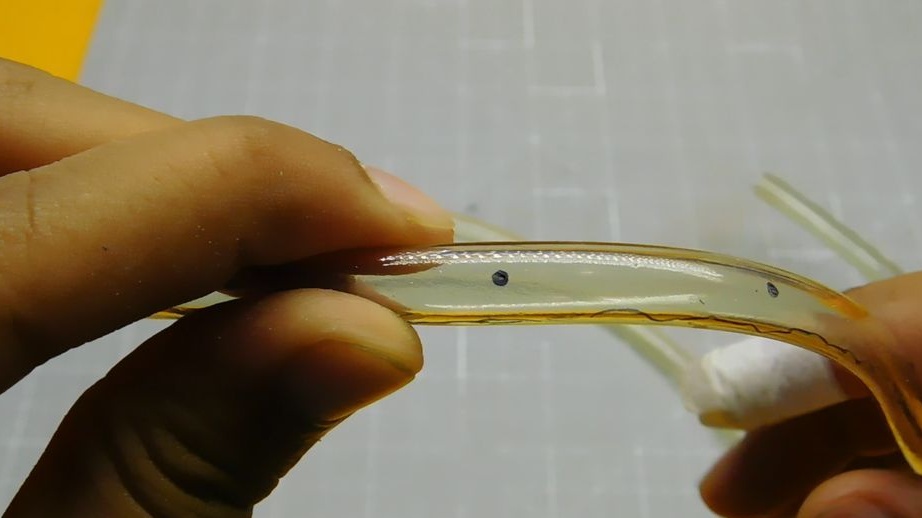
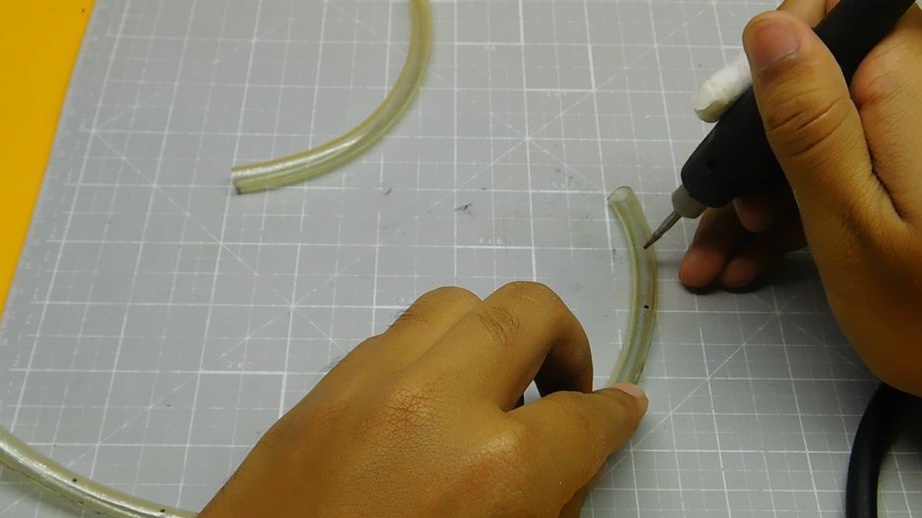
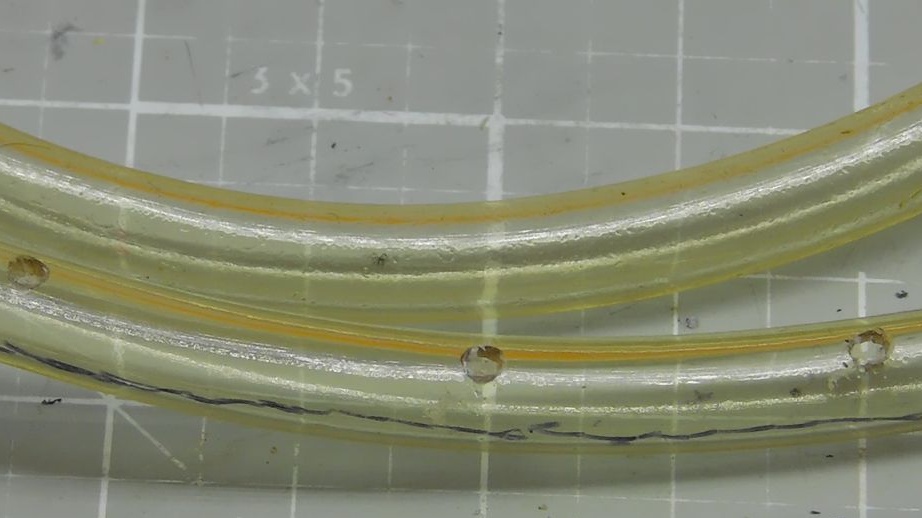
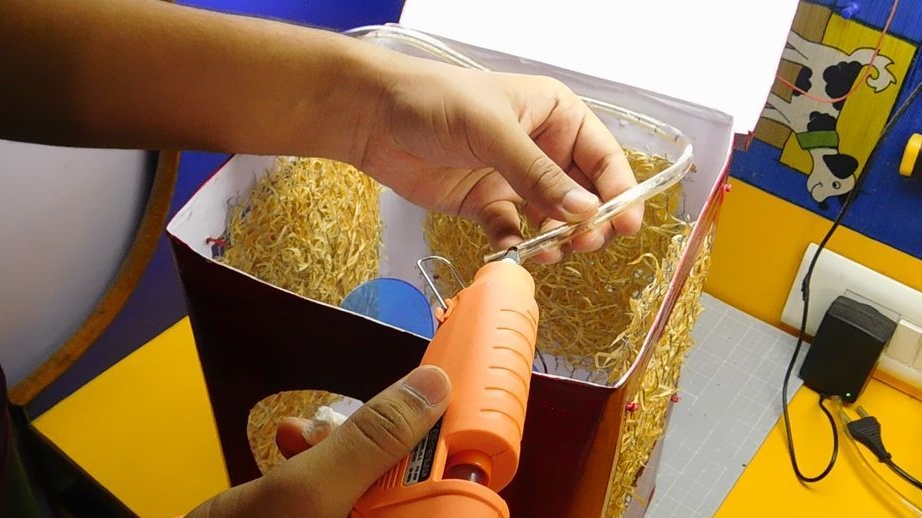
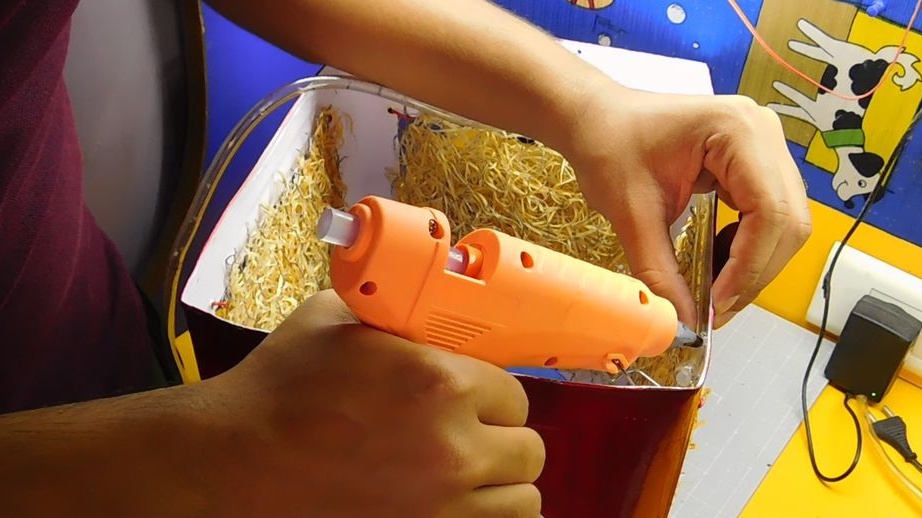
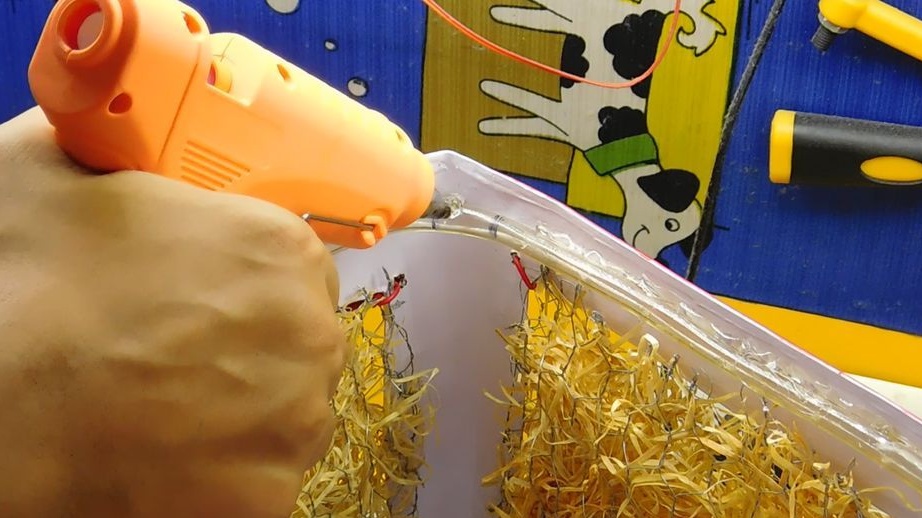
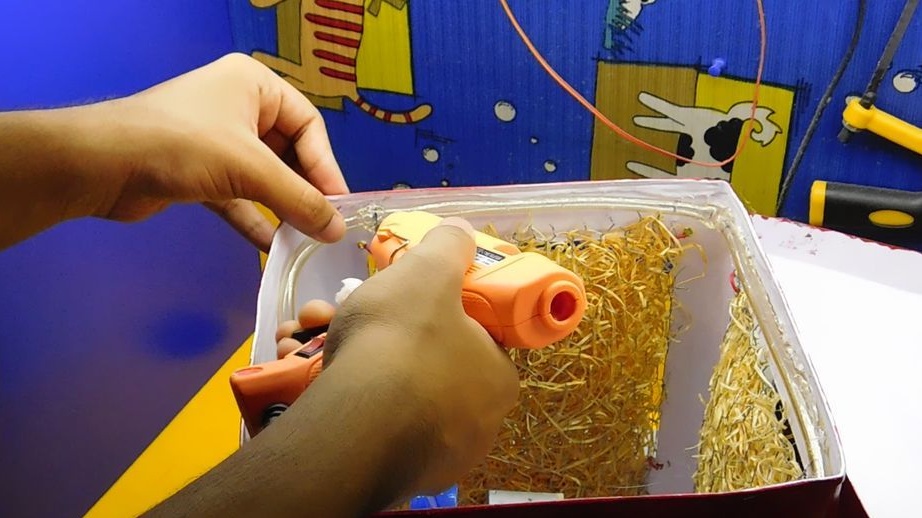
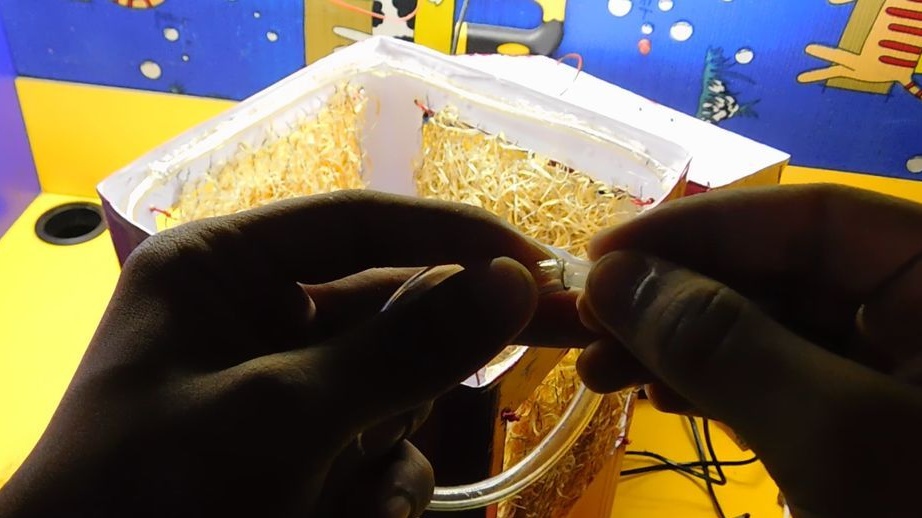
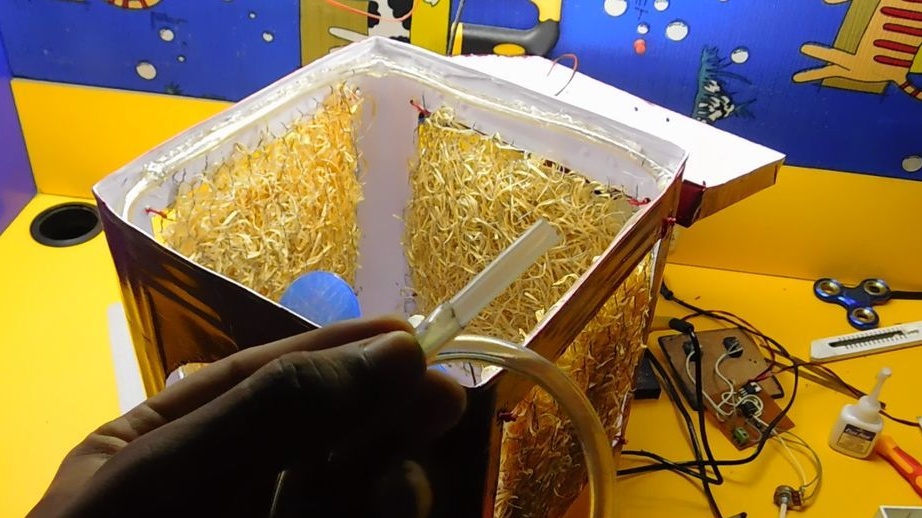
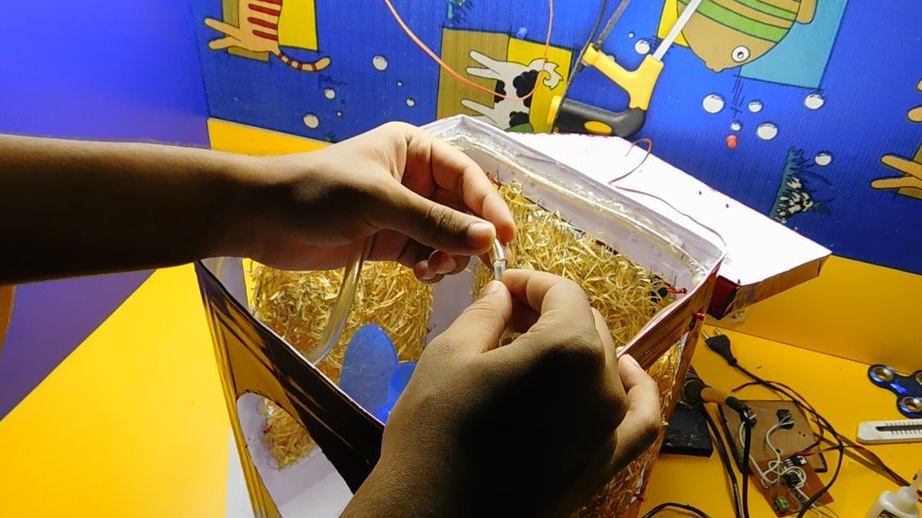
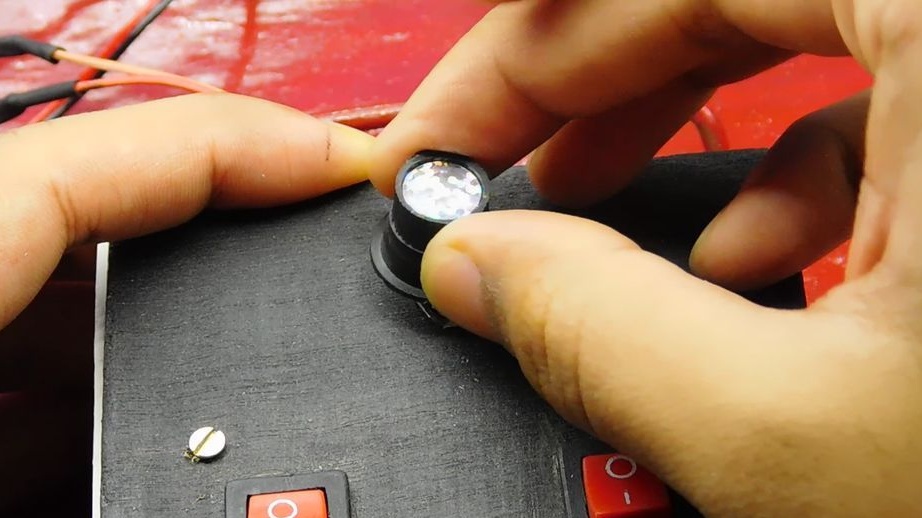
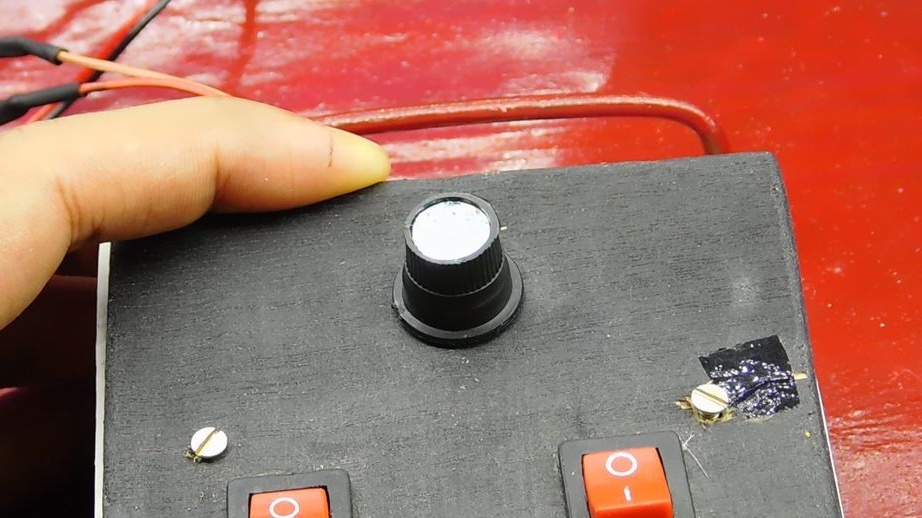
Step Nine: Handset
In a plastic tube makes a series of holes. The size of the holes is 1-2 mm. The number of holes 18. The tube is fixed around the perimeter. There should be 6 holes above each filter. The tube is fixed with hot-melt adhesive with the holes down. One end of the tube is sealed with hot glue. The second end connects to the pump. The pump is located at the bottom of the housing.

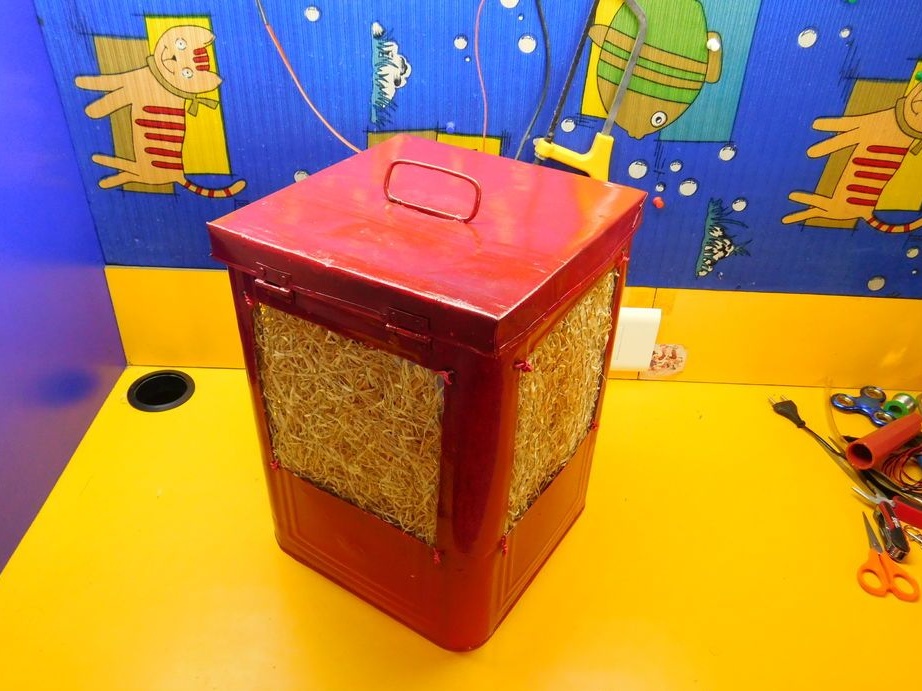
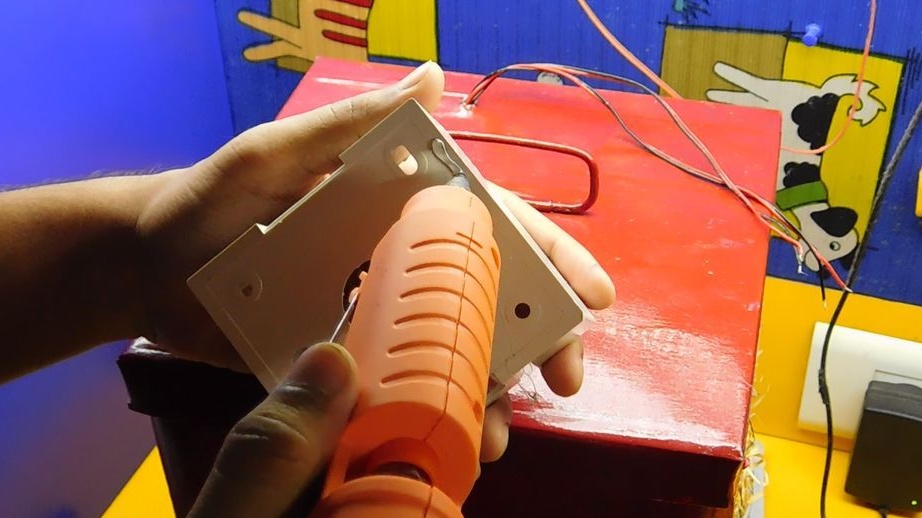
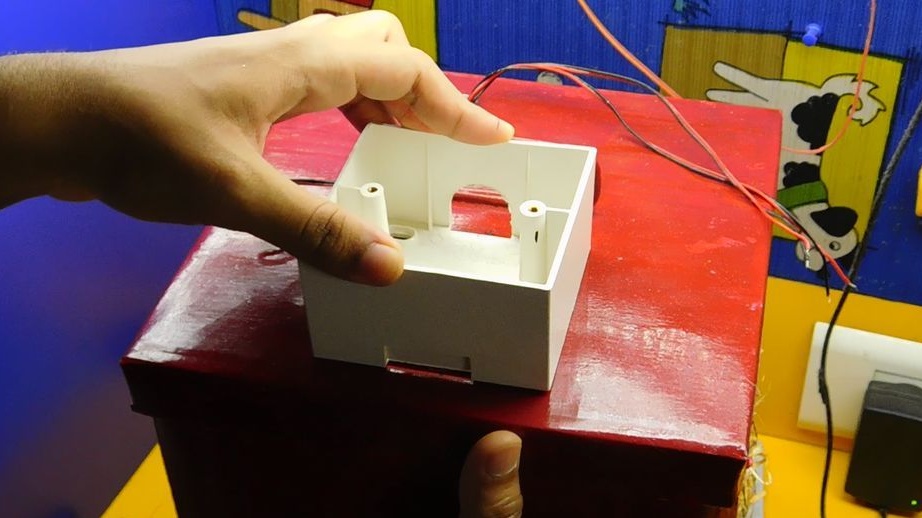
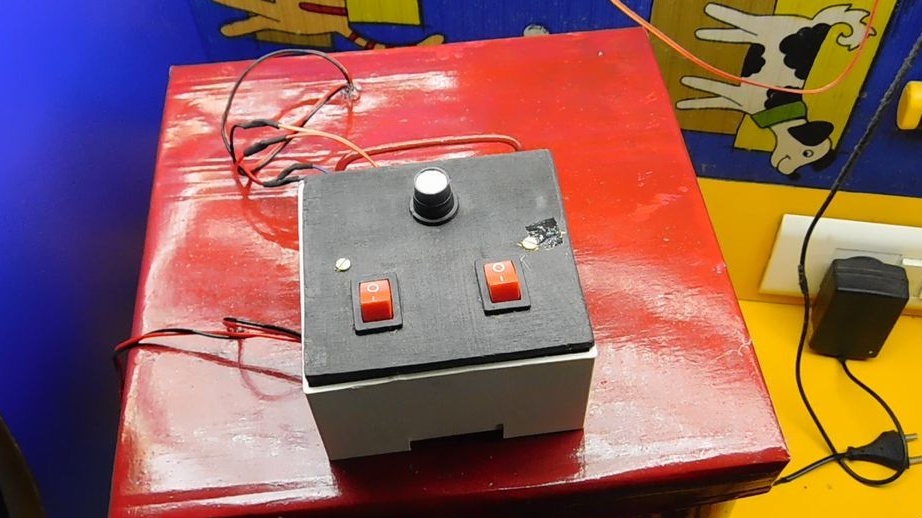
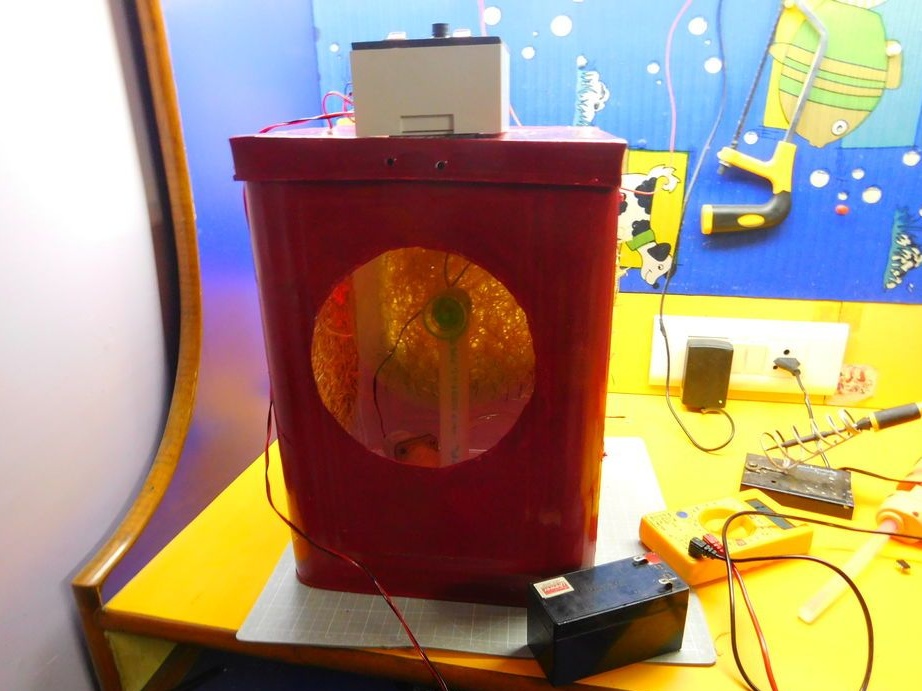
Step Ten: Final Assembly
Finishes assembly. Secures switches and potentiometer. The board is hiding in a plastic case. Fastens the wires. Shrink insulates the contacts. Fills holes with hot glue in the places of pulling wires.

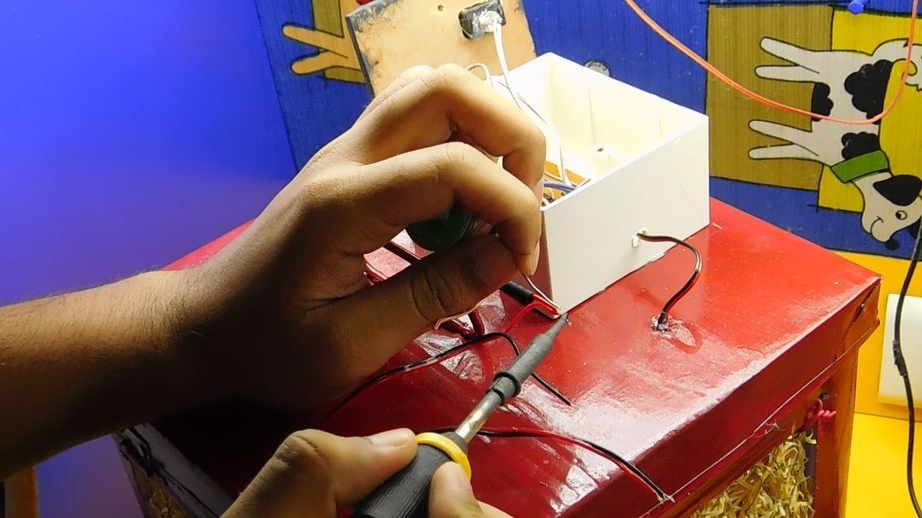


All is ready. It remains to pour water into the lower part of the housing and connect the evaporative air cooler to the battery or power supply.
The weight of the cooler manufacturing process can be seen in the video.