
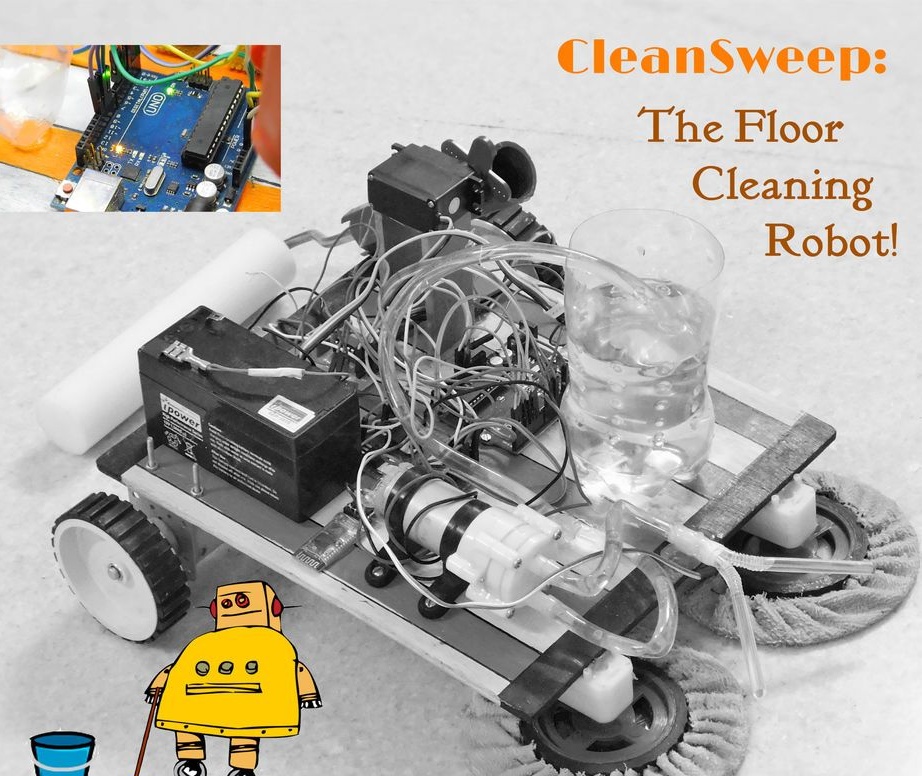
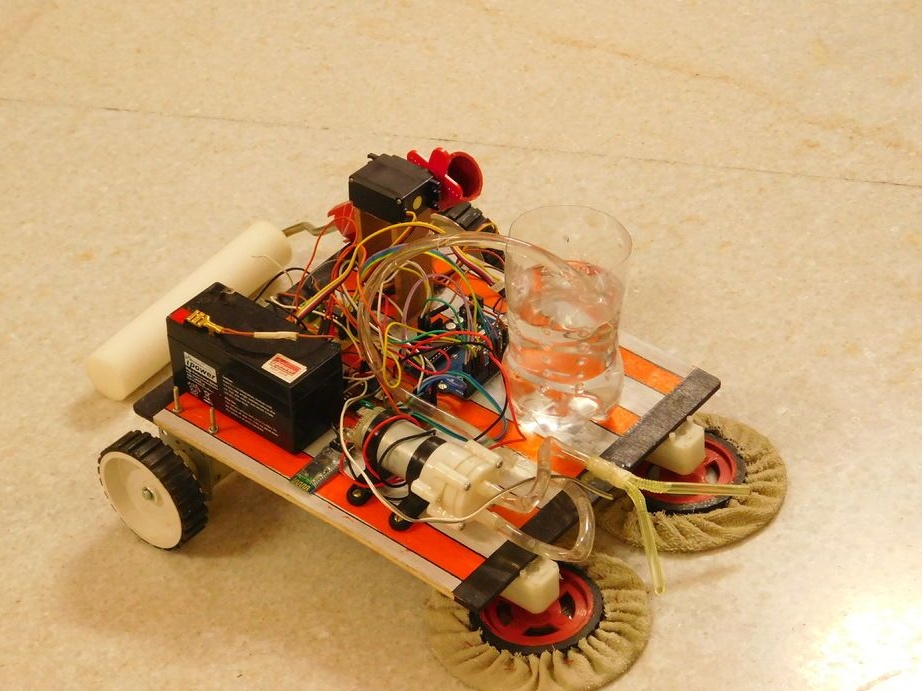
RobotThe harvester has in his arsenal two rotating brushes mounted on the front of the gearmotor shaft. The gearbox rotates at a speed of 75 rpm. The robot has a water tank on board. A roller is fixed at the back of the robot. The robot is mixed with the help of wheels fixed on the axis of the gearmotor. The cleaner is controlled by smartphone via bluetooth. In the future, the Master plans to make the robot fully autonomous. Let's see how this device works.
Tools and materials:
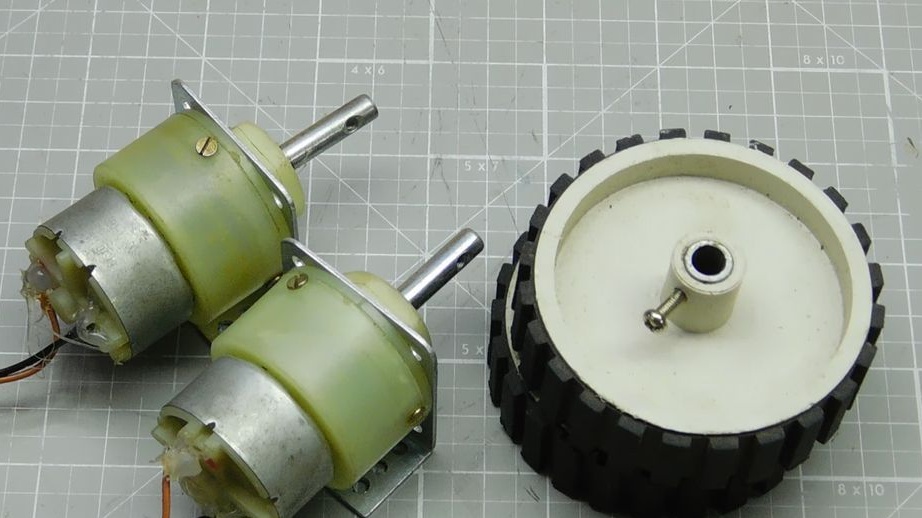
-Motor gear 100 rpm -2 pcs;
-Wheels for the engine -2 pcs;
-Motor-reducer with a wheel of 75 rpm - 2 pcs;
-Arduino UNO;
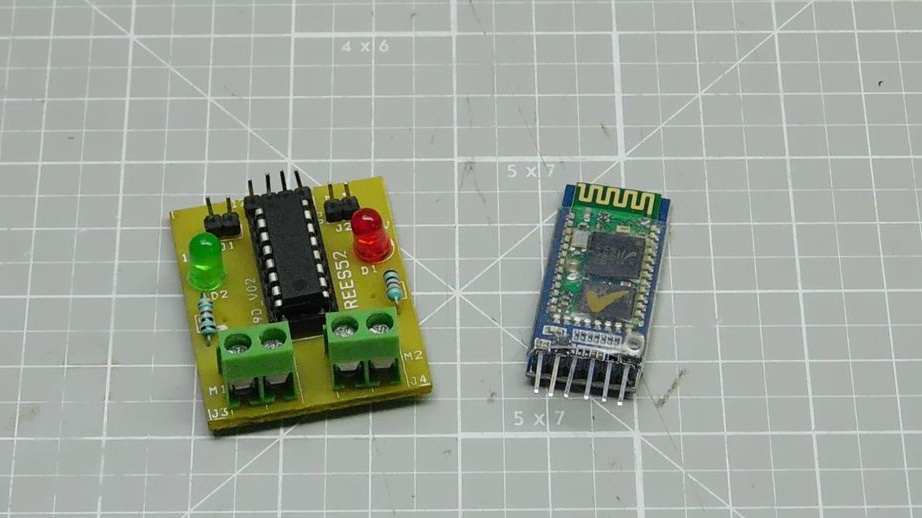
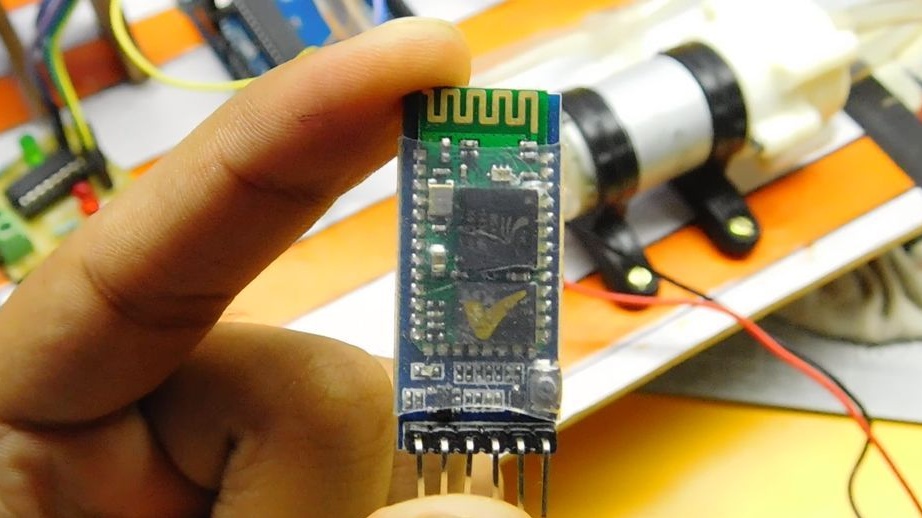
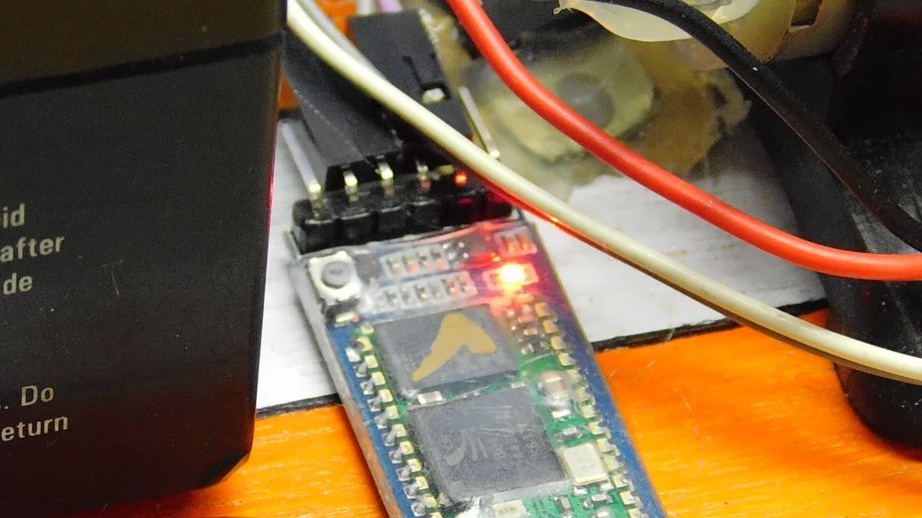
- Bluetooth module HC-05/06;
-Driver L293D;
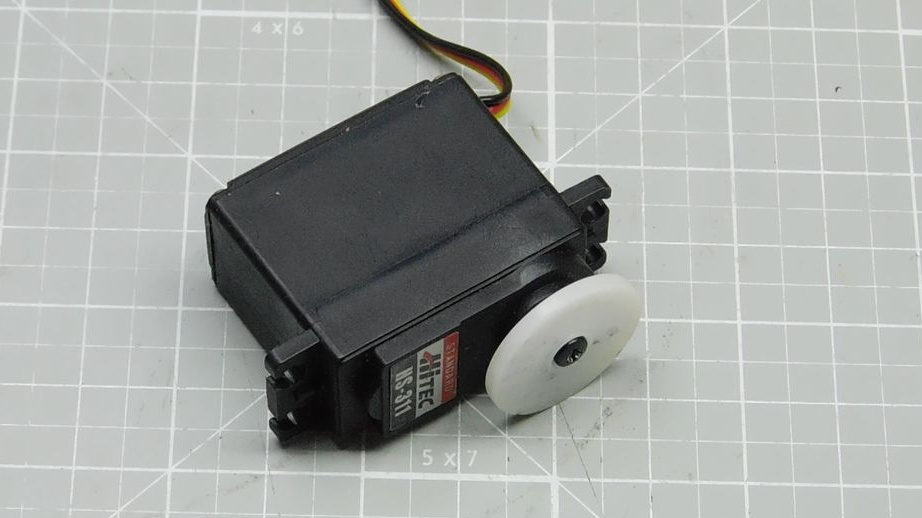
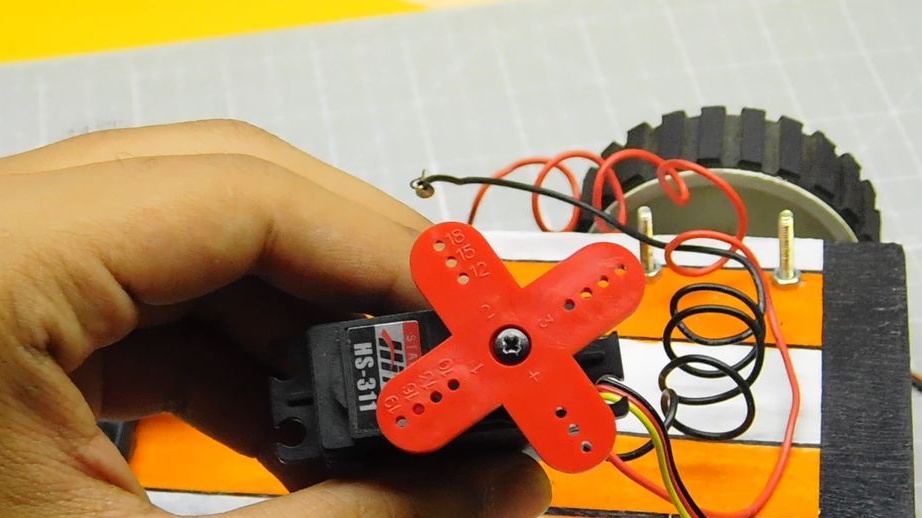
- Servomotor (180 degree rotation);
-12V battery;
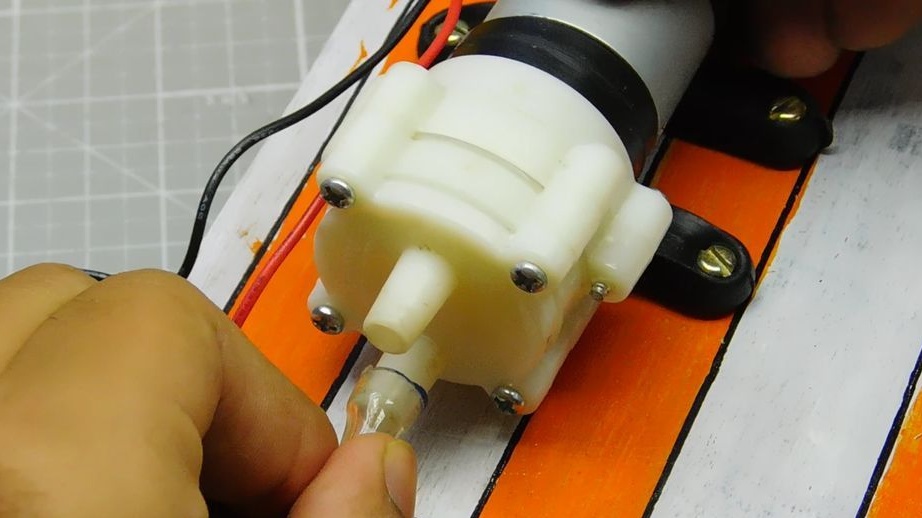
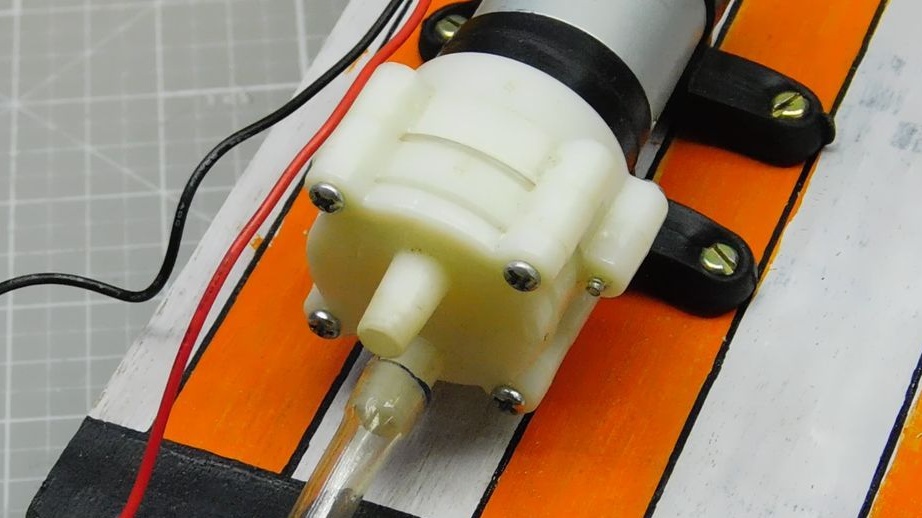
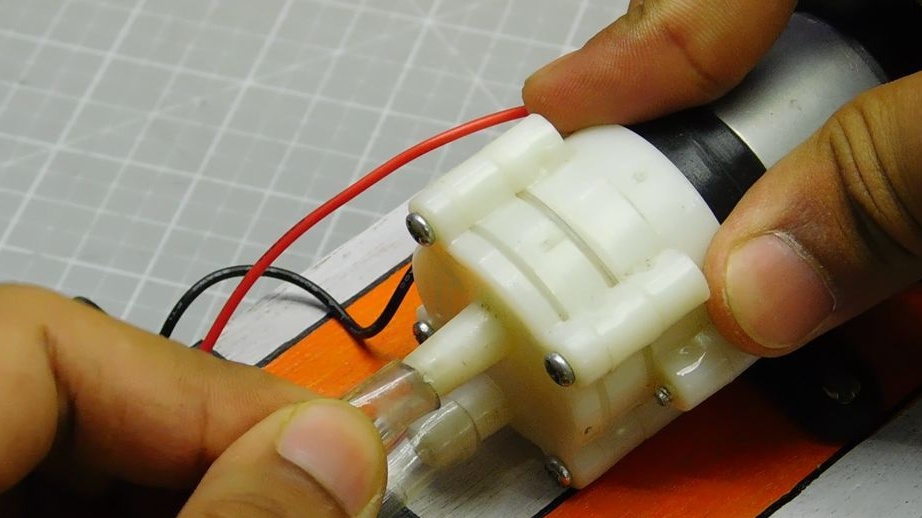
- Pump 12 V;
Transistor TIP31C;
Transistor TIP122;
- CD drive - 2 pcs.;
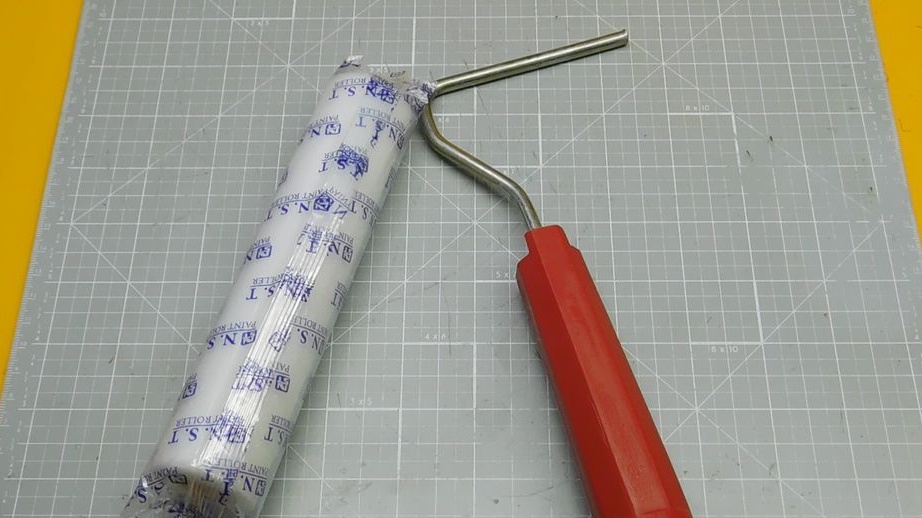
- Paint roller;
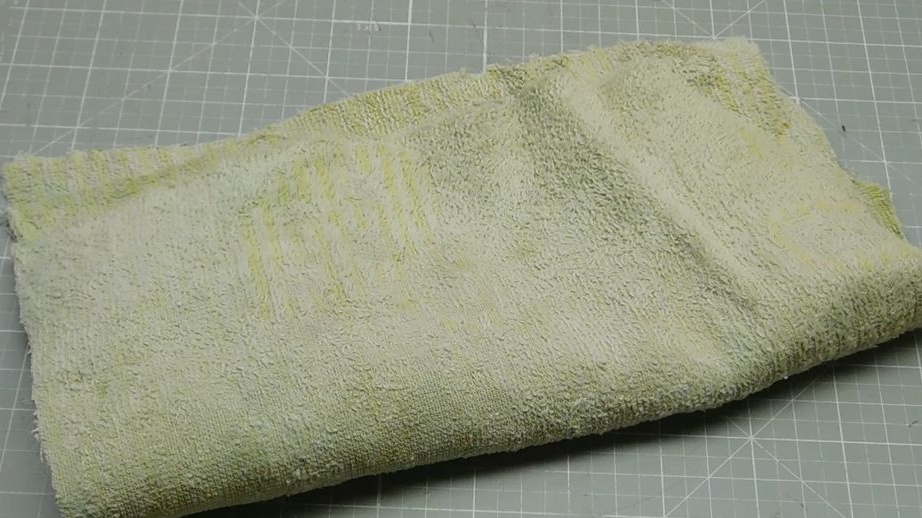
- Cloth napkins;
- Needle with thread;
-A tube;
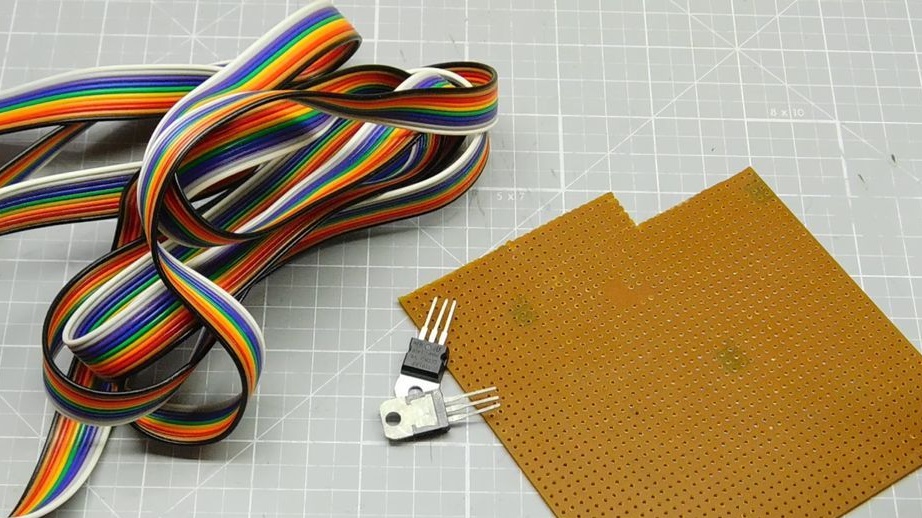
-The wire;
- Jumpers;
-Circuit board;
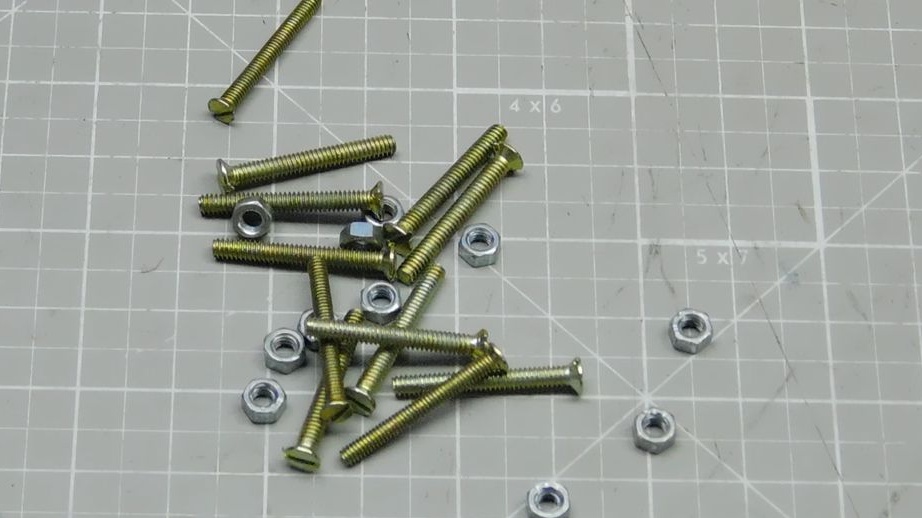
-Fasteners;
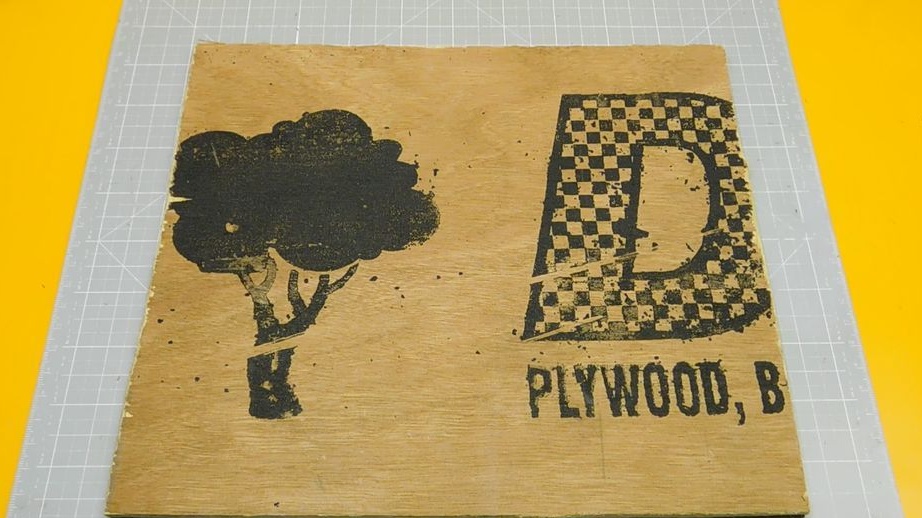
-Plywood;
-Plastic bottle;
-Soldering iron;
-Glue gun;
-Drill;
-Pliers;
-Dremel;
- brush;
-Paint;
-Marker;
-Scissors;


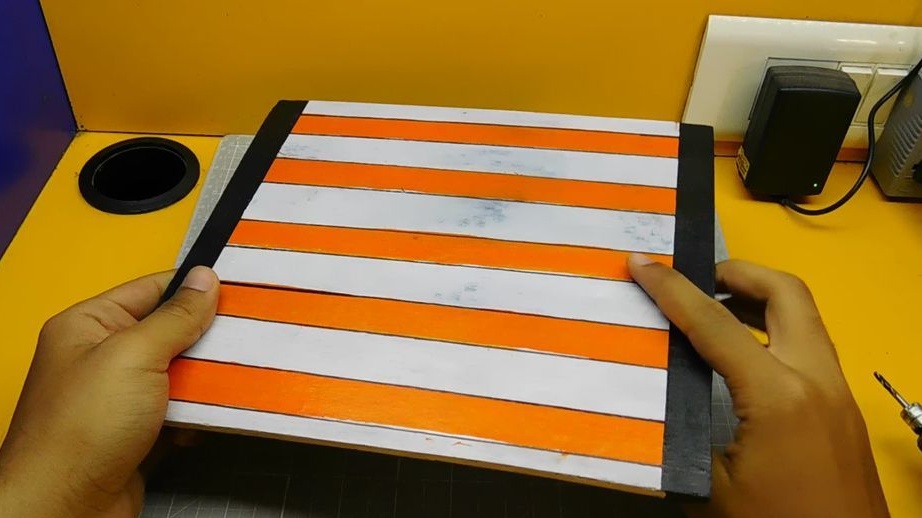
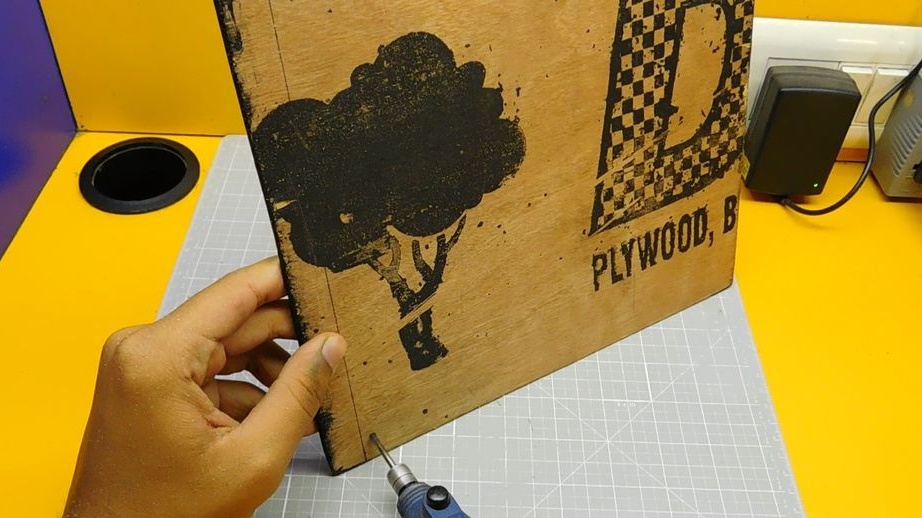
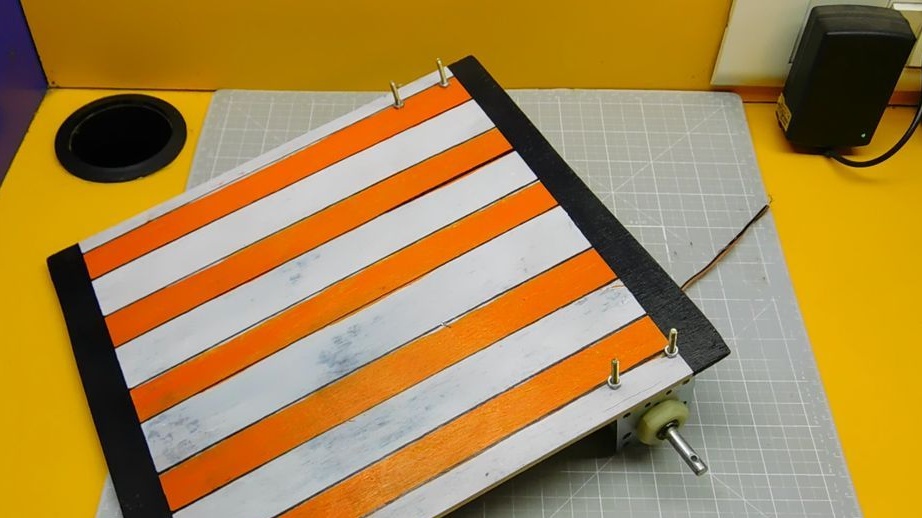
Step One: Foundation
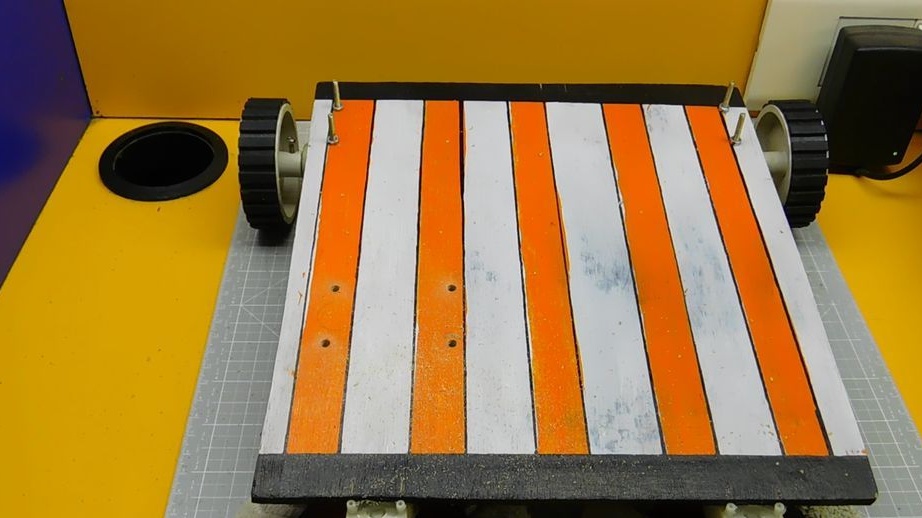
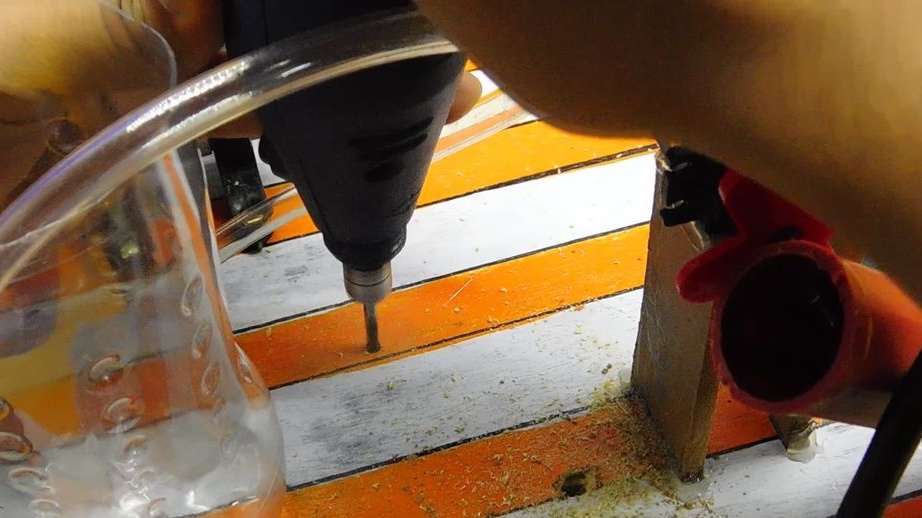
From plywood cuts the base. The sizes of the basis are 30 * 22 cm. Paints the basis. On the one hand, it fixes the gear motor. Coaxially fixes the gear motor on the other side of the base.


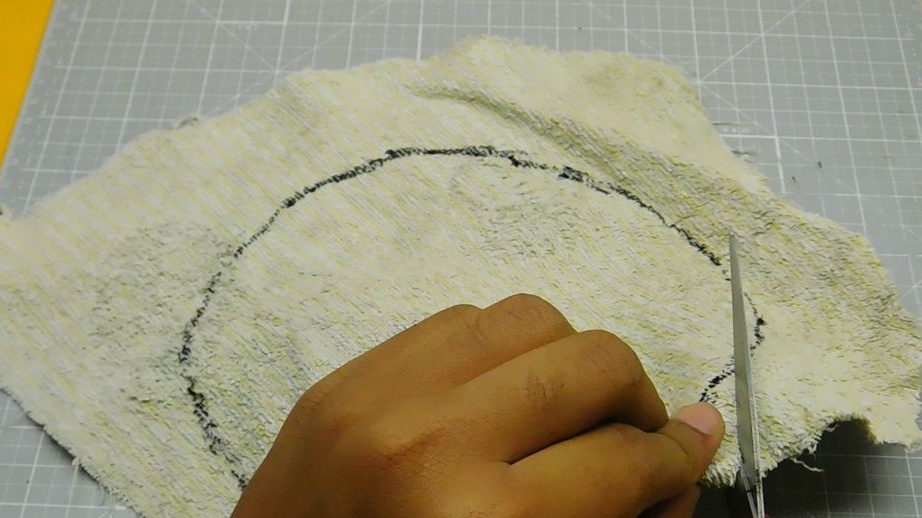
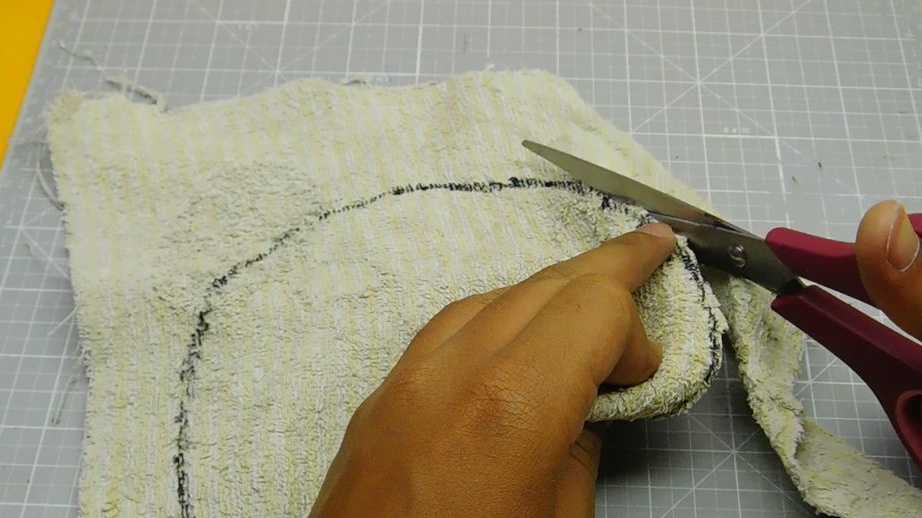
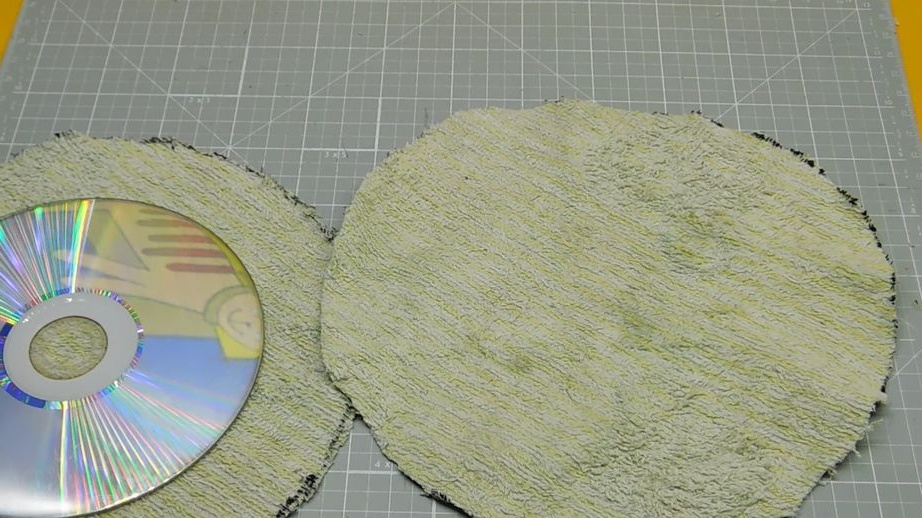
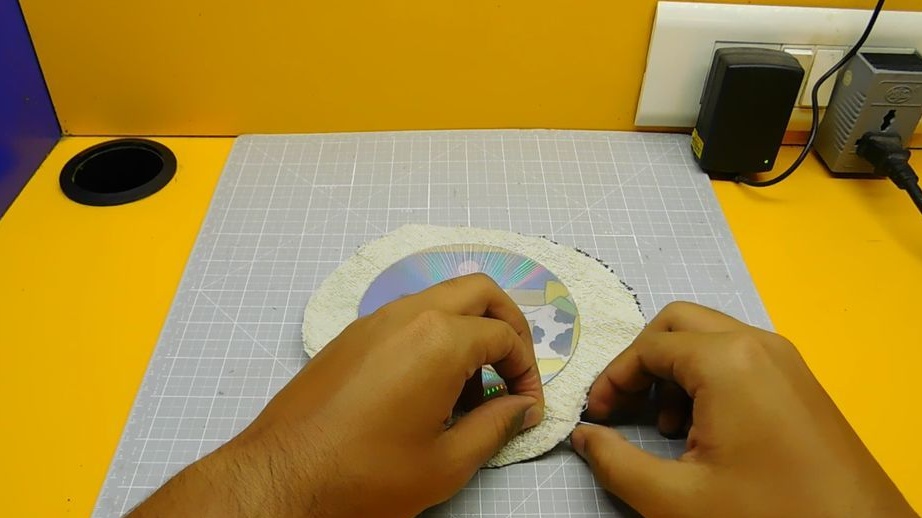
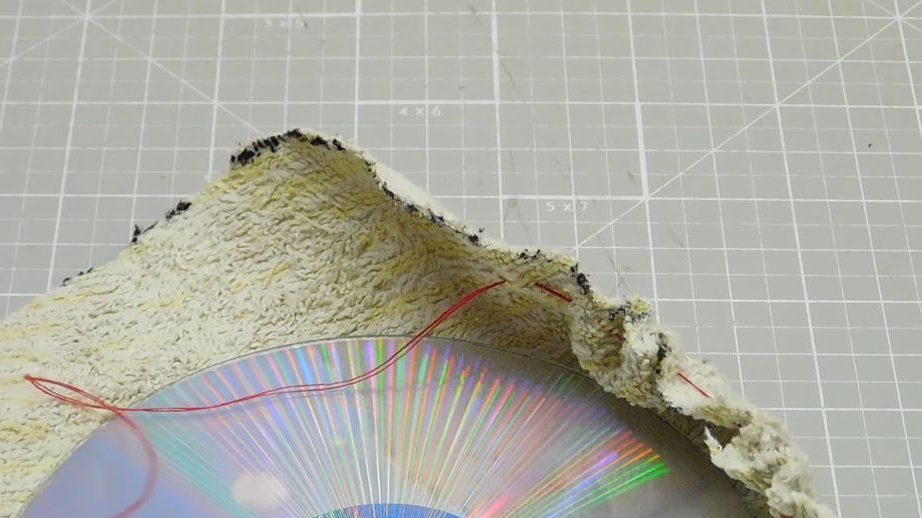
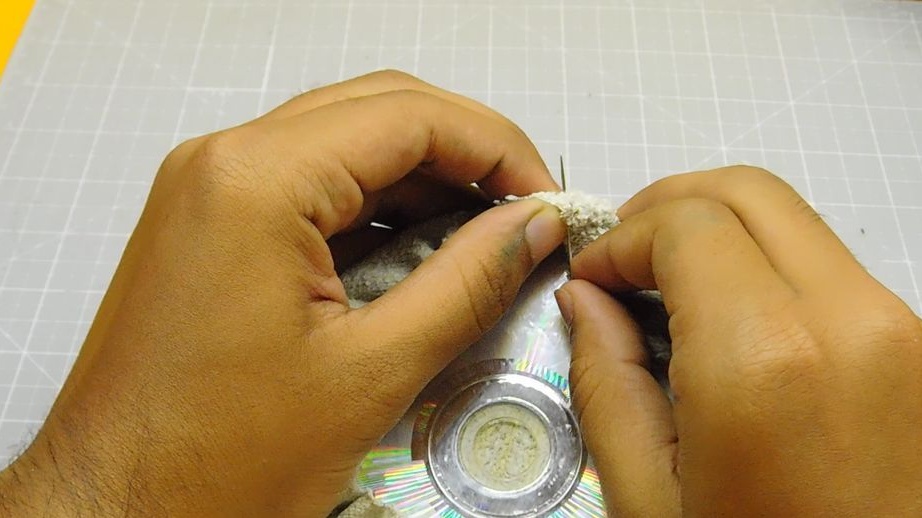
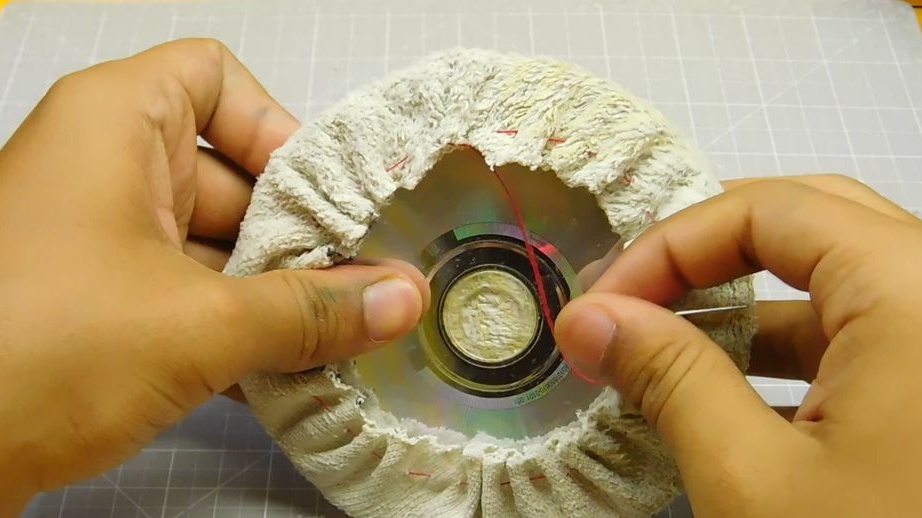
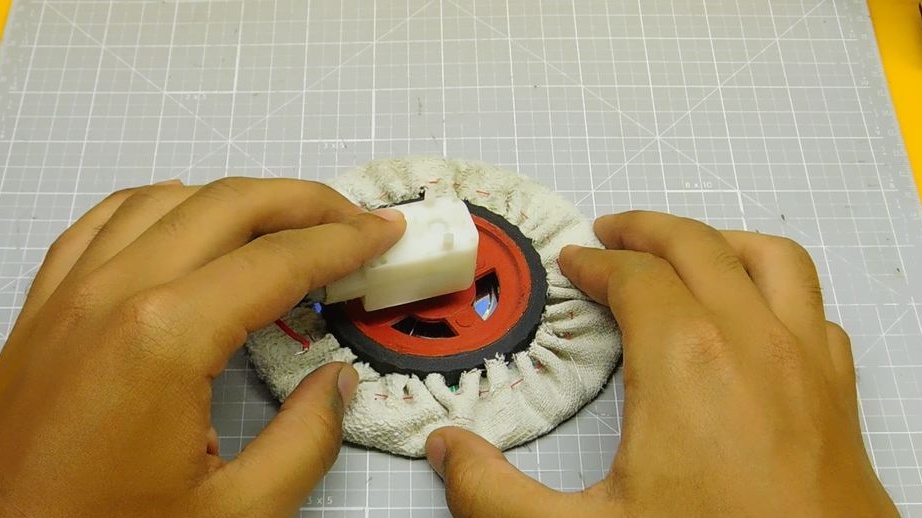
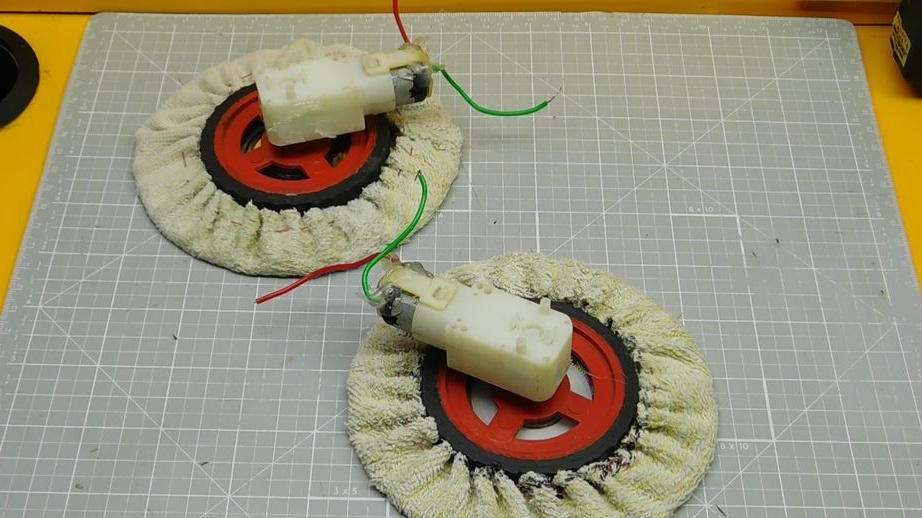
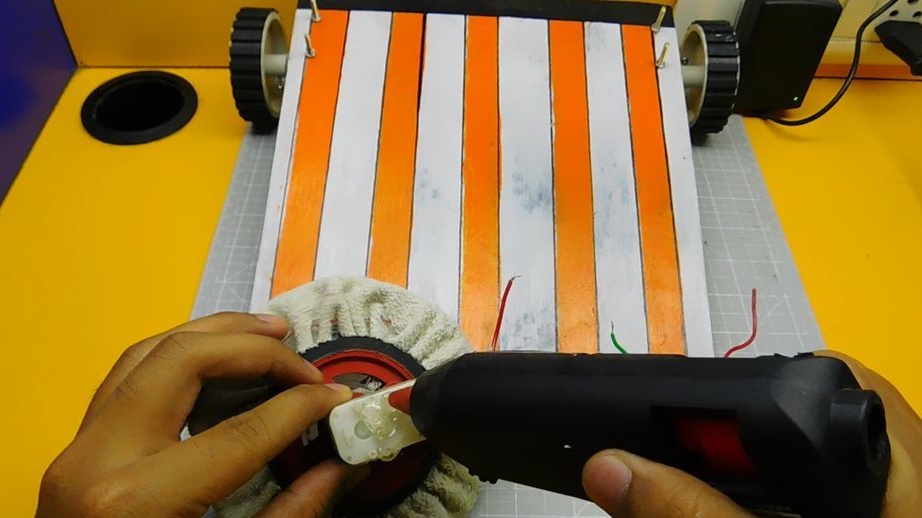
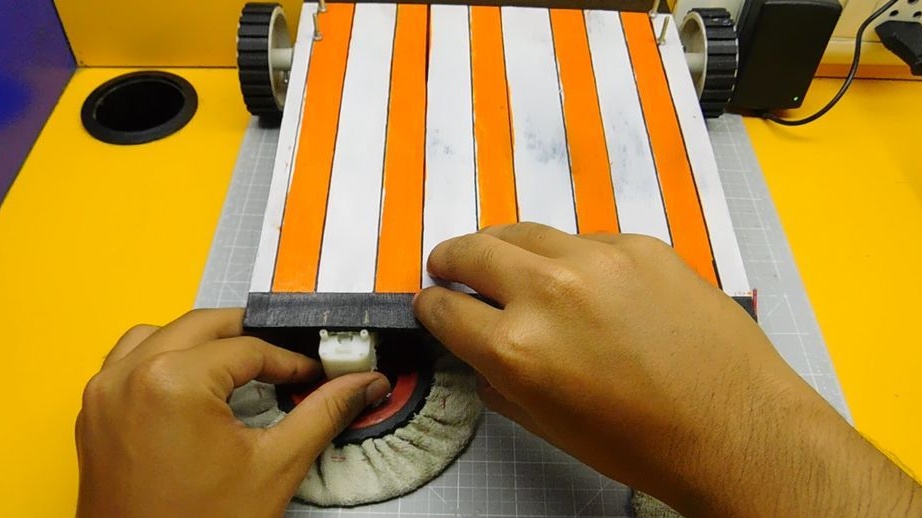
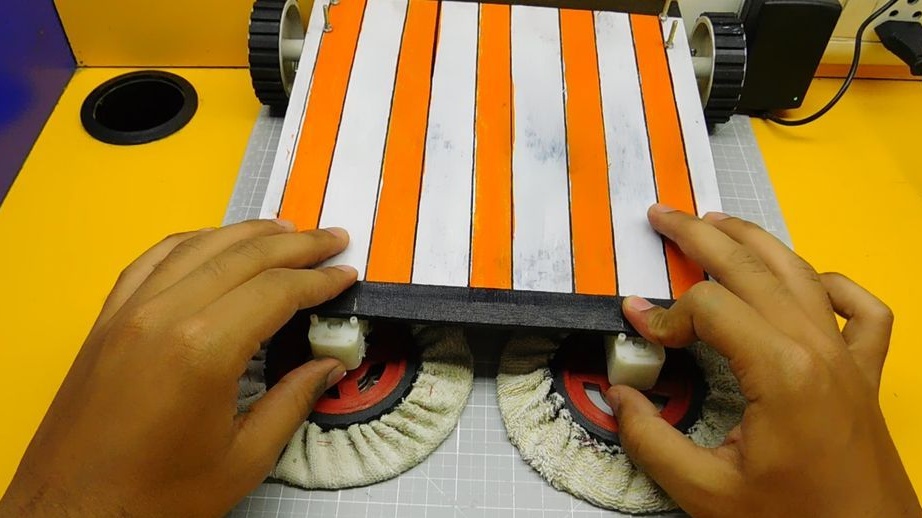
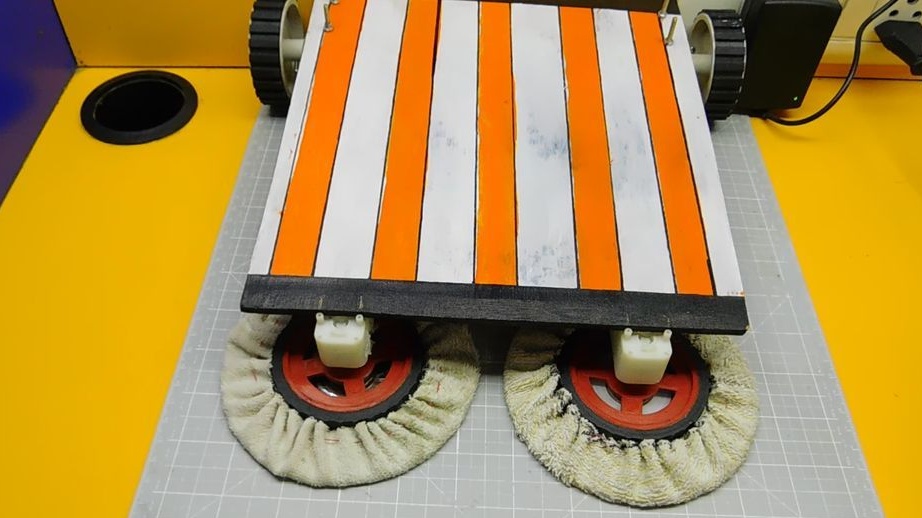
Step Two: Brushes
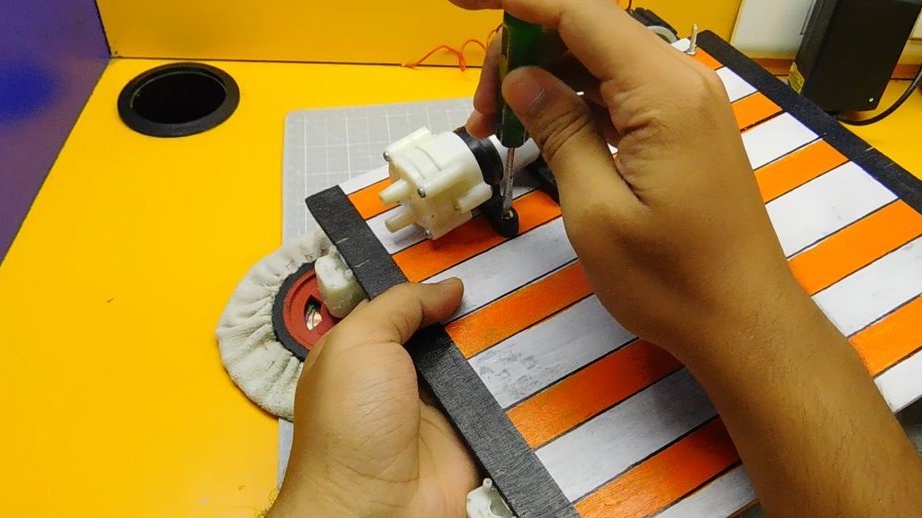
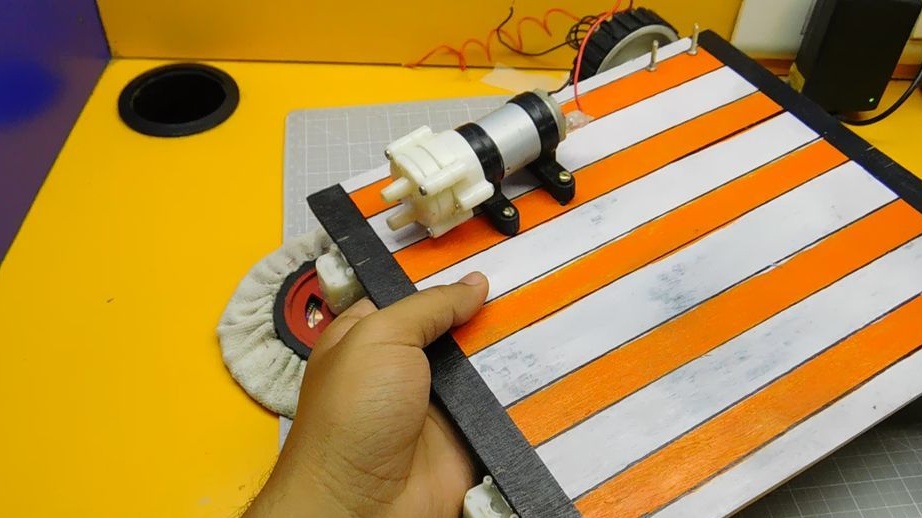
The master made brushes from old CDs. Cut a rag. Sheathed her drive. Repeated operation with another disk. Secured the discs with hot melt adhesive on the gearmotor wheel. Secured both gear motors in front of the platform.


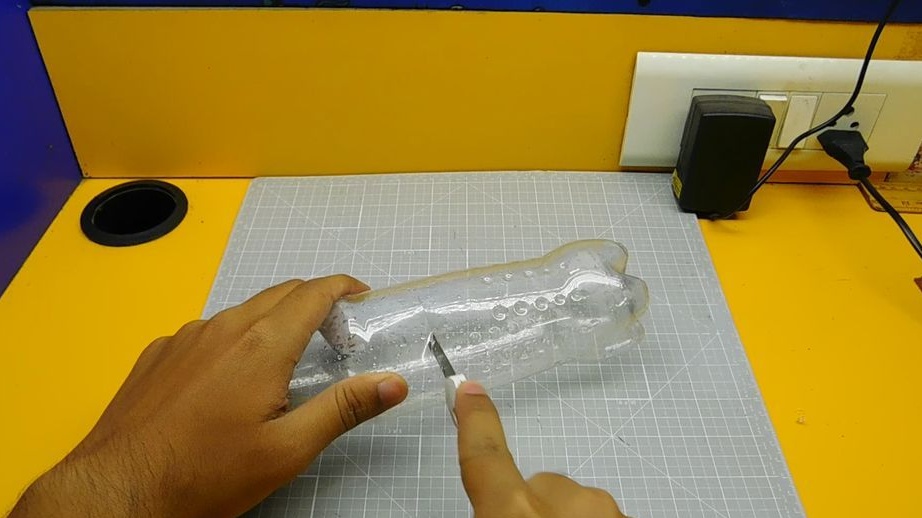
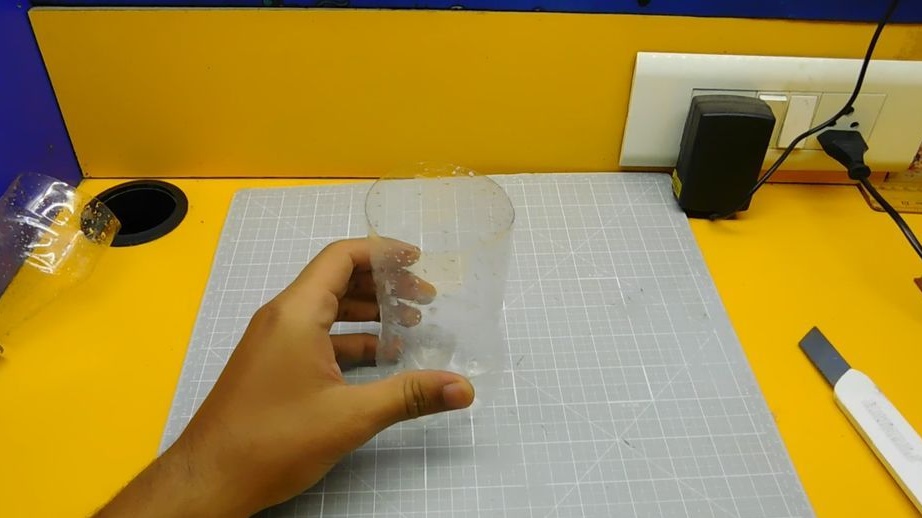
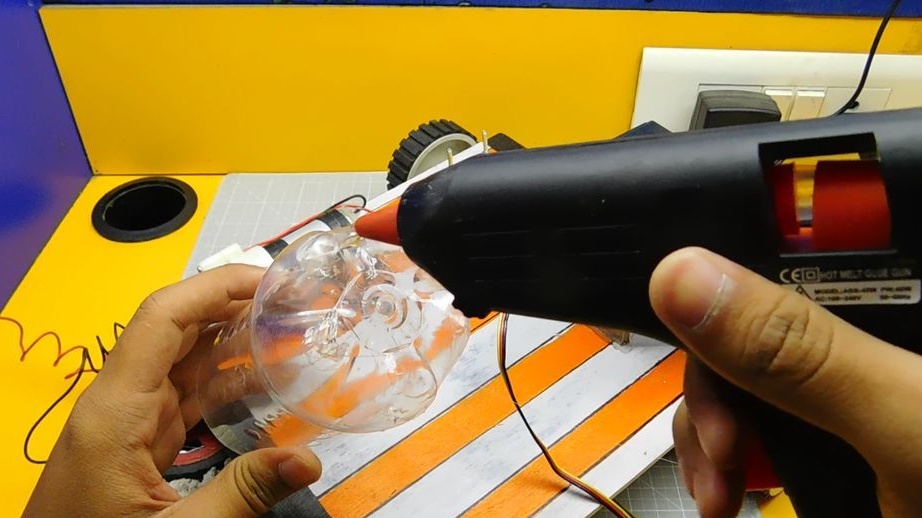
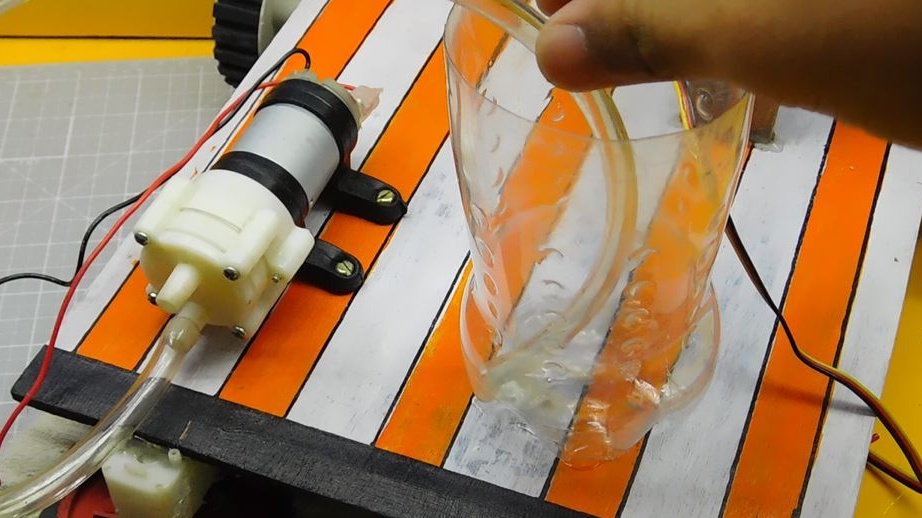
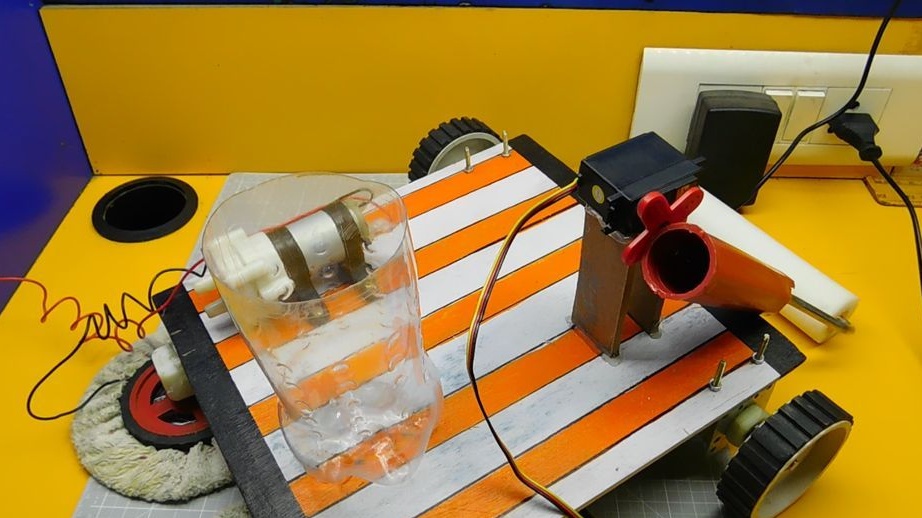
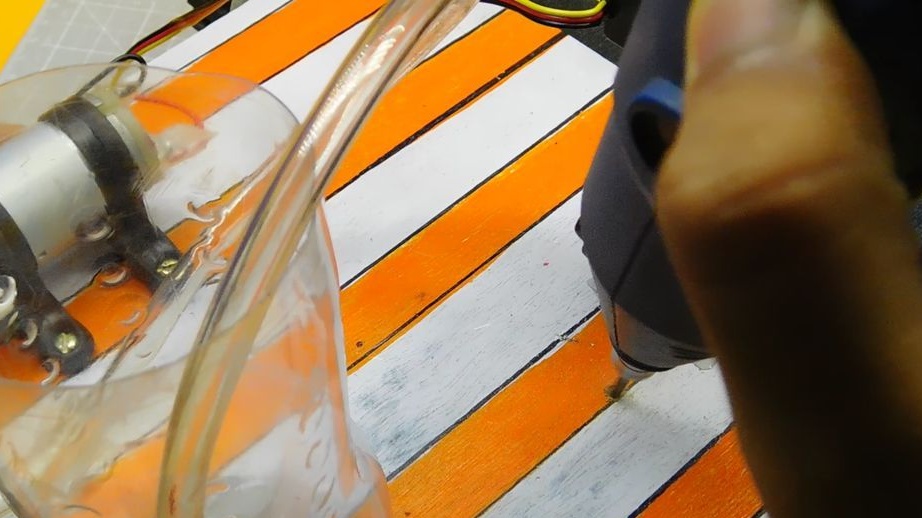
Step Two: Water Supply
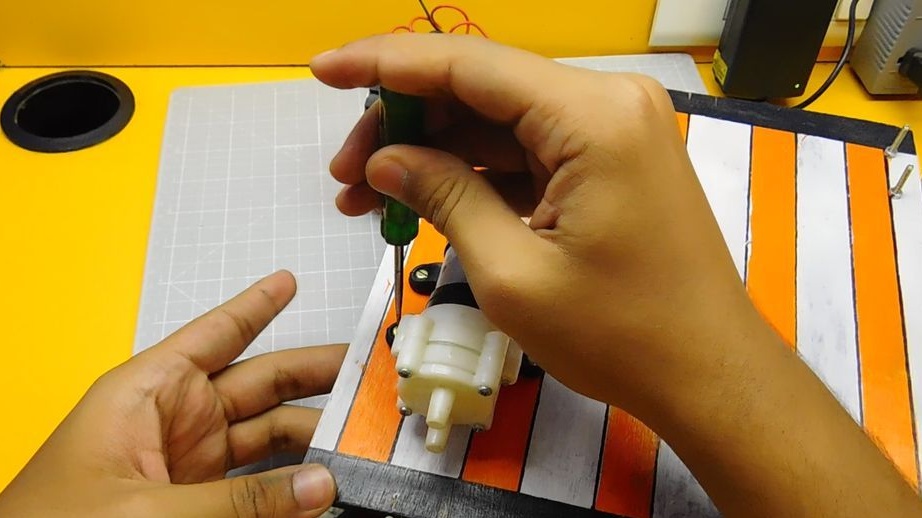
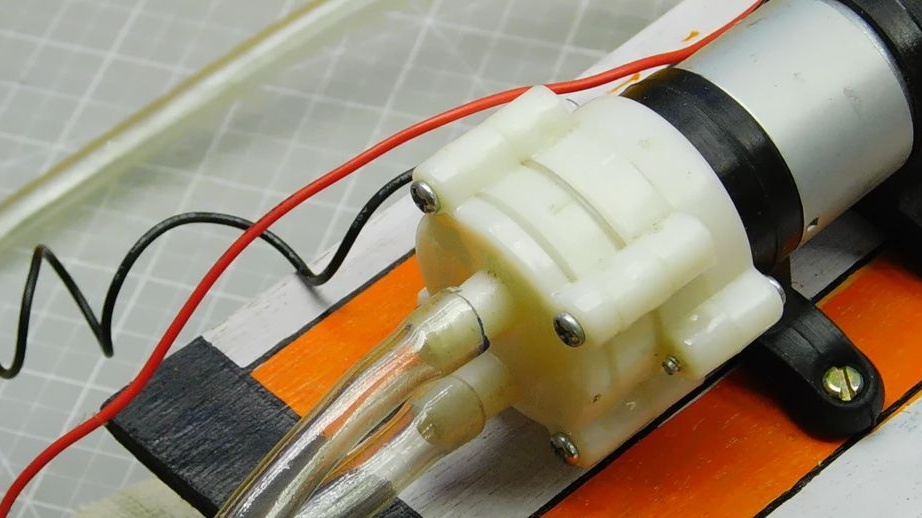
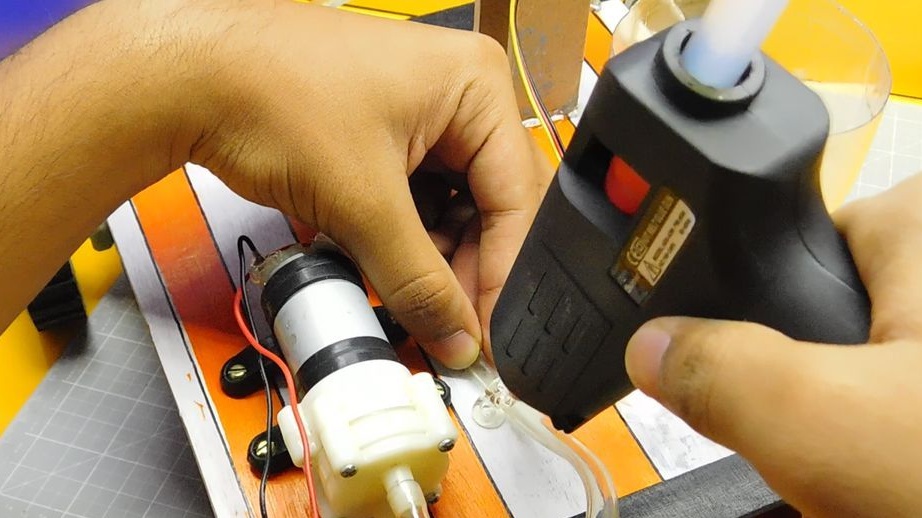
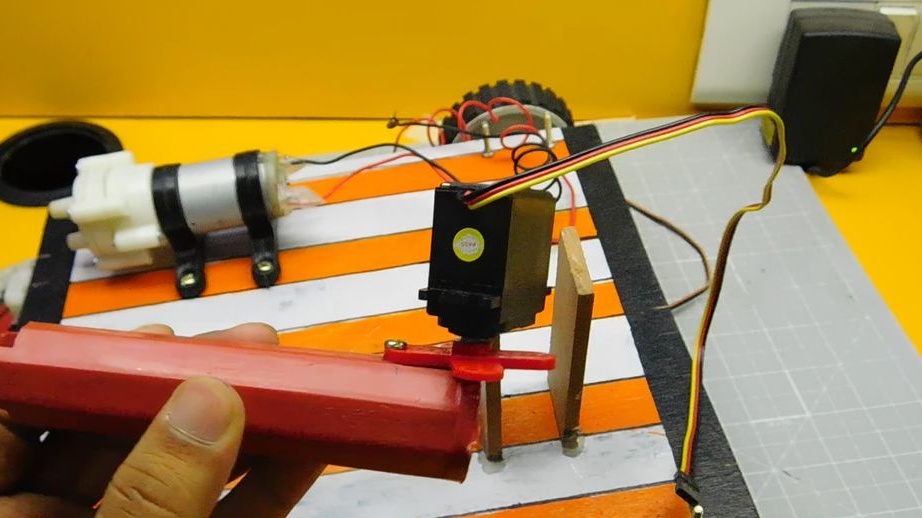
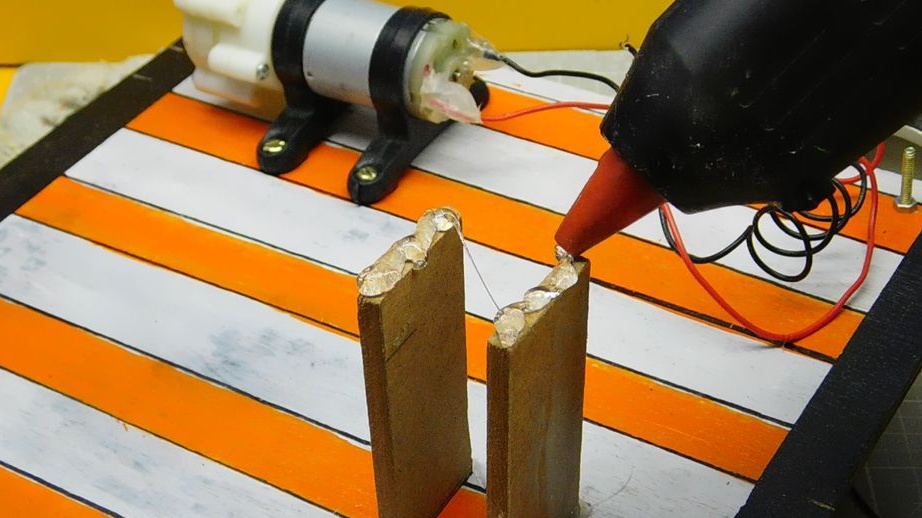
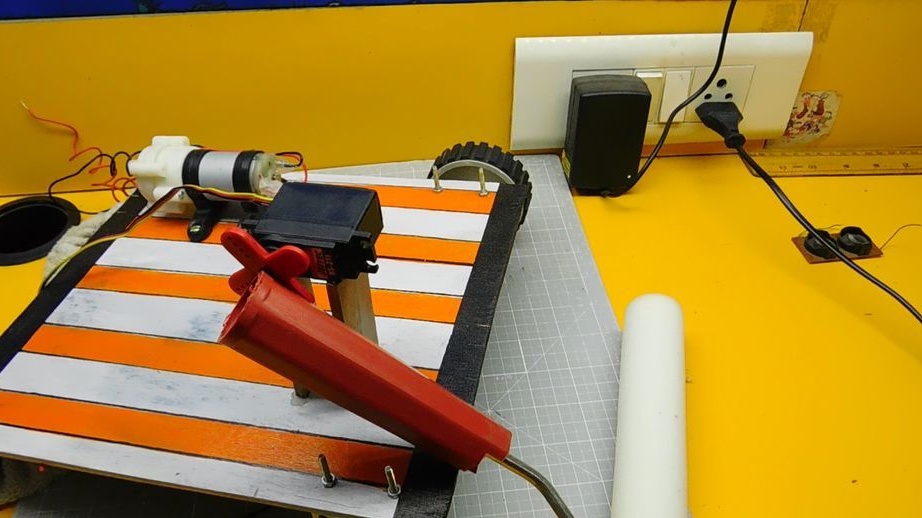
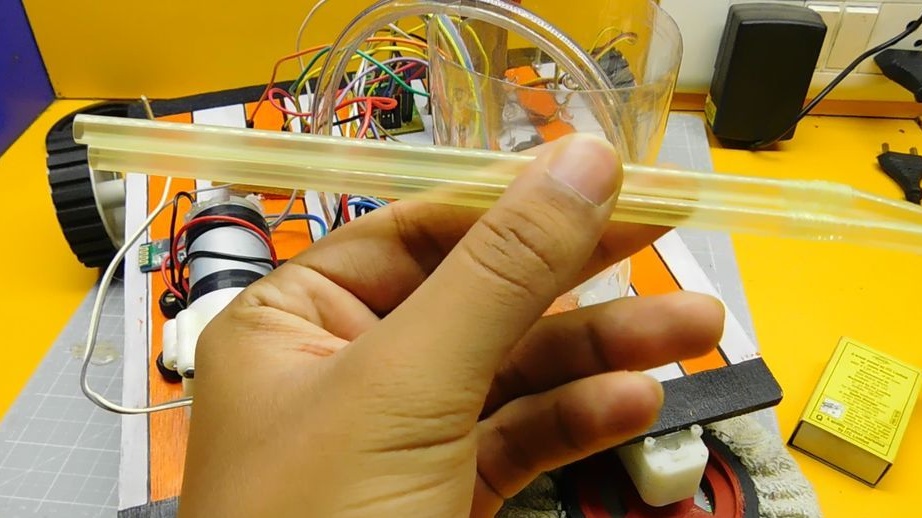
Secures the pump to the platform. Cuts off the top of a plastic bottle. Secures the bottle to the platform. Installs a water intake pipe. Later, the water supply pipe to the brushes will be fixed.


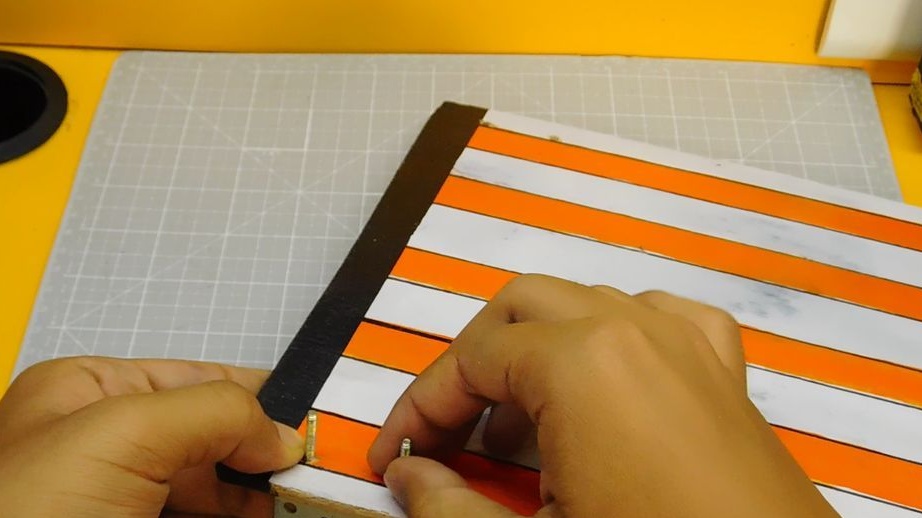
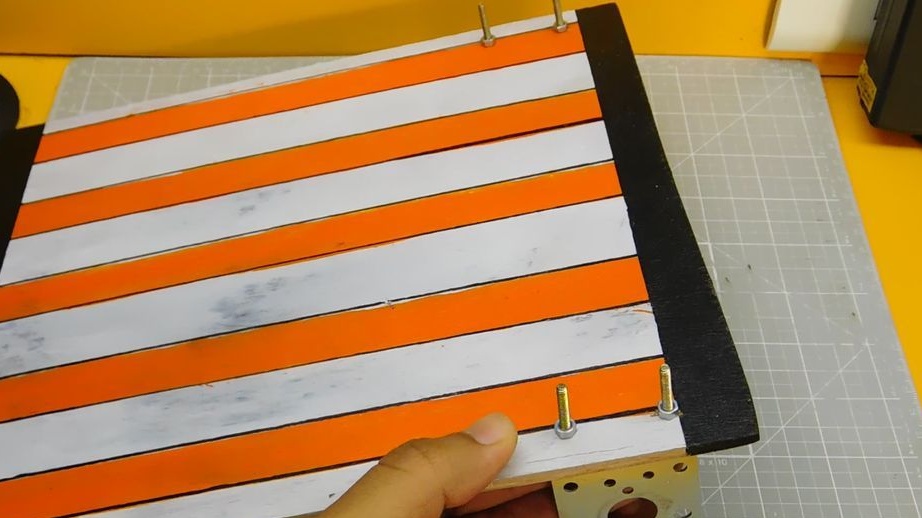
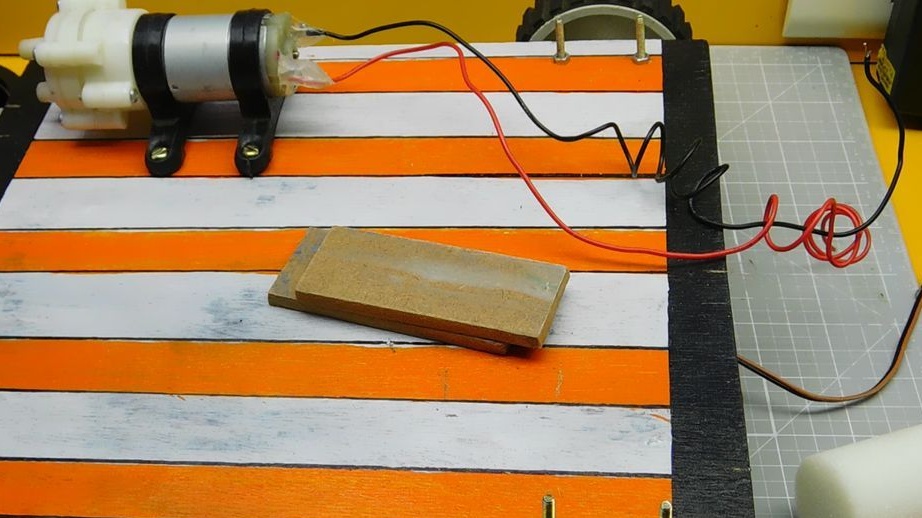
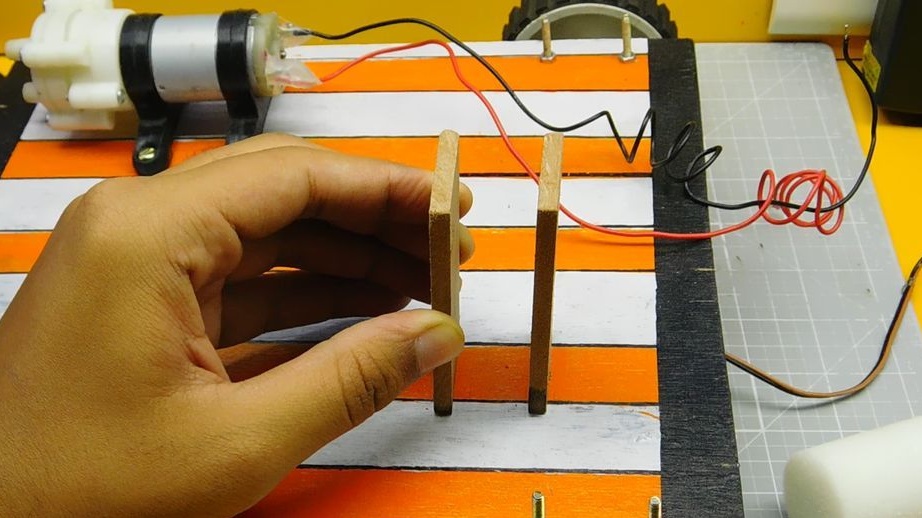
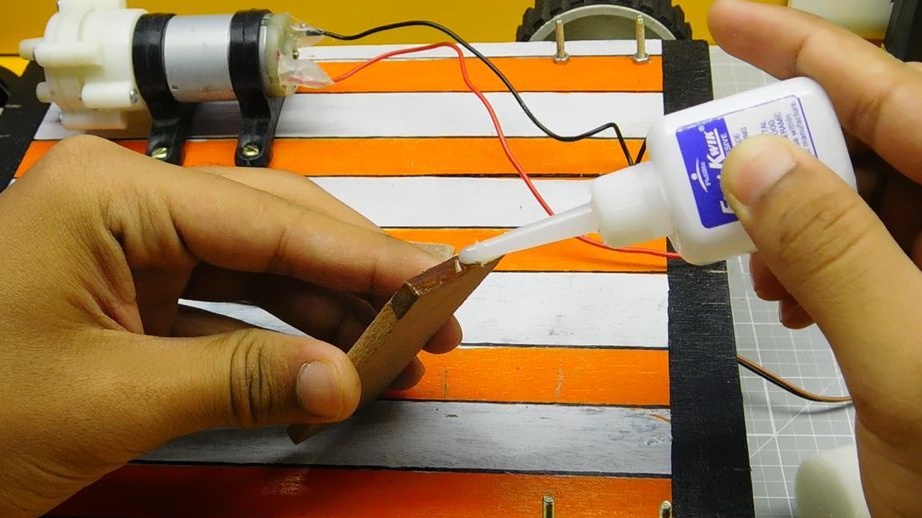
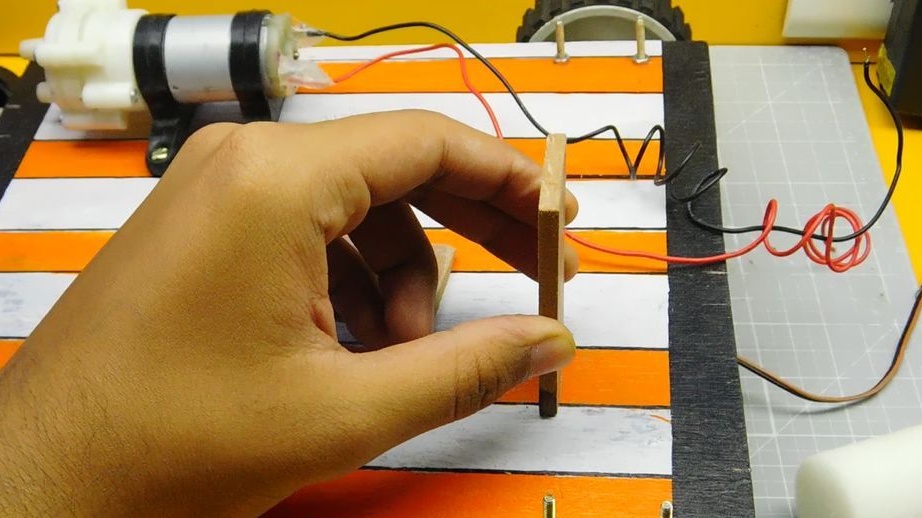
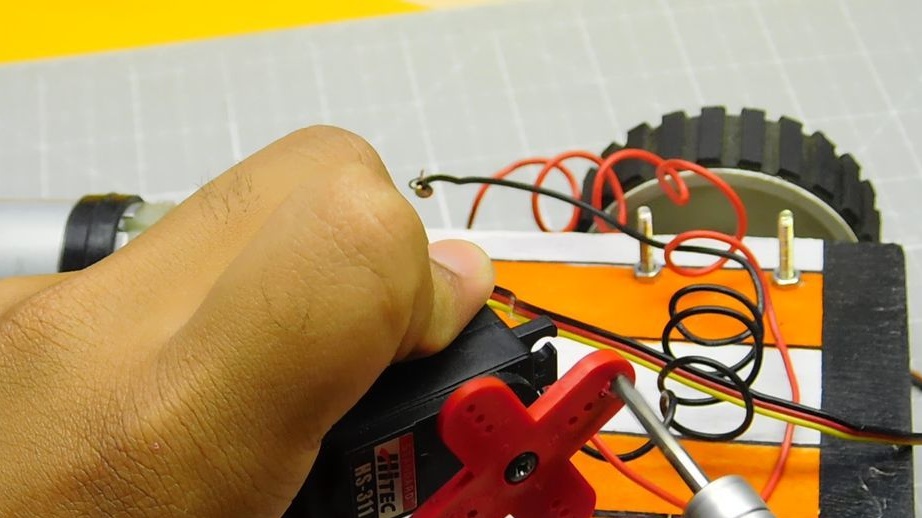
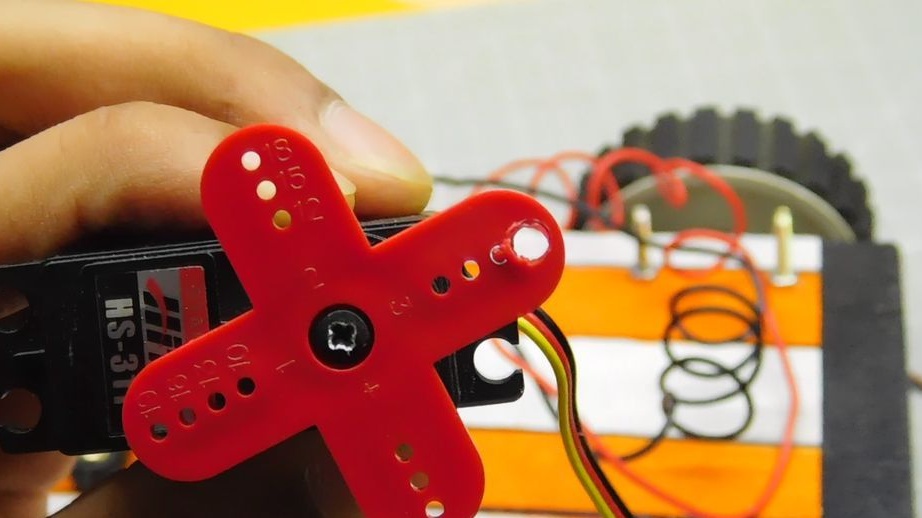
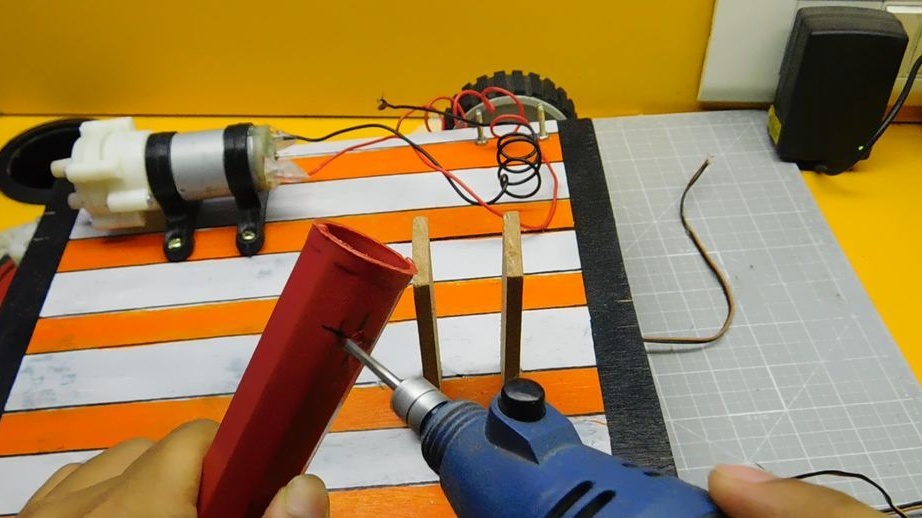
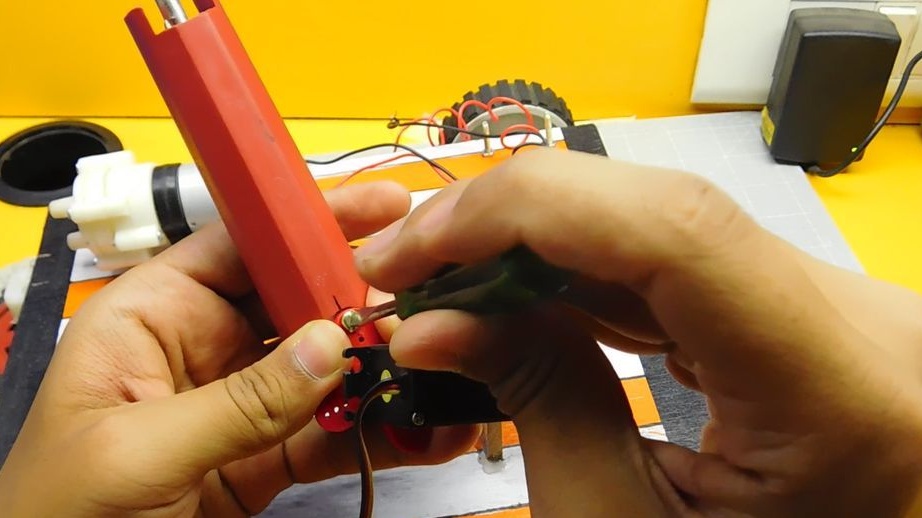
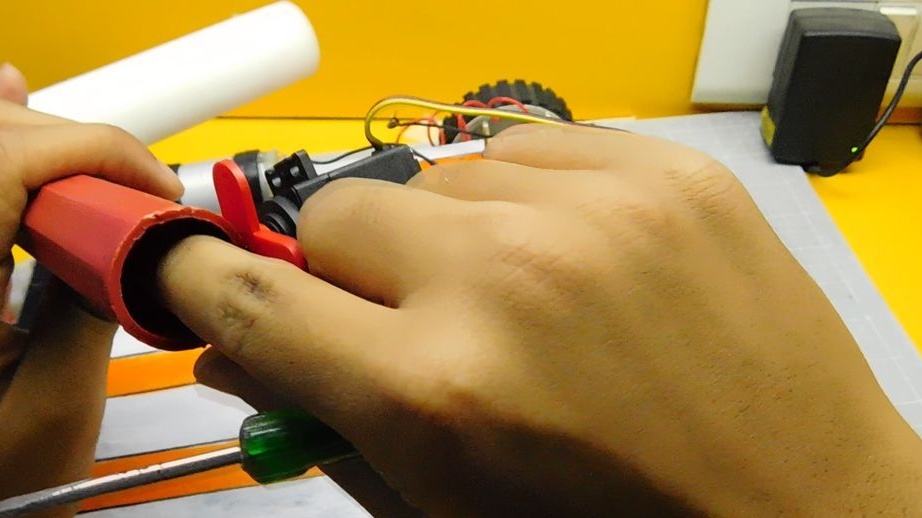
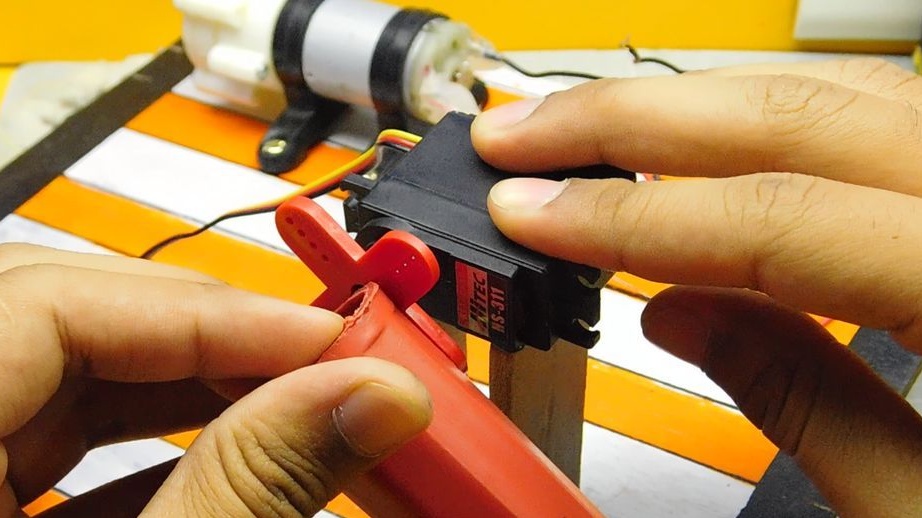
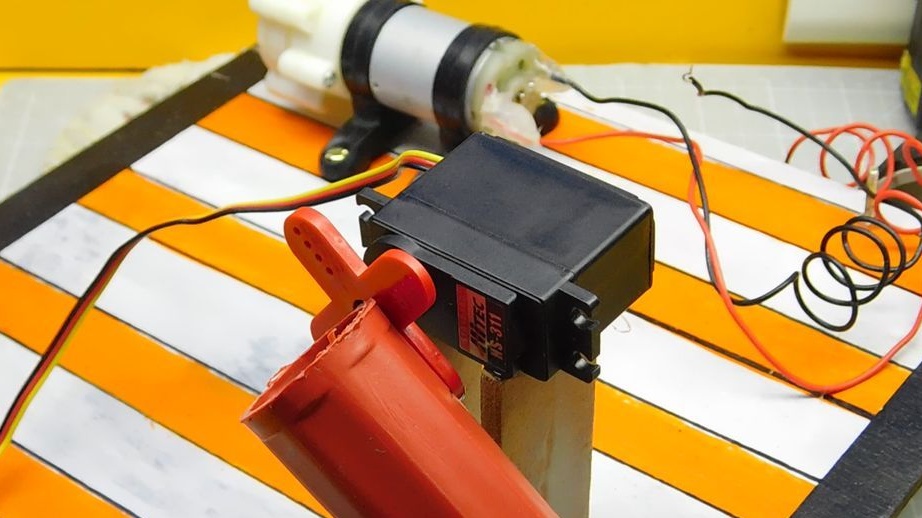
Step Three: Roller Lift Mechanism
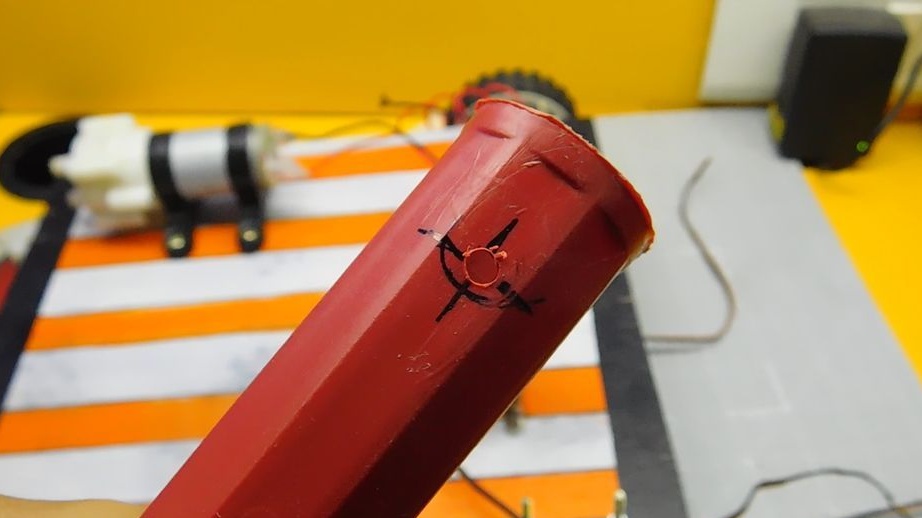
The task of the roller is to collect fine dust. Since the roller is occasionally needed, the master decided to make a mechanism for raising and lowering the roller. Fixes two slats on the platform parallel to each other. Makes two holes, one in the servo lever, the second in the roller handle. Screws the roller handle to the lever. Secures the servo to the slats.
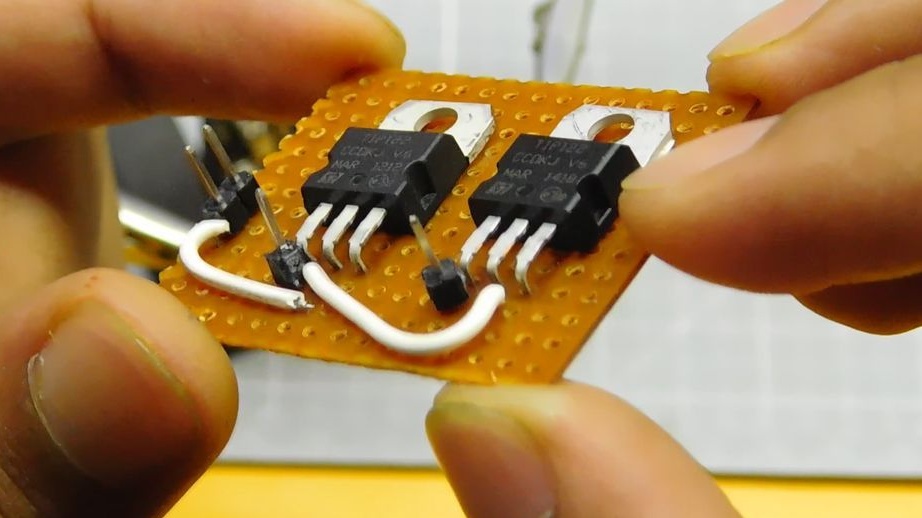
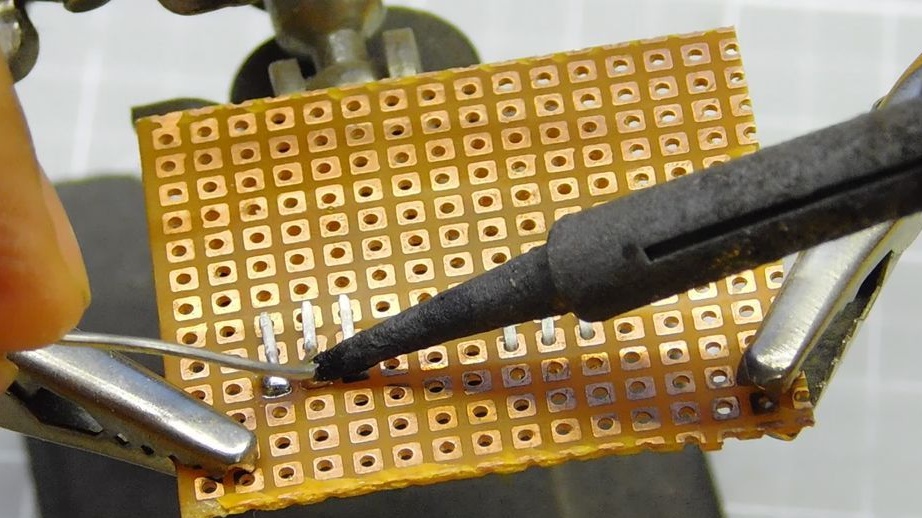
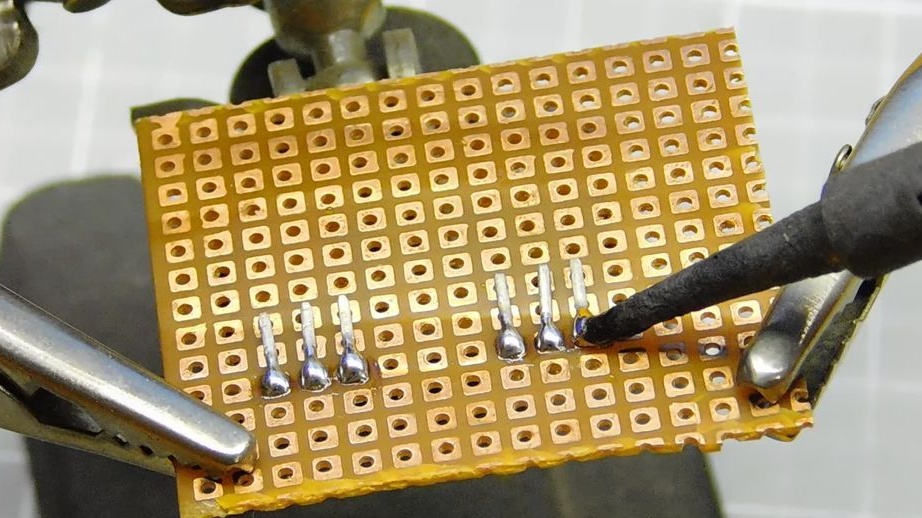
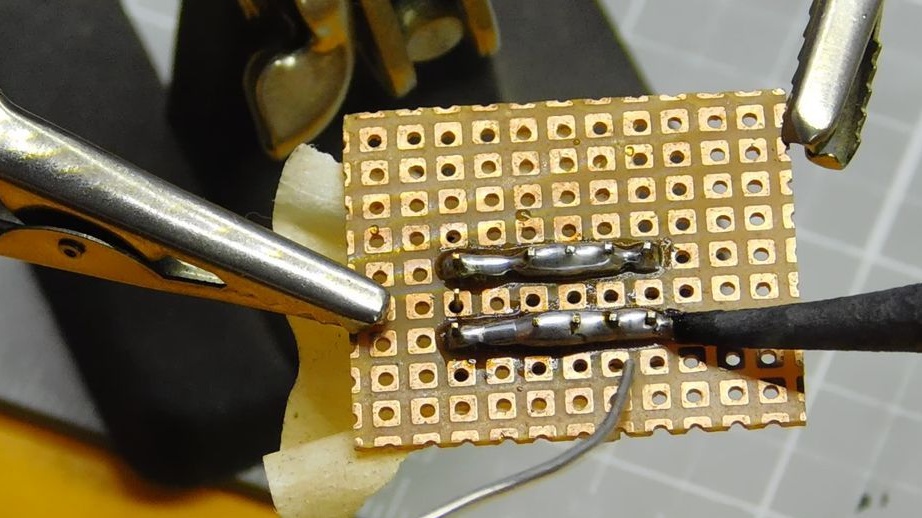
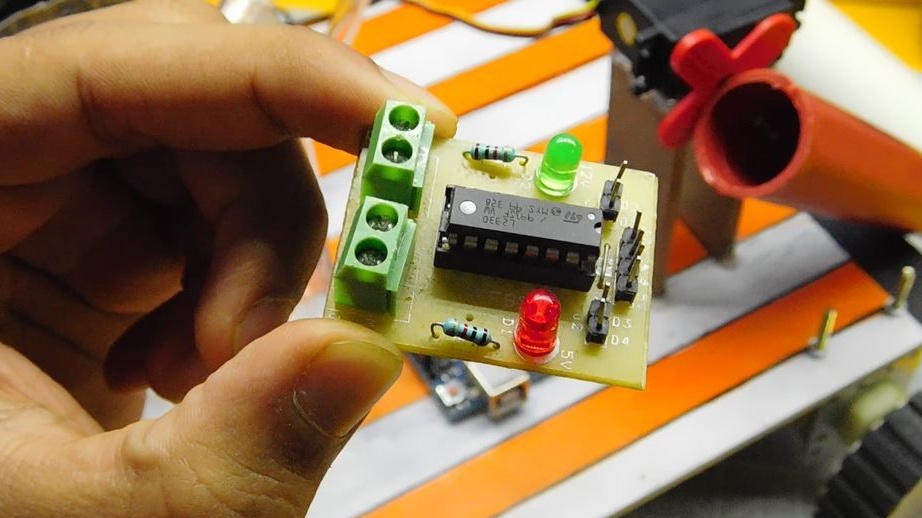
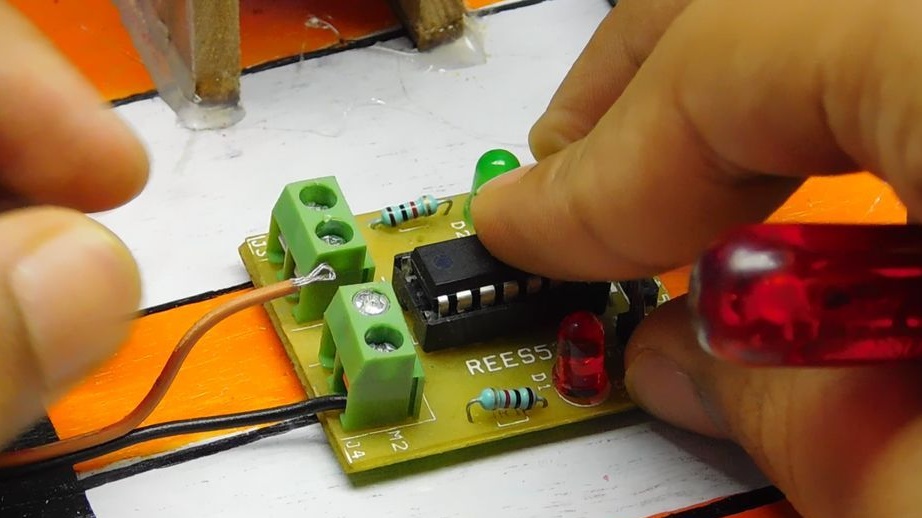
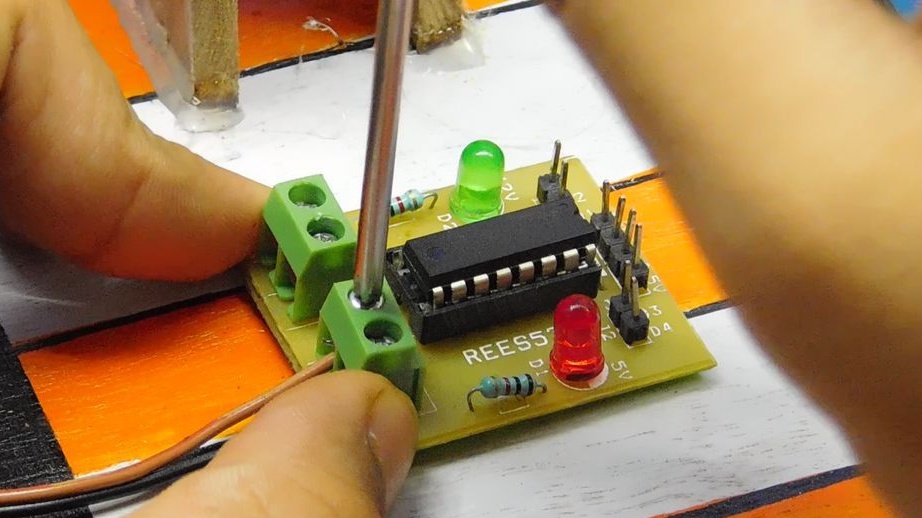
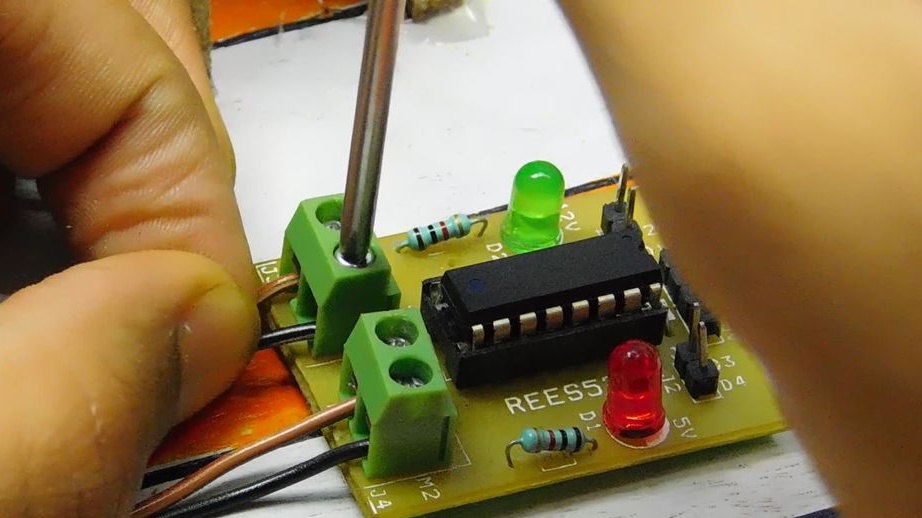
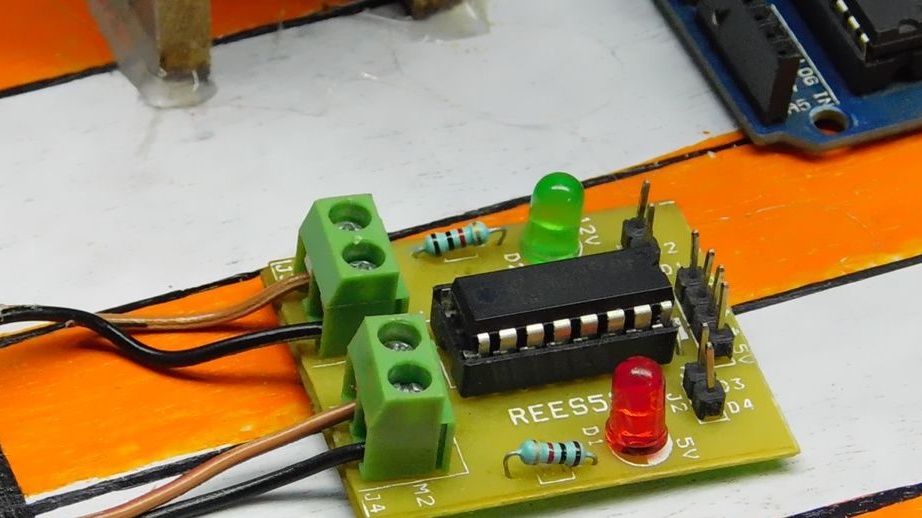
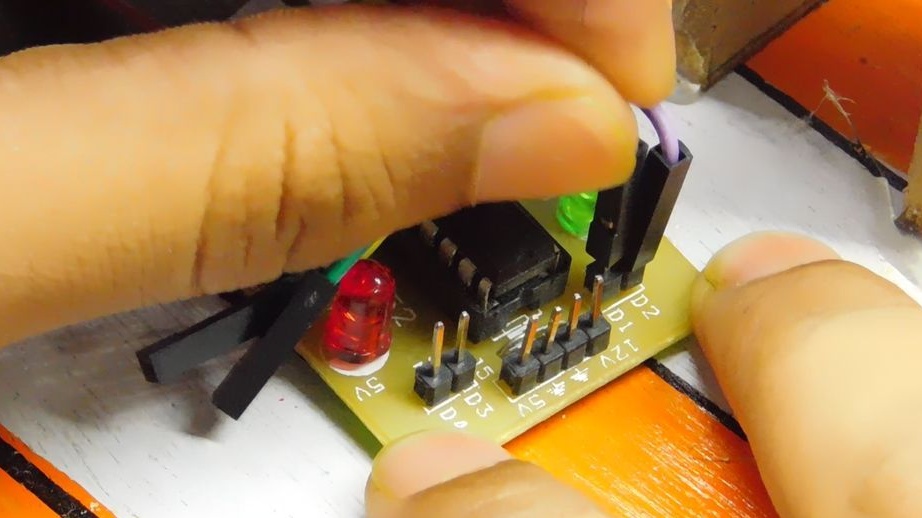
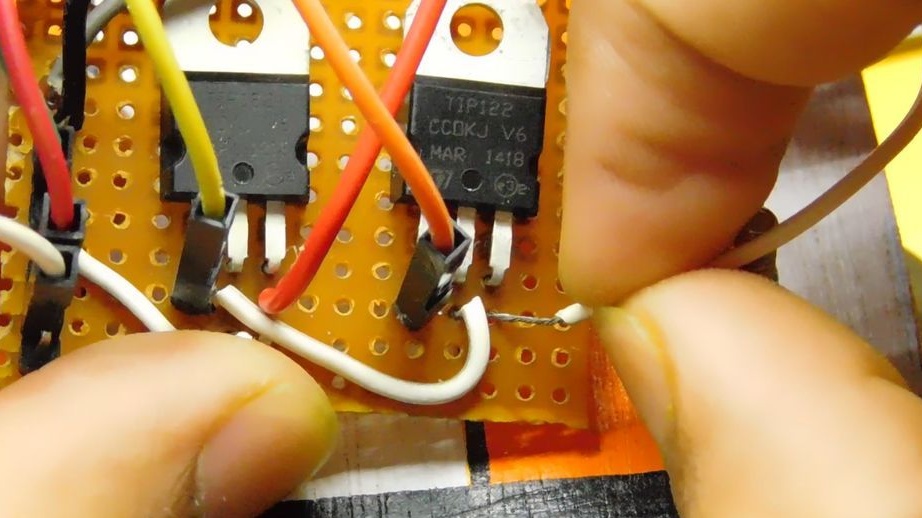
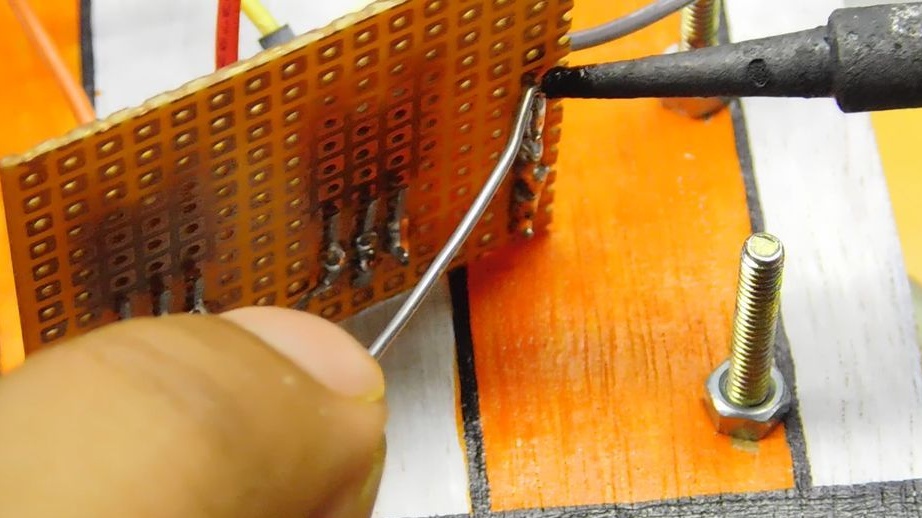
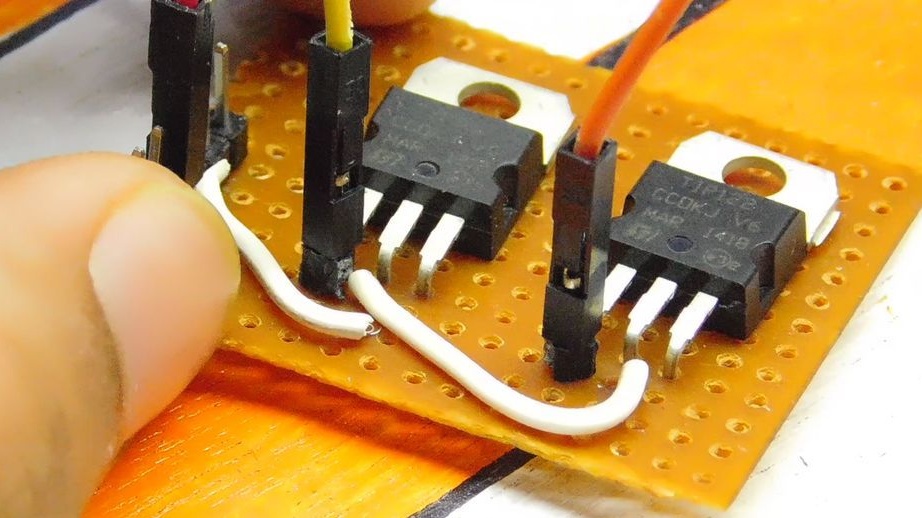
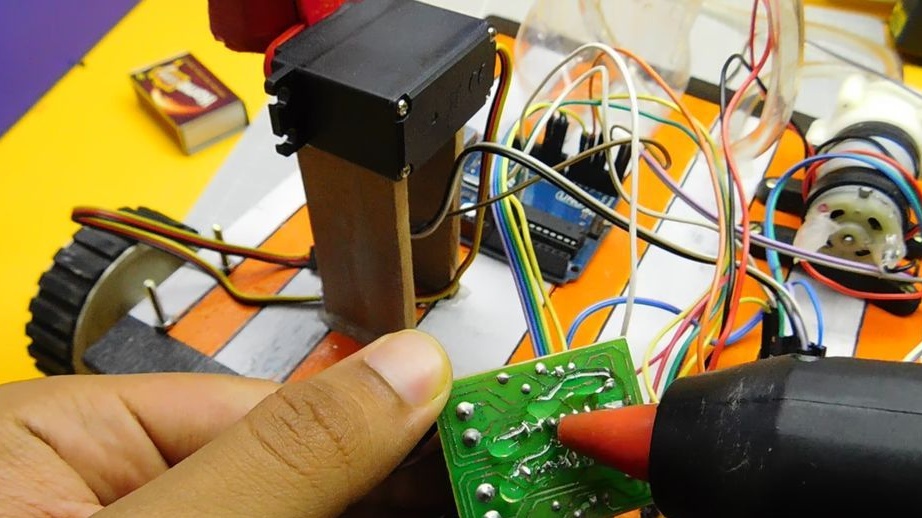
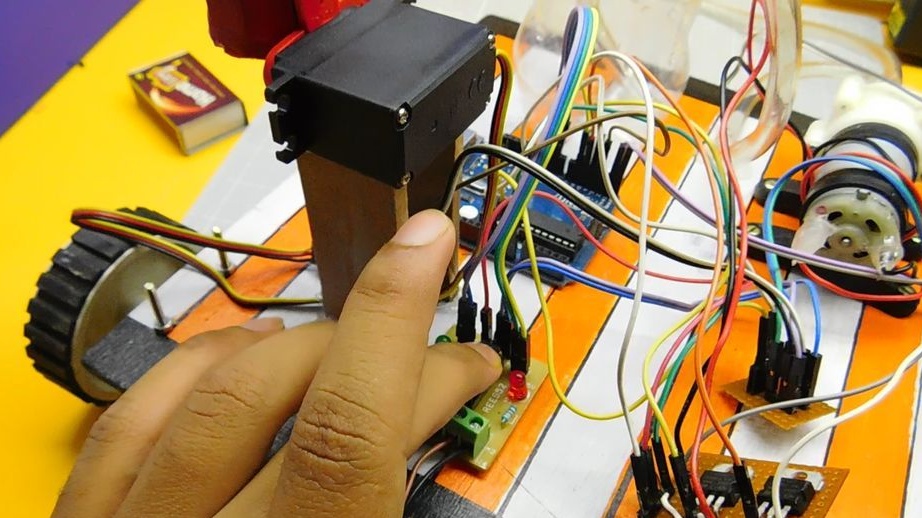
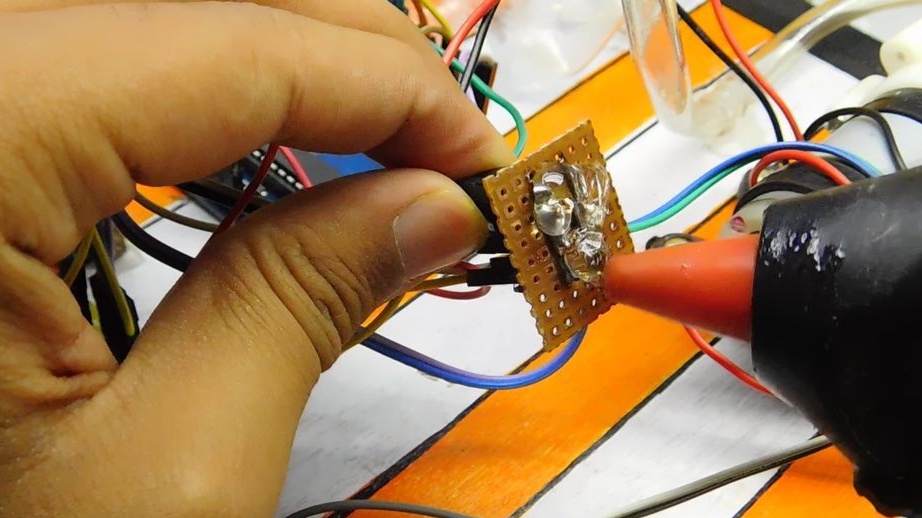
Step Four: Transistor
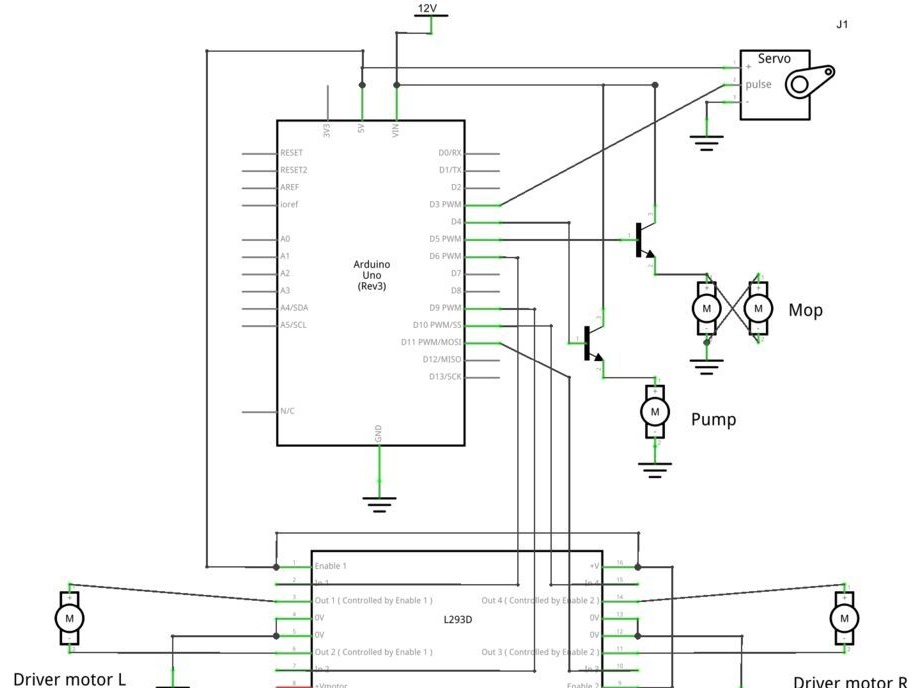
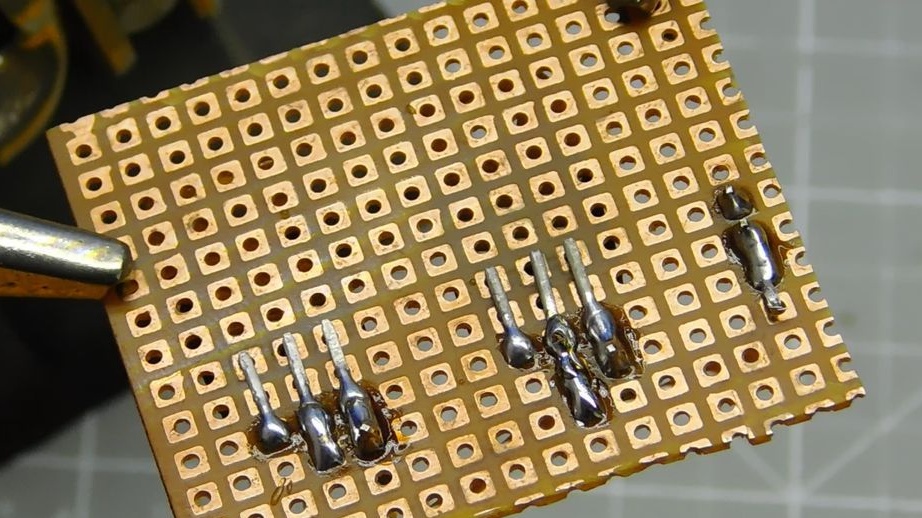
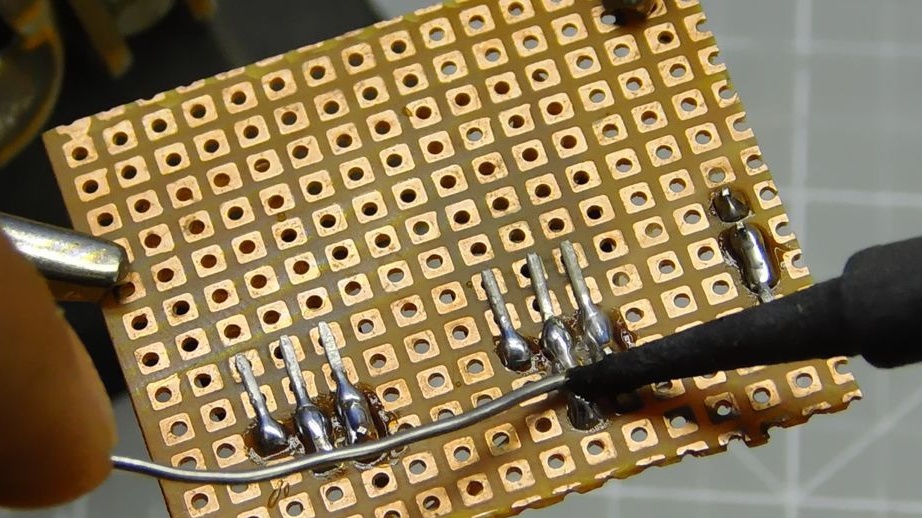
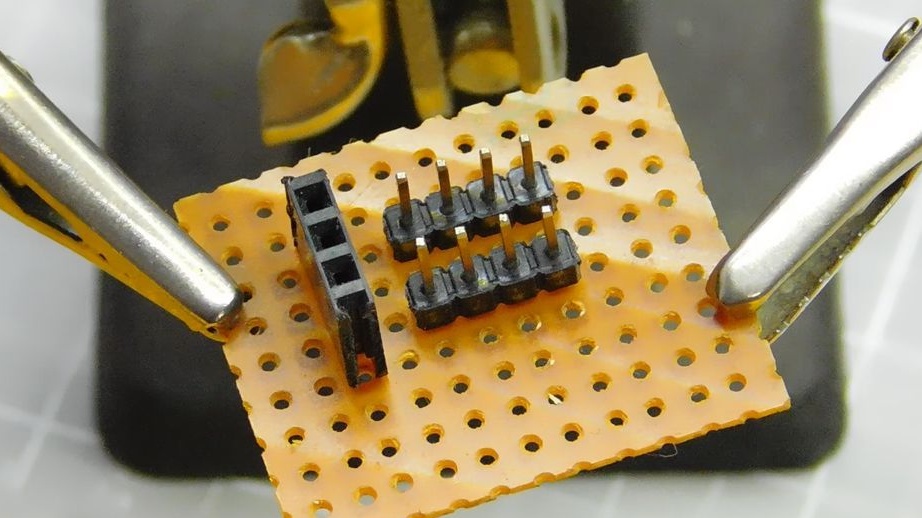
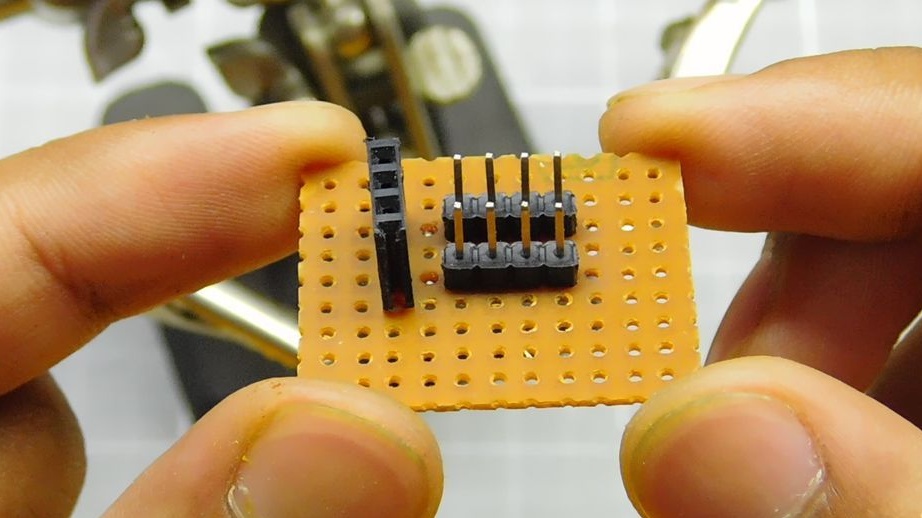
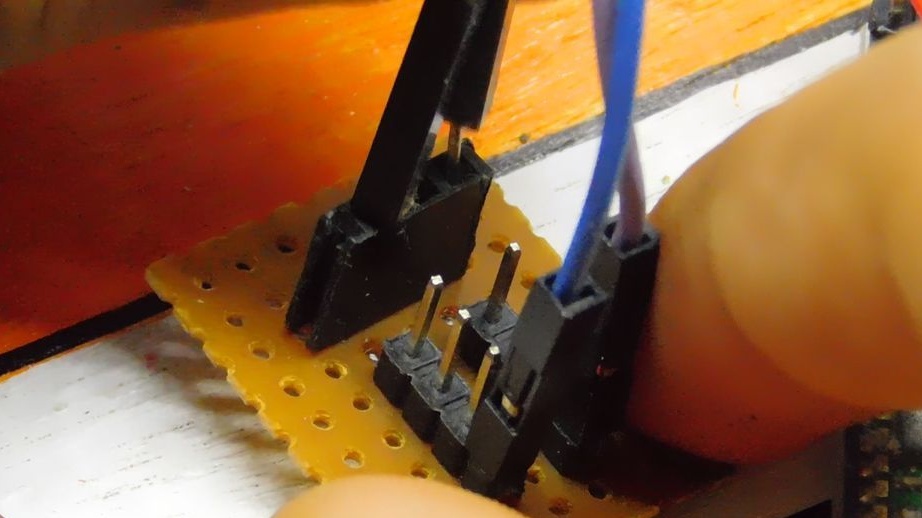
For a water pump and motors, 12 V power is needed. But, since Arduino gives out only 5 V, the master collects the circuit on the TIP122 transistor.Also, the wizard adds several + 5V and Gnd pins to the circuit board.
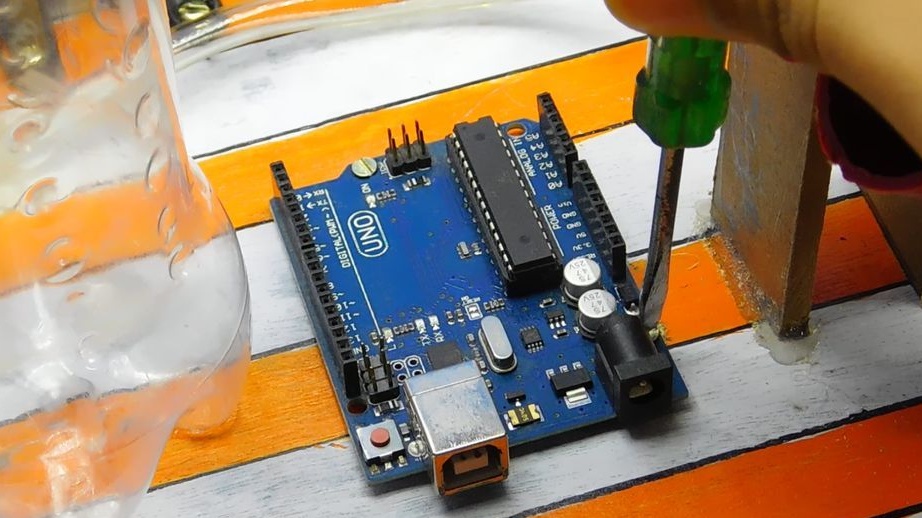
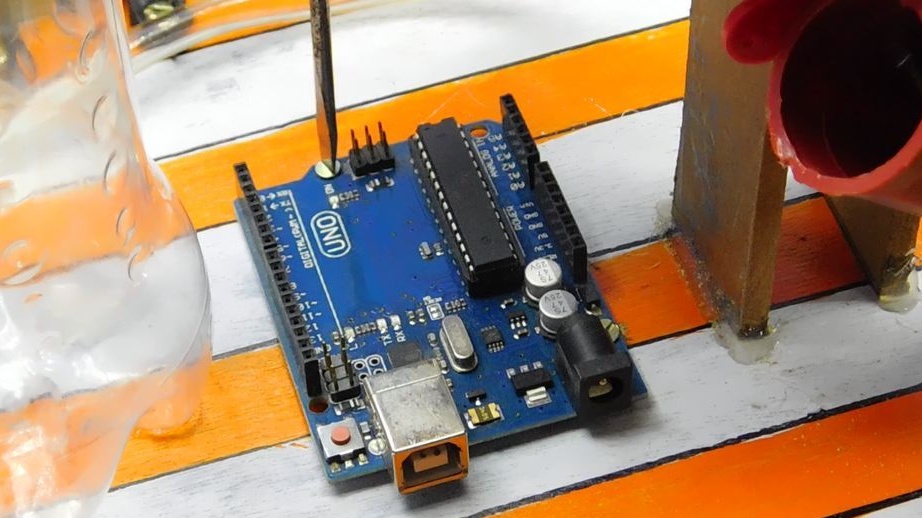
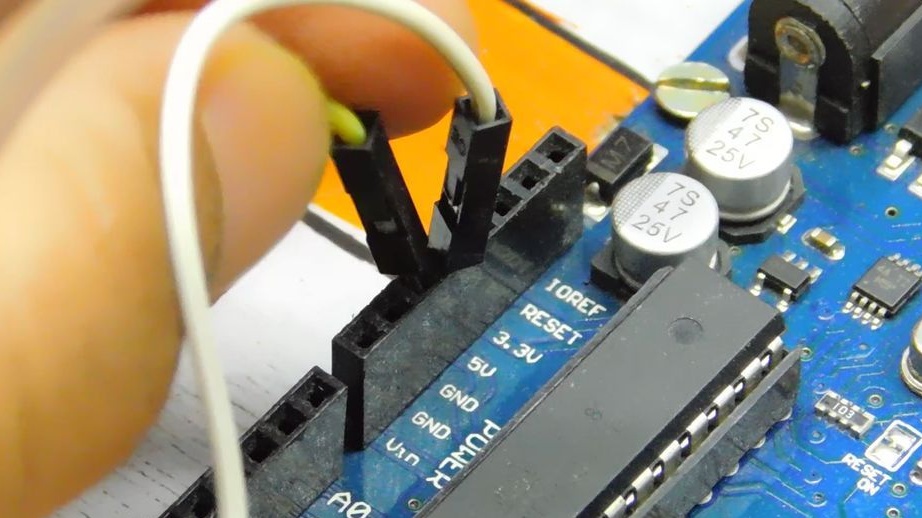
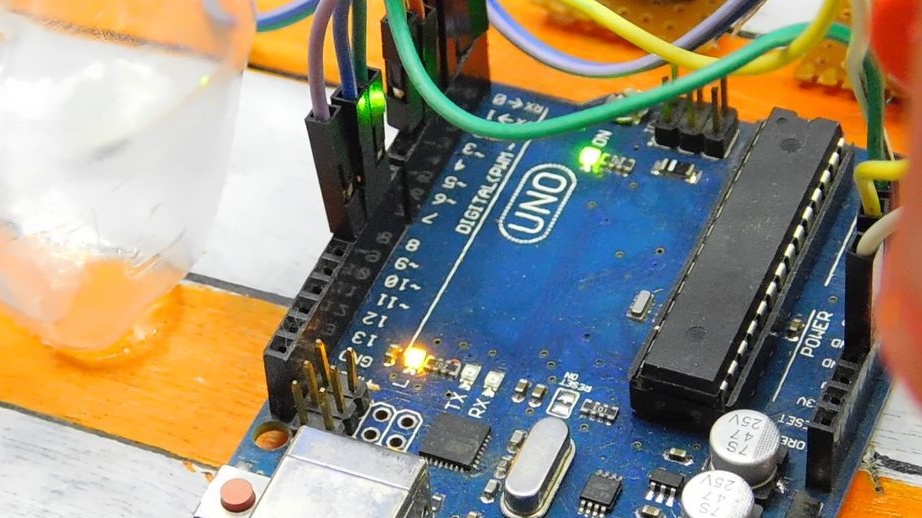
Step Five: Installing the Arduino Circuit
Secures Arduino to the platform and connects electrical devices to the board.
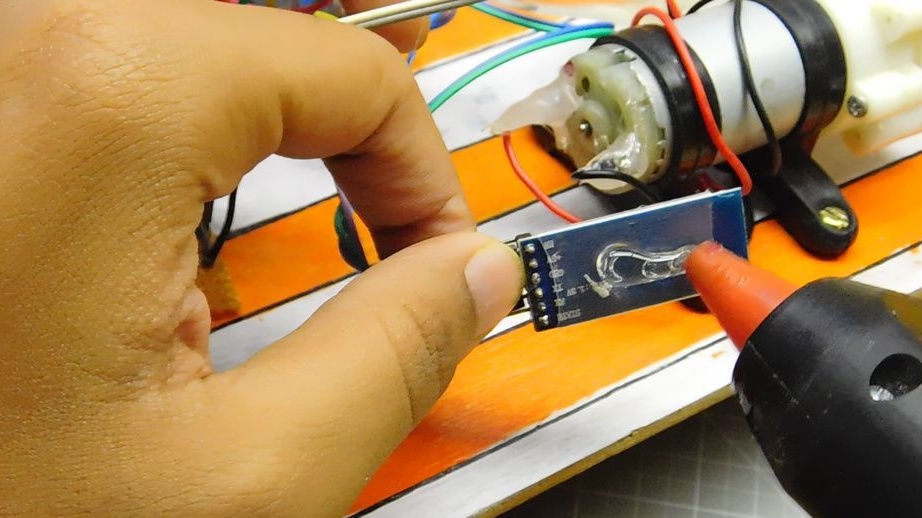
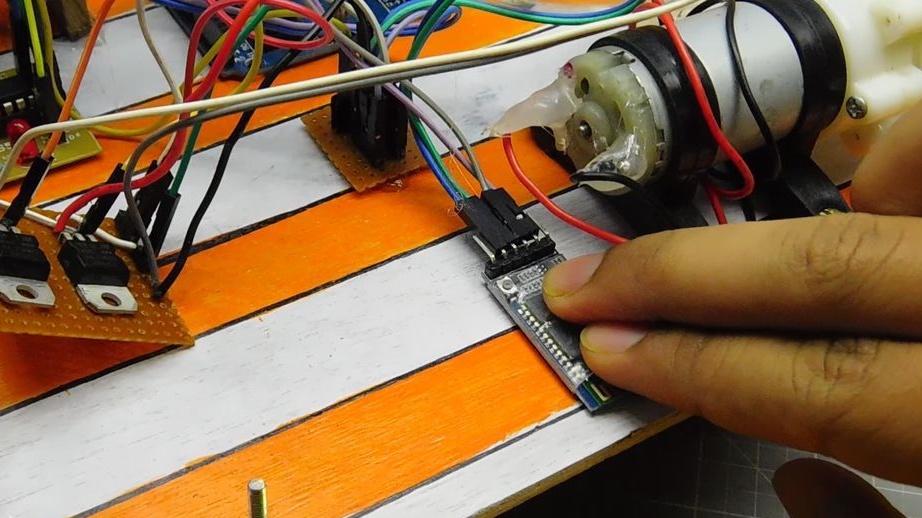
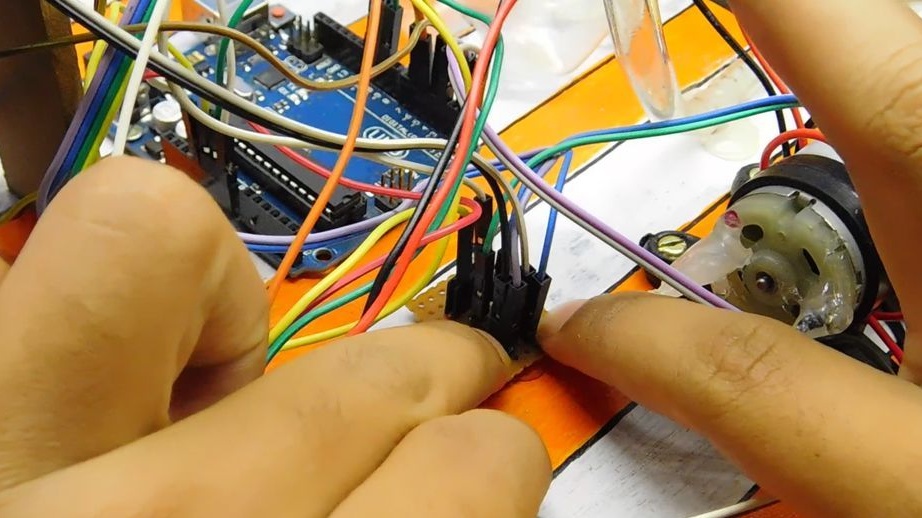
Engine control module.
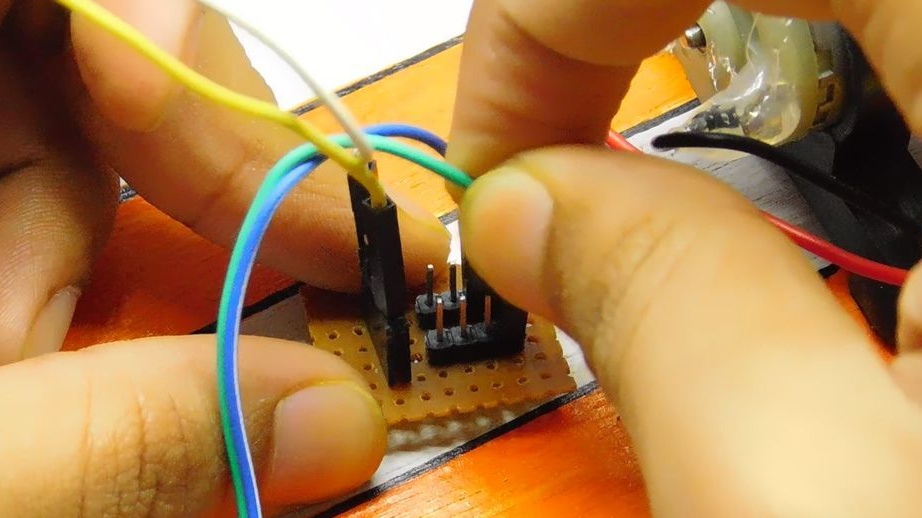
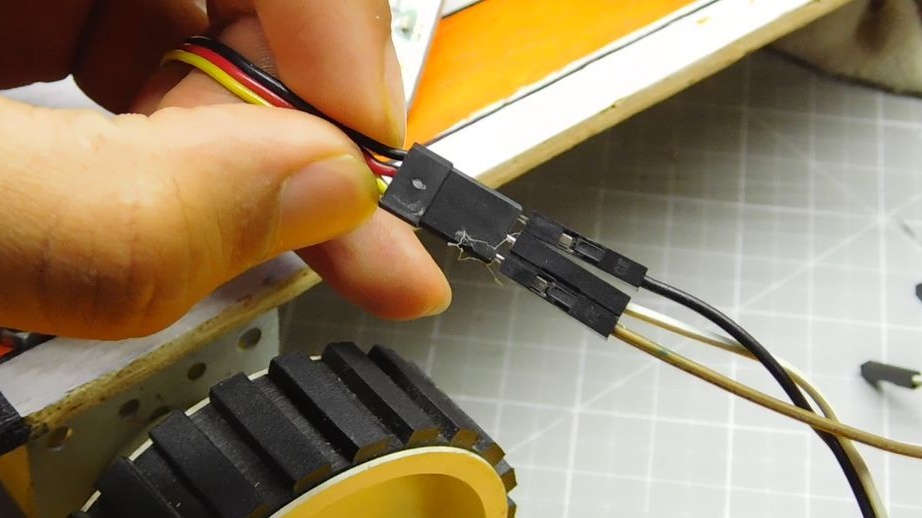
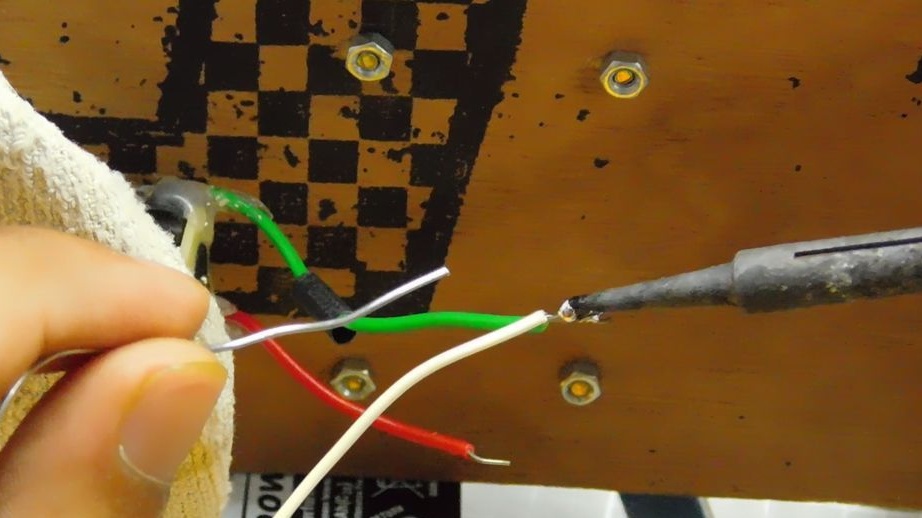
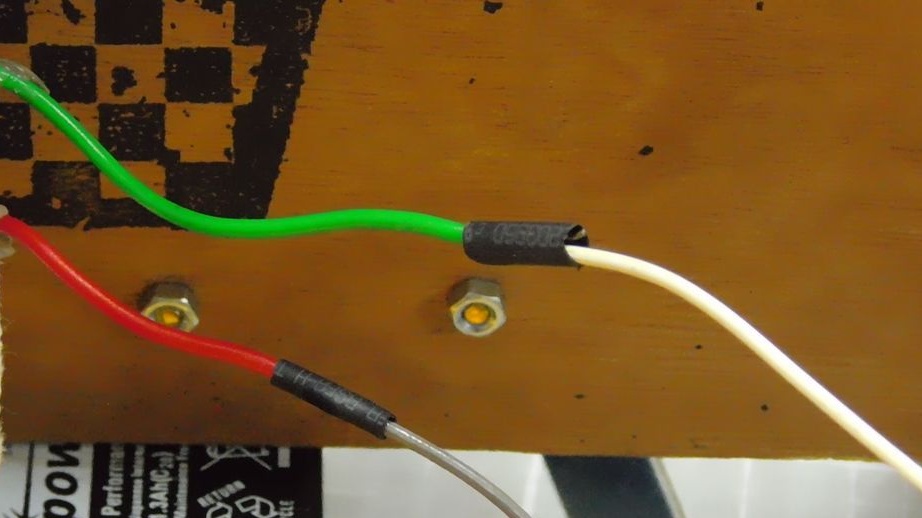
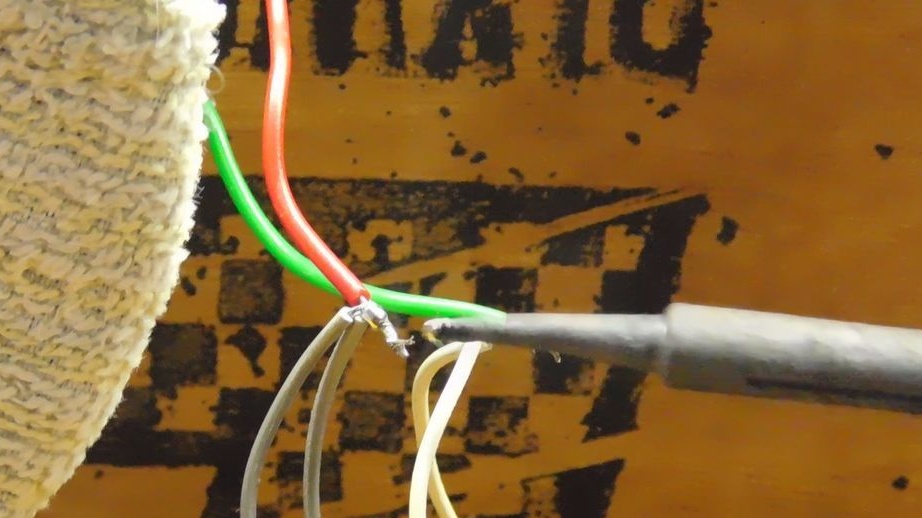
It solders to the motors (on which the wheels are fixed for movement, not the brushes) wires. Fastens the wires in the module mounting sockets. Next, connect the module to Arduino as follows.
Module ::: Arduino
1 - D6
2 - D9
3 - D10
4 - D11
+ 5V - + 5V
Gnd-gnd
+ 12V module will be connected to the battery.
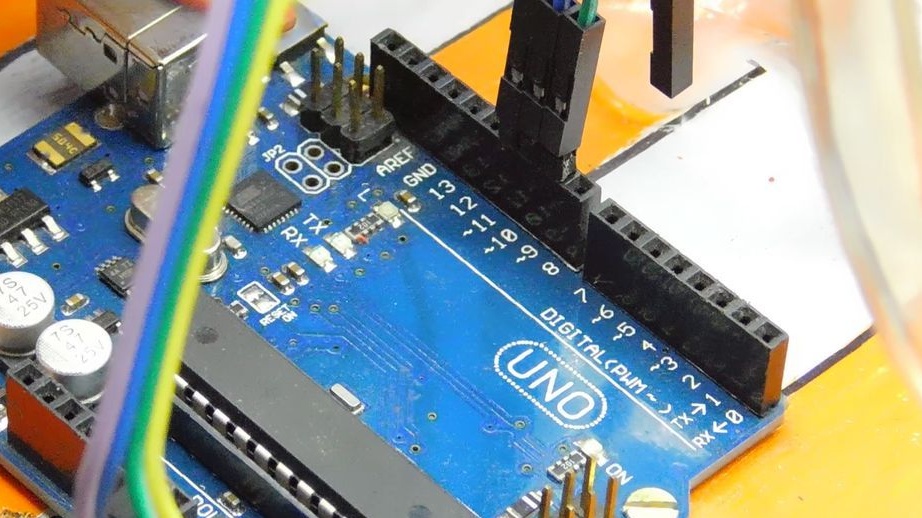
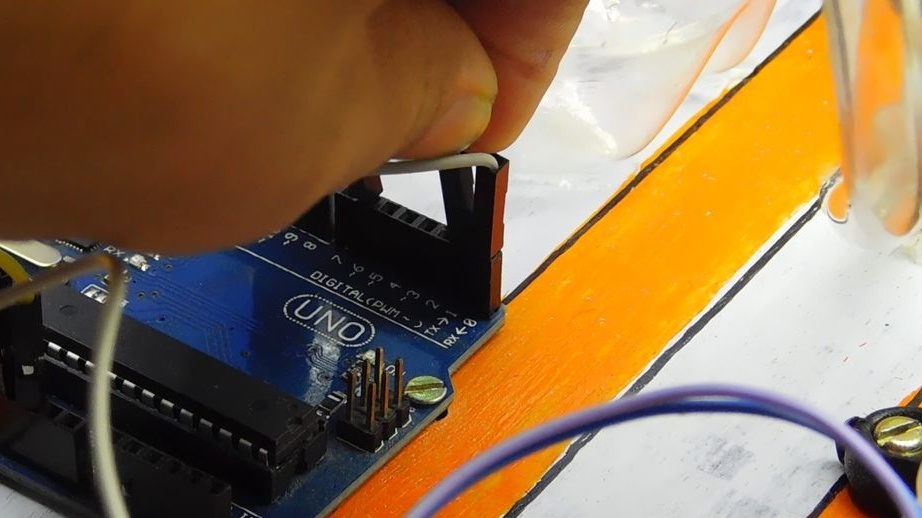
Bluetooth connection.
Bluetooth ::: Arduino
Vcc - + 5V
Gnd - gnd
Rx - Tx
Tx - Rx
Servo motor ::: Arduino
Vcc - + 5V
Gnd - gnd
Signal - D3
Then it connects the pump and brush motors according to the scheme. Brush motors are connected in parallel and spin in different directions, right clockwise and left counterclockwise.


Step Six: Robot Parts Fasteners
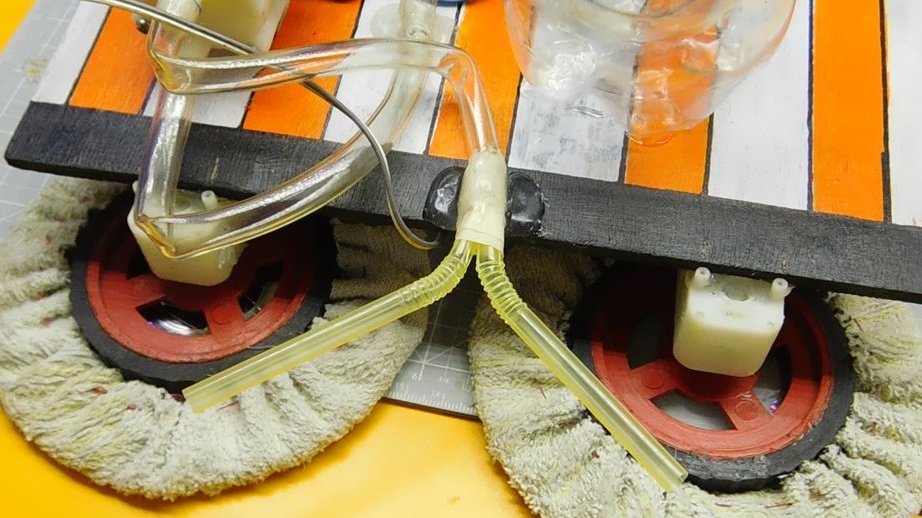
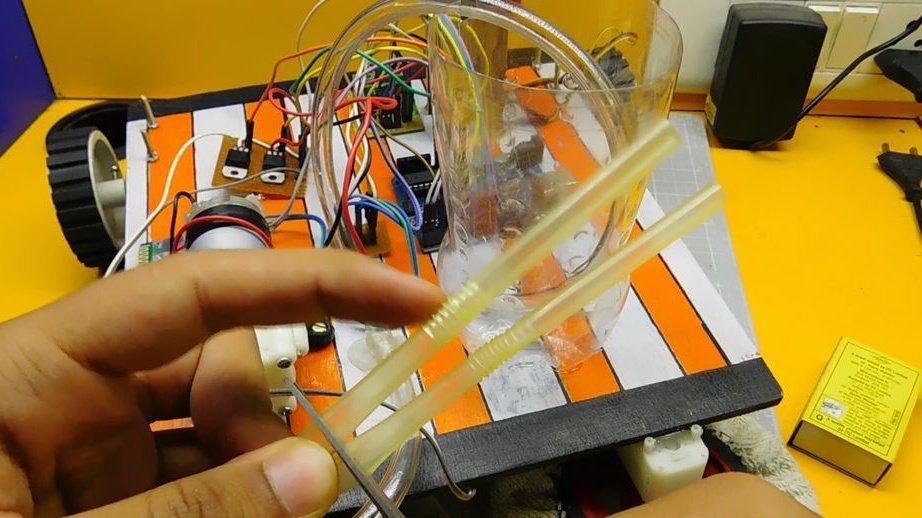
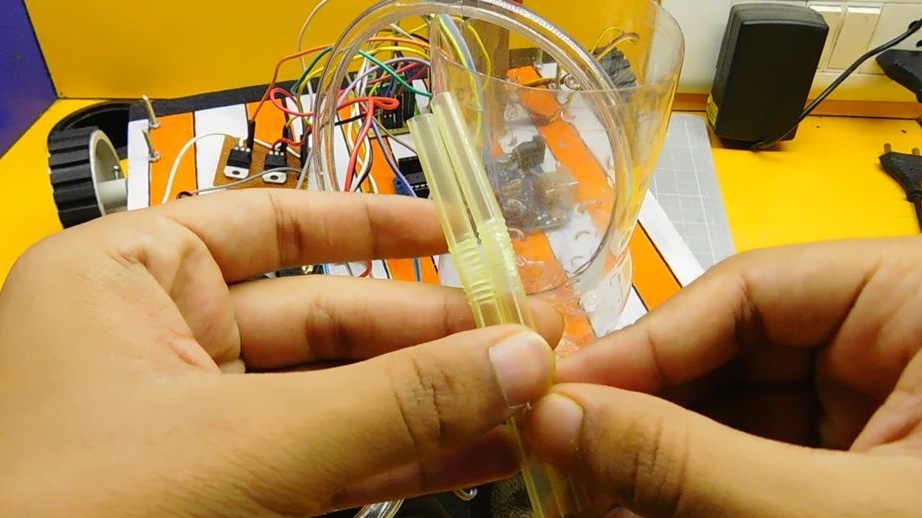
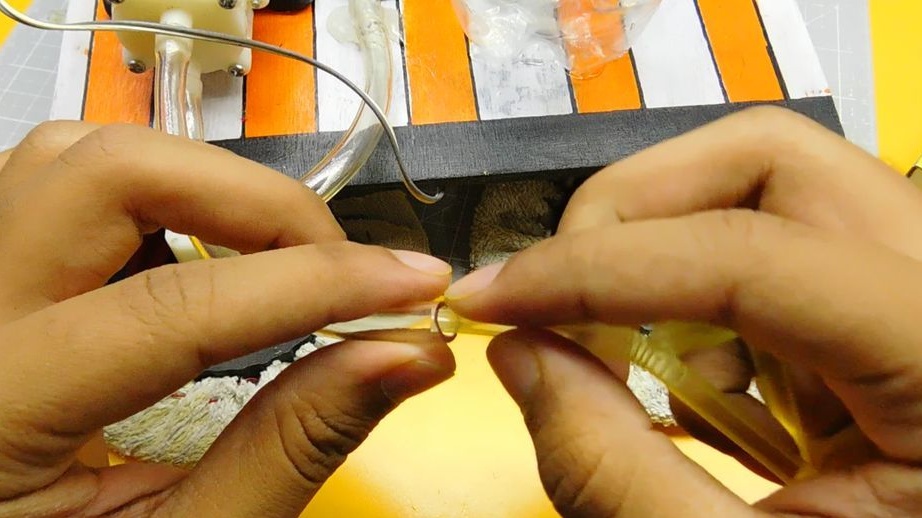
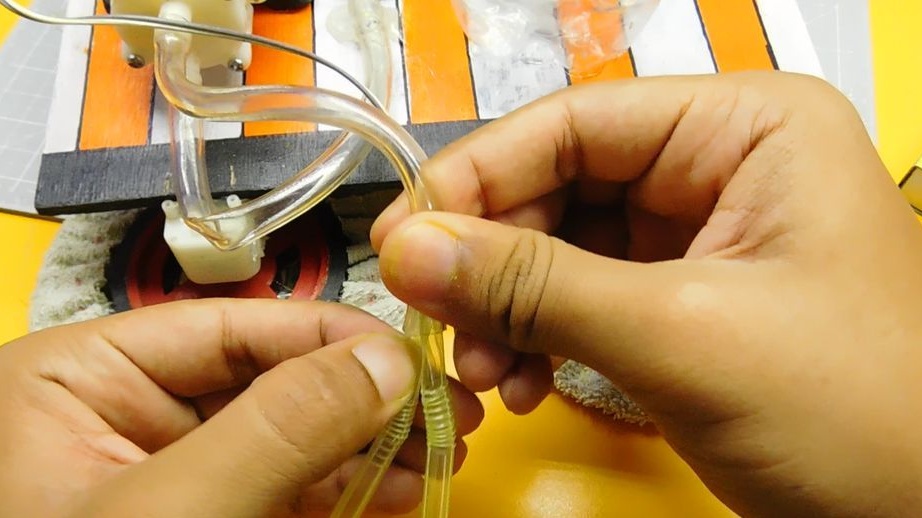
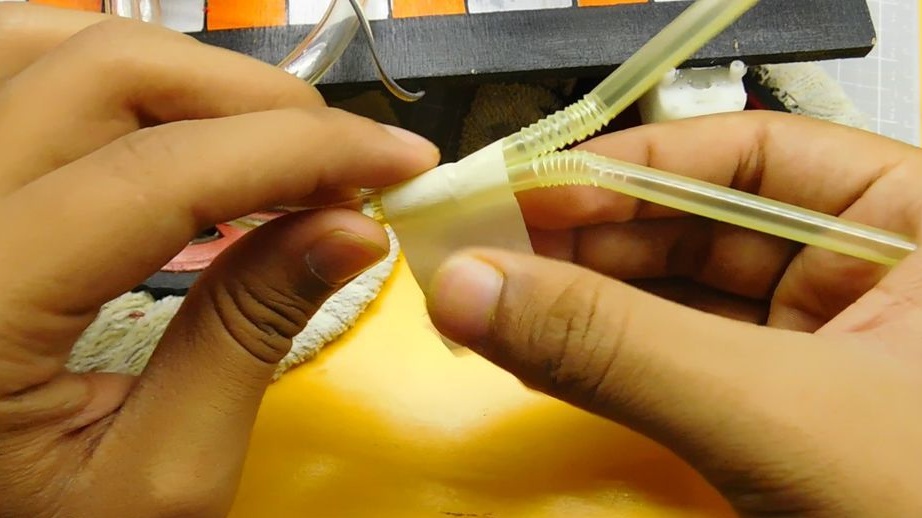
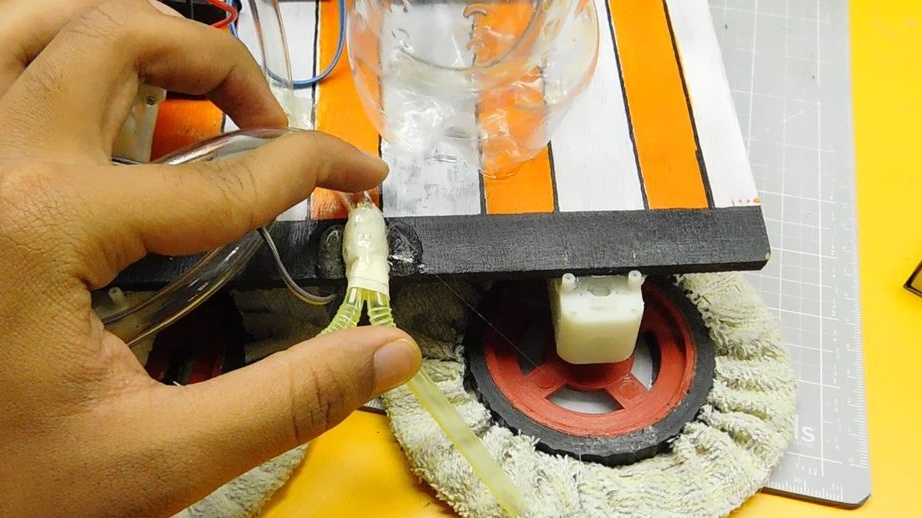
Slices two cocktail straws of approximately 7 cm each. Inserts the straws into the water supply pipe. Fastens straws in front of brushes.
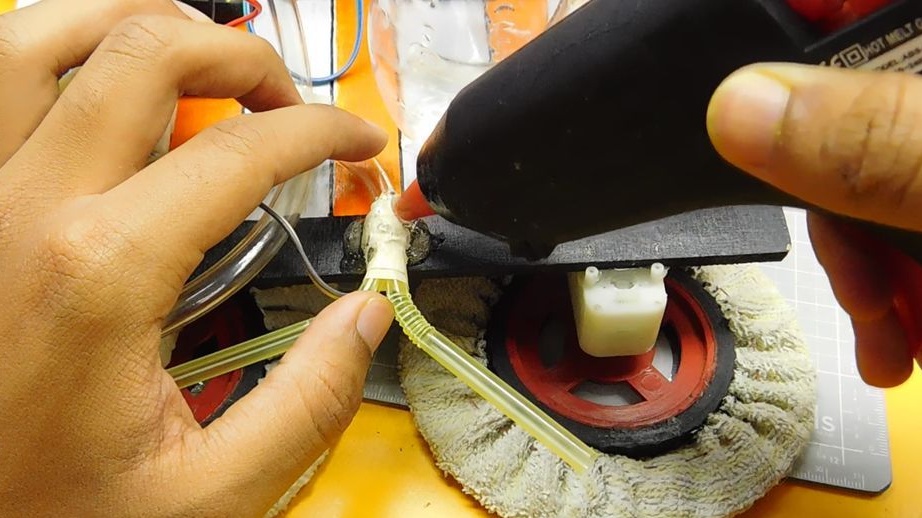
Locks on the platform electronic Components.
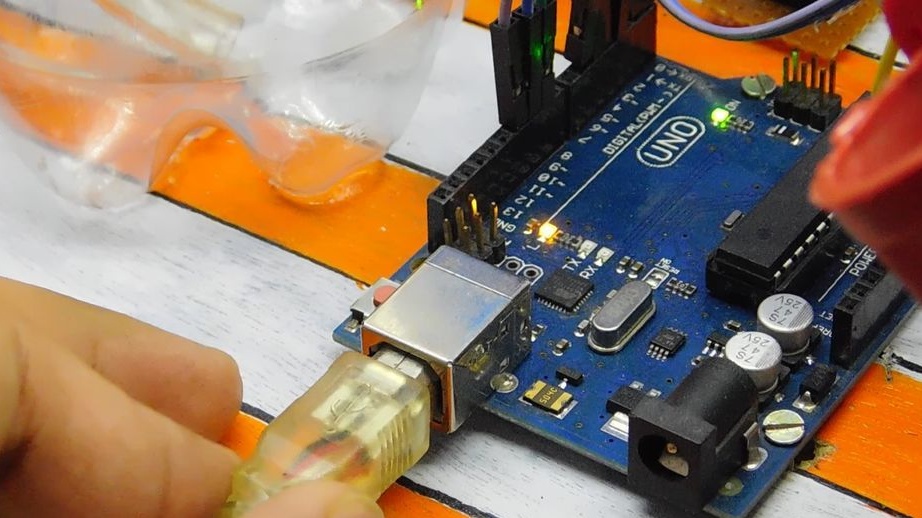
Step seven: download the code
Removes the Rx and Tx jumpers from the Arduino board. Connects the board to a computer. Loads the code. Sets jumpers in place. .
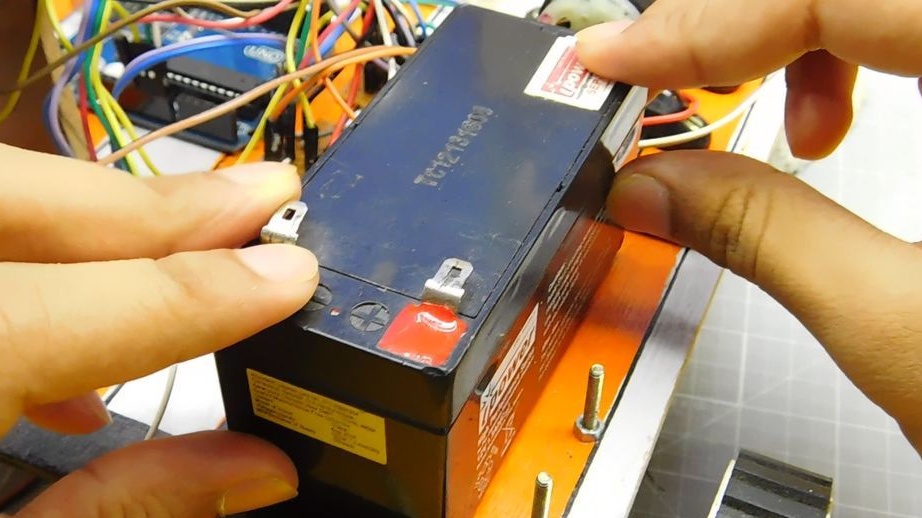
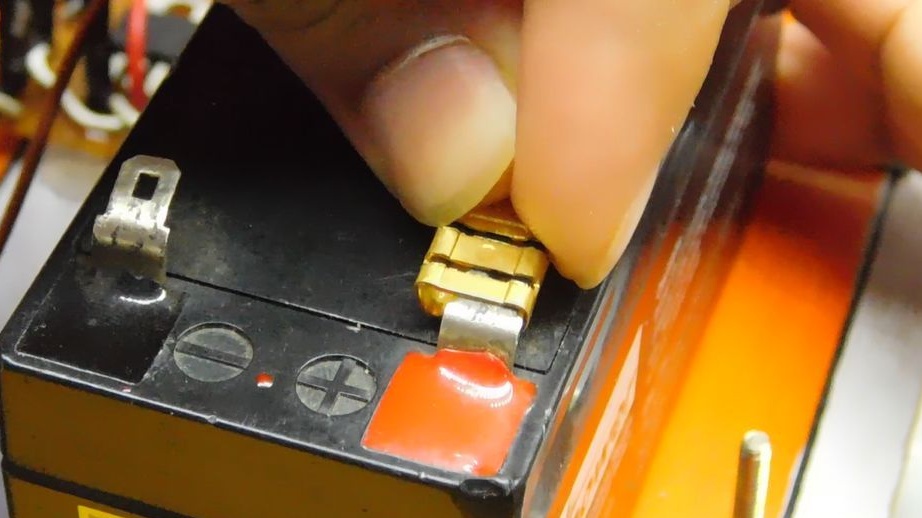
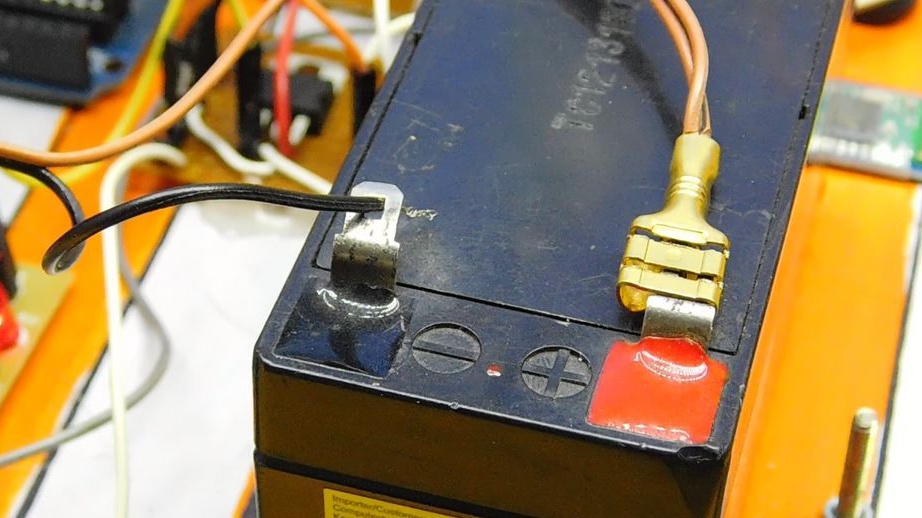
Step Eight: Battery
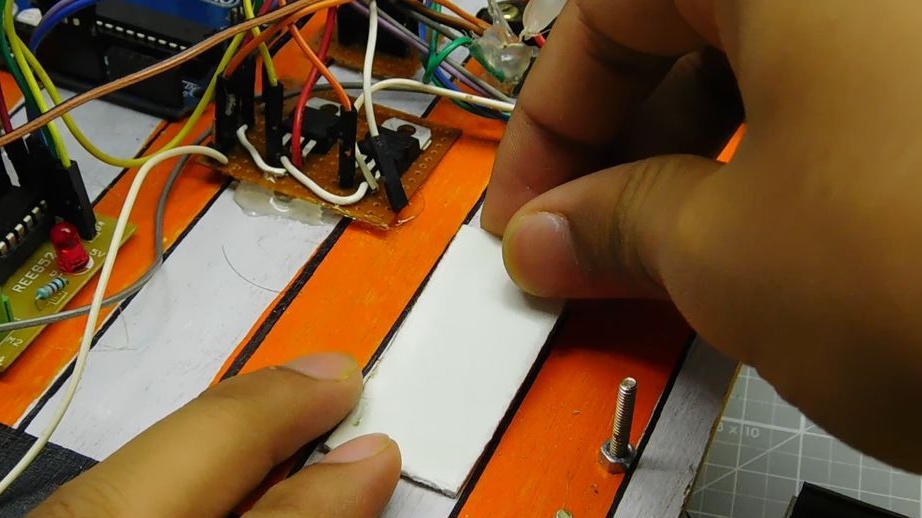
Secures, using double-sided tape, the battery on the platform. Connects electronic devices to the battery. Arduino master advises to connect through a voltage divider. You can also add a switch to the circuit.
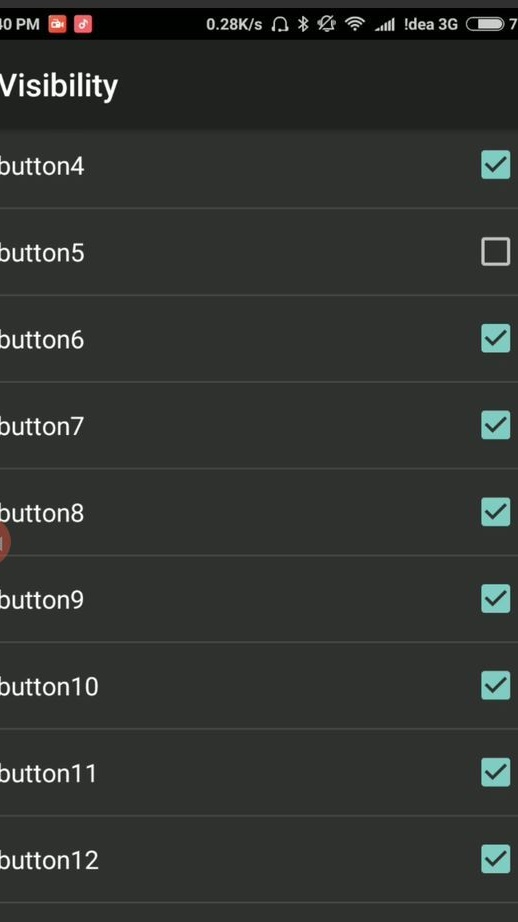
Step nine: control the robot
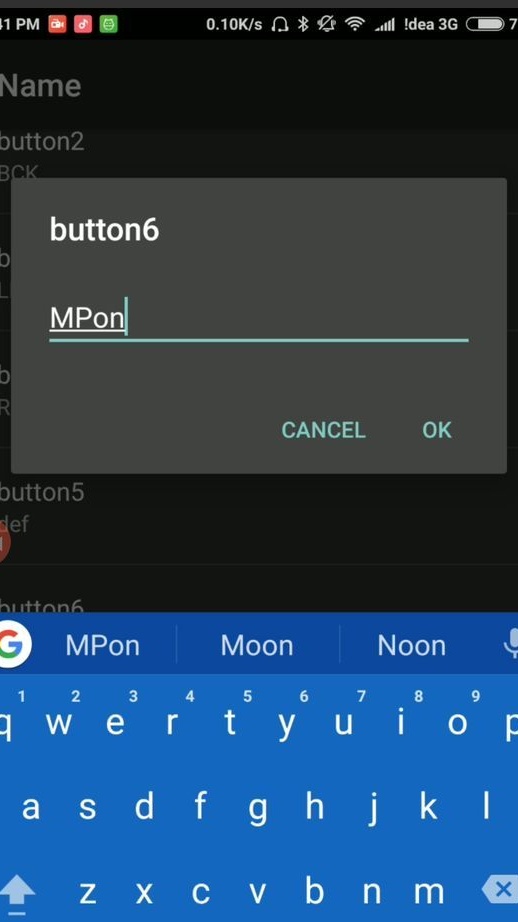
From Google Play, the wizard downloads the 'Bluetooth Serial Controller' application. Opens the application. Goes to settings> visibility. Disables buttons 5, 9, 12. Goes to names. Assigns a button of 2-3 letters to each button. See photo below.
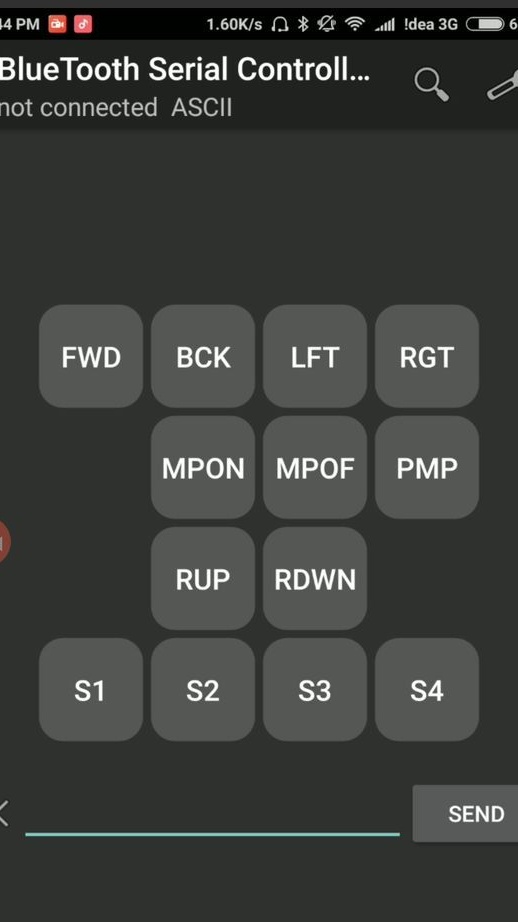
Then each button installs a command (quotes need to be removed, do not change case):
Button 1 (FWD): 'F'
Button 2 (BCK): 'B'
Button 3 (LFT): 'L'
Button 4 (RGT): 'R'
Button 6 (MPON): 'M'
Button 7 (MPOF): 'm'
Button 8 (PMP): 'P'
Button 10 (RUP): 'U'
Button 11 (RDWN): 'u'
Button 13 (S1): '1'
Button 14 (S2): '2'
Button 15 (S3): '3'
Button 16 (S4): '4'
In stop commands> commands, assigns commands only to these buttons:
Button 1: 'S'
Button 2: 'S'
Button 3: 'S'
Button 4: 'S'
Button 8: 'p'

Now it remains to connect to the bluetooth module ("HC-05"), enter the password (1234 or 0000) and you can try to clean the room -)))
Thanks to the master-master, and we wish him to improve the robot and get completely autonomous work from it.
The entire assembly process of the robot cleaner can be seen in the video.