Part 1: Parts and accessories.
It is advisable to choose cork wood as a building material. Because it is very easy to cut and it is quite durable.
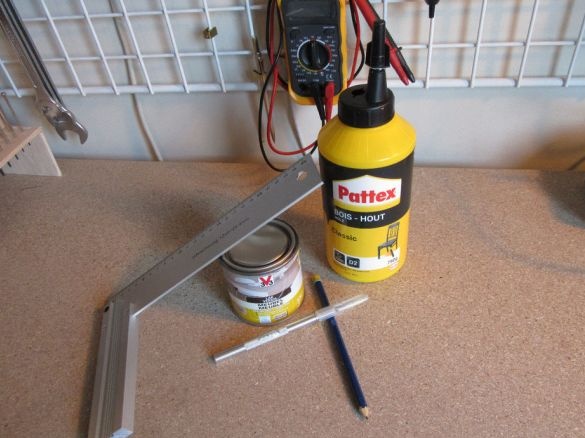
Accessories needed:
-A couple of sheets of the wood we need 100x1000x6
-Usual pencils
-Square
-Knife
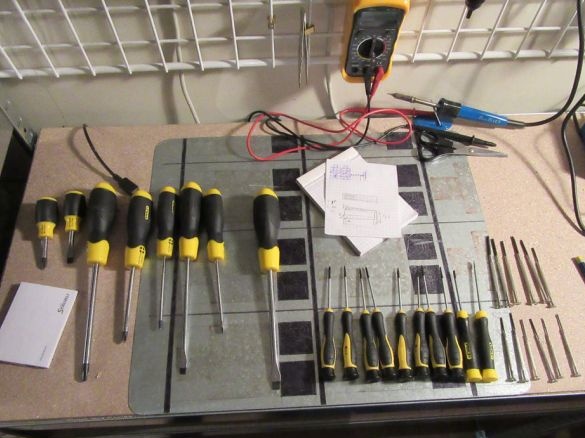
-Tools for which we make an organizer
-Thermokley
-220th sandpaper
-Matt lacquer
-Brush
Part 2: Make a layout and cut the parts.
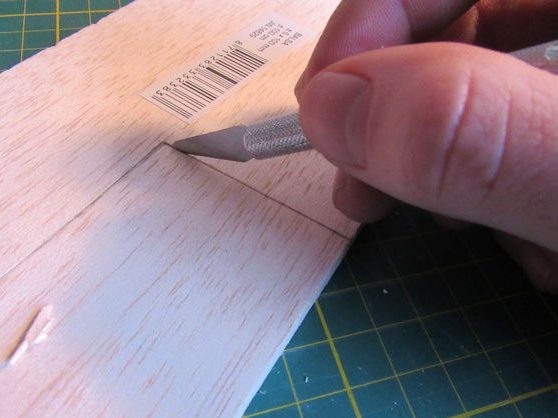
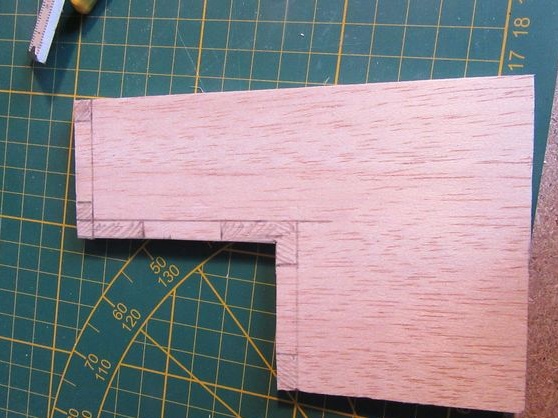
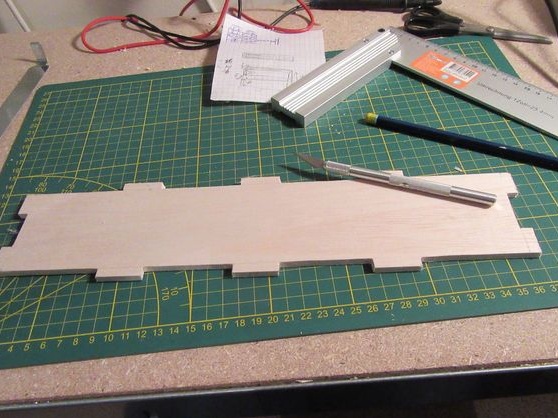
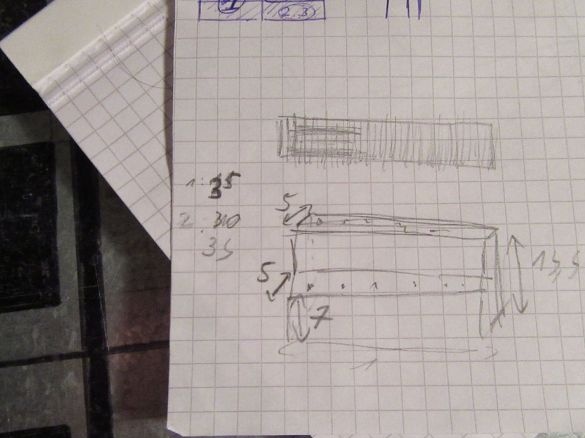
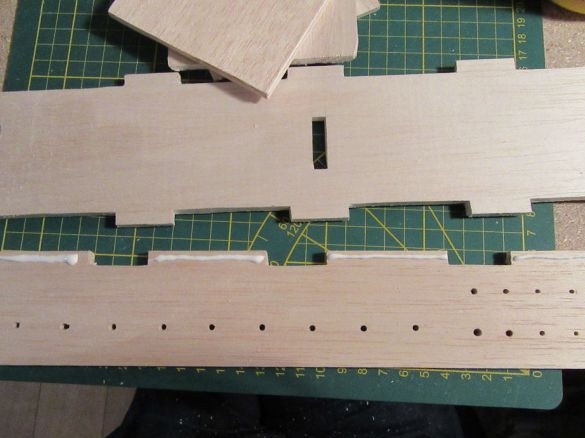
We mark up the work plan, select ready-made templates for use.
If you will design yourself, then consider the heights of the side parts.
Their height should be greater than the pen screwdriver.
Advice:
- Outline the parts you will chop.
- You need to cut away from your hands to avoid injury.
What is not desirable:
-You have to be very patient, because one extra movement and all in vain.
- You can’t make strong efforts, as the shape of the tree changes and later looks ugly.
Part 3: Align and drill holes.
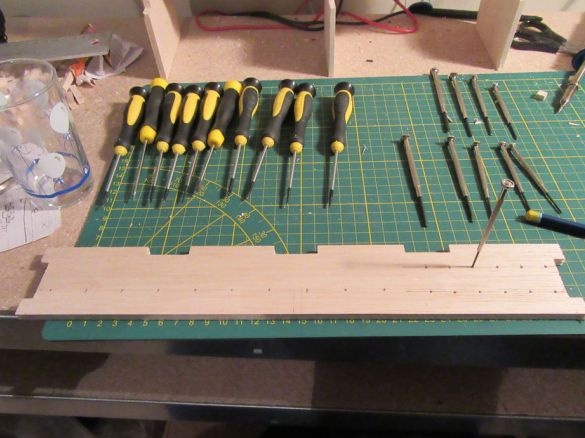
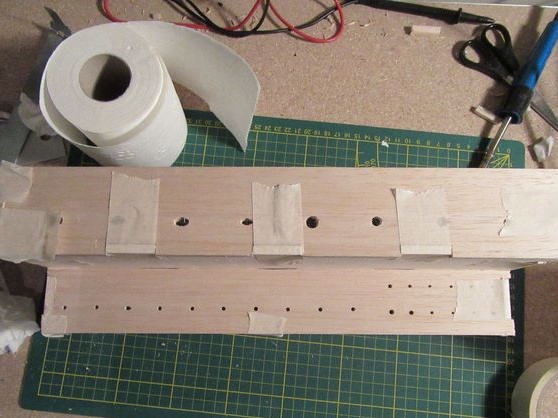
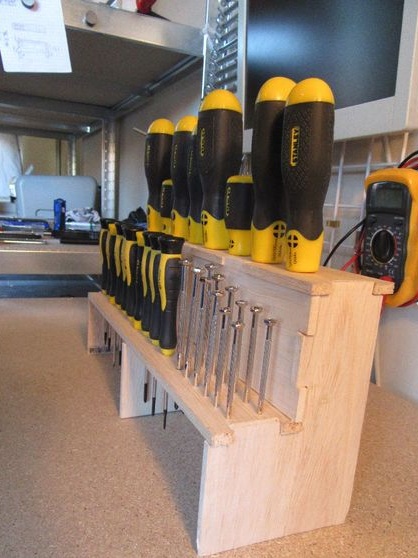
We place the tools in ascending order and place the solutions on the wood. Then we make them using a screwdriver and bring to the desired diameter.
Part 4: Glue and varnish.
-Skin the parts that we got and remove dirt from them so that everything sticks together perfectly.
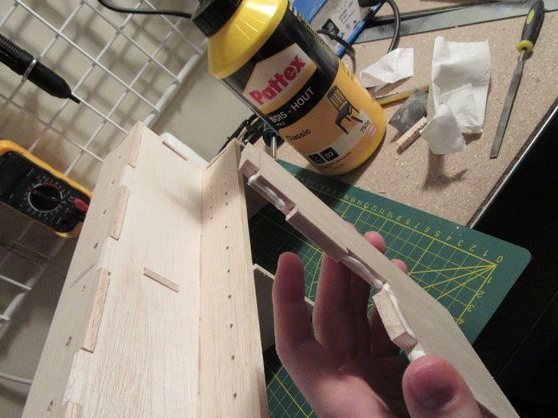
-Lubricate all parts where they touch and remove excess glue.
-For better bonding, take tape or electrical tape.
-Leave the product to dry for a day and varnish.
-Let's make it homemade to dry.
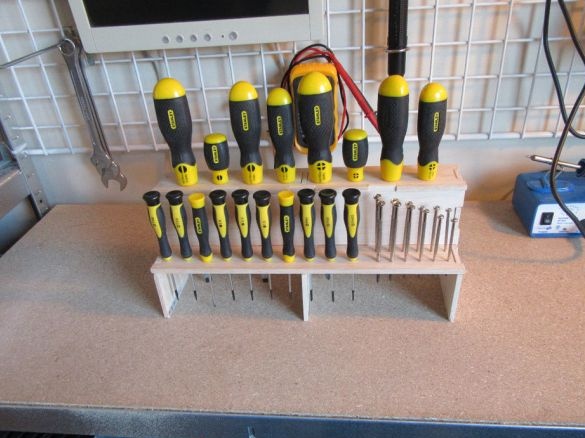
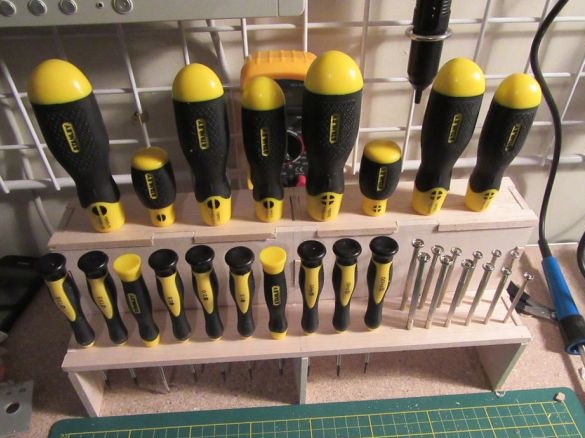
-Organizer is ready!
Thanks for reading this article. Good luck to everyone, bye!

