
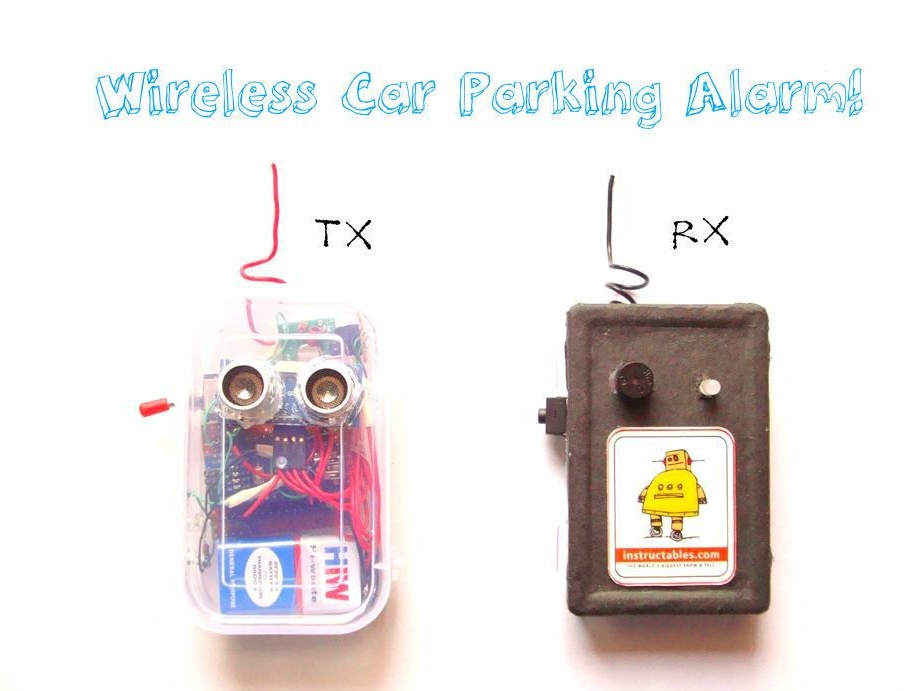
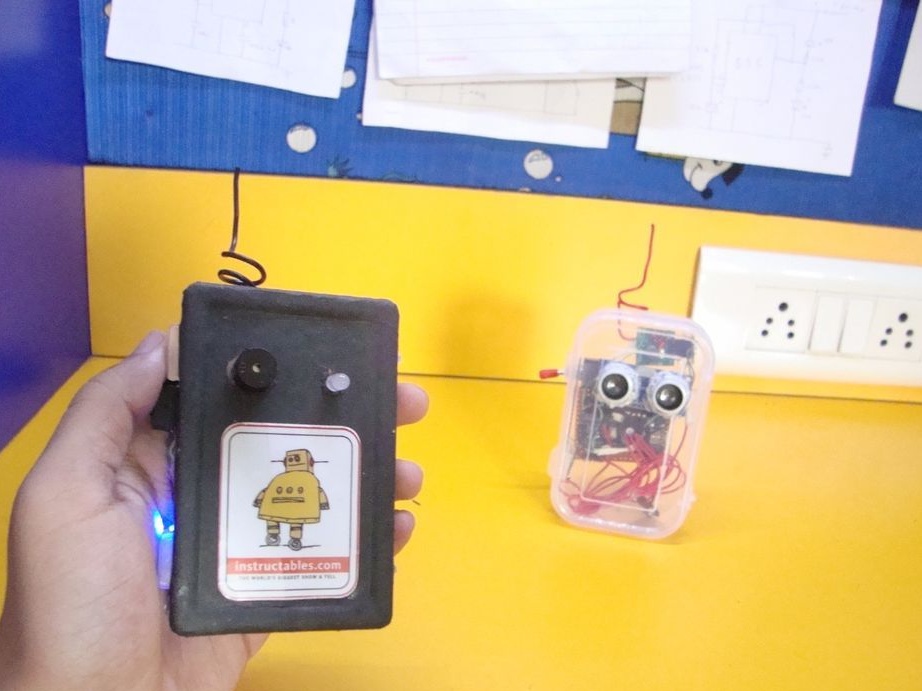

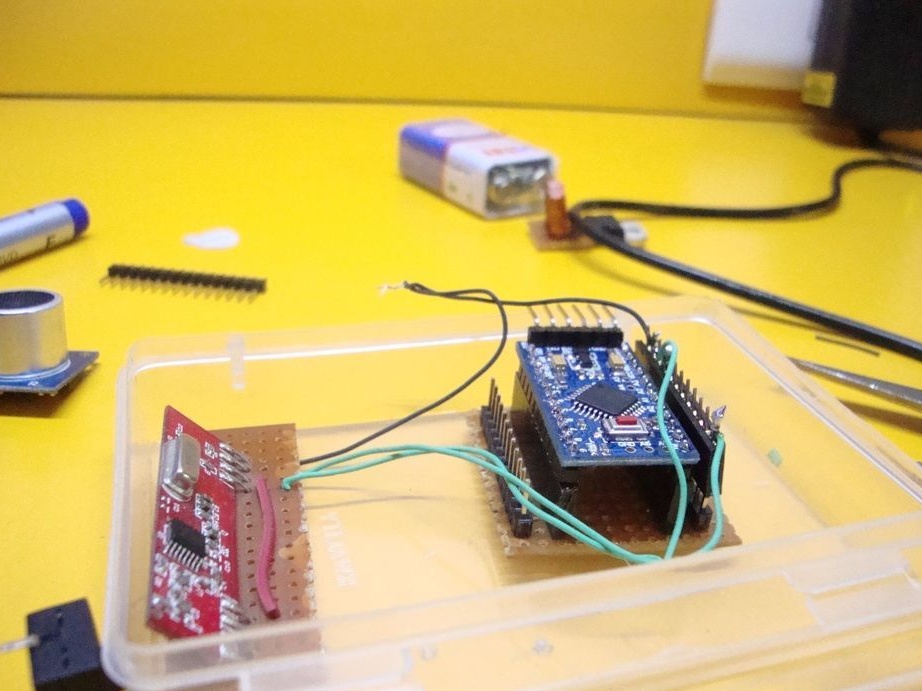
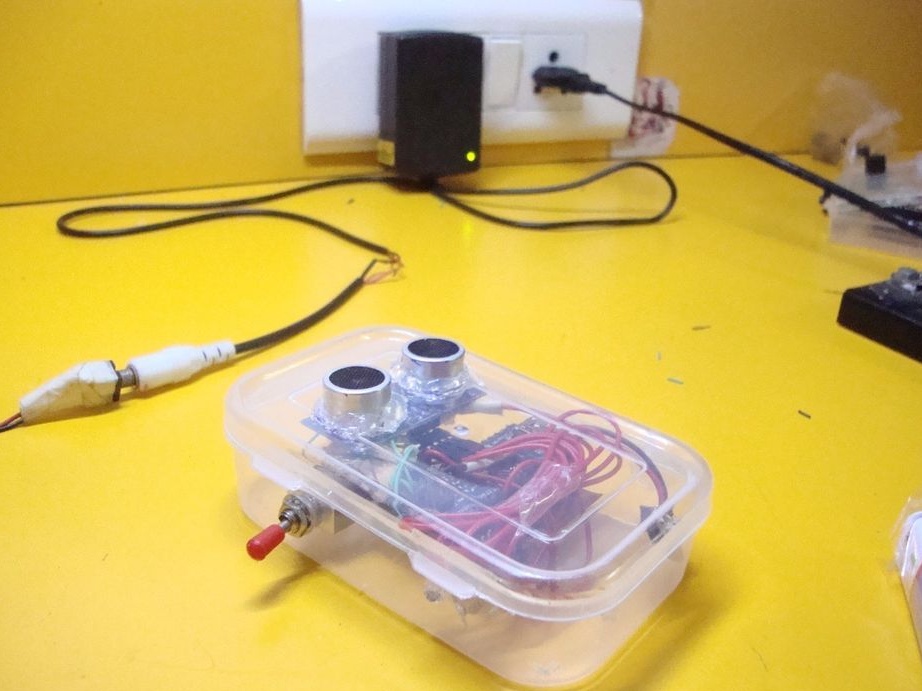
Another homemade from our master from India. The master assembled this system as a parking sensor for a car, but, if desired, it can be adapted for other purposes. The system is completely autonomous, it has a separate sensor and receiver, which are powered by a 9 V battery, such as Krone, each. The system is assembled at the base of Arduino. If you wish, you can modify the system to connect to the on-board network of the car, add a few more sensors and transfer data to a smartphone.
The system determines the distance to the obstacle up to 500 cm (Master sets from 200 cm). Sound alert for obstacle. The following are signal and distance data. The distance in centimeters.
> 200 ---- No signal
<= 200 and> 150 ---- Beep every 3 seconds
<= 150 and> 100 ---- Beep every 2 seconds
<= 100 and> 50 ---- Beep every 1 second
<= 50 and> 20 ---- Beep every 0.5 seconds
<= 20 ---- Constant beep
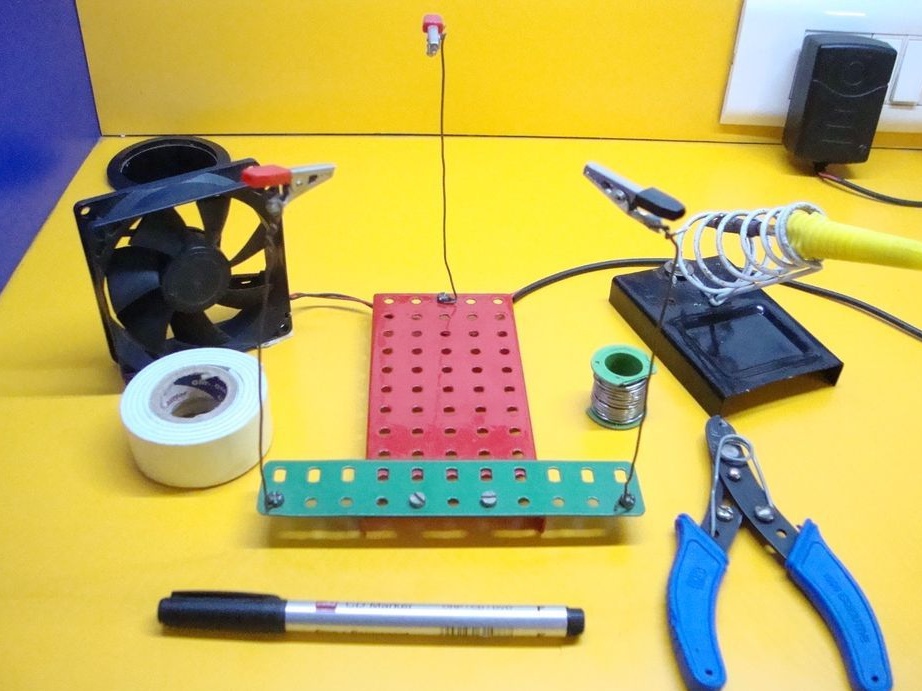
Tools and materials:
For the transmitter.
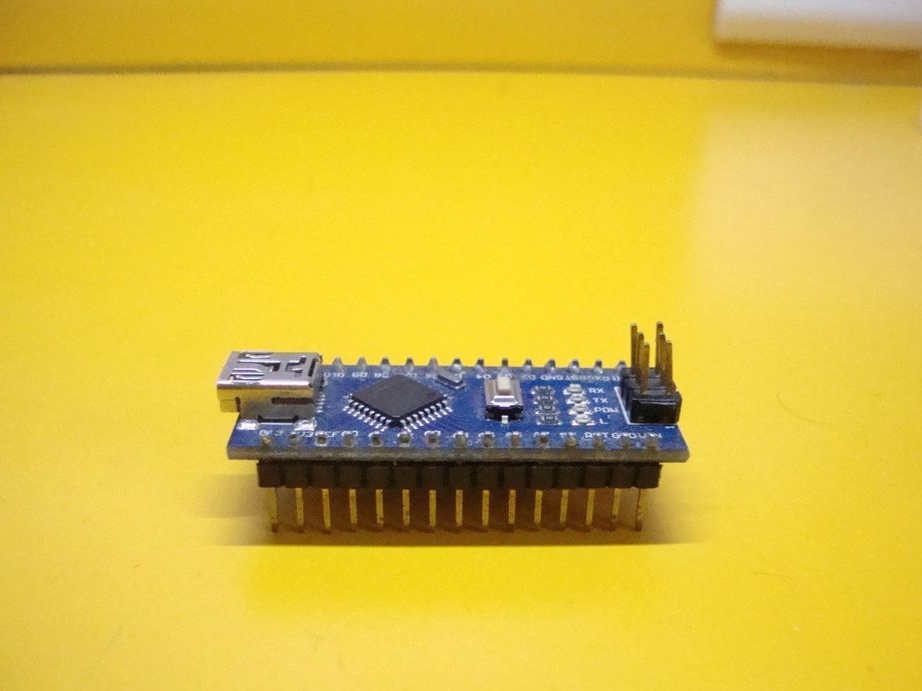
-Arduino nano;
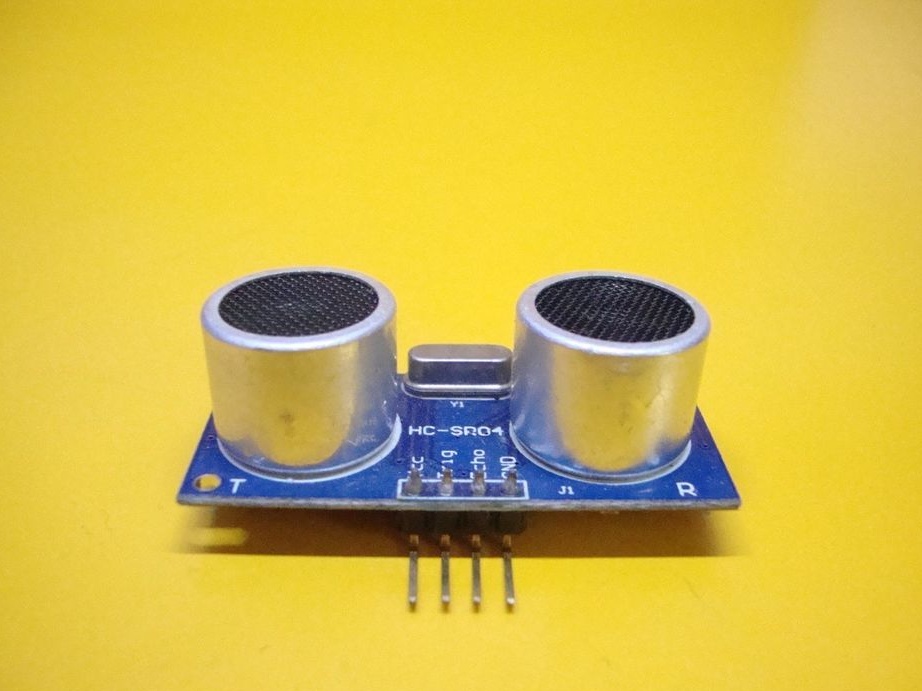
-Ultrasonic module HC-SR04;
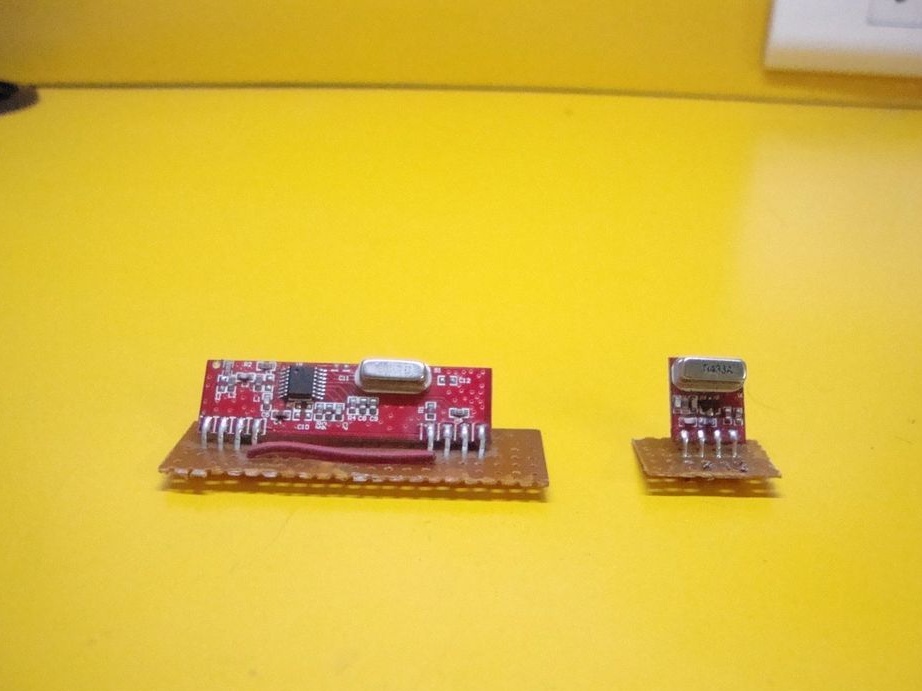
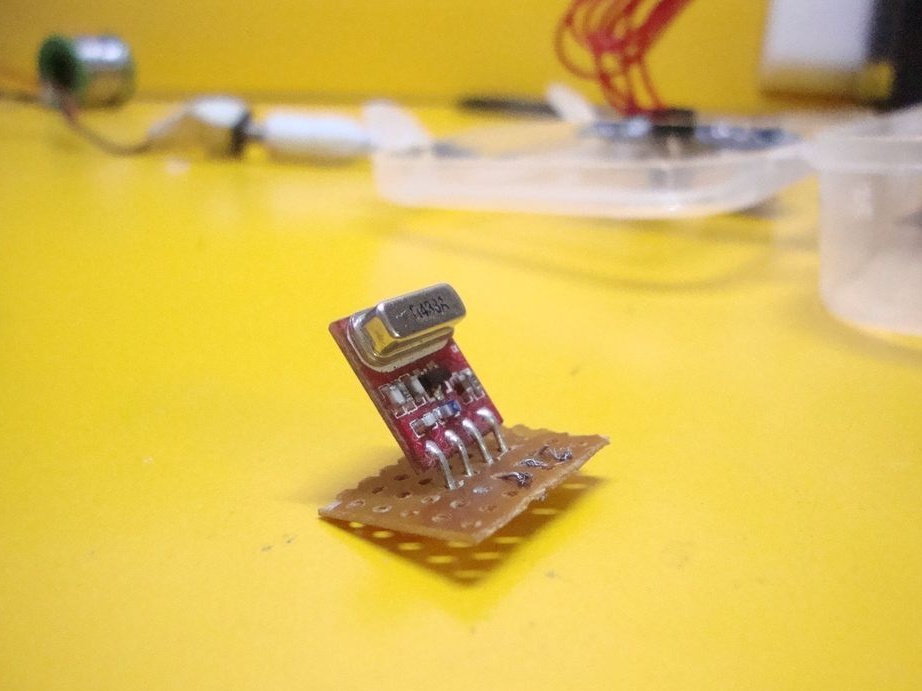
- RF module transmitter 433Mhz;
For the receiver.
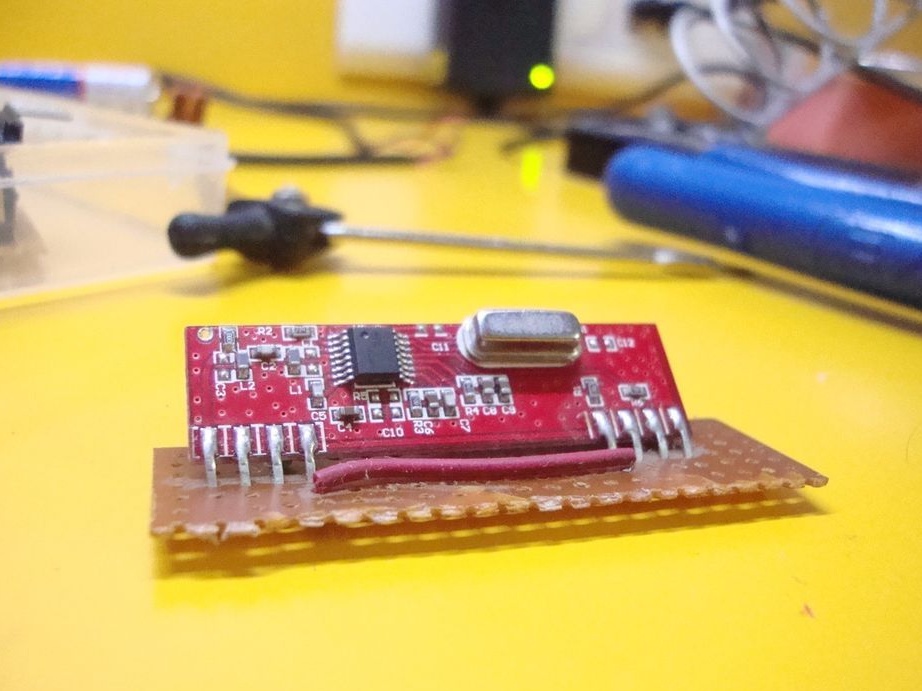
- RF module receiver 433Mhz;
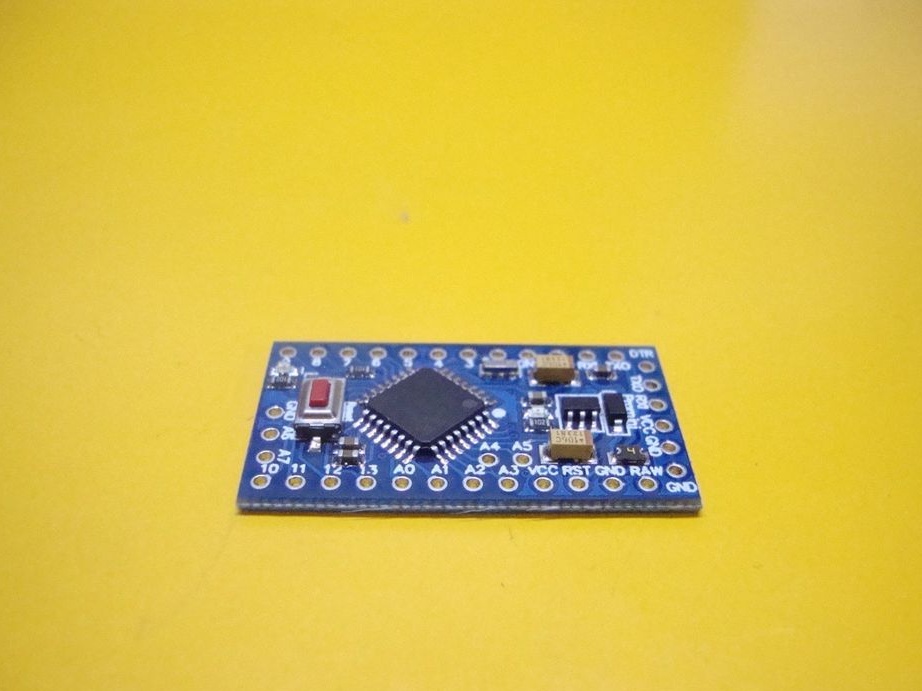
-Arduino pro mini;
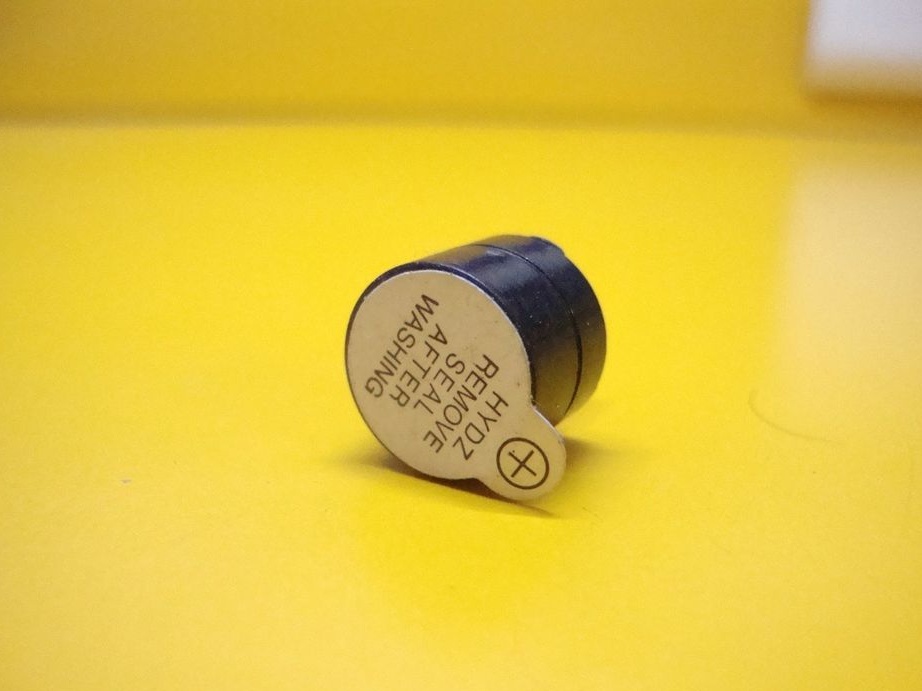
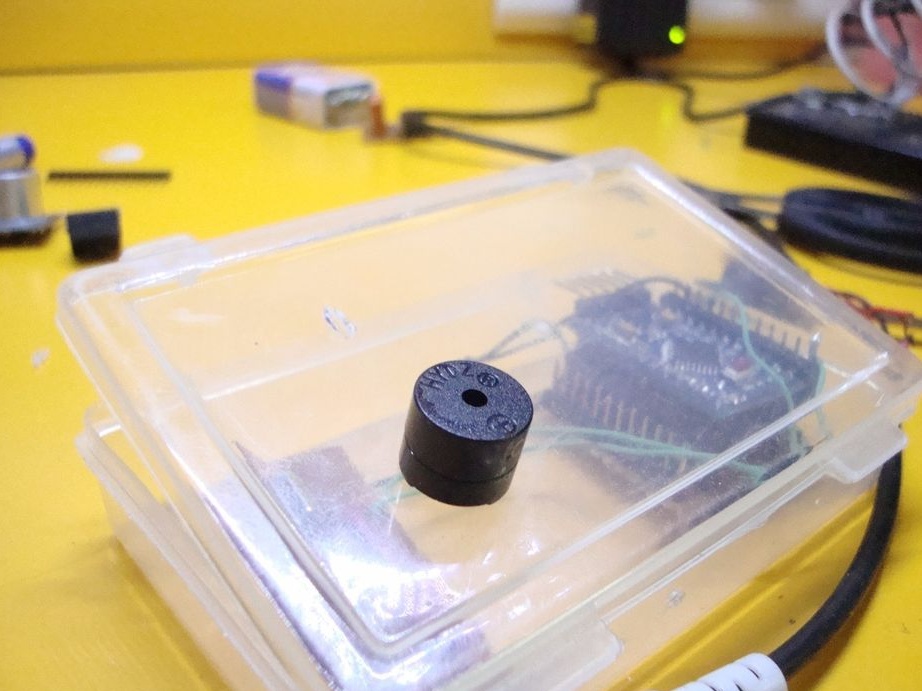
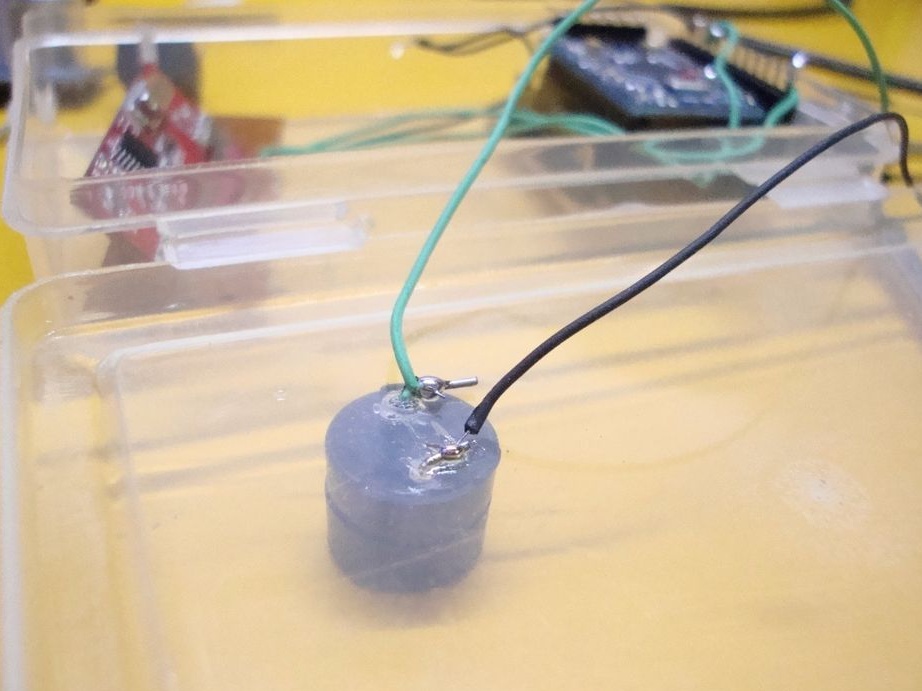
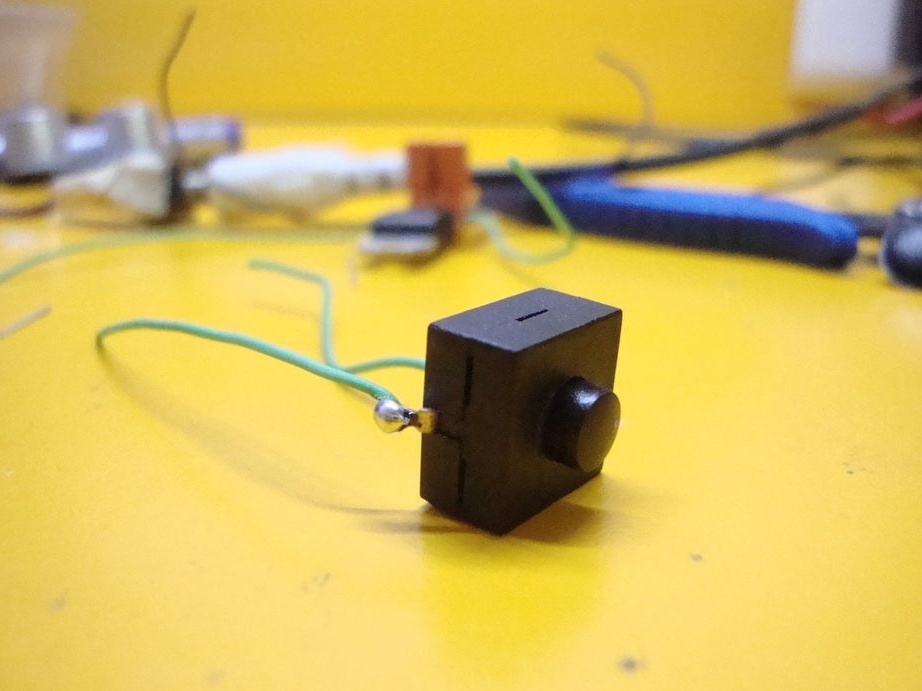
Microdynamic;
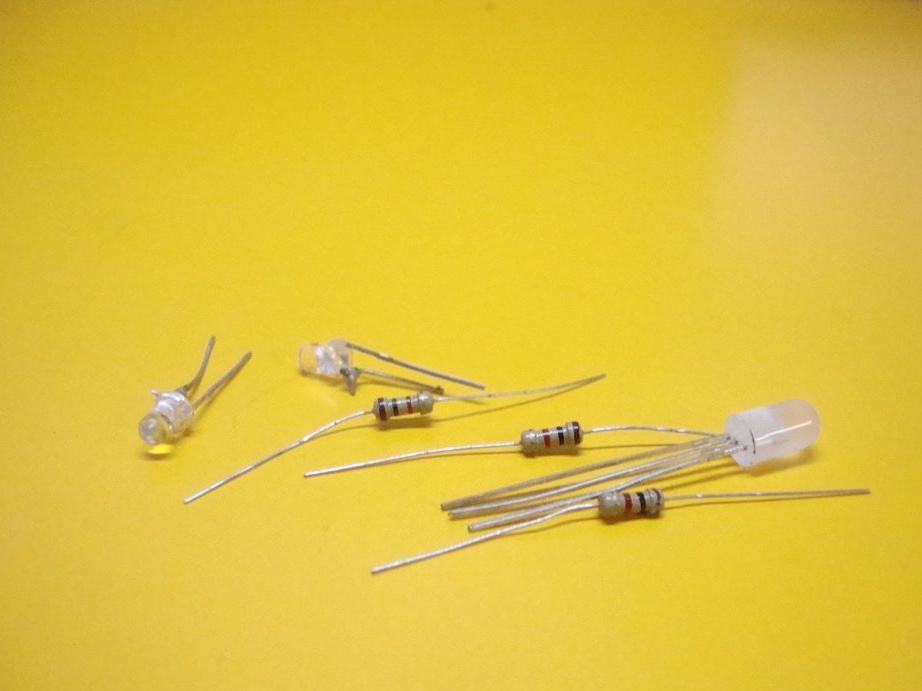
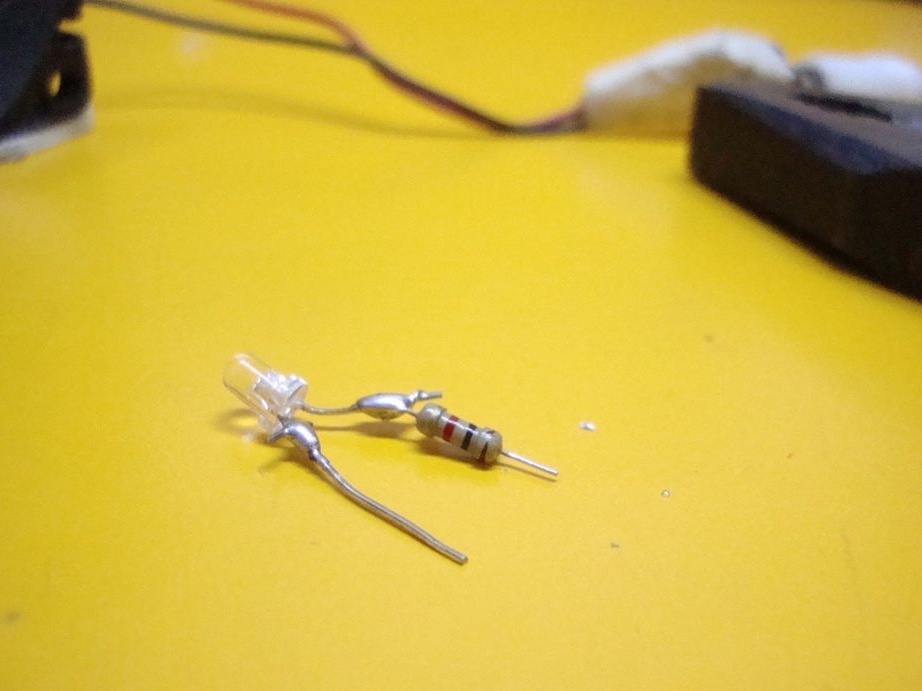
- Two-color LED;
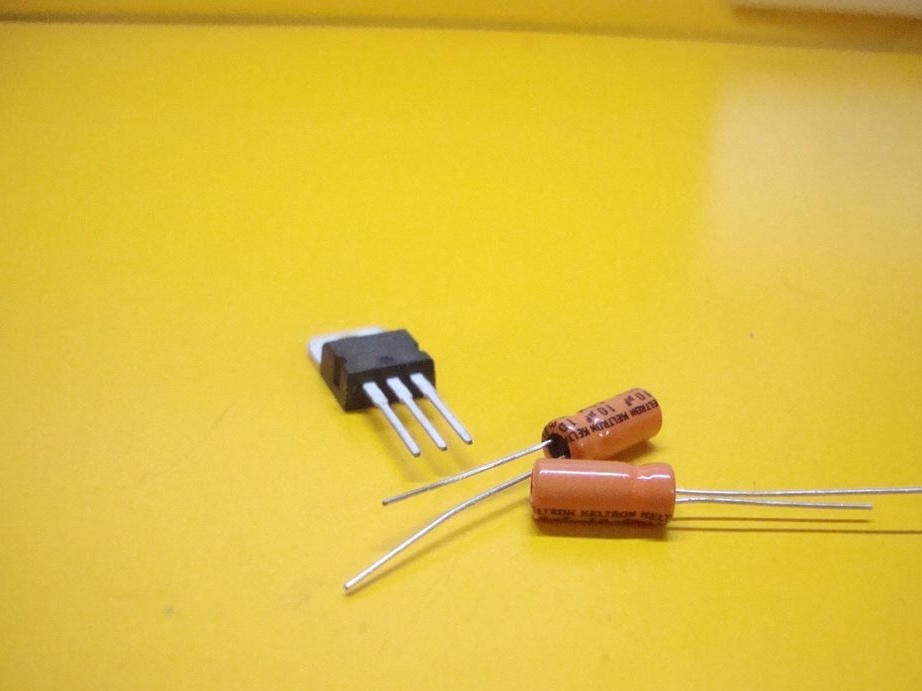
- Voltage Regulator 7805;
- Capacitor 10 uF - 2 pcs;
Are common.
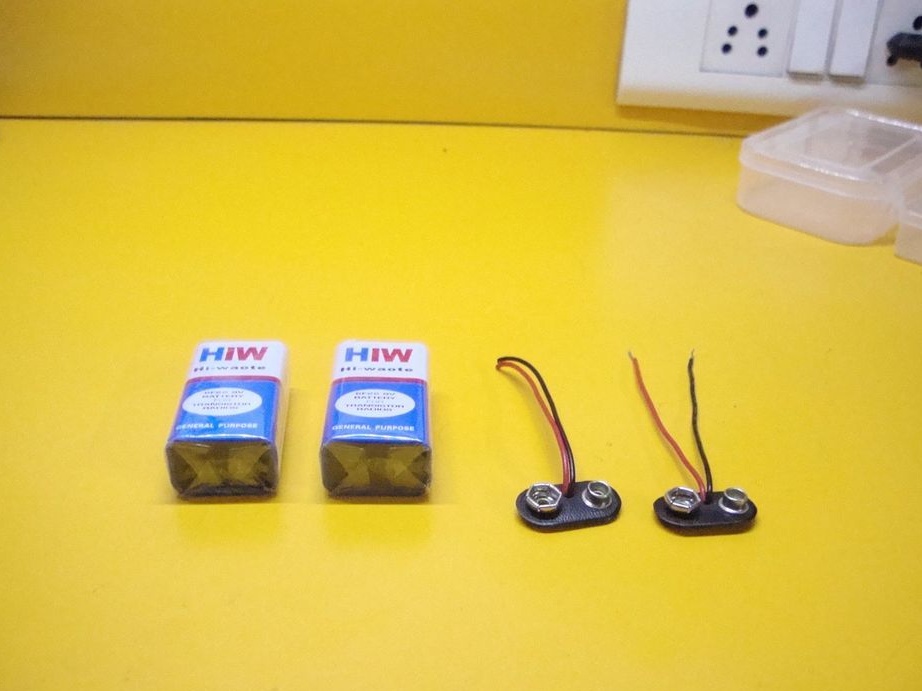
- Battery 9 V - 2 pcs.;
- Battery terminals - 2 pcs.;
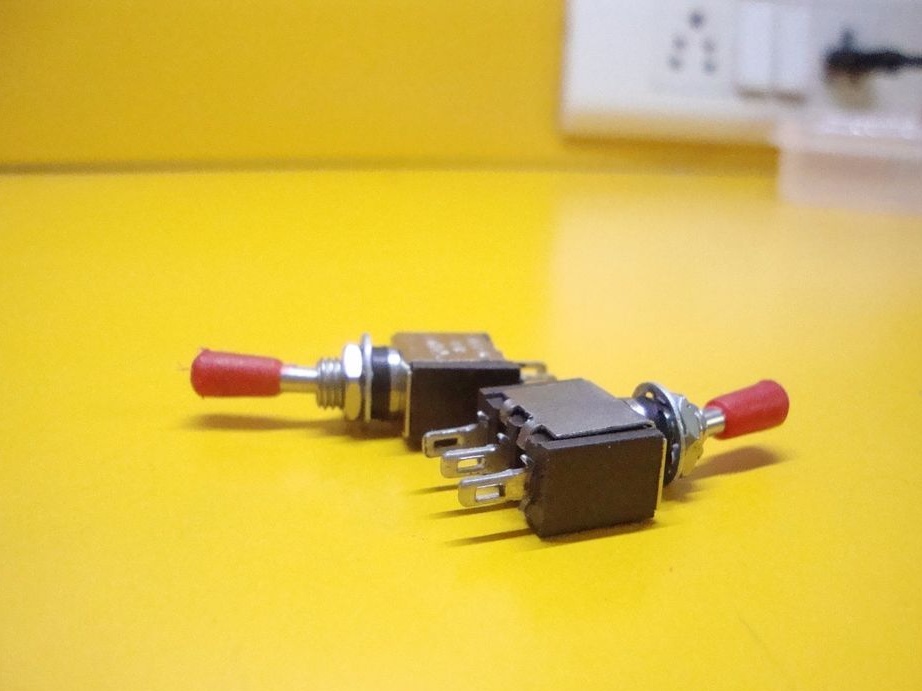
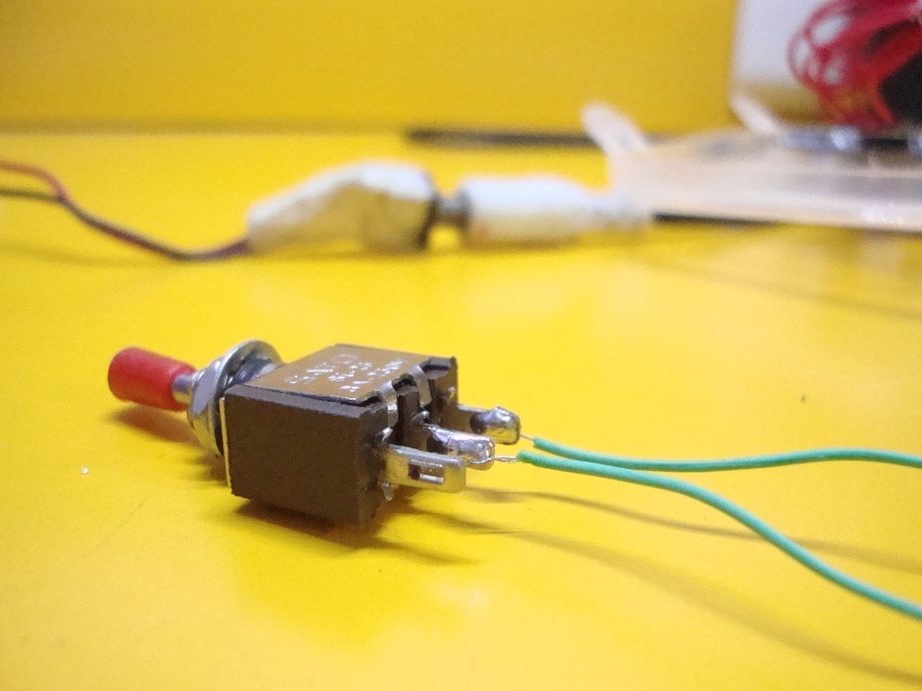
- Toggle switch - 2 pcs.;
- Resistor 1 kOhm - 2 pcs;
-LEDs - 2 pcs;
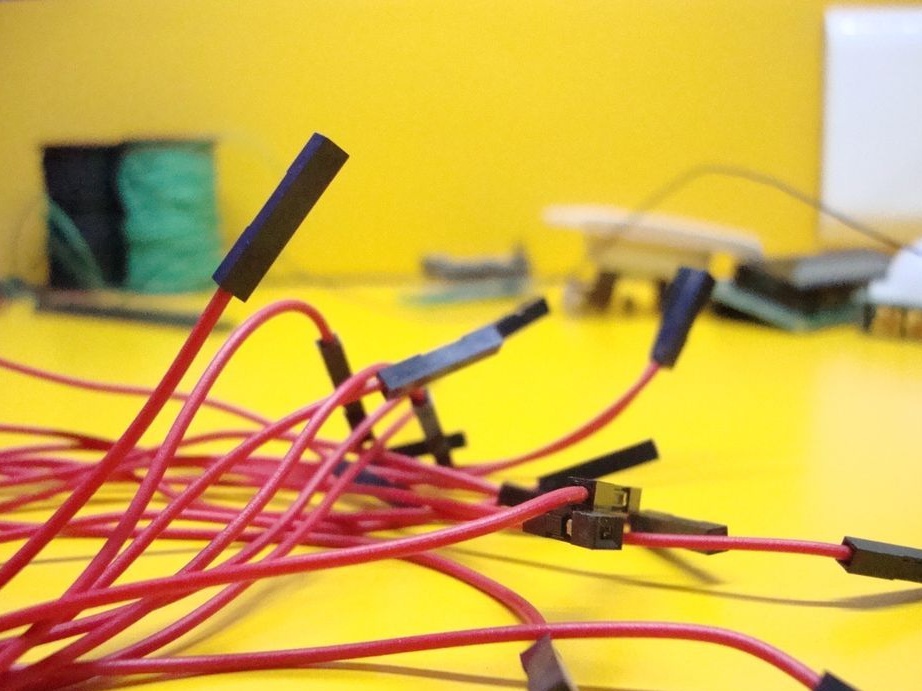
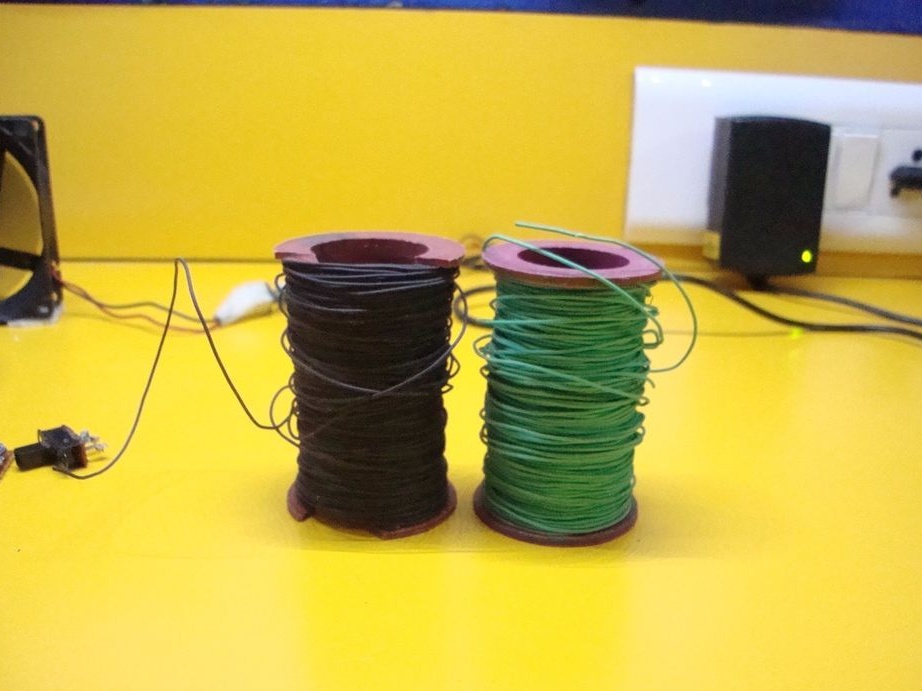
-Wire;
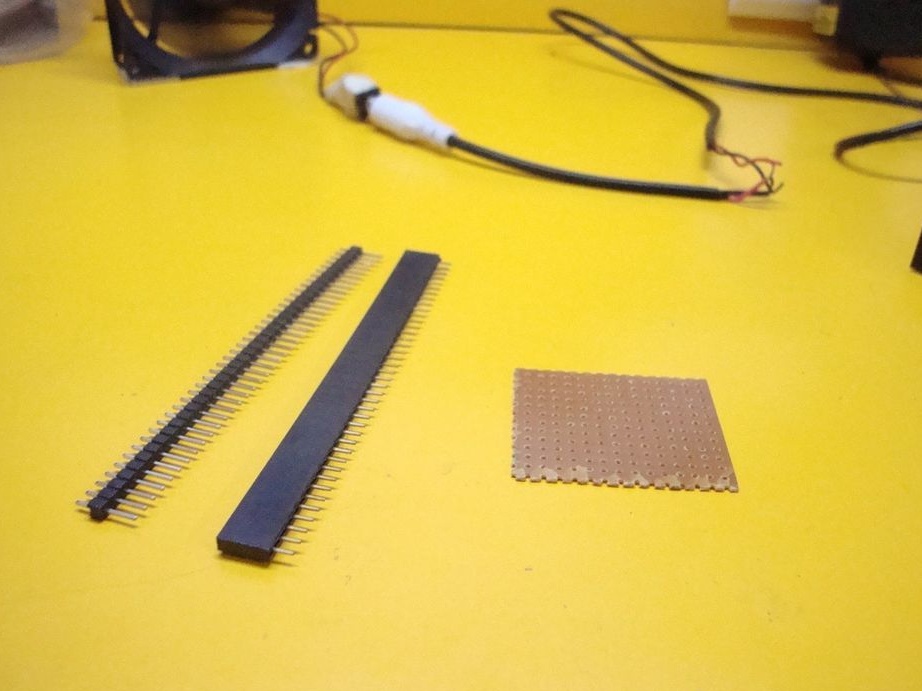
-Circuit board;
-Soldering iron;
-Solder;
-Glue gun;
-Nippers;
-Pliers;
-A computer;
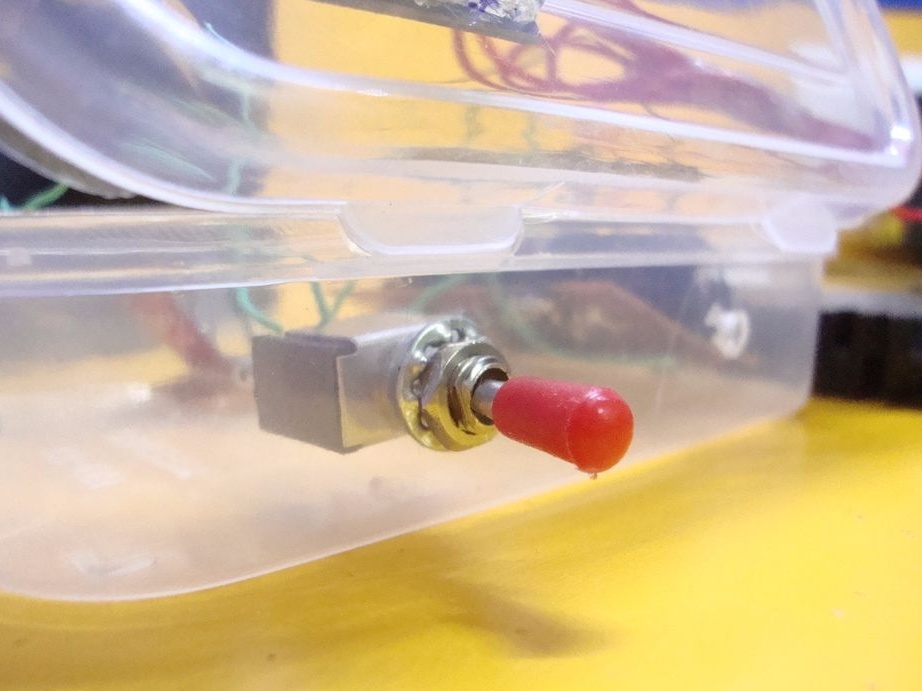
-Plastic case -2 pcs.;
-Marker;
-Knife;
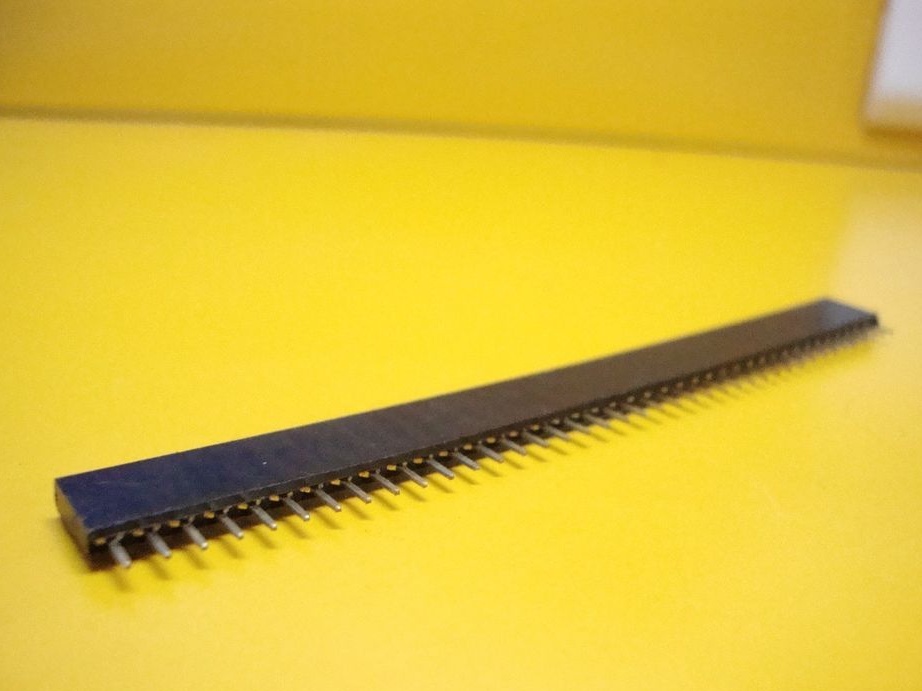
-Pin connectors;
-Pin Connectors;
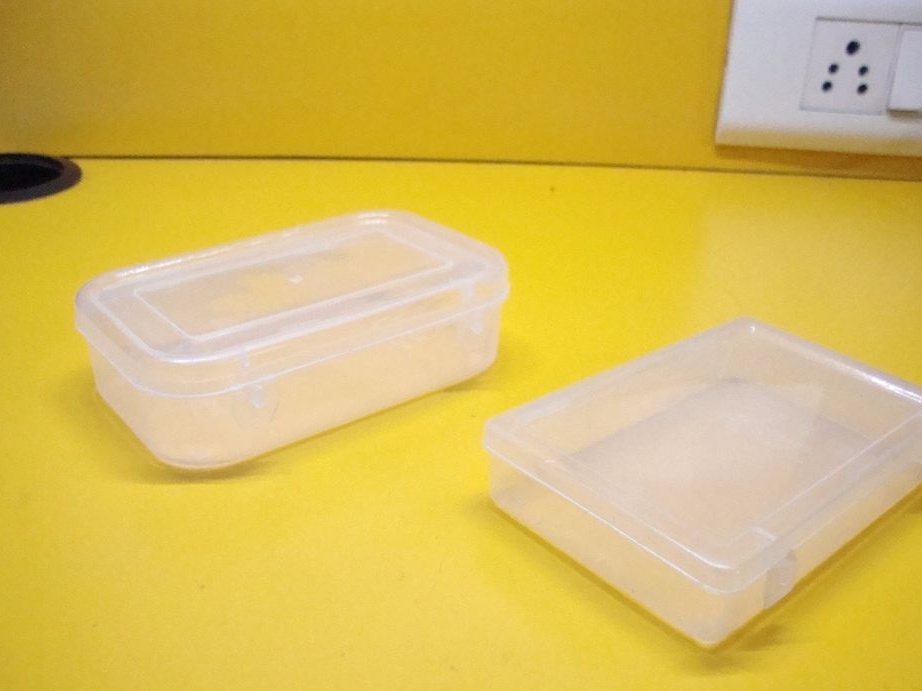

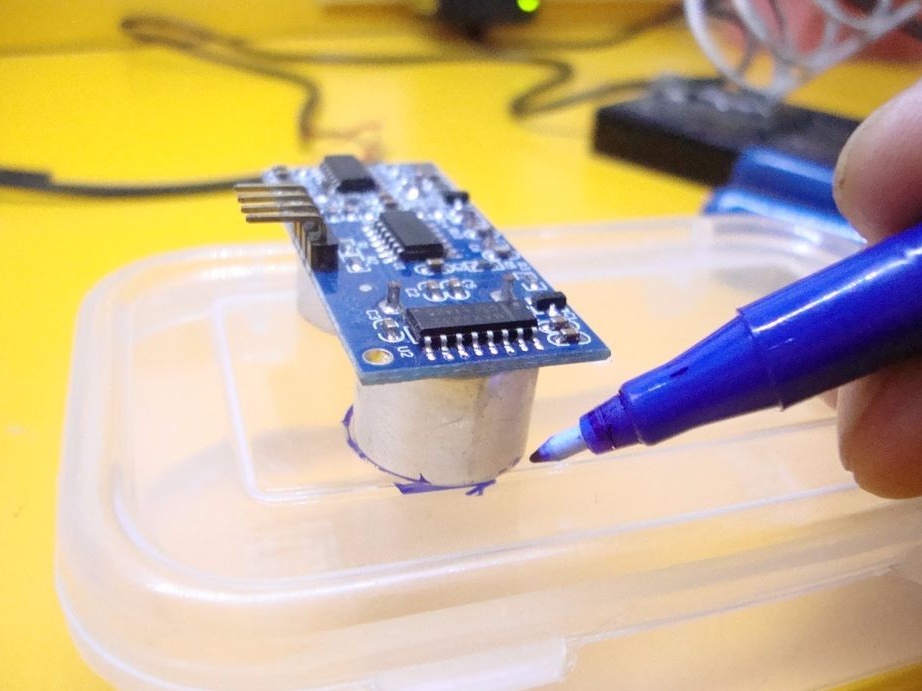
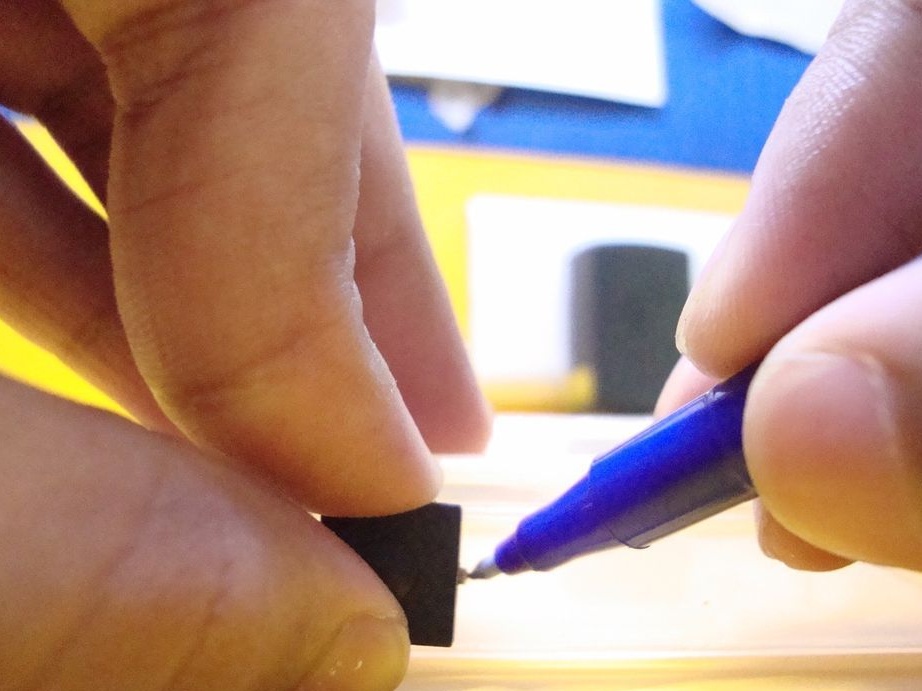
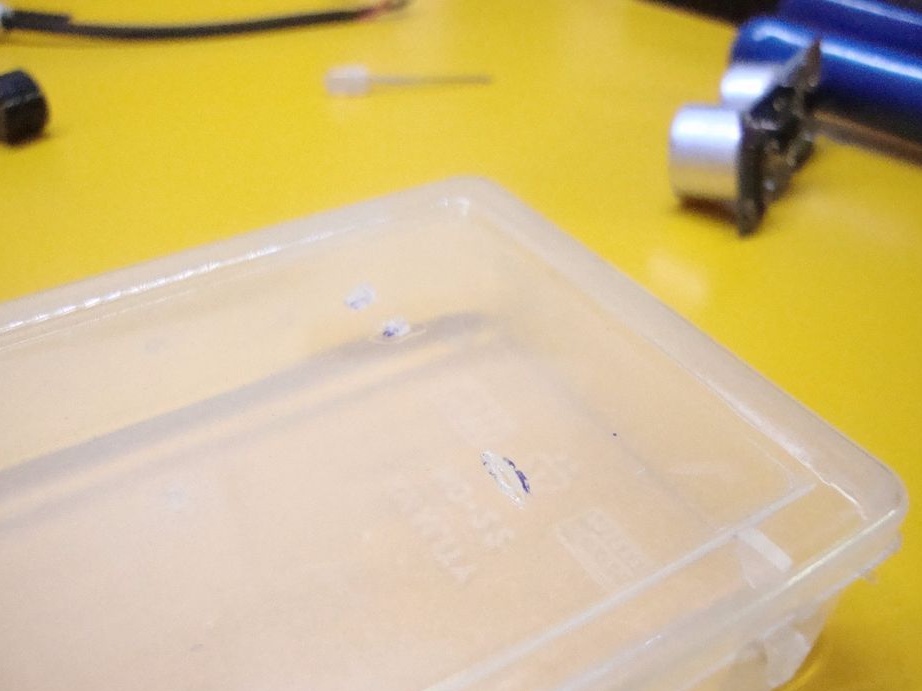
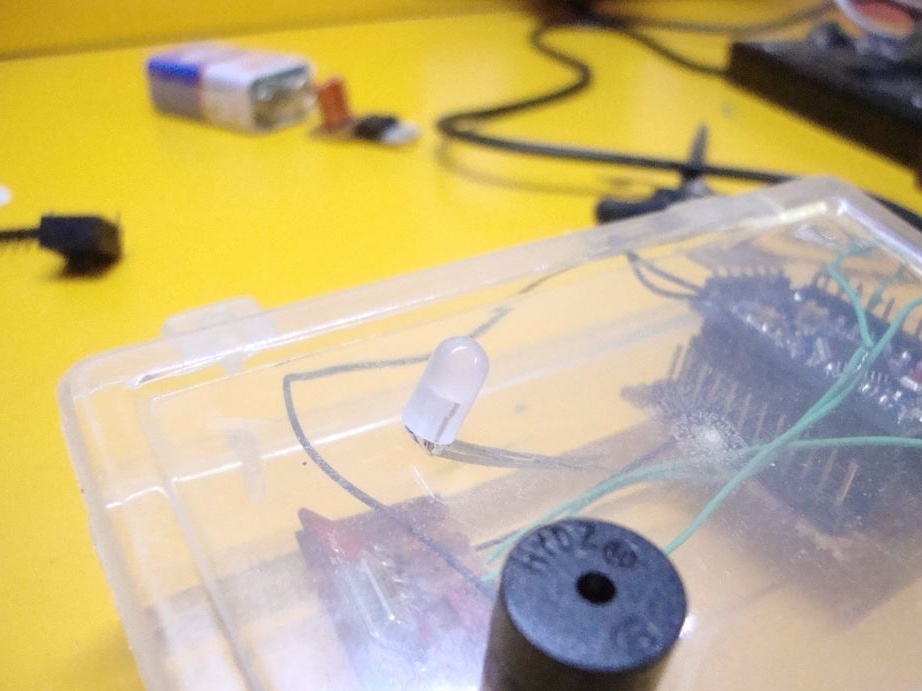
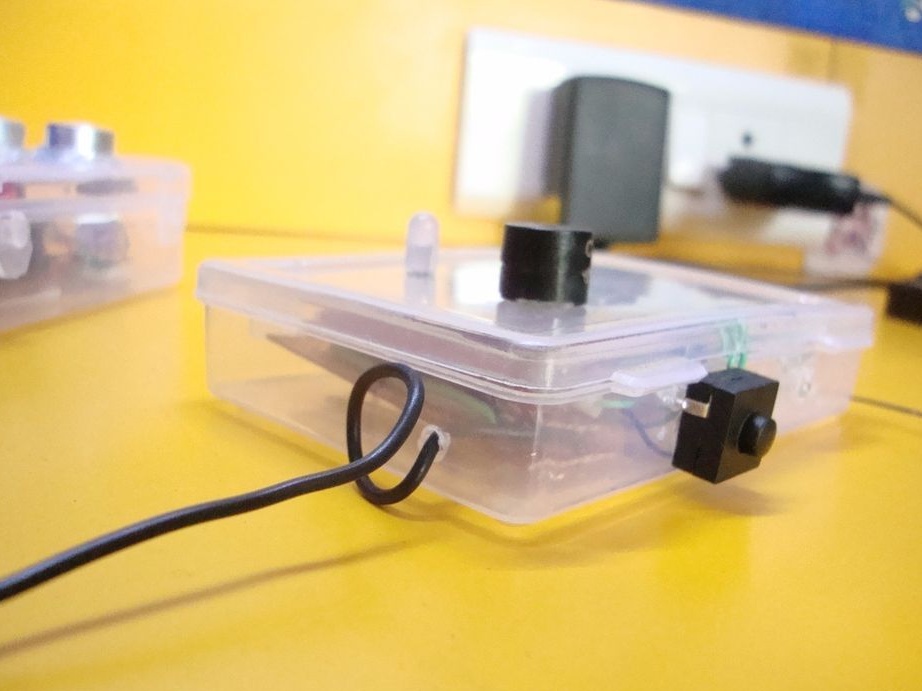
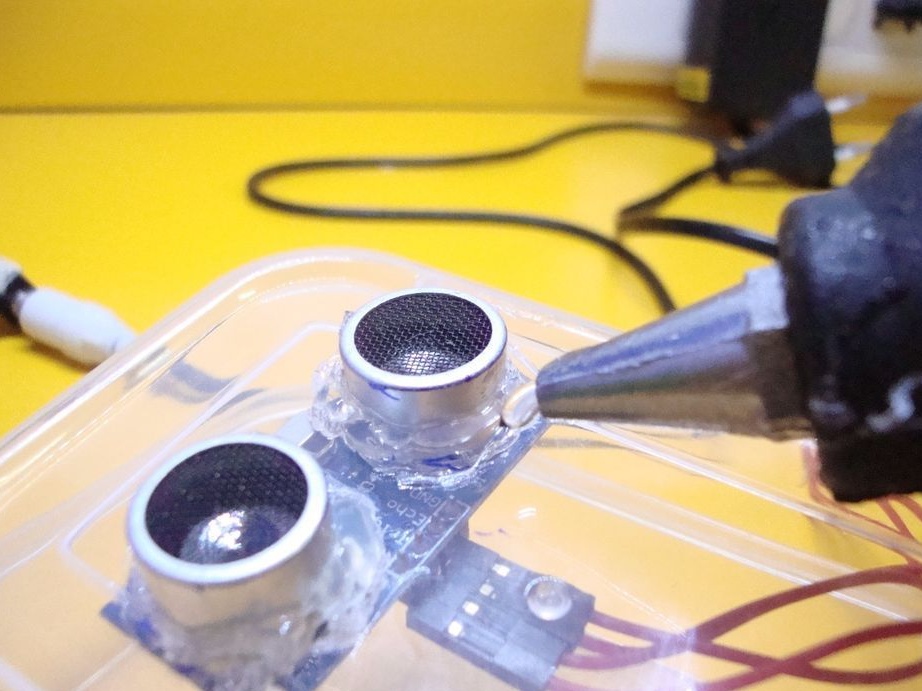
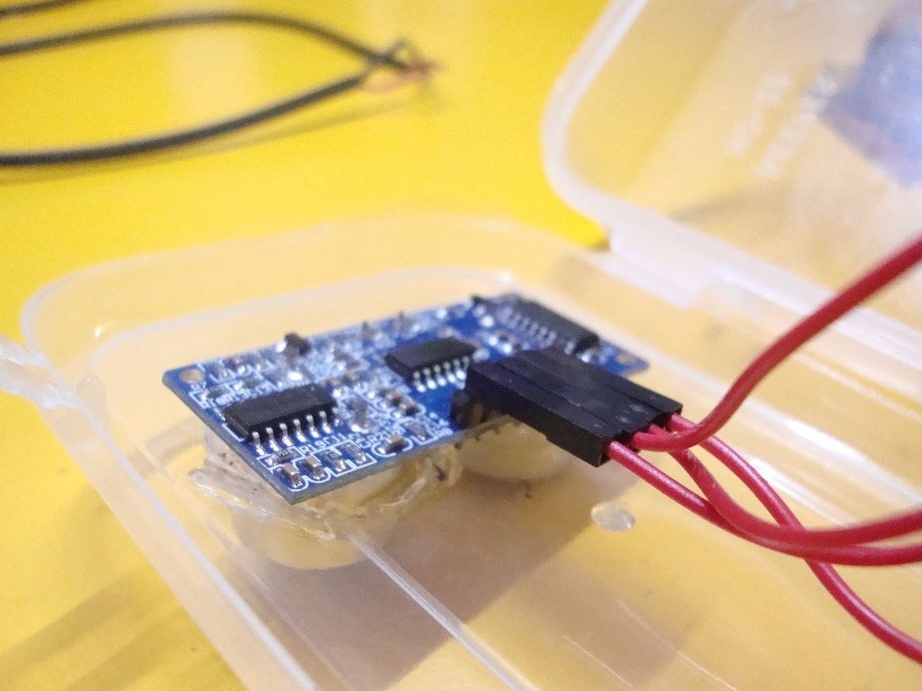
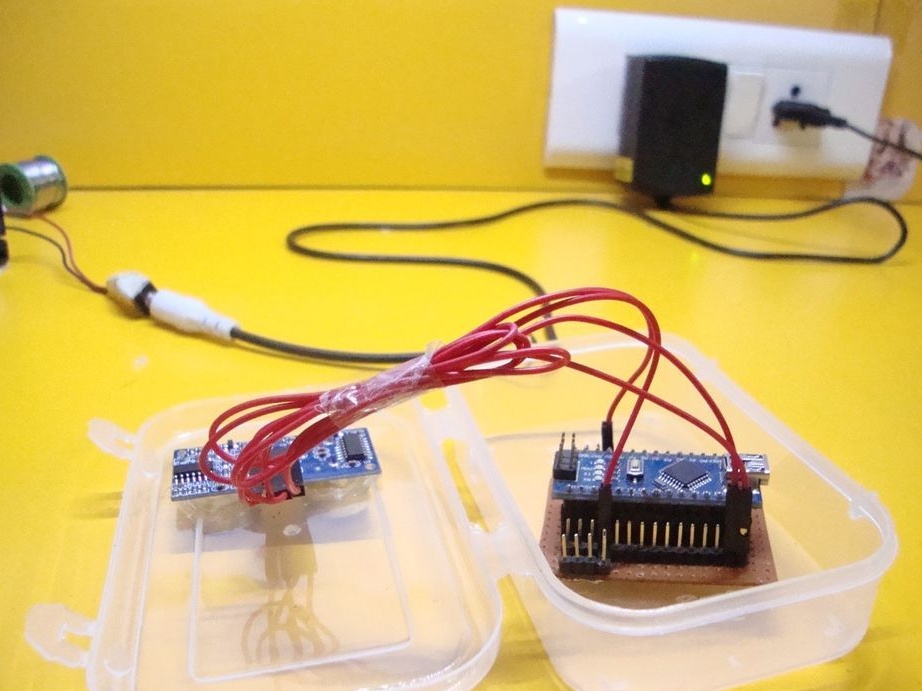
Step One: The Case
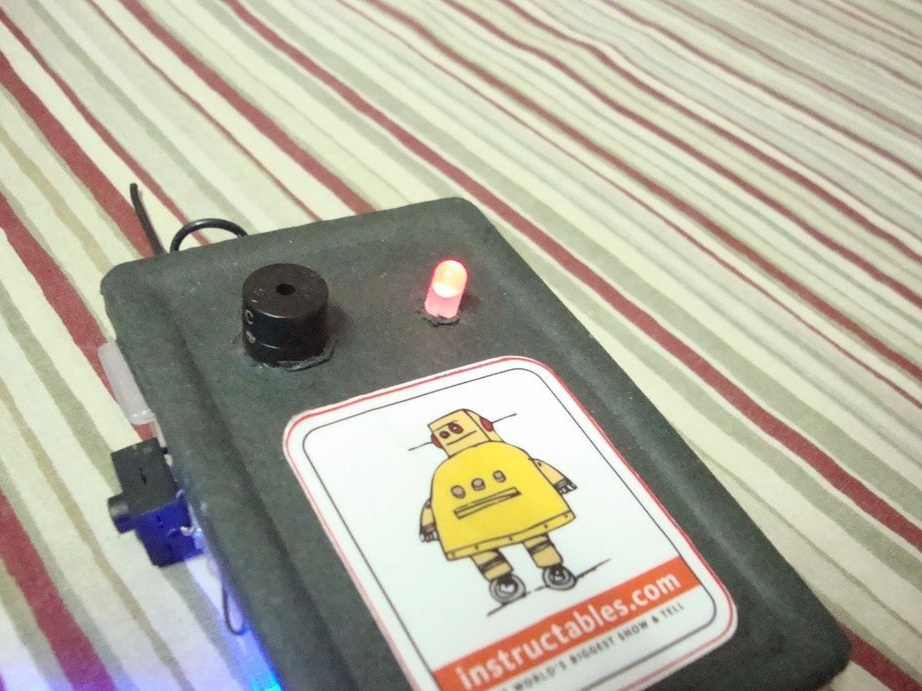
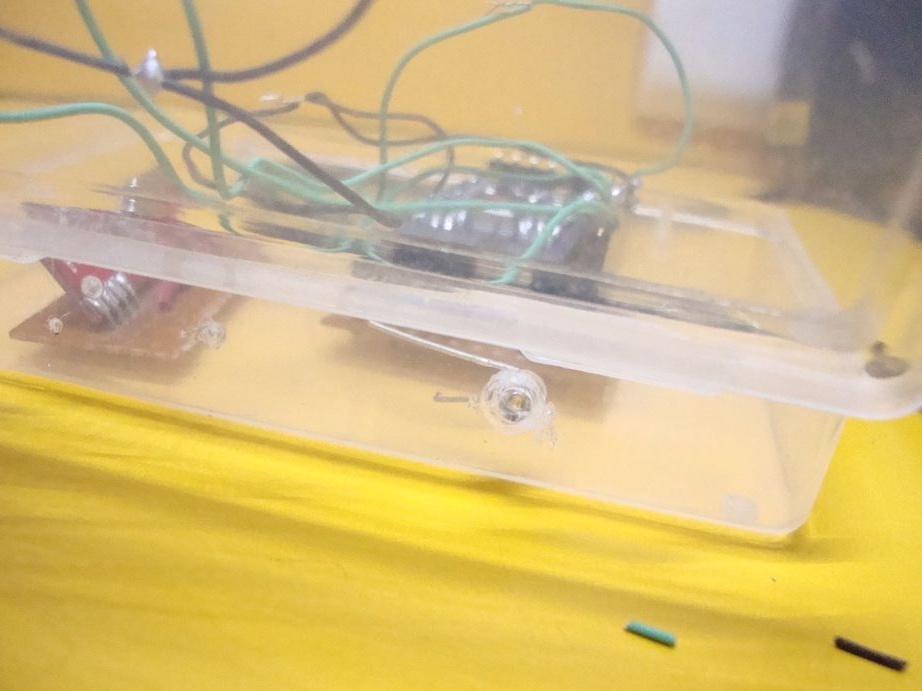
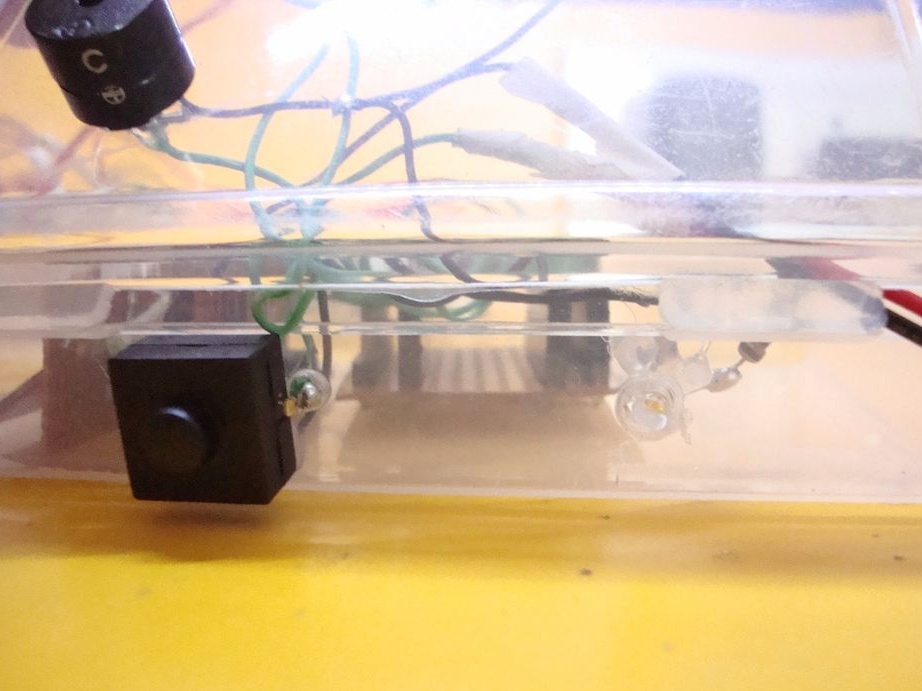
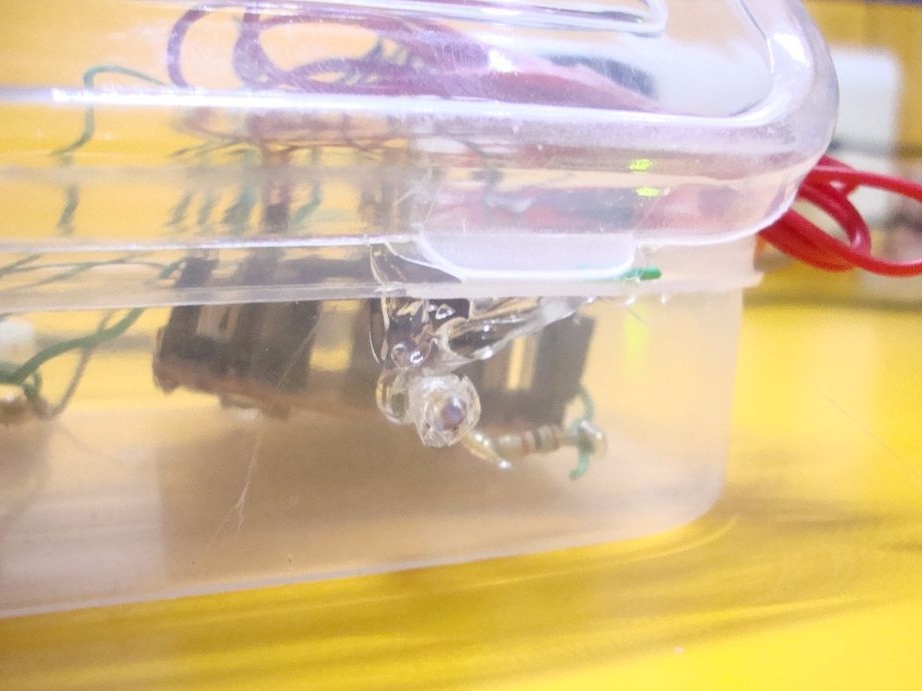
Prepares the case. It makes holes in the transmitter housing for the ultrasonic sensor, LED and toggle switch. The receiver makes holes for the buzzer, two LEDs, and a toggle switch.

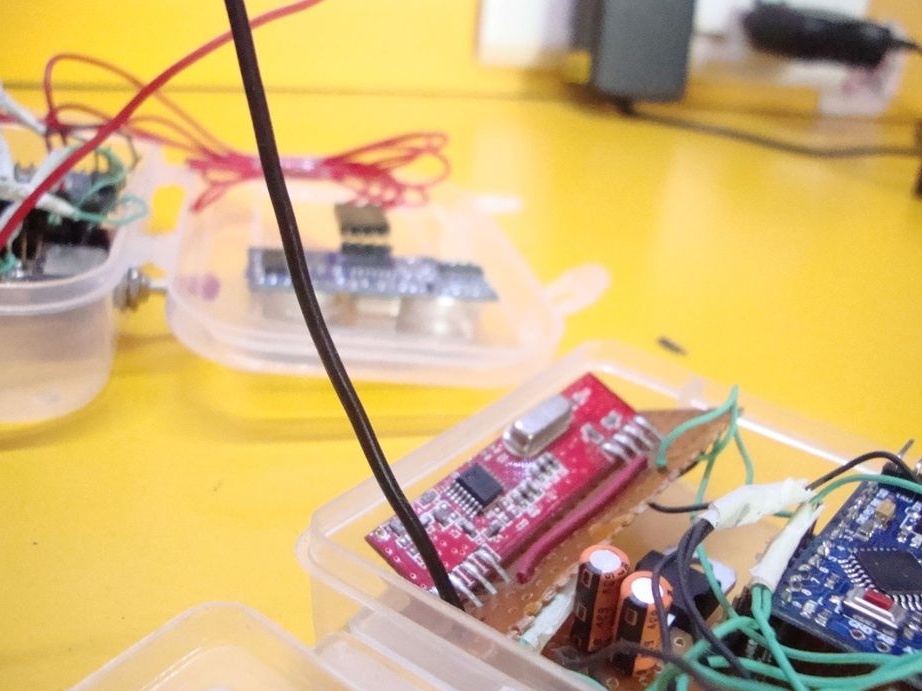
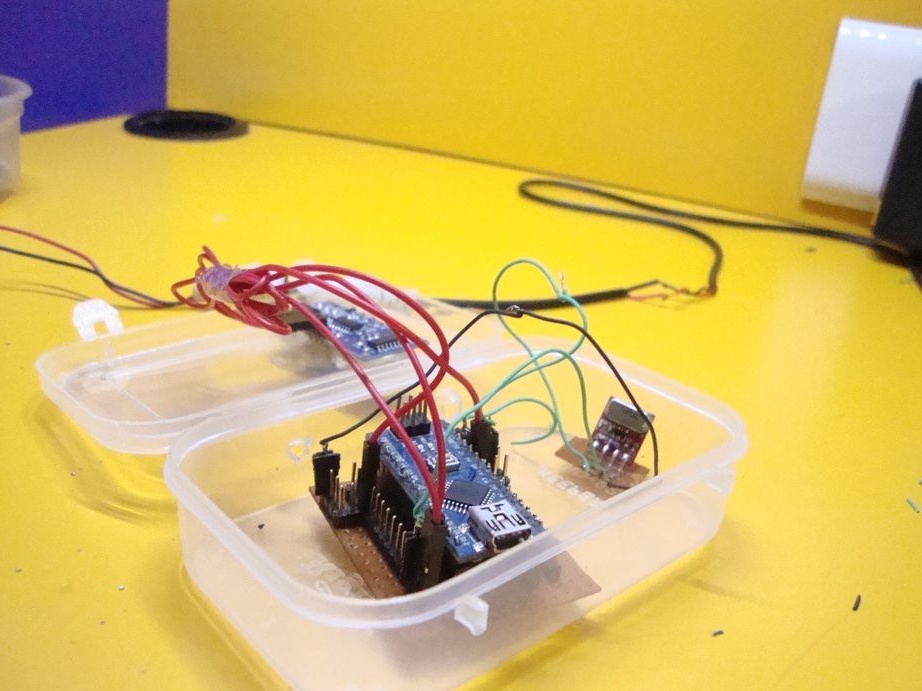
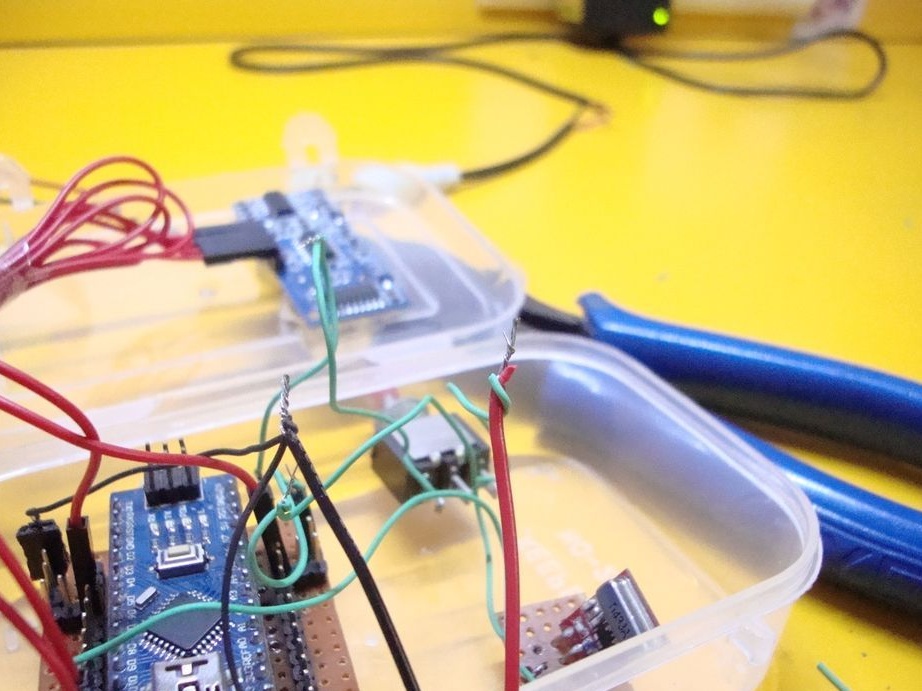
We collect the receiver.
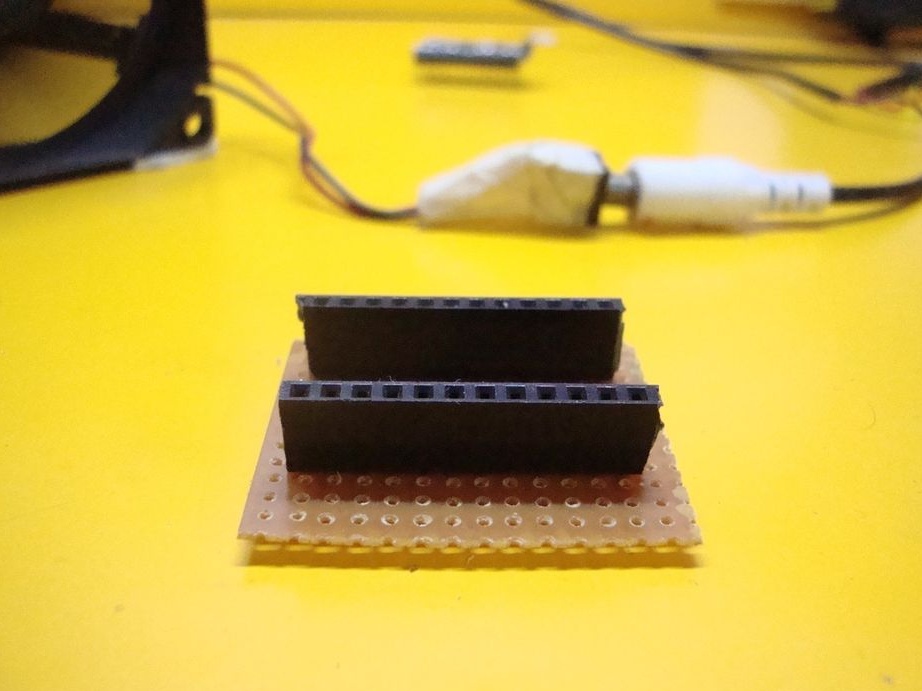
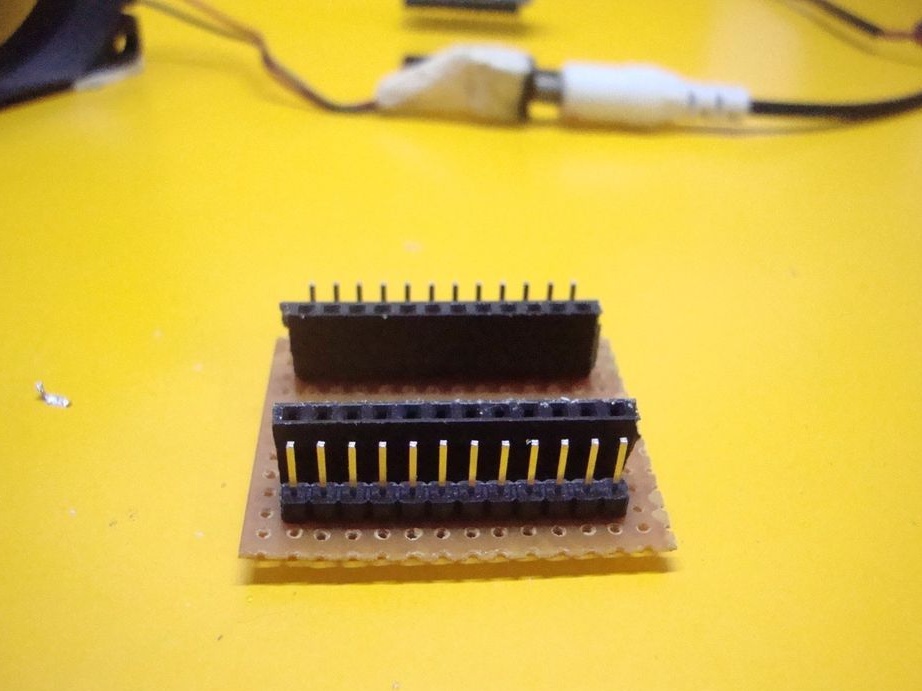
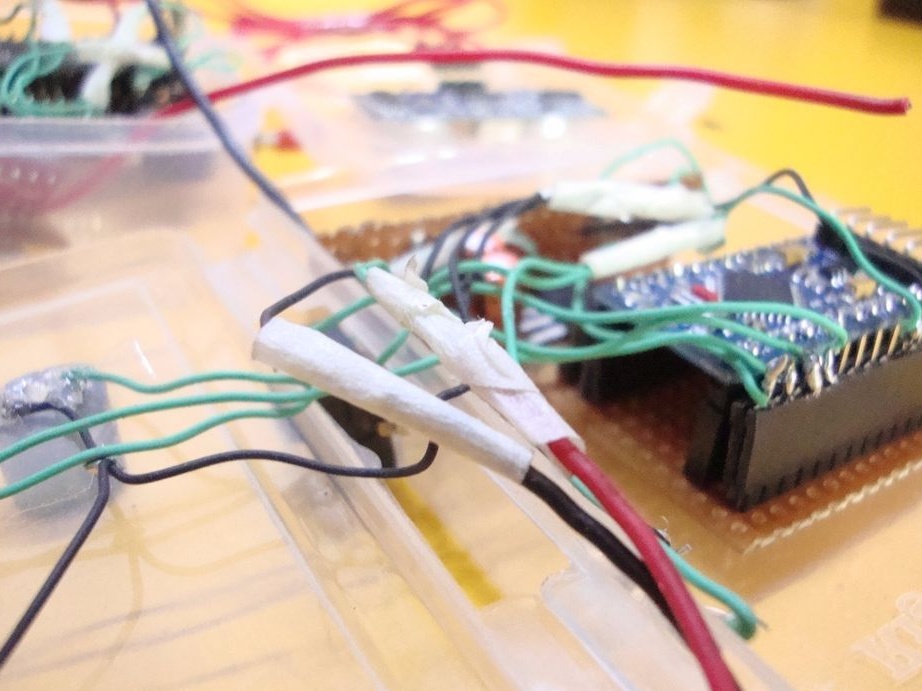
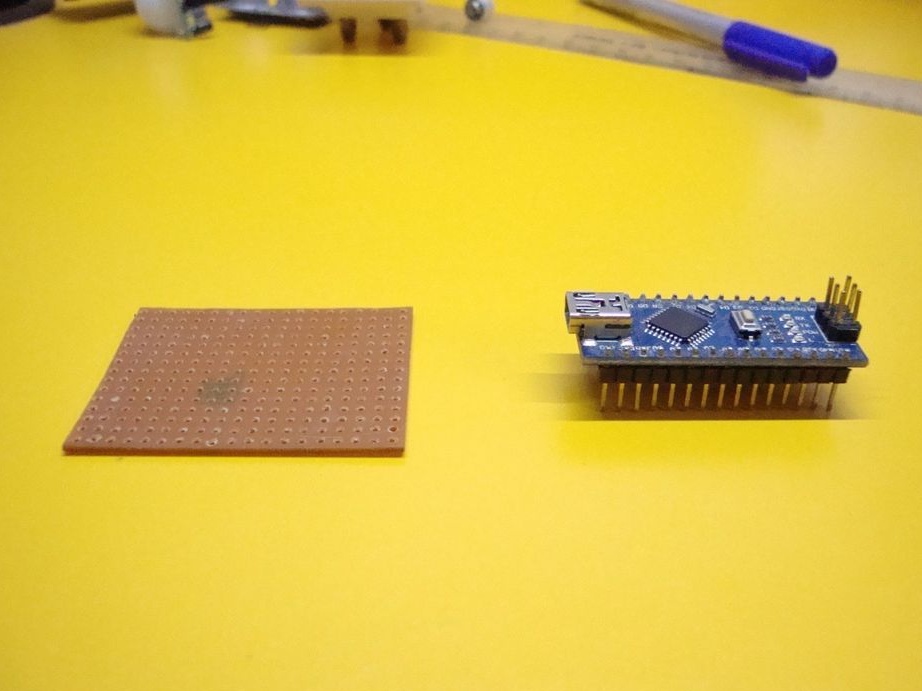
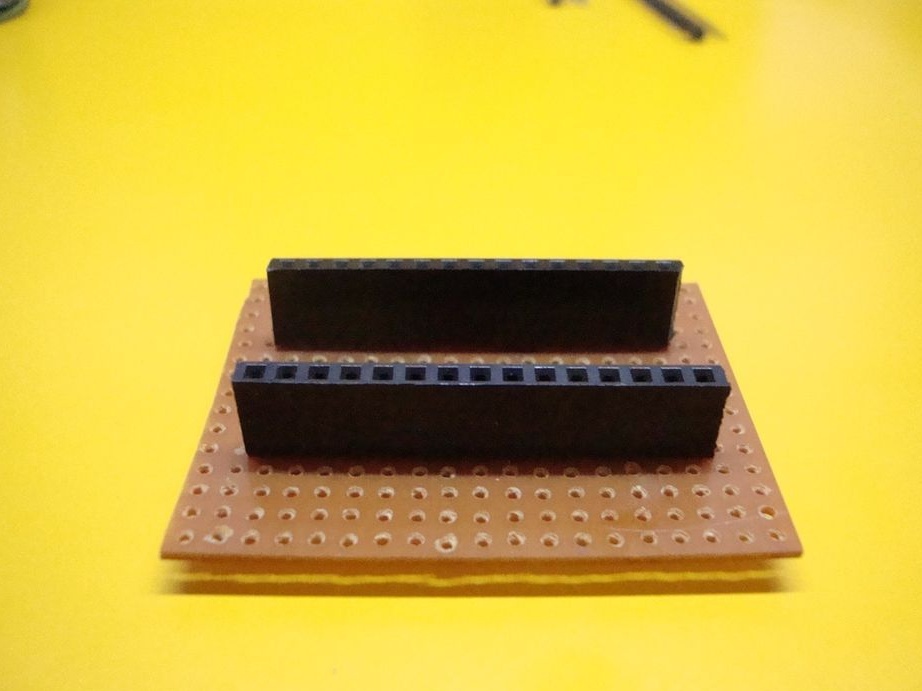
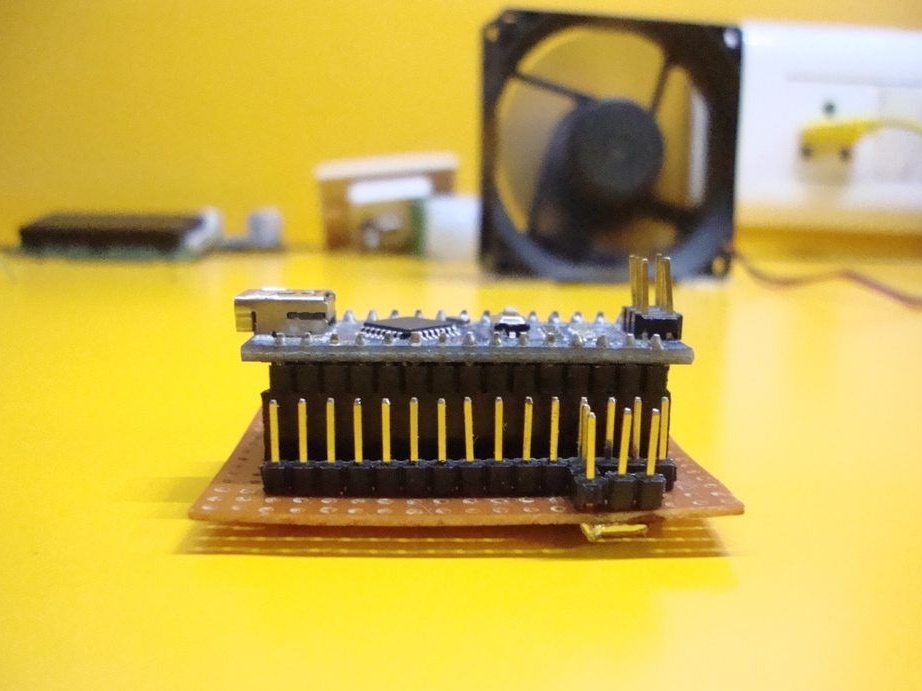
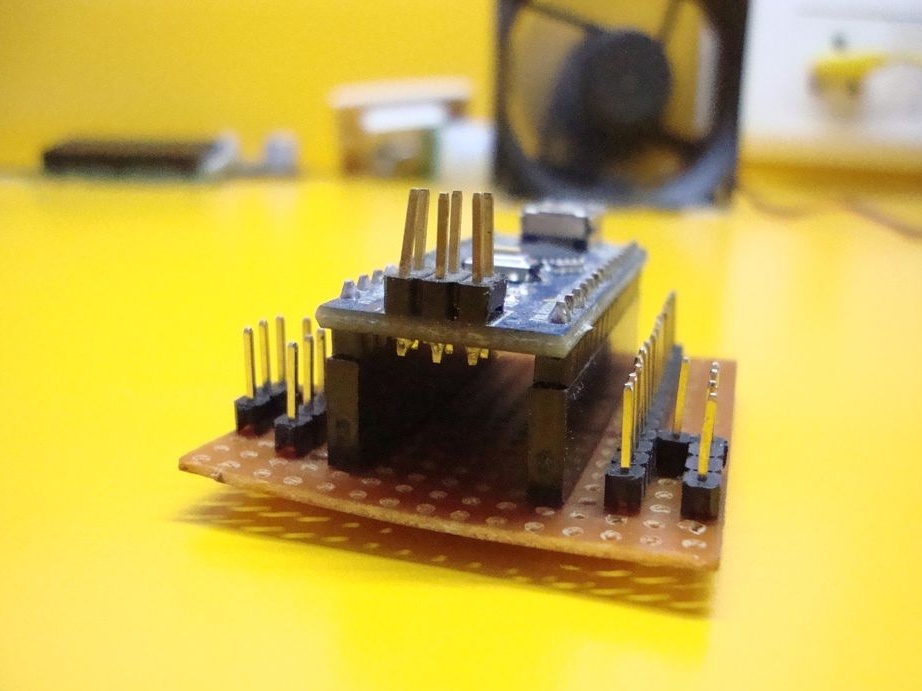
Step Two: Receiver Circuit Board
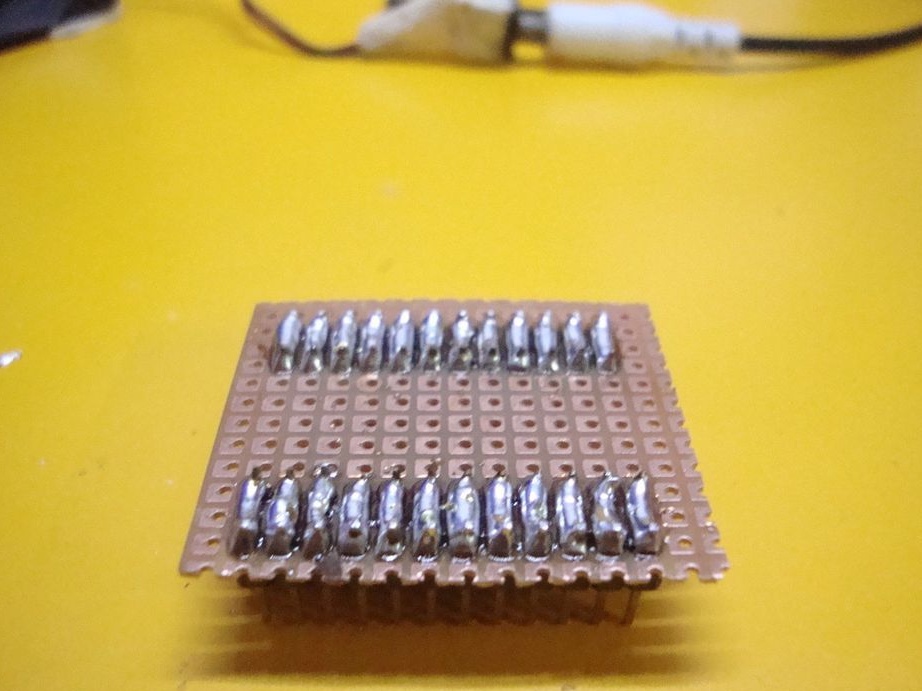
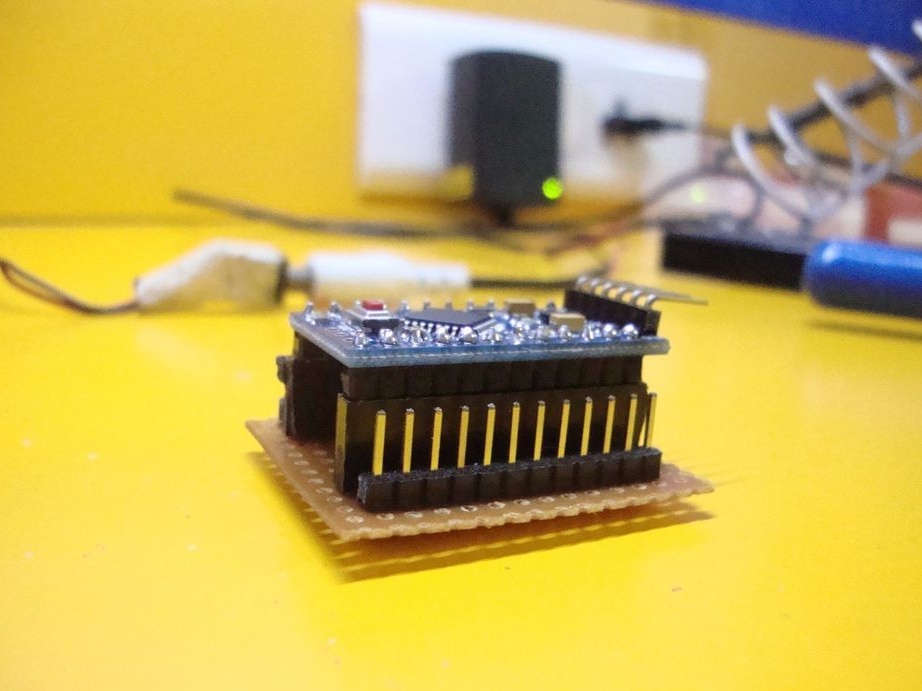
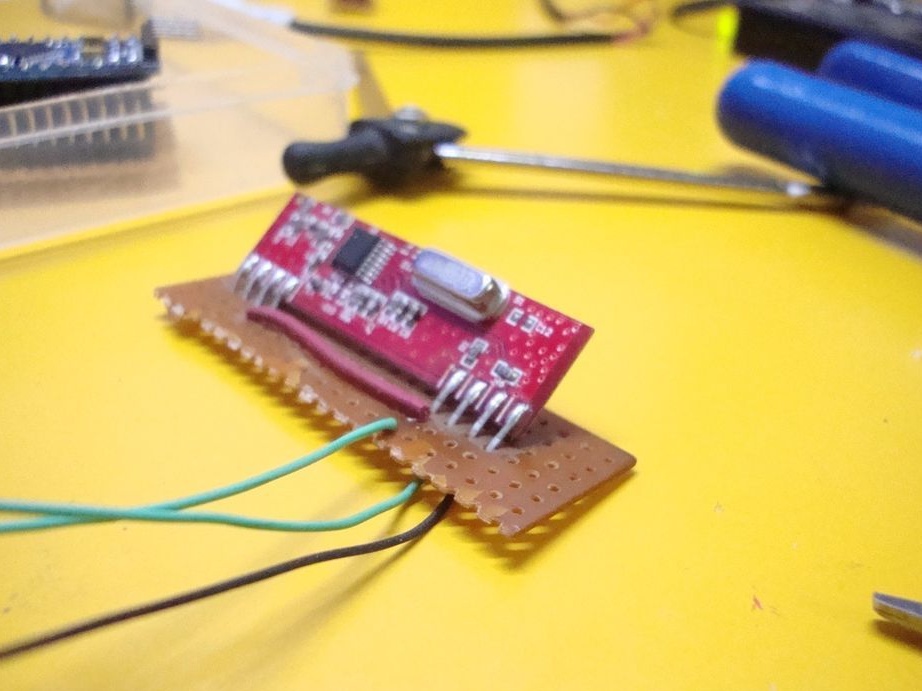
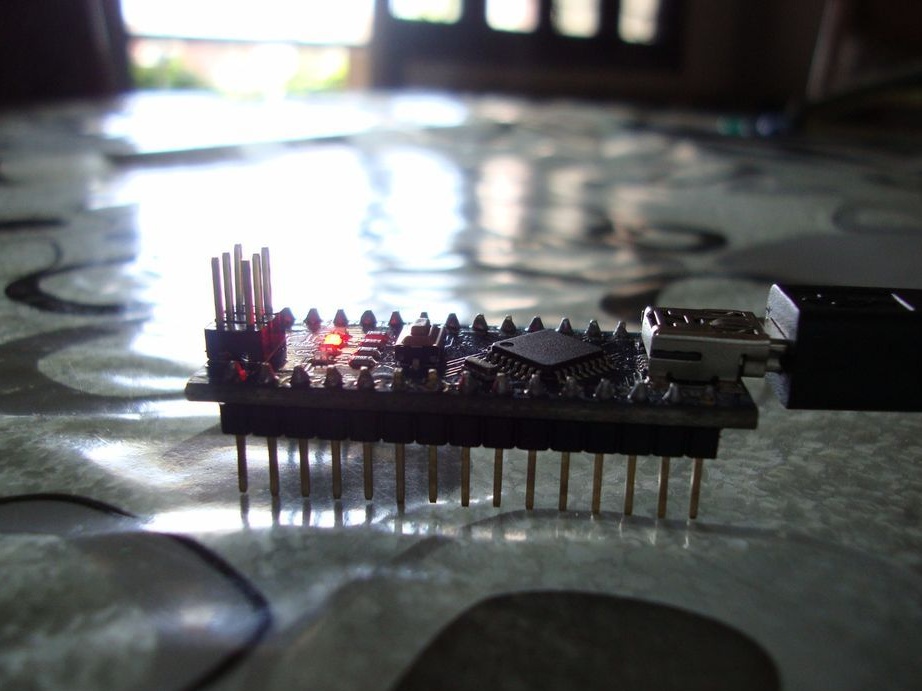
For the receiver, the master uses Arduino pro mini. For the possibility of dismantling the arduino, the master does not solder it directly, but solders pin connectors to its contacts, and install pin connectors on the circuit board. Now you can easily remove and put the arduino.
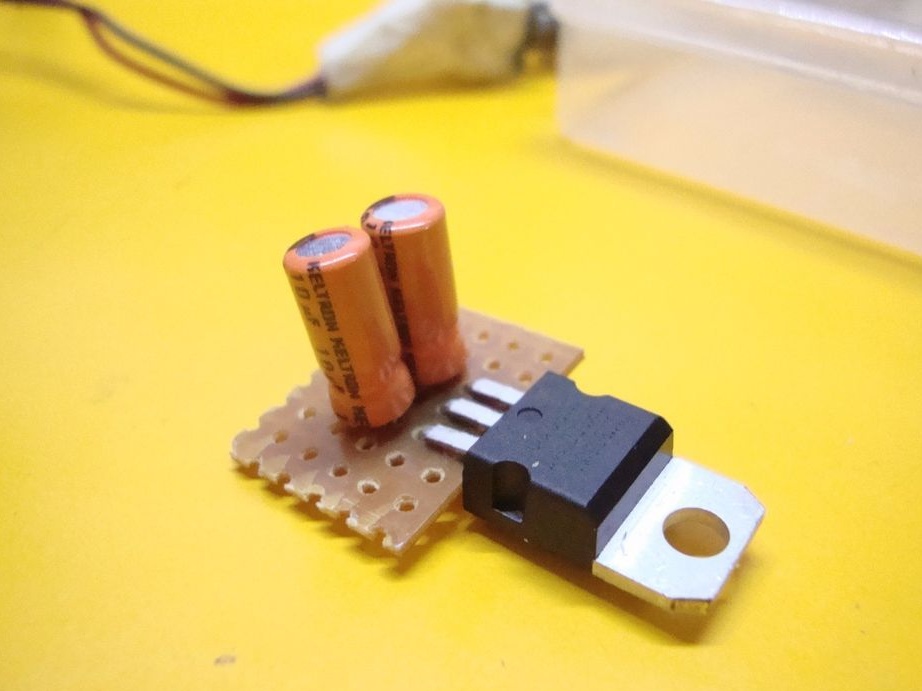
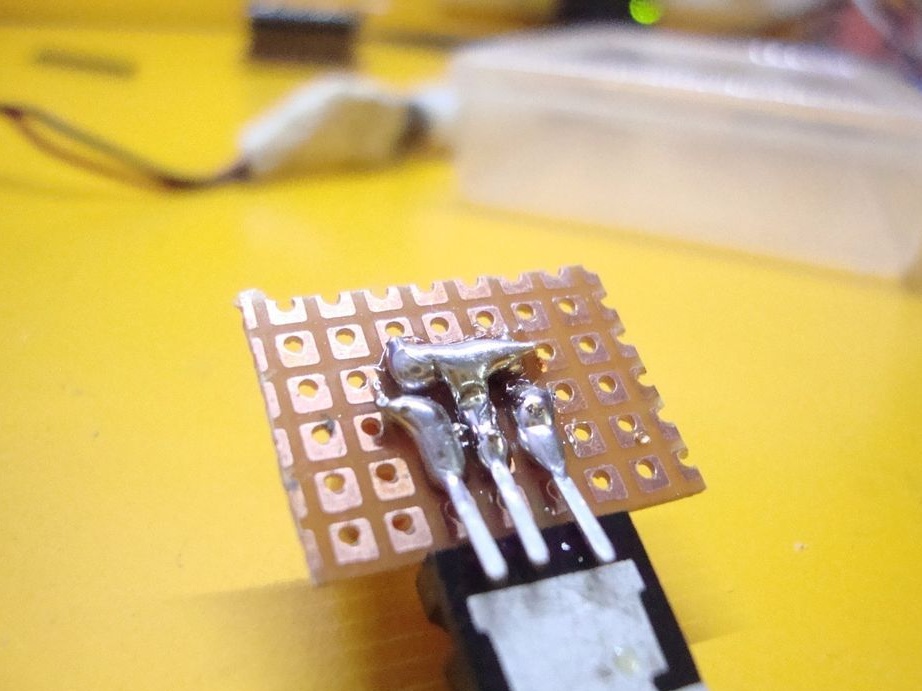
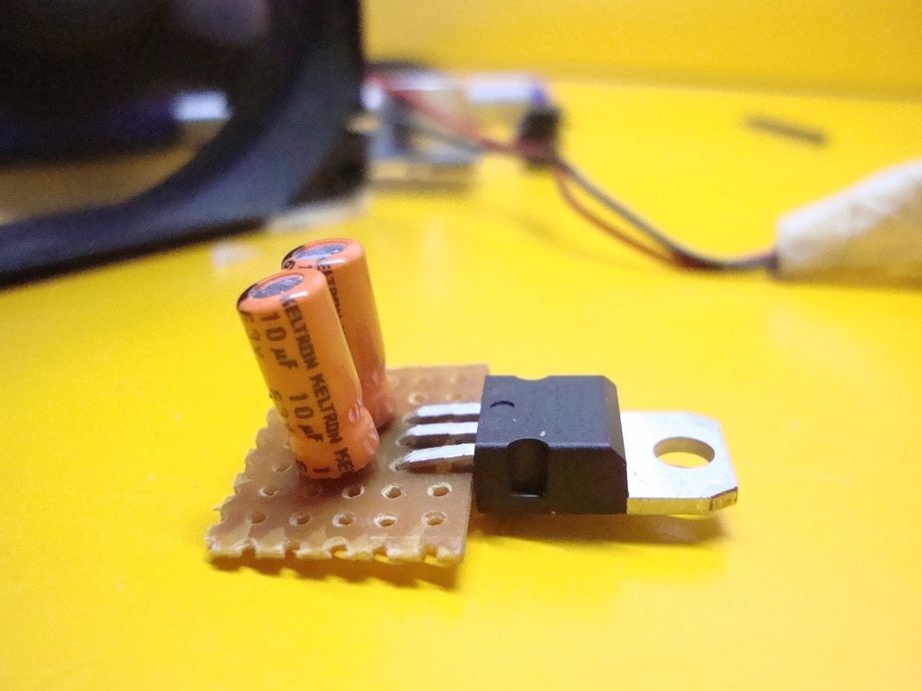
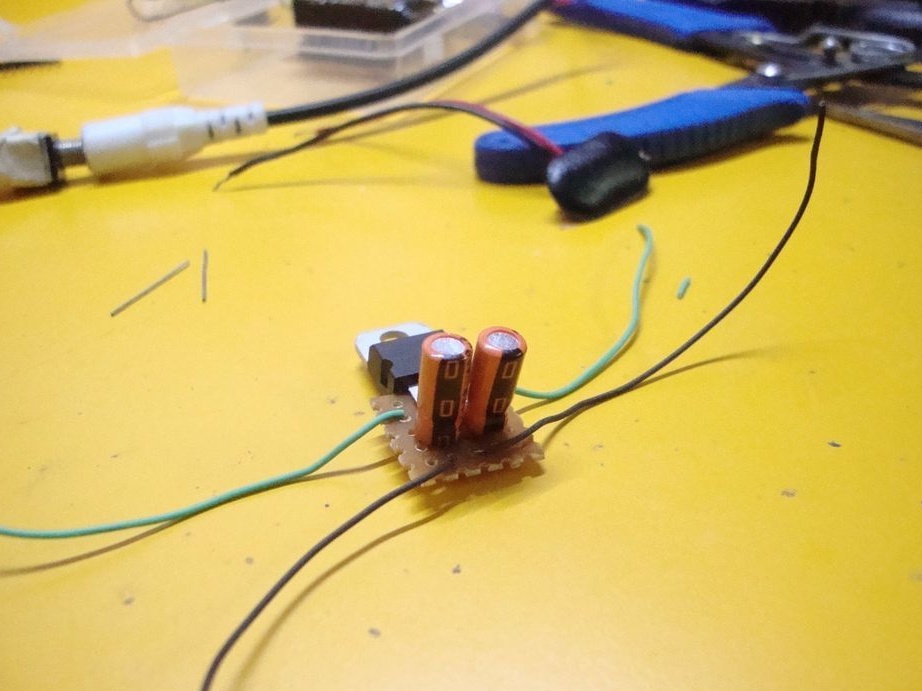
Step Three: Voltage Regulator
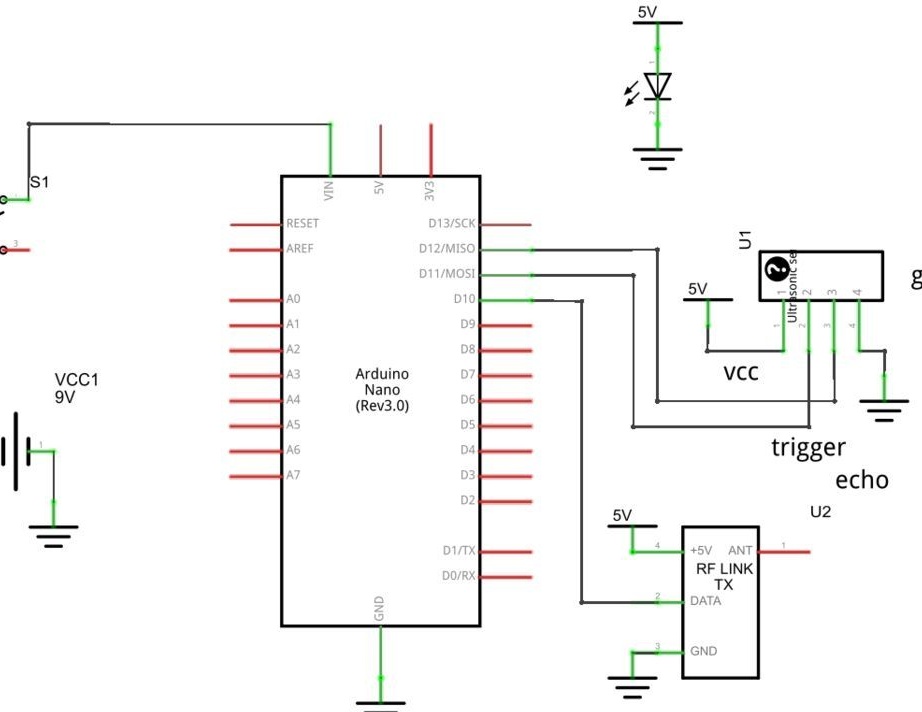
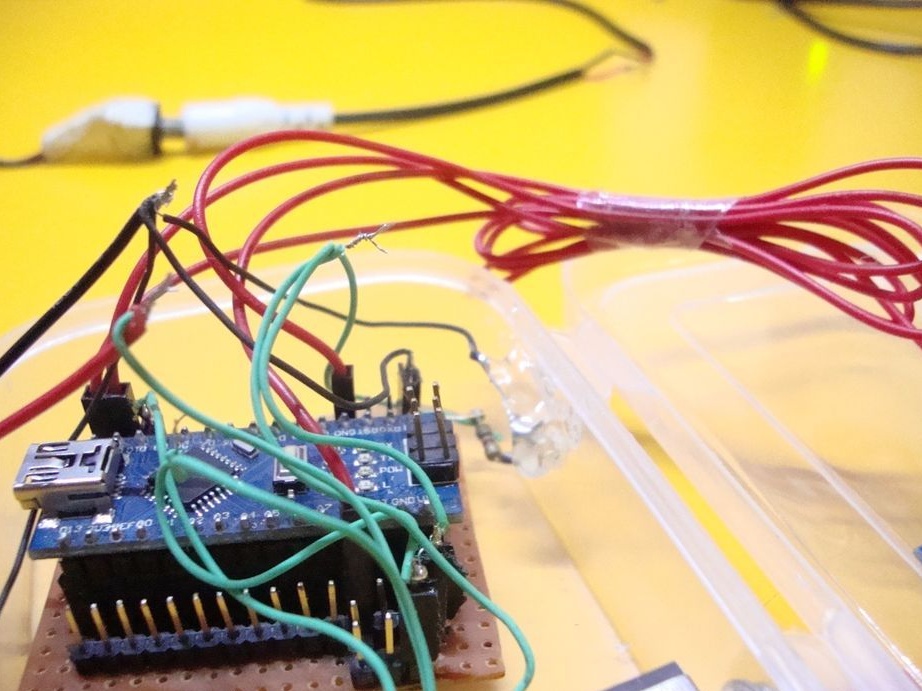
To power Arduino you need 5V, and the battery produces 9V. To convert a 9V battery to a standard 5V arduino, the master collects a voltage regulator (see the diagram).
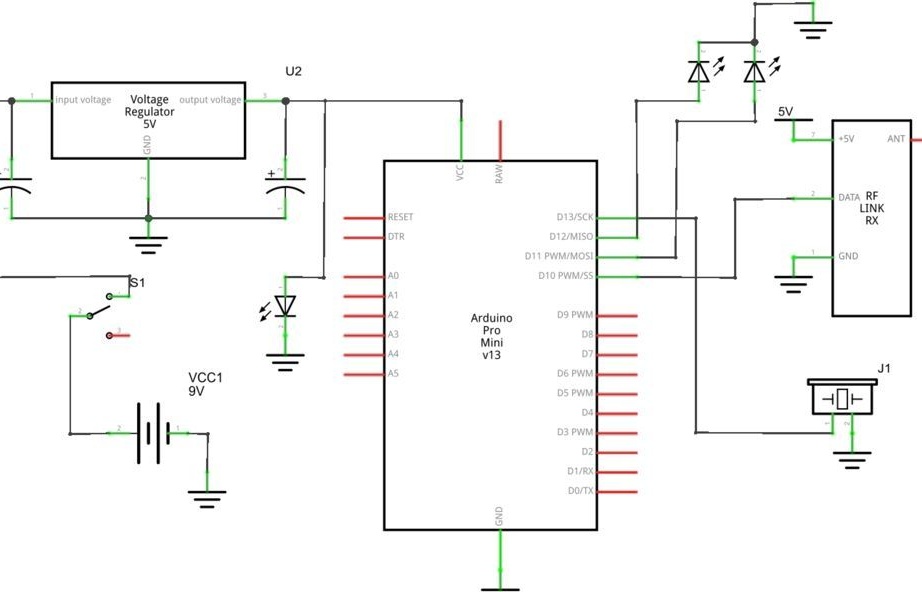
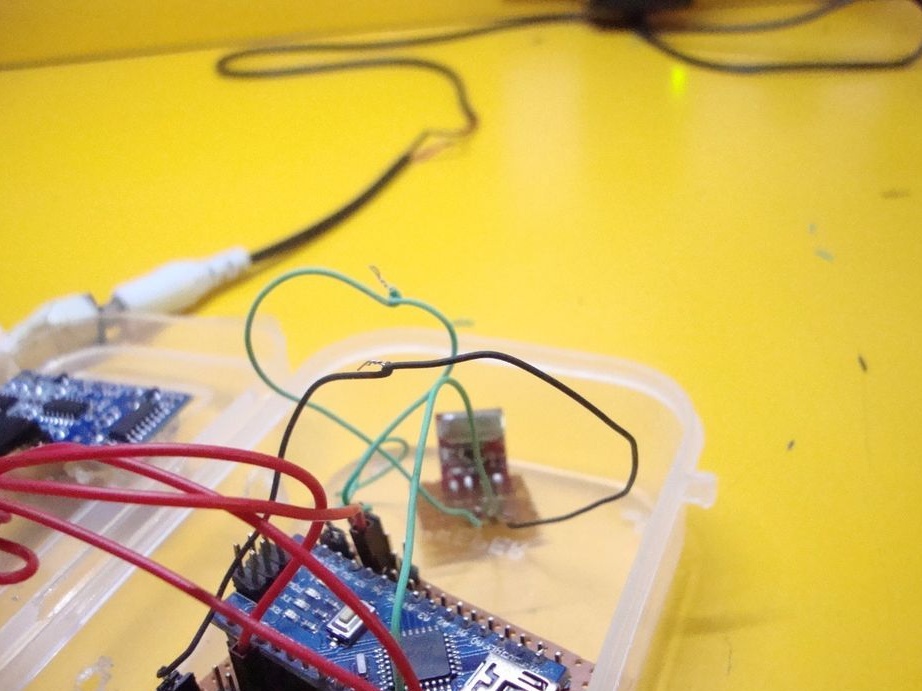
Step Four: Receiver Module
We connect the receiver module.
Contacts 2,3,8, (when viewed from the front) * Arduino
Pins 4.5 * Arduino 5v or Vcc
Pin 7 * Digital Output 10 Arduino

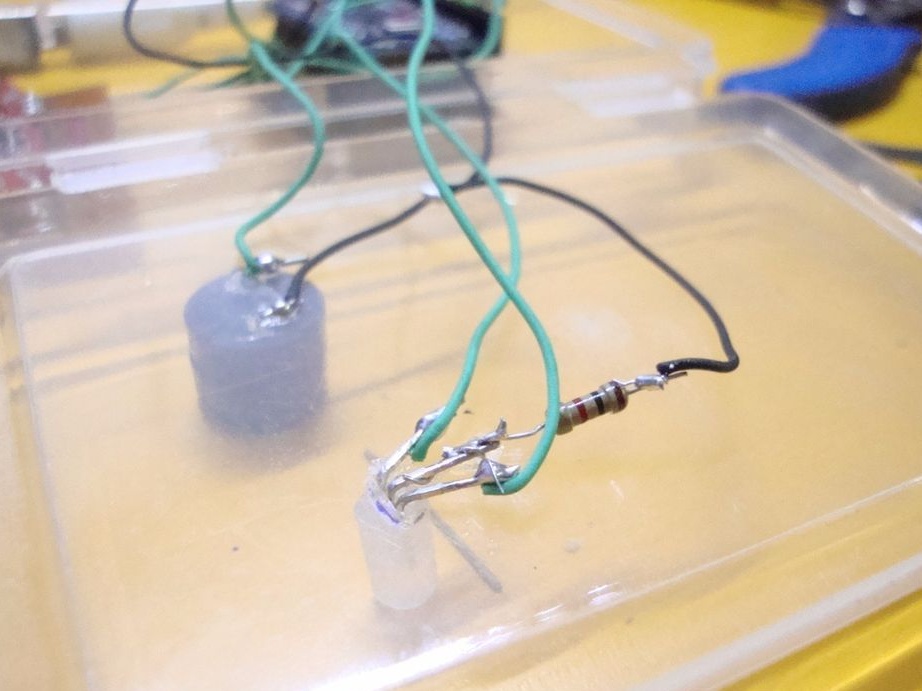
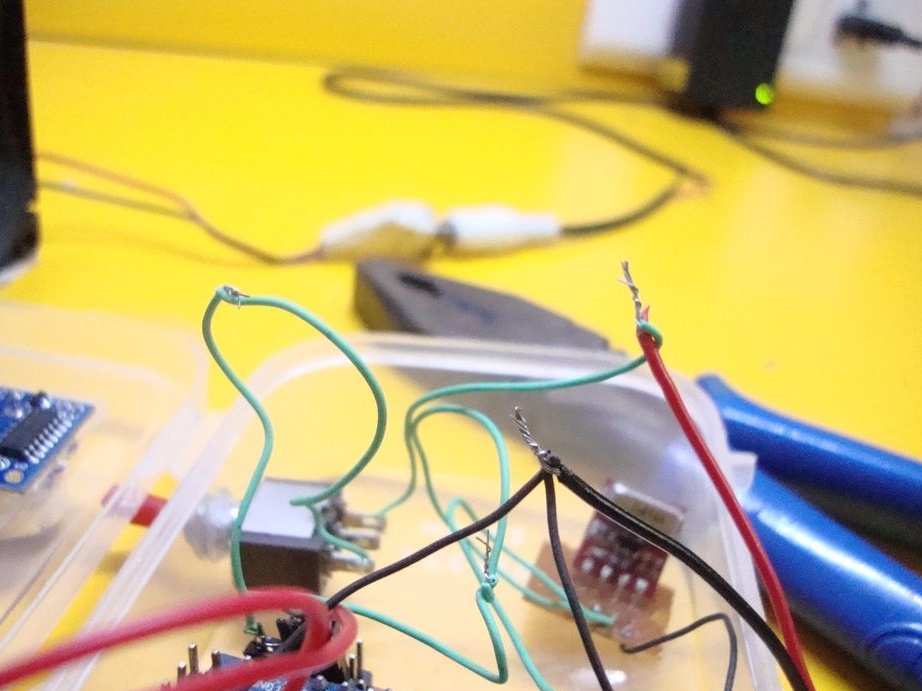
Step Five: Buzzer and LED
Connects Buzzer
Plus * 13 Arduino
Minus * GND Arduino
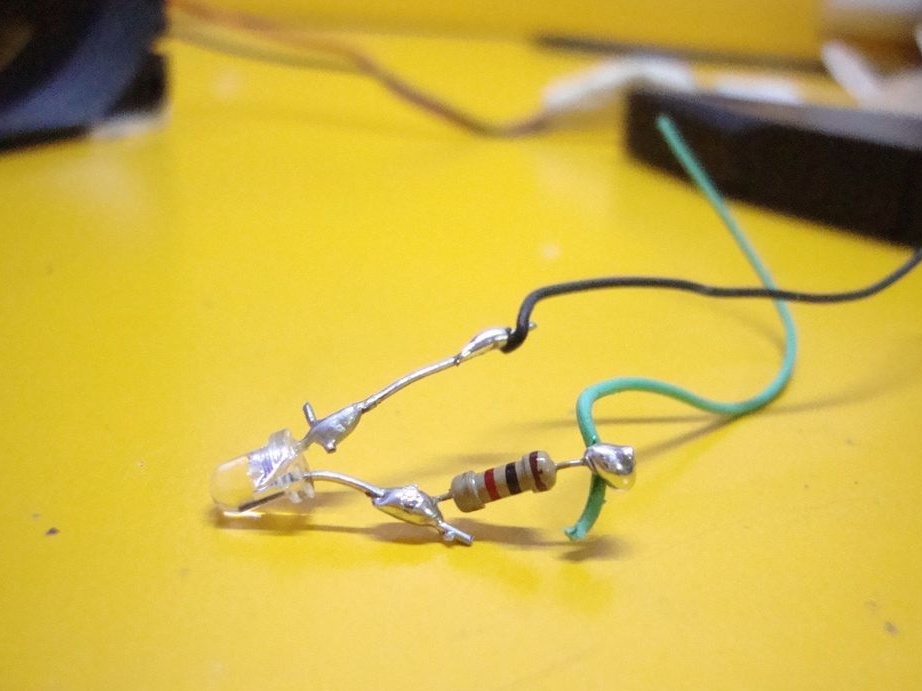
and two-color LED
Cathode * GND Arduino
Green Anode * 12 Arduino
Red Anode * 11 Arduino
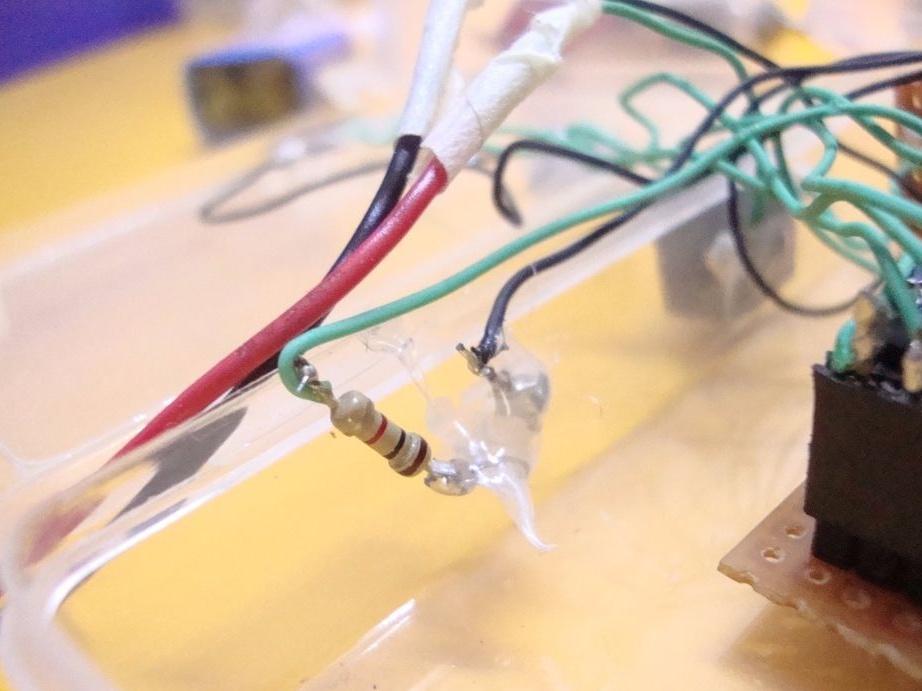
Step six: switch, power indicator, voltage regulator
Regulator:
Brown wire minus battery * GND Arduino
Green wire plus batteries * VCC Arduino
A circuit breaker between the battery and the regulator.
Power indicator:
Positive terminal * Arduino Vcc
Negative terminal * Arduino gnd

Seventh step: code
There is no programmer on the Arduino pro mini, so the wizard downloads the code through the Arduino nano.
.

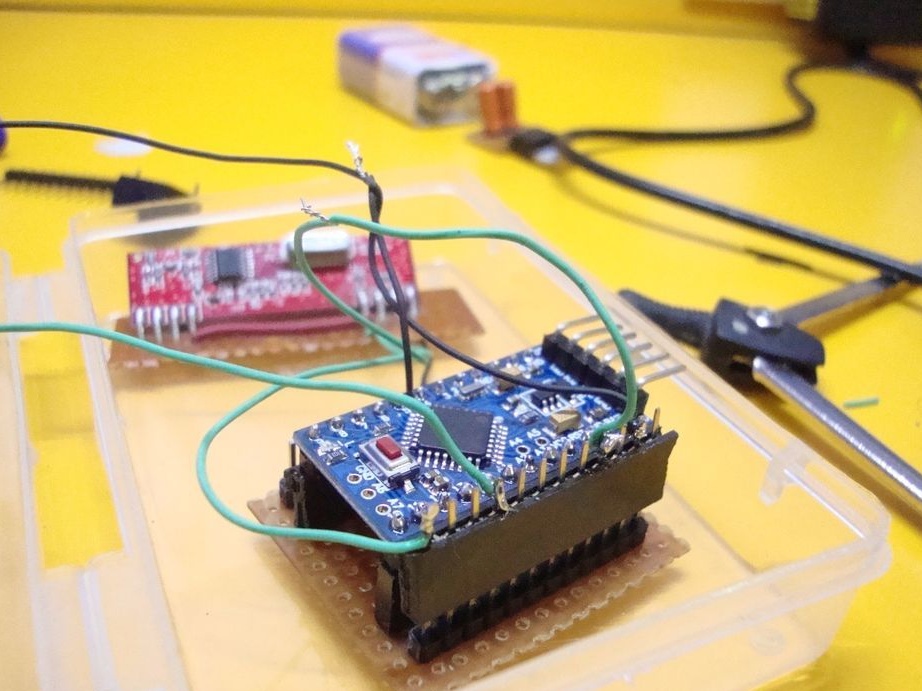
Putting the transmitter together
Step Eight: Circuit Board
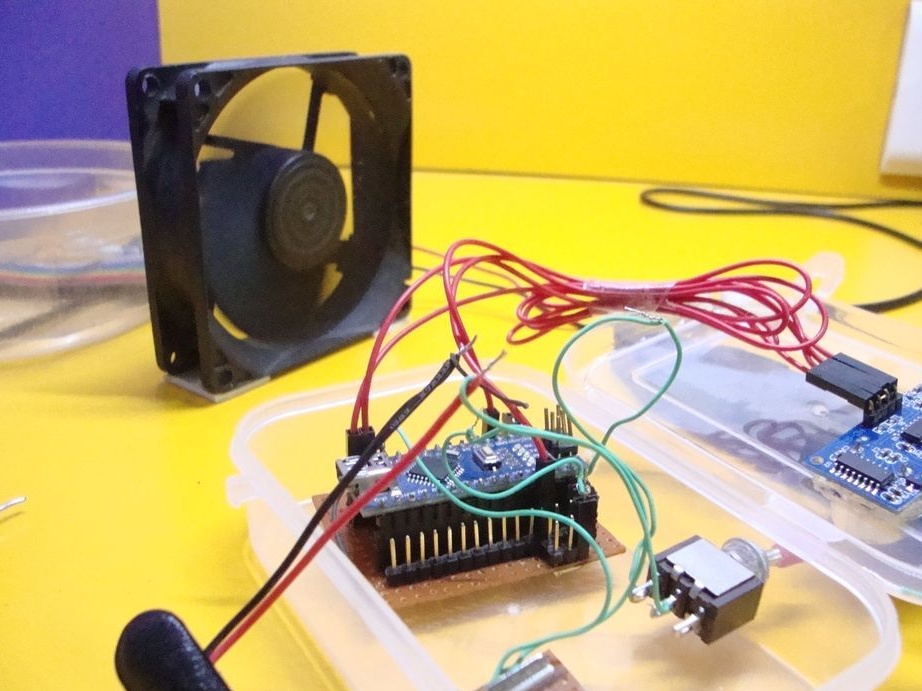
Makes, for Arduino nano, the same circuit board as for the pro mini.
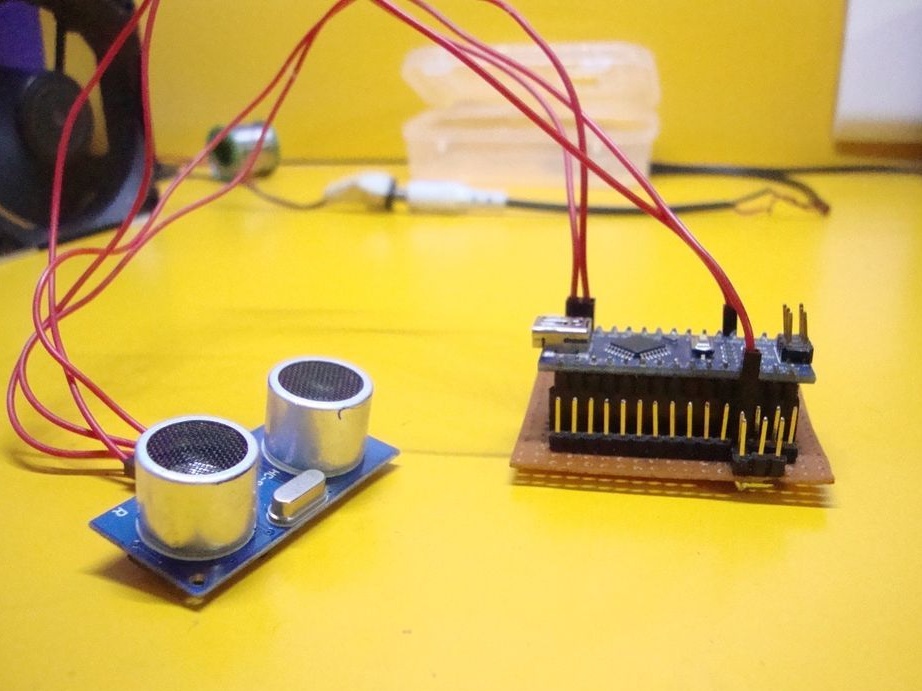
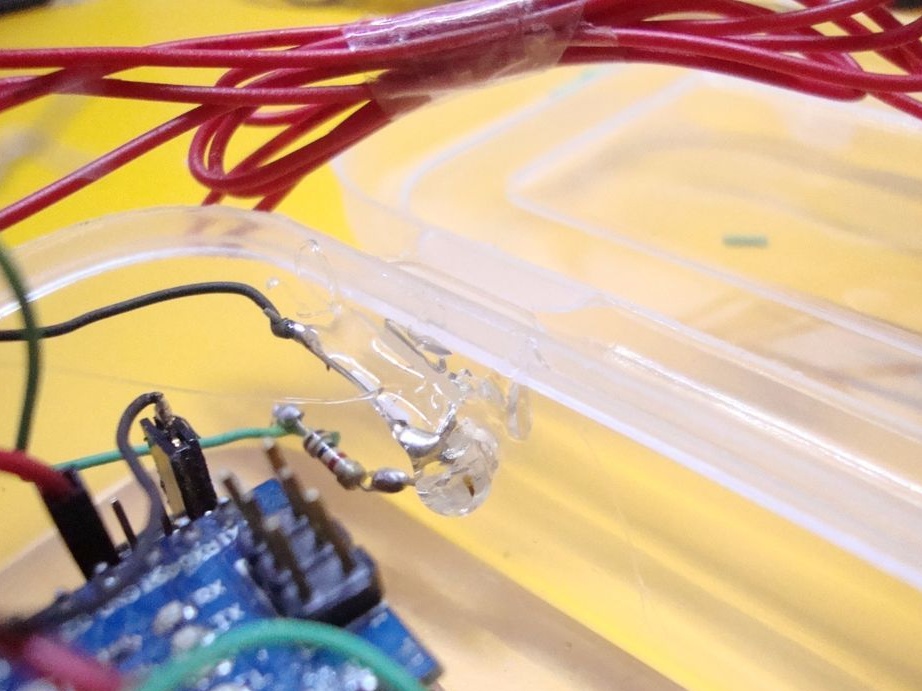
Step Nine: Ultrasonic Sensor
Connects an Arduino ultrasonic sensor.
Vcc * Arduino 5v
Gnd * arduino gnd
Echo * 11 Arduino
Echo * 12 Arduino

Step Ten: Transmitter Module
Connects a transmitter module.
Vcc * Arduino 5v
Gnd * arduino gnd
Data * 10 Arduino
Step eleven: battery, switch, indicatorConnects plus batteries, through a switch, to the Vcc Arduino. Less battery to Arduino gnd.

Step Twelve: Code
Loads the code on Arduino. .
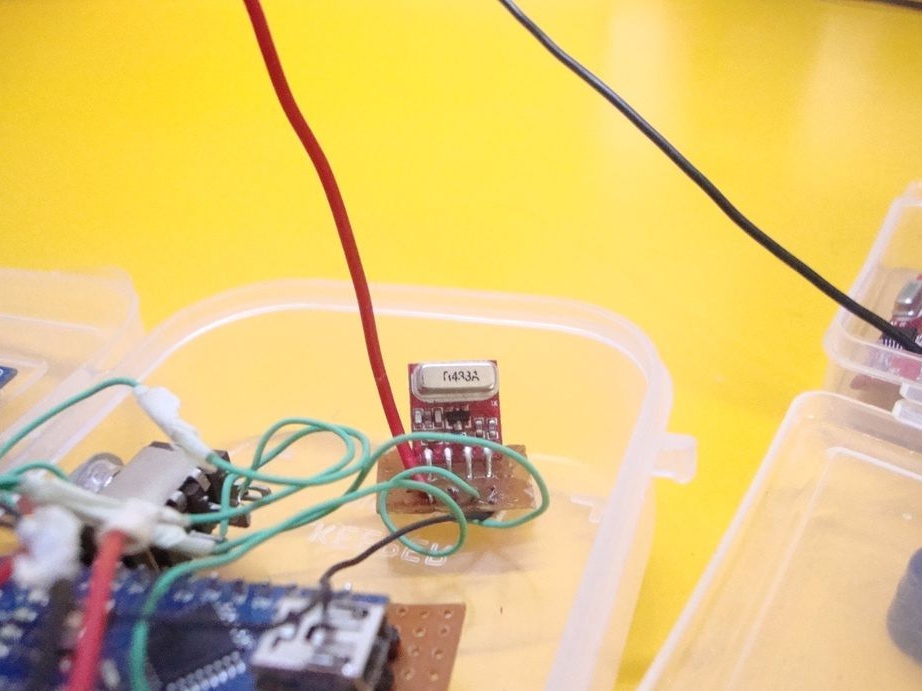
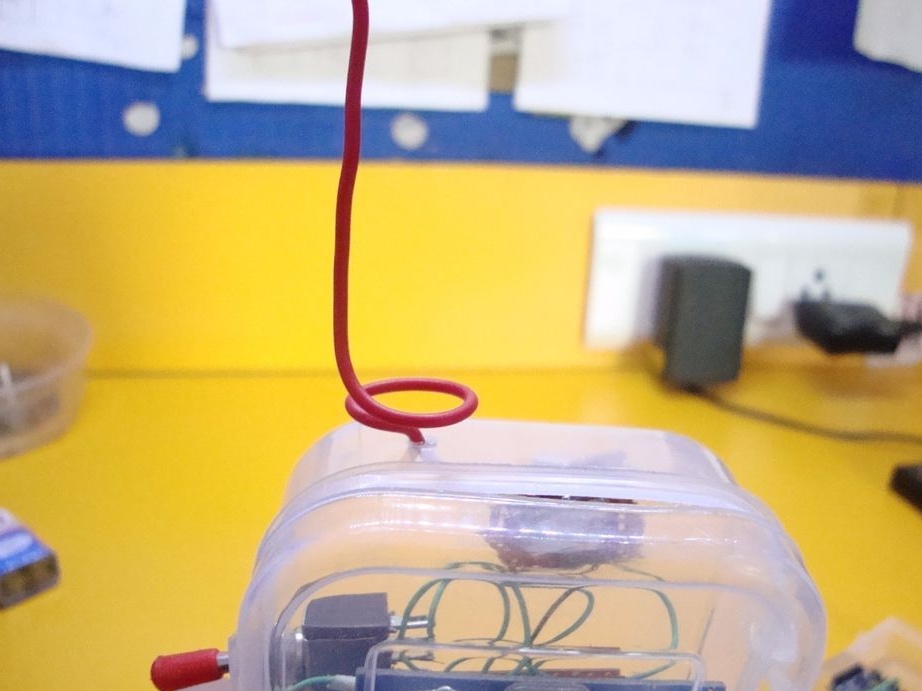
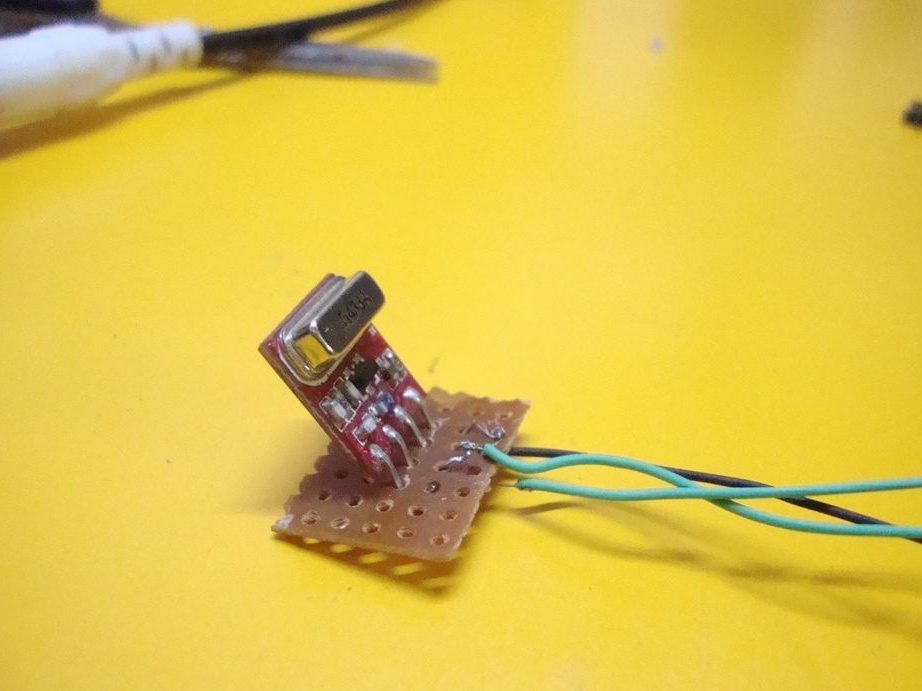
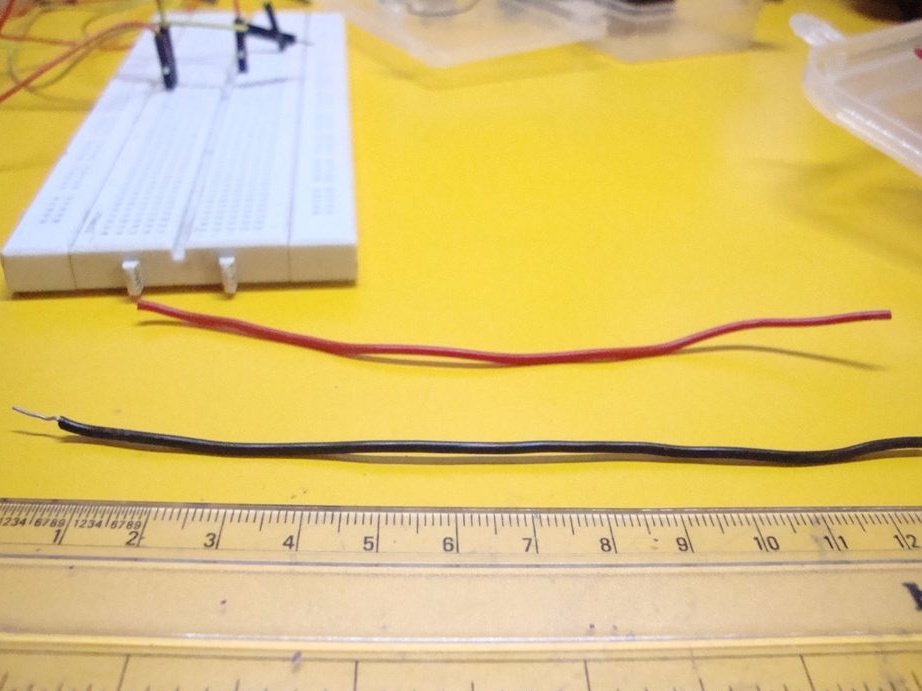
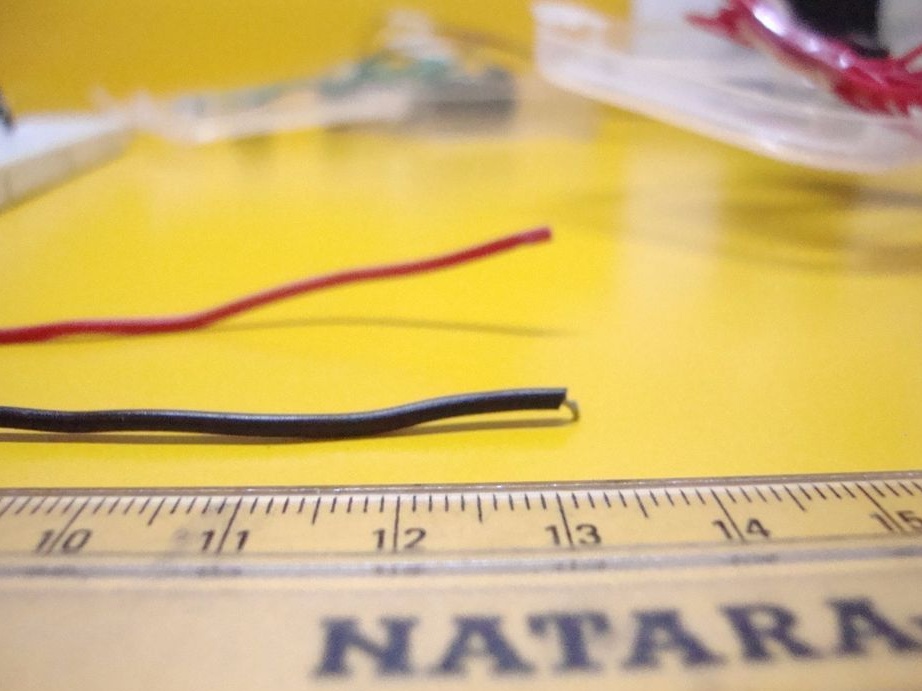
Step Thirteen: Antenna
Cut off two pieces of wire 13 cm each. Solder to the contacts of the ANT radio modules.
All is ready. It remains to fix the transmitter with an ultrasonic sensor on the bumper auto.