

Very easy-to-make home-made containers with lids made from cardboard bags from various drinks (juice, milk, etc.).
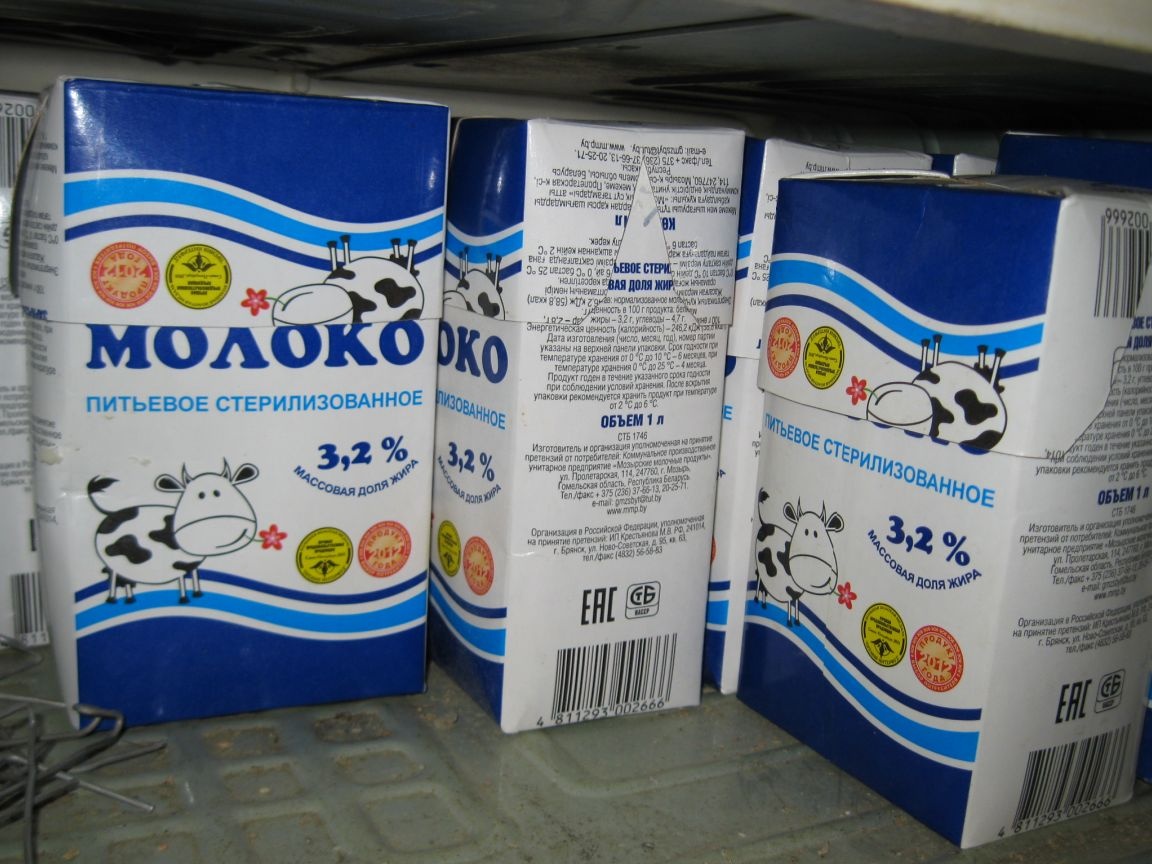
Currently, a lot of drinks in stores are sold in containers of cardboard bags, coated inside with a layer of foil and polyethylene. Most often, such packages sell milk and various dairy products, as well as juices, fruit drinks, nectars and even wine. These cartons usually come in square or rectangular shapes, although more complex shapes are found. In terms of volume, such bags are also very diverse, as a rule, from 100-200 ml to several liters.
I must say that these cardboard bags can serve as an inexhaustible source for various homemade. What only of them cannot be made. But perhaps the simplest kind of homemade products for which such packages are very well suited are various containers or boxes in which you can store various little things. In addition, it is very convenient to grow seedlings in them of various vegetables and flowers for the garden, for which such packages are very fond of summer residents and gardeners.
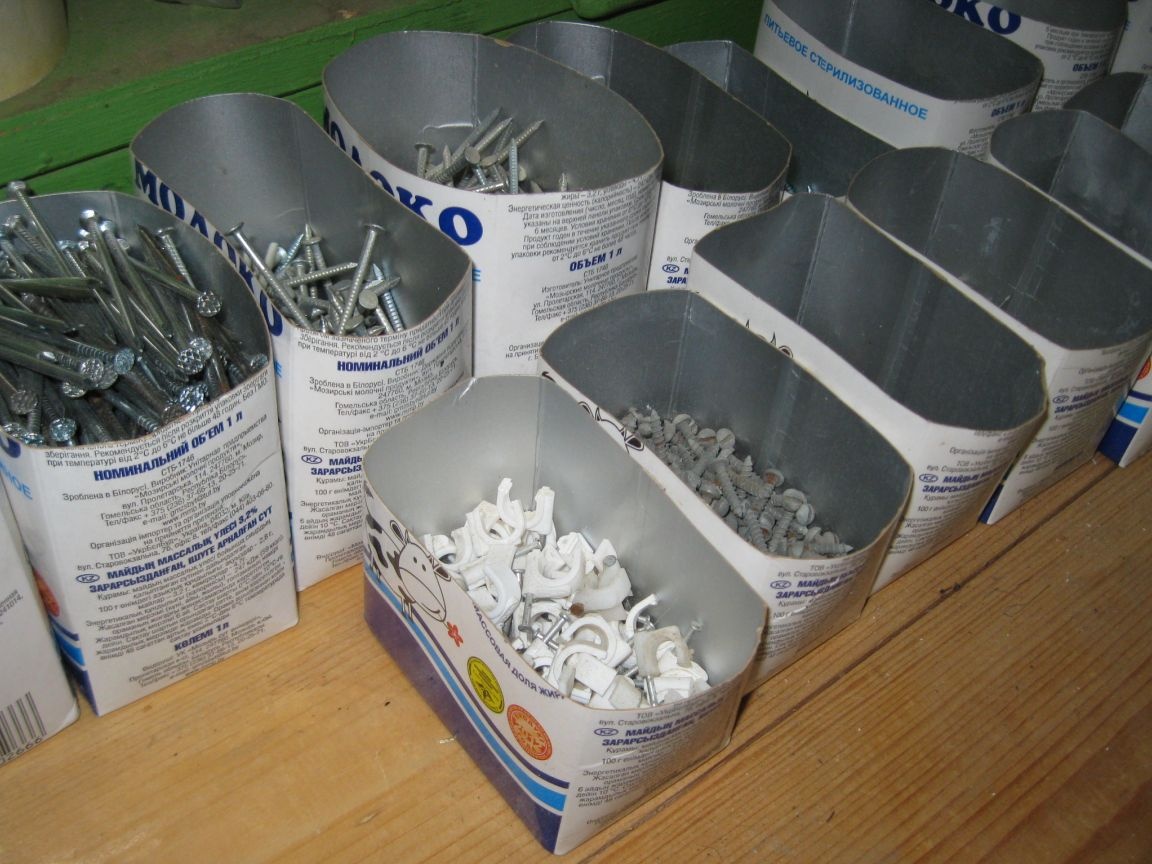
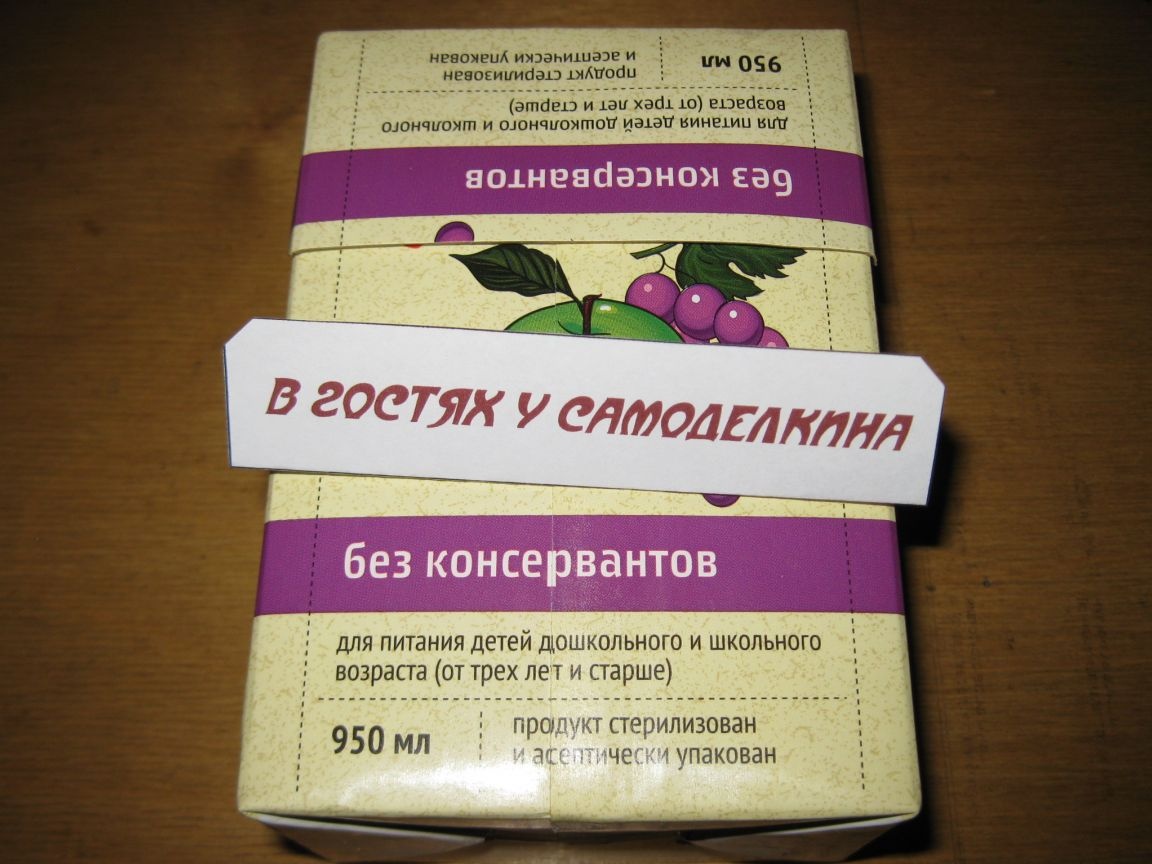
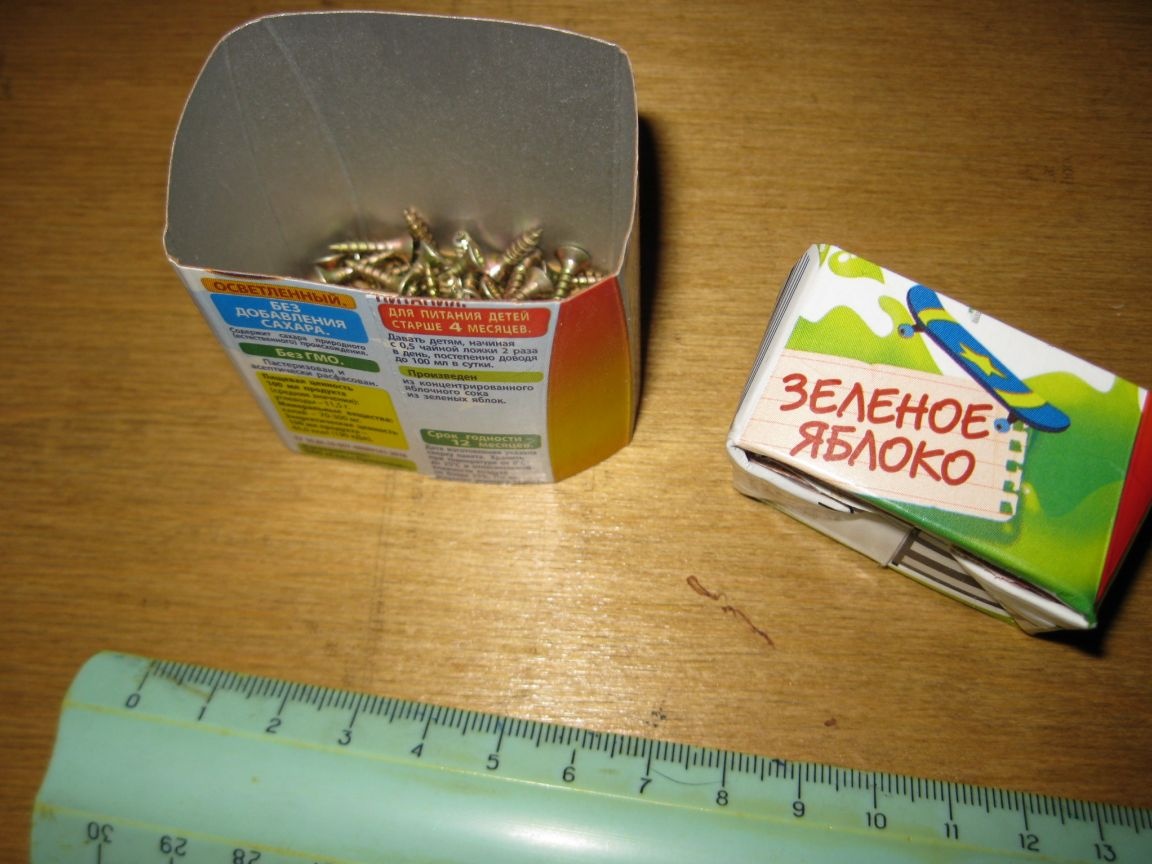
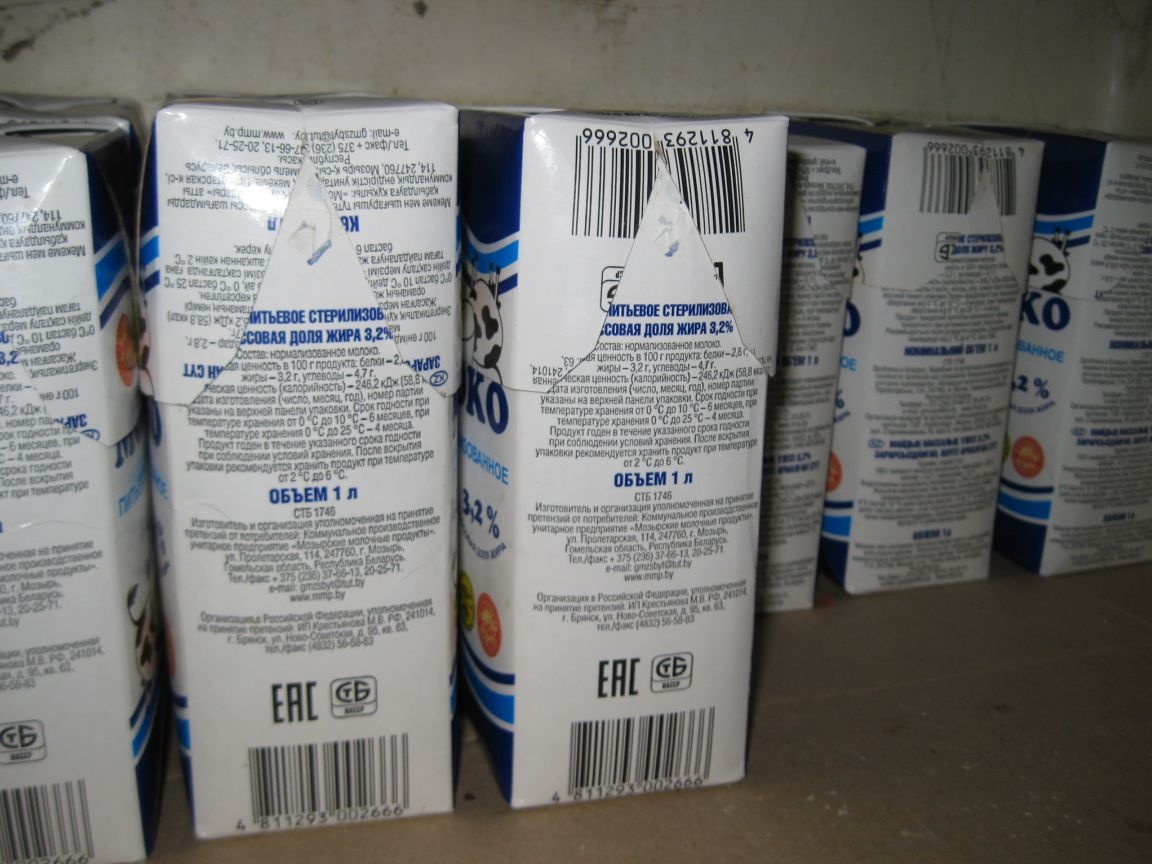
By the way, the cardboard in these bags is quite dense, and therefore, the containers from them are obtained, very strong and durable. Suffice it to say that, for example, for several years now I have been using simple containers made of similar bags to store various fasteners (screws, screws, small studs, etc.). Moreover, these containers serve for a long time, as a rule, they are quite enough for three or four years, or even for a longer period.
Here is an example of such use of these packages.
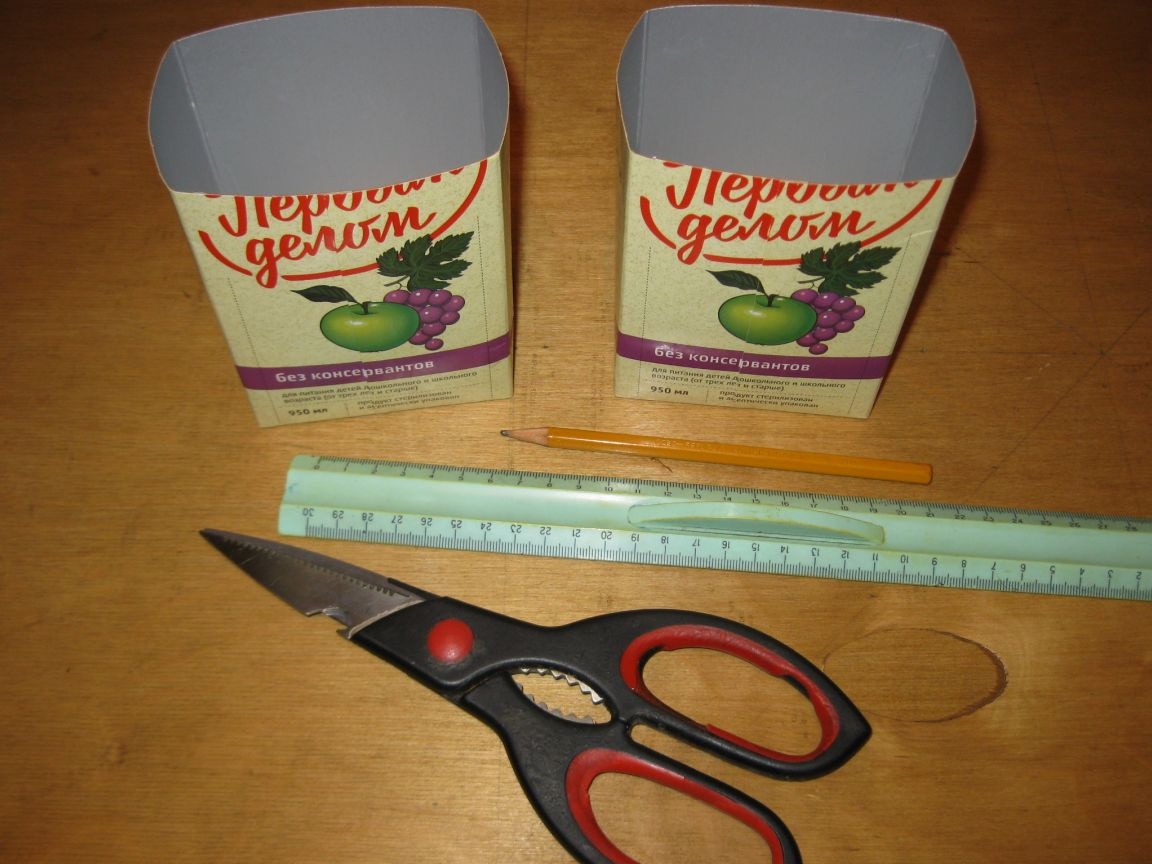
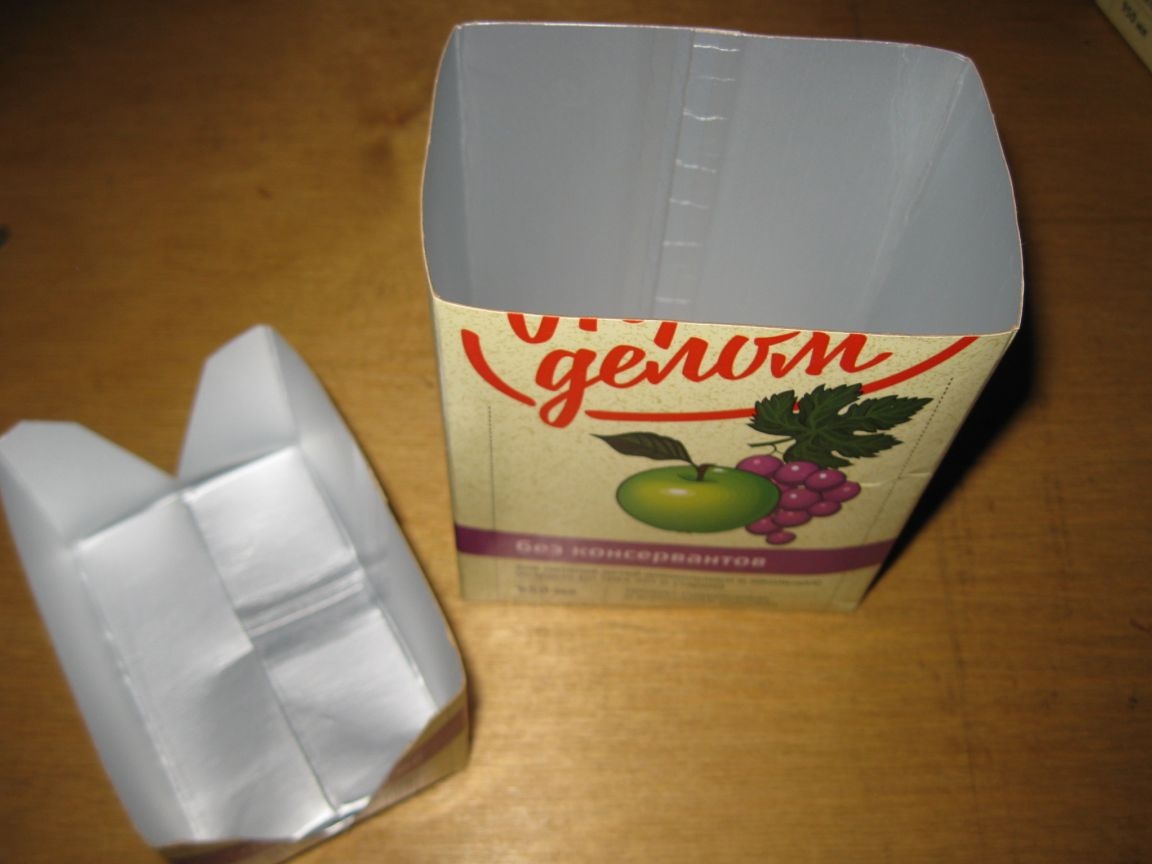
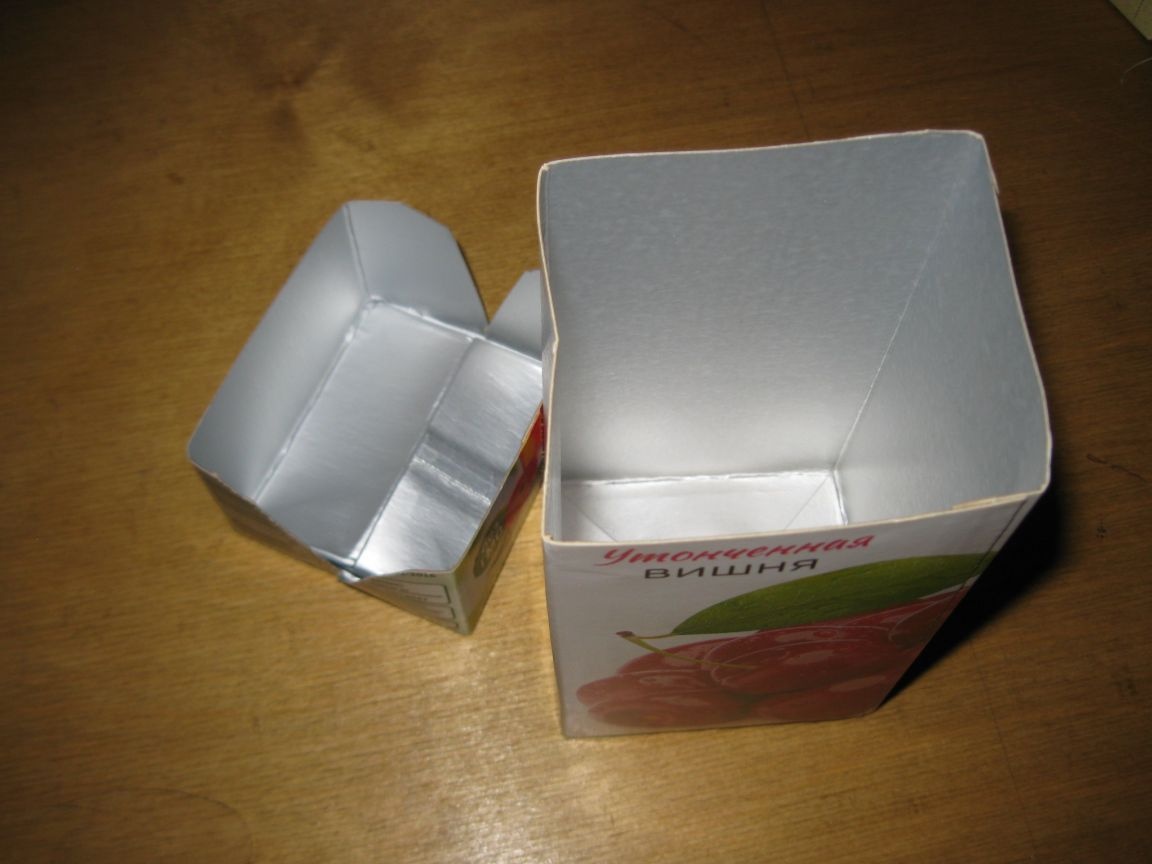
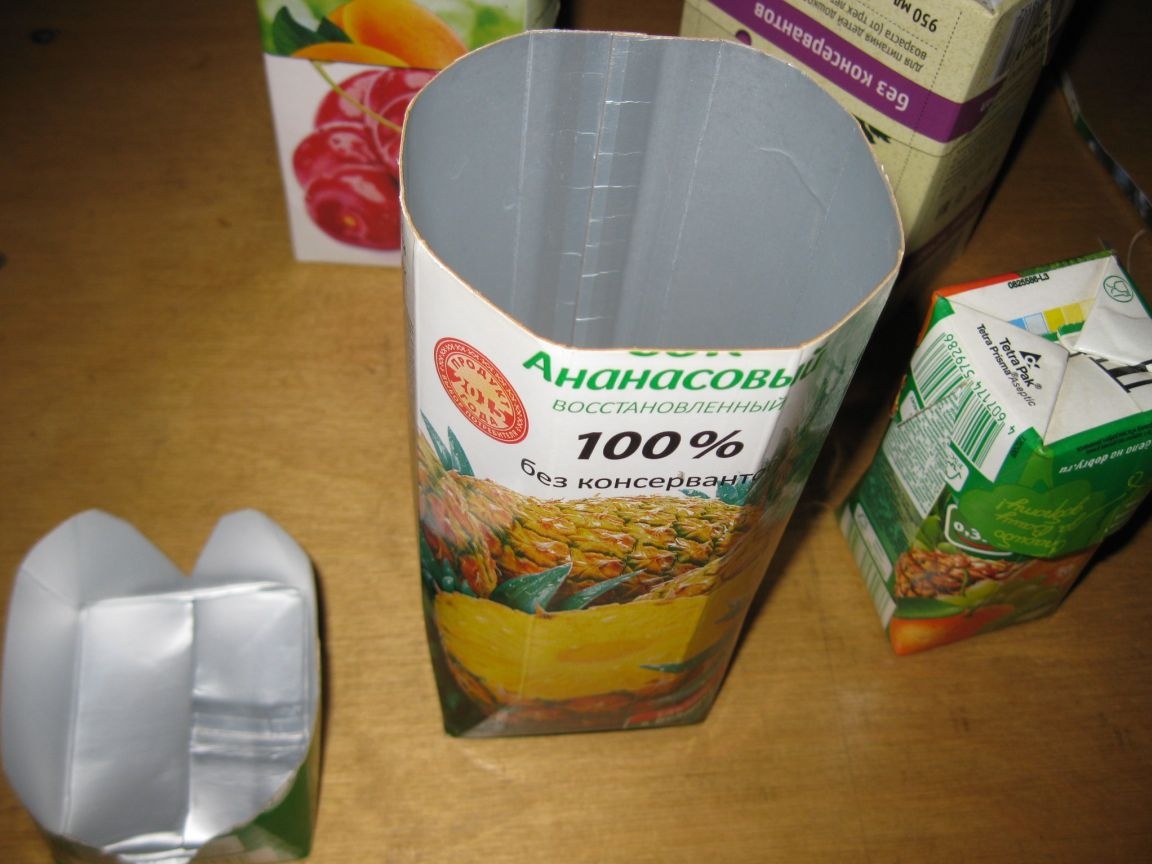
As you can see, to make the simplest container from a cardboard bag from any drink, it’s enough just to cut off the upper part with scissors to the desired height. Of course, before this (or after that), the bag needs to be washed well with water and dried.
But I must say that it is much more practical to make similar containers with lids. Moreover, the lid is made exactly from the same package and holds tight enough, but it can be easily removed. And in this article, I will show how you can quickly and easily make such a container or box with a lid.
To make a cardboard container with a lid, we need the following accessories:
Materials:
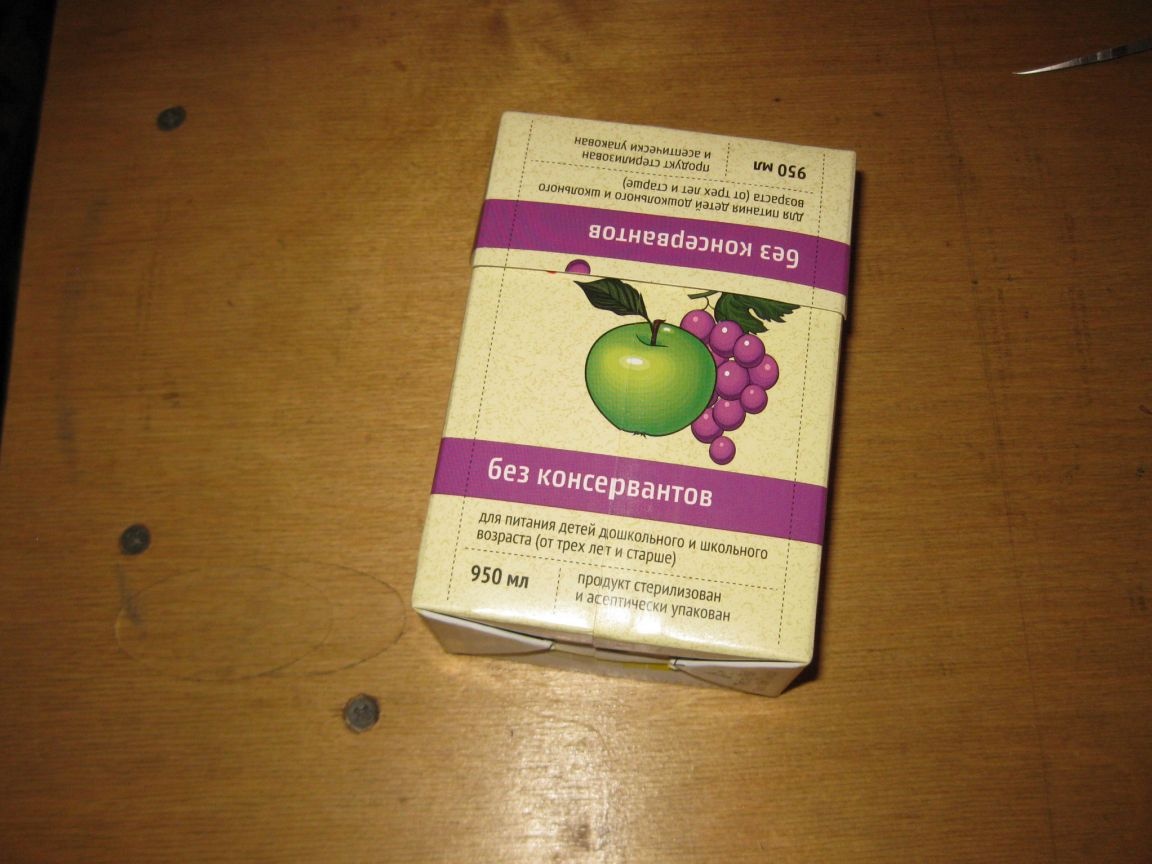
Two identical cartons of juice or dairy products.For these bags, it is advisable to cut off the upper parts with scissors in advance, and the bags themselves should be thoroughly washed and dried for several days.
Instruments:
• Powerful scissors (you can take kitchen scissors).
• Ruler and pencil (optional).
The procedure for manufacturing a container with a lid.
Stage 1. Production of the container.
Step 1. Markup.
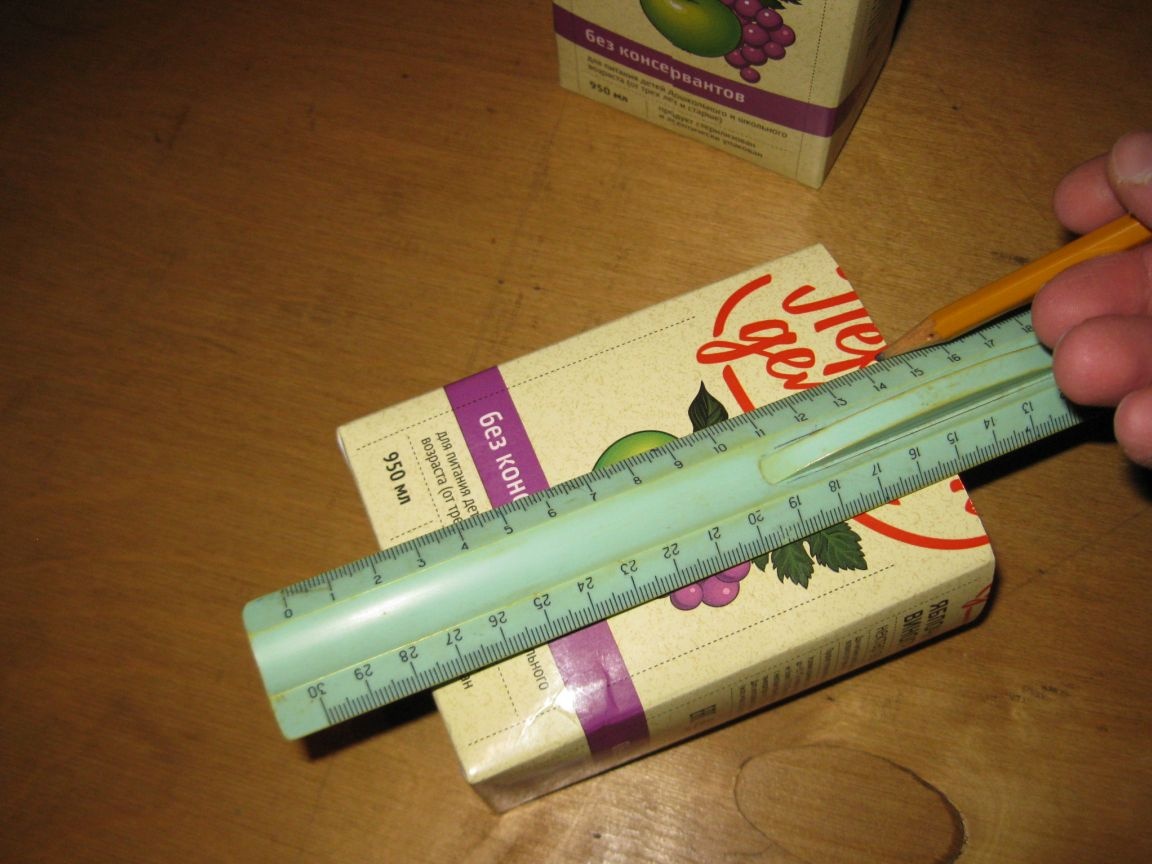
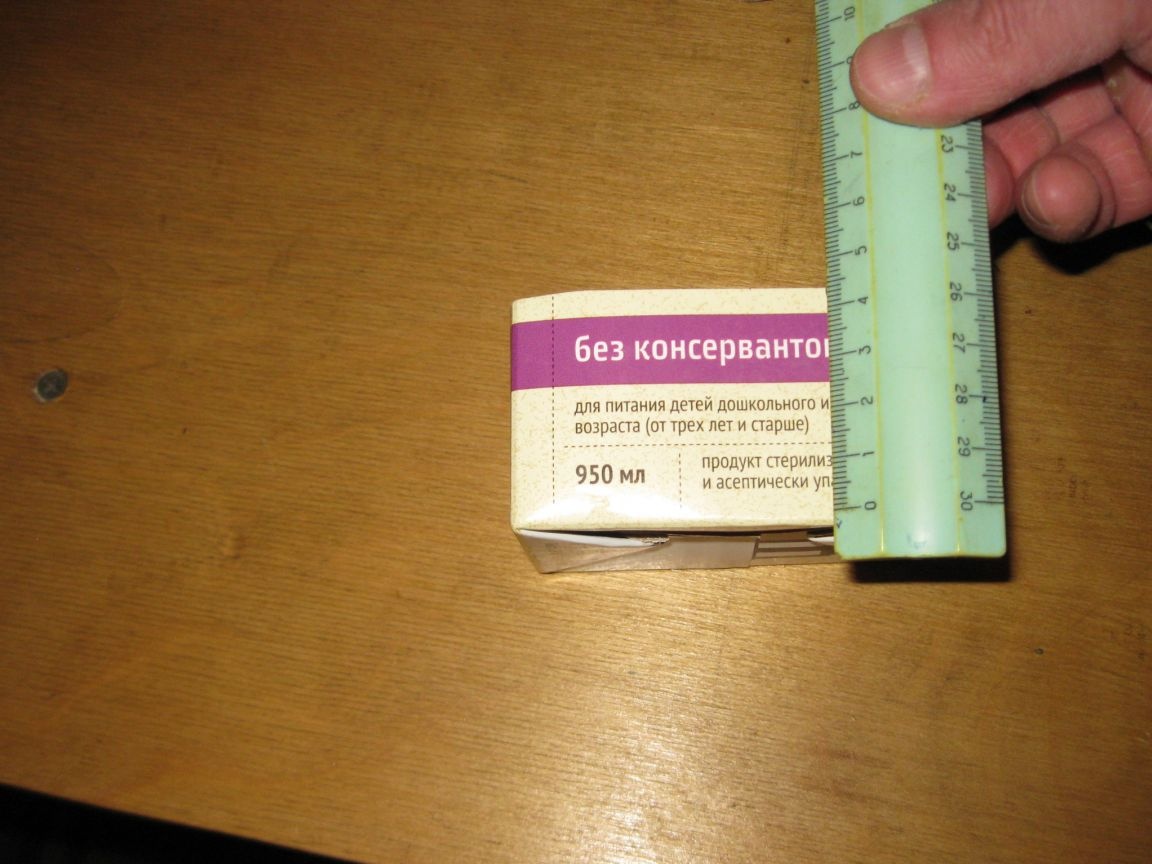
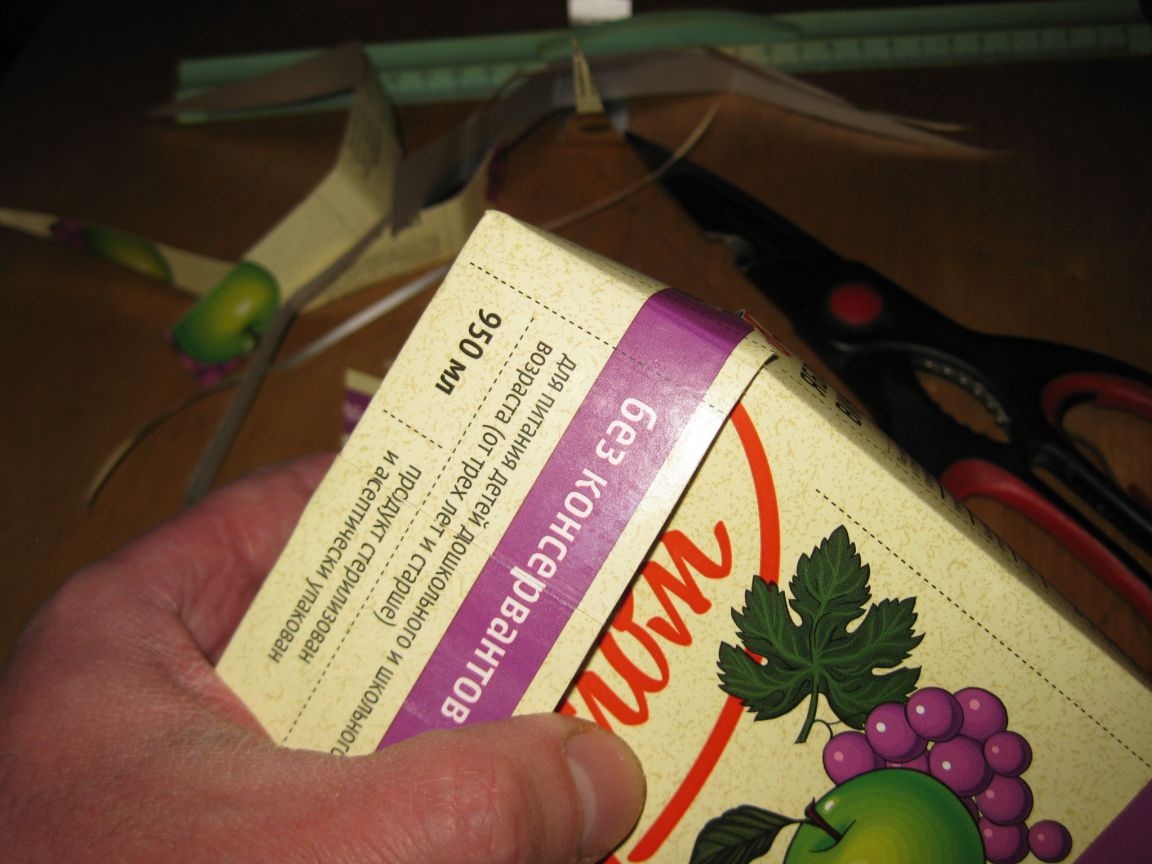
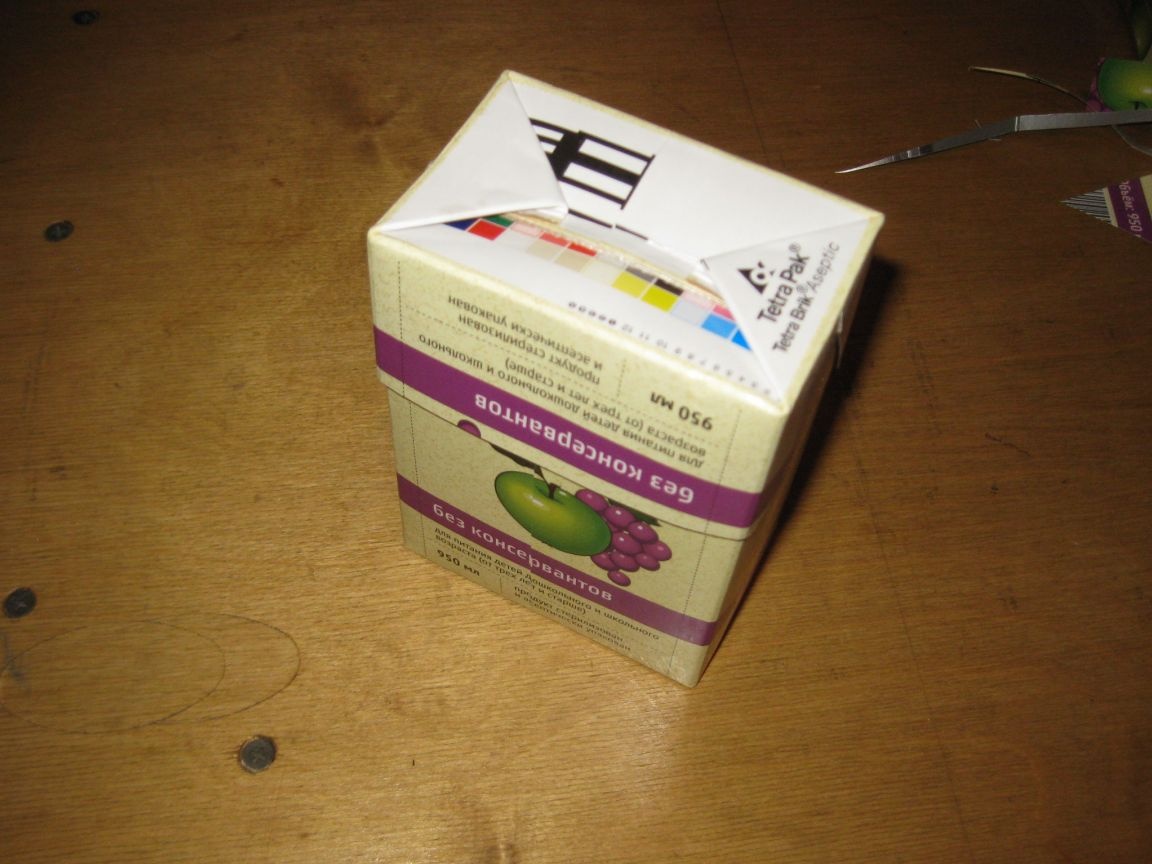
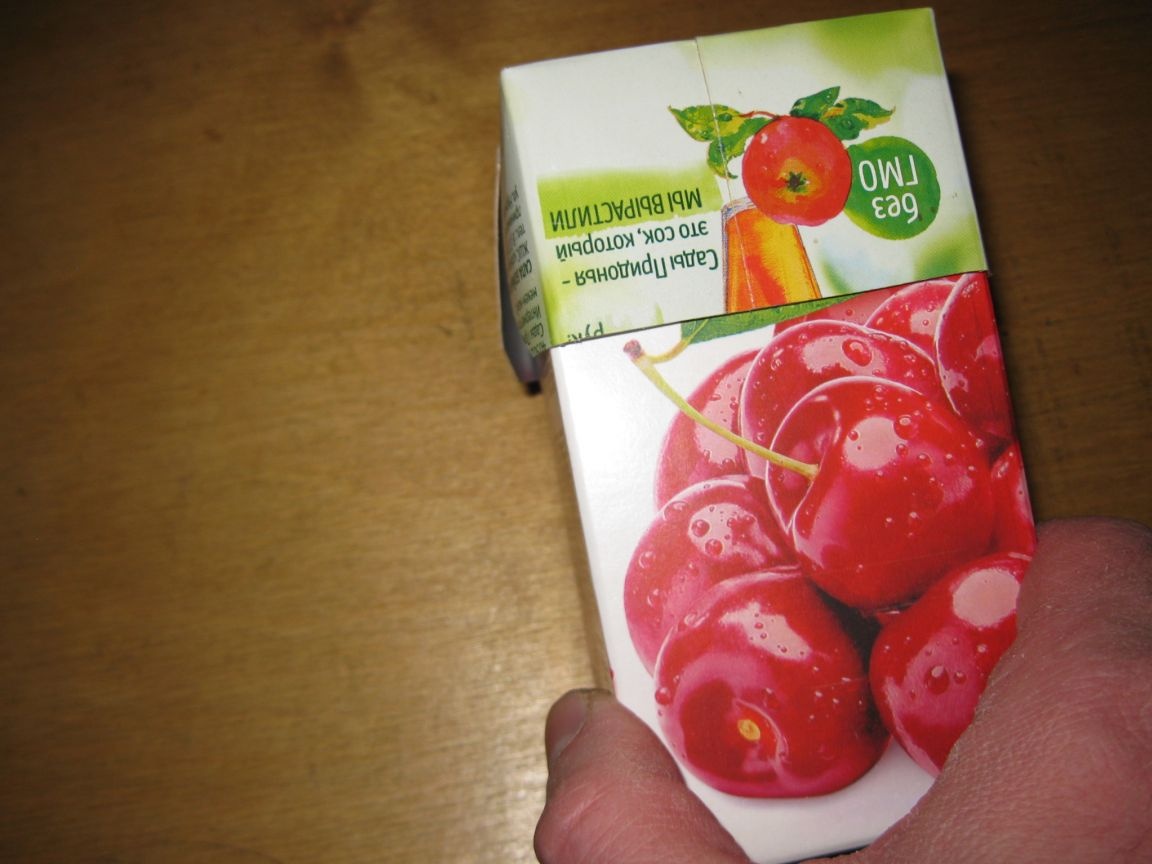
We take one of the prepared packages, and with the help of a ruler and a pencil we mark out the necessary height of the container.
You can mark it like this by putting the bag on its side.
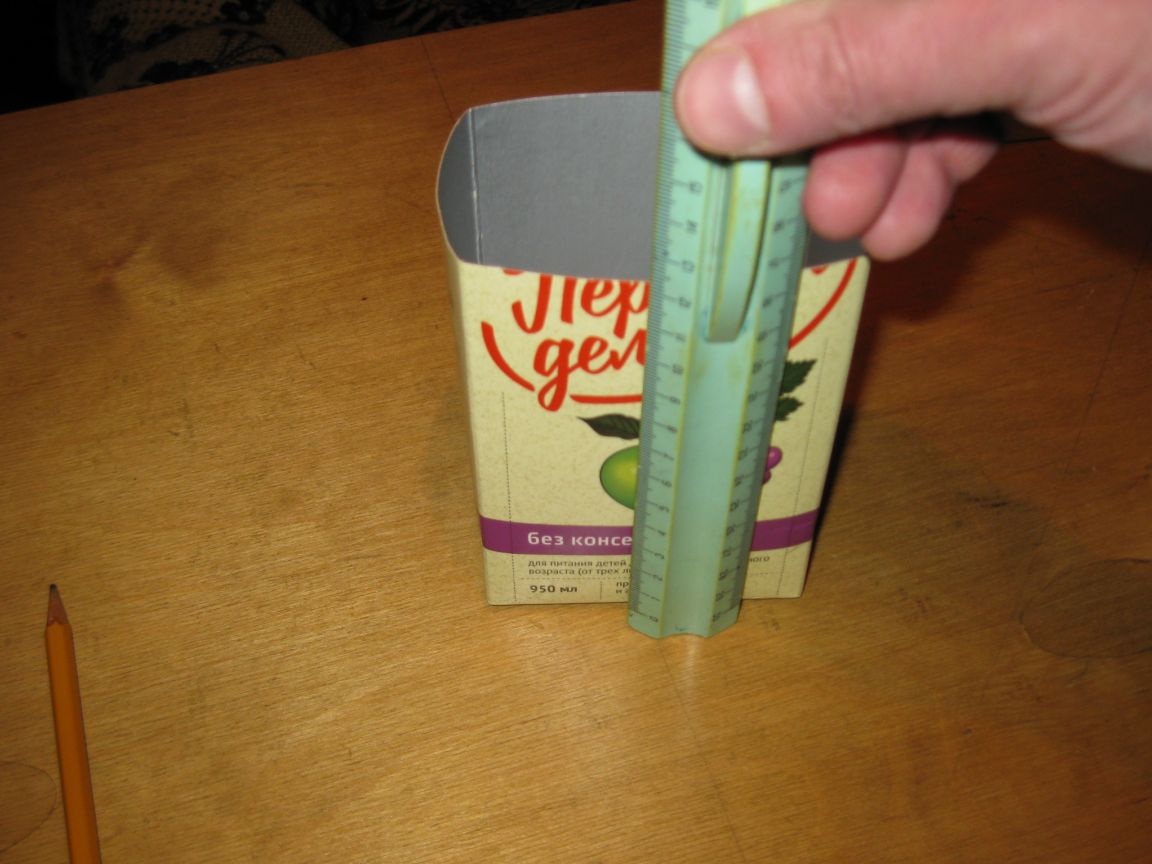
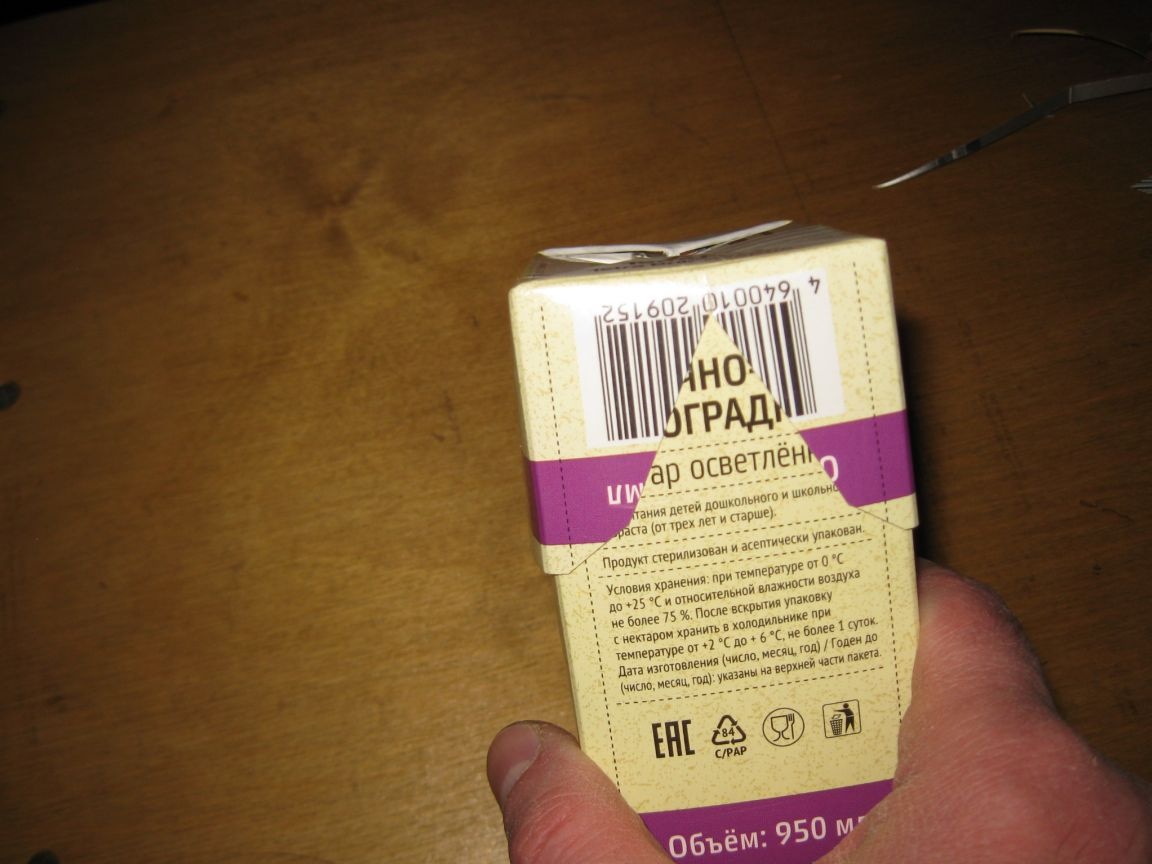
And you can do this by placing the ruler vertically. It’s more accurate.
Although, I must say that such markup is completely optional. In principle, if special accuracy is not needed, then everything can be done simply by eye.
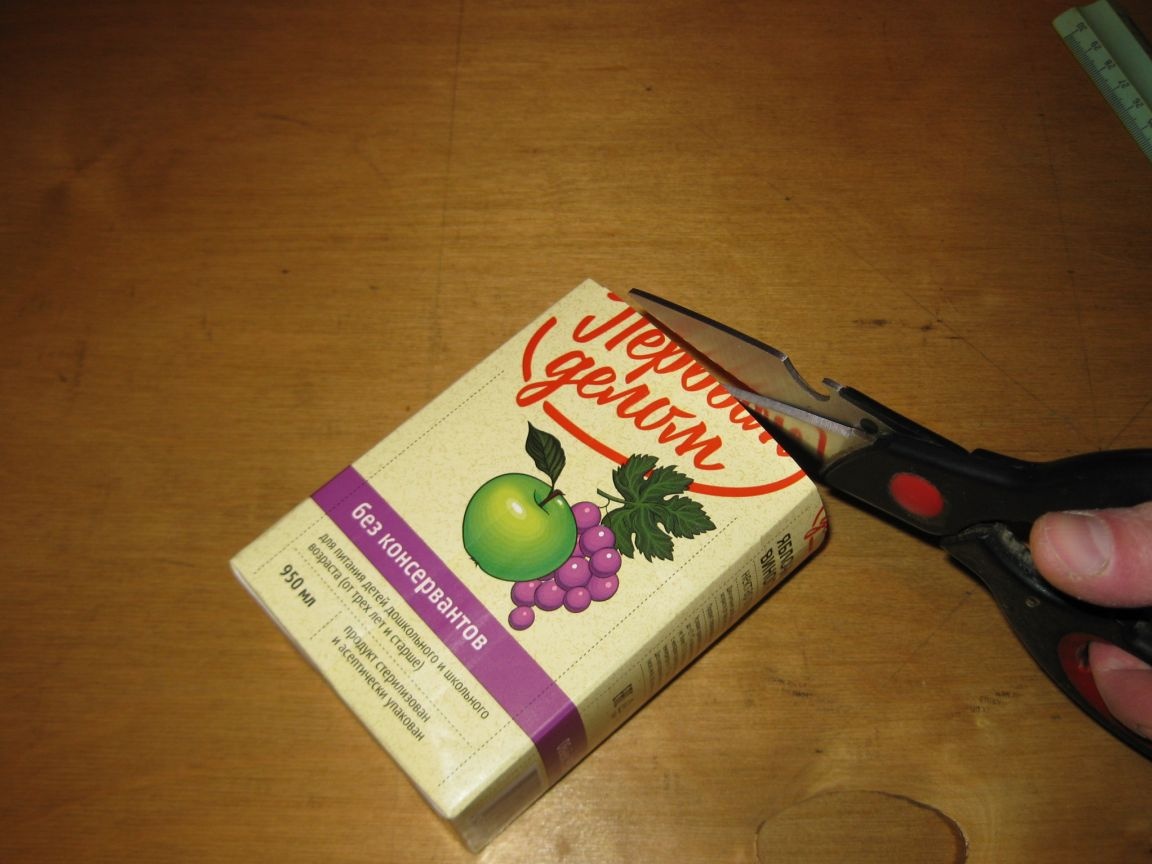
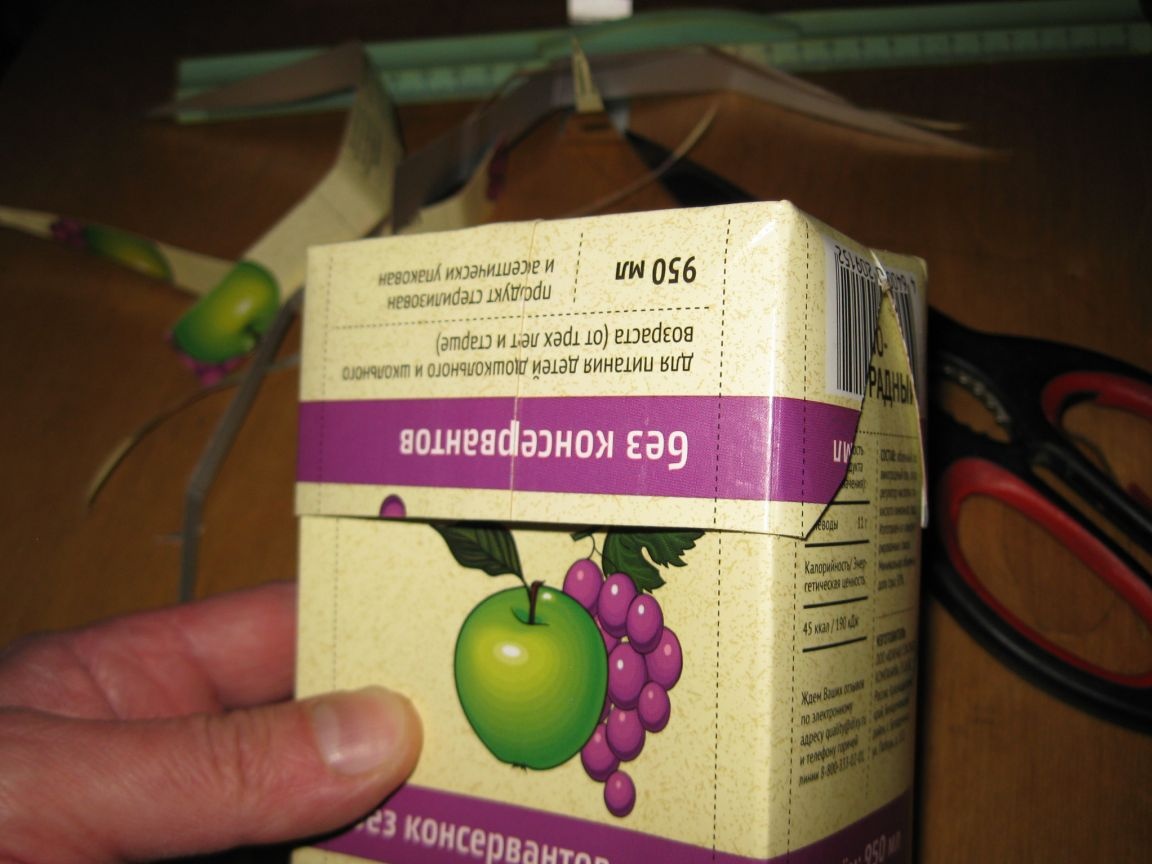
Step 2. Formation of the required container height.
We cut off the upper part of the bag with scissors, thus forming the desired container height.
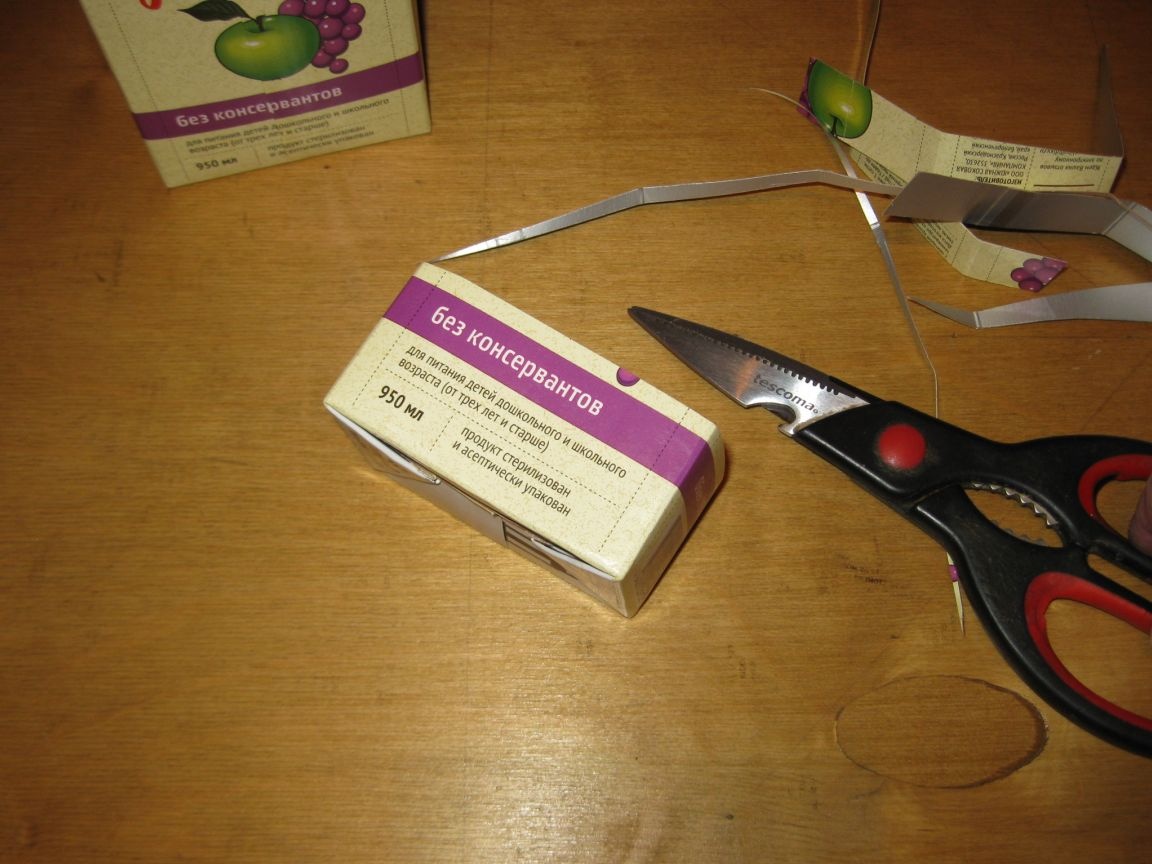
That's all. The container itself is ready! Now you need to make a cover for it.
Stage 2. Production of the container lid.
Preliminarily, it is possible to cut rough bmost of the package, leaving just such a box with a bottom, 5-8 cm high.
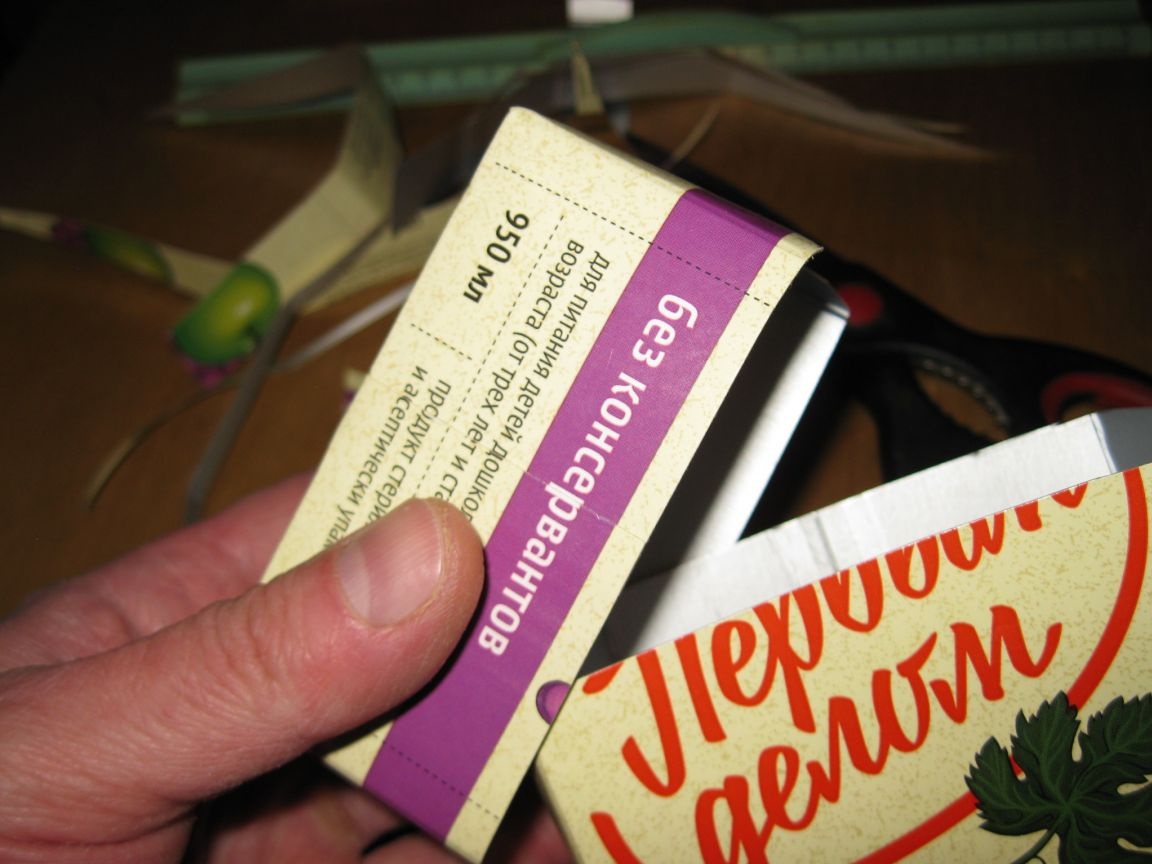
Step 1. Marking and forming the height of the future cover.
Mark the height of the future cover, and then cut off the excess part of the package.
As a rule, it is better to make a cover with a height of 3 to 6 cm. Here again, you can completely do without a ruler and do everything by eye.
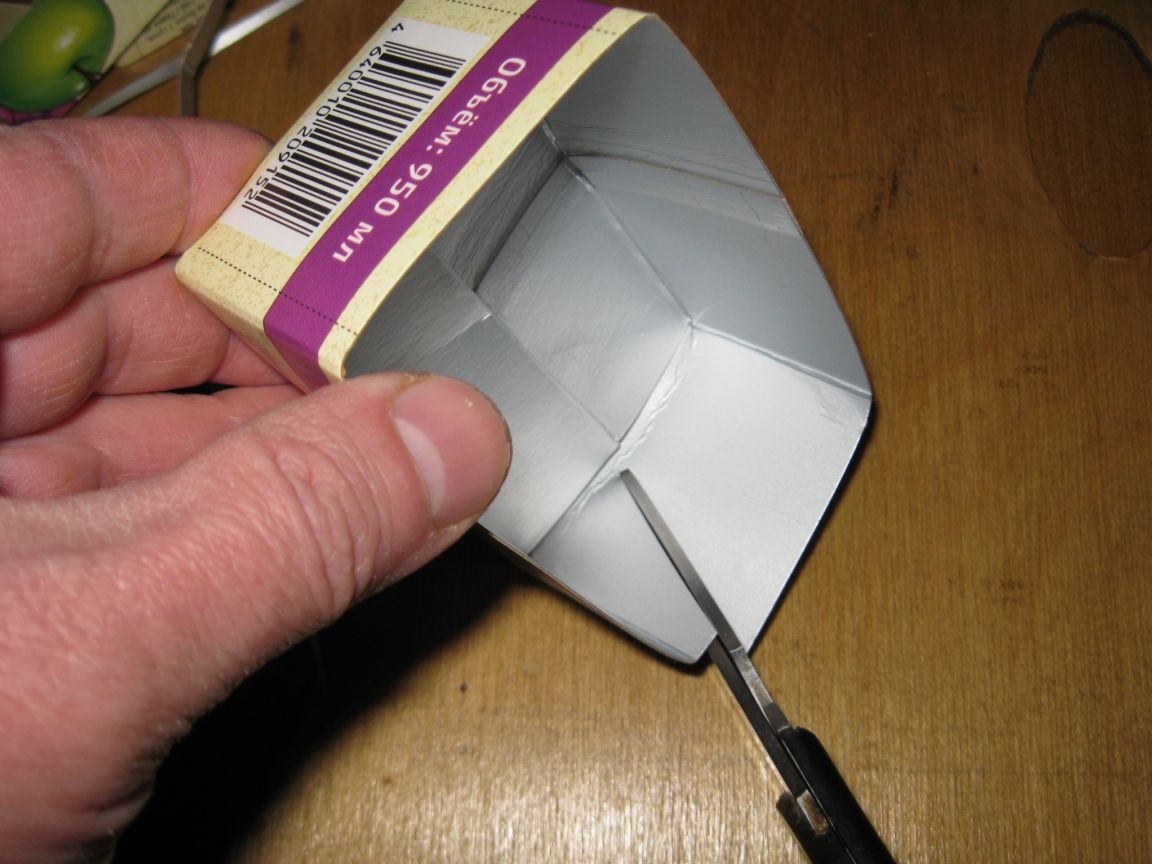
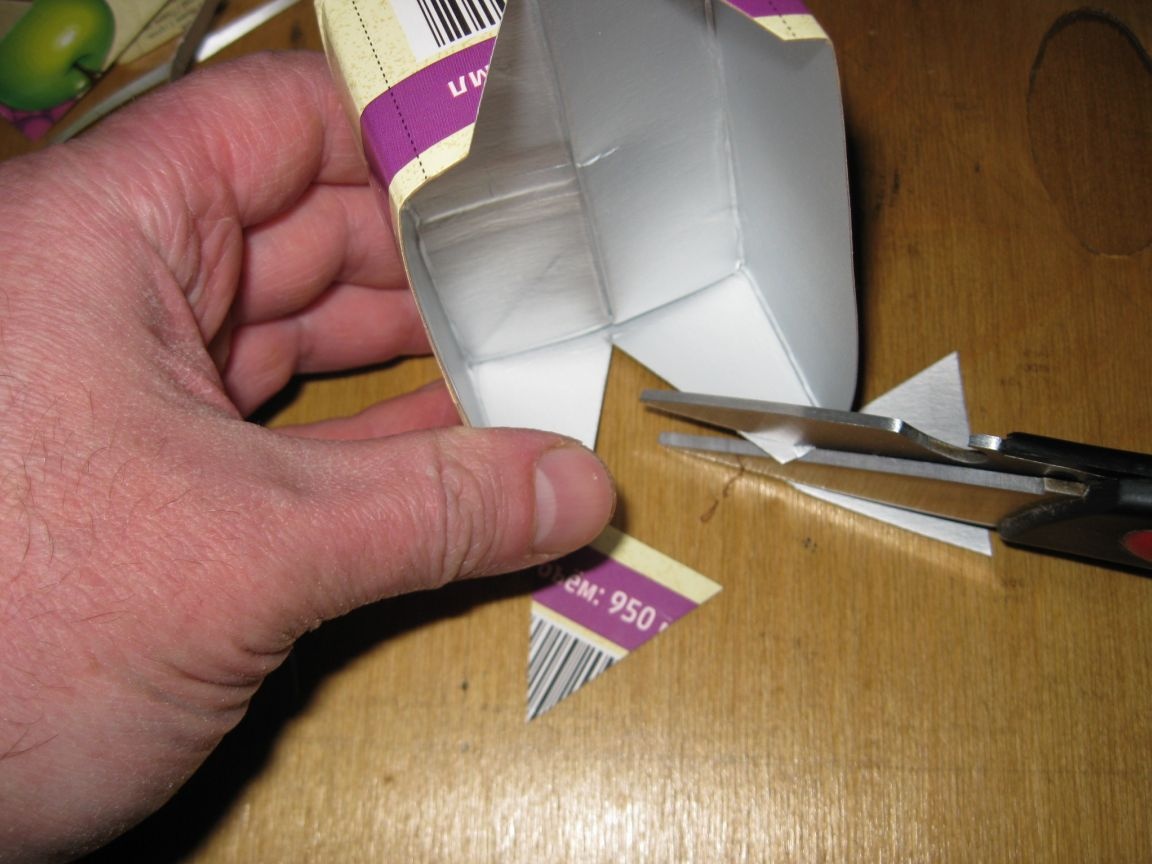
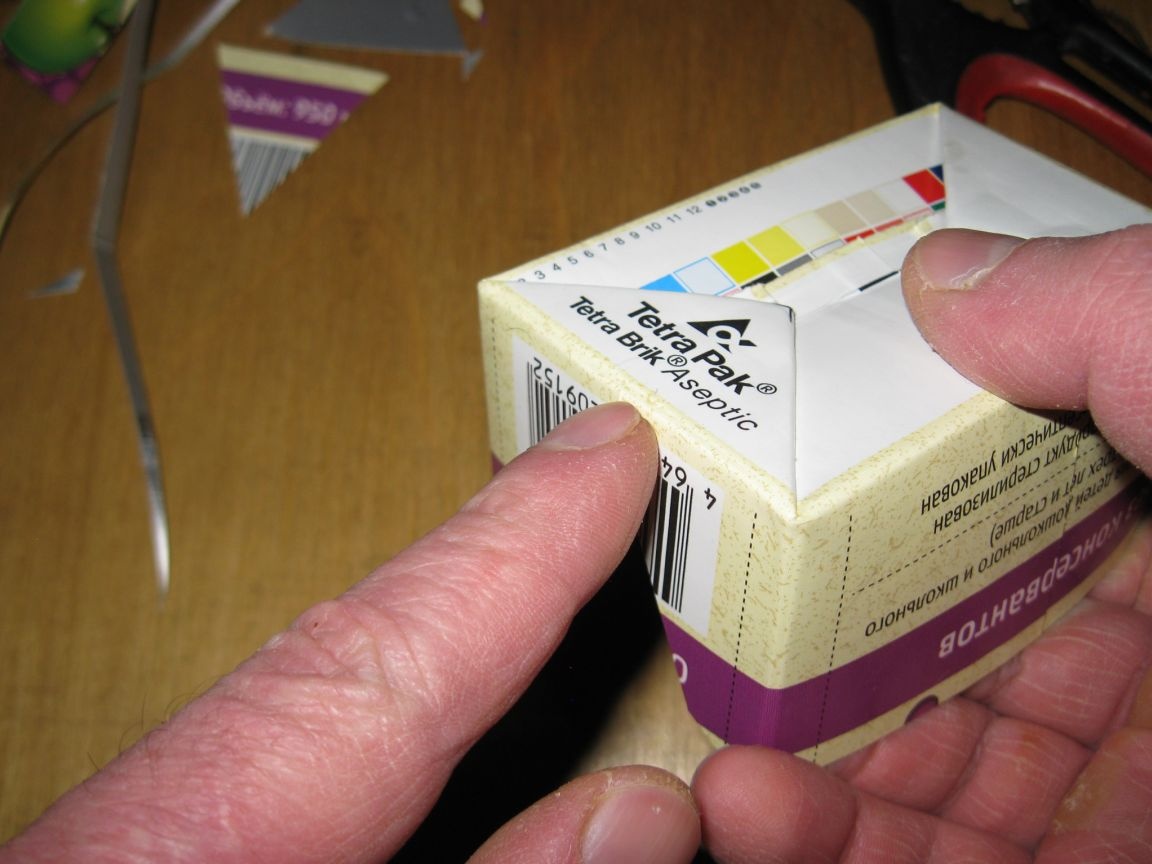
Step 2. Cutting triangular cutouts.
So that our lid can be worn on the container, cuts should be made in its sides, and triangular cutouts are best.
To do this, first make one oblique incision with scissors.
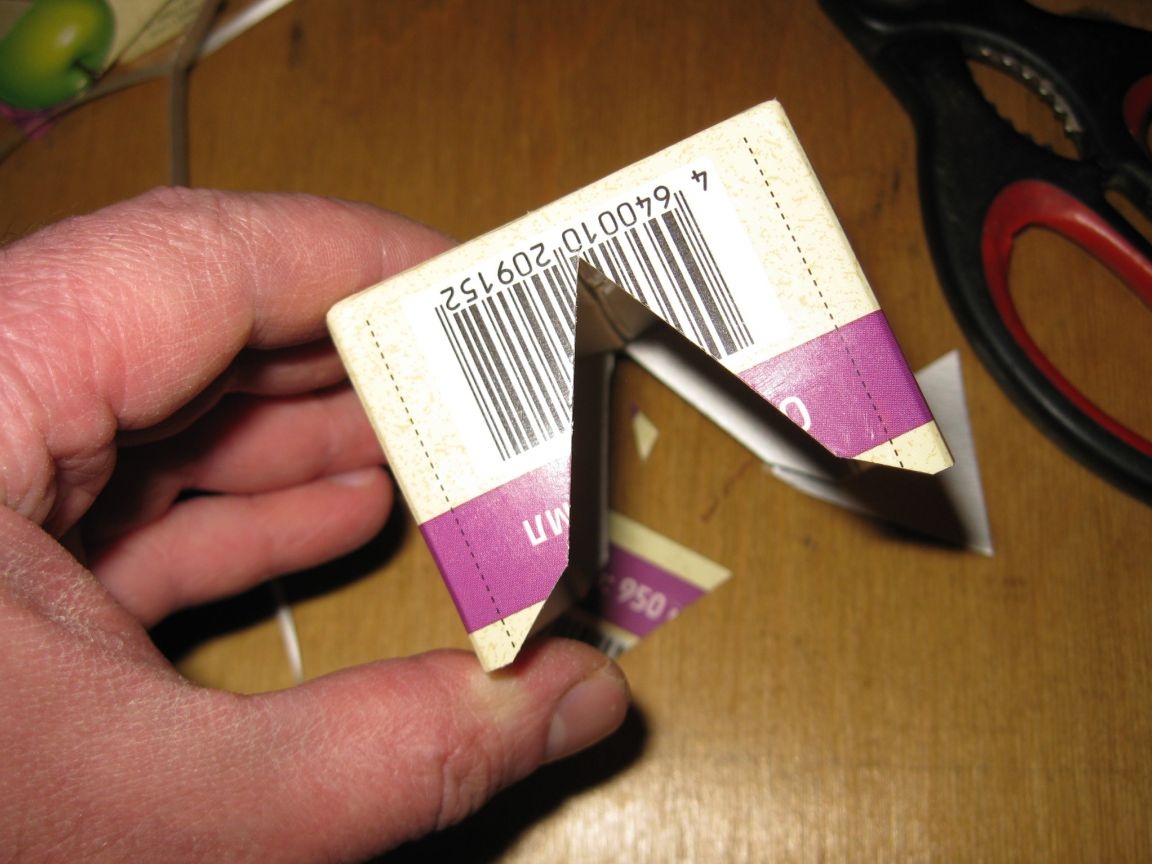
And then the second oblique incision, symmetrical to the first, thus making a triangular notch on the side of the lid.
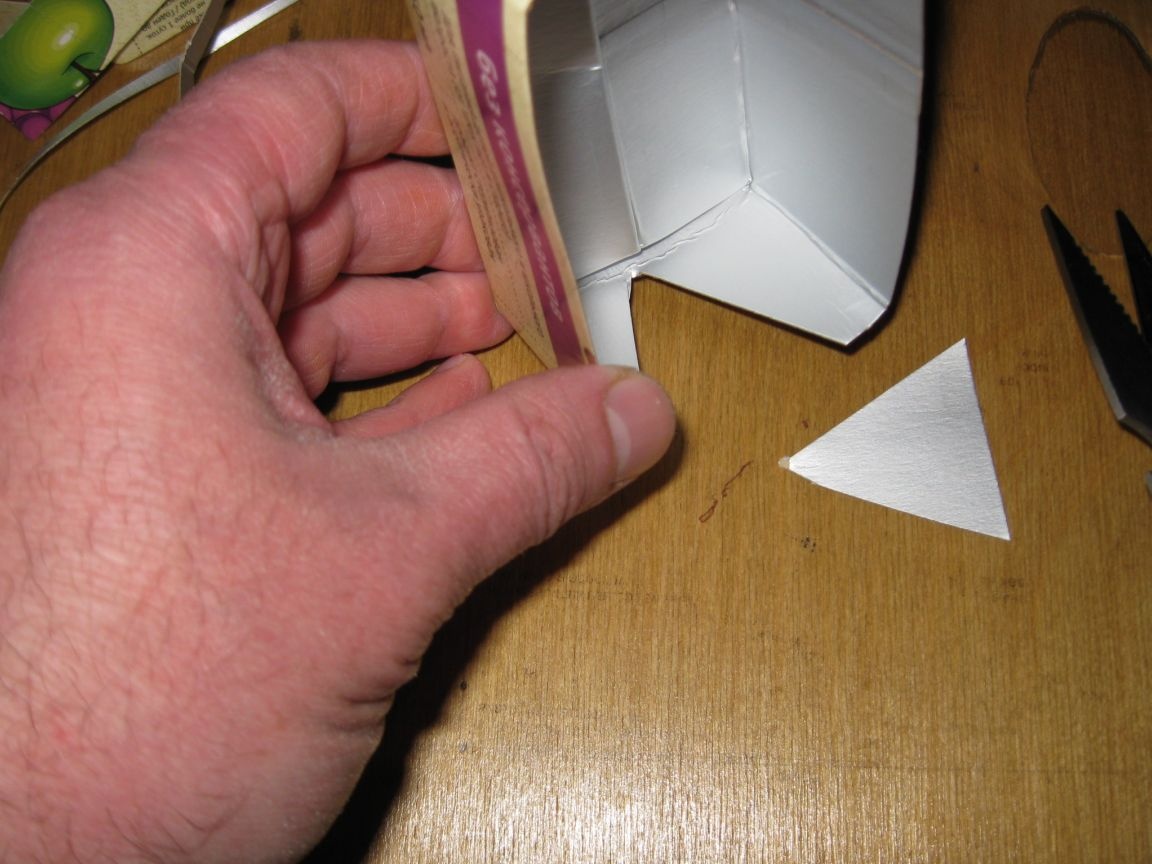
We make the same cutout on the opposite side of the lid.
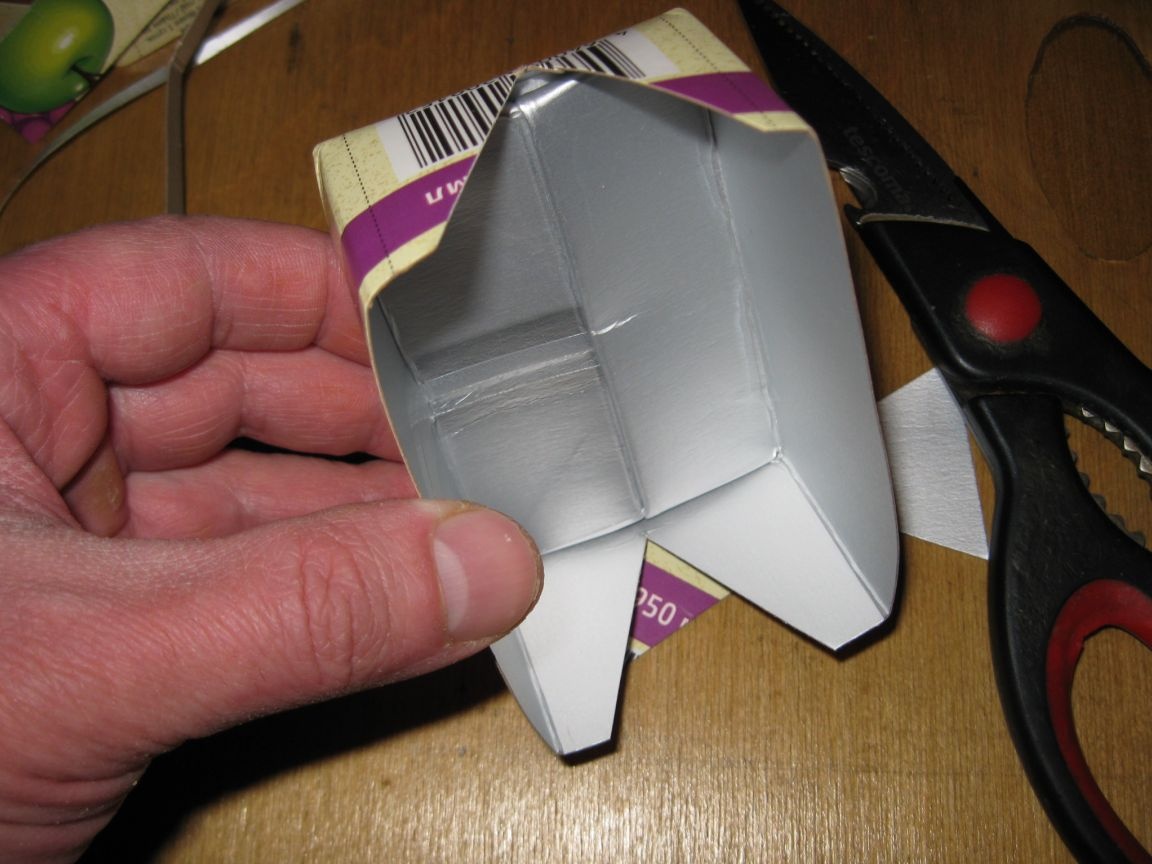
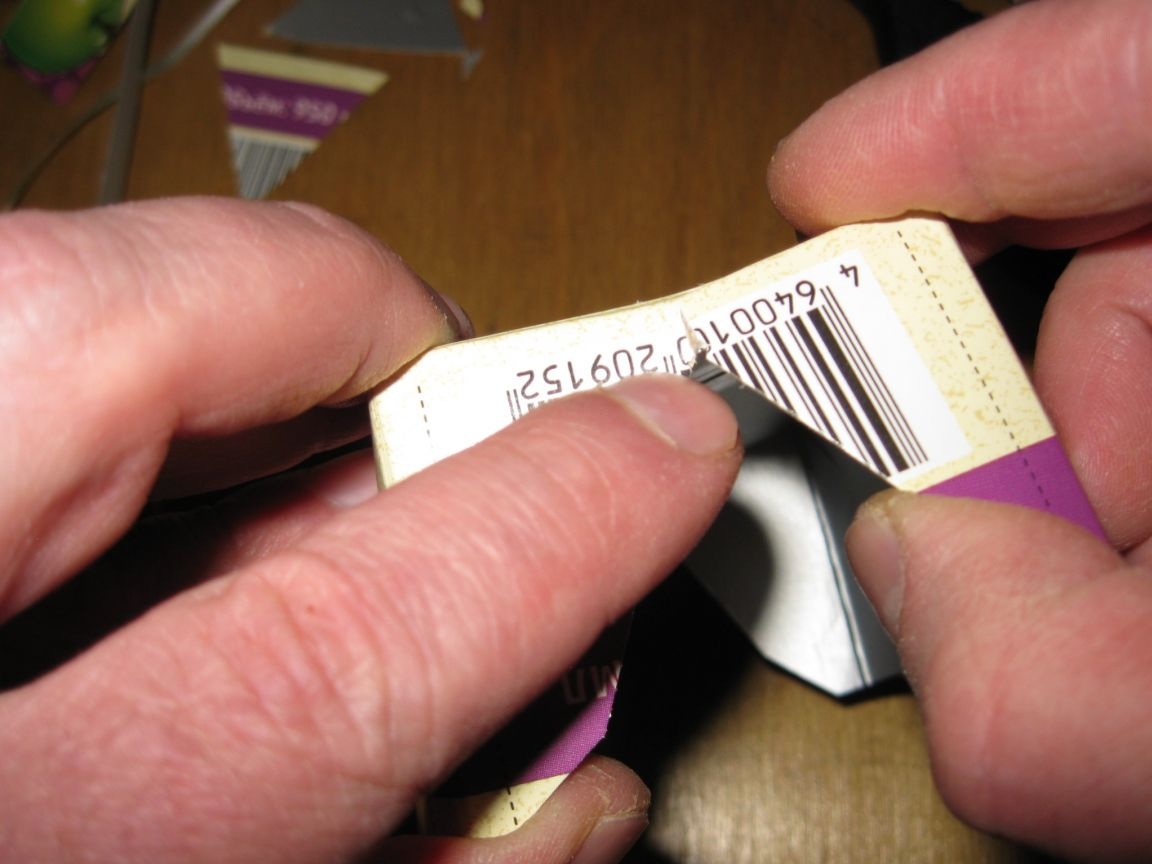
Step 3. Cutting off the sharp corners of the lid.
In order to ensure that the sharp corners resulting from the formation of triangular cuts do not interfere with putting on the lid on the container, they must be cut or rounded with scissors.
We do the same from the opposite side.
And now the lid for the container is ready!
To better fit on the container, its side walls can be slightly stretched to the sides.
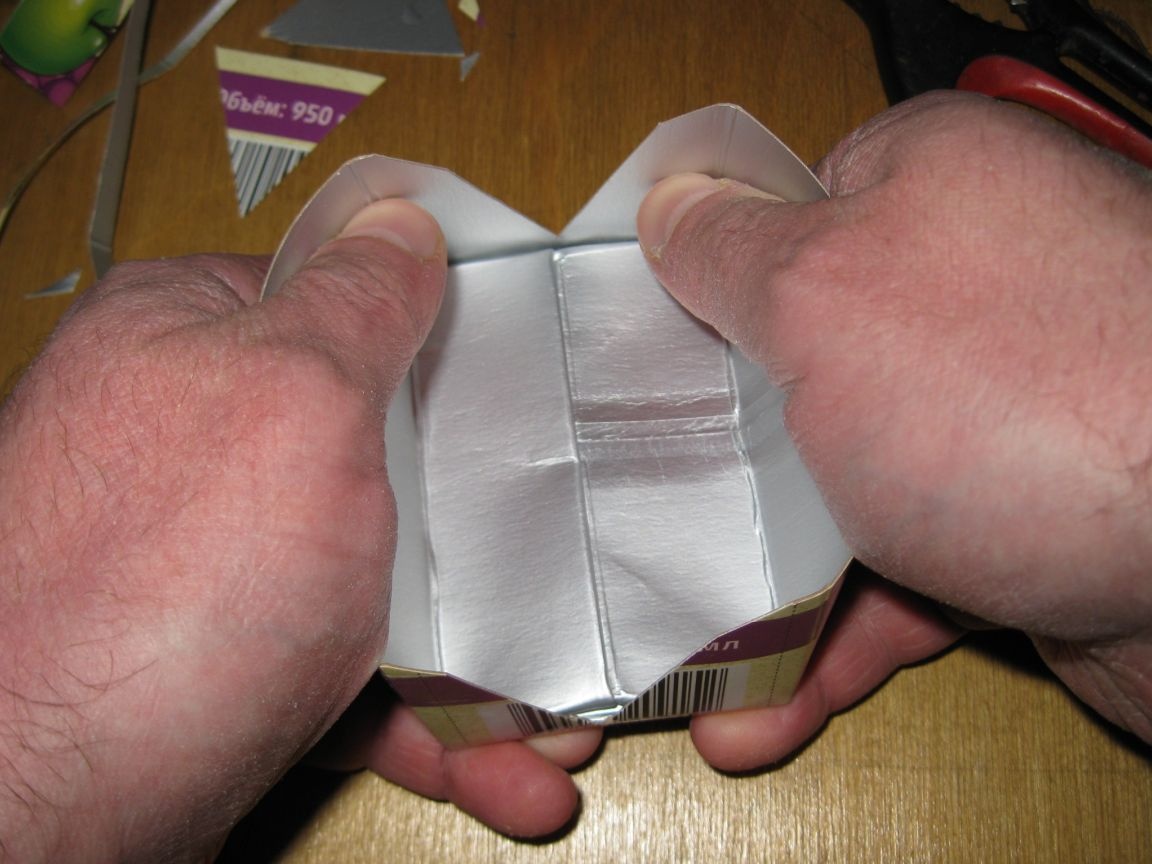
In this case, the upper part of the triangular cutout may tear a little.
However, there is nothing wrong with this, since there is a tight bent corner on top, so that the lid will not tear further.
And now you can put the lid on the container. Moreover, in order to easily put it on, it is better to start putting it on the side in this way.
And then completely slide the lid onto the container.
I must say that she holds tight enough.
But at the same time it is removed quite easily.
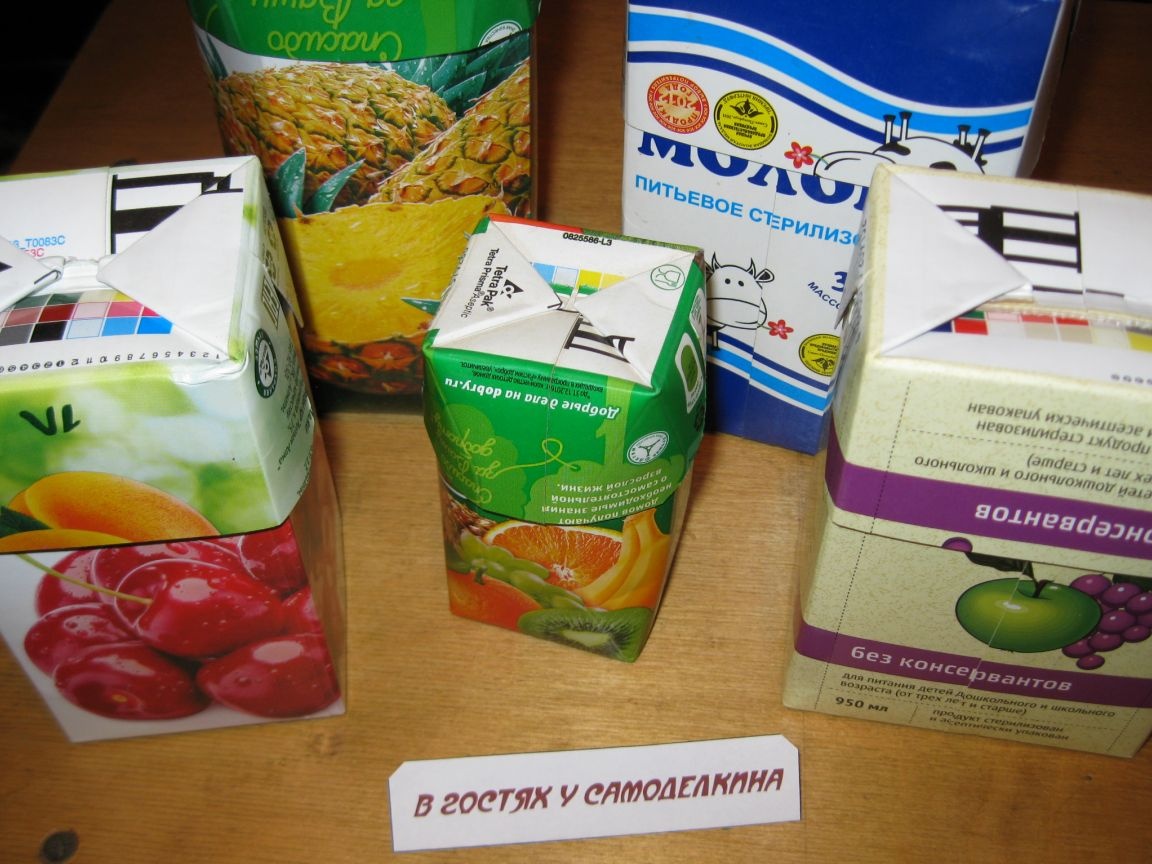
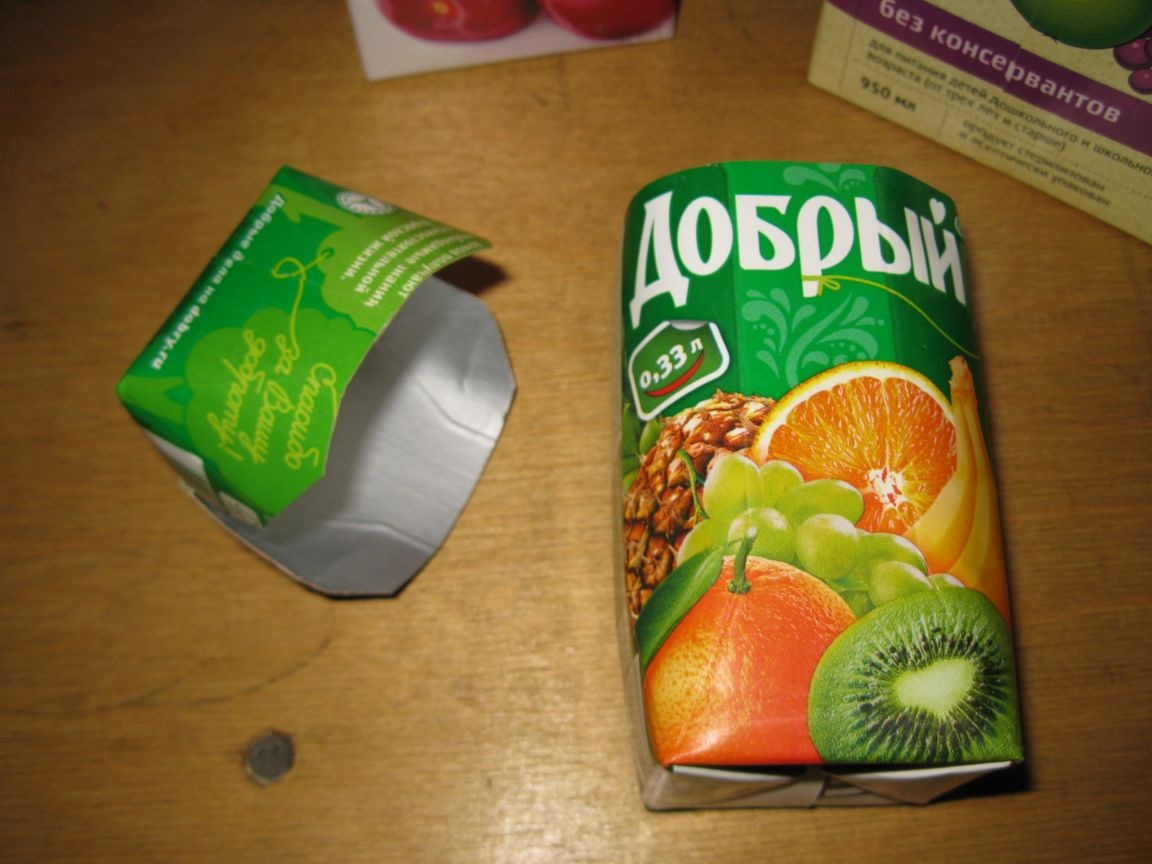
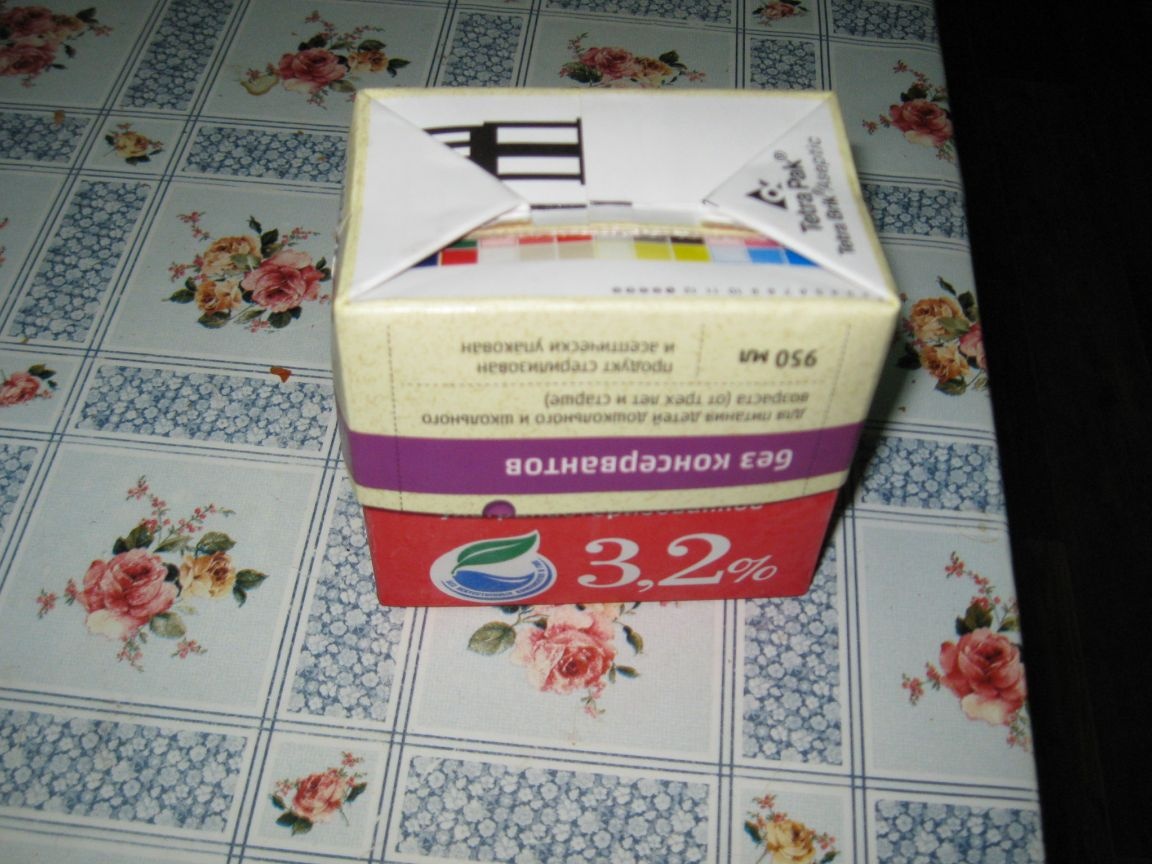
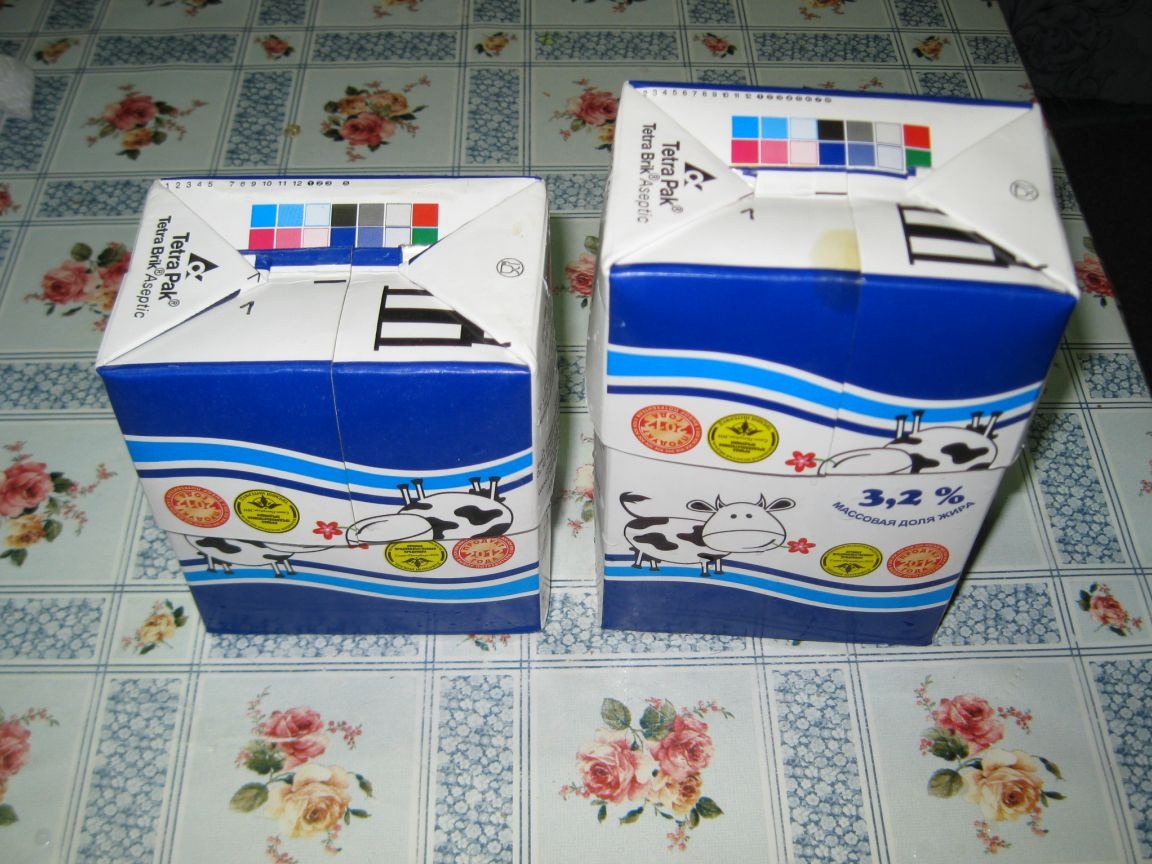
This is how our container with a lid looks from different angles!

But I already made the second such container.
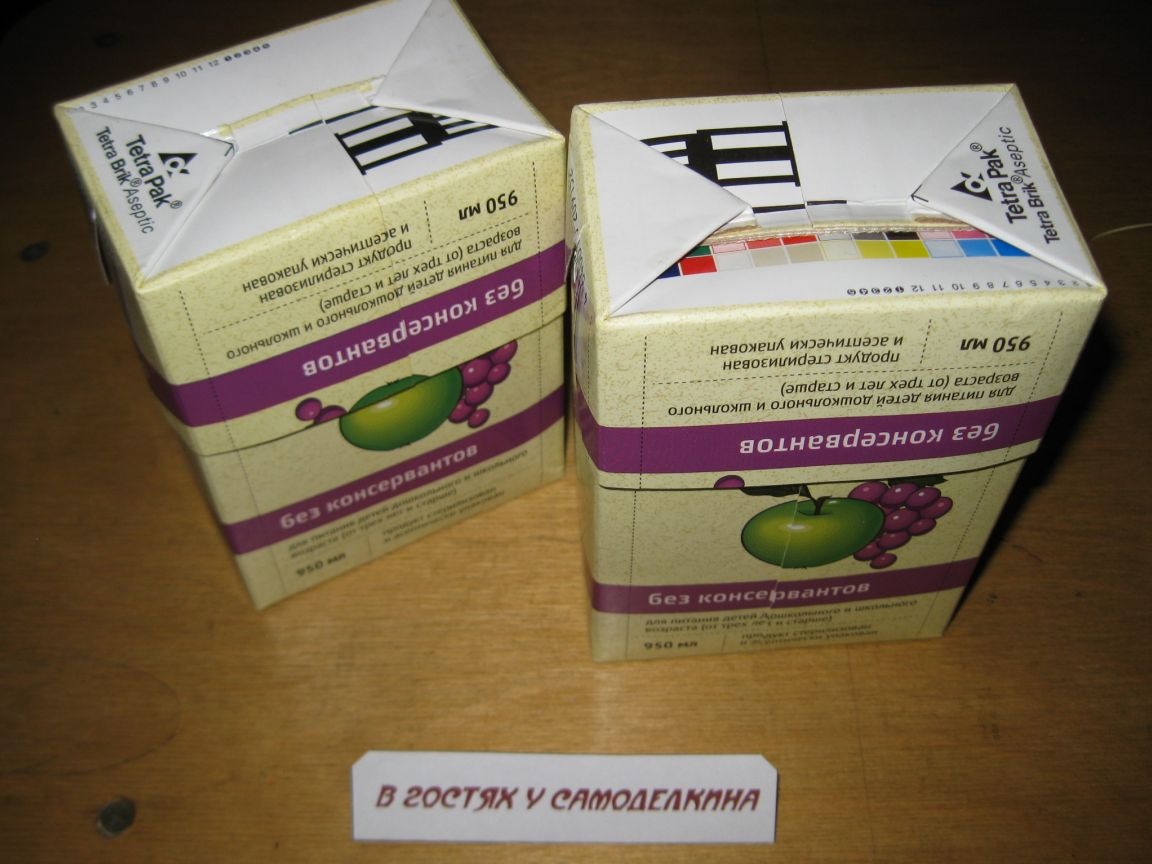
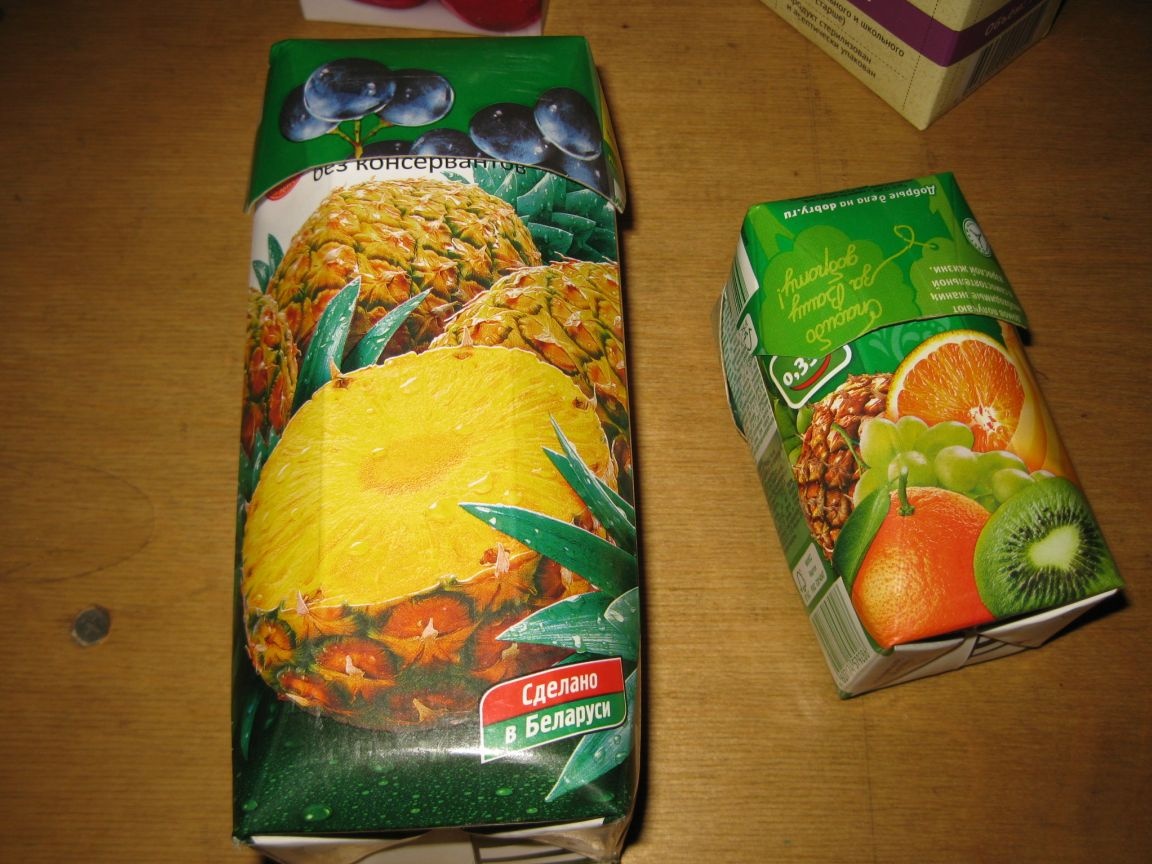
As I already said, such containers with lids can be made from packages of various shapes and sizes. The main thing is to pick up two identical packages.
Here are examples of similar containers made from different packages.
For example, a container made from a square bag.
And this is a container made of a small hex bag from juice.
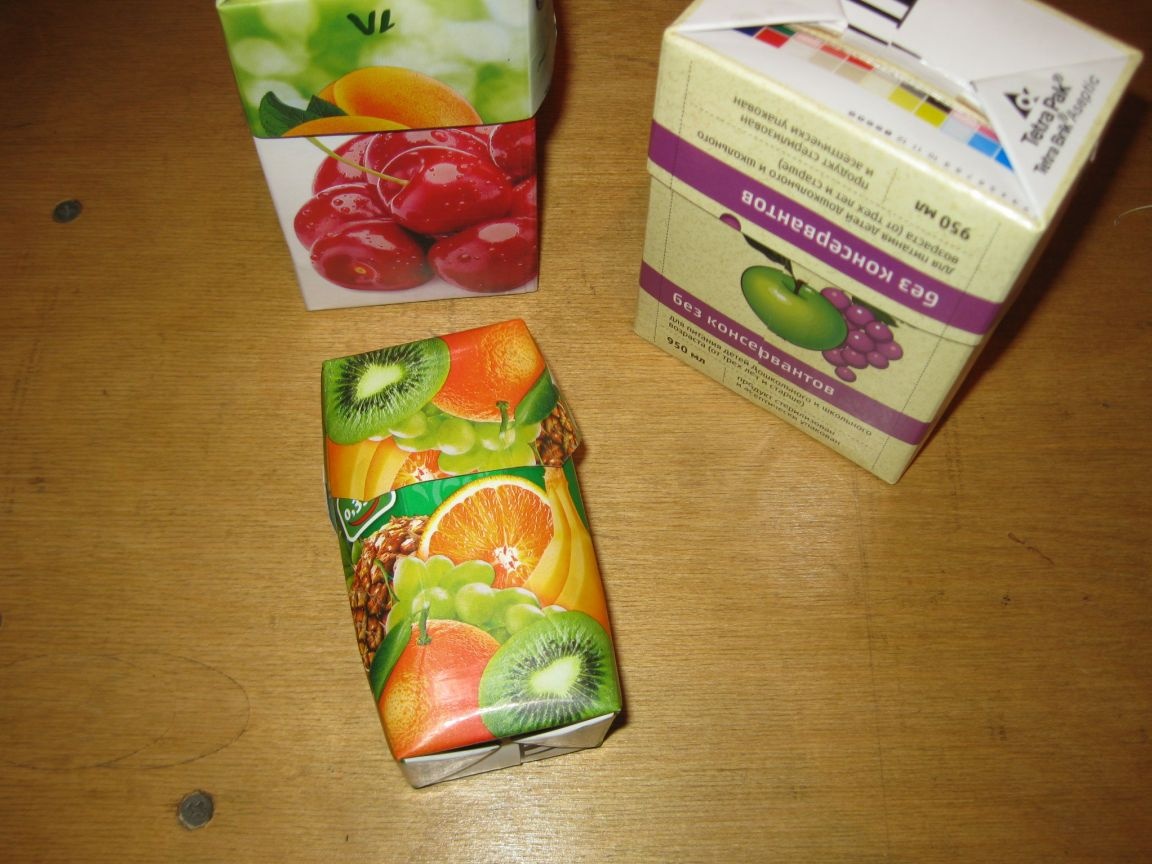
And this one is made of the same package larger.
Here are examples of such containers.
The use of containers with lids.
And now, consider the various uses of these containers. In general, there are a lot of such options.
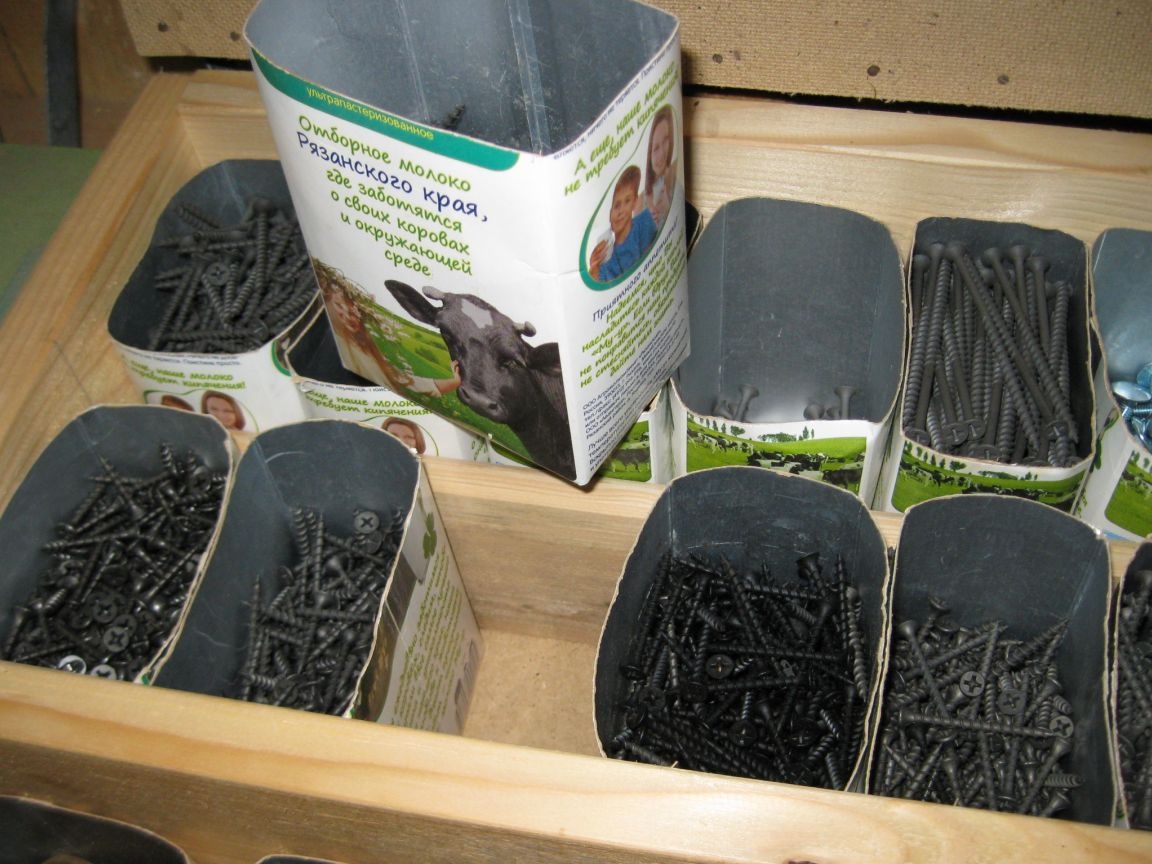
First option, this is the use of these containers for storing and carrying various small parts, for example, cloves, screws, bolts, nuts, washers and other fasteners. For example, I store small screws in one of these small containers.
Moreover, the containers in which I store various fasteners in the workshop (see photo at the beginning of the article) are without lids, since they are not needed in the workshop. However, if any of these containers need to be moved or taken with you for any work at home or on the site, then you can put on covers and calmly carry them. Even if such a container falls, the fasteners will not crumble, since the lids are held tight enough.
Naturally, such containers can be used not only for storing fasteners, but also for other small parts that the craftsmen have to deal with. For example, ham radio operators can store various radio components in such containers. In turn, in order not to confuse containers with different parts, their lids can be numbered or inscribed on them with the name of the contents.
Second optionmore precisely, the method of using such containers is storage, as well as carrying or transportation of various food products in them. And there is also a huge number of options.
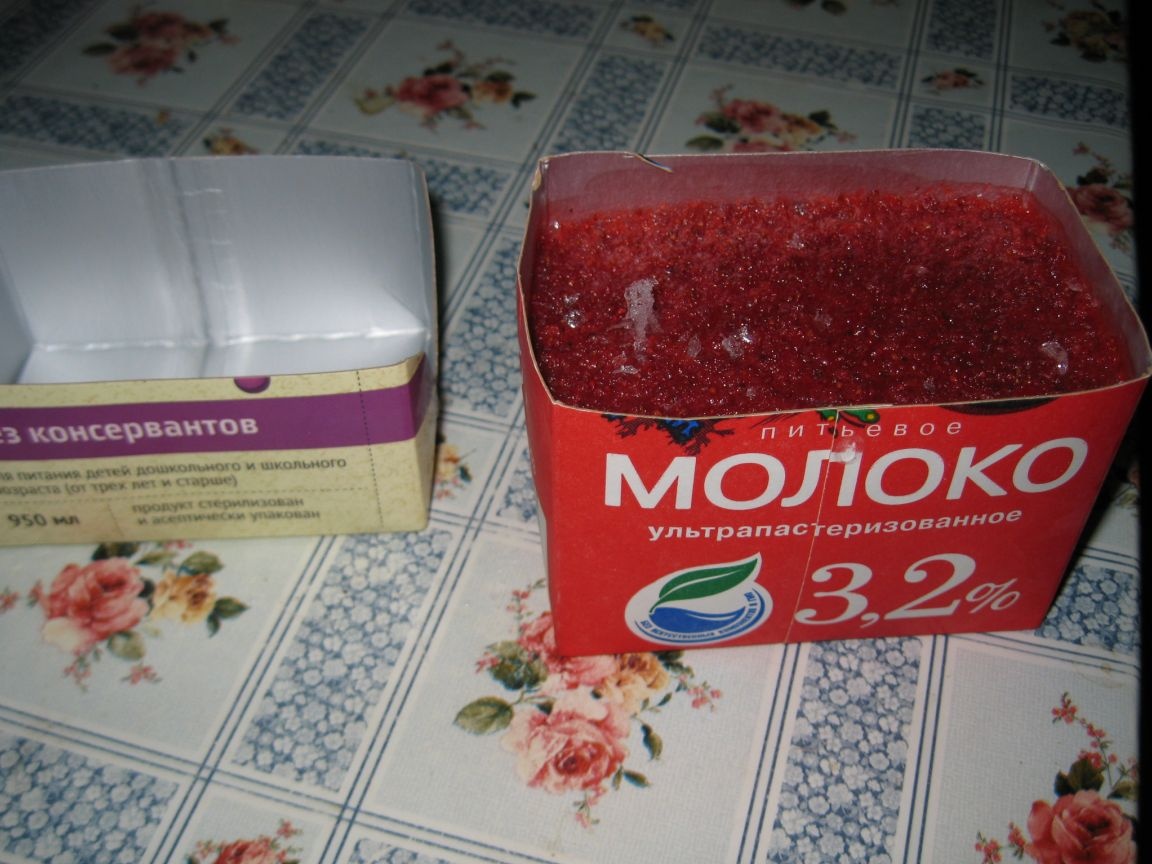
For example, small-sized containers are very convenient for freezing berries, fruits or vegetables for the winter. We usually chop various berries (strawberries, raspberries, currants, etc.) with sugar in the summer with a blender and then lay out the resulting jelly, here in such small-sized containers with lids.
We put these containers in the freezer of the refrigerator. The jelly frozen in this way lasts a very long time (it may well be stored for up to two years). When necessary, such a container with berry jelly can be taken out, thawed and consumed. And you can eat it directly from the container.

The big advantage of this storage method is that since all containers are rectangular or square, they are very compactly placed in the freezer, so literally not a single extra centimeter disappears. In this case, the containers themselves are quite a lot.
Another advantage is that we can choose the size of homemade containers depending on our needs. Since defrosted foods are not stored for a long time, it is very convenient to freeze them in small containers so that after defrosting, immediately use the entire contents of the container. Therefore, we mainly use such small containers.
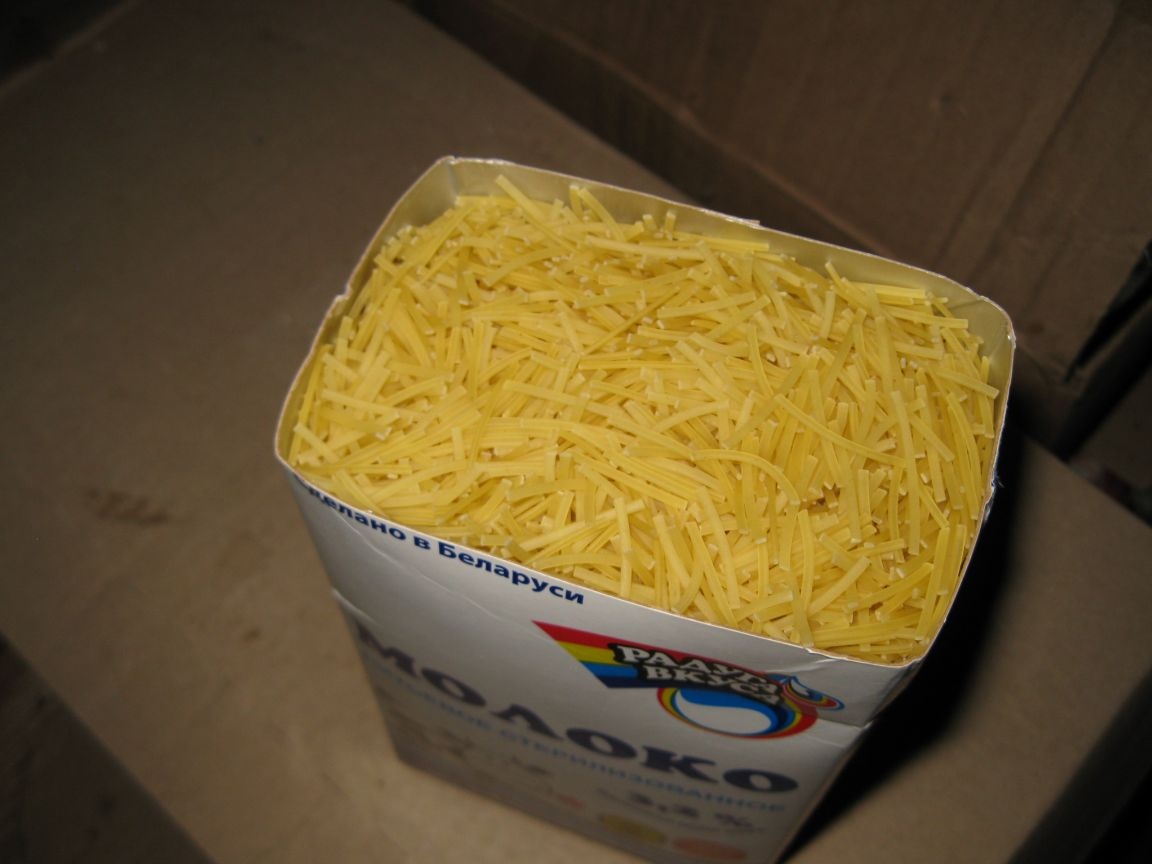
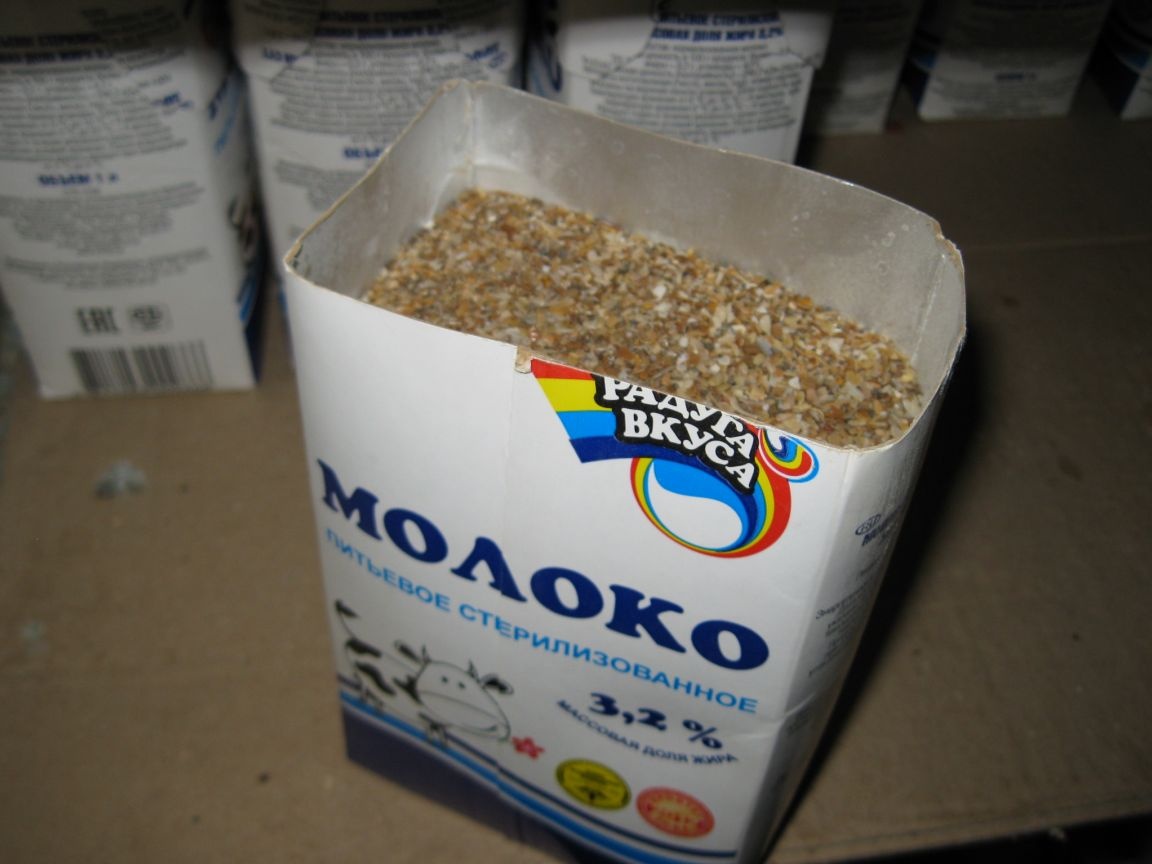
In addition, a wide range of different dry products can be stored in such containers. Basically, these are of course various cereals (rice, buckwheat, millet, hercules, etc.), as well as pasta. Here is an example of storing vermicelli in such a container.
It is very convenient to store in such containers with lids, various premixes (vitamin and mineral feed additives), as well as compound feed for home birds. For example, I have several dozen containers in which compound feed or other food additives are stored.
For example, a container with a crushed shell.
And here is a vitamin supplement to food for laying hens.
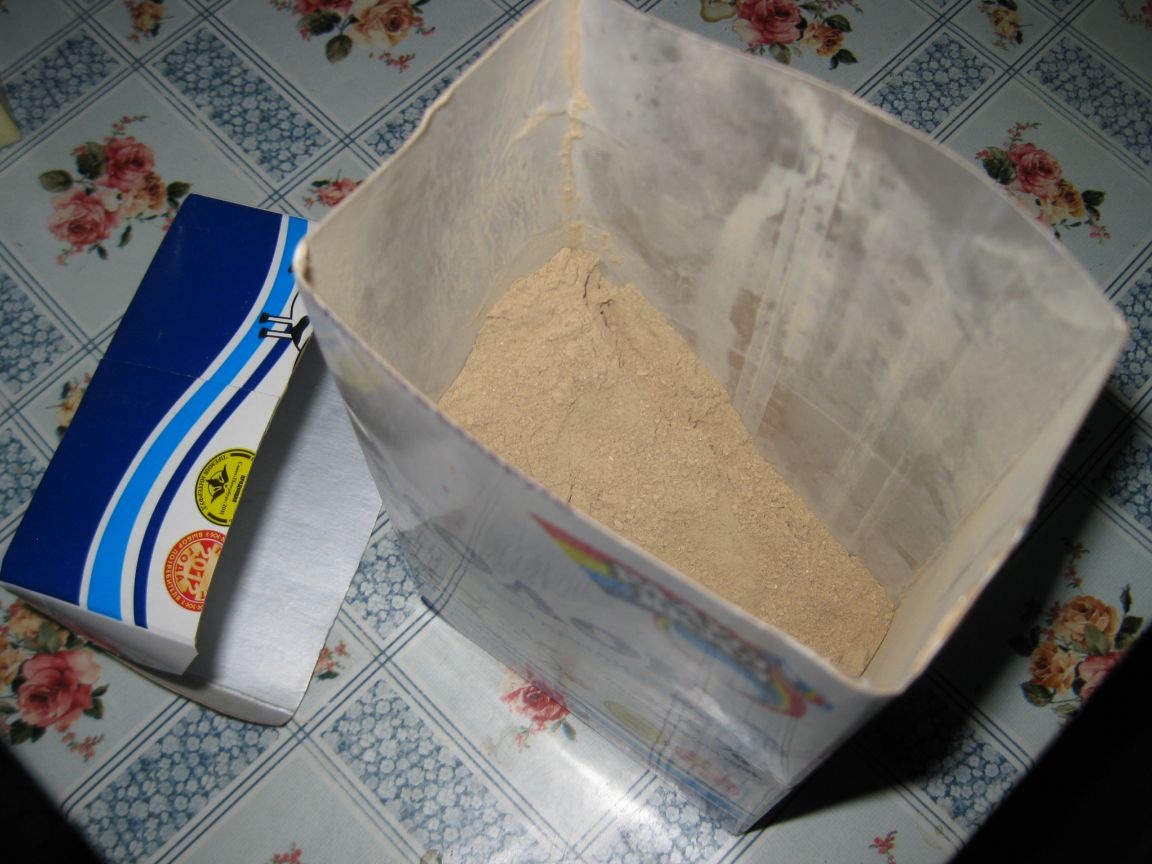
By the way, from this container I add it to the main feed every day, while opening and closing the container with a lid for about a year. And as you can see, neither the lid nor the container, made of cardboard milk bags, were especially worn out.
I must say that such containers can be successfully used for transportation of various food products. For example, in the summer they can transport or carry fresh berries, as well as small fruits or vegetables.
And if necessary, salads can also be transported. So, for example, on the eve of the New Year holidays, our relatives drove to our driveway. But since they could not celebrate New Year with us, as they were hurrying to their dacha, we decided to treat them with some dishes from the festive table. And here, cardboard containers with lids helped us a lot. We put salads in two such cleanly washed containers (in one - Olivier salad, and in the second I don’t remember which one) and closed them with lids.
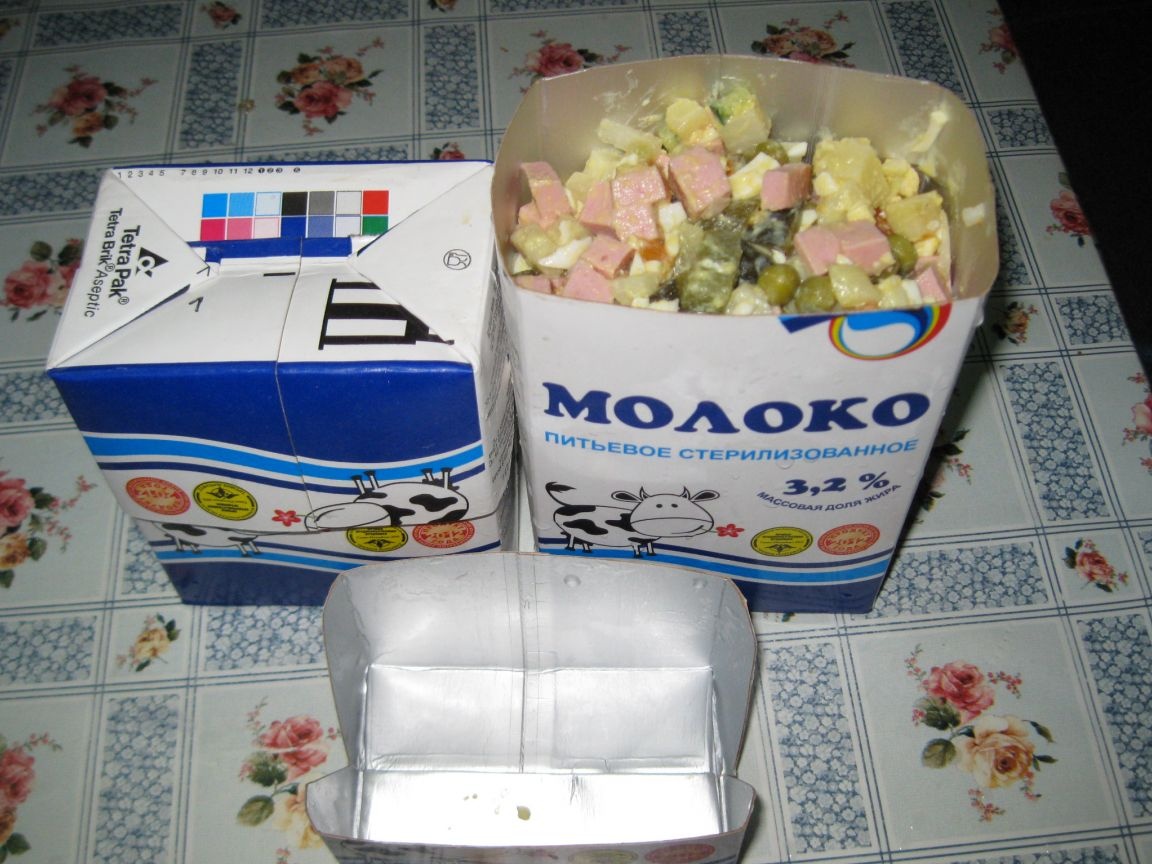
As a result, our guests brought all the salads intact.
In addition to those described above, there are many more options or ideas for using such containers. For example, a container with a lid of the desired size and shape, it is quite possible to use as a container or packaging for a gift.Of course, in this case, the container will need to be further decorated, for example, painted or painted with paints, made applique, tied with ribbons, etc.
It is very convenient to use such a container with a lid for throwing glass or ceramic fragments or sharp pieces of iron (old nails, screws, etc.) into the trash. Indeed, it is simply impossible to throw such garbage into a garbage bag, since sharp fragments or pieces of iron can easily cut it. But if you put all this in a cardboard container with a lid, you can safely throw it into a regular garbage bag, since sharp fragments or nails can no longer cut through the cardboard walls of the container.
Well, in conclusion, I want to note that there are many other ways to use such cardboard containers with lids, but within the framework of this article it is simply impossible to describe them in detail. I can only say that such containers are useful in any household, and almost every master can find convenient and useful application for them. Moreover, such containers will not cost a penny, and you can make several such containers in just a couple of minutes.