

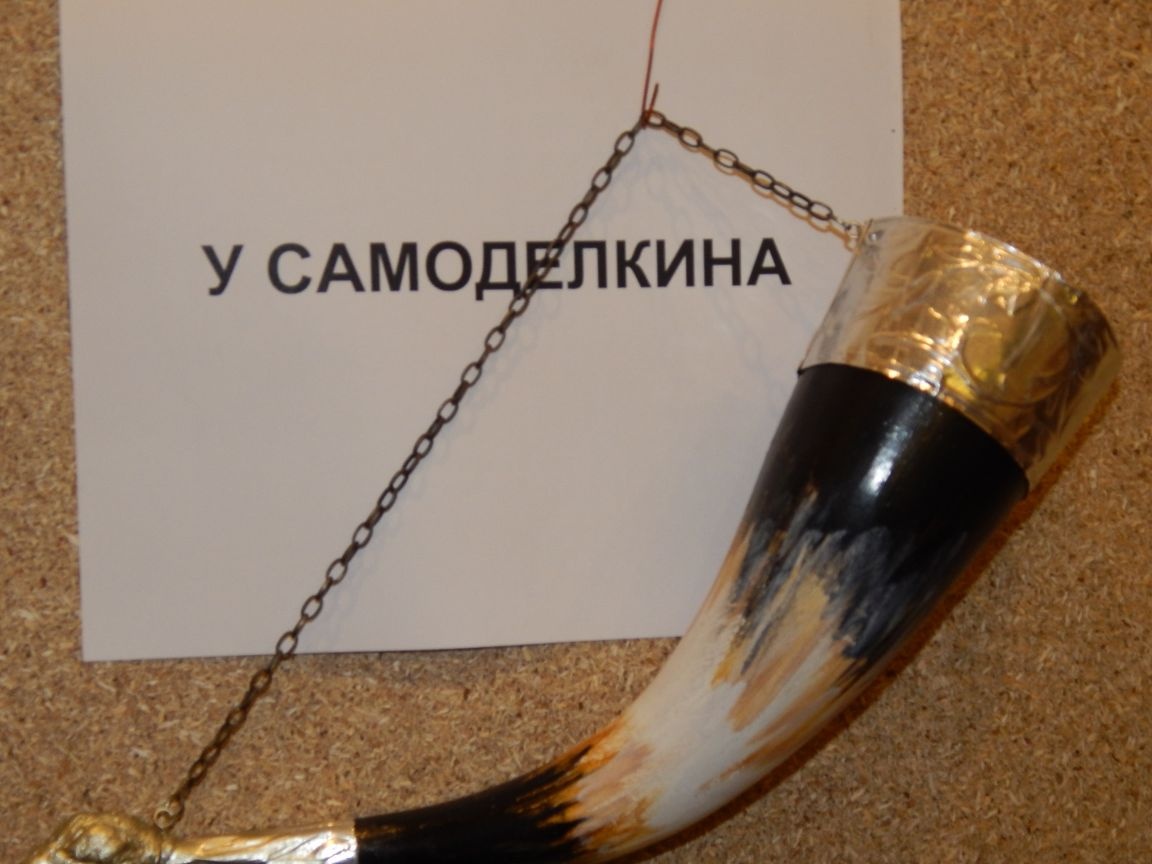
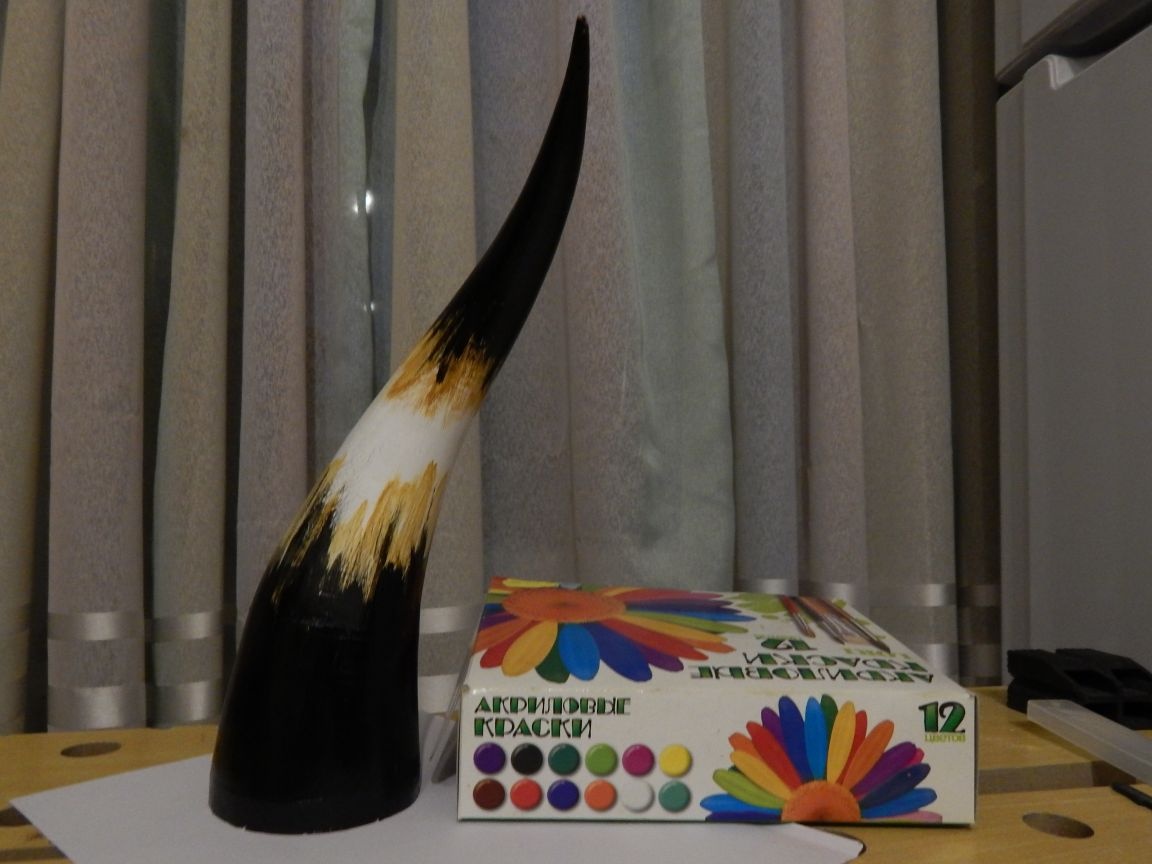
Good day to all. This time I want to offer another souvenir for the “Real Man” made with my own hands - riton (as it turns out to be called a horn for wine), which, as you will see, is very easy to make from improvised materials. Of course you can drink from it, but initially it was conceived as an element of decor. In general, especially harmful materials were not used - food aluminum, water-based acrylic paints, if you don’t pour boiling water, it's okay.
So, to create such a product, we need:
1. A4 paper - 5 sheets
2. Aluminum foil (baking dish)
3. Acrylic putty
4. Acrylic paints and varnish
5. Cold welding (for tip boss)
6. A chain of walkers.
7. Glue for paper.
8. Copper wire f 0.5 mm - 30 cm
The tools are the simplest:
1. Stationery knife
2. Scissors
3. Ballpoint pen (not writing).
1. We dissolve the sheets of paper into ribbons with a width of one centimeter and glue them into one long tape, which we tightly twist into a roll like a tape, but with a slight deviation (of the order of one millimeter) so that the result is a cone.
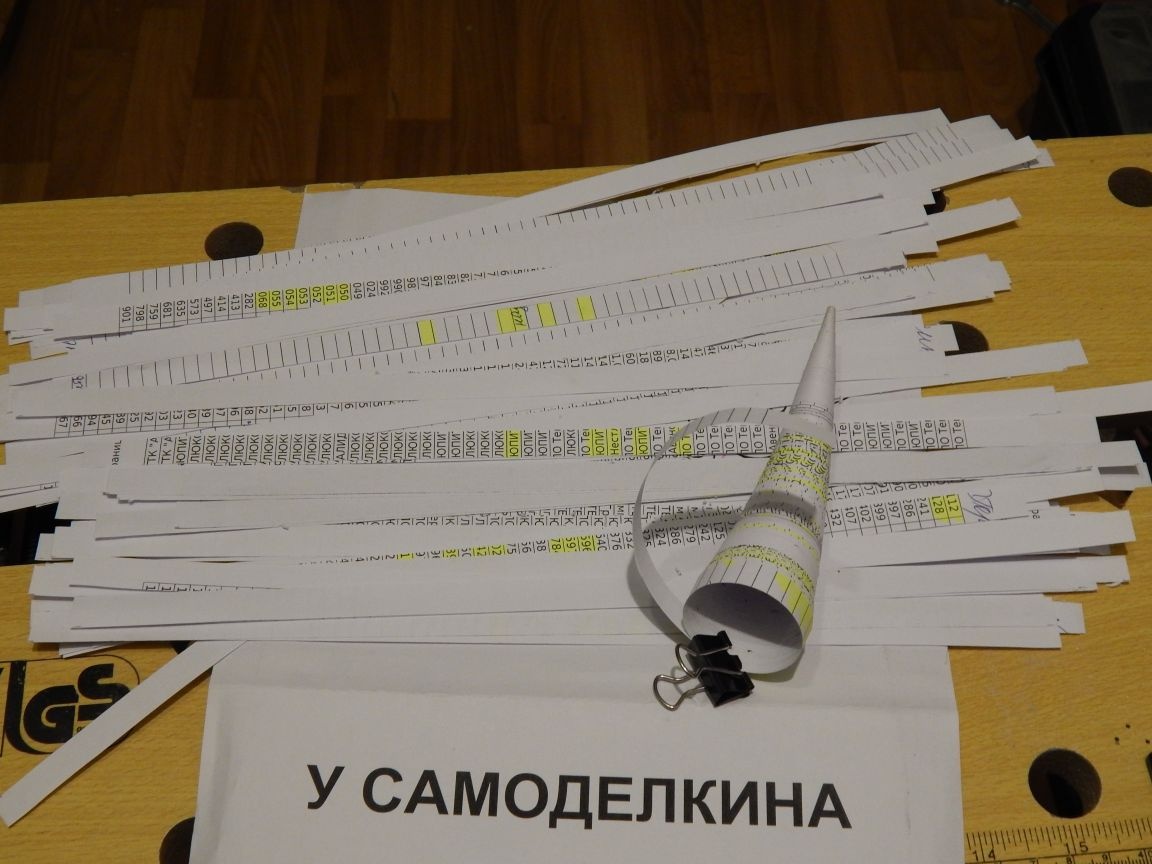
I used glue stick, it dries faster. Glued 10 tapes, which then twisted, and so on to the desired size of the cone.
The resulting cone is bent in the form of a horn, that is, in several planes.
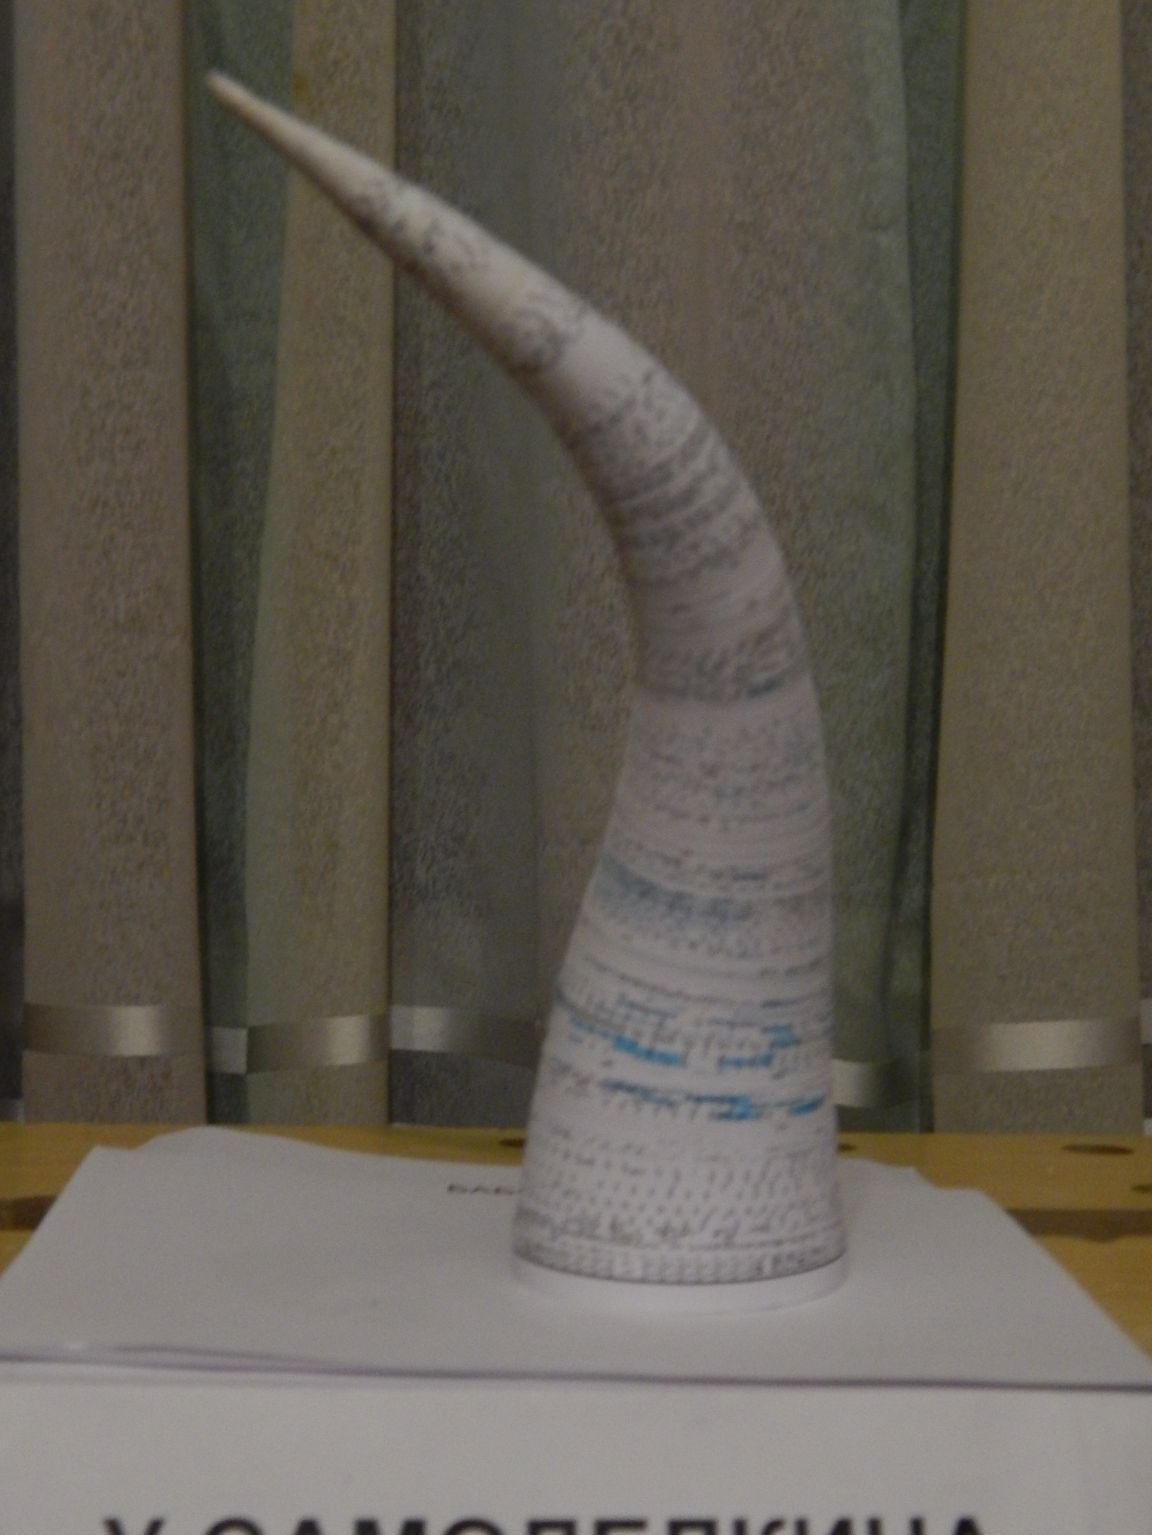
2. Acrylic varnish fix the form by simply rinsing the inner surface of the product. After drying, the turns of tape are glued together, and the shape of the horn will not change.
3. Outside we cover under the tree putty, then we process with sandpaper of medium grain size, and if there are bumps, then repeat the process until the surface is completely leveled.
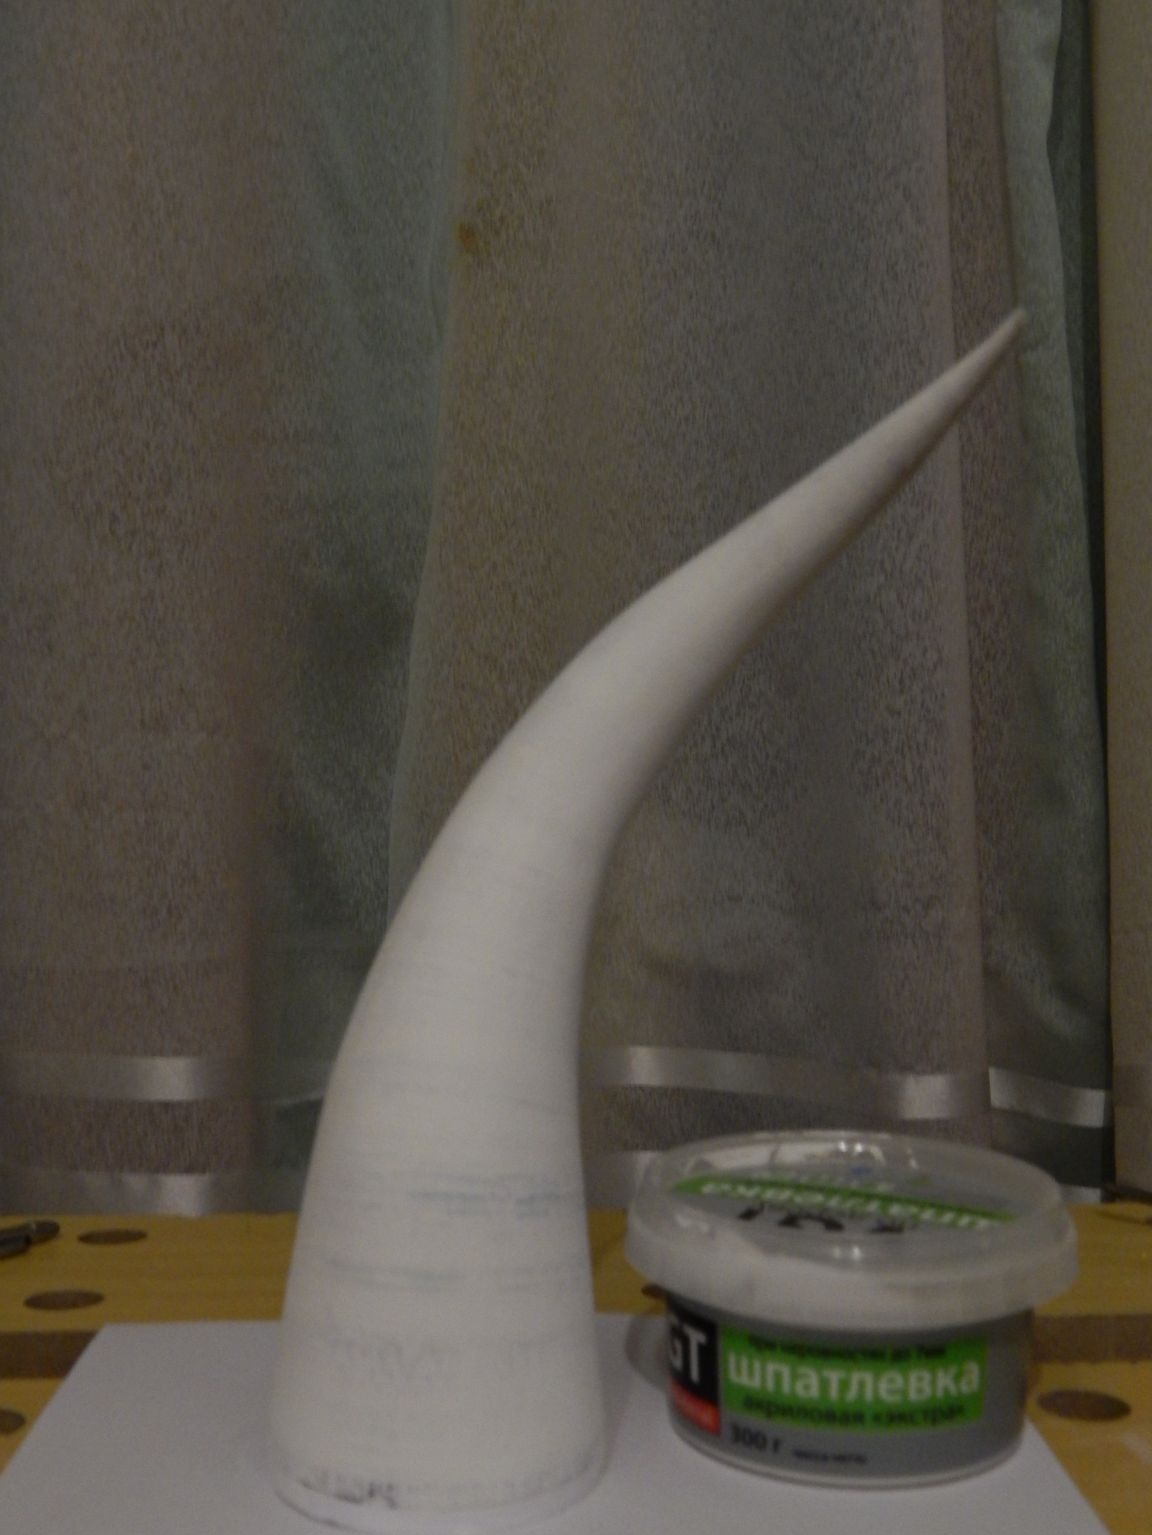
For painting, three colors of paint were used - white, ocher and black. The paint was applied with a thin brush and immediately smeared with a finger along the axial to simulate the texture.
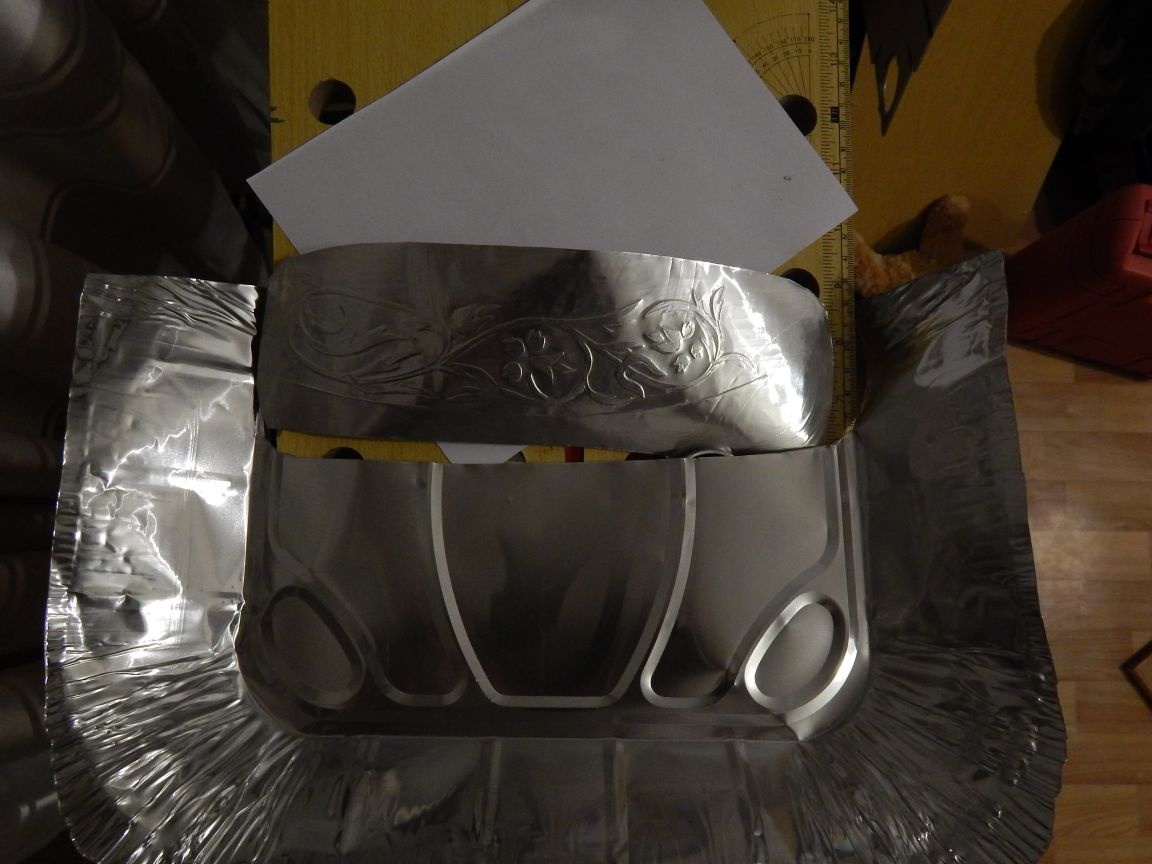
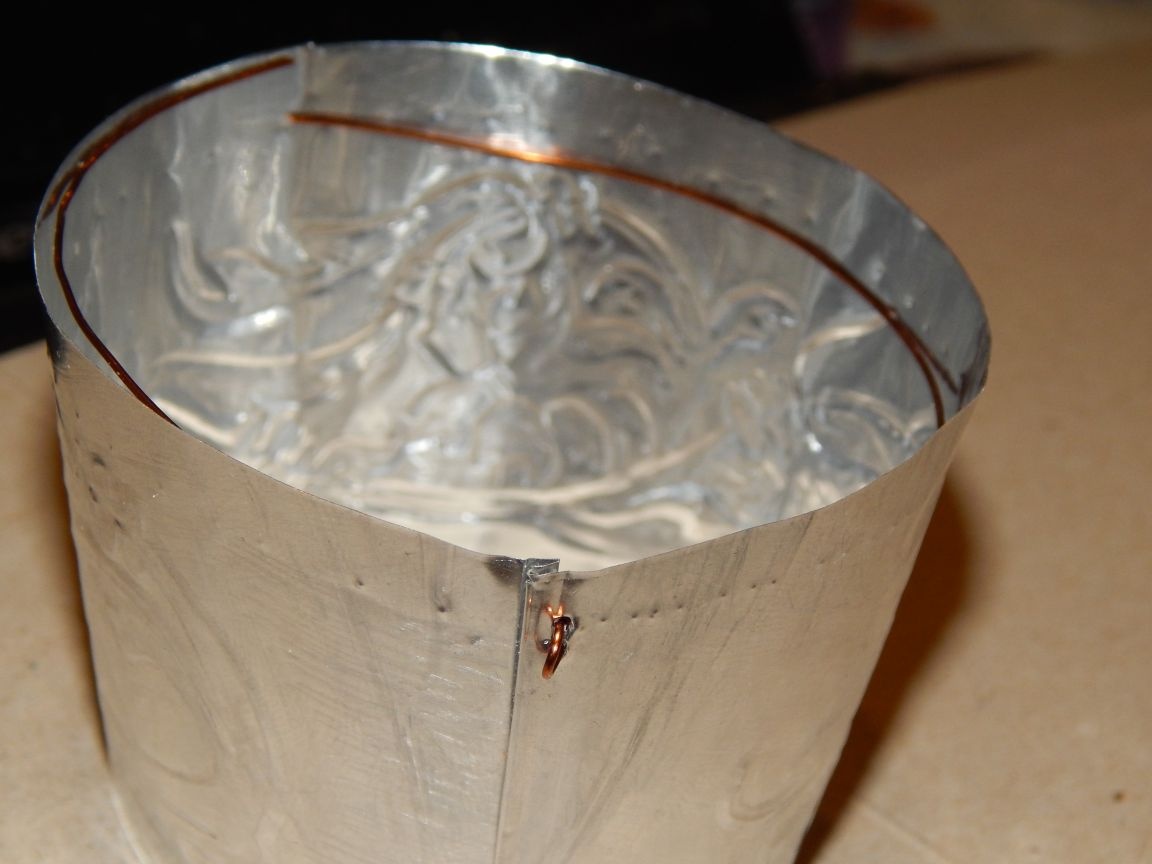
4. The edging is made of foil, from which baking molds are made. The foil is thick and plastic enough to squeeze a pattern on it.
From paper we make a template on which we pre-draw the border ornament.Then we glue the template on the foil and use a ballpoint pen to push the pattern.
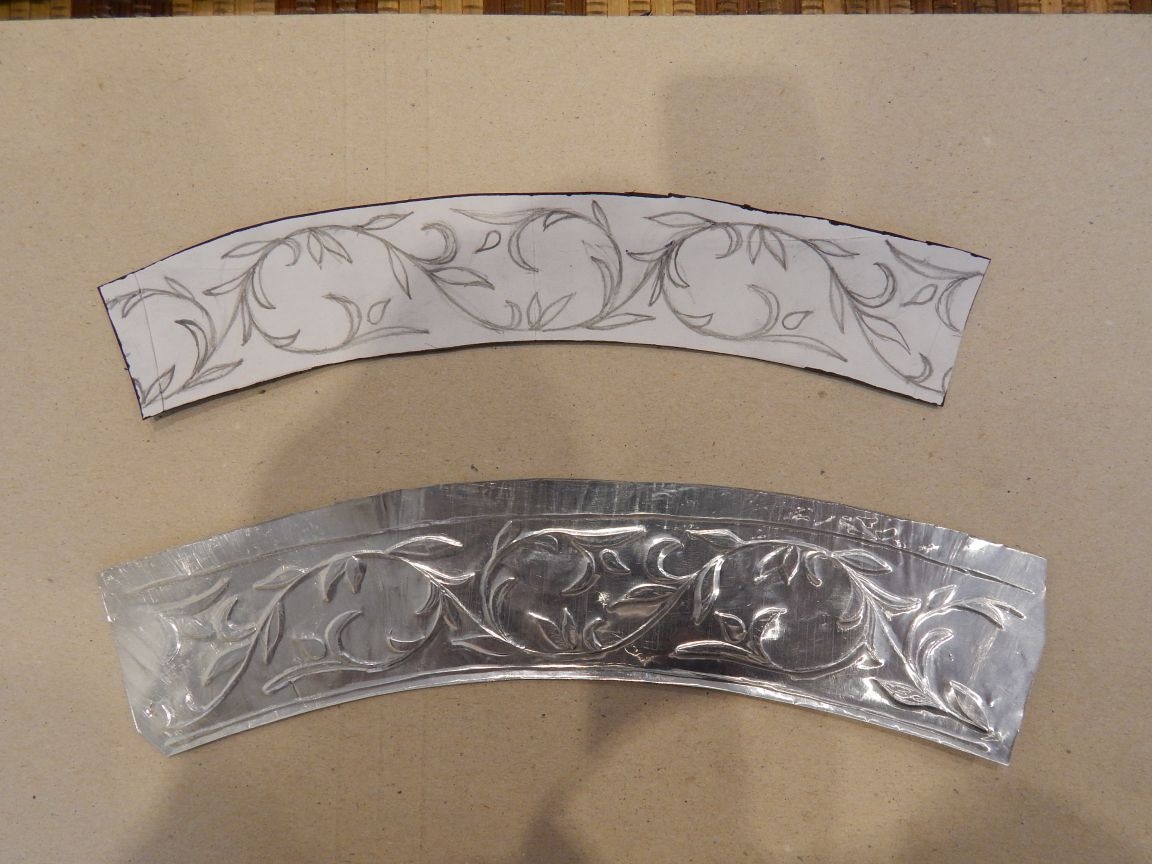
Cut the workpiece with a small allowance for the castle and rolling.
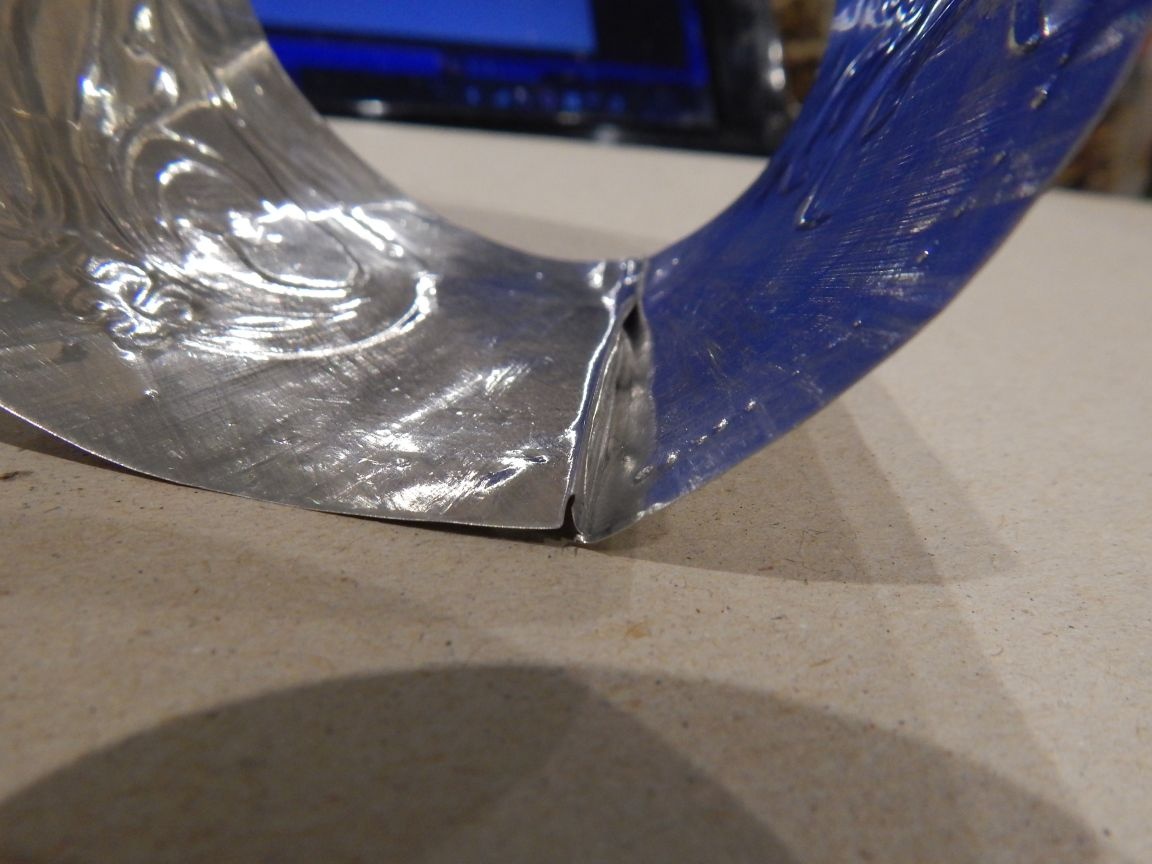
We do the inner border without a drawing, just drive the foil cone cut out in the same pattern into the same pattern, note how much to shorten the scan and then connect the cone into a simple lock. With an external cone (which with a picture) we do the same operation.
5. After the cones were dressed, put a wire ring inside to attach the chain and roll it with an outer cone.
We make the tip in the same way, you need to make the drawing smaller, since the scan is small.
6. I made the boss out of cold welding, I simply fashioned something unthinkable from plasticine, and then painted it with silver.

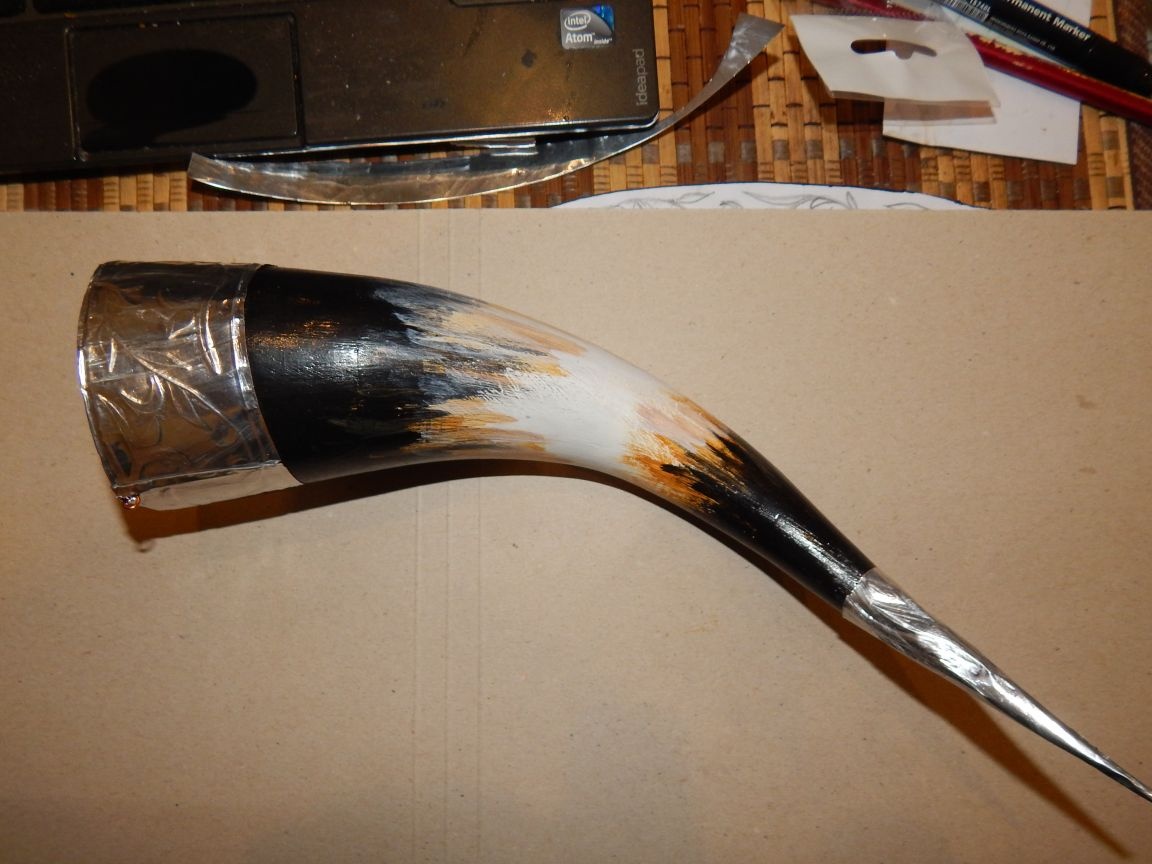
7. And finally, we attach the chain. Well, that’s all, the result is this:
I hope you enjoyed it.