
Do you want to make yourself a folding knife? Then take a look at this instruction. Such a knife will be very useful in your pocket, especially if you go camping or just walk in the countryside. Who knows who you will meet along the way? Also, with a knife, you can always cut something, cut, tuck, or even unscrew some screws if necessary. In this instruction we will look at how to make just such a knife.
As a material for the manufacture of the blade, the author used steel N690. It is well suited for making knives, it is easily tempered and its knives hold sharpening perfectly. It is not difficult to assemble a knife, but the author uses a belt sander, which greatly simplifies this process.
Materials and tools used by the author:
Material List:
- ;
- spring;
- a bolt;
- foliage aluminum for the manufacture of handles;
- textolite or something similar (used to decorate the inside of the pen);
- epoxy adhesive;
- pins (nails fit);
- screws.
Tool List:
- ;
- vise;
- drilling machine;
- ;
- grinder;
- files;
- marker;
- "dremel" with grinding and polishing nozzles;
- keys, pliers, etc.
The process of making a knife:
Step one. Let's start with the manufacture of the blade
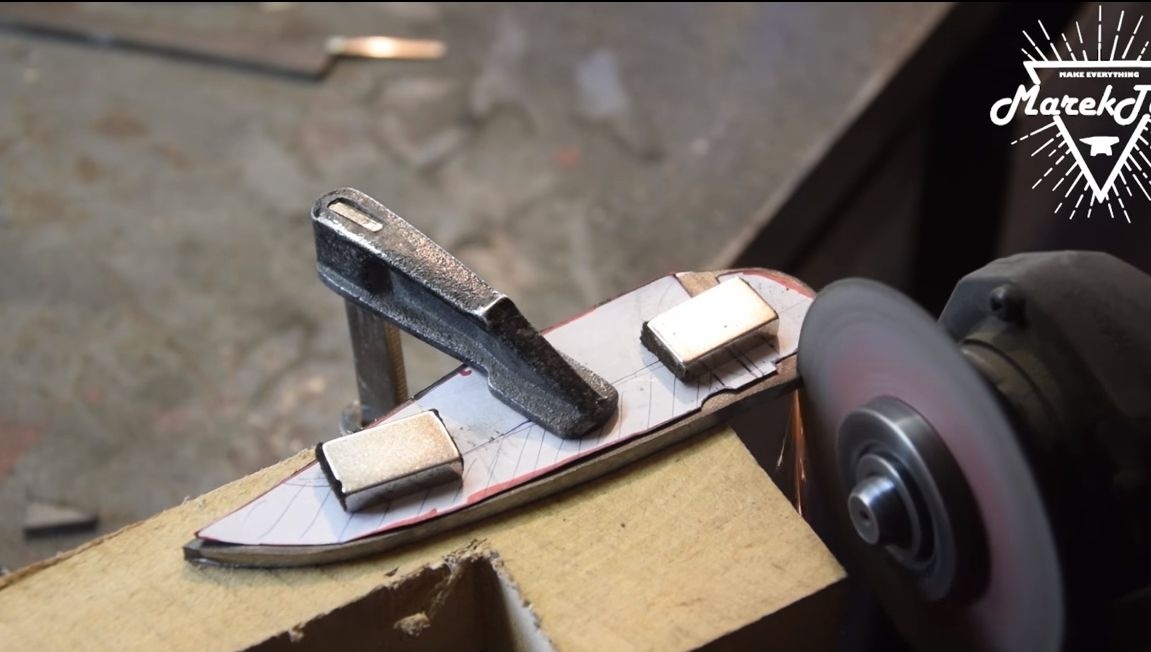
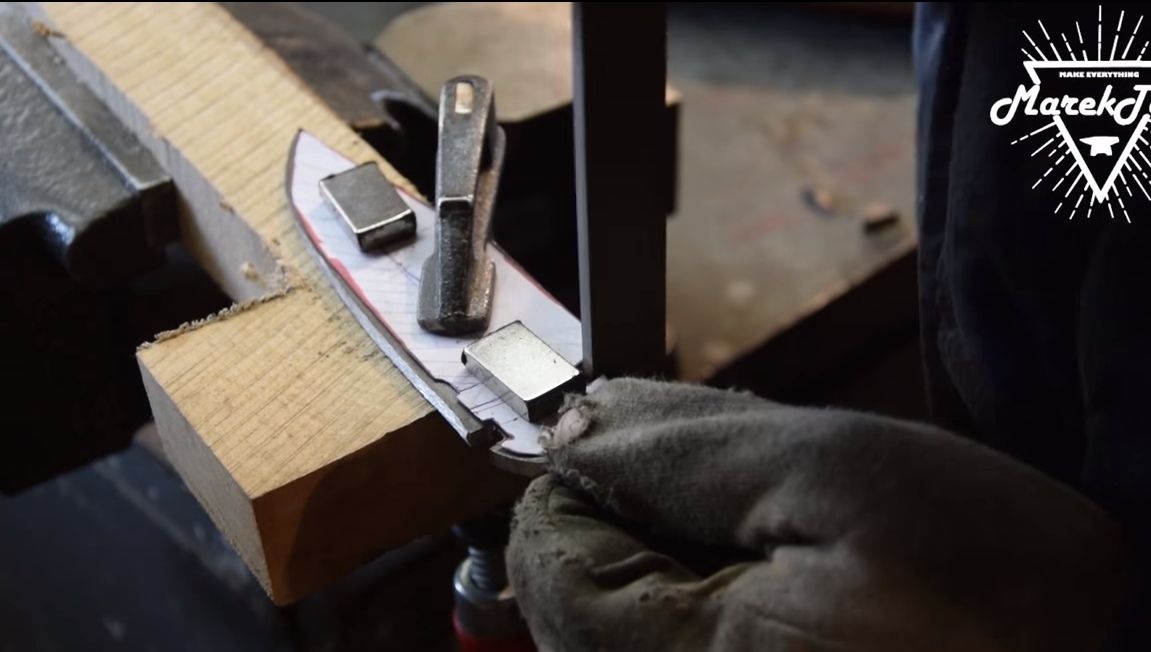
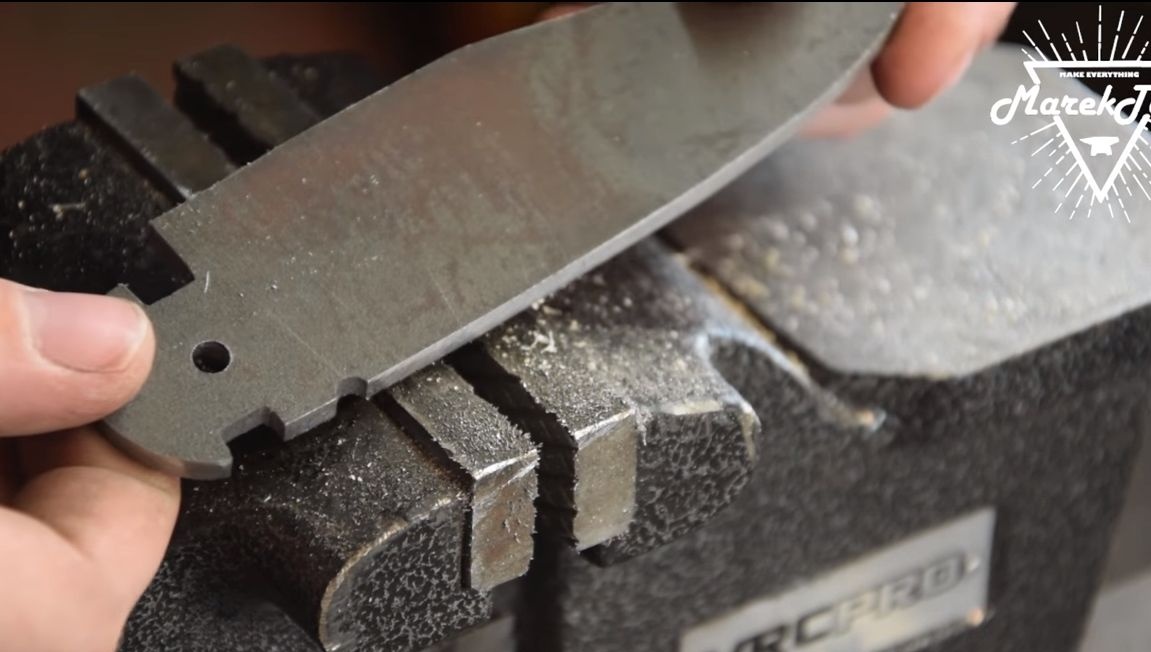
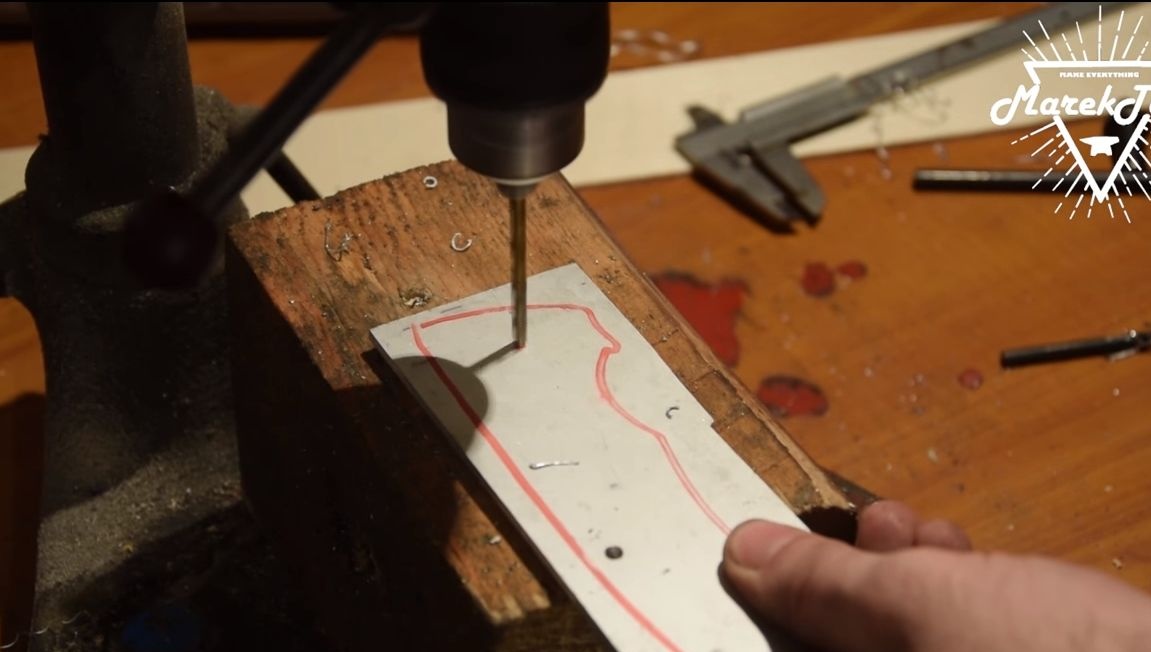
The first thing you need to do is design a knife blade. There is nothing complicated in this, the blade should have two grooves, thanks to which the blade will be kept closed and also open. First draw the desired profile on paper, and then cut it out.
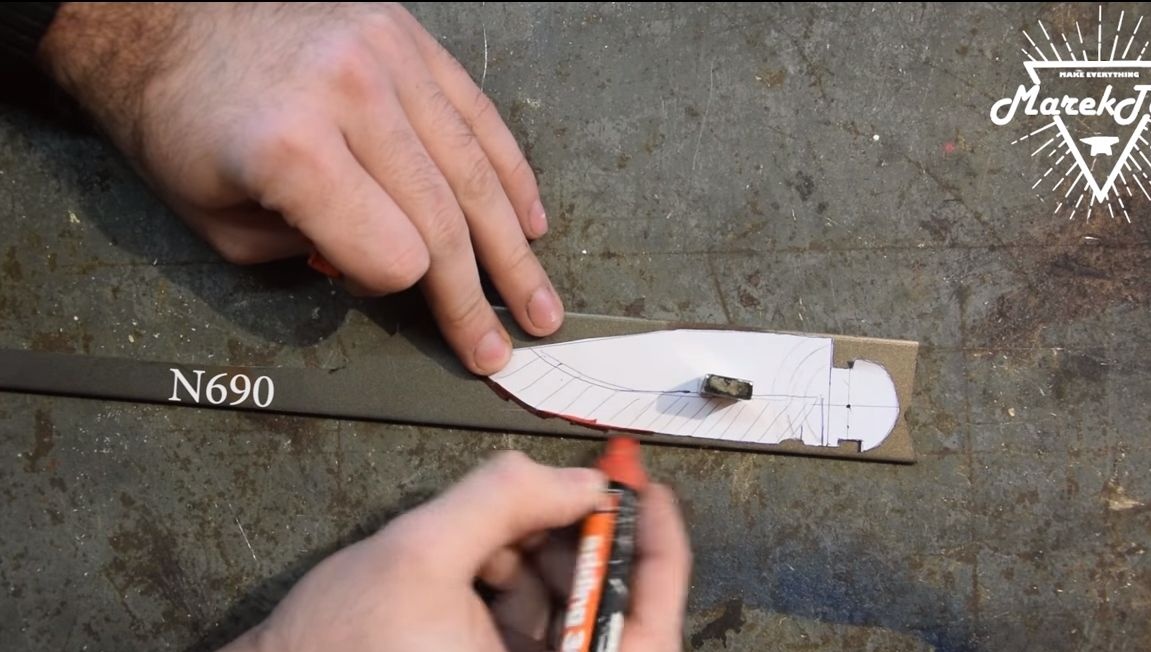
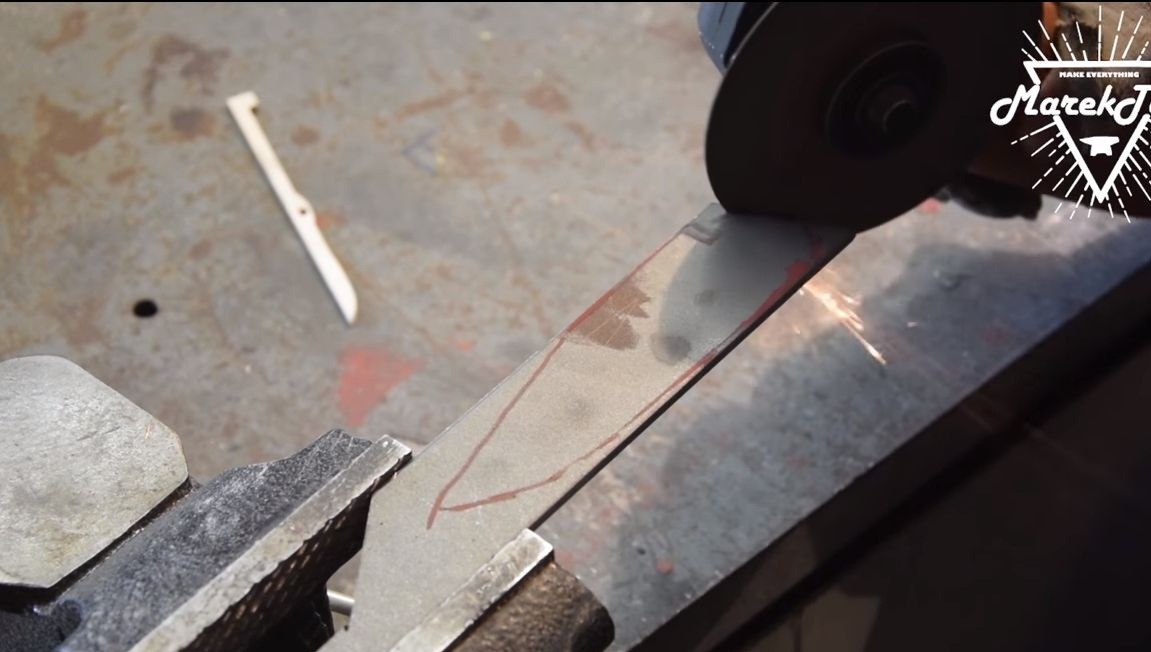
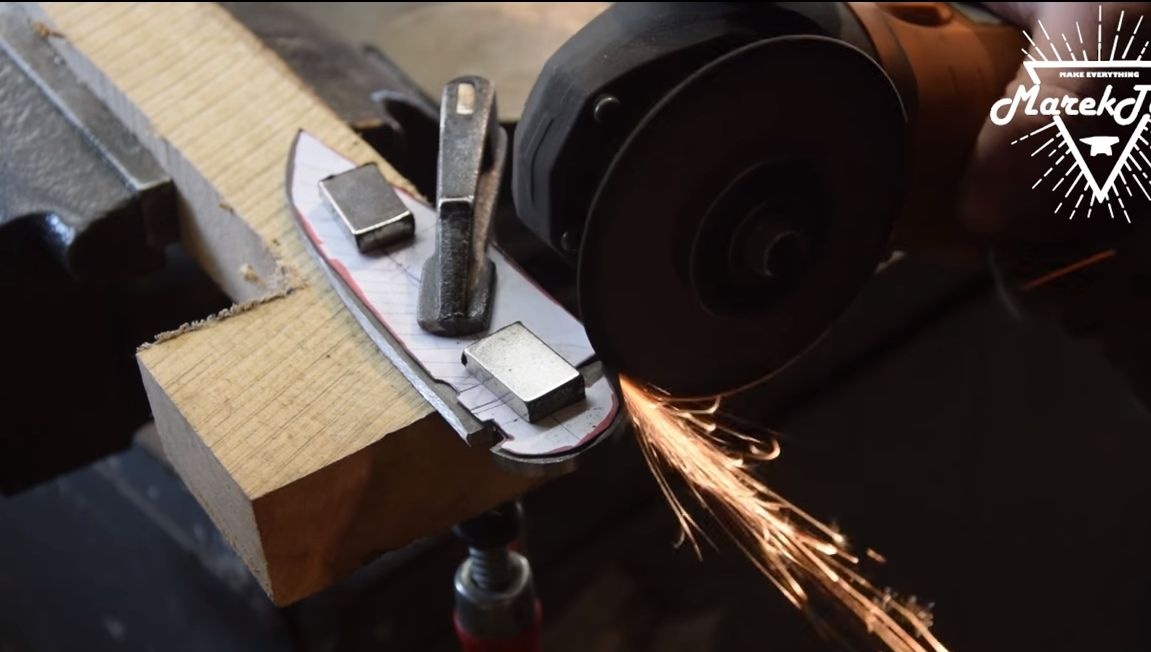
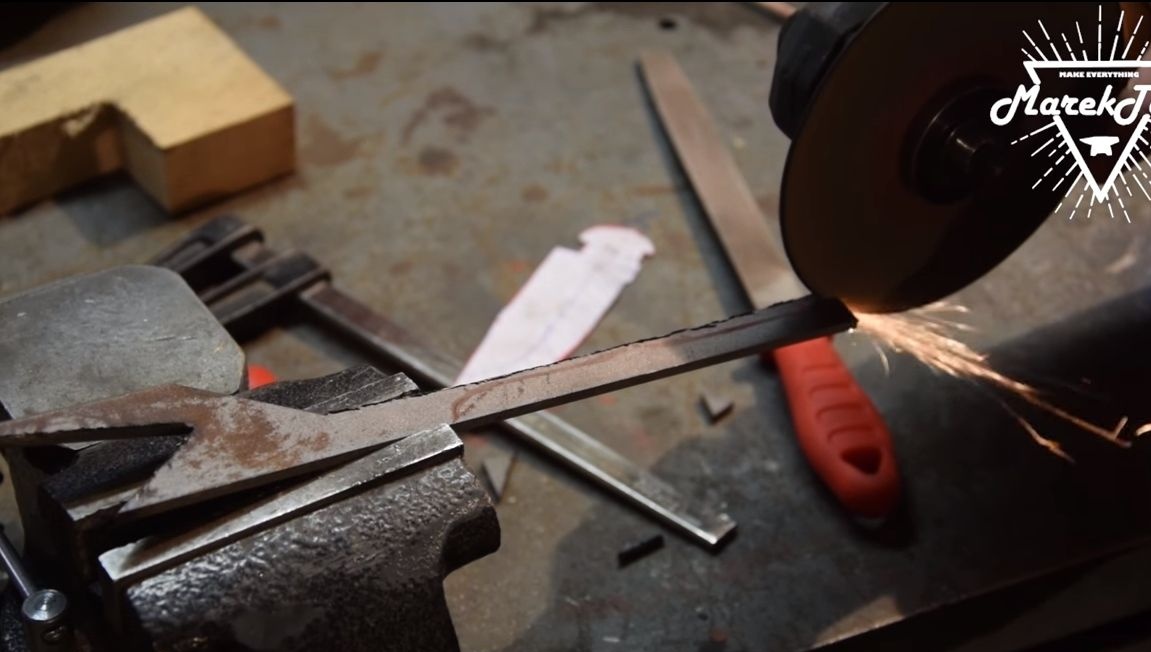
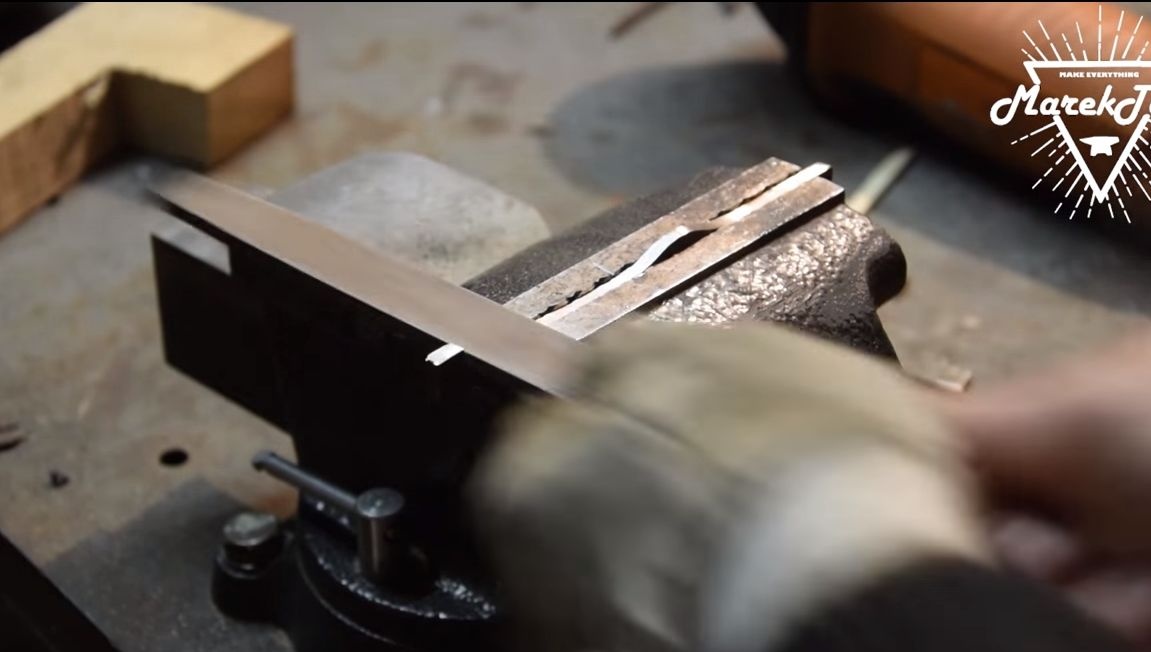
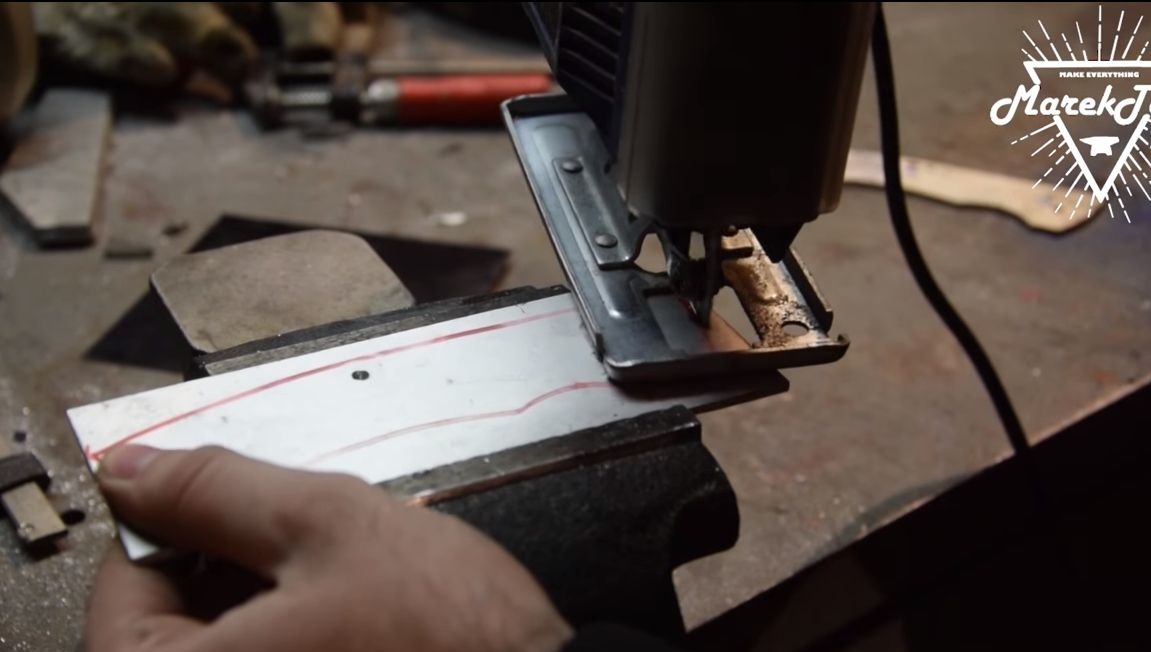
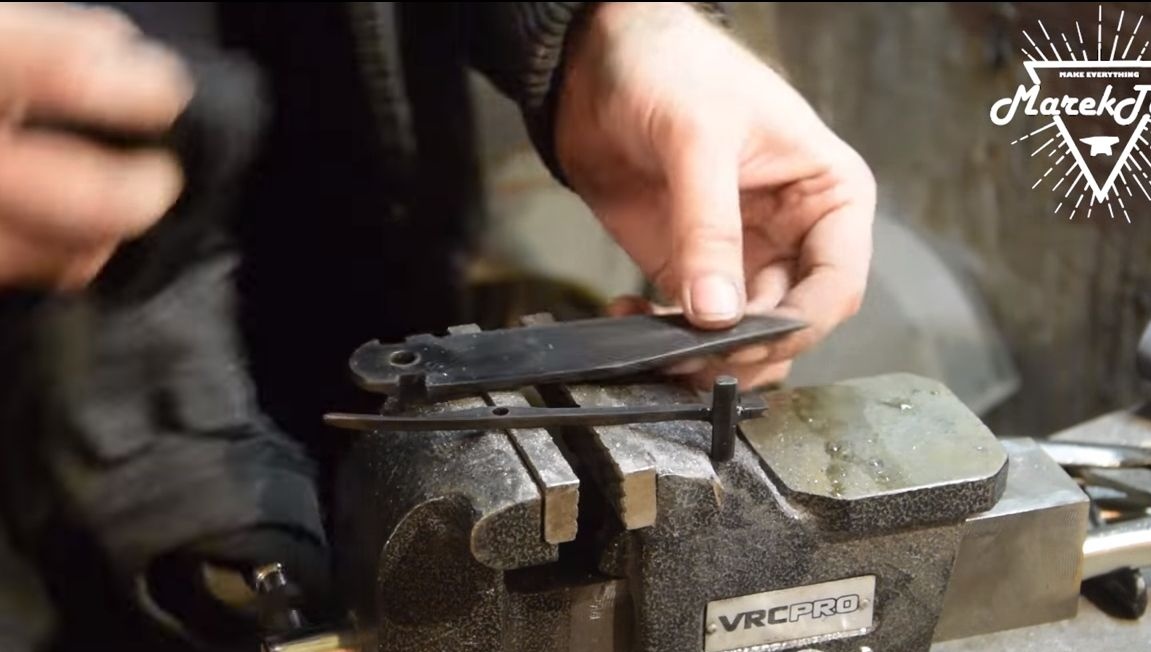
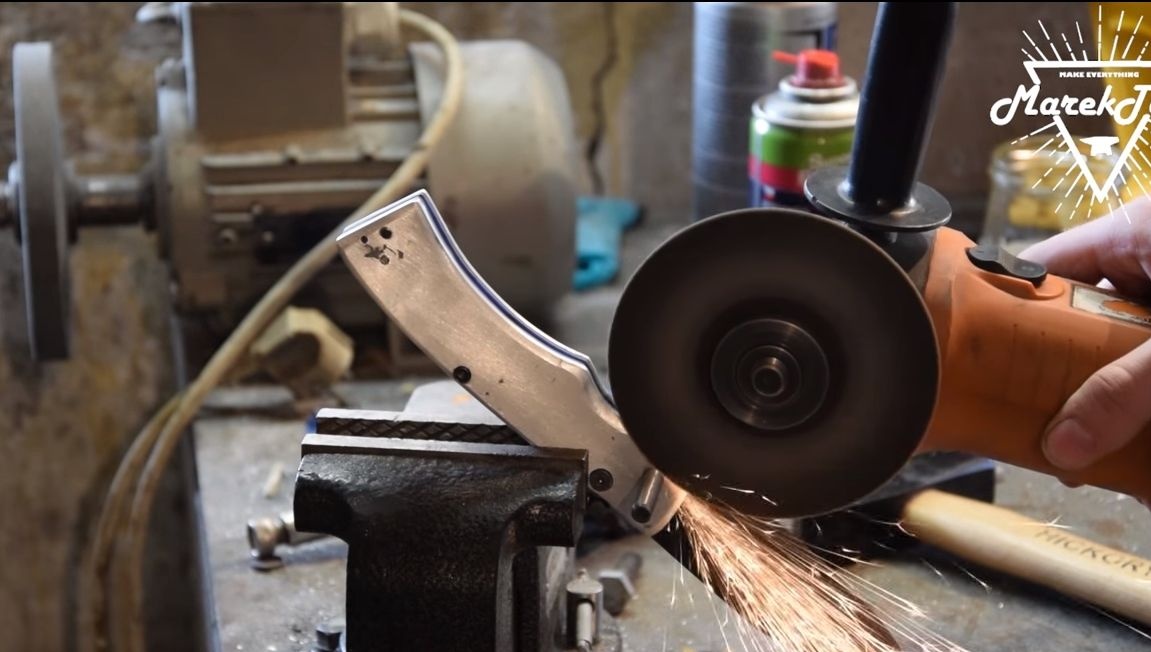
The finished template is applied to steel and outlined with a marker. Steel for the blade must necessarily have a large amount of carbon, otherwise you will not be able to harden it. Now you can start cutting the blade. To do this, we clamp the workpiece in a vice and work as a grinder, and if there is a band saw, then this is all done much faster.
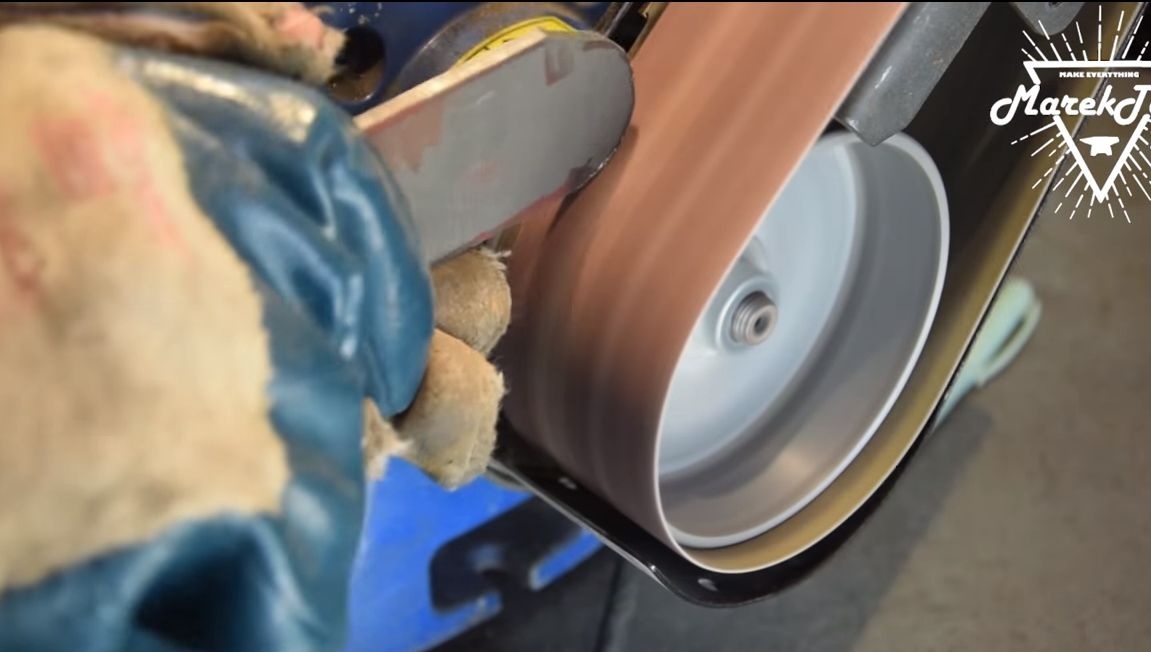
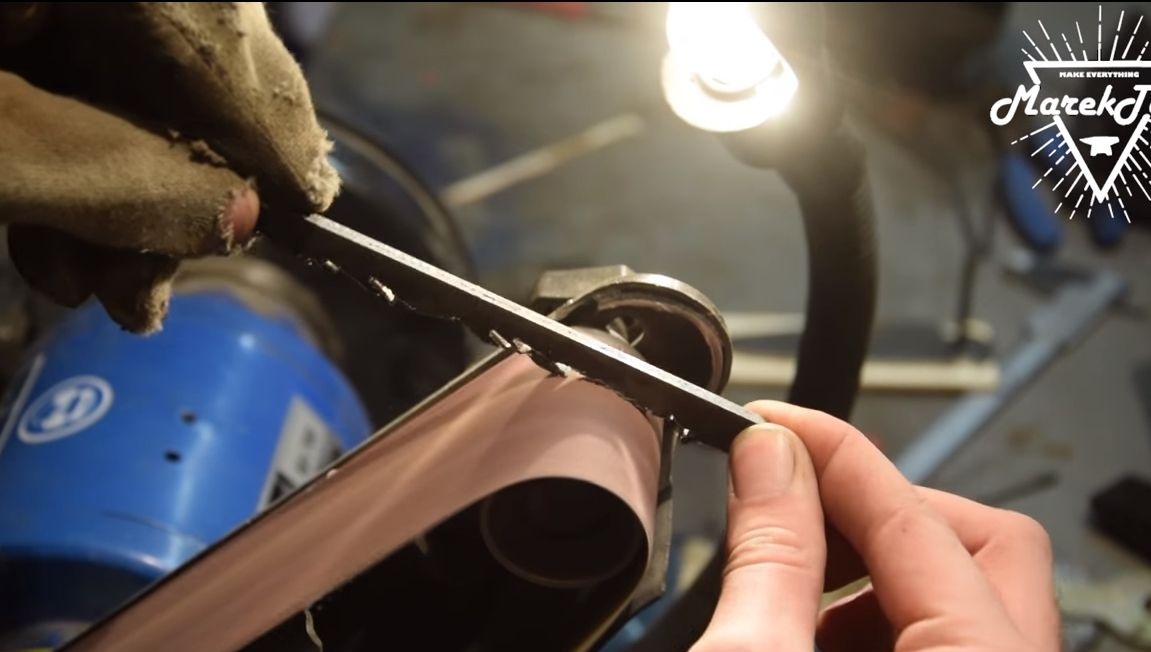
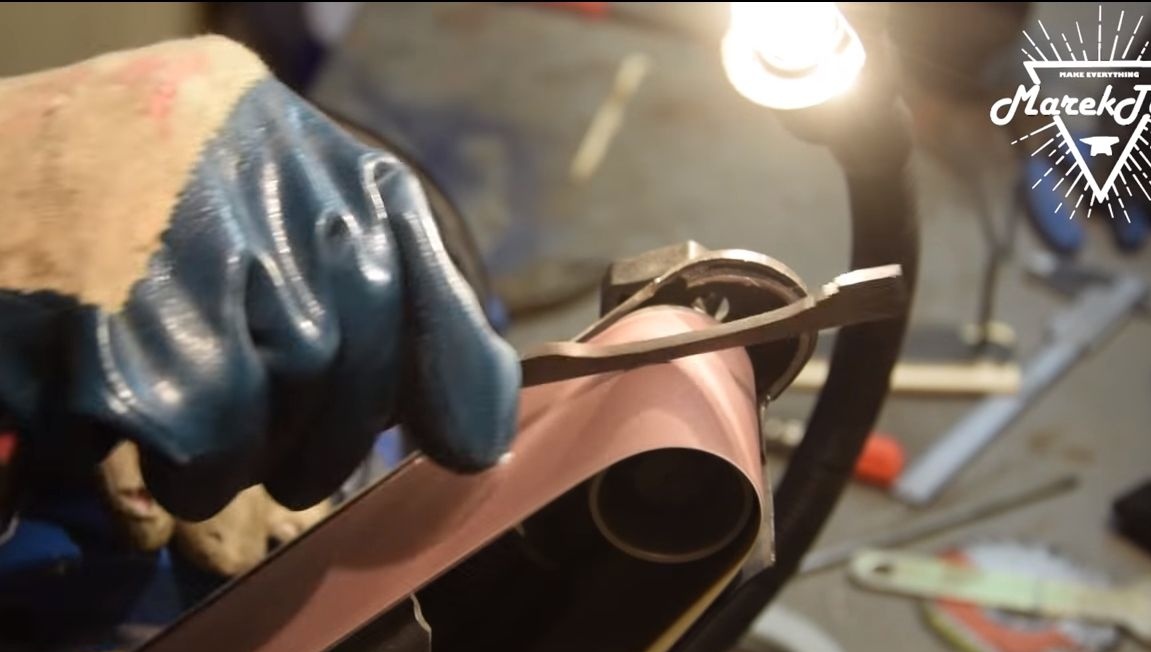
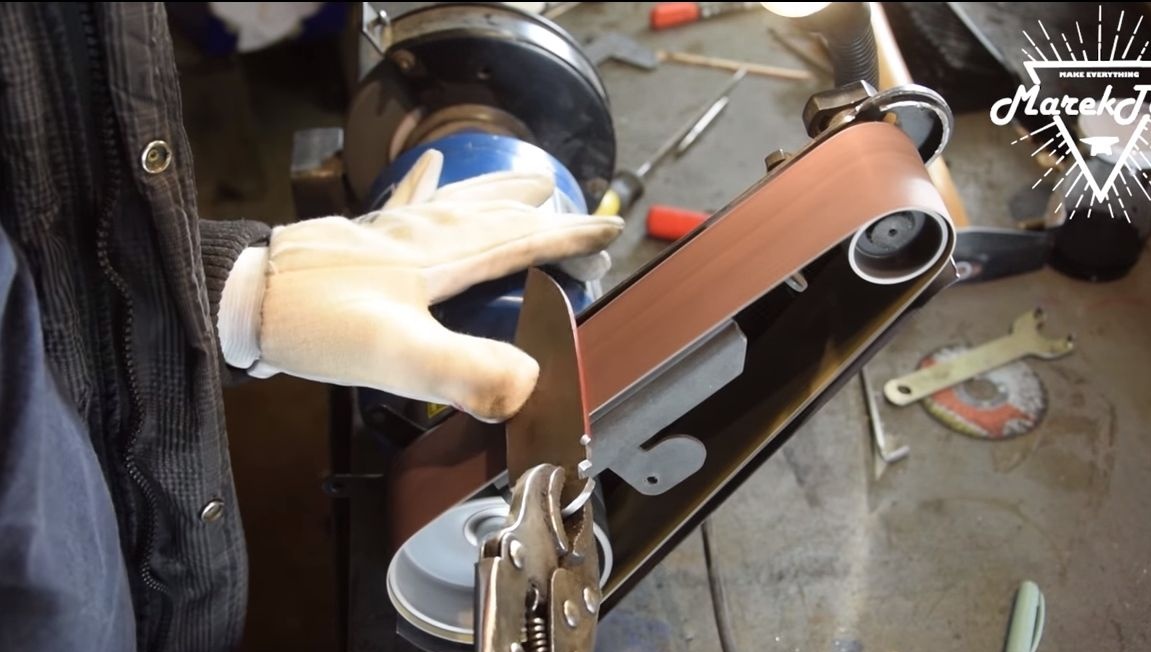
Now we process the blade on a belt grinder, we bring the profile to the ideal.
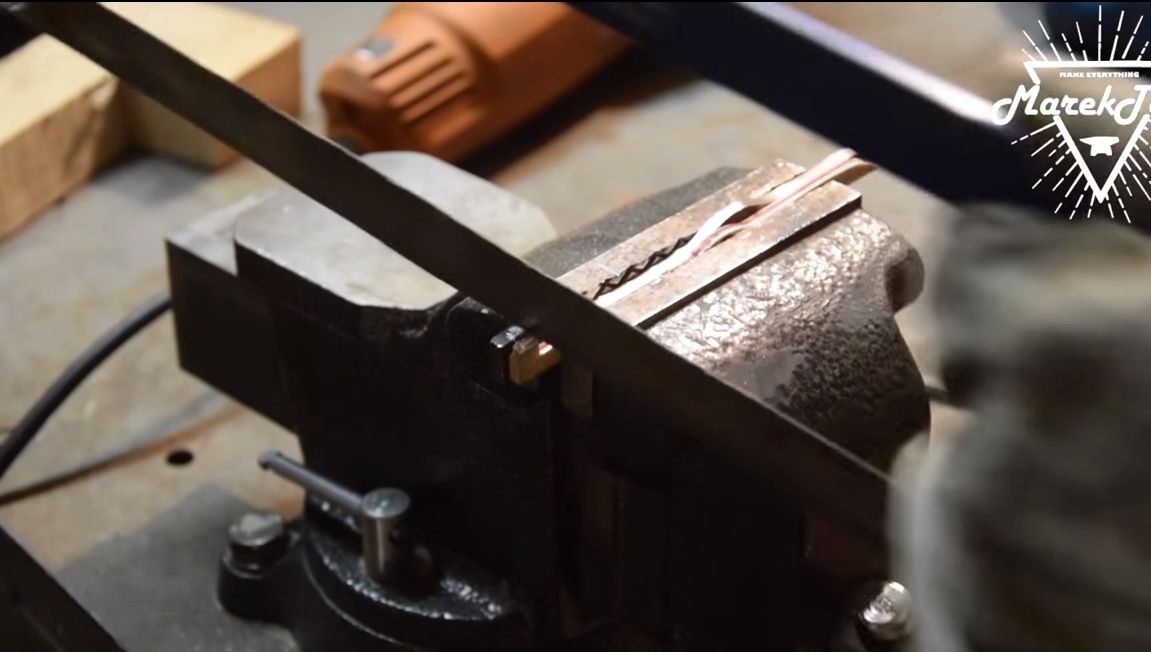
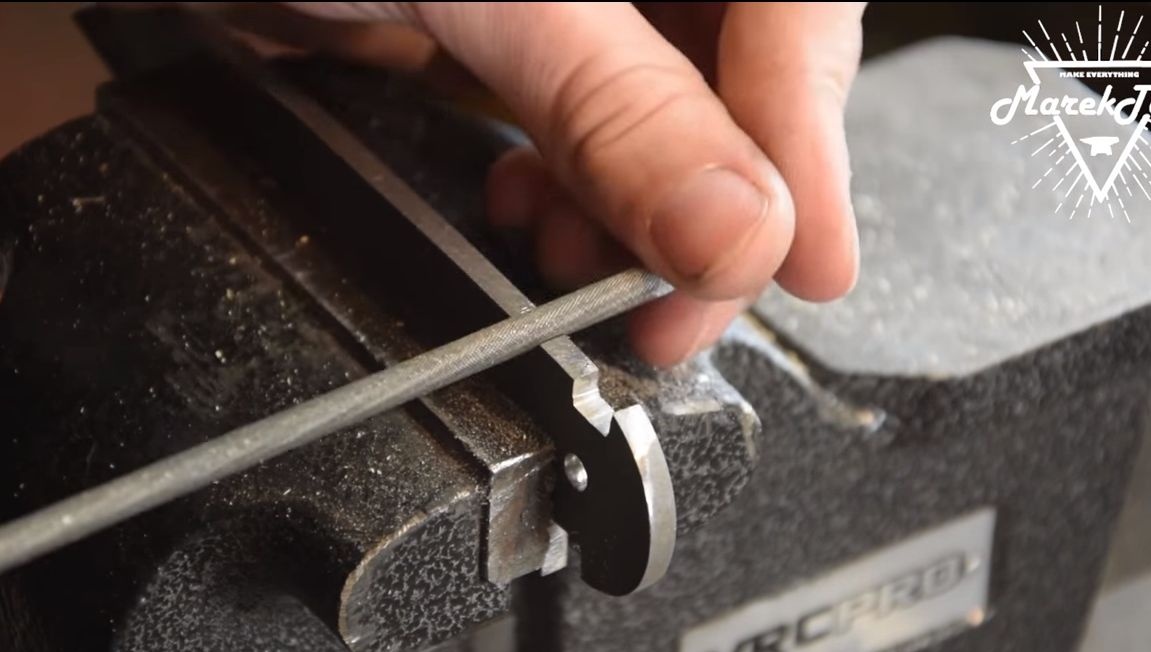
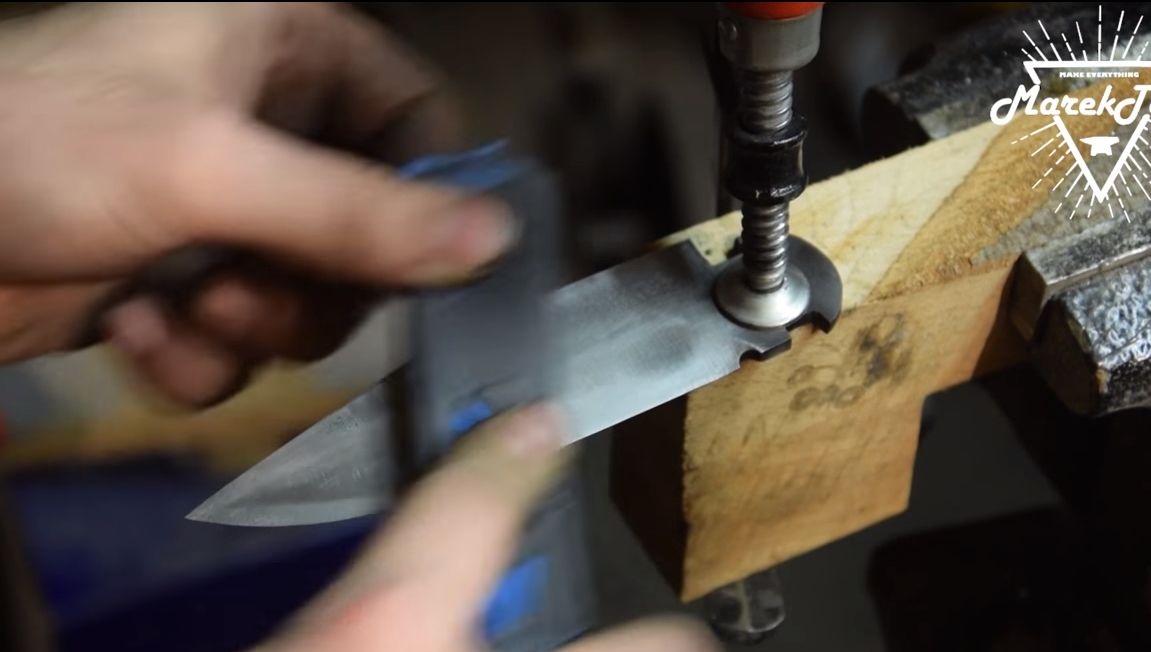
At the end, you will need to grind the grooves in the blade, this design provides for two pieces. First, we cut them out with a grinder, and then we finish using a flat file.
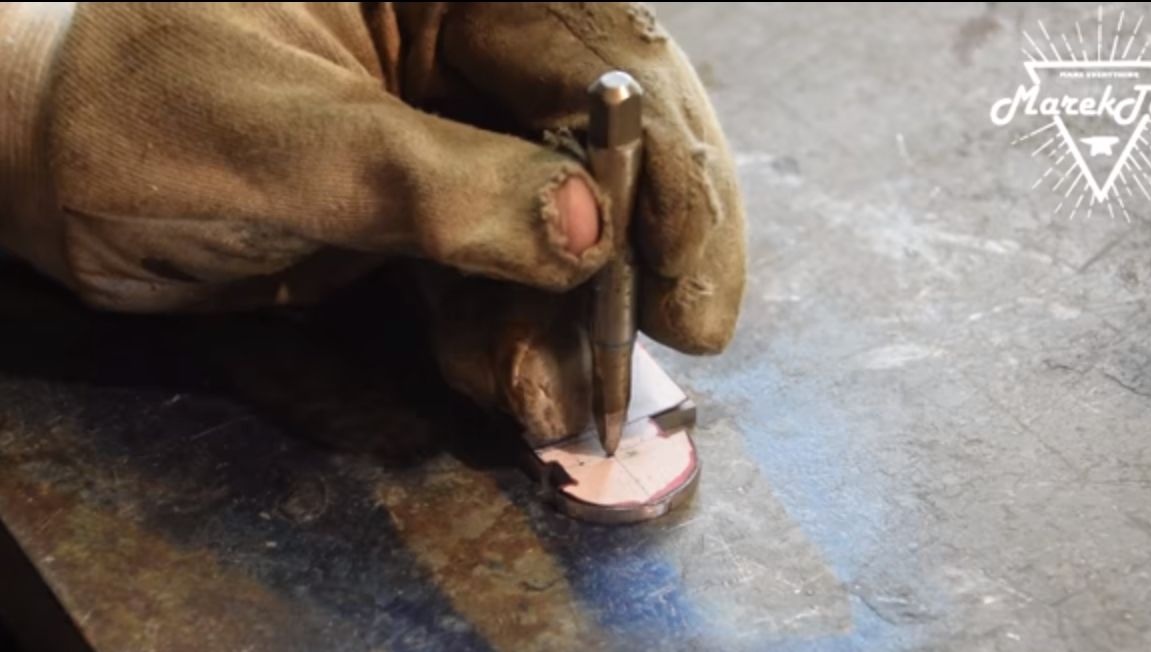
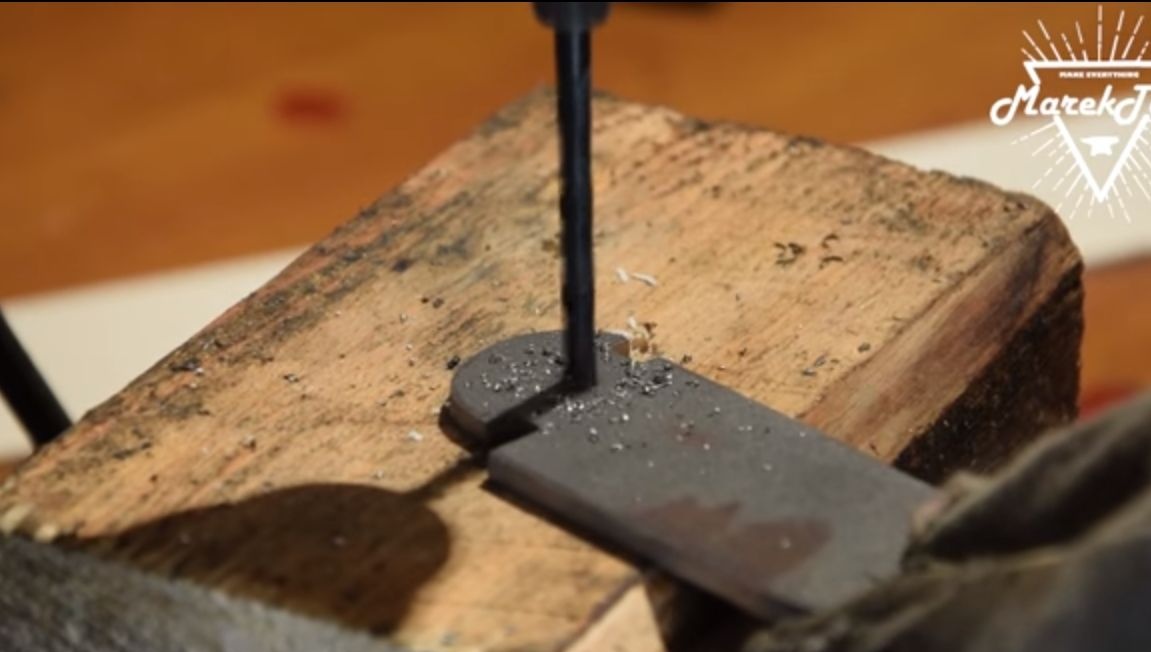
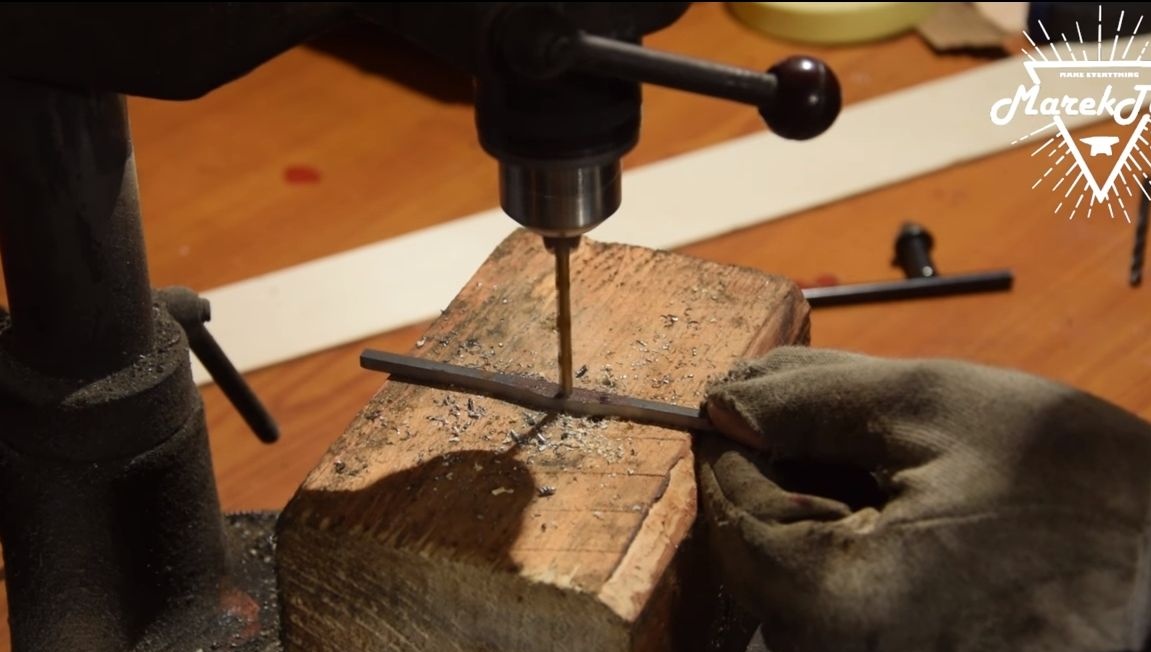
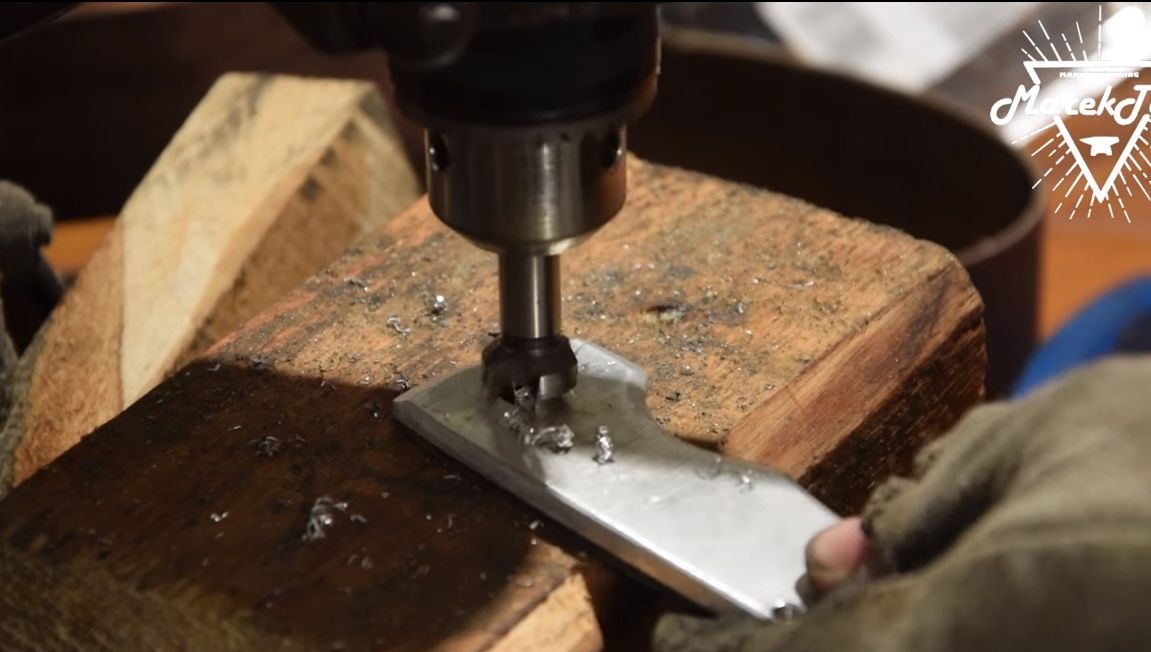
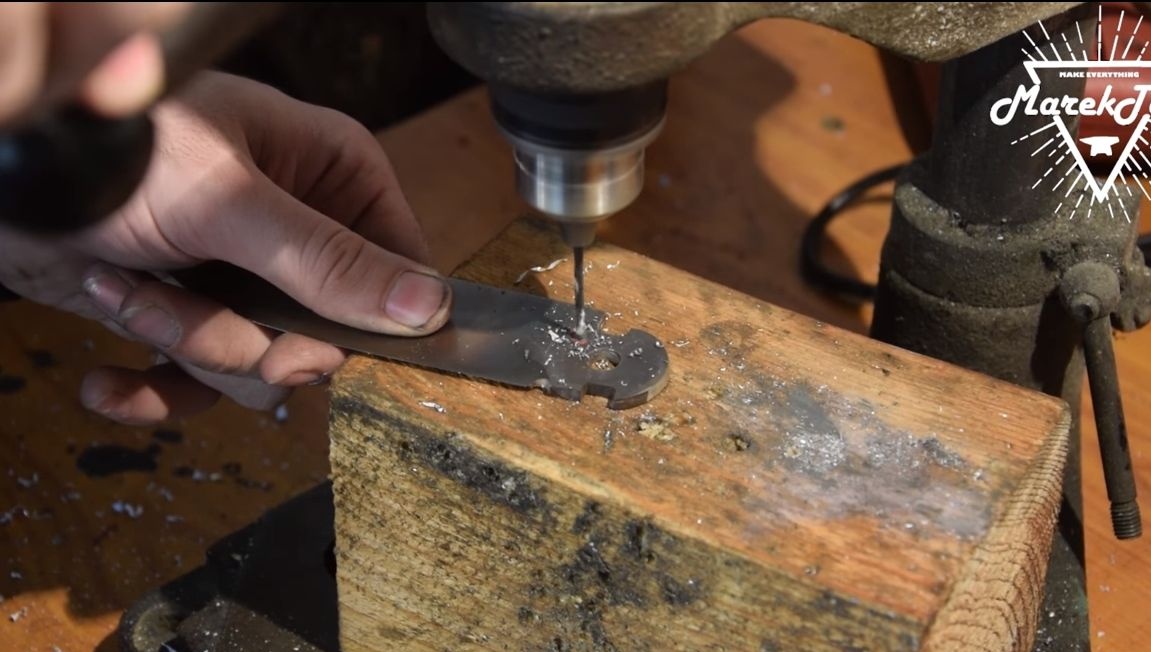
Do not forget to drill a hole in the blade into which the axis will be mounted.
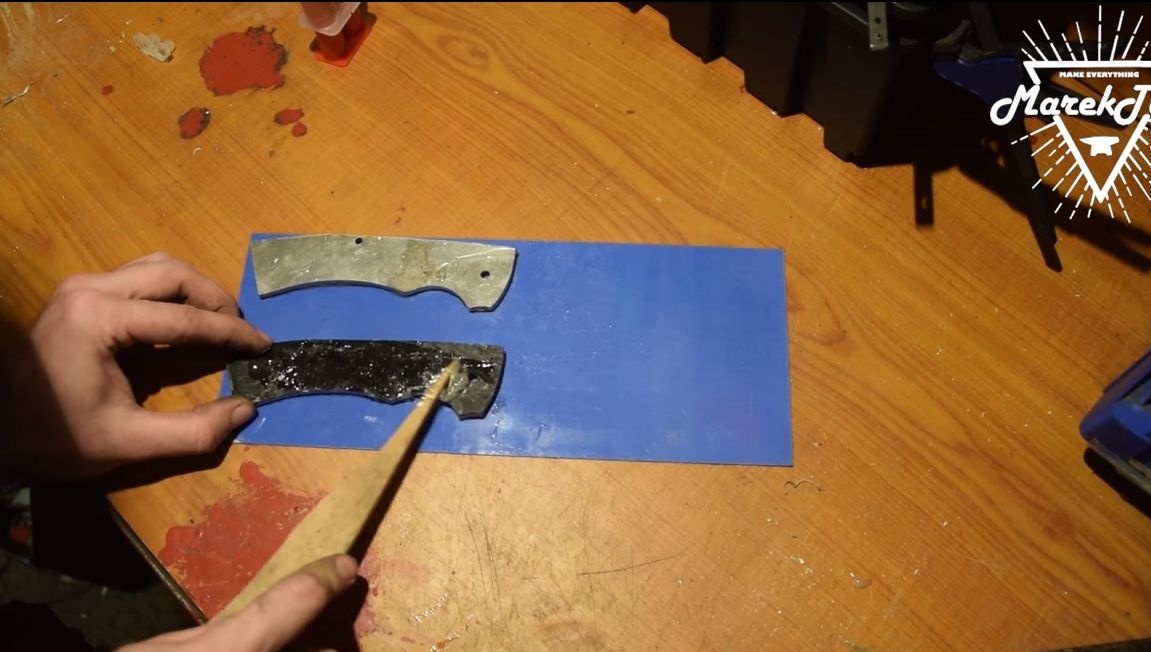
Step Two We make the locking lever
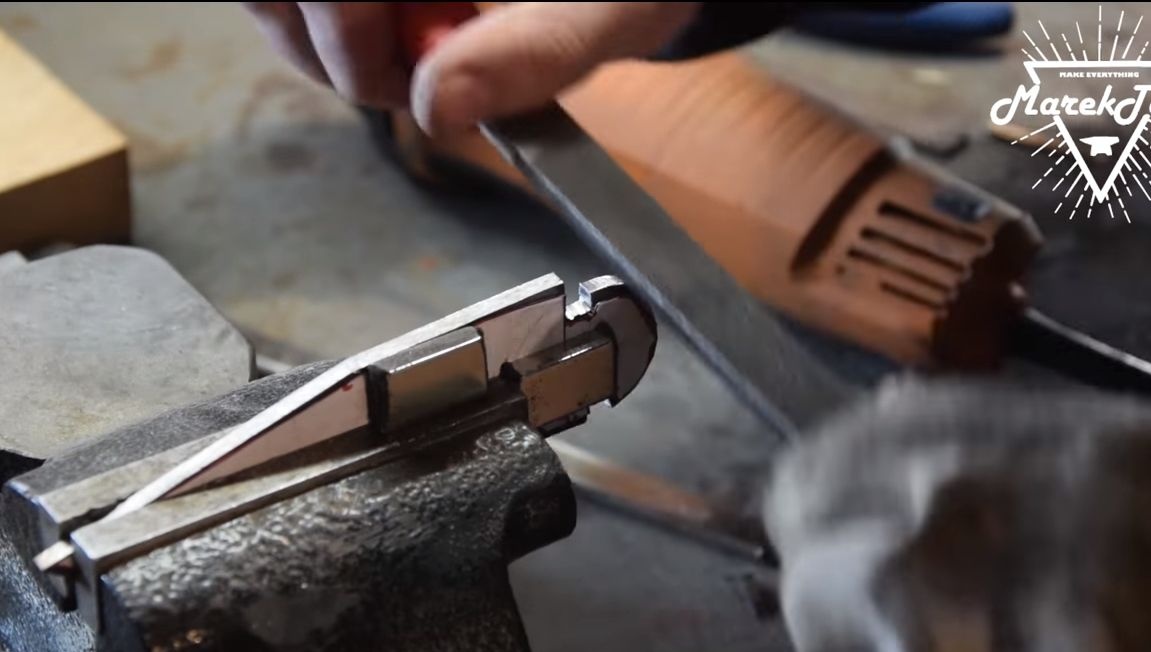
The locking lever must also be made of strong steel, since during prolonged use, the holding hook can wear out.The lever fixes the blade in two positions, first in the closed, and then in the open state.
We attach the profile to the metal and cut it out, we finish it with the help of files and a hand saw. At the end, drill a hole for the axis.

Step Three Final grinding of the blade
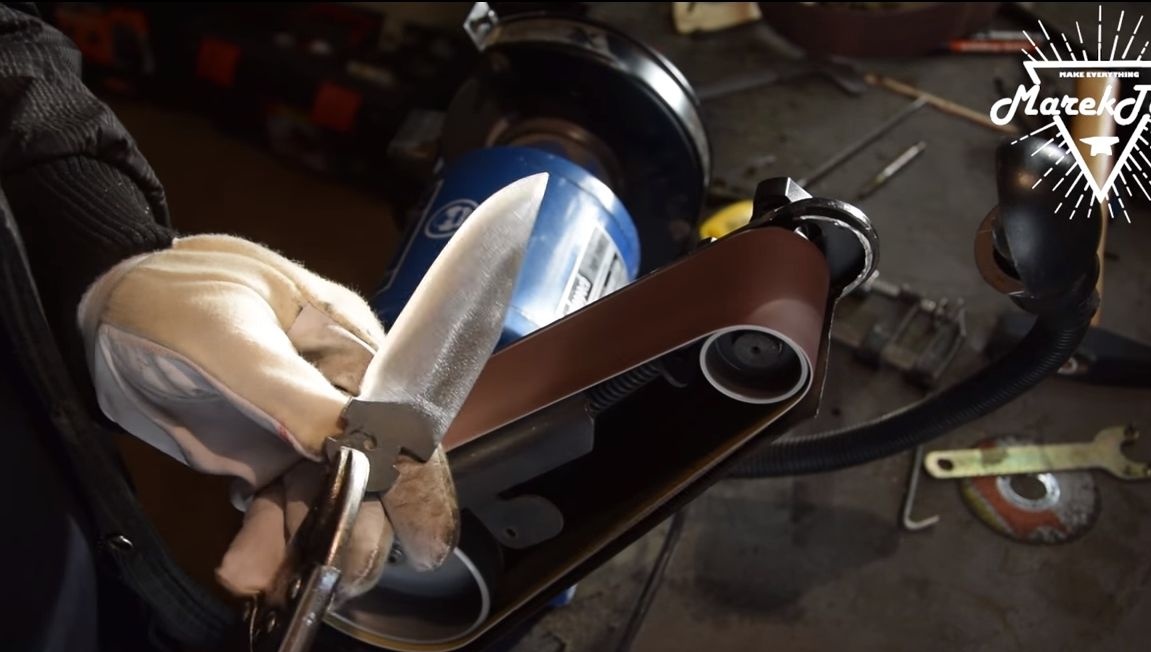
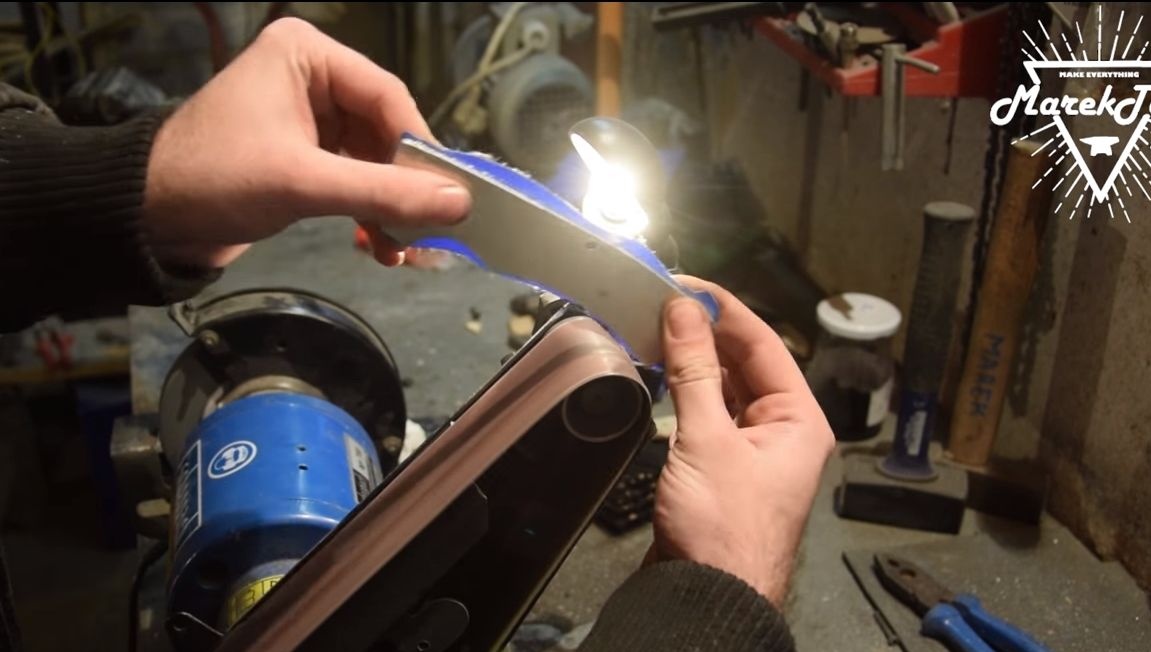
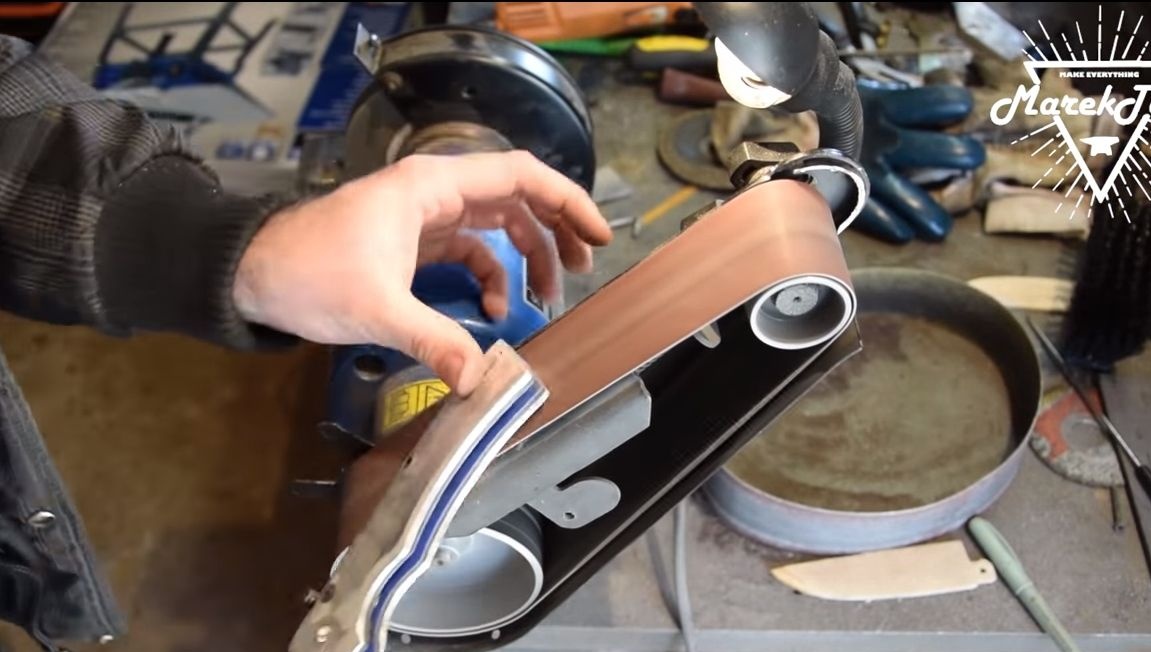
On the blade you need to form the bevels, this event is very responsible. This can be done quickly and efficiently on a belt sander. The main parameter here is symmetry. Do not sharpen the knife too much at this stage, since the blade can lead to hardening, and thin metal can overheat too much.
Step Four Make a pen
The author makes a pen from sheet aluminum, gluing two more layers to the inside. One of the layers is textolite, and the second, outer, probably plastic or something like that. Thanks to this layer, friction is reduced and the knife opens perfectly.
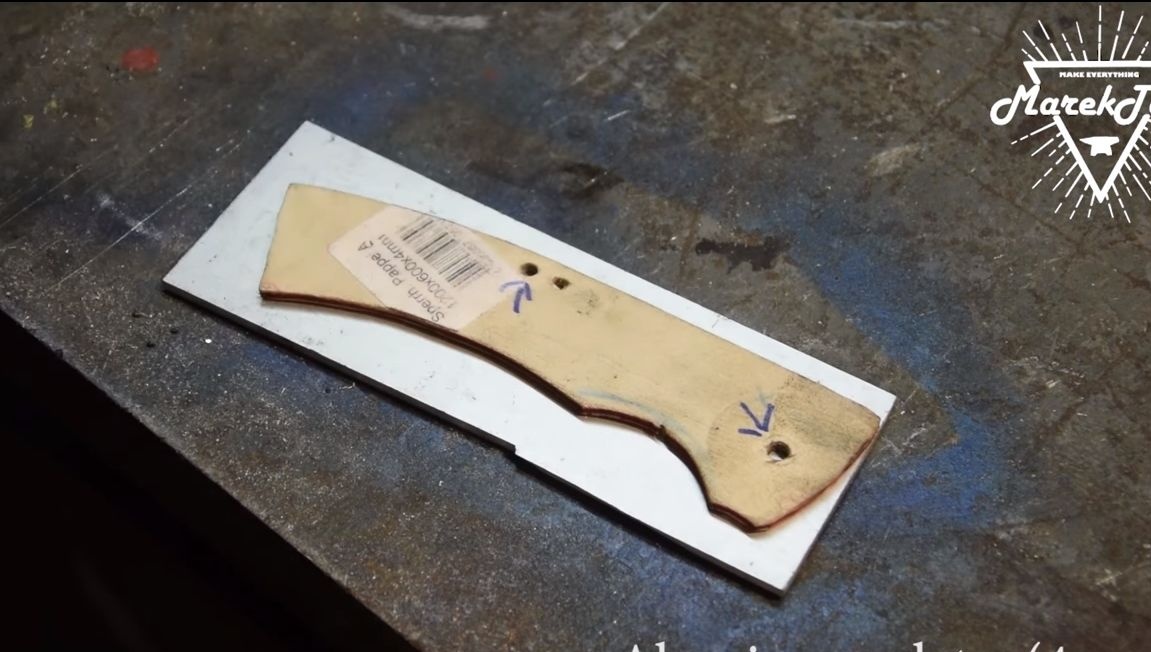
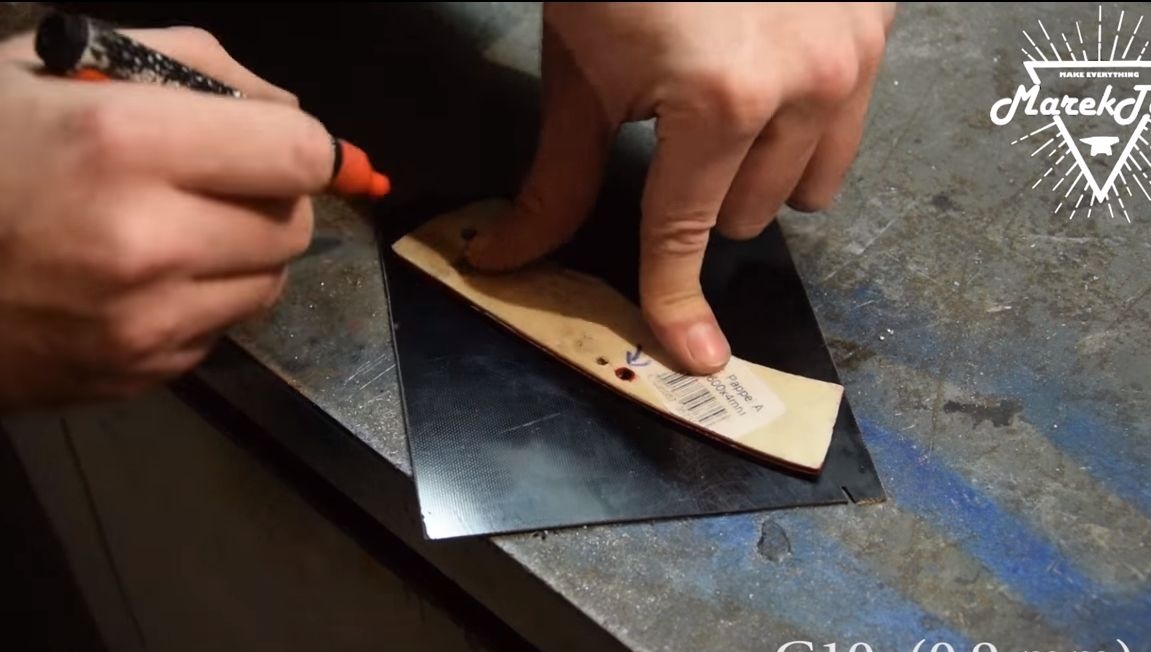
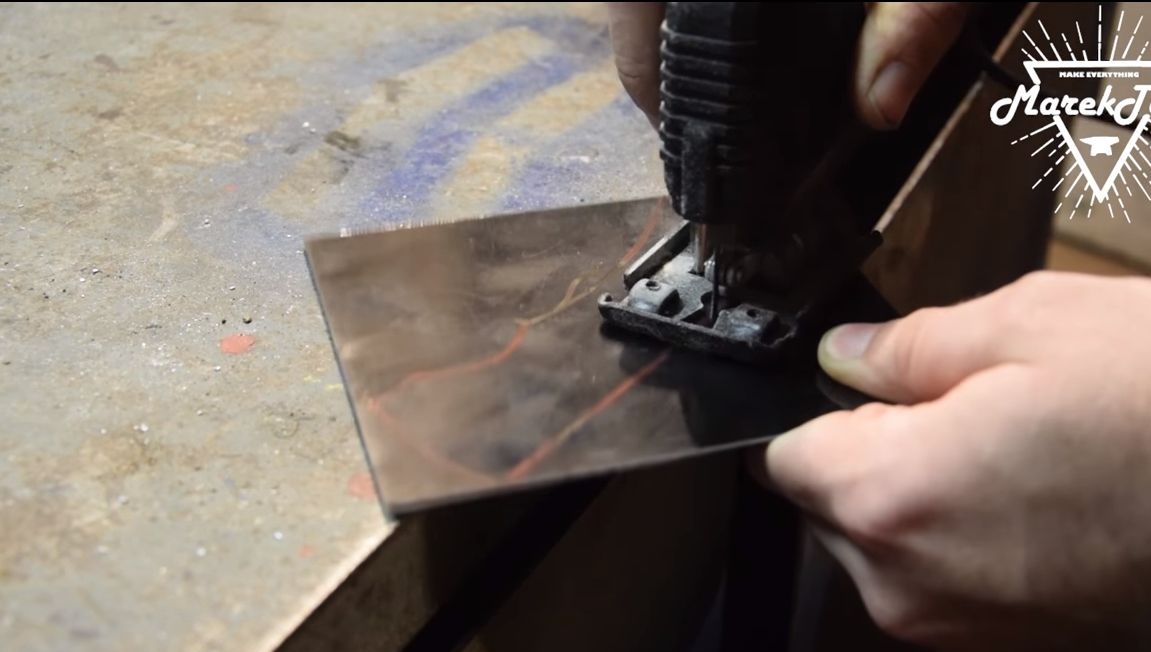
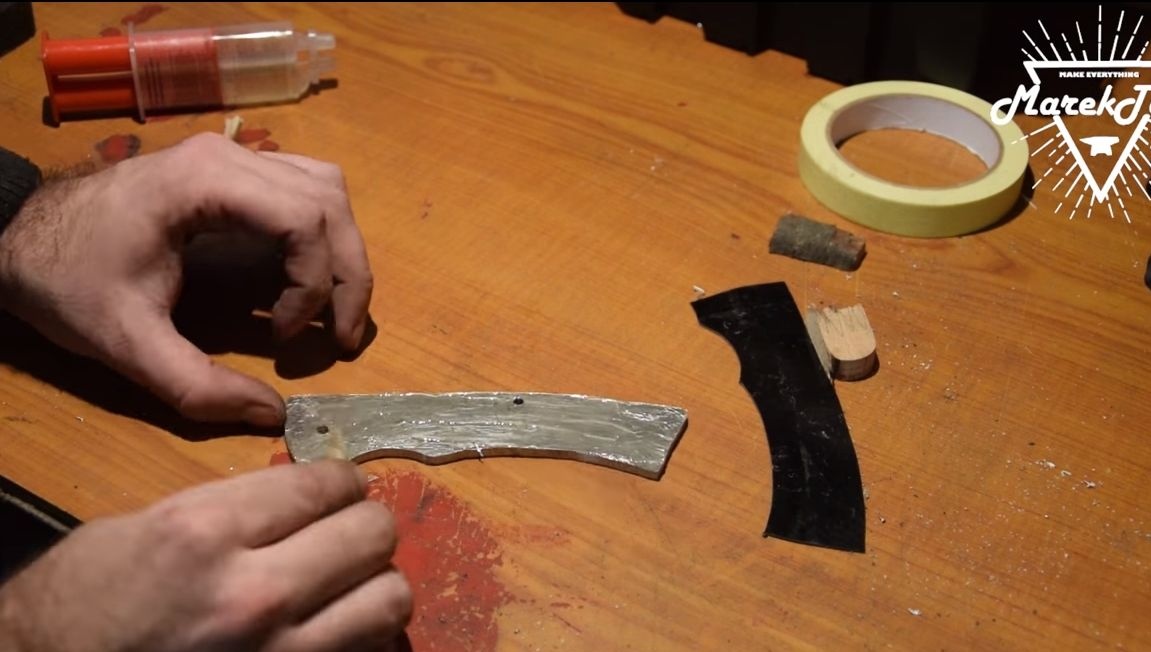

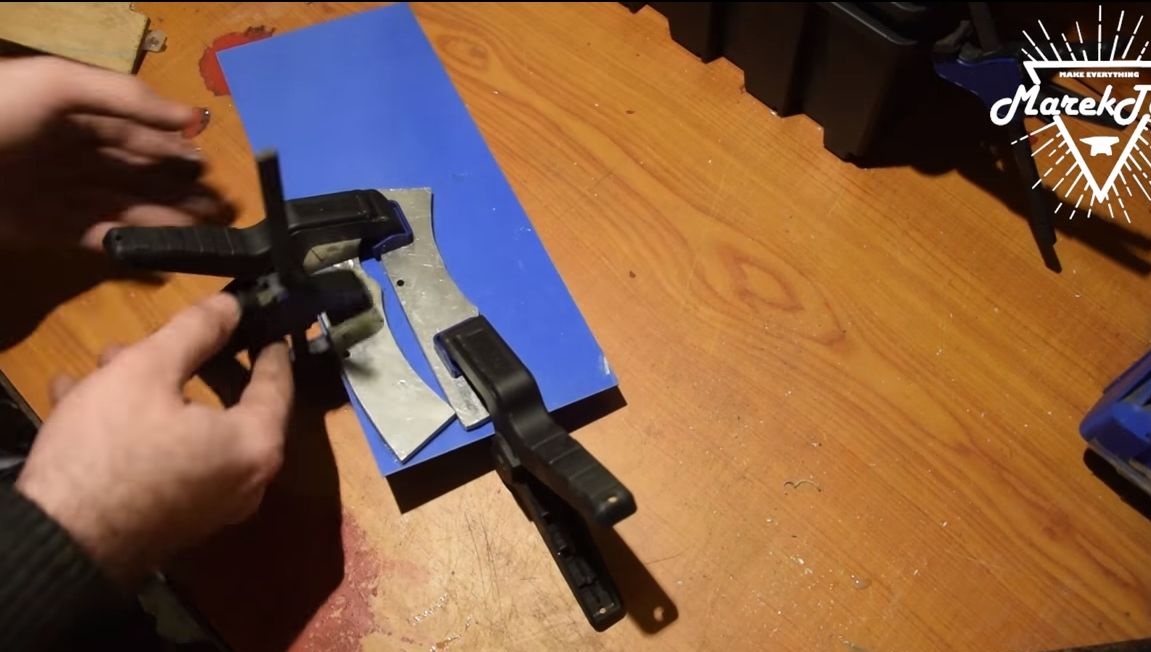
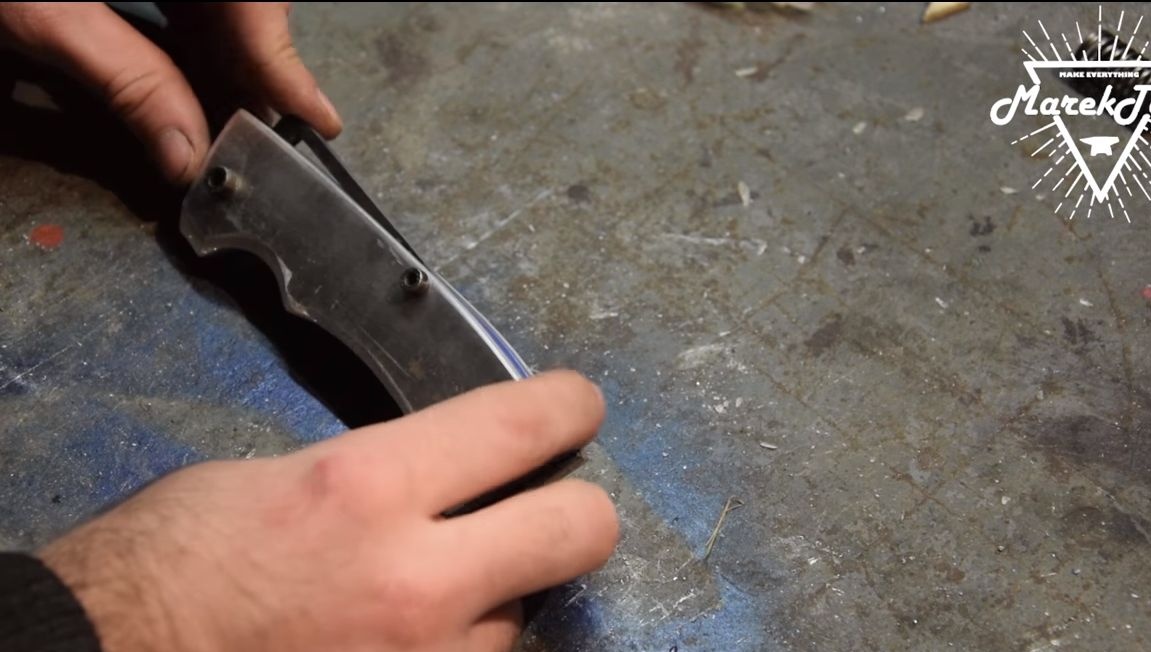
Using the template, cut two parts of the handle, you will also need to cut two similar parts from the PCB. Glue the parts using epoxy glue. When the parts are ready, glue them on epoxy to the final layer. When the glue dries, cut them out.
Finally, sand the parts on a belt sander.
Step Five Final preparation of all parts
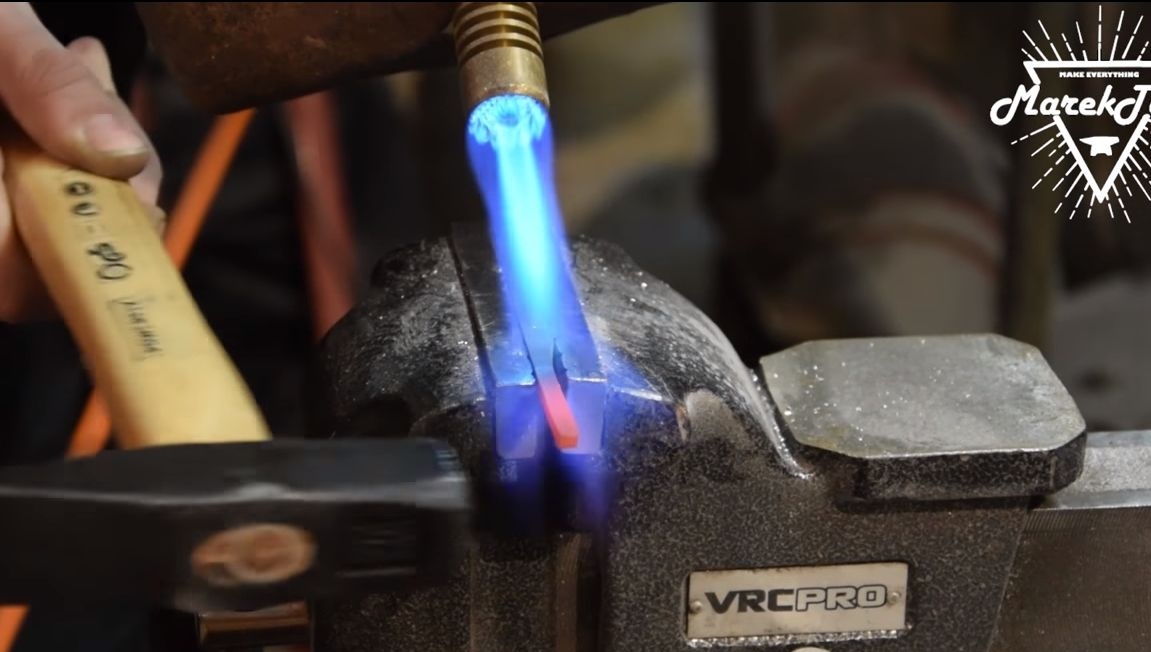
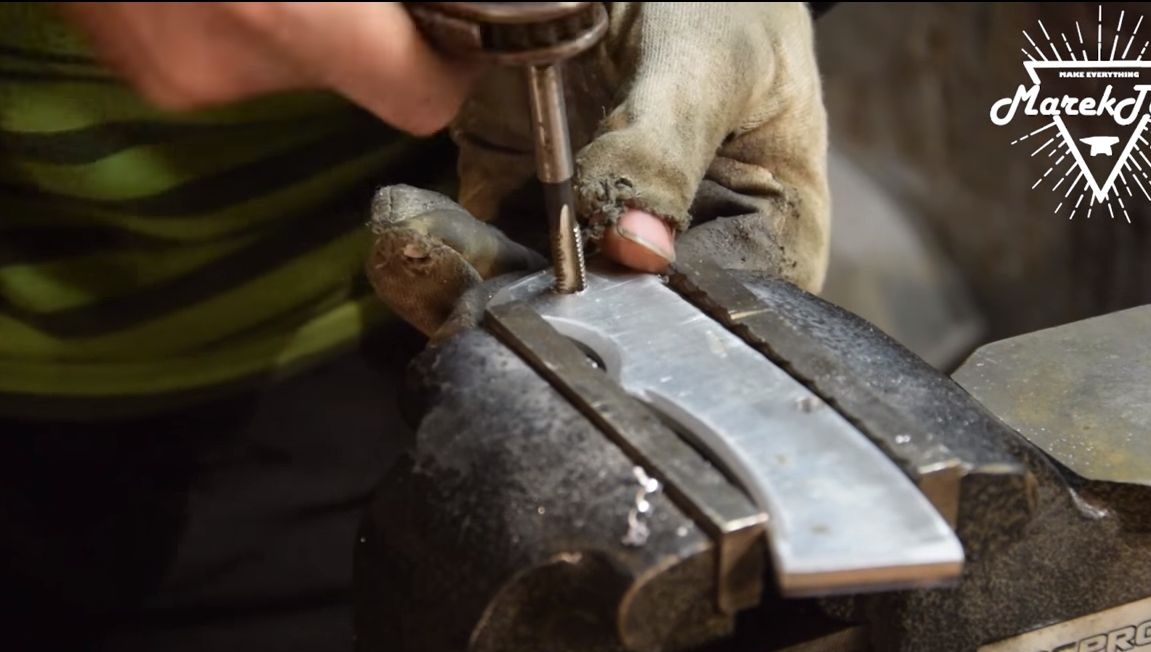
In the handle you need to drill holes and cut the thread, it will be assembled on the screws. You also need to bend the holding lever at a certain angle, for this the author heats it red-hot with a burner, and then bends it.
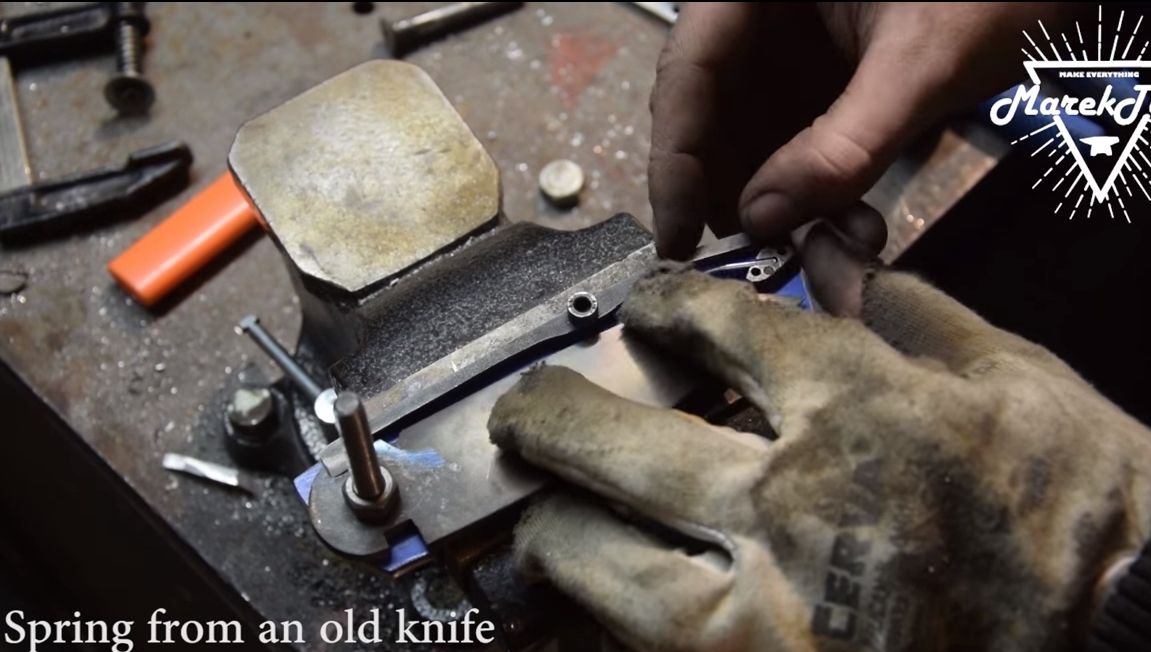
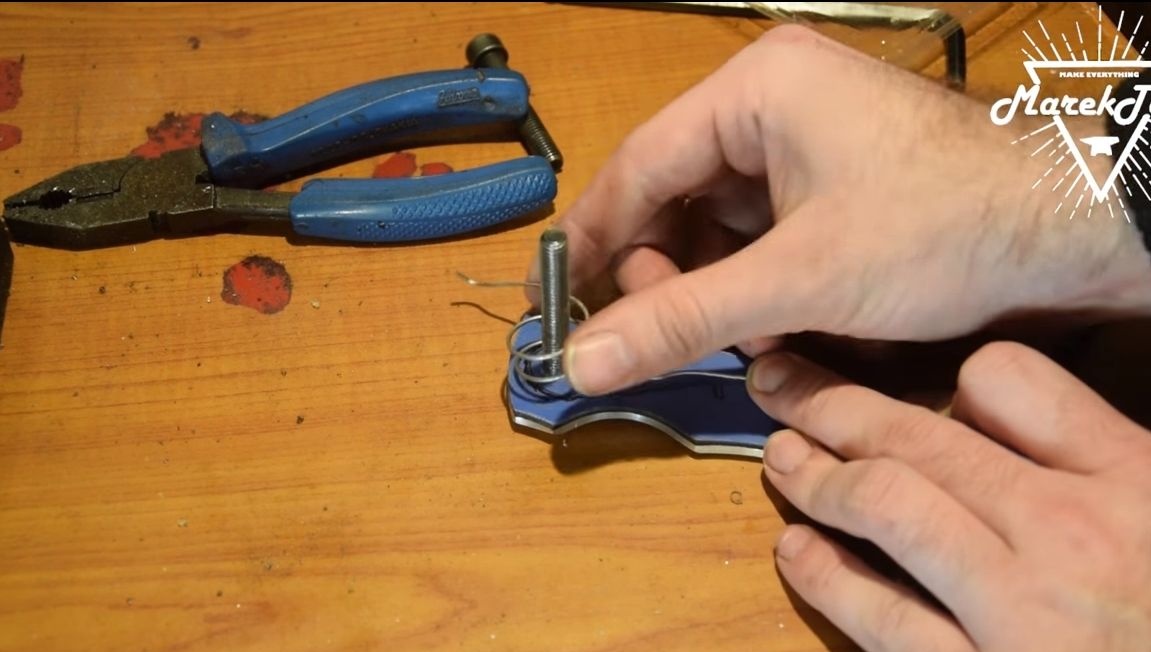
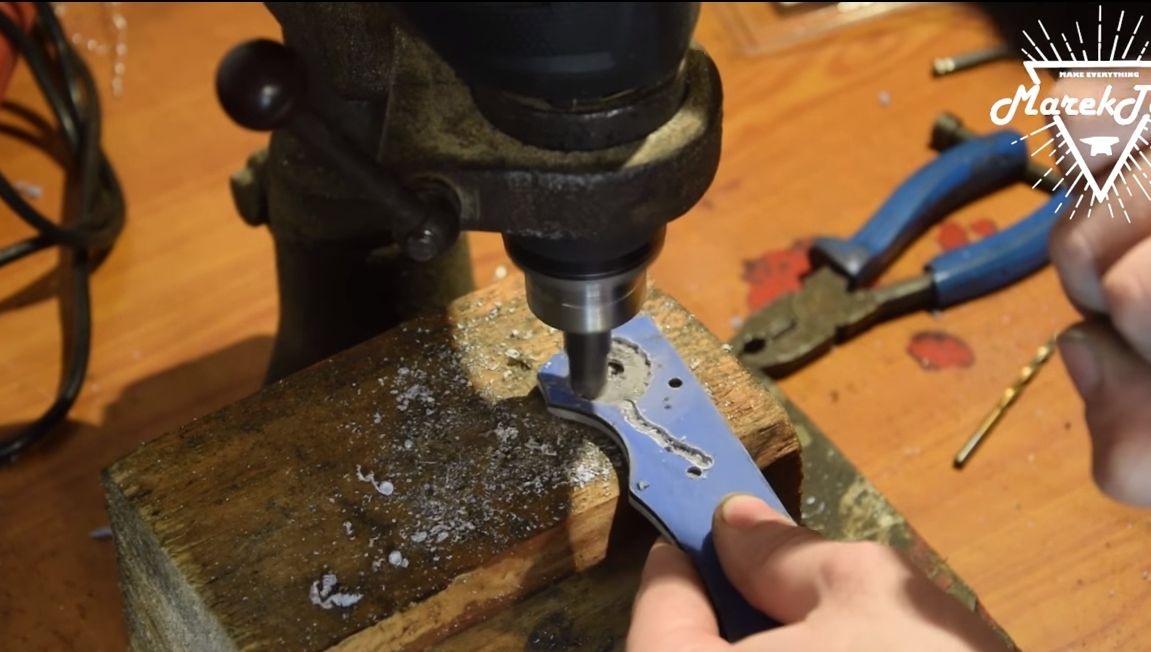
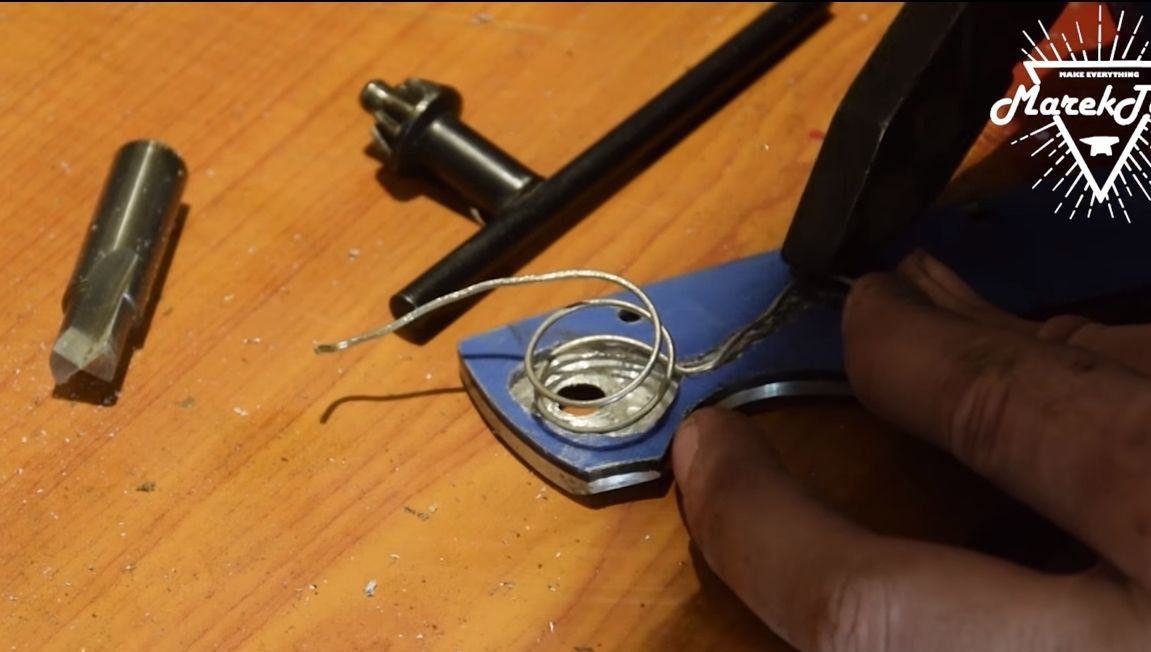
We proceed to install the spring. Thanks to her, the blade will automatically extend out of the handle. The spring is mounted on the same axis as the blade holds. Under it in the textolite, you need to cut a seat. First, the author cuts it out by drilling a series of holes, and then drills it using a drilling machine and a special nozzle. To attach the spring, two holes must be drilled. We drill one in the handle and the other in the blade.

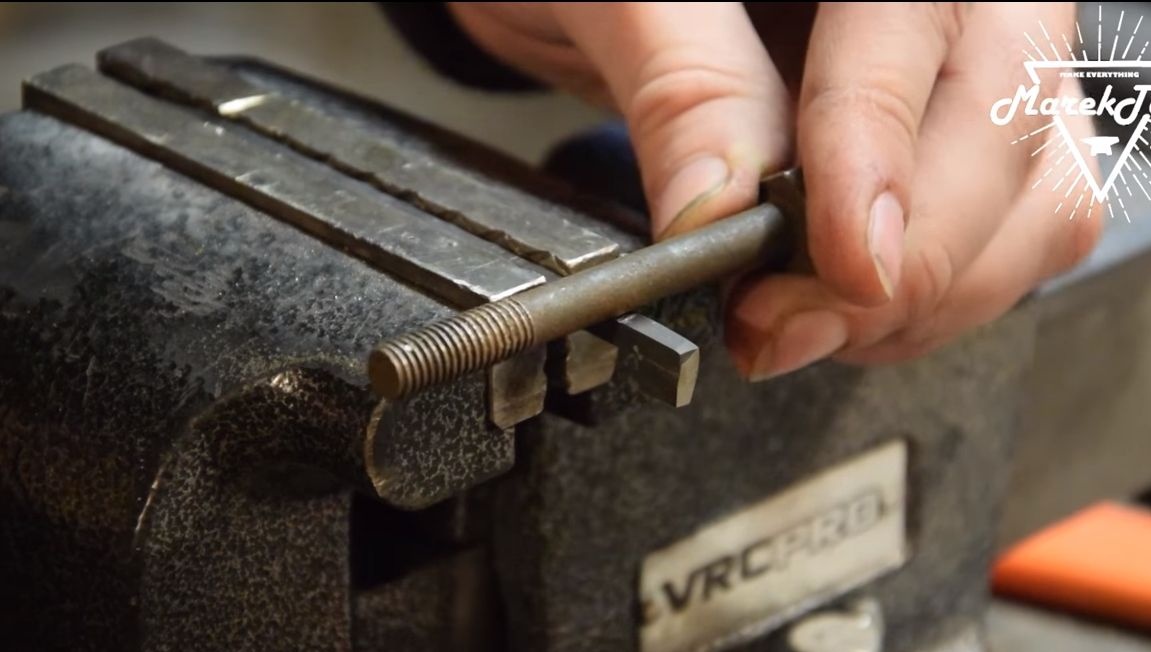
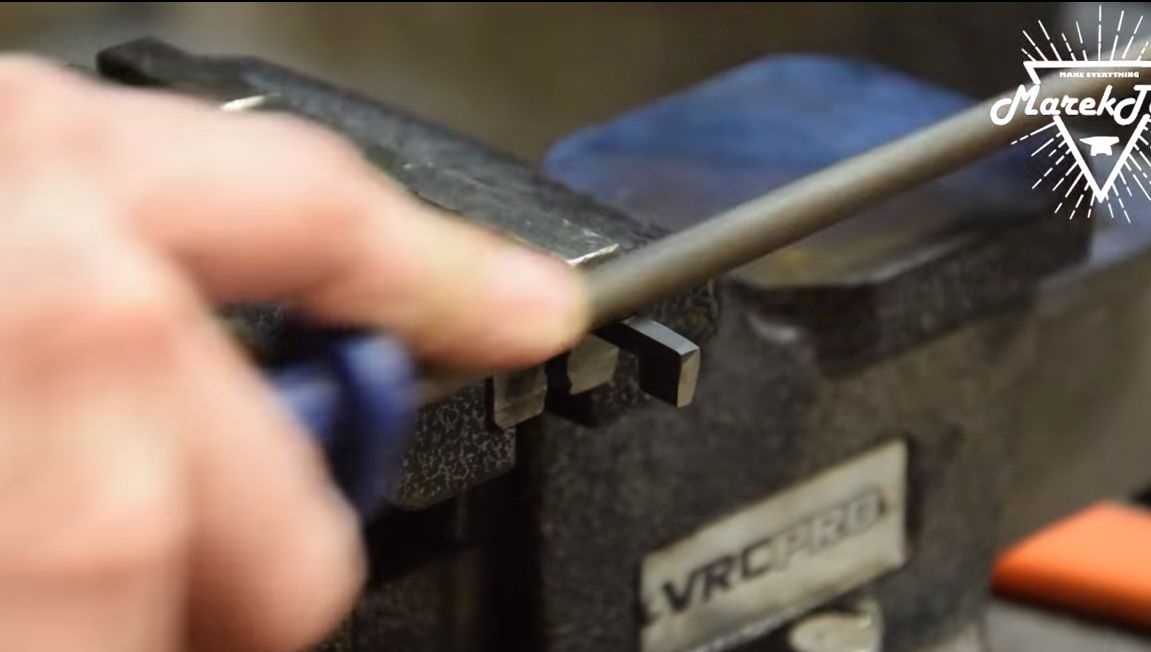
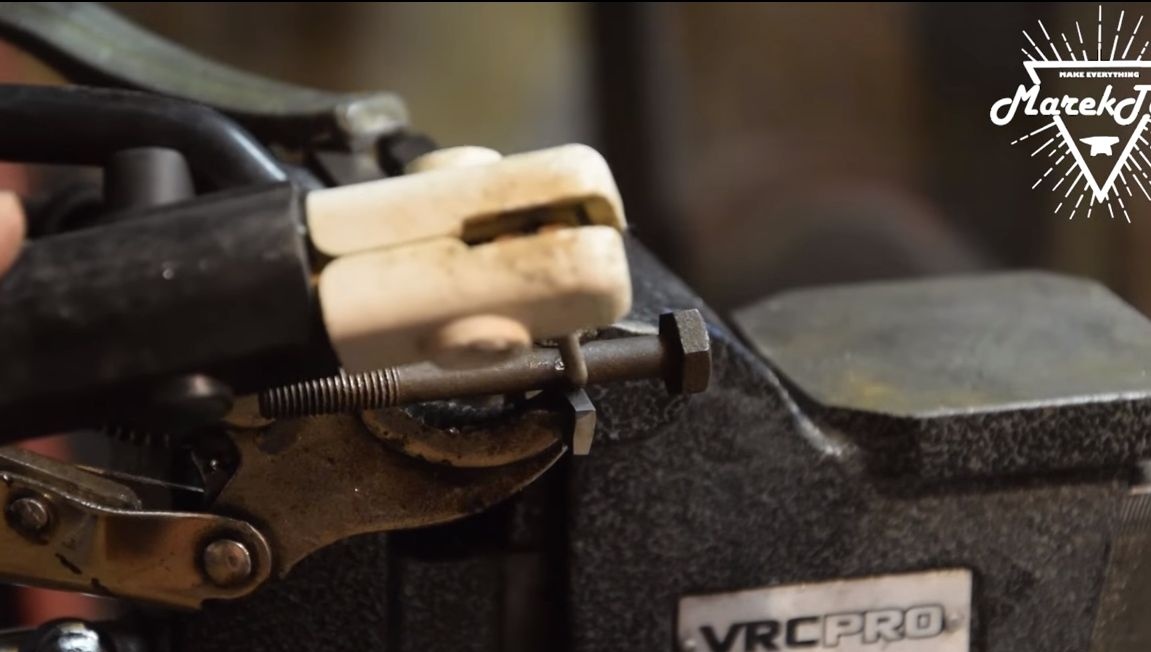
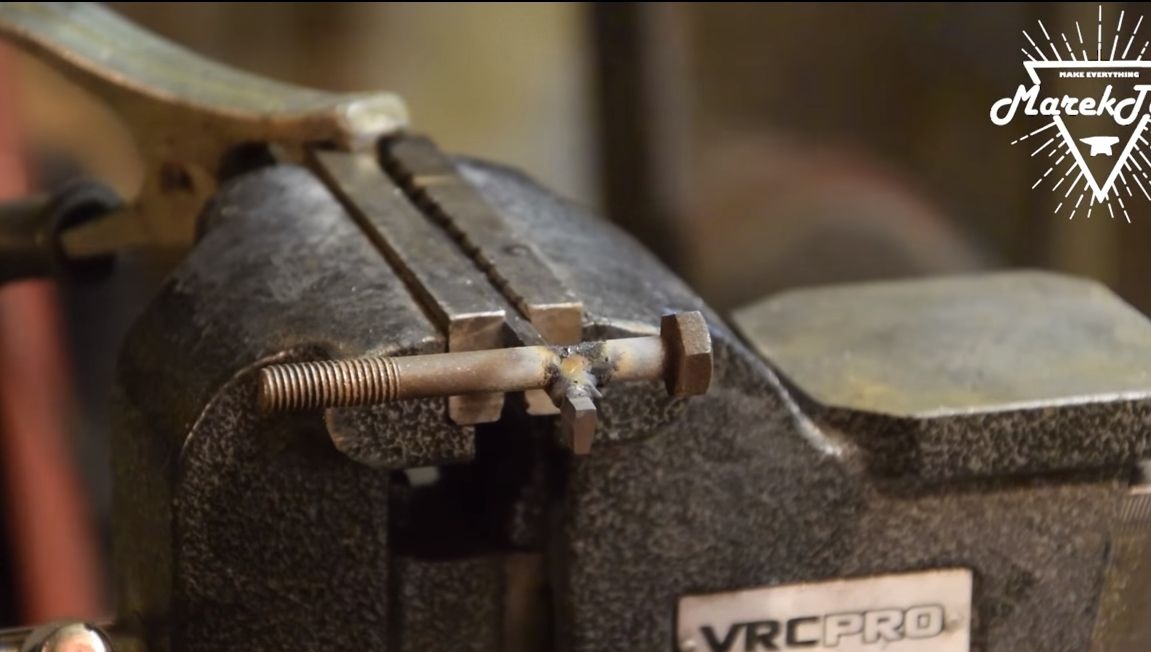
All that remains for you to do is to install a “handle” with which you will activate the knife. To do this, we weld a bolt to the lever, well, and then cut off the excess parts. Under the “handle” in the handle you need to grind a groove with a round file.
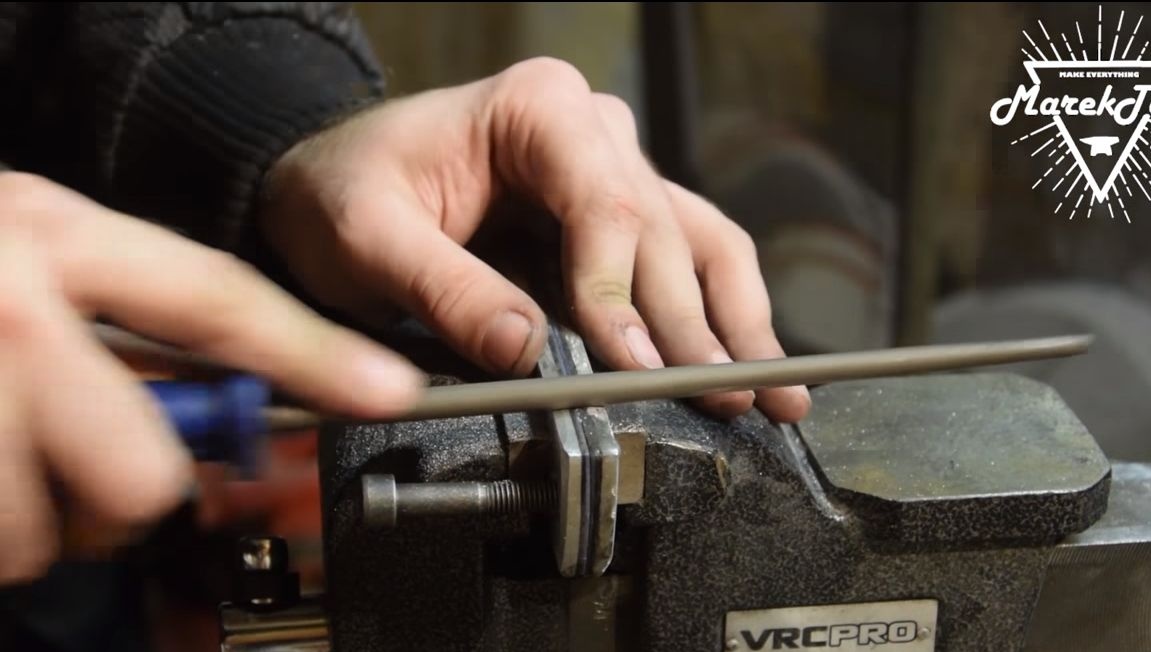
The handle also provides another spring, it supports the lever. For this spring, you will need to grind and set the stop. We fix the stop using the pins. As nails ordinary nails can act.
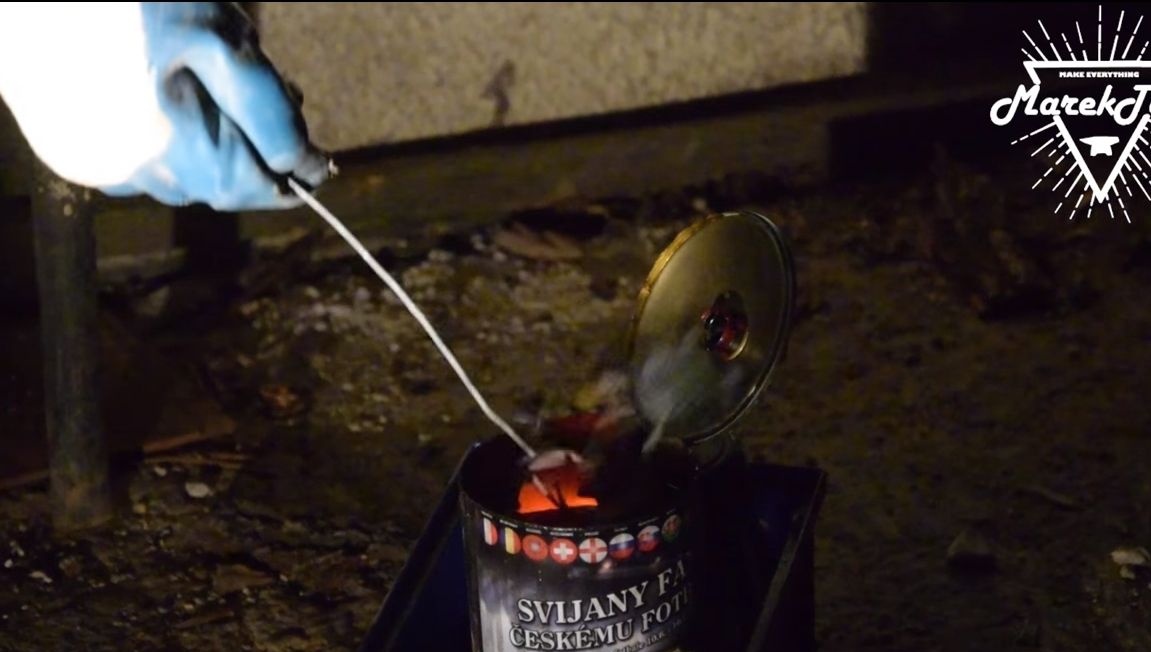
Step Six Steel hardening
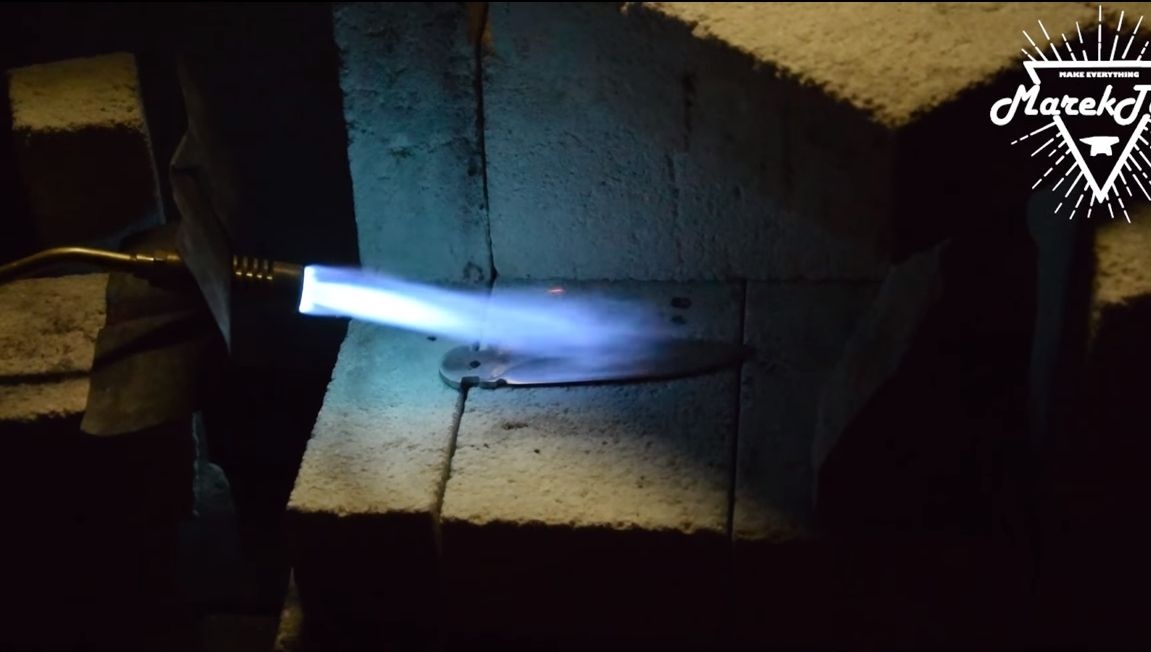
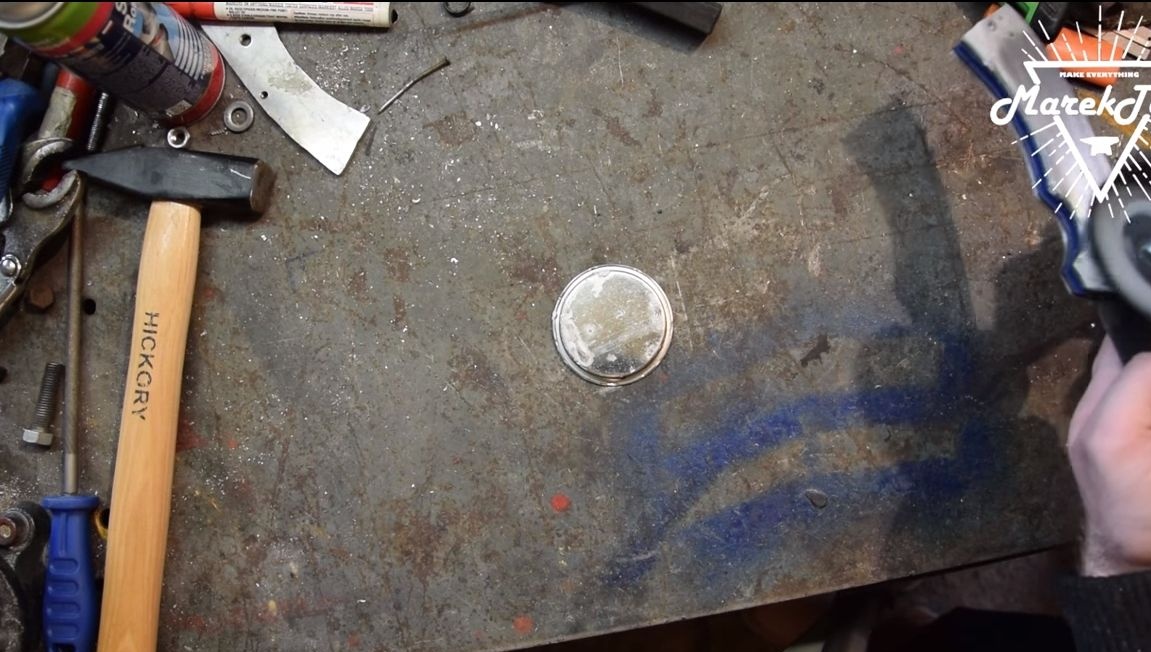
We proceed to hardening, thanks to this the knife will not be blunt for a long time. For N690 steel, the quenching temperature is 1071 degrees Celsius. Visually, this temperature is determined by the yellow glow. The desired temperature can also be determined by a magnet, if it is not attracted to hot steel, then it is warmed up to the required temperature. Cool the blade in mineral or vegetable oil. As for the lever, it is also highly desirable to harden it. The author produces metal heating using a burner and a special stove.
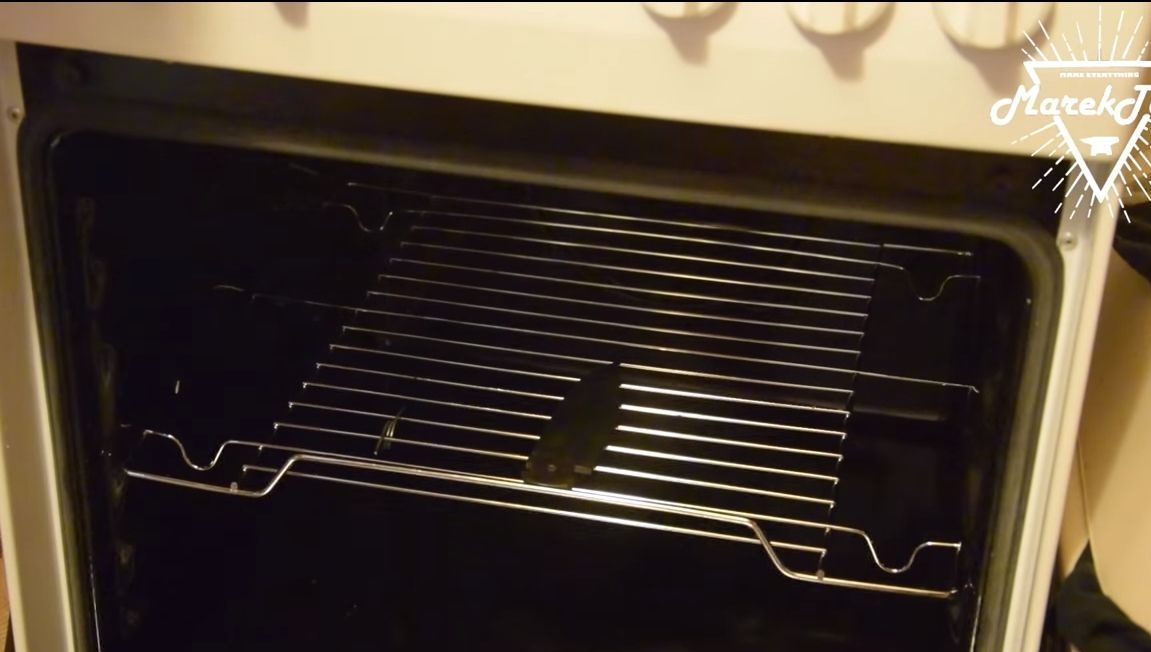
An integral part of quenching is the tempering of metal; without this procedure, the metal will be very brittle. To make a vacation you will need an ordinary household oven. We warm it to a temperature of 200-300 degrees Celsius and heat the blade for an hour. Then turn off the oven and let it cool when closed. The higher the tempering temperature, the more you release the metal.
At the end, check the steel with a file, if it does not leave scratches on it, it means that the hardening was a success.
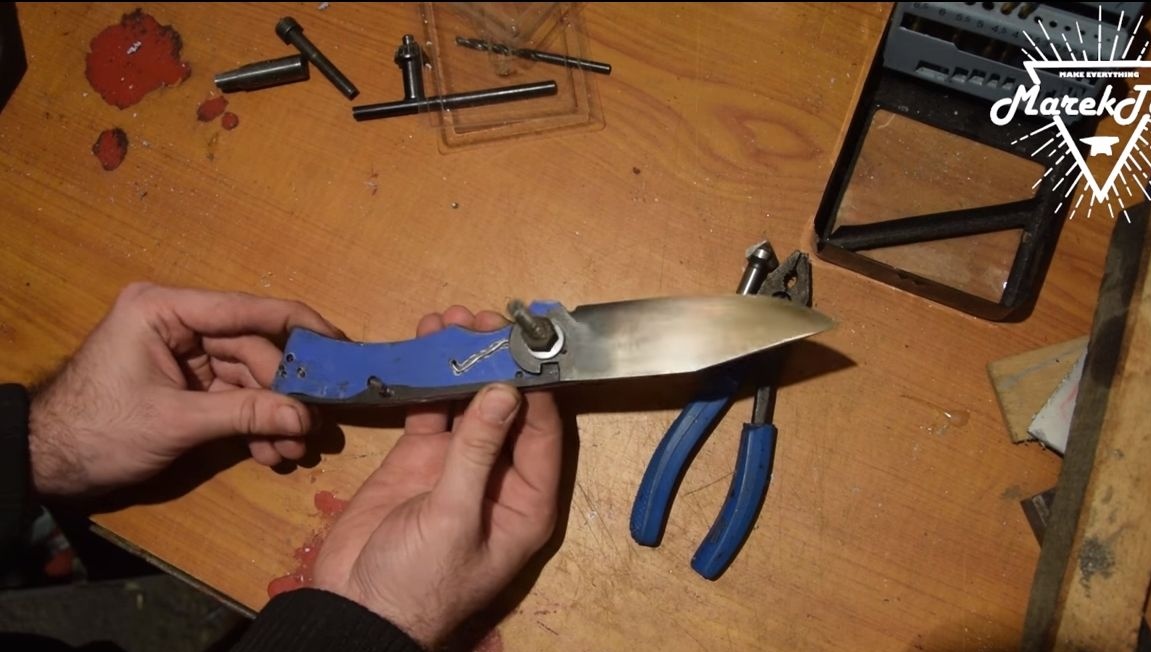
Seventh step. Knife assembly
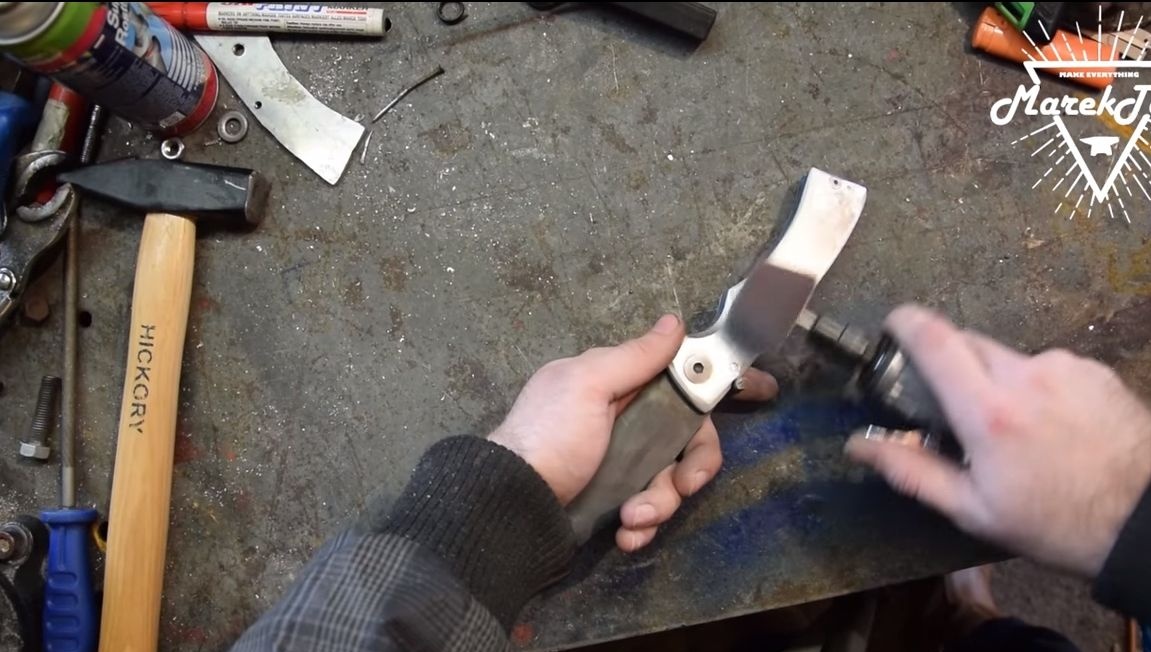
Grind the blade before assembly, because after hardening it will have traces of scale and other contaminants. If you wish, you can polish it to a shine. Also at this stage, the blade can be sharpened, but after sharpening, cover the blade with tape and paper so as not to get hurt.
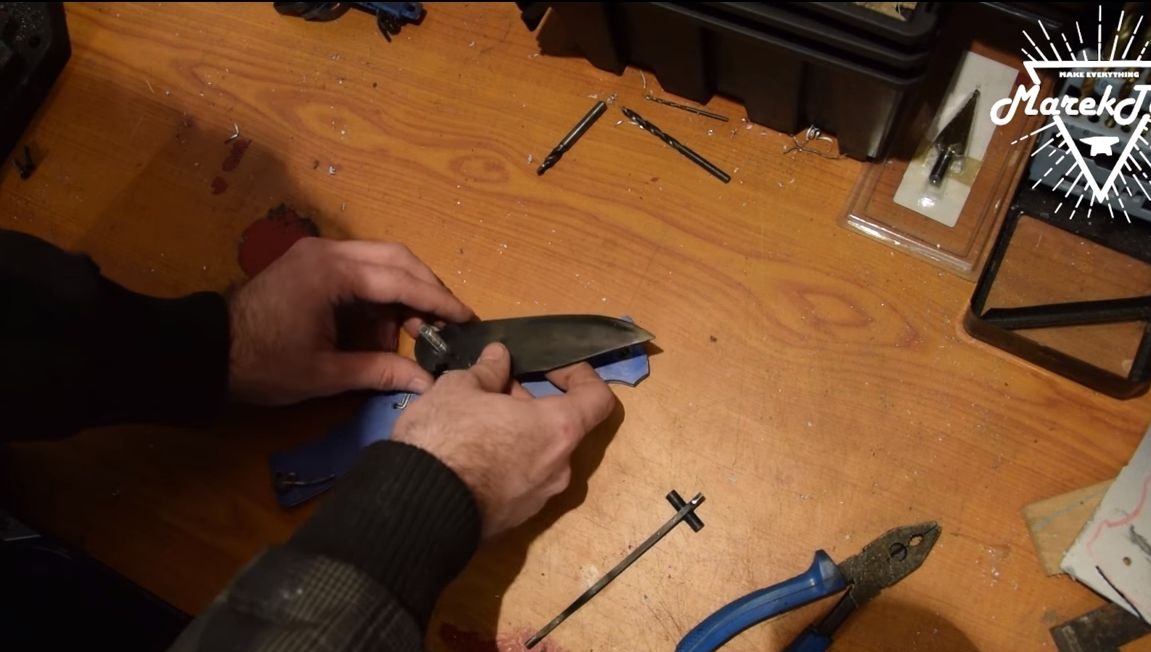
You can start assembling the knife.We install the springs, as well as the lever and blade. It is advisable to lubricate parts of steel so that they do not rust. The knife is assembled on the screws, drill grooves under their heads so that they do not protrude. Thanks to this design, you can always disassemble the knife if necessary.
At the end we produce the final grinding. First, the handle is carefully processed on a belt sander, and then we work manually using sandpaper, or “dremel”. As a result, you can use the polishing nozzle and bring the handle to a shine, and aluminum can “shine”.
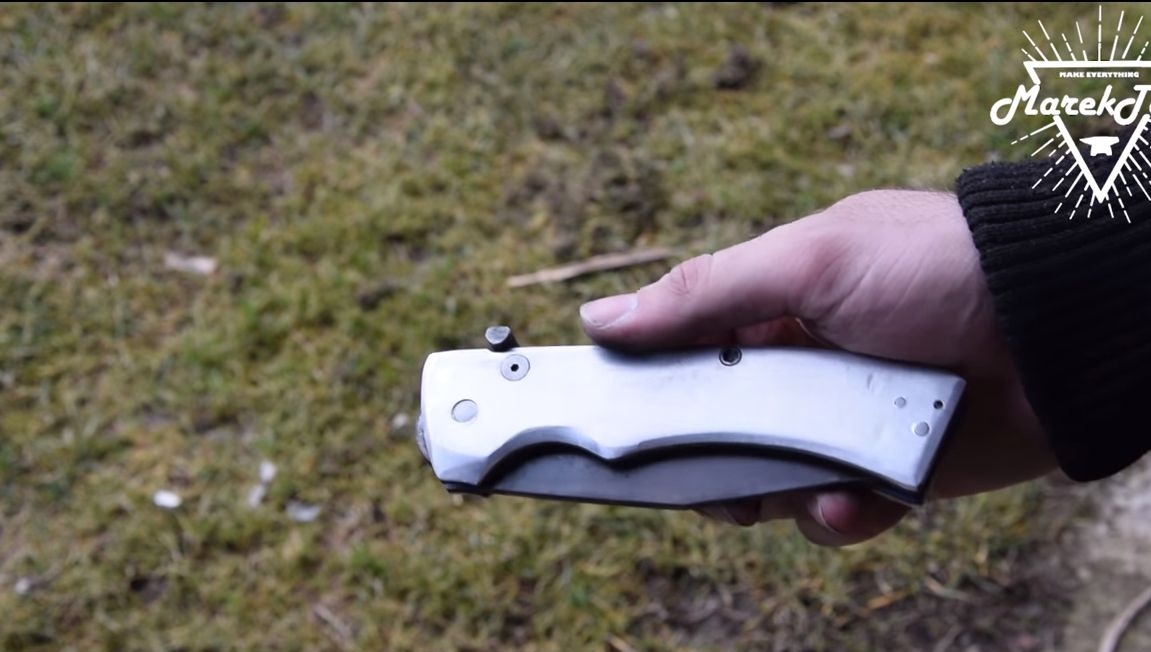
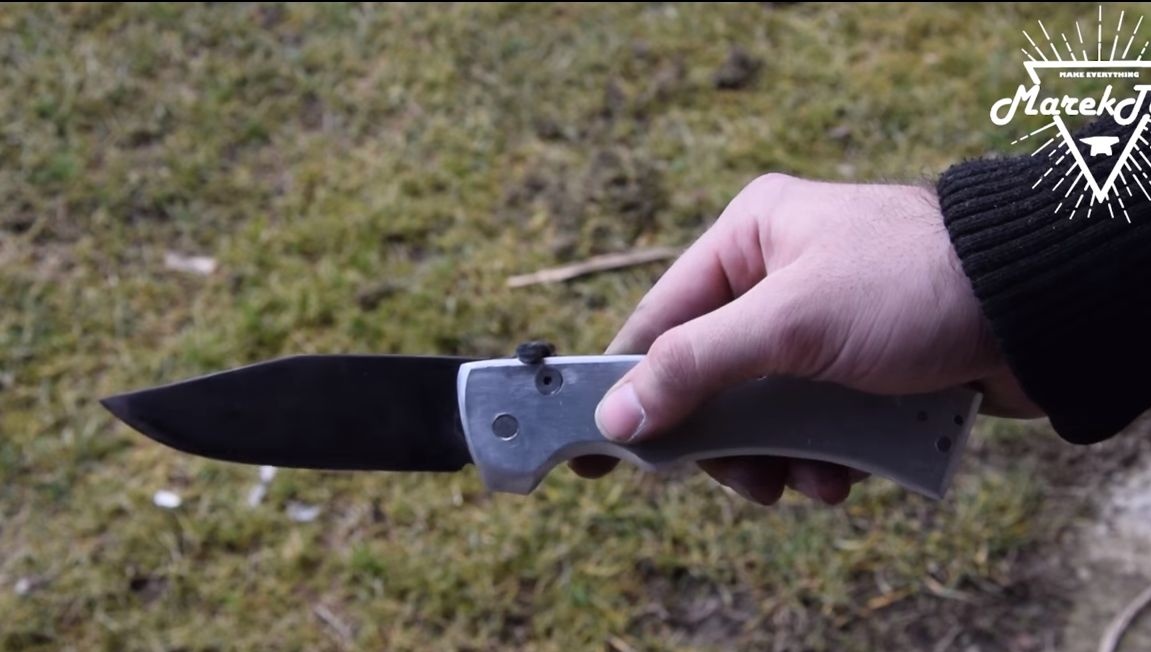
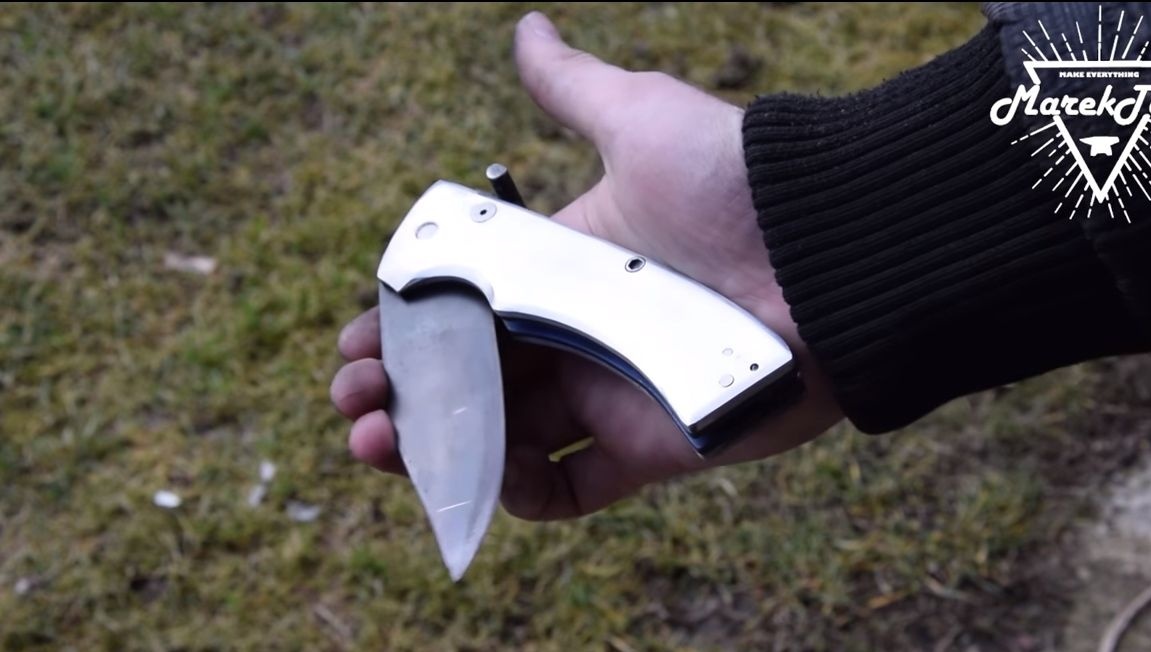
That's all, the knife is ready, you can experience it! To open it, you need to slightly raise the lever on the handle. The knife works without any problems. In the end, you can sharpen it to the ideal using fine sandpaper dipped in water. Avoid getting sand and other dirt inside the handle. That's all, good luck and take care!