
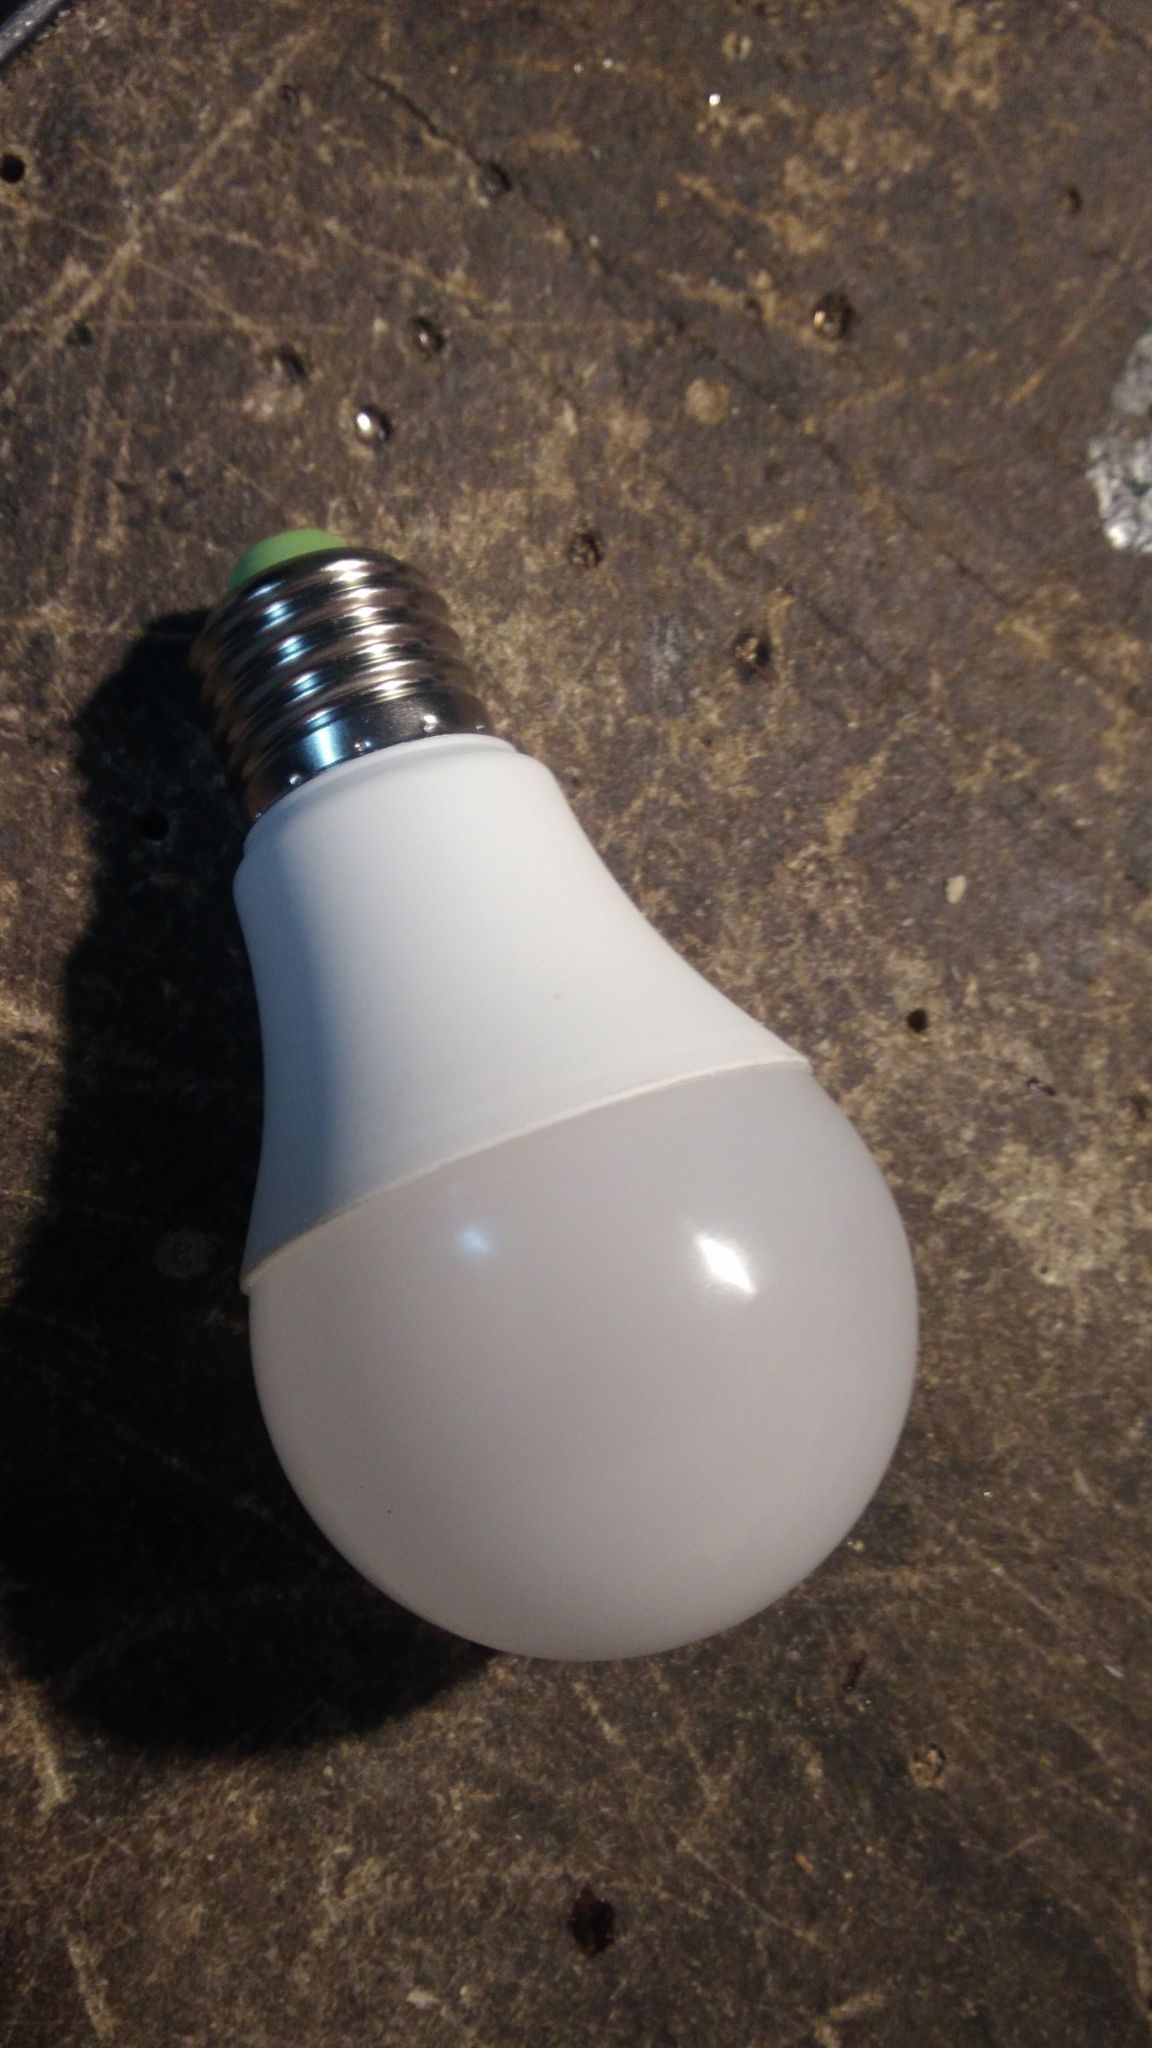
In the simplest case, the LED lamp consists of several parts:
-casing, consisting of a light-diffusing ceiling and a basement
- power supply (driver) located in the basement
board with light emitting diodes (LEDs) located under the lampshade
In order to gain access to the insides of the lamp, sometimes it’s enough to walk with some kind of sharp tool (knife, screwdriver) around the circumference of the connection between the ceiling and the basement.
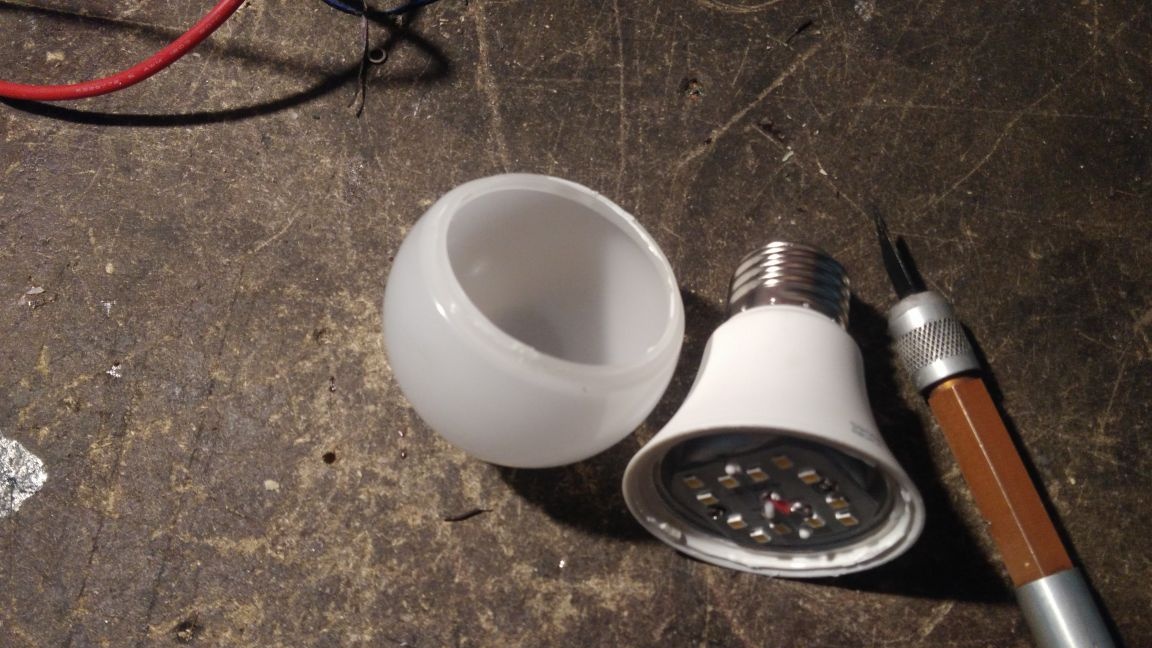
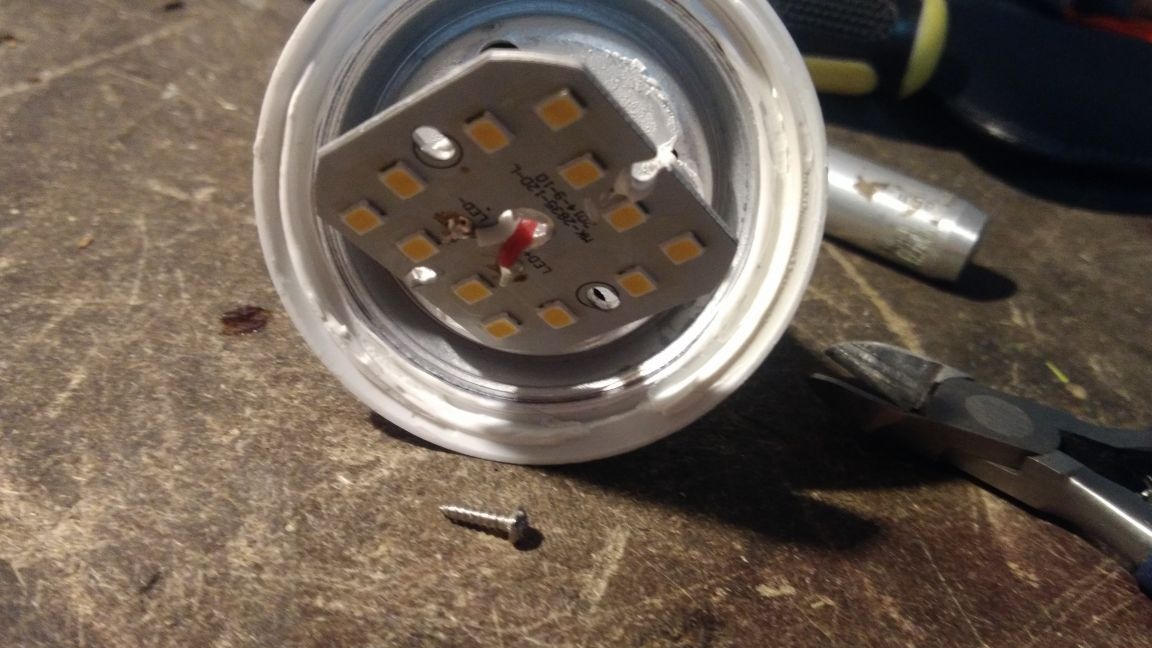
Under the ceiling there is a board with LEDs to which two wires of different colors are connected. Connection points are indicated by plus (+) and minus (-). Having disconnected the wires and removing the LED board, we will get access to the driver (power supply). In low-cost models, the driver is a set of resistors and capacitors; in more advanced samples, specialized microcircuits are already used. The use of such drivers is more preferable, since line voltage surges have a lesser effect on LEDs.
In order to find out the cause of the lamp malfunction, it is necessary to determine which part has failed, the driver or the LED board:
- observing all necessary precautions, we connect the lamp with the lampshade removed to the network, for example, we screw it into the lamp holder.
- using a multimeter, we control the voltage at the points (+) and (-) of the LED board
-if there is no voltage, -faulty driver
-If there is voltage and is within 200-250V DC, -Faulty LED board
Consider the case when the LED board is faulty. The diodes located on the board are connected among themselves in series, and therefore it is enough for one of them to fail, as the entire diode circuit stops working. It remains only to find the faulty LED and replace it.
-try to find damage by external inspection (often a blown diode has a darkening on its surface or a metallic color in the form of small balls)
- if the inspection does not give results, it is necessary to apply instrumental control (with a multimeter we check all the diodes in a row in the forward and reverse directions, the faulty diode does not ring in all directions)
- it turns out that by this method it is also not possible to determine a faulty LED, in this case you can take a finger-type battery, connect two wires to it and check all the diodes in turn, feeding them battery power. Serviceable diodes will be dimly lit.
Having decided on a faulty diode, you need to choose a worthy replacement for it. If such lamps are available "for spare parts", you can try to replace the diodes as they say "one to one." But this procedure for an unprepared person can cause difficulties. With a simple soldering iron, this is not easy. There is another option - instead of a regular LED, you can install a diode with flexible leads, such as AL307 and the like. The color of the glow in this case does not matter, since against the general bright background of the remaining LEDs, its glow will not be visible at all. In our case, the role of the LED will be to restore the common circuit and provide the necessary voltage drop in its section of the circuit.
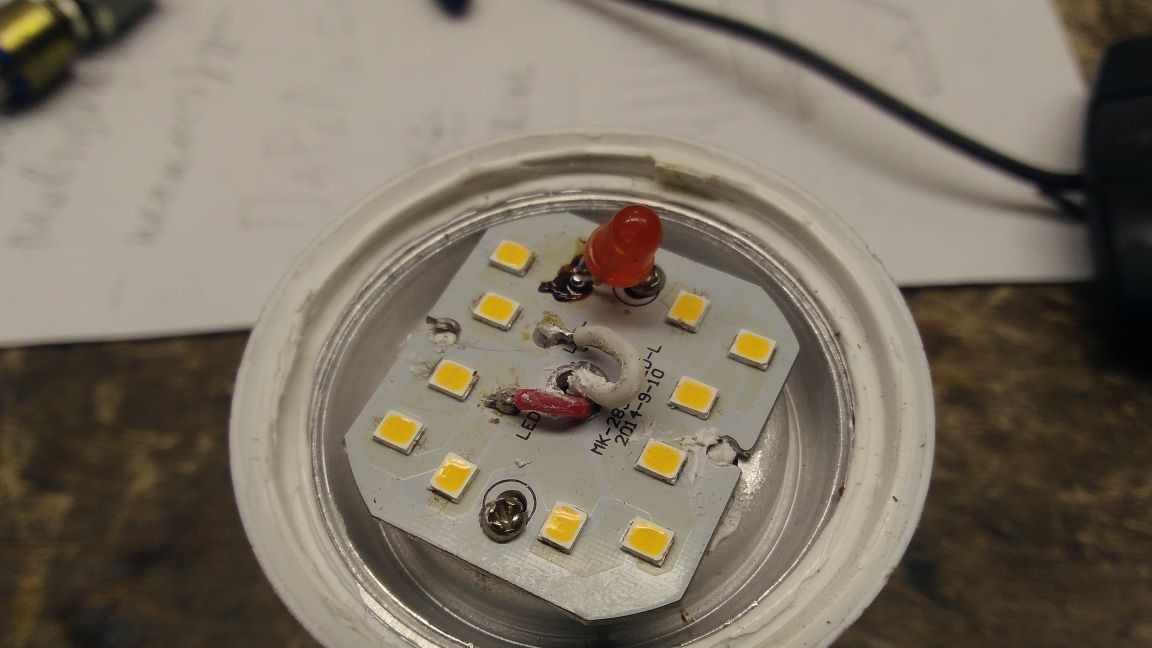
Such an LED is already much easier to solder into the board using a conventional soldering iron, which many probably have. After assembling the lamp to its original state and connecting it to the network, its glow is no different from the original.
Now for the driver. In my opinion, it makes sense to repair it only when there is a fuse (fuse) in it. Or parts that are clearly defective (electrolytic capacitors) are available. In all other cases, repair is impractical (except when there is an equivalent driver replacement with a donor lamp).
That's all. I hope that this material will be useful to someone.