We will need:
• File (preparation)
• Hacksaw for metal
• Another file
• Gas burner (optional)
• Horn
• Grinder (grinder)
• Sharpened
• Material for pens, etc.
Annealing
This is a type of heat treatment, its essence is to heat the workpiece to 600-700 degrees and let it cool slowly. So the steel will become softer, it will be easier to handle. Firing can be done using a simple gas stove or gas burner. Or in any other affordable way.
Next, I will talk about two different ways. The first is blacksmithing, we will forge a lot. In the second, on the contrary, the use of the blacksmith forge is minimized.
First way
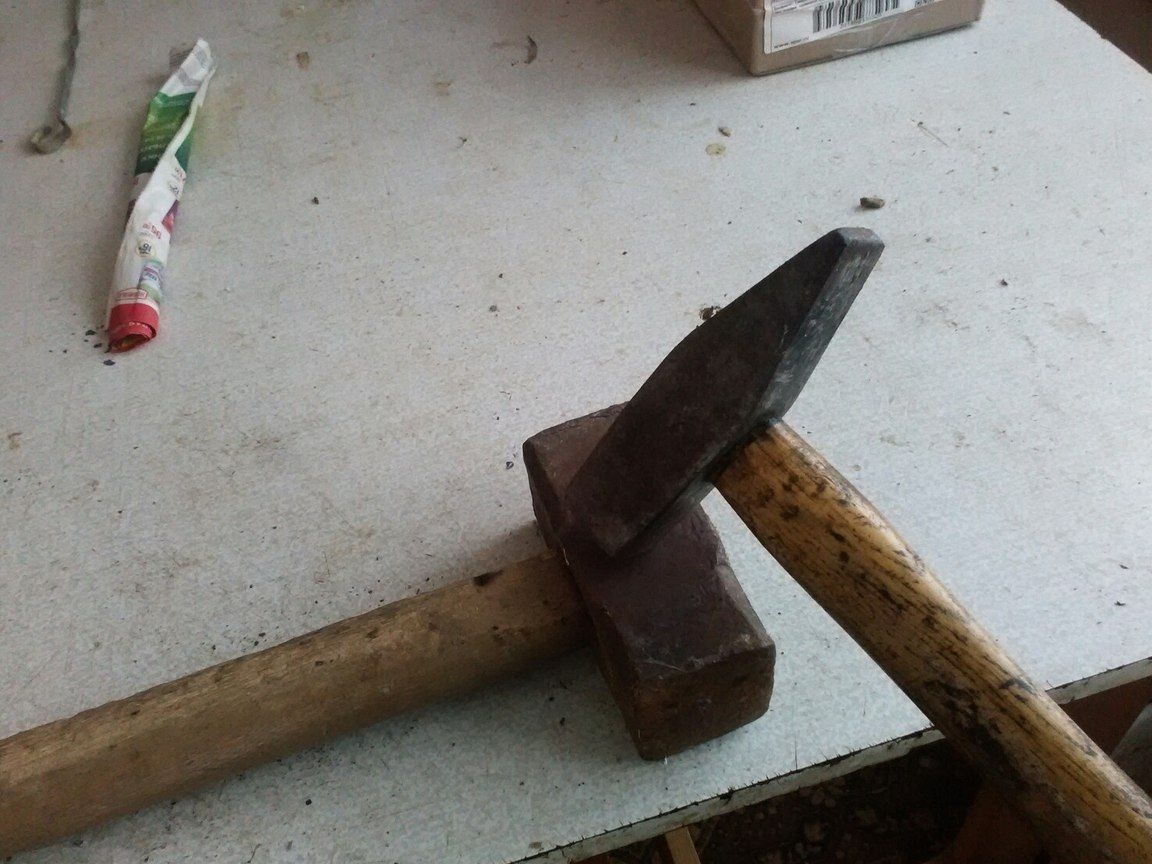
We kindle our hearth, which I talked about in a previous article. It is necessary to file the shape of the future knife. You will need an anvil, at least from a large sledgehammer, a hammer, a chisel, pincers or pliers.
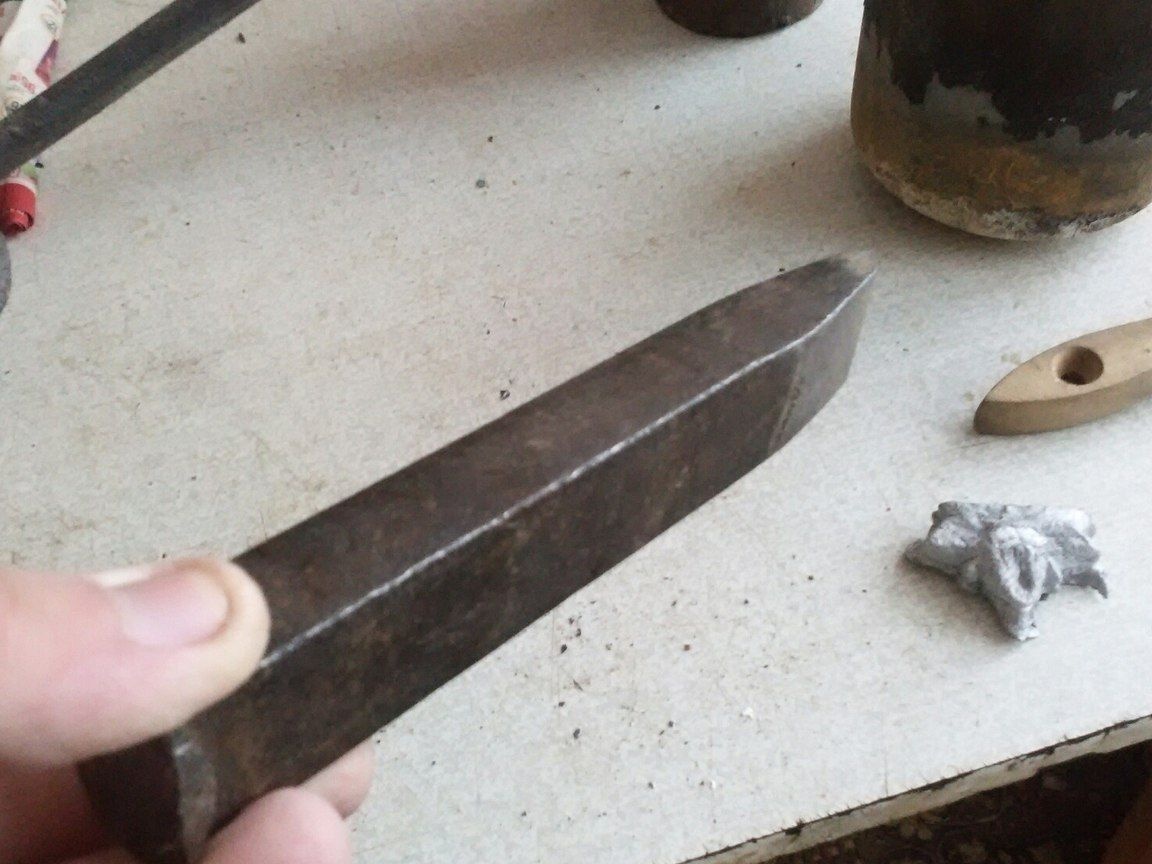
Preheat the workpiece to red and start. For starters, we forge a shank, gradually flattening the end of the file, from all sides.
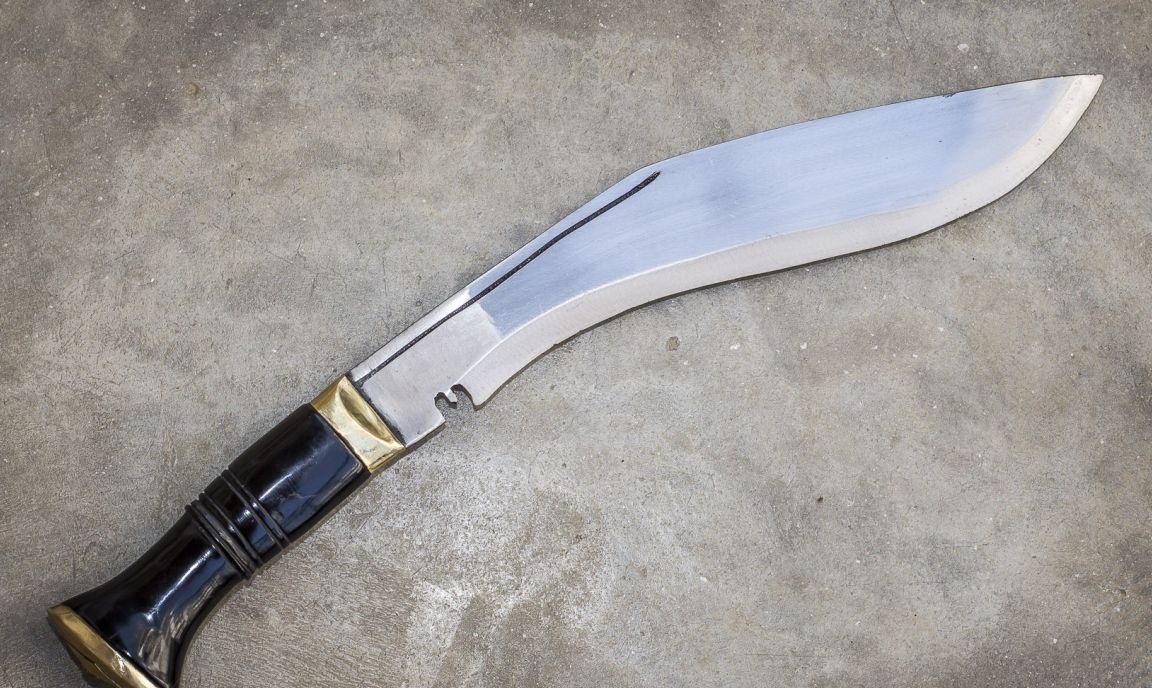
Next, forge the bevels of the blade. And with the help of a chisel, cut off the end of the knife at an angle. You can give the workpiece absolutely any shape, you can bend it like kukri or karambit or leave it straight. All this gives forging wonders. Here is an example of kukri from the internet:
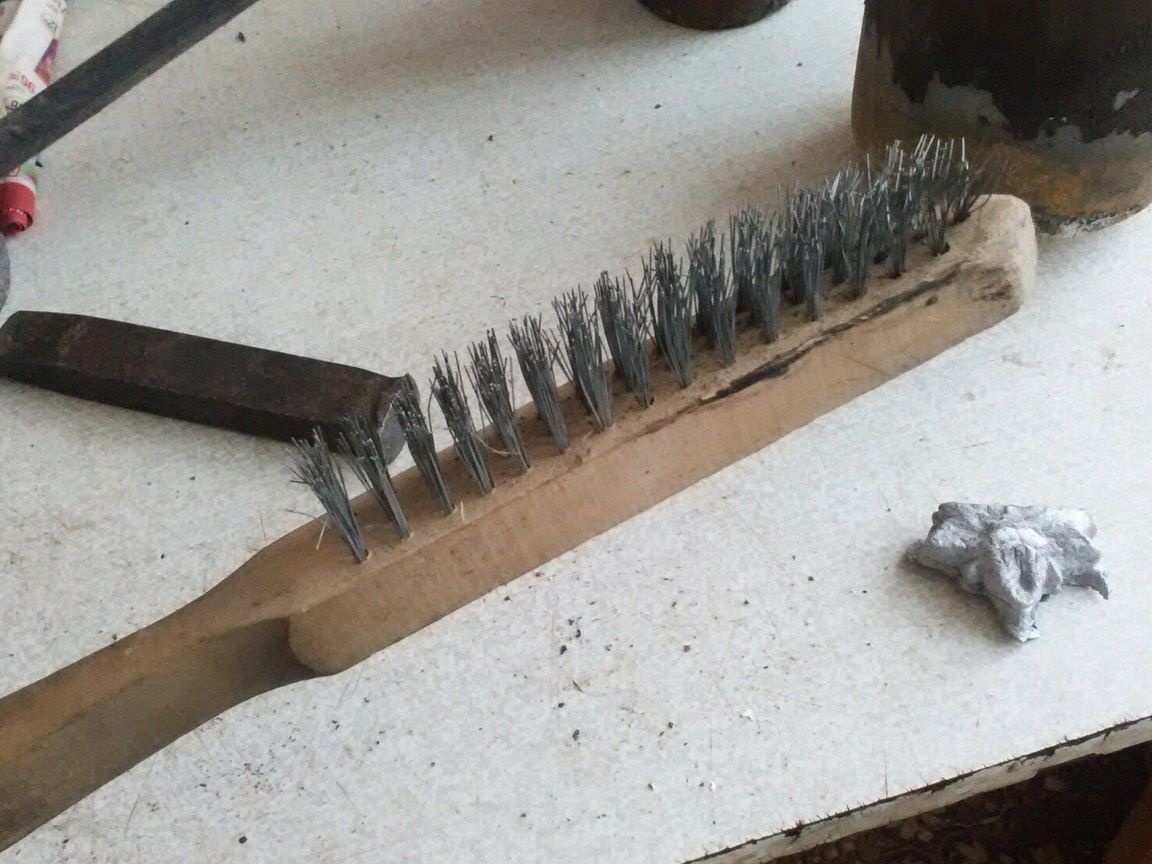
During forging, it is advisable to clean the scale from the forging with a wire brush.
The workpiece is now ready for machining. Use a file, grinder, grinder or belt grinder to finally give the bevels a blade and sharpening. In the picture, sharpening options. About bevels in more detail in the second method.
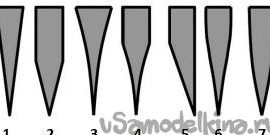
1. Finnish knife - wedge-shaped;
2. planes are parallel, a wedge is formed after the sharpening edge;
3. razor sharpening, reverse lens;
4. concave with a supply, pronounced ribs;
5. Japanese sharpening, a simplified version;
6. wedge-shaped sharpening without ribs, a smooth transition from the plane to the cutting edge;
7. A straight lens, the cutting edge is formed from the butt.
Quenching and vacation.
Now rekindle the hearth. We will temper the knife. In the shopkeeper of steel it is written that such steel must be heated to 800 degrees Celsius and cooled in cold water. So we do.It is important that after hardening, do not drop the workpiece, since now it is very fragile and can crack. To prevent this, leave the knife to cool with the horn. This process is called vacation. After that, the blade is completely ready. In the end I will tell you how to check it for the correctness of hardening and tempering.
The second way.
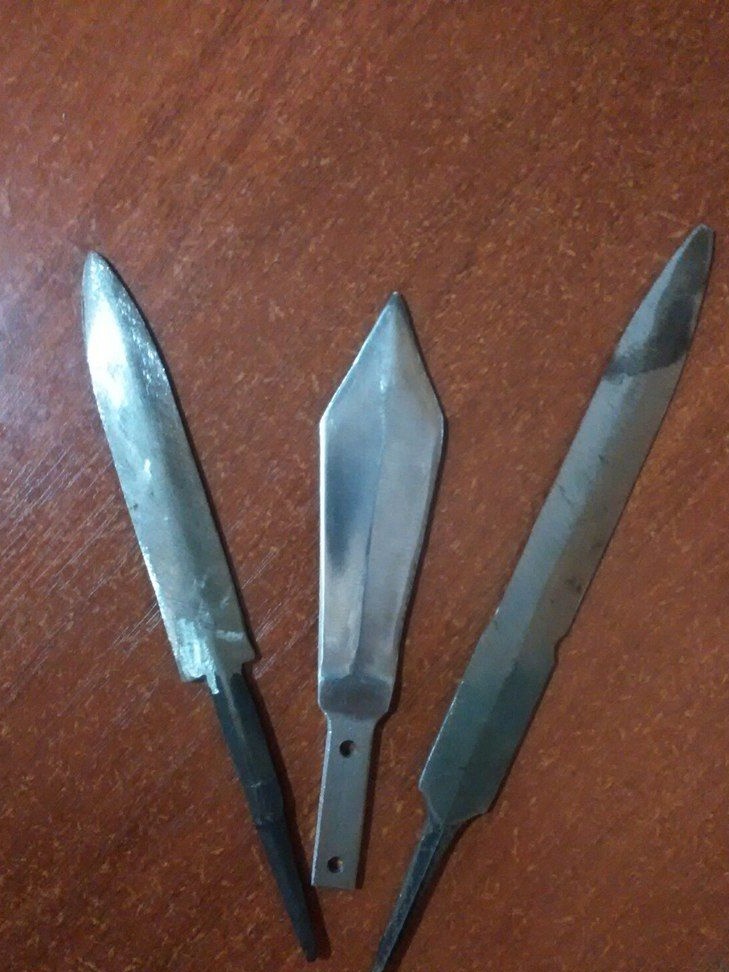
After annealing, the steel can be machined. With a hacksaw or grinder, we cut off the end of the knife at the desired angle. Next, cut the shank.
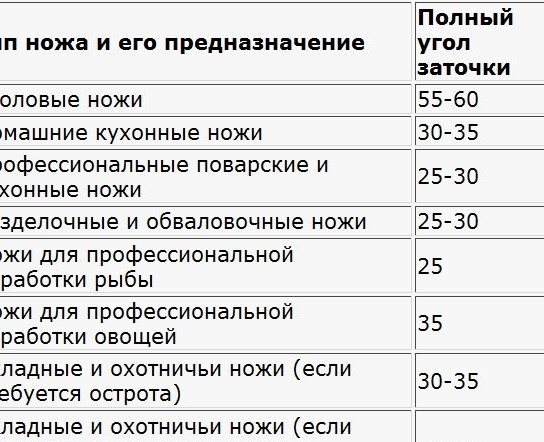
Using a file or the same grinder, we make bevels. The angle of the bevels can be taken from the standard. You can make them by eye by taking a corner from your head. In general, you can’t do this, but if you really want to, you can.
In this method, all the processing is plumbing. It is for those who do not have a hearth, because it can be replaced by a temporary field hearth from a fire and any blower. The hardening process is the same as in the first method. Vacation can be made in the oven, frying the blade for about an hour at 220 degrees.
Blade check
Now the blade can be checked for hardening and tempering. Press the thumbnail perpendicular to the steel. No matter how polished it is, there is some strange sensation of dull pain when you press a well-hardened piece of iron. There is a scientific explanation for this phenomenon, but too lazy to write. And the faster the feeling of pain, the better the hardening.
The ringing of the blade. Bring the tip of the blade to your ear and a small pillow of your thumb, gently stroke across the cutting edge. The blade should be free (do not pinch it in the fingers). Best of all, hang it loosely on a cord. A good blade, at least a little, but rings out with a high ringing. Additionally, you can still slightly click the blade with your fingernail - it should also call back. This is just a sign of good hardening.
With vacation, everything is easier. If you drop it from a height on a metal surface, and it does not crack, then everything is in order.
A pen.
Before proceeding to the handle, you need to make a guard. This is the part between the blade and the handle. It can be made from anything. From brass, iron, even from the remains of steel from the file. We will not talk much about the manufacture of guards. Let's move on to the hilt.
There are a lot of ways to make pens. If you have textolite, cut a piece of it 7-12 cm long, 1-2 cm wide. It depends on which pen you want to get. Then drill in the middle of the hole for the shank. We will fix the knife on epoxy. Knead it and generously grease the shank of the knife and drive it into the handle. Do not forget about the guard, if any. Also, for greater grip, you can make notches on the shank with a file. Now the textolite can be processed with a file, grinder or emery, giving the handle any shape. I advise you to print or draw a stencil, stick it to the pen and process.
Another way is to cut a solid wooden handle. This method is almost no different from the previous one. But the tree needs to be stabilized. I don’t know much about this process.
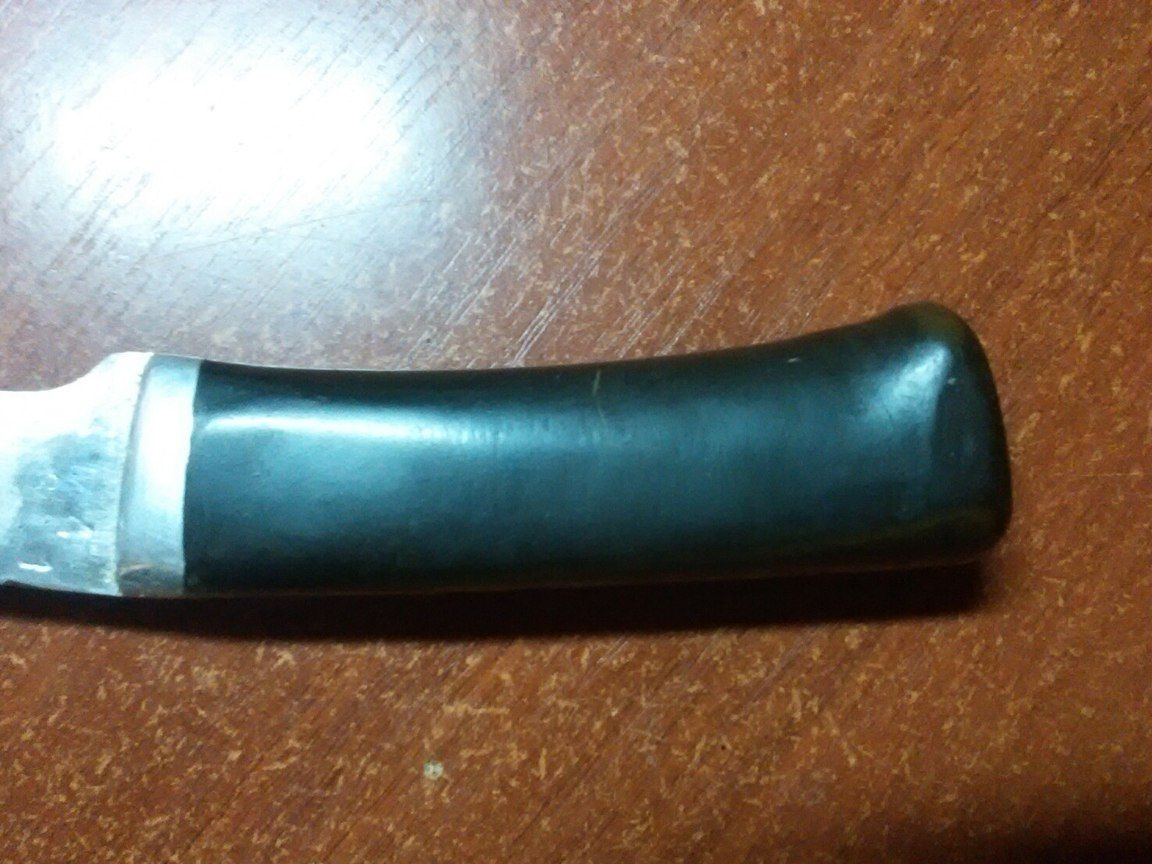
Another interesting option is to make a grip. For it you need birch bark or cork. The bottom line is, you need to cut a lot of rectangles from birch bark or cork, the amount depends on the length of the handle. In the center we drill holes into which the shank will fit. Now we put all the rectangles on the shank itself. They must be lubricated with epoxy on both sides. You can also cut such rectangles from thin plastic and insert it between the layers of birch bark.
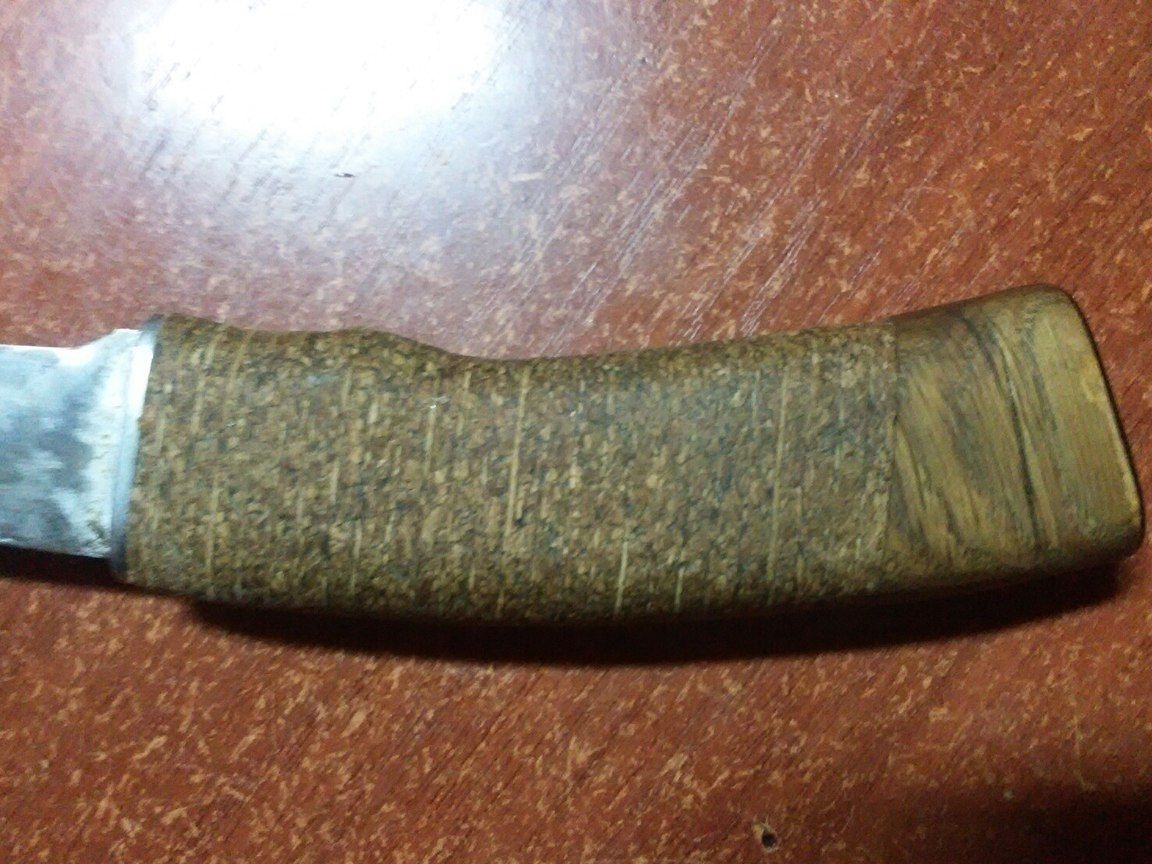
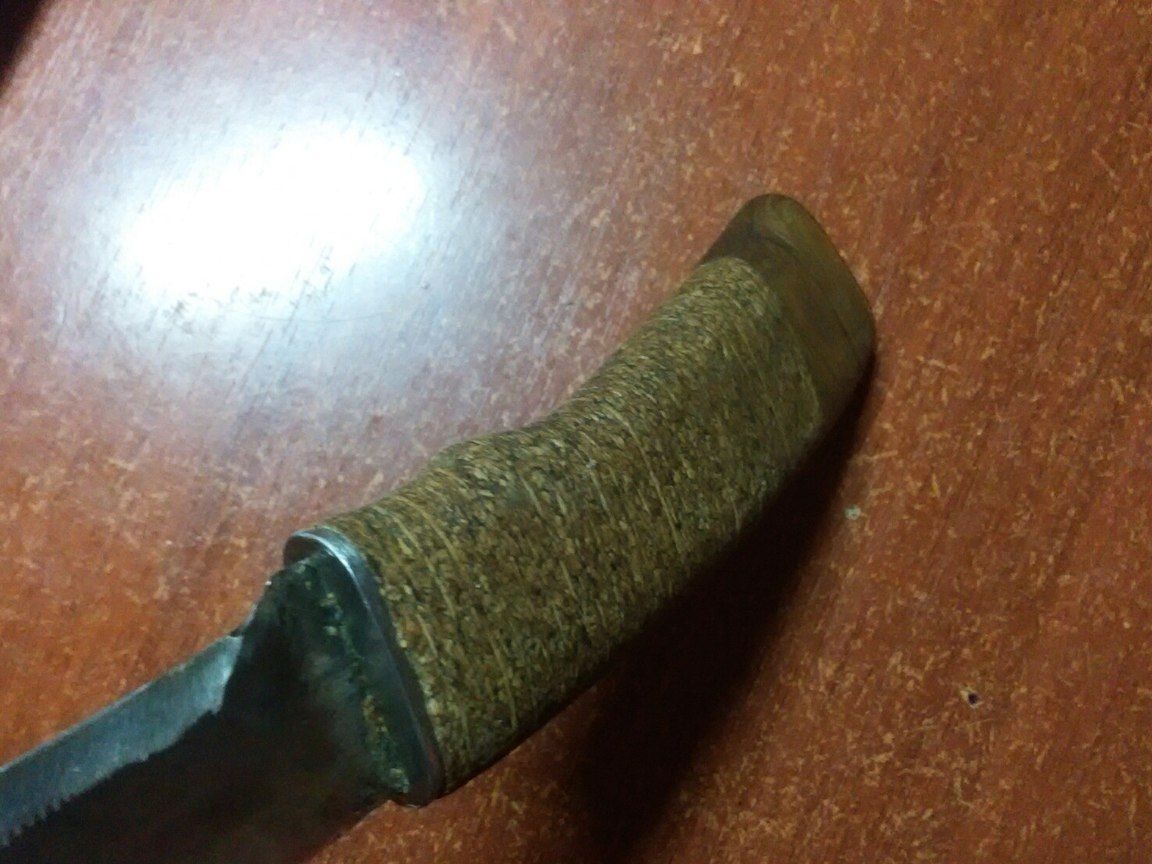
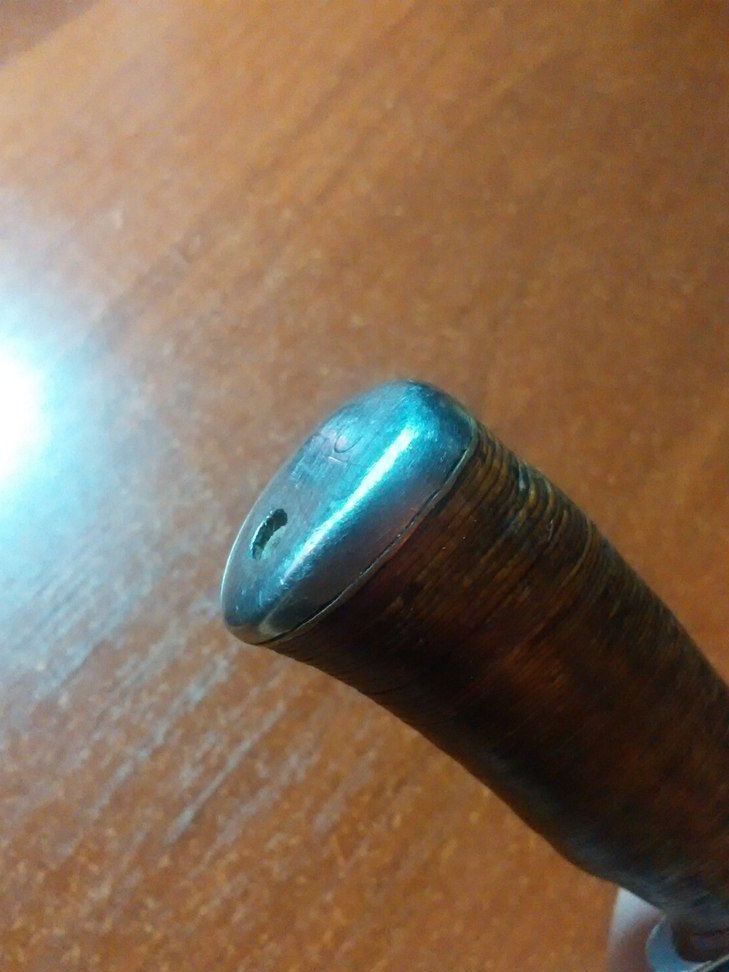
Now glue the tip.
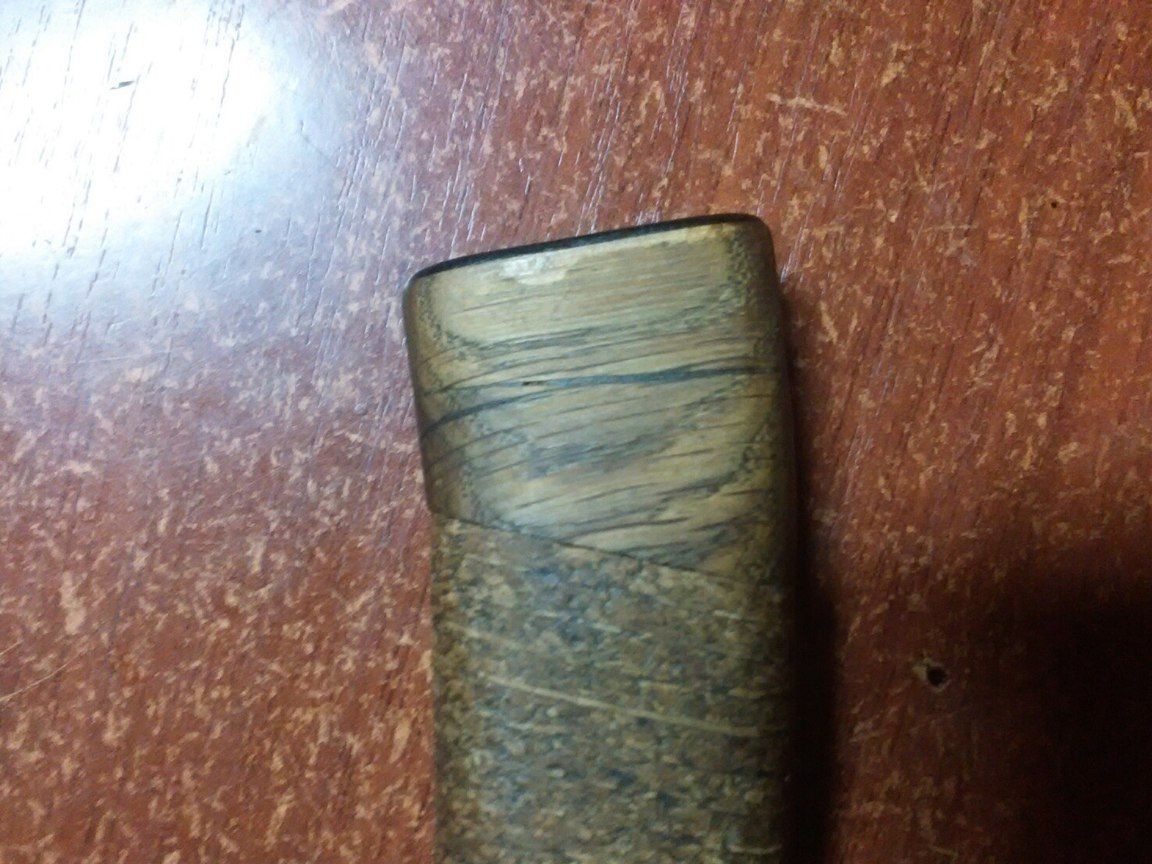
If it is metal, then you can drill a hole in it and cut the thread in it. We also cut the thread on the tip of the knife. The hole in the tip must match the diameter of the shank. Next, screw the tip onto the shank.
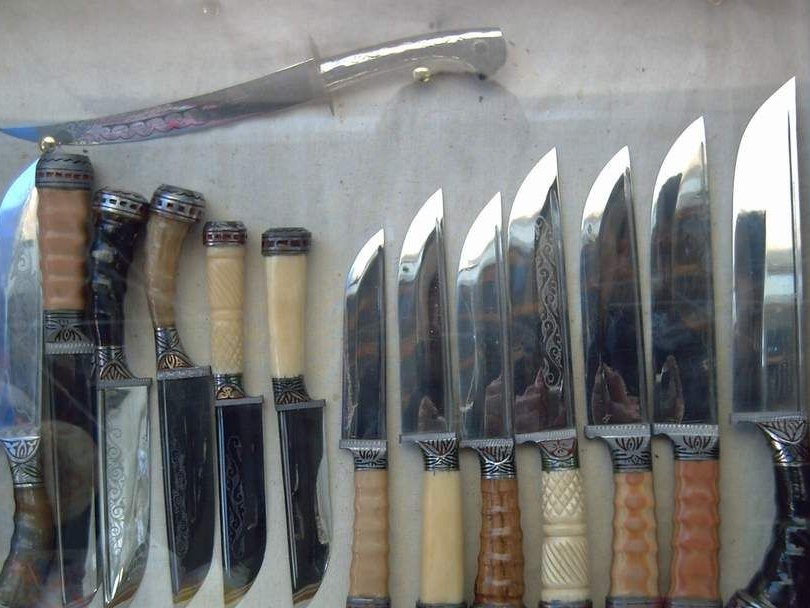
These are only the methods that I used, but there are many more! Here is a photo I found on the Internet, and I plan to repeat many knives in the future.