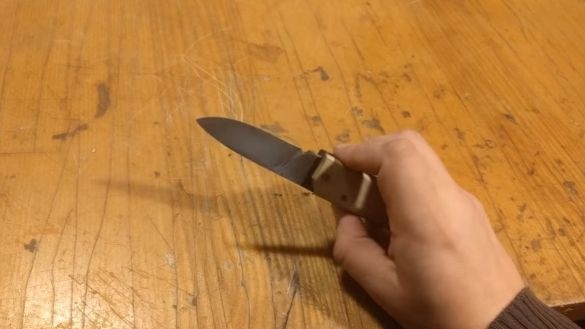
In this manual, we will look at how to make a simple folding knife. For the manufacture of the knife we will use only sheet metal and wood. Tools for manufacturing will need a little, but the author carries out all grinding work on a belt grinder. However, it is not necessary to have such a machine, grinding can be done with files and sandpaper.
To make the blade, you will need steel that can be hardened, only in this case the blade will keep sharpening for a long time. Such steel has a high carbon content, it is actively used in the manufacture of tools. Today you can easily buy a ready-made blank for making a strong knife.
Materials and tools used by the author:
Material List:
- Sheet steel;
- wooden trims;
- pins;
- epoxy adhesive.
Tool List:
- belt sander;
- a drilling machine or drill;
- clamps;
- files;
- vise;
- sandpaper;
- ruler;
- marker;
- a furnace for hardening;
- a pencil;
- Bulgarian.
The process of manufacturing a folding knife:
Step one. Cut the blade profile
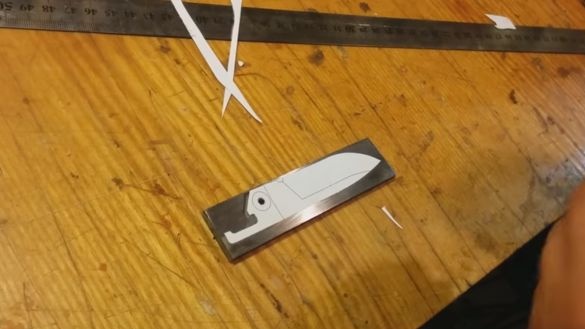
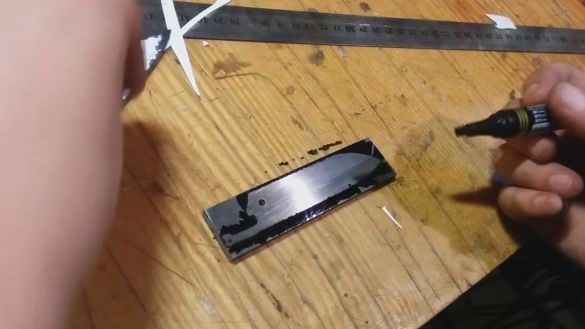
Any knife making project should start with a template. This will allow you not to improvise in the process and make the knife exactly as it was intended. We draw a template on paper, and then cut it out.
We transfer the template to sheet metal, for this we circle it with a marker or paint over the area around, as the author did.
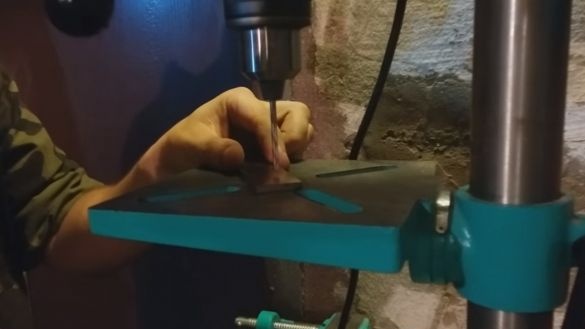
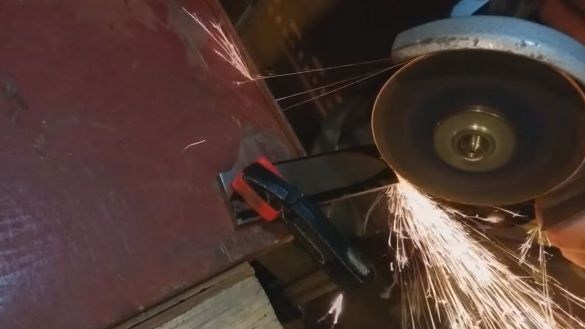
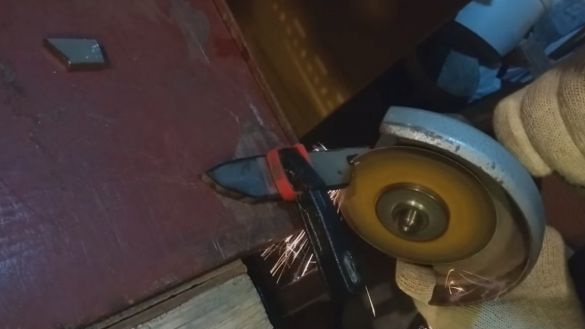
First, drill a hole in the workpiece, with the help of it and a pin, the blade will be attached to the handle. Now you can start cutting. The author uses a grinder as the main tool, but a band saw is best suited for such purposes. Clamp the workpiece in a vice and carefully cut off the excess parts. Do not cut the workpiece directly along the lines, back away from them by a certain distance, you need to leave the metal for grinding work.
Step Two Grinding
After rough cutting, you need to bring the profile of the blade to the ideal. The belt sander is ideally suited for such work. But if this is not available, then such work can easily be done with files. Many craftsmen use files and other hand tools to make knives.
At the same stage, form the bevels of the blade. Their profile can be diverse, it all depends on what cutting characteristics you need.Bevels, again, are most conveniently brought out on a belt sander. Screw the blade to the post or a special plate and form a blade.
Step Three Handle blanks
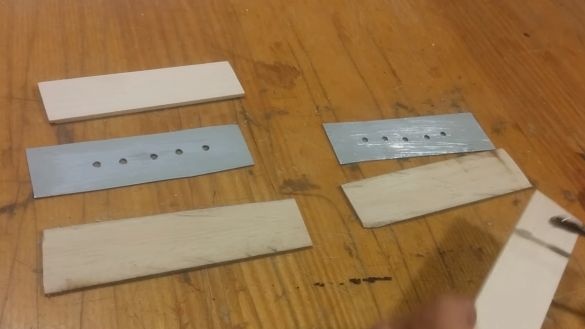
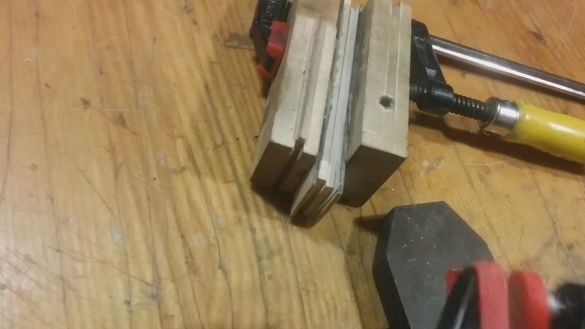
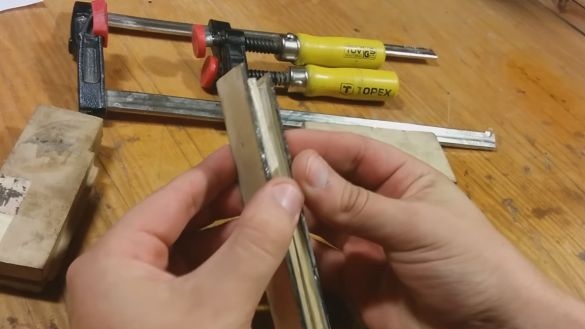
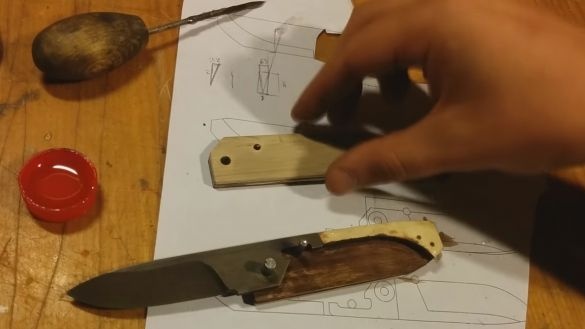
The author makes the pen combined; it is assembled from thin wooden plinths, as well as metal plates. Cut the workpieces to the desired size, and then glue together using epoxy glue. Clamp the parts with clamps and let the glue dry, it usually takes at least 24 hours.
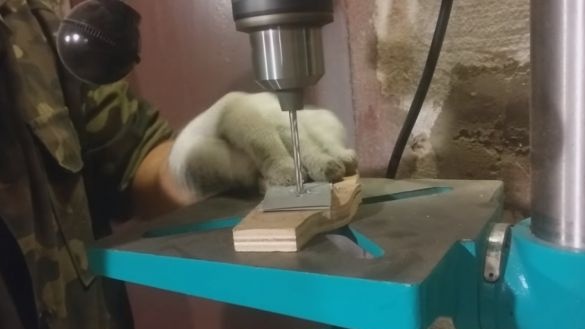
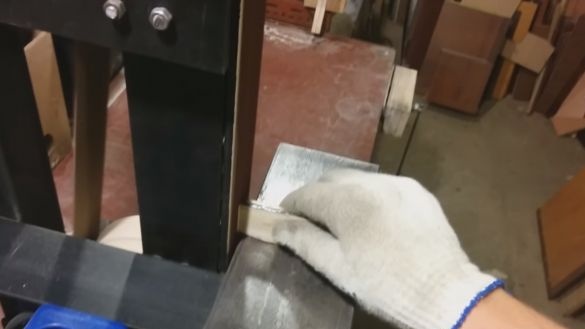
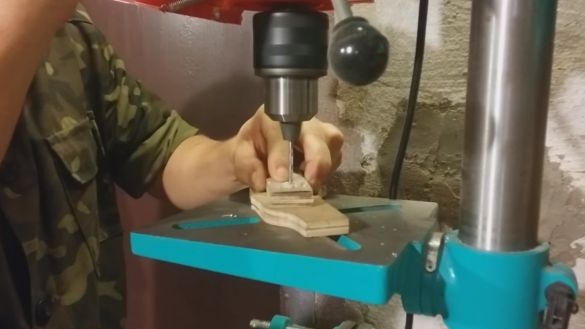
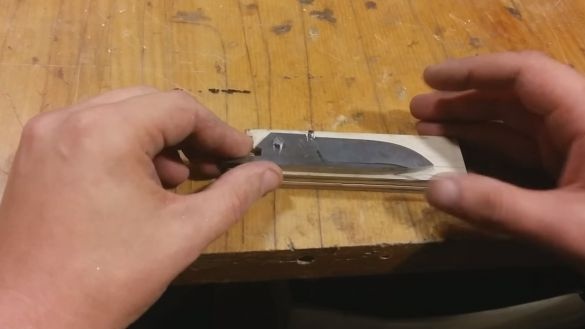
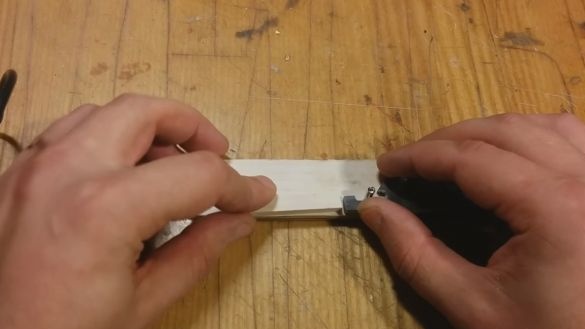
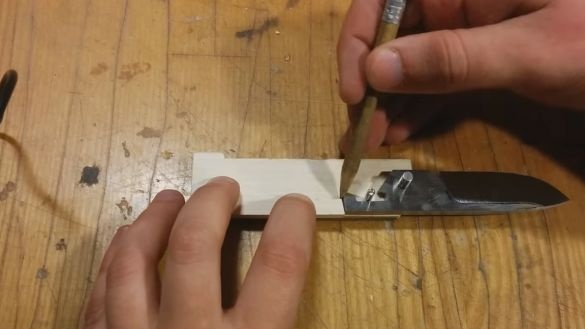
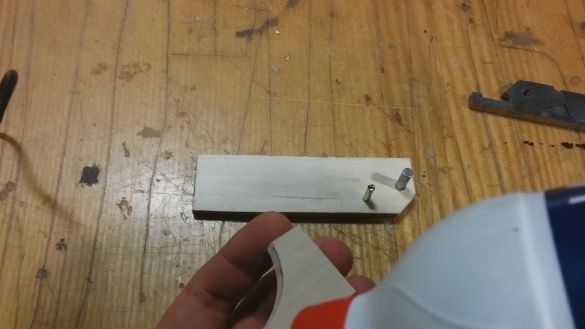
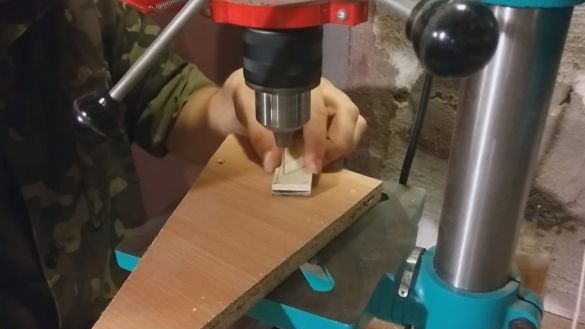
When the glue dries, we grind the workpieces on a belt grinder. Next, drill holes and install pins. The blade will be held on one axis, and the other axis will act as a stop for the blade when it is in the open state.
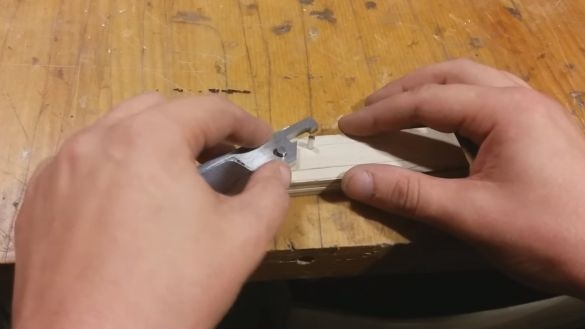
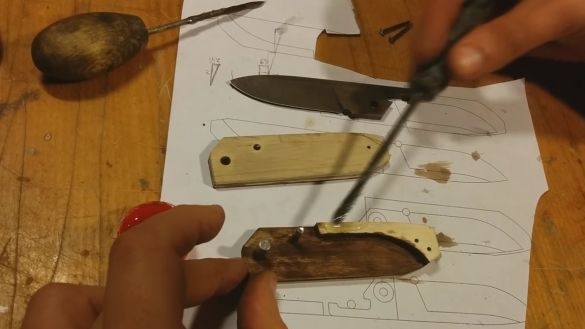
For the inside, you will need an insert to get a gap between the two halves of the handle. The insert can be cut out of wood, and then glued, and it is better to also assemble everything on the pins. Assemble the handle and sand it all together on a belt sander.
Step Four Getting to hardening
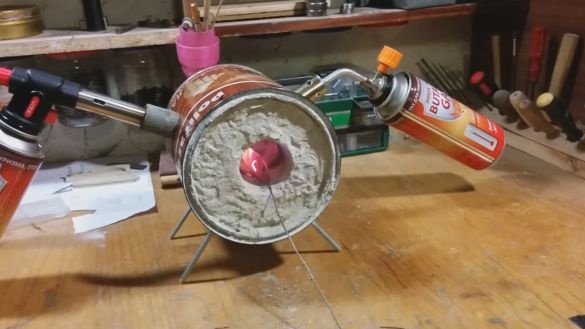
You will need to harden the blade, after this procedure the knife will remain sharp for a long time, even if you cut very hard objects with it. For hardening, the author used a home-made furnace that runs on two gas burners. To how many degrees to heat the metal depends on the grade of steel. The easiest way to determine the desired temperature using a permanent magnet. Bring it to the hot metal, if it is not attracted, then the blade can be extinguished.
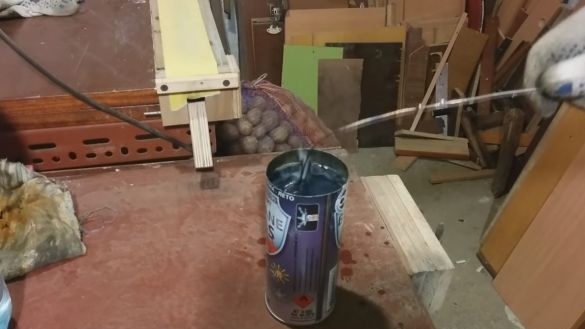
To cool the metal, it is best to use oil, motor or vegetable is suitable. By the way, each brand of steel has its own cooling methods. But most often it is oil. Using water is risky, as the metal cools too much and can crack.
Half the battle is done, now the steel must be released without fail. If this is not done, the steel will be very fragile and you will simply break the blade sooner or later. The ideal option is when the metal is slightly springy. For vacation you will need a conventional oven, in it you need to fry the blade for an hour or two at a temperature of about 250 ° C, but it all depends on the grade of steel. Then allow the oven to cool when closed with the blade. Vacation effected.
At the end, take a file and try to scratch the blade with it. If scratches do not form, it means that the steel is hardened perfectly.
Step Five Final revision of the knife
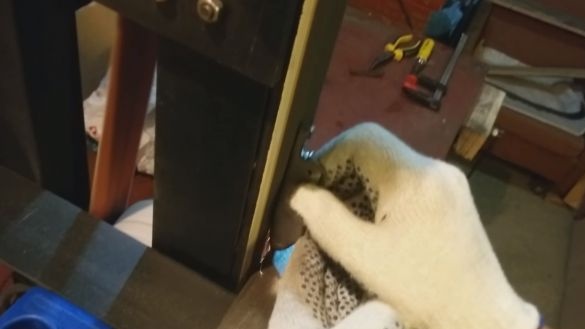
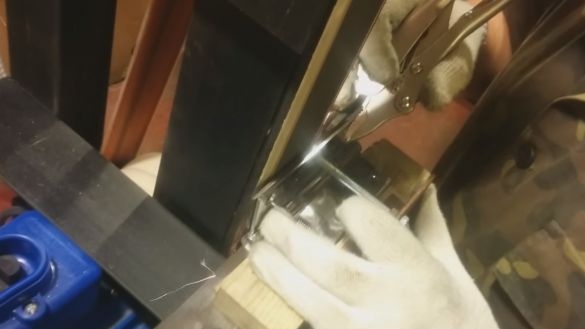
We begin to assemble the knife, it is assembled on epoxy glue and pins. Do not forget that if there is too much glue, it can glue the blade and the knife will not work. Clamp the handle with clamps and let the glue dry completely.
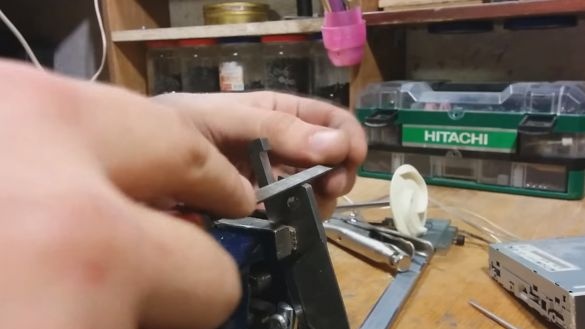
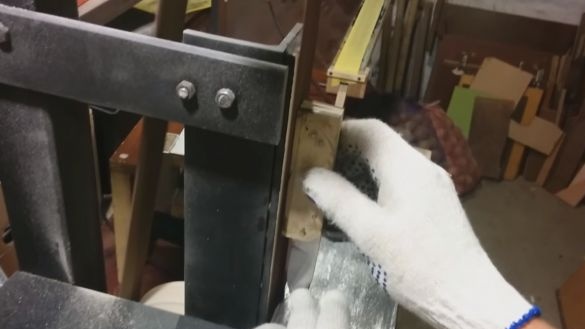
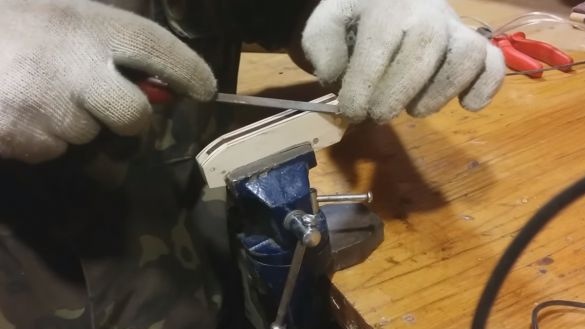
Now proceed to the manual processing. Clamp the blade in a vise and slowly grind the handle with files. Then we do finer processing with sandpaper. Since our linings are made of wood, do not forget to protect them from moisture, as the wood will quickly become unusable. For wood impregnation, you can use linseed oil, and, according to the masters, Danish oil is excellent. It is deeply absorbed into the tree, and then freezes.
After the oil, you can polish the handle with beeswax or polishes based on it.
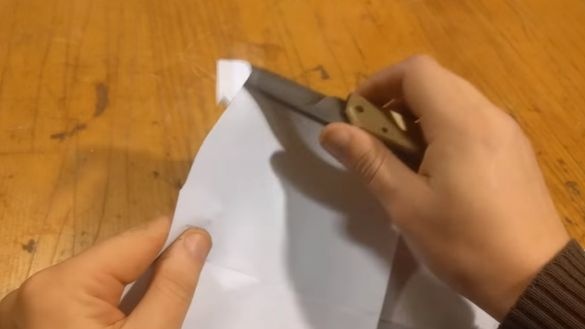
That's all, the knife is ready. All that remains for you is to sharpen it to the state of the blade. This can be done with fine sandpaper, periodically wetting it in water. Special ones are also suitable. fixtures for sharpening. The author demonstrates the sharpness of his knife by cutting paper into ribbons.
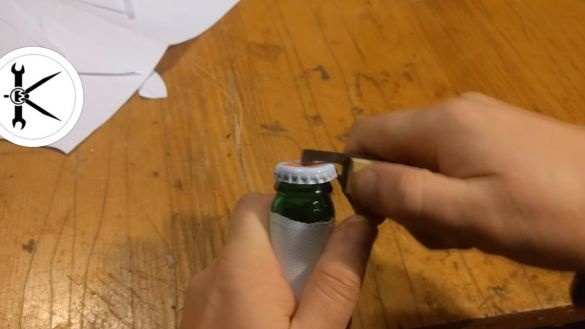
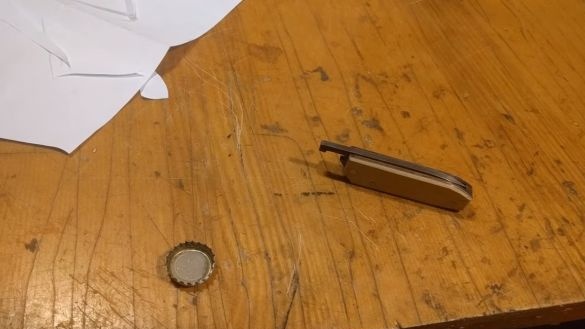
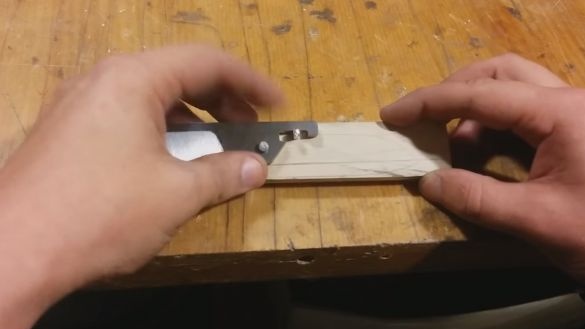
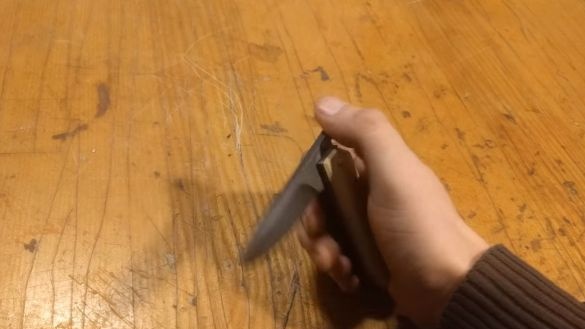
Now the knife is finally ready, it is simple and functional. The locking lever can be used as a bottle opener. That's all, good luck and take care!

