
Now you will understand how you can make a secret safe from a spare wheel. Probably everyone has a problem in the fact that you have never done this, but do not lose heart! The person who made this homemade also did not work the first time. If you need to change the design itself, then all the templates are placed in 13 parts.
Part 1: getting started.
Before work, you must definitely think: do you need this safe, how do you make it, do you have those materials that you need.
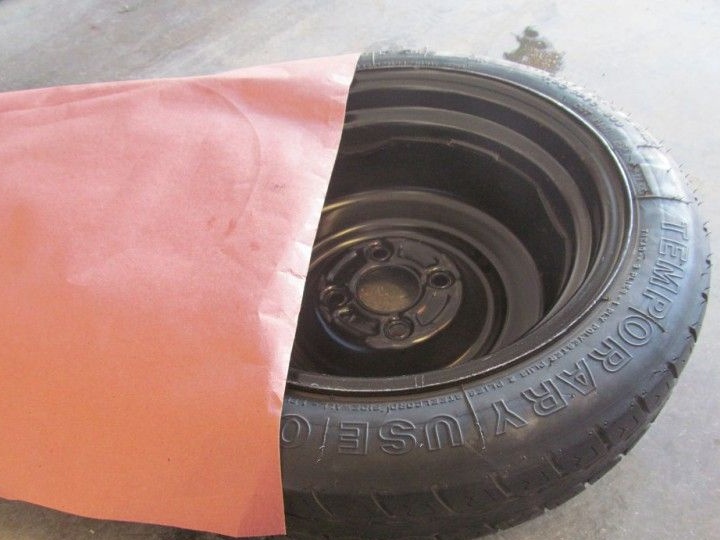
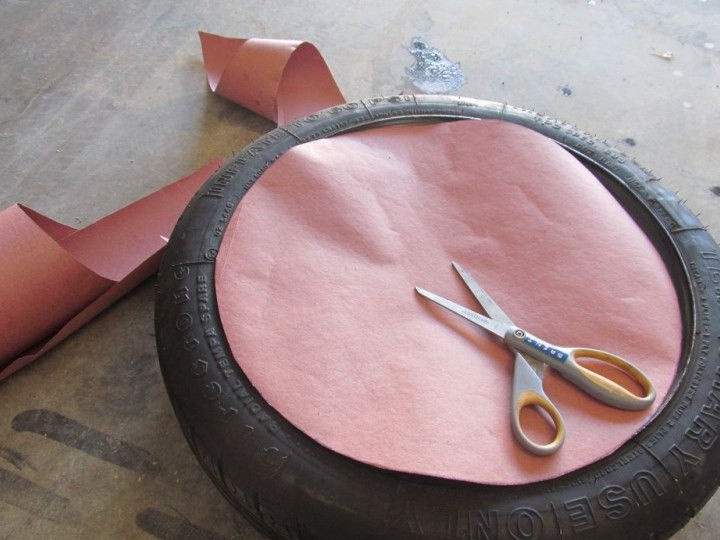
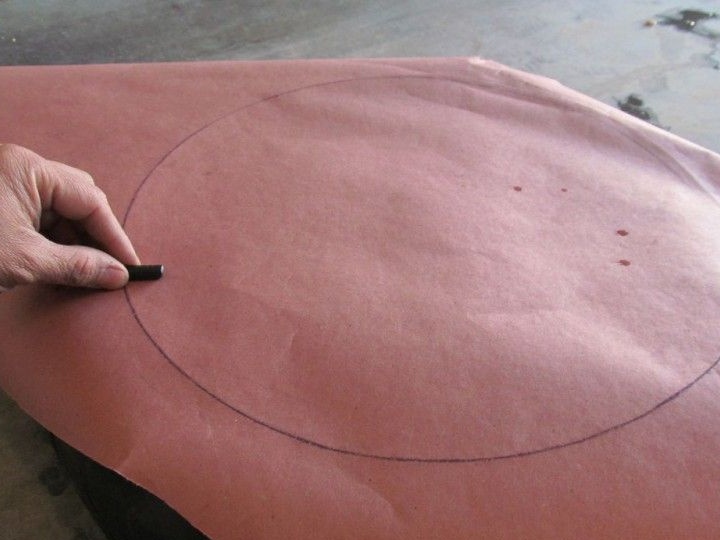
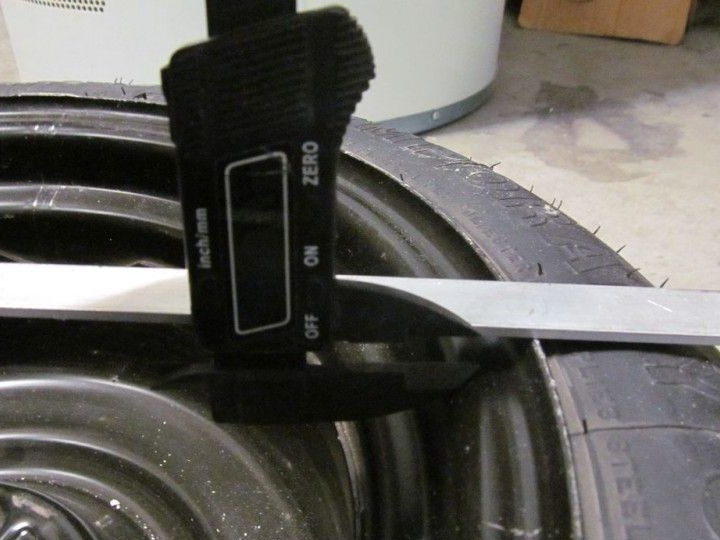
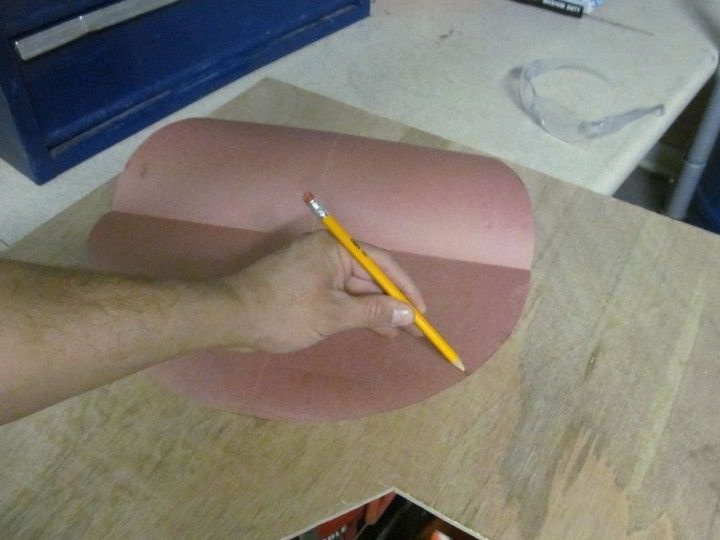
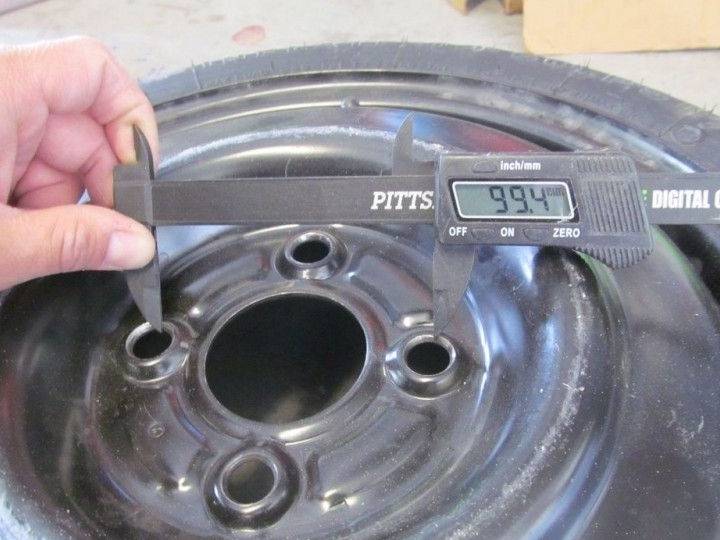
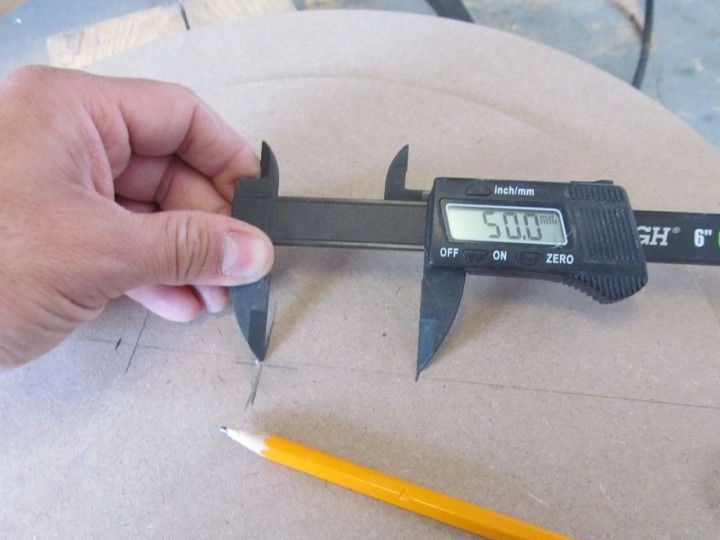
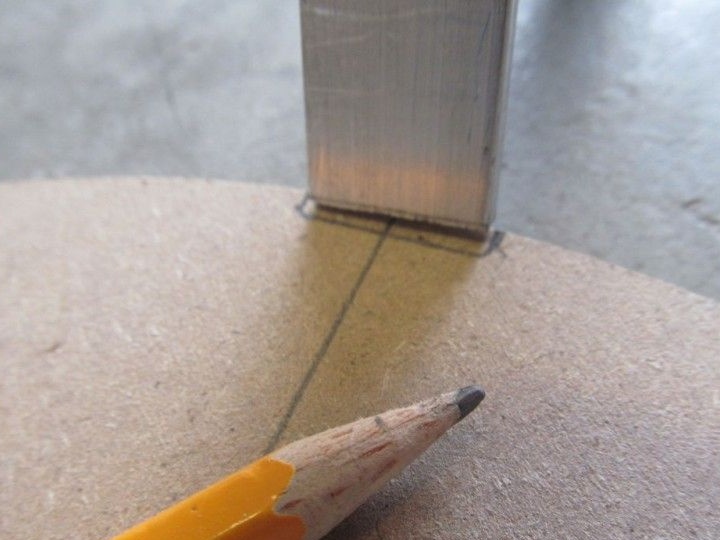
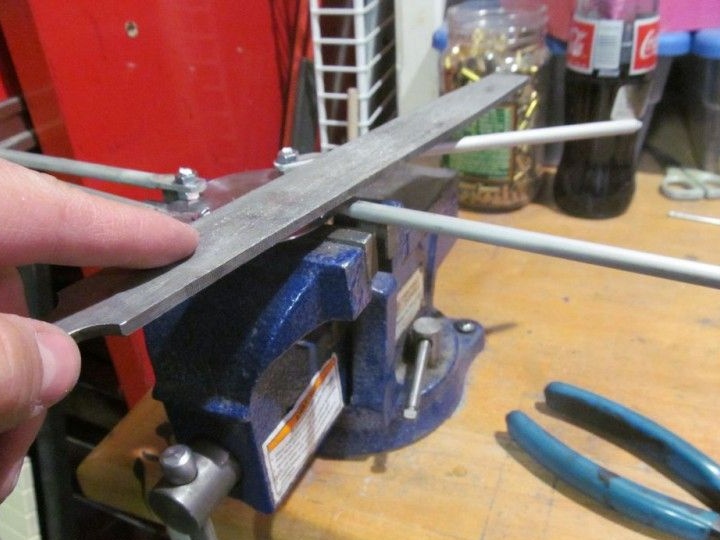
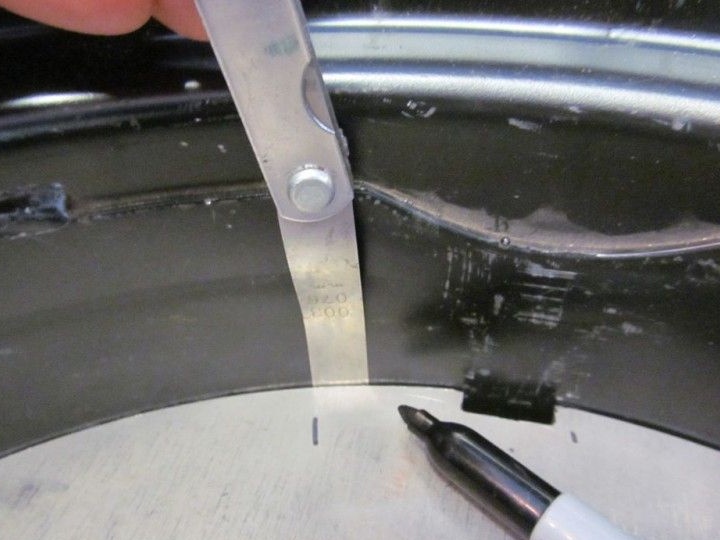
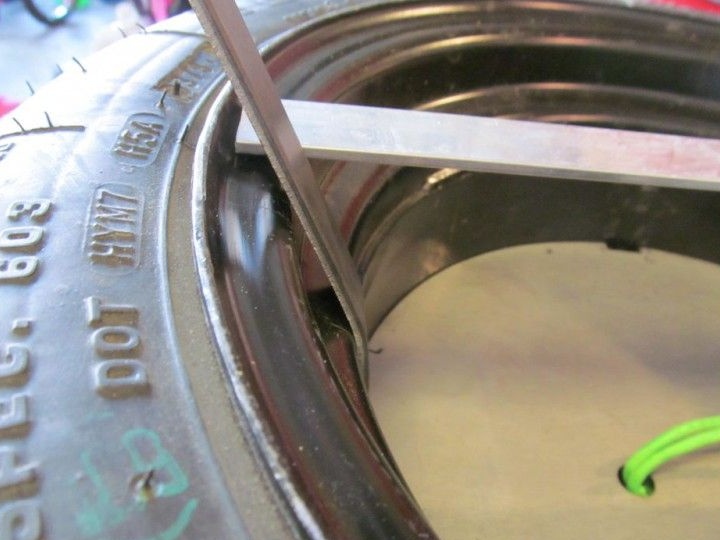
To get the exact dimensions, take a paper sheet and place it on the edge of the disk, then draw a pencil on it. Further, the resulting circle can be cut with scissors. If all sizes satisfy you, then you can find the thickness of the cover. To do this, you need to put the plate on the rim of the disk and measure the gaps with a caliper. We should get 0.6 cm.
Note: If you drive a car across the border, you may be suspected of smuggling when checking a car. Therefore, in order not to receive punishment, immediately inform the employees about the hidden place. Such actions will help you protect yourself from punishment.
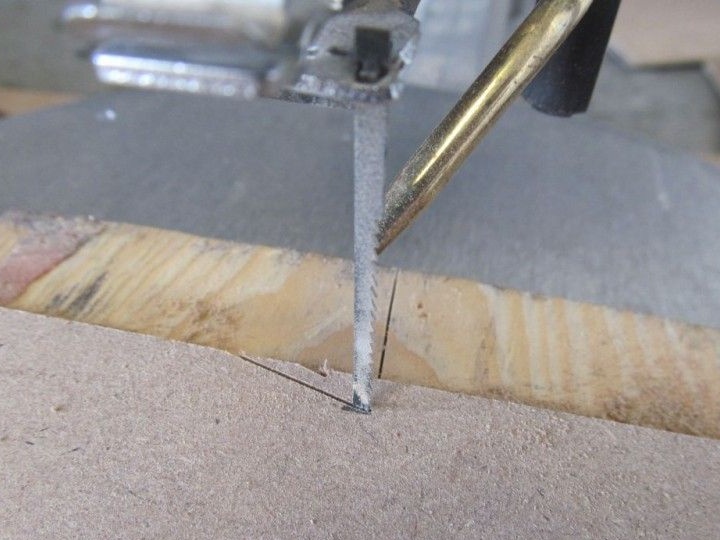
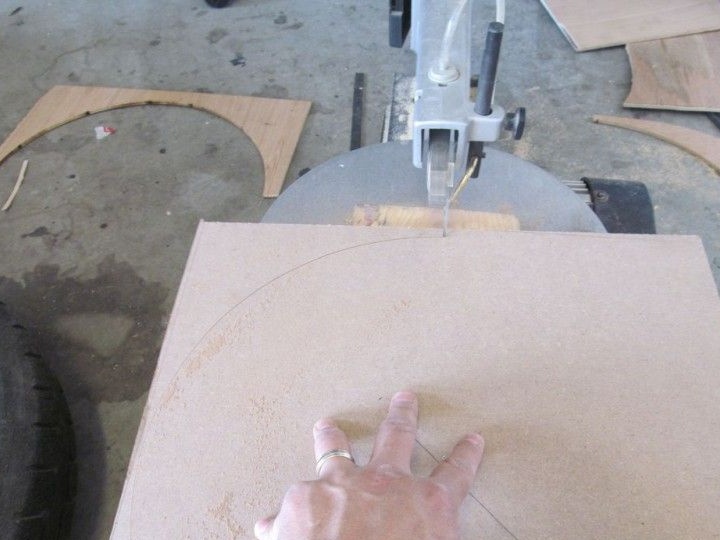
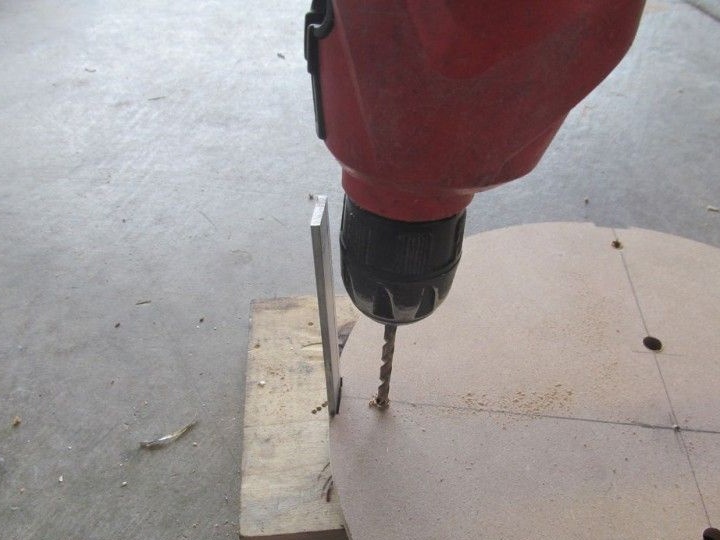
Part 2: Cut the circles.

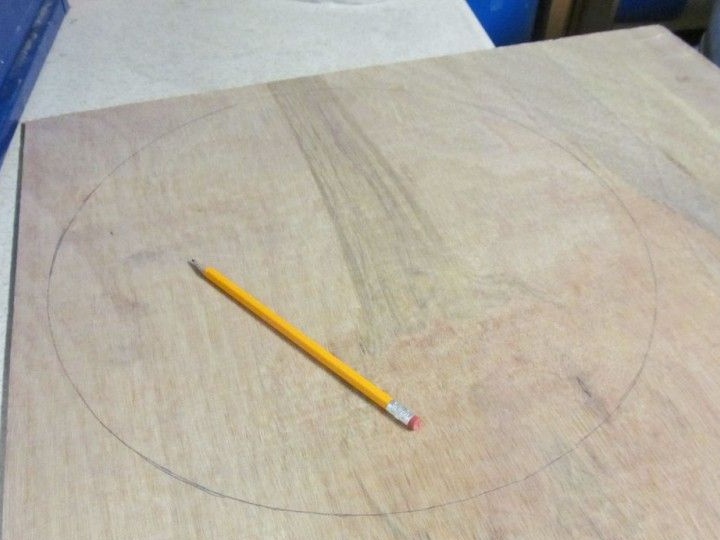
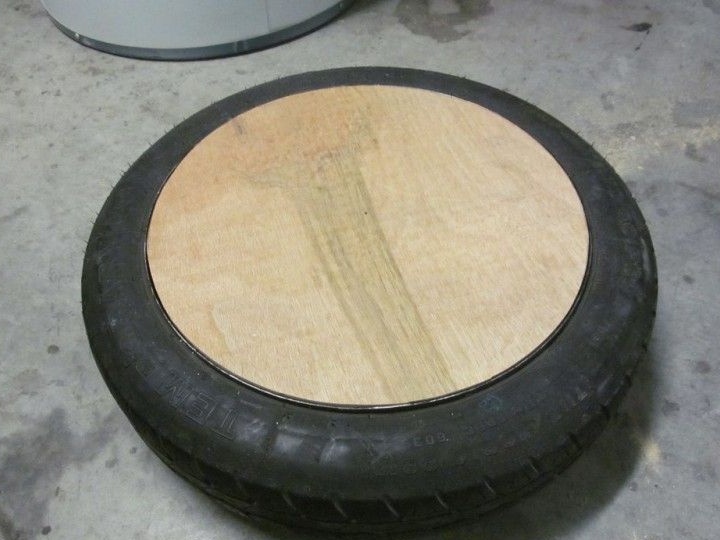
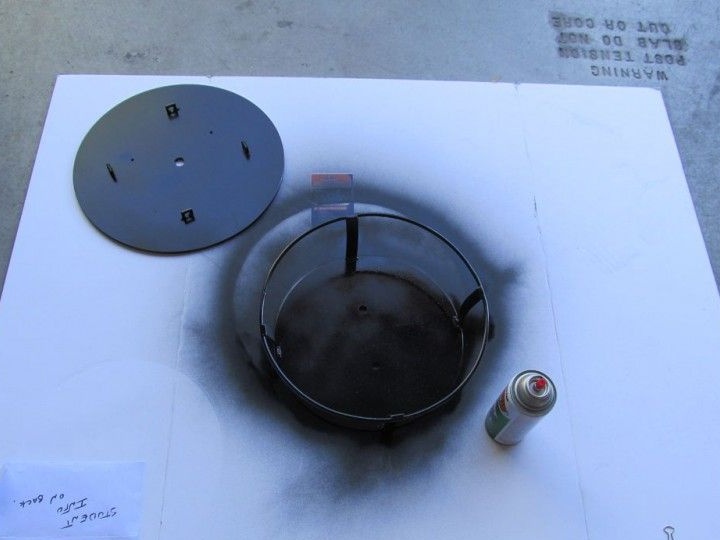
For the top of the safe, that is, for its cover, take MDF, because it is easy to use.
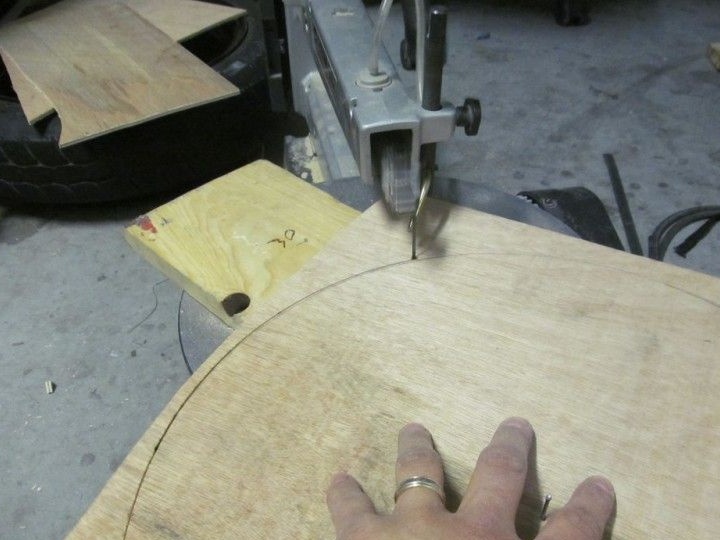
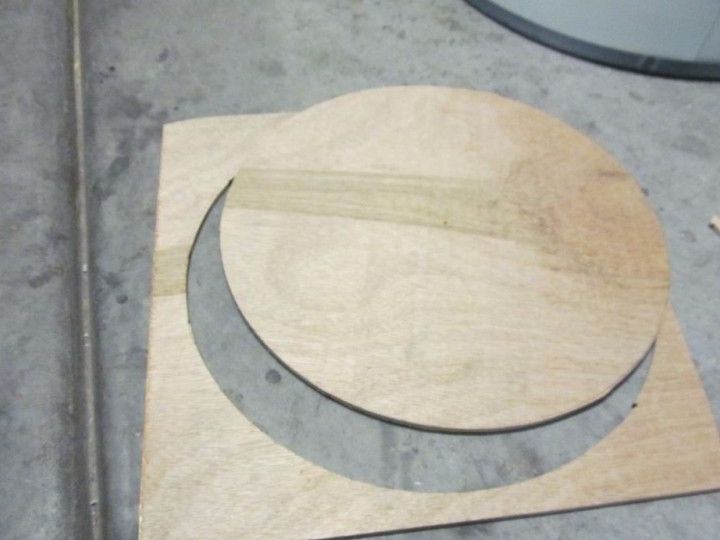
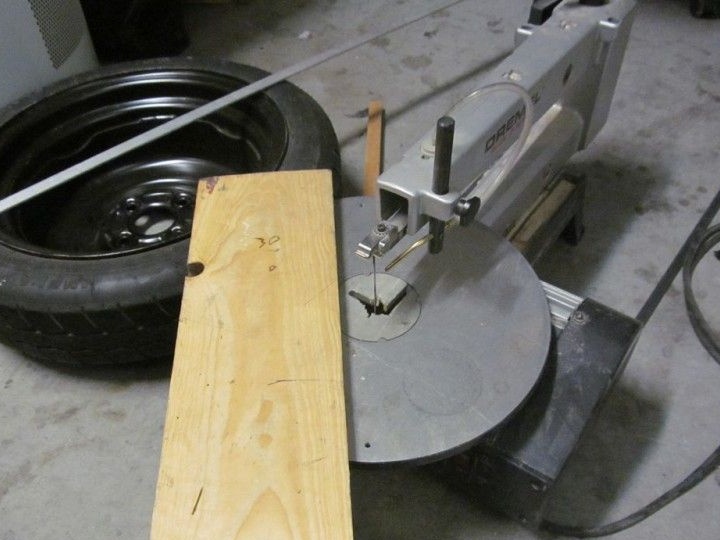
You can use two options to cut circles. The first option: sawing by hand and hope for an excellent result. The second option: we use a simple woodworking machine. We fasten the wooden plank to the base, taking the nail as the center. We hammer the same nail through the middle and the circle. We perform a second action to crop to the desired size.

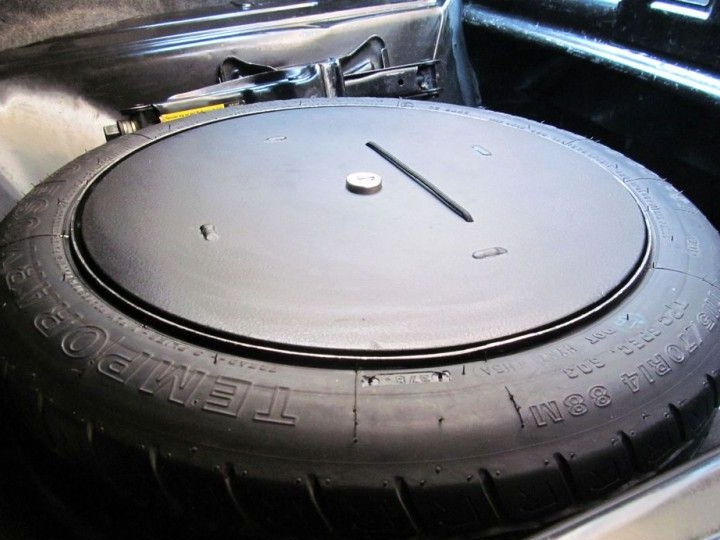
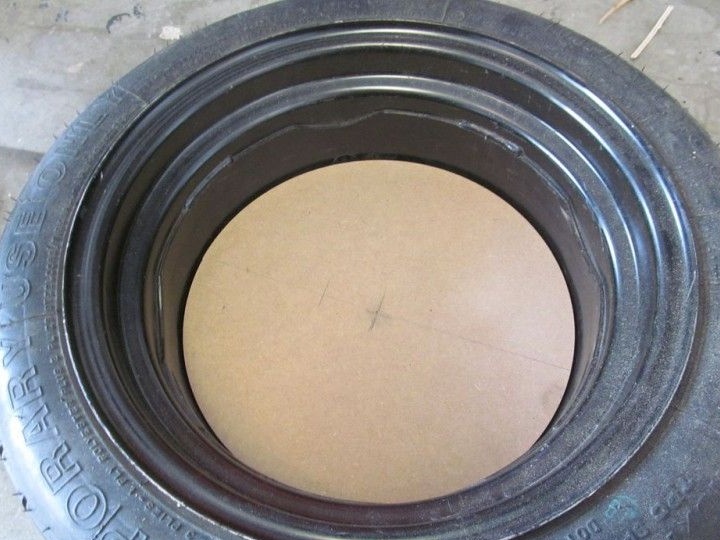
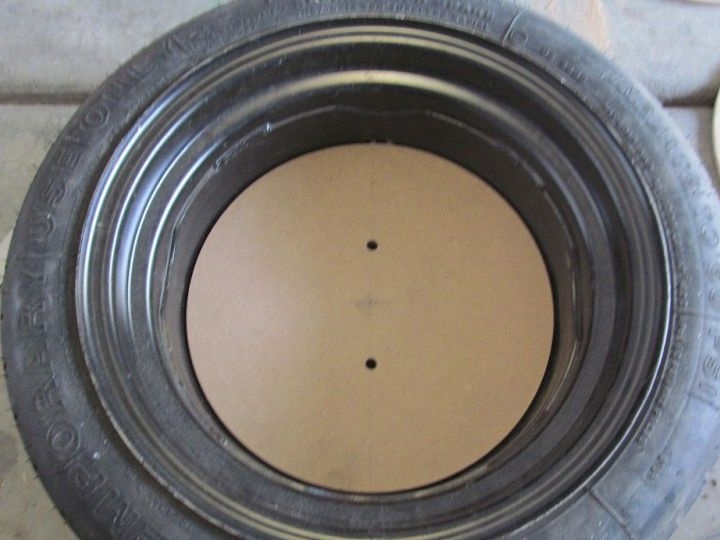
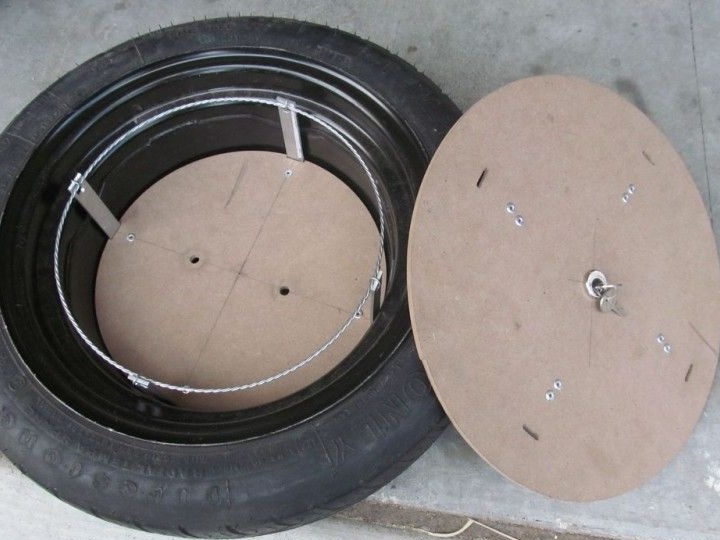
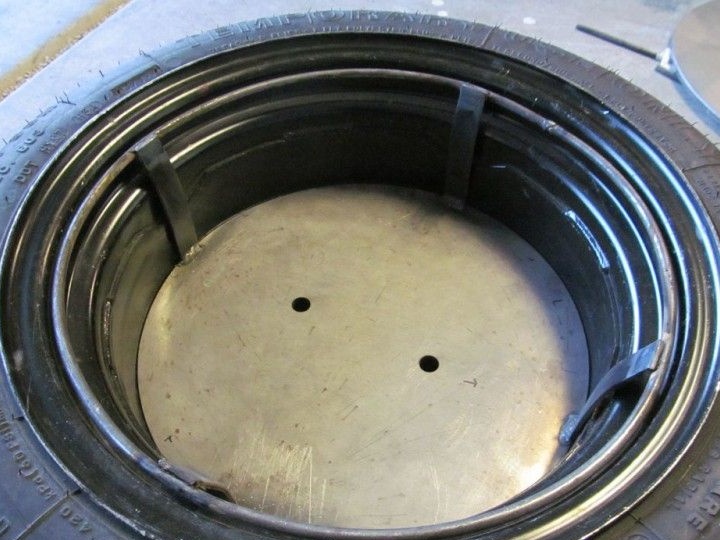
Fasten the cover to the tire. The mechanical part of the safe blocking must move along the circle. Cut another circle for the plate located below.
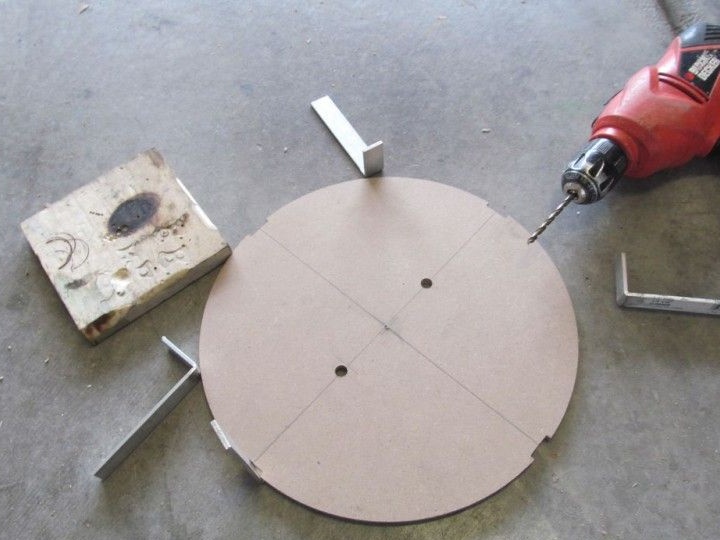
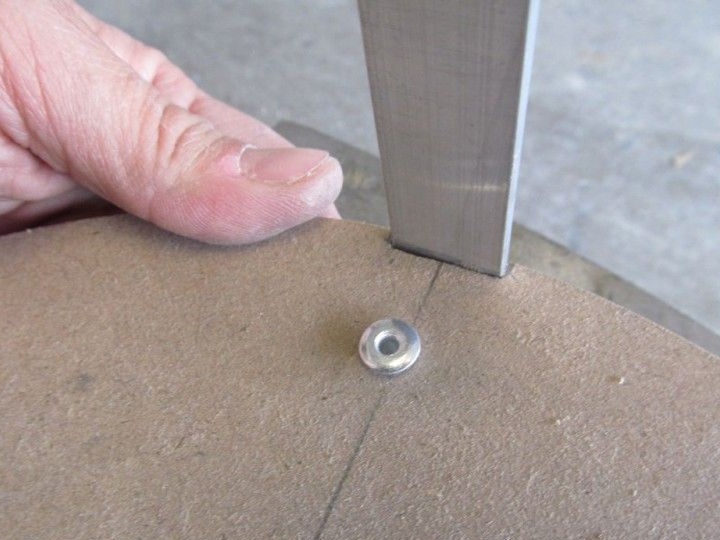
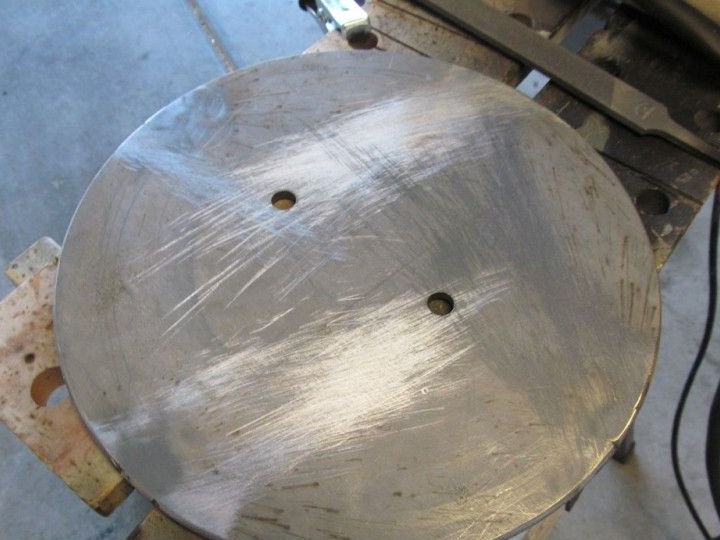
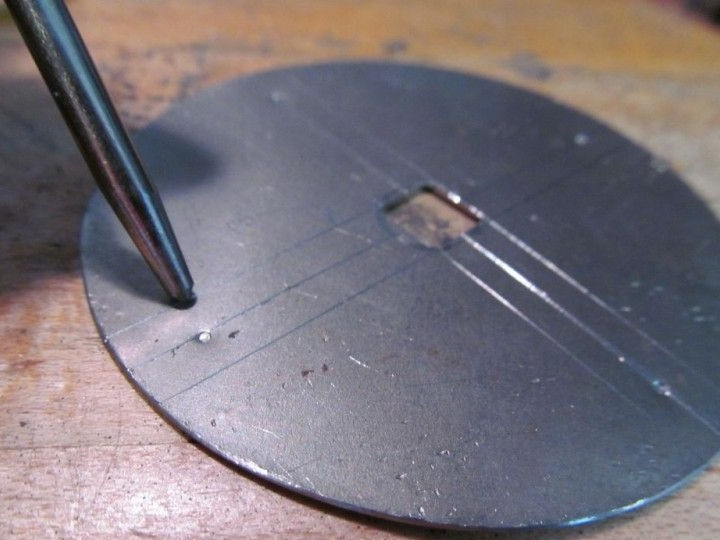
Part 3: outline the holes.
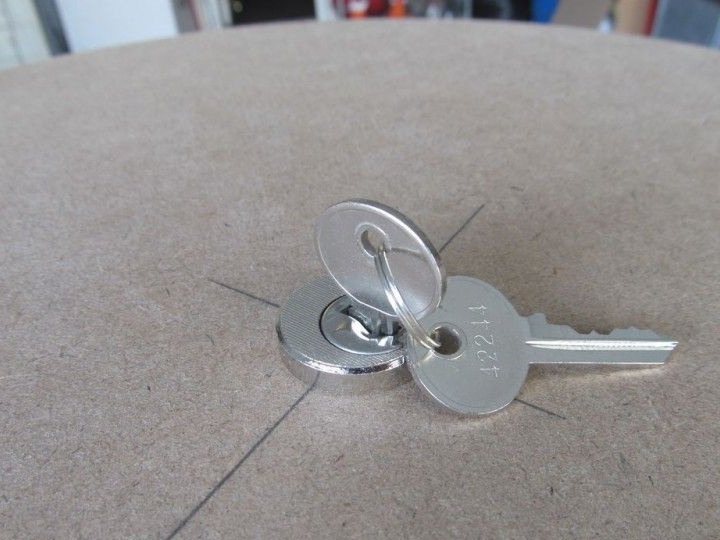
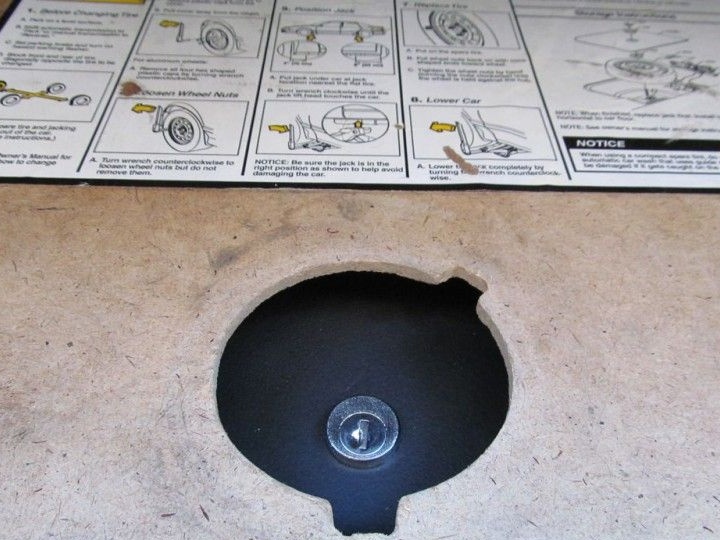
Everything was stalled on the locks of the safe cover, so that everything worked well, you had to know about the two most important parts. Part 1 consists of holes, they must be done in the plate located below. 2 is the lock and key, which should be on the plate, which is located on top.
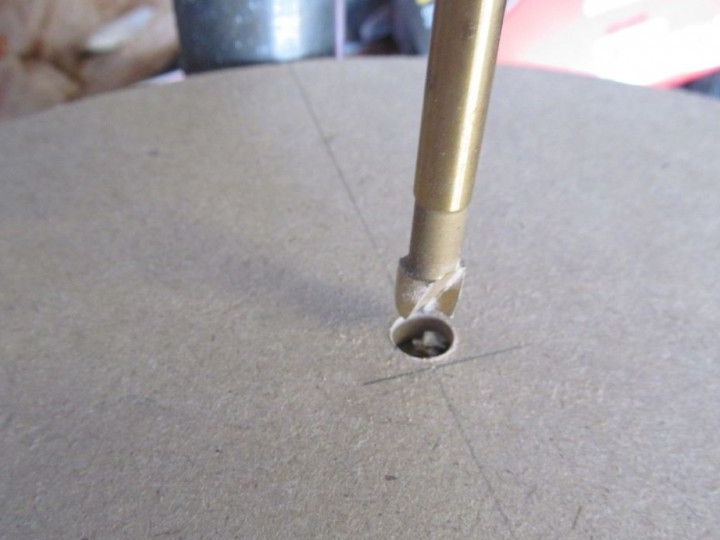
We perform 1 part. Holes should be placed 10 cm from each other.Next, we do 2 parts and drill 1 hole in the upper plate.
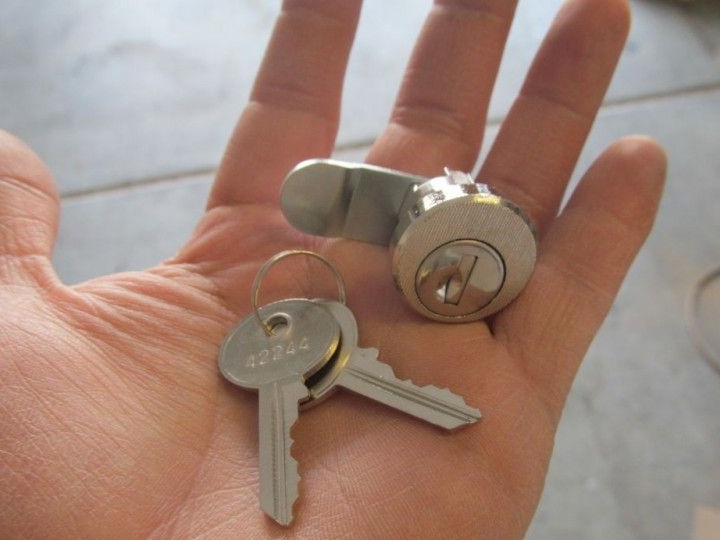
Now you can return to the lock.
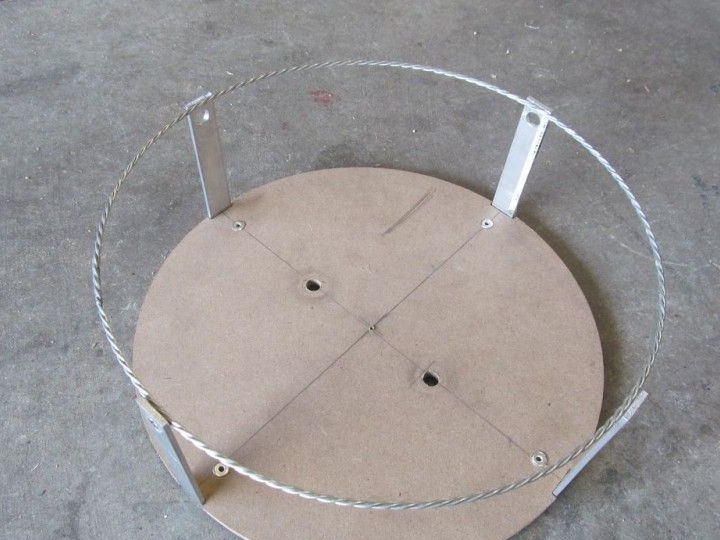
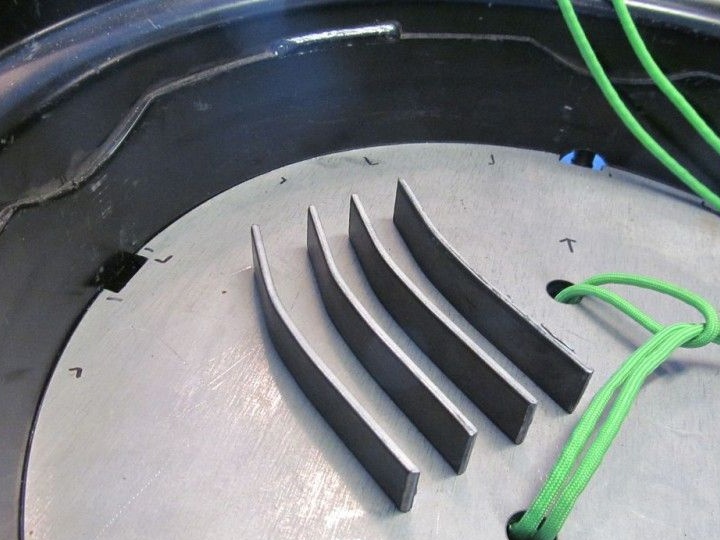
Part 4: Side supports.
We needed 2 support parts for fixing the bottom plate. But during work it turned out that 2 was not enough and I had to use 4.
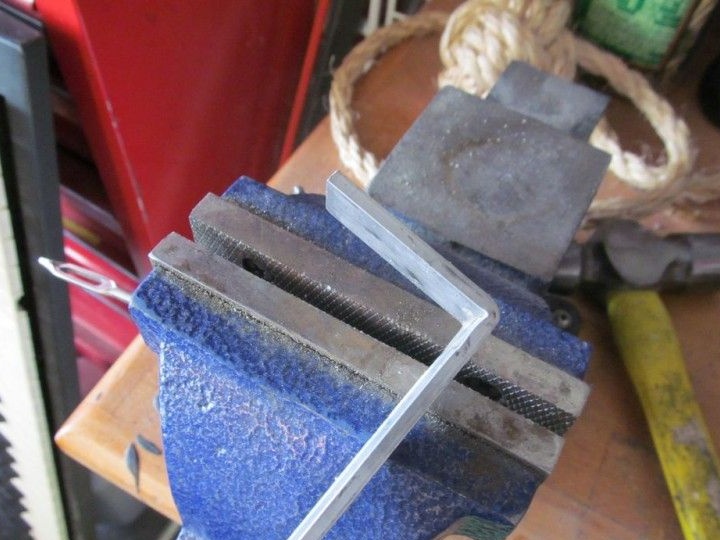
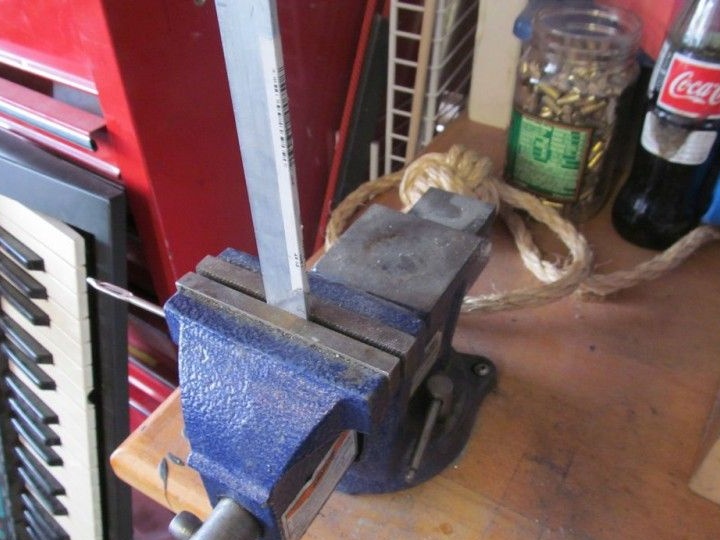
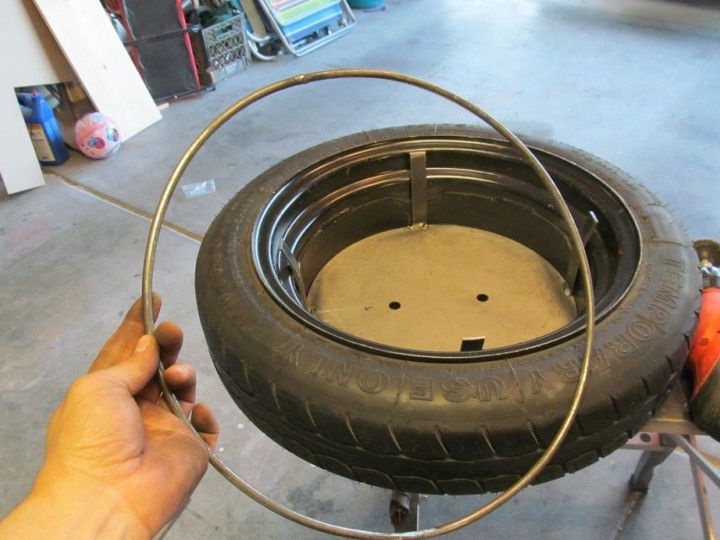
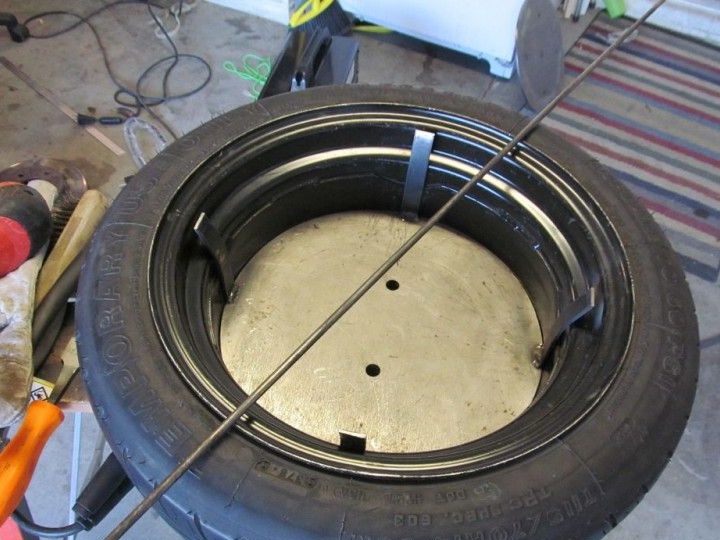
The supports will be aluminum strips, which we bend to 90 degrees. It is necessary to leave a few centimeters for fastening the rivets. Cut a groove under the circle, for a solid entry of the supports.

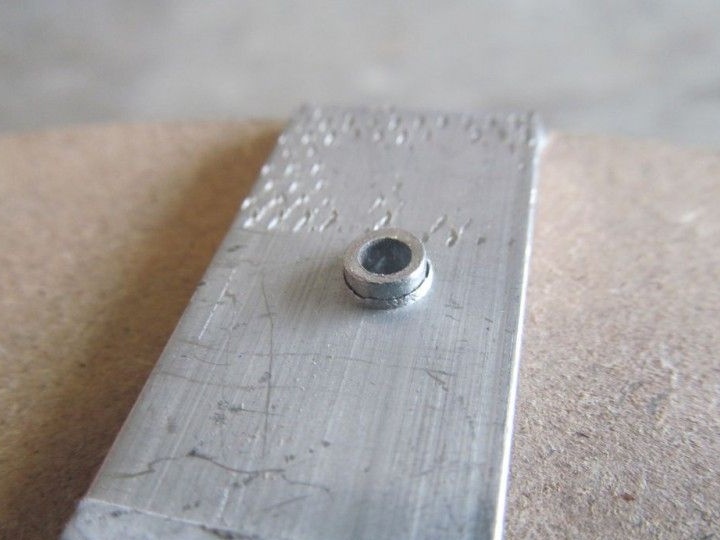
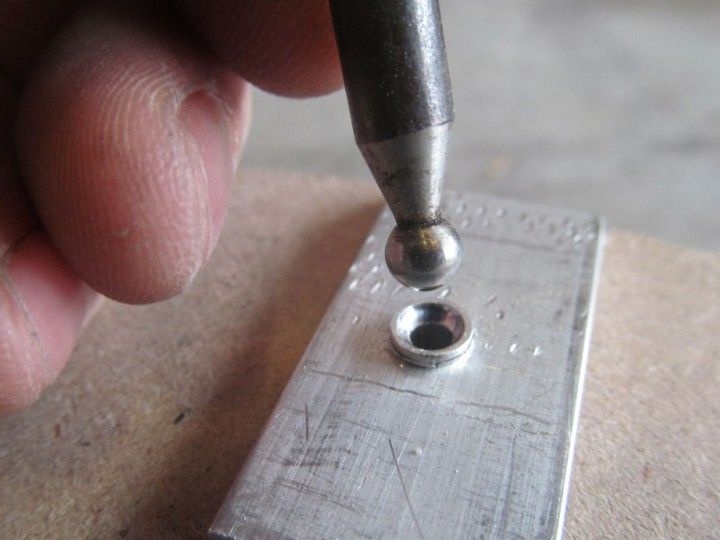
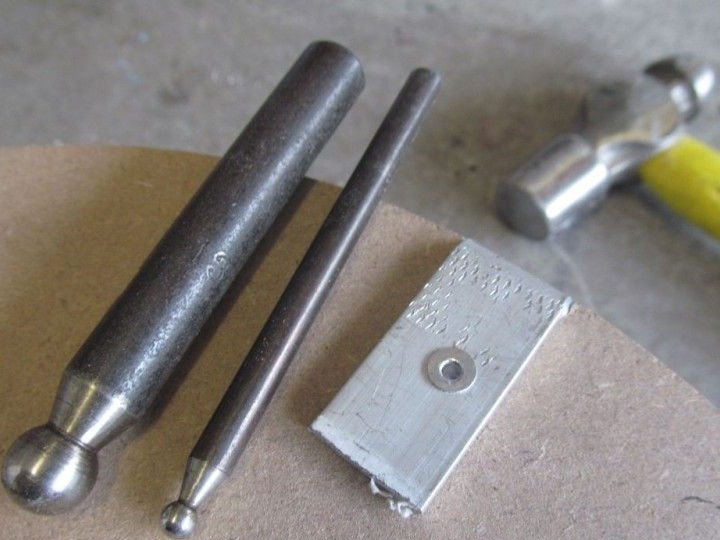
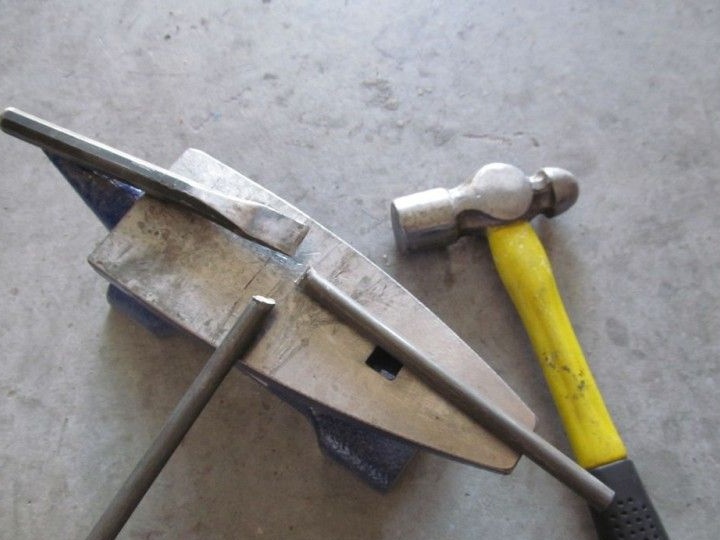
Part 5: Install the rivets.
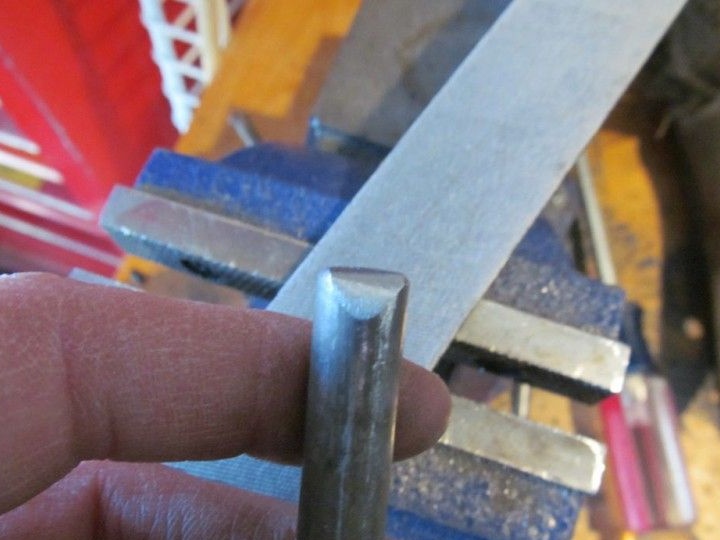
Before you install everything, you need to drill a few holes. Set up the props and drill the solutions to fix everything. This all makes the ball punch. To finish the job, simply flatten the top of the rivets with an ordinary hammer.
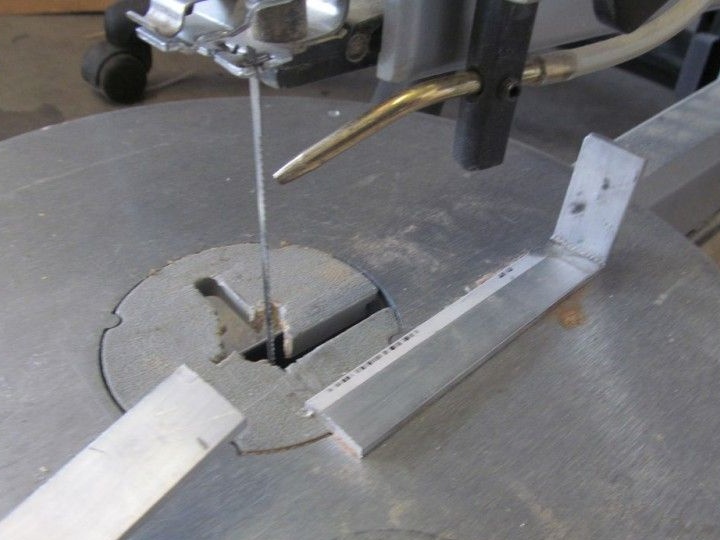
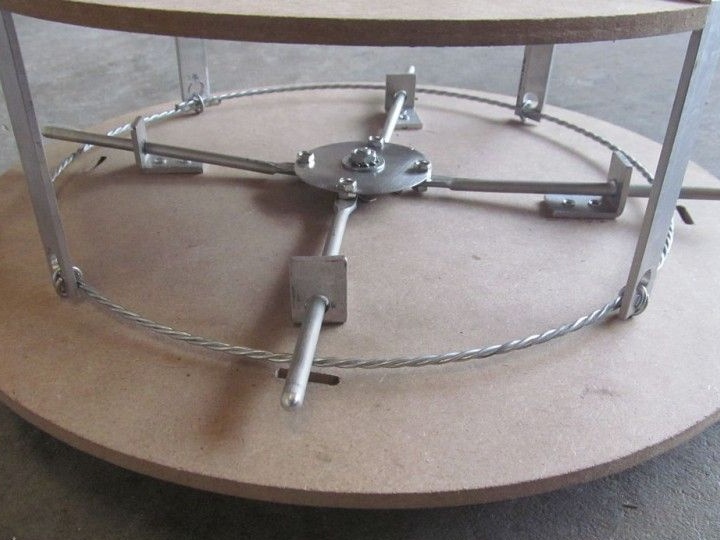
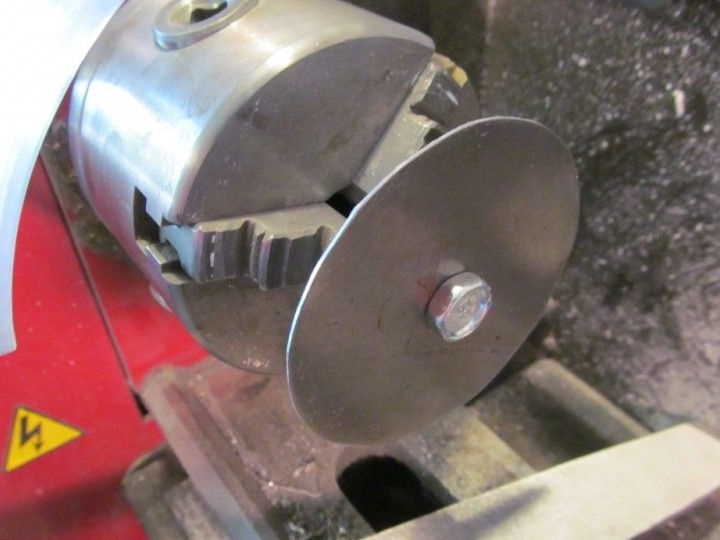
Part 6: Cut out the disk located in the center.
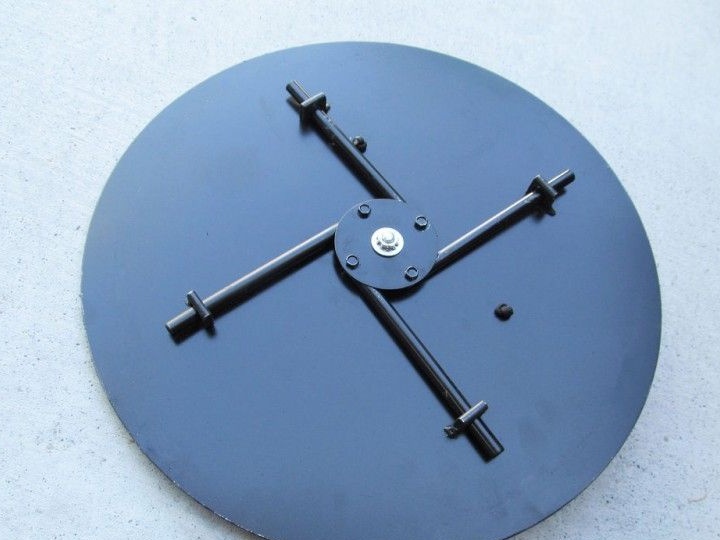
Then the author came up with an unexpected idea to take 4 retractable pins to lock the lid.

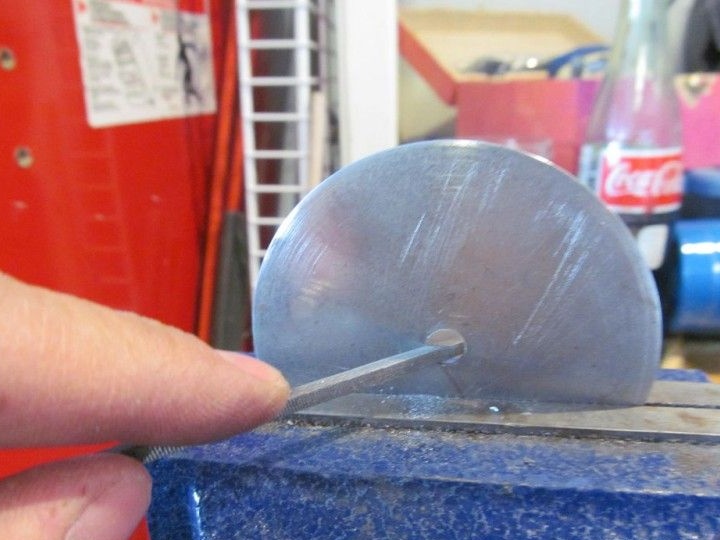
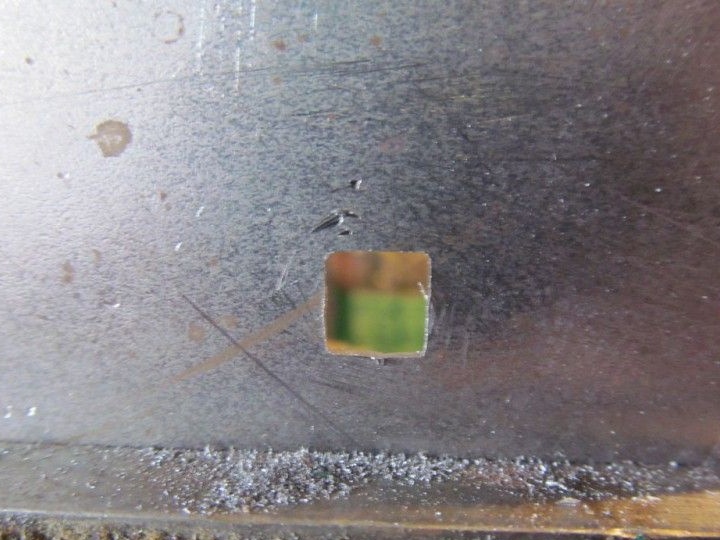
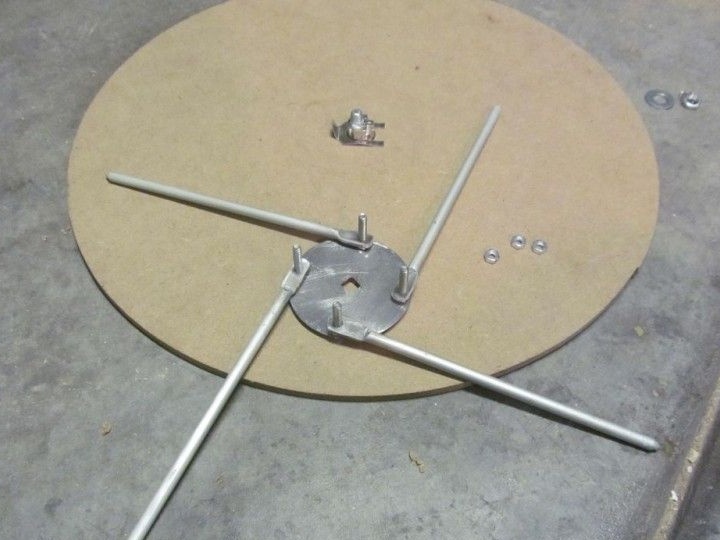
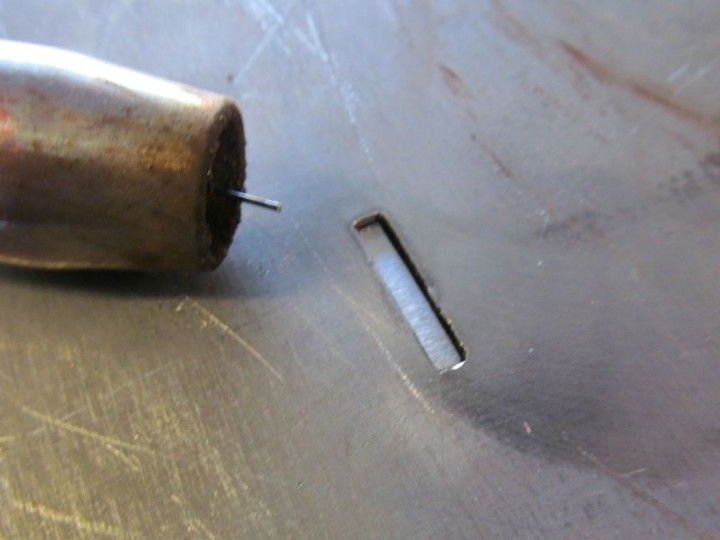
The pins were moved using the middle of the pivot point. The size of the movement should have been approximately 2.5 cm. There is a great idea to pick up a part with perfect dimensions. For example: you can find a container of a suitable size or a large bowl. Next, you can cut a disk in size from a sheet of metal using scissors for metal. In the middle we cut a hole of a square shape to place a safe locking mechanism in it. All sizes in part 13.
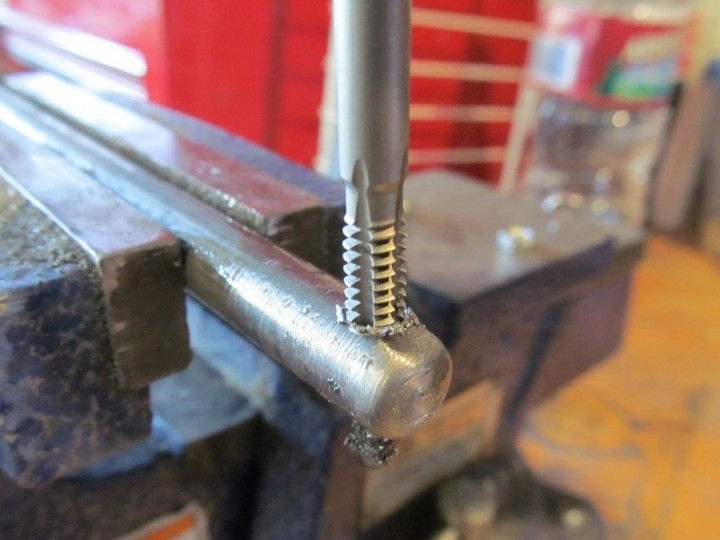
Part 7: We produce pins for fixing.
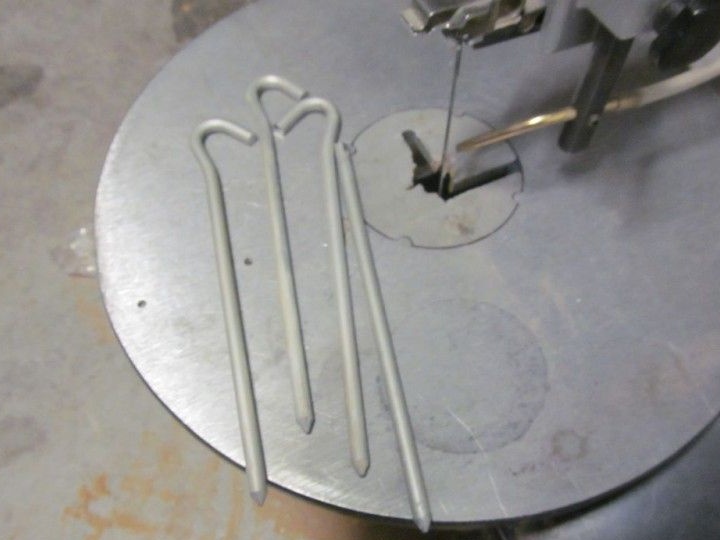
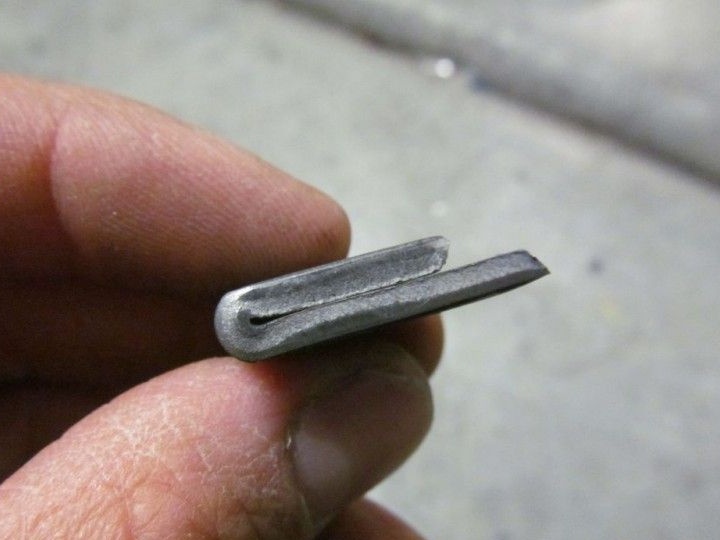
The pins are based on aluminum pegs for attaching the tent.
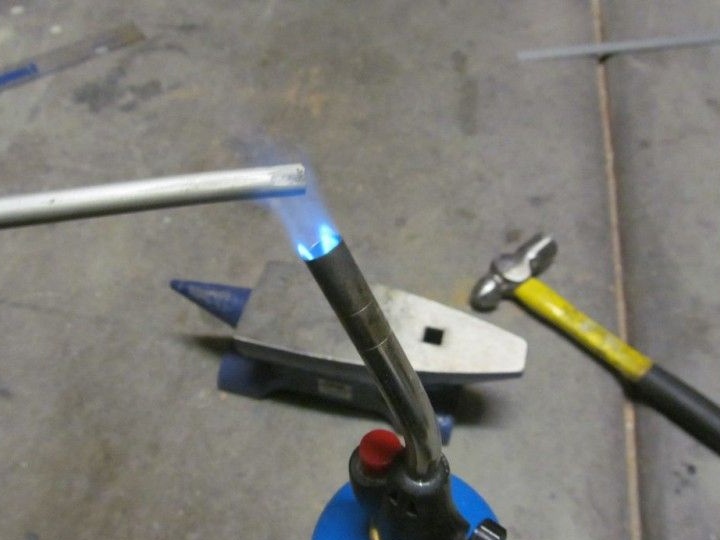
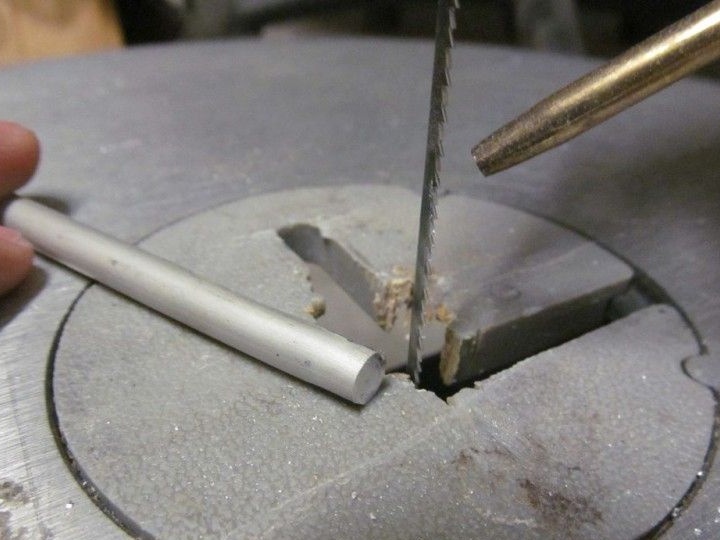
Cut off the hooks from each mount. Now you can heat everything with a burner. This is necessary for the easy manufacture of flat ends. Holes will be drilled in the same place. Then everything is cut to the size you need and is rounded off under the grooves.

Part 8: Assembly and fixing of the mechanism.
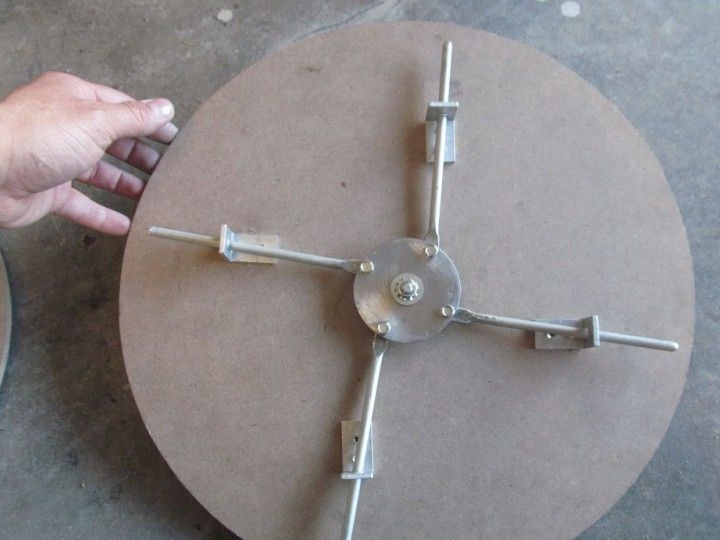
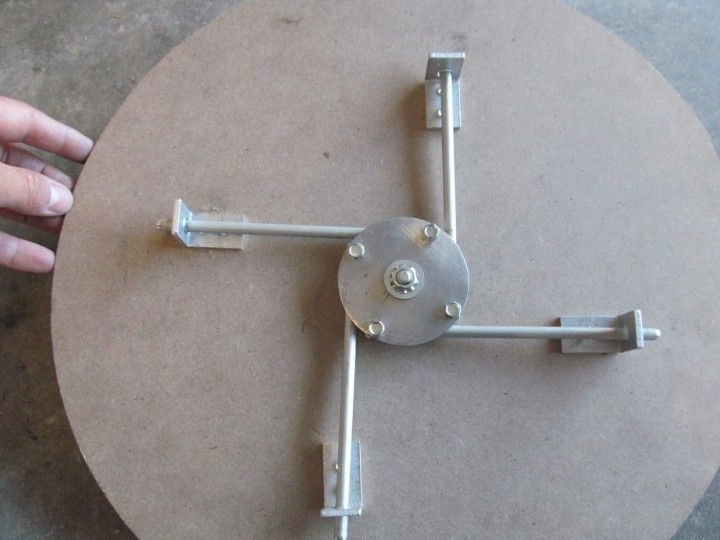
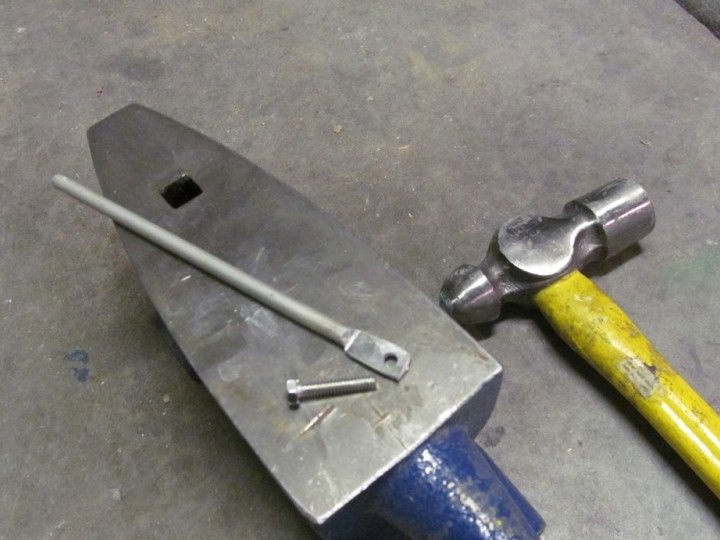
There was no clarification on the location of the mounts. An approximately equal length between them is determined by the eye. We repeat another action: mode 4 strips of aluminum and bend them to a right angle. Fasten everything with rivets. Guides should correspond to a right angle. It’s not advisable to place them near the edge of the disc. Since the pins fall out while driving.
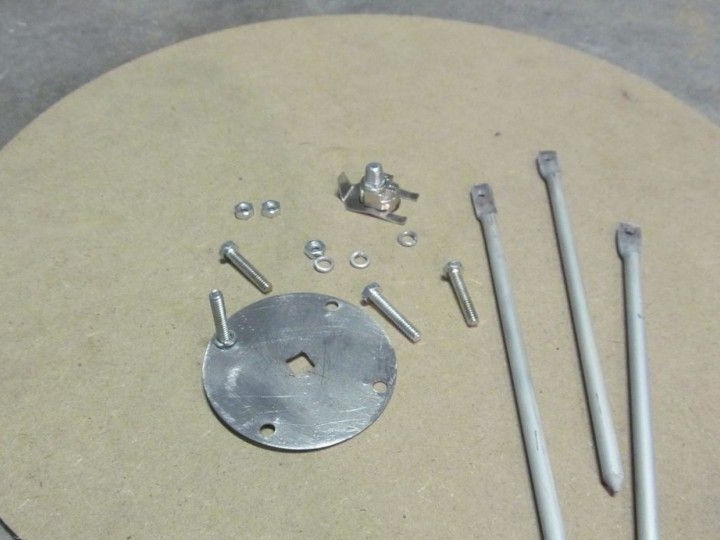
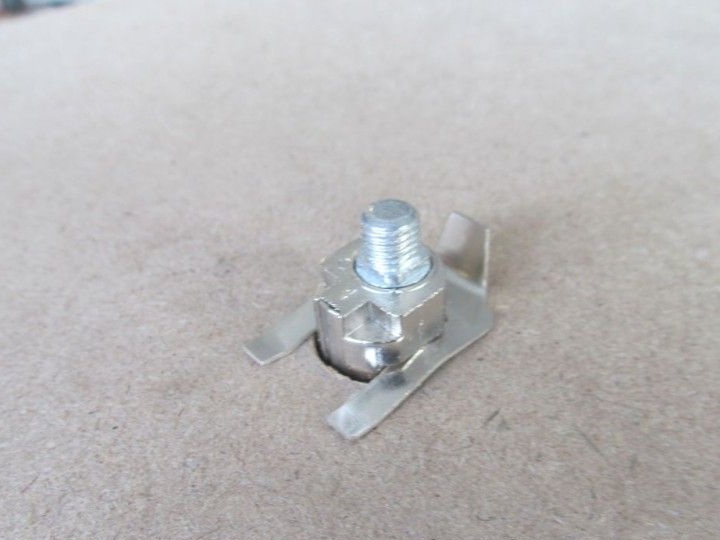
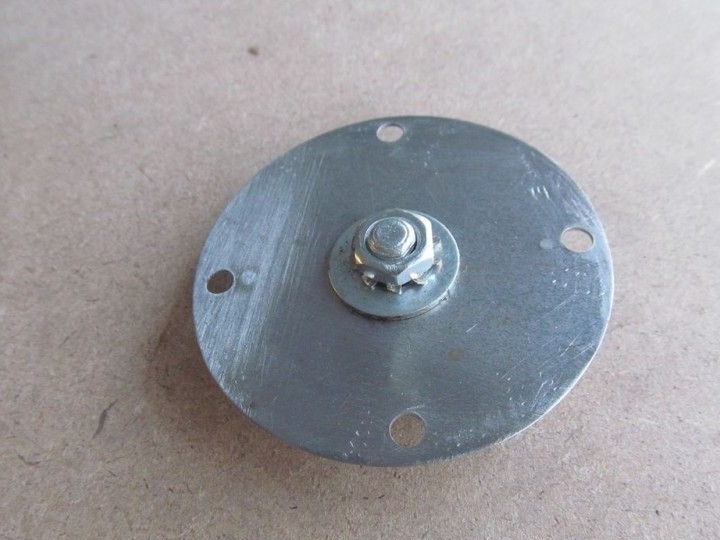
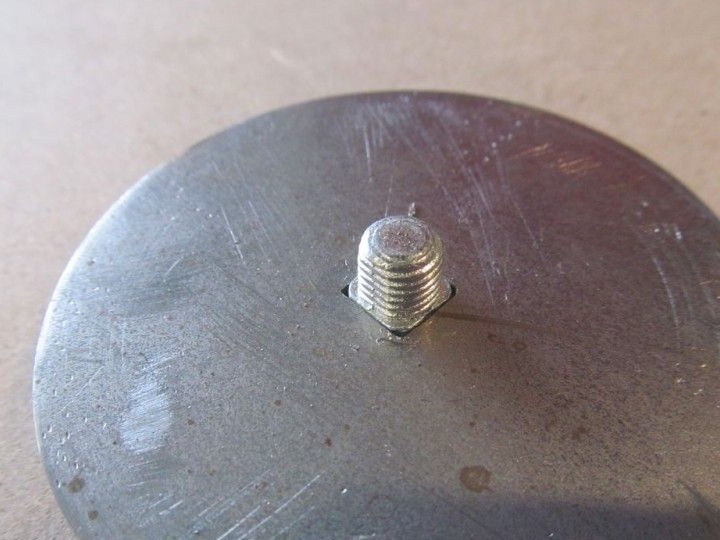
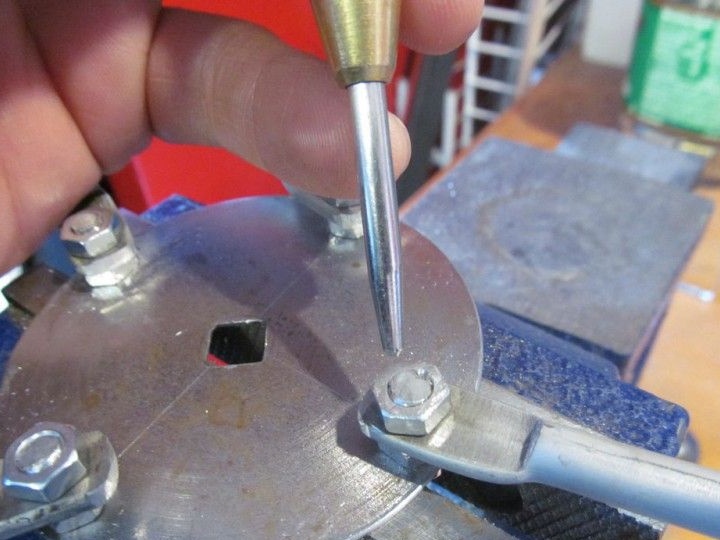
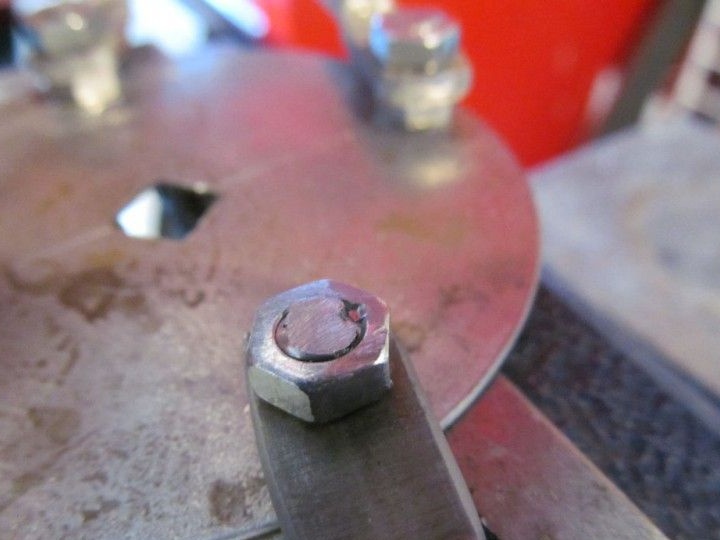
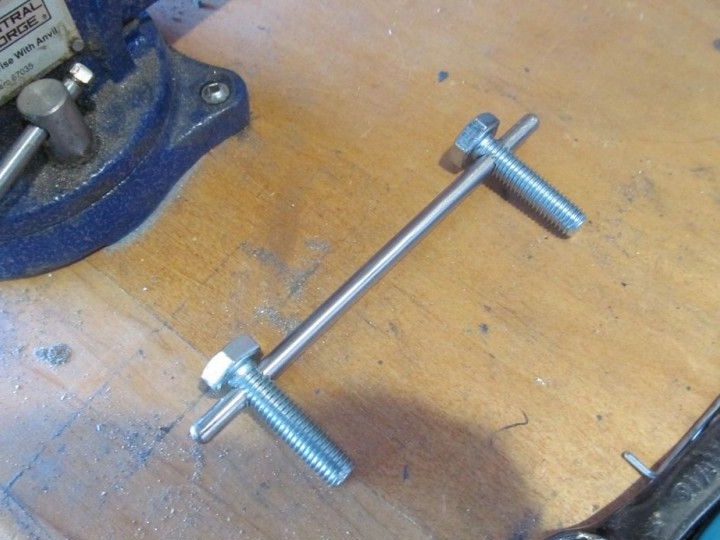
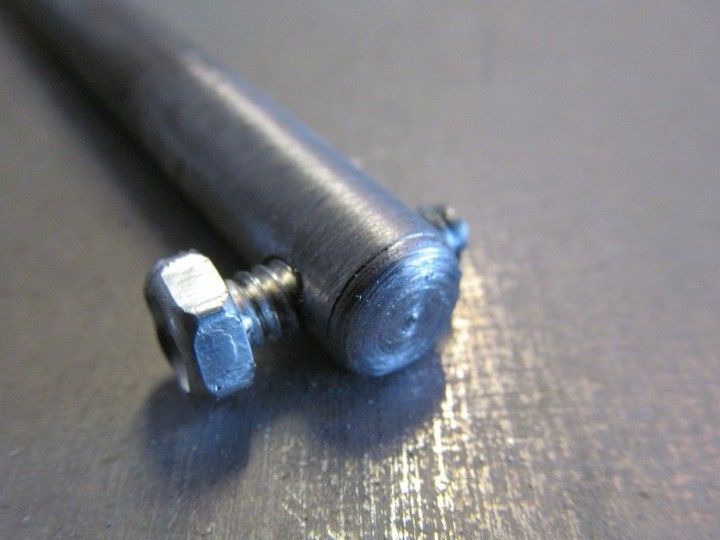
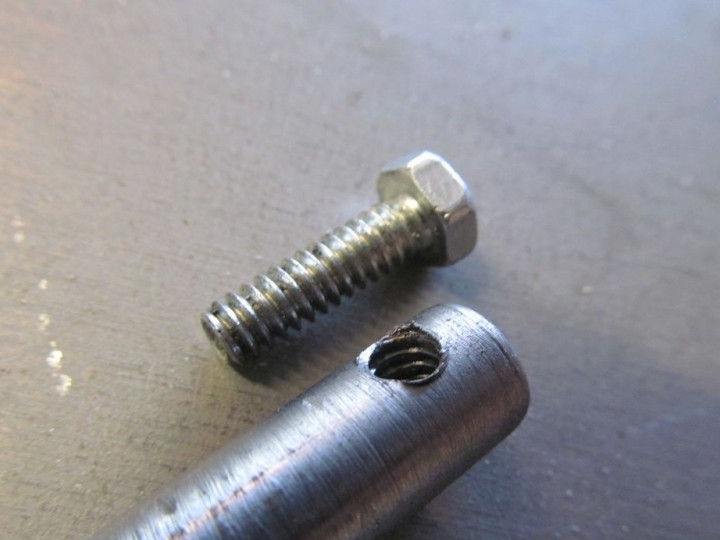
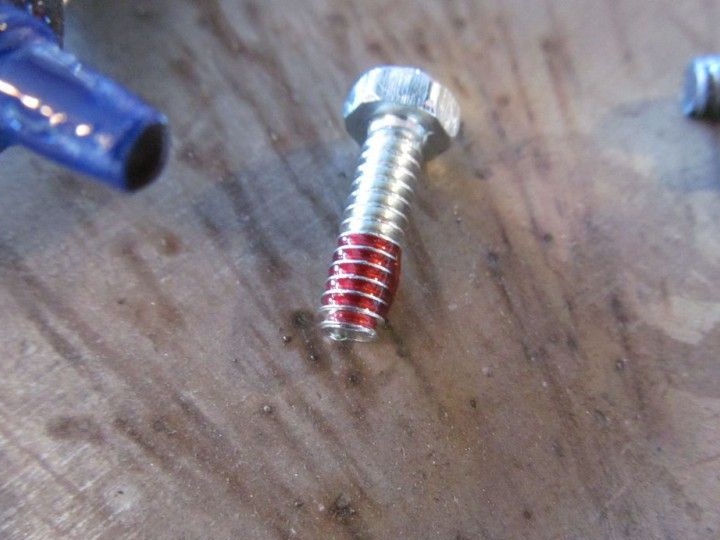
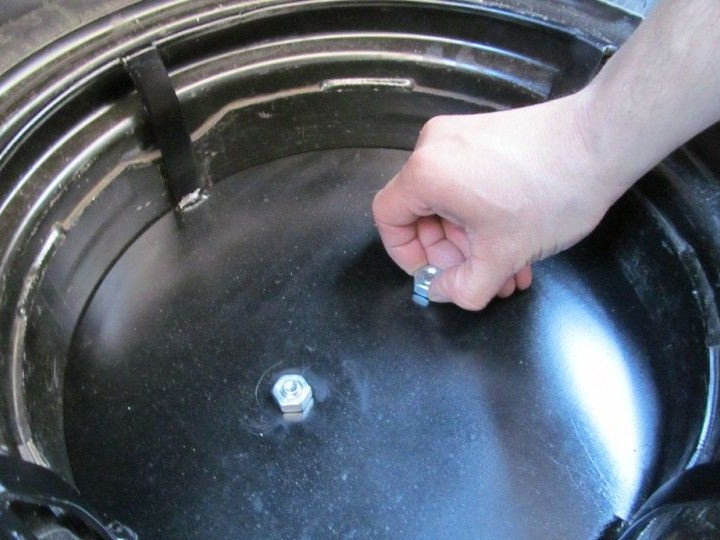
From the beginning, in the first part everything was fixed on 1 nut, but judging by the deterioration of work, 1 nut was replaced by 2, for each bolt.
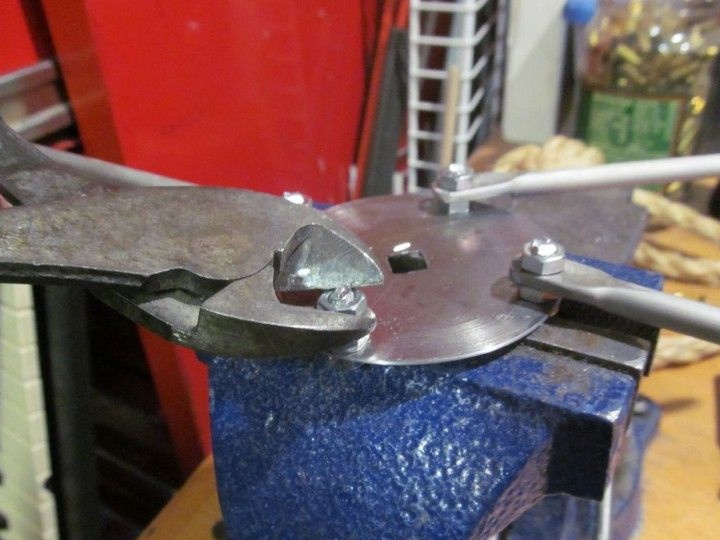
The bolts themselves can be reduced with ordinary wire cutters. We clean it with a file. For best structural strength, make a small chip on all nuts.
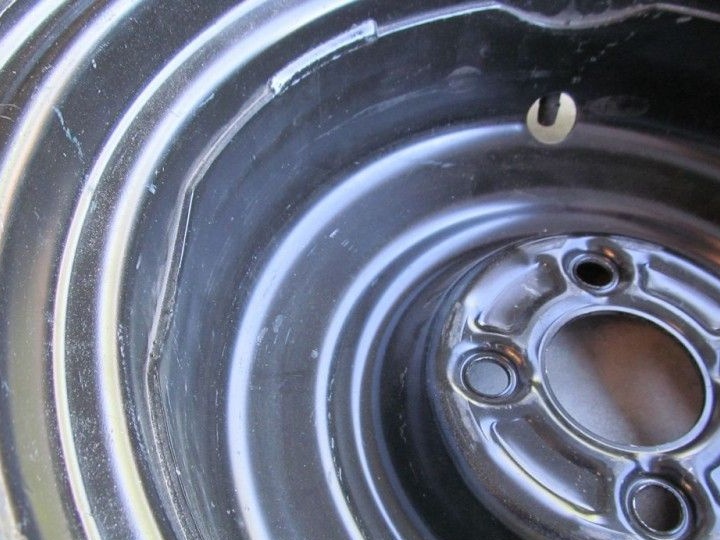
Part 9: Trunk Mount.
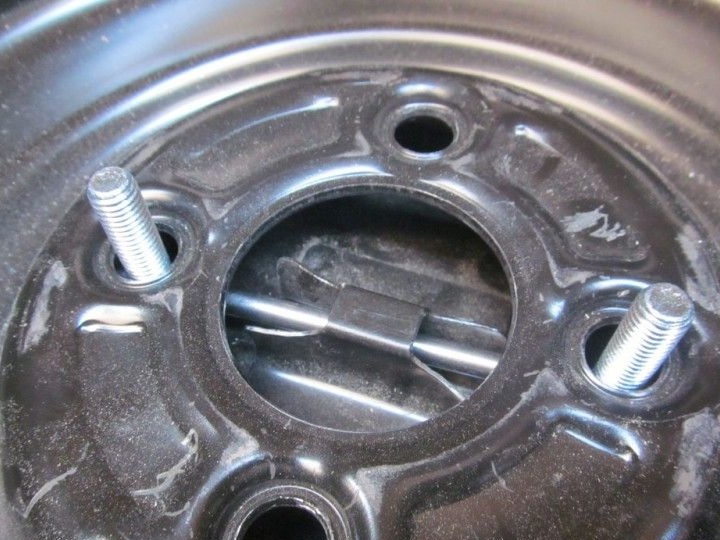
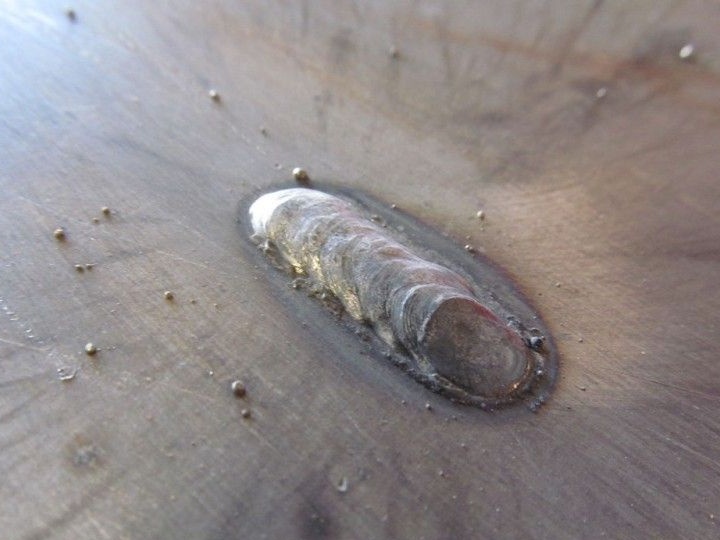
We make several through holes for each bolt. As soon as we do everything, thread through the steel rods. In the end, everything is fine.
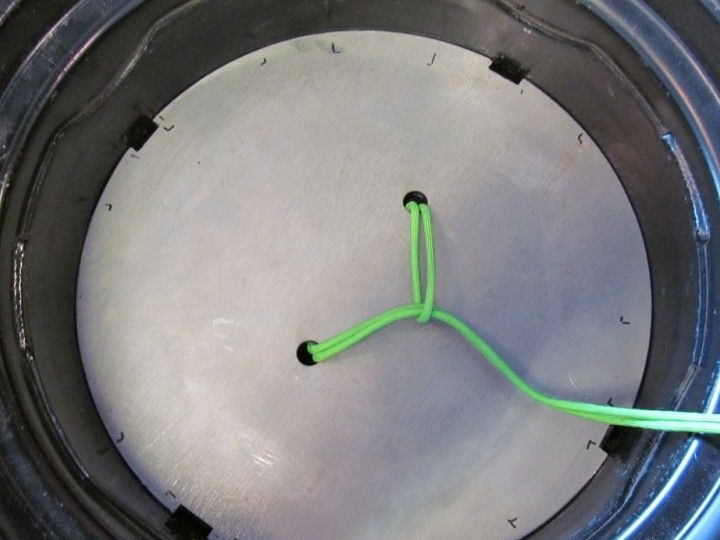
Part 10: Circlip.
First, we determine the best way to fix everything. In the case of the author, this method was a circlip.
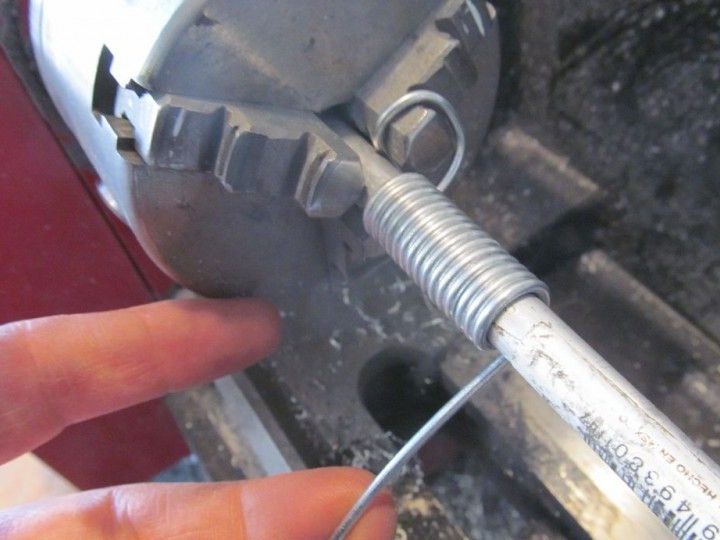
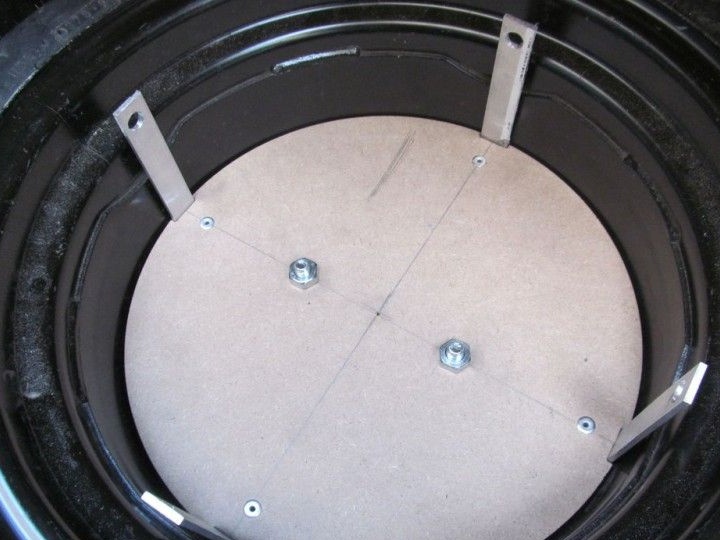
Using the snap ring, you need to know that the location of the pins for support does not affect anything. We take 3 wiring and weave them together. Next, make a circle and solder the ends of the resulting cable. We attach the resulting ring to each rack using a wire.
The lid was locked using the mechanism, which was located on the fixture of the compartment.
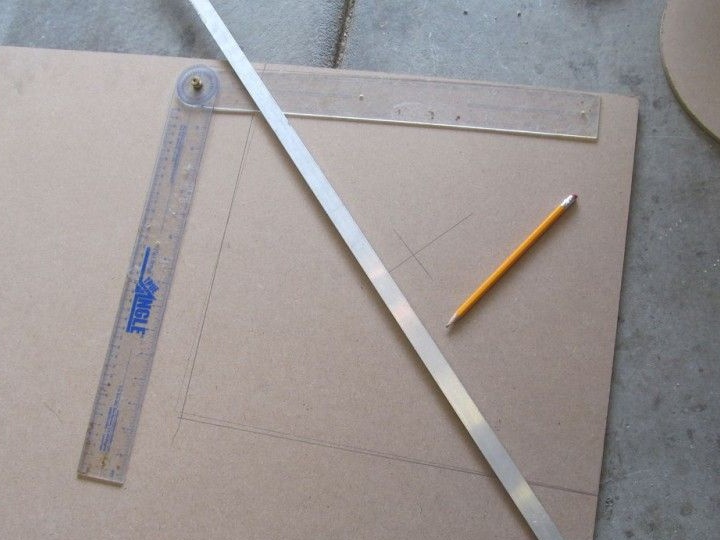
Part 11: Drawing in Autocad.
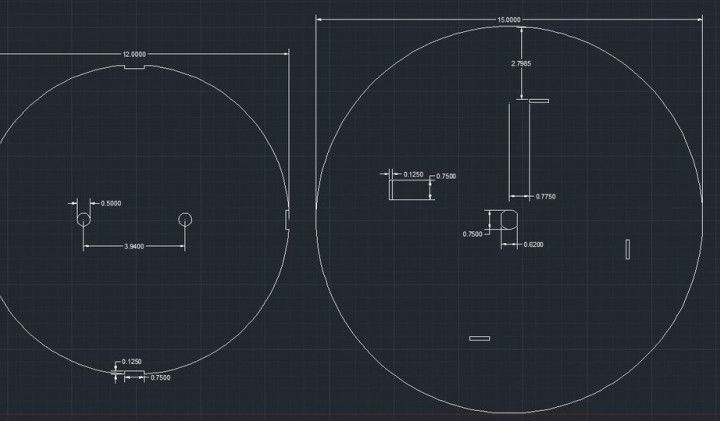
If you don’t know about a program like Autocad, then here’s how to work with it: press the circle key, type - diameter and ENTER button.

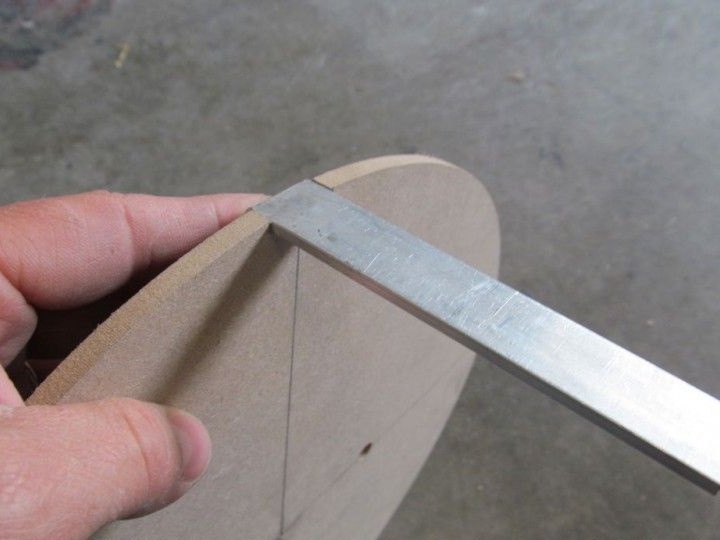
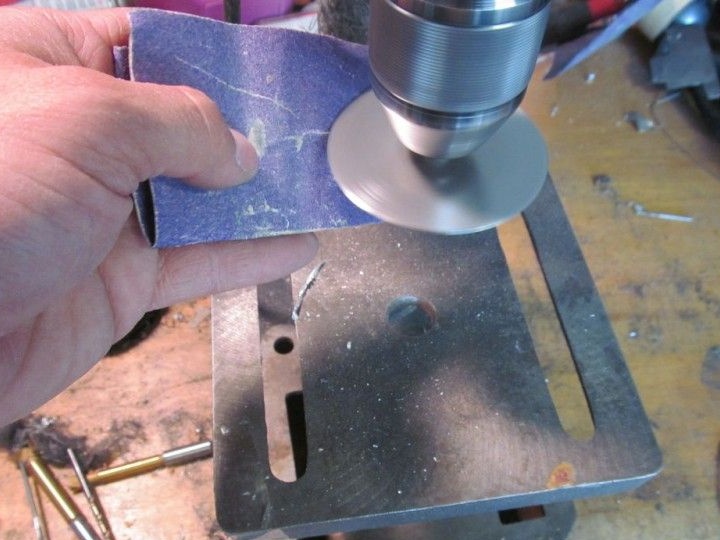
Part 12: Round off each edge.
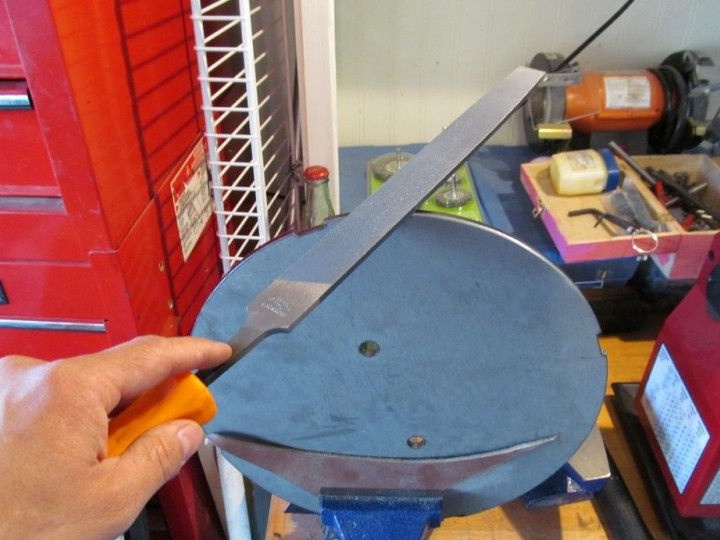


When you will bevel, it is better to use glasses to protect your eyes, because any piece can fly off and injure you!

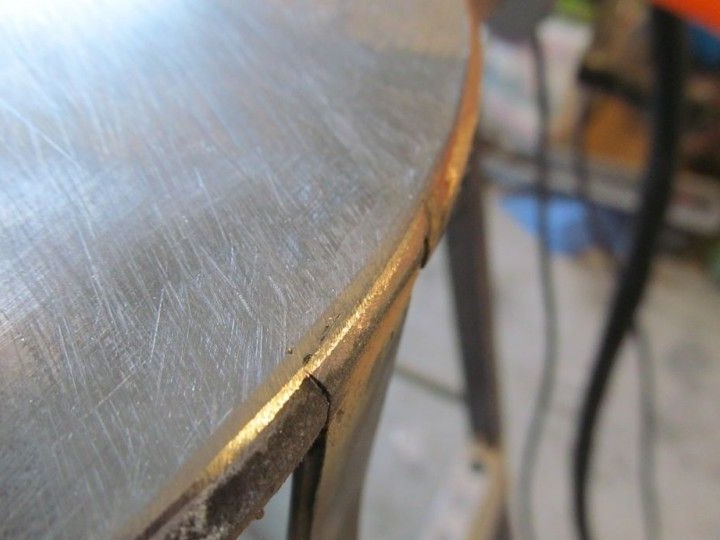
As soon as the chamfer is removed, round off all the parts with a file and smooth everything with sandpaper.
Part 13: Installing the side supports 2.0

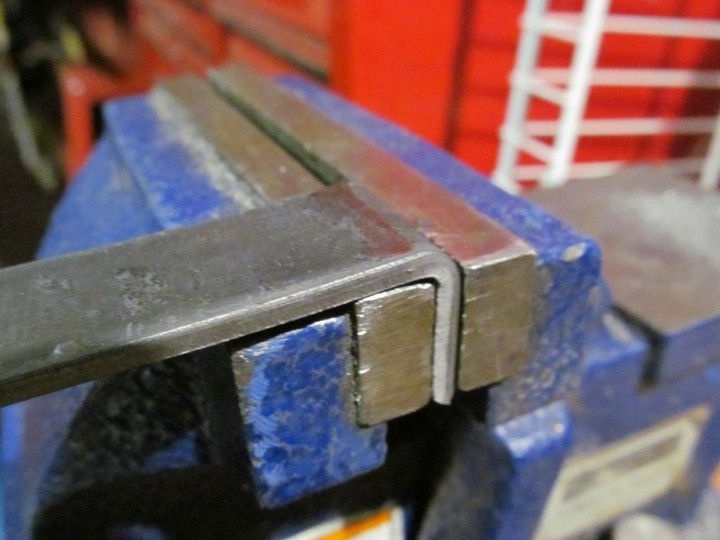
Now we will not take aluminum, and we will make everything out of steel. For the best effect, set the plates under the grooves and tilt them to the edge.
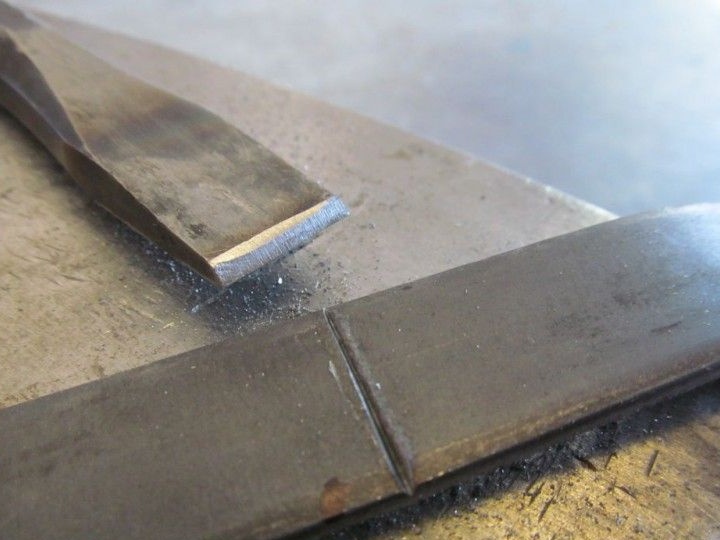
Take a chisel with a hammer and make a deep row, then separate the pieces with bends.
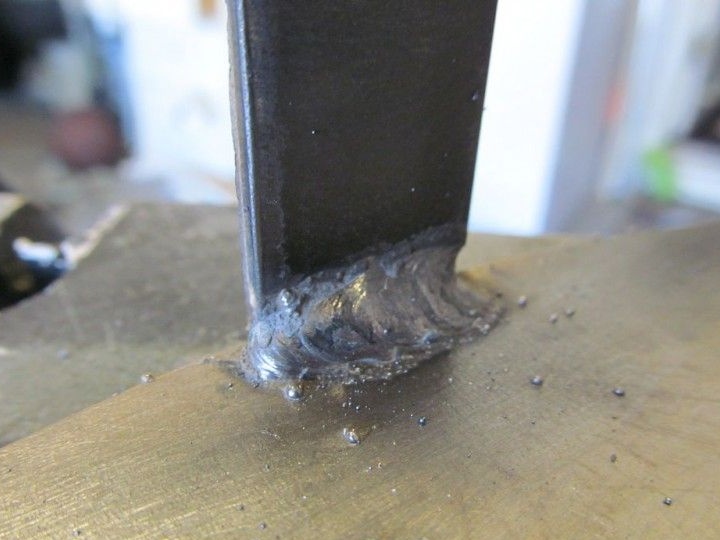
We clean every edge and prepare everything for welding.
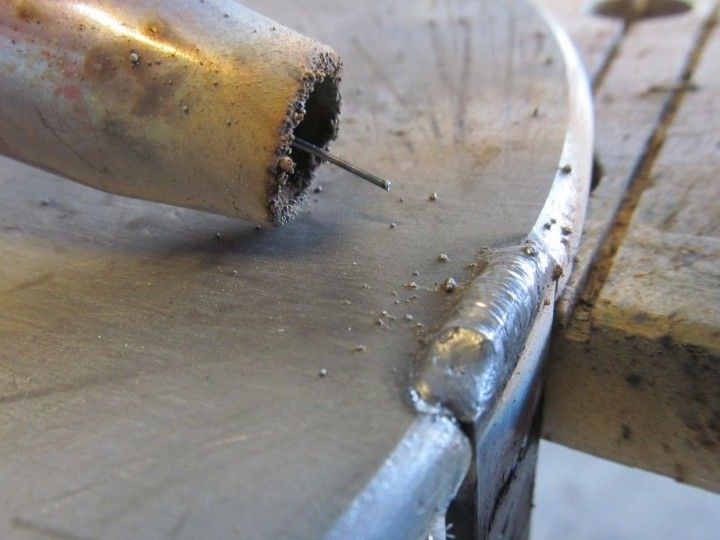
Part 14: Welding.
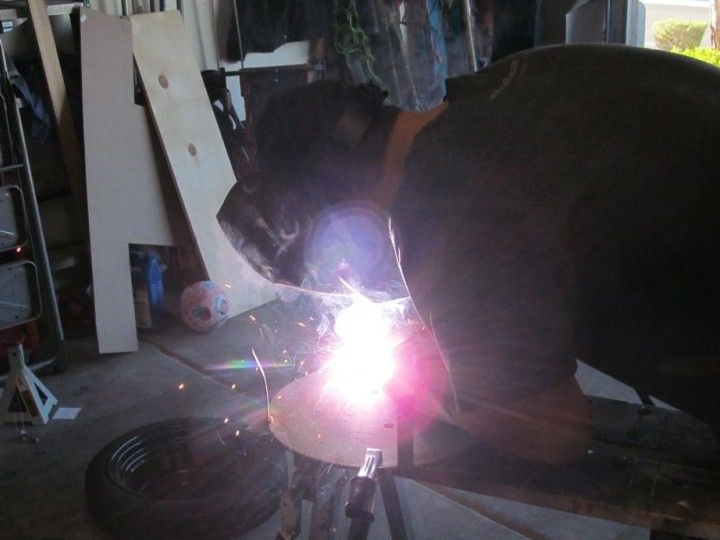
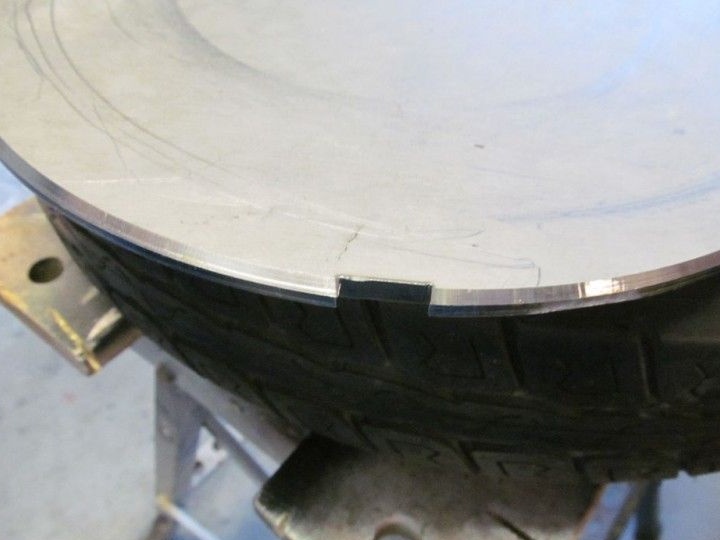
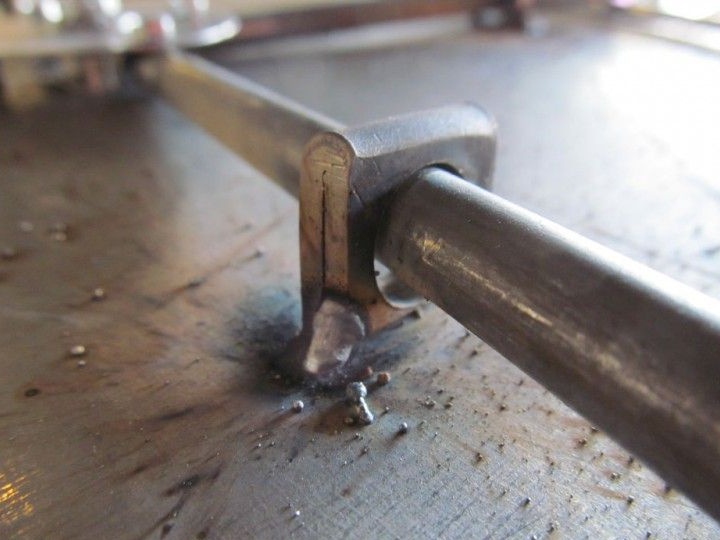
Supports did not stay in one place. The best way to remove this error is to put each inside the rim.
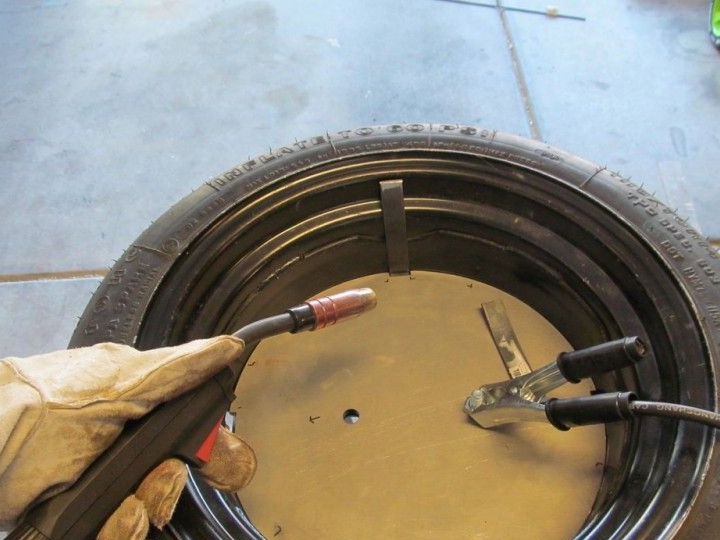
The worst thing is that there is air in the tire and that it will expand and explode with ease. The risk is so great, but still it was scary.
[center]

We remove the stock to remove the likelihood of an explosion. Now you can cook the part below.
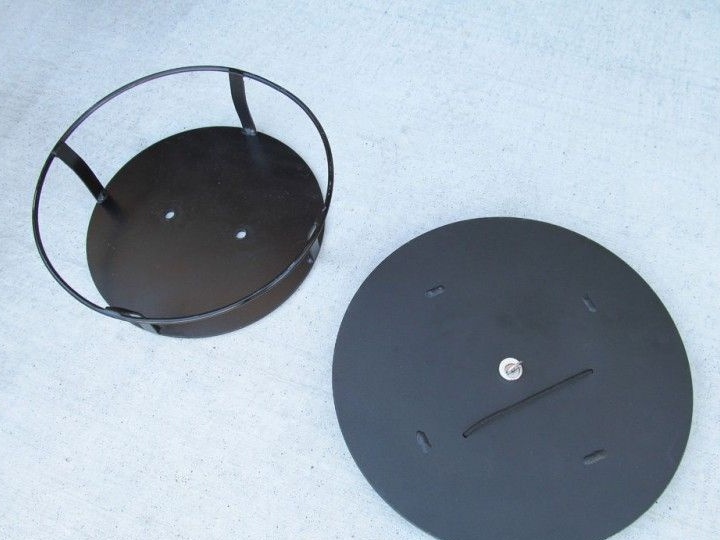
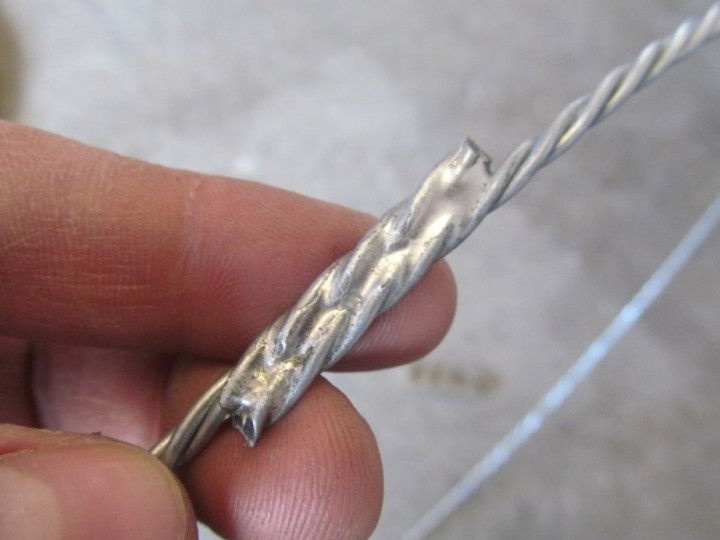
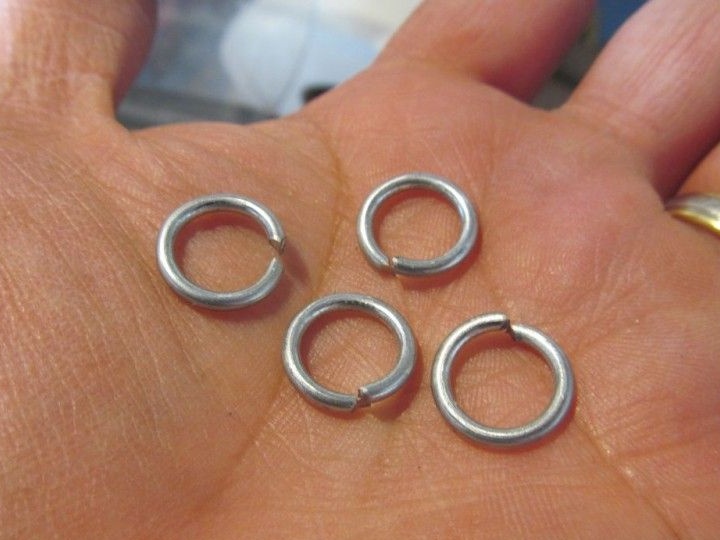
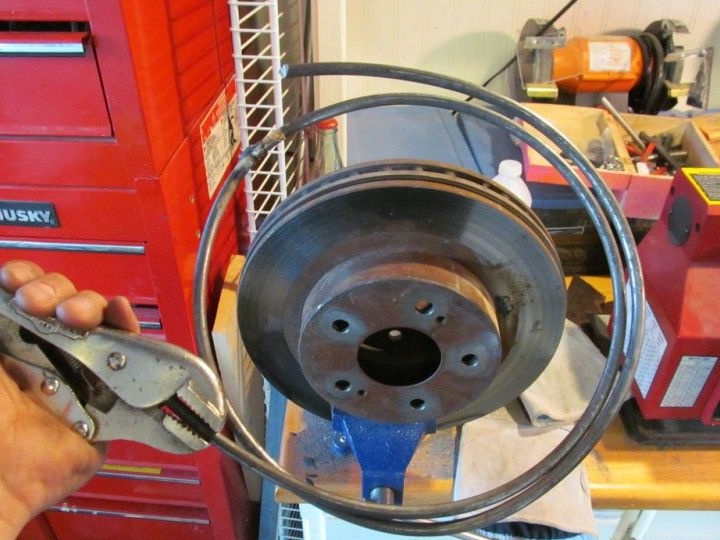
Part 15: Harvesting rings.
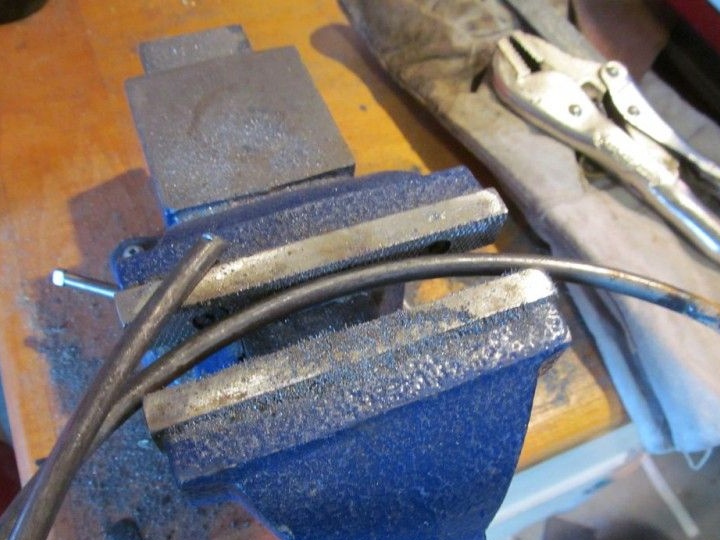
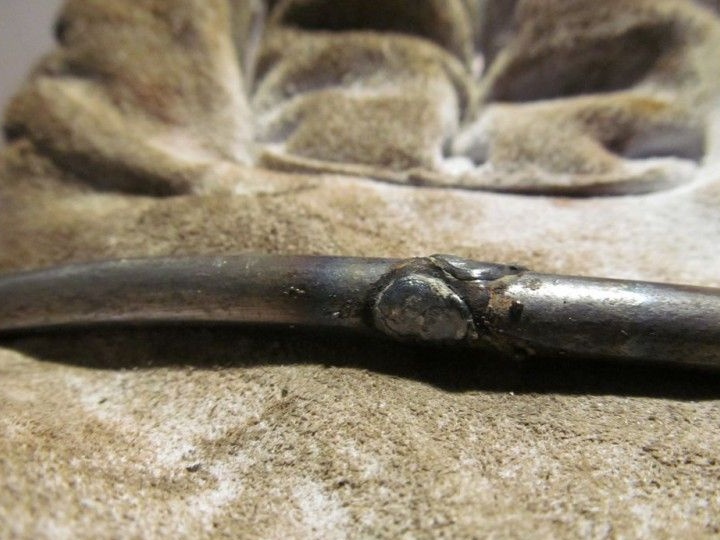
There were most problems in this part. We wrap metal wire around the circle of the outer edges of the disk. I warn you right away, the circle is quite large. Next, weld the wire into the inside of the disc and wrap it again.
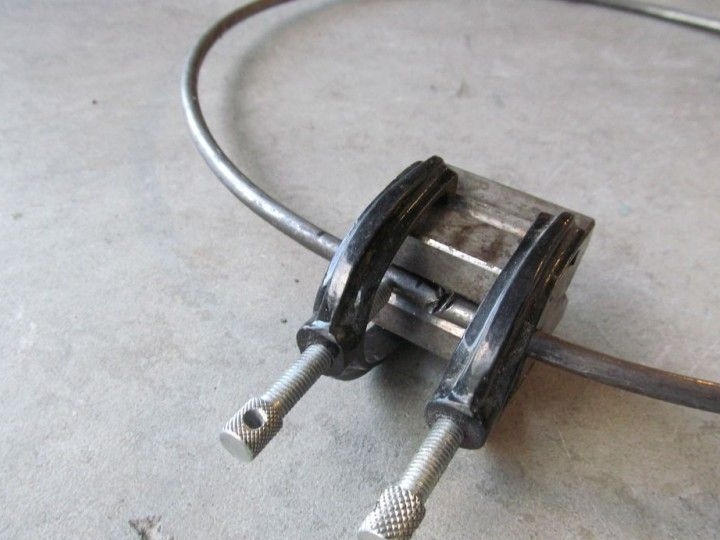
To expand the ring, place it in a vice. We move the part of the ring, opening the curve so that the wire slips easily. We continue to do this until the ring becomes in the desired shape.

Now you can use the necessary tools. After the formation of the ring, turn the basket over and cook it to it.
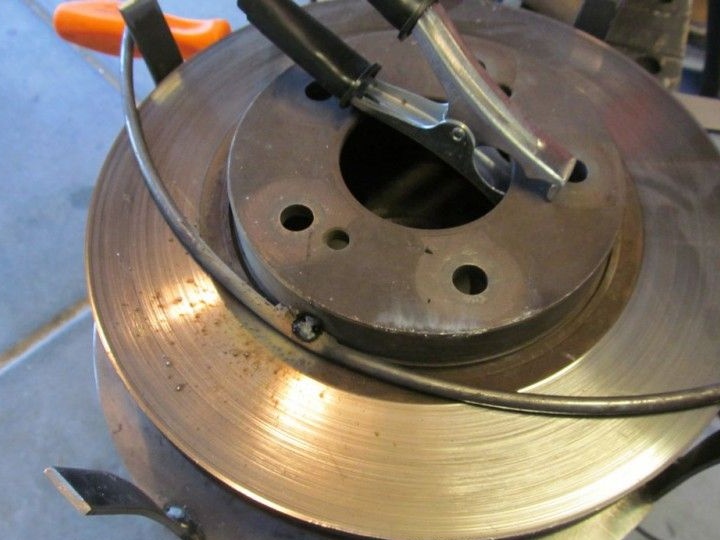
Part 16: 2 version of the central disk.
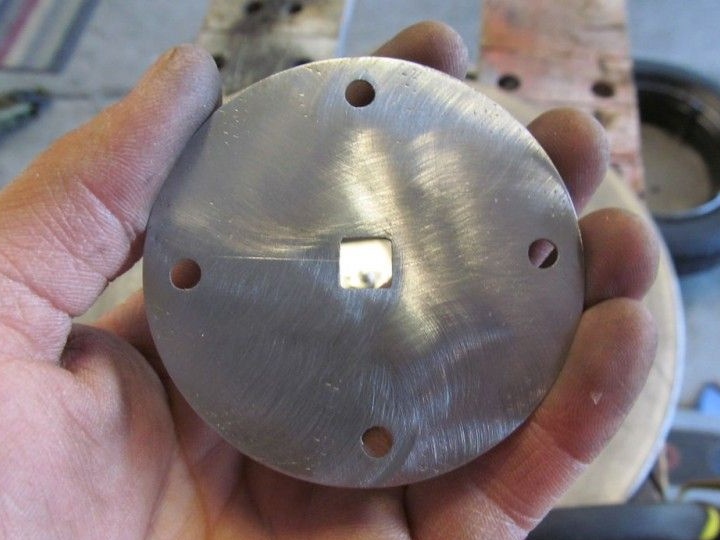
From the beginning on 1 disk, how to process it with a file, cut a hole in the shape of a square. For fixing the pins, all the holes were in the corners of the same square.
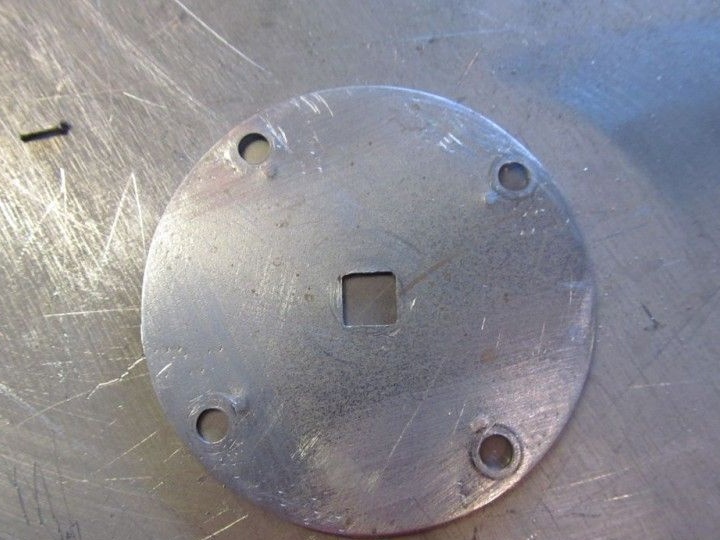
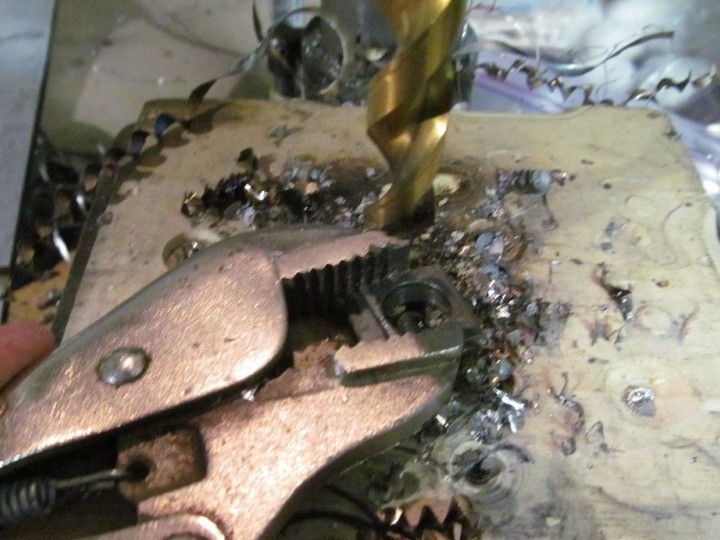
We place the disk, corresponding to the size of the square hole. Take notes for the holes, and then drill them.
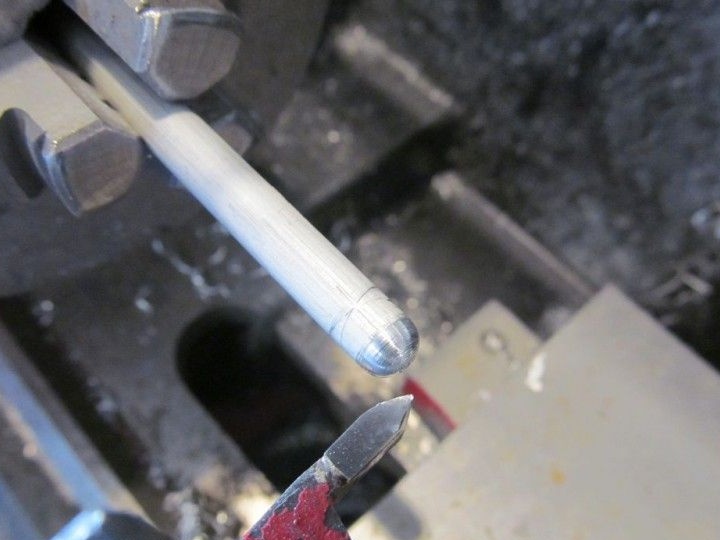
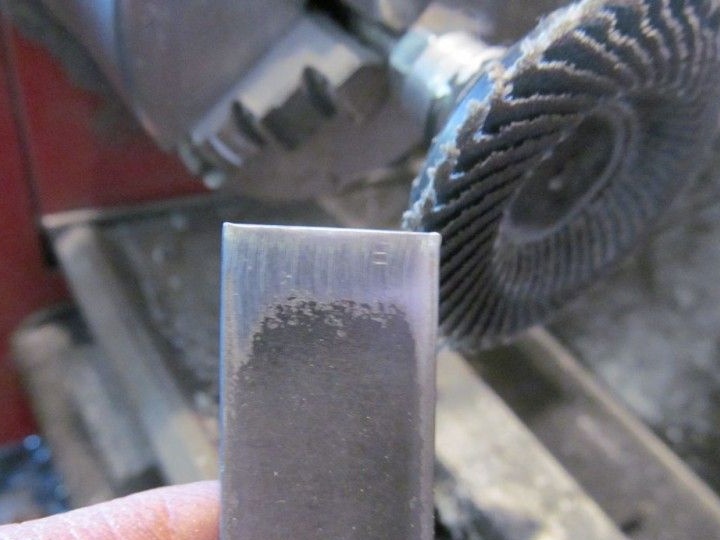
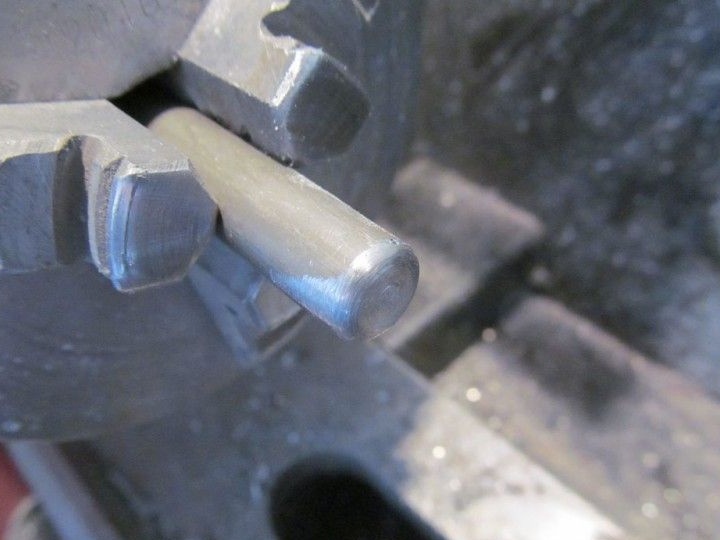
Part 17: Cut out the pins for locking.
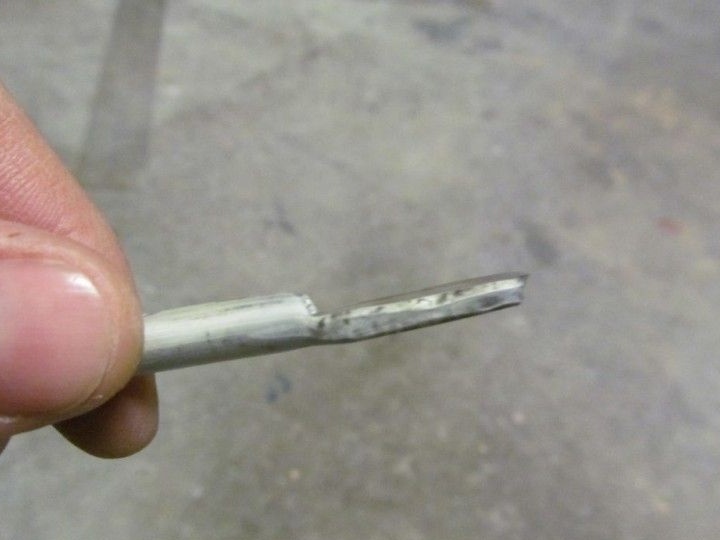
The shape of the pin should be larger. If so, then security will increase. The diameter increased by 0.3 cm from 0.6 cm.
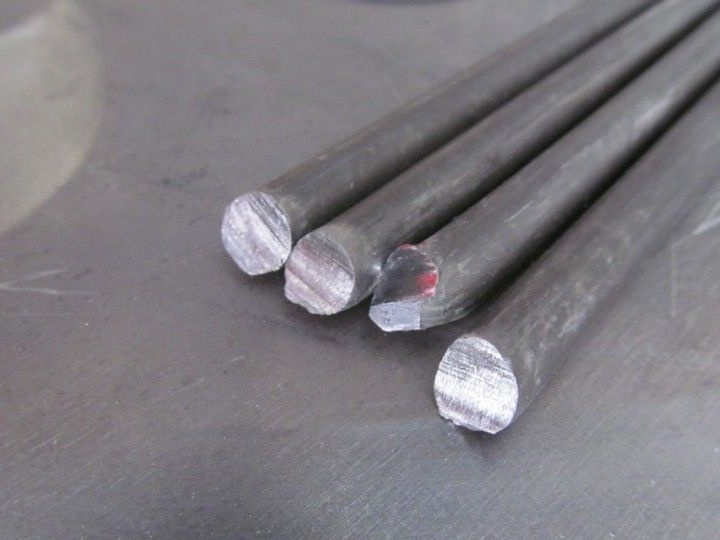
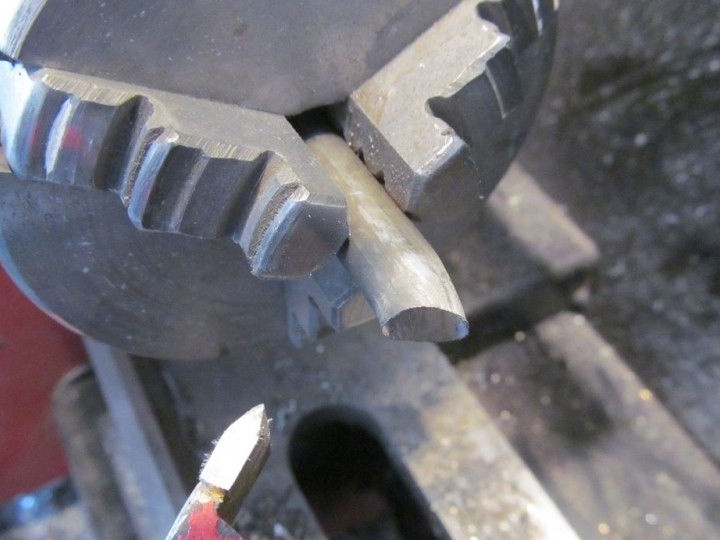
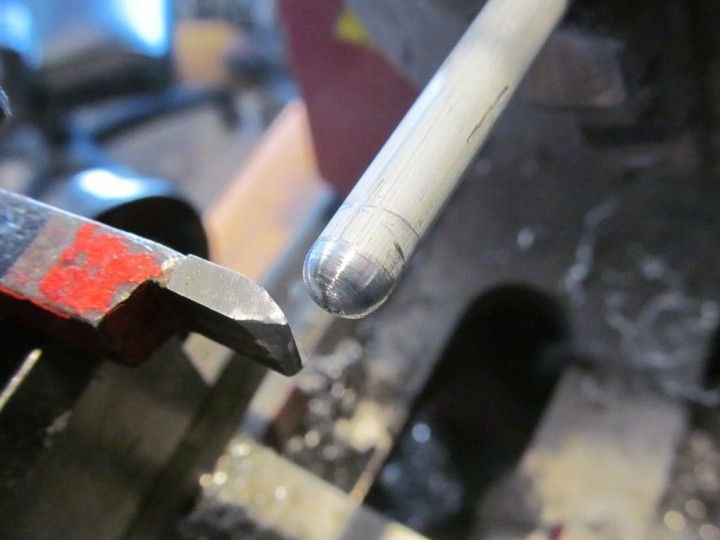
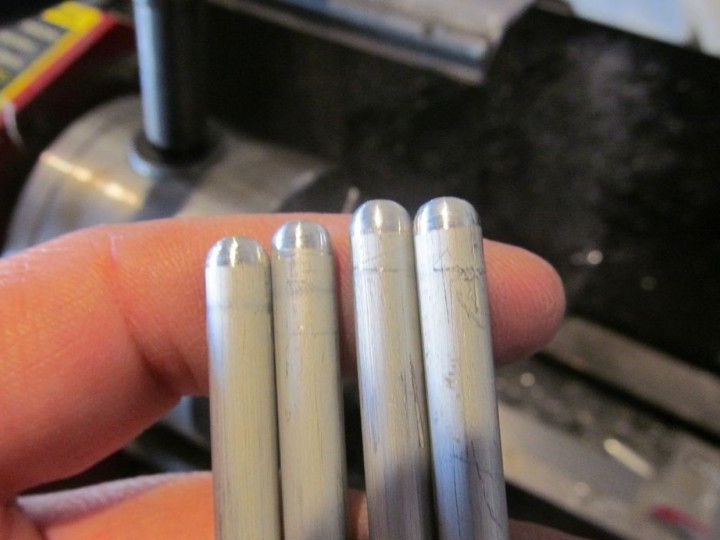
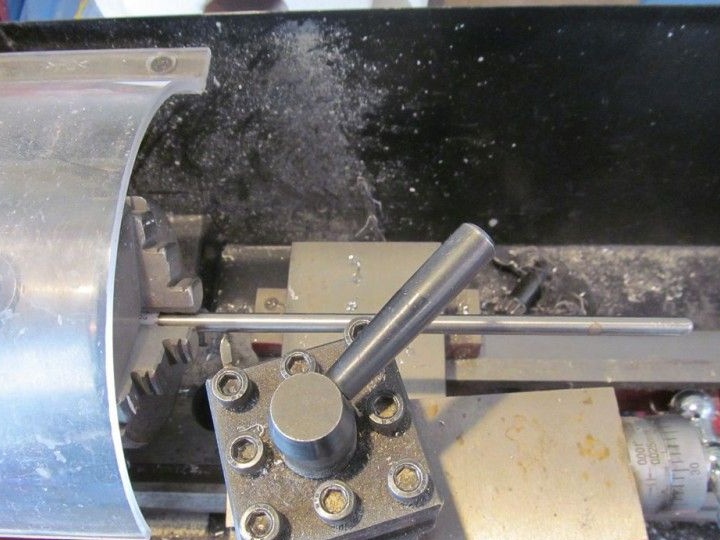
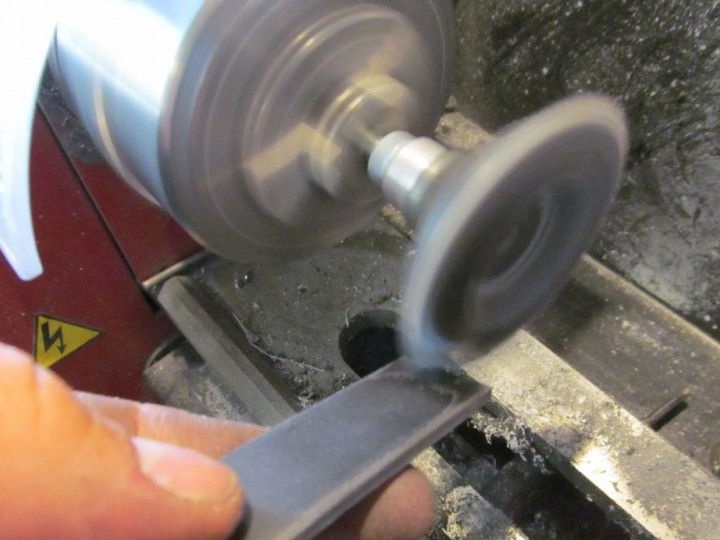
To cut, you need a chisel with a hammer. We process all the edges on a lathe.
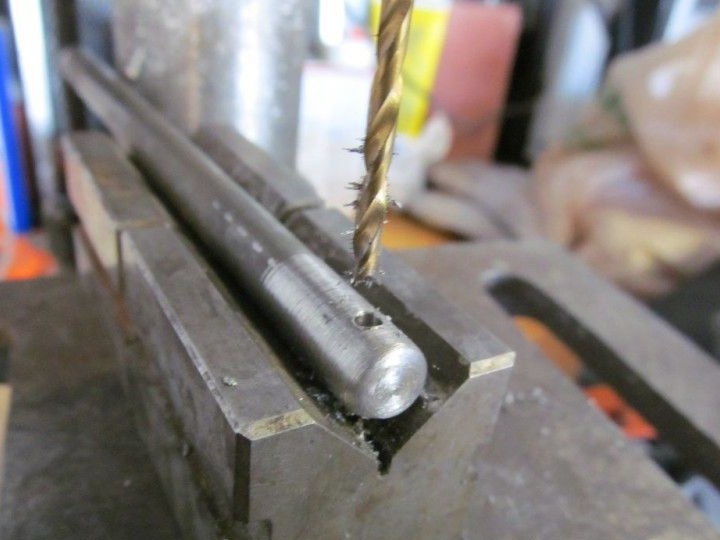
Let's drill a couple of holes in the ribs for further fastening to the disk. Add oil to improve the threading process.
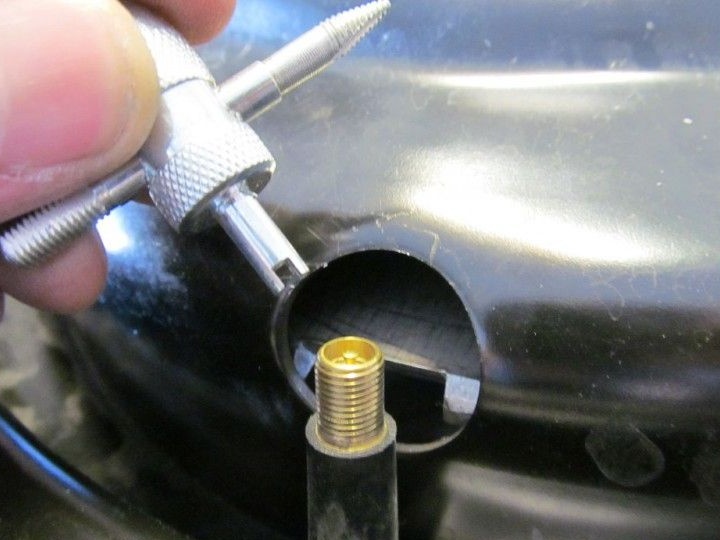
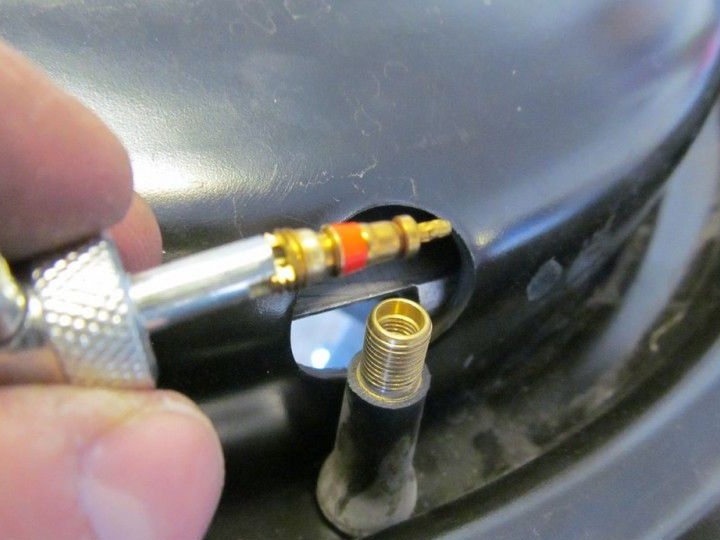
Part 18: Contact guides.

From the beginning, the diameter was 0.9 cm, which was drilled at 1.9 cm for each pin 0.6 cm. After the diameter of the pin increased, the hole became 2 times larger. To increase the thickness of the metal, double it. This operation occurred due to a hammer and a vise.
To arrange everything perfectly, release the contacts on the newly made ring and cook the tab there, depending on the resulting sizes. Now you can weld on the bracket to the top of the safe.
All this can remind you of the hatch.
Part 19: The final touch.
Add a bevel to each end of each ring, for their easy glide.
You can also add superglue to each bolt on the central disk so that everything is securely fastened.
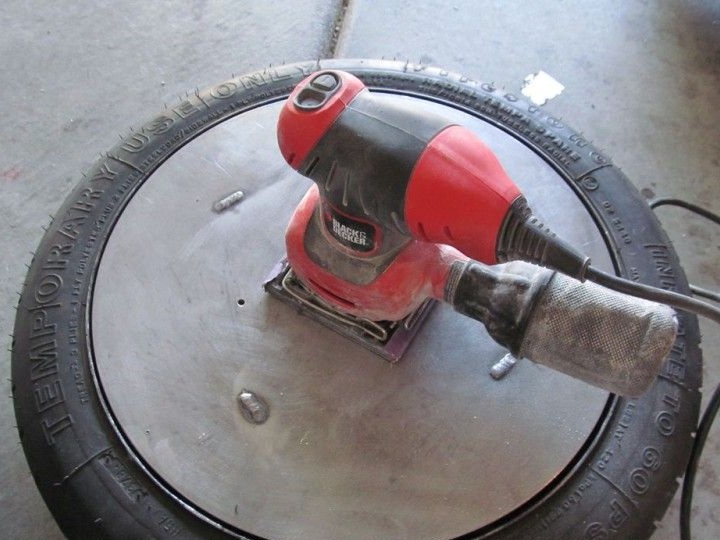
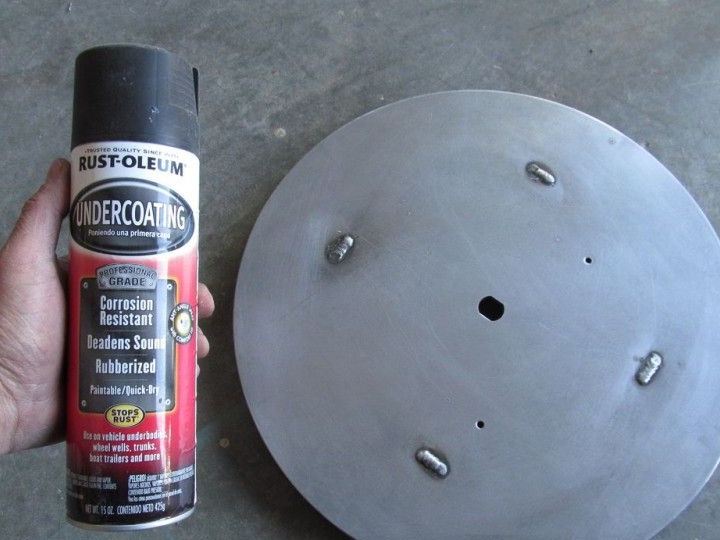
We will polish the surface. The upper side is covered with a rubberized primer. All that remains is painted in black.
At the end we drill holes for a metal handle.
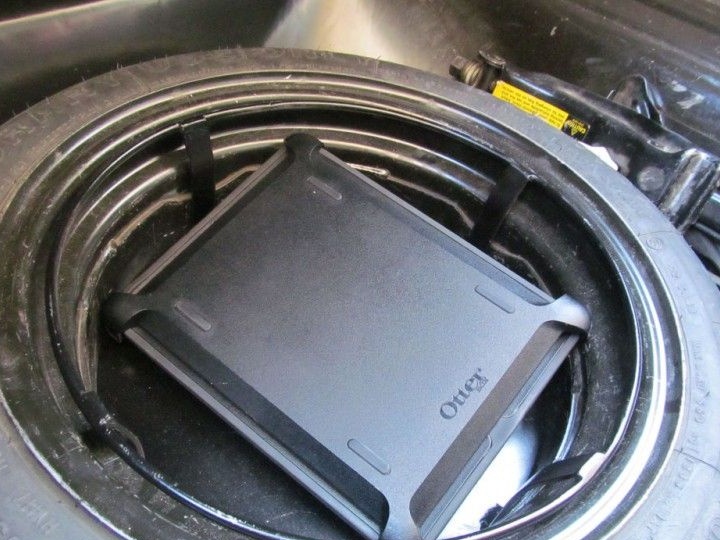
Part 20: Install what happened.
To see better see the video.
Thanks for reading this article!