
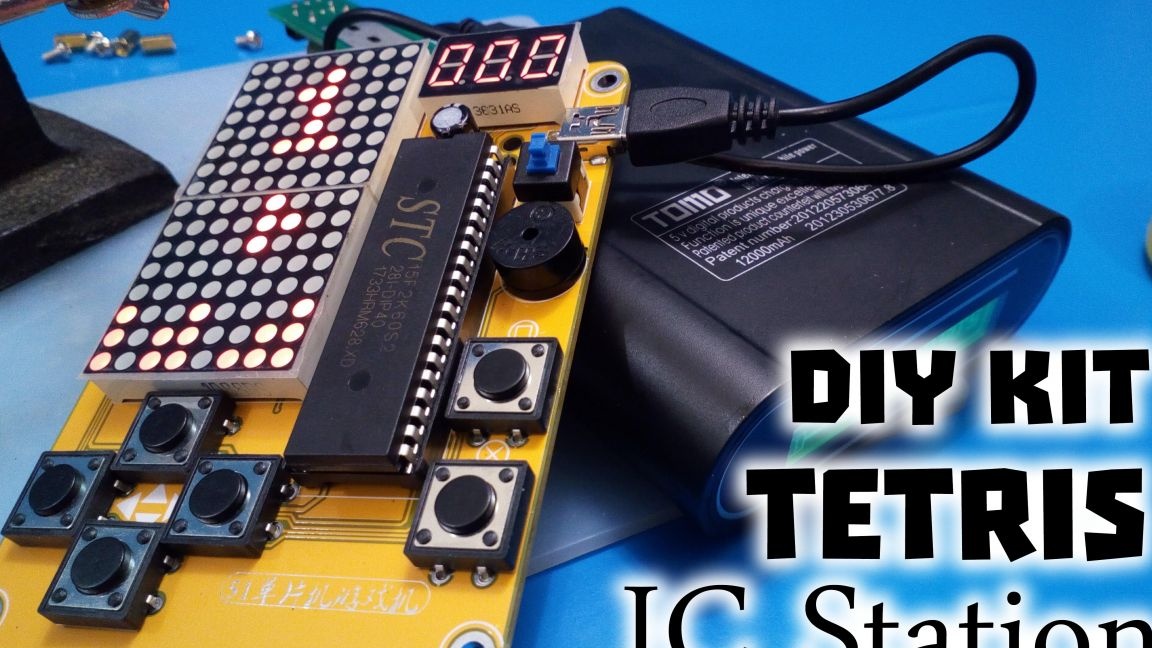
Hello to all electronics lovers. I think many had a tetris in their childhood, which made it possible to pass the evening merrily and it was a truly unforgettable childhood. For all the time, the manufacturers changed the appearance of Tetris as they could, even there were those that differed in the ability to install certain cartridges, but in fact there was no point in them. In this article I will tell you how to make a tetris of my childhood dream with a kit kit, a link to which is at the bottom of the description.
Before reading a detailed description of the assembly process, I suggest watching a video where the assembly steps and directly playing the game on a ready-made tetris are clearly shown.
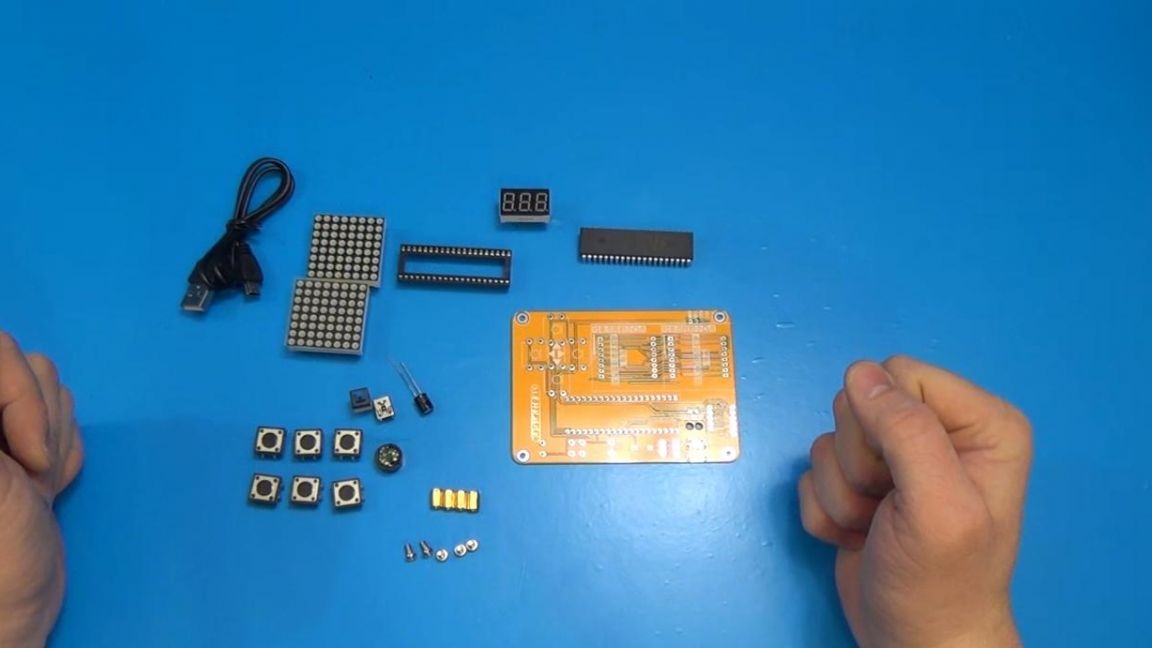
To make Tetris do it yourself, you will need:
* Kit
* Soldering iron, solder, flux
* Side cutters
* Device for soldering "third hand"
* 5 volt power supply or power bank
That’s all it takes to assemble such a kit, “go” to collect.

Step one.
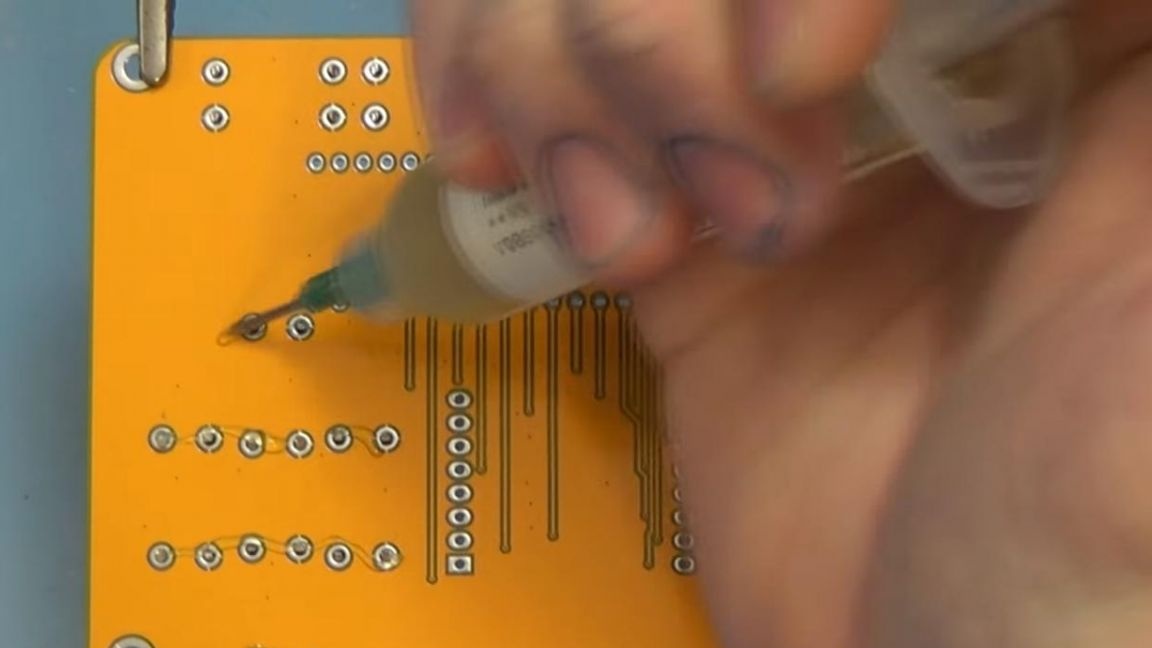
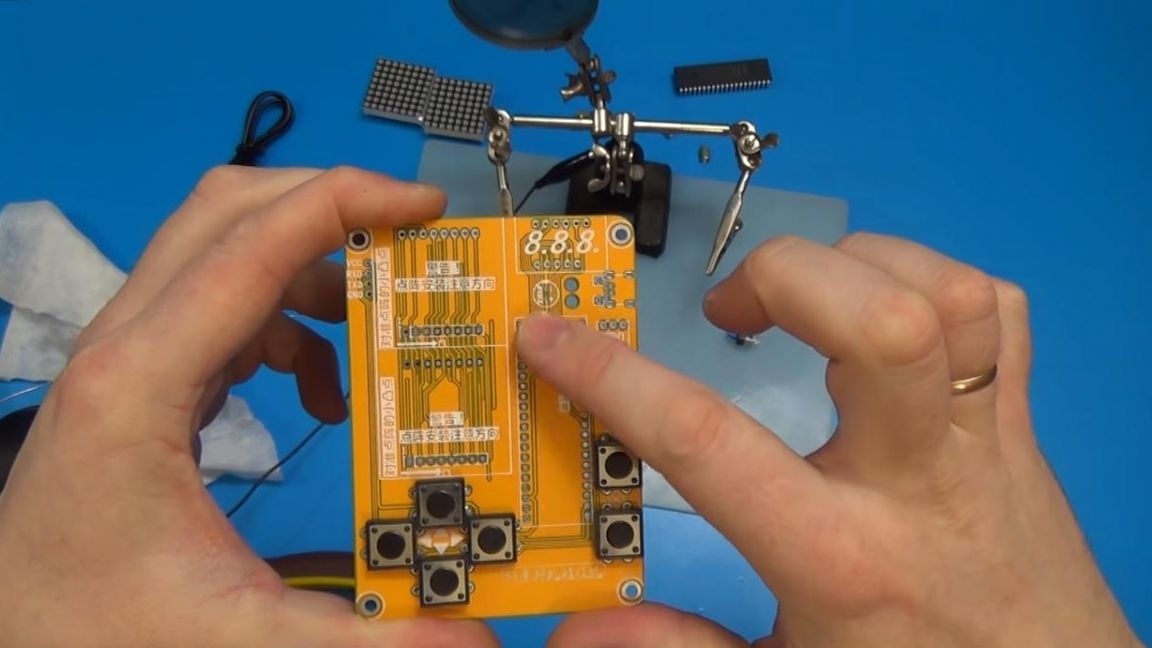
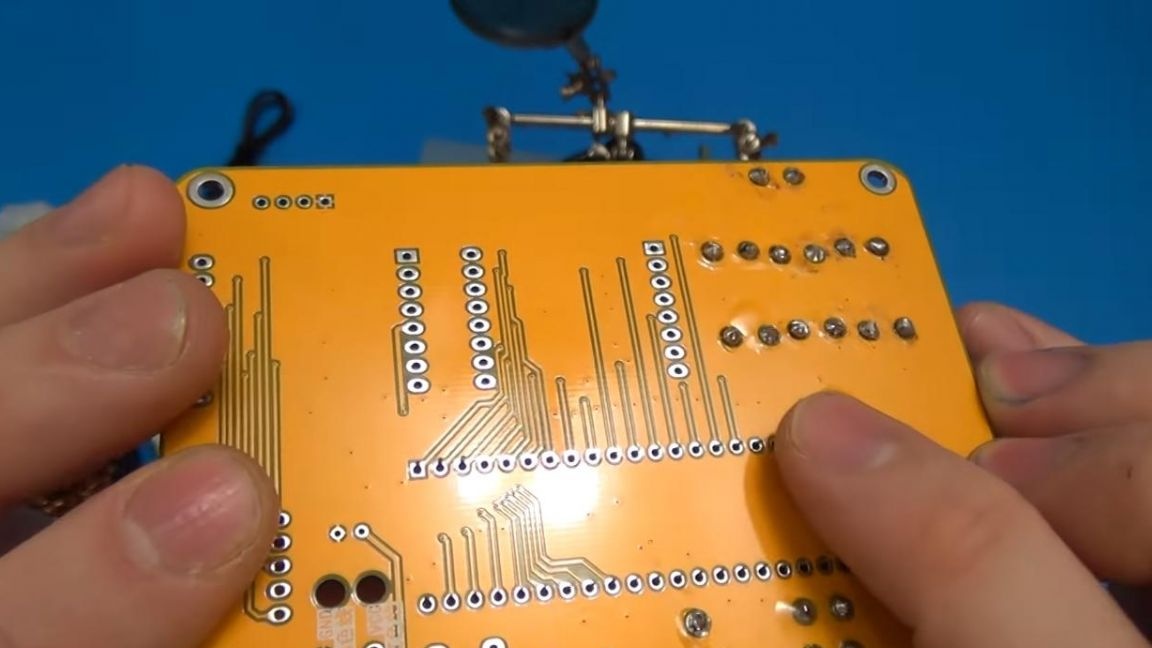
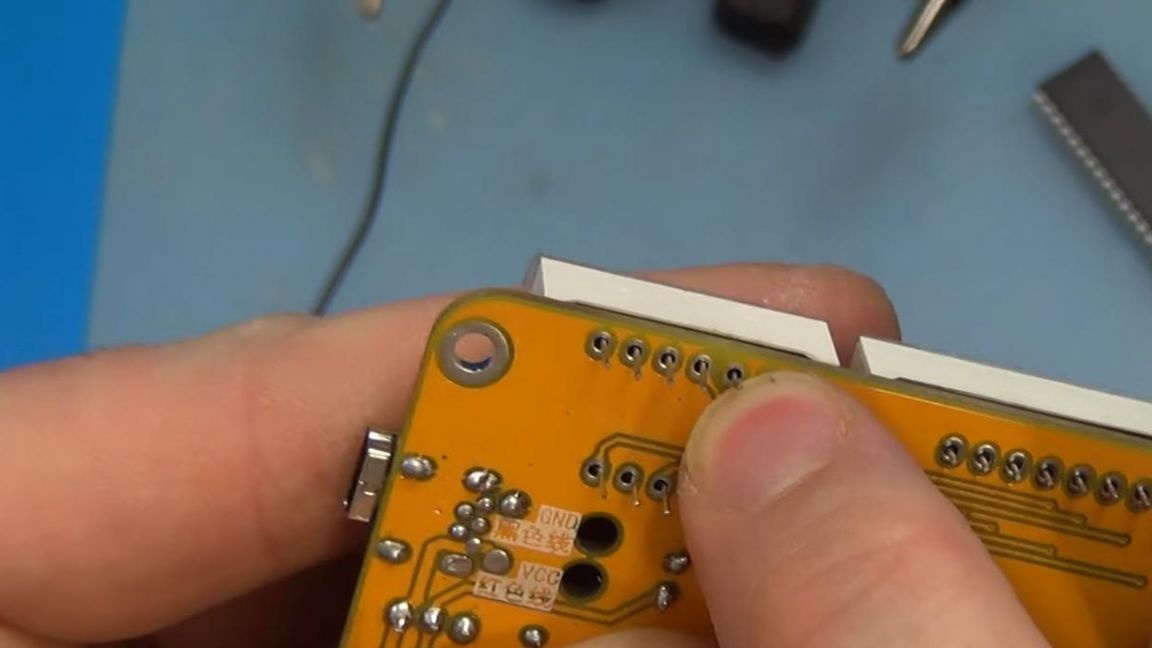
The first step is to prepare the tool, in our case it is a soldering iron, for this size of components it will be more convenient to use a small-sized soldering iron with a power of about 20 watts. First, solder the buttons on the finished printed circuit board, there are six of them in a set, and the dimensions are large enough, which is convenient when using.
We put the buttons in their place on the board, there is no difference which side they should be installed on, so nothing will be mixed up here.
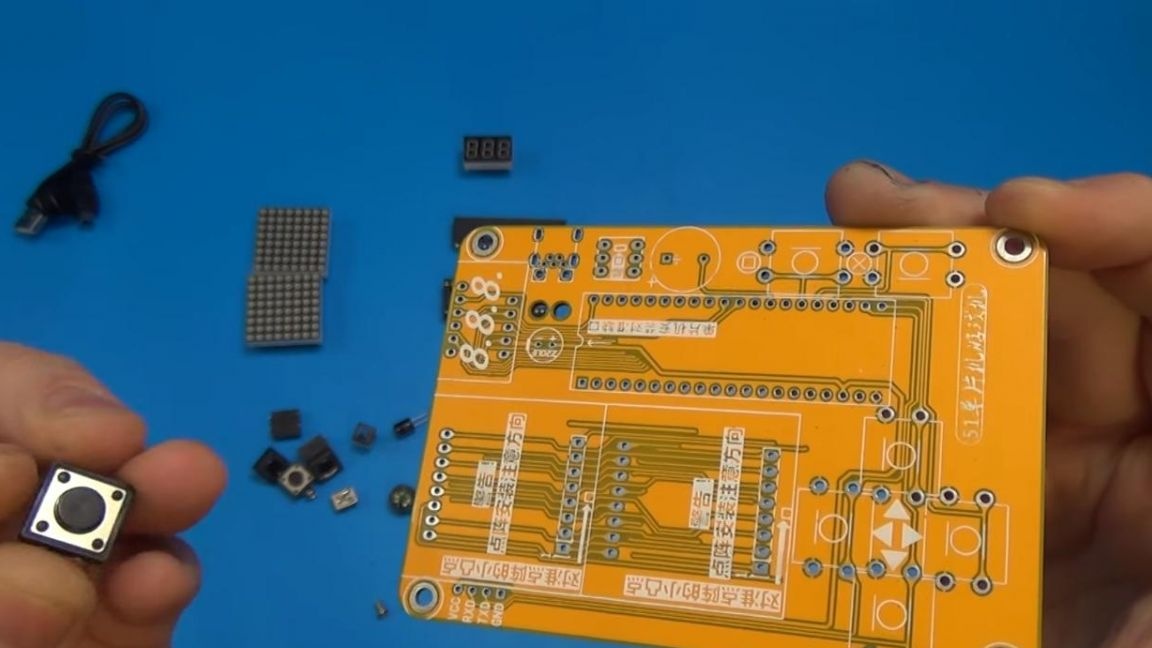
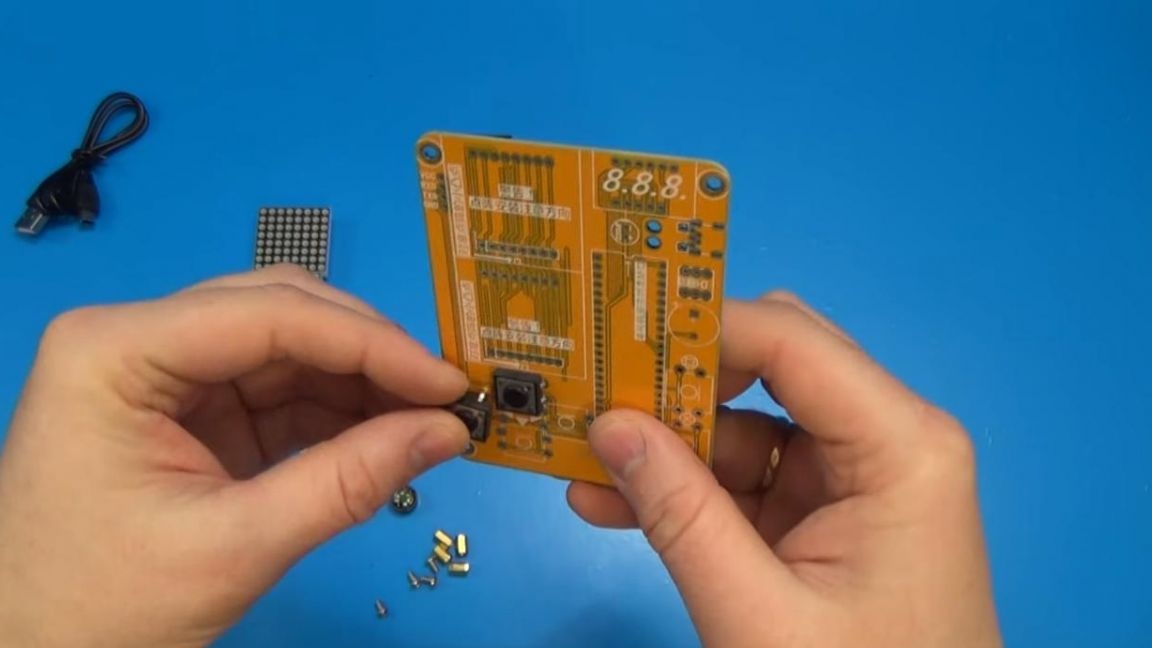
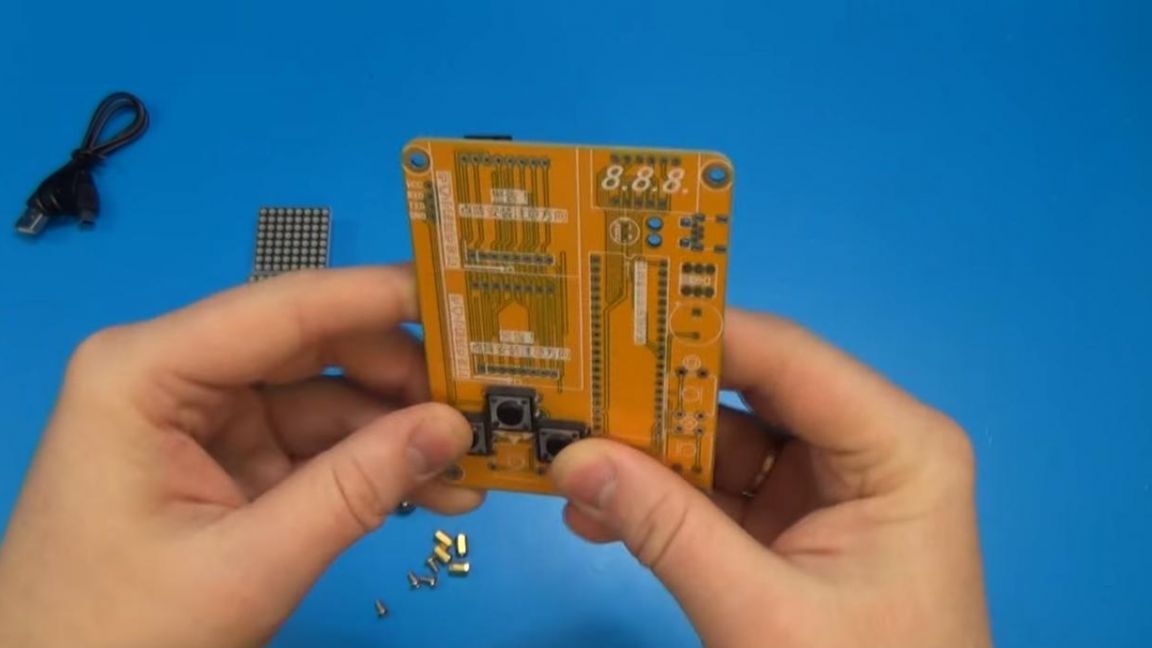
Four buttons are responsible for the position up, down, left, right, and the other two from the bottom up are responsible for the action button (fire) and start or pause.
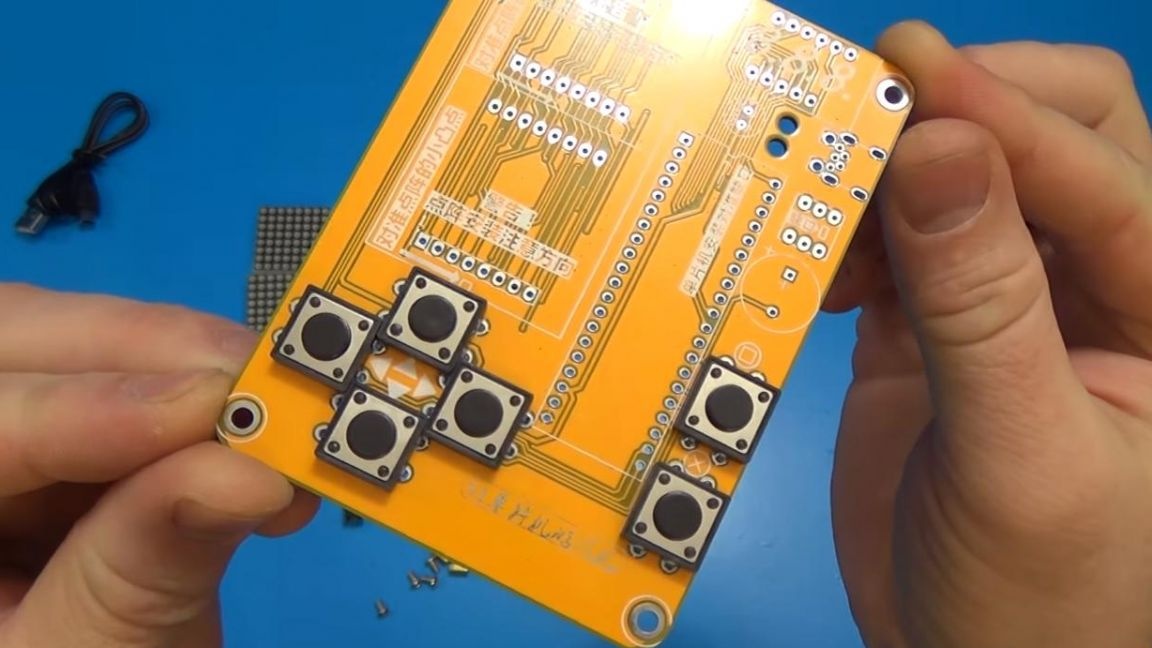
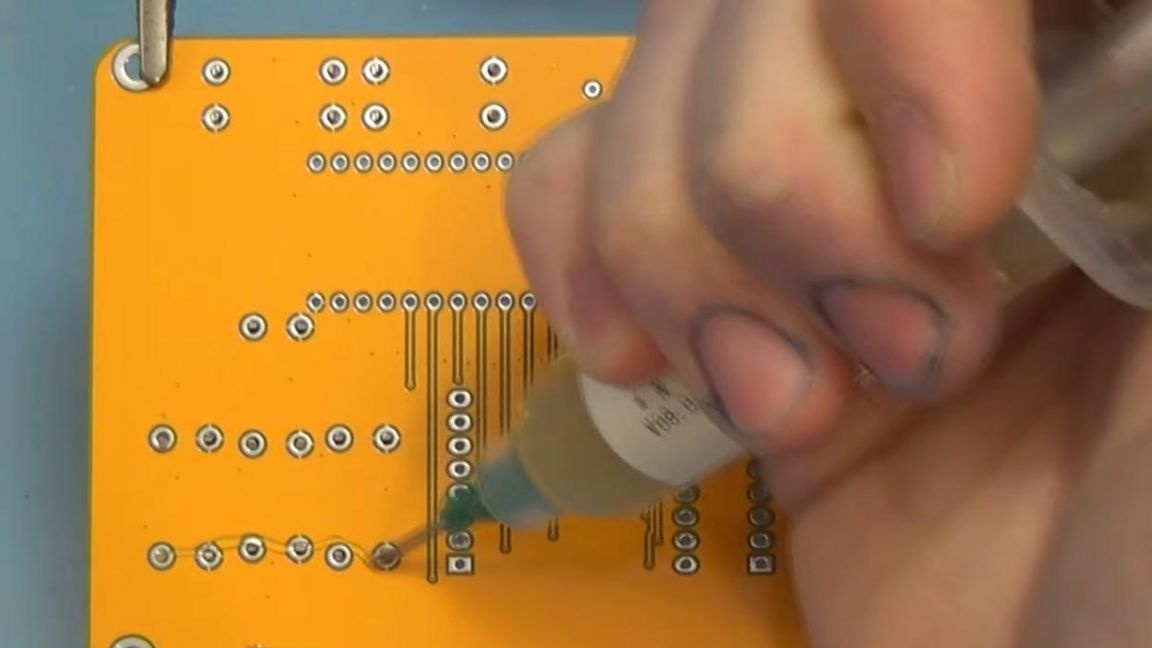
On the reverse side of the board, apply a flux and solder the conclusions of the buttons, for convenience, you can fix the board in the "third hand", which will speed up the process and save your nerves.
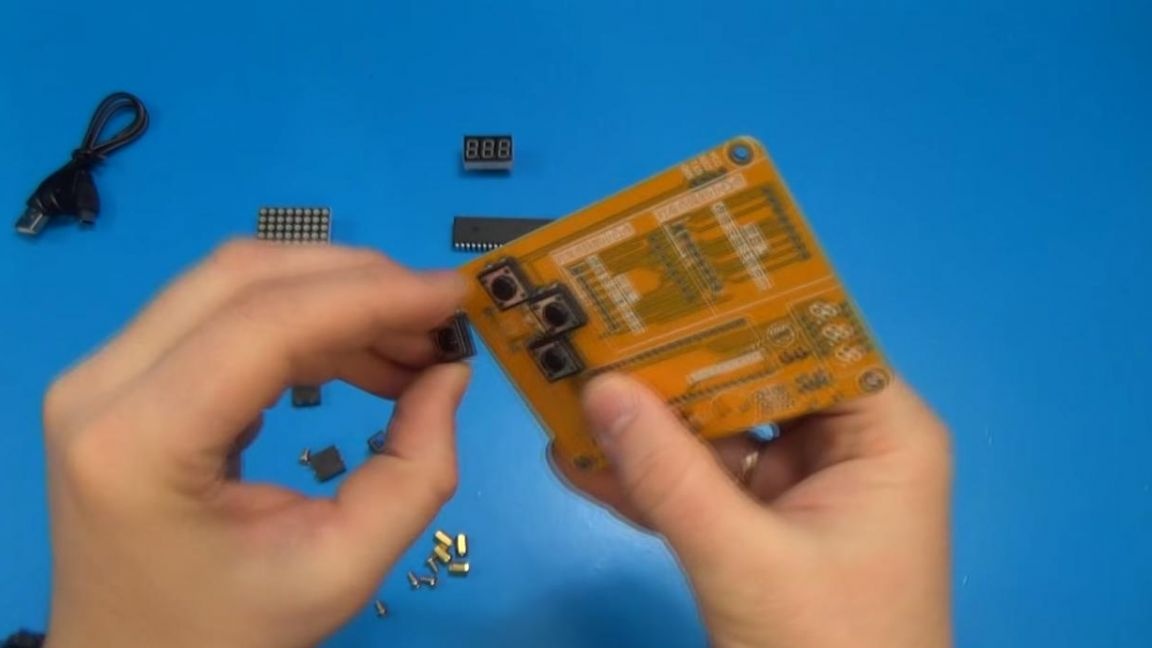
Step Two
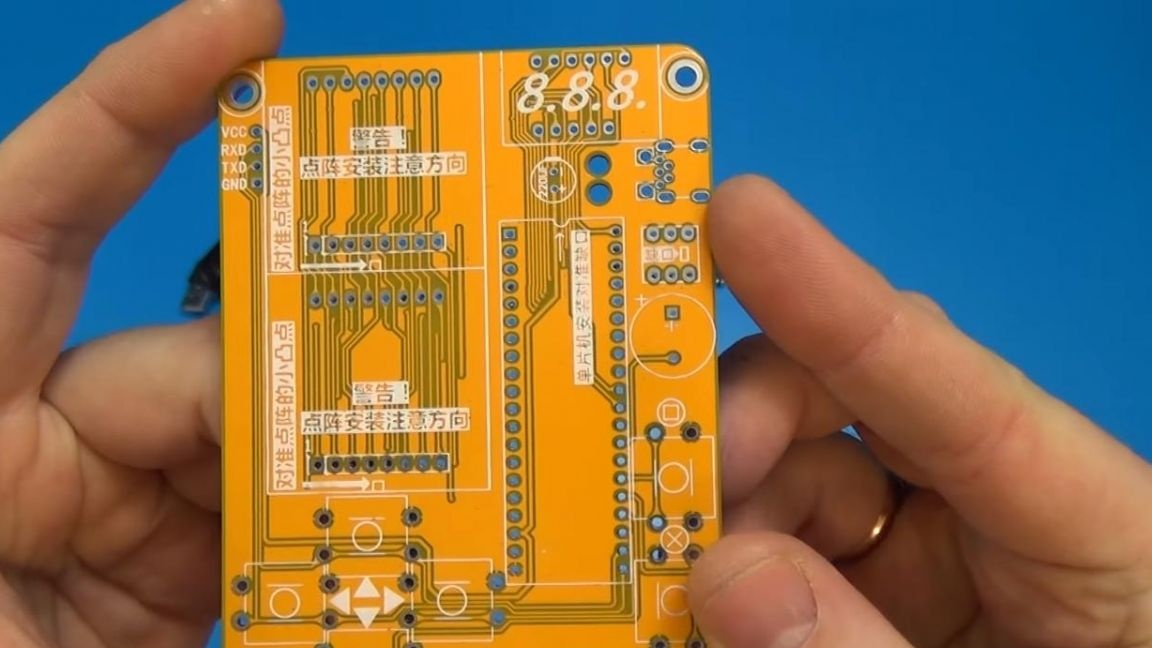
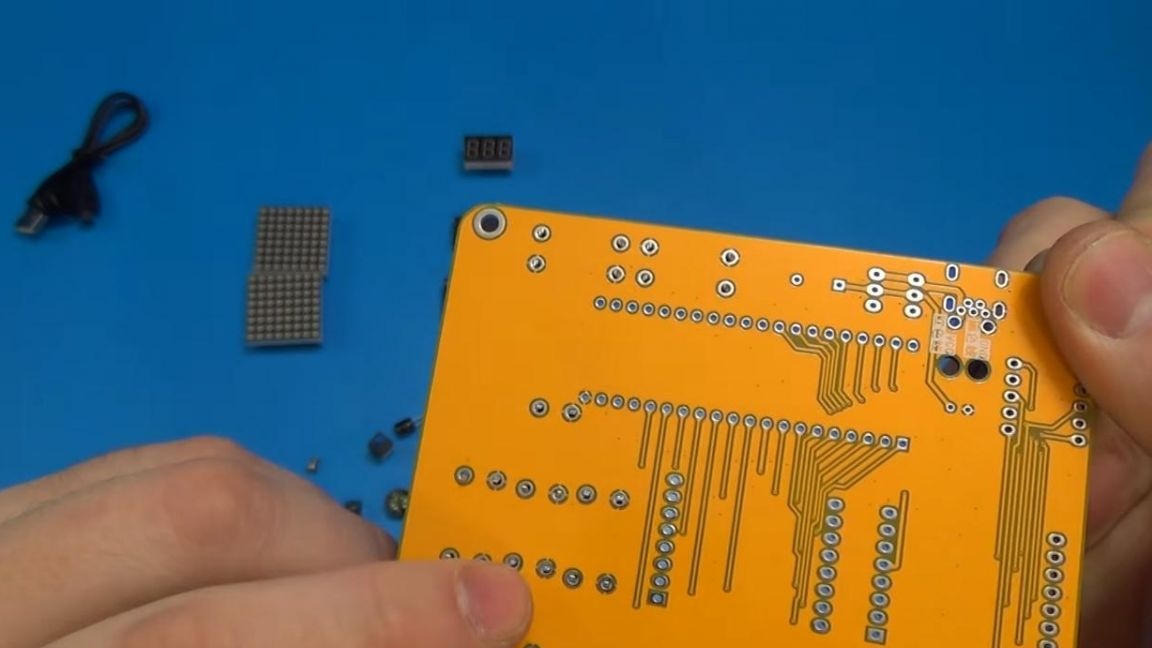
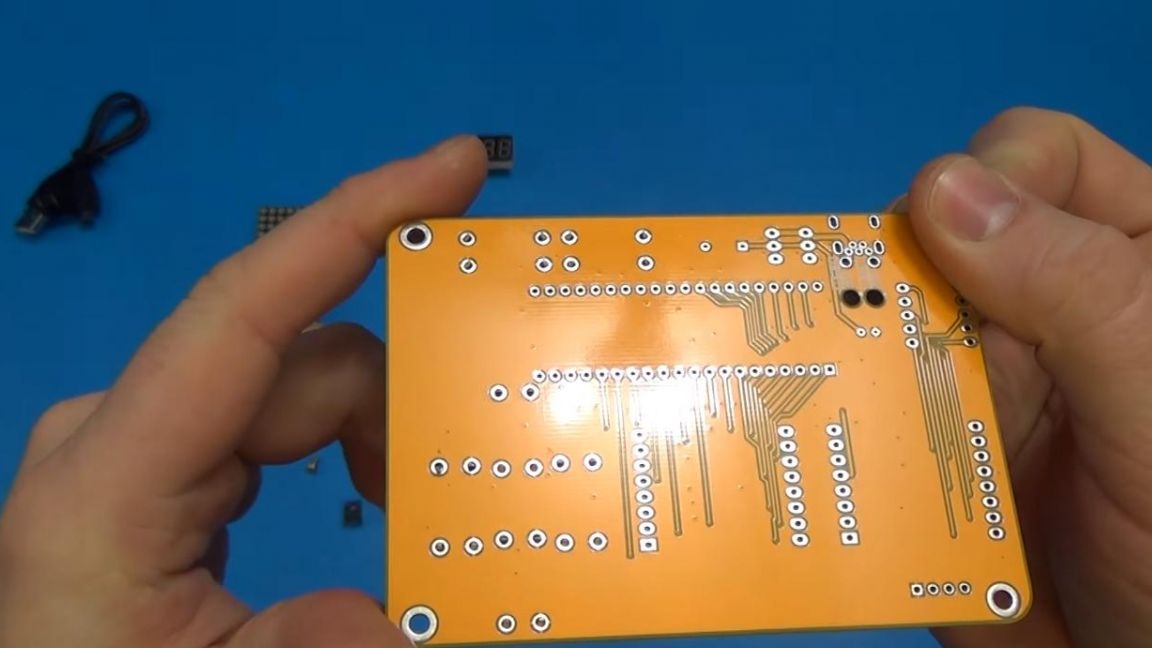
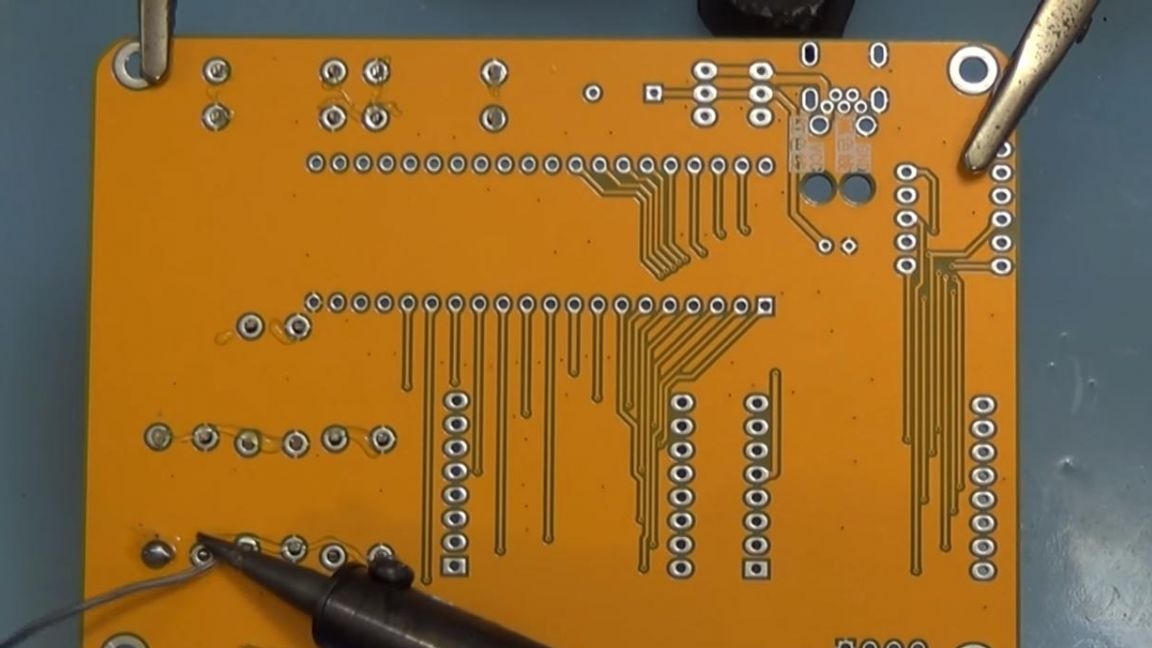
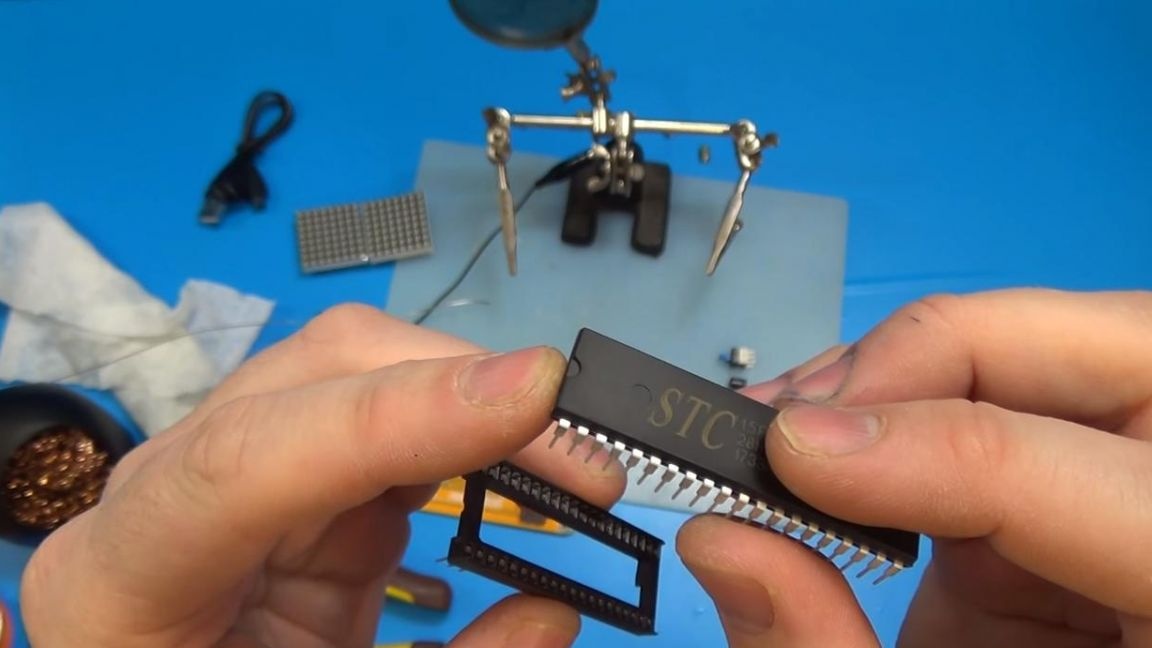
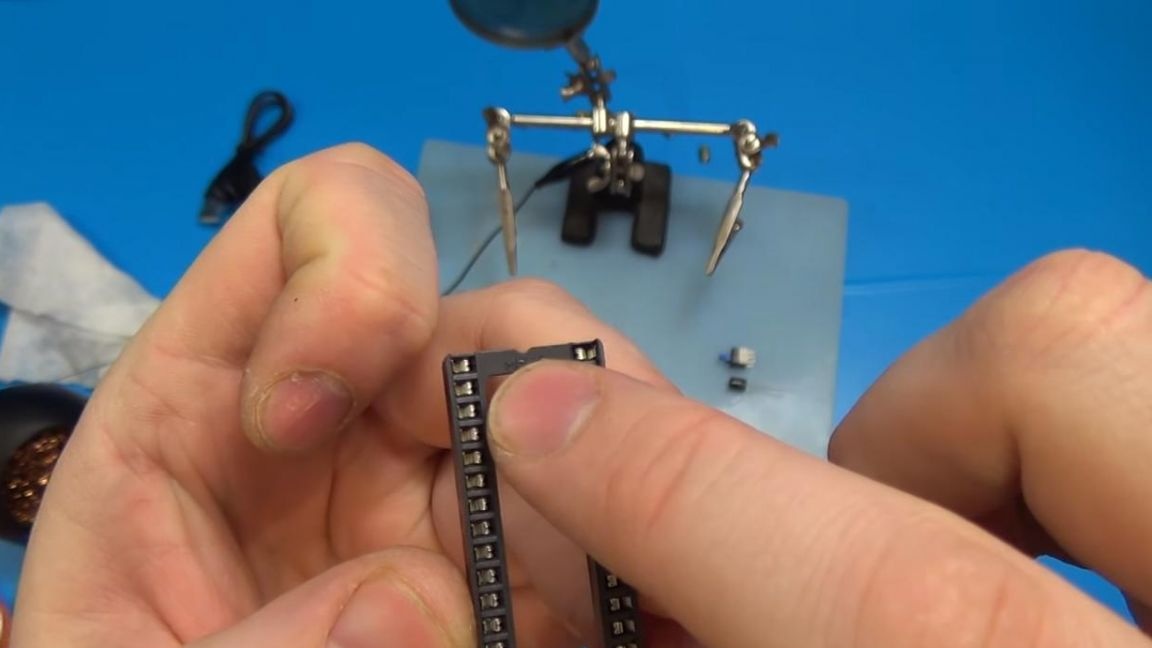
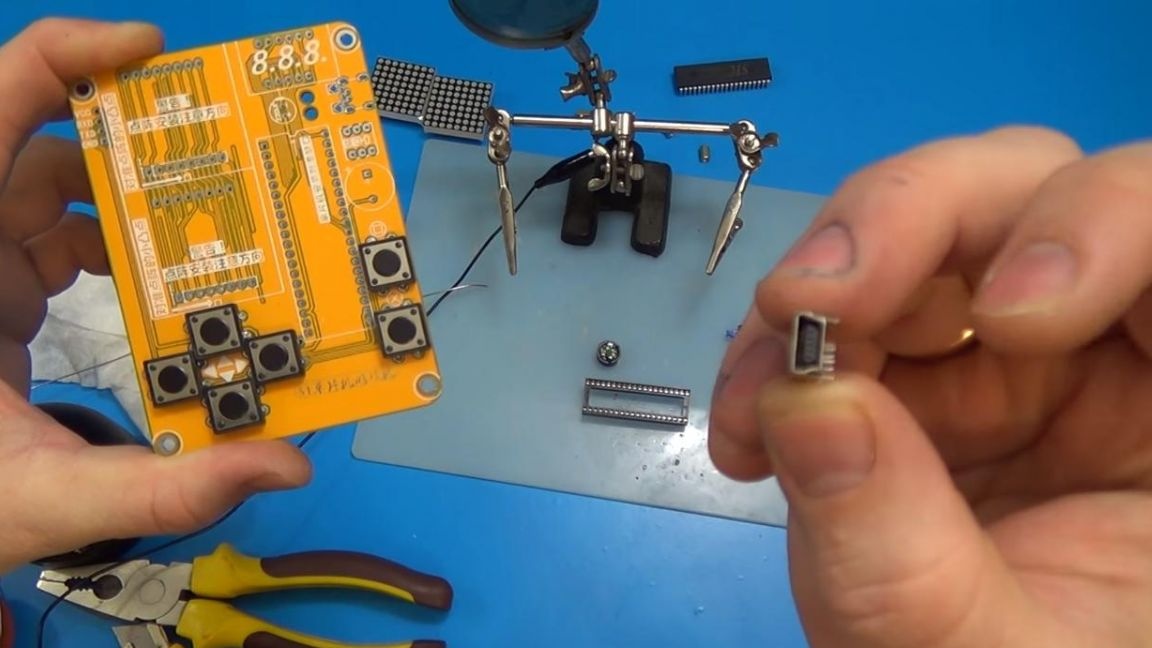
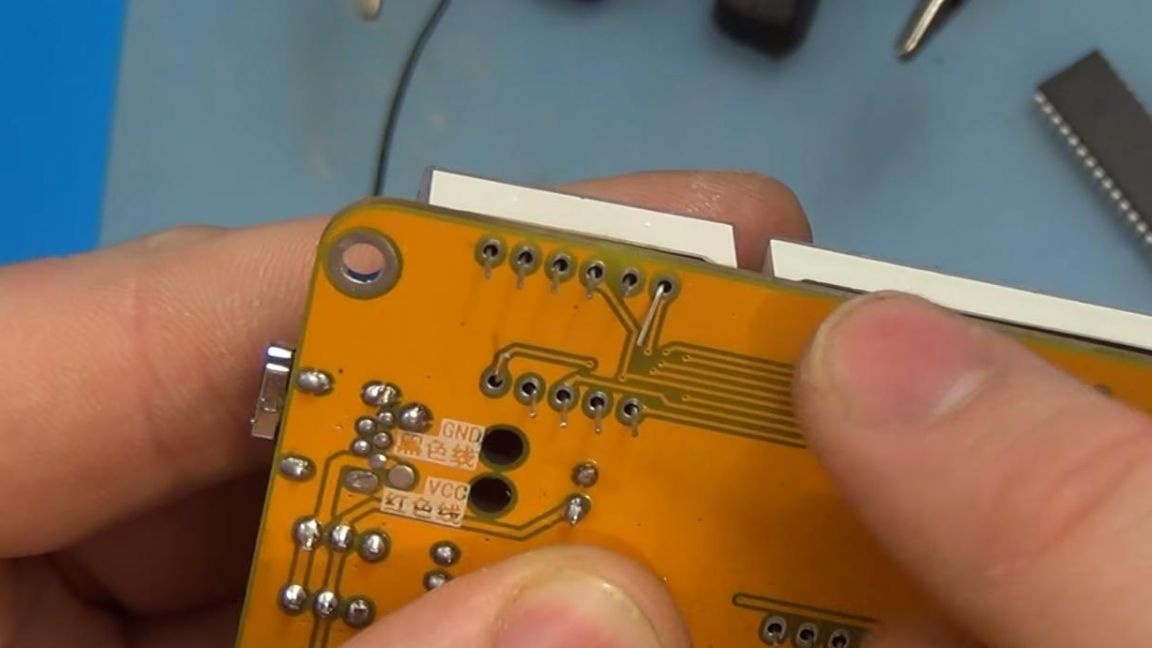
After installing the controls, go to the chip, it will be attached through the DIP-socket, which comes with the kit.
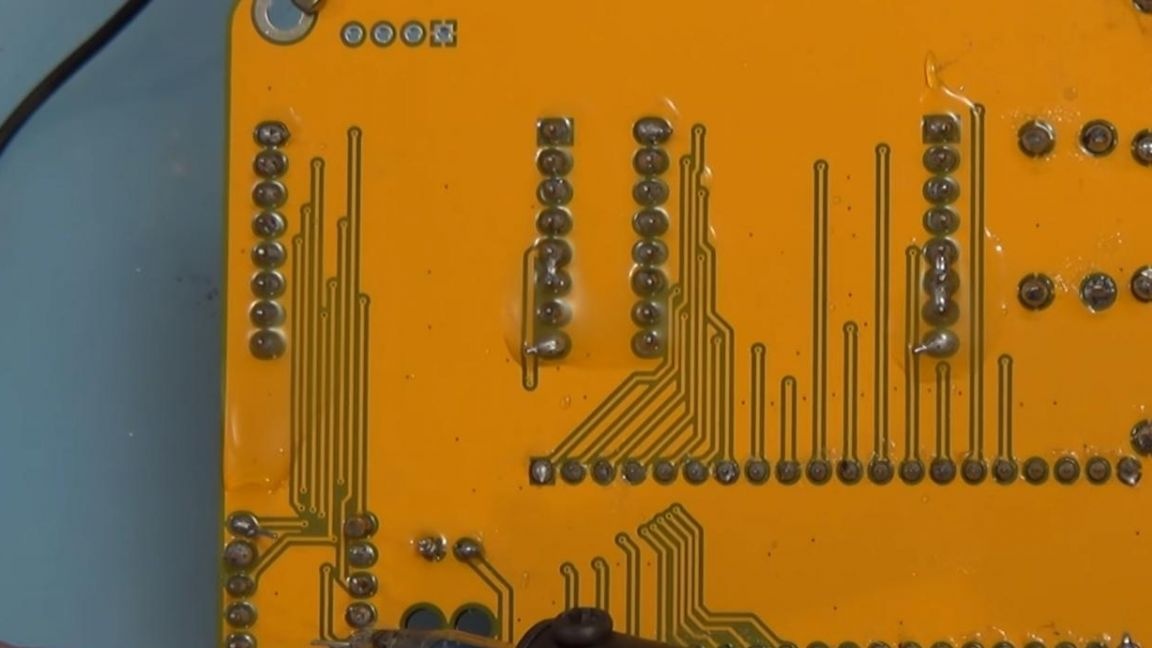
We apply the flux and solder the socket, it is positioned so that the upper "key" coincides with the "key" marked on the board, in this case the "key" is a semicircular recess on the case.

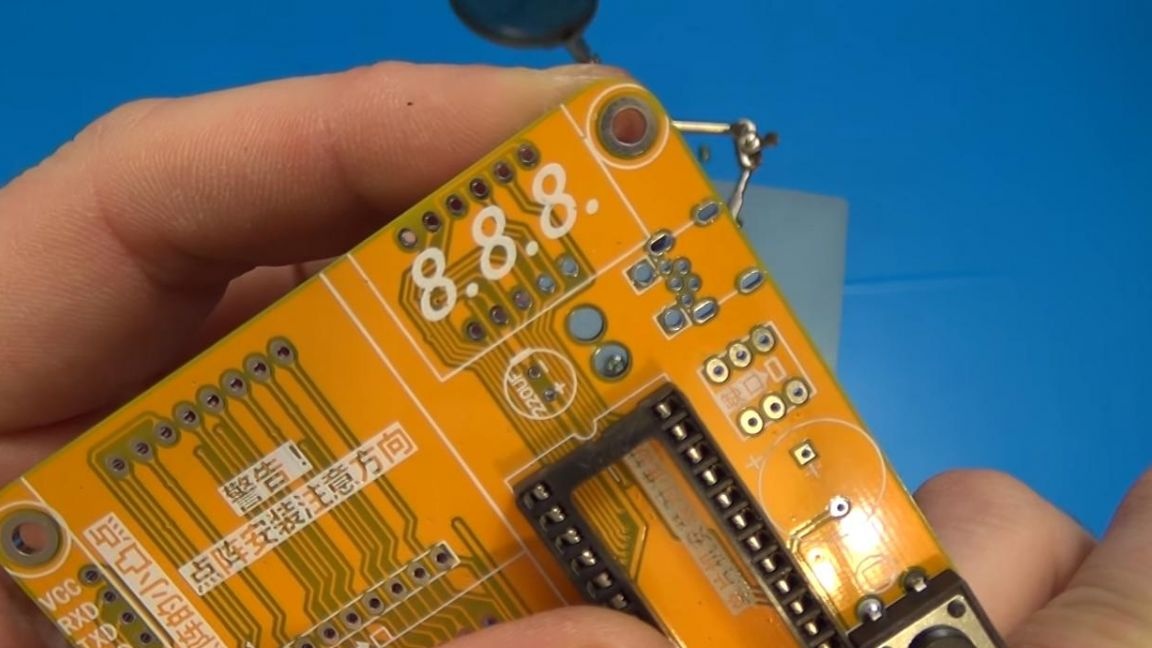
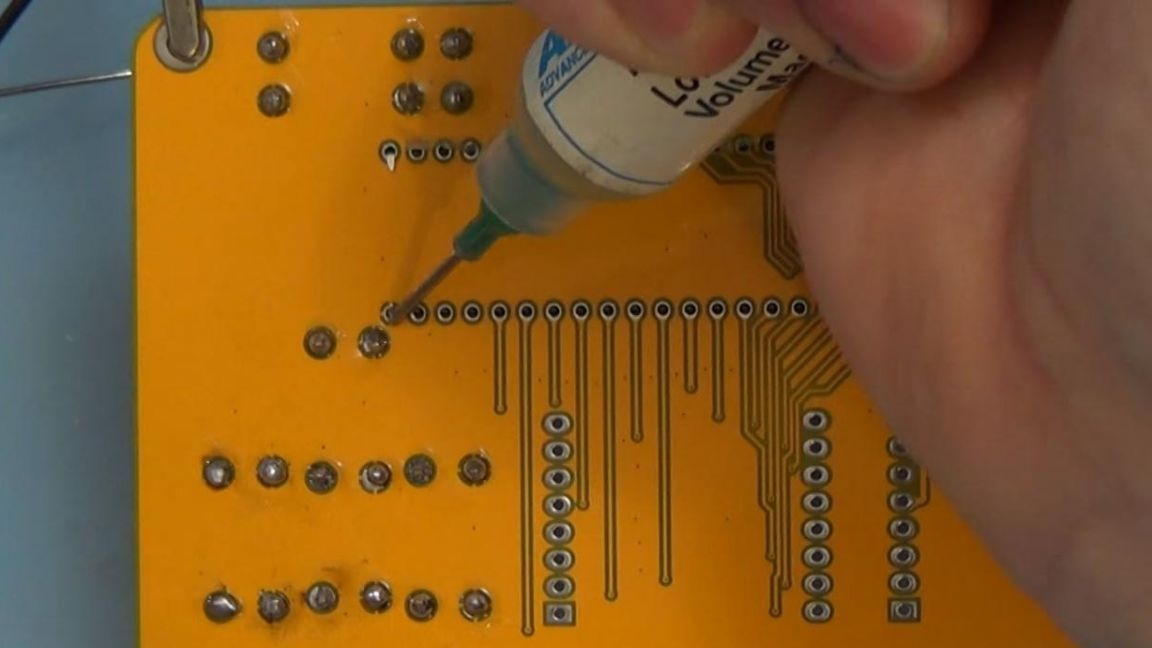

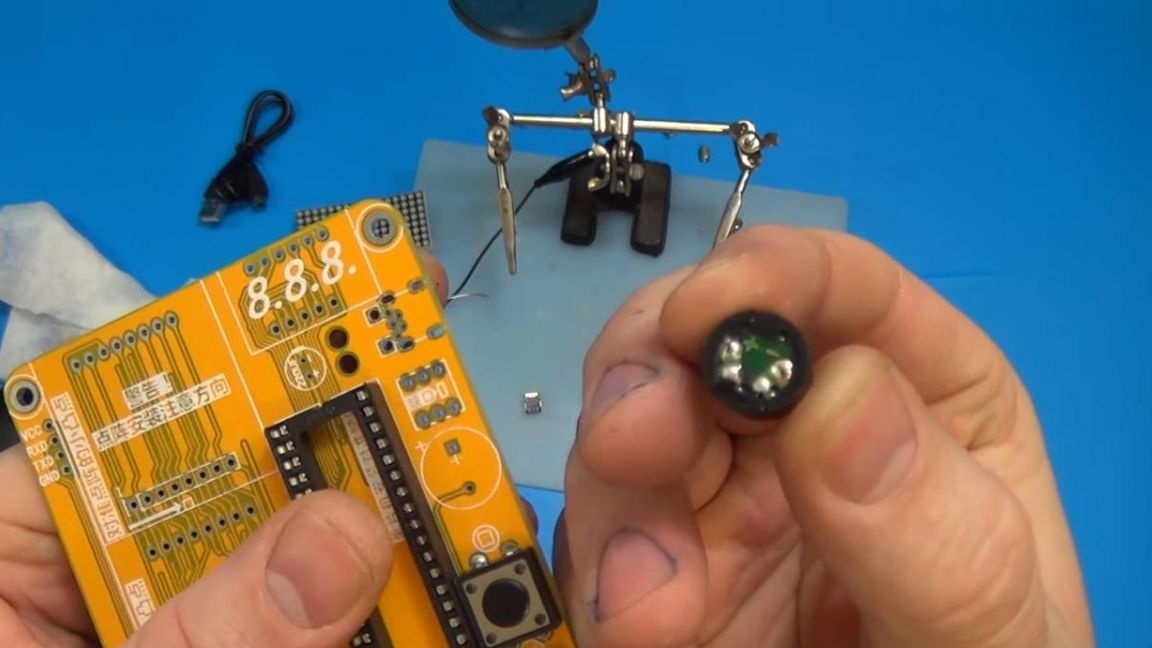
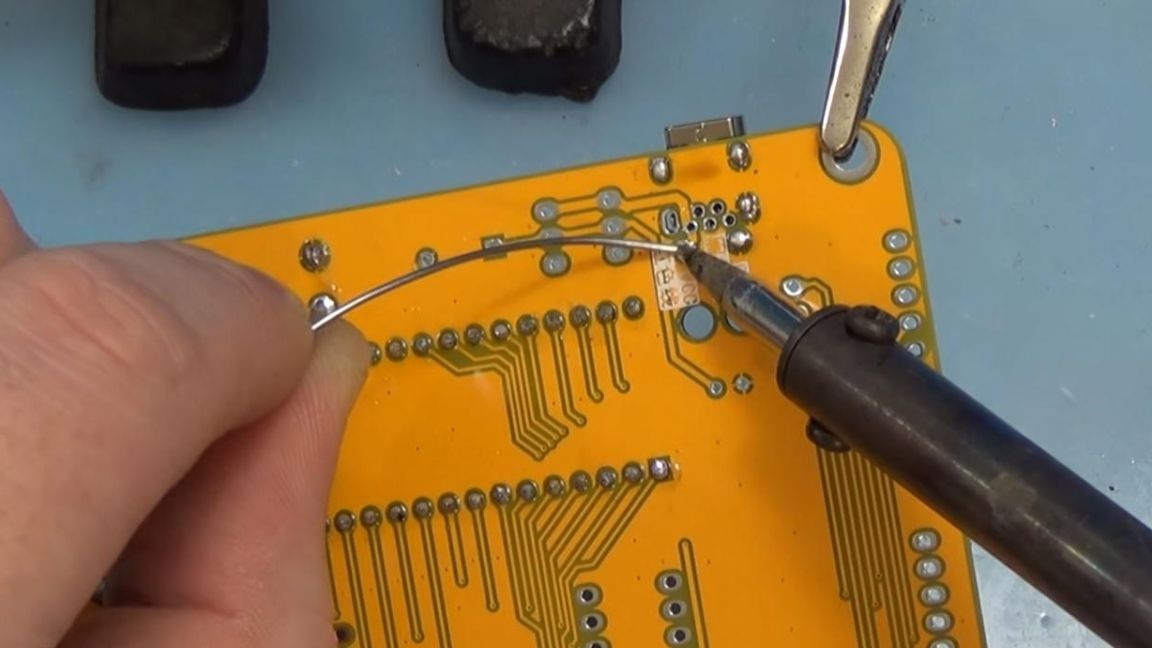
Since each tetris should be with sound, because playing without sound changes perception, you need to solder the speaker.
On its small case the polarity is indicated, as well as on the board, we solder plus to plus, minus to minus, there’s nothing complicated.
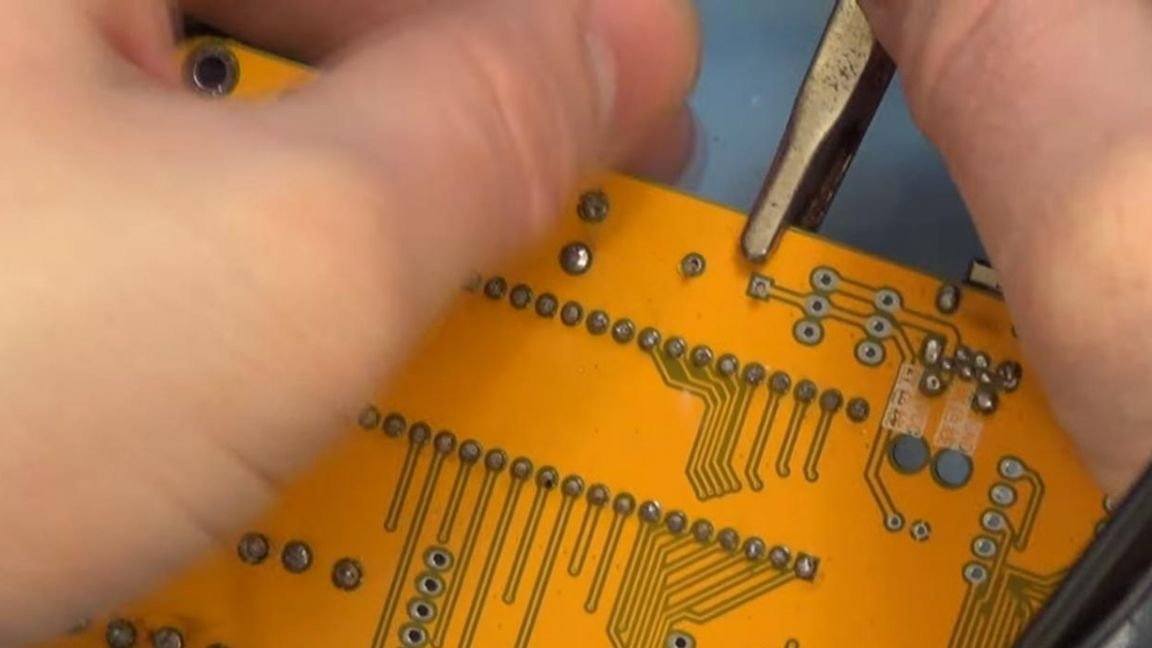
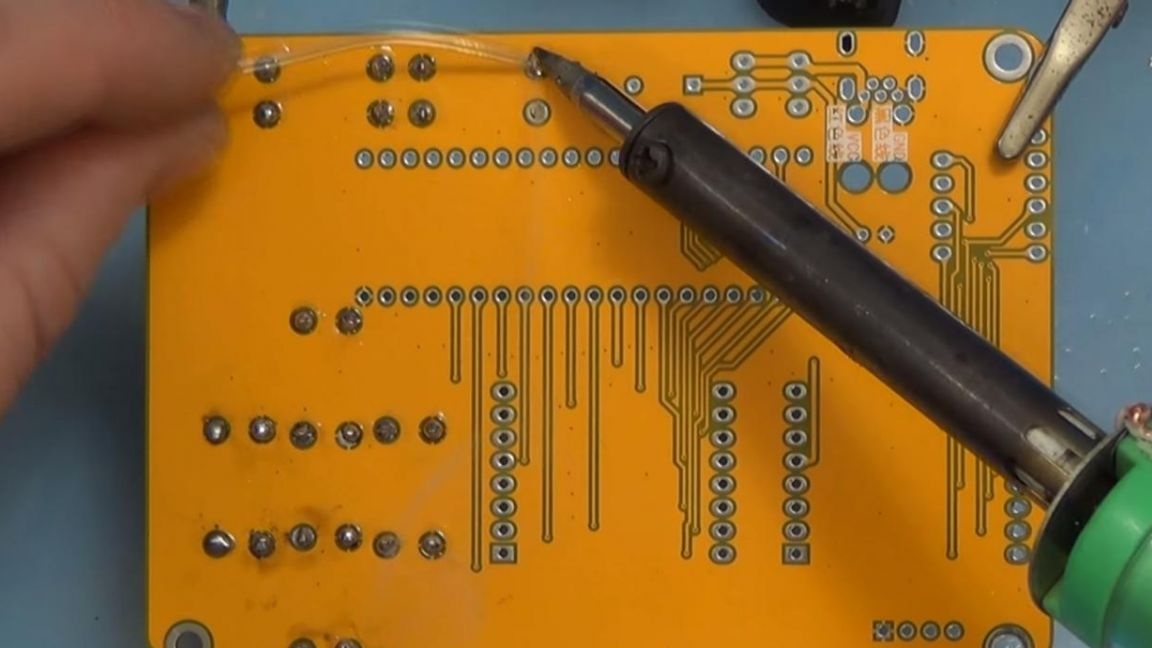
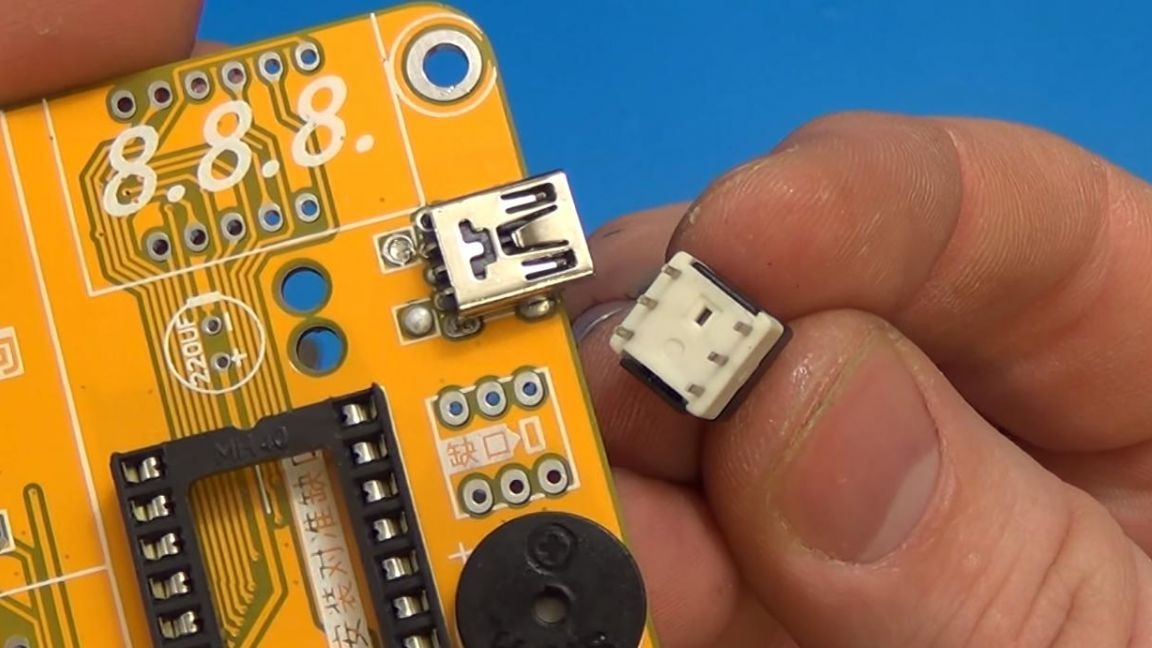
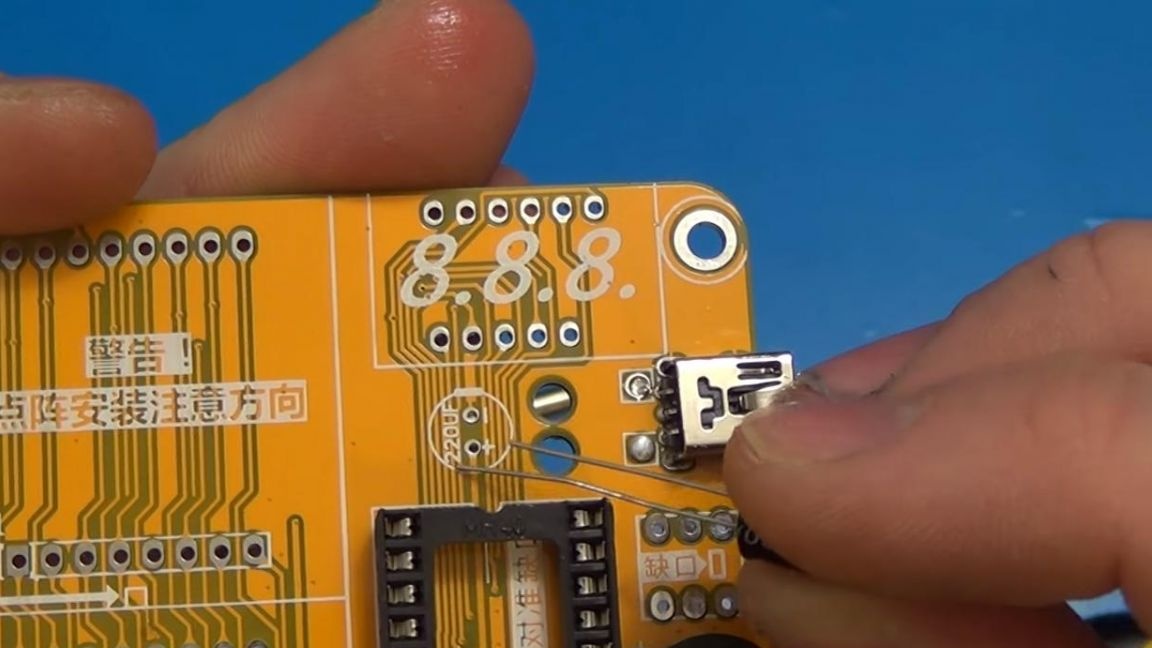
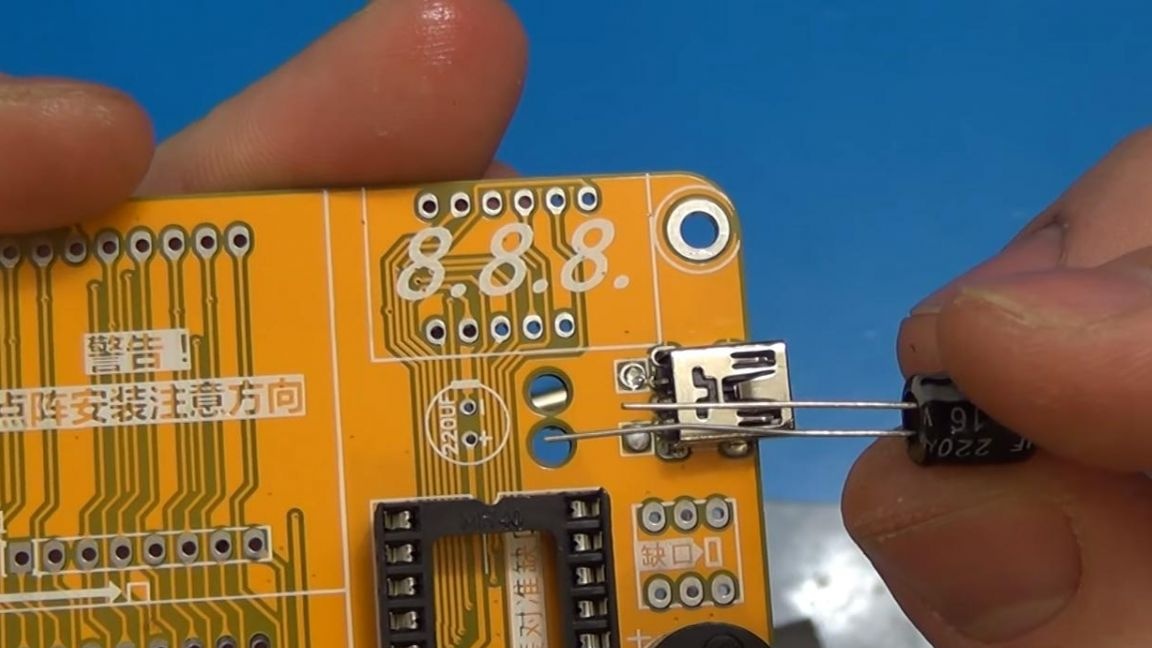
Then we solder the mini-usb port, it will not work out to confuse its position, therefore, as well as previously soldered components, we install it on the board, the contacts here are smaller than in the previous parts, so we try to be as careful as possible.
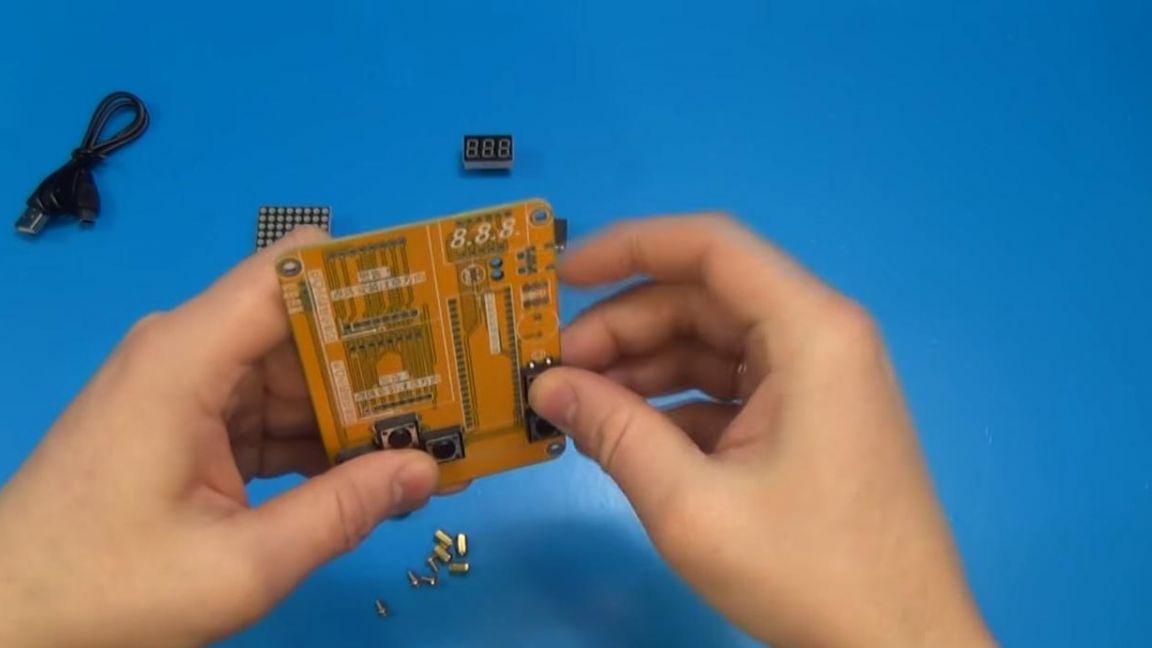
Step Three
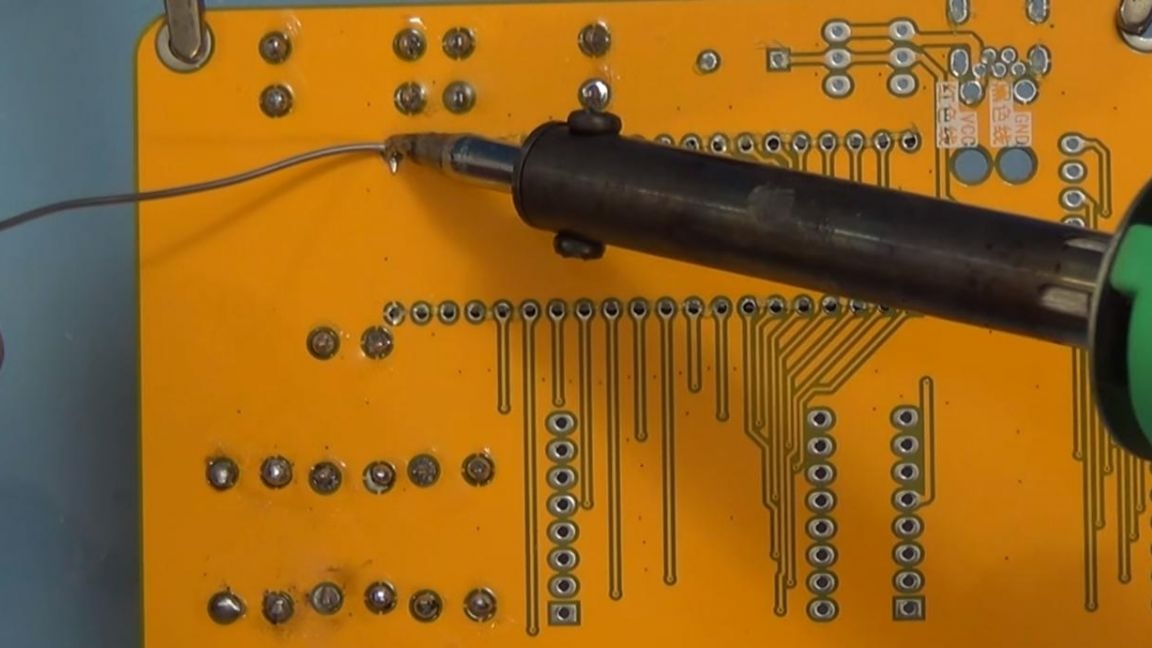
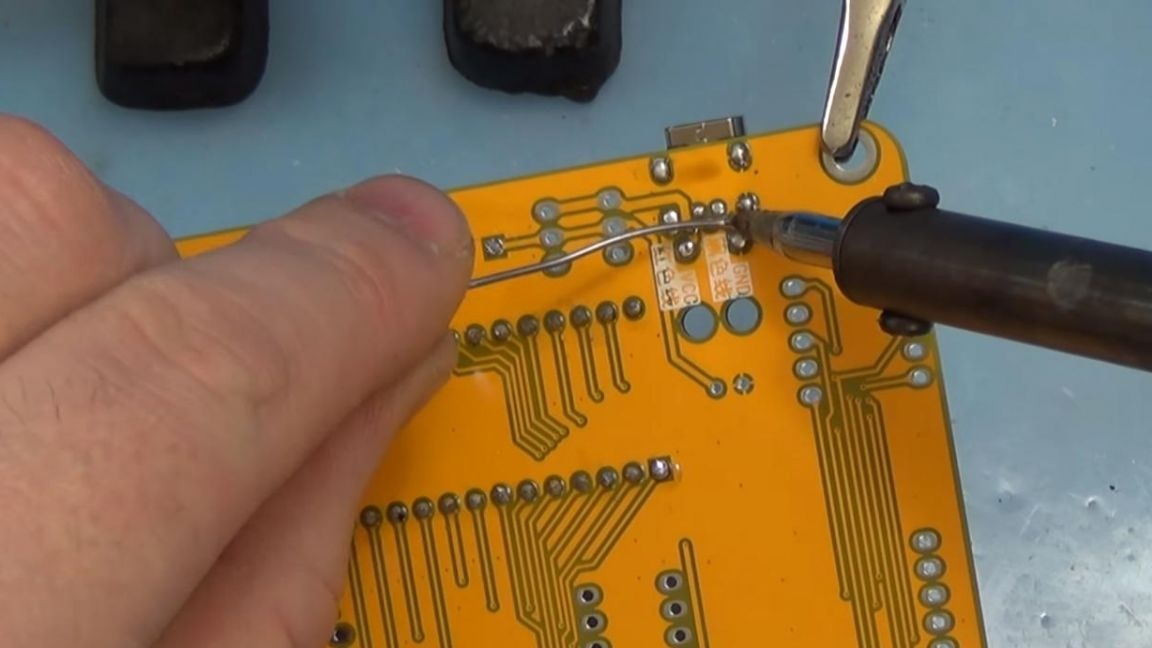
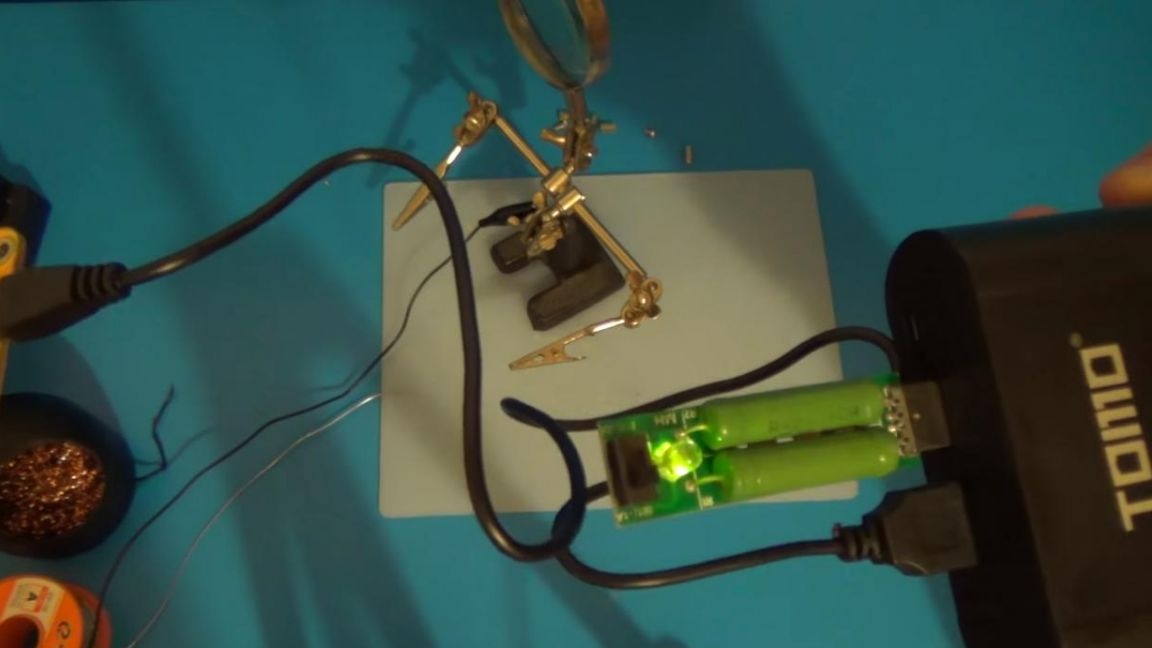
Since this Tetris is powered by 5 volts, whether it is powered by a battery, a bank or a charging unit, it will consume a small amount of current into a simple device, but with such a long time, a simple battery can drop the entire battery. The consumption of our device is about 100 milliamps at 5 volts, which means that the on / off button is needed here.
Solder it to the board, combining the "keys" on the button itself with a rectangle marking on the board.
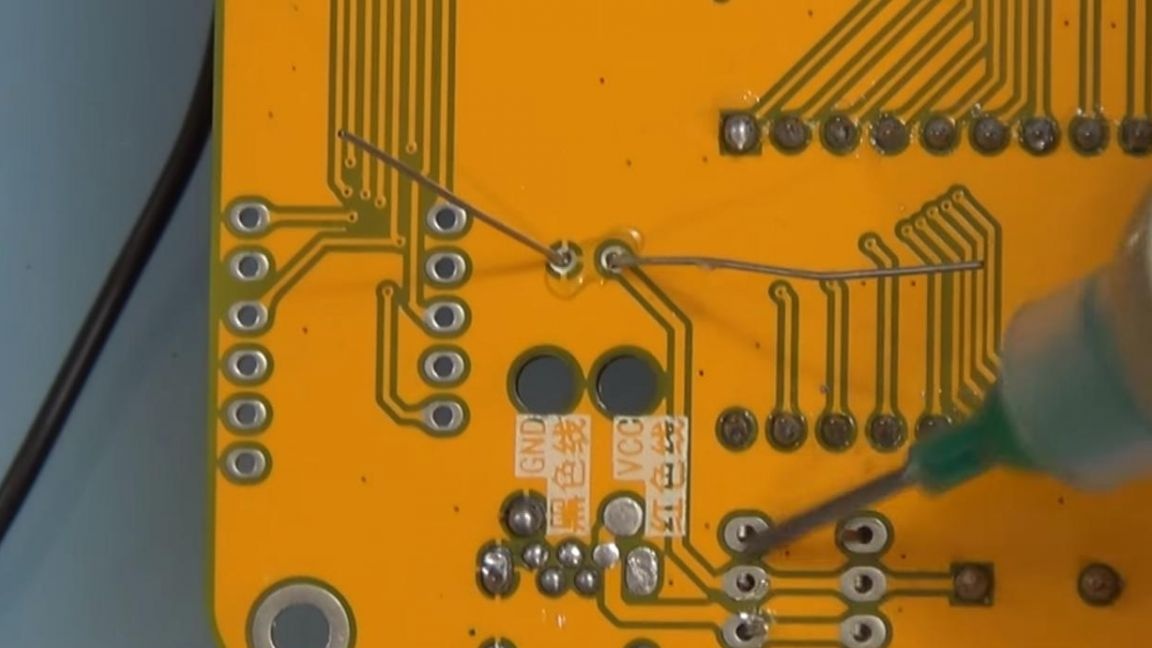
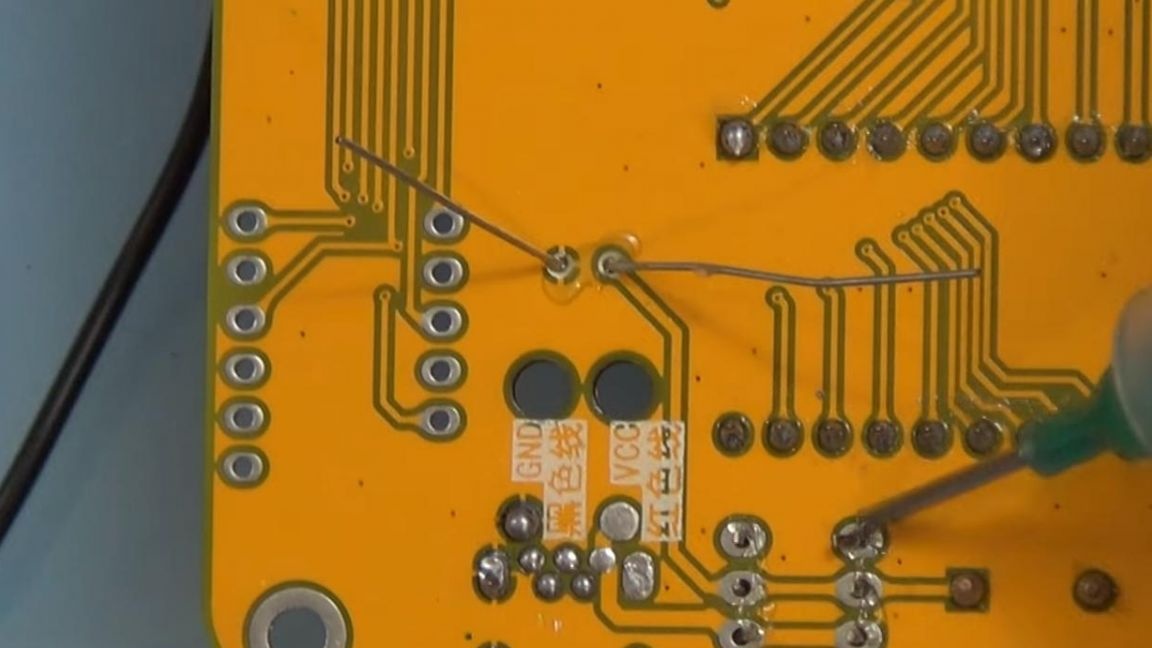
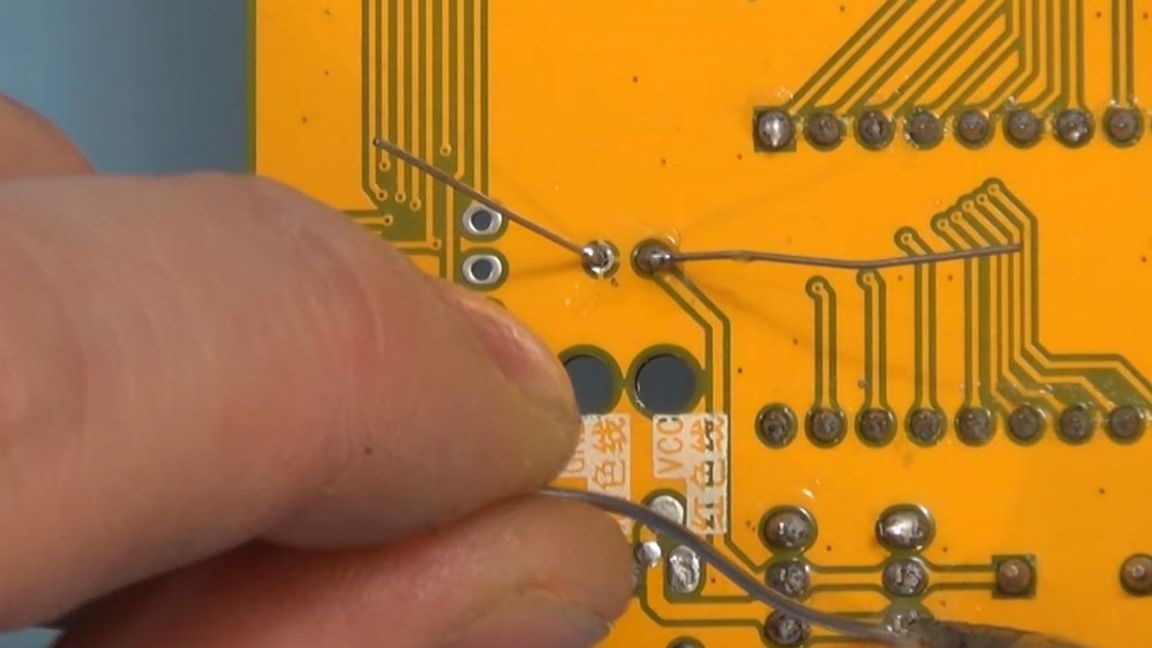
After that, we solder the capacitor, its capacity is 220 microfarads and is designed for a maximum voltage of 16 volts, we observe the polarity when soldering, the long leg is plus, the short one is minus, and the negative contact is also indicated by a gray bar on the case of the capacitor itself.
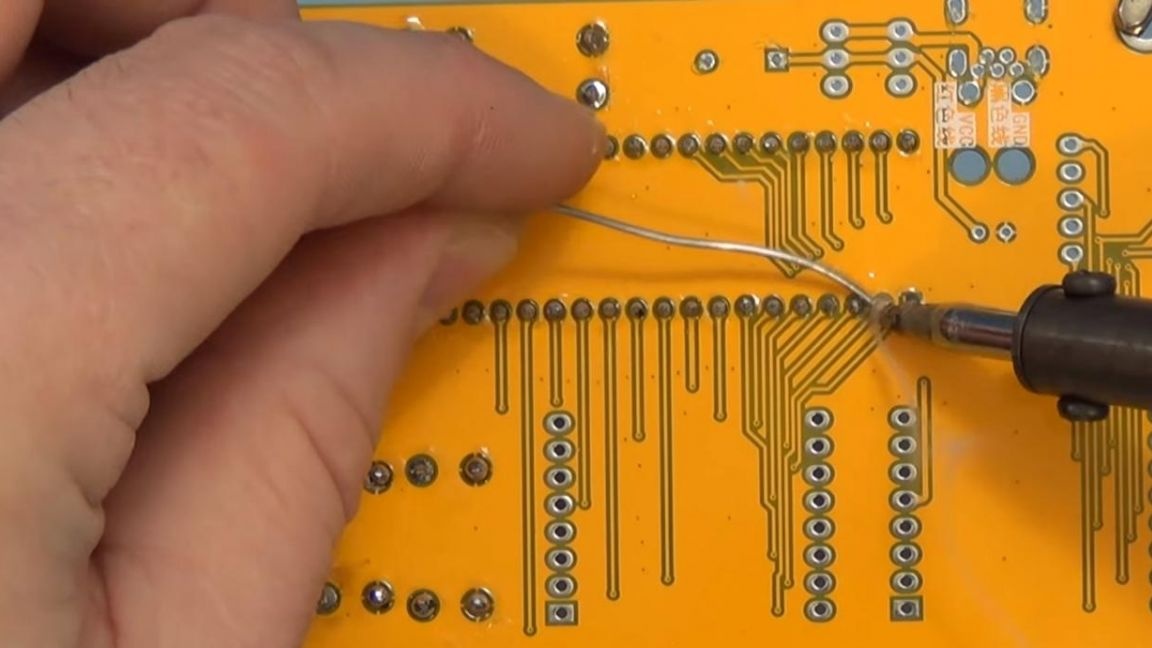
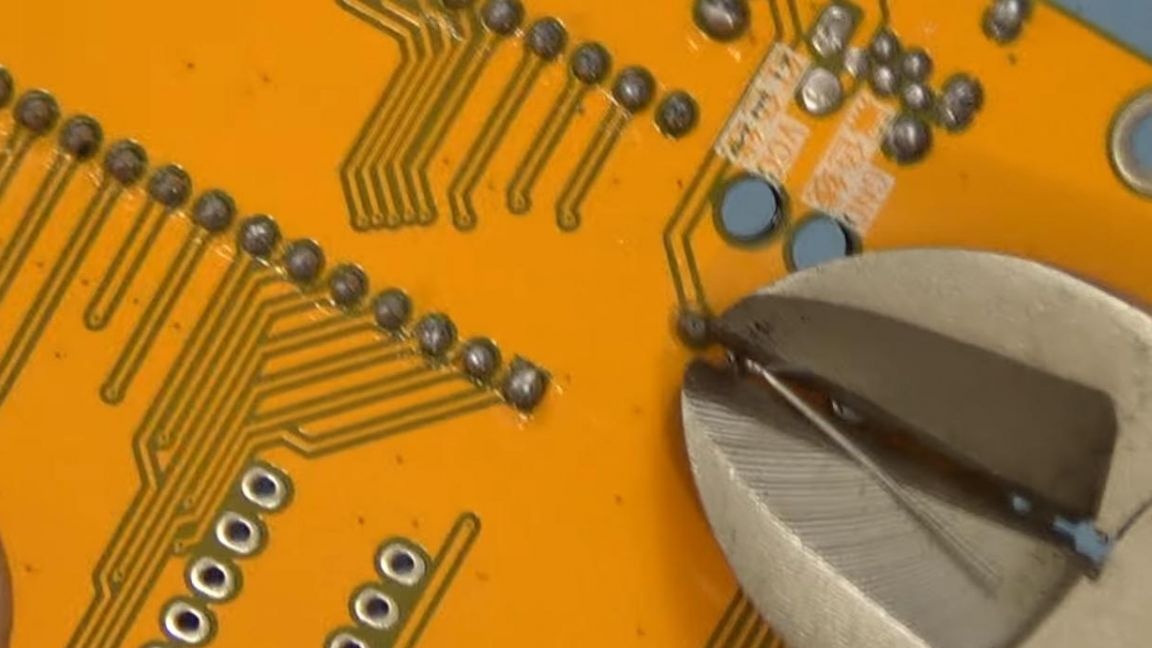
After soldering, we bite off the conclusions from the ends using side cutters, this must be done carefully so as not to tear off the copper tracks of the board.
Step Four
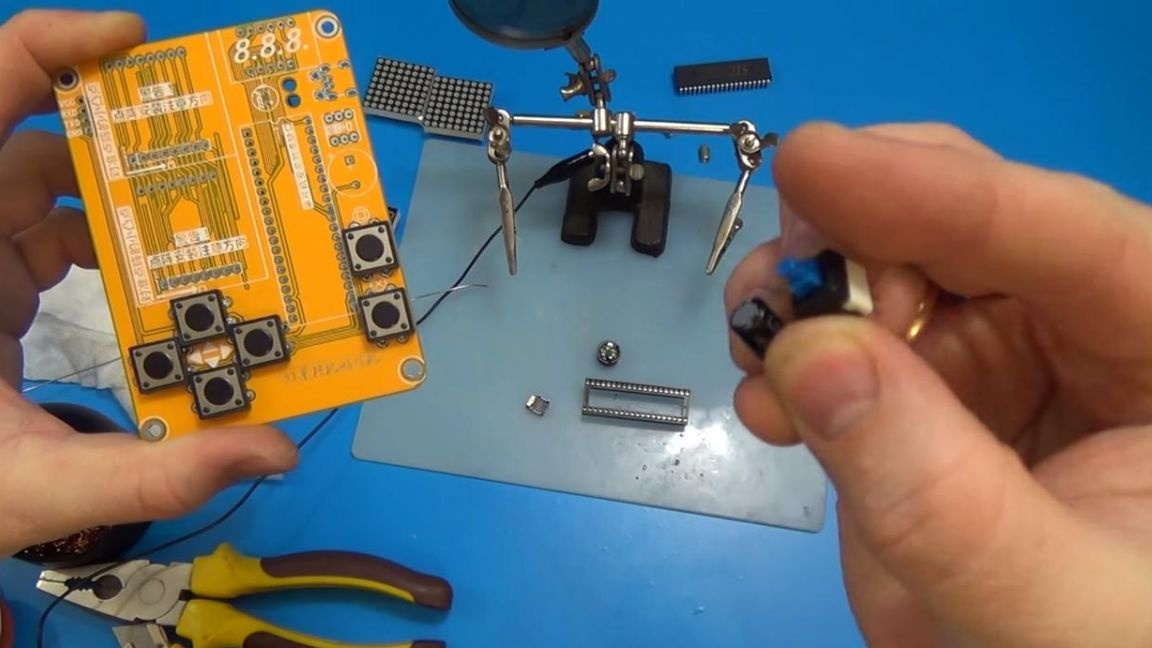
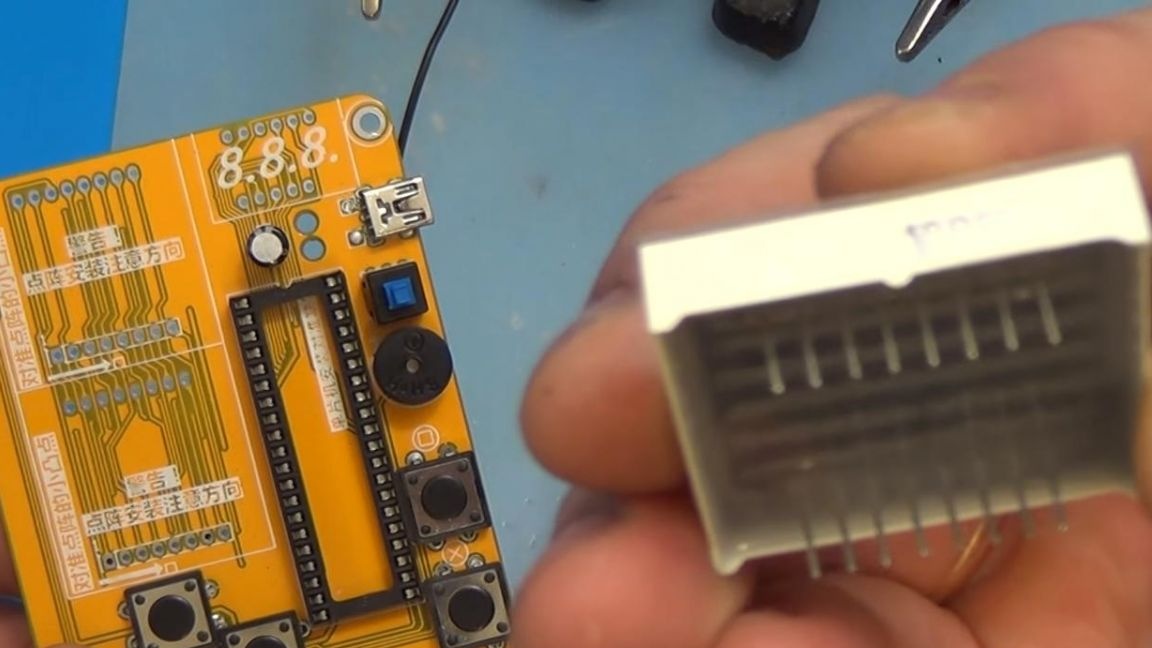
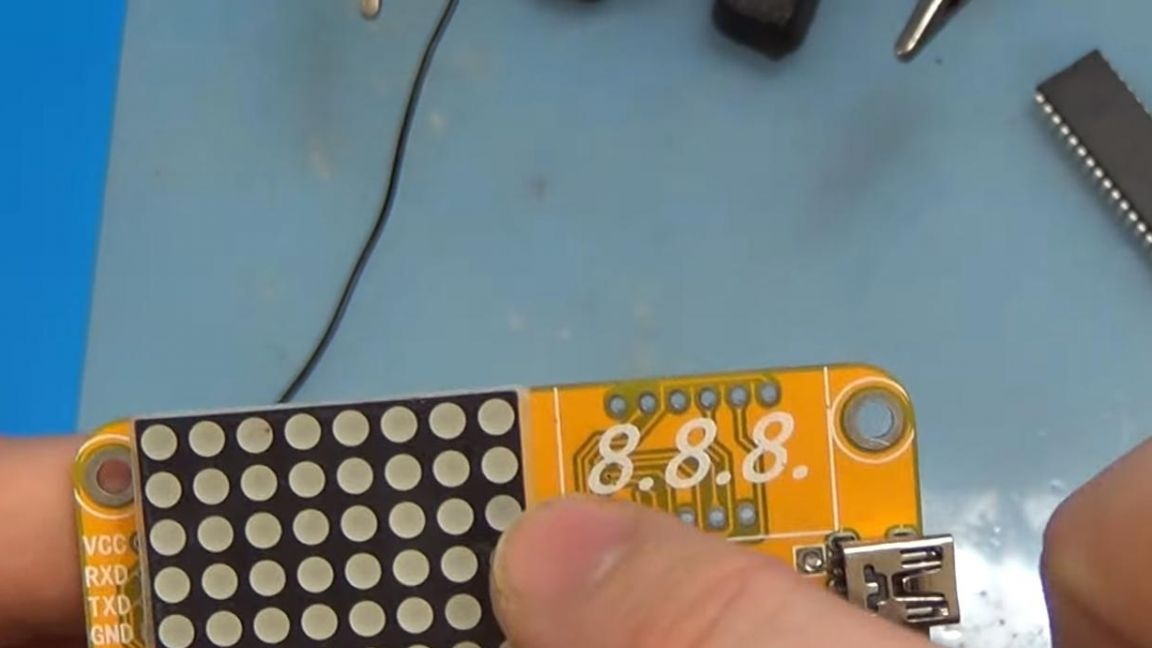
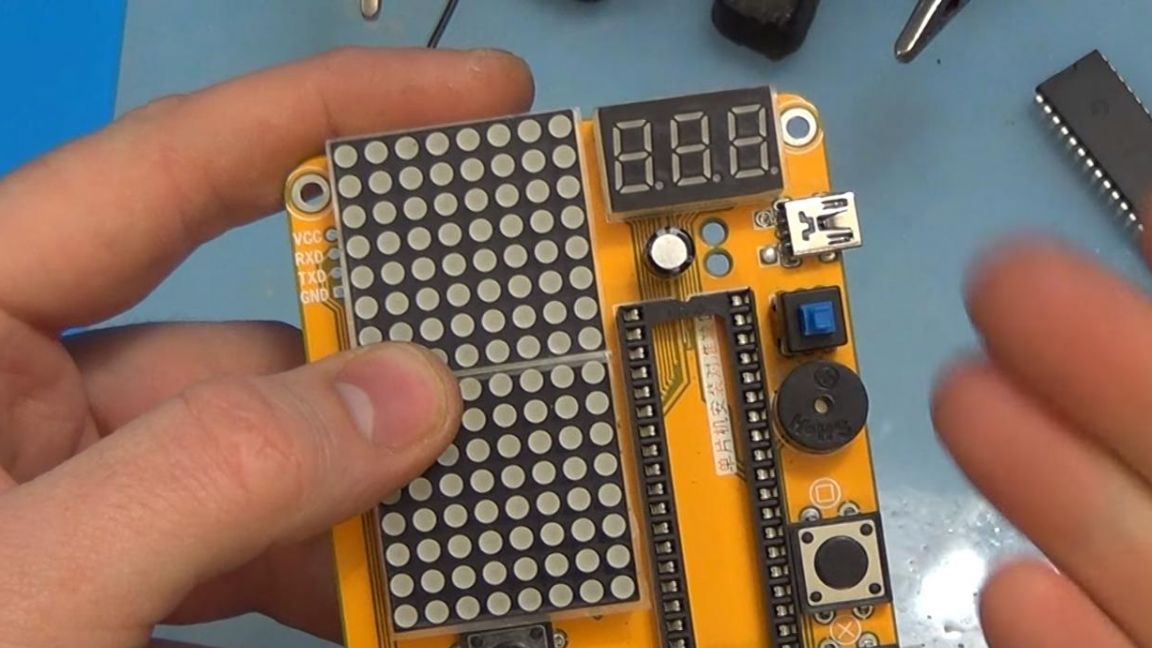
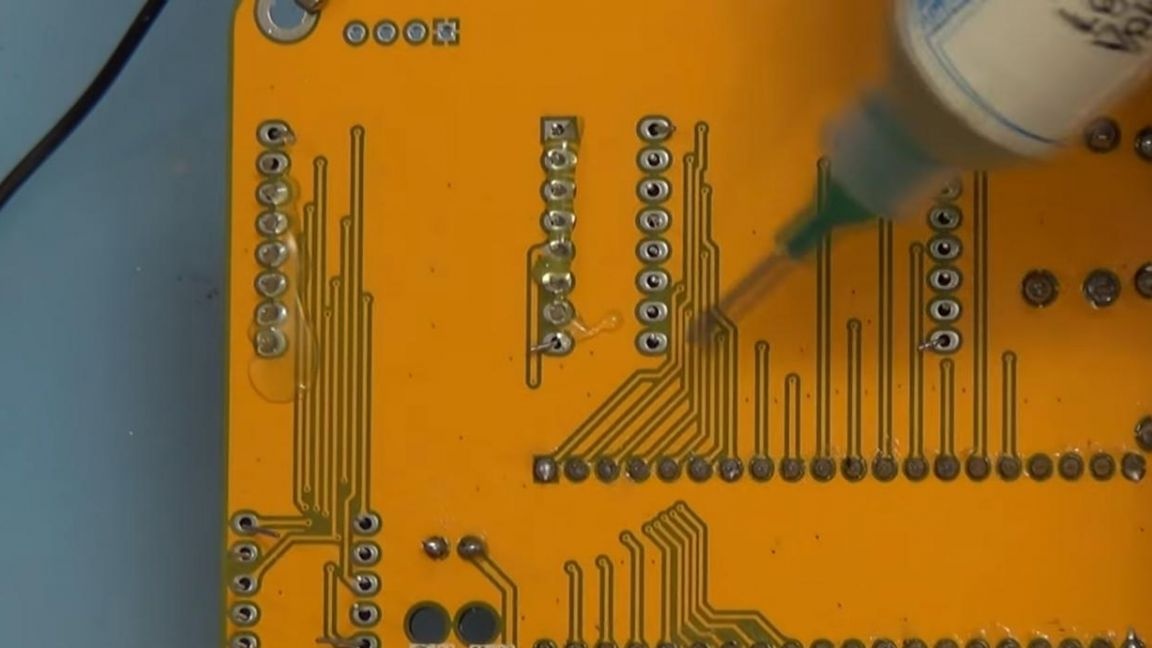
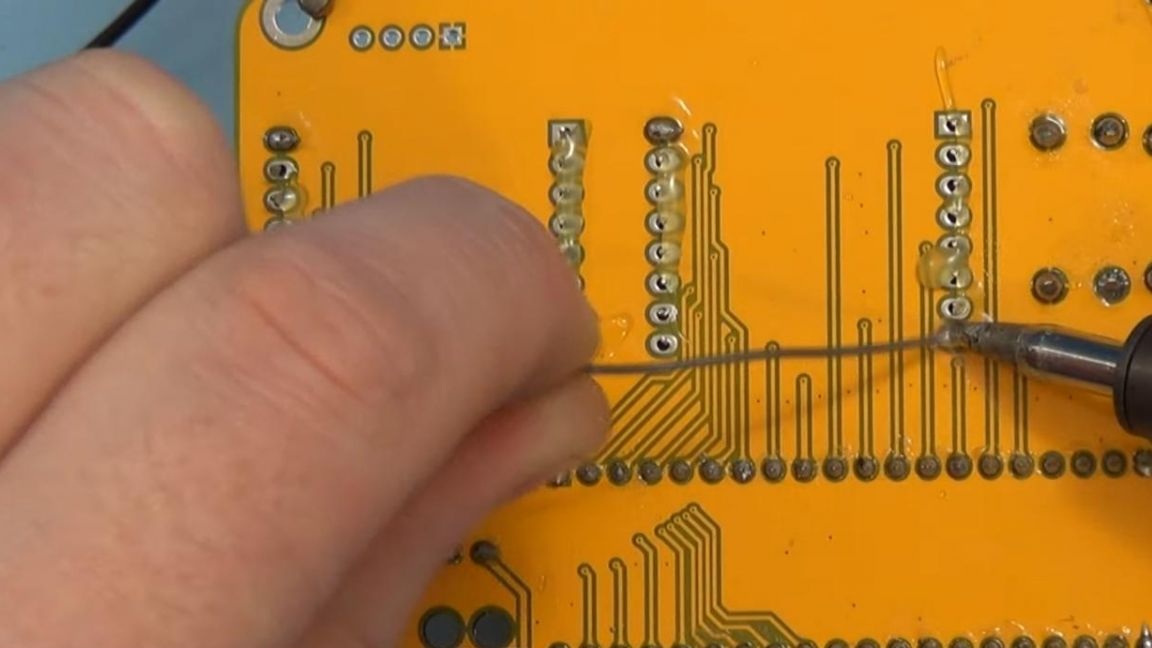
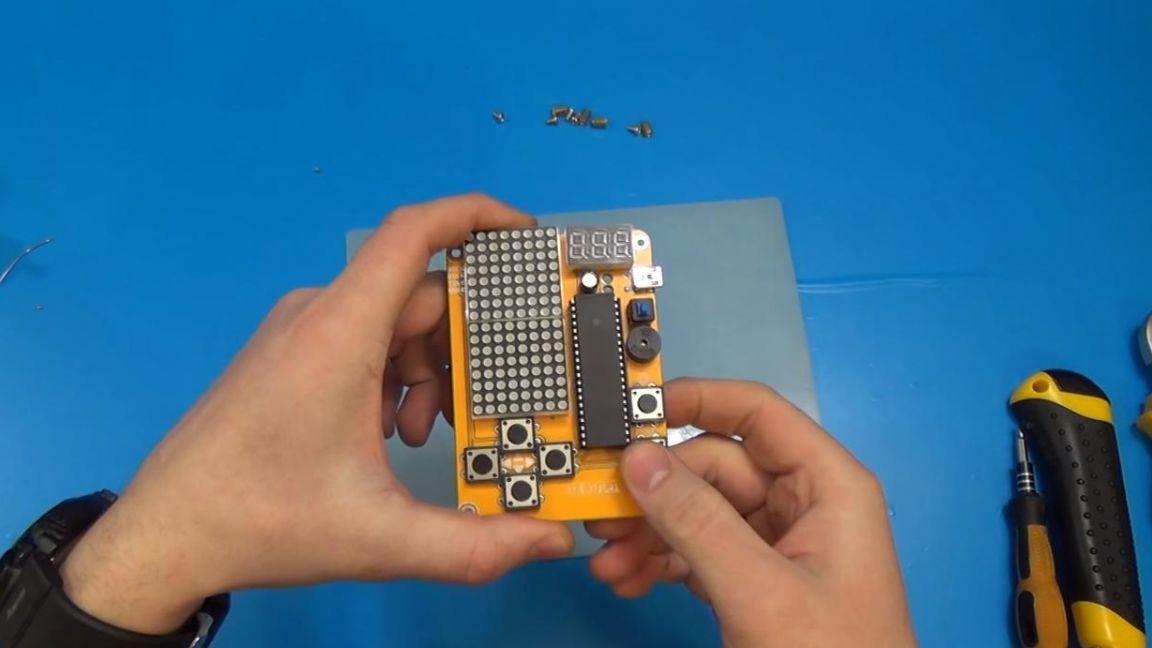
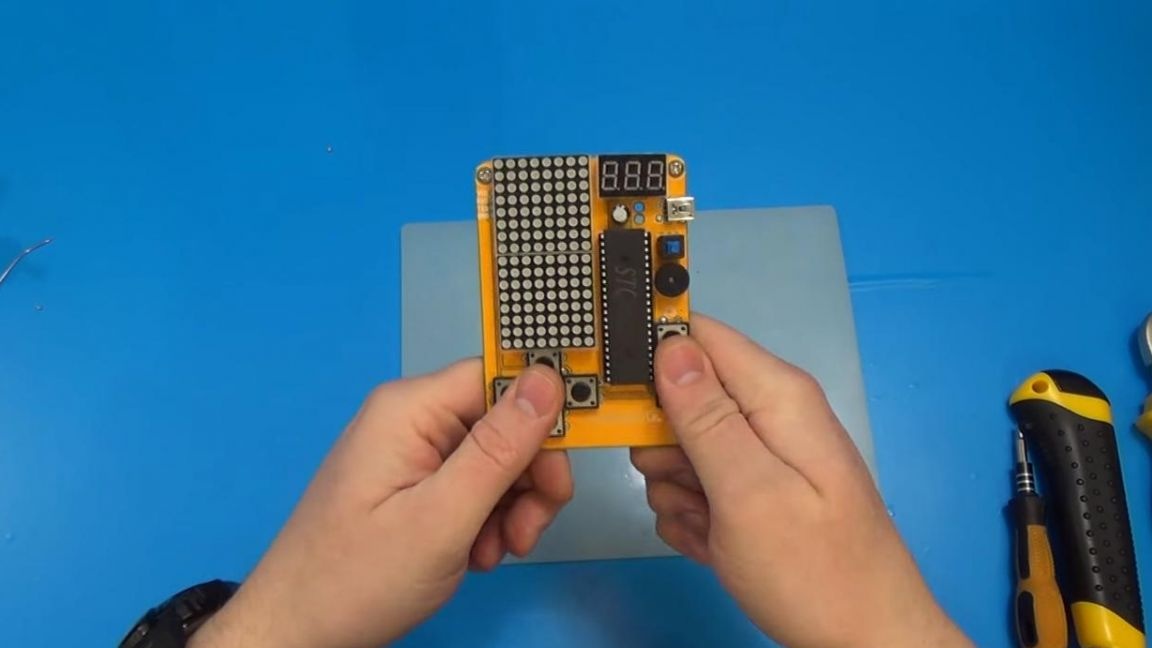
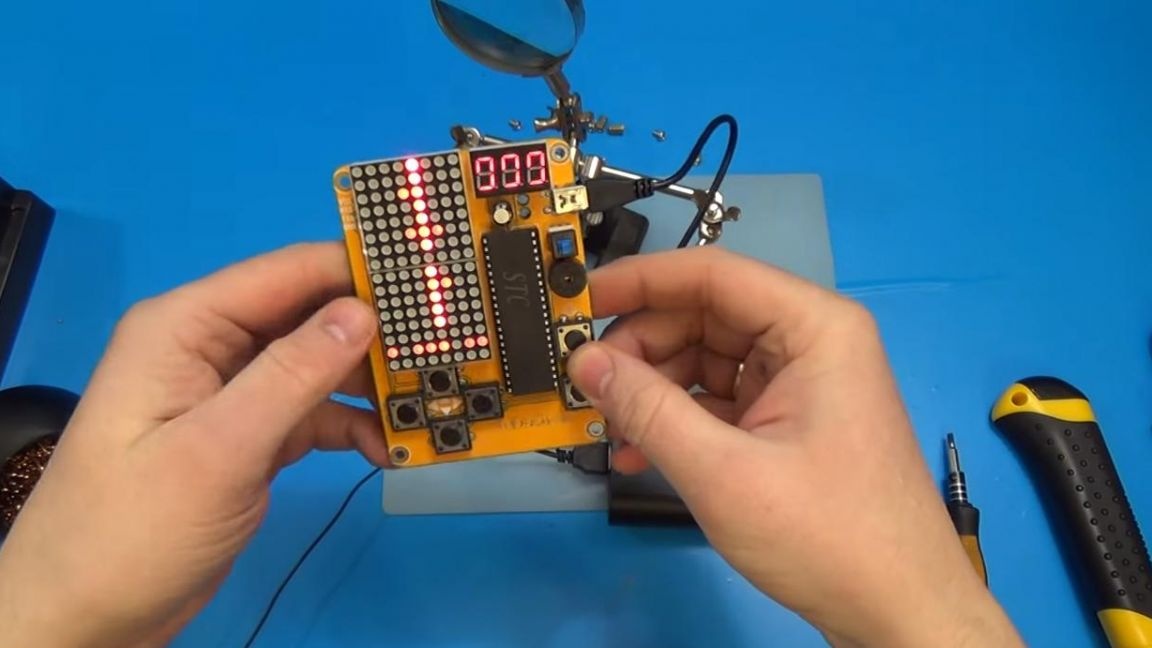
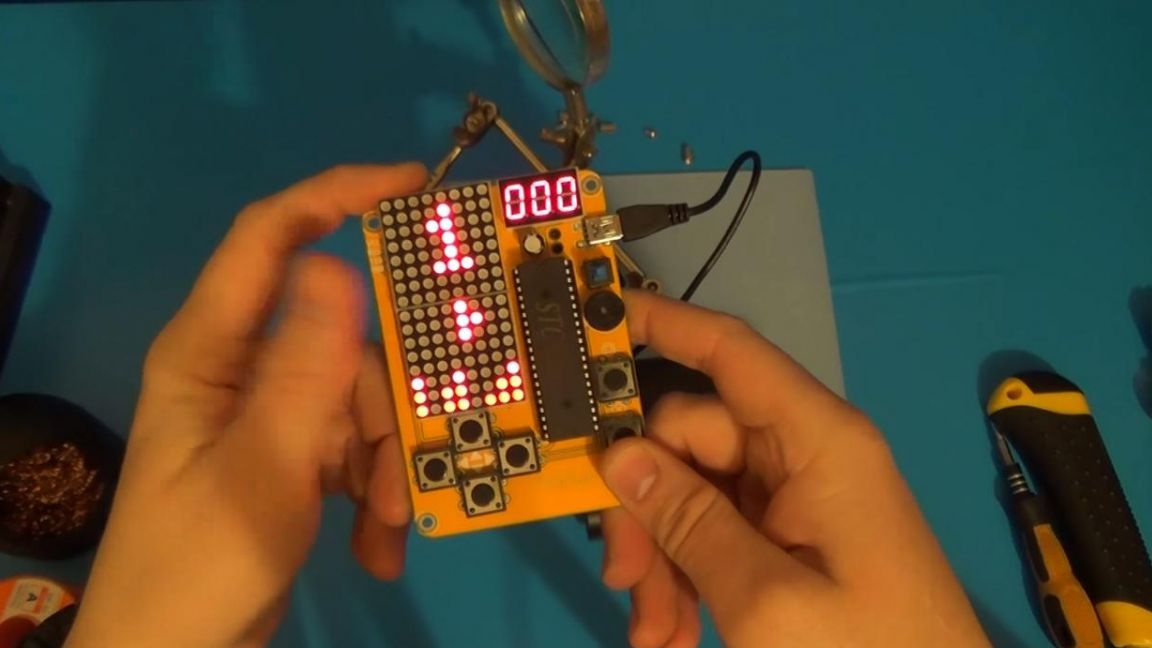
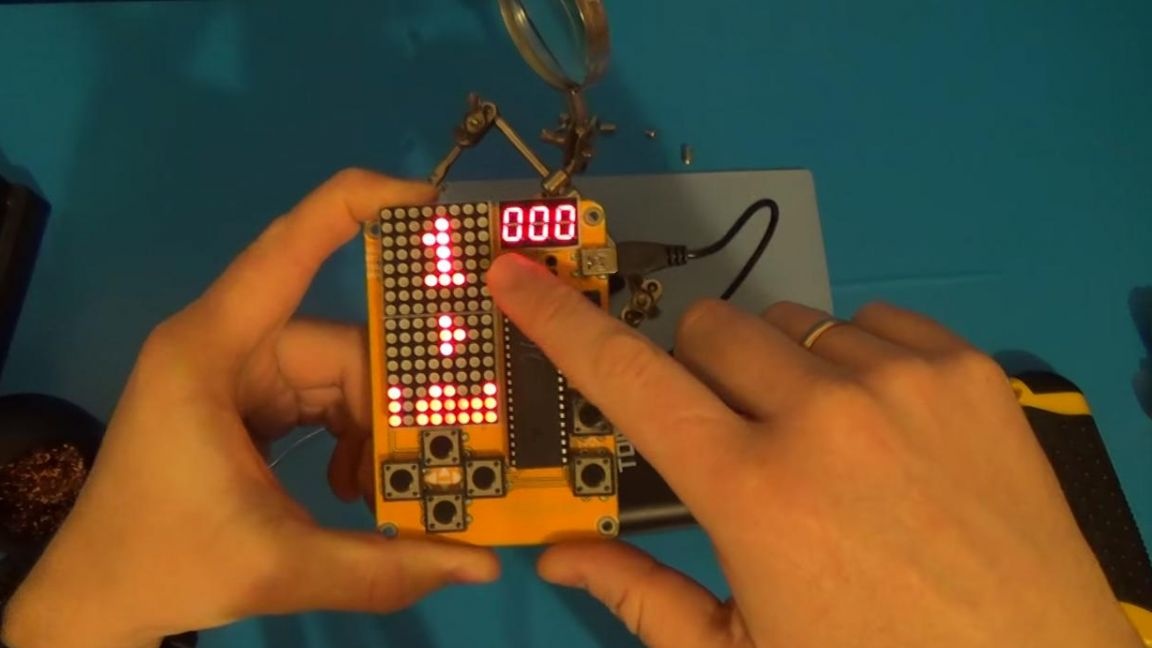
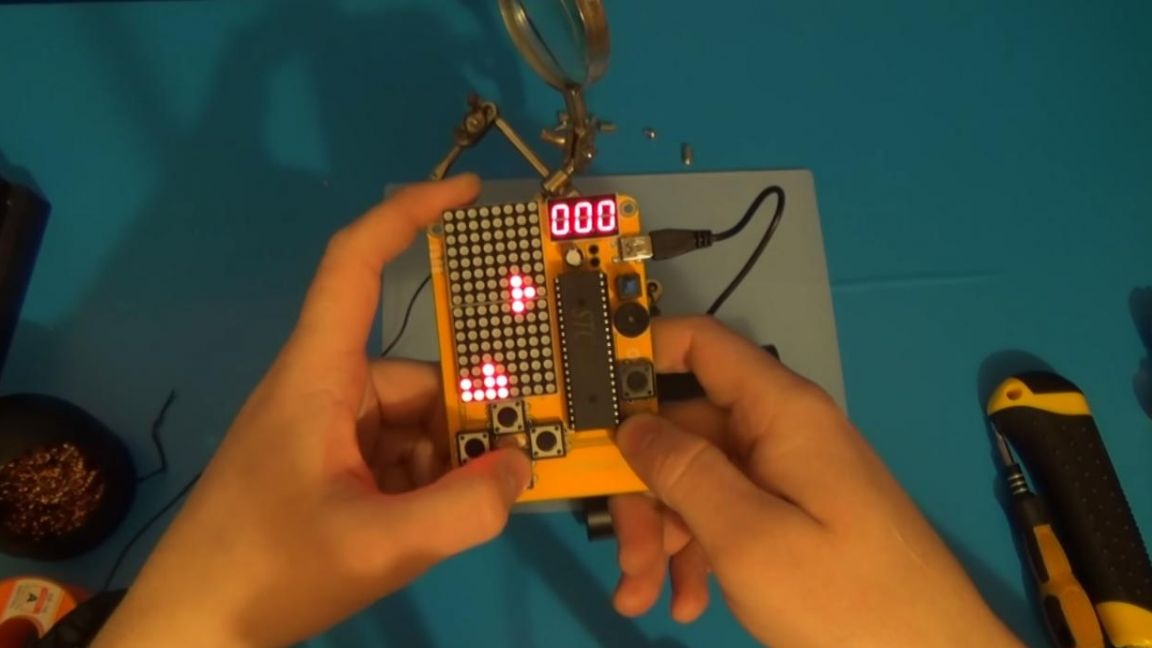
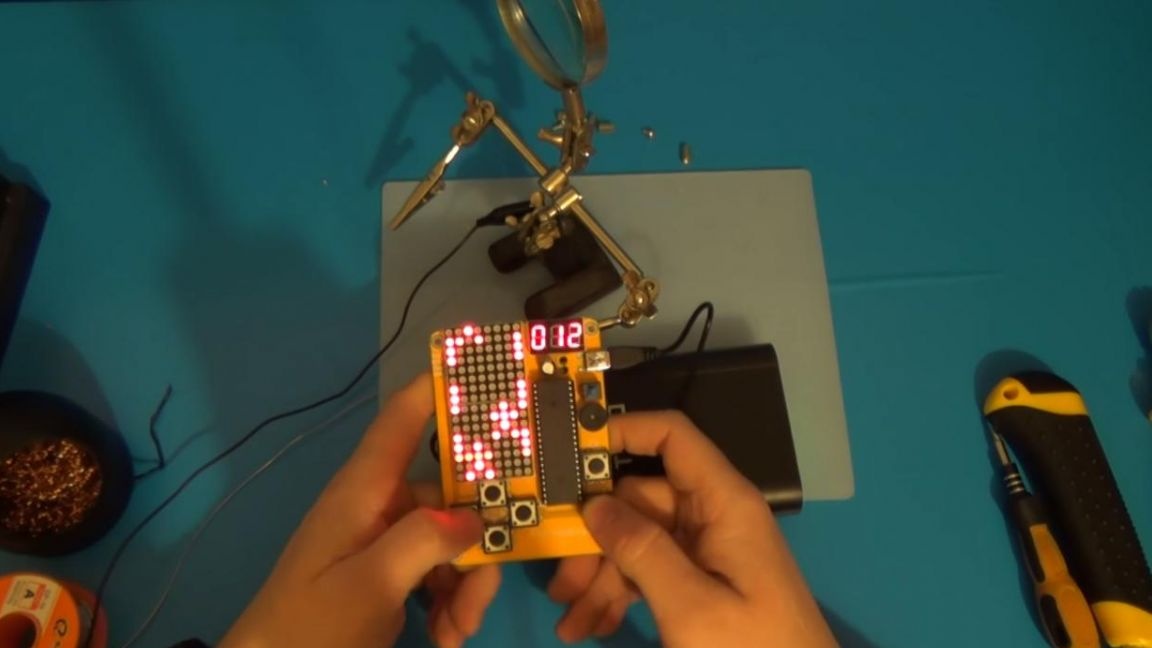
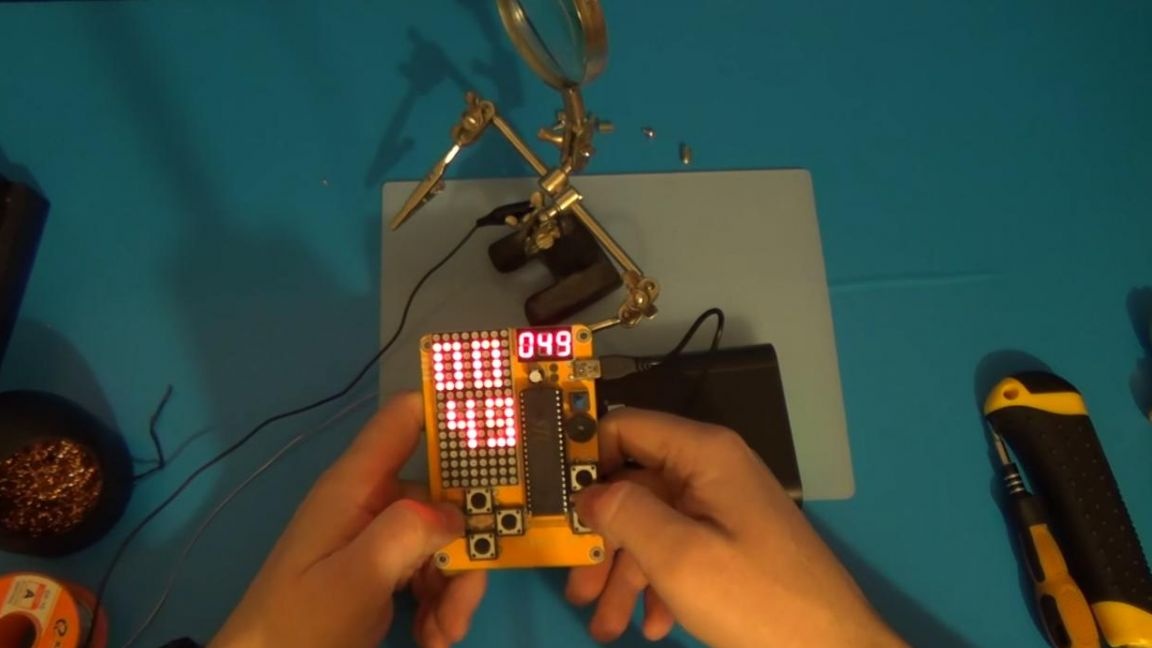
What kind of tetris is it if it does not have a display? Let's do this, solder the LED matrix, observing the correct position, aligning the "key" on the matrix body with the "key", which is indicated on the board by an arrow with a square. We do the same with the second matrix.
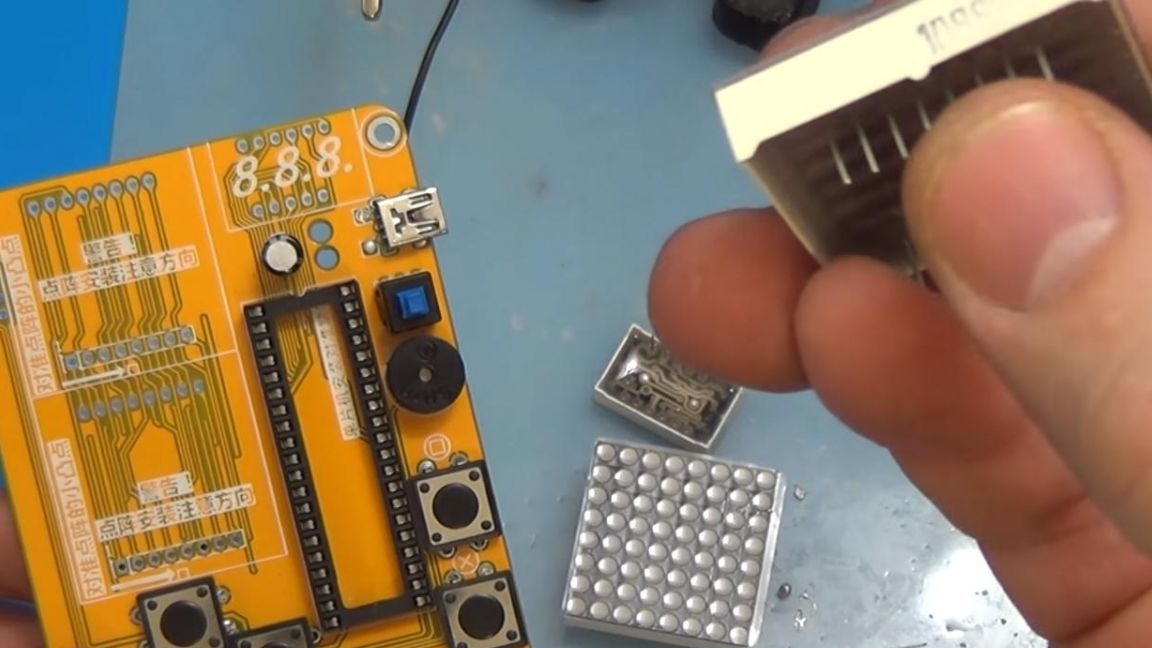

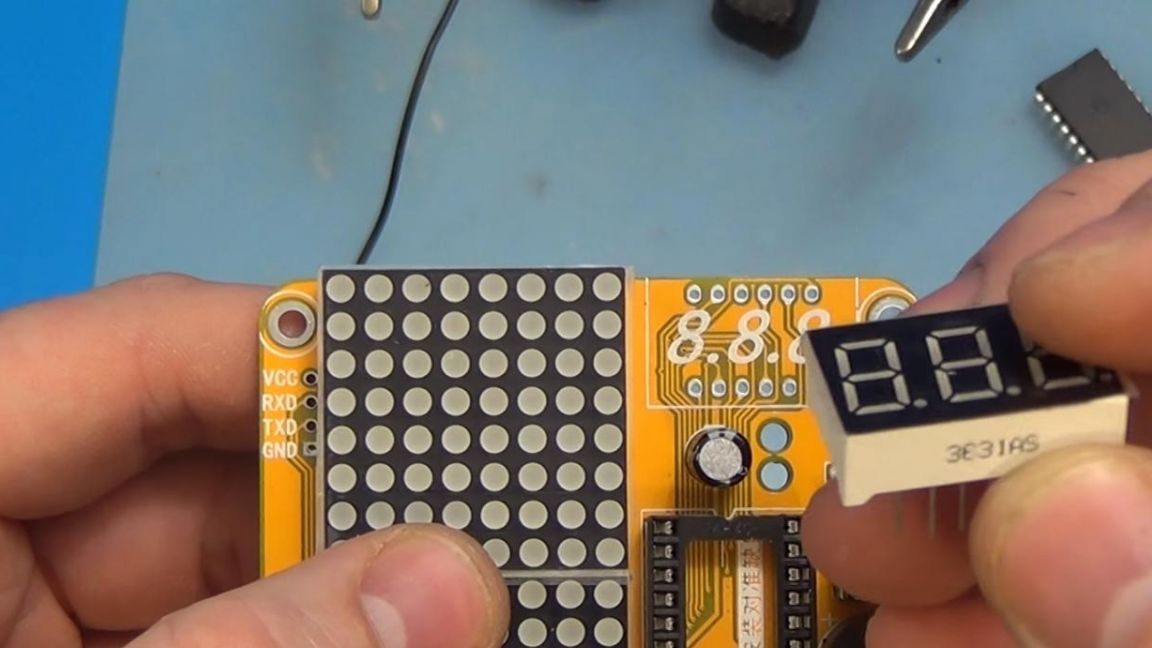
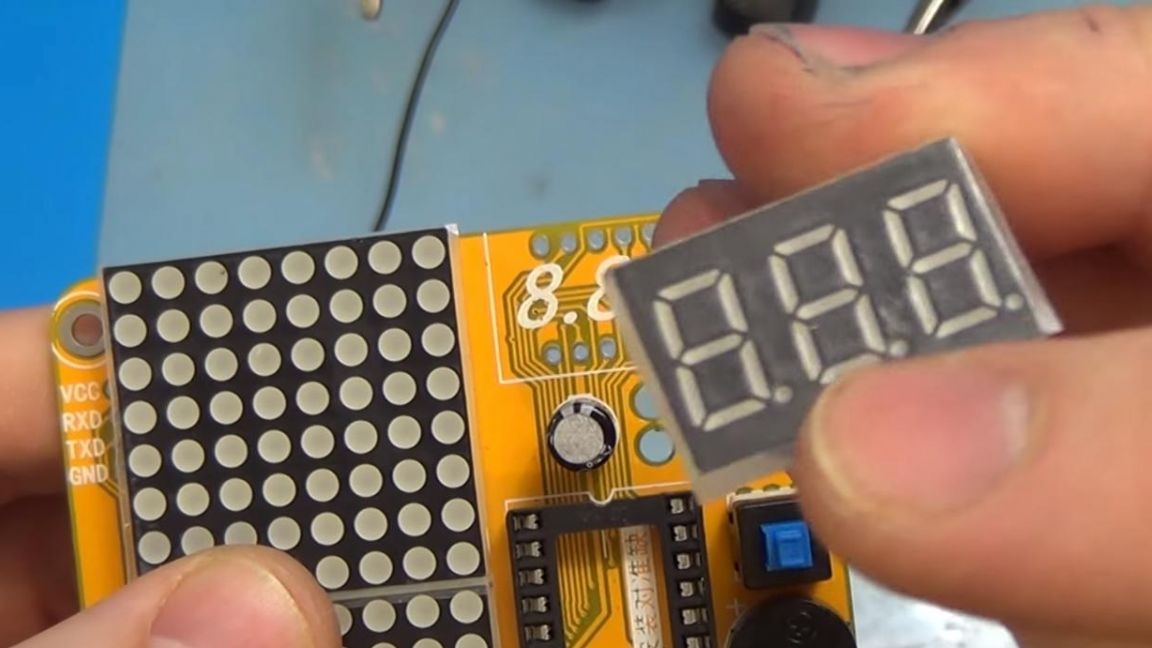
The display is ready. From childhood memories, I remember that I often looked at the points earned during the game, for this there is a separate place for this score on the scoreboard, we solder it so that the points on the scoreboard coincide with the points on the board.
Step Five
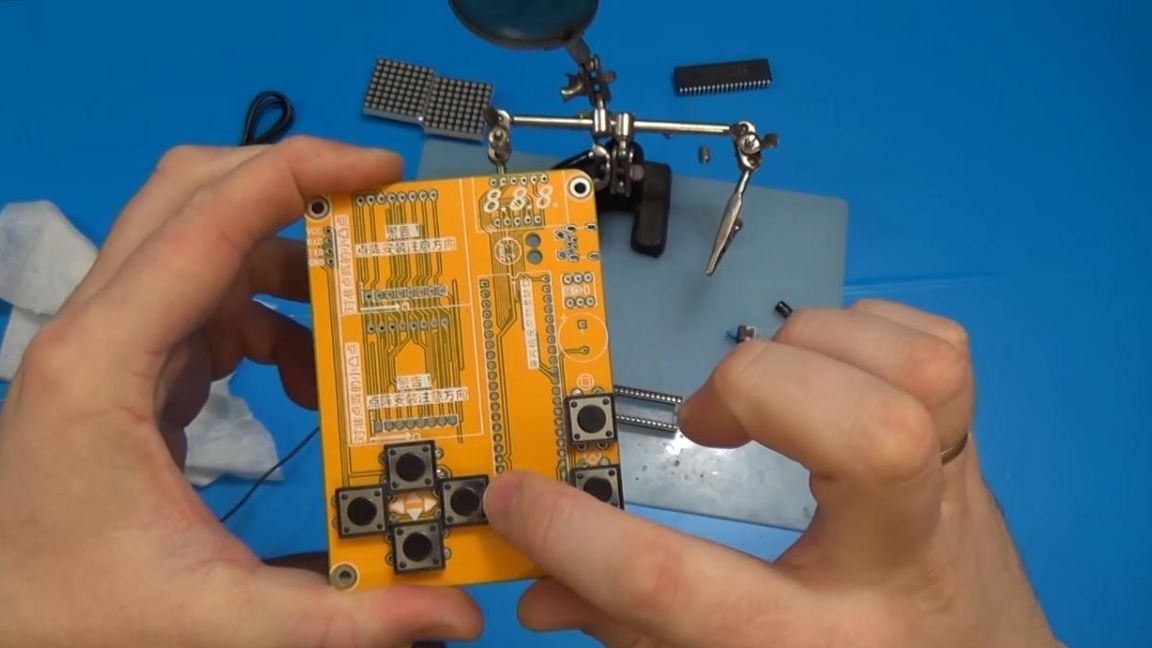
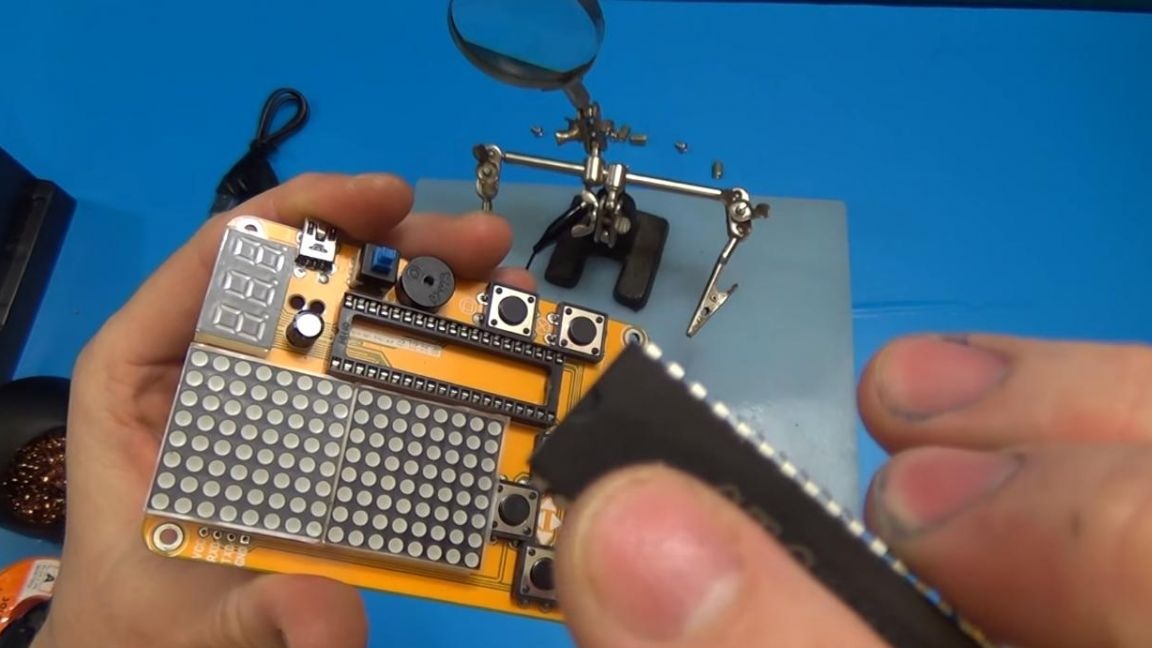
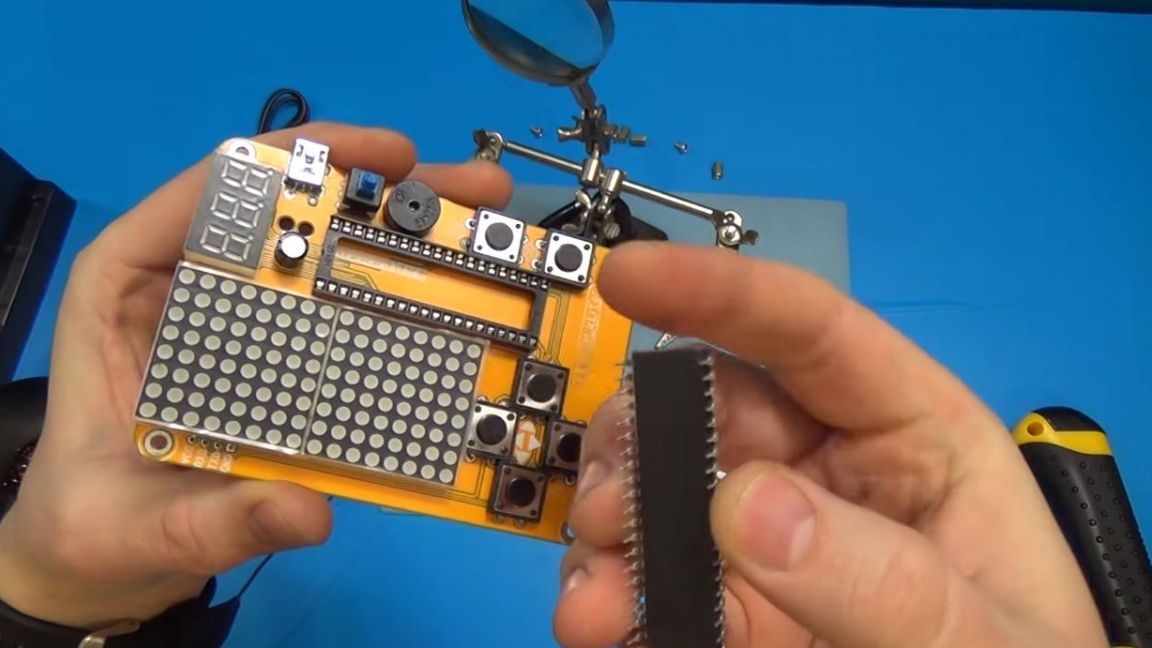
With soldering deeds, now we set up the “brain” of Tetris - a microcircuit in which there are enough games to not get bored and remember what they were in those days.
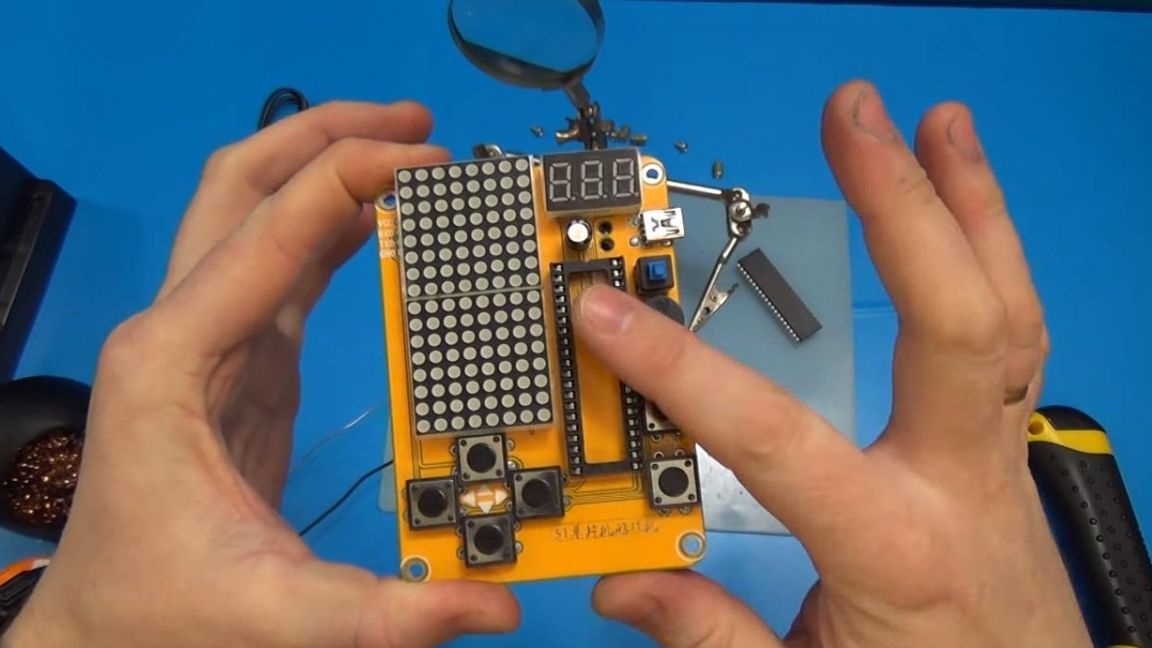
To make it easier to install the chip in the DIP-panel, you can slightly bend its legs, but do not overdo it.
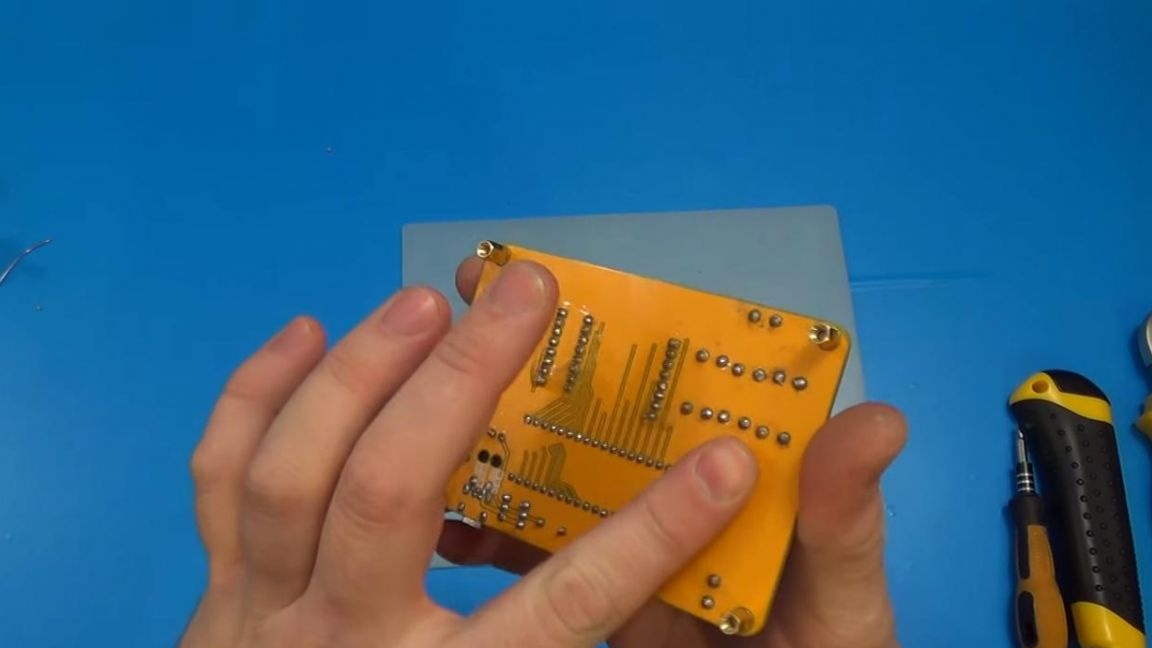
For installation in any case, bushings with thread and screws are provided, we fasten them to the board.
Now we supply power to the mini-USB connector from a power bank or any other power source with a voltage of 5 volts.
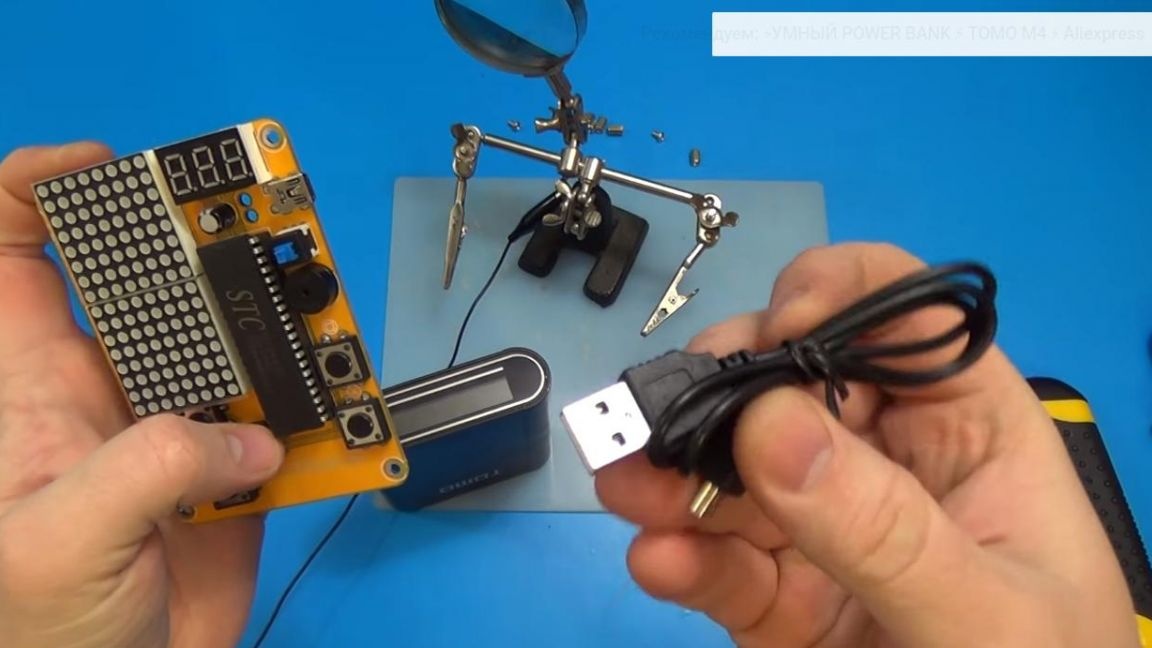
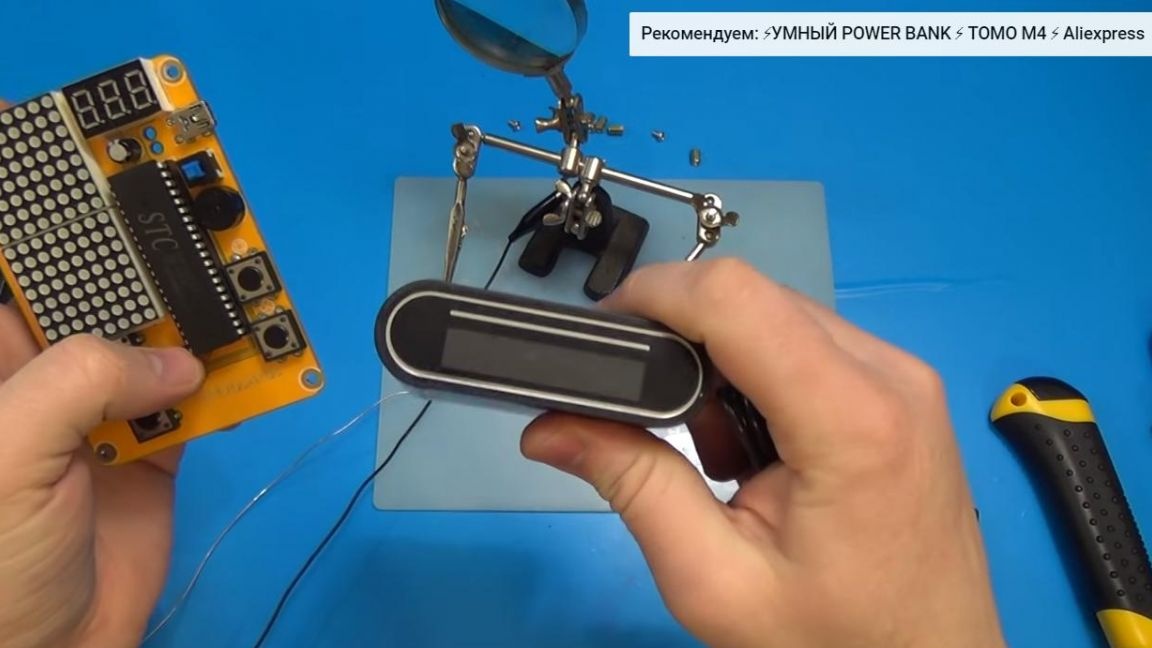
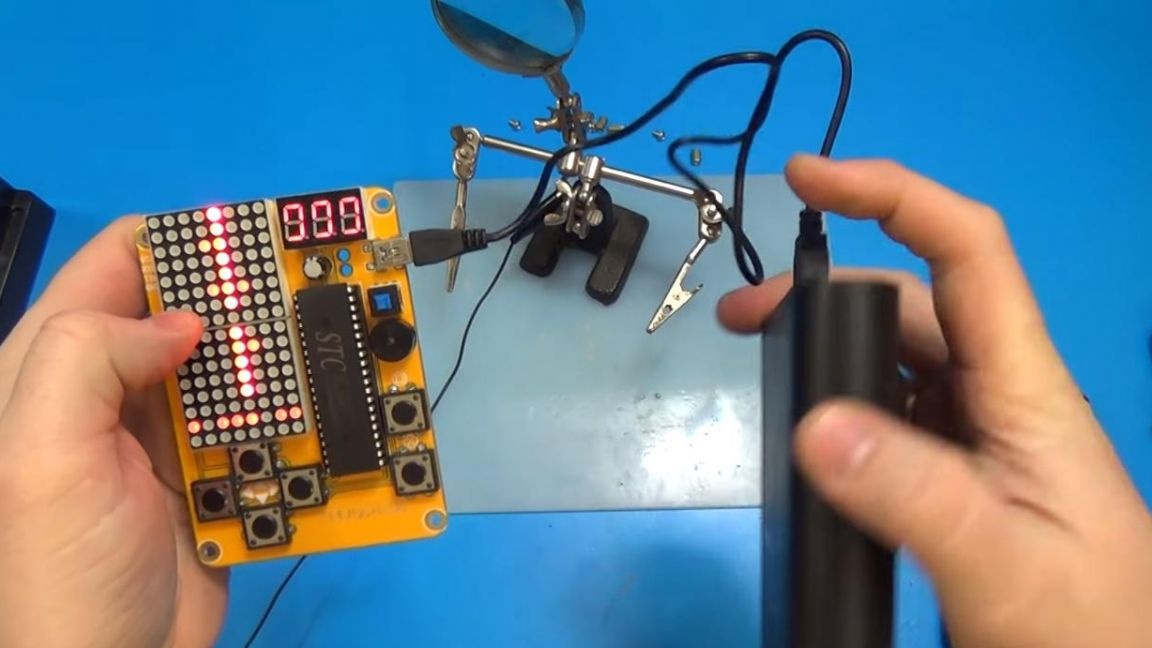
So that the bank does not turn off, considering the Tetris consumption is not large enough, we include the load in the neighboring port.
This Tetris earned right away, the sound plays, the games start, so I think that every beginner can assemble such a device, it will allow you to nostalgic, as well as learn the basics of soldering and try your hand at this.
That's all for me, thank you all for your attention and creative success.