

Hello to all lovers homemade. Often you have to manage your inventions, whether it is a power button or some kind of a toggle switch, but I would like the device to also work by touch, in other words, it had a touch button responsible for starting the device. It is in this article that I will tell you how to make a touch button that includes your any electronic device.
And before starting to read the step-by-step assembly, I suggest watching a video with a little test and visual homemade production.
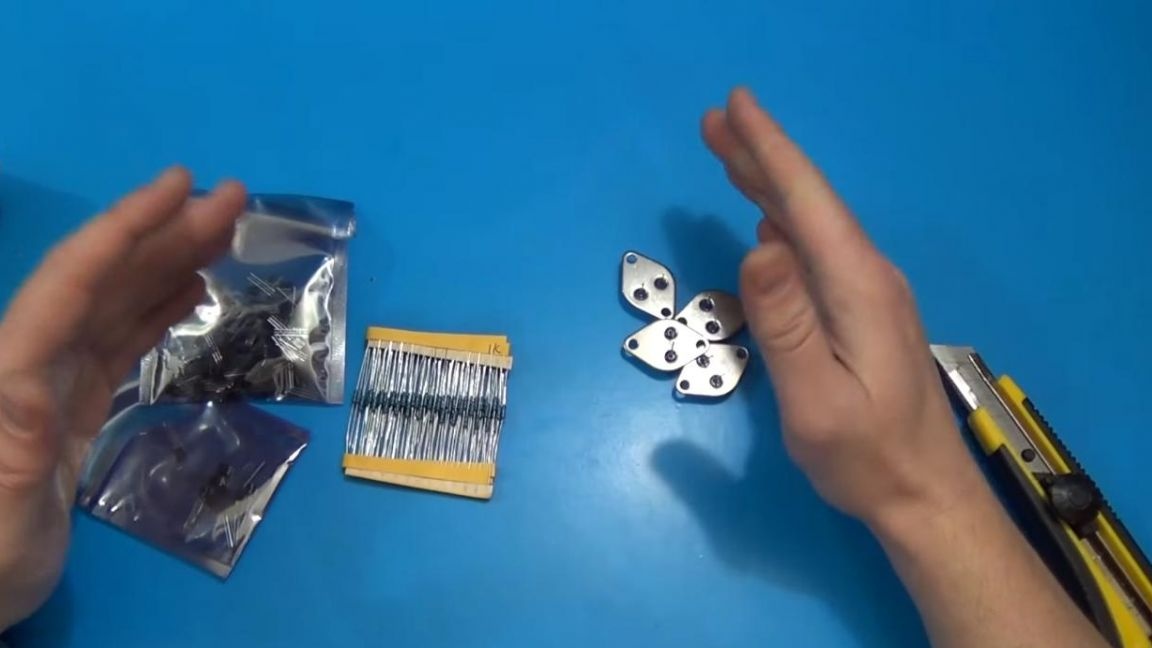
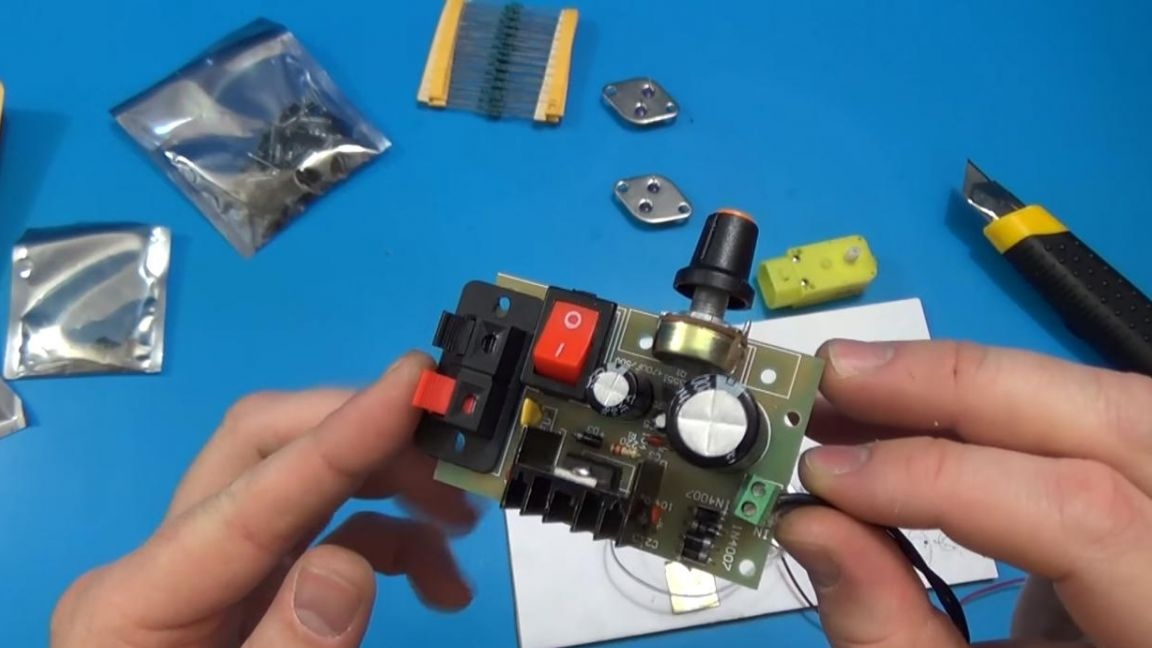
To make a touch button do it yourself, you will need:
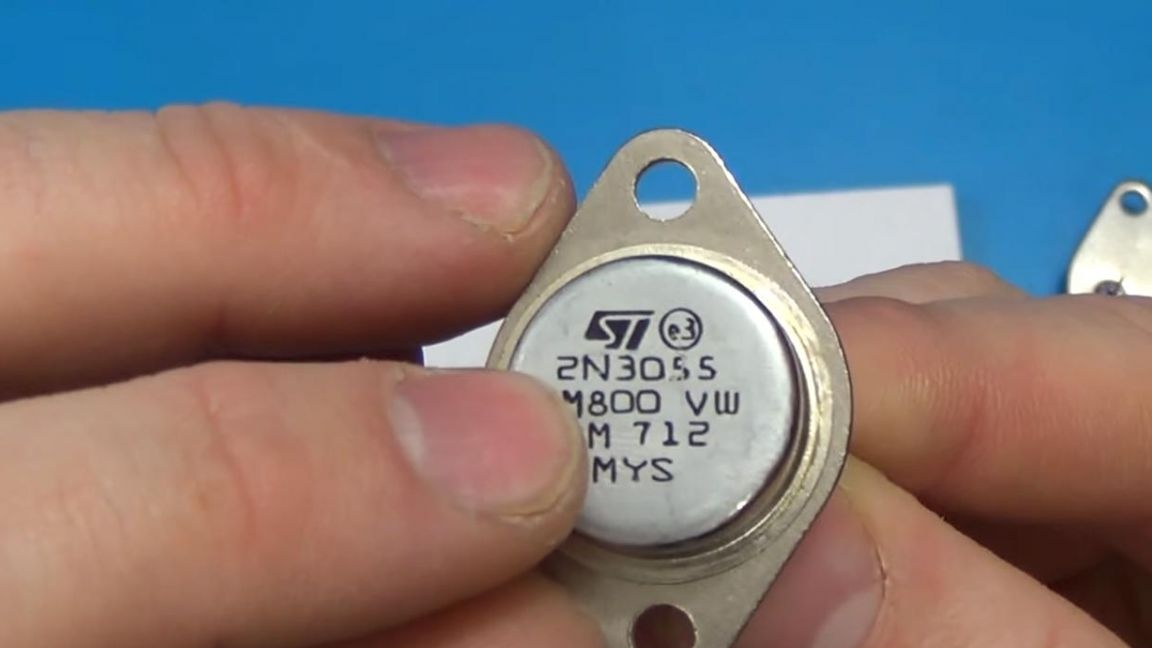
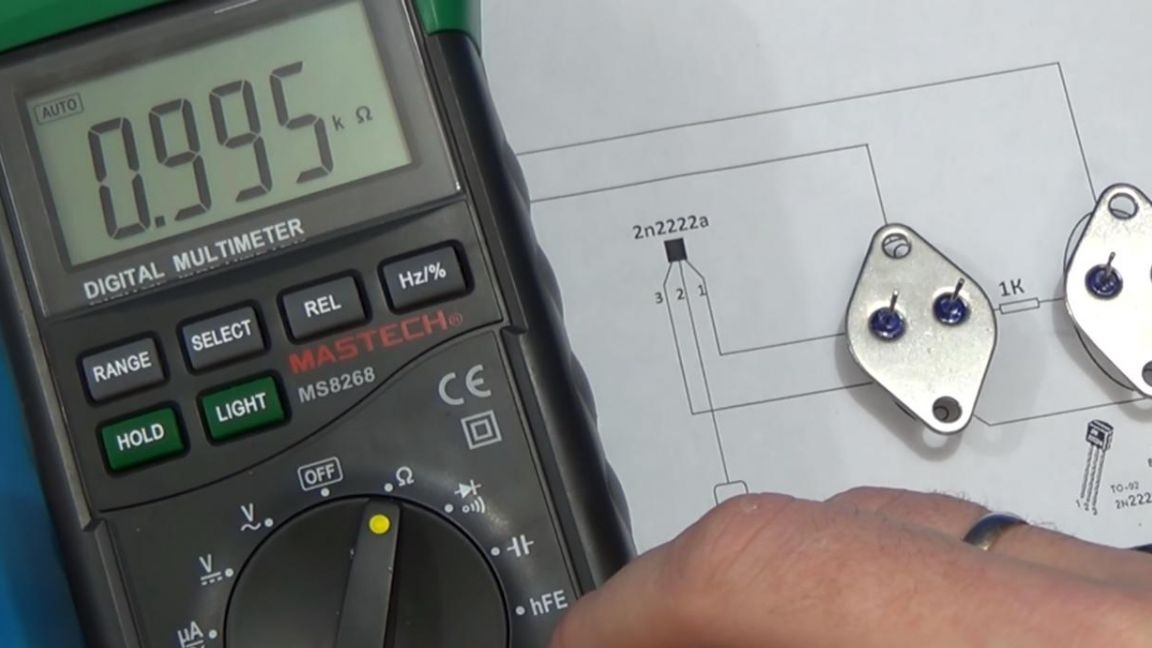
* Two transistors 2n3055
* Transistor 2n2222a
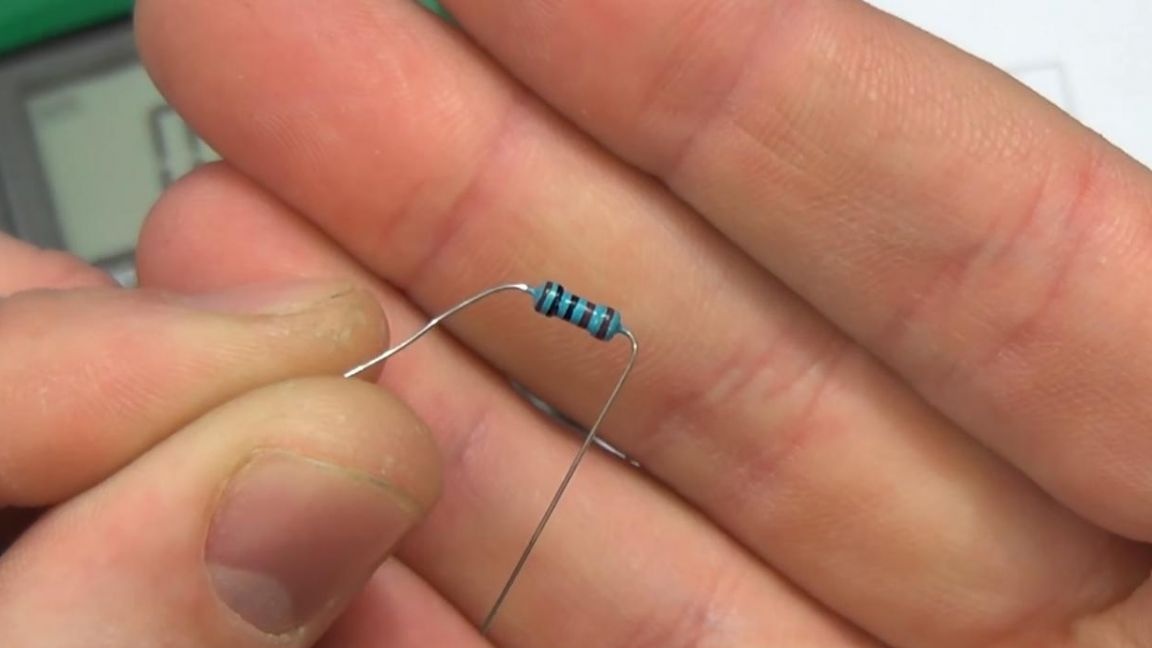
* 1 kOhm resistor
* Metal plate
* Wires
* Soldering iron, solder, flux
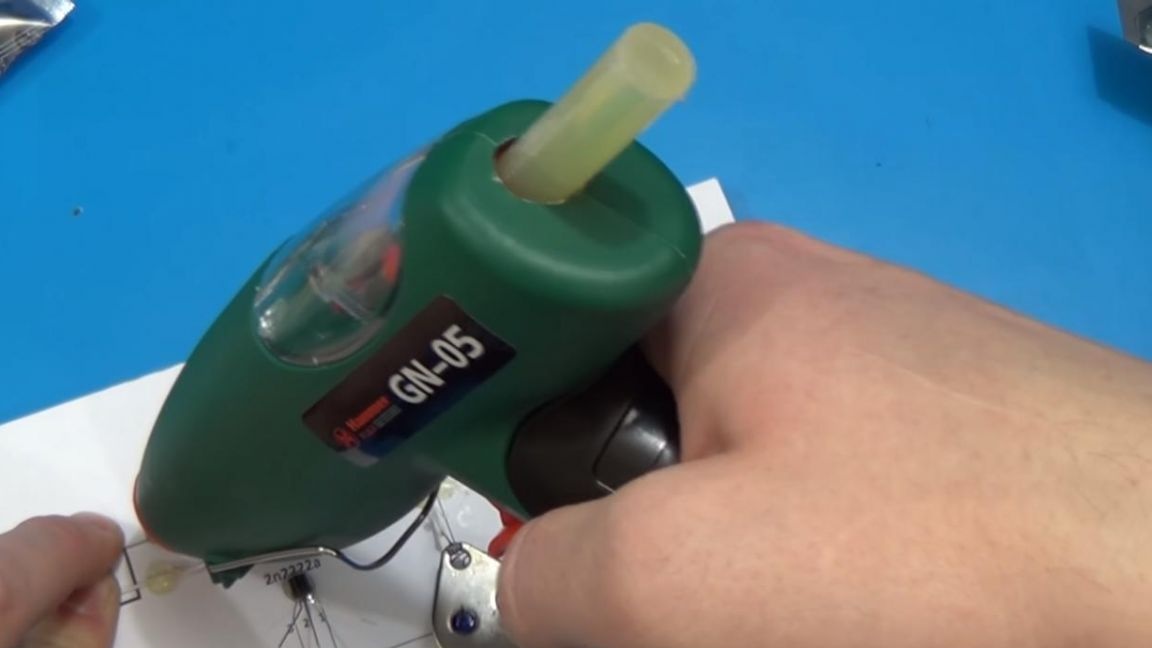
* Hot glue gun
* Motor or light to check
* 12 volt power supply
That's all it takes to build a homemade touch button.
Step one.
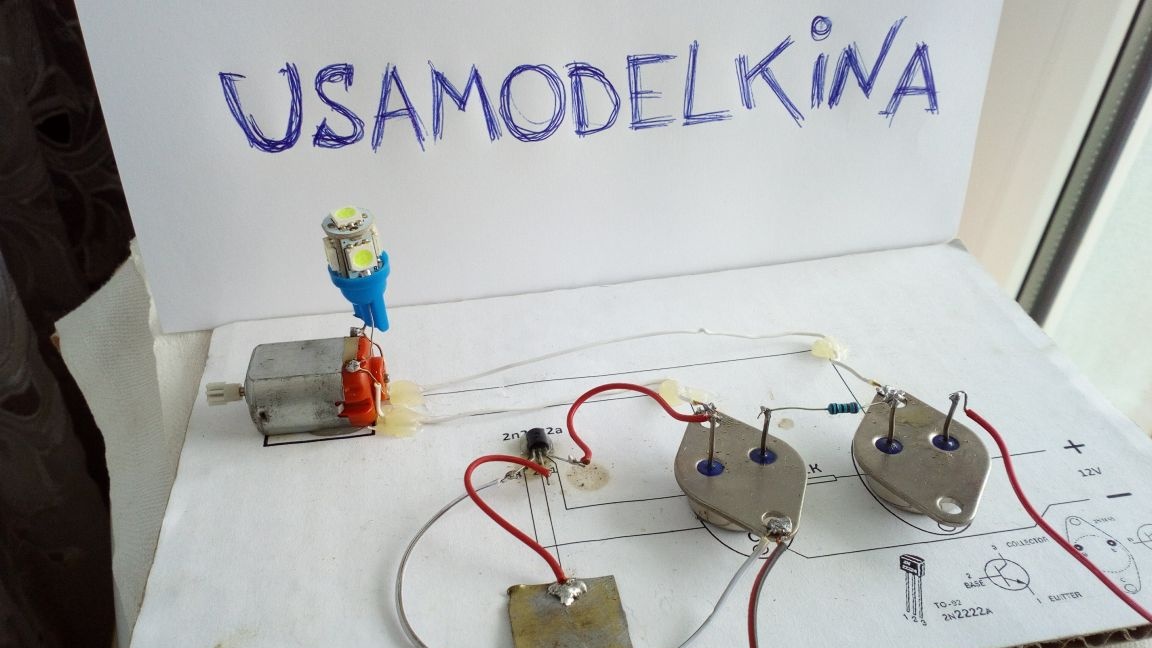
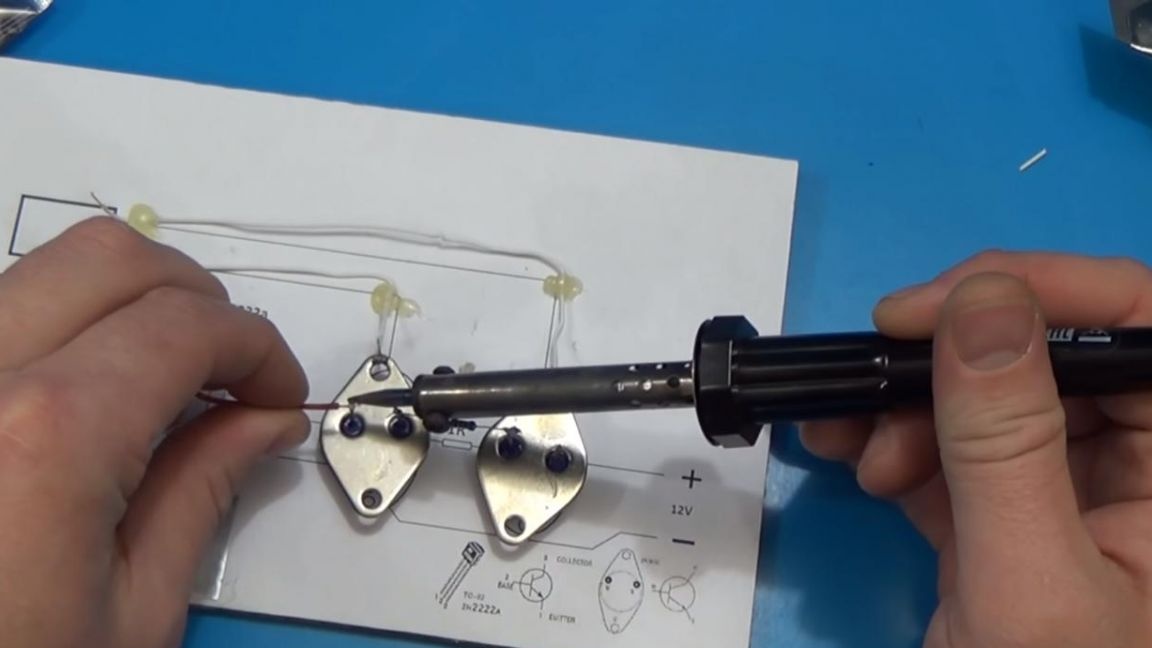
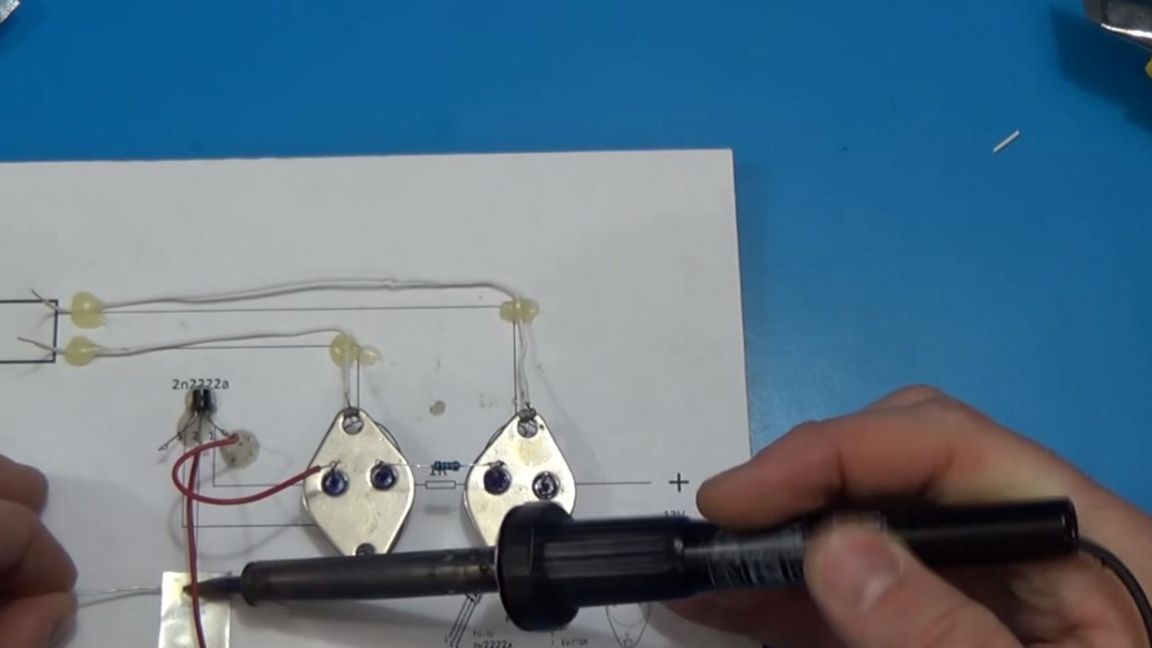
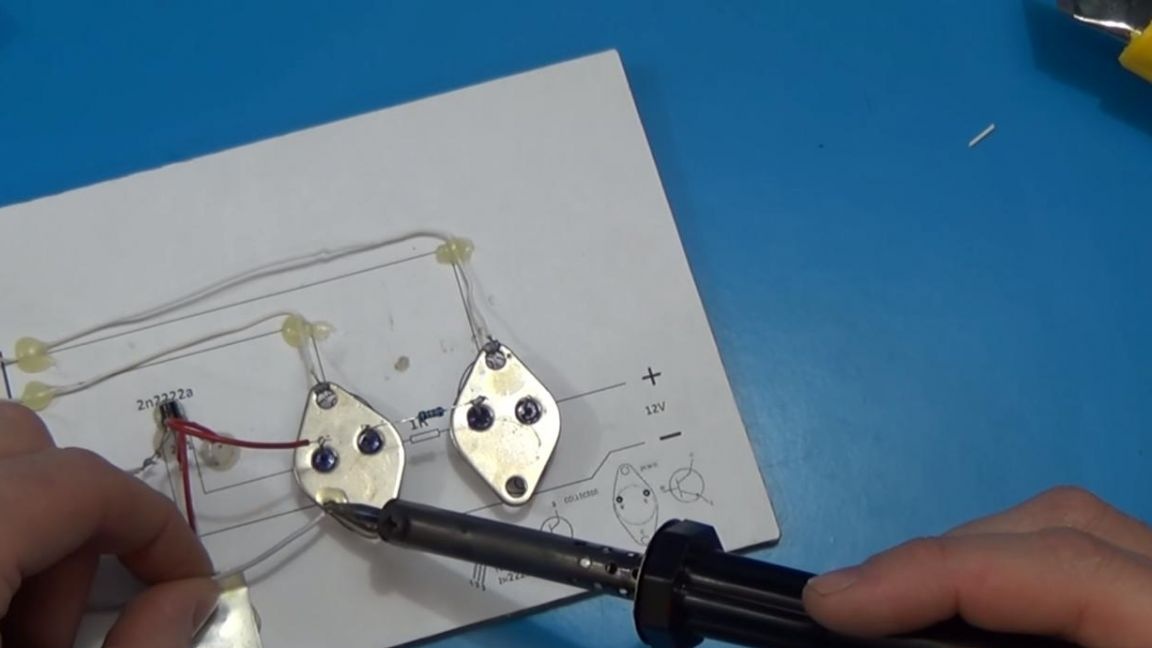
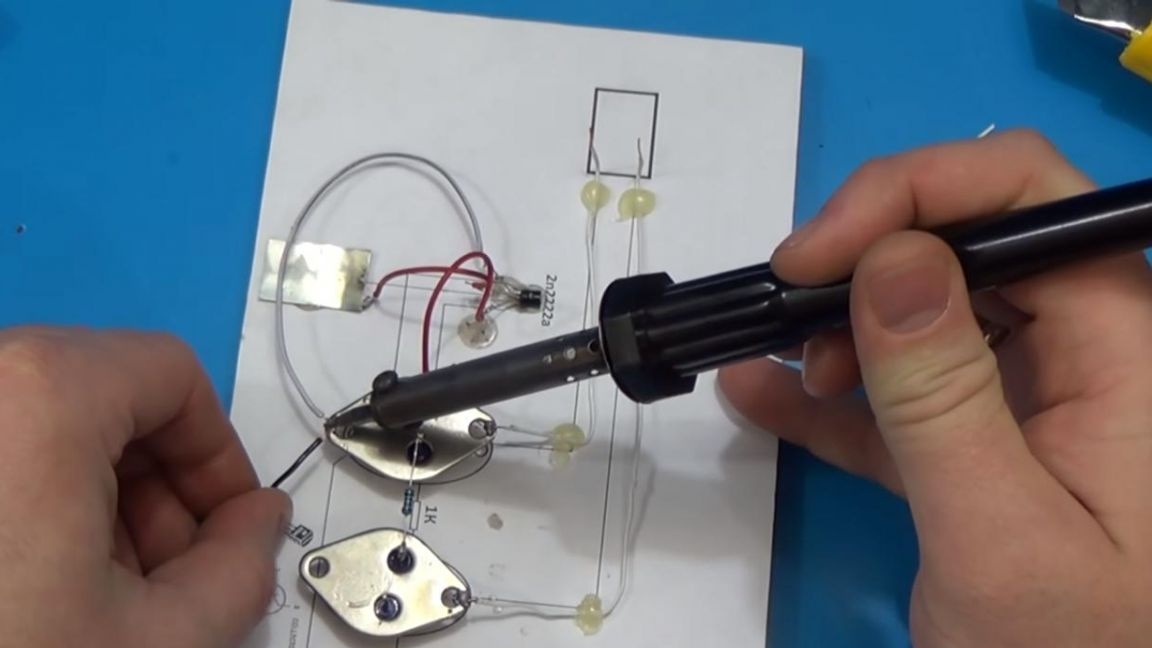
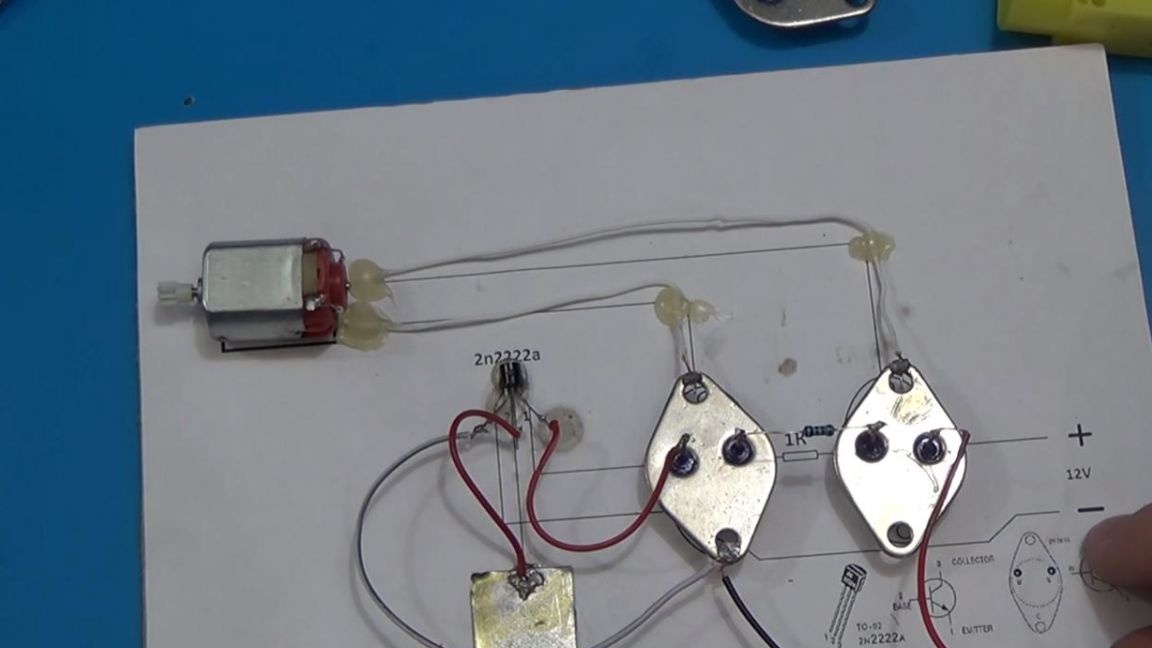
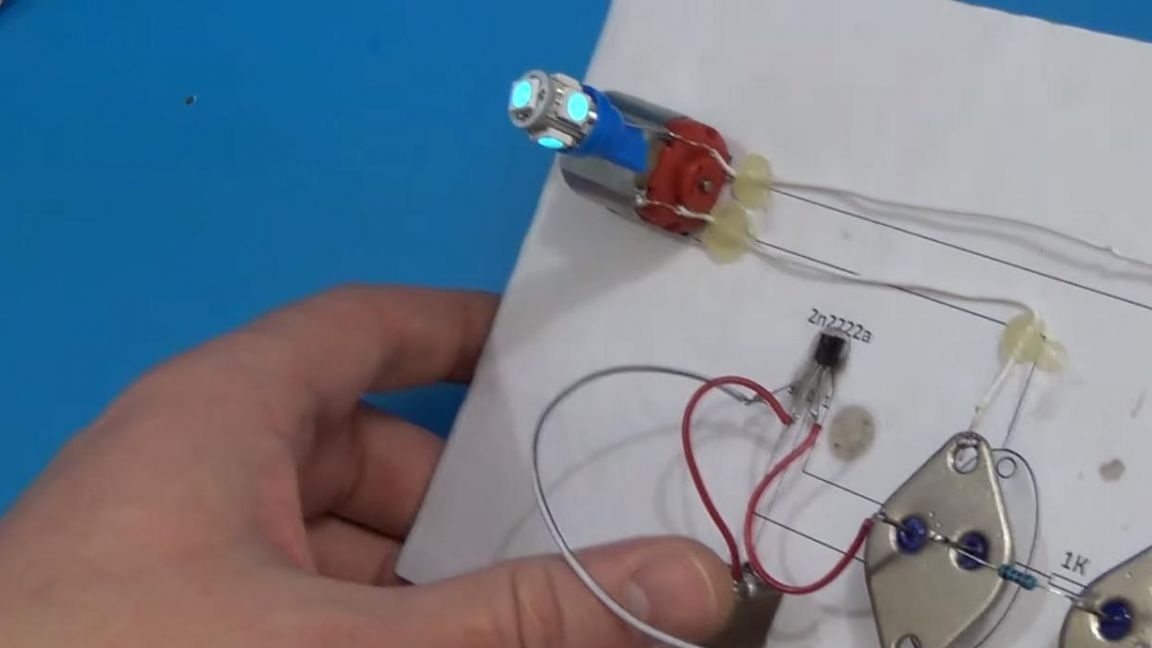
In order for the entire circuit to be understandable and sufficiently visual, it was decided to make it directly on a cardboard with an electrical circuit printed on it, where all the components will be installed.

First of all, you need to install two main transistors and stick them on the hot glue, they will be positioned with their legs up for convenience when soldering, while the text on the transistor itself should initially be in the correct position, and not turned upside down.
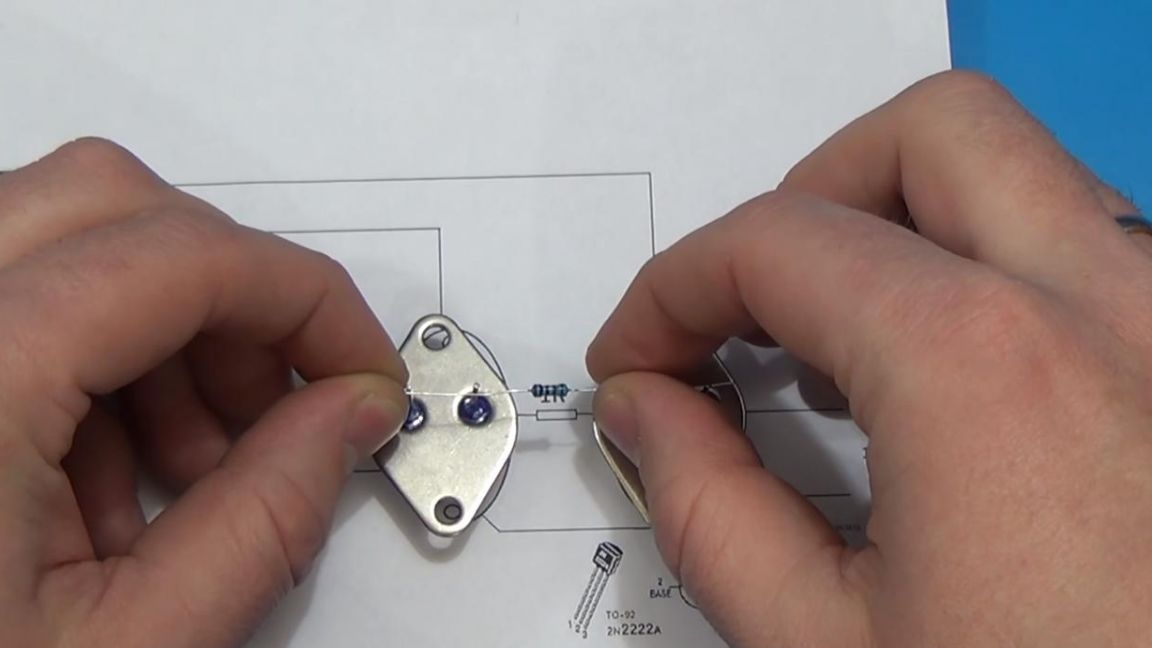
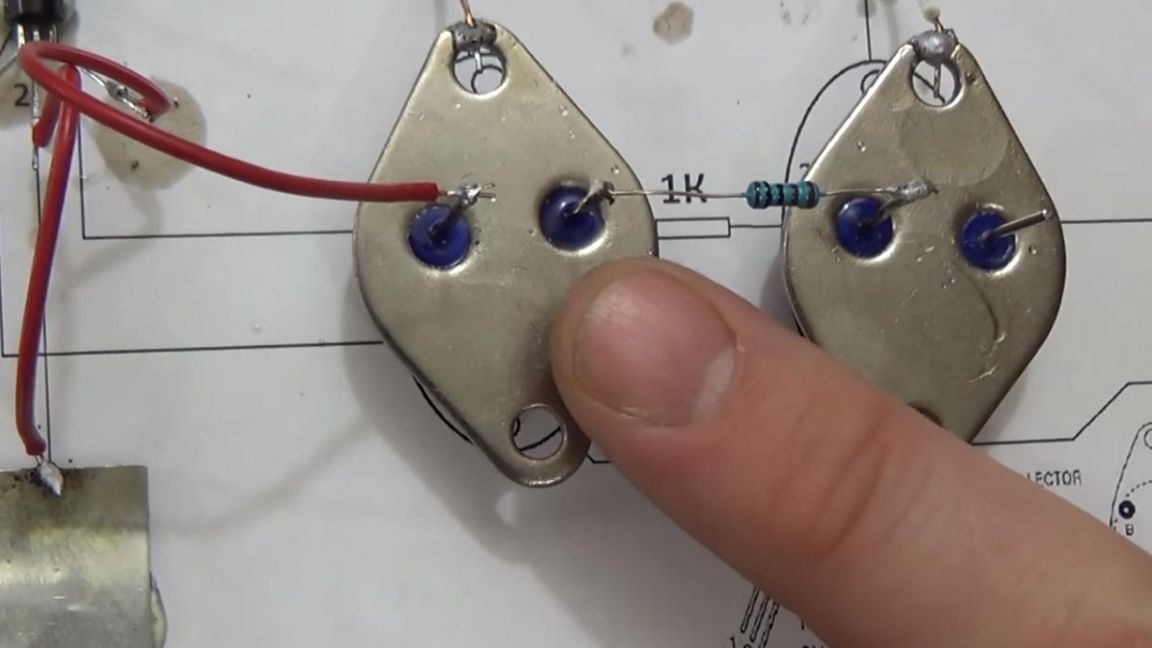
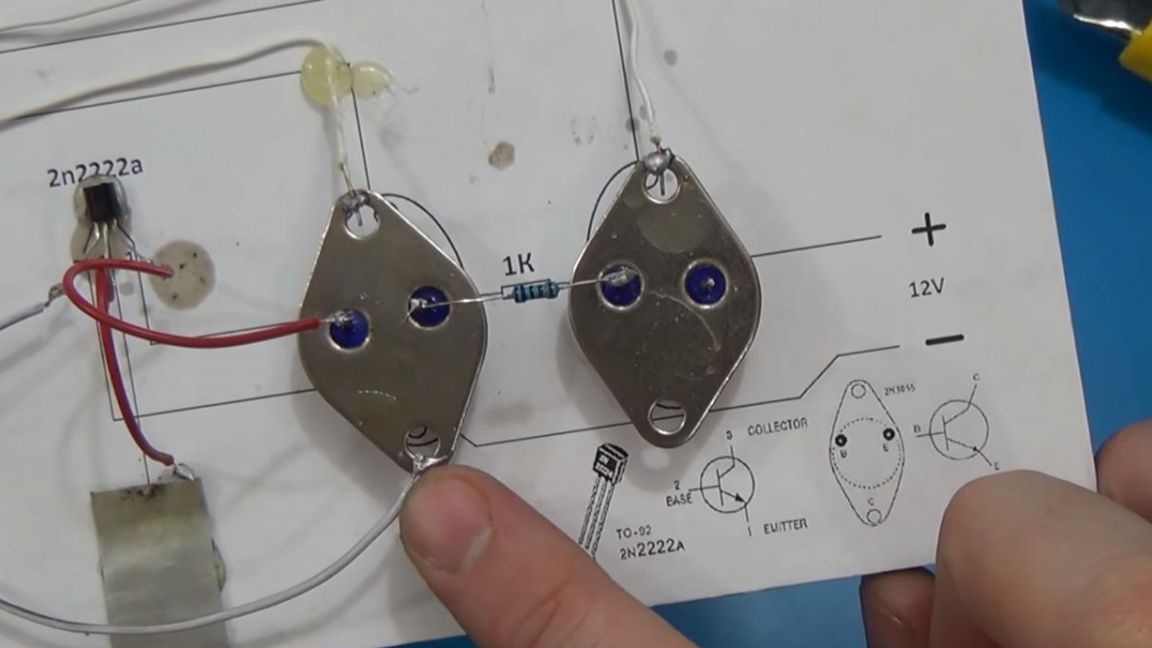
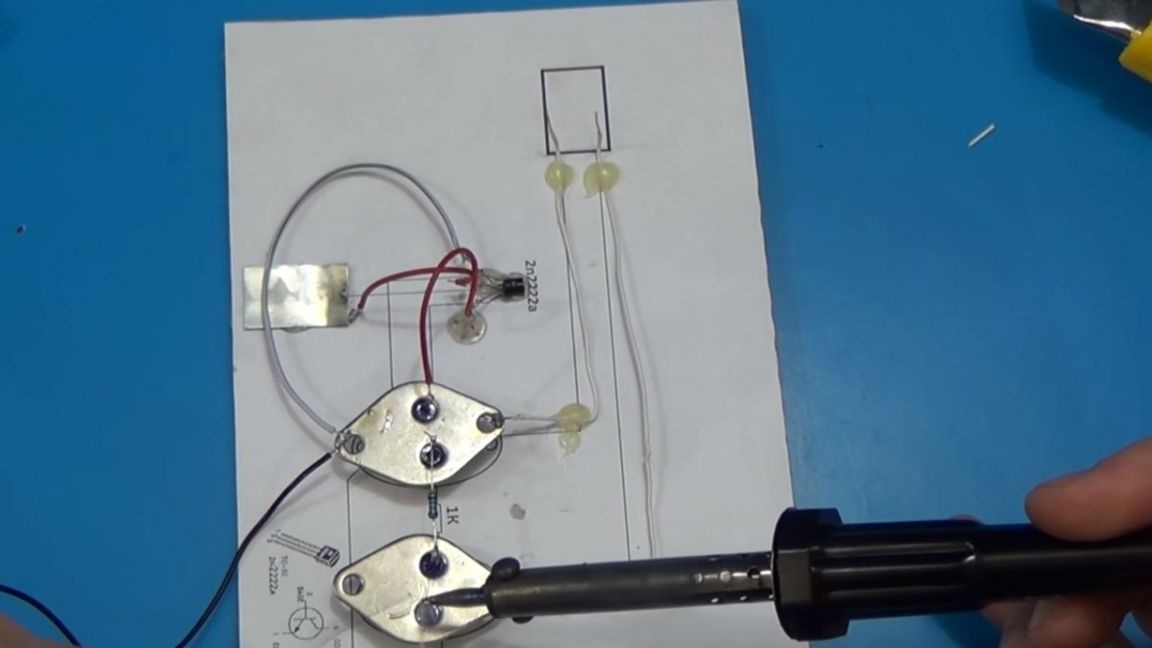
We also glue the second transistor on the cardboard and already between the emitter of the left and base of the right transistor we solder a 1 kOhm resistor, which before soldering can be checked for nominal resistance using a multimeter (a slight deviation in both directions within 5 percent is acceptable). When soldering, try not to overheat the terminals of the transistors, otherwise they may fail.
Step Two
Glue the third transistor, which is smaller, onto the cardboard.
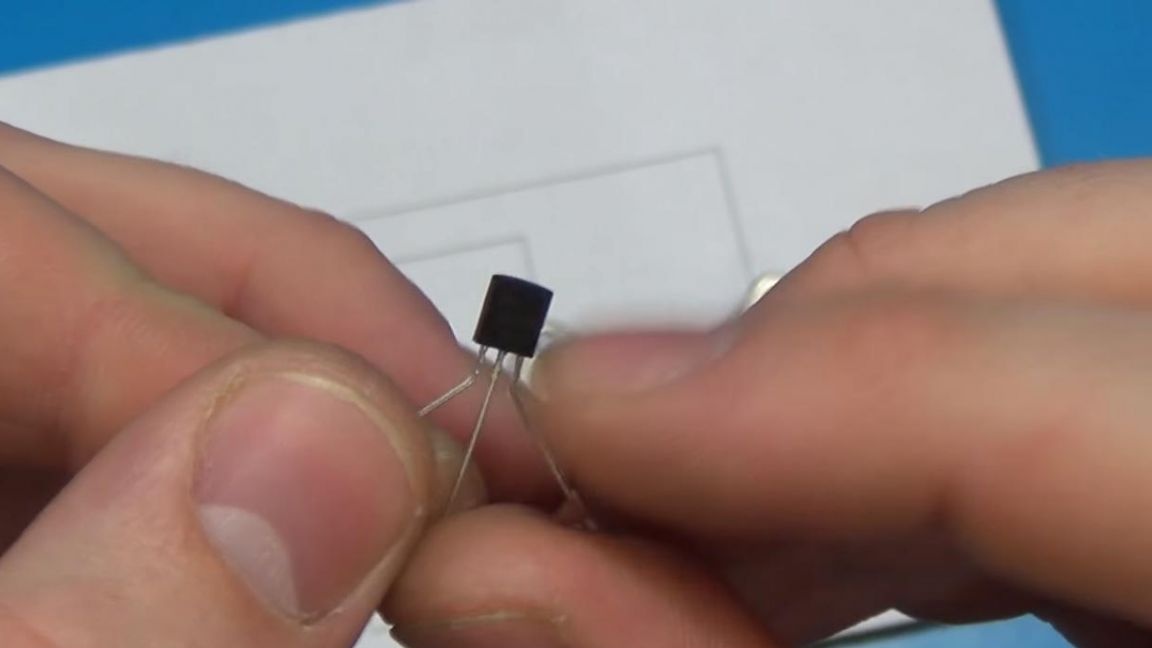
It is most convenient to glue it on the flat side, so do not forget that the contacts will be located in the opposite direction.
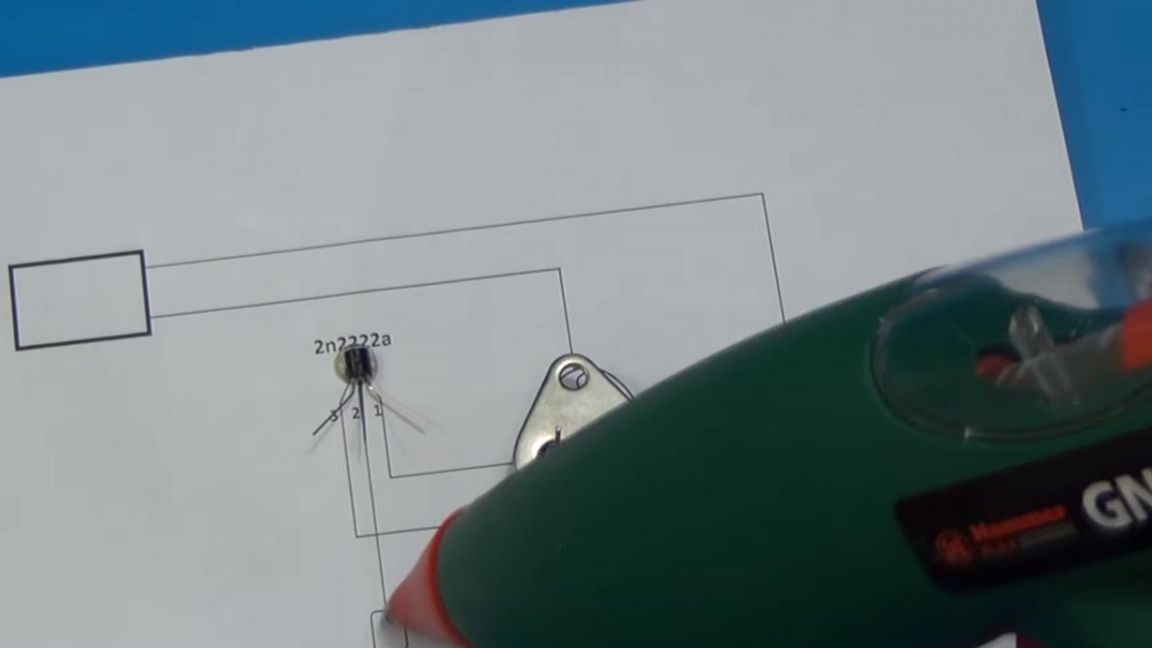
After that, glue a button made of a metal can with scissors on hot melt glue, keep in mind that aluminum cans will not work, as they are poorly tinned and require a special flux.

Step Three
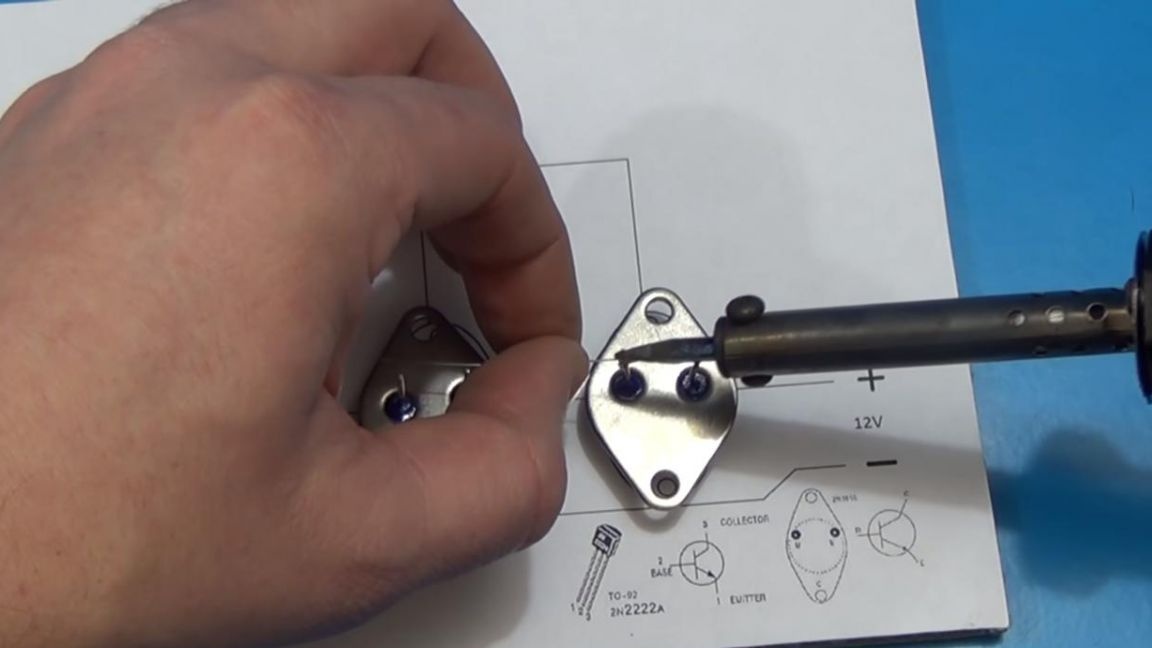
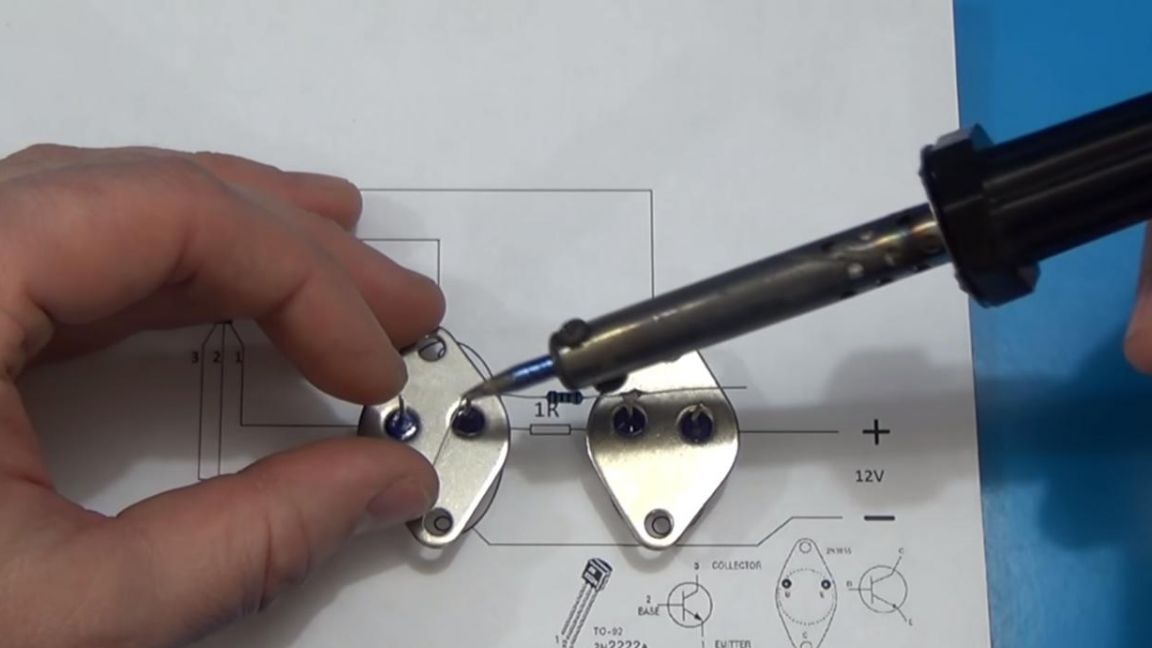
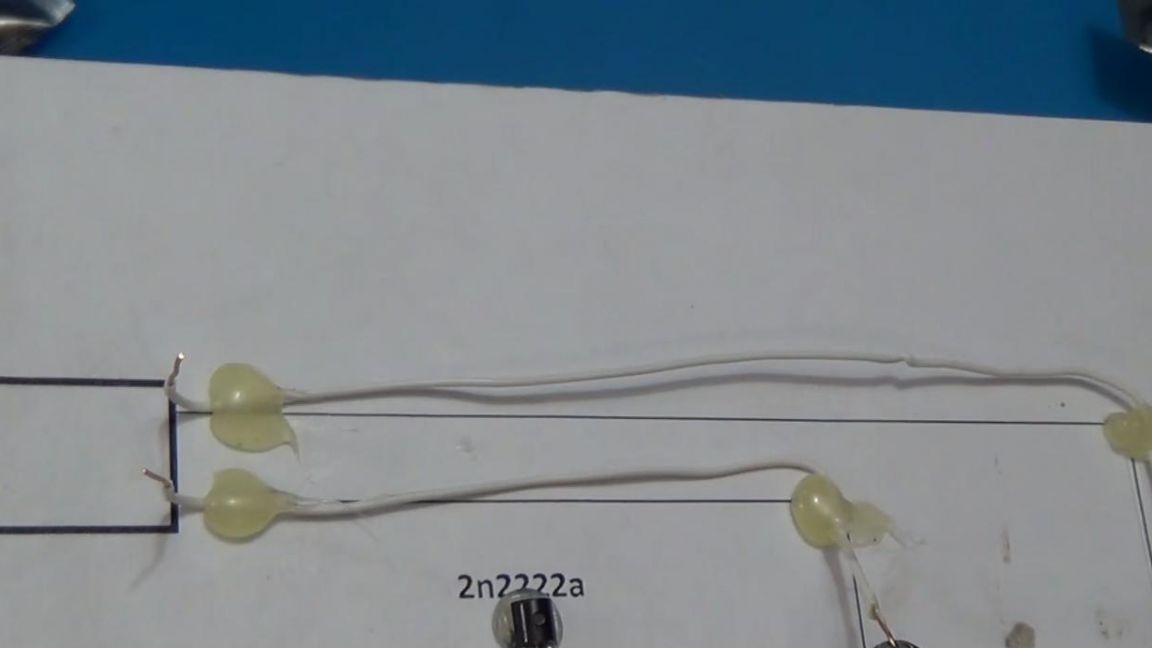
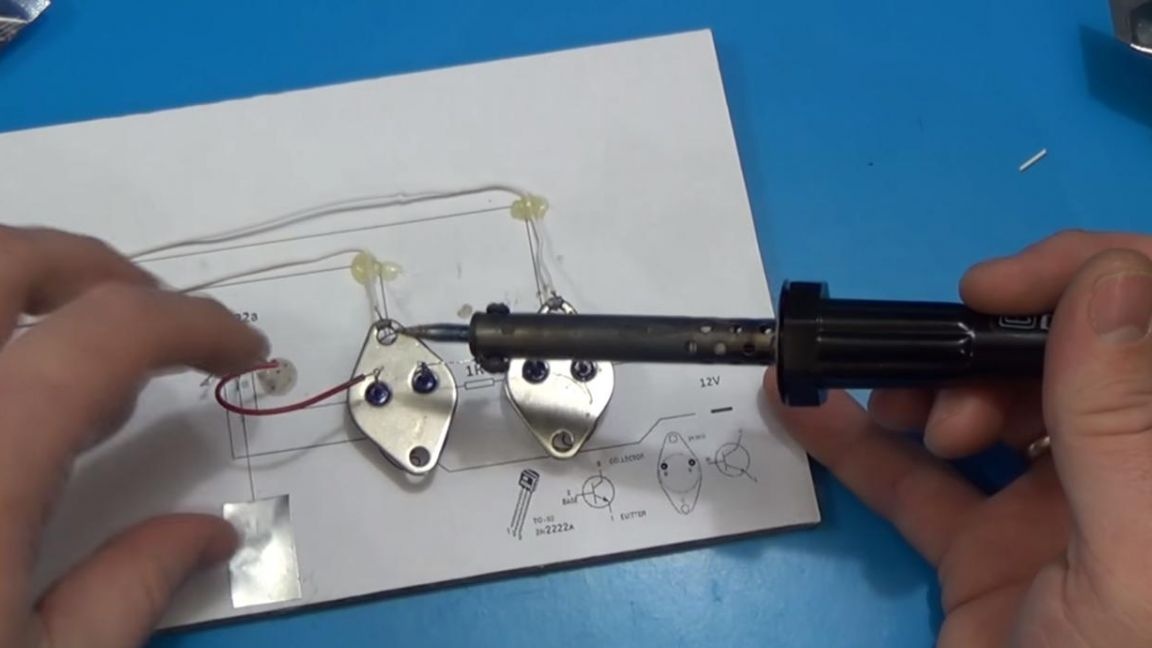
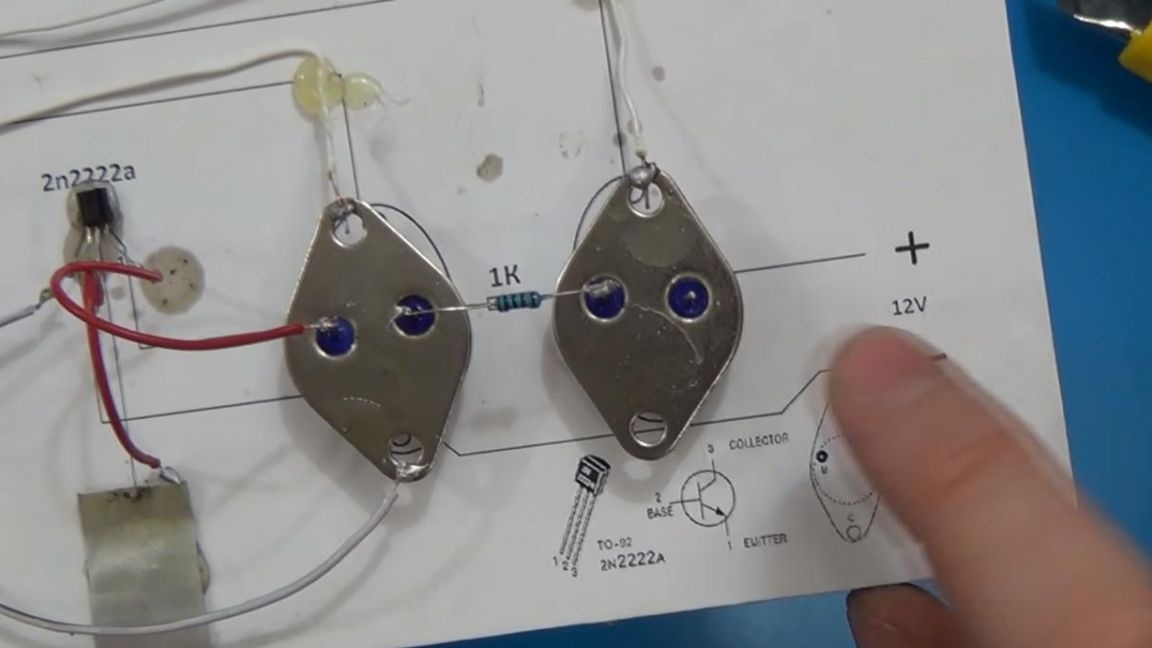
Now we take two wires and solder them to the collectors of two large transistors, having previously tinned their part of the case, since this is the collector.
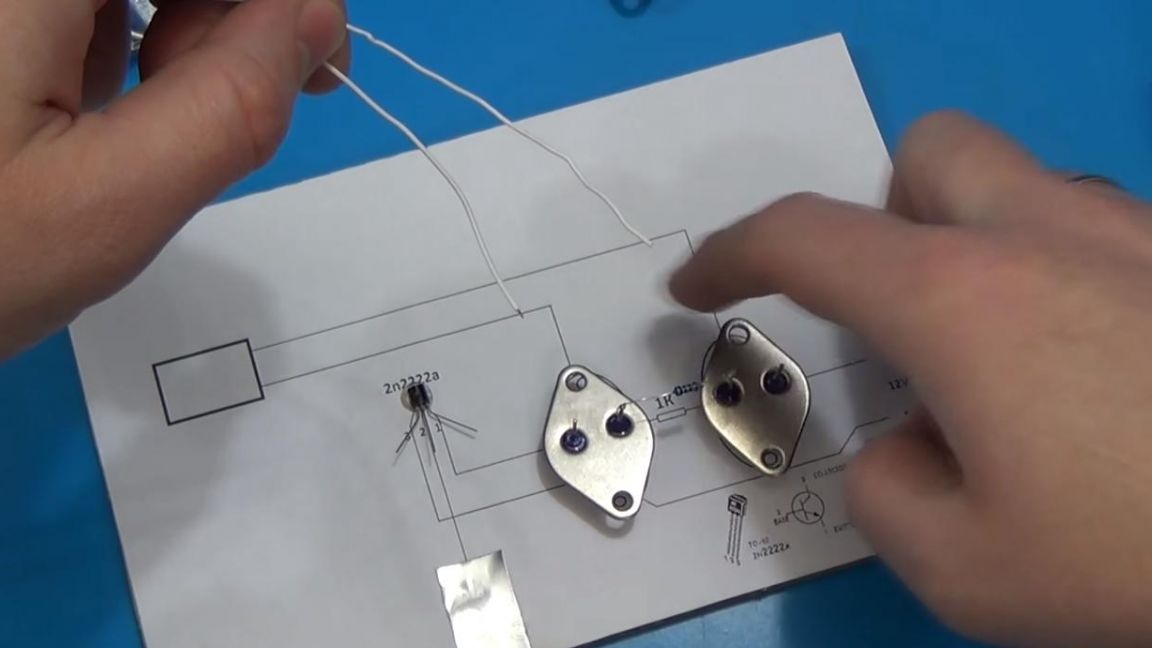
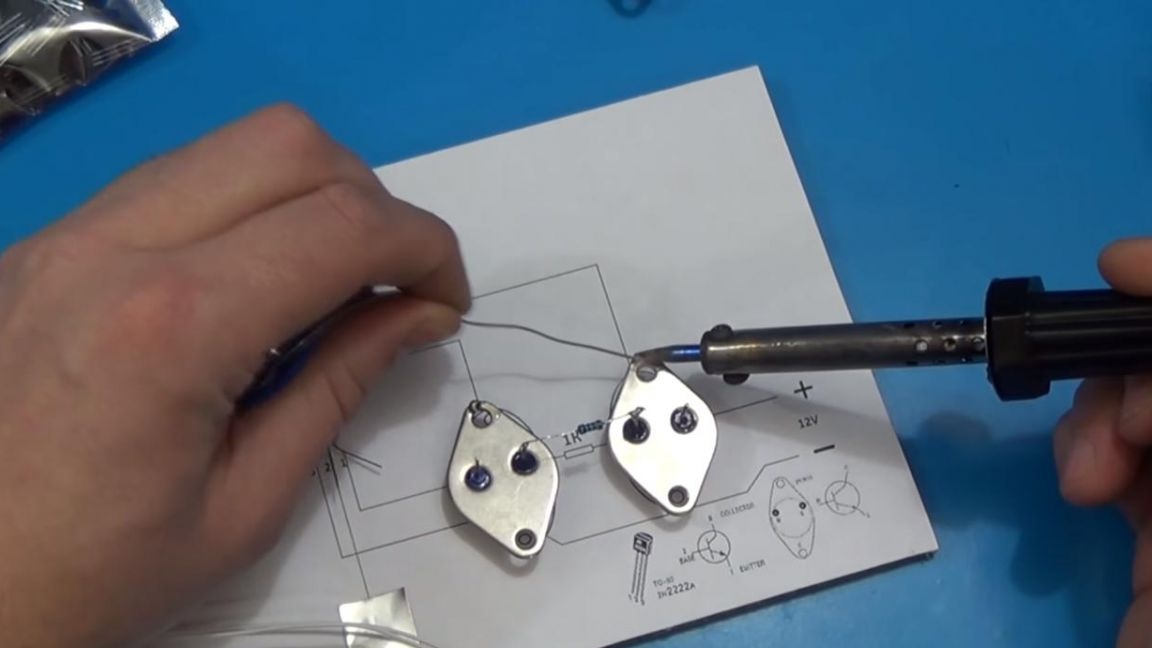
We fix these wires on a cardboard with hot-melt adhesive, they will be connected to any device that is powered by electricity.
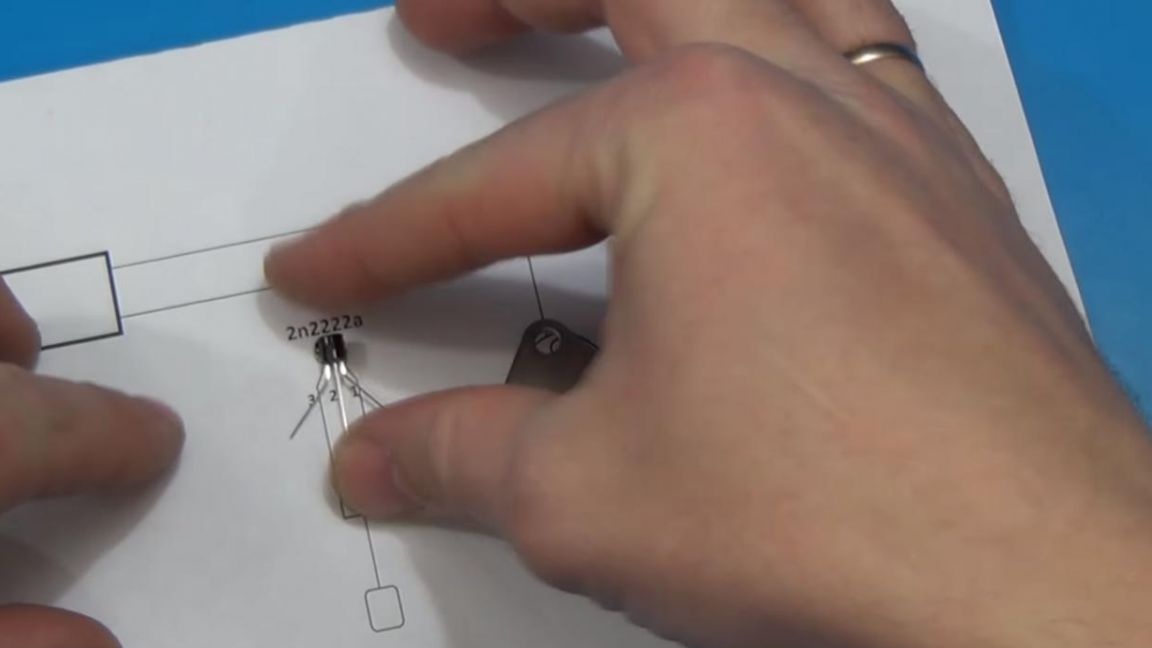
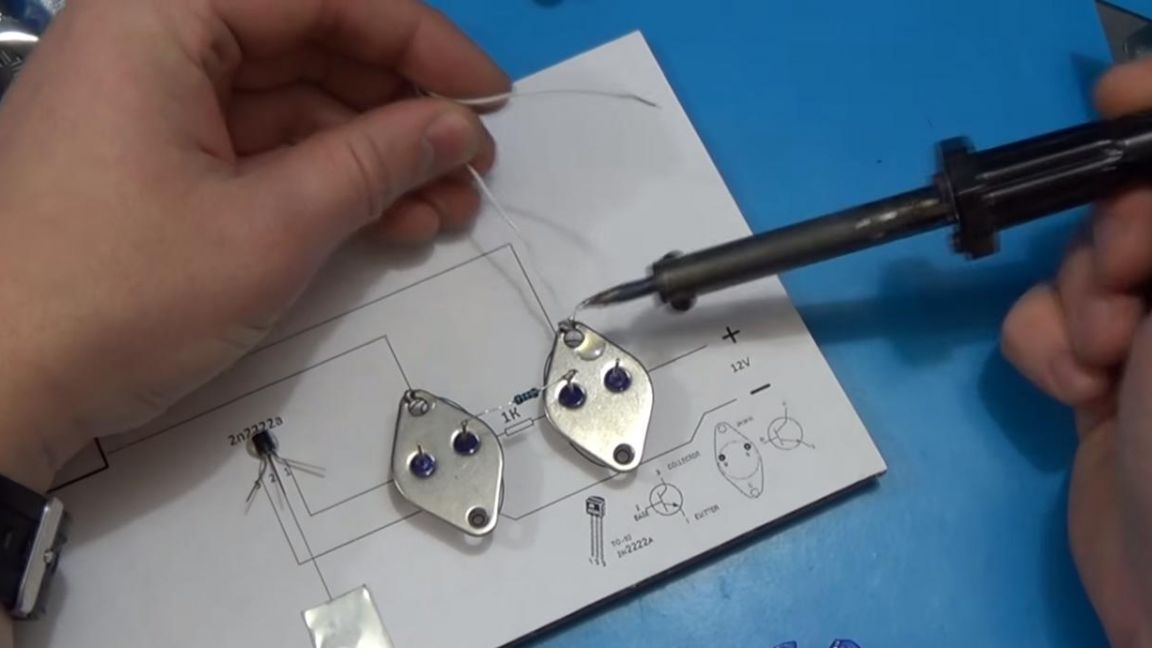
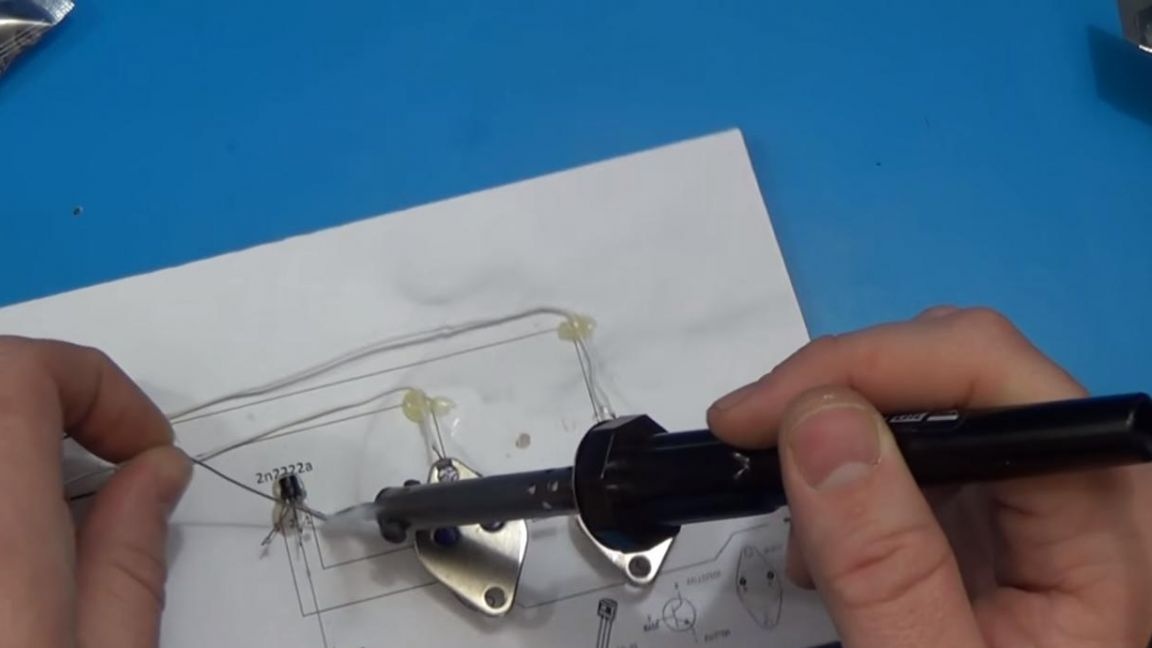
And now it's time to solder the wires to the smaller transistor.Tin the terminals of the transistor and solder the wires to it.
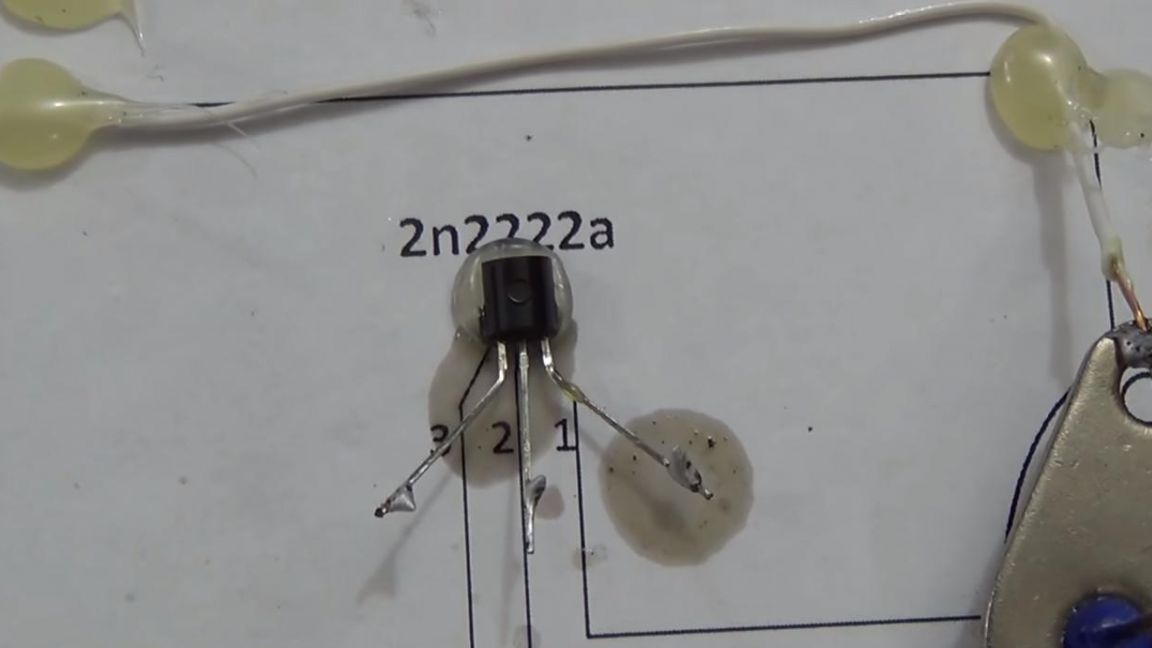
The emitter or the output under the number 1 on the cardboard is soldered through a wire to the base of the large transistor, which is on the left.
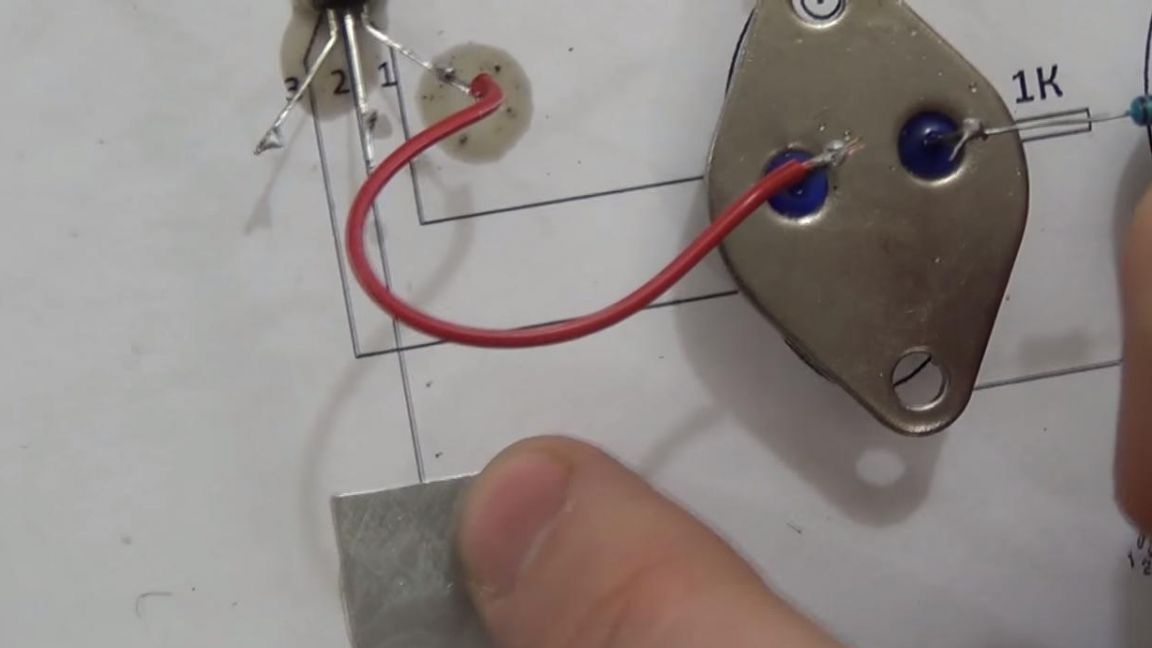
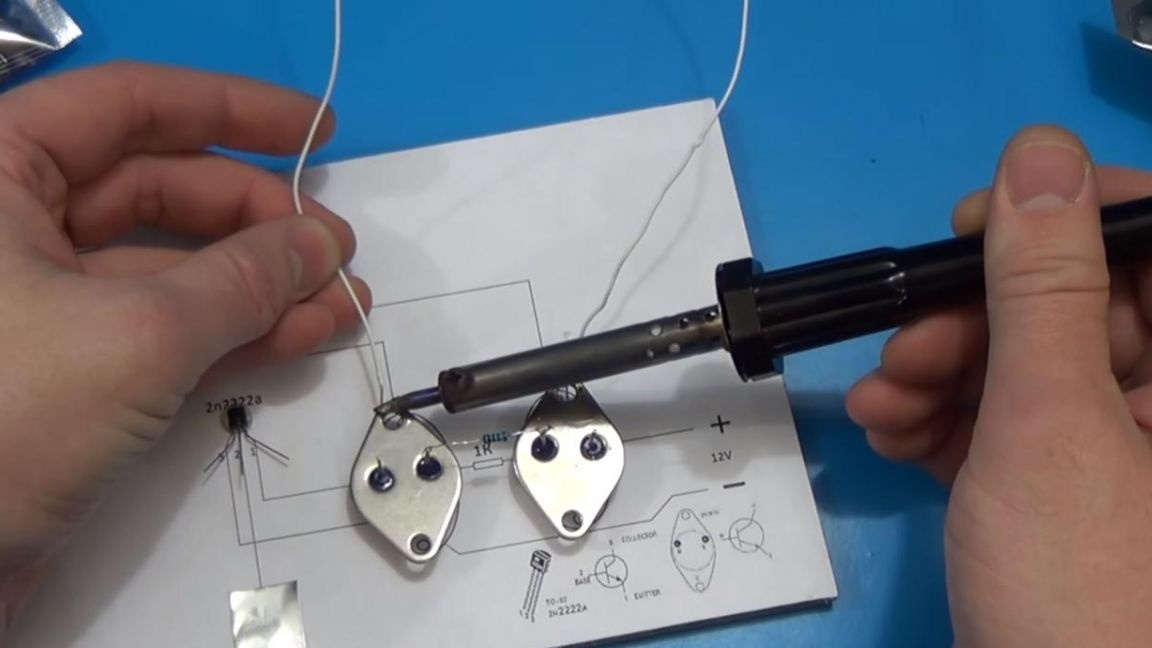
The second output of the transistor or the base is soldered to a metal button, it is also a sensor.
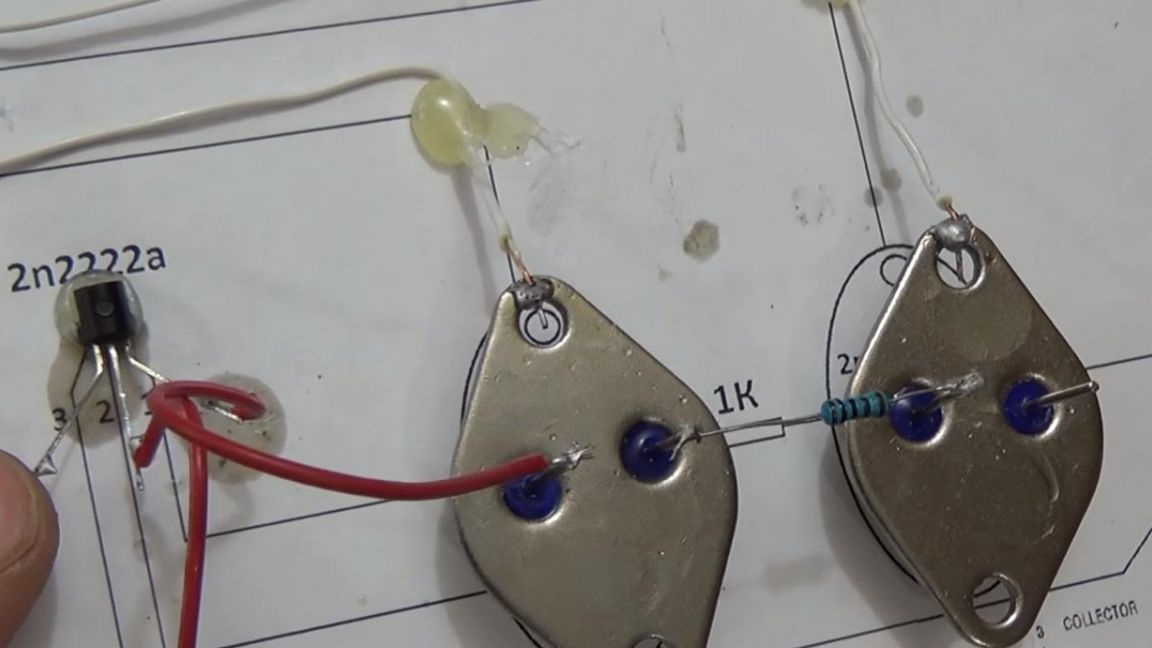
And the last wire is soldered to the remaining terminal of the transistor, or rather to the collector, which is soldered by a wire with the collector of a large left transistor.

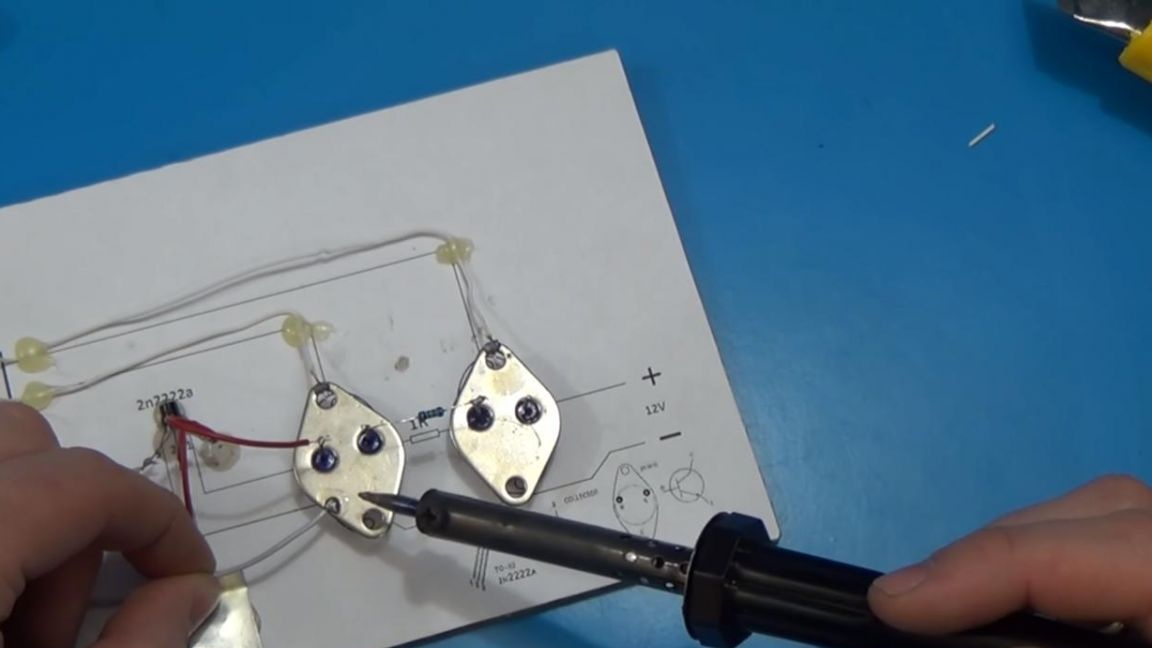
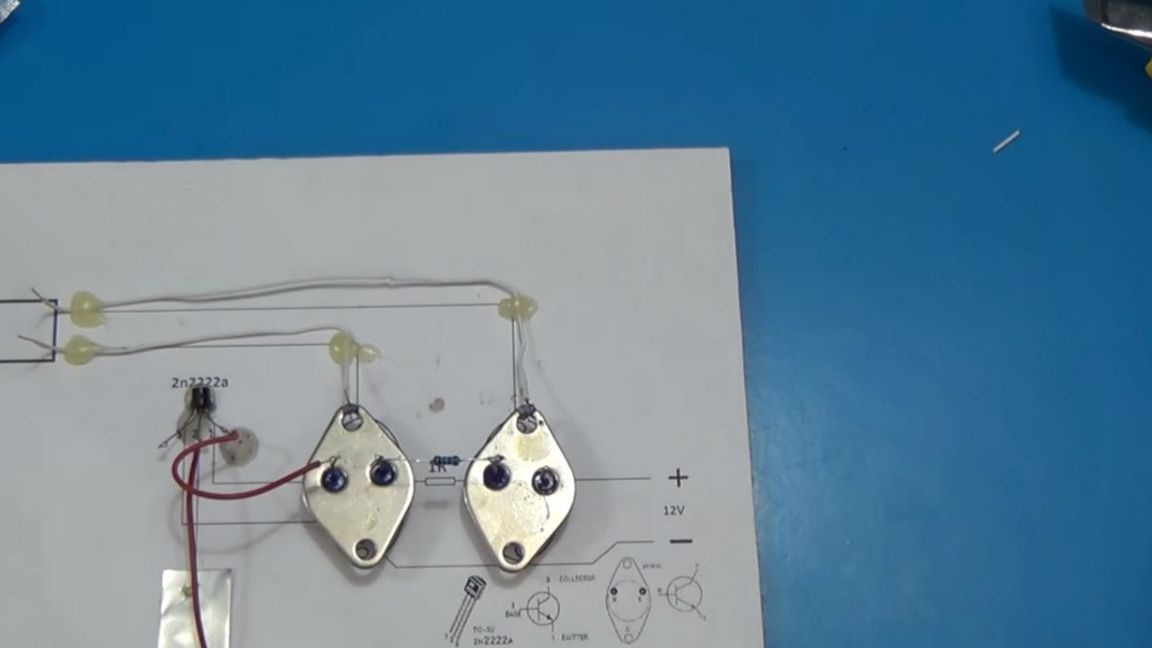
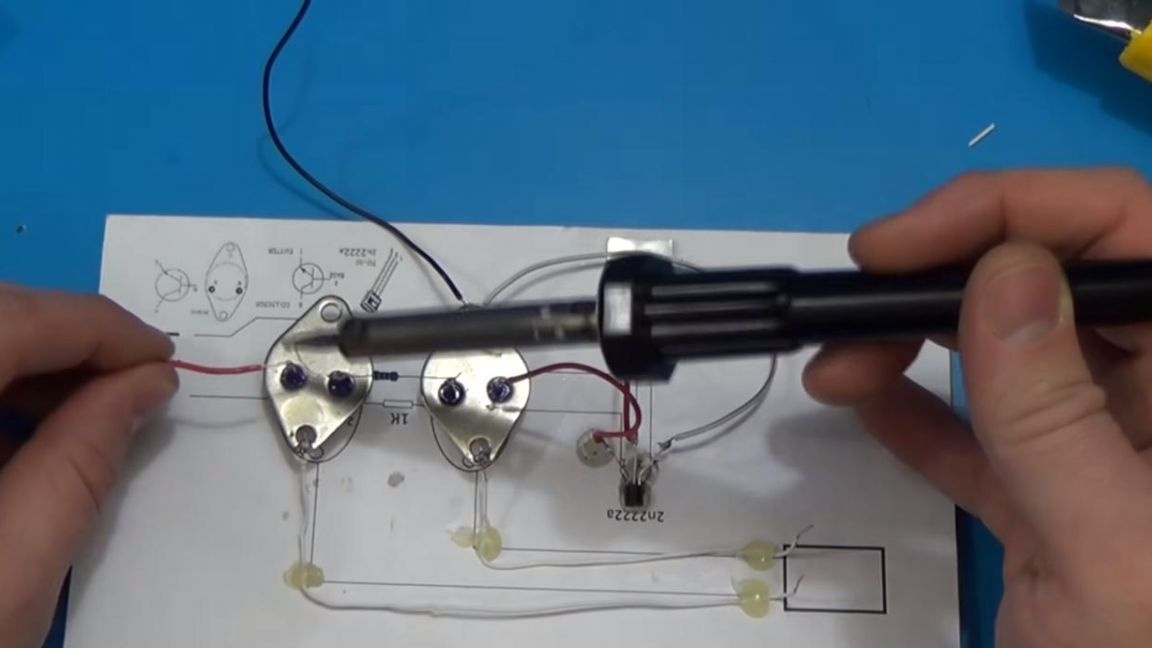
Step Four
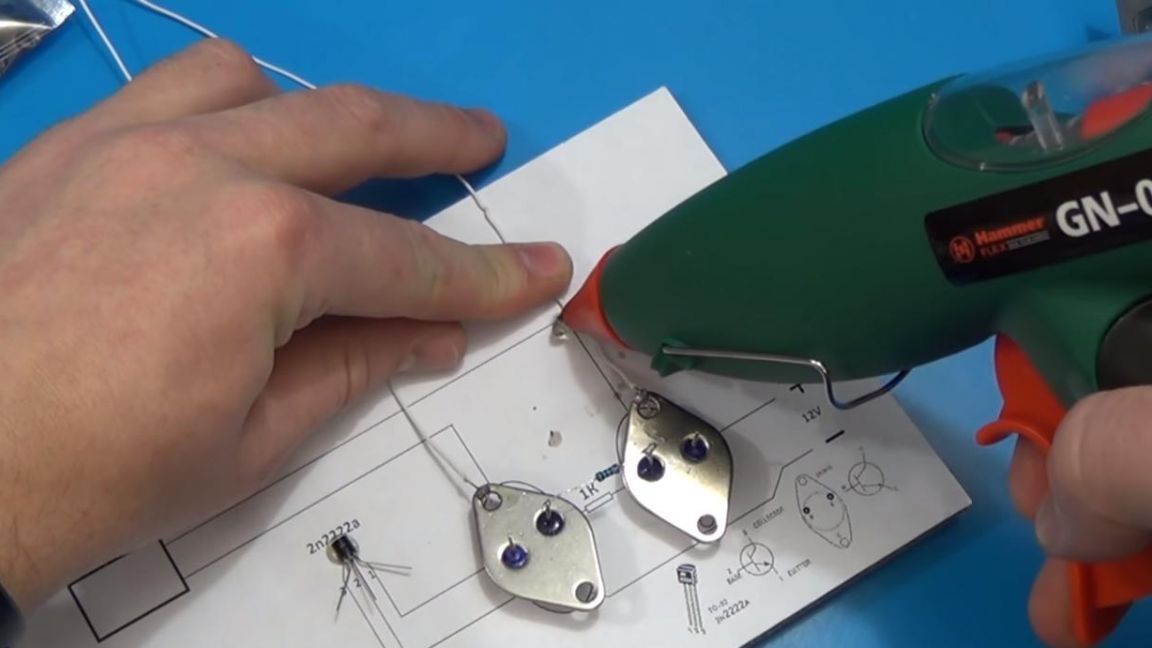
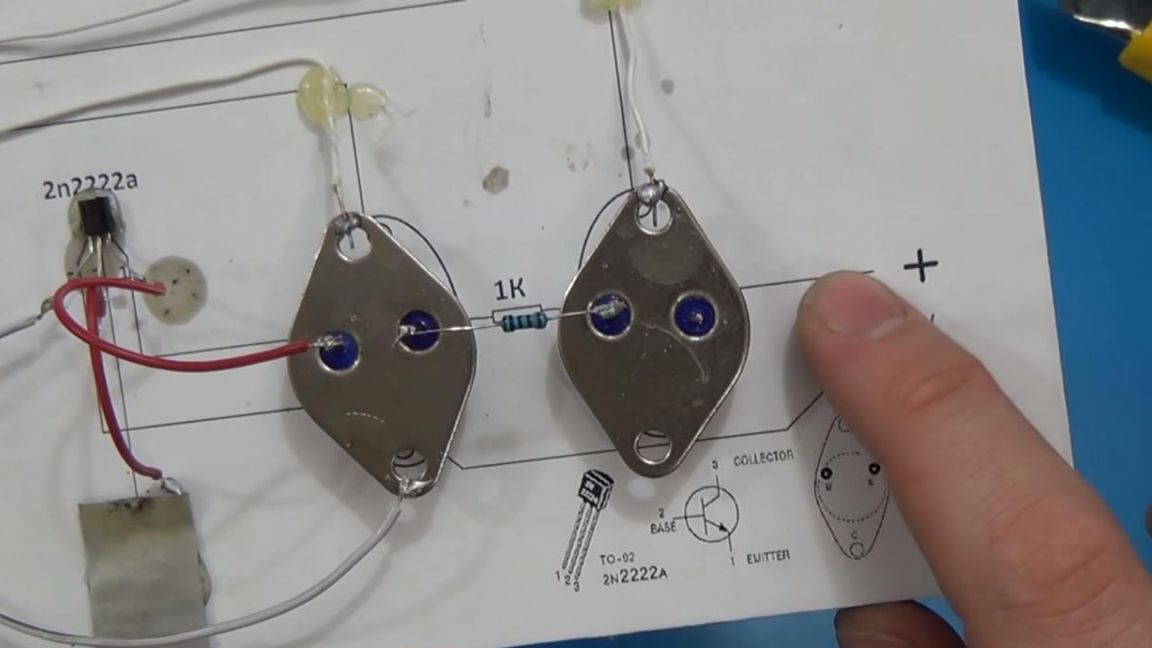
We solder another wire to the collector of the left large transistor, it will be positive for power supply, and minus the power we solder to the emitter of the right transistor. I accidentally mixed up the poles on a cardboard, so assemble according to the diagram shown in the picture, there the positive contact is in the lower right corner.
Step Five
Now it's time to test the homemade.

We connect the power supply to the wires, observing the polarity, set the voltage to 12 volts and at the output we connect the leads to the motor, you can also connect a light bulb or a relay that will control the mains voltage already.
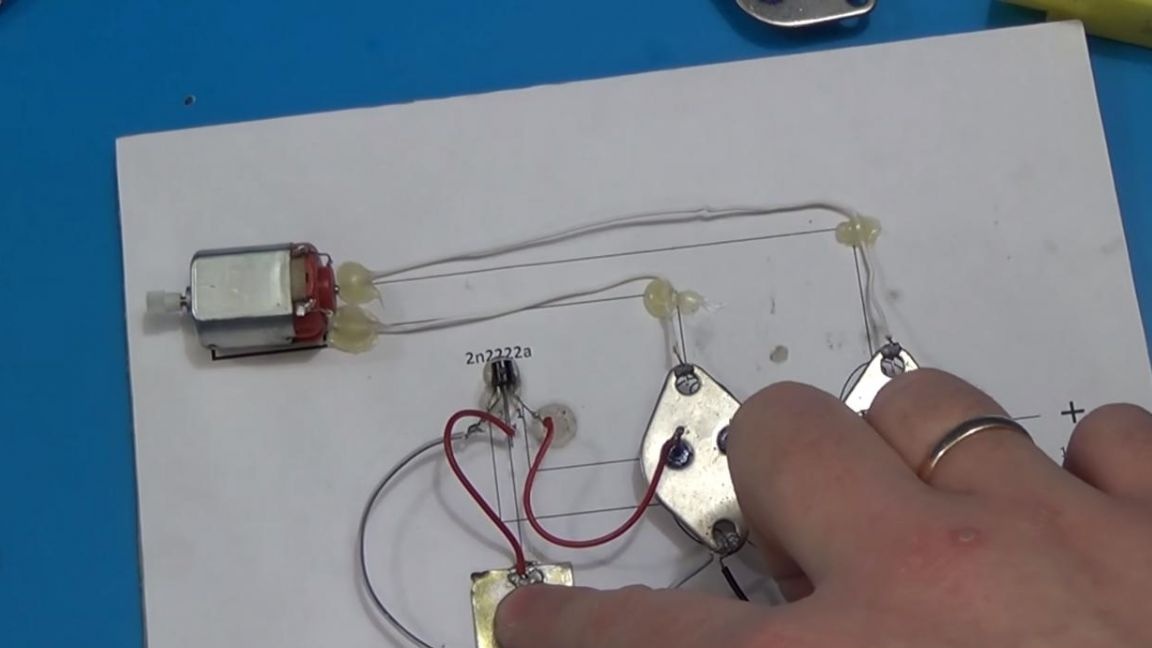
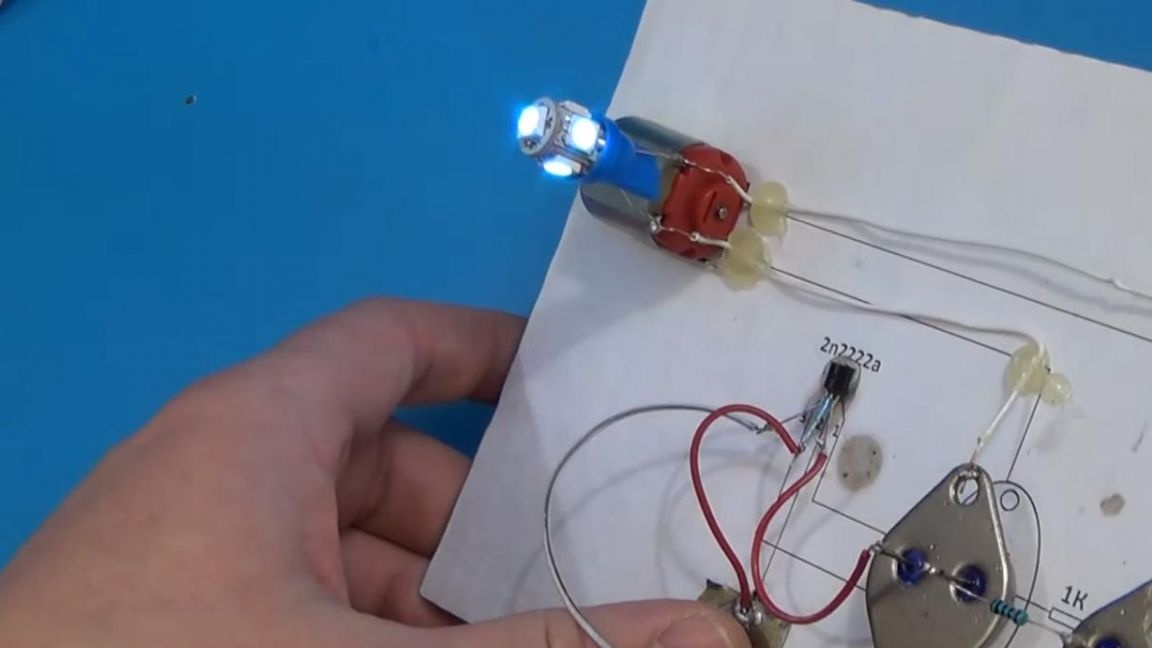
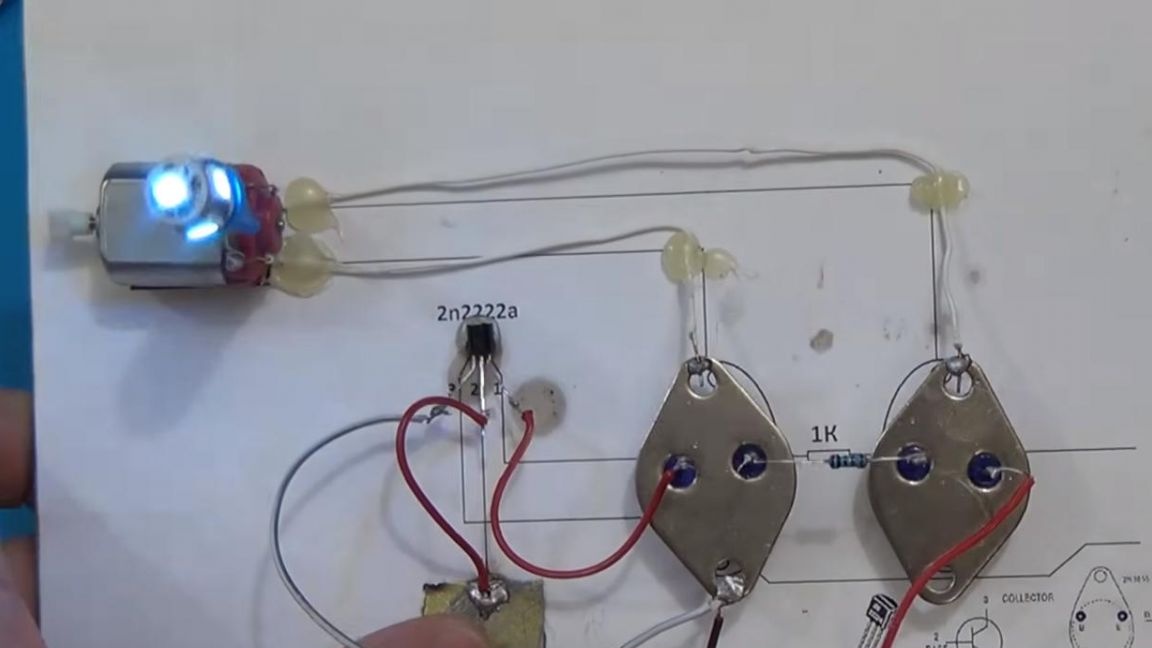
Touching a metal plate, it is also a touch button, a device connected to the terminals from transistors is launched, which means that homemade work can be considered completed and applied in further ideas.
That's all for me, thank you all for your attention and creative success to all.