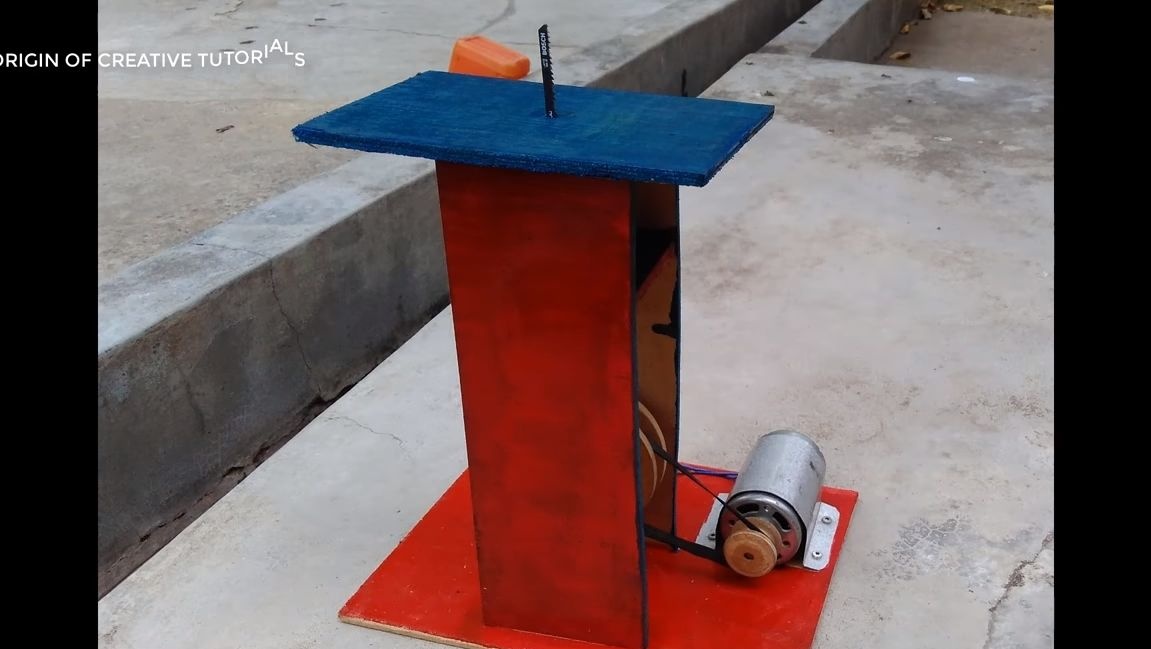
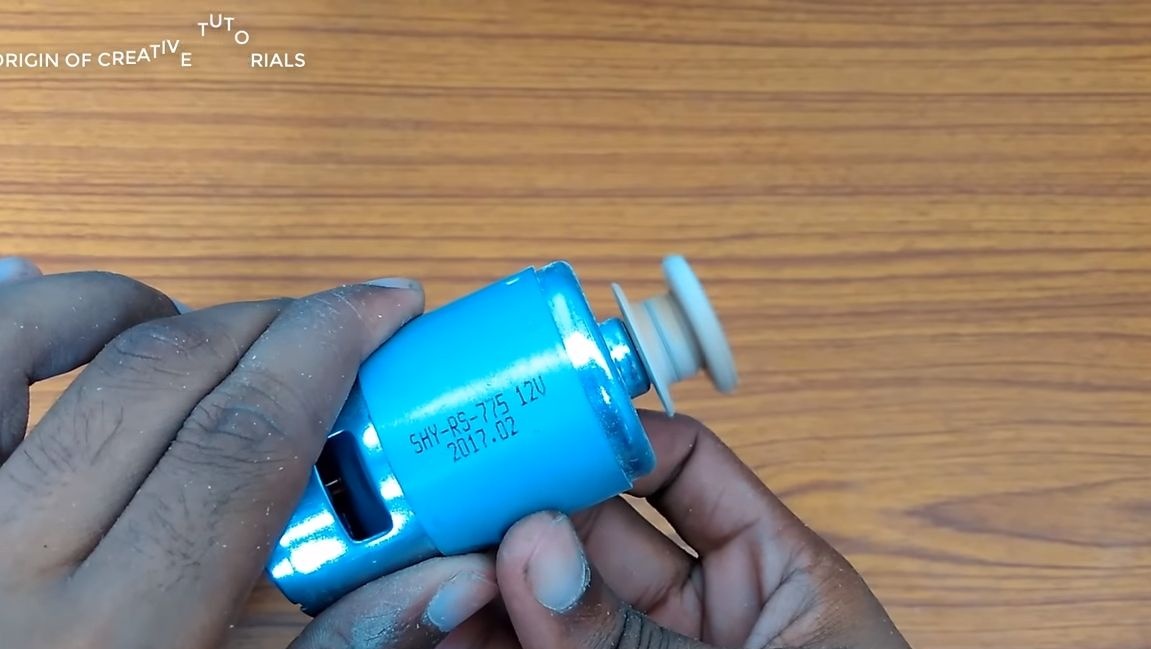
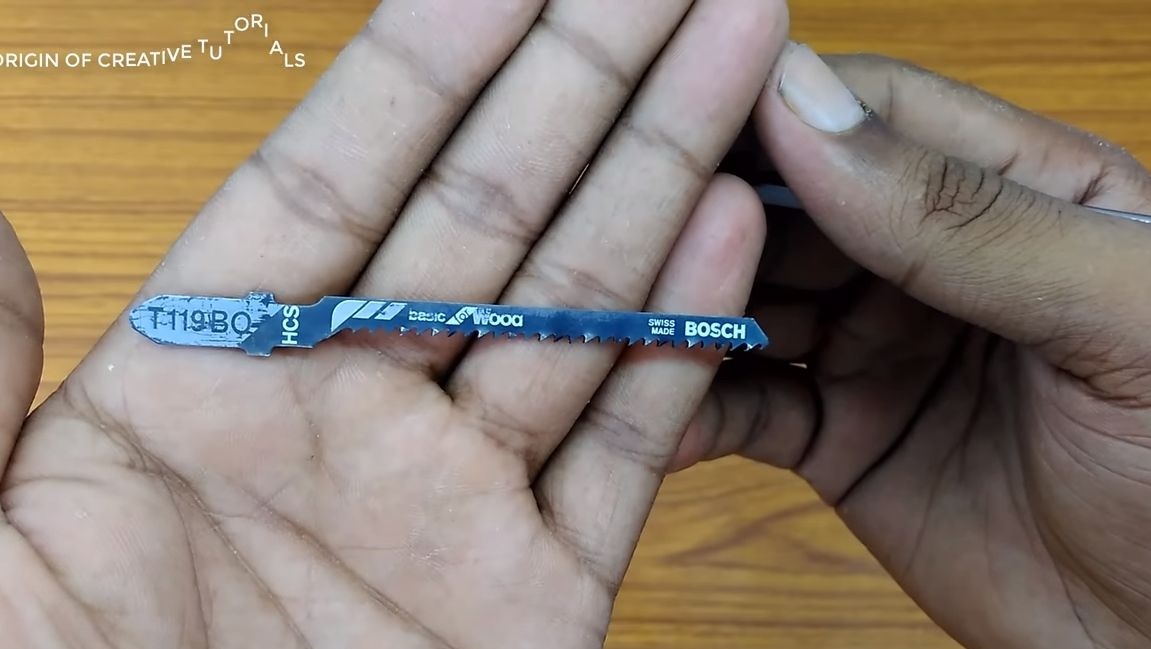
Previously, I published various machines on the website, today I suggest you study the instructions for making a homemade desktop jigsaw. All the main nodes are assembled from available materials, you can use plywood. The author saved and even made a drive belt from a piece of a bicycle chamber. The most important thing you have to find is a 775 motor or similar, and you will also need to purchase a cutting blade.
Of course, such a machine does not work very accurately and quickly, when compared with the factory models. But it is easily done and with it you can easily solve various everyday tasks. For example, you need to cut a circle or other complex shape from plywood, you can easily cut it with this machine. So, let's get down to manufacturing.
Materials and tools used by the author:
Material List:
- plywood or similar material;
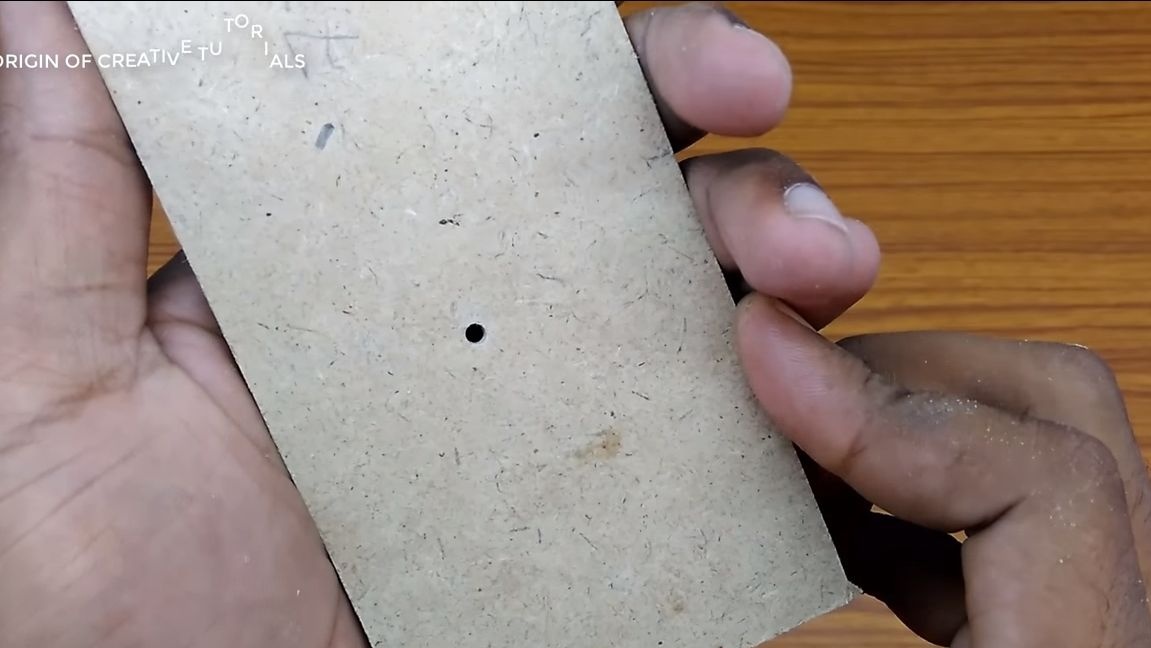
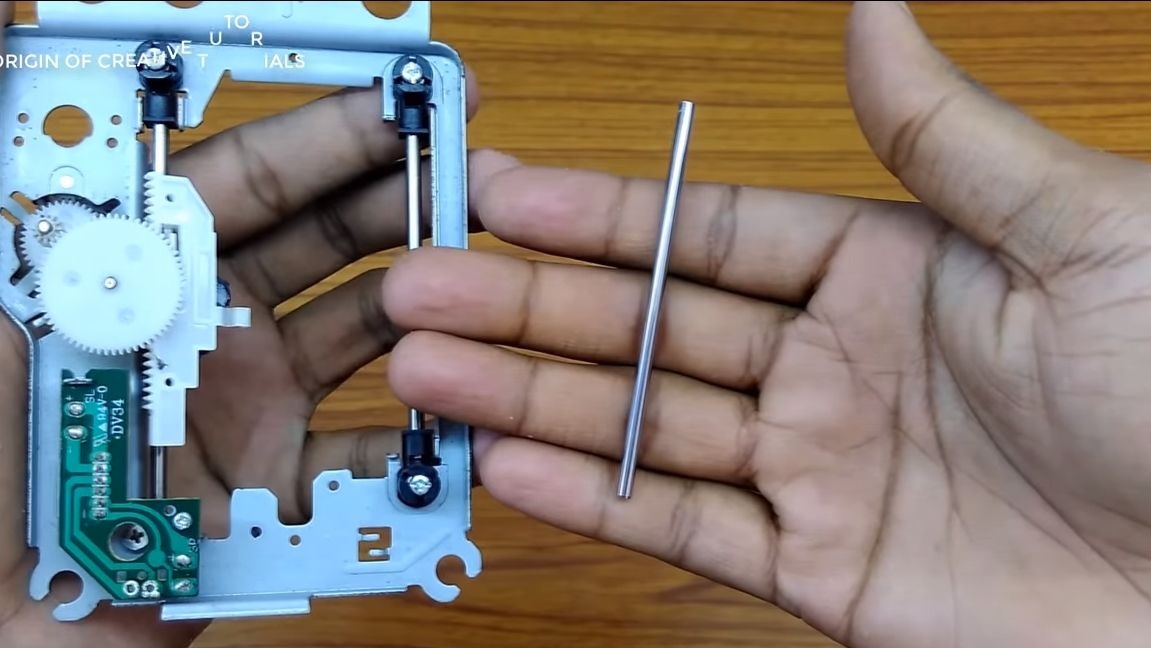
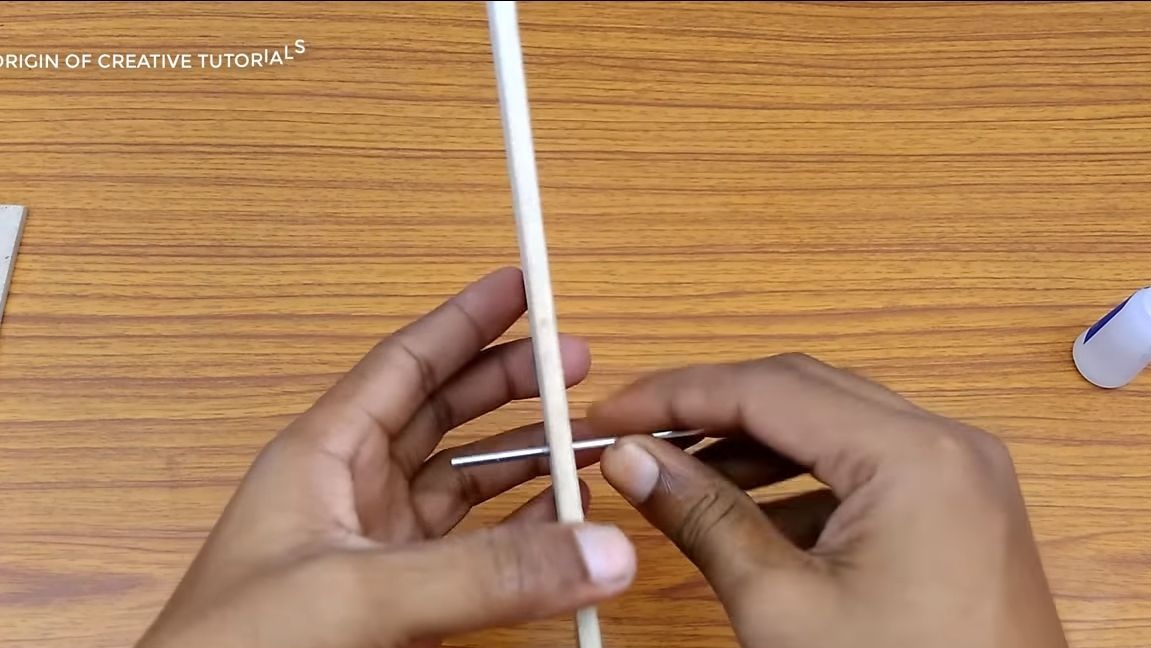
- metal axis (can be found in the drives);
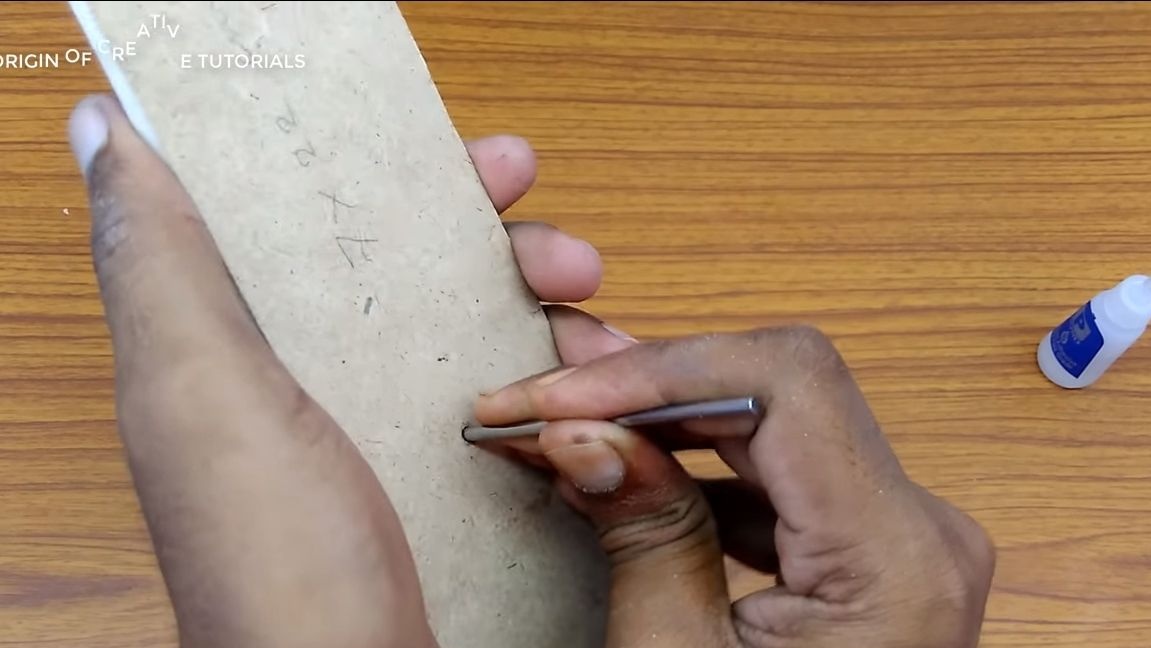
- Super glue;
- ;
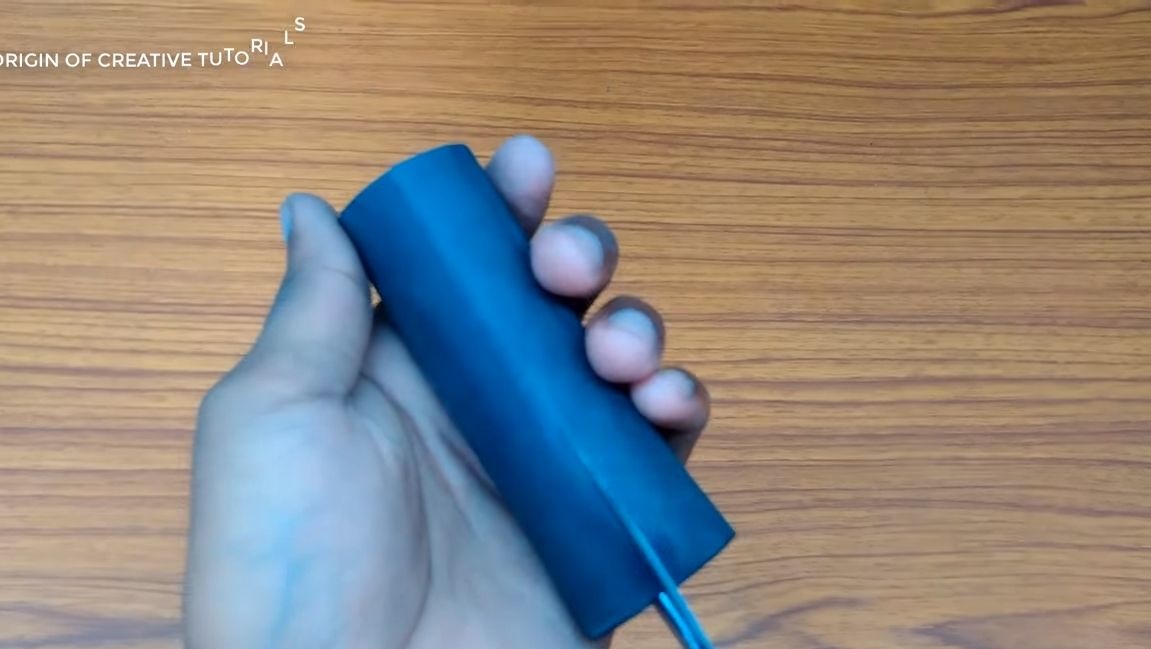
- a piece of the camera from the bike;
- wires;
- ;
- switch;
- tin and other little things.
Tool List:
- pliers;
- soldering iron;
- scissors;
- drill;
- marker;
- ruler;
- file;
- a hacksaw for metal.
The process of making a jigsaw:
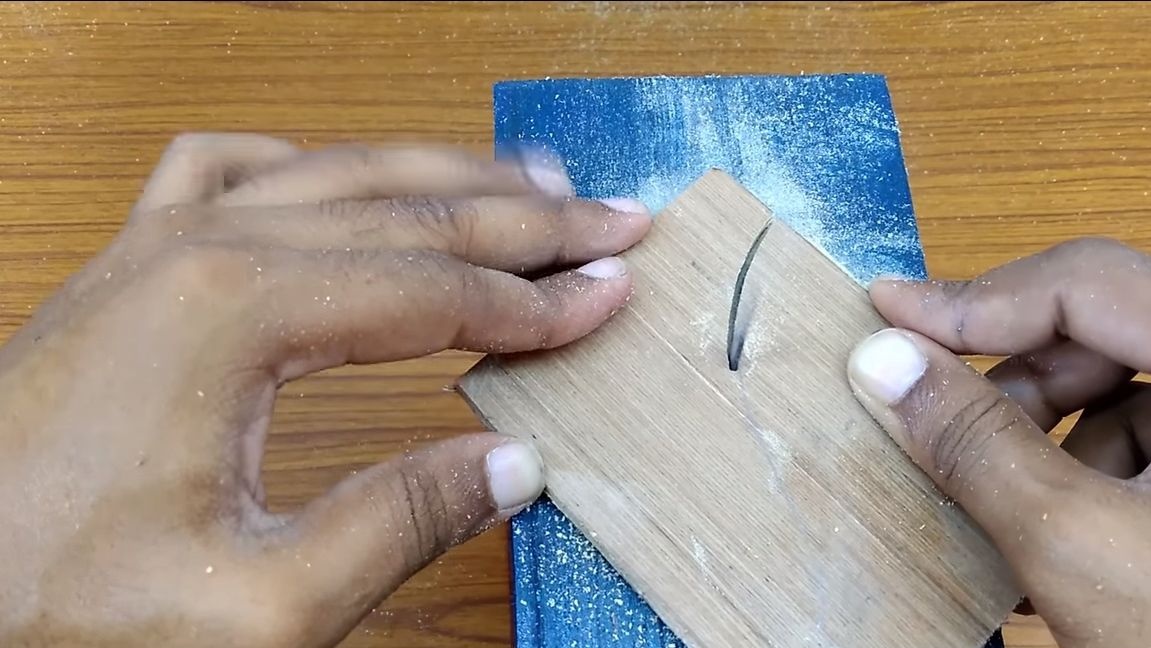
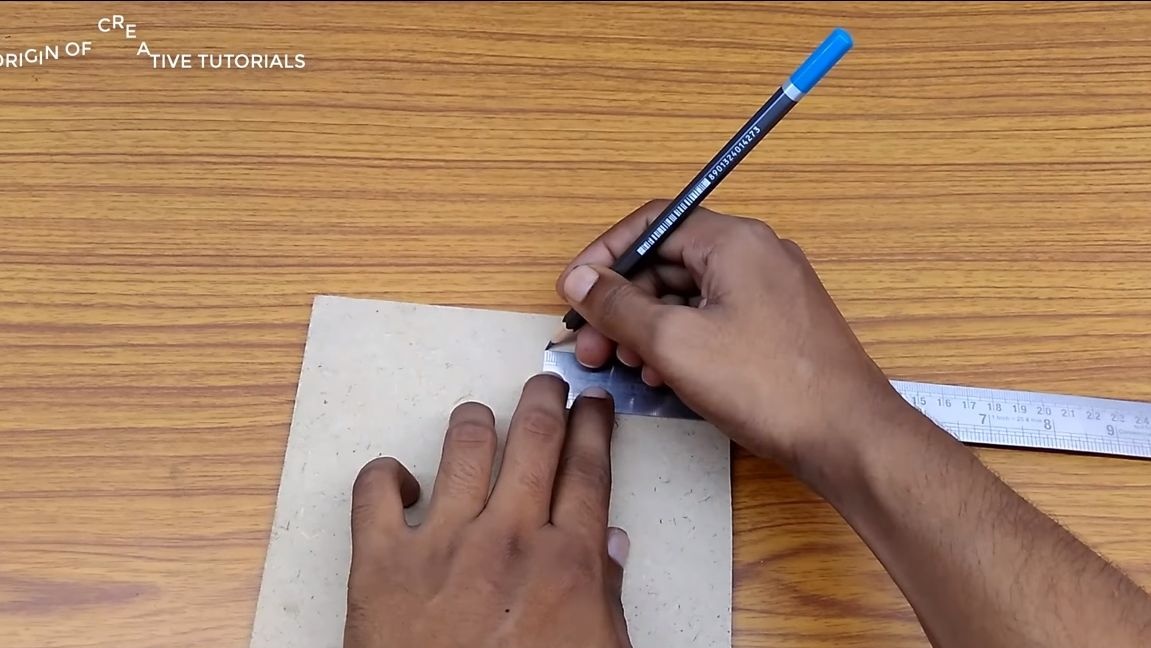
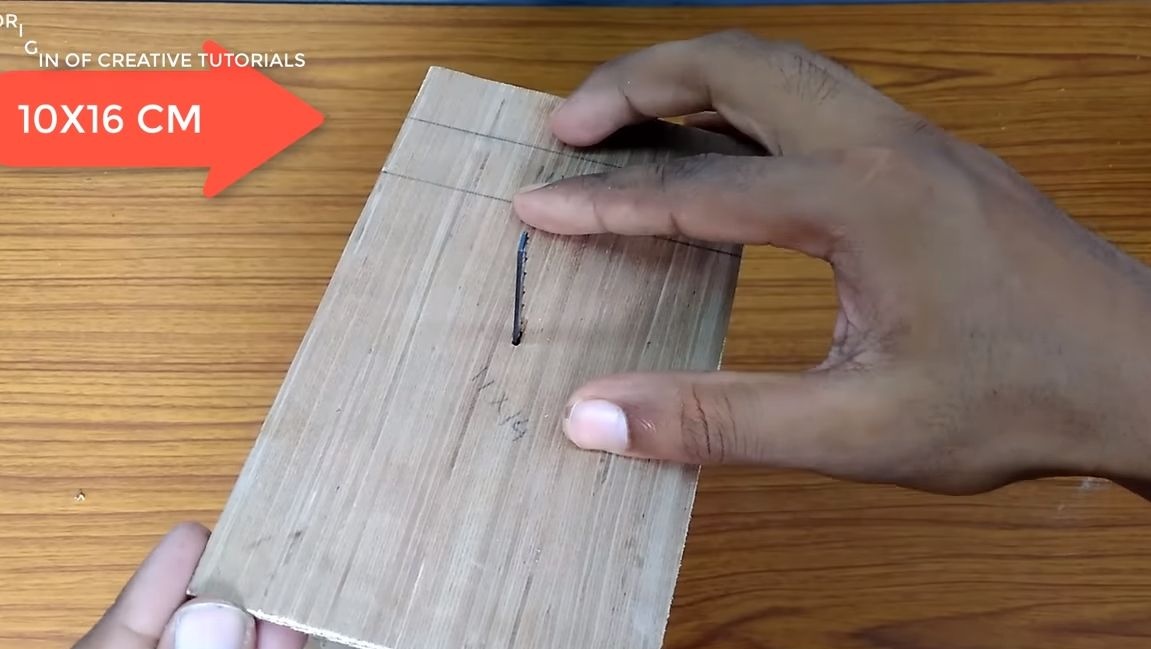
Step one. Cut the workpiece
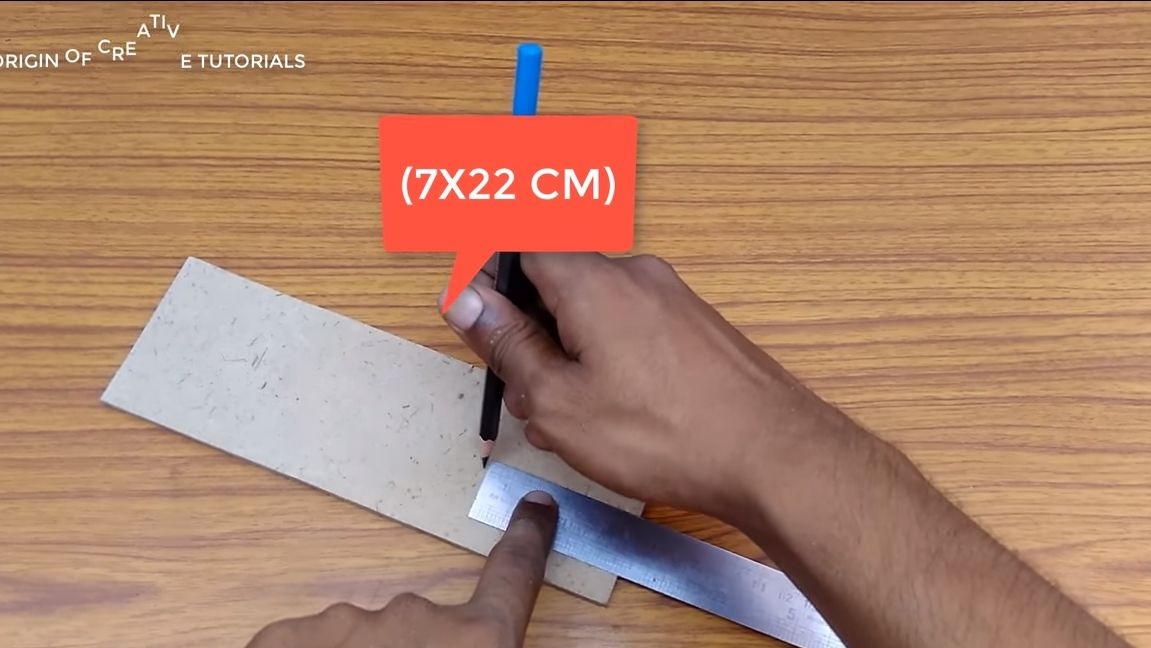
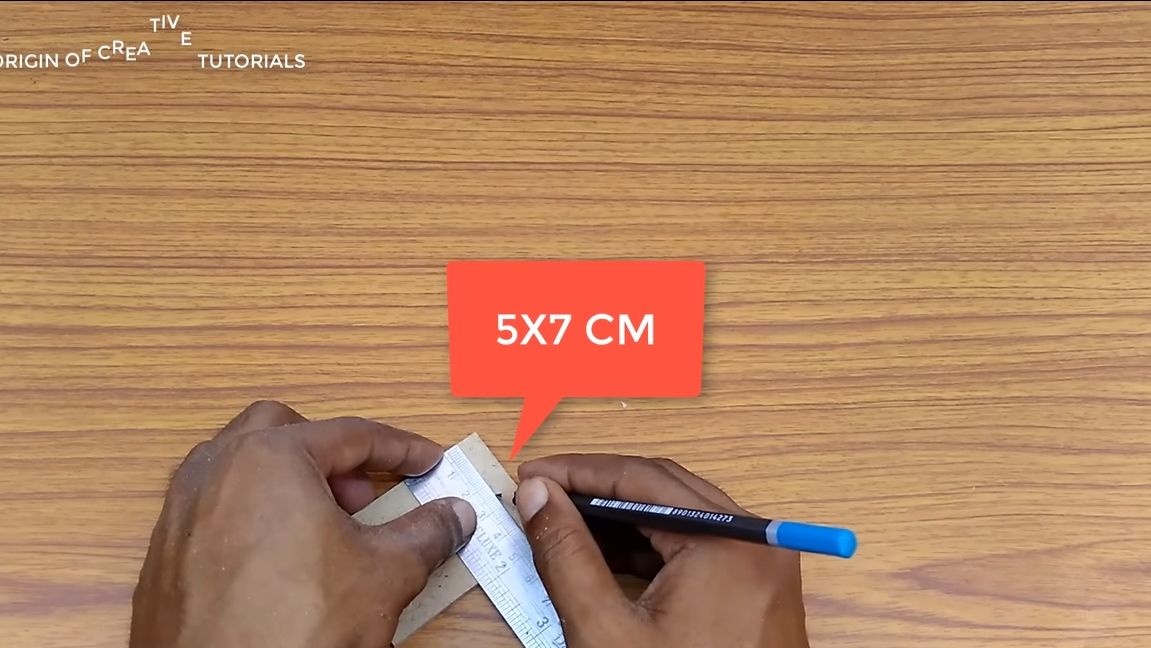
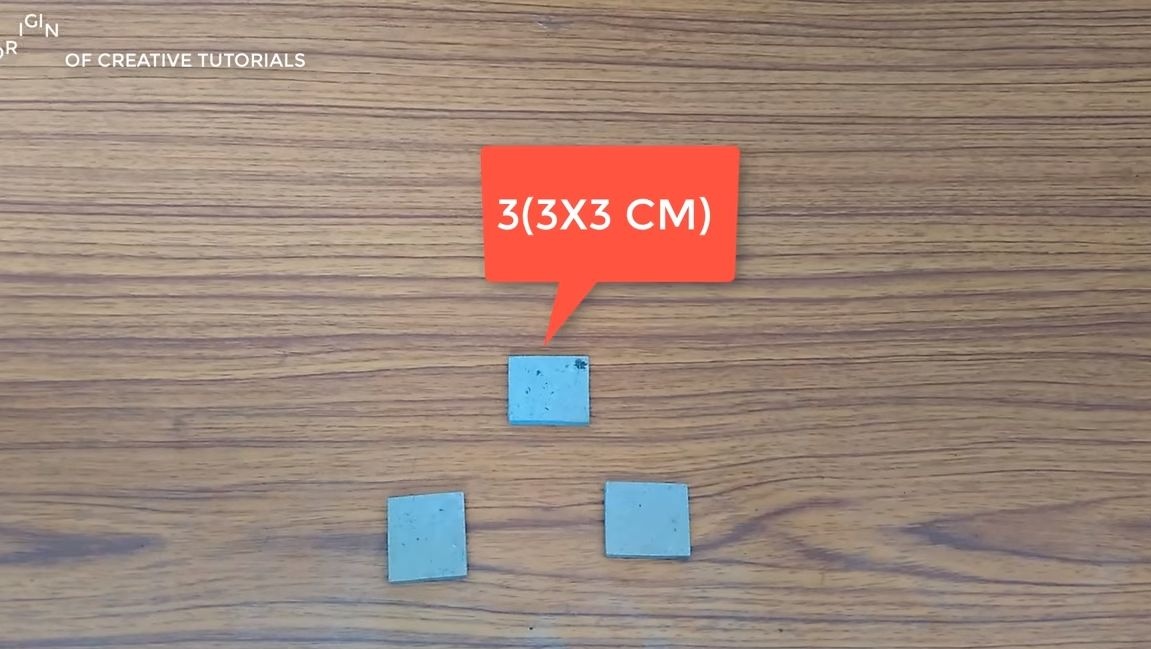
The frame, as well as pulleys are made of plywood, you can use other similar materials. Cut the blanks to the sizes that are visible in the photo. If desired, you can use other sizes.
Step Two Main frame assembly
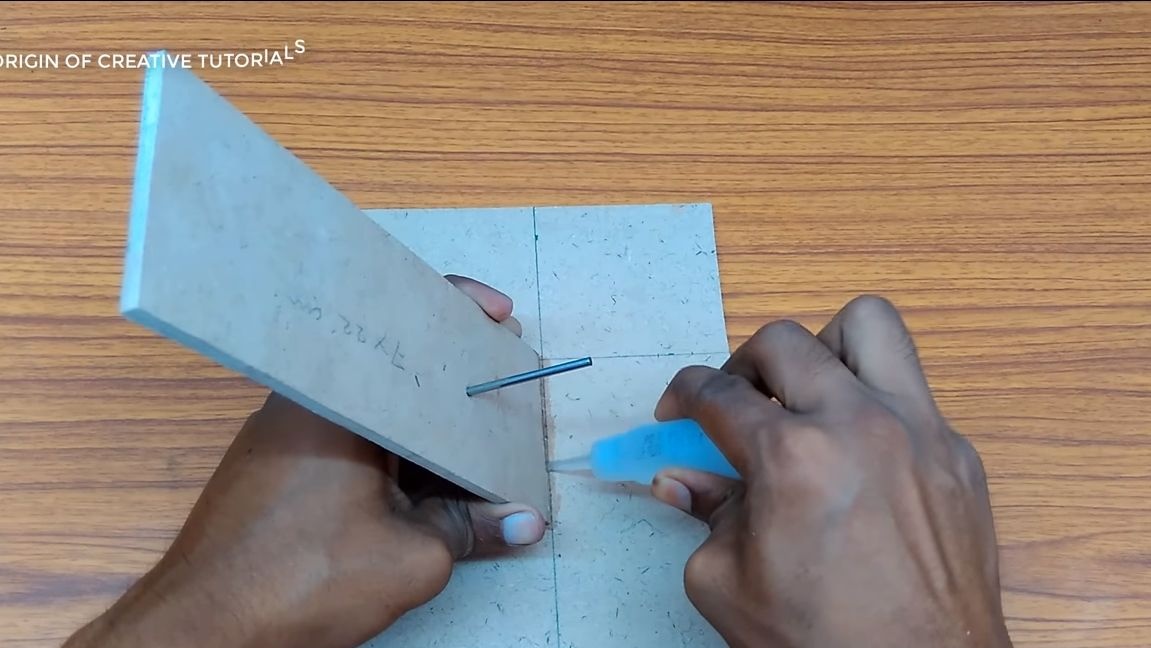
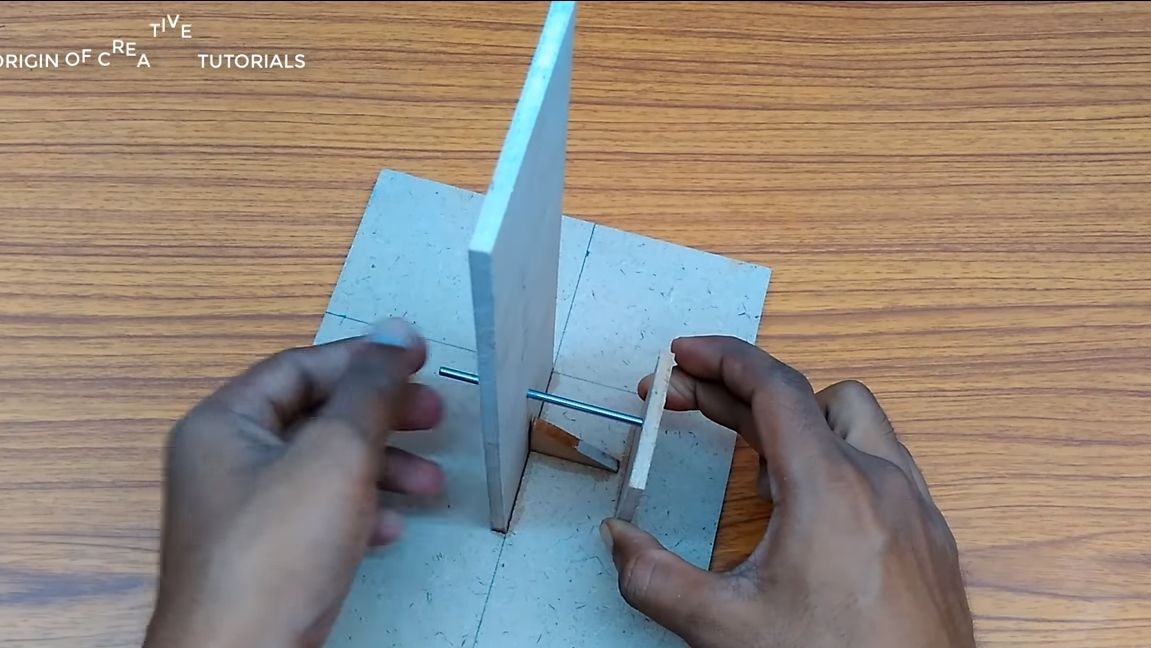
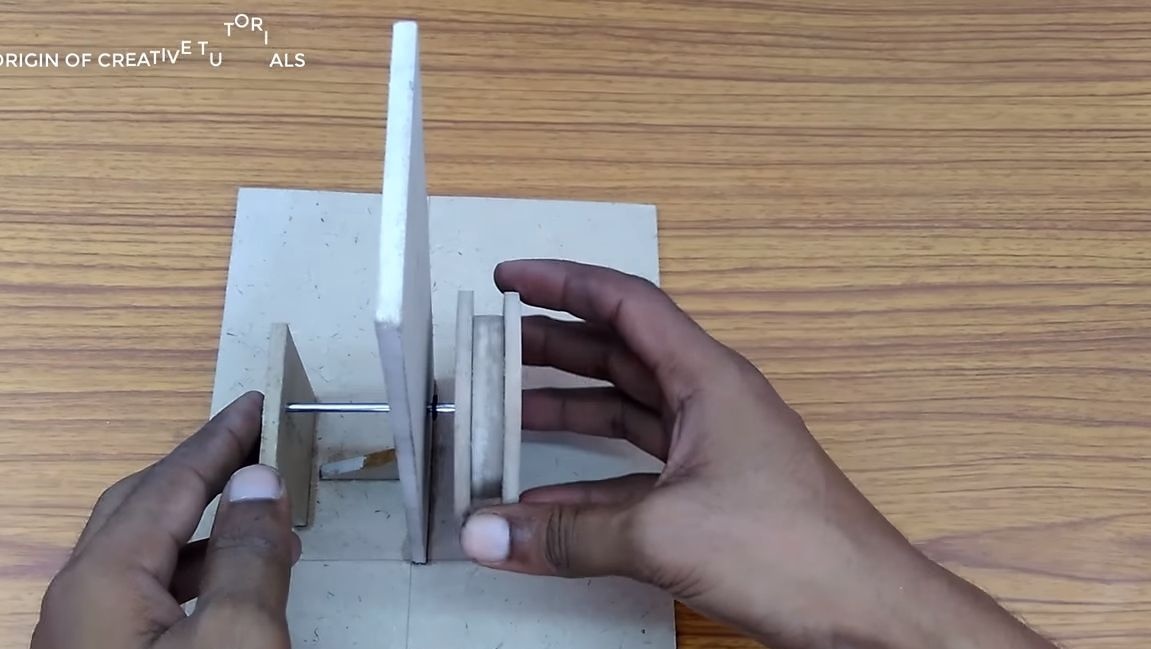
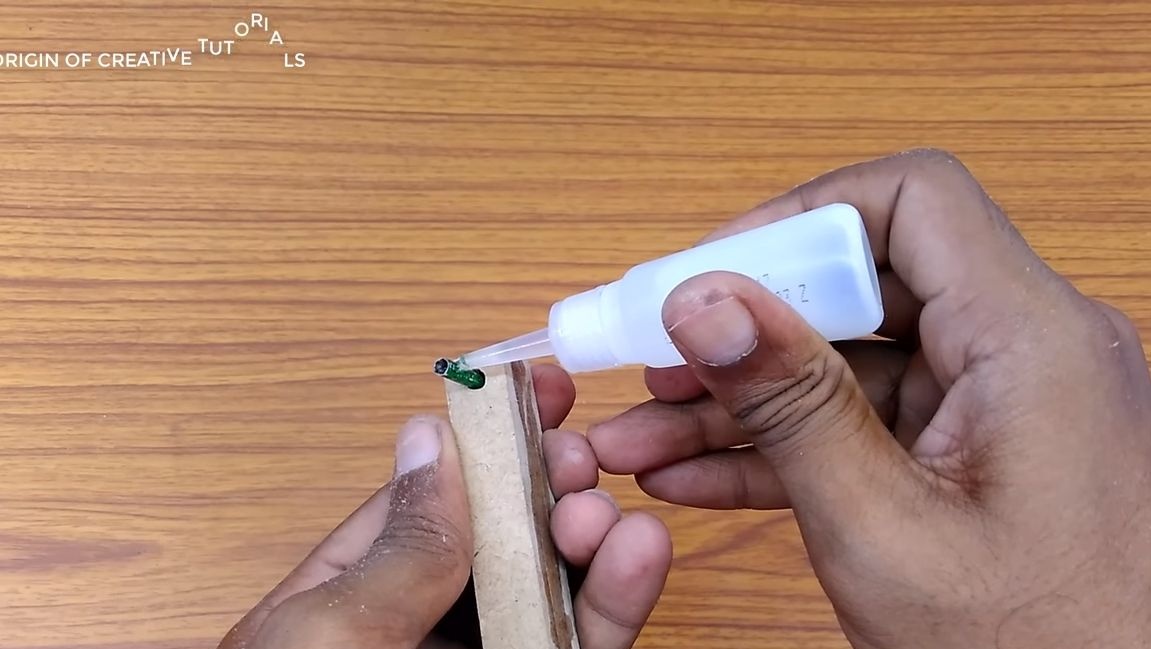
Take a sheet of plywood and glue two racks to it, the author glues them using ordinary superglue, but, as for me, it would be more reliable to use a glue gun with suitable rods.
An axis is installed between the two posts, we fix it with superglue. You can find such an axis in an old computer drive and other similar equipment.
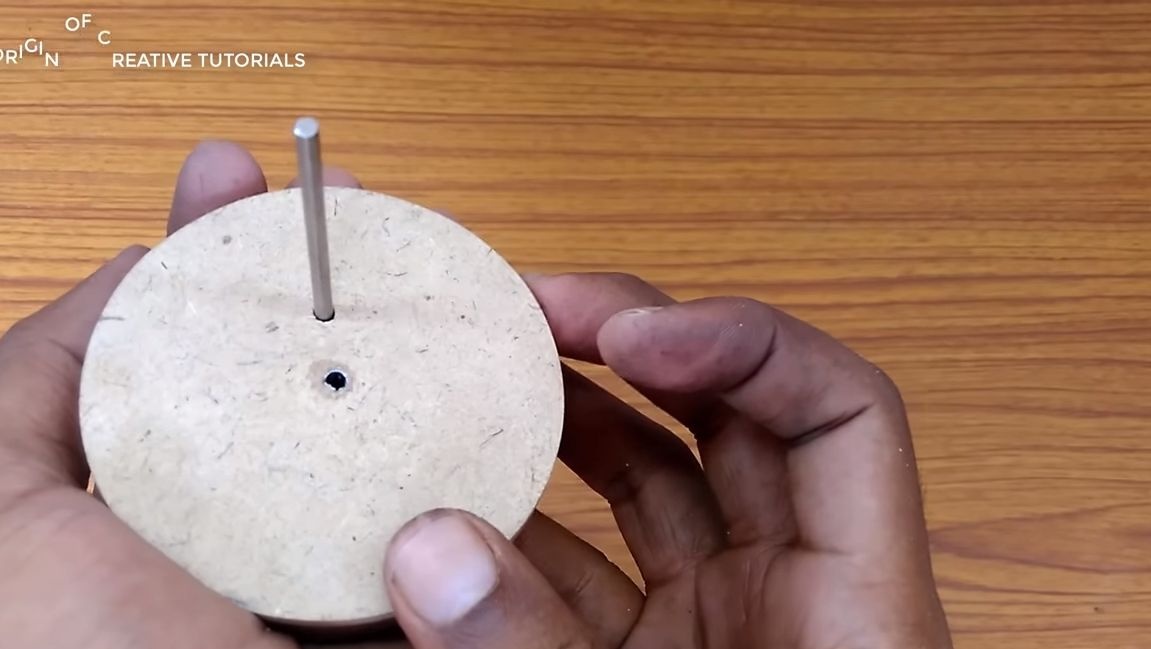
Step Three Making a driven wheel
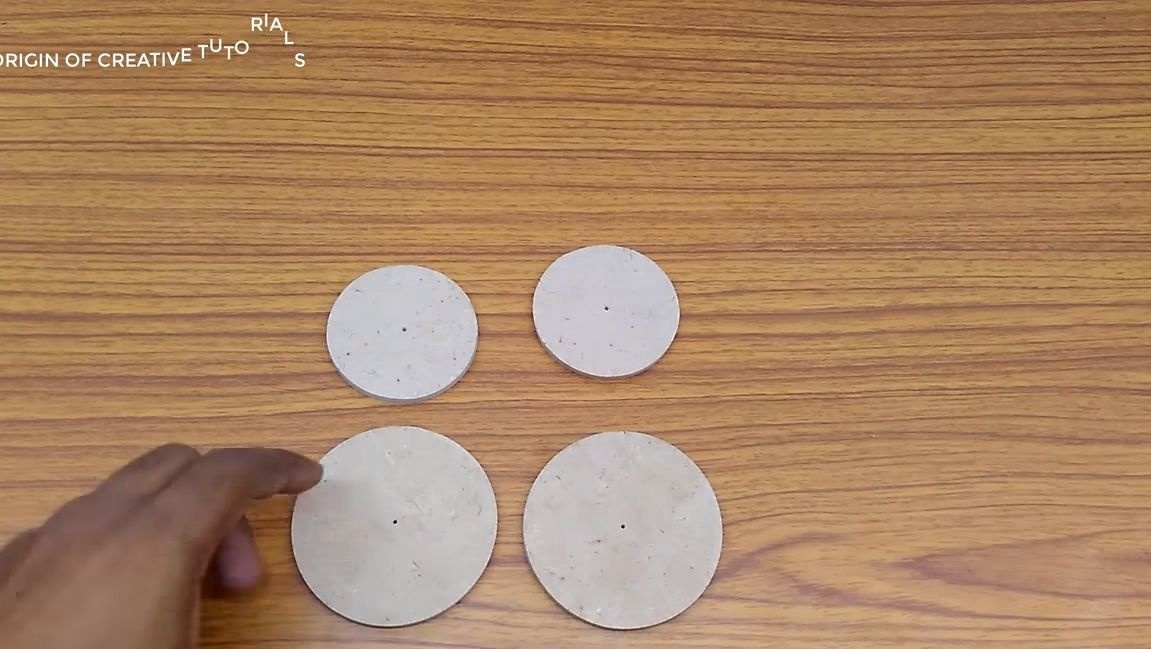
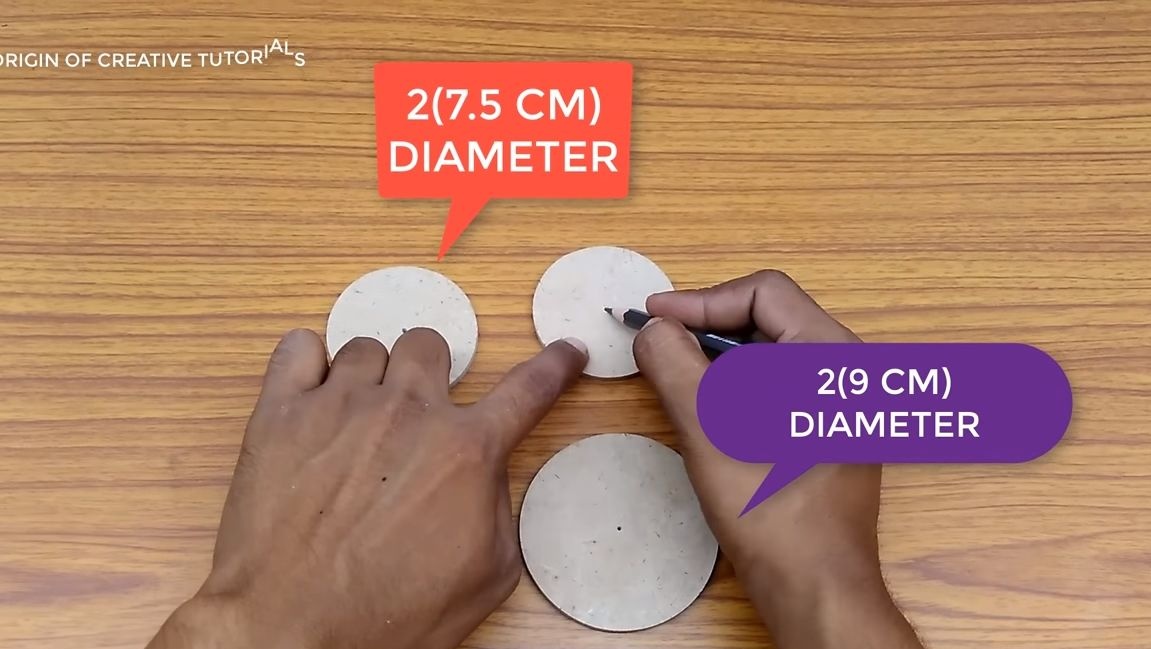
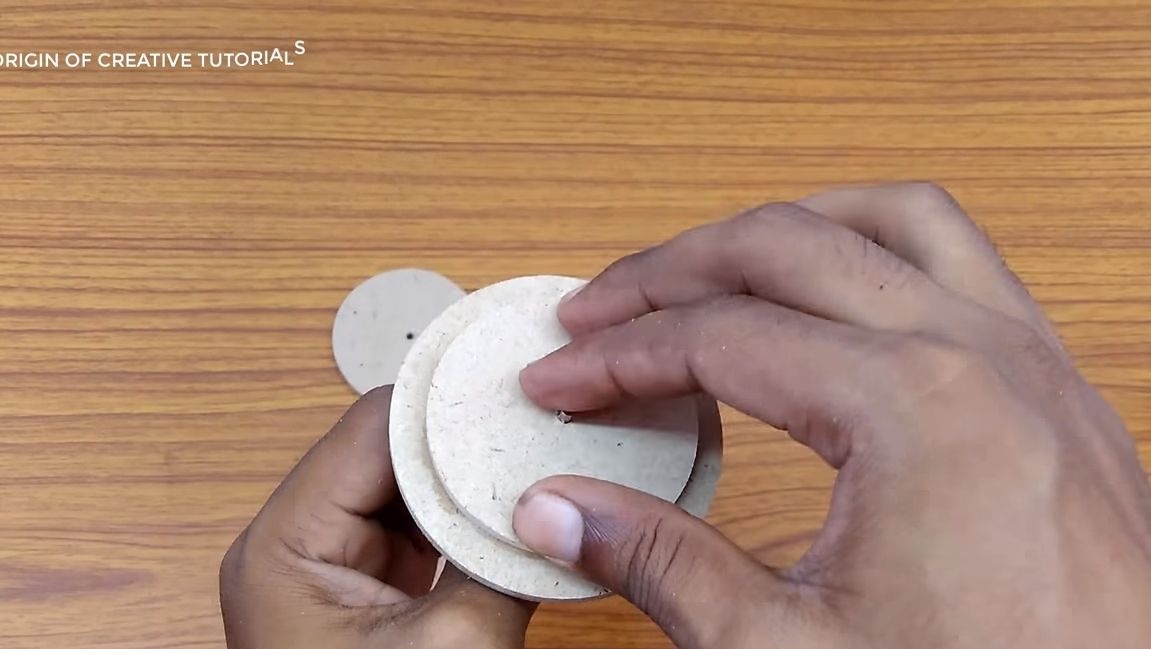
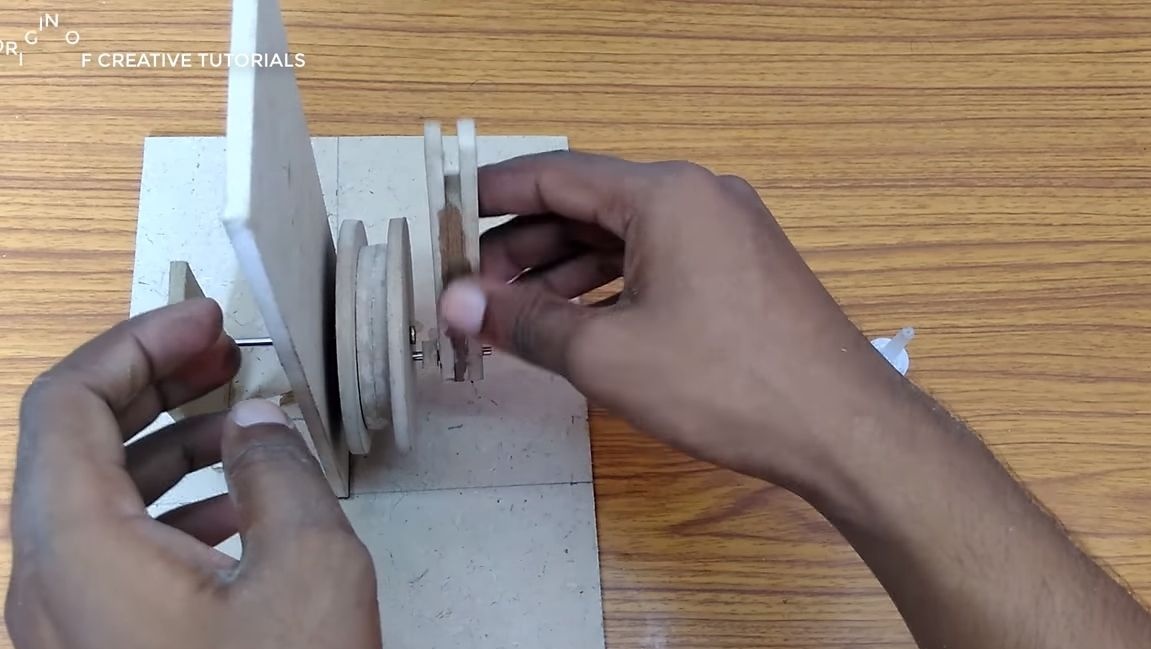
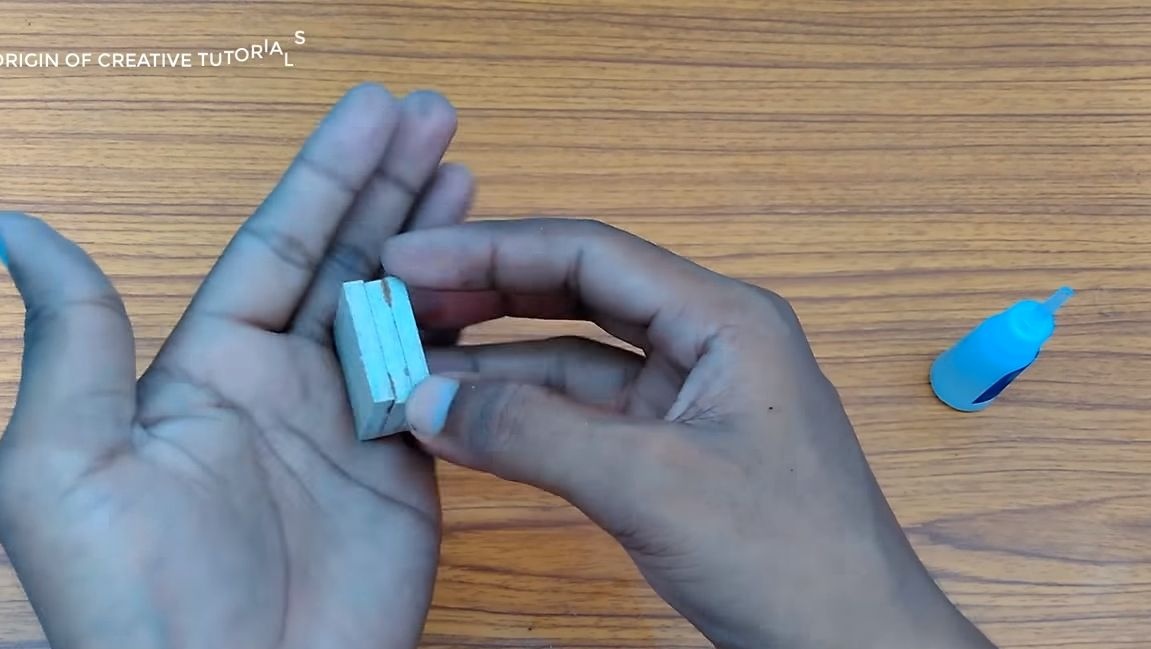
The driving and driven wheels are made of plywood. For the driven wheel, you will need to cut four round logs, two of a small size and two larger ones. And then just glue the smaller rounds together, and glue the larger circles on the sides to them. We get the finished wheel.
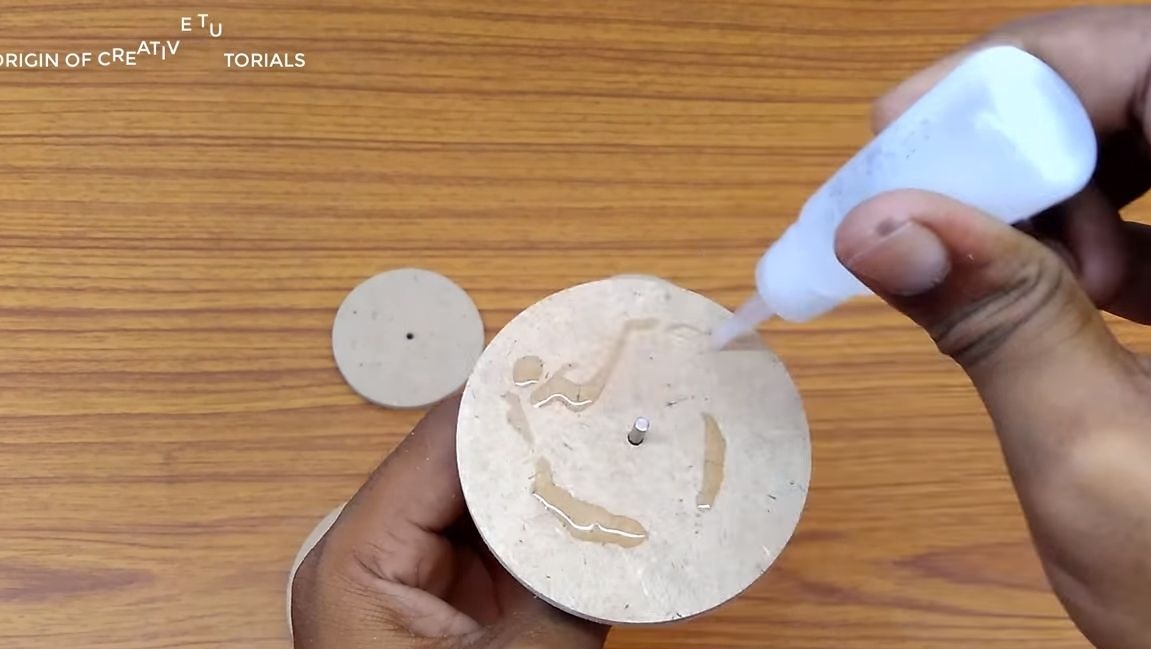
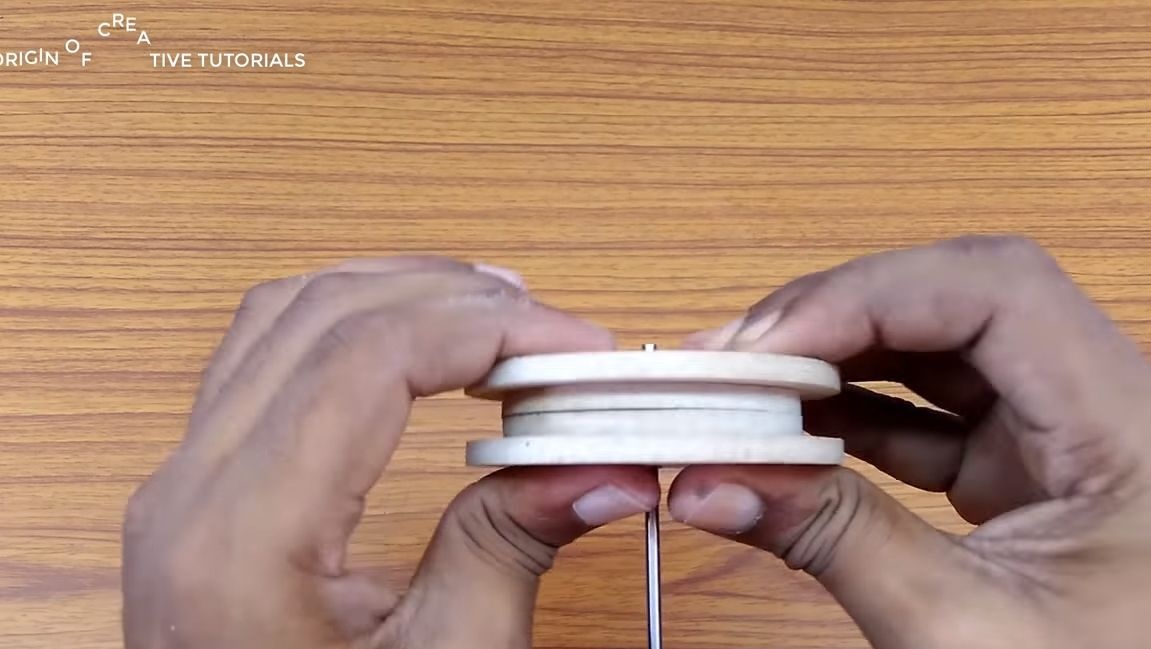
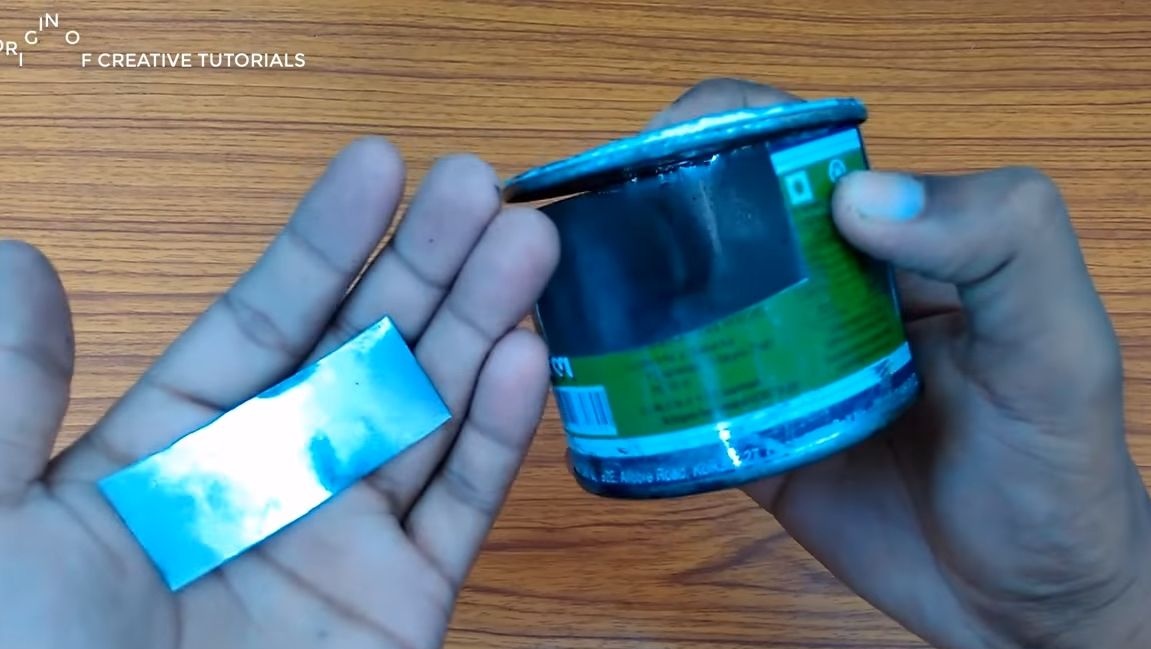
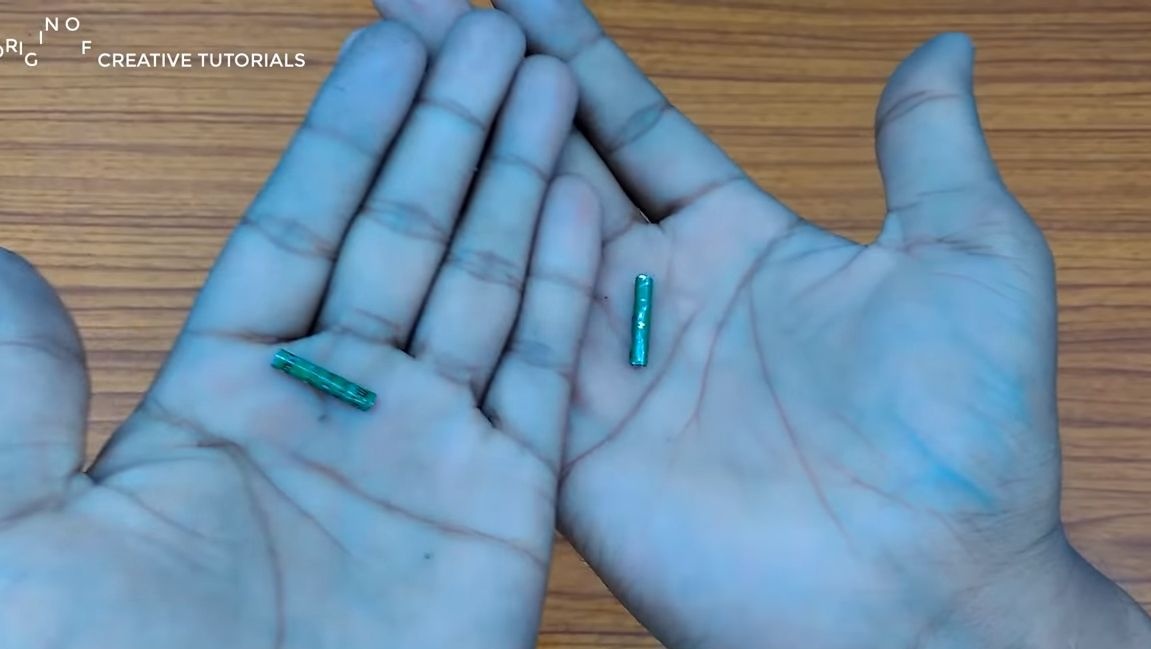
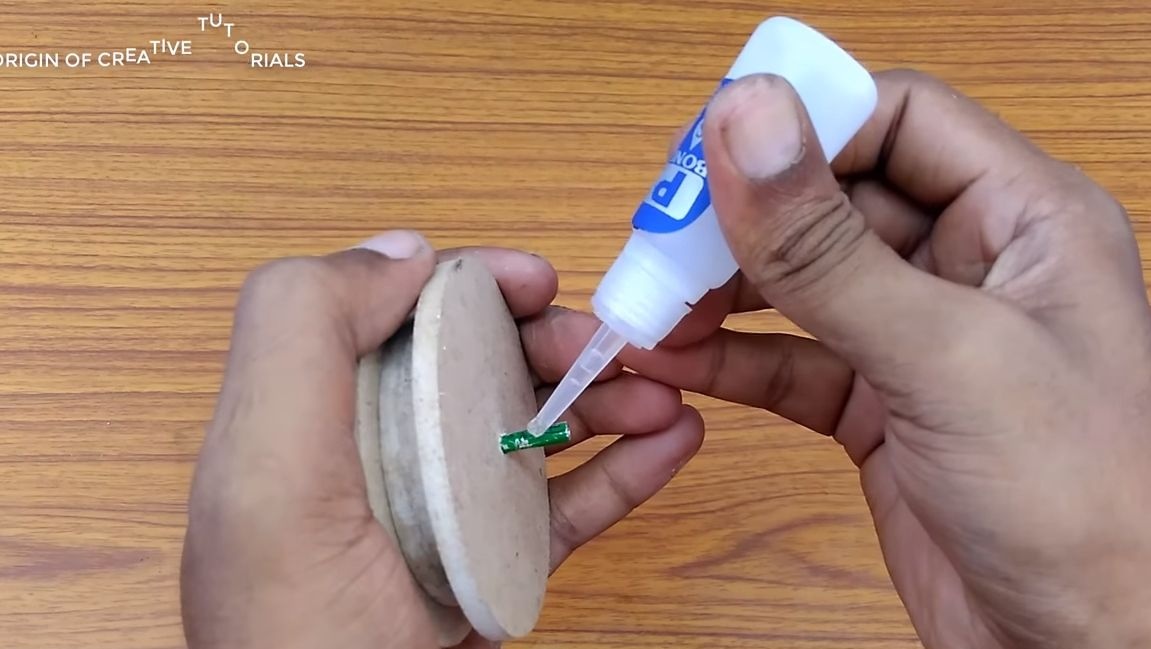
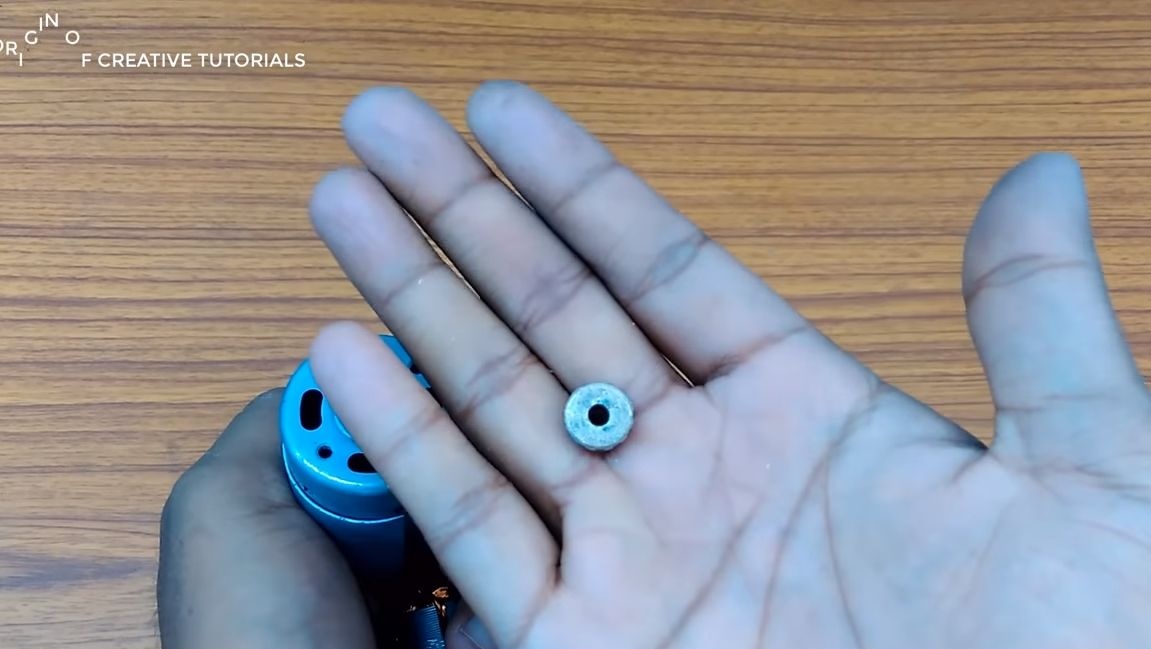
The driven wheel should rotate freely on the axis with minimal friction. For this, the author makes bushings. Making them is very simple, for this you need tin from a tin can or the like. Wrap it around the axis and trim the excess.We press the obtained part into the hole of the wheel, after applying superglue. If desired, the sleeve can be lubricated.
Step Four Connecting rod
To obtain a reciprocating motion, we use a crank mechanism. Install the axle for connecting the connecting rod to the driven wheel.
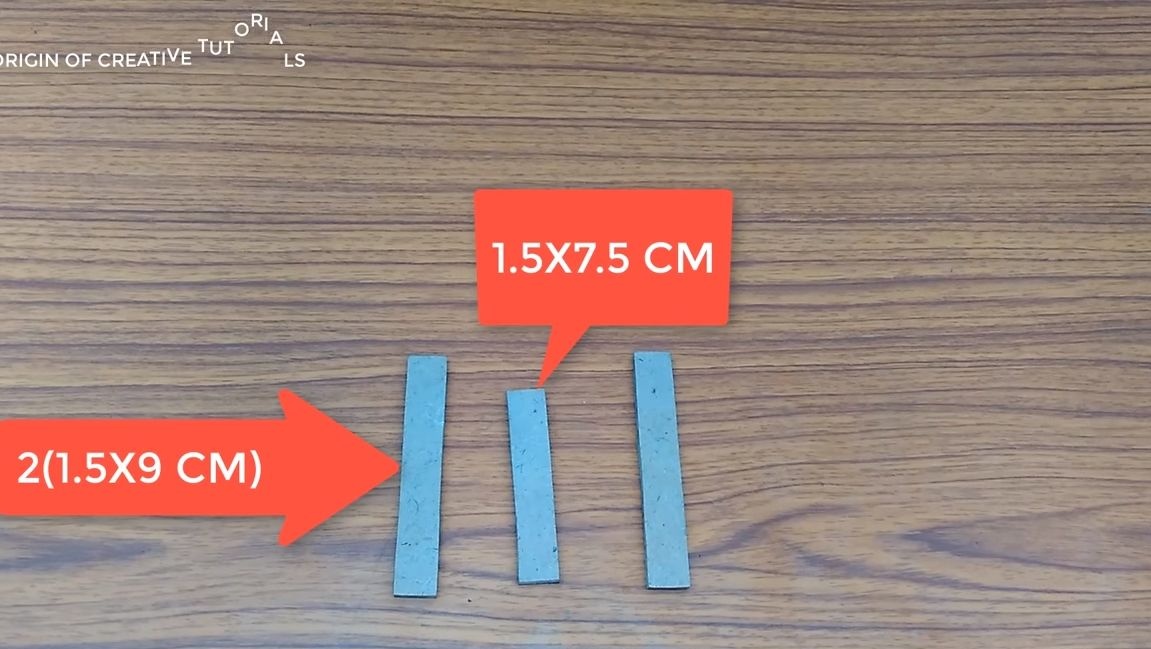
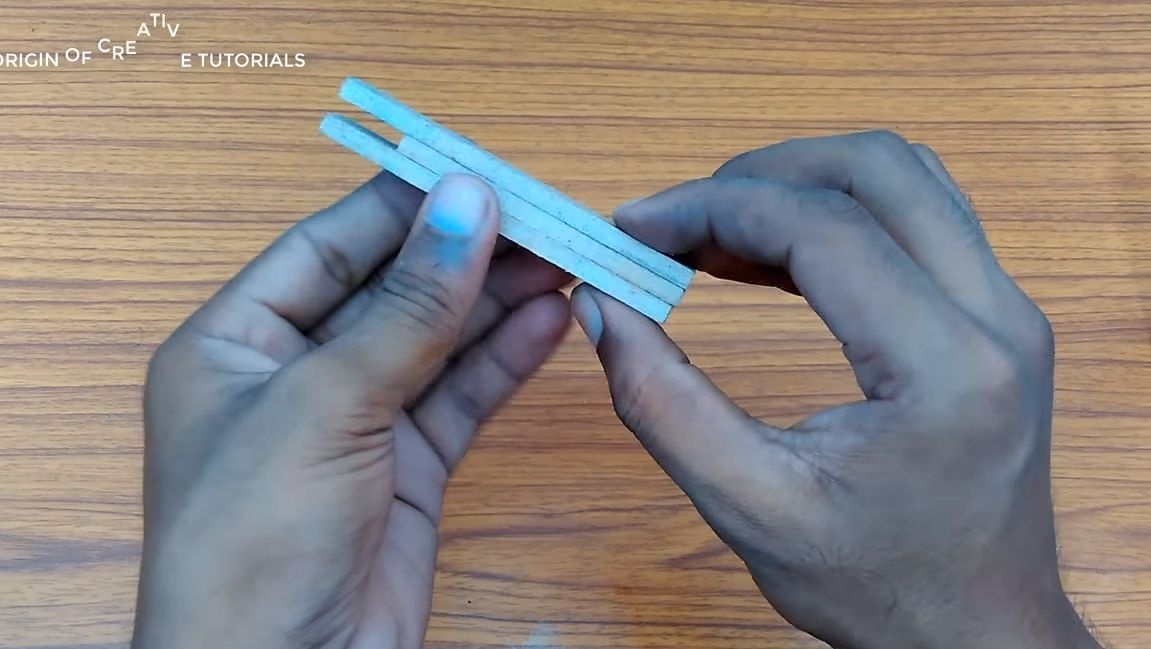
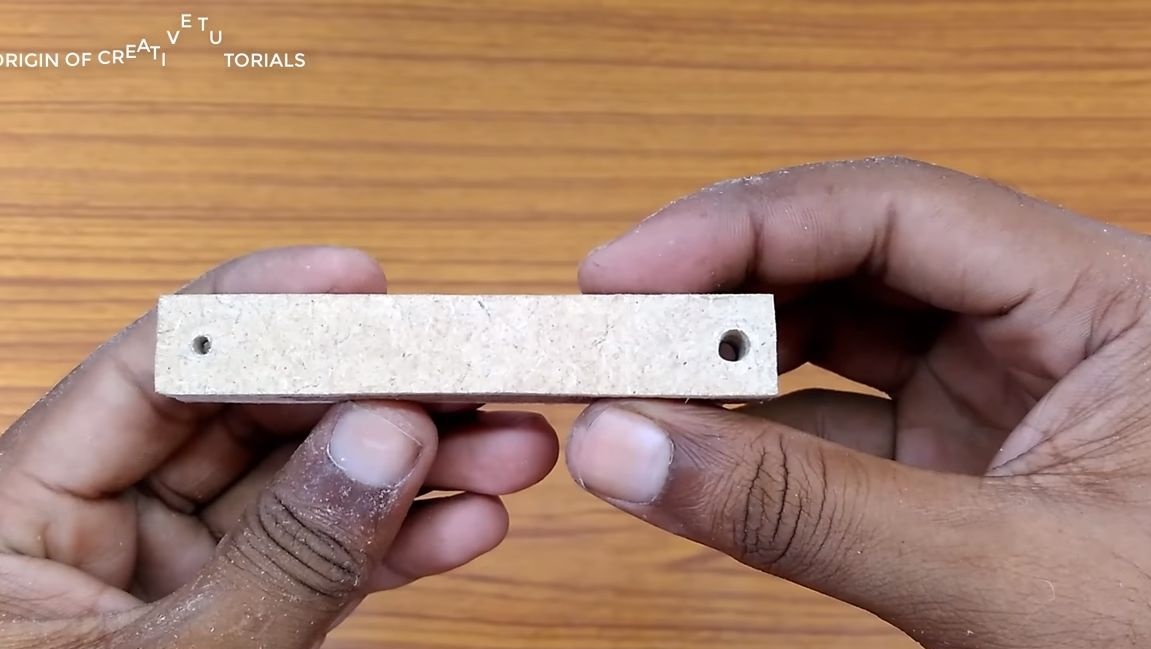
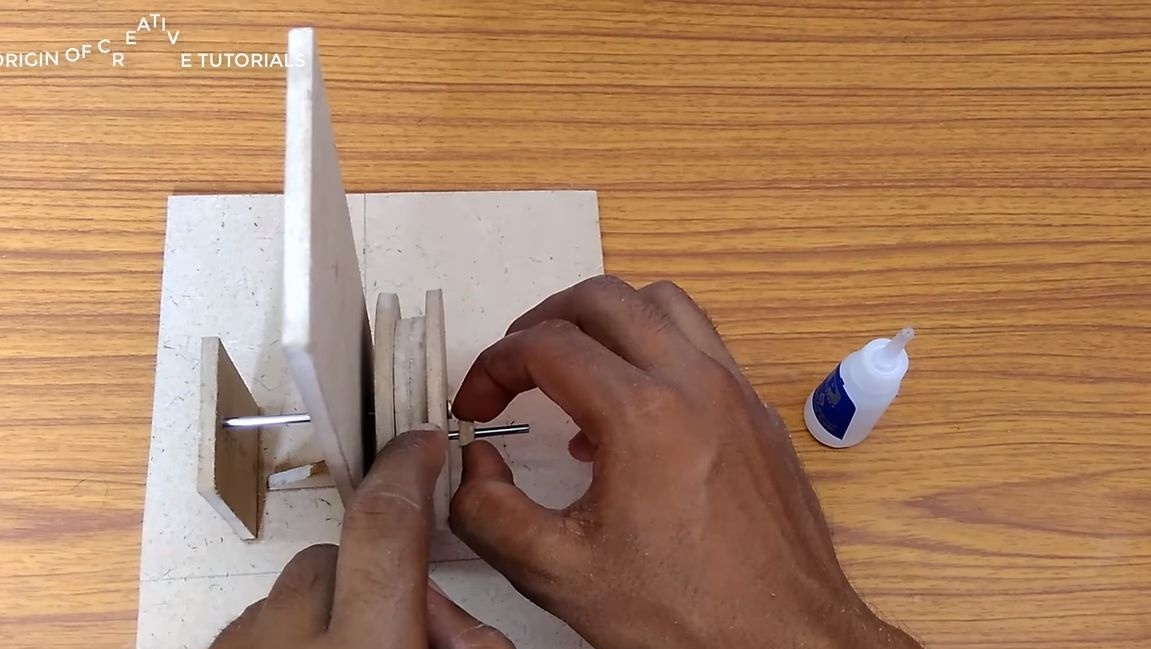
To make a connecting rod, cut three pieces of plywood, the sizes can be seen in the photo. Then they stick together and you can drill holes in the right places. On one side the connecting rod is put on the crank axis, here you also need to install the sleeve.
The connecting rod can be installed. To do this, on the axis, first glue the emphasis for the connecting rod, it can be made from a piece of plywood.
Step Five Drive pulley
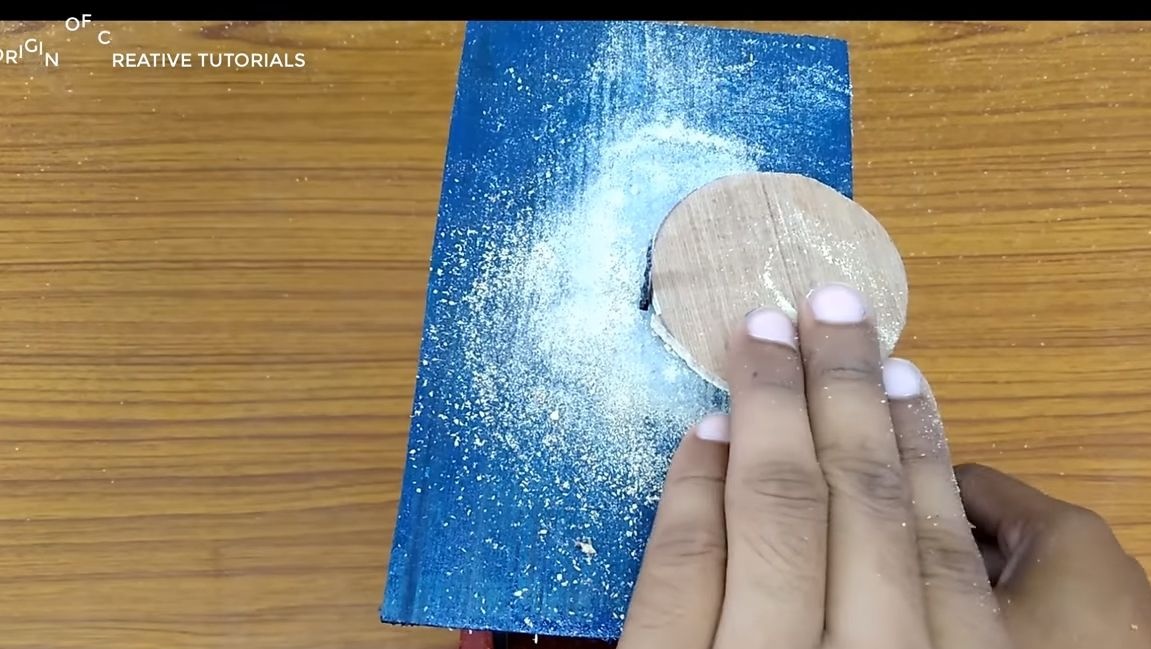
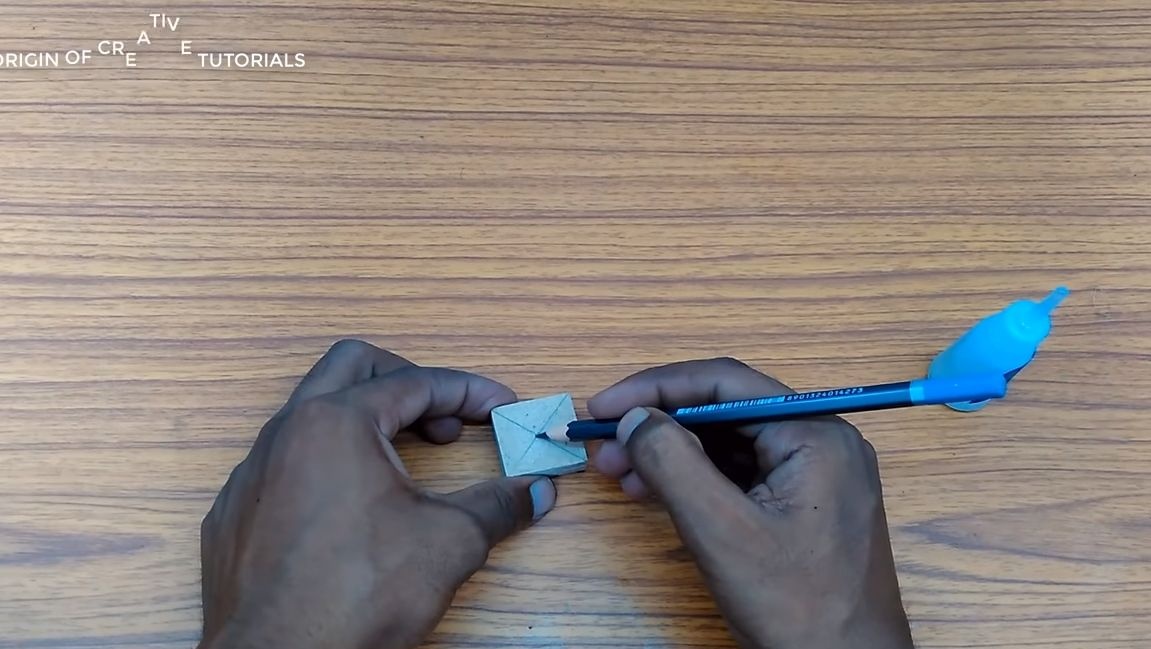
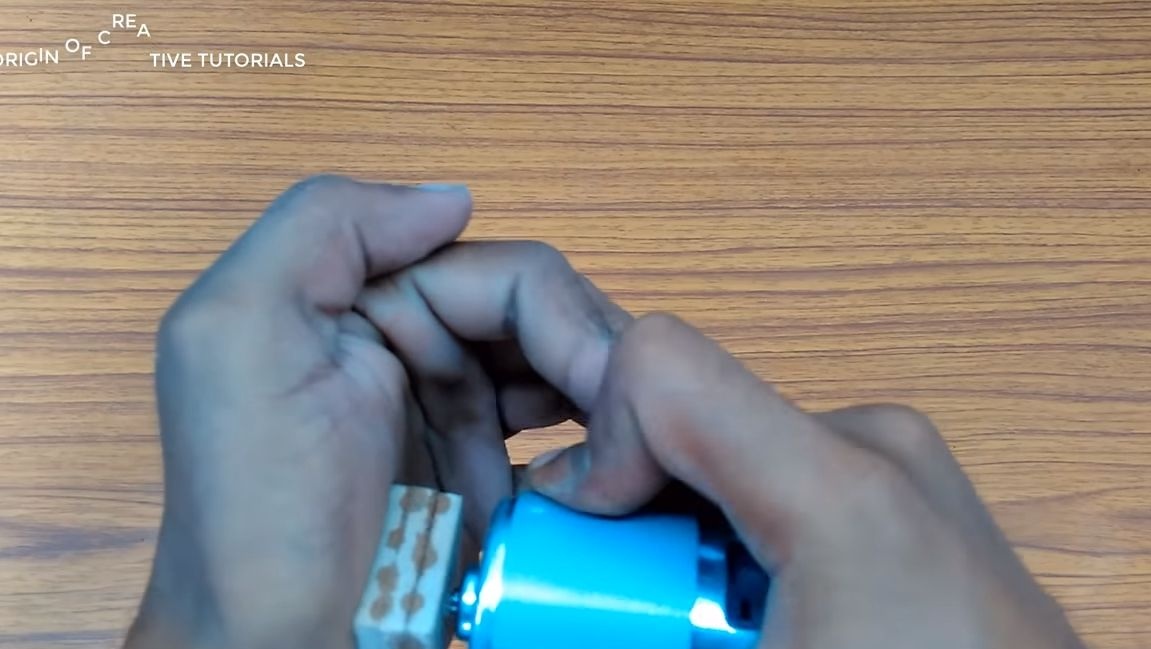
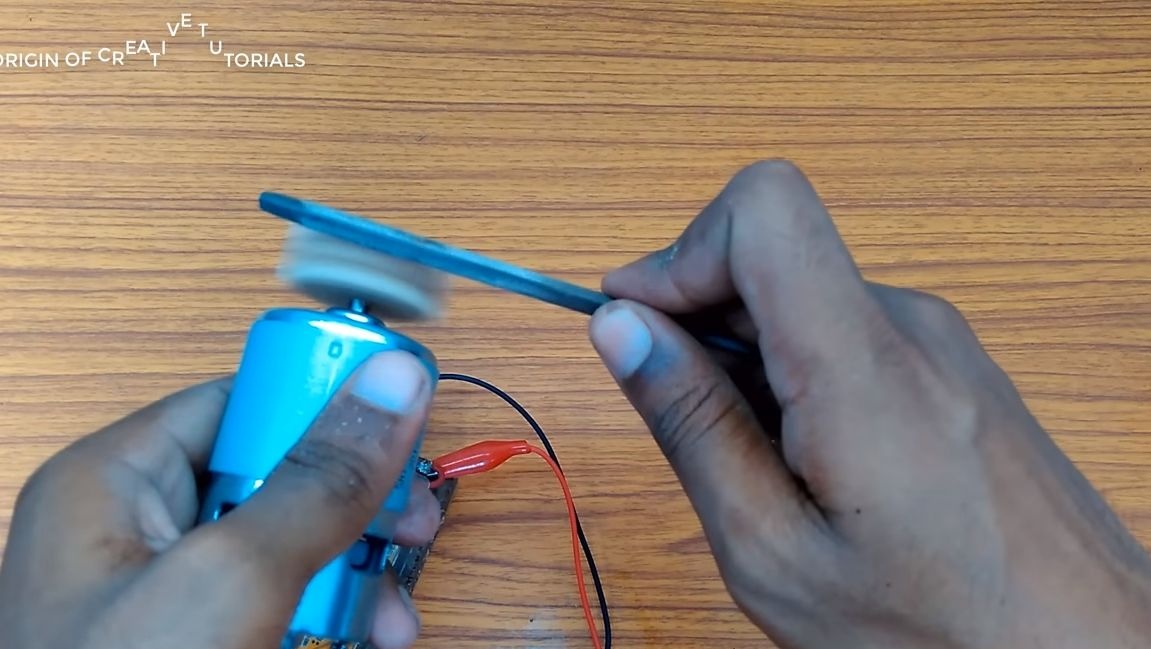
The drive pulley is simple to make, for this we take 3 pieces of plywood and glue it together. Then, clearly drill a hole in the center and install it on the motor shaft. Turn on the engine and create the desired profile using a file.
Step Six We fasten the engine to the base
To fix the engine, you will need a piece of tin from a can, make a clamp out of it. To prevent the motor from slipping out of the clamp, place a piece of rubber from the bicycle chamber under the clamp. All that remains is to fix the motor using screws with nuts or self-tapping screws.

Seventh step. We make and cut the belt
The author decided to make a belt from a piece of a bicycle chamber. First cut the camera so that you get a square. Then draw the circle you want in diameter and cut it outside and inside. As a result, we get a great belt.

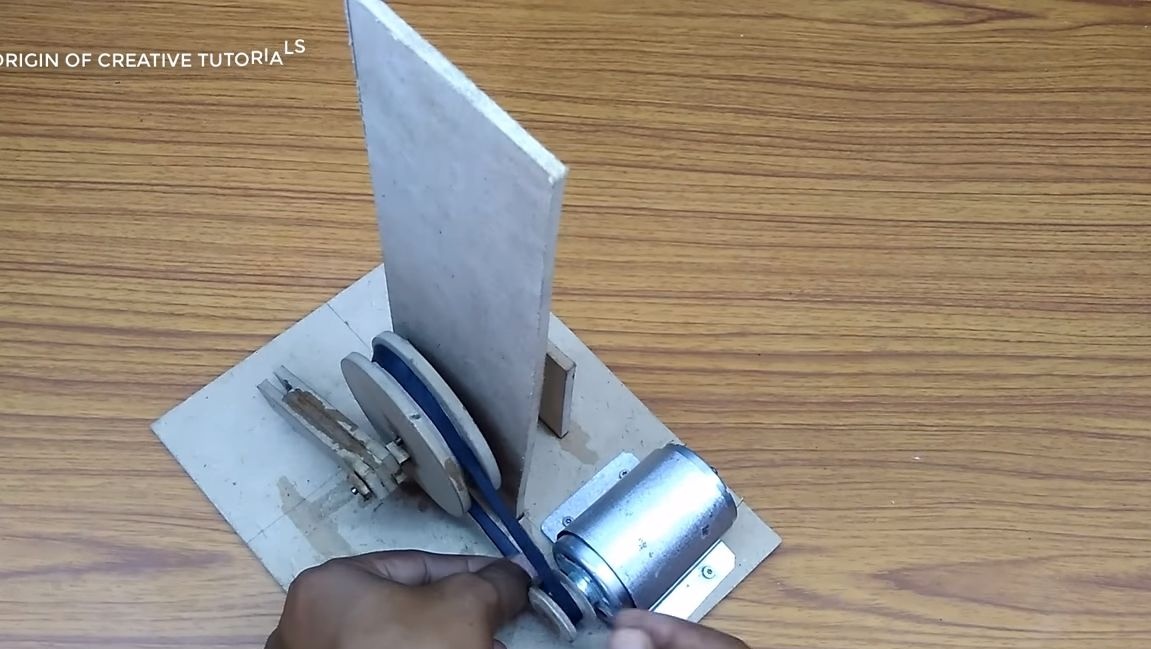
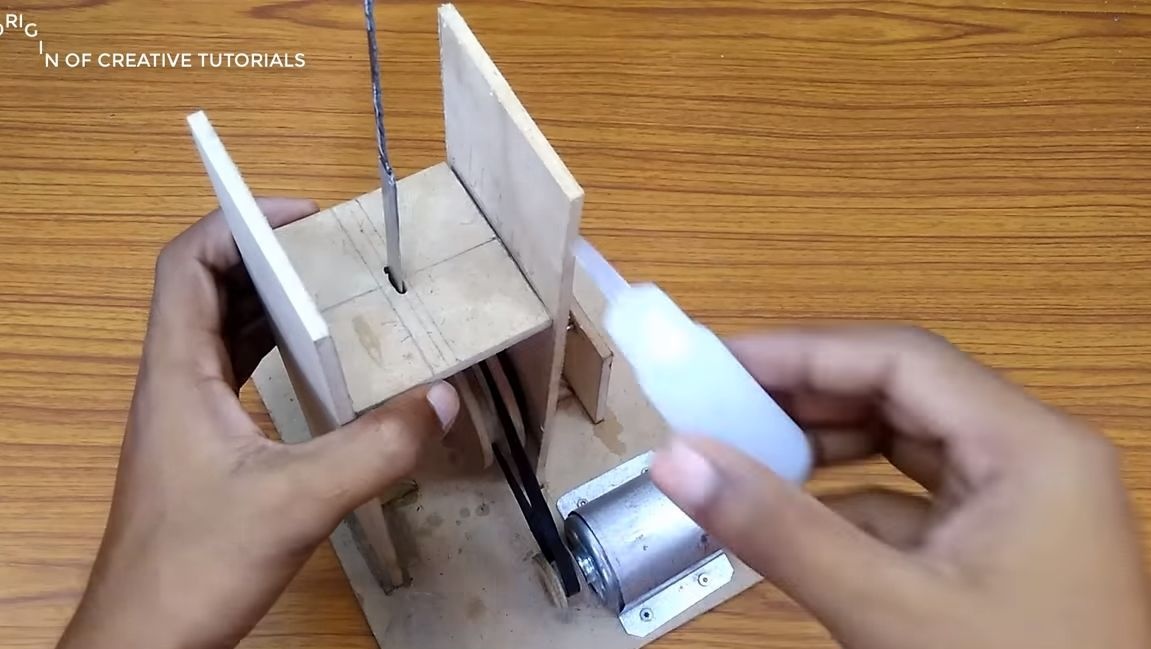
Step Eight. Final assembly machine
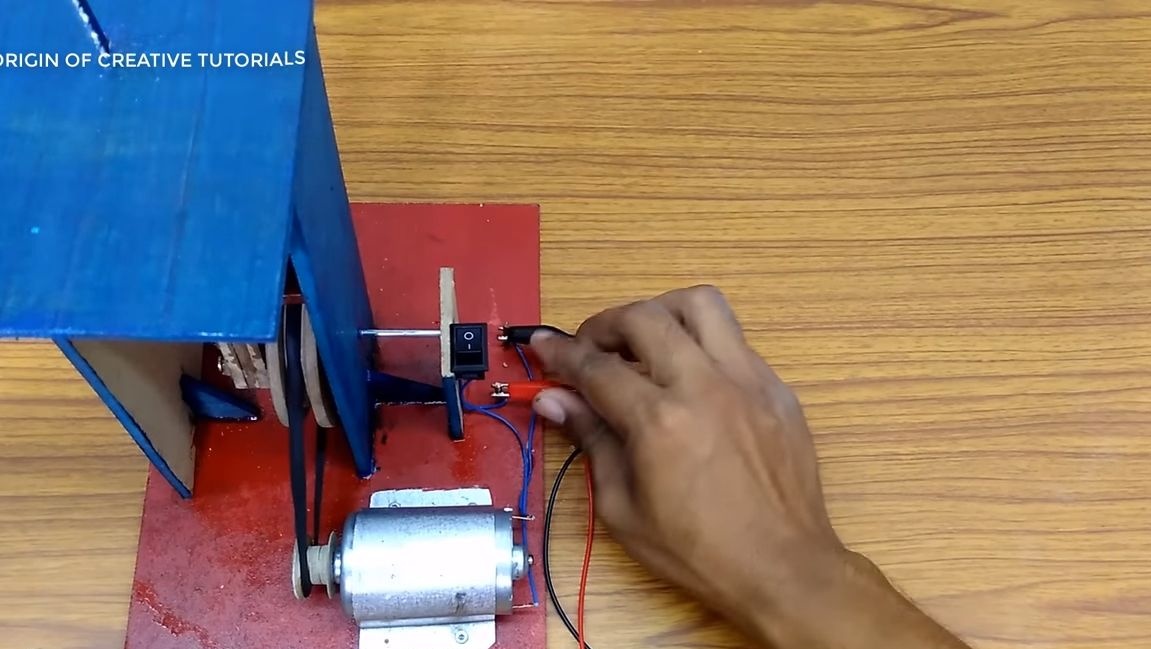
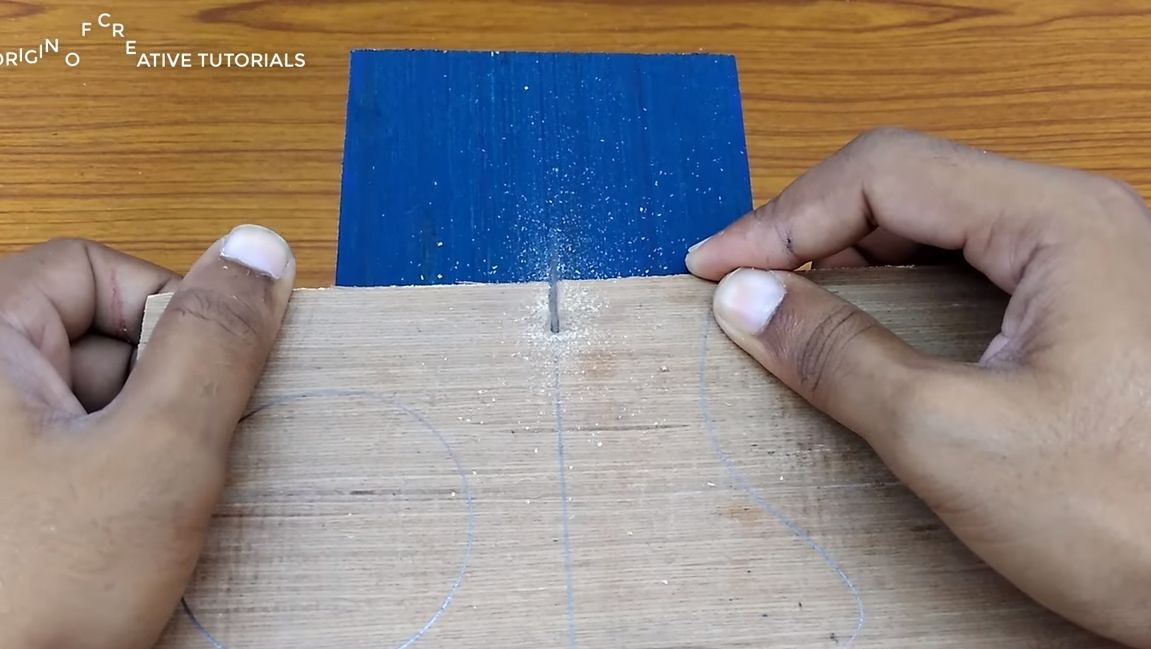
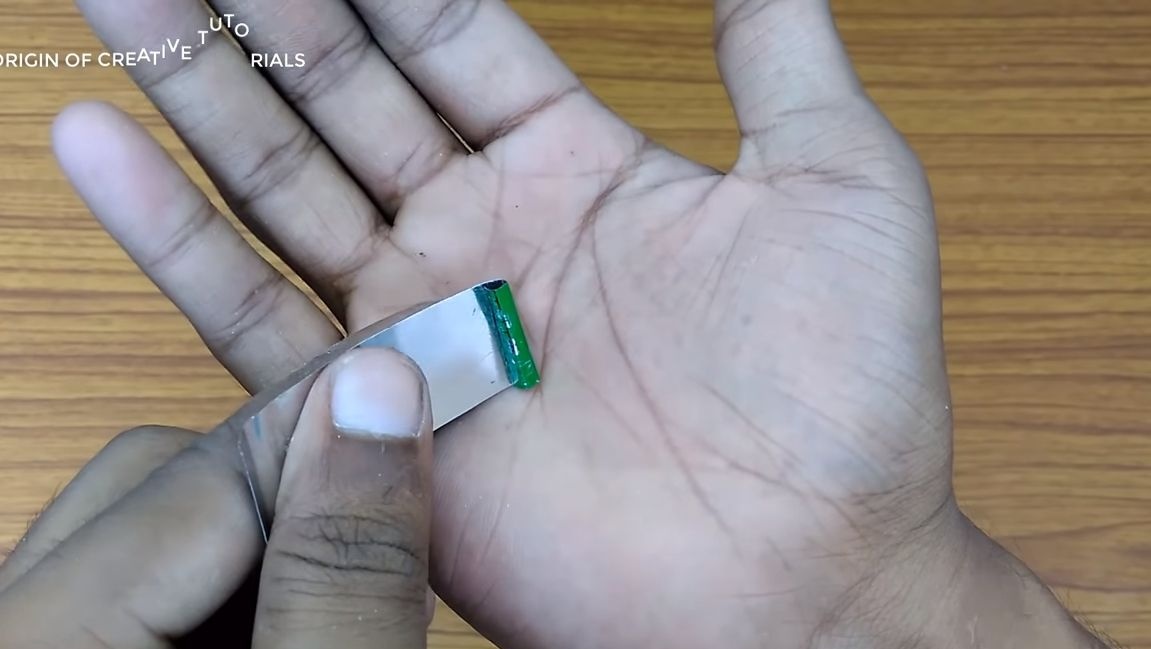
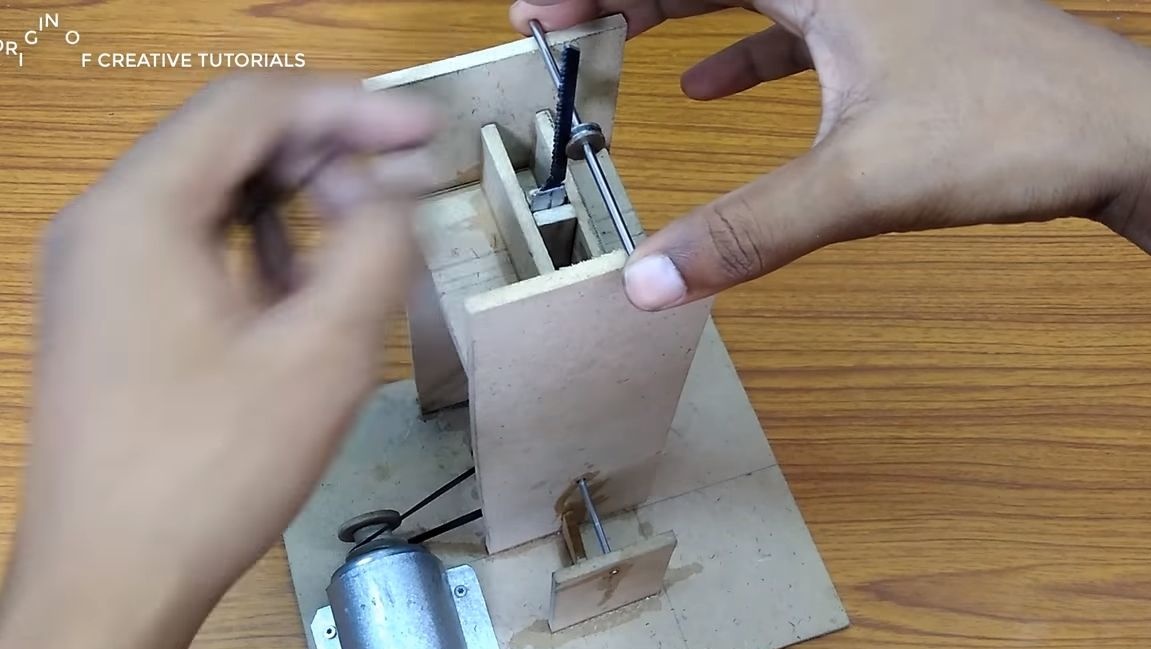
You need to fix the cutting blade. To do this, take a piece of sheet metal and bend it in half. We fasten the knife to one end, and fasten the other side to the connecting rod. You just have to assemble the upper part of the frame, everything is made of plywood. For the knife there will certainly be emphasis, since you will not be able to work on the machine. To emphasize, the author takes the metal axis and installs a sleeve from the motor on it. In fact, it is a miniature metal pulley that rotates on an axis. As a result, we have a reliable and durable support. It remains to install the upper working platform.

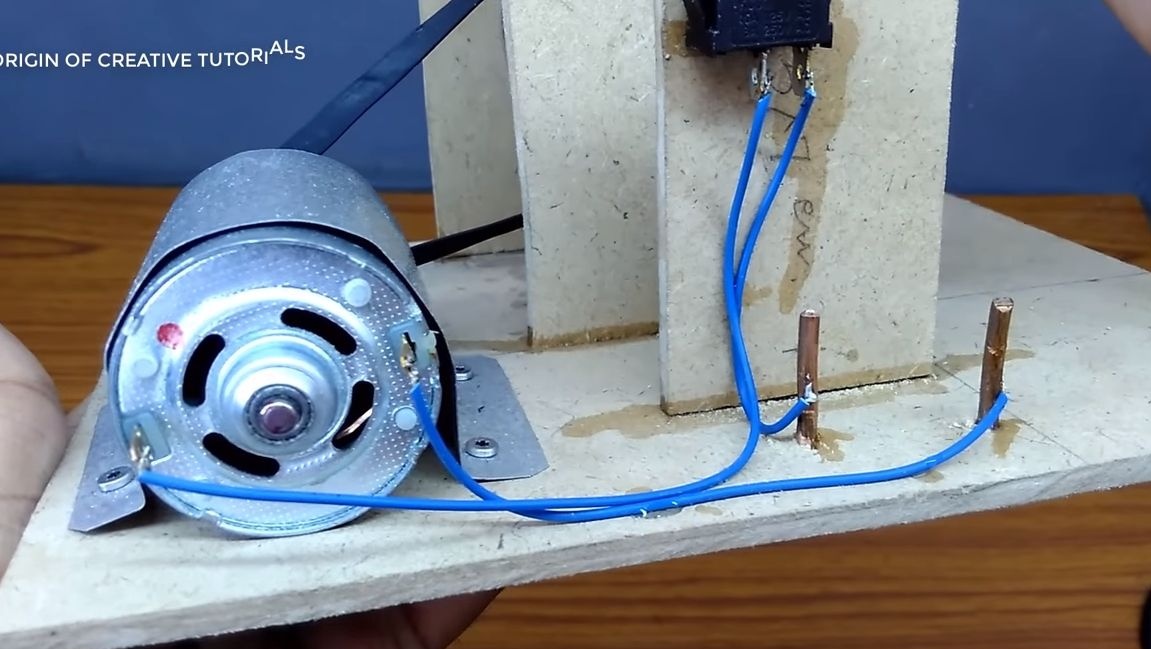
We take a soldering iron and connect the wires. The circuit breaker is provided. As for the connection jack, the author installed two rods from a thick copper wire instead. The author connects the power source using crocodiles.
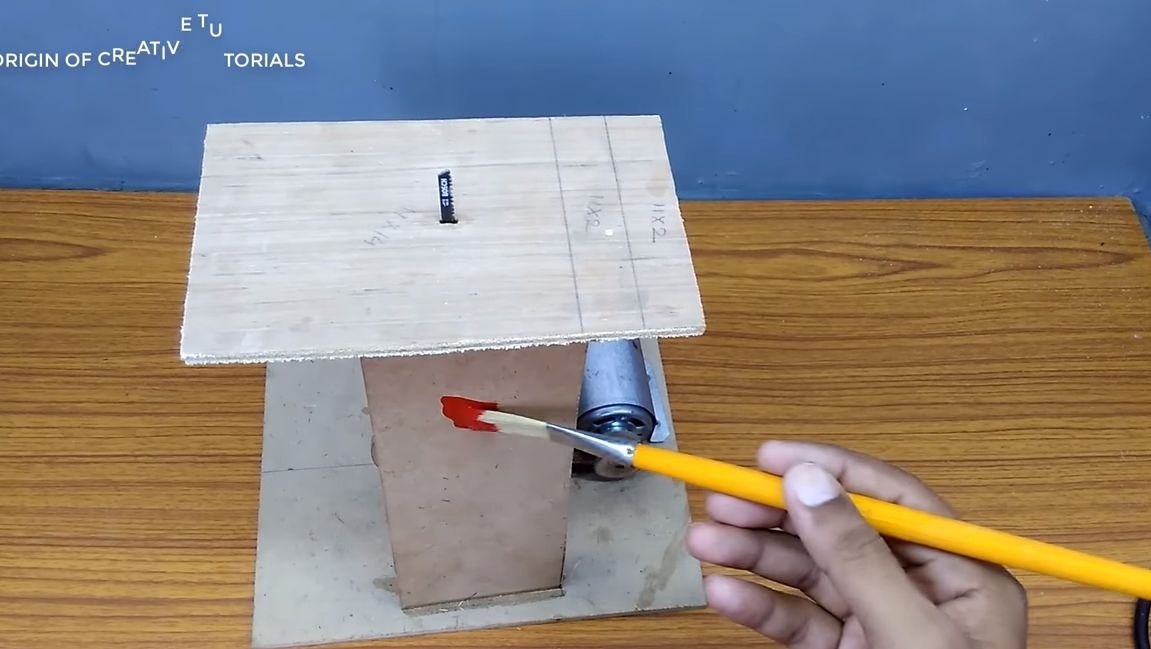
To make the machine look beautiful, paint it. That's all, on this the production can be considered finished. Works homemade excellent, going easy. That's all, good luck and take care!