

Recently made an interesting LED lamp from a set of small LEDs. Regarding the price, it came out less than the store, with almost the same brightness. The lamp housing is simple but stylish, the canons of correct light output are preserved here.
Isn’t it about this: some people dream of a stylish, fun, bright and economical lamp on long winter evenings, wrapped in a warm plaid and reading "not electronic"book?
I offer you my idea for self-production. The lamp works from a 220 V, 50 Hz network, and is screwed into an ordinary cartridge (the one that is larger, because there are still small 220 V, although it can be changed there).
Almost all parts of the lamp are taken from spare parts that have already been used, but are idle.
To create, we need not a lot of tools and materials:
Tools and devices:
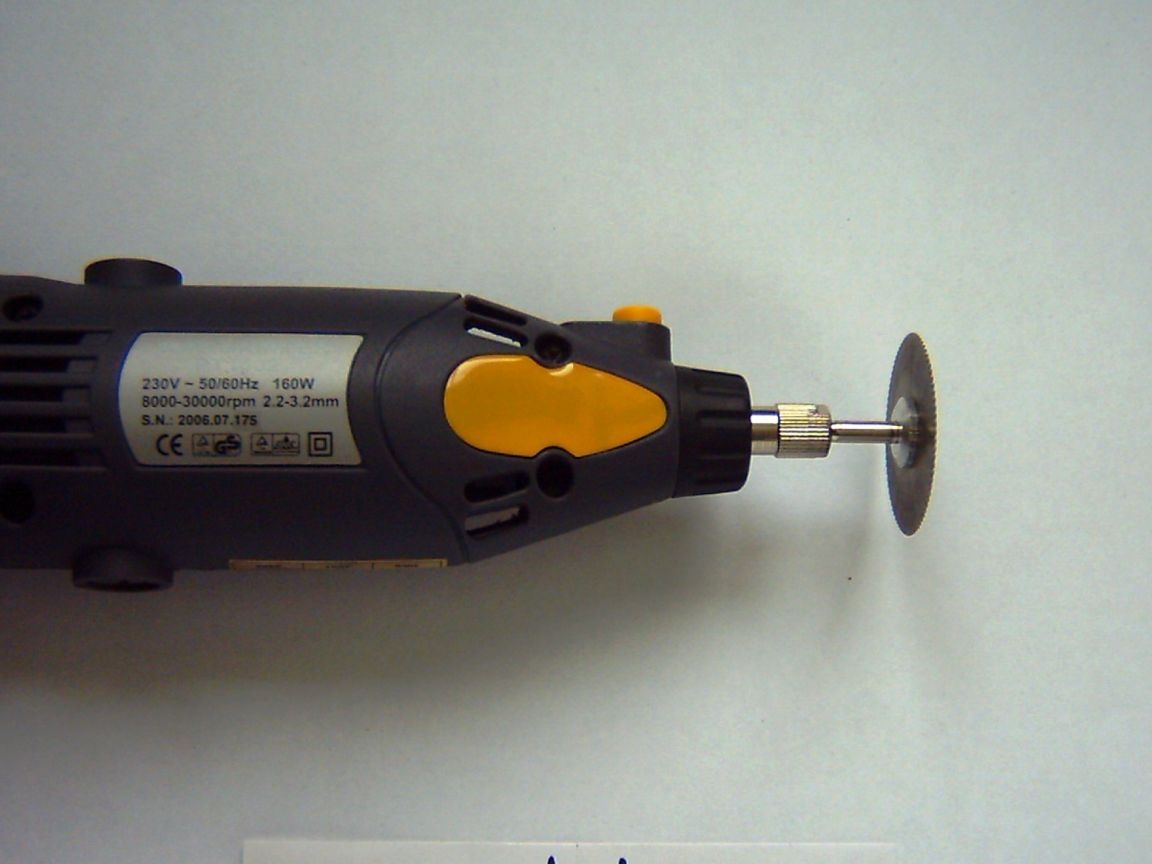
- Grover (with a disk on a tree)
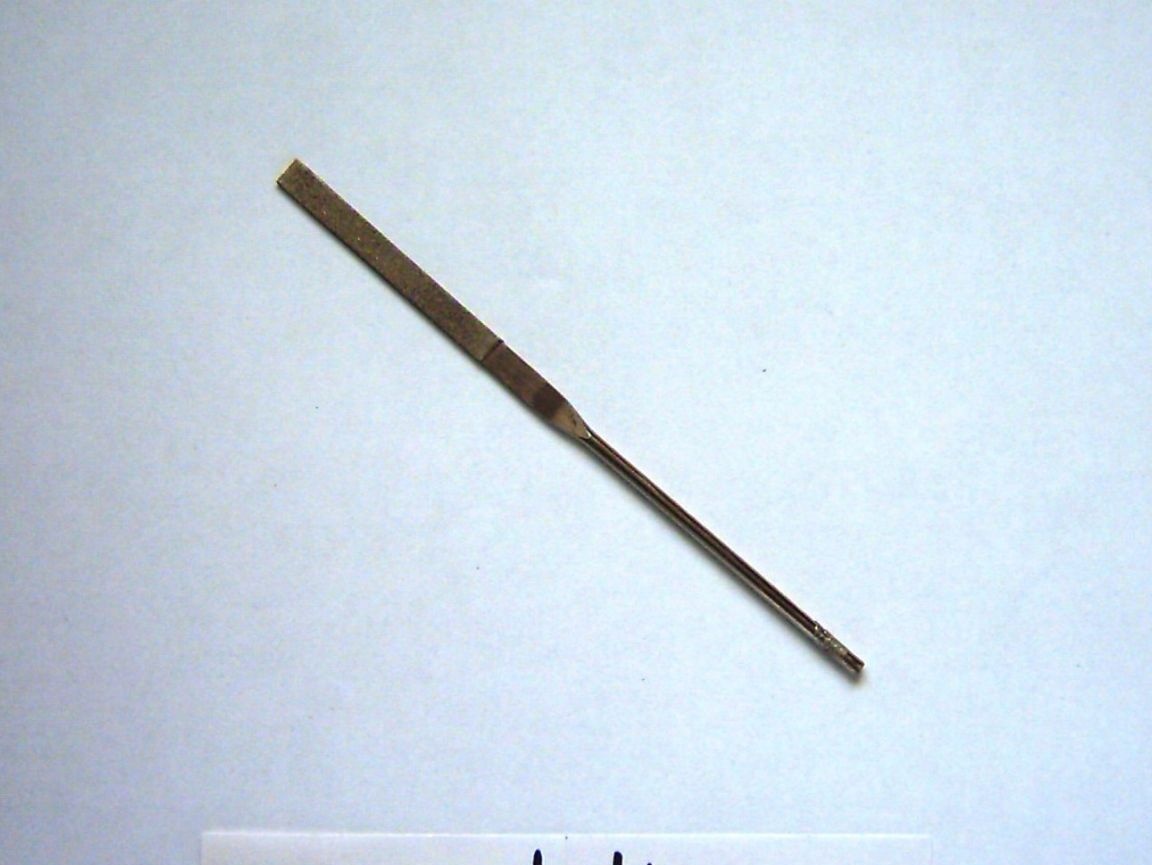
- file, or sandpaper;
- soldering iron;
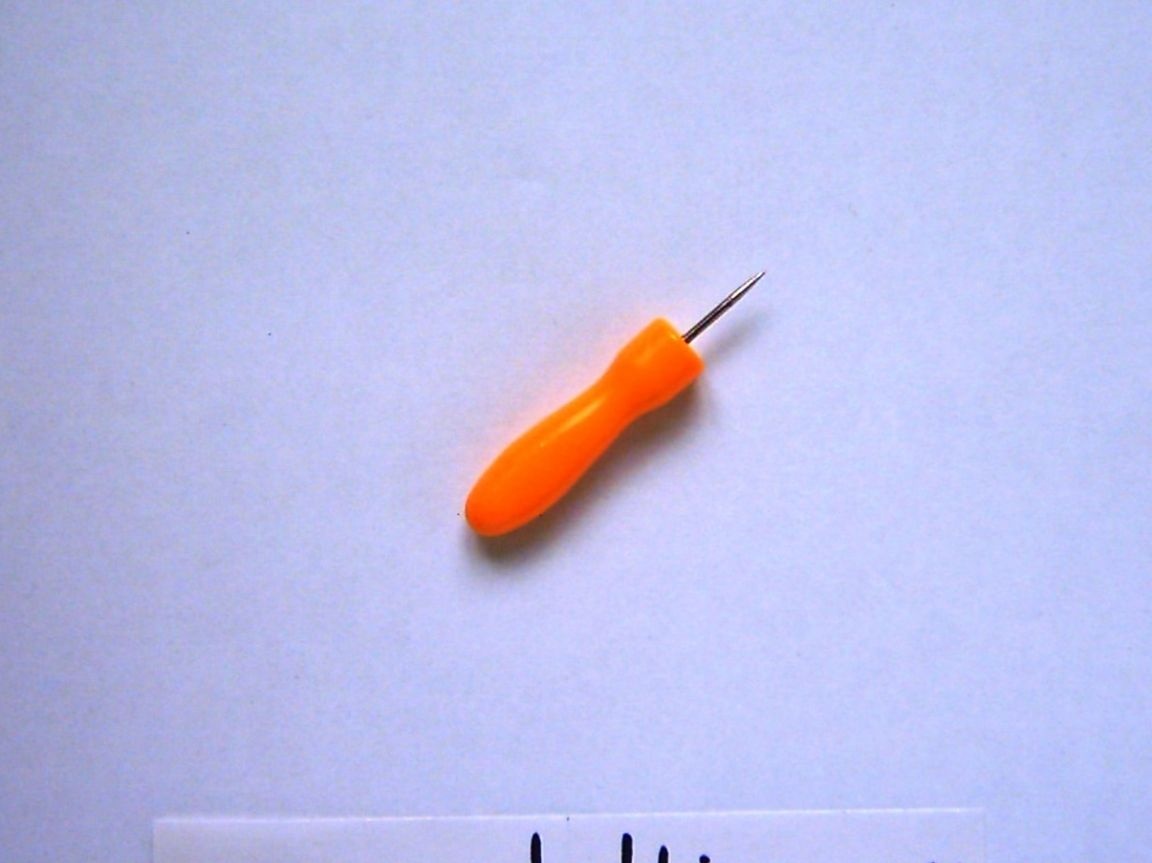
- awl;
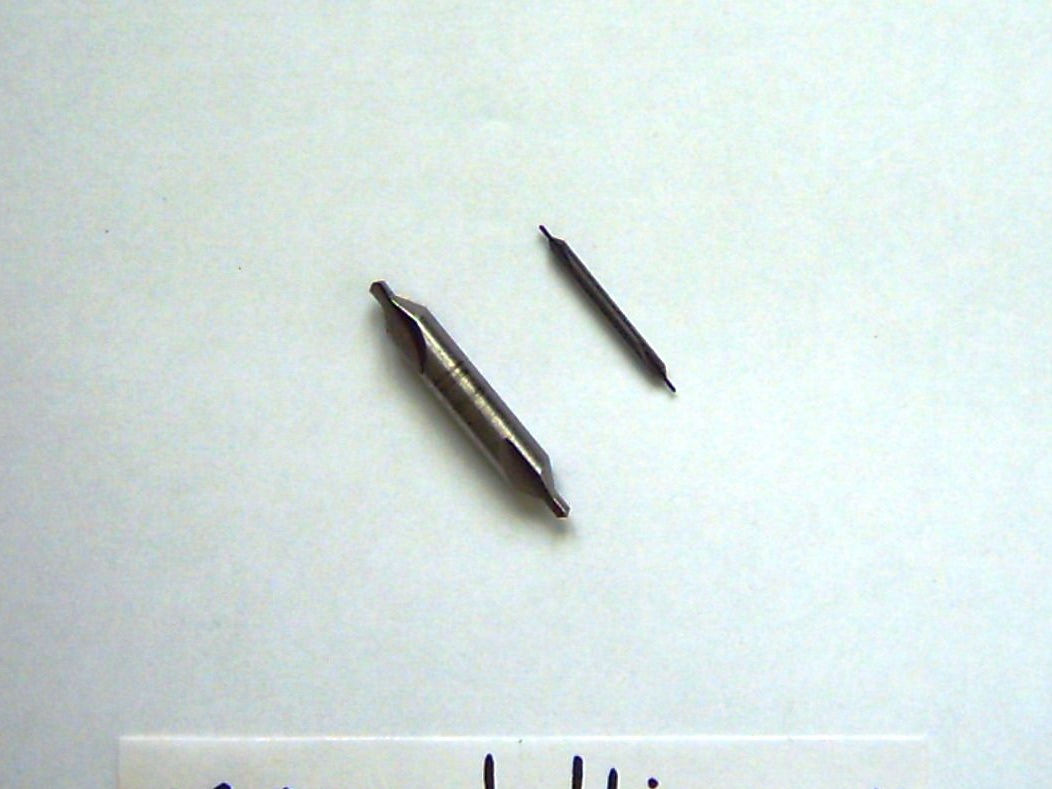
- drill (or centering, diameter 0.8 mm);
- a drill (or centering, diameter 8 mm, for the size of the LED);
- a drill (although here you can drill manually);
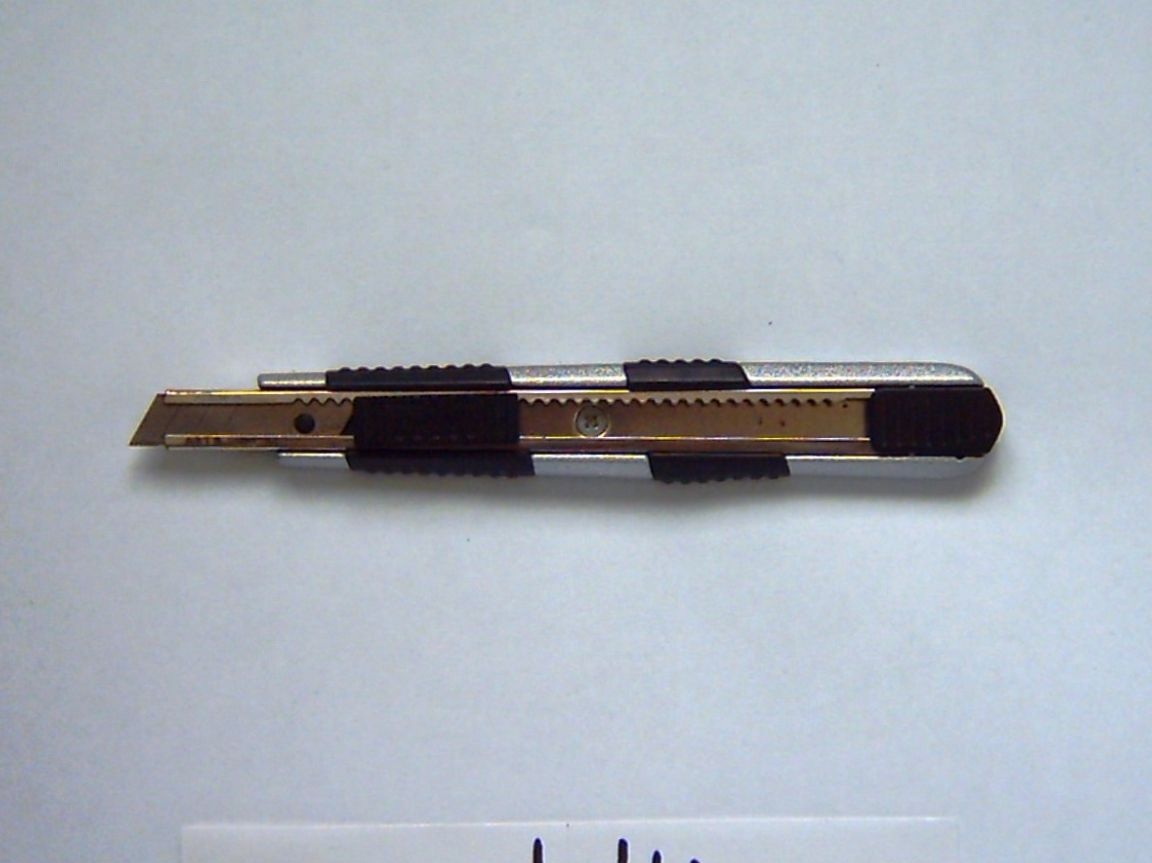
- stationery knife;
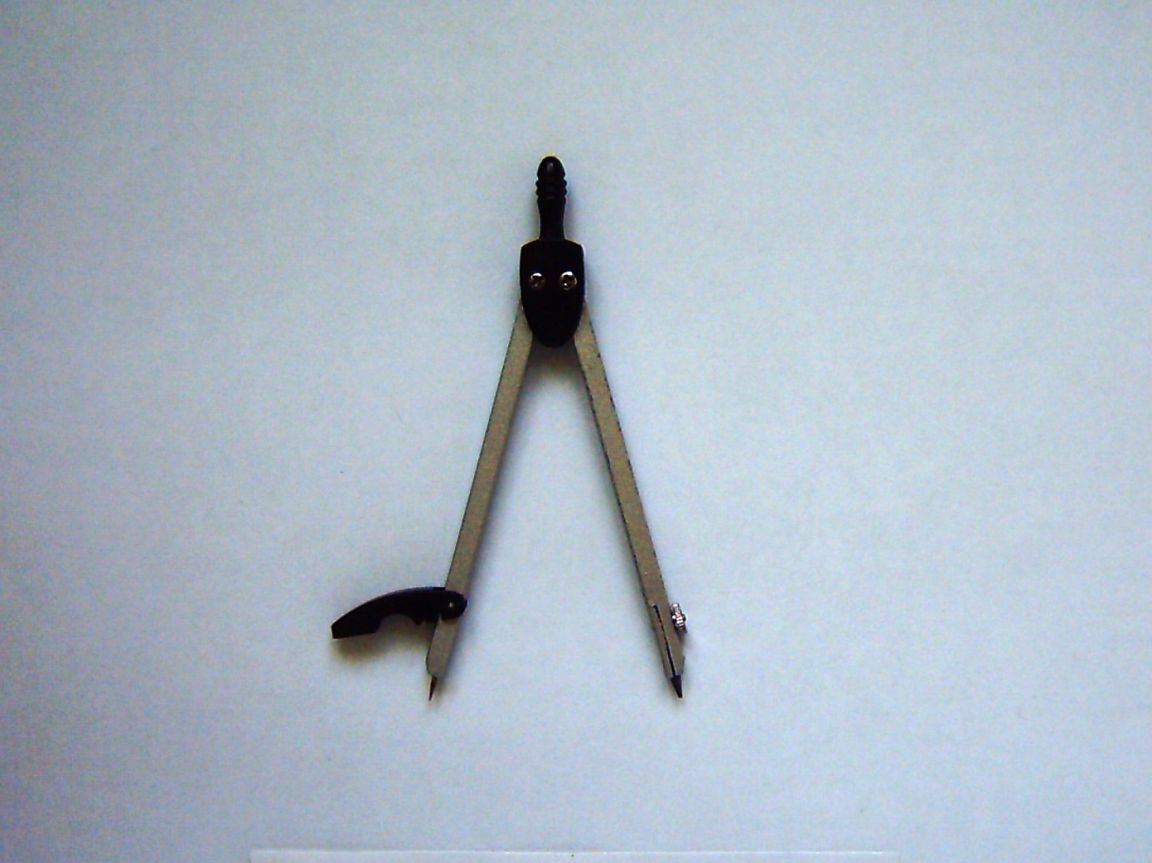
- compass;
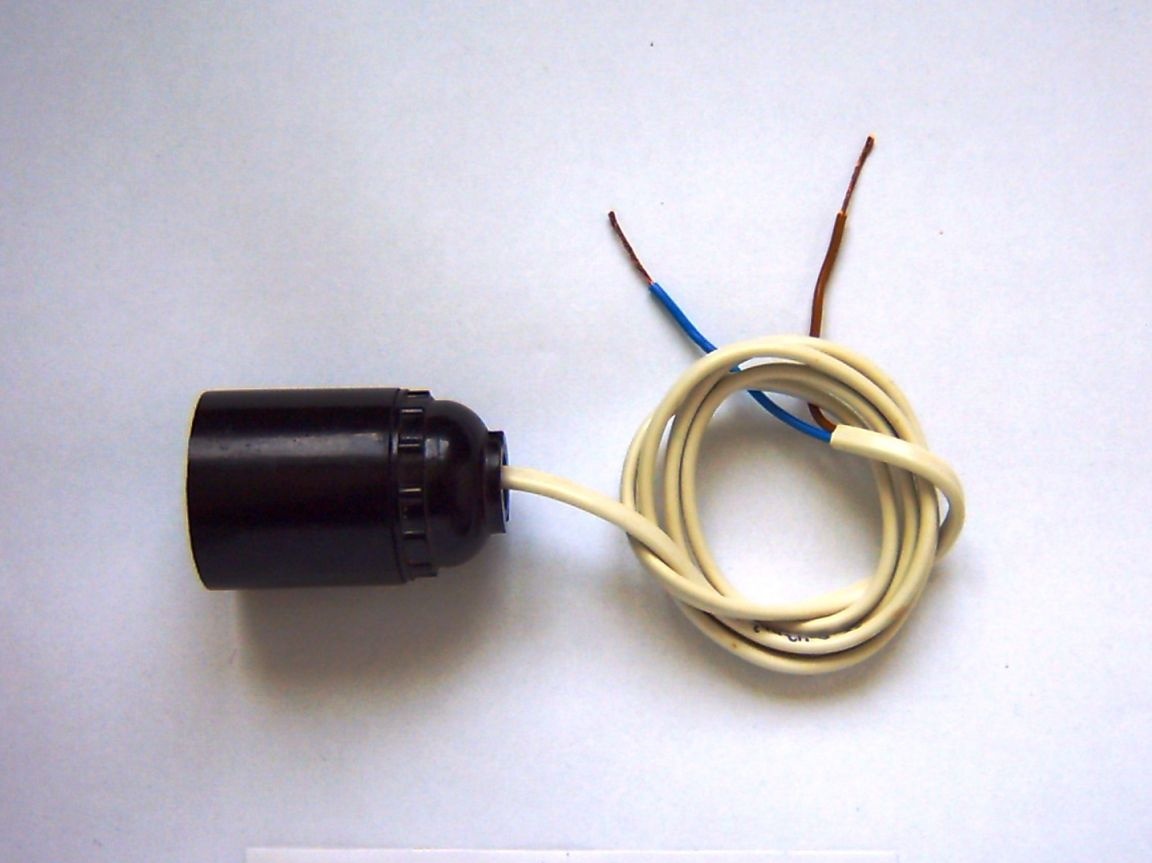
- large lampholder (for lamp with thread);
- A4 paper (1 pc.).
Expendable materials:

- solder;
- rosin;
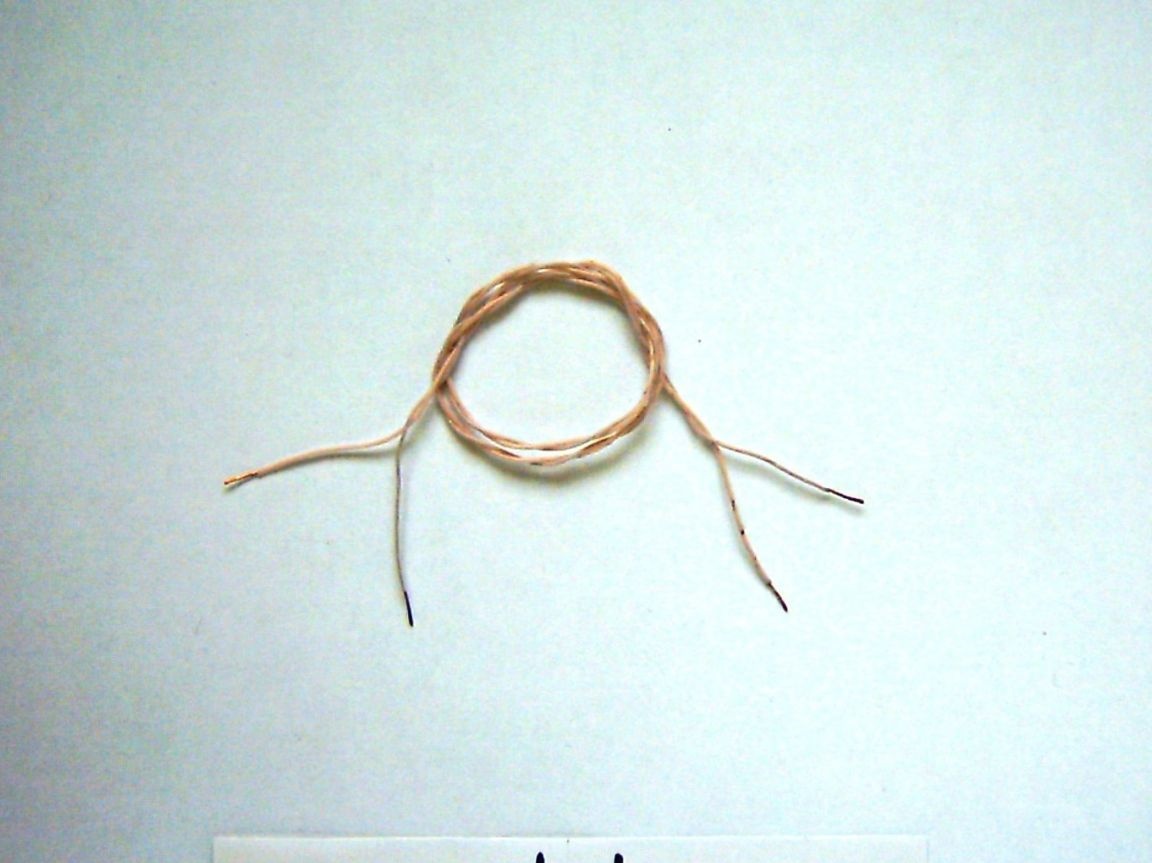
- connecting copper wires;
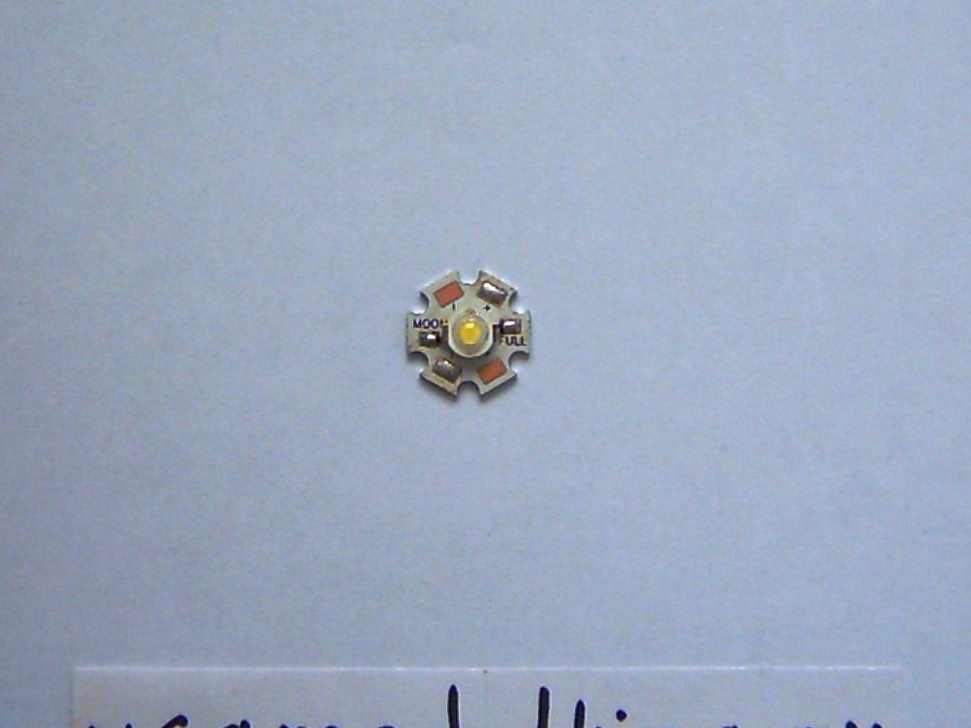
- LEDs for 1 W, 3.5 V (with radiators, 4 pcs.);
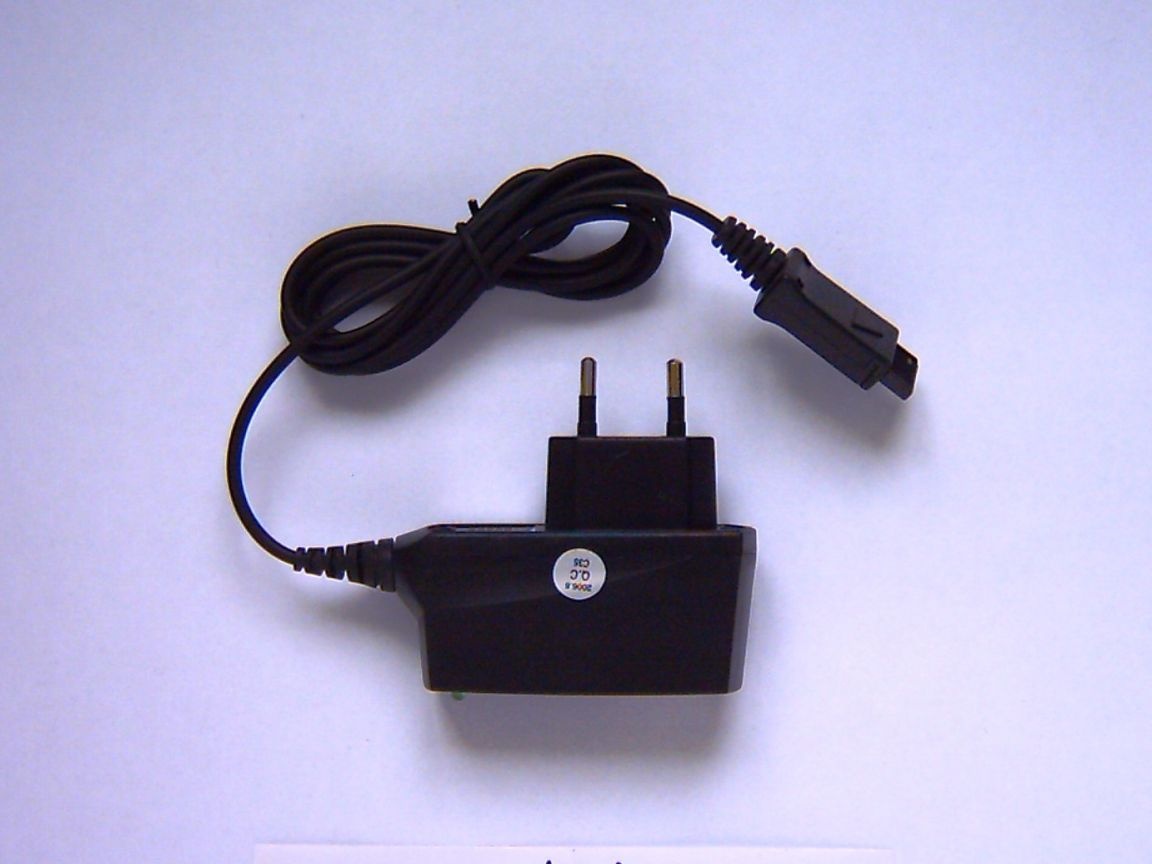
- Charging for mobile phone (used);
- CD-ROM or DVD (1 pc.);
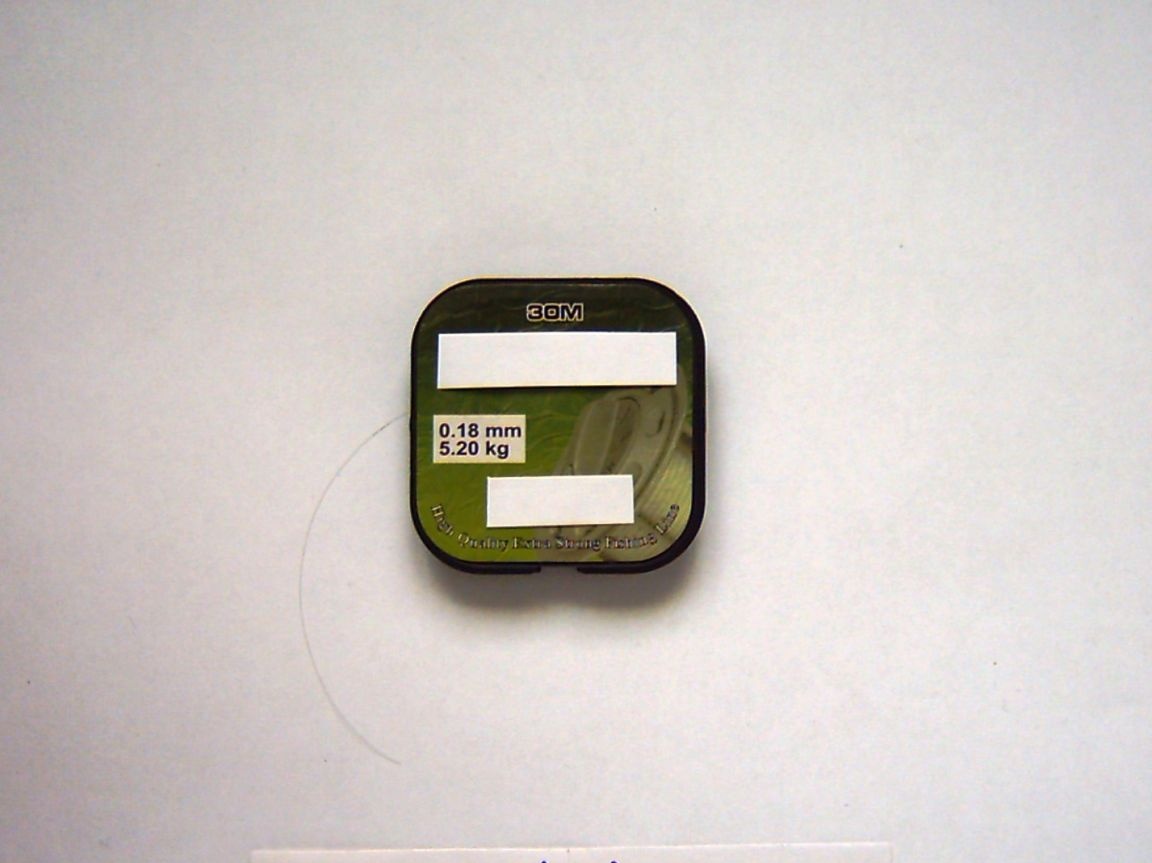
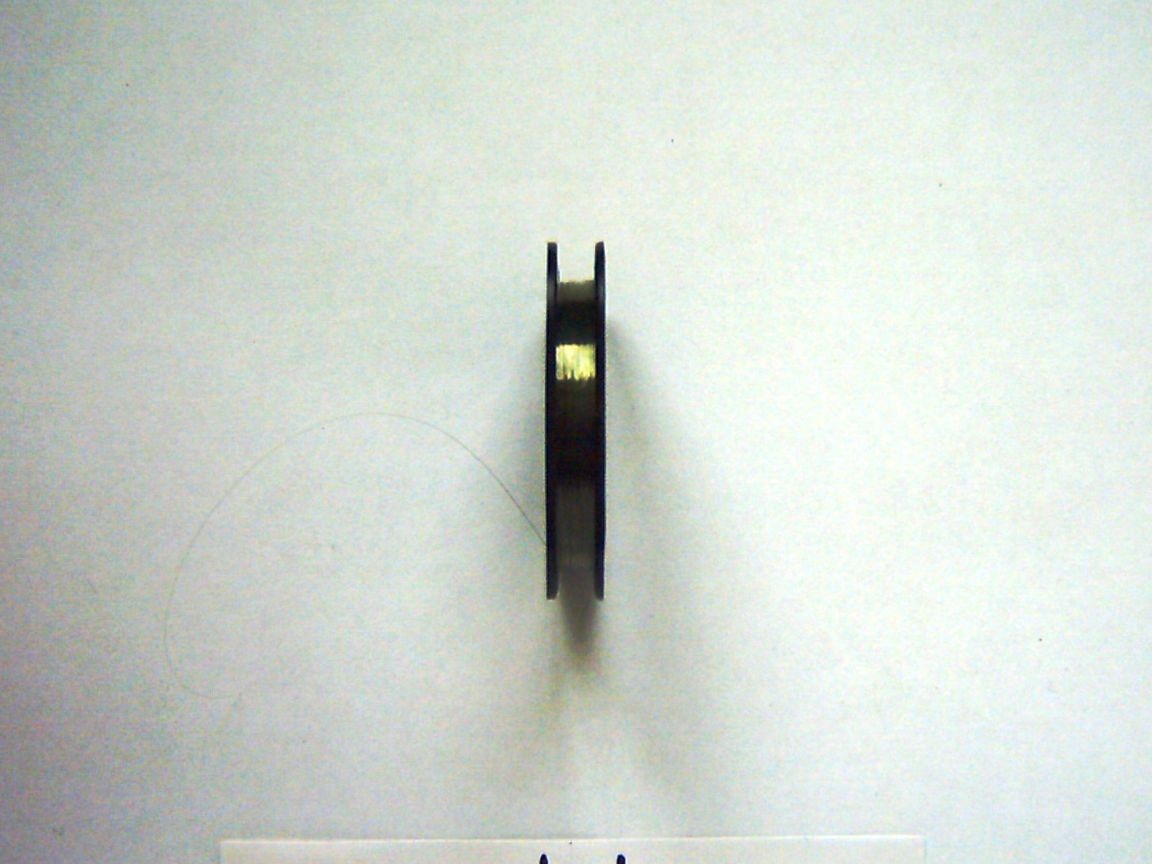
- fishing line (diameter 0.18 mm, 1 reel);
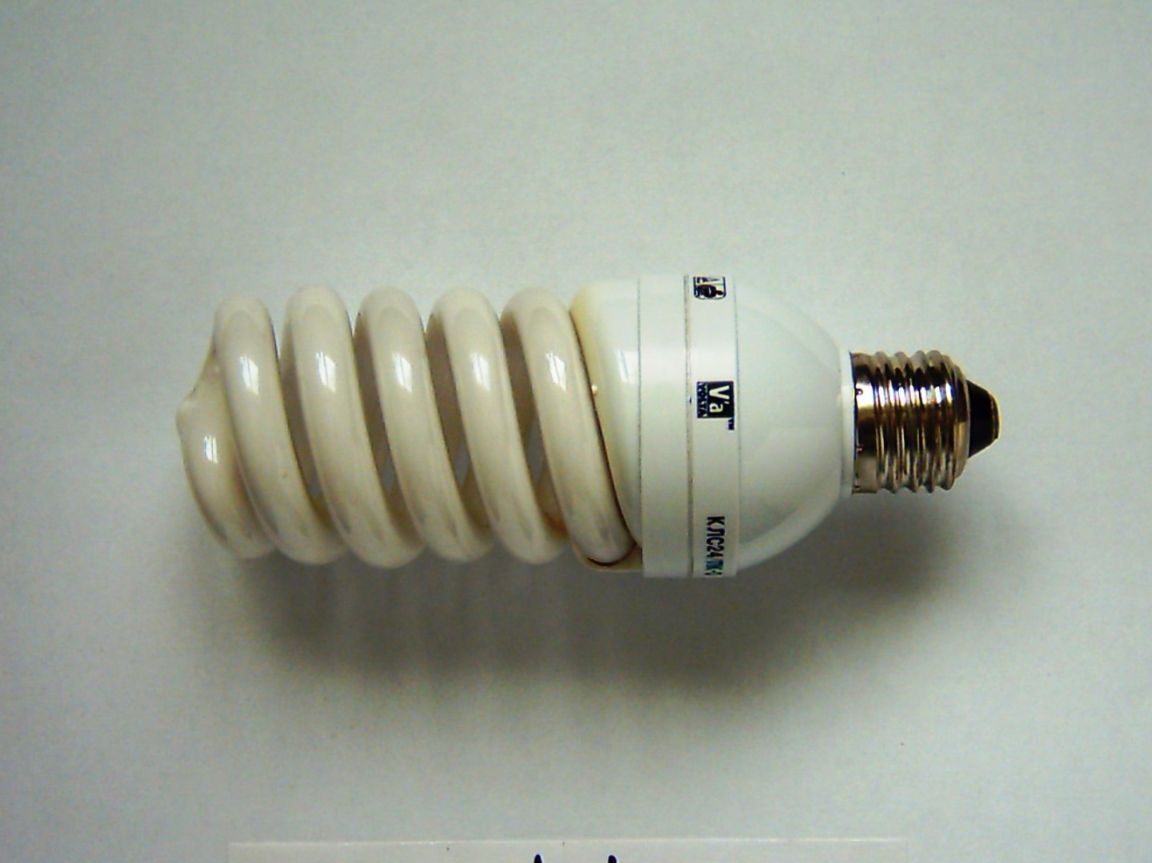
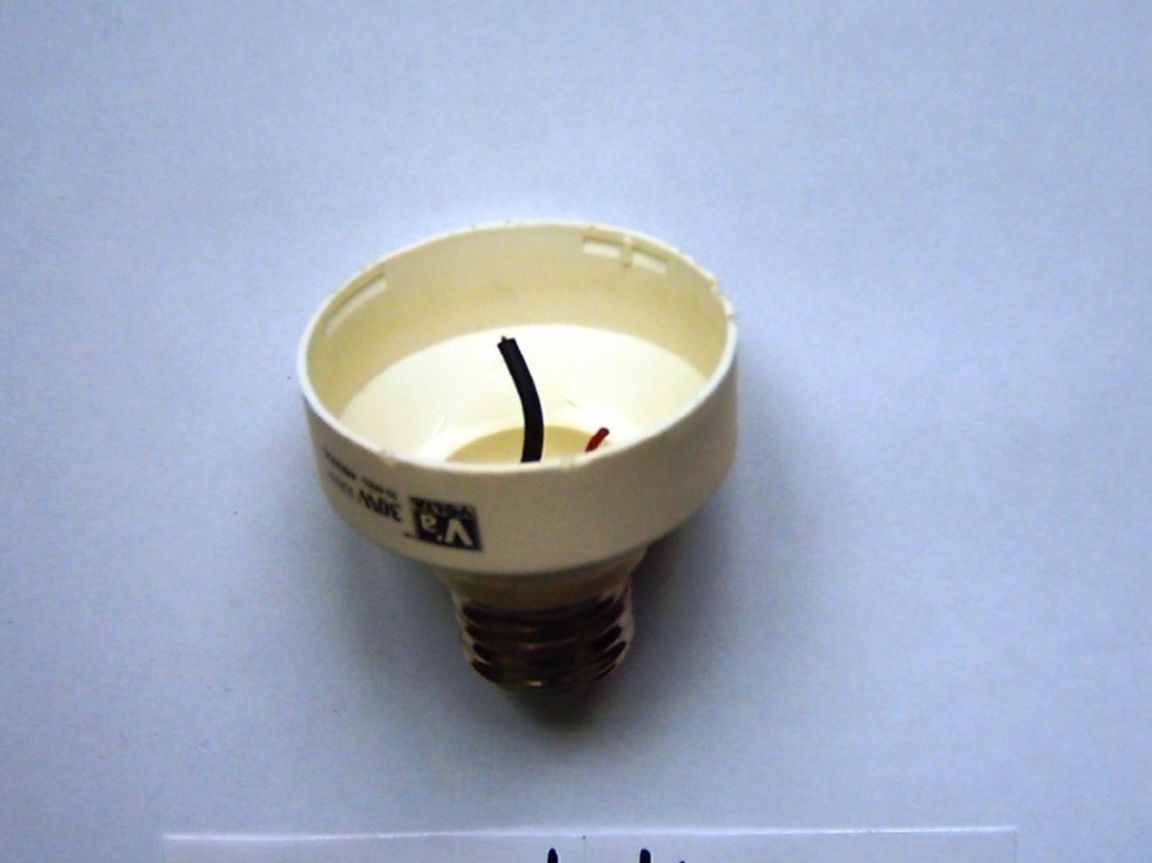
- socket with thread from a blown-out economical lamp with a plastic housing;
Stage 1.
We draw a circle of the required size on a paper using a compass, under the base with a marking for LEDs:
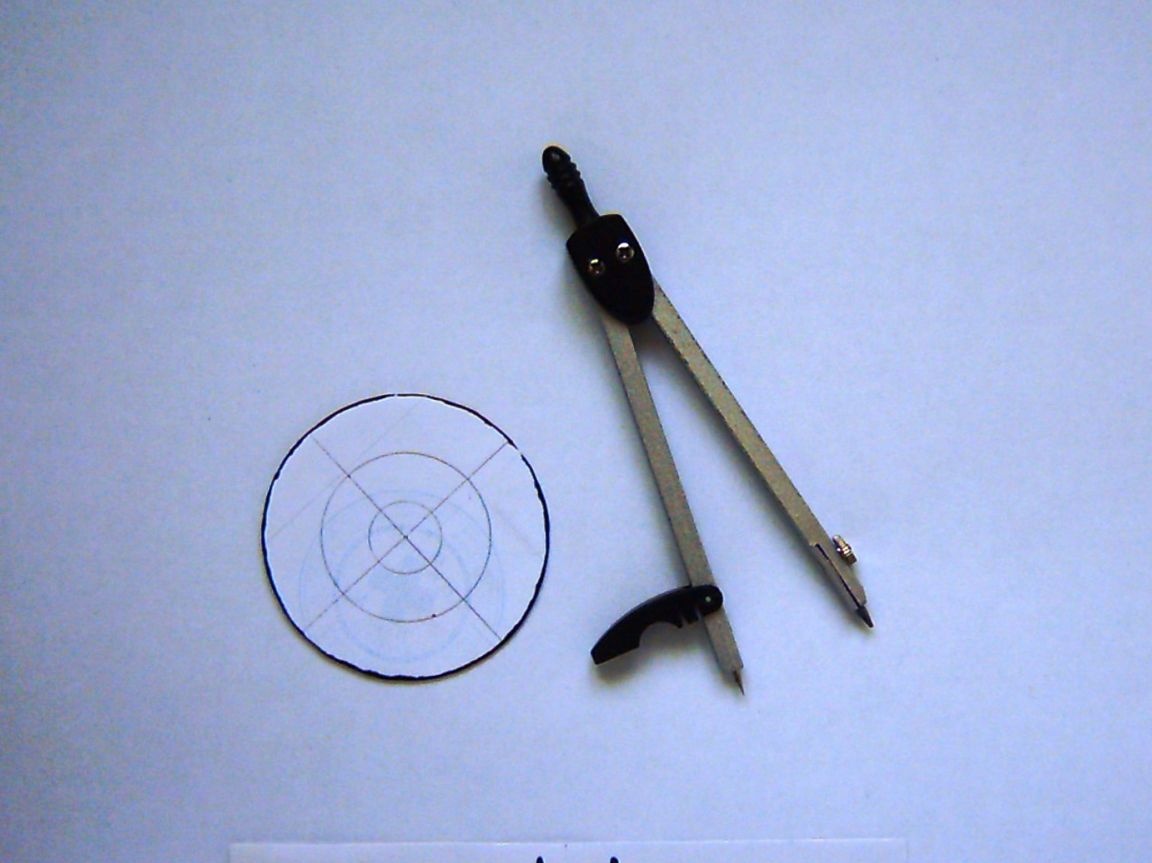
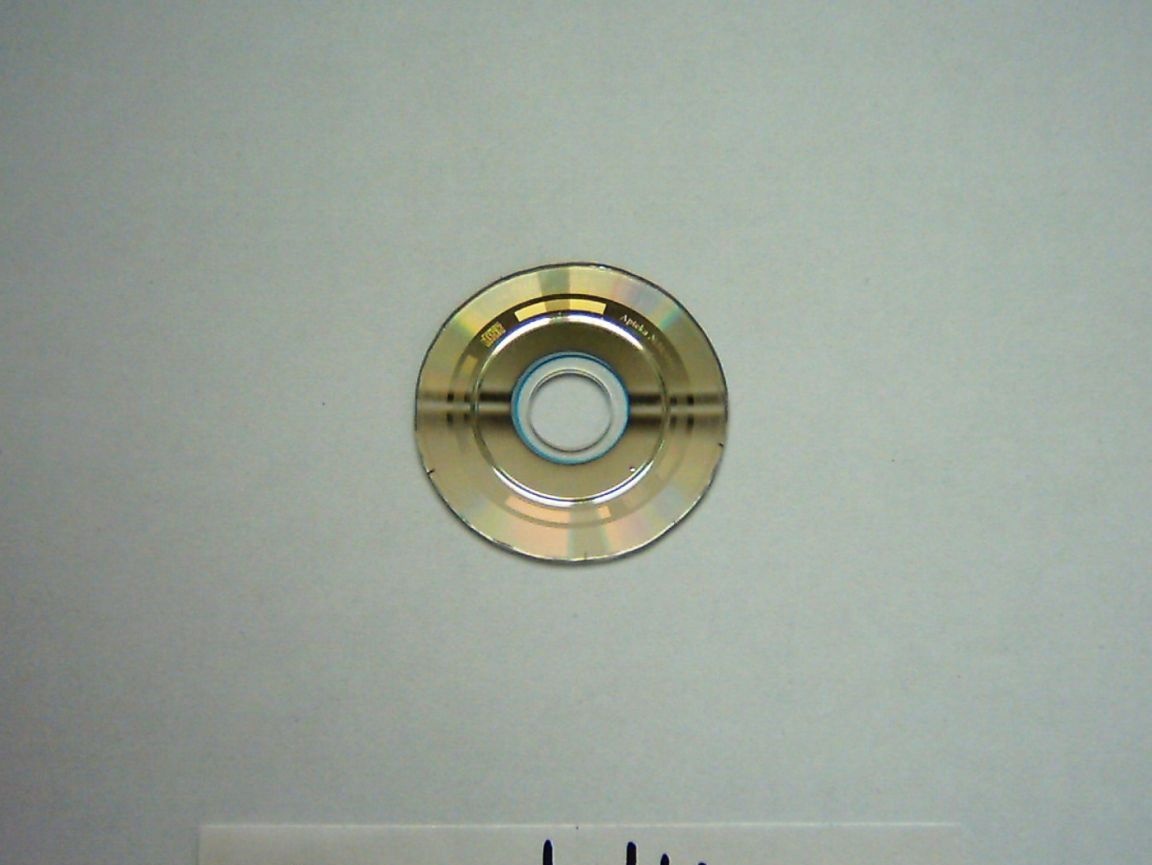
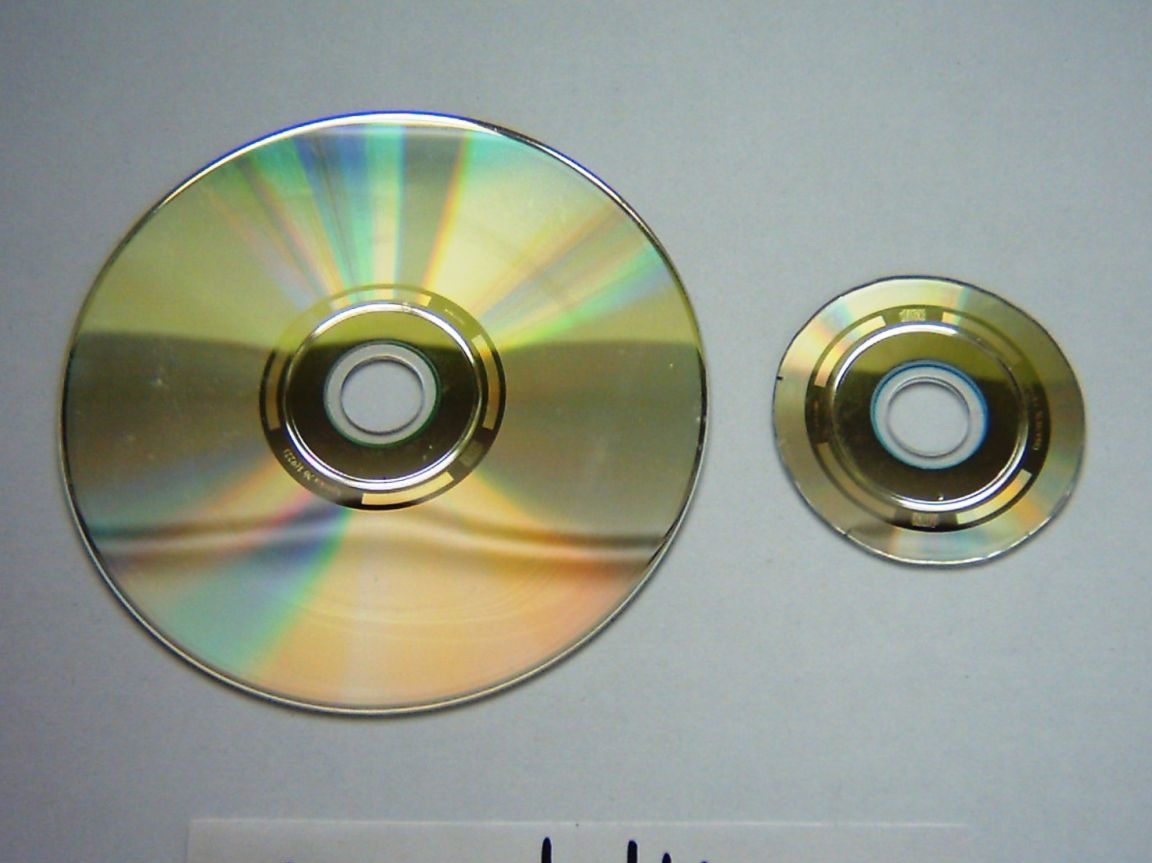
Stage 2.
We apply a paper circle to the CD-ROM, transfer the markup with an awl, and then we cut out a small disk with a grover:
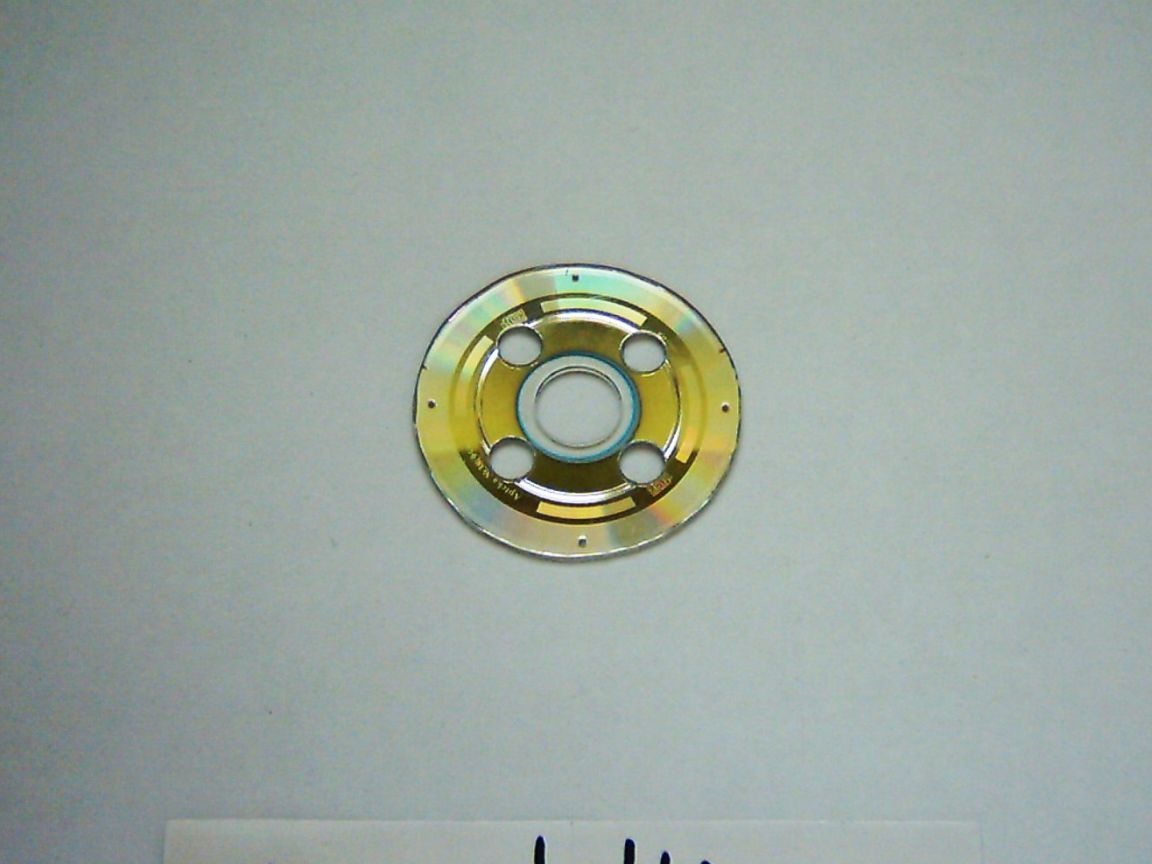
Stage 3.
Using drills (or alignments), drill holes in the small disk, 4 large (8 mm) in the center and 4 small closer to the perimeter (0.8 mm):
Stage 4.
Since charging for the cell phone has an output voltage of 6.4 V, and the LEDs consume 3.2 V, we solder them 2 in series in 2 pairs. So that the LEDs do not pass from the foil of the CD-ROM, we put insulation on their contacts:
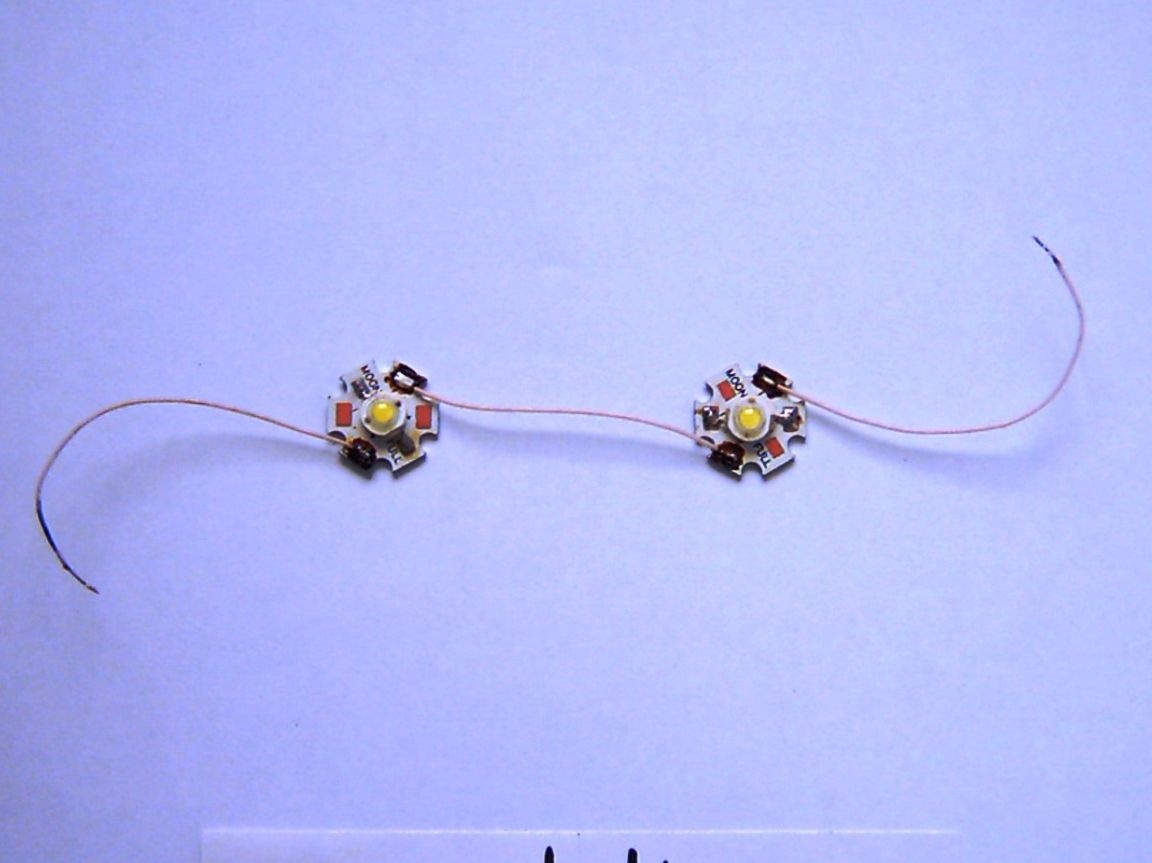
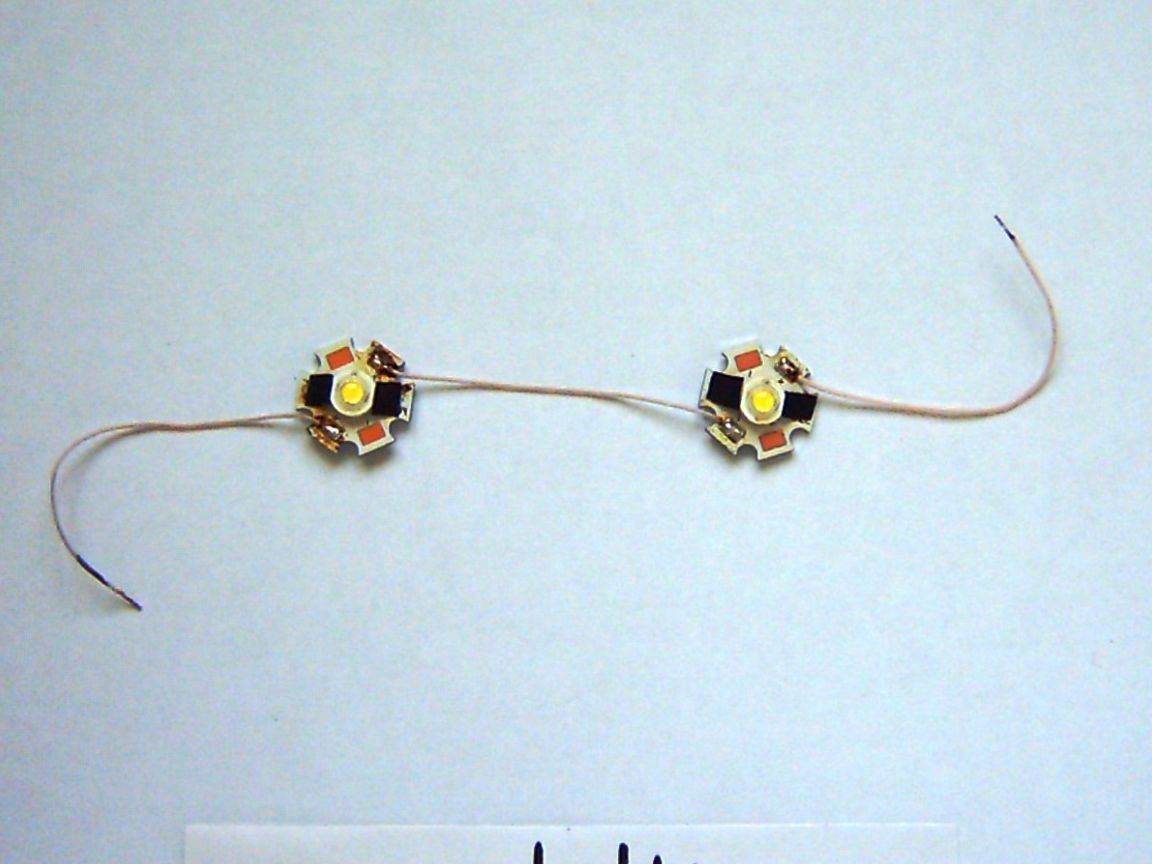
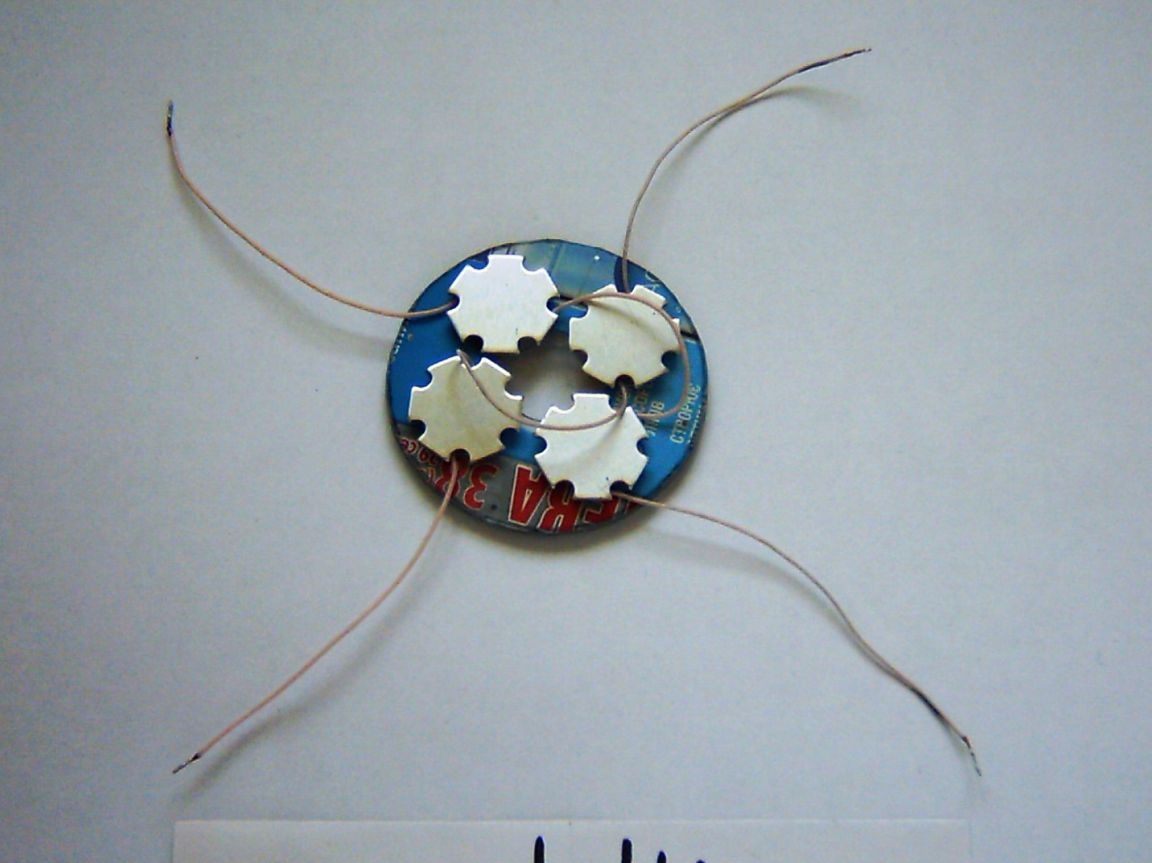
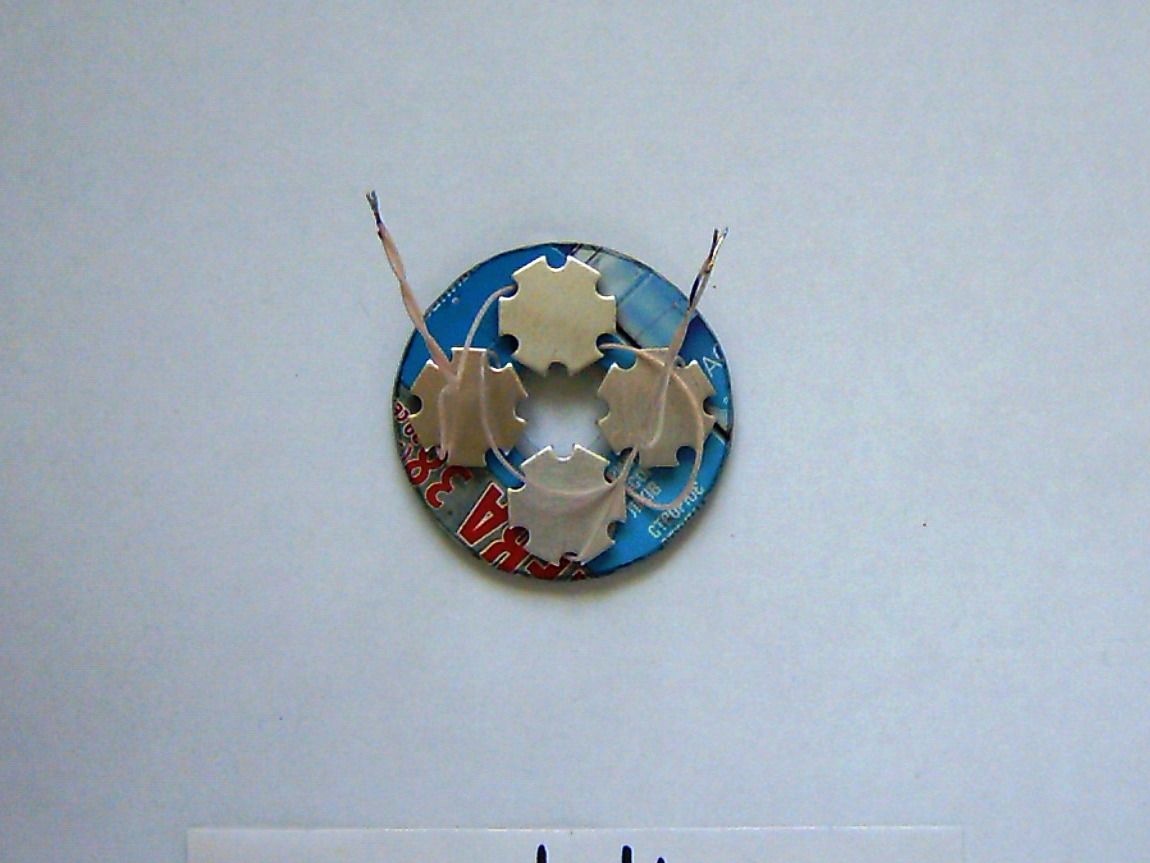
Stage 5.
We lightly fit the LEDs into the holes (8mm) on the CD so that their pairs are perpendicular to each other. This is done so that when one pair burns out, the second luminary is symmetrical:
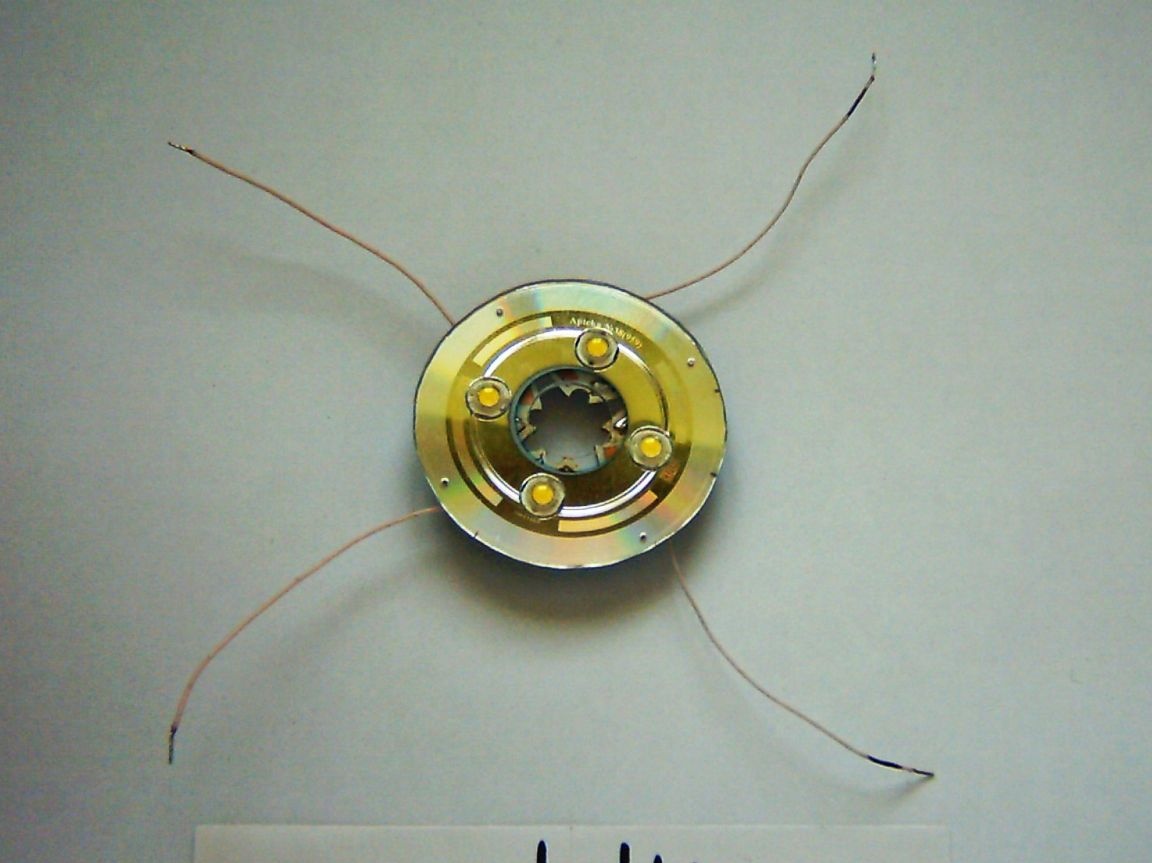
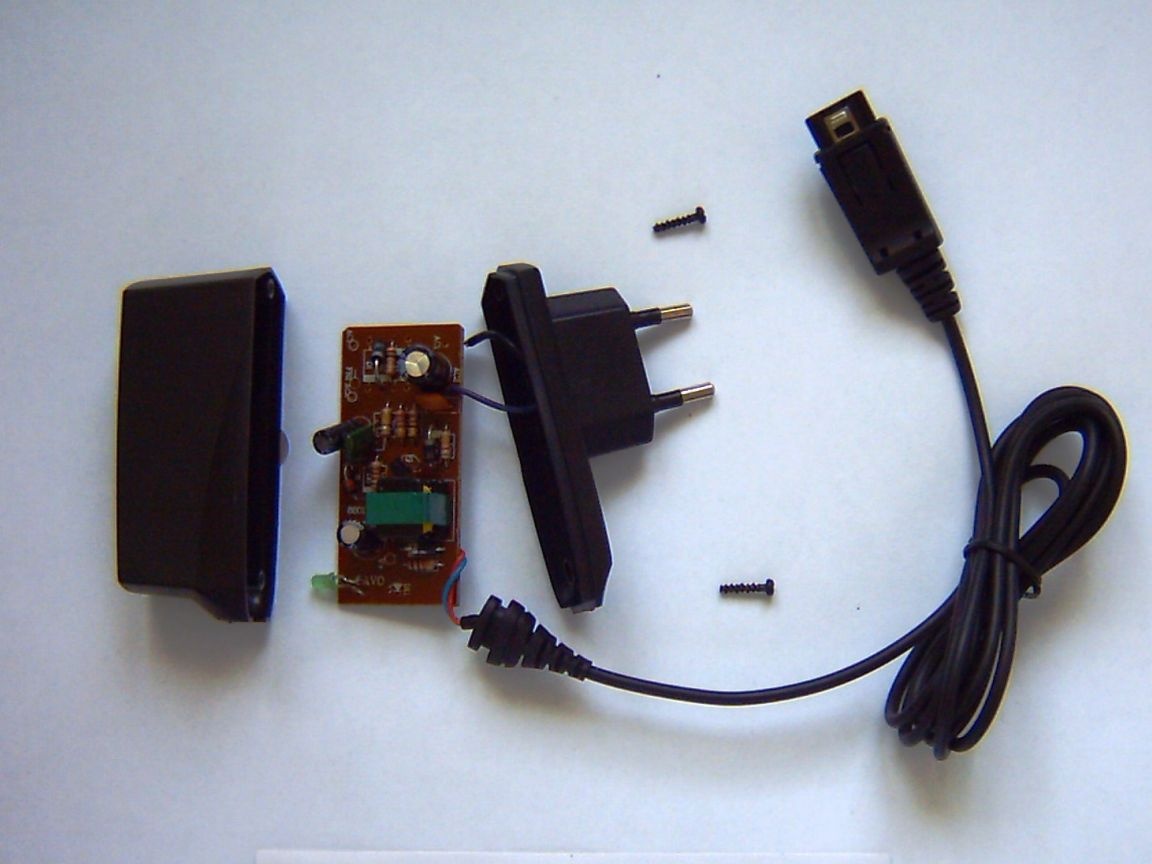
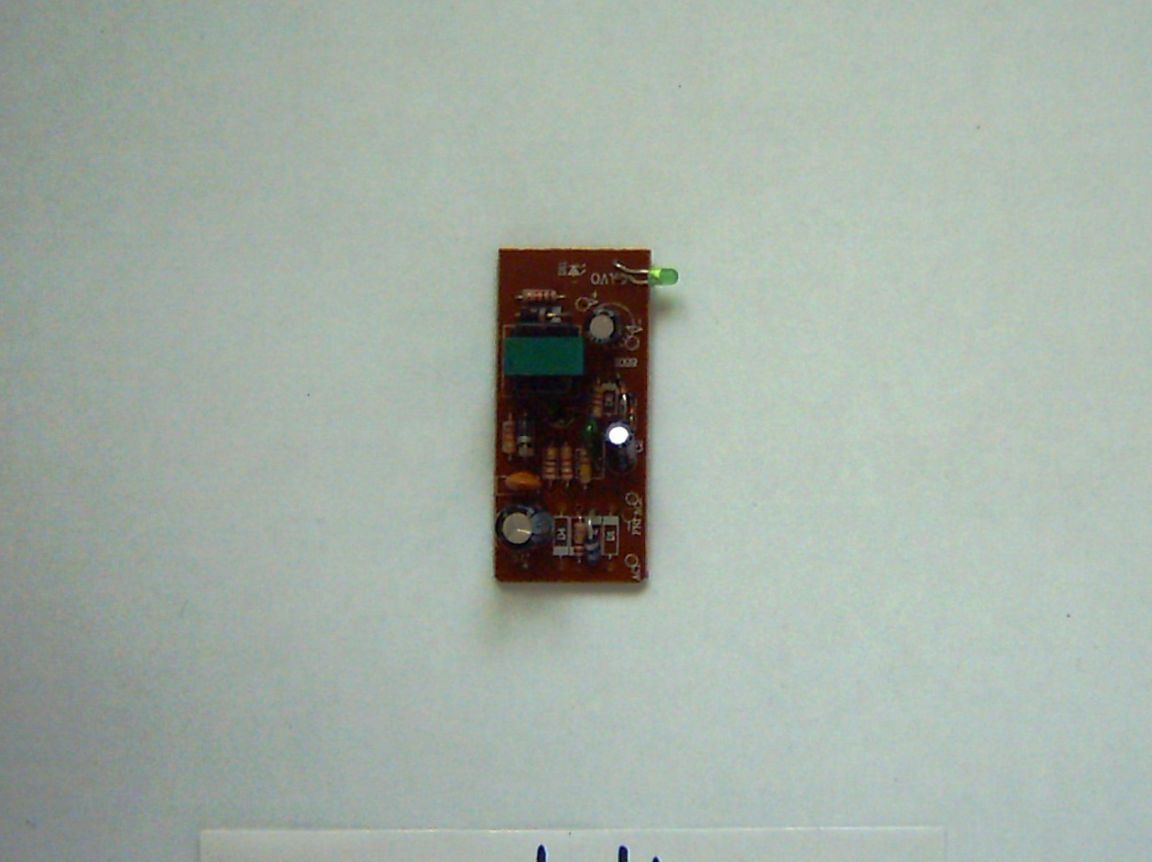
Stage 6.
We disassemble the mobile charger, if it does not enter the basement glass, then it can be cut off a little by taking, for example, the green indicator LED. And solder the contacts of the white LEDs:

Stage 7.
To connect a small disk with a socle, on the side of the socle cup we drill 4 symmetrical holes with a diameter of 0.8 mm and tie a fishing line. So that the fishing line does not protrude from the base, leave a long end (30 mm) and tighten inward:
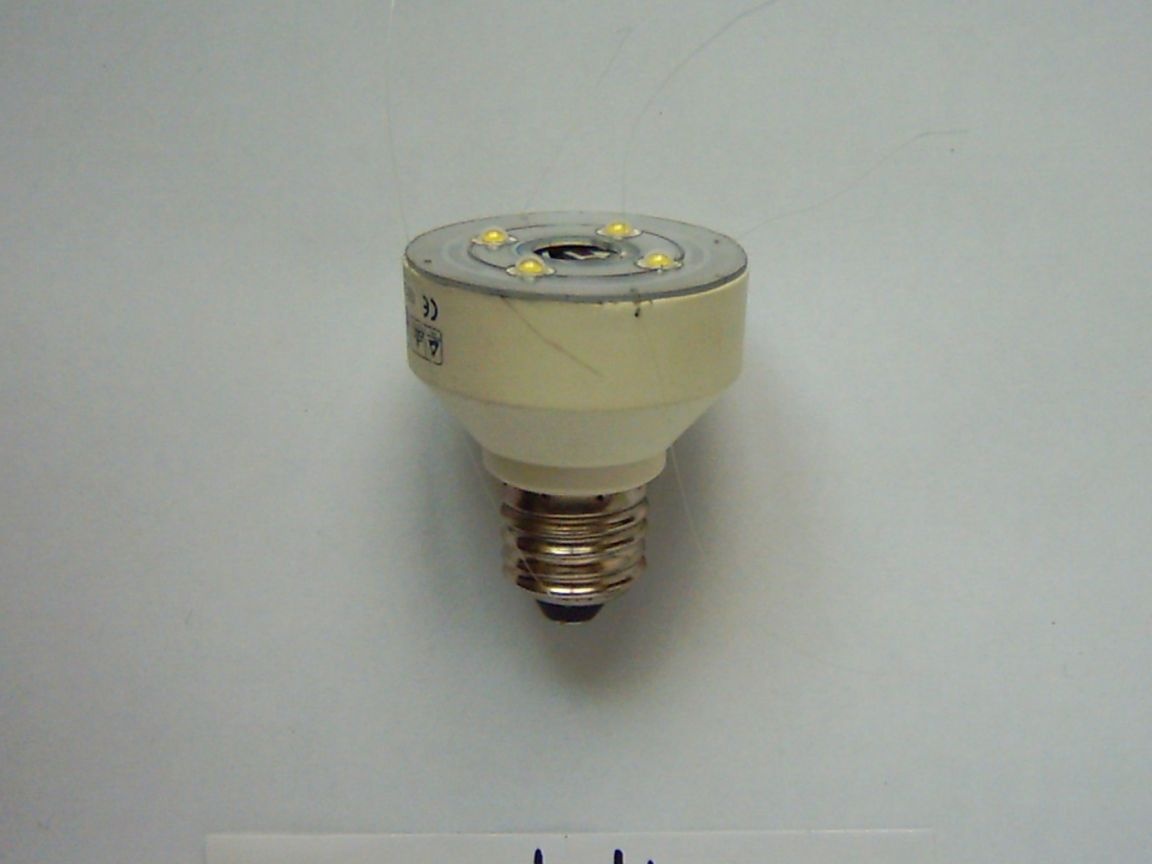
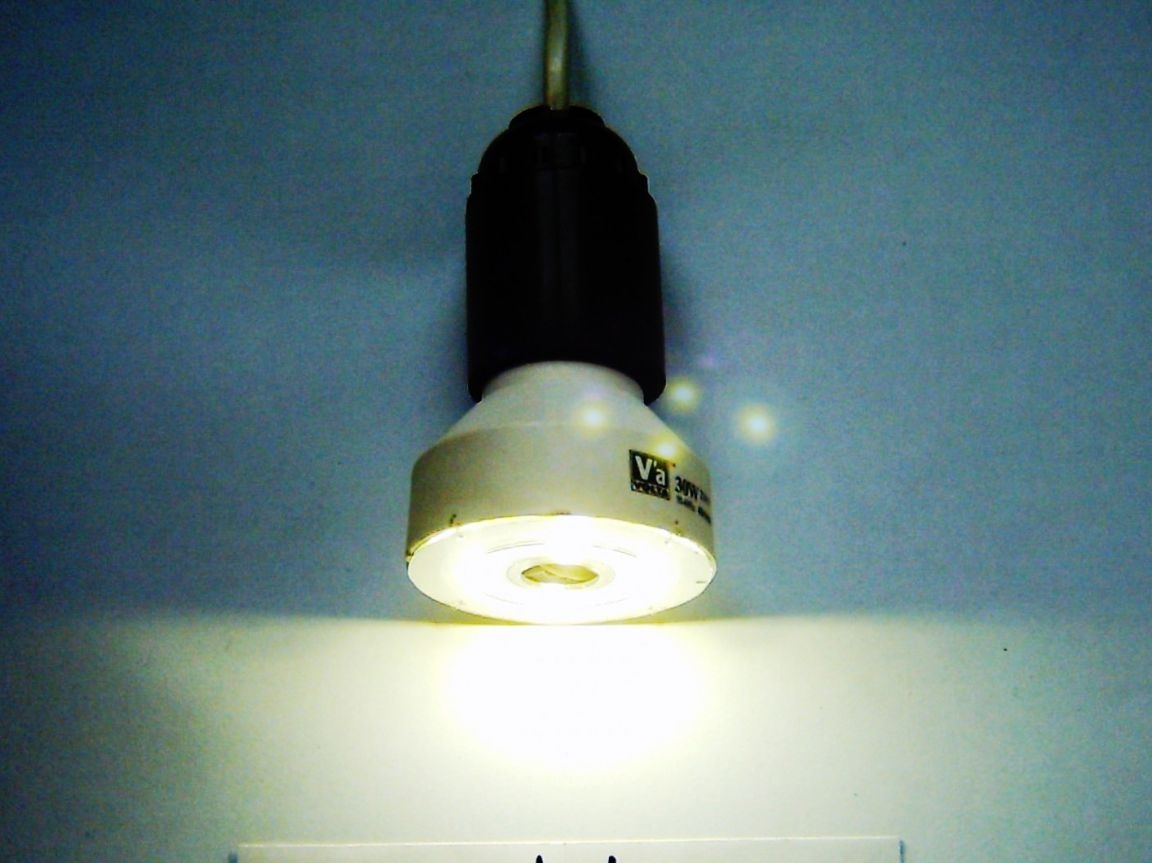
Stage 8.
The lamp is ready to test operation, screw it into the cartridge and turn on 220 V:

Under such a light, it is good to read, if the distance to the book is not very large, it is better in a table lamp.
The hole from the disk (its own) does not look bad, and also does the work of removing heat from the radiators of the LEDs. The cap itself also has openings; together, such openings create an influx of cold and an exit of heated air from the working elements of the lamp.