
In this article, the Wizard will tell you how you can refine the mask for scuba diving for the needs of people with low vision. In the process of diving, there is a need to look at the object, watch, manometer, camera, etc., near. In a healthy person, this will not cause difficulties, but if you have a visual impairment, this is already a problem. Correction lenses are on sale. The problem is that they are fixed on the glasses of the mask for the entire duration of the dive and, if necessary, cannot be removed. Such lenses narrow the field of view and viewing angle. The master decided to make lenses that would be devoid of these shortcomings.
The master made two options for the mask, consider both.
Tools and materials:
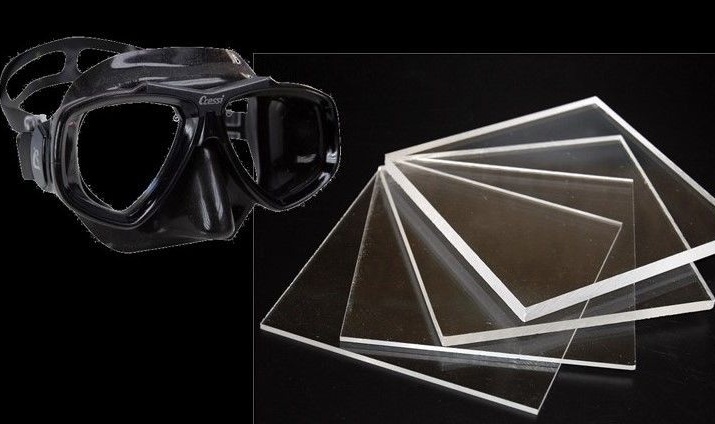
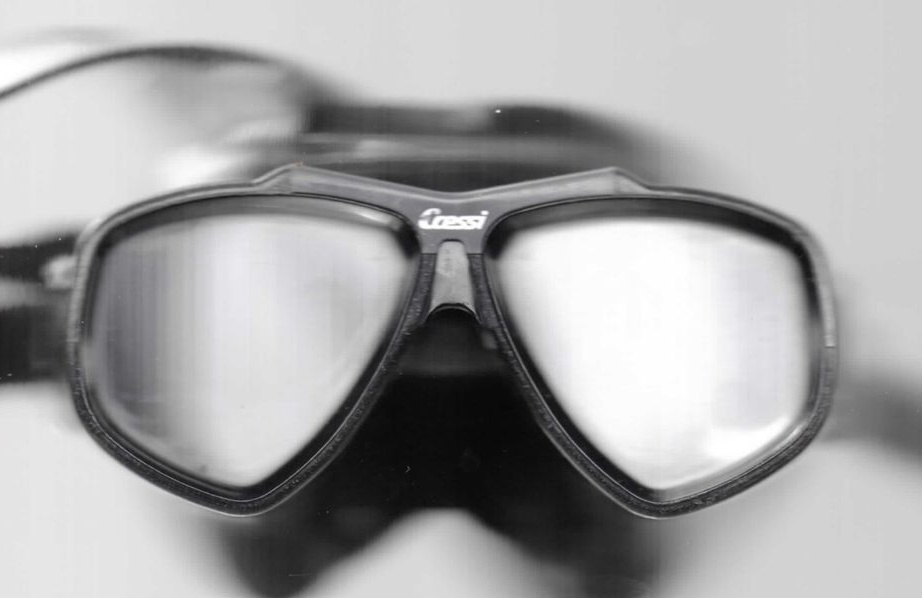
-Mask:
-3D printer;
-Laser cutter;
-Scanner;
-Computer with software;
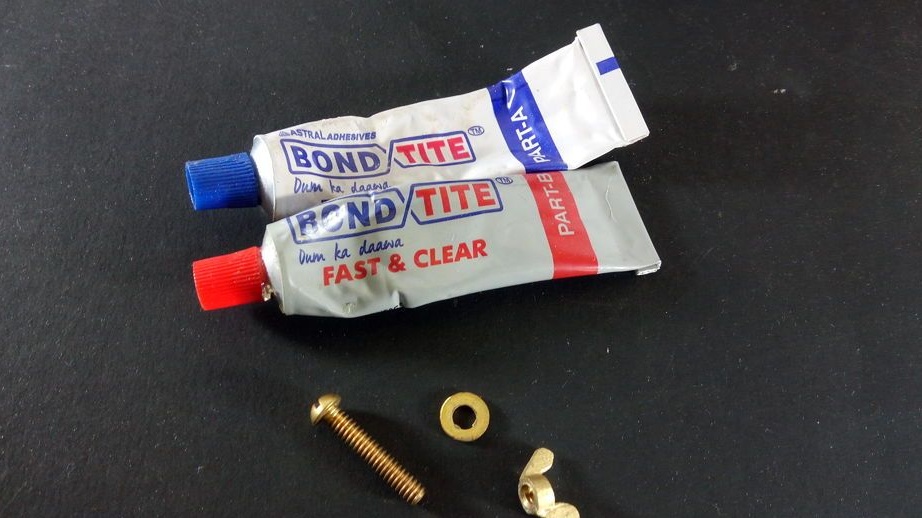
- Brass screws with wing nut;
Corrective lenses;
- Acrylic 3 mm and 6 mm;
-Epoxy adhesive;
-File;
Step One: Sketch
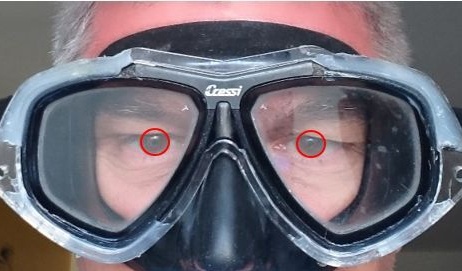
Scans the mask on a regular scanner. Then he puts on a mask and takes a selfie. The photograph determines the position of the pupils.
Processes a scanned image in AutoDesk Fusion 360.
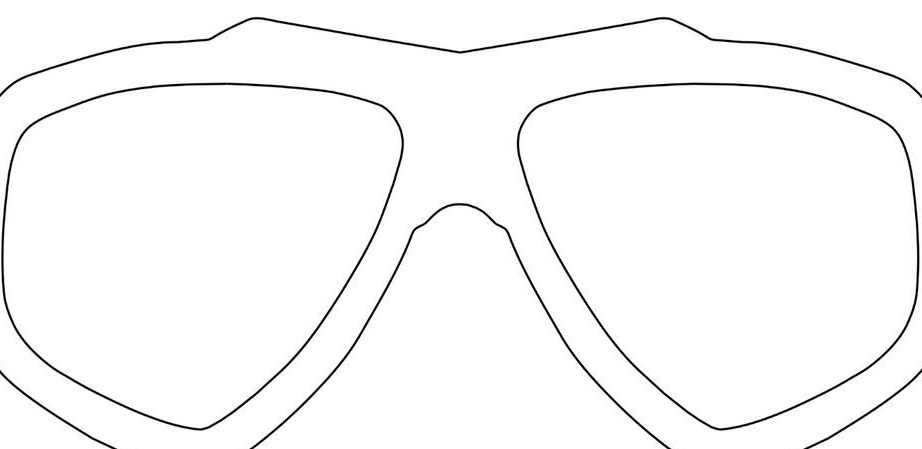
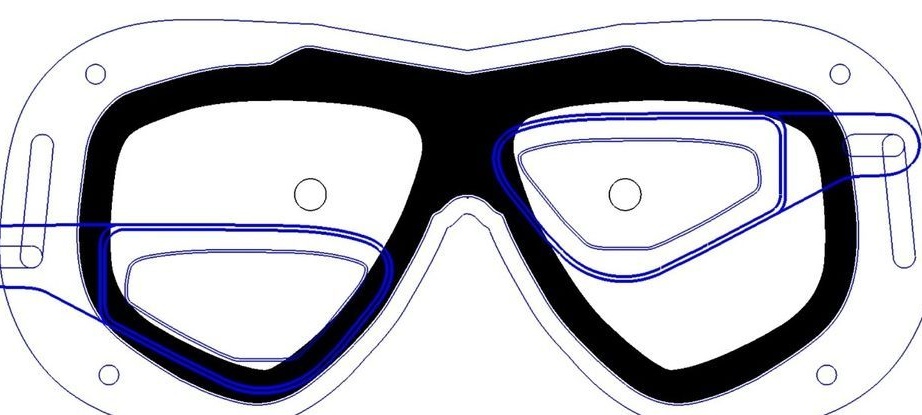
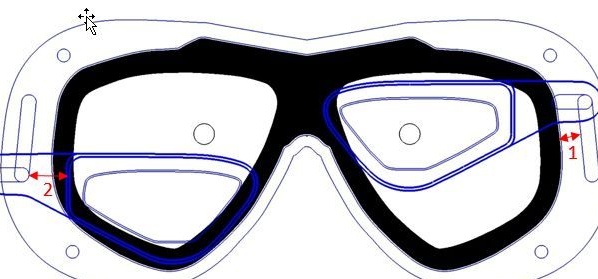
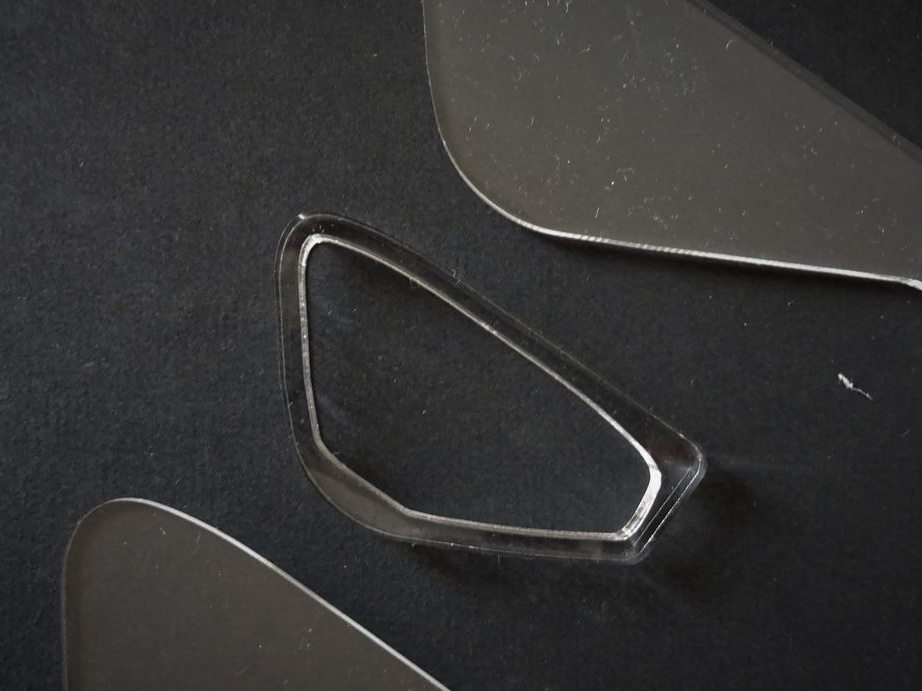
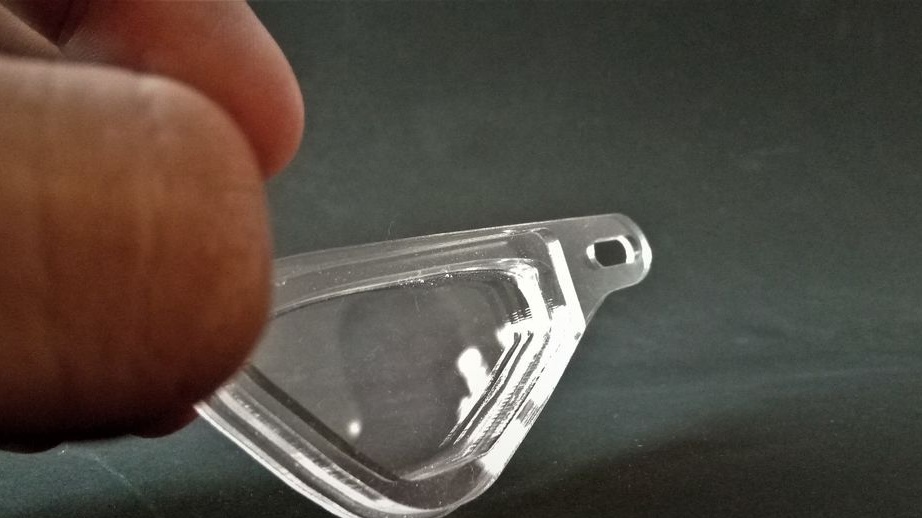
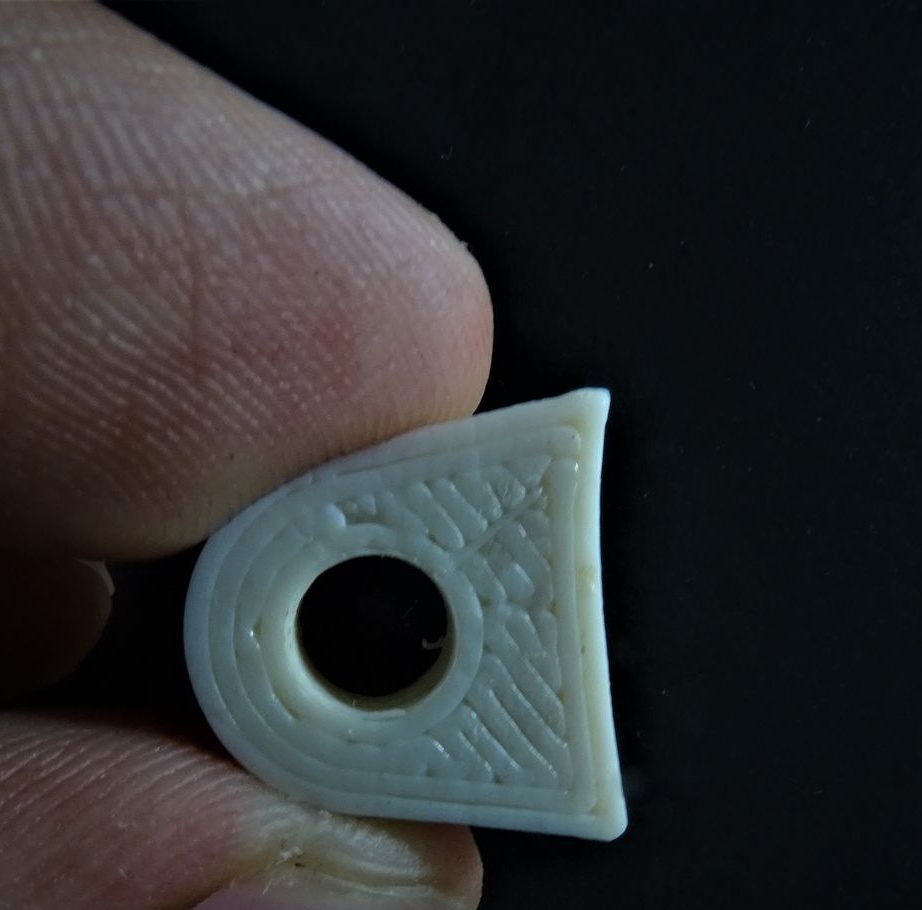
Makes a sketch of lenses (lens holders). Lenses should not be large and cling to the nose.
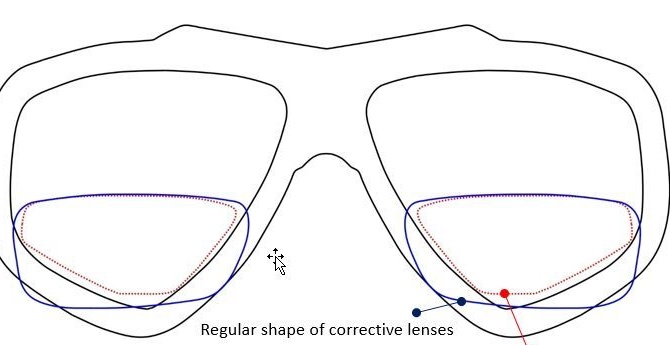
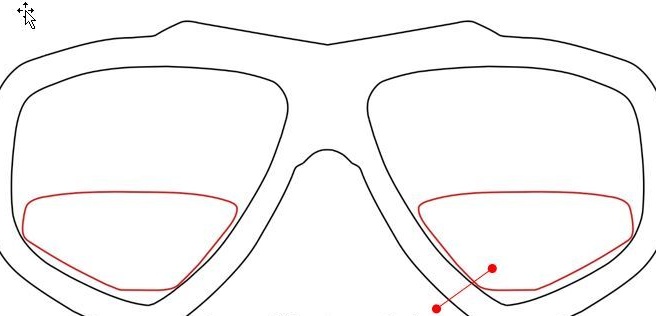
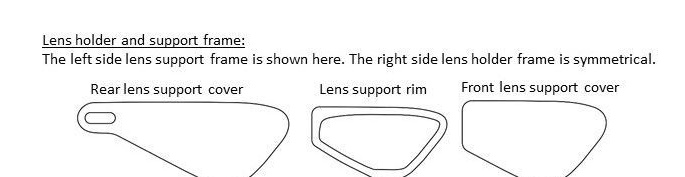
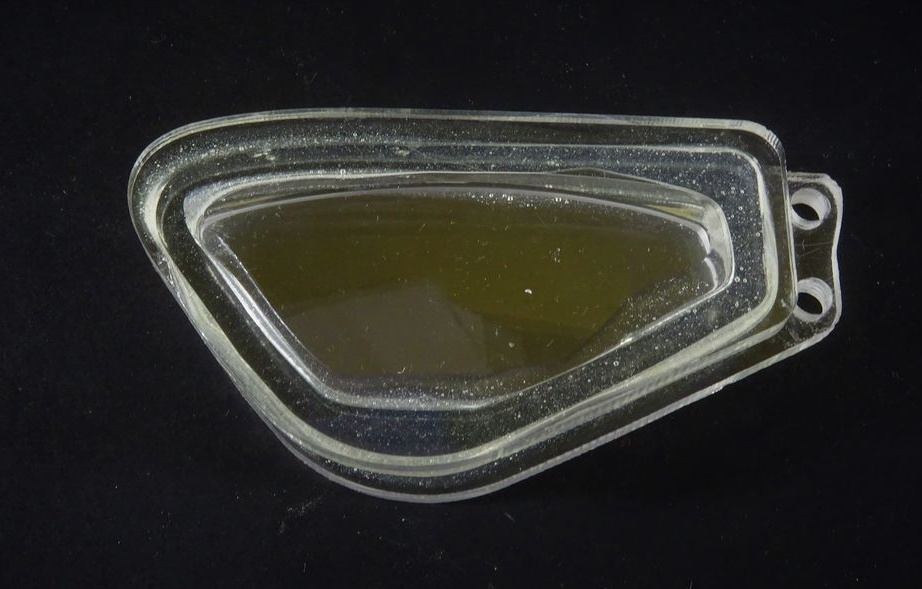
Further makes a sketch of the lens holders. The lens itself does not come in contact with water. It is housed in an airtight container.
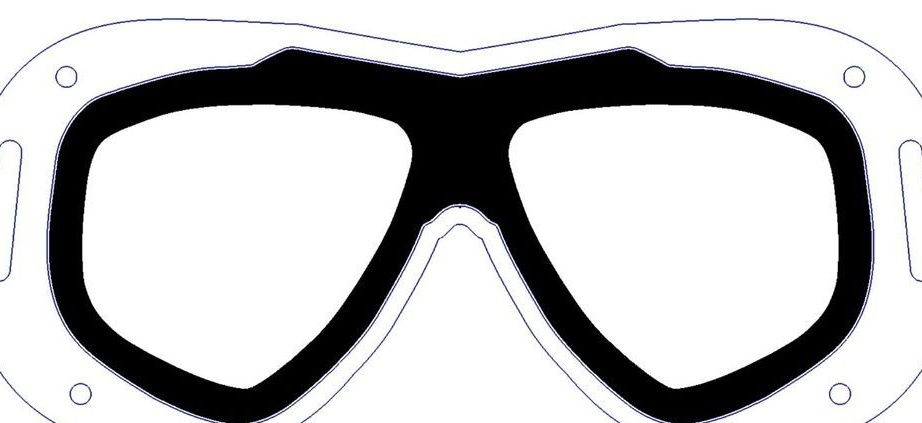
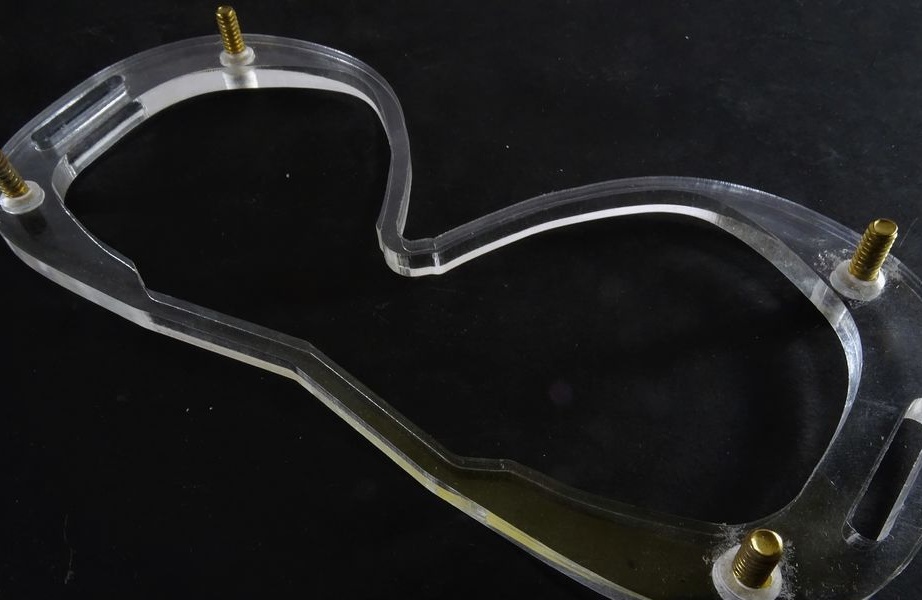
Designs a mask overlay. A lens will be mounted on it.
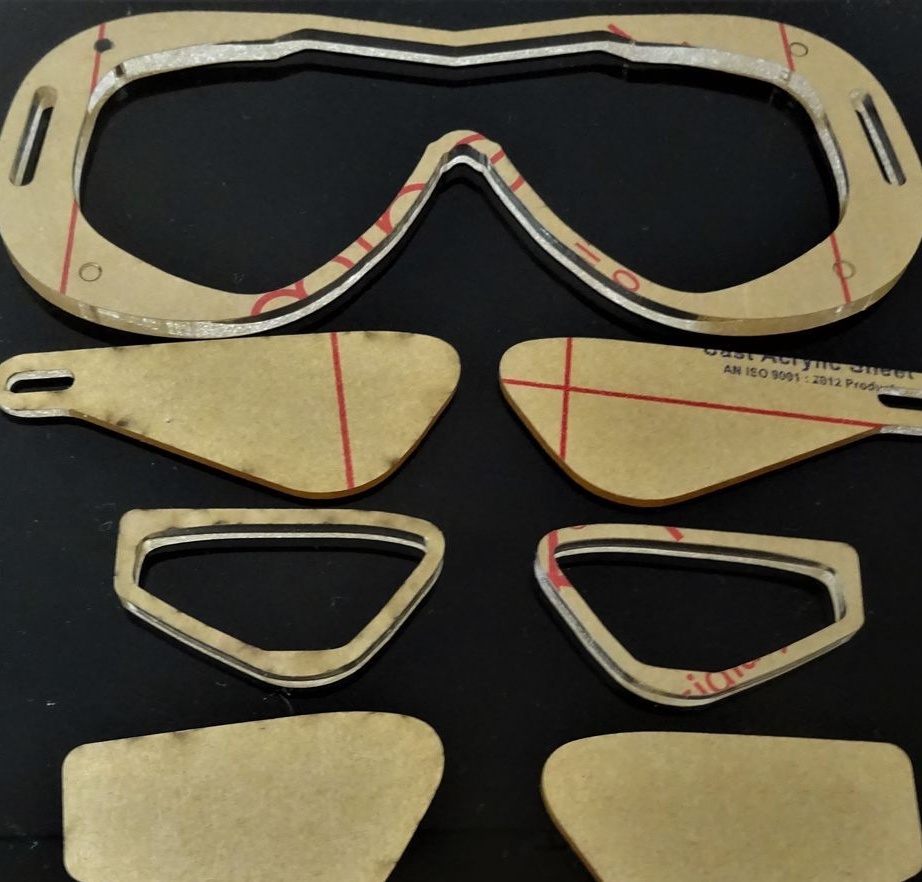
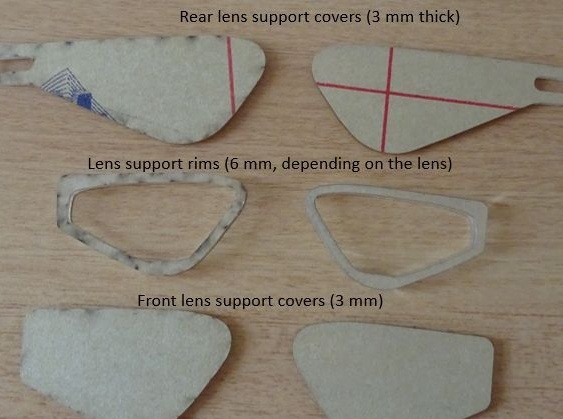
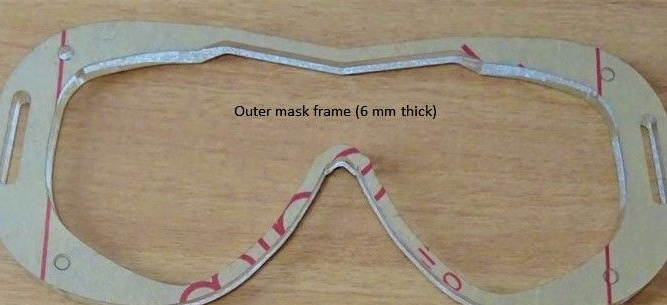
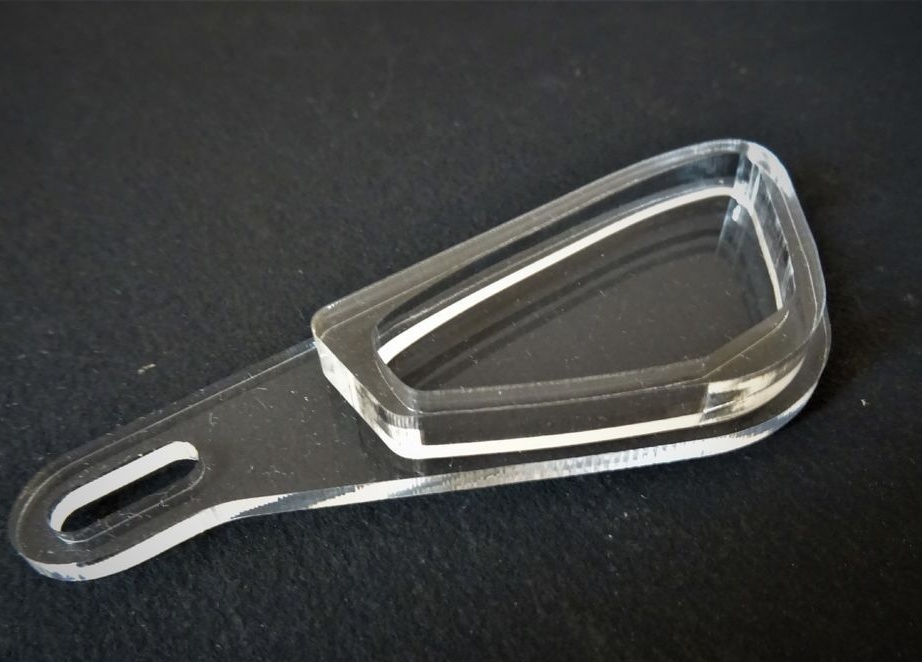
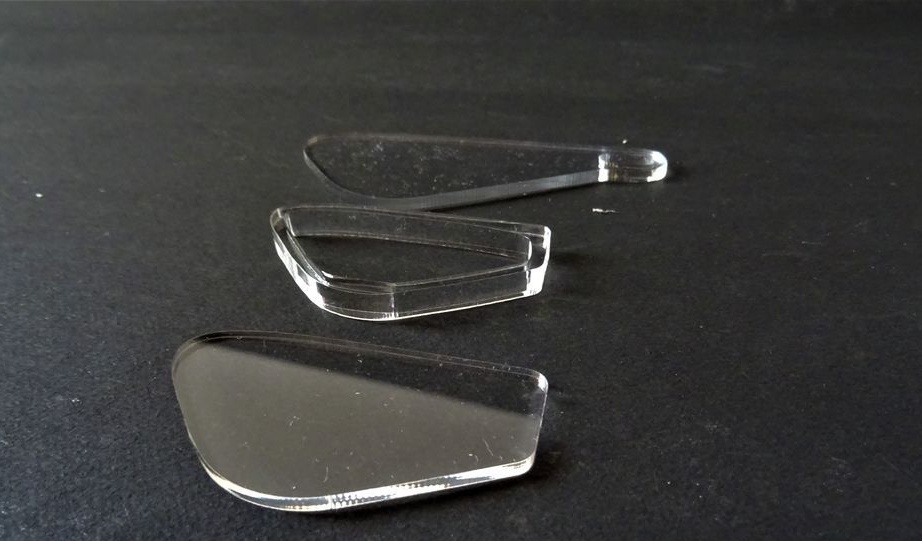
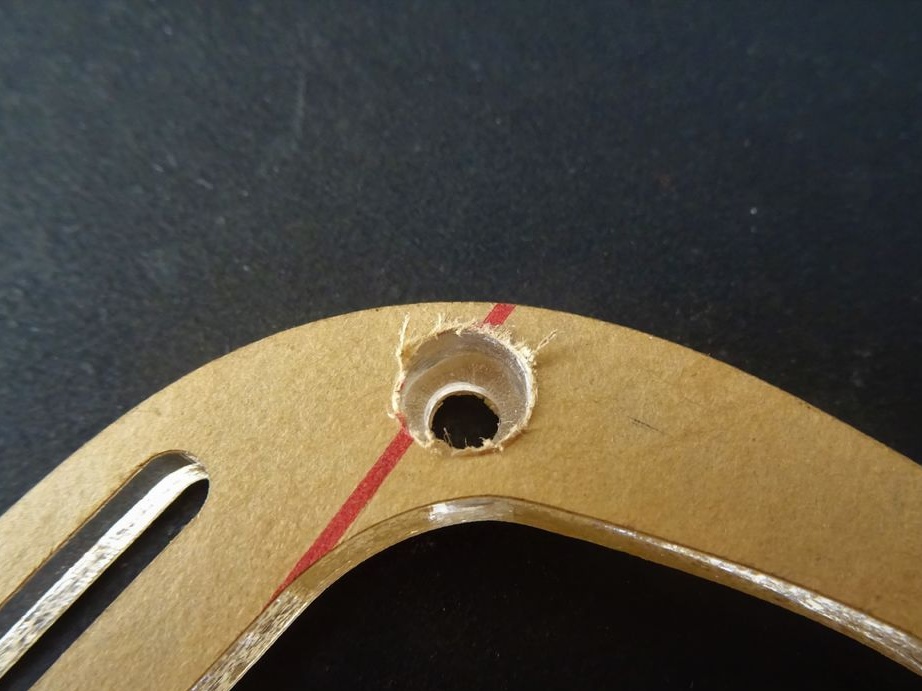
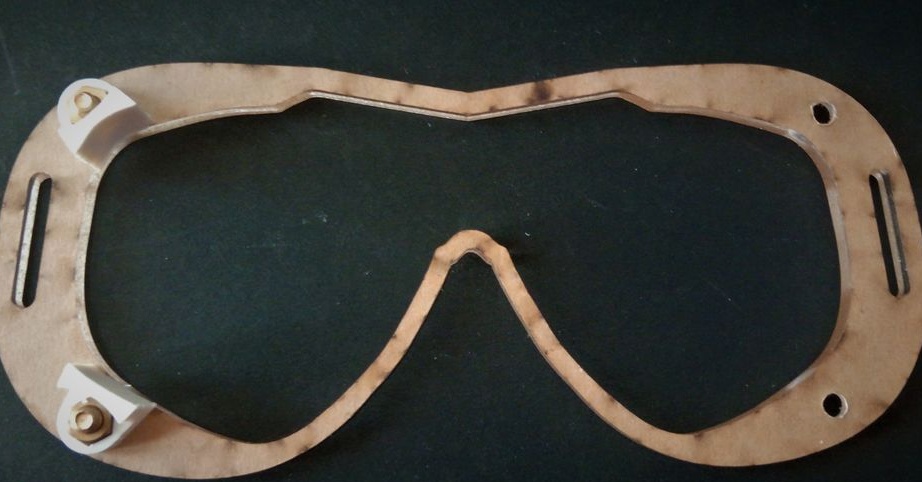
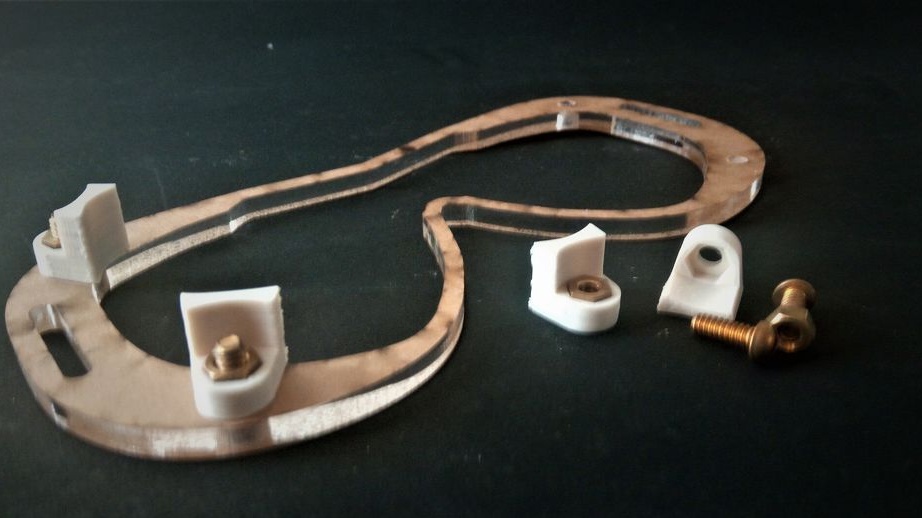
Step Two: Laser Cutter
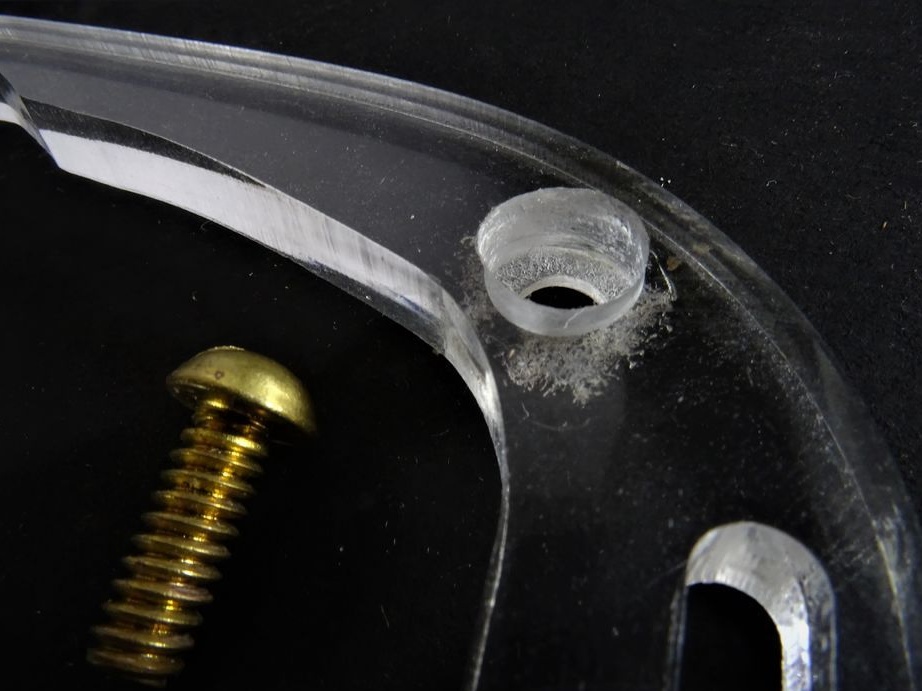
On a CNC with a laser cutter cuts out from acrylic parts fixtures. What acrylic was used for what detail is visible in the photo.
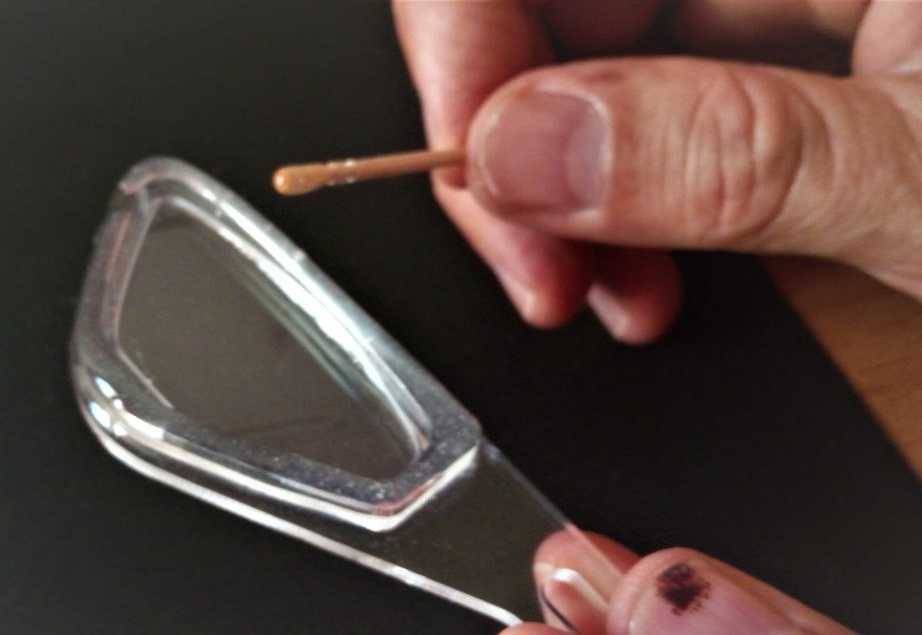
Step Three: Lenses
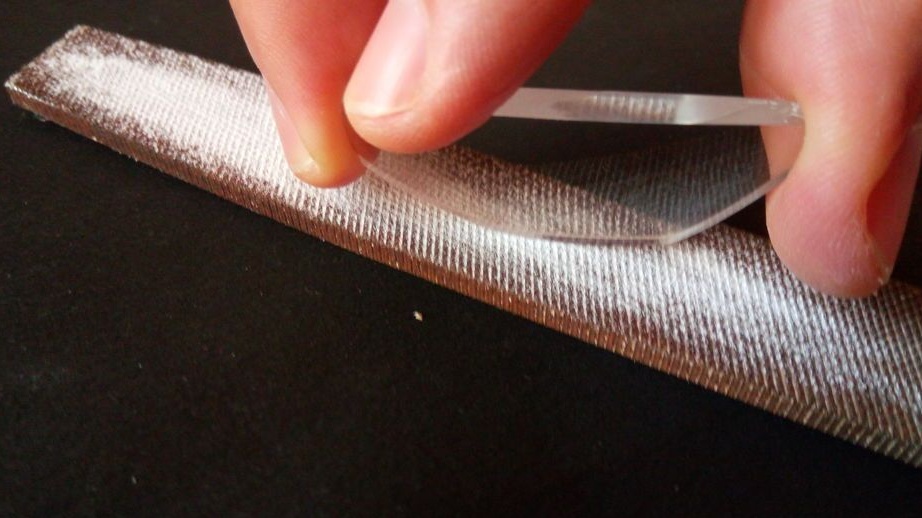
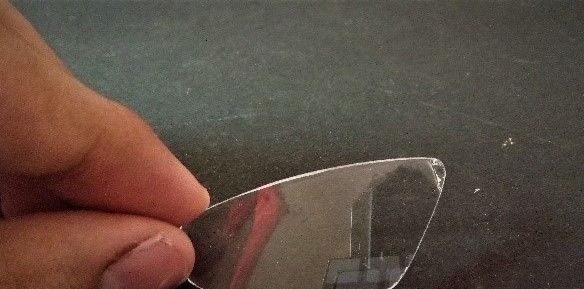
The master acquired polycarbonate correction lenses. The master takes lenses at +0.5 diopters more than those that he uses on land. It processes the lenses with a file, gives them the desired shape.
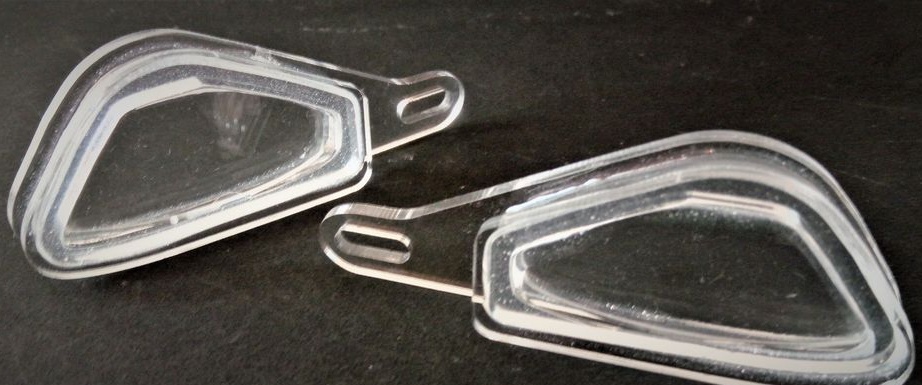
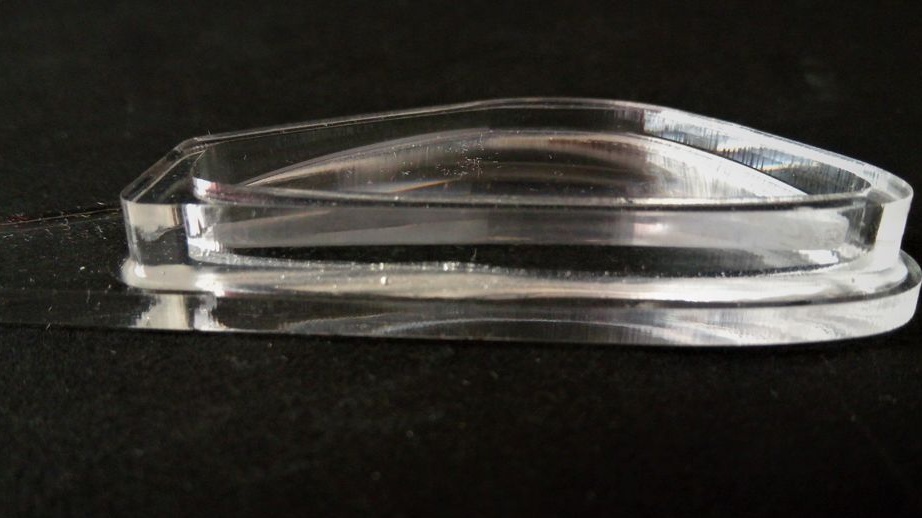
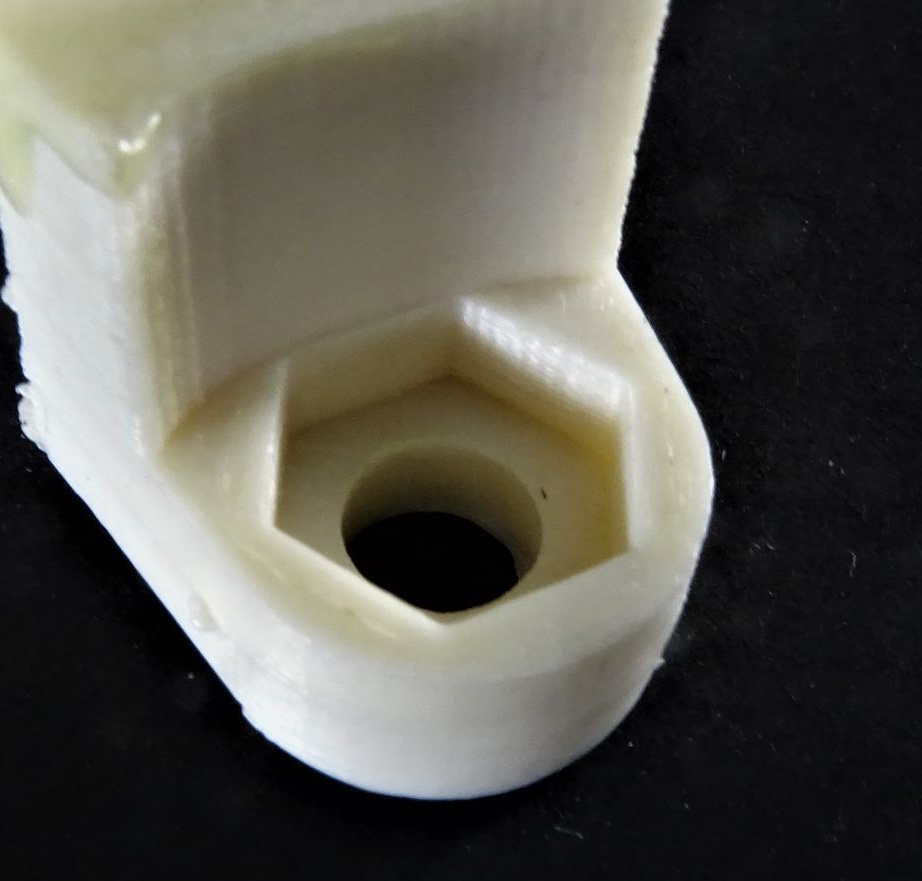
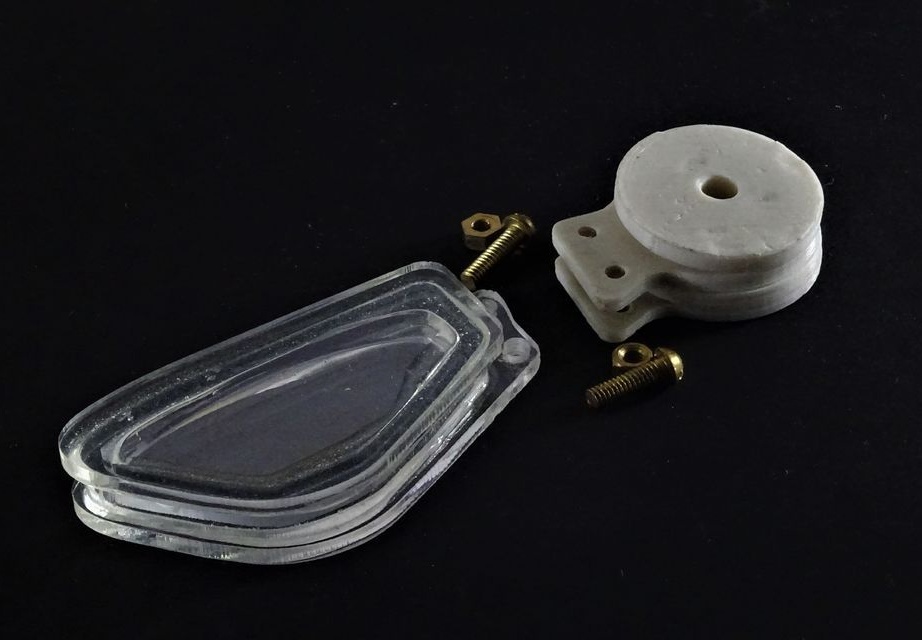
Step Four: Mount Assembly
The holder consists of three parts. Glues the front middle part. Mounts the lens and glues the back. After the glue has dried, it checks the tightness of the capsule.


Step Five: Pad
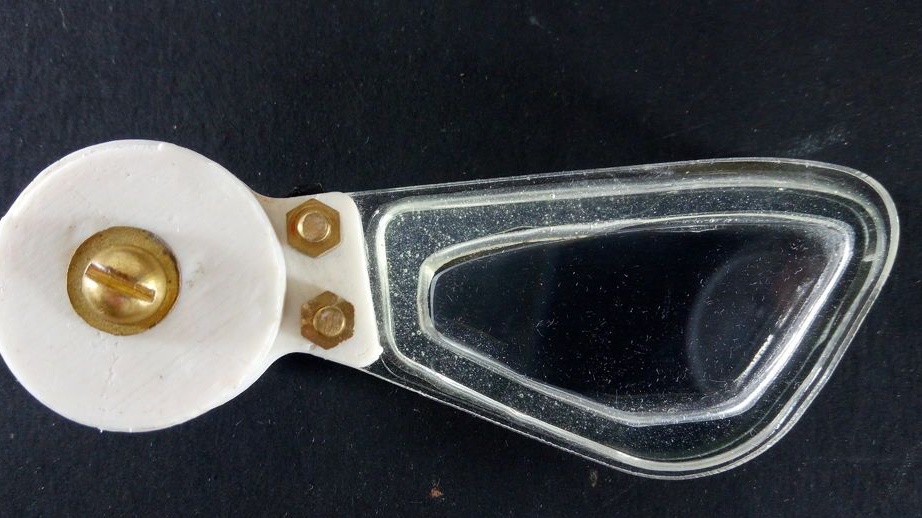
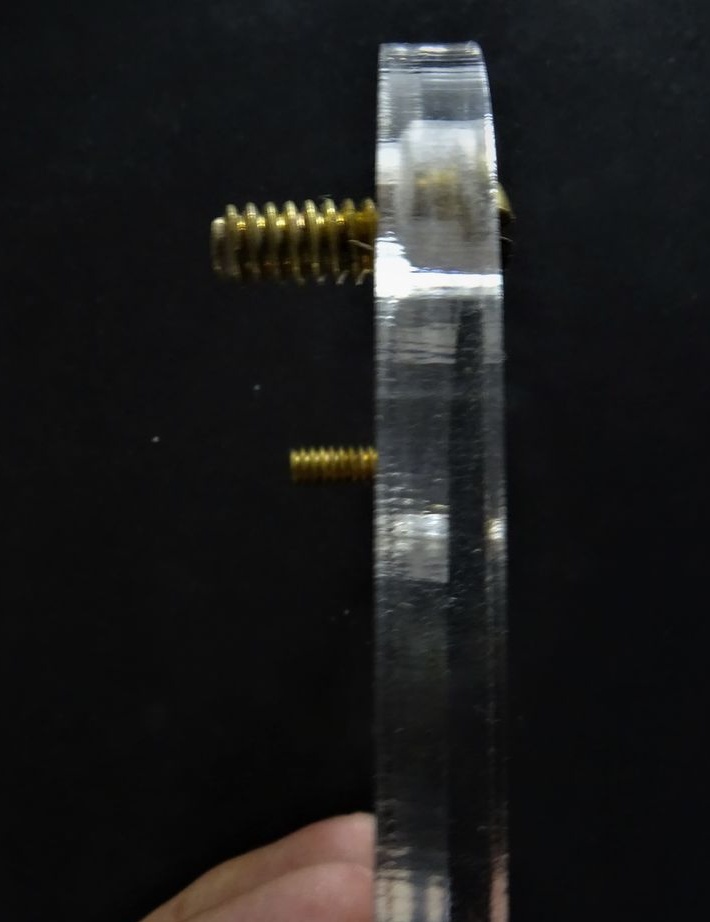
Adhes a patch to the mask. Fastens the lens to the plate with a screw.
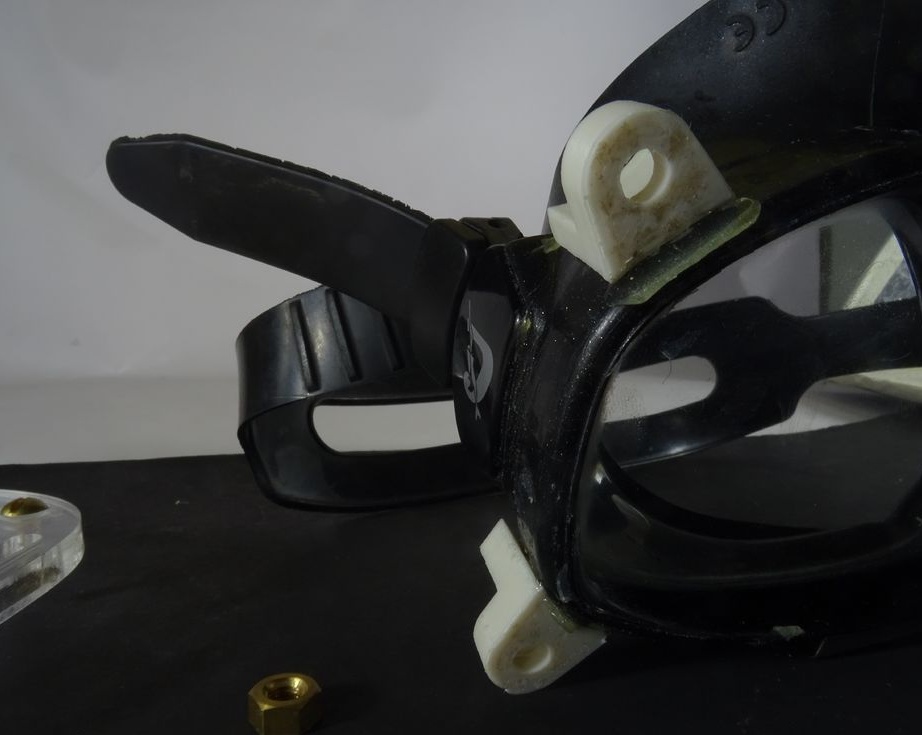
Step six: finalizing the mechanism
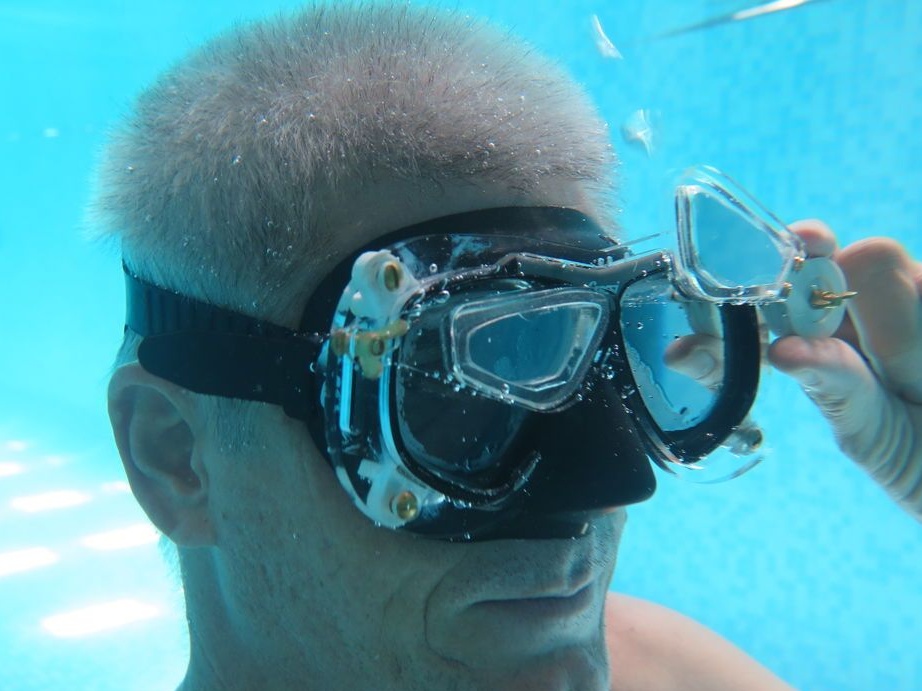
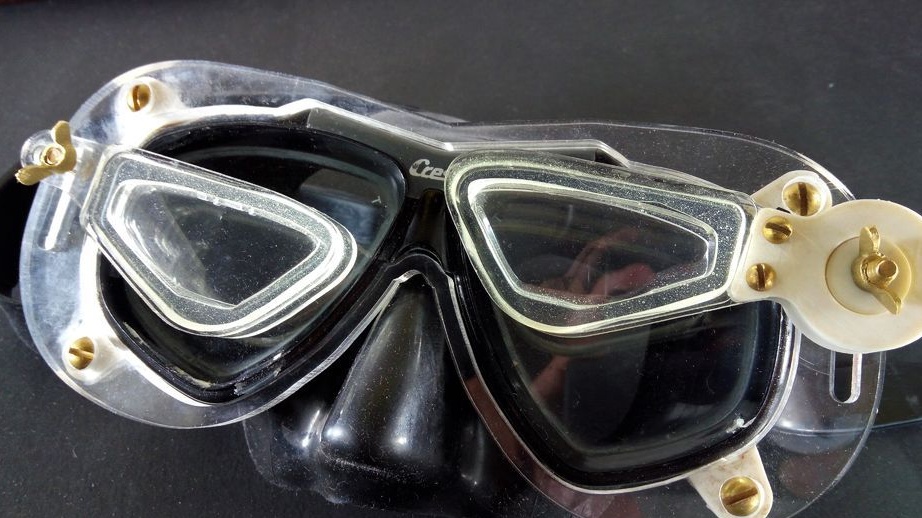
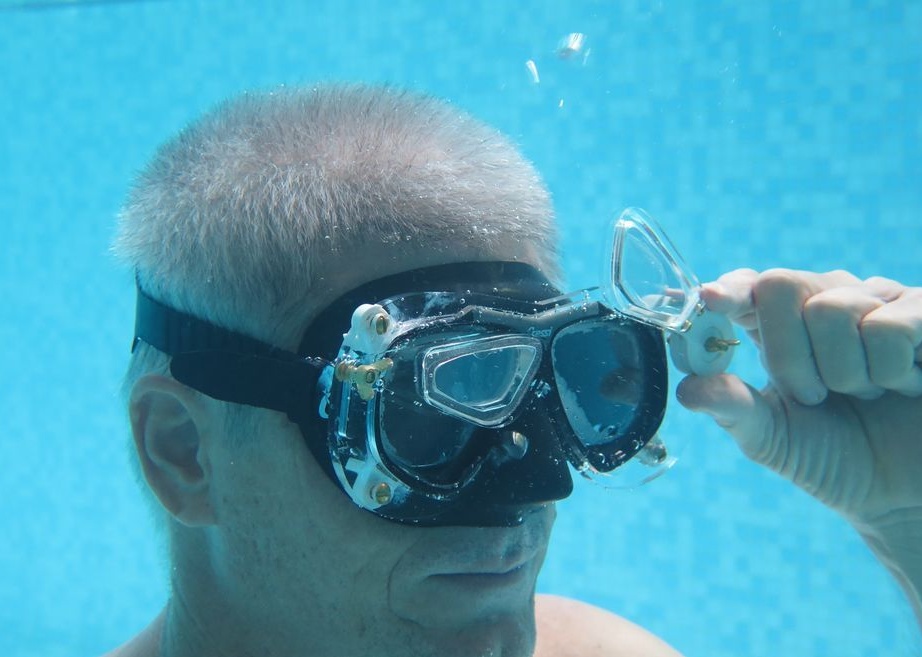
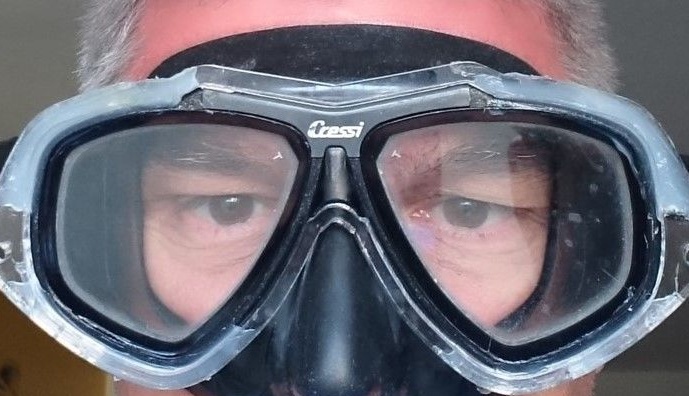
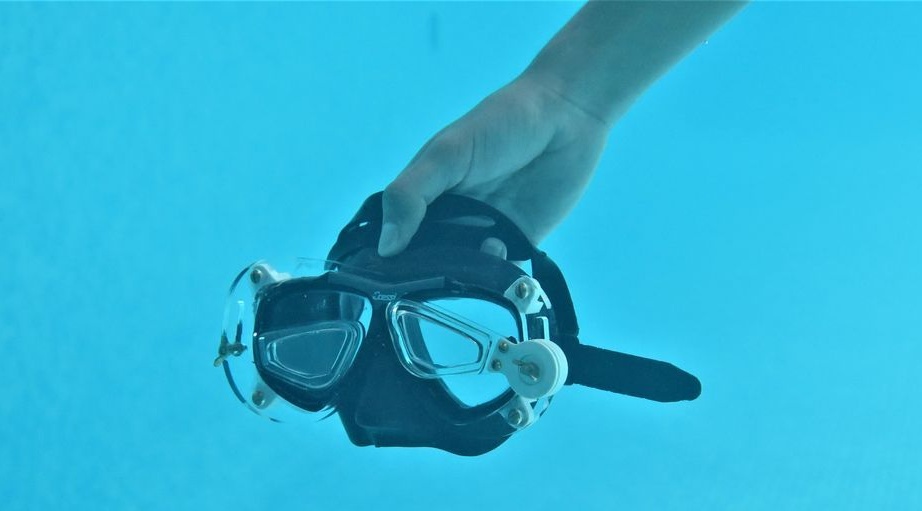
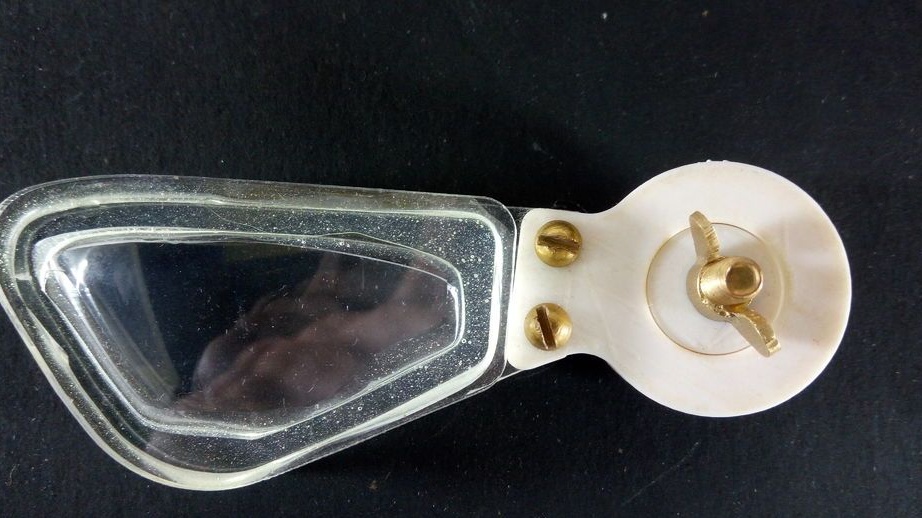
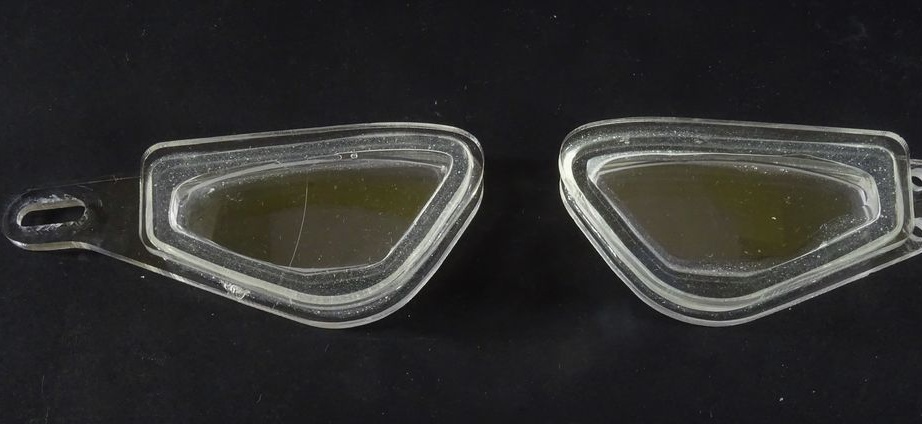
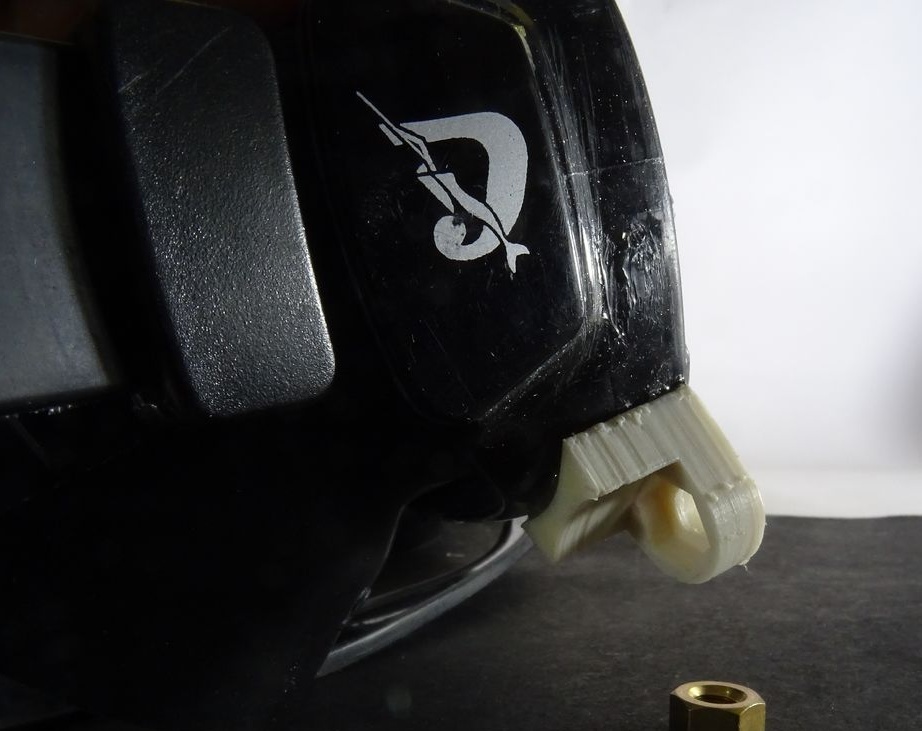
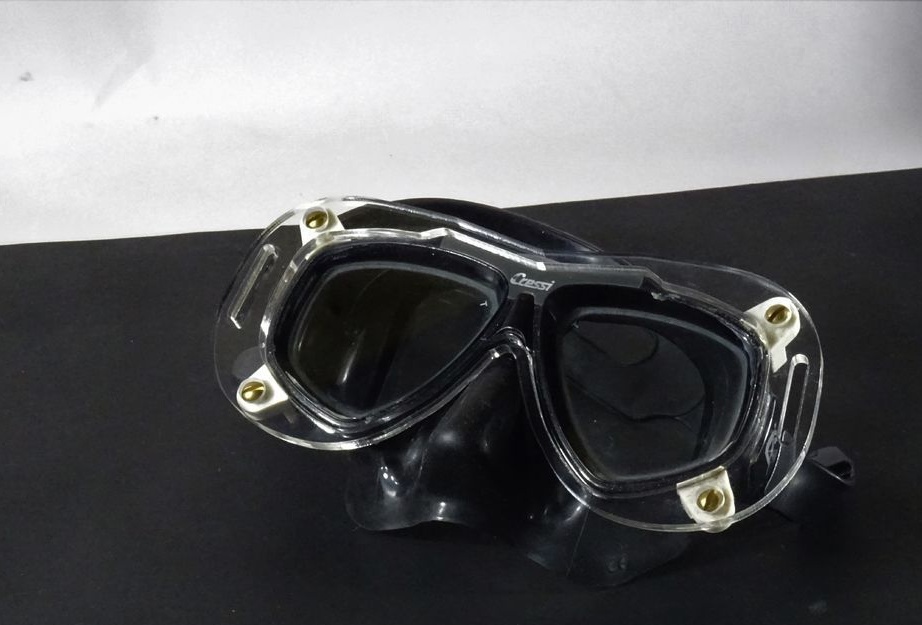
When testing the device, the master did not like the mount. To rotate the lens, you had to loosen the screw with both hands. If the screw is loosely tightened, the lens will drop arbitrarily. To fix the situation, the master improved the mechanism. In the photo below, on the mask, on one side, the old mount is installed, and on the other, a new mount.
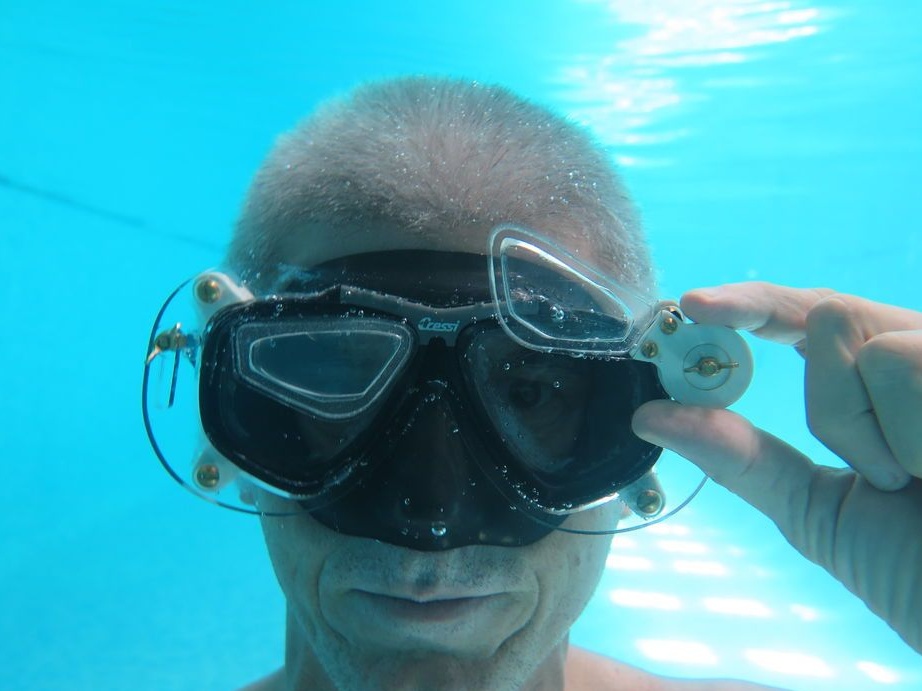
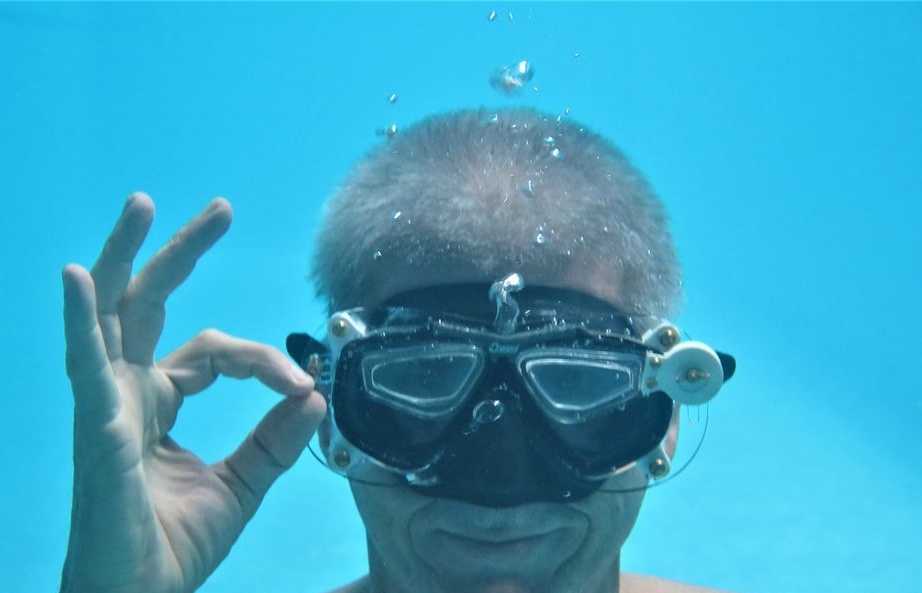
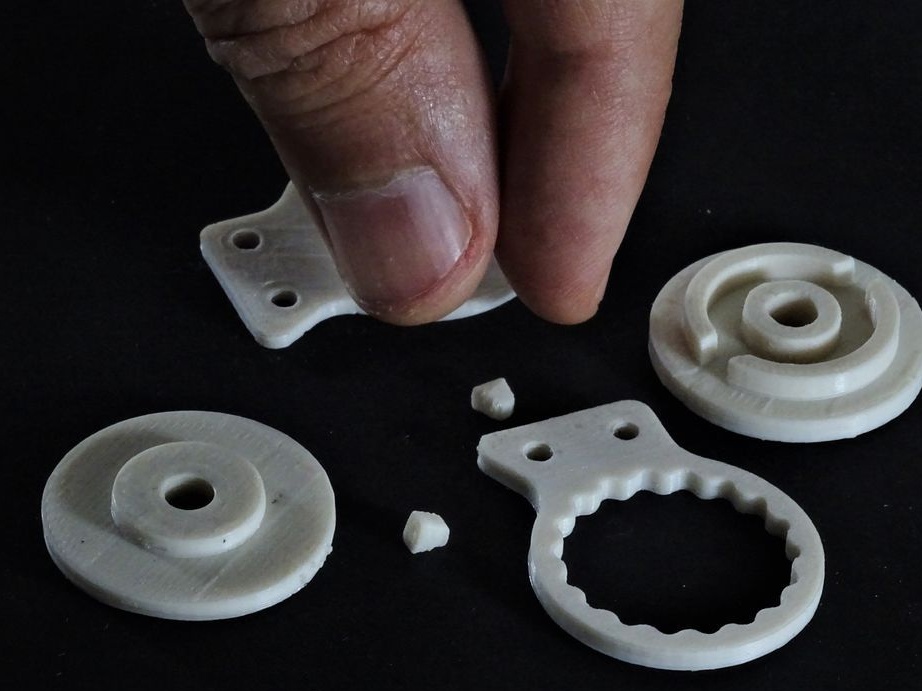
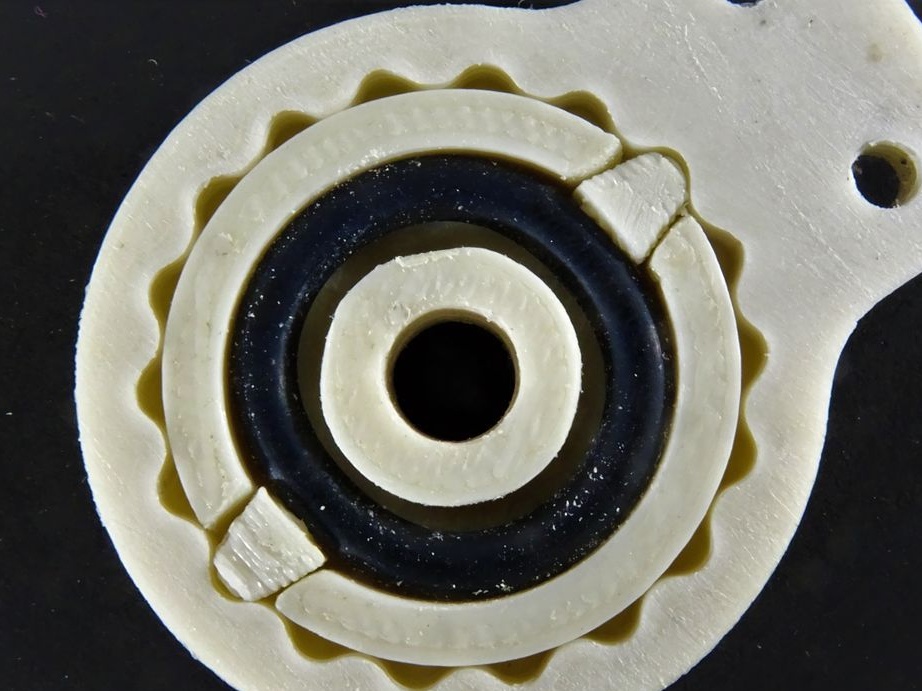
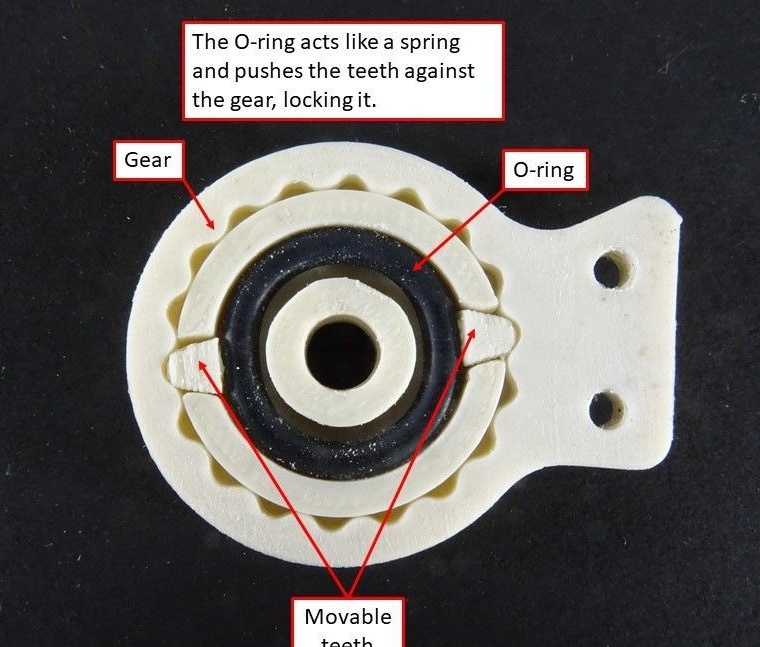
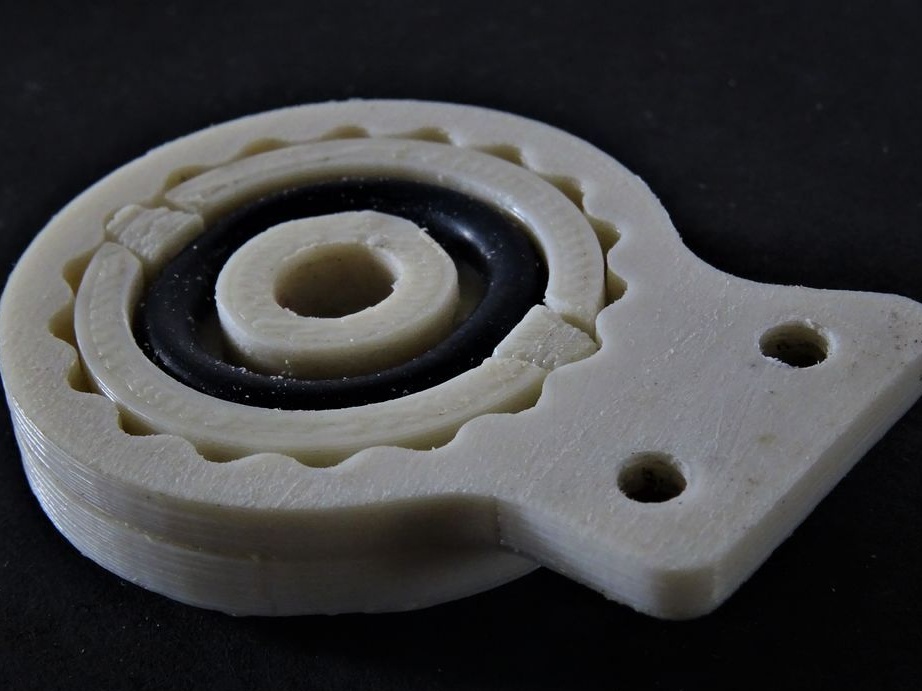
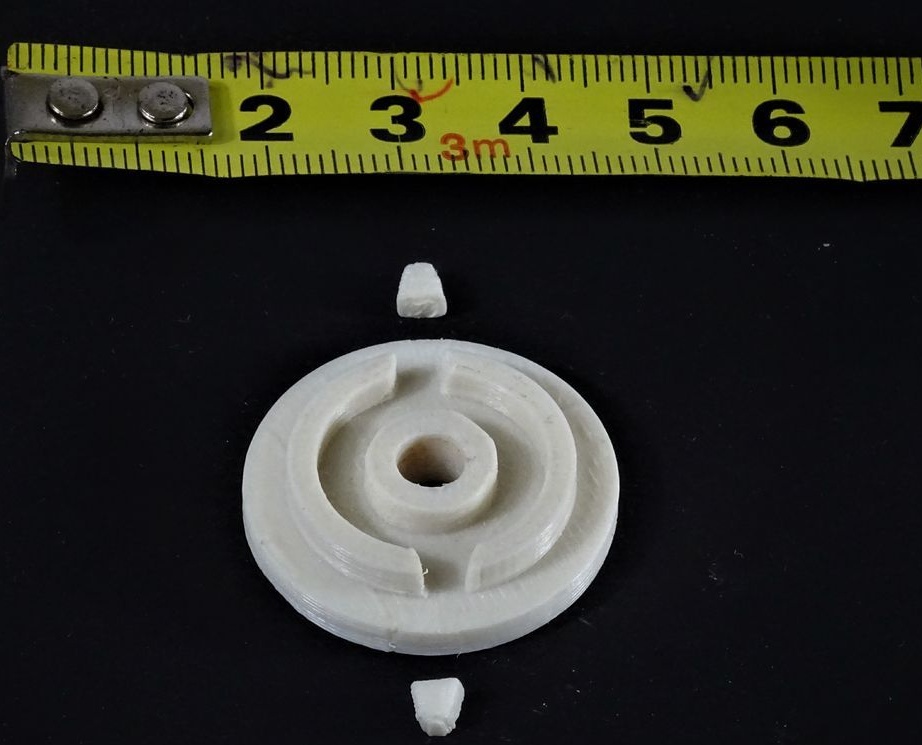
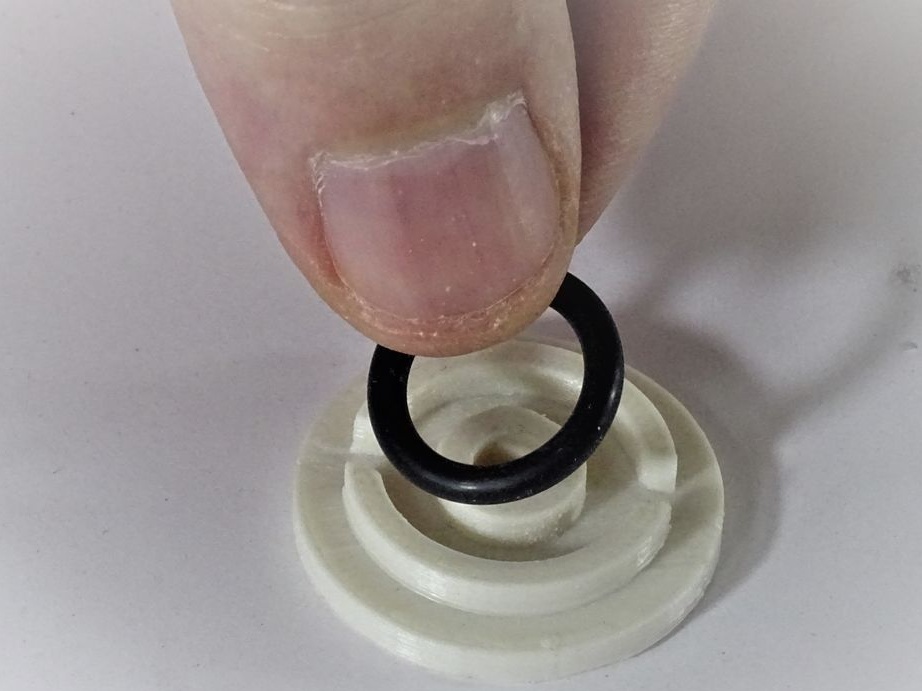
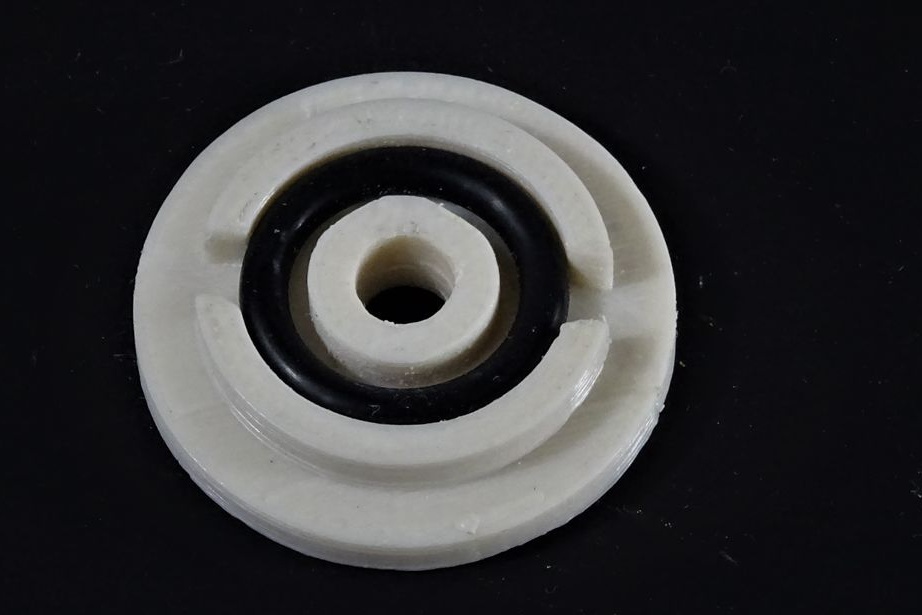
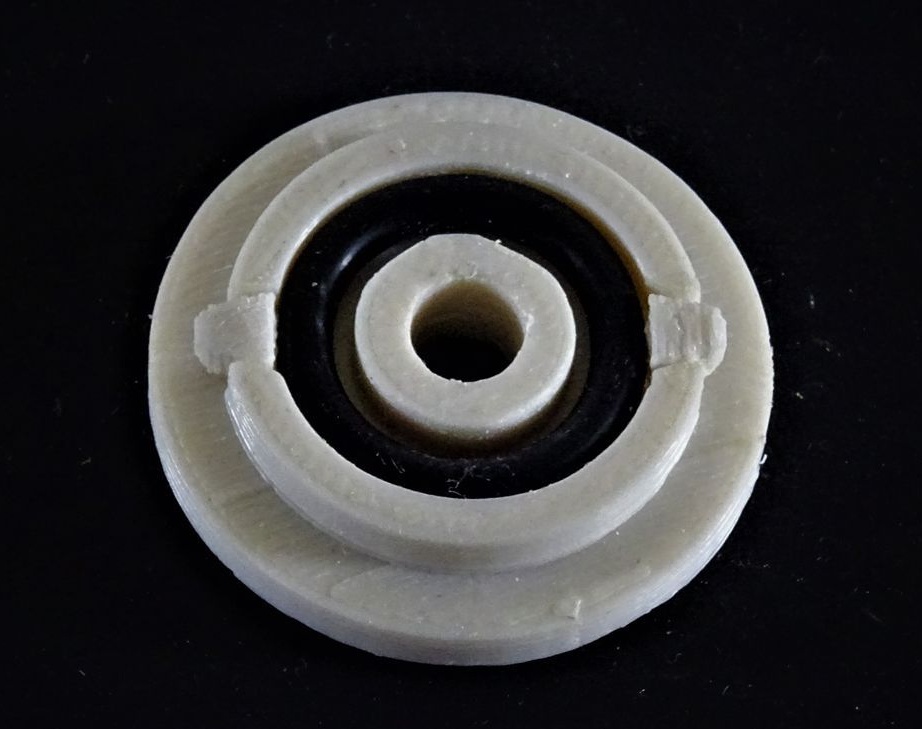
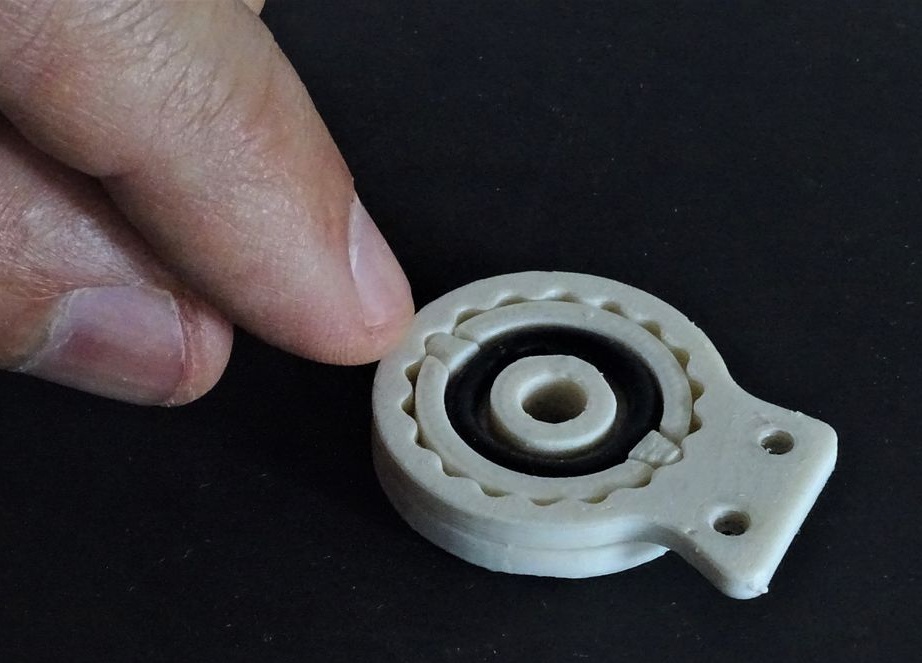
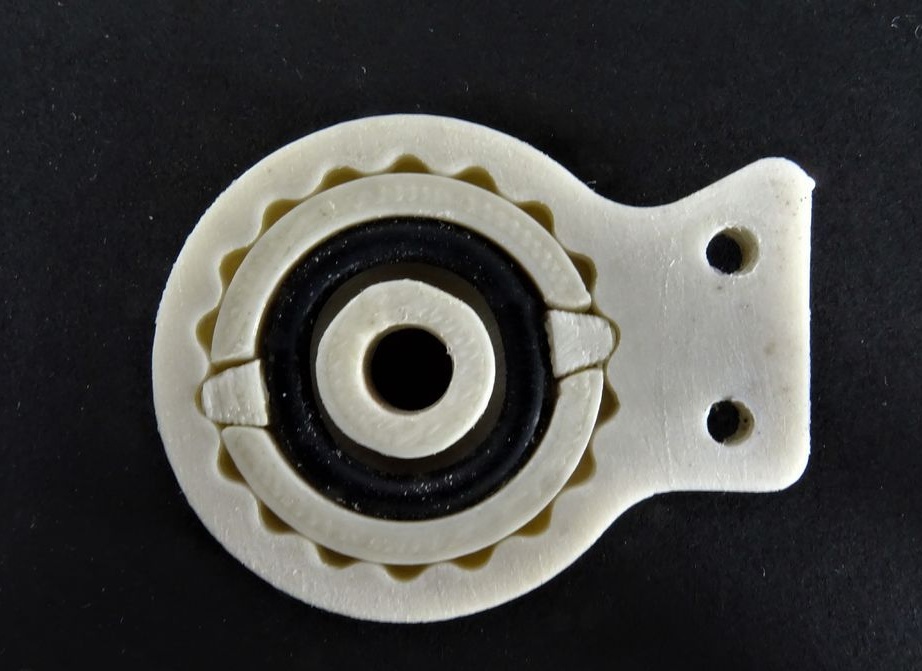
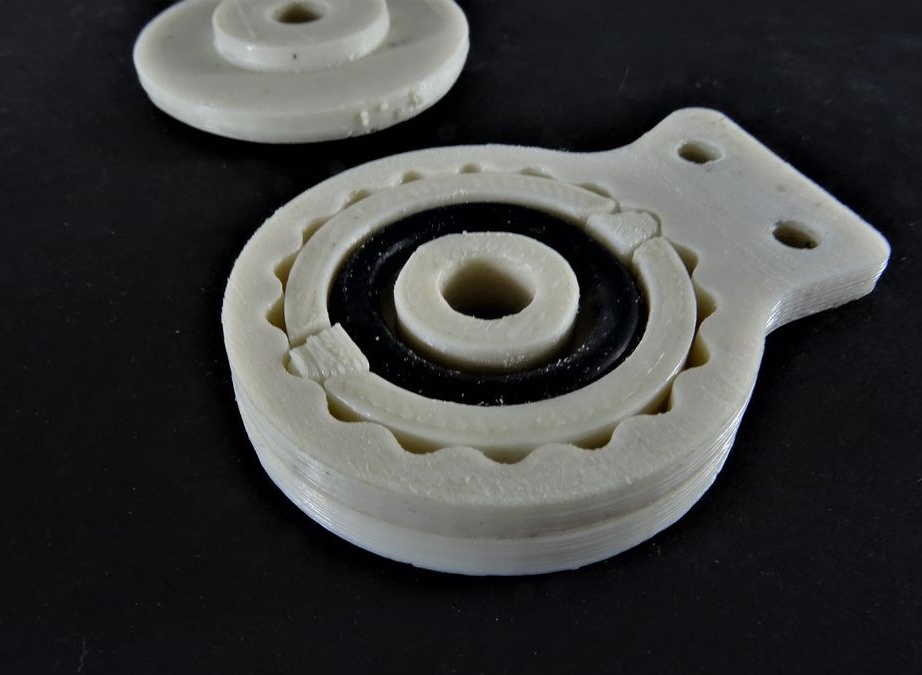
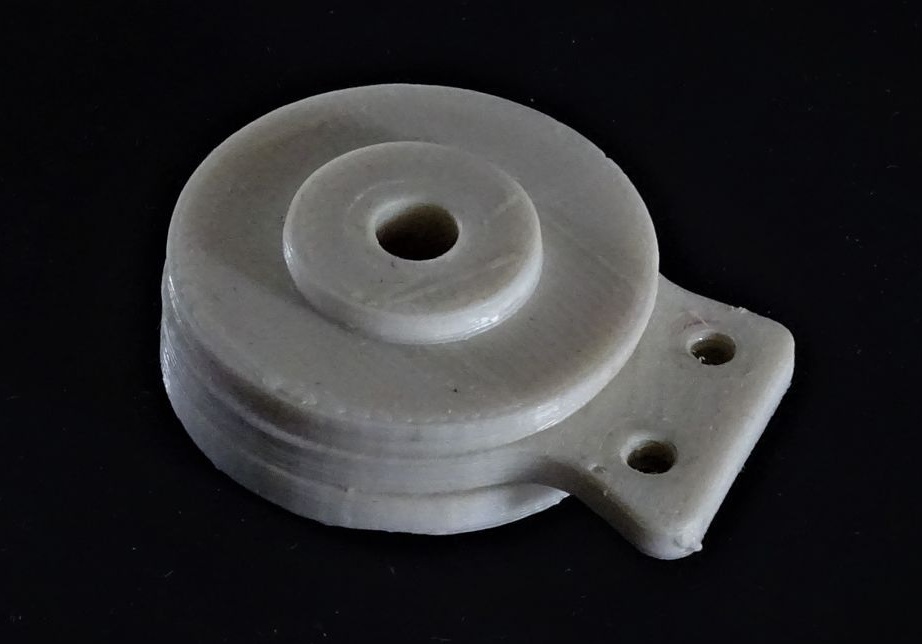
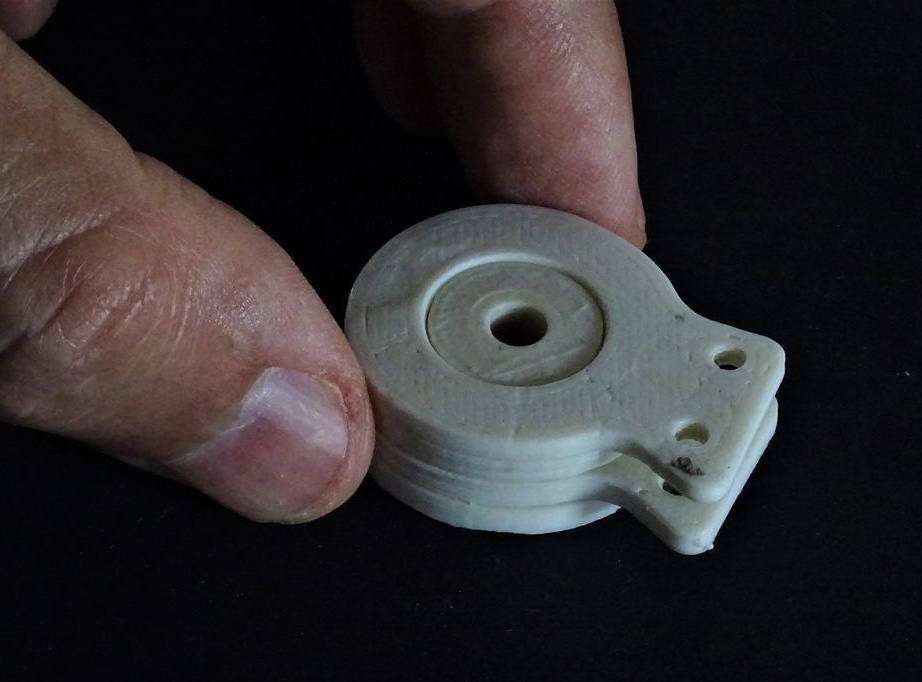
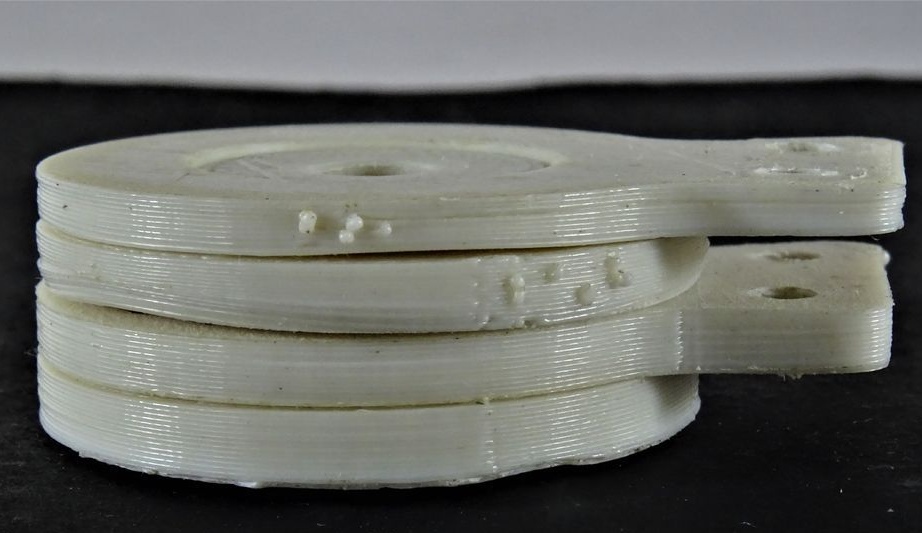
Details of the new rotary mechanism, except for the rubber ring, the master printed on a 3D printer. As can be seen in the photo, the lens can rotate on one or more teeth, depending on the need, with one hand.
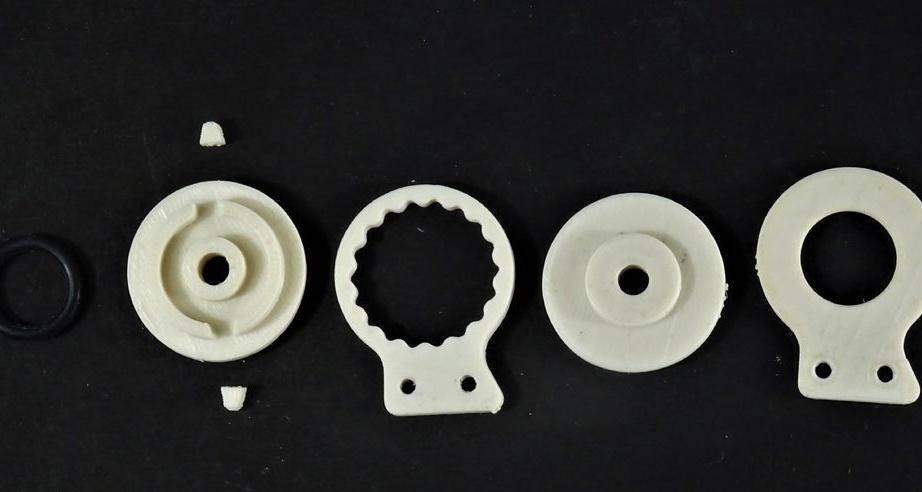
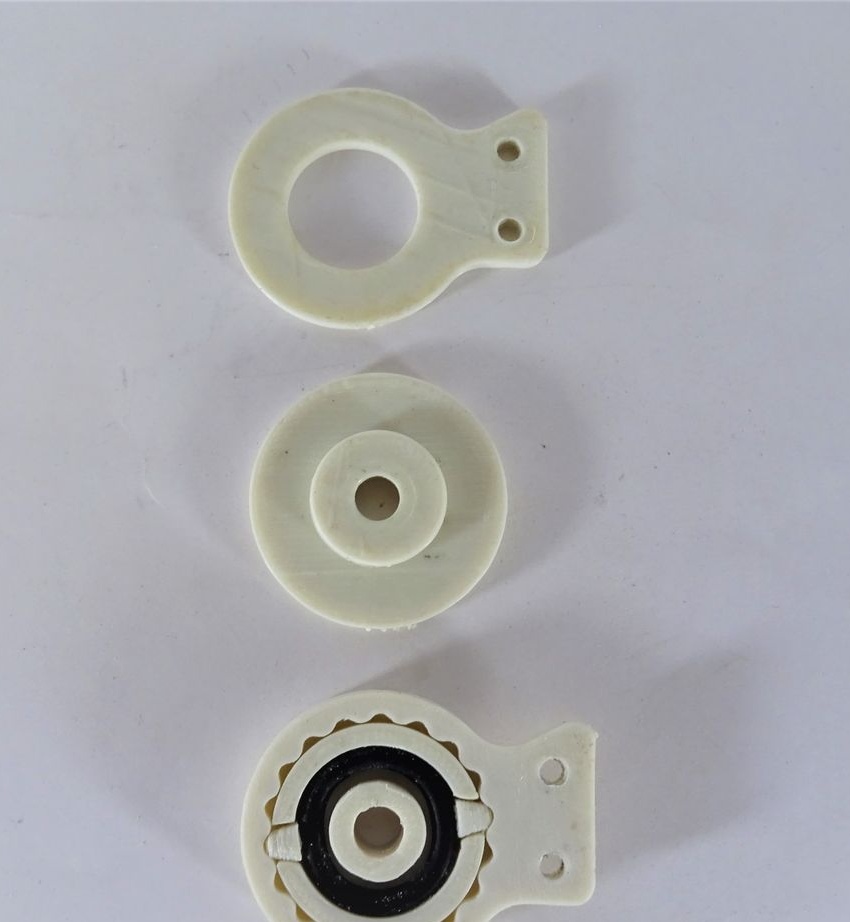
For the new mechanism, the holder had to be changed.
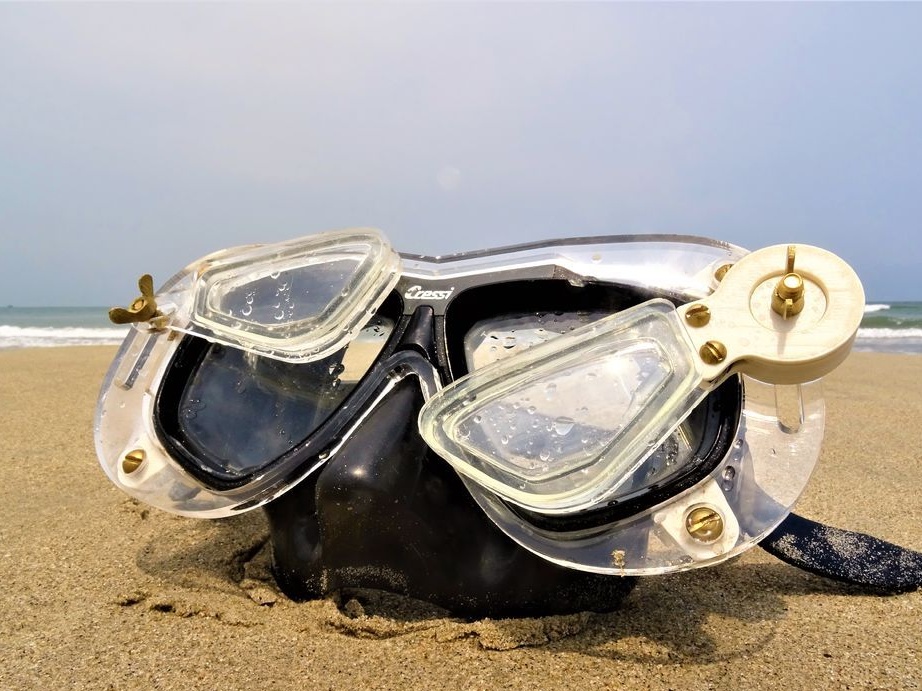
Seventh step: removable pad
Also, the master decided to make a pad, which, if necessary, can be removed.
Made a mount.
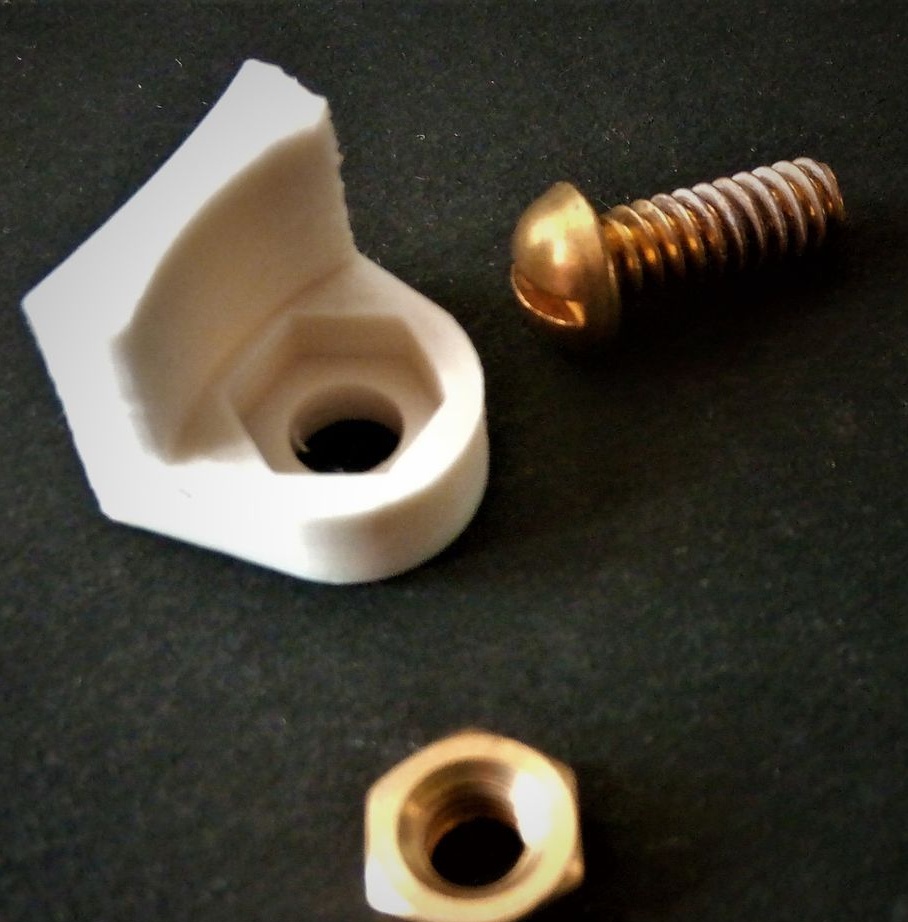

Installed on the pad.
I glued the mount to the mask.

Secured the pad.
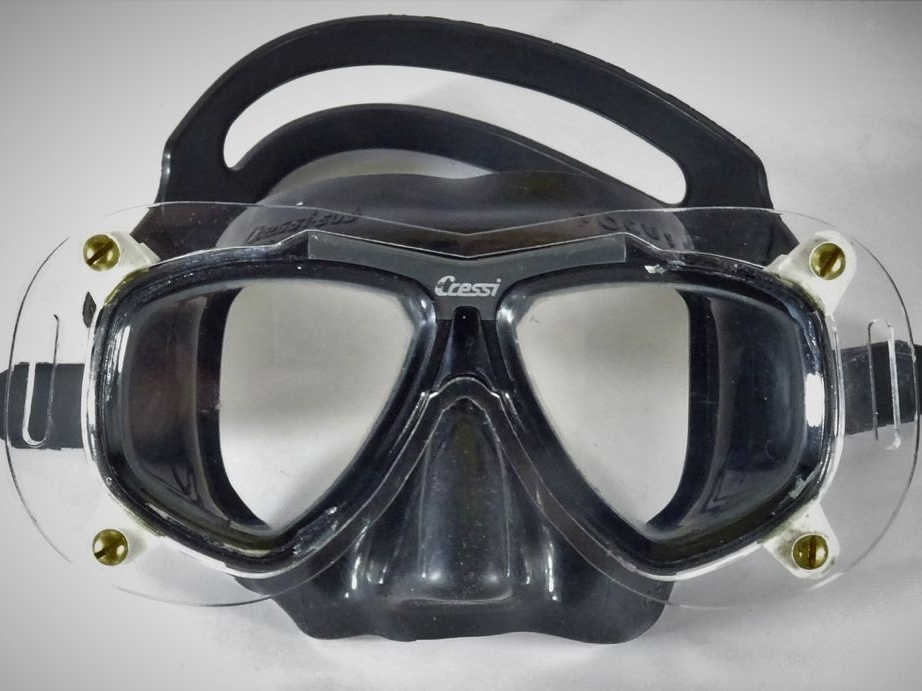
Screwed the lens.
All is ready.