
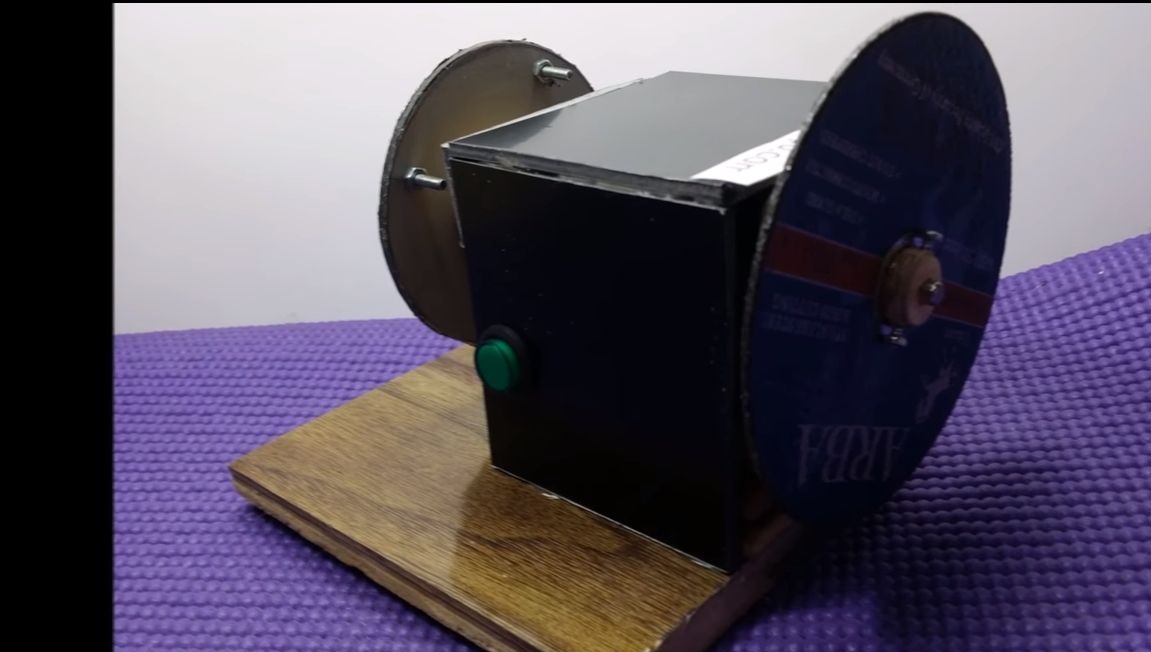
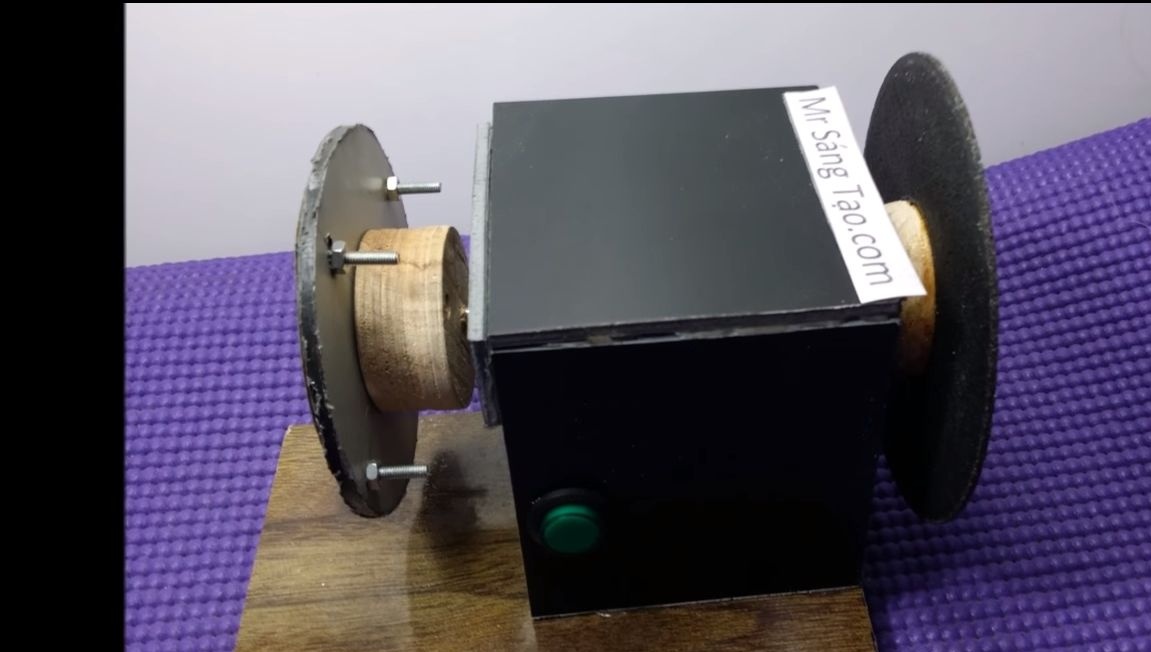
Hello ladies and gentlemen. I bring to your attention a miniature grinding and cutting machine that you can make do it yourself without any problems. With it, you can easily cut small objects from plastic, wood and even steel. But that is not all, the machine is equipped with a grinding disc, with which you can perform various grinding work. It will be very convenient if you are manufacturing various small parts at home. The machine makes little noise and consumes little energy.
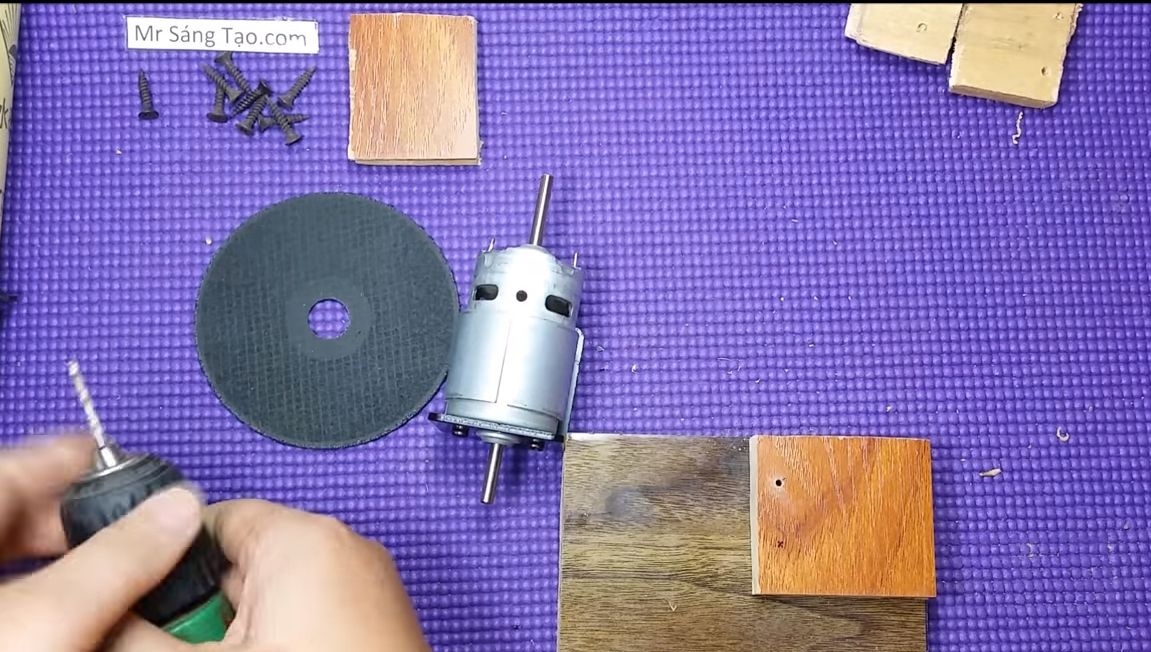
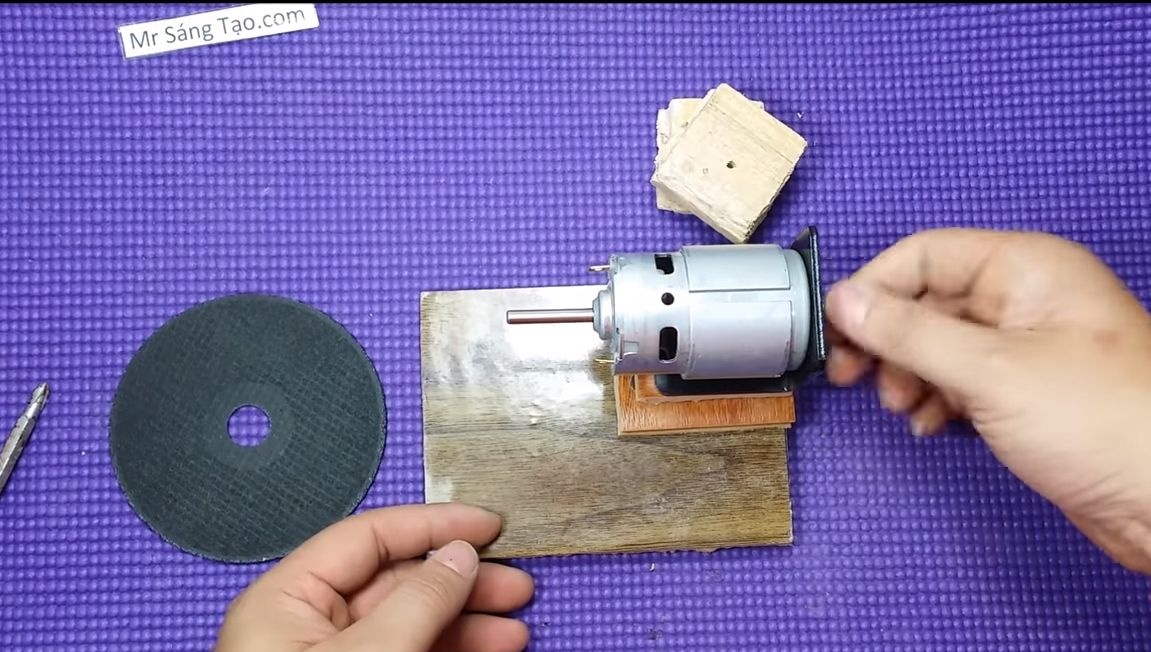
As a basis for homemade The author used a 775 engine with a shaft on both sides. A cutting disc is mounted on one side of the engine, and a grinding disc on the other. You can easily power such an engine from a battery, because the range of the operating voltage of the engine is within 12-24V. So, we begin to manufacture the machine.
Materials and tools used by the author:
Material List:
- engine 775;
- plywood;
- switch;
- wires;
- screws with nuts;
- glue;
- sandpaper;
- self-tapping screws;
- an arm for the engine 775;
- a small cutting wheel from the grinder;
- power supply 12-24V.
Tool List:
- drill;
- marker;
- ruler;
- screwdriver;
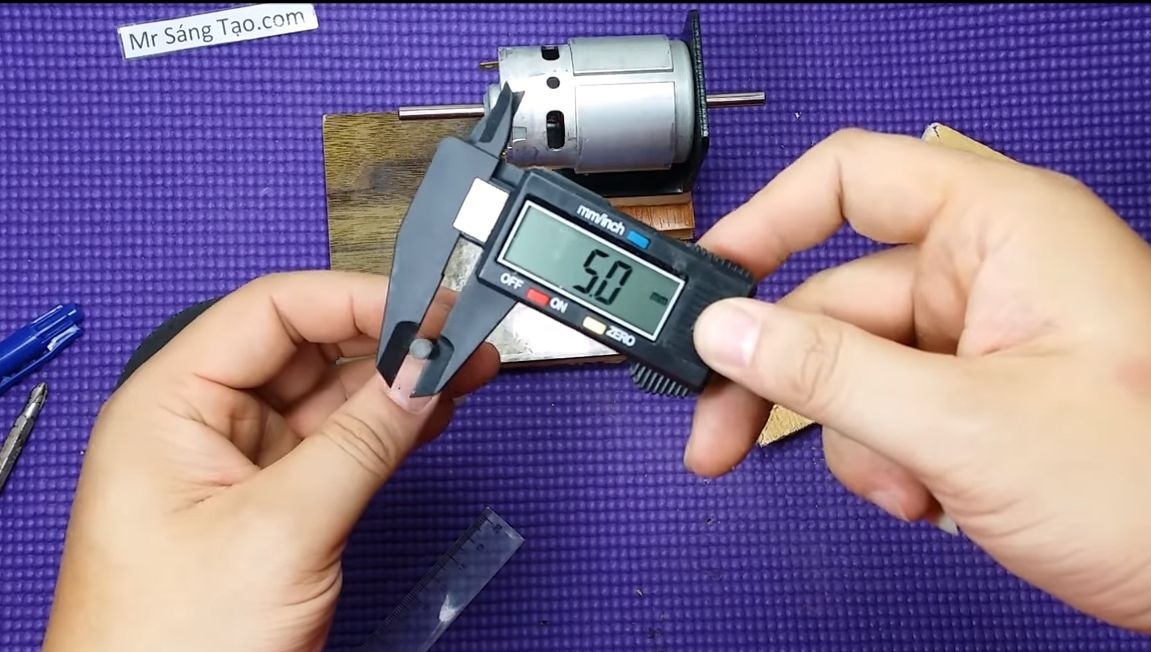
- vernier caliper (conveniently digital);
- file.
The process of manufacturing the machine:
Step one. Making the basis for the machine
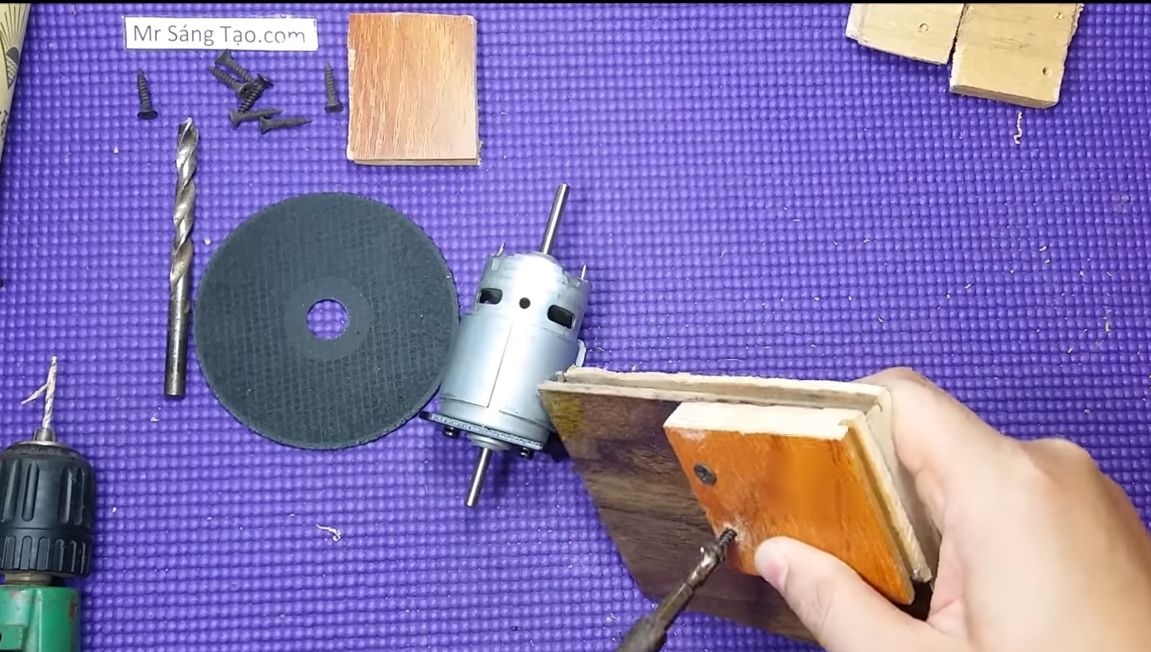
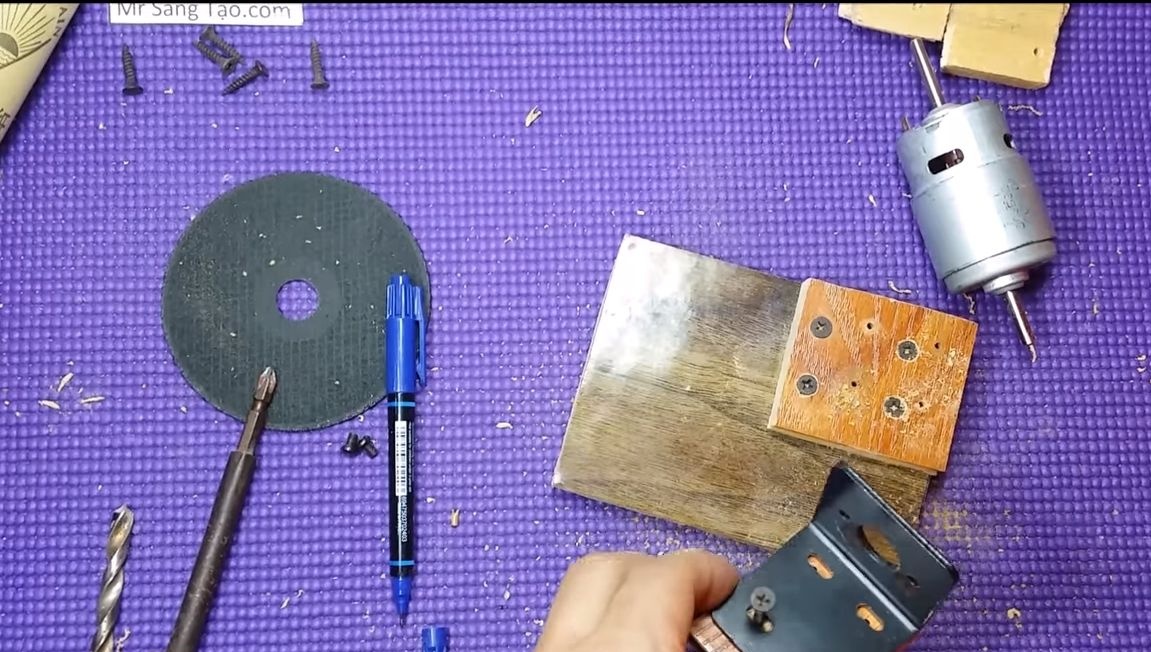
The base is made of plywood or other similar material. You will need one large sheet, it will be used as a base. The author also used two small pieces, thanks to which the engine was raised to the desired distance from the table so that the necessary nozzles could be installed on the axis. You can replace these parts with a single bar of sufficient width.
The author is going to the whole thing with the help of screws.
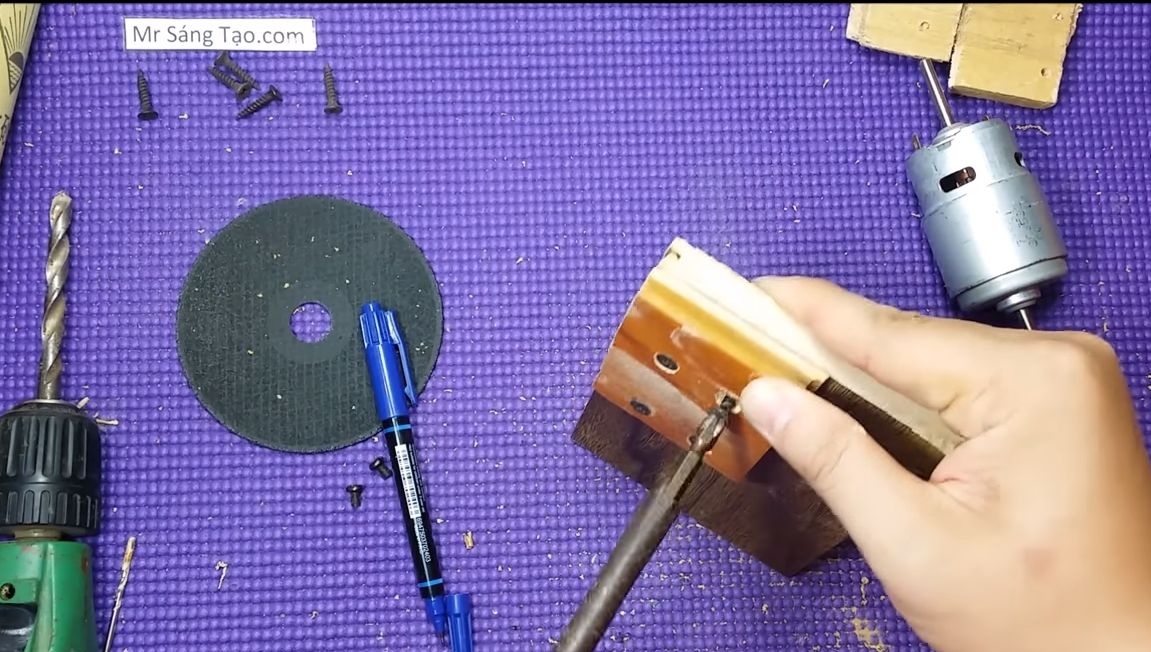
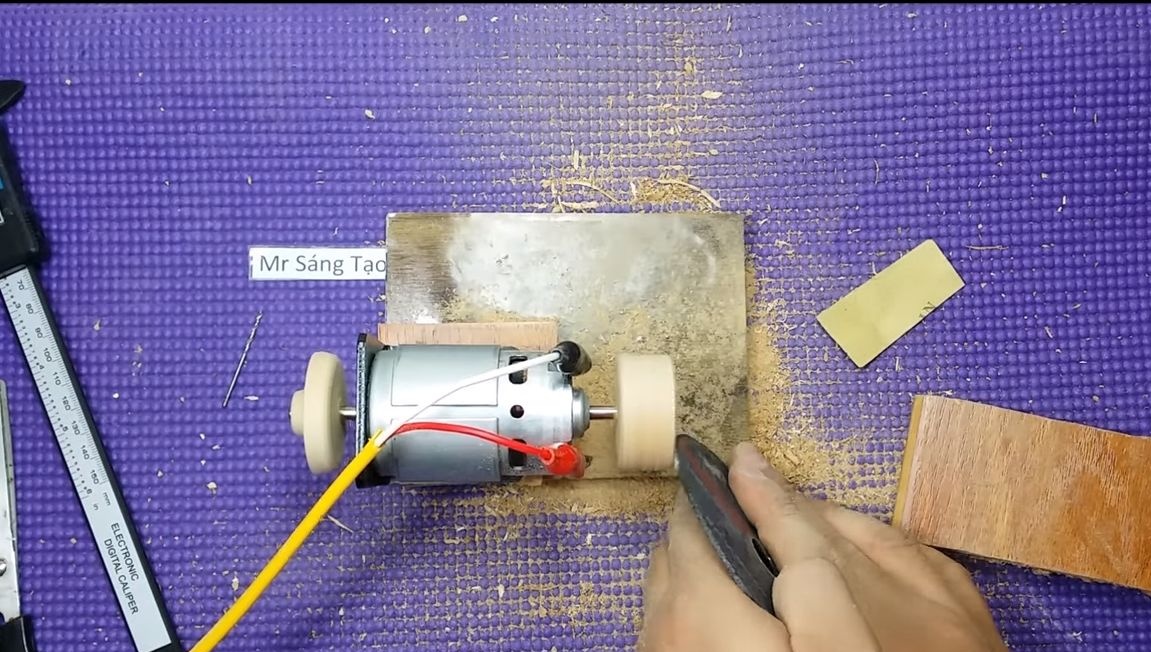
Step Two Install the engine
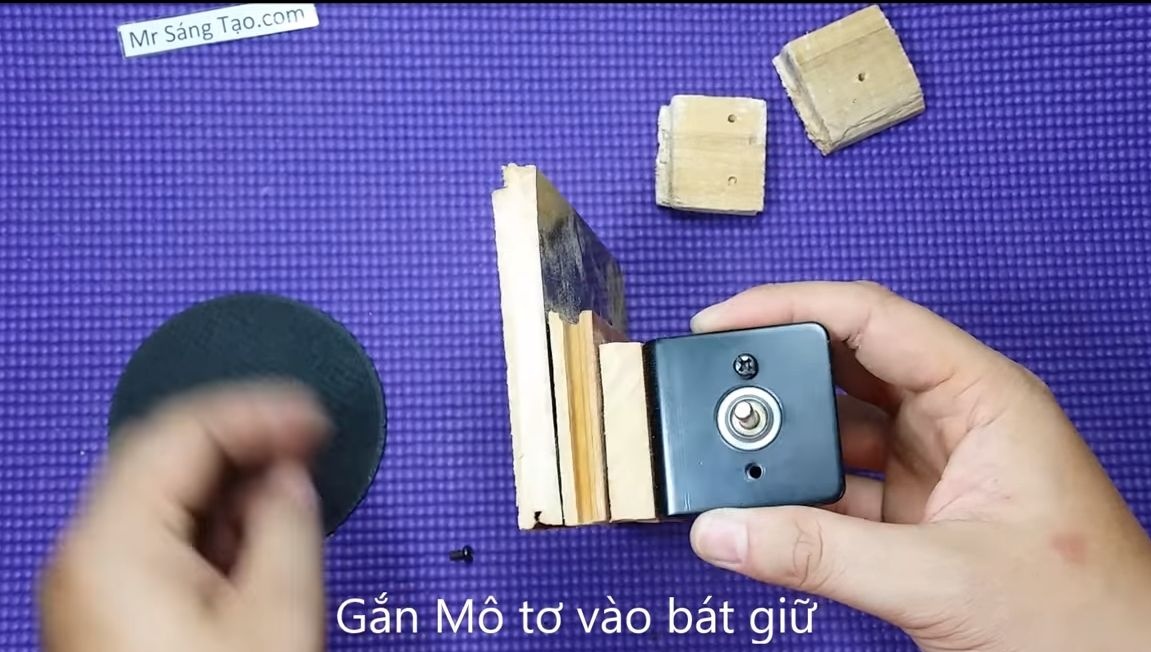
To install the 775 engine under it, you can buy a ready-made bracket. You can save money, the design of the bracket is not complicated, it has a profile in the form of the letter "G". It can be bent out of sheet metal. But this is the case if you want to spend all your time and energy on it.
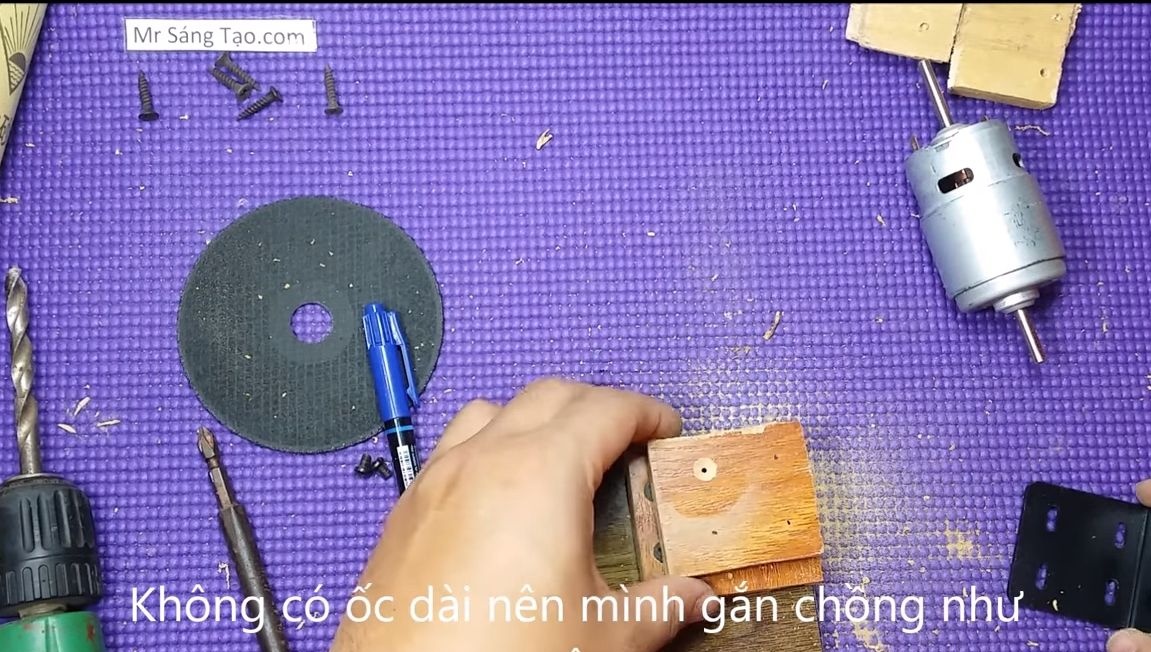
We fasten the bracket to the base using self-tapping screws, and then fasten the engine to it using two screws and a screwdriver.
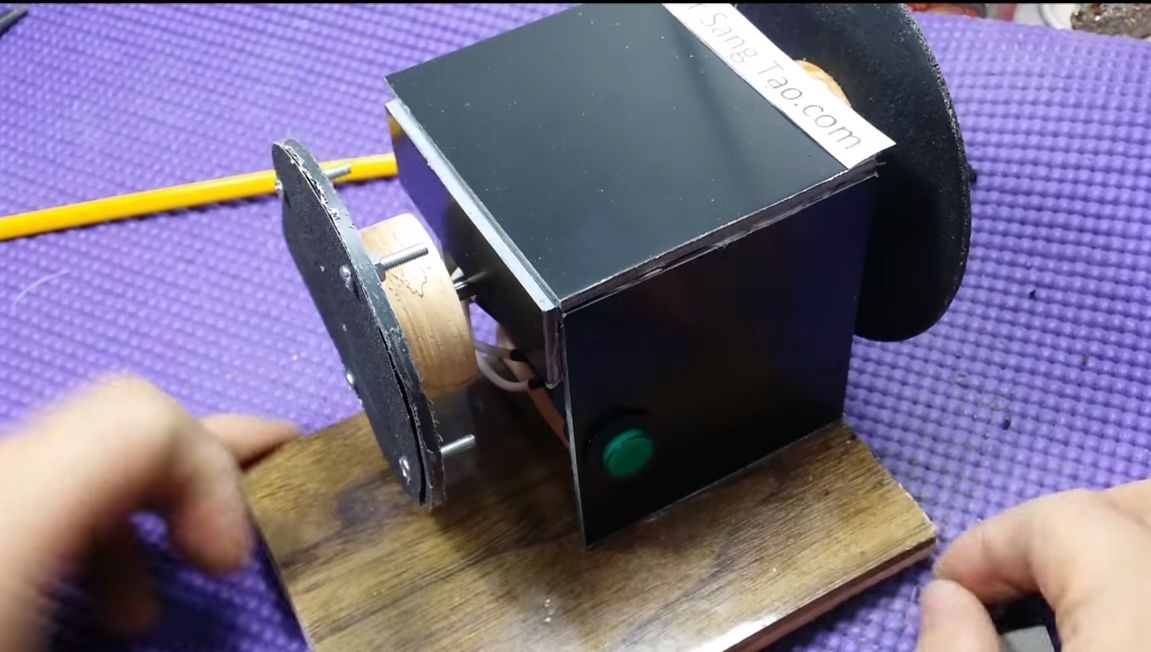
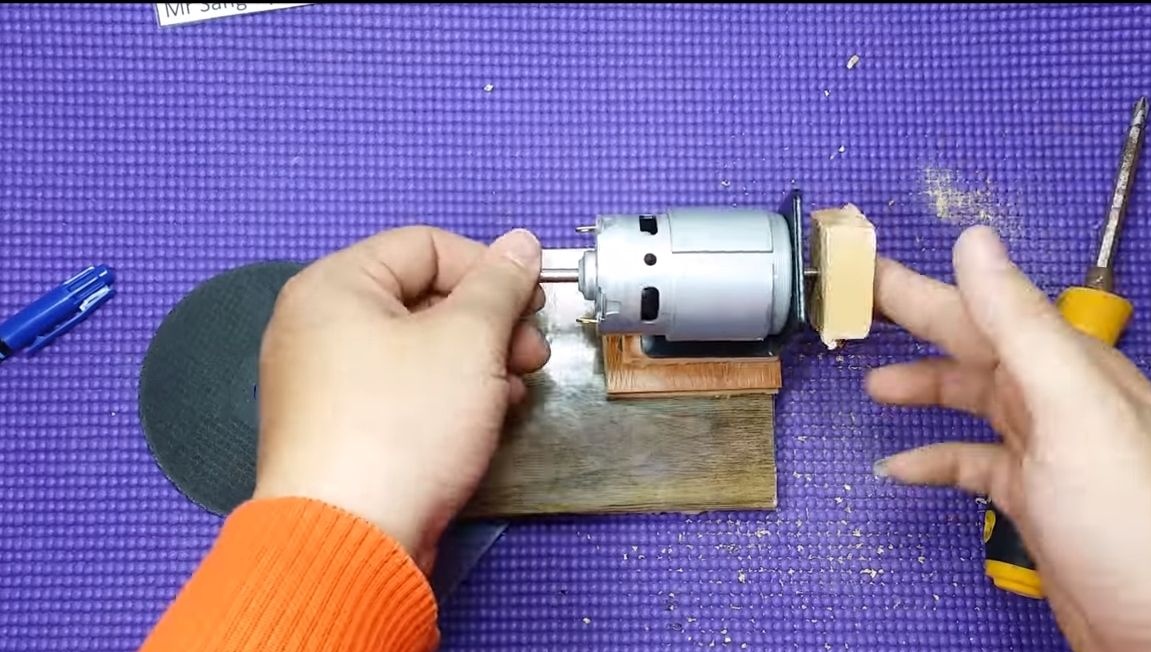
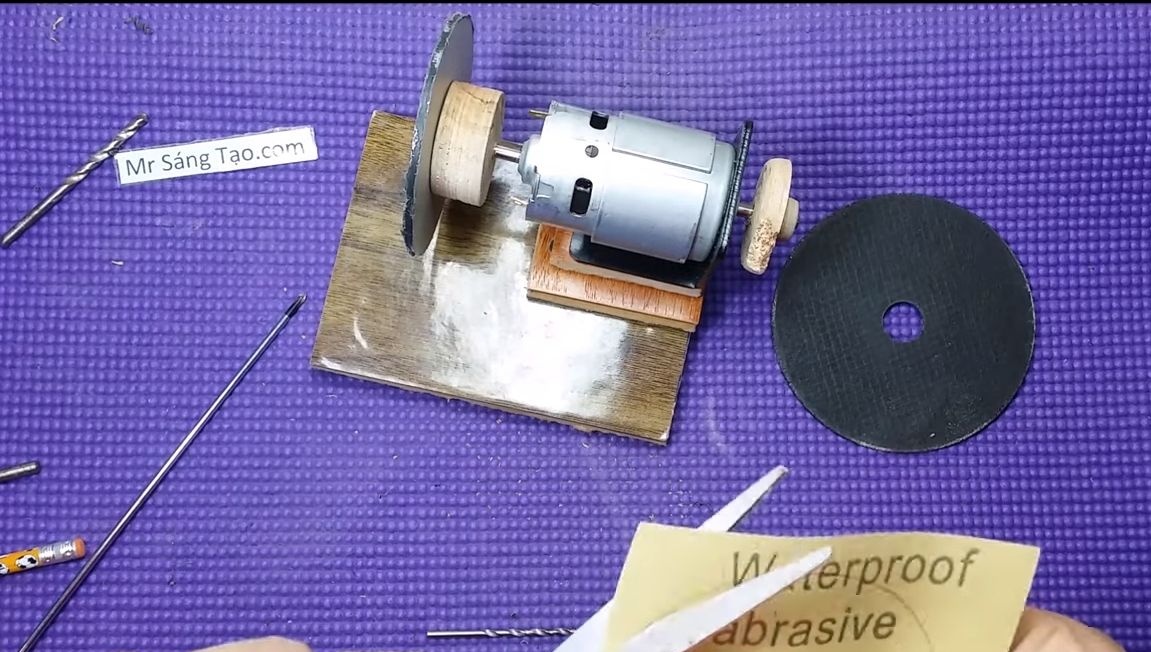
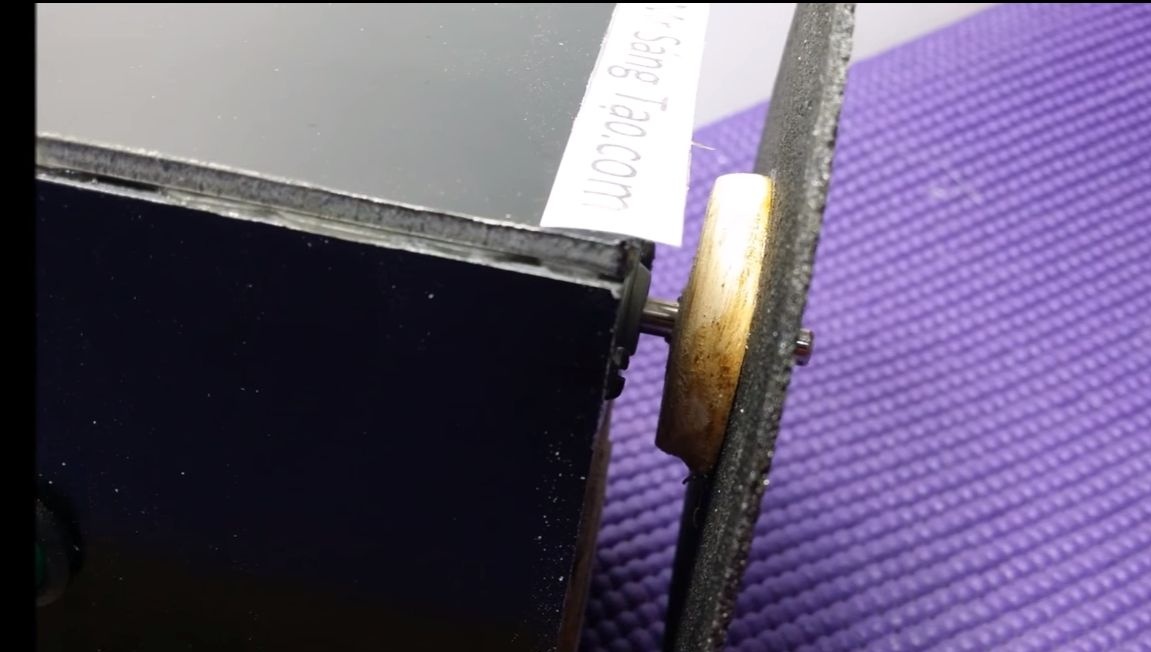
Step Three Making an adapter for a cutting wheel
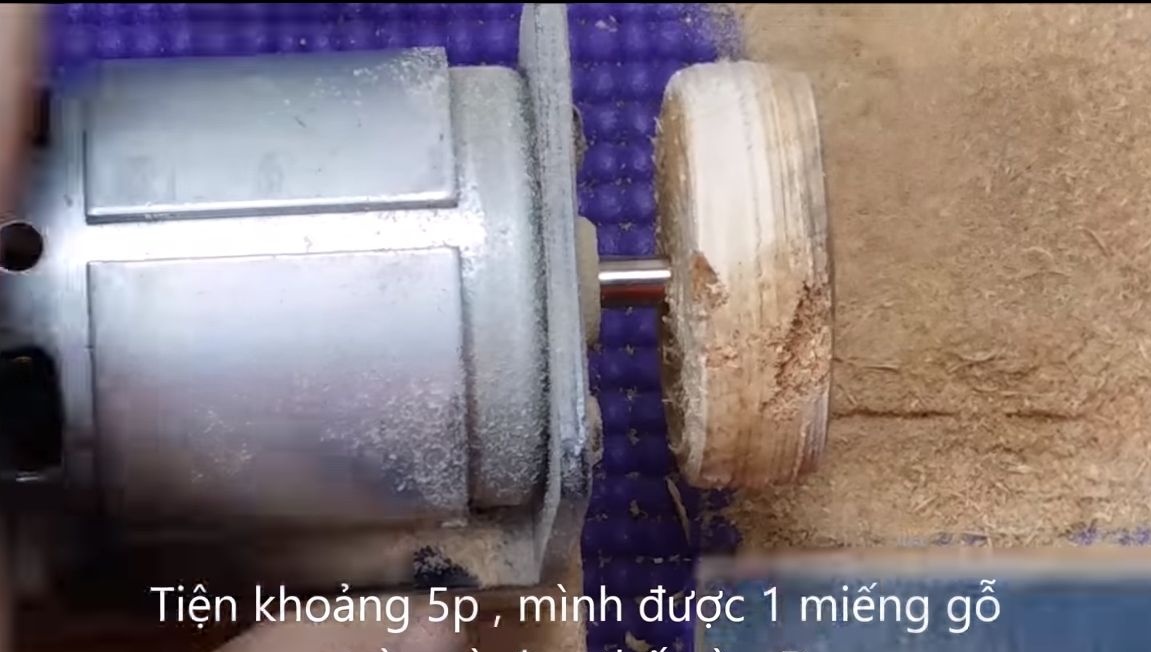
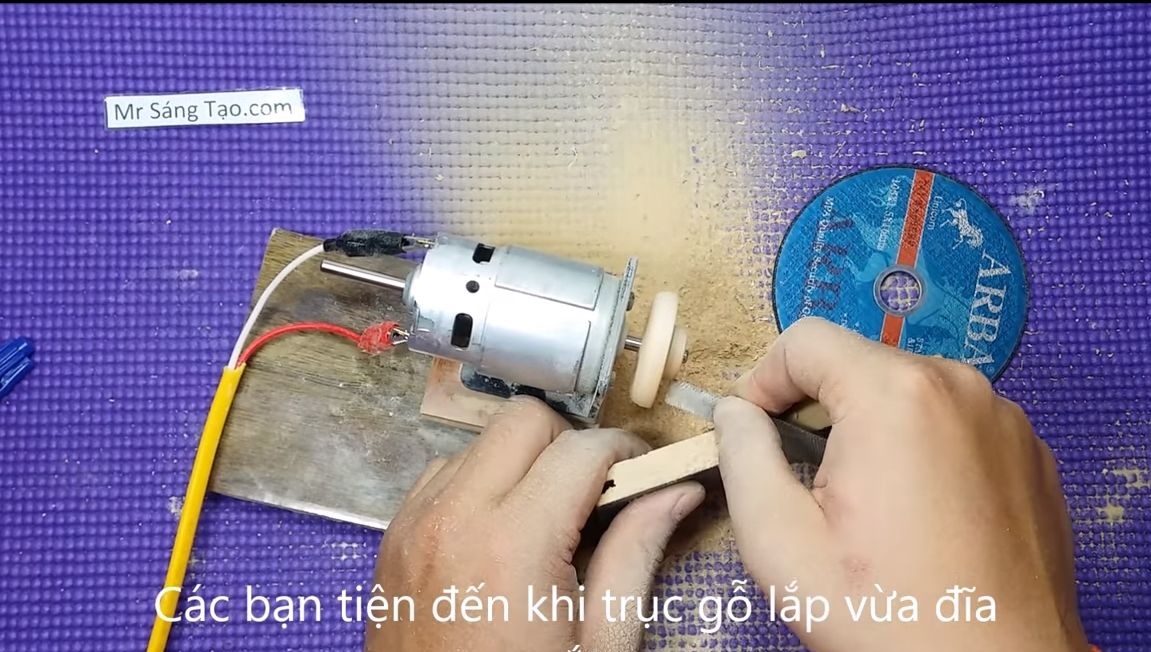
We manufacture a fastener, thanks to which it will be possible to install a cutting wheel from the grinder on the engine.Take a piece of square plywood and drill a hole in the center. Install the part on the motor shaft and turn it on. Now we take a file or other suitable cutter and cut out the part in the form of a wheel.
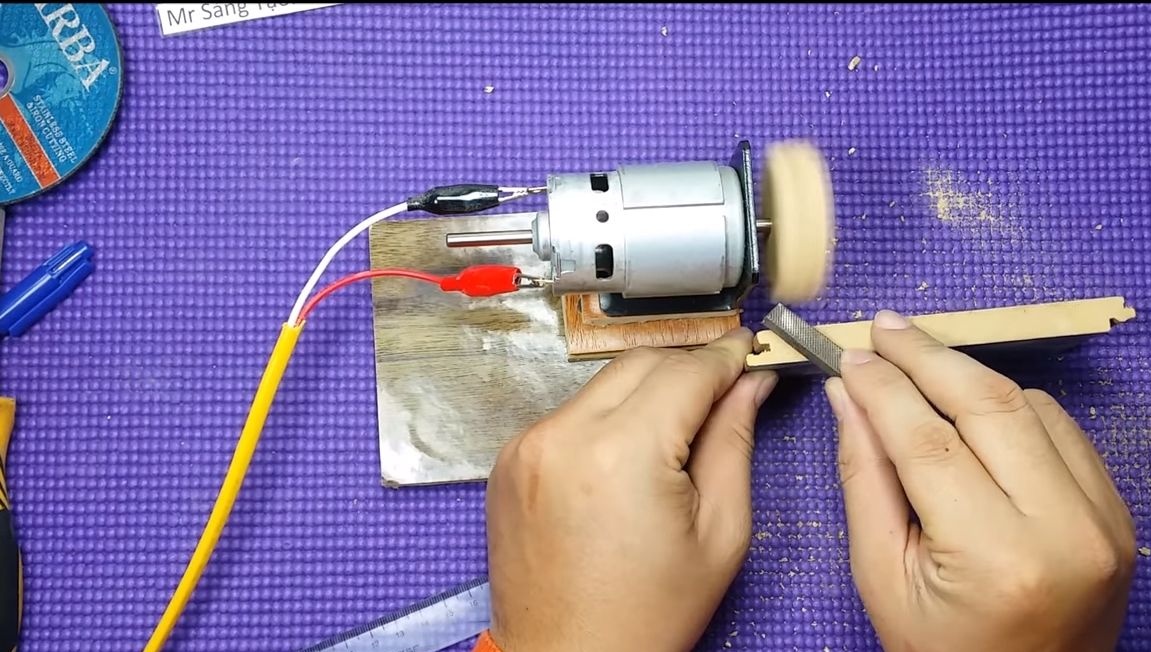
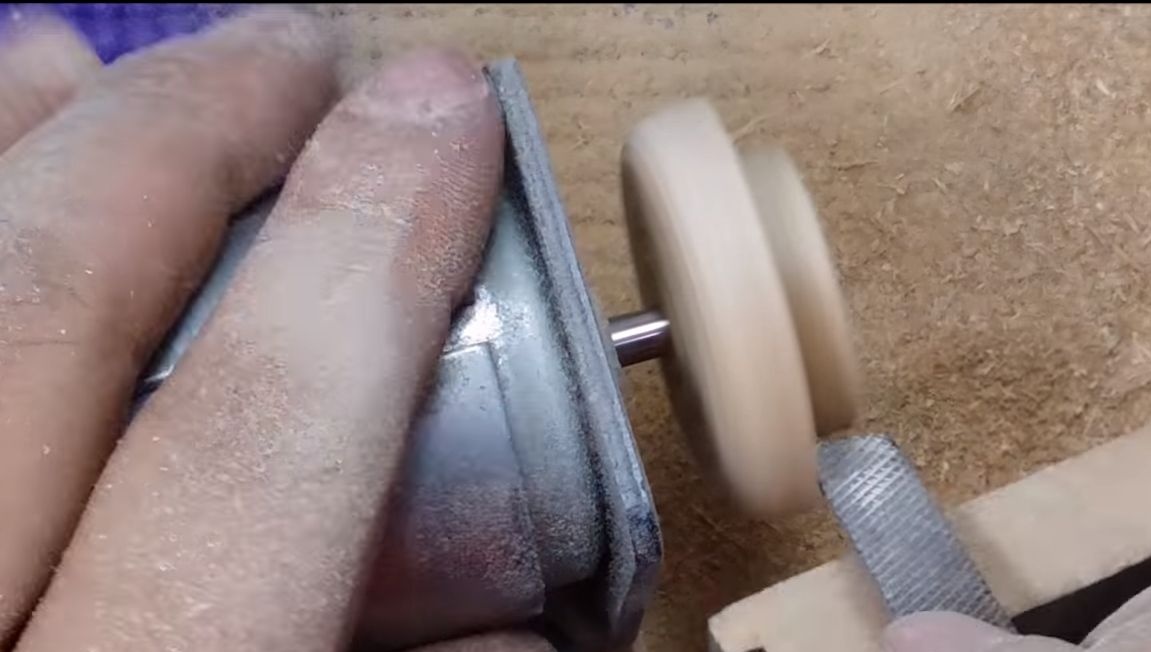
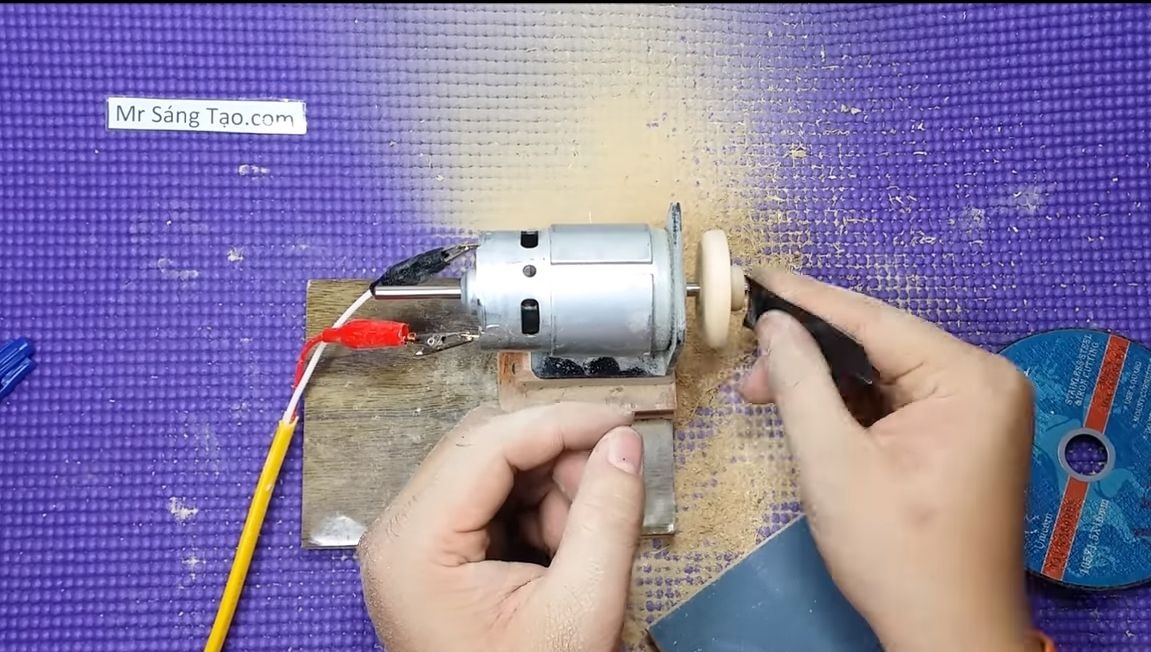
After that, using the same file, we grind the desired profile so that the cutting wheel from the grinder can be installed on the adapter. At the end, we bring the part to perfection with sandpaper.


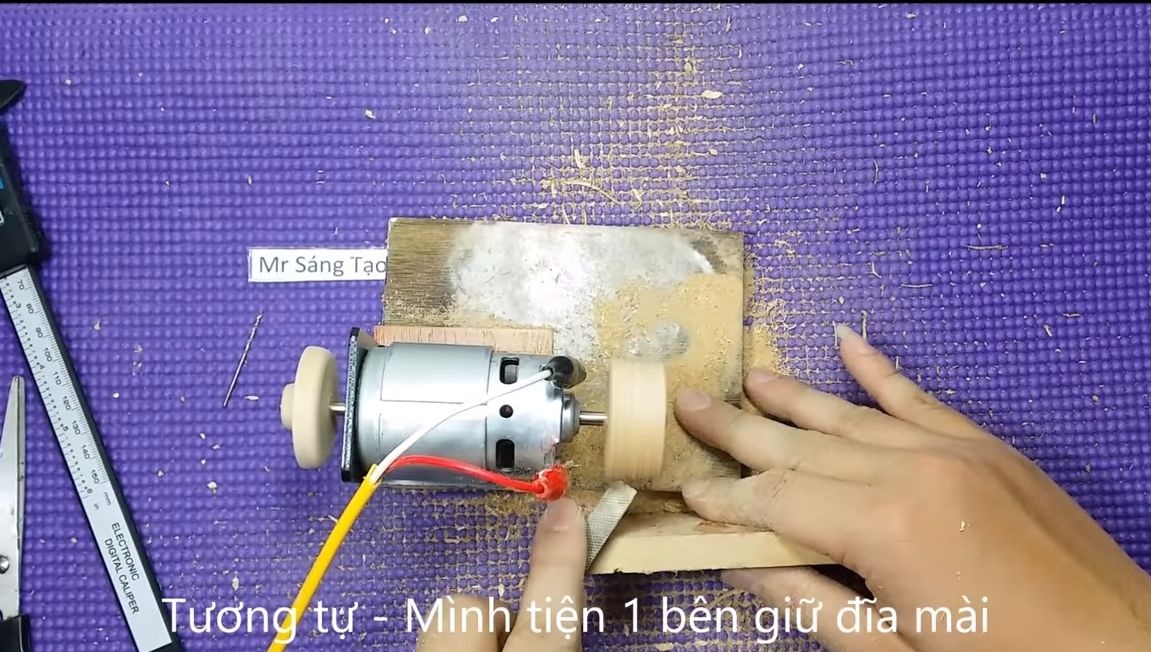
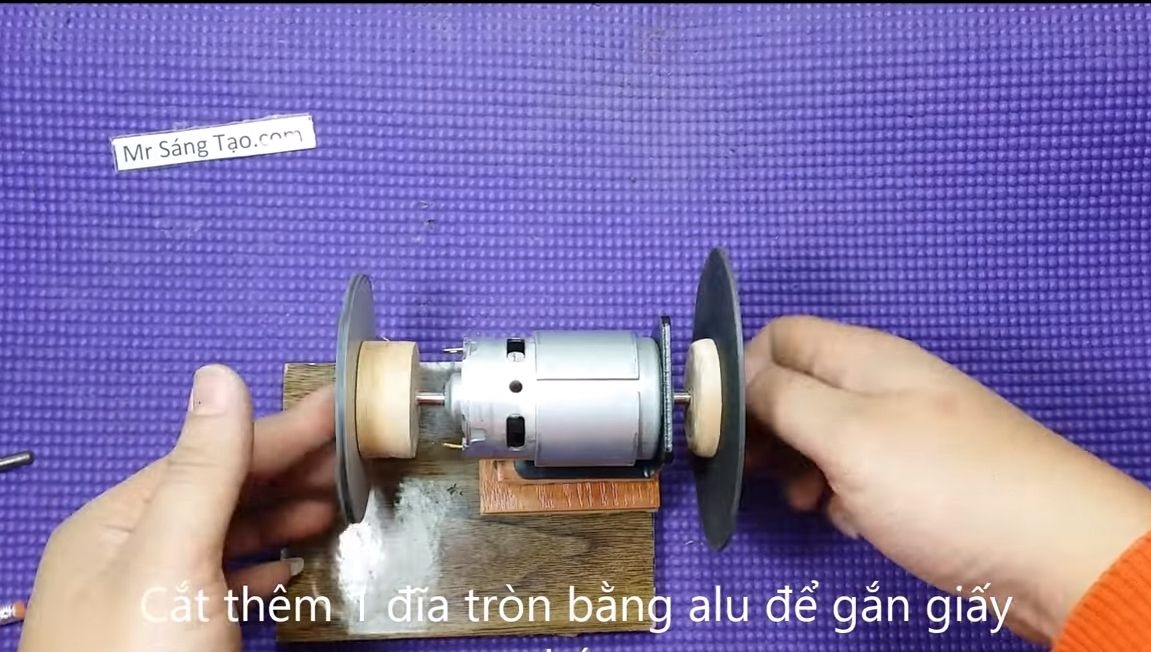
Step Four Grinding Disc Making
To make a grinding disc, you first need to grind a cylinder or wheel from plywood using the same technique as we did before. After that, you need sheet plastic, we cut out a disk of the desired diameter from it. Well, then just screw the disk to the wheel using self-tapping screws.
All parts made of wood are installed on the motor shafts for glue. You can use superglue. Before gluing, carefully protect the shafts with sandpaper.

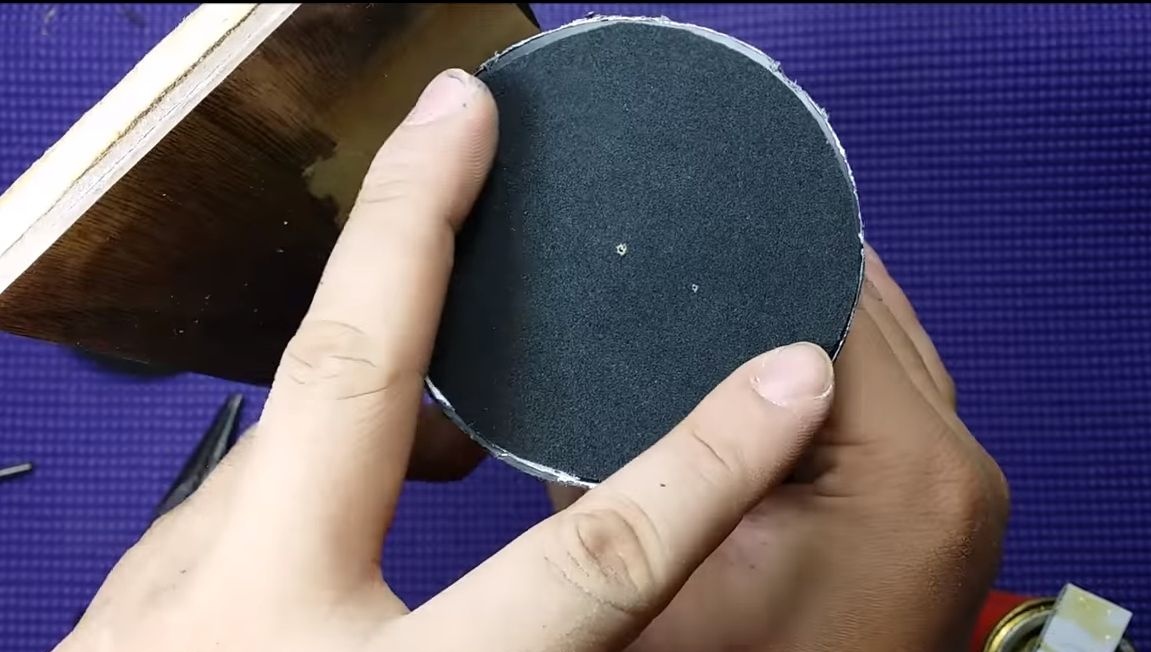
Step Five Fasten nozzles
First of all, we will set the grinding wheel, for this, cut a round of the required diameter from sandpaper. Now there are two options, the simplest and most rational - just stick a circle with hot glue or the like. The author decided to fix the grinding disk with screws and nuts.

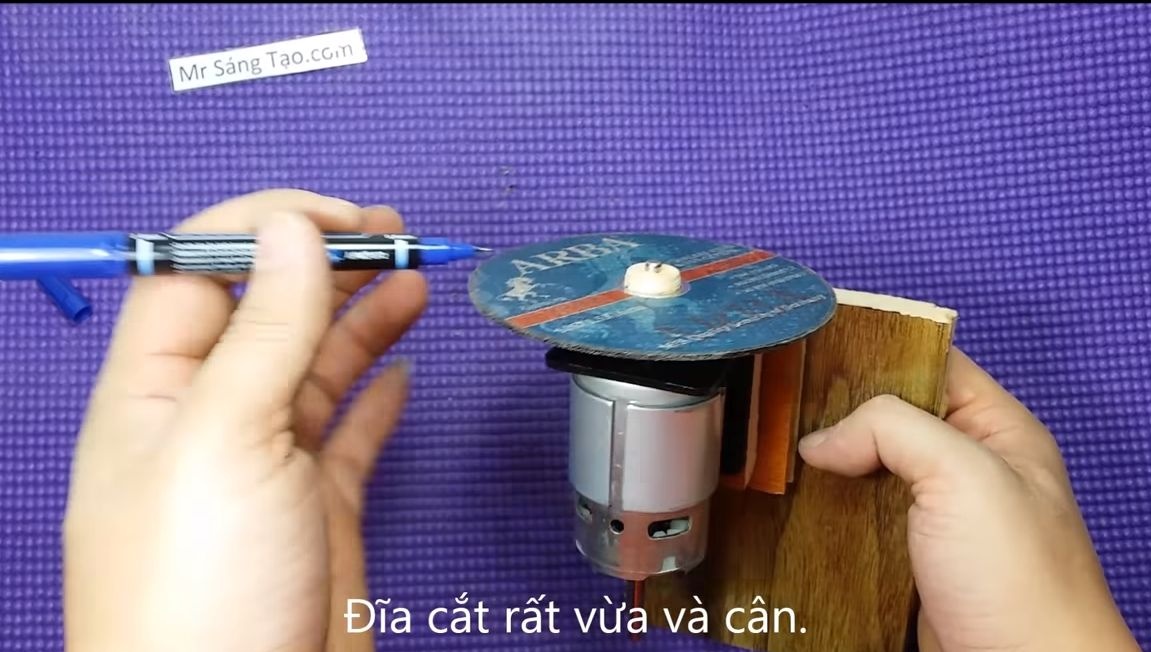
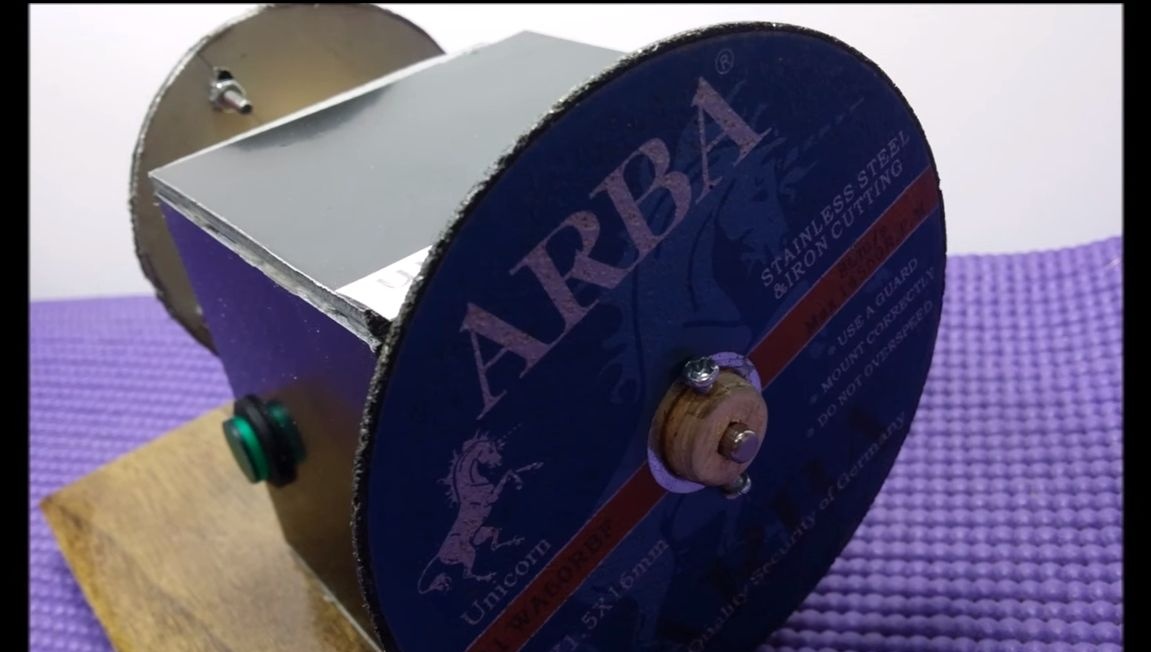
As for the cutting wheel, we fix it with good glue. Also, the author wraps several screws in the nozzle tip so that the circle does not fly off the axis if suddenly the glue does not stand. In general, the loads are small and the glue should handle it. Of course, it’s best to come up with a more reliable method of attachment. For example, you can drill holes in a cutting wheel and fasten it with screws or self-tapping screws.
Step Six The final stage of assembly and testing
At the end, make a housing around the engine so that it does not fly dirt during operation. A fan is installed inside this engine, so dust can easily get inside if the engine is left open. The body can be made of thin plywood, everything is assembled on glue.
Install a convenient switch on the device. It is also very useful to make a connector for conveniently connecting the power supply to the machine.
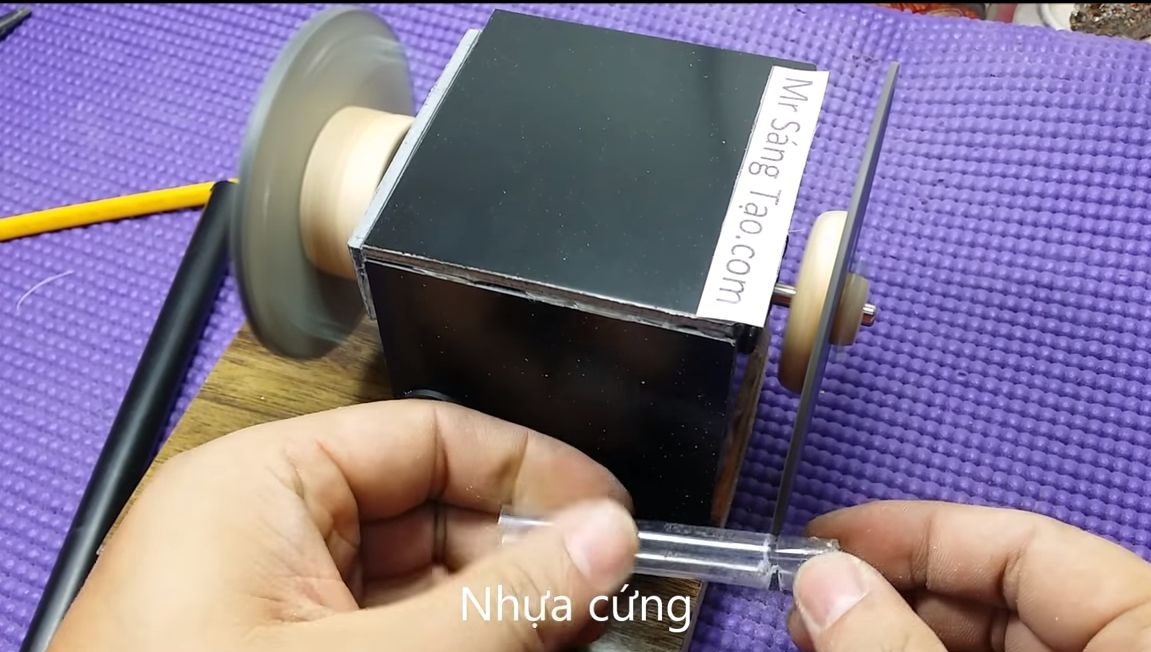
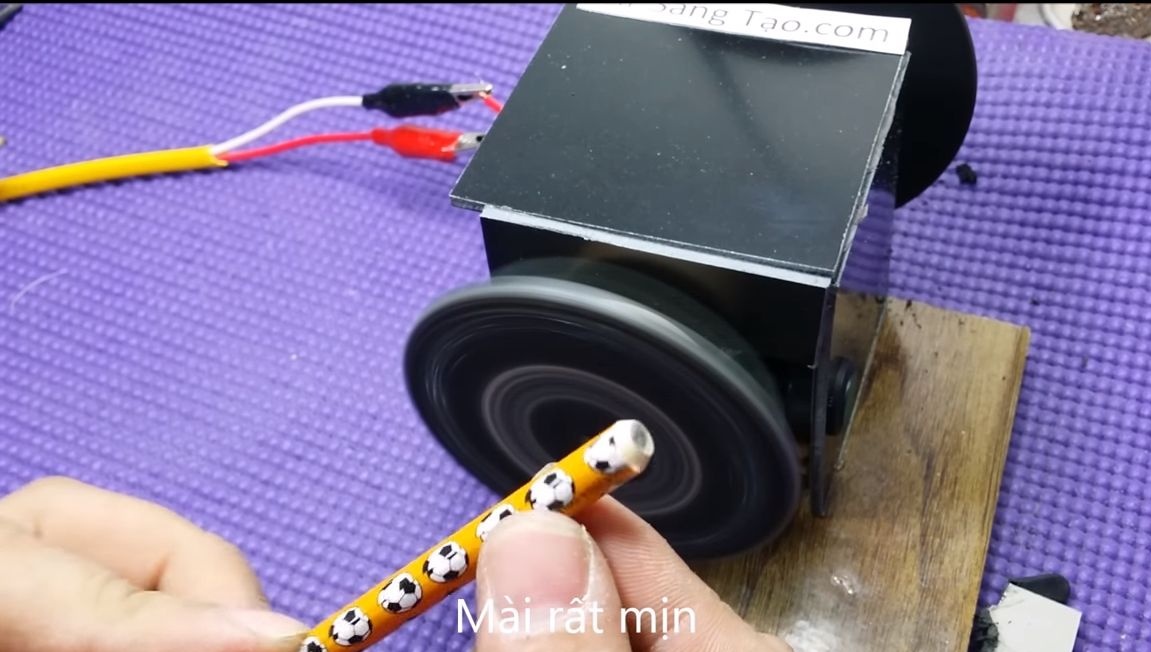
Getting to the test! As an experiment, the author easily cuts plastic tubes, wood and other materials with a machine. The grinding disc also proved to be excellent, it perfectly sharpens a pencil and other materials depending on needs. The engine used is quite powerful and reliable, it is actively used in the manufacture of home-made home machine tools.
That, in fact, is all. I hope you enjoyed the instructions. Good luck and take care!