
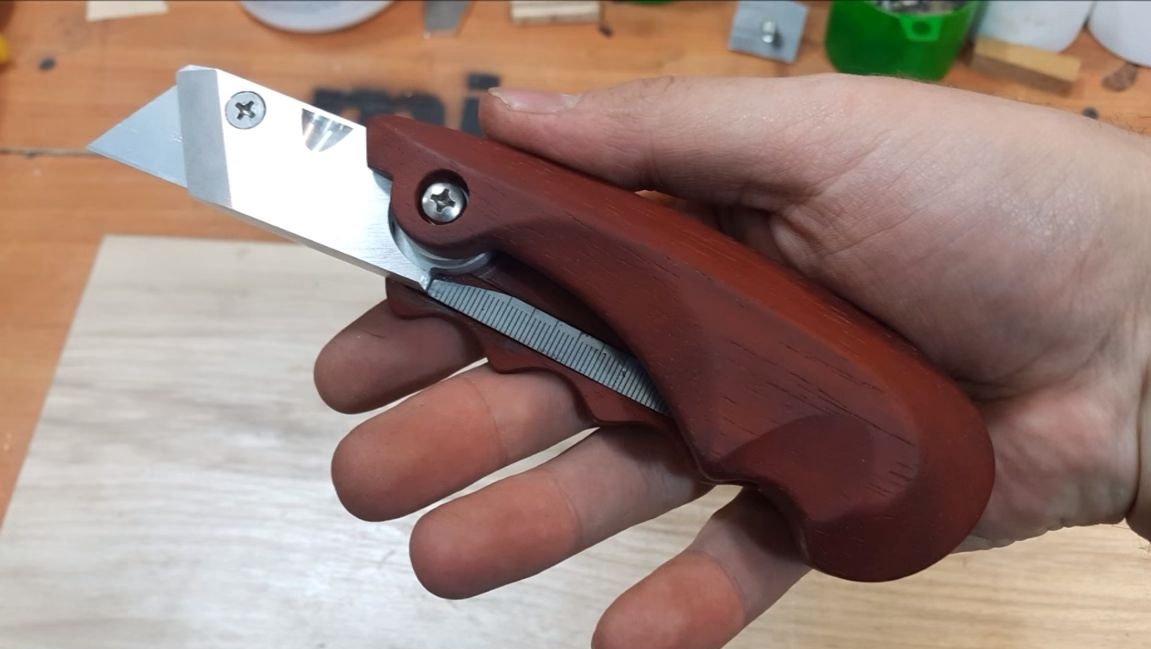

If you often work with a clerical knife? Then this instruction is for you. You immediately begin to respect the masters with such a knife. You can easily make such a knife yourself! In addition to excellent appearance, this knife is very convenient to use, it is pleasant and convenient to hold in hands. And when the work is done, you can fold the knife and it will be safe. Everything is not going to be complicated, although the author uses a considerable set of tools, but this does not mean that such work cannot be done with simpler tools.
To make a knife you will need soft wood to make it convenient to process. Suitable, for example, alder or birch. As for the knife holder, its author made of sheet aluminum. Unfortunately, the manufacturing process is not shown, but the design is quite simple. It is made of two aluminum plates that are screwed together. So, let's start making a knife!
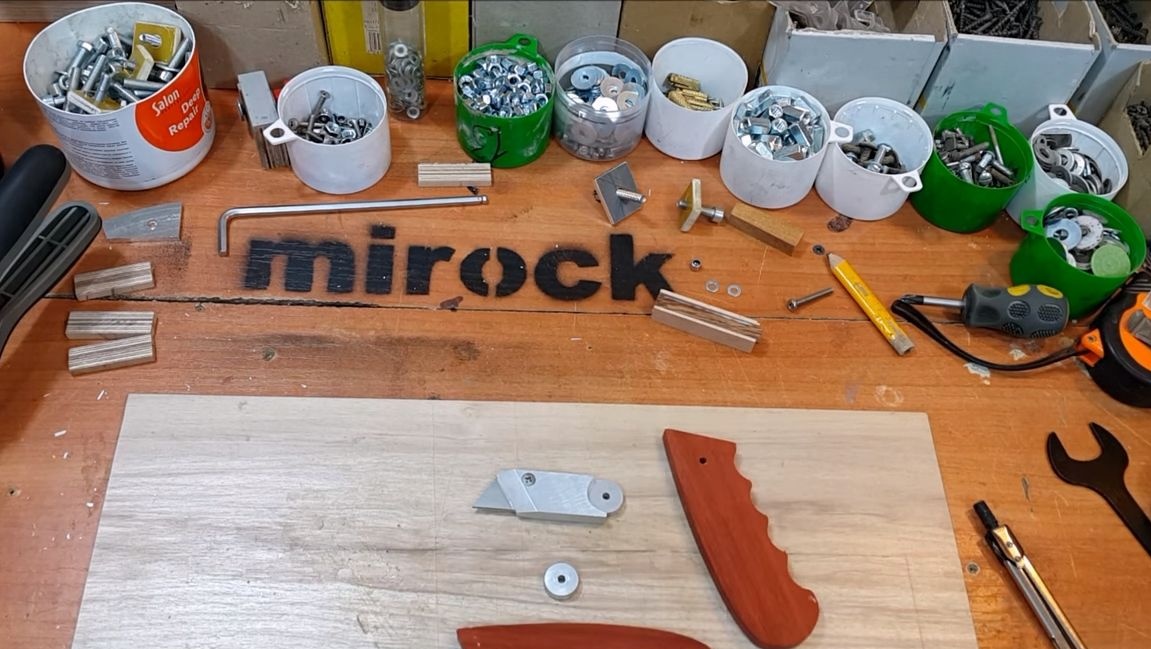
Materials and tools used by the author:
Material List:
- dostochka;
- homemade clip for the blade;
- screws with nuts;
- a metal ruler or other similar piece of metal;
- small wooden sticks or the like;
- glue for wood;
- clamps;
- double sided tape;
- oil for wood processing.
Tool List:
- drilling machine;
- vise;
- ;
- files;
- (manual);
- sandpaper;
- a circular saw;
- ;
- grinder;
- screwdrivers;
- paper, pencil scissors for the template.
The process of making a stationery knife:
Step one. Cut a rough profile
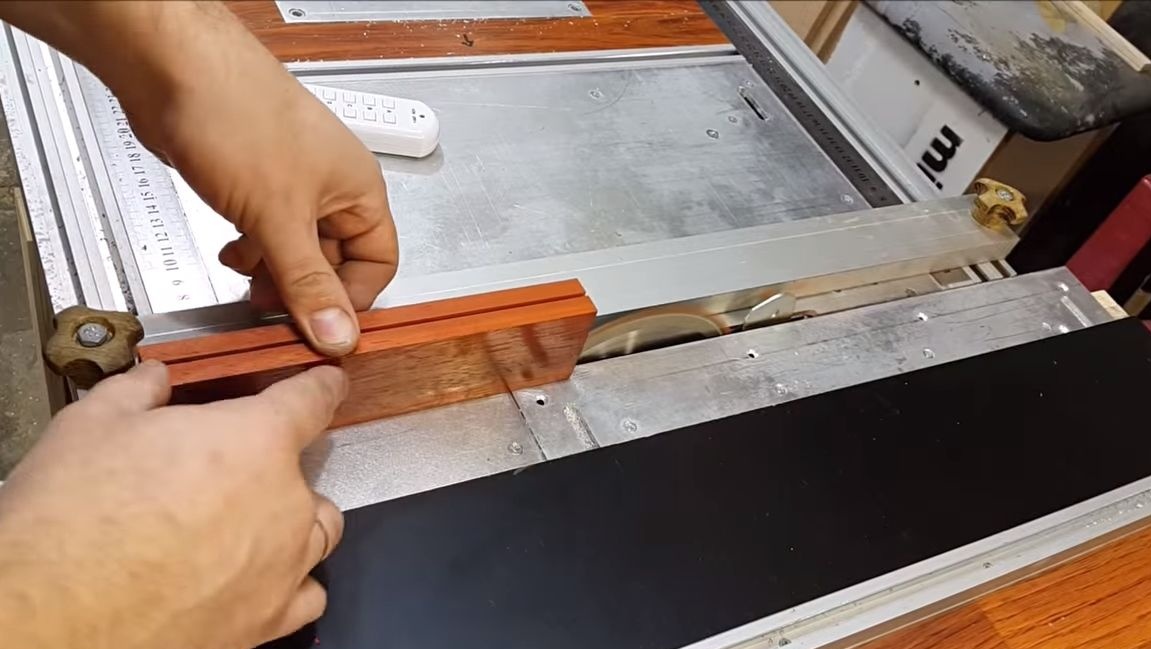
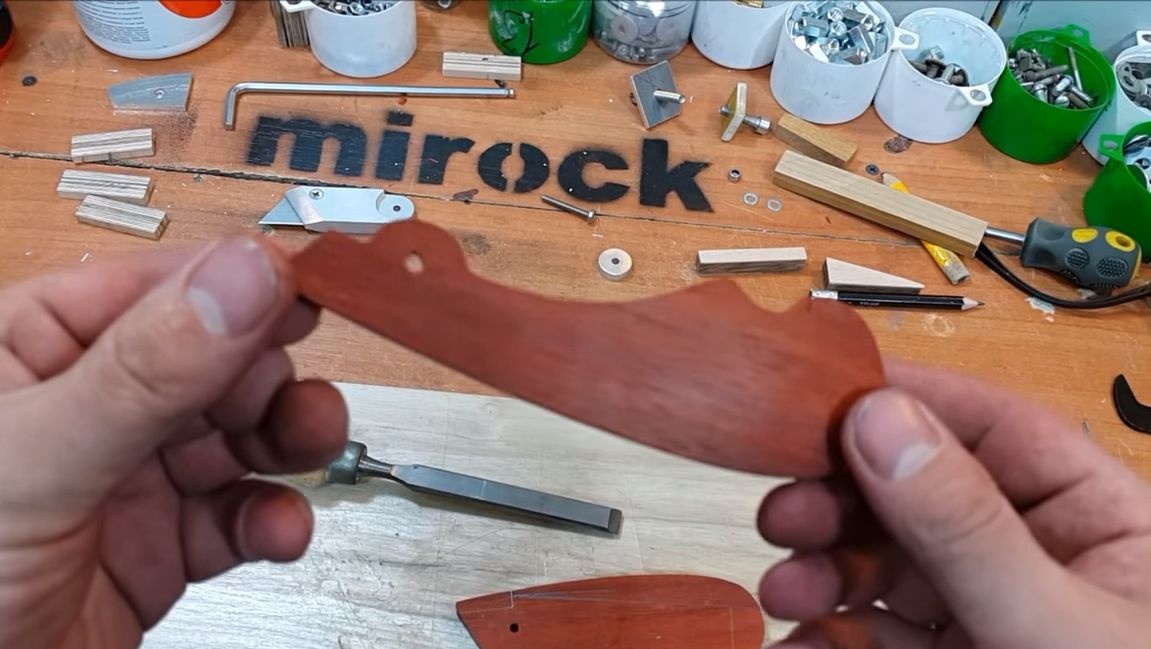
We take a suitable board in size and cut it into two blanks. The author decided to dissolve the board into two halves. Such work can be carried out on a circular saw.
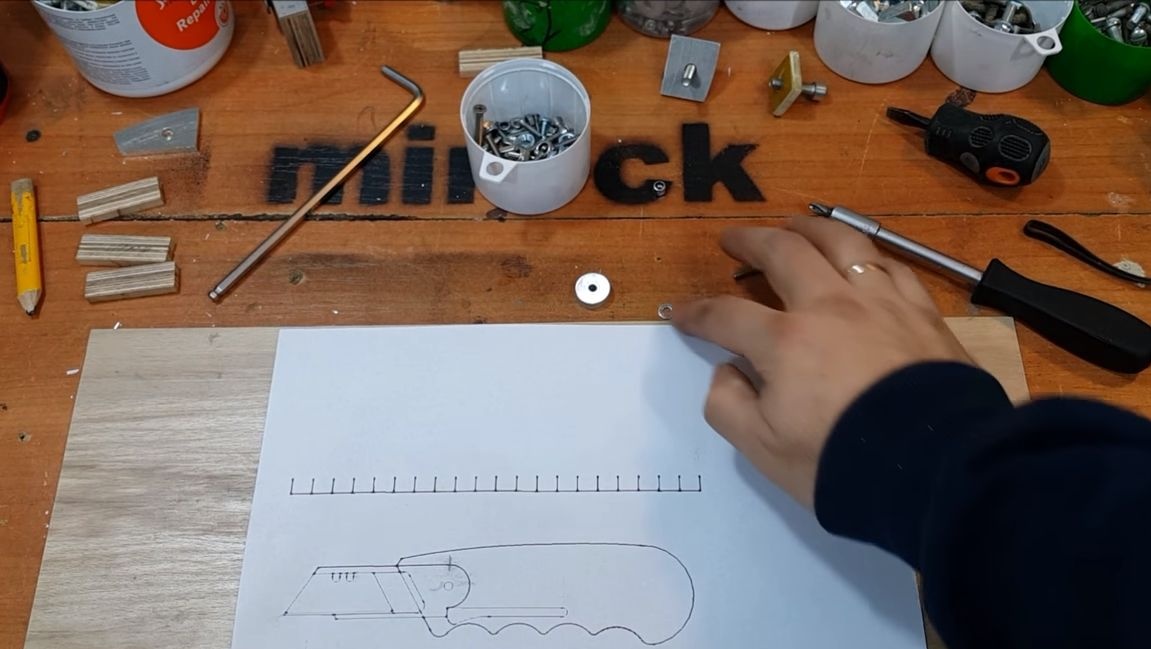


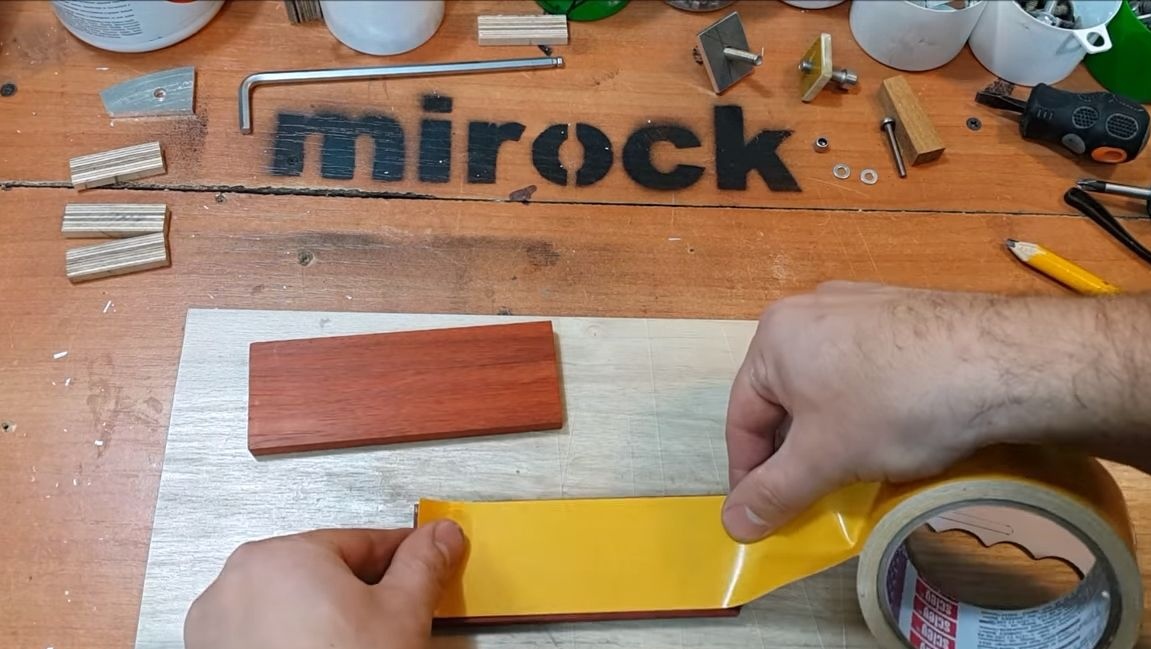
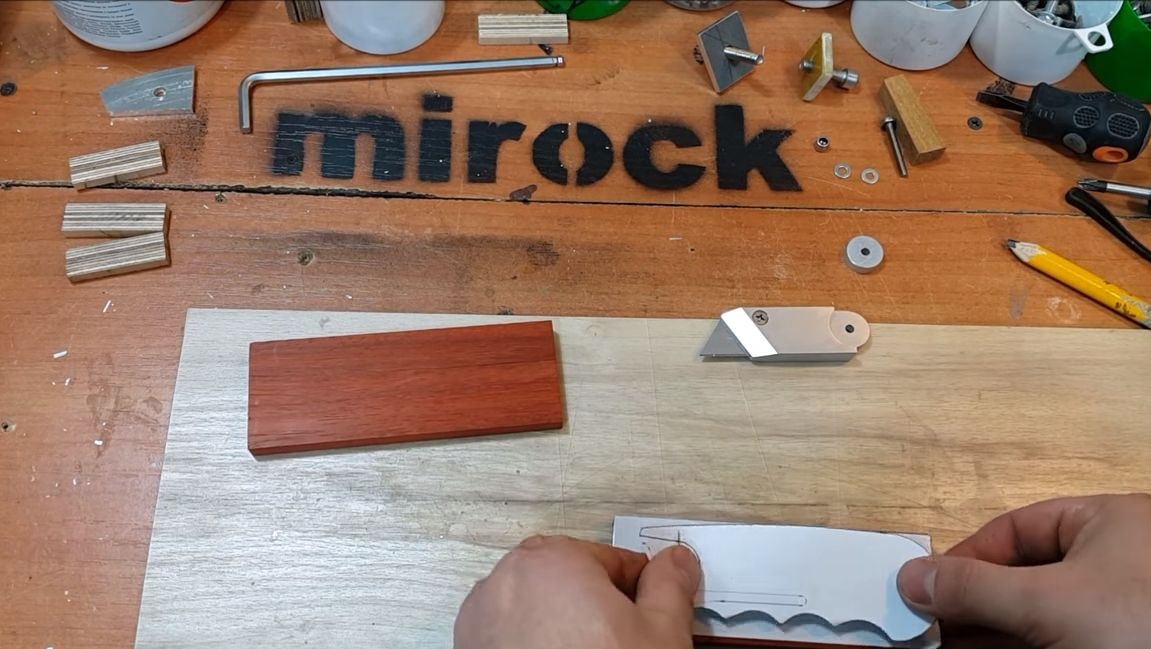
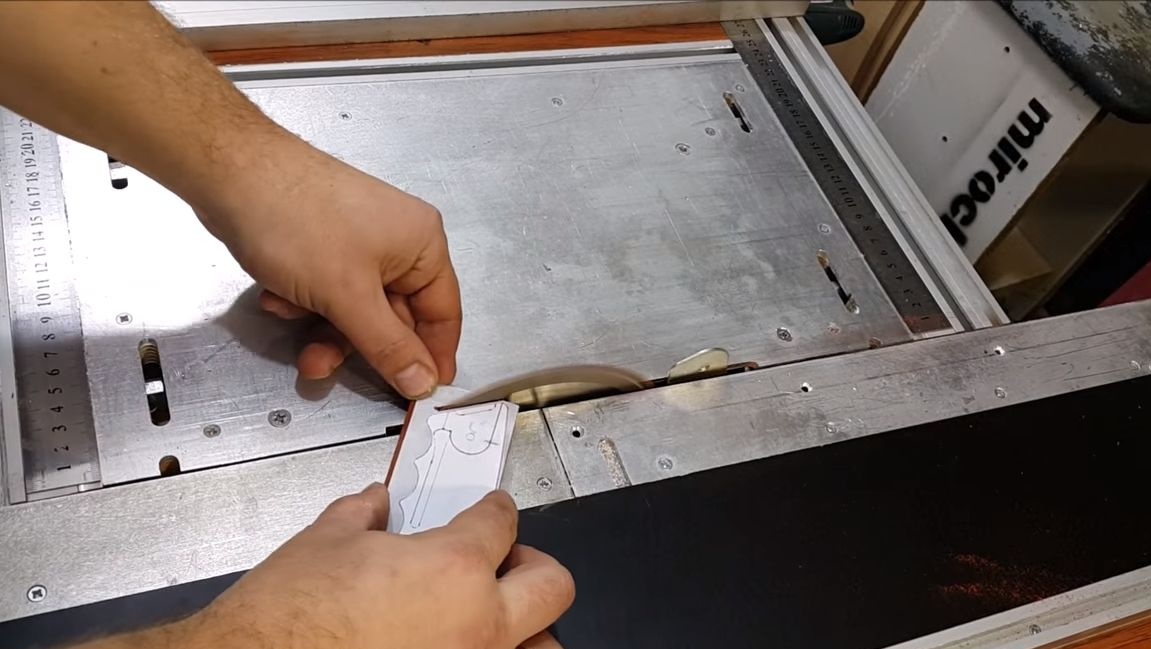
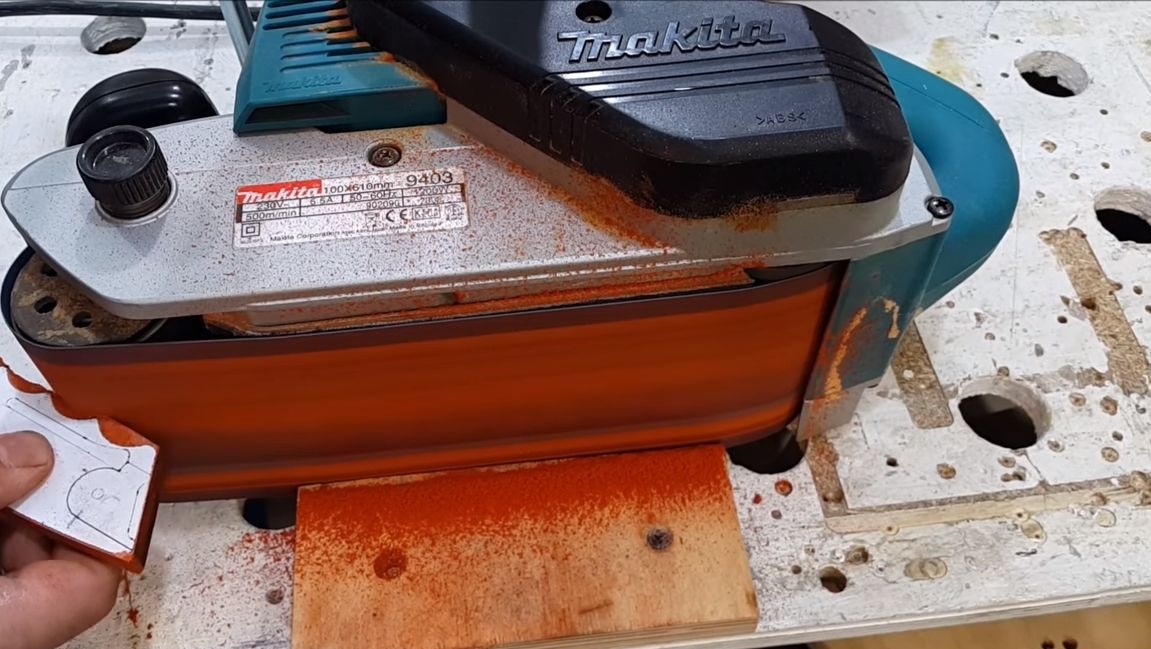
After that, you can begin to cut a rough profile of the blade. For these purposes, we take a template cut out of paper and glue it to one of the blanks. For gluing, the author uses double-sided tape. You can also use glue or simply circle the profile with a marker. A rough profile can also be easily cut on a circular saw. The author's wood is quite soft and very easy to process. A jigsaw is also well suited for these purposes.
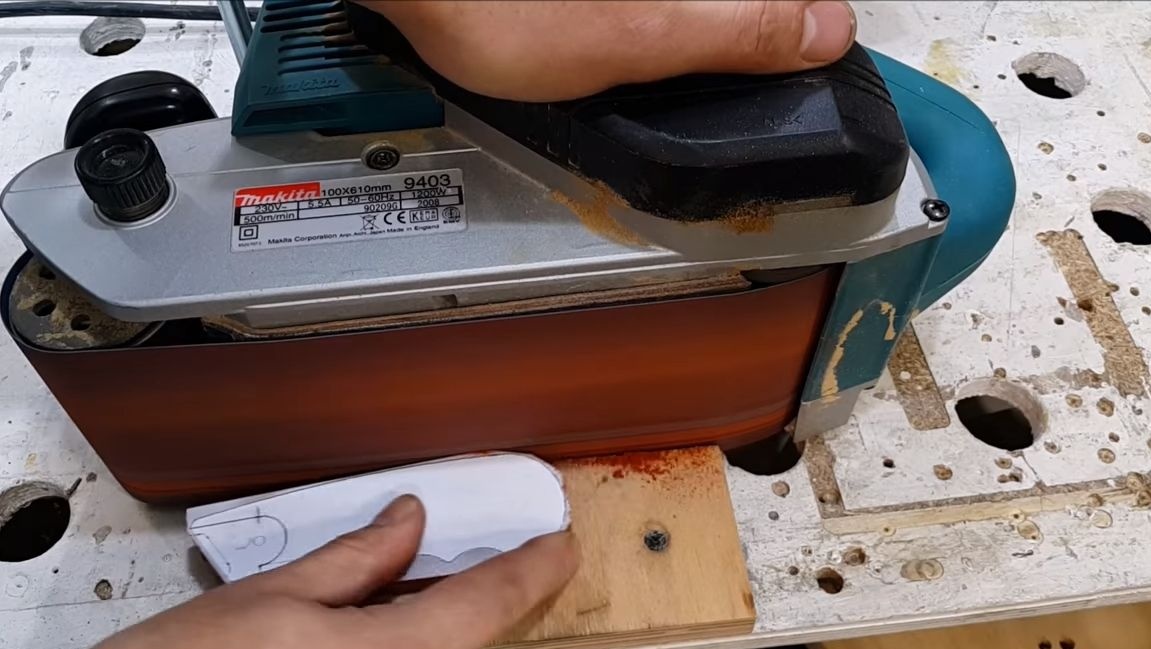
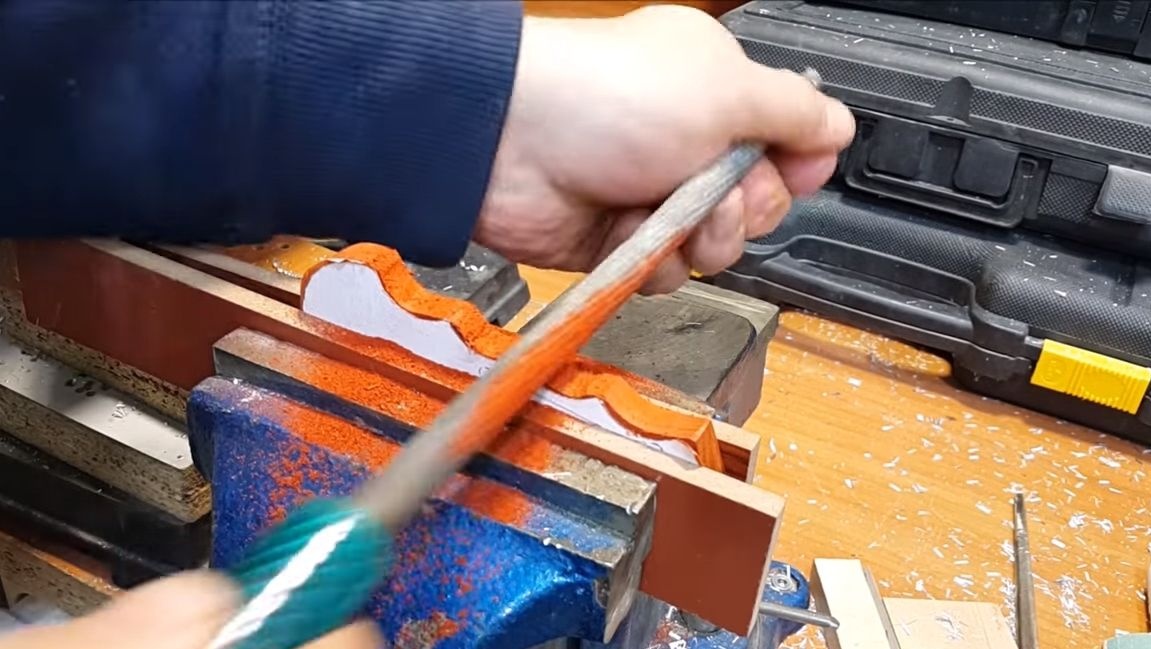
Finally, grip the product in a vise between two boards and finish it manually using a round file.
Step Two Significant other
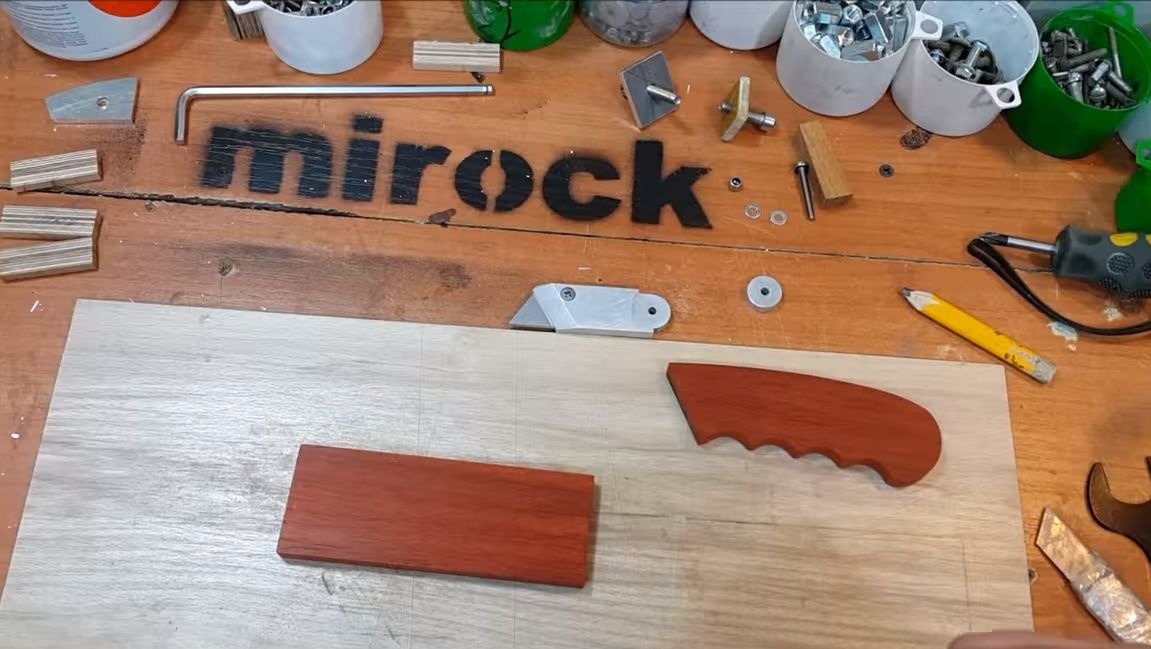
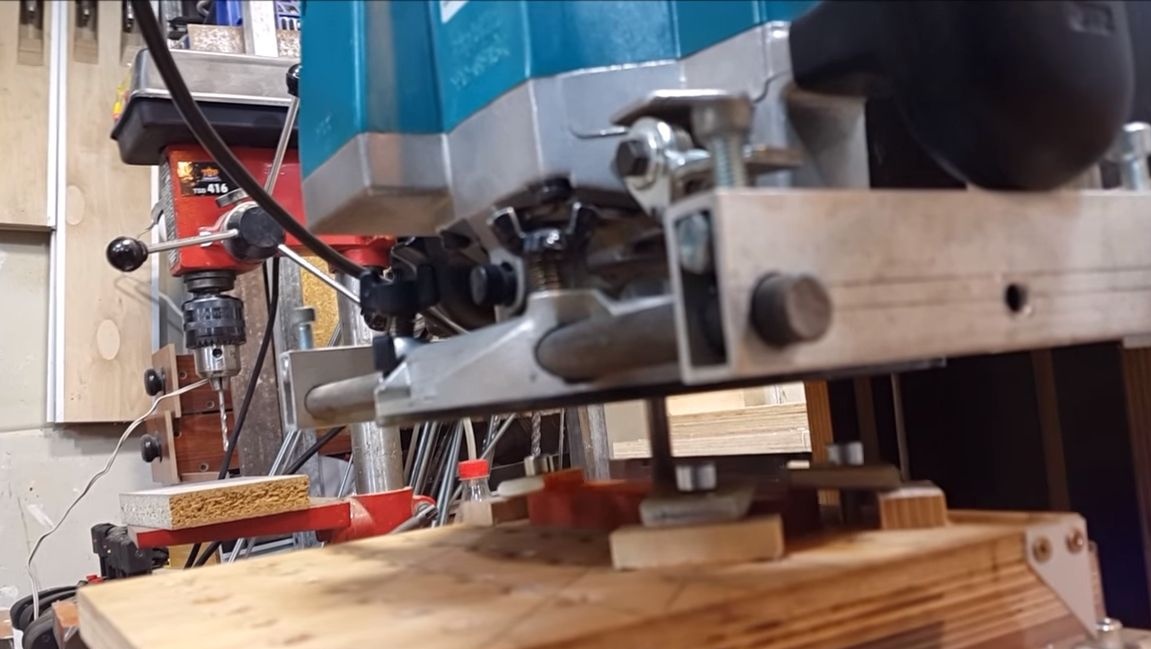
For the manufacture of the second half, the author used a milling machine.Glue the previously manufactured part to the second board on double-sided tape. Well, then along the contour we make an identical soul mate. This machine is not particularly necessary, you can easily make a soulmate exactly like the first. Or you can just cut one part, and then cut it lengthwise into two parts.
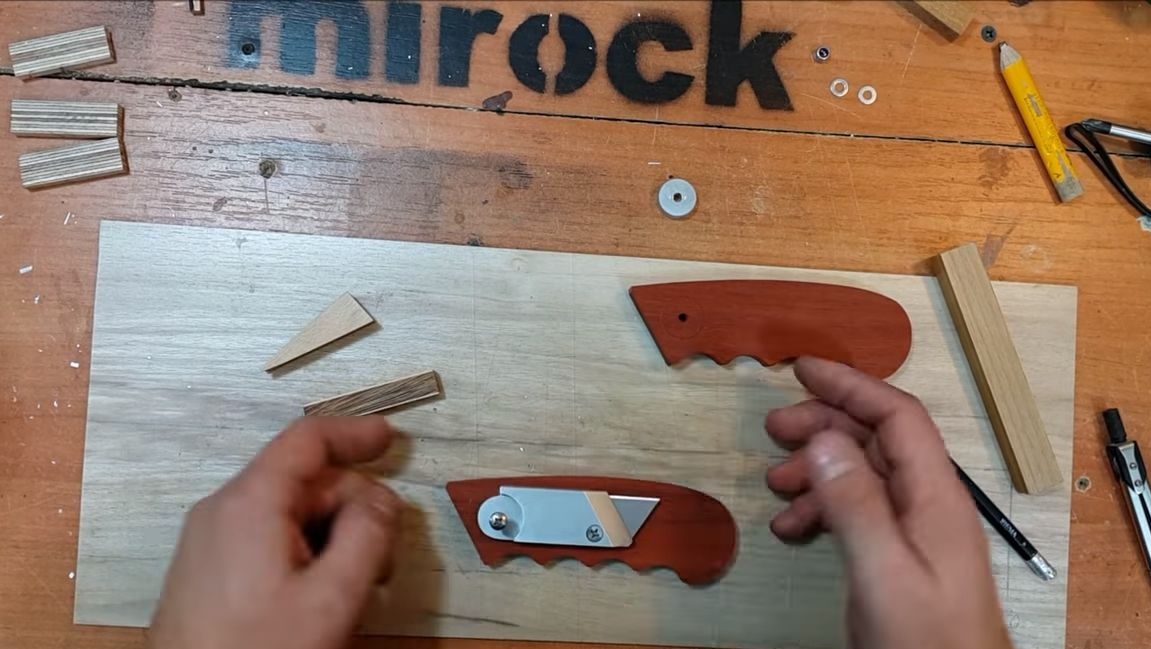
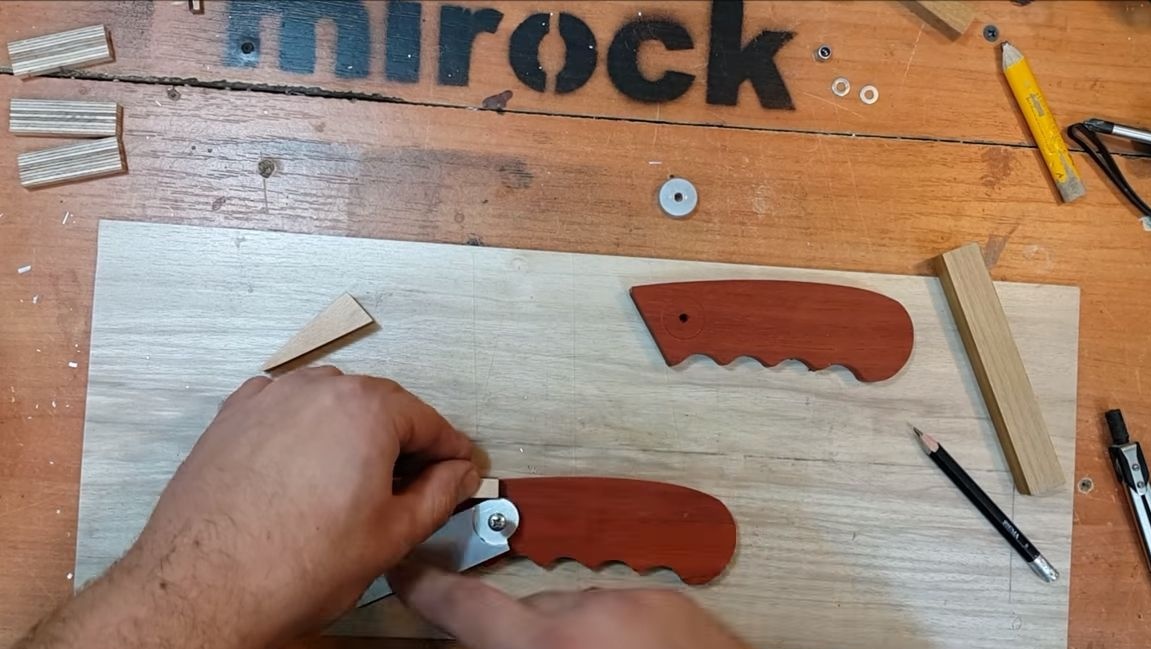
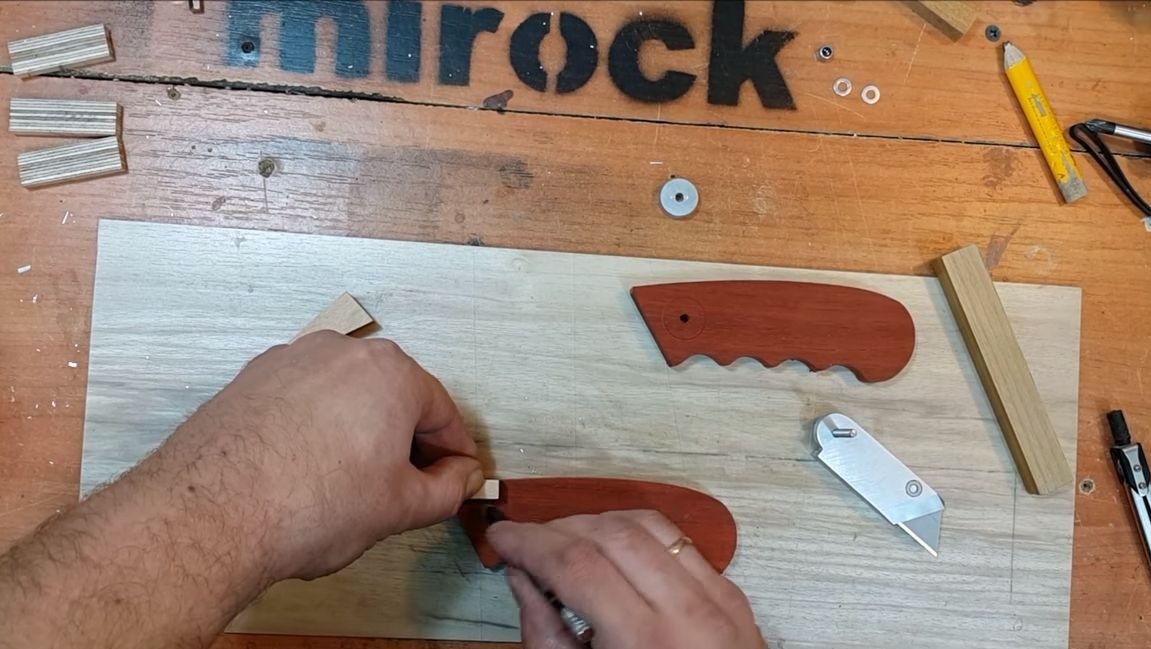
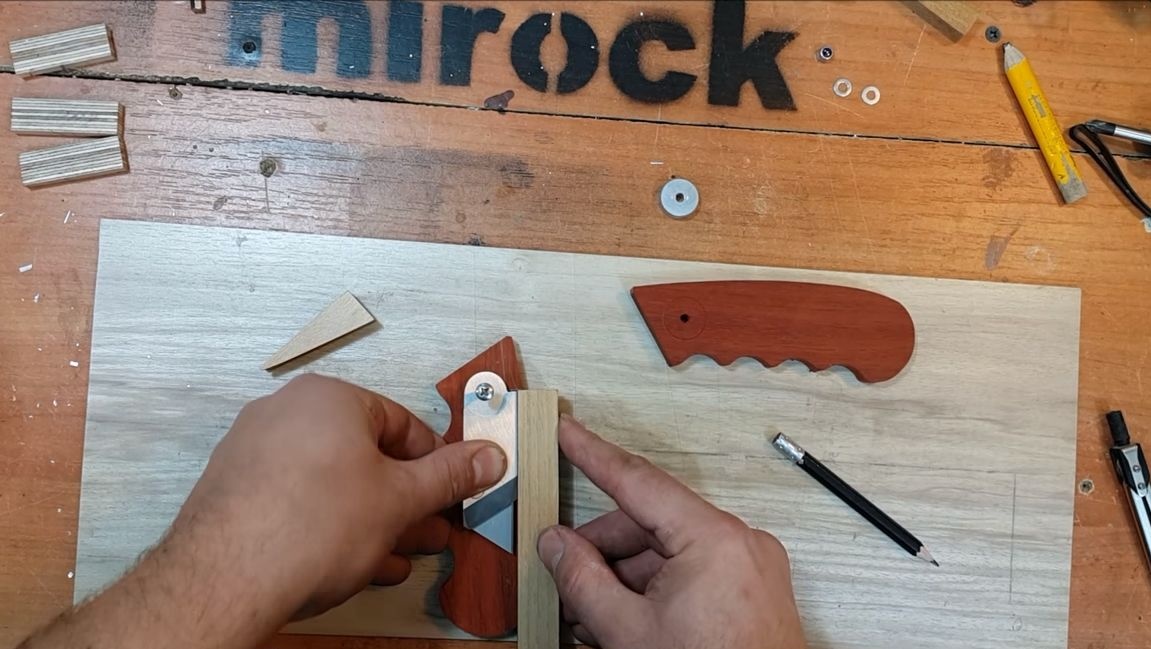
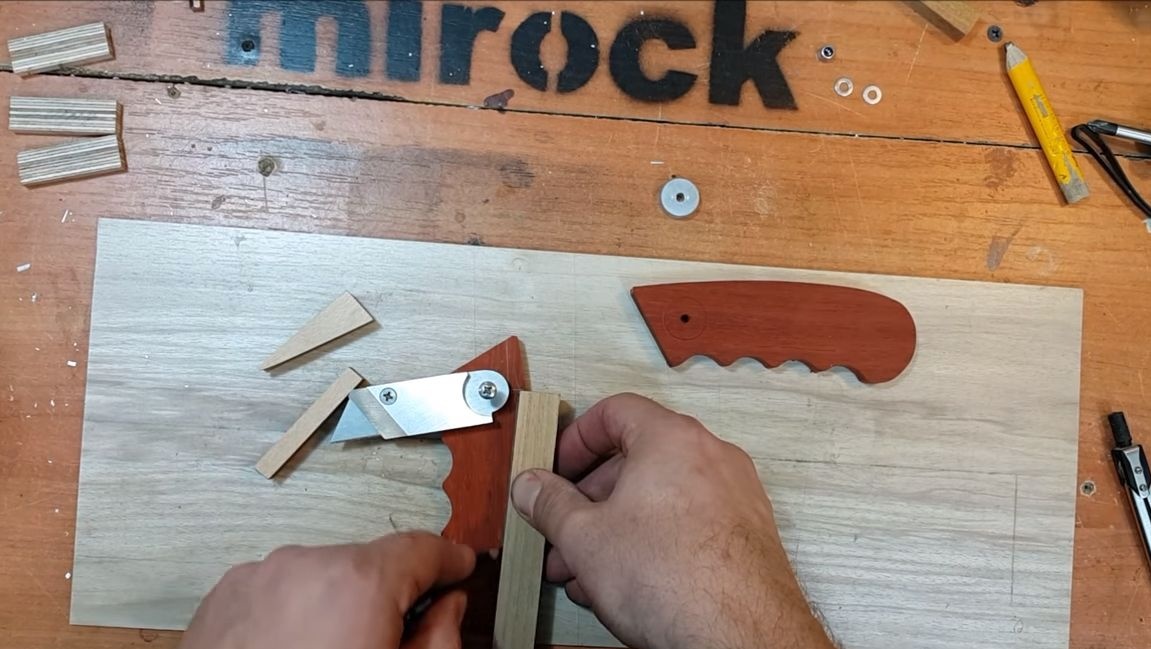
Step Three Internal details
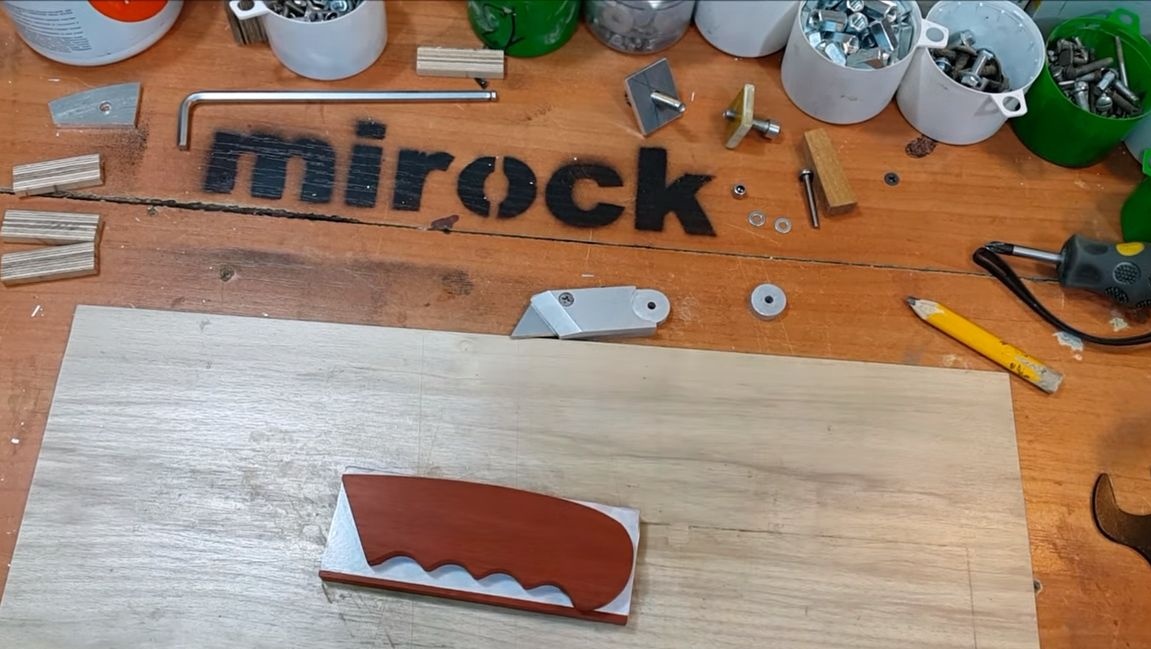
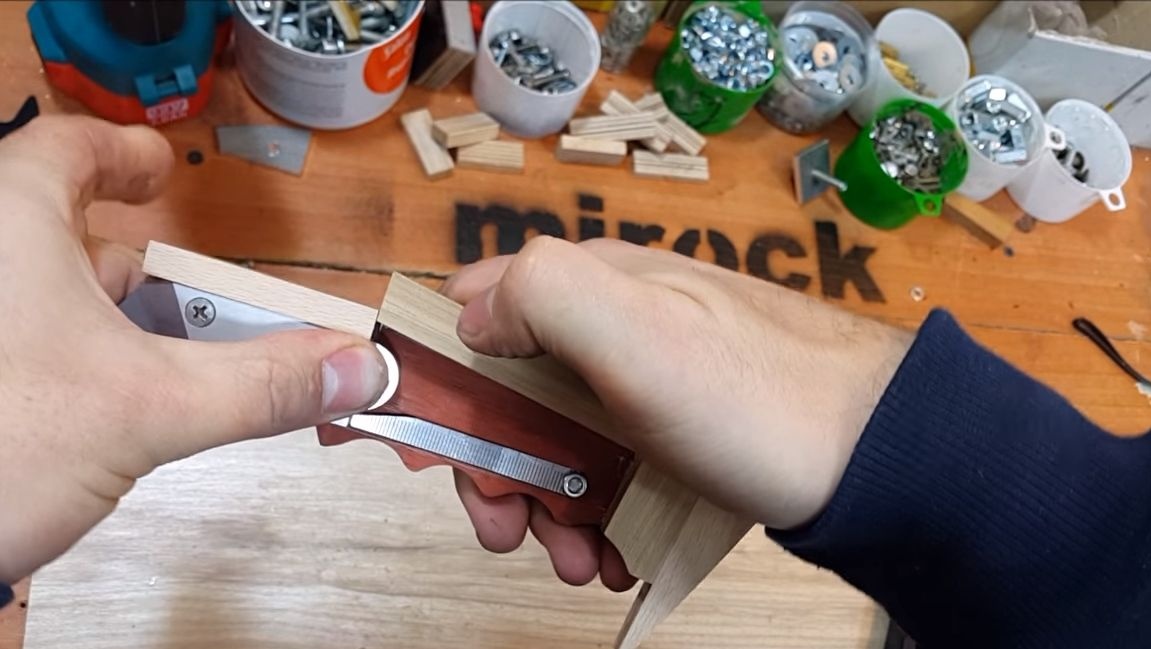
Between the two halves of the handle are three parts. Two of them are in the bow, they work as an emphasis for the blade. The third part is installed at the end of the handle, in the end we get the desired clearance between the halves of the handles. The author makes these details by gluing.

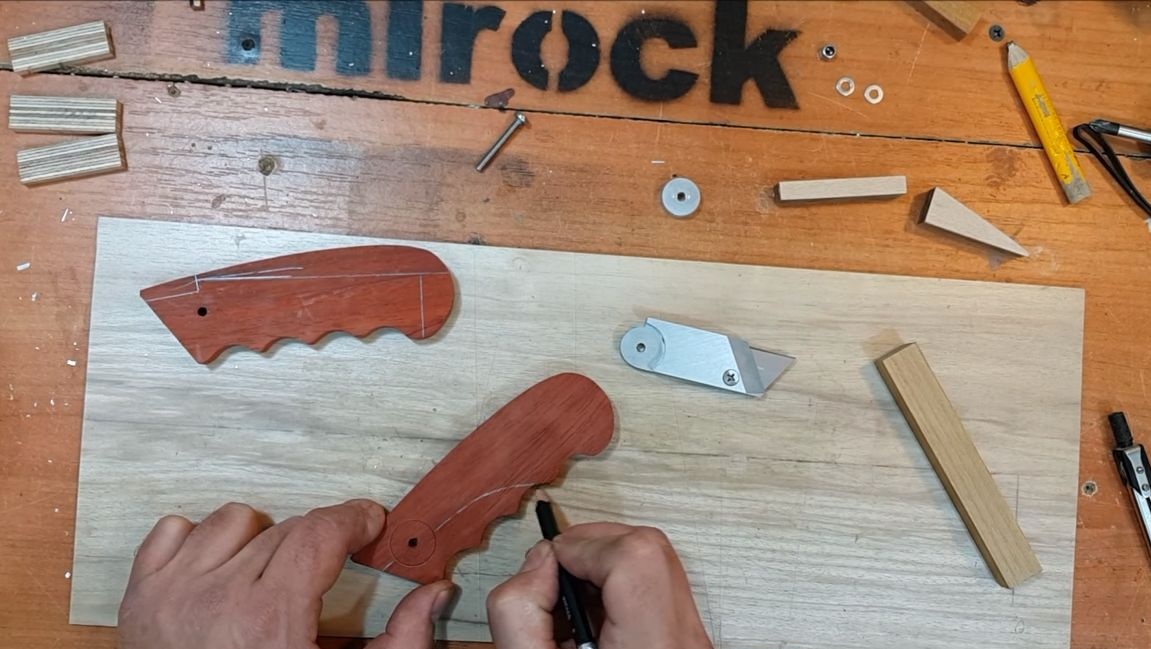
Step Four Modifying the handle
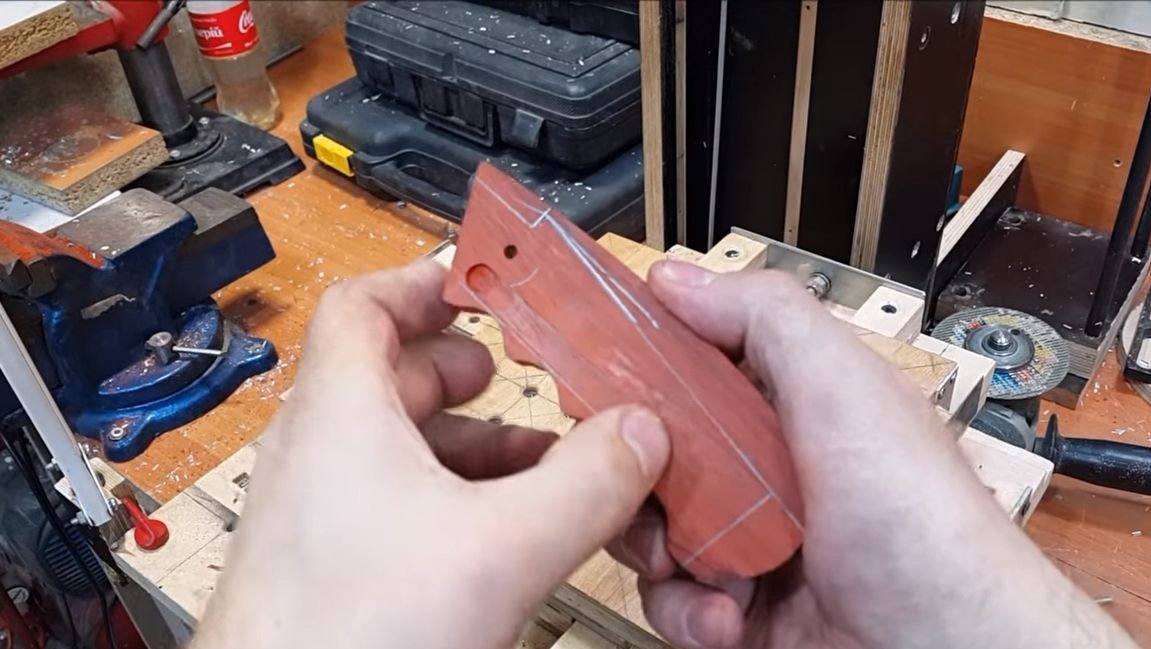
Drill a hole in the handle and mark what position the “blade" will be in and what will need to be removed. One half of the handle is narrower, such a profile is needed for convenient access to the blade when opening the knife.
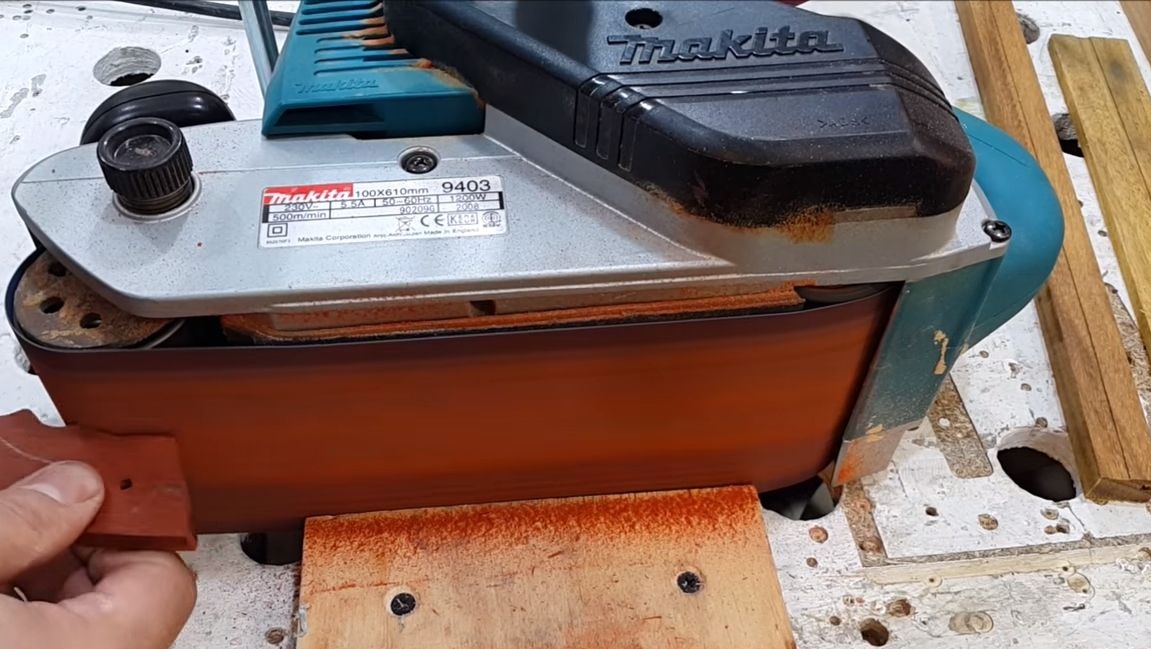
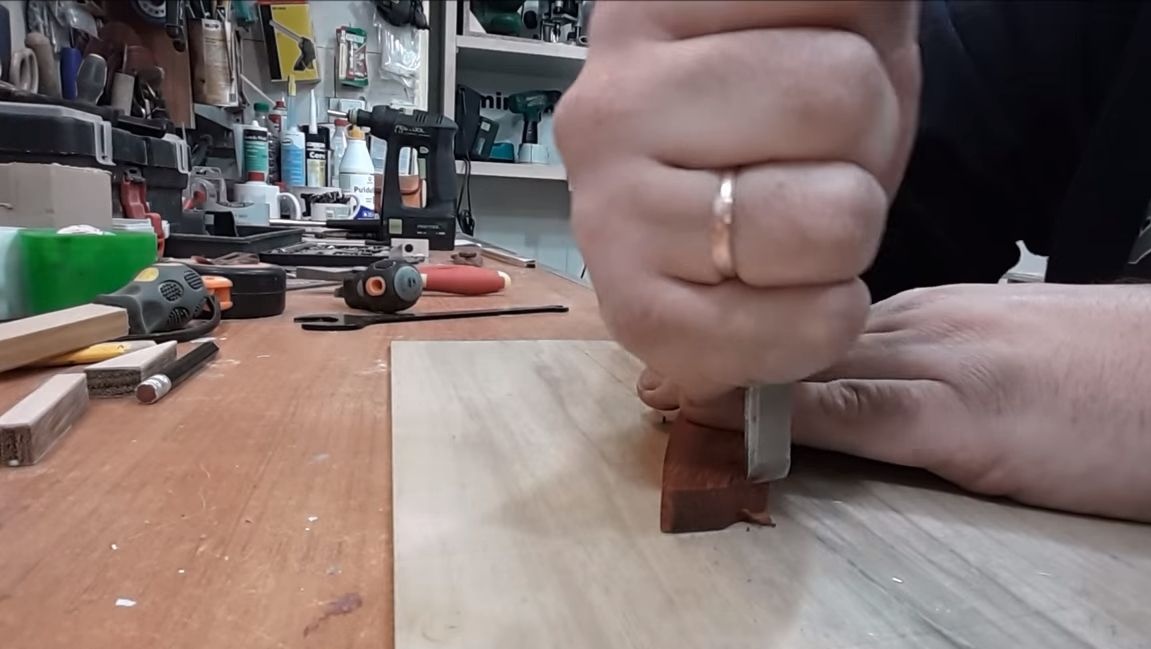
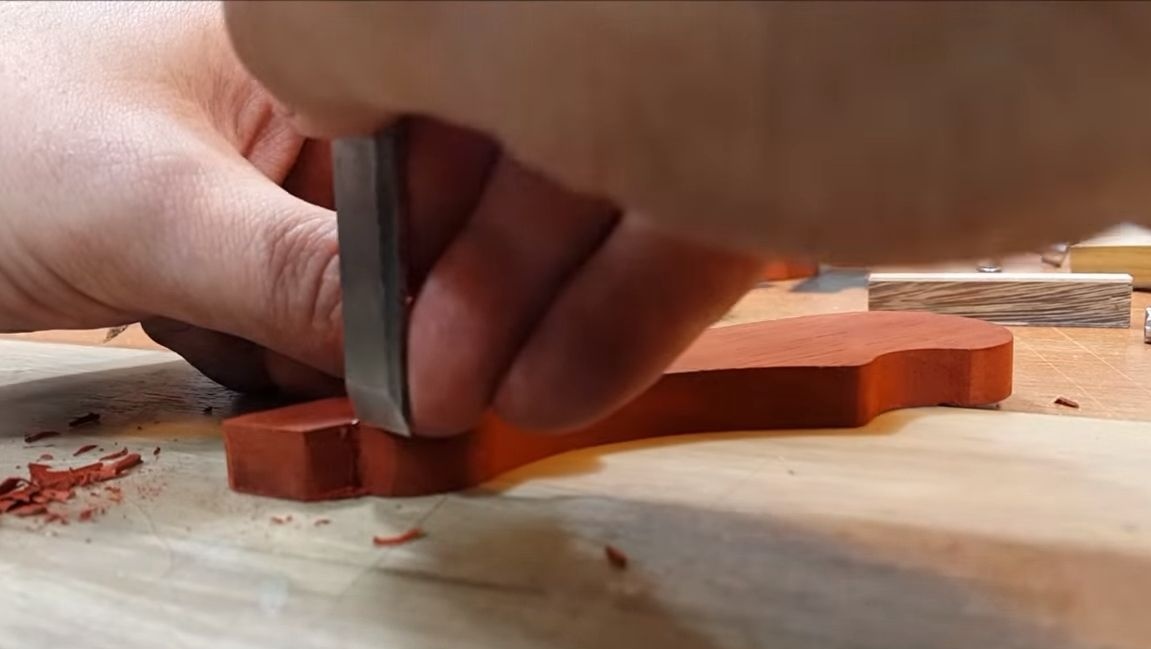
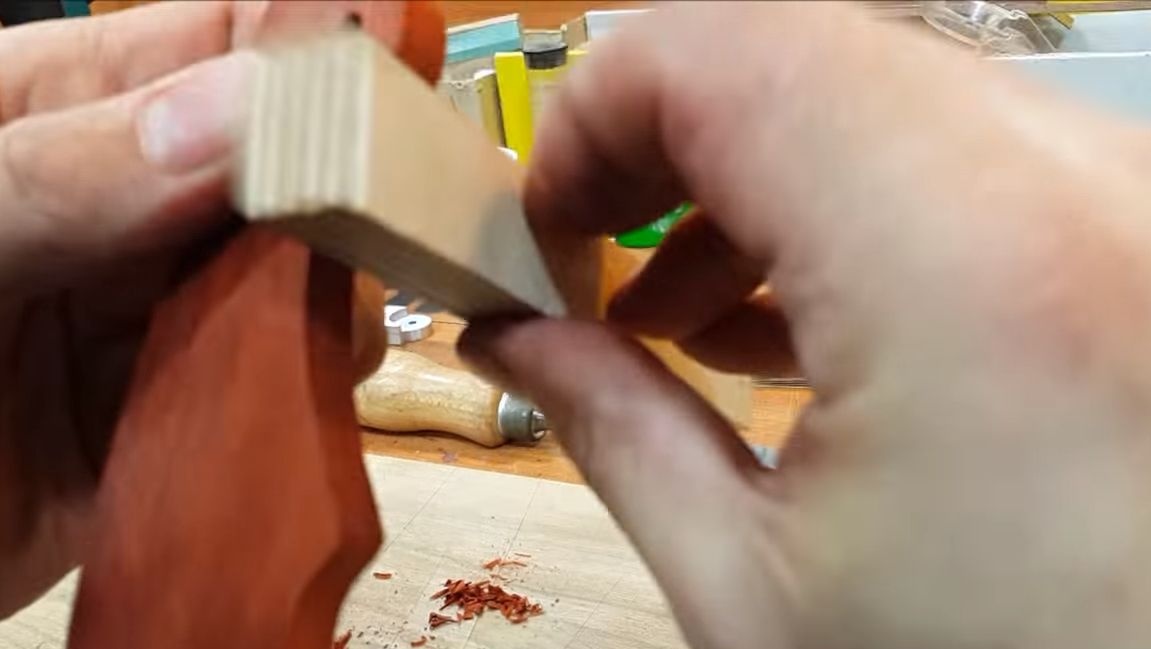
Having made the necessary calculations, we work on a belt sander. The author cuts out the remaining elements with a chisel. In the end, you will need to groove a groove under the "spring-stop", this prose is all done with the help of a milling cutter.
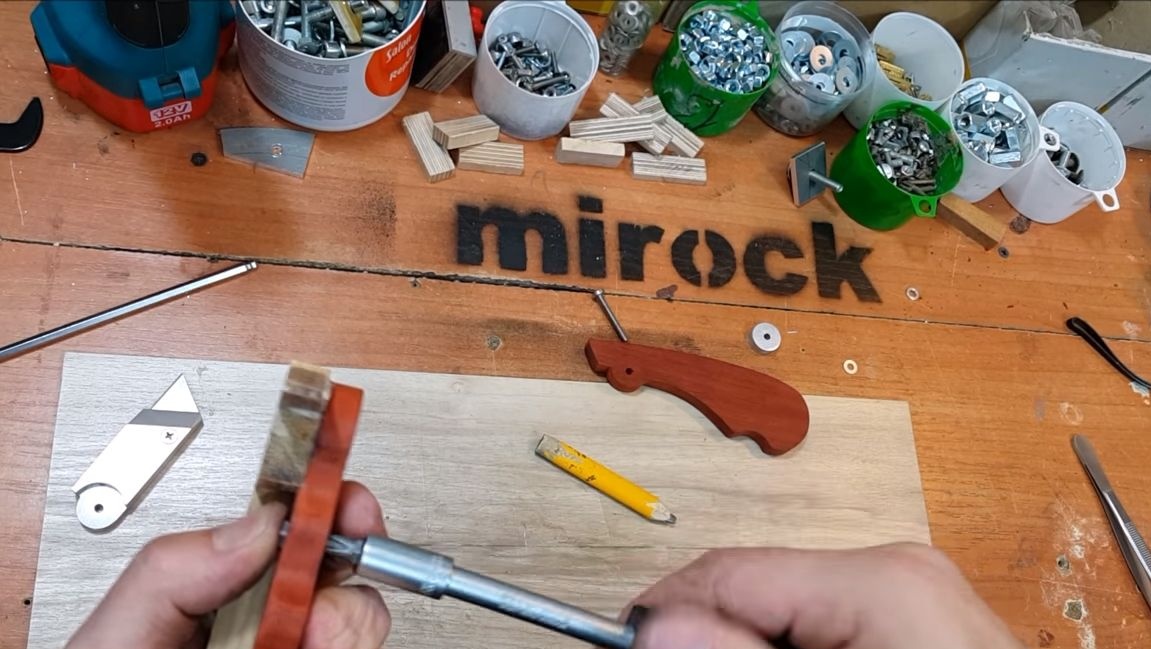
Step Five We make a "spring-emphasis"
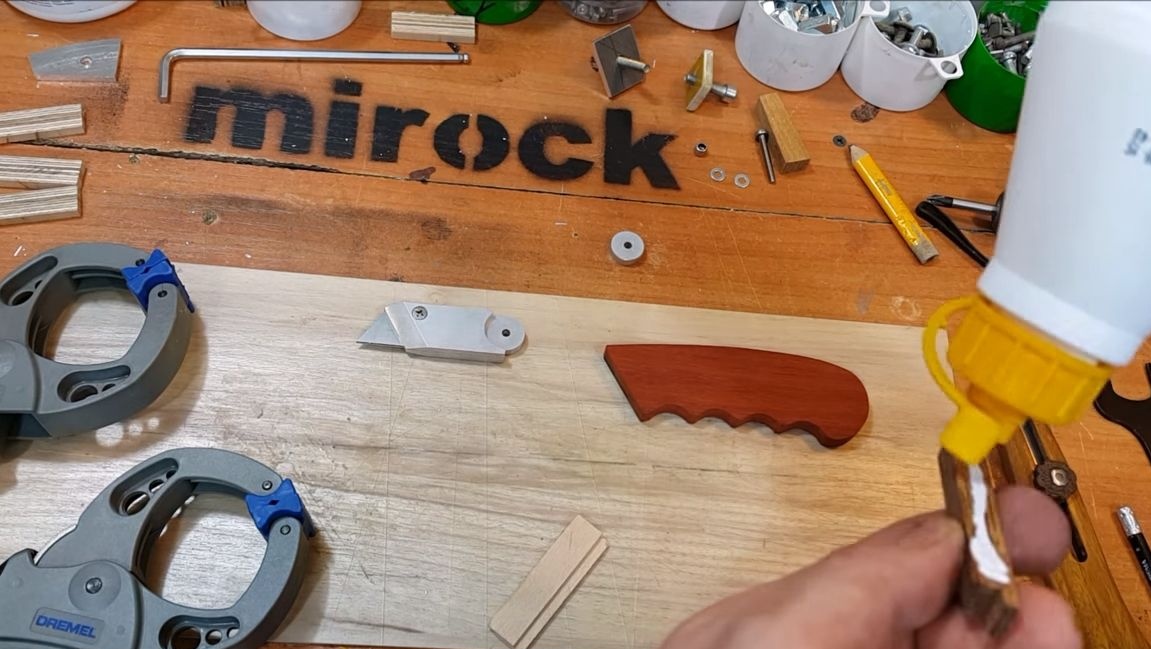
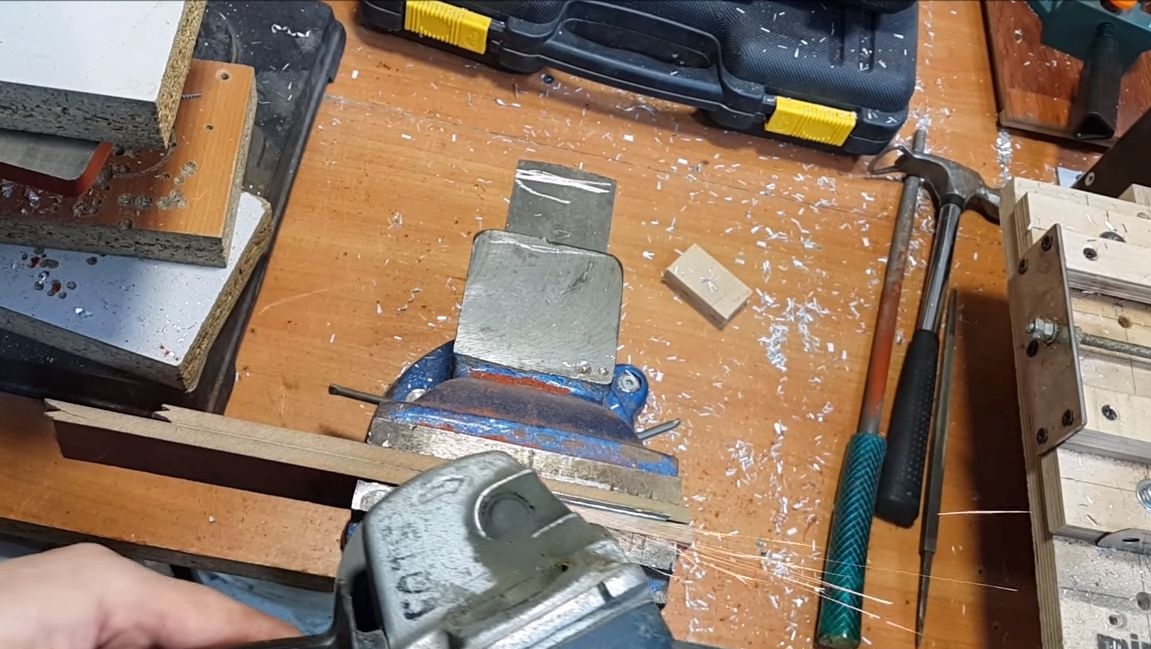
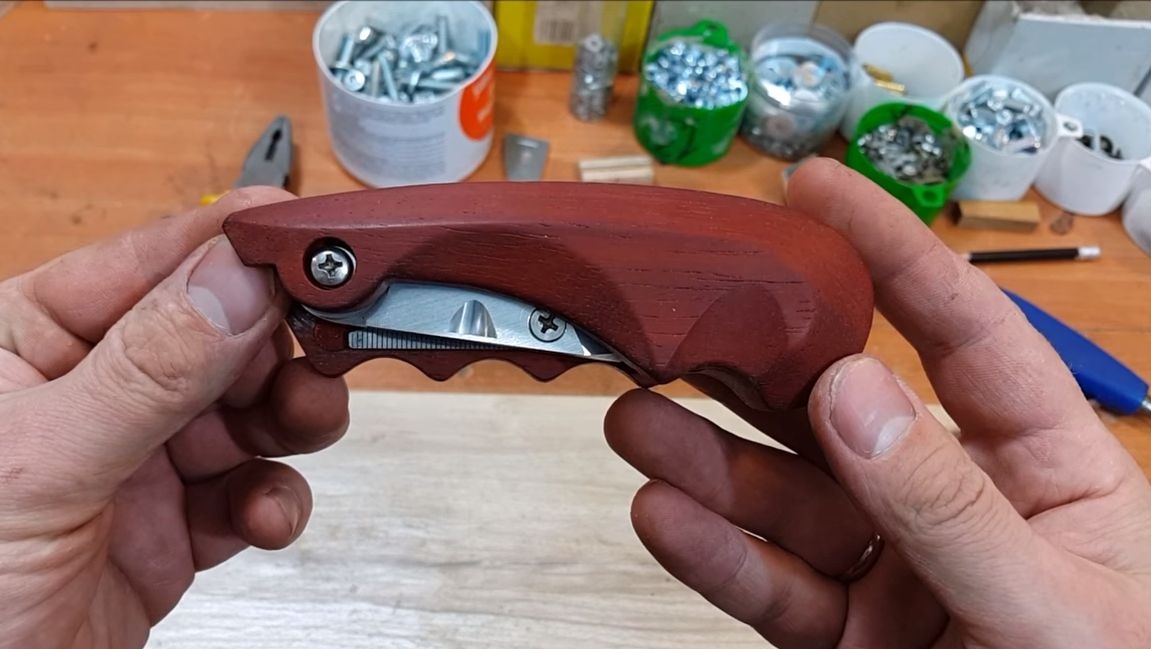
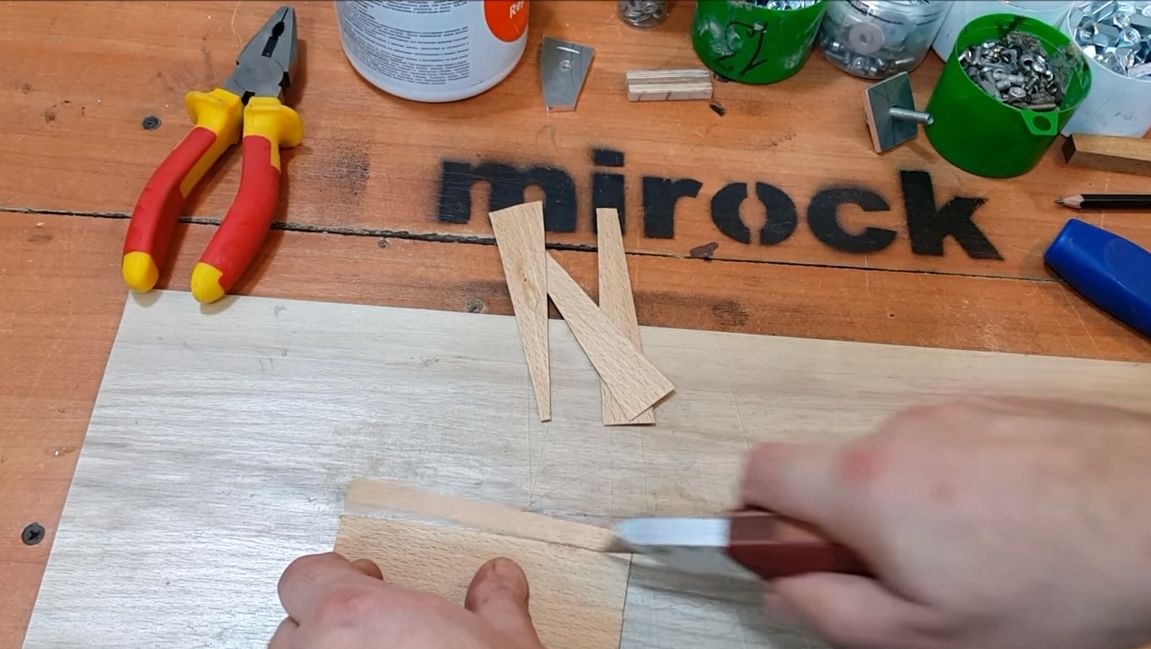
Inside the handle there is a metal plate curved upwards. To make such a part, you will need steel that springs. Perfect metal from the line. When the knife is in a closed state, this plate presses the blade and the knife does not open spontaneously. And when the knife is fully opened, the plate rises up and fixes the blade so that the knife itself does not close. To fold the knife, you need to press this plate with your finger.
We cut out the necessary part and fit it in size to the cut groove. Screw the plate with a screw and nut.
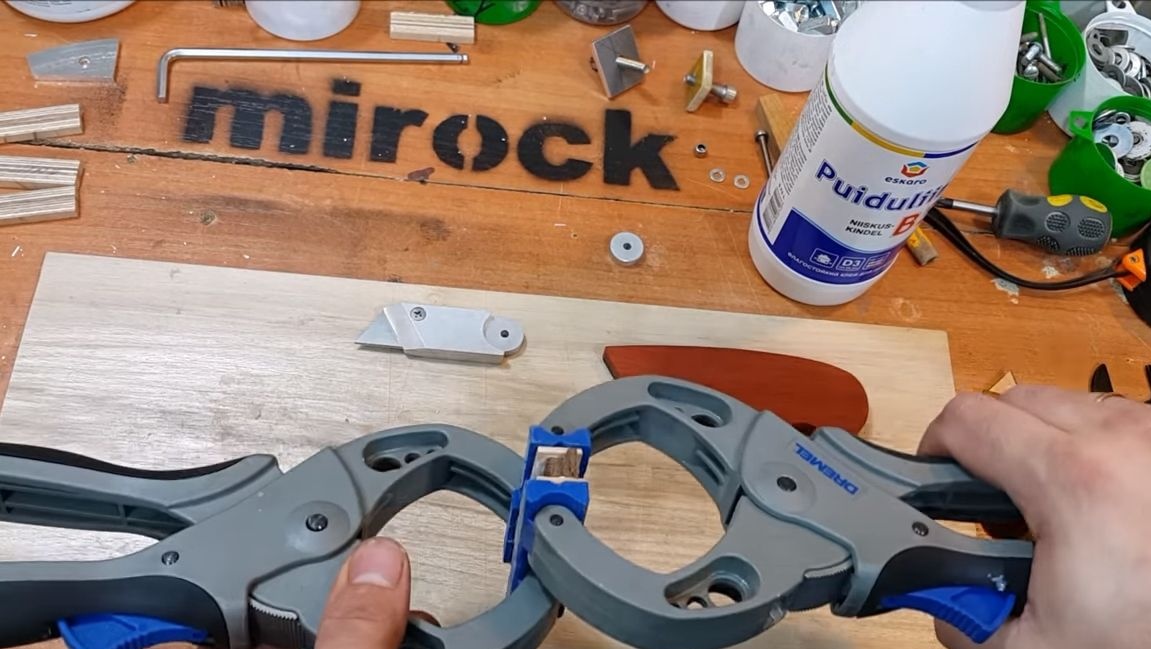
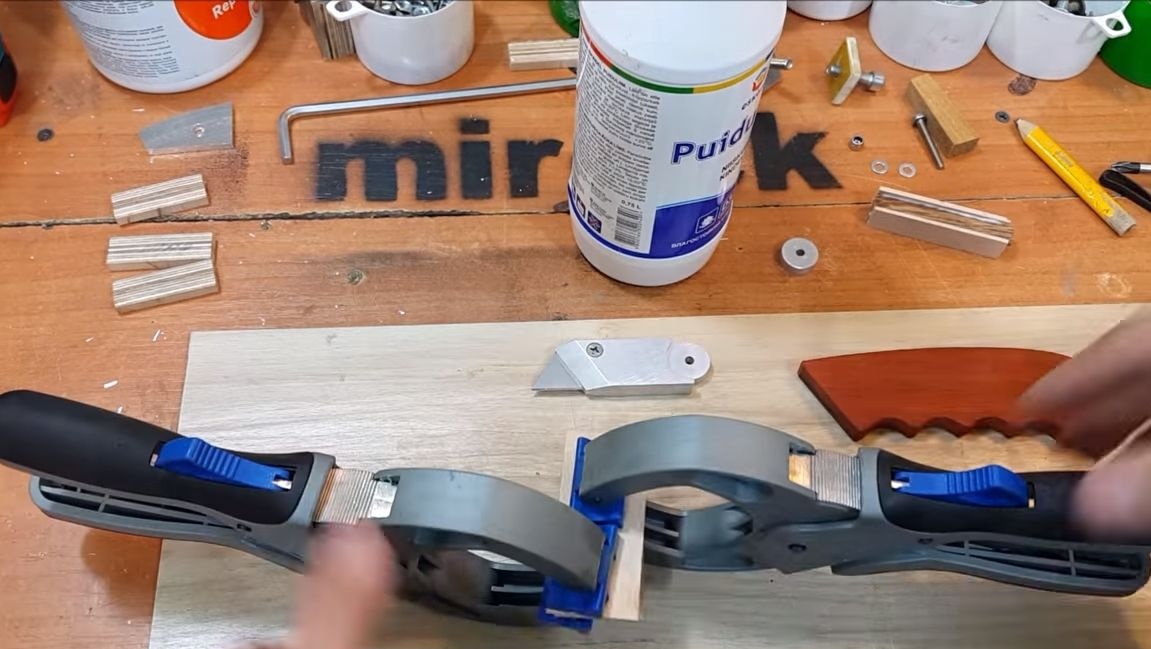
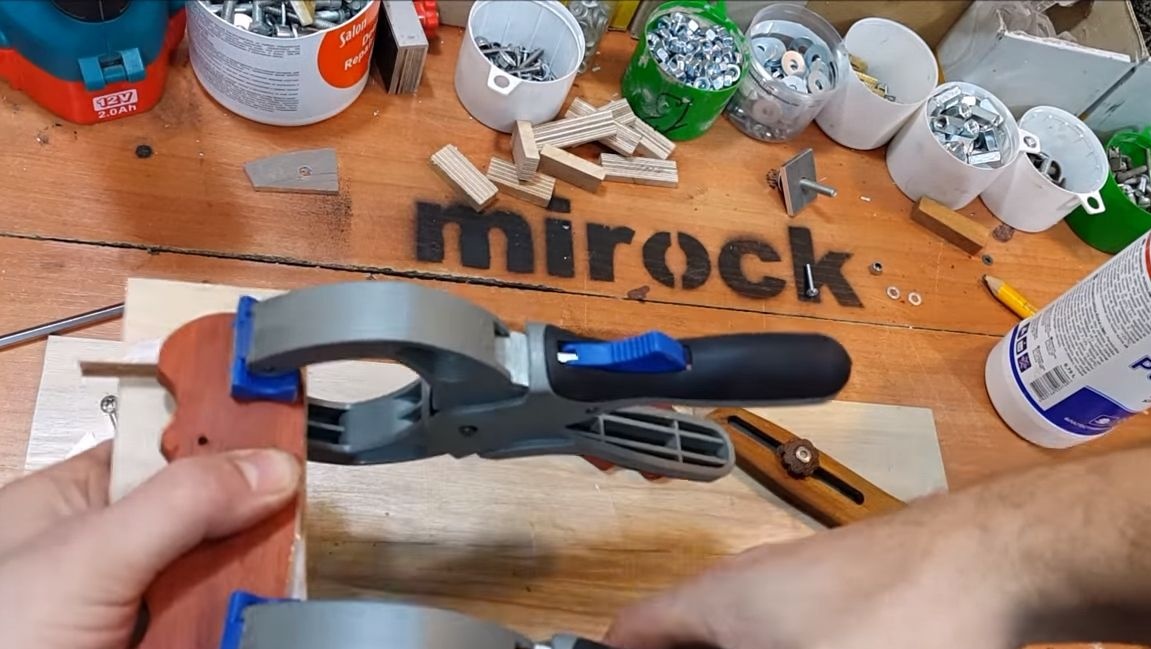
Step Six Glue the stops
Previously, we made three stops for the inside of the handle. Now they need to be installed on one of the halves. We use glue for wood and tighten everything well with clamps. Epoxy glue is also good.


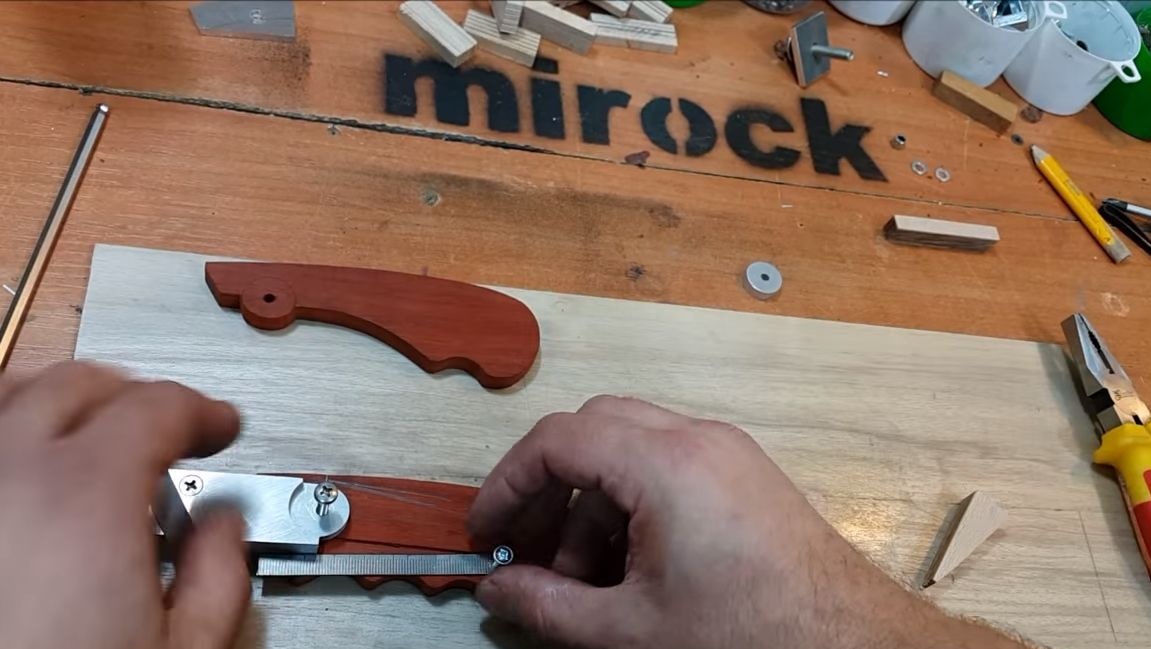
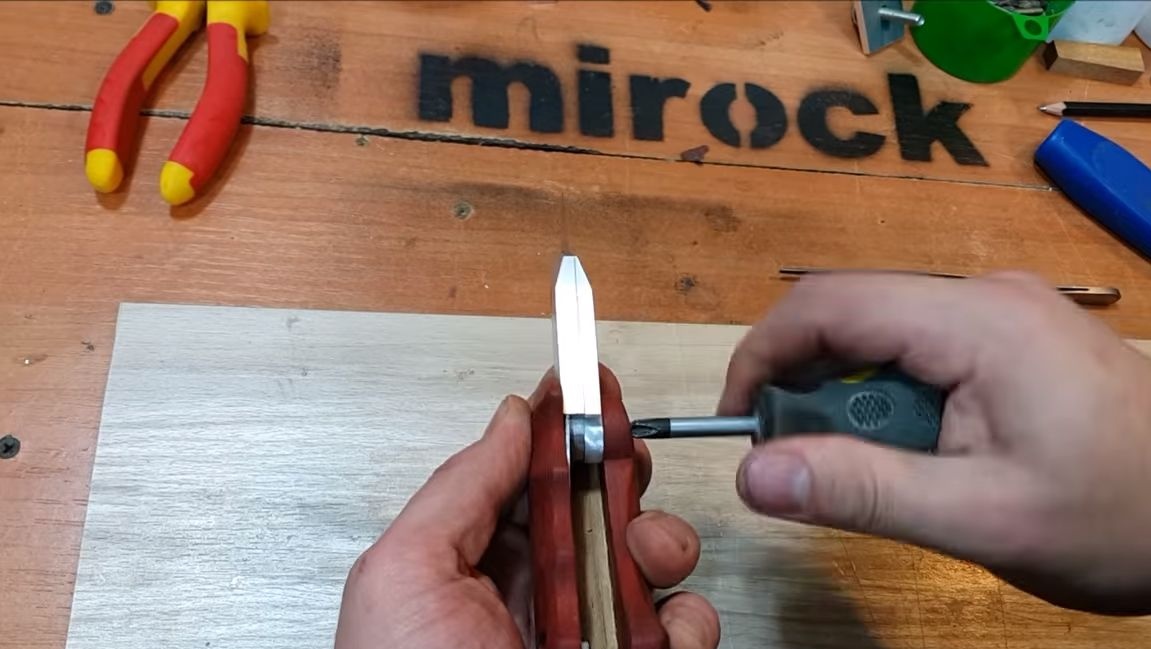
Seventh step. Screw and nut grooves
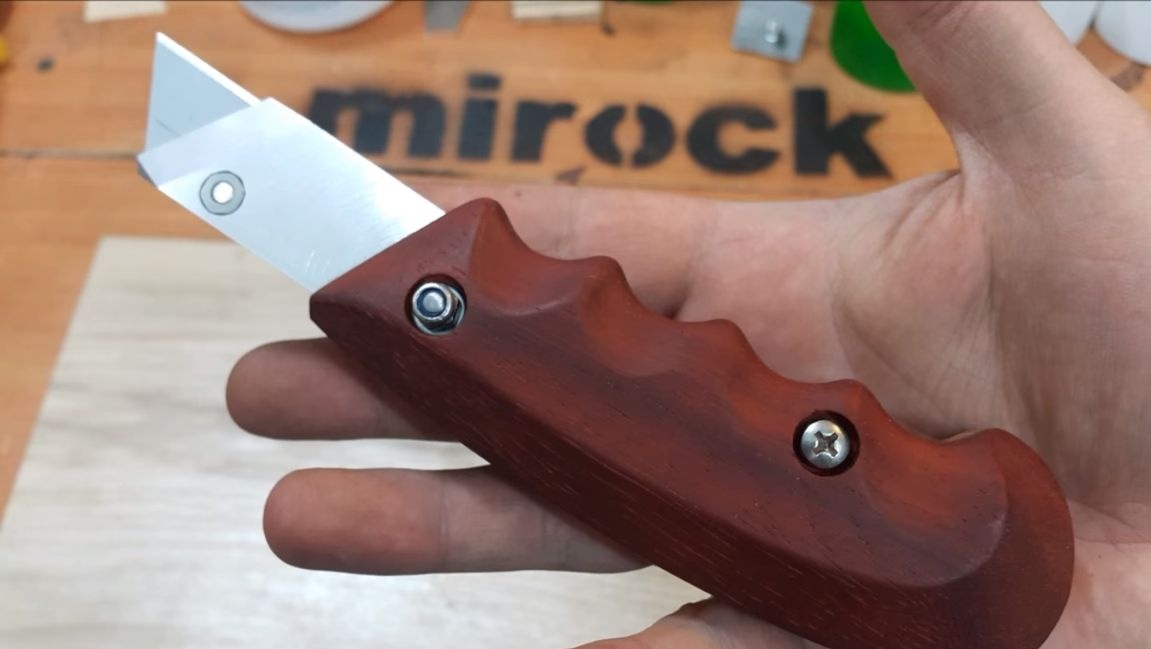
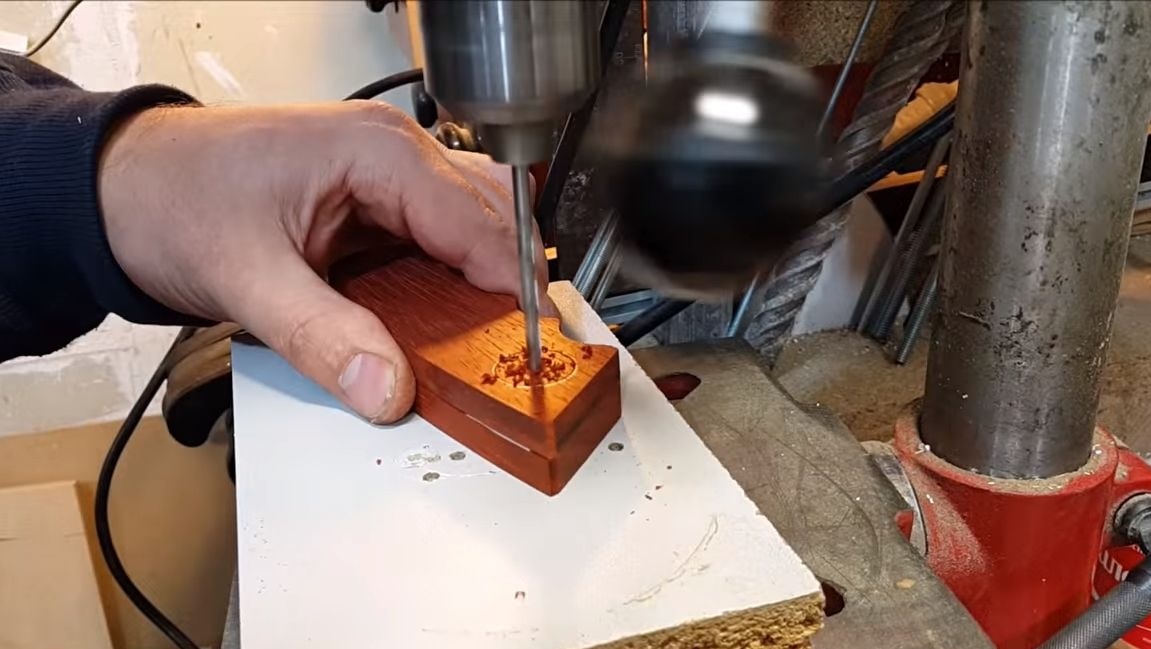
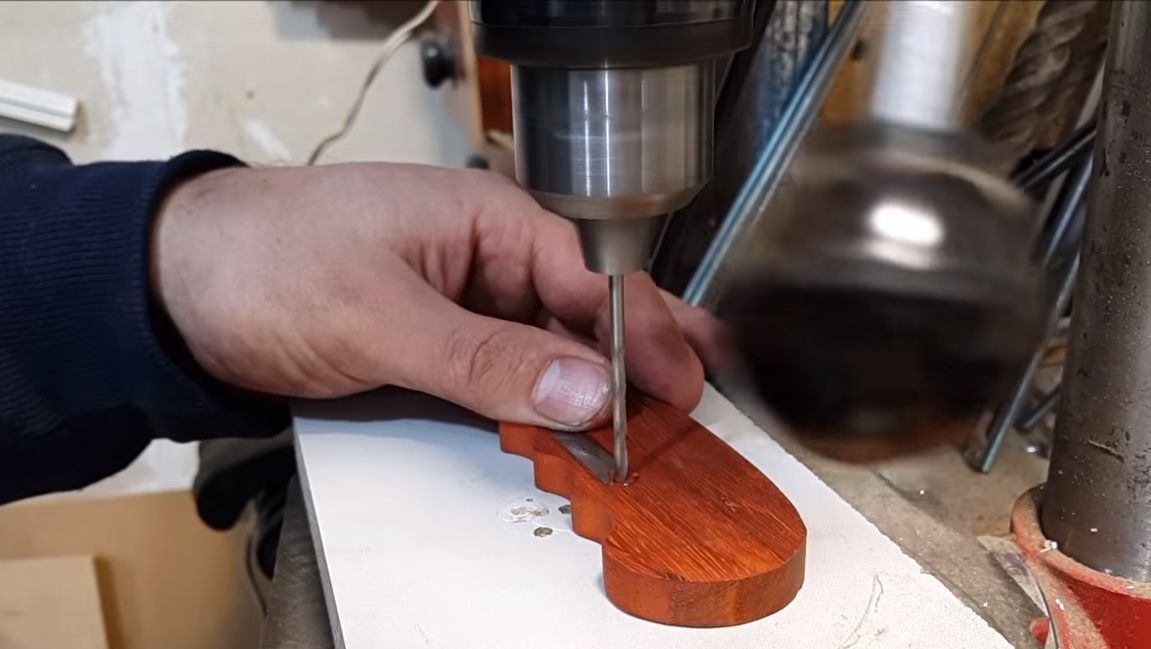
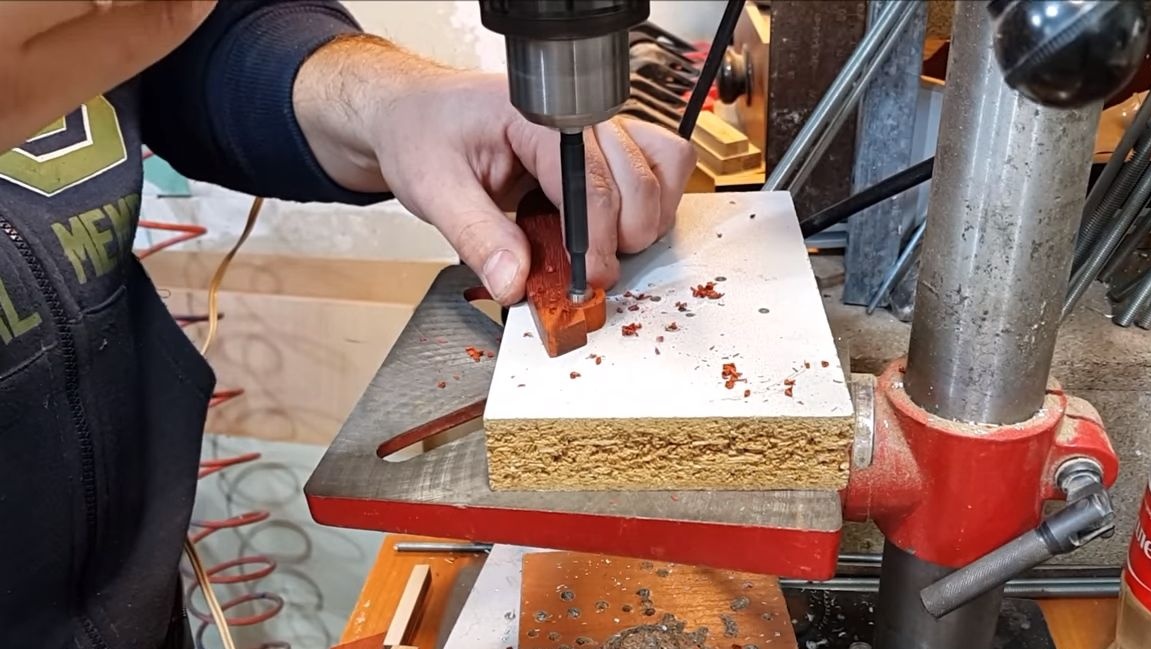
The blade is located on the axis, which is used as a screw with a nut. So that the parts do not protrude above the surface of the handle, appropriate recesses must be made under them. Here you need a bit of the right size and a drilling machine. Also do not forget about the bolt that holds the spring.
Step Eight. Finishing
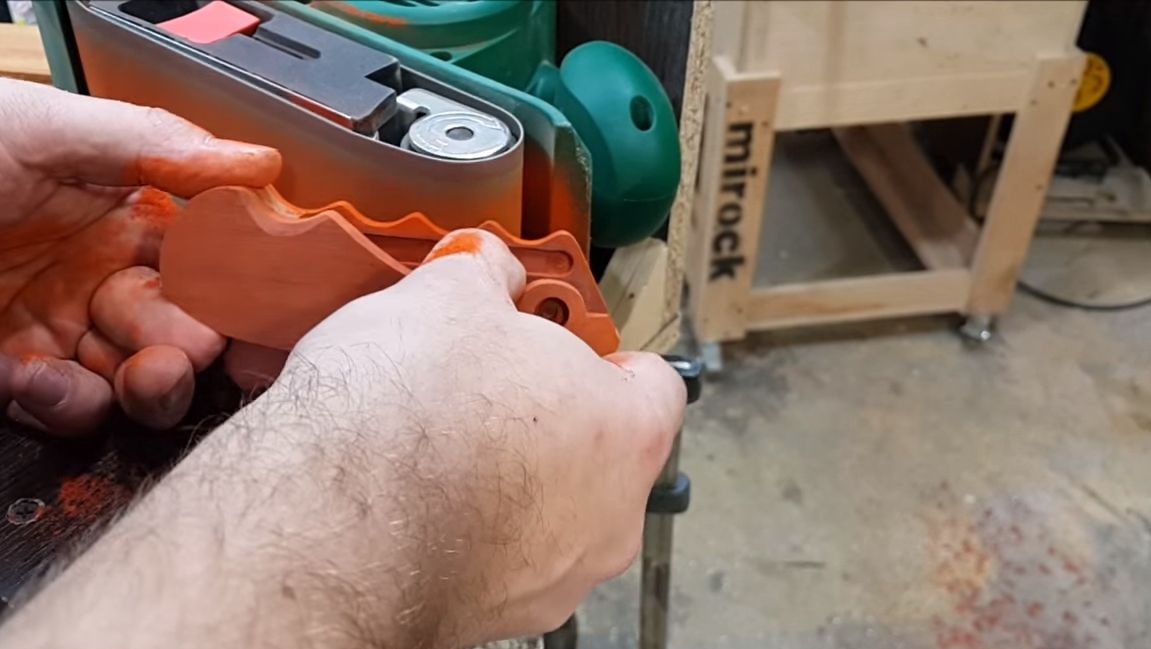
We assemble the knife, for this, glue the two halves together using epoxy or wood glue. Now you just have to carefully grind the handle with a belt sander. Finally, the author processes the pen manually using sandpaper. Gradually moving from large emery paper to the smallest, we bring the product to perfect smoothness.
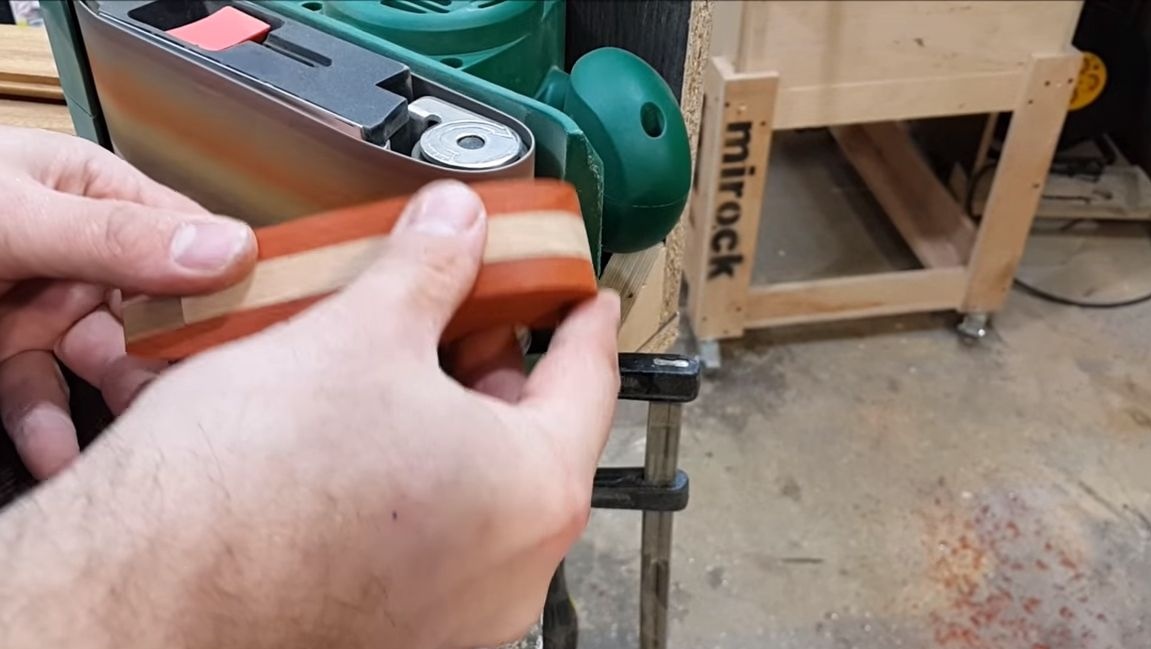
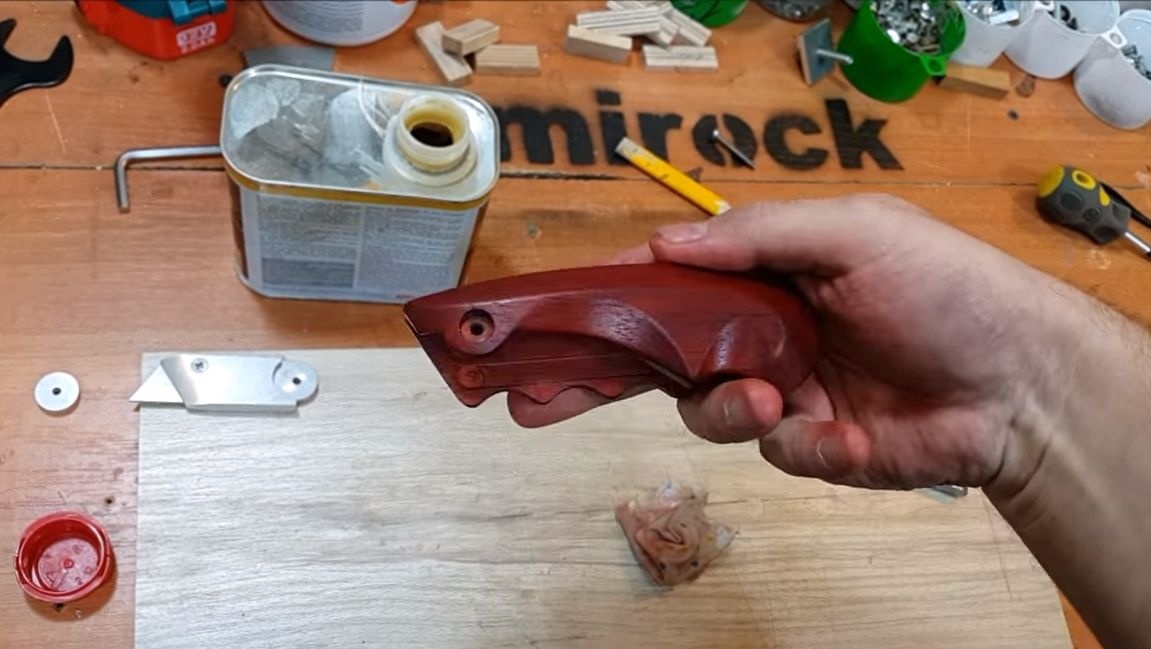
Wood always needs to be impregnated, as it is very afraid of moisture. Moreover, the impregnation makes it much more beautiful. Oil is good, you can use a variety of. Flaxseed, Danish and much more will do well. The most classic option is boiled linseed oil, that is, natural drying oil. When the oil is absorbed into the tree, it will dry out and will not let moisture in.
Oil the entire pen, all the places where you can crawl. Let the pen dry, and then you can even polish it.

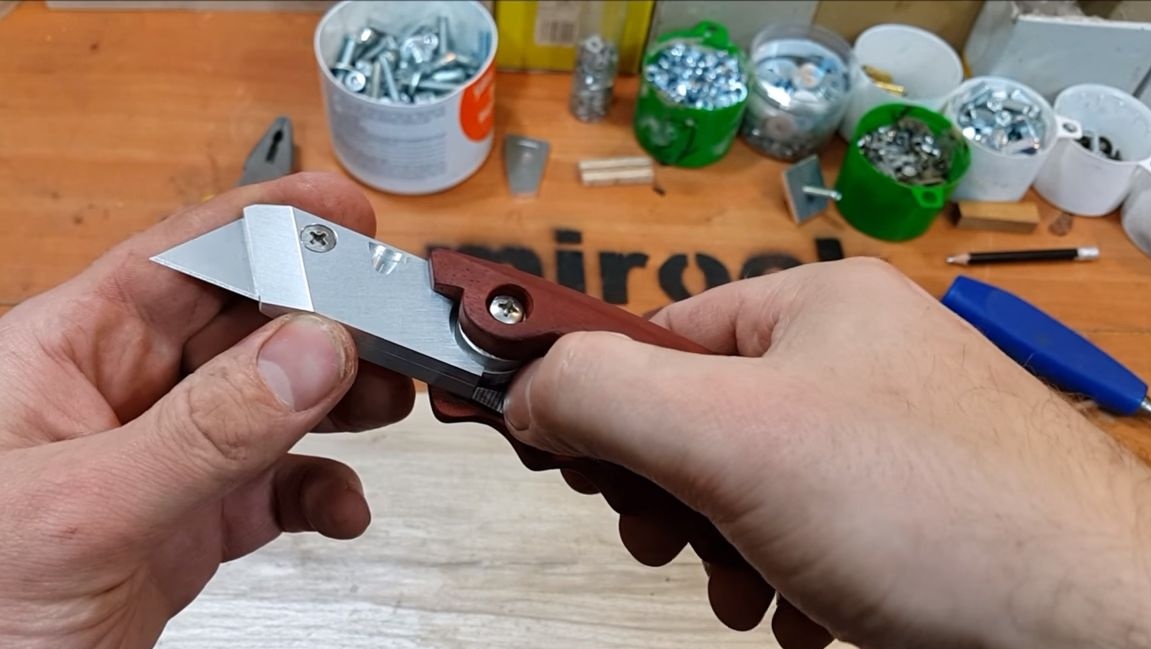
Step Nine. Blade groove
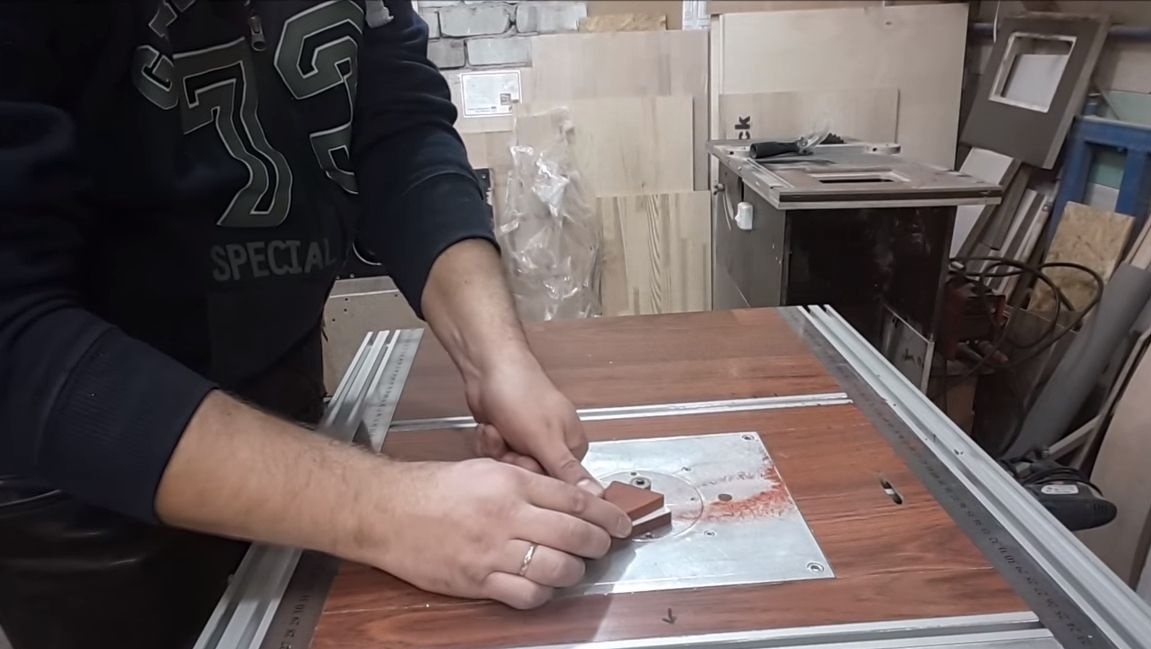
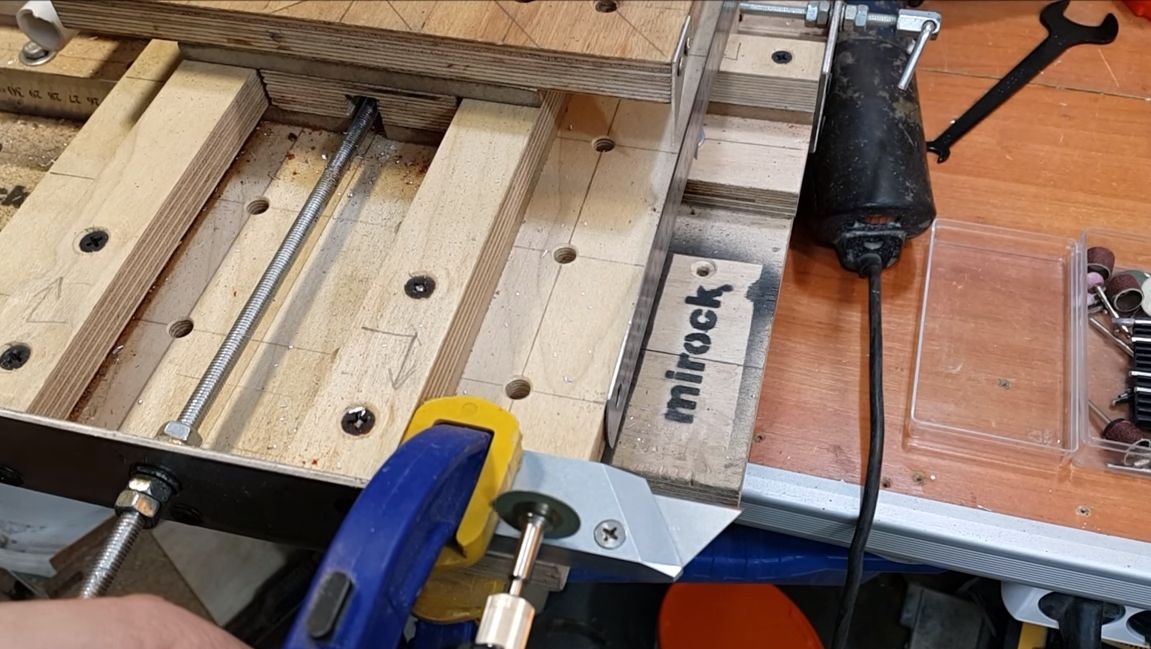
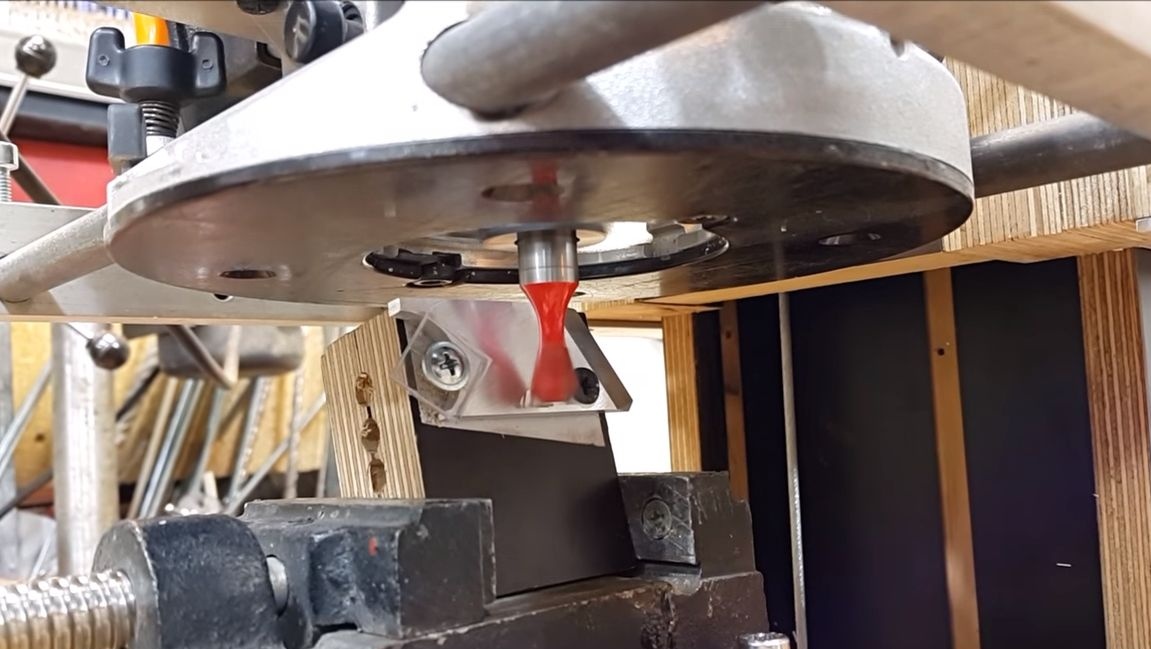
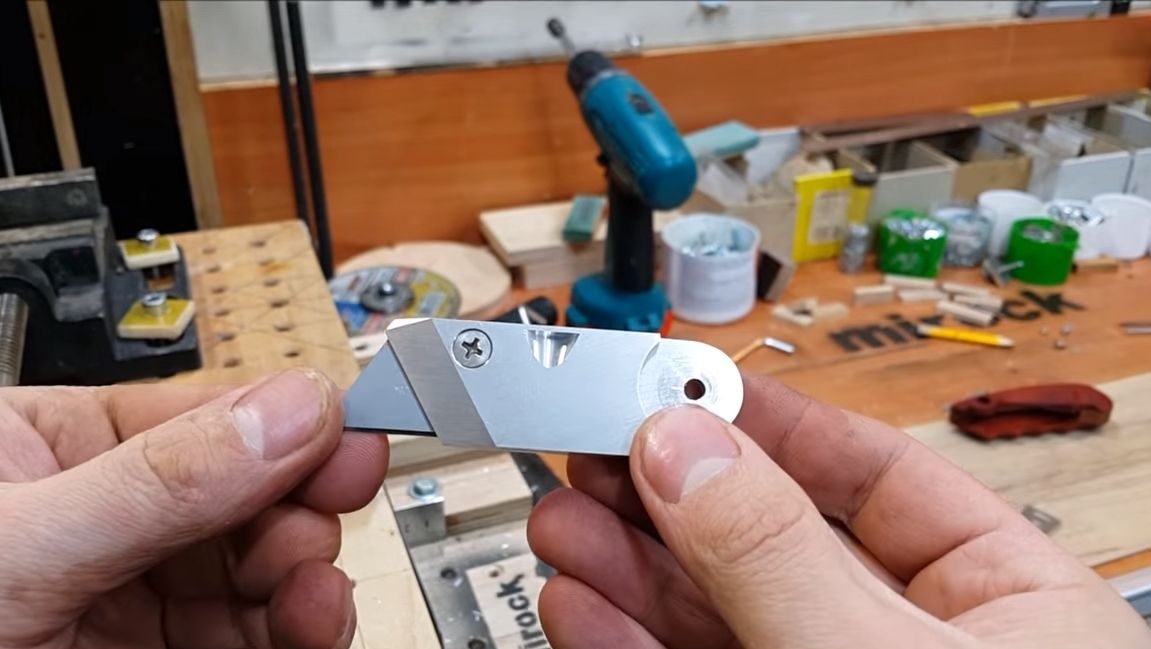
So that the knife can be conveniently opened, holding the blade with a fingernail or finger, you need to make a special recess on the blade. And since we have a blade with a holder instead of a blade, the groove is cut in an aluminum holder. First, the author outlines it with a drill and a cutting wheel. Then a milling machine with a suitable nozzle comes to the rescue. As a result, we get quality processing.
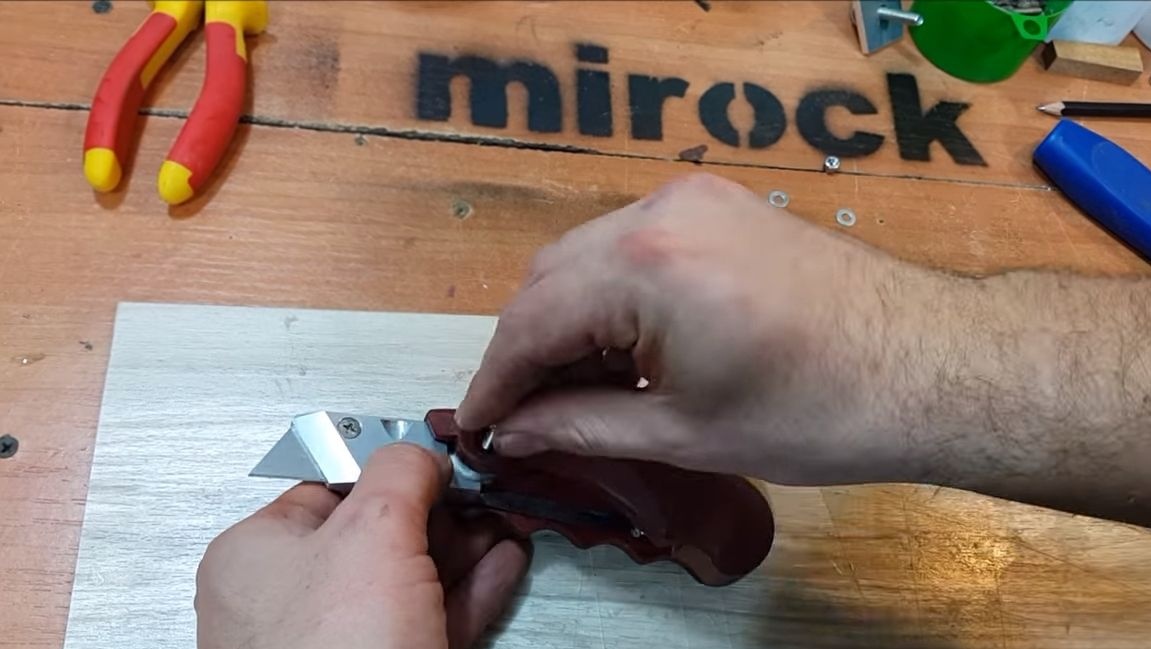
Step Ten Collect a knife
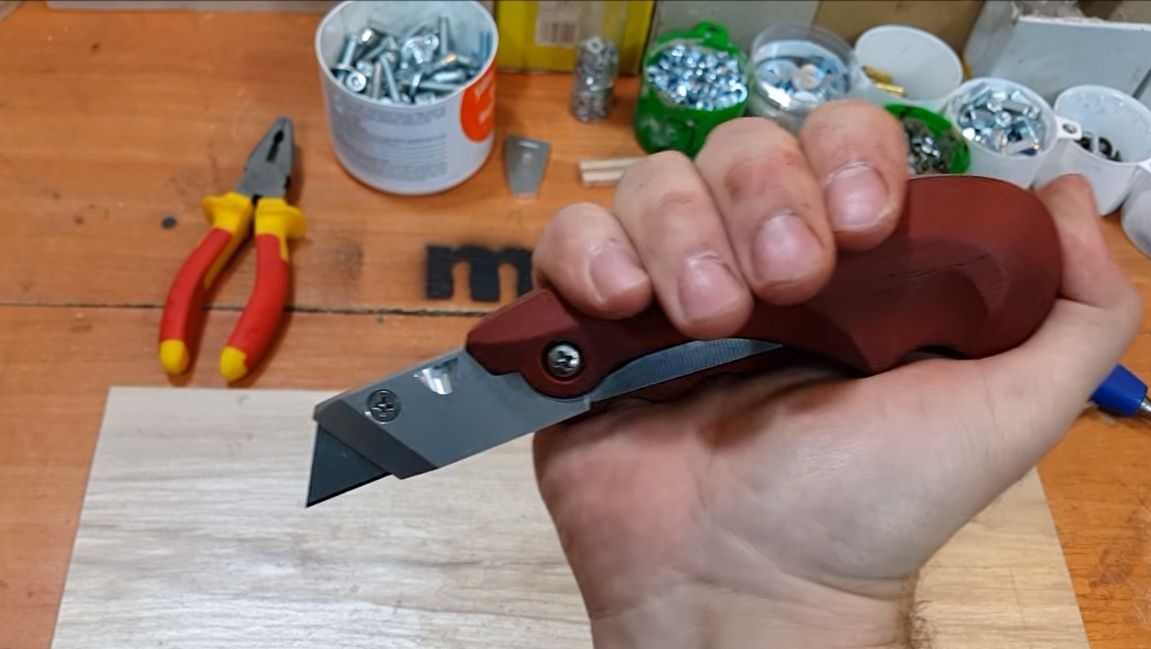
The knife is assembled very simply, you will need to tighten only two screws with nuts.One screw holds the spring, and the second is the axis for the blade. That's all, the knife is ready, you can try it out and brag to your colleagues! The knife will perfectly cut cardboard, paper, rubber, thin sheet plastic and other materials. It is comfortable to hold, so you can create moderate pressure on the blade. And the blade is short, so it does not bend under load.
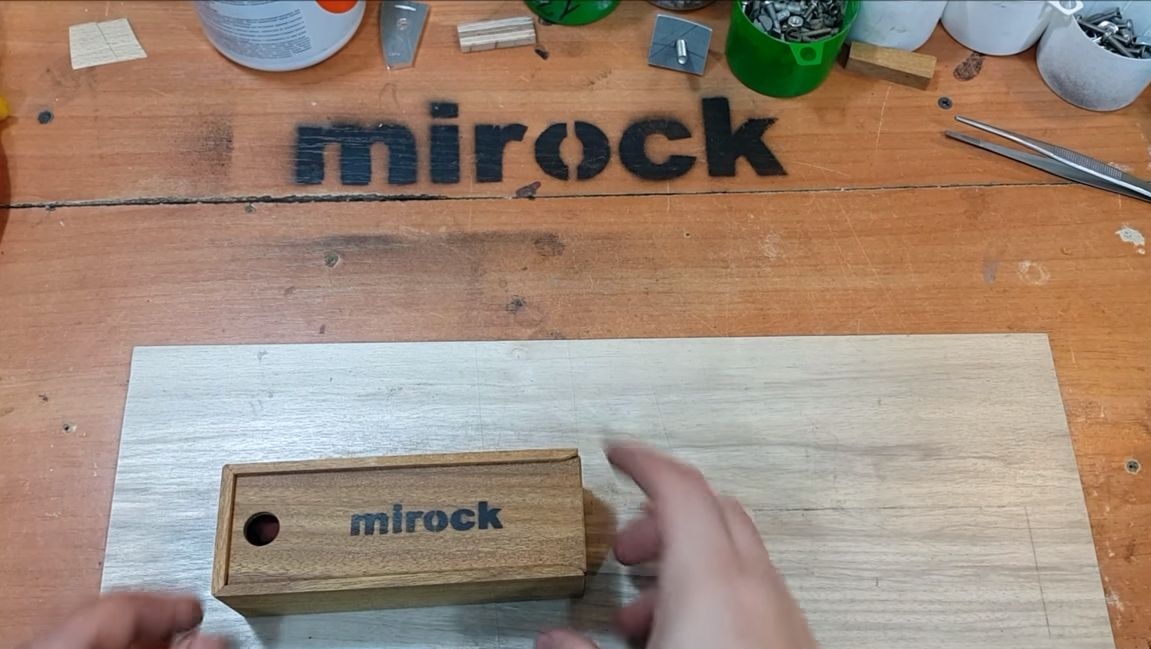
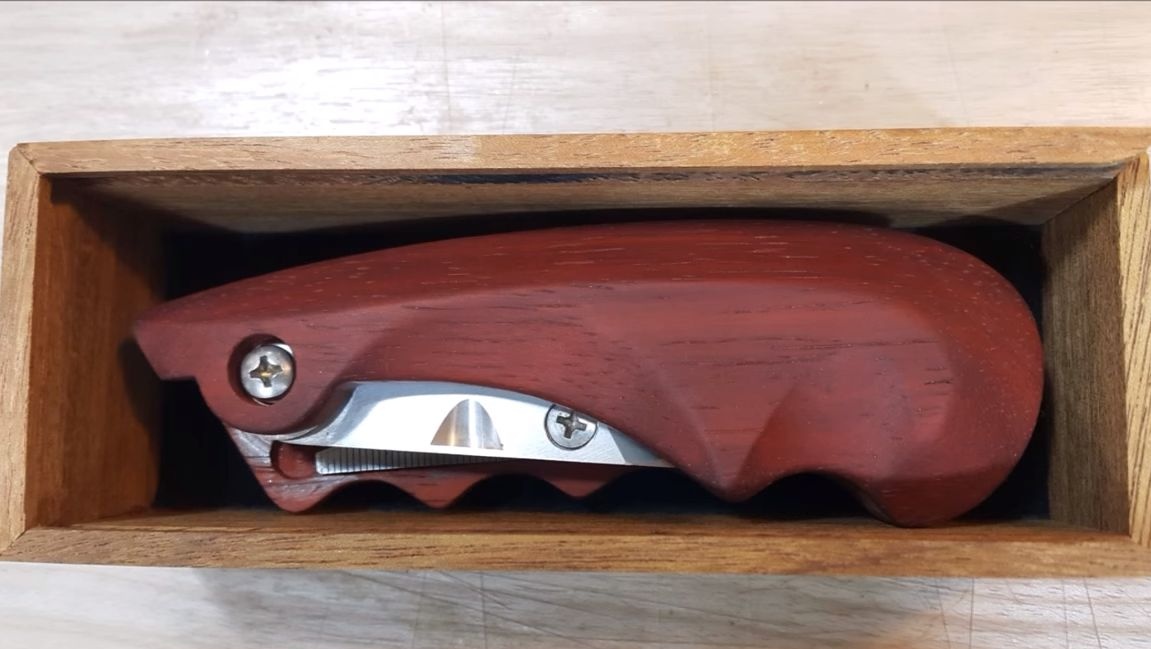
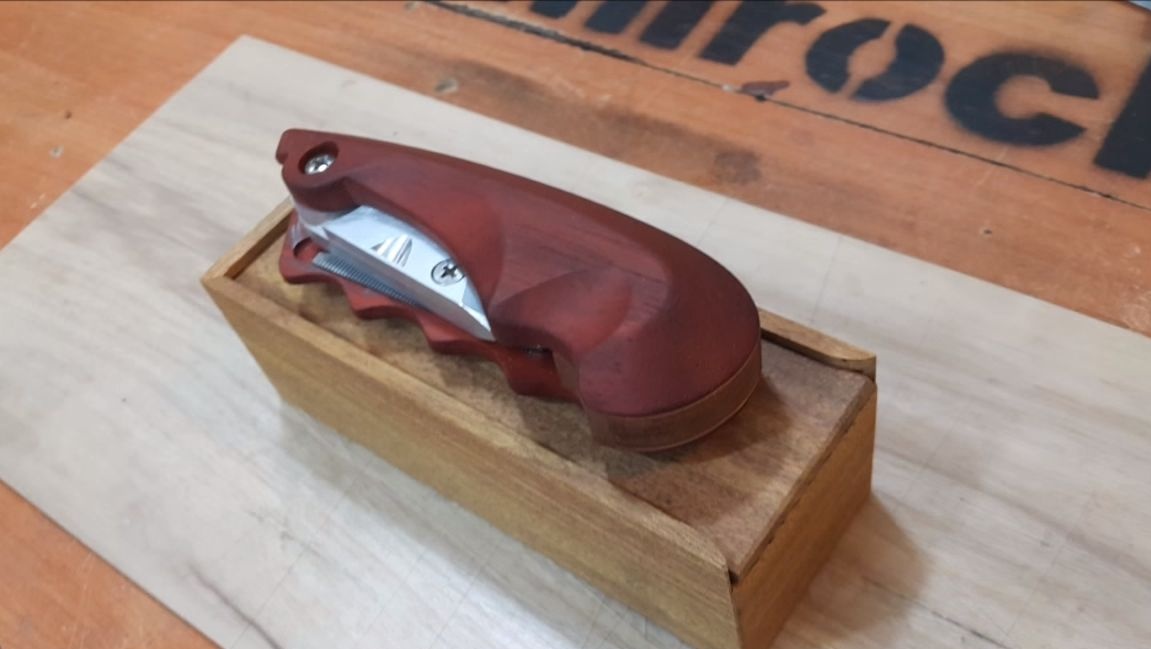
Step eleven. Storage box
Since the knife turned out to be a real masterpiece, it must be stored in an appropriate place. Auto decided to make a simple box for him. In addition, in such a container, a knife can easily be presented to someone as a personalized gift. The box can be easily assembled on glue made of thin plywood or other suitable material.
That's all, now the knife is finally ready! I think you liked the project. That's all, good luck and take care!