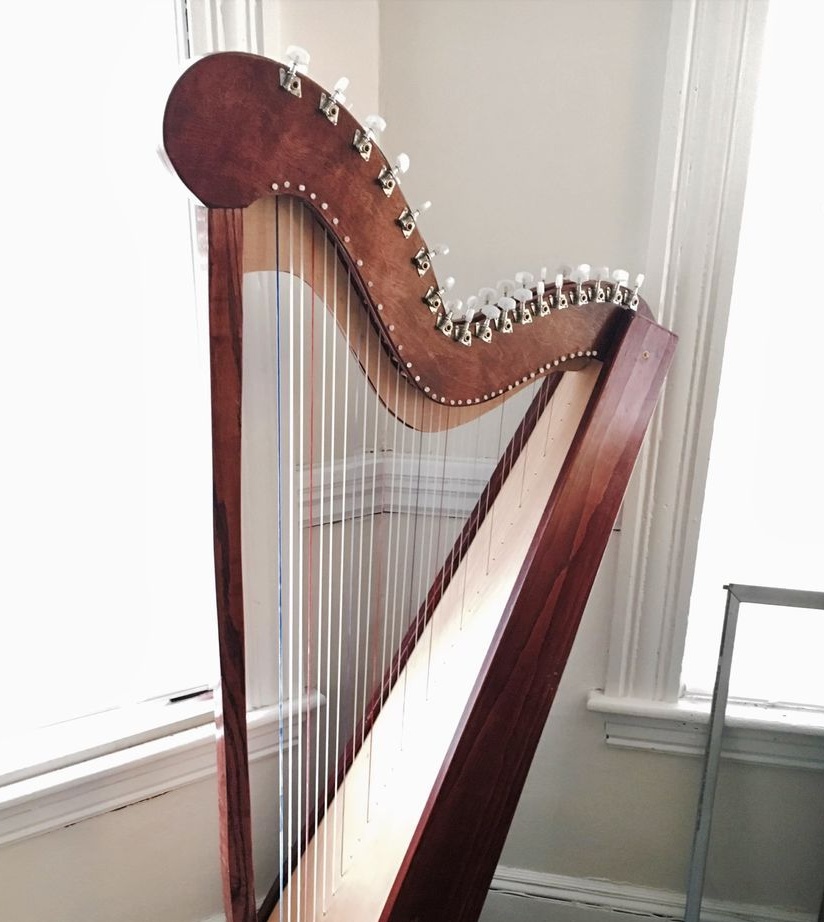
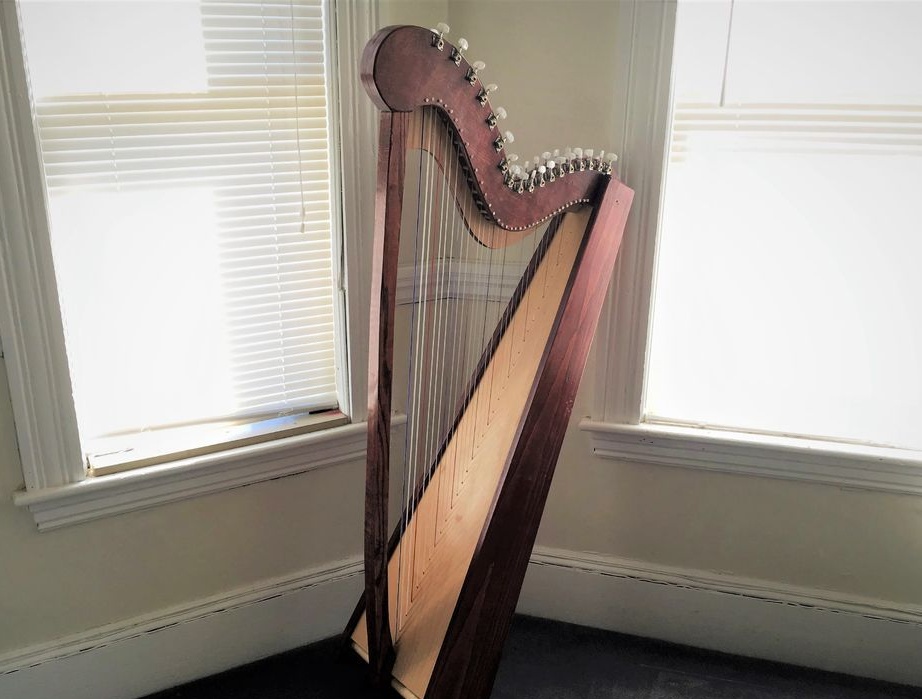
Before we start making a 35-string Paraguayan harp, let's listen to how it sounds.
This music is played by the Master on his own made harp. In time, the master spent about 50 hours on its manufacture.
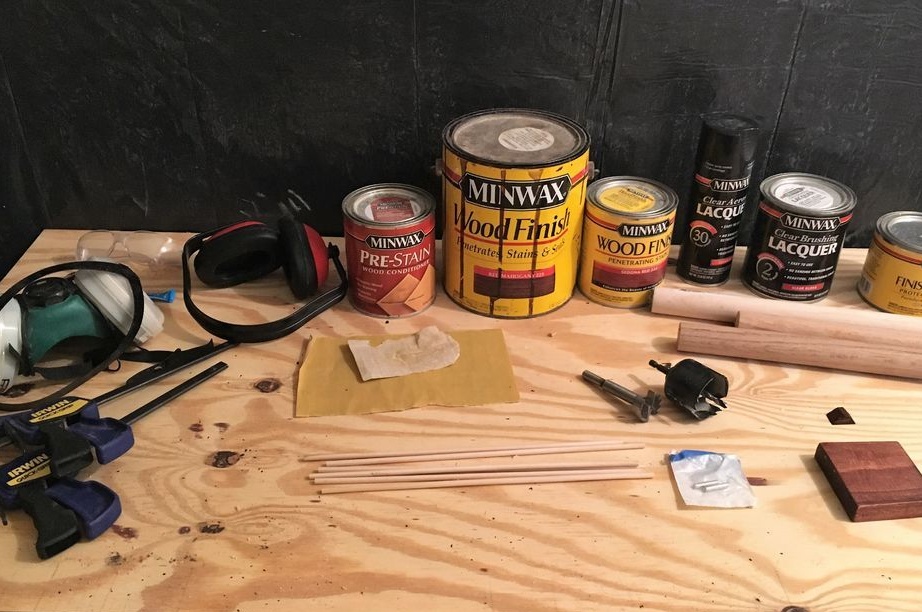
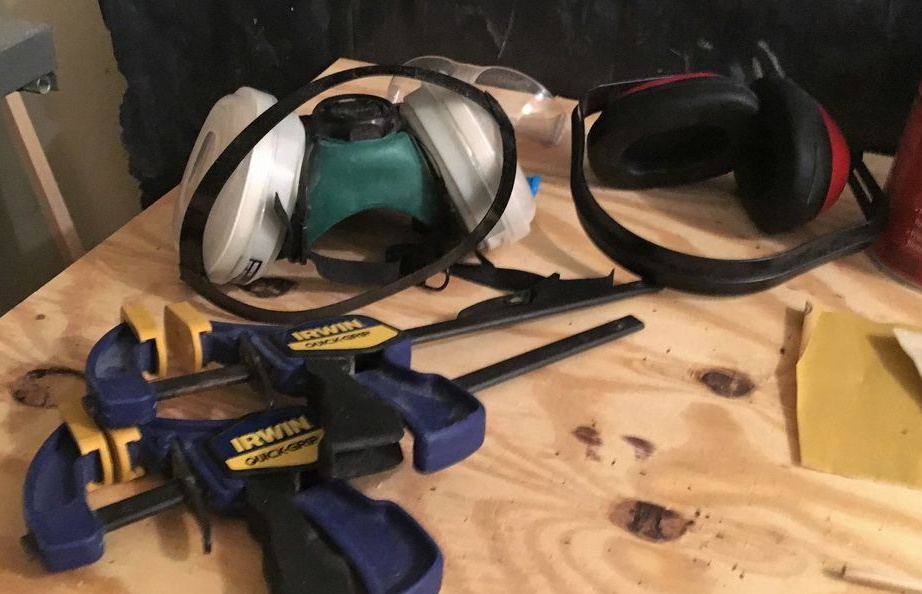
Tools and materials:
-Band-saw;
-A circular saw;
-Miter saw;
- Jigsaw;
-Drill;
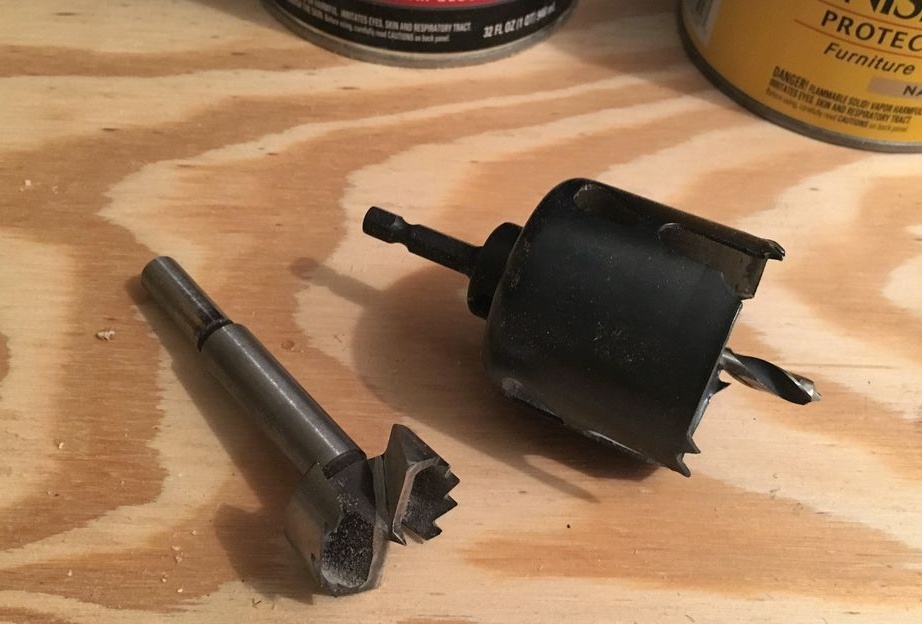
-Drills and crowns;
- Screwdrivers;
-Workbench;
-Brush;
-File;
-Grinder;
-Sandpaper;
-Chisel;
- Clamps;
-Pine board;
-Birch plywood;
-Oak board;
- Joiner's glue;
-Metal 5mm pins;
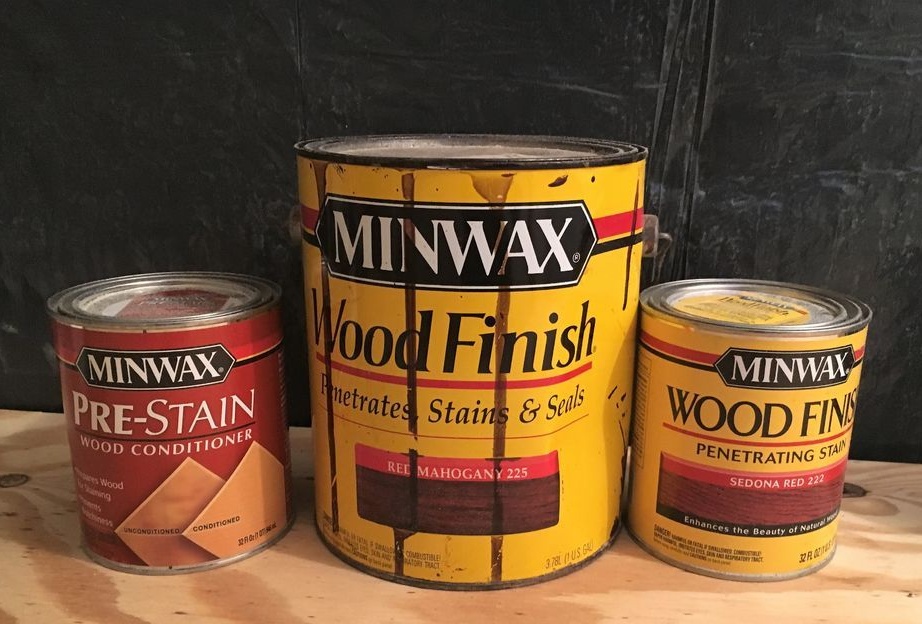
- Stain;
-Strings for harp;
-Metal eyes;
-Kolki;
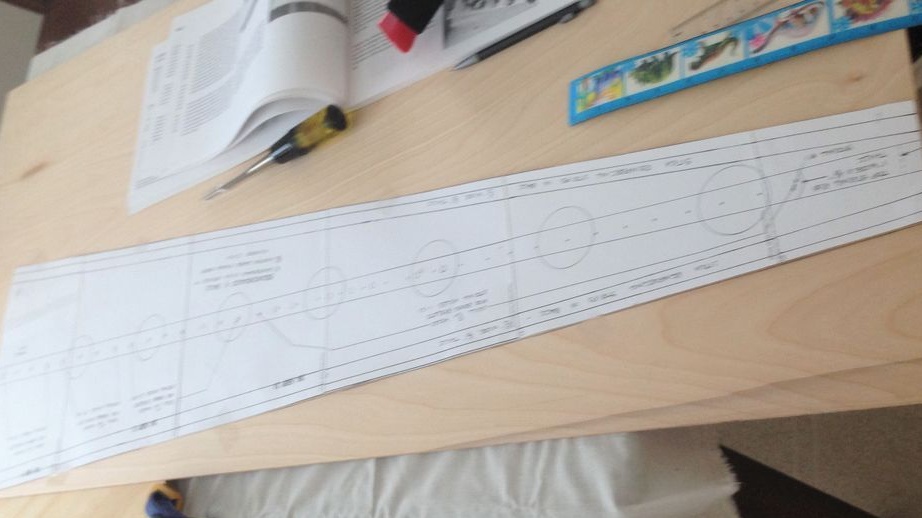
Step one: sketch and material selection
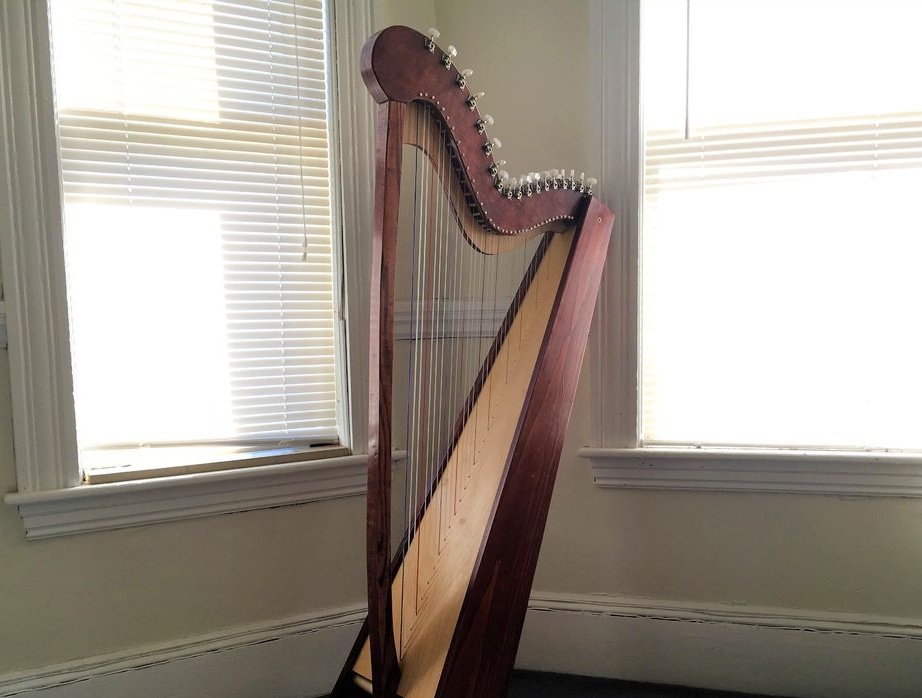
Paraguay harps differ from others in the presence of a hollow neck, consisting of two parts. The master used plywood for the neck and deck, pine for the resonator and oak for the rack.
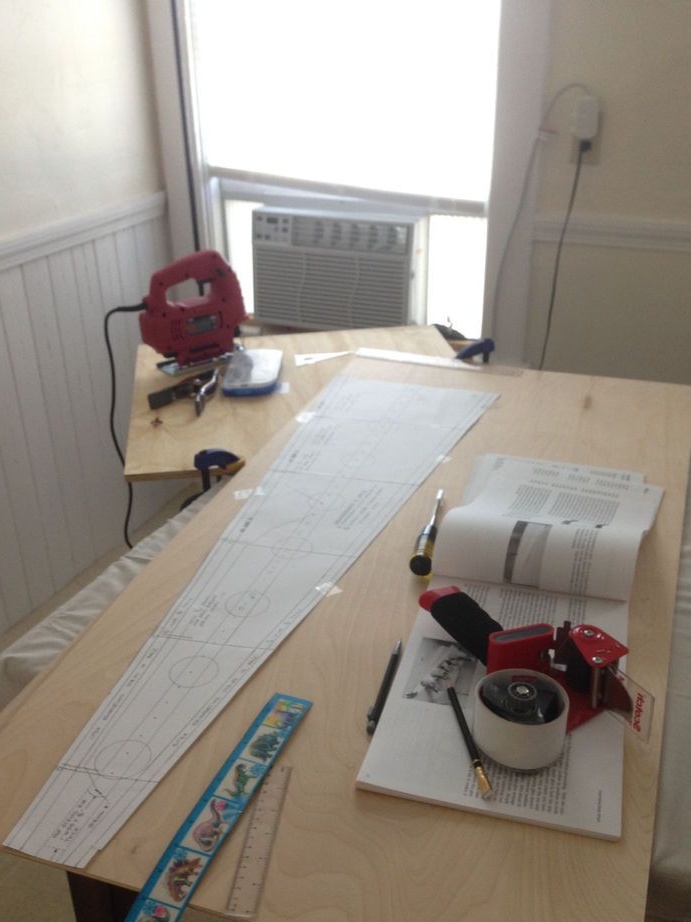
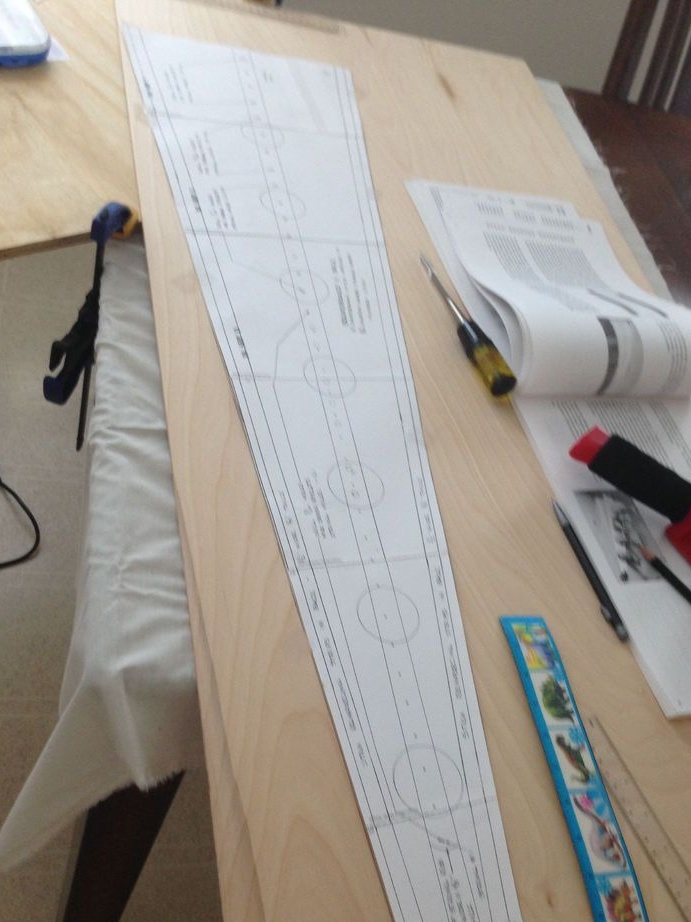
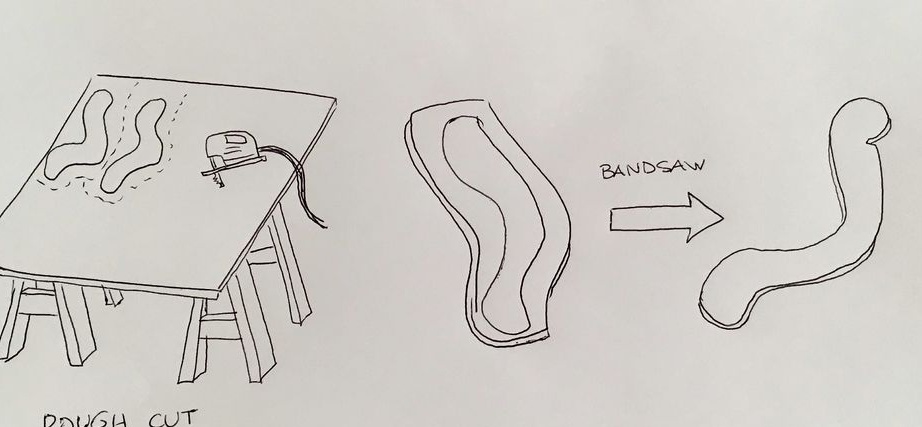
Draws a sketch.
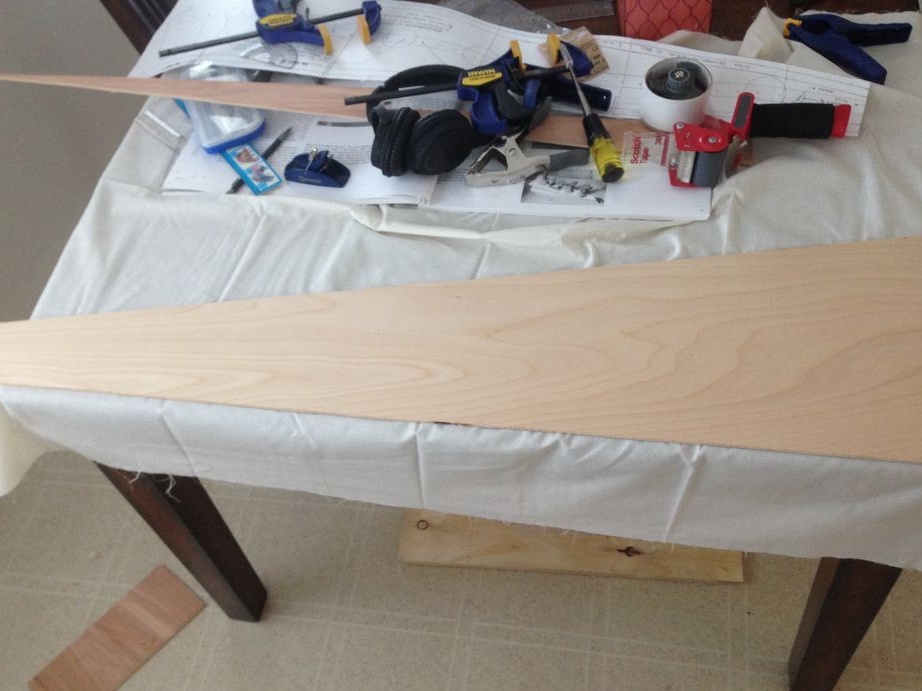
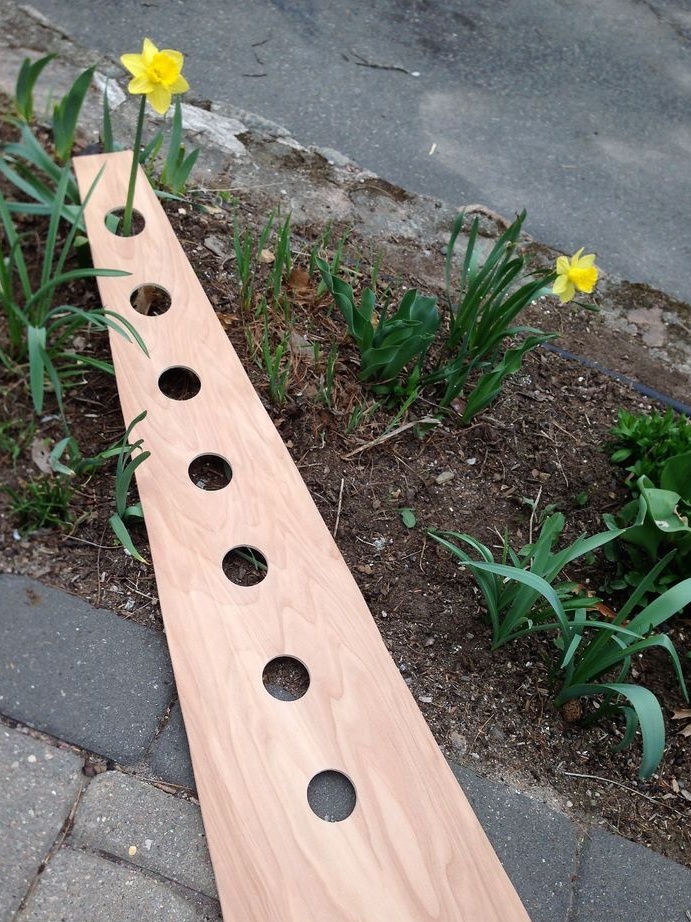
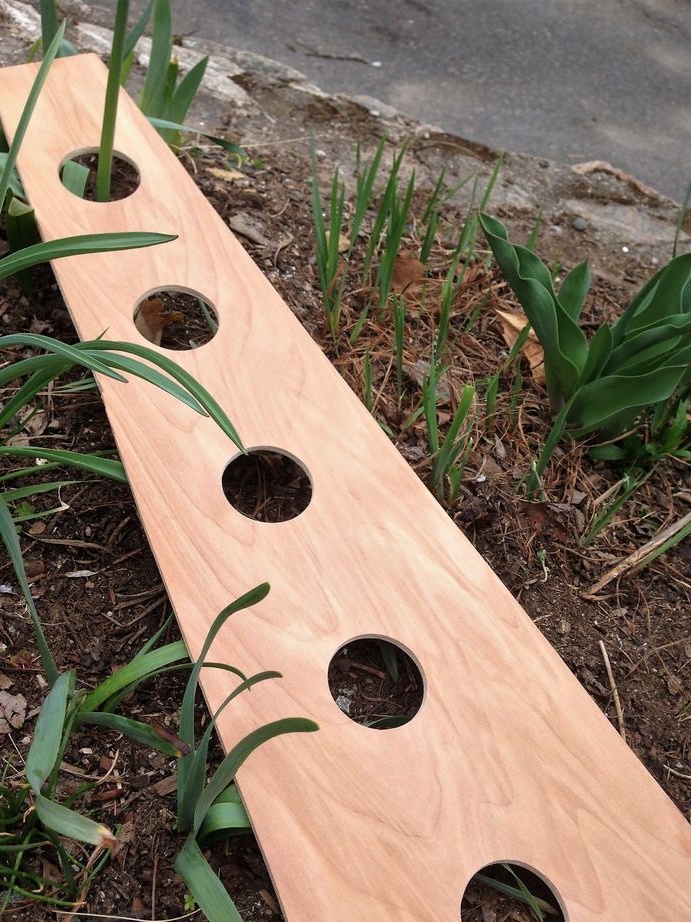
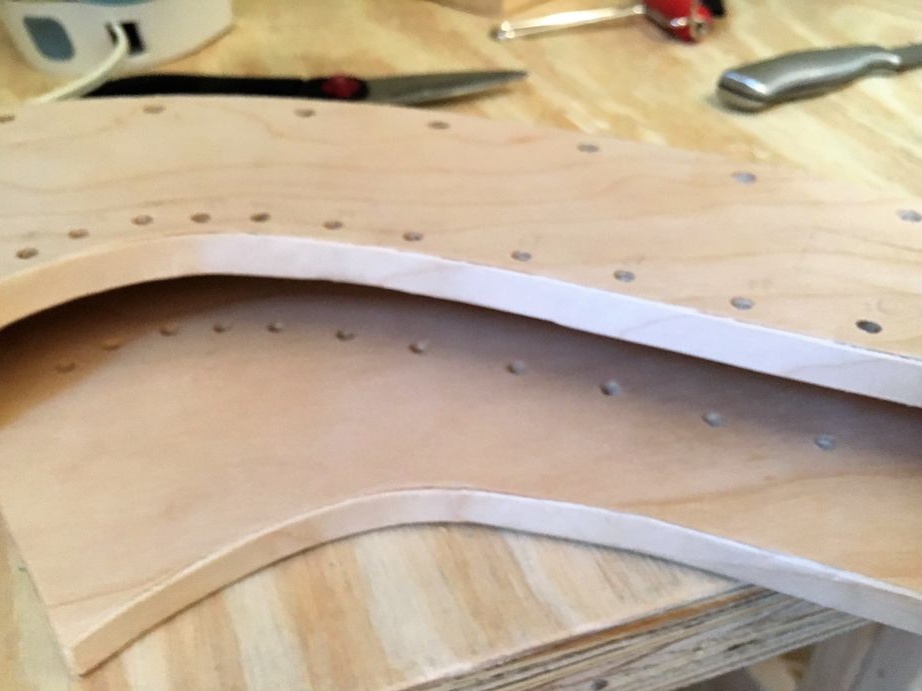
Step two: soundboard
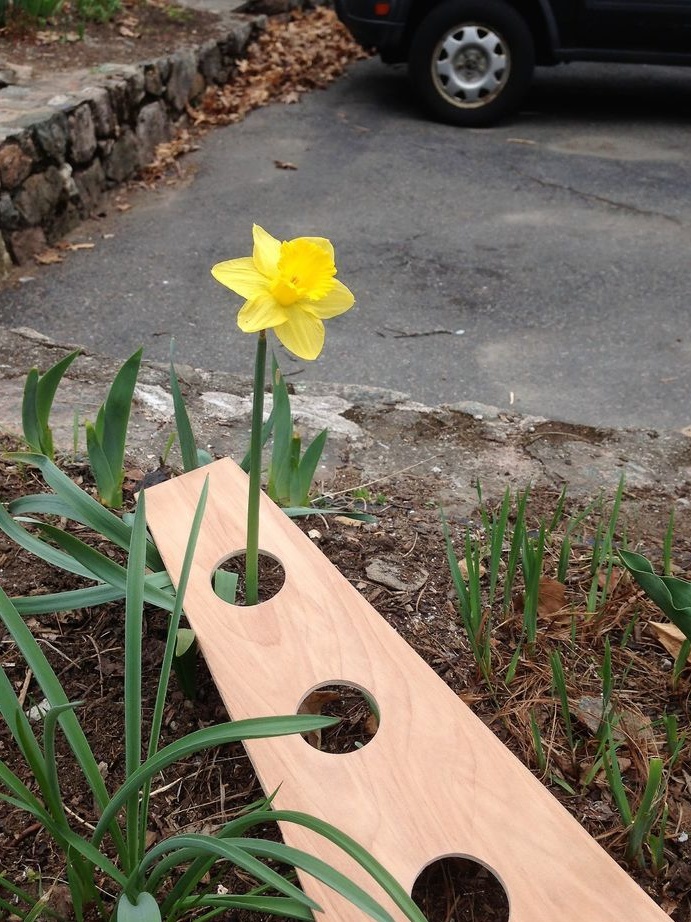
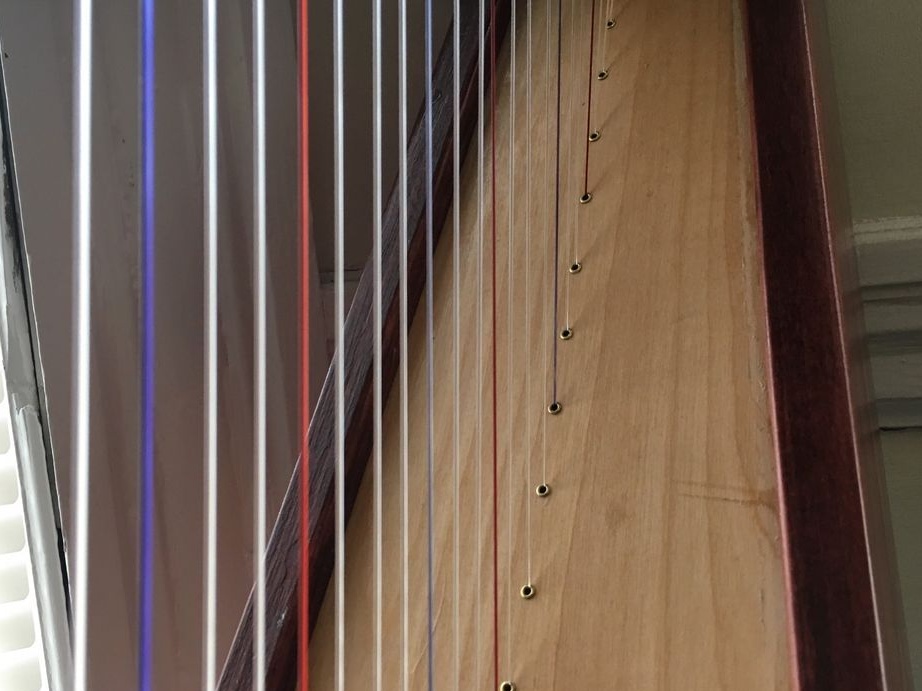
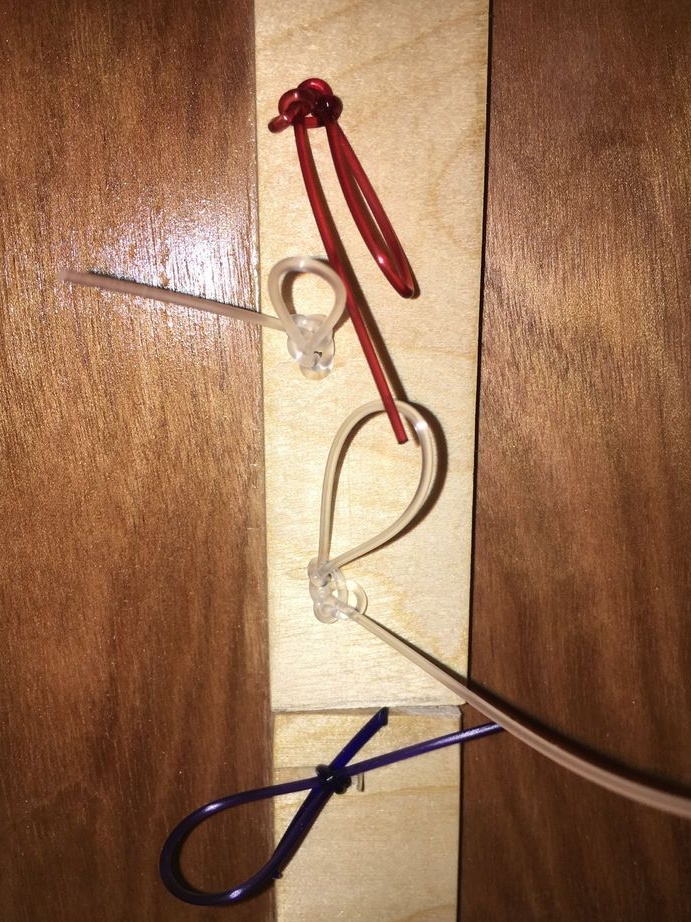
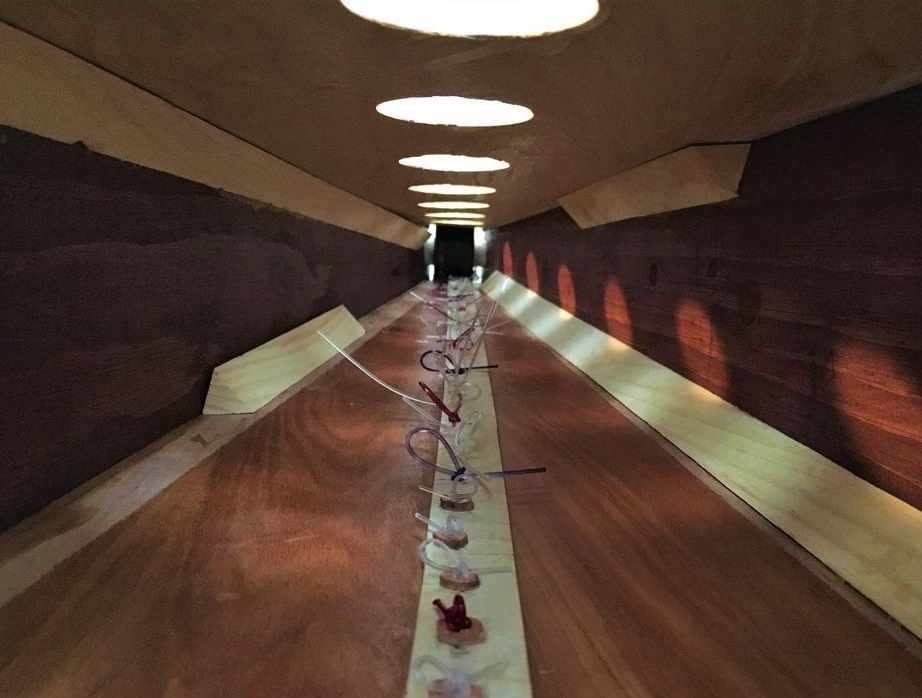
Cutting a deck from plywood according to a paper template. Drills 35 holes in it. Sleeves will be inserted into these holes through which the strings will pass.
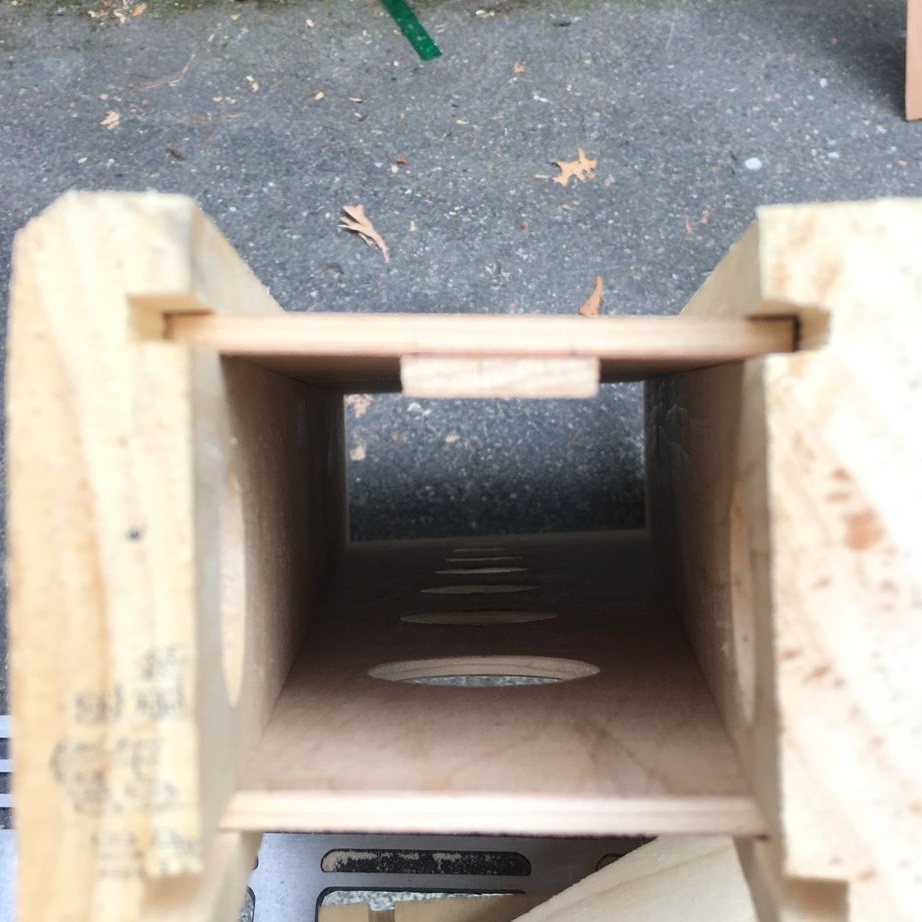
Step Three: Resonator
Cuts the back wall of the resonator from plywood. Cut holes in it.
From a pine board cuts out the side walls of the resonator. Cut out grooves in the walls along the entire length and three round grooves for dowels.
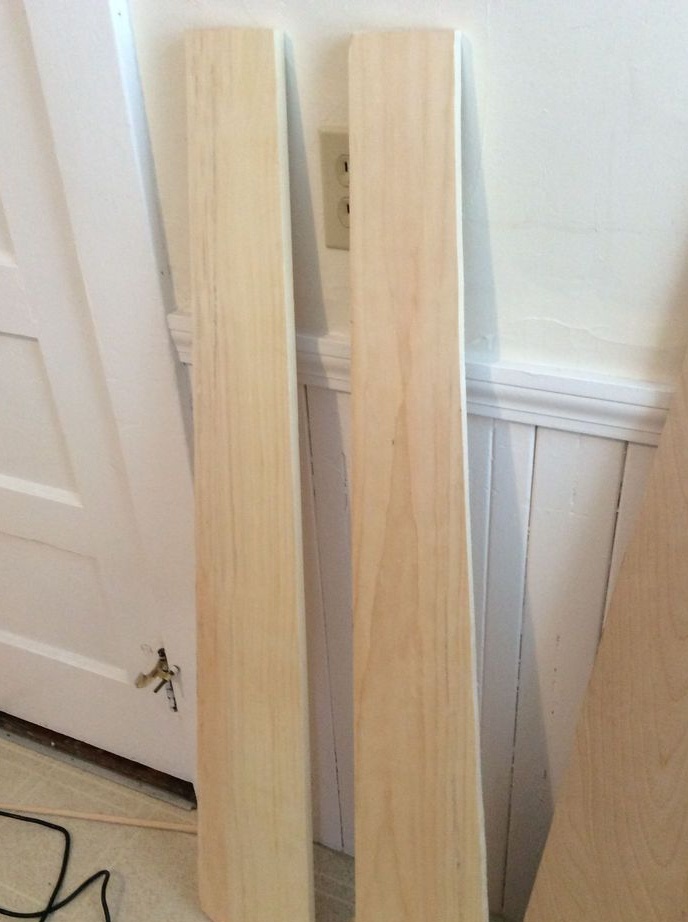
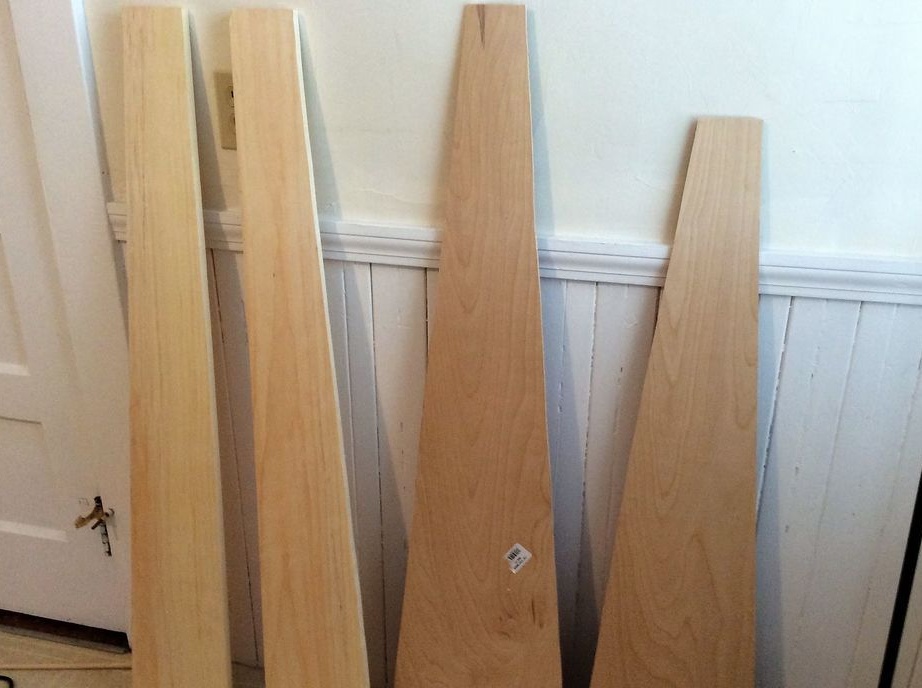

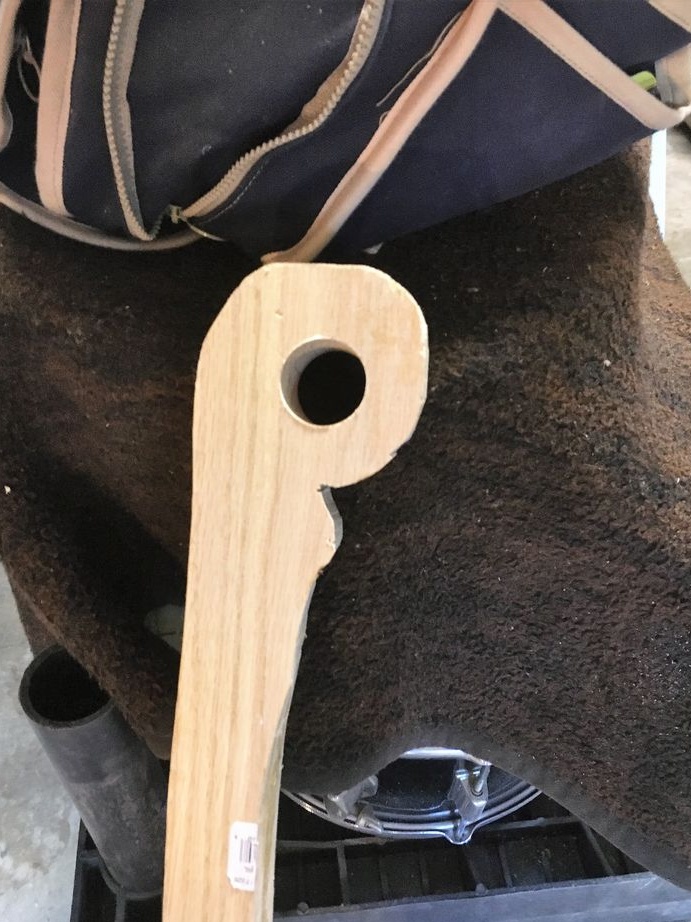
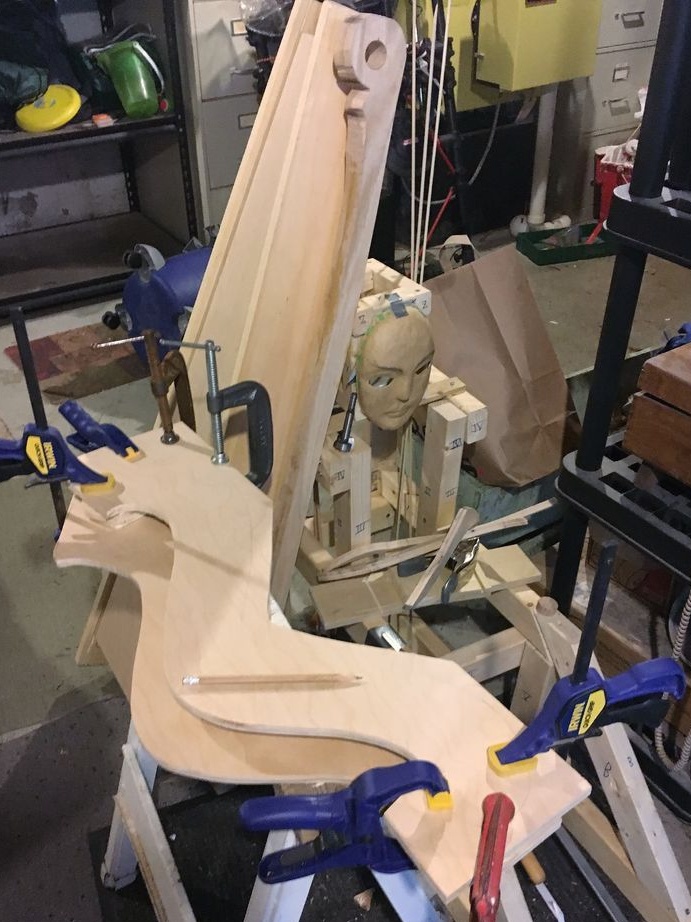
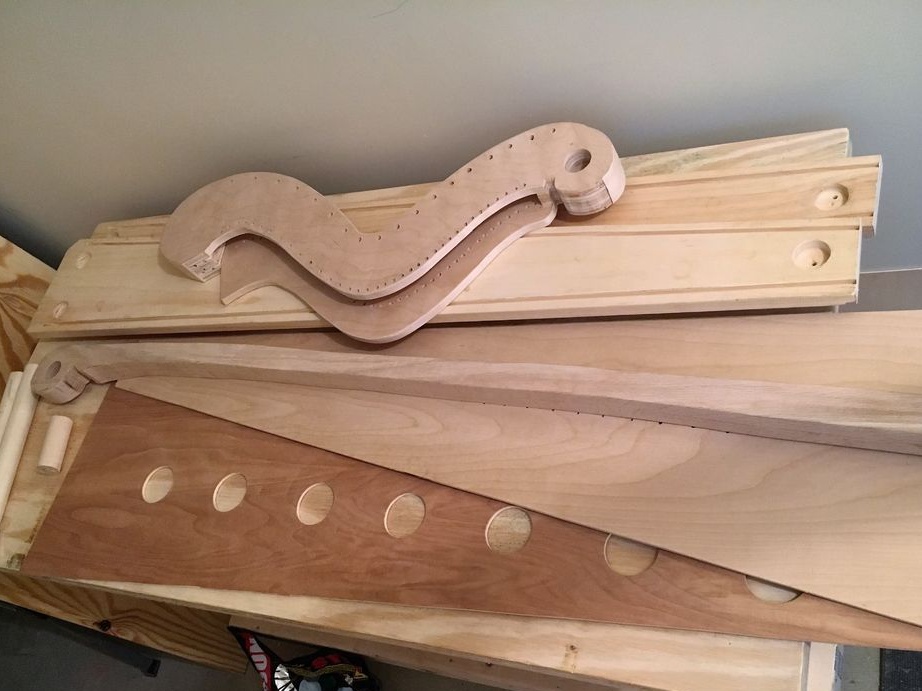
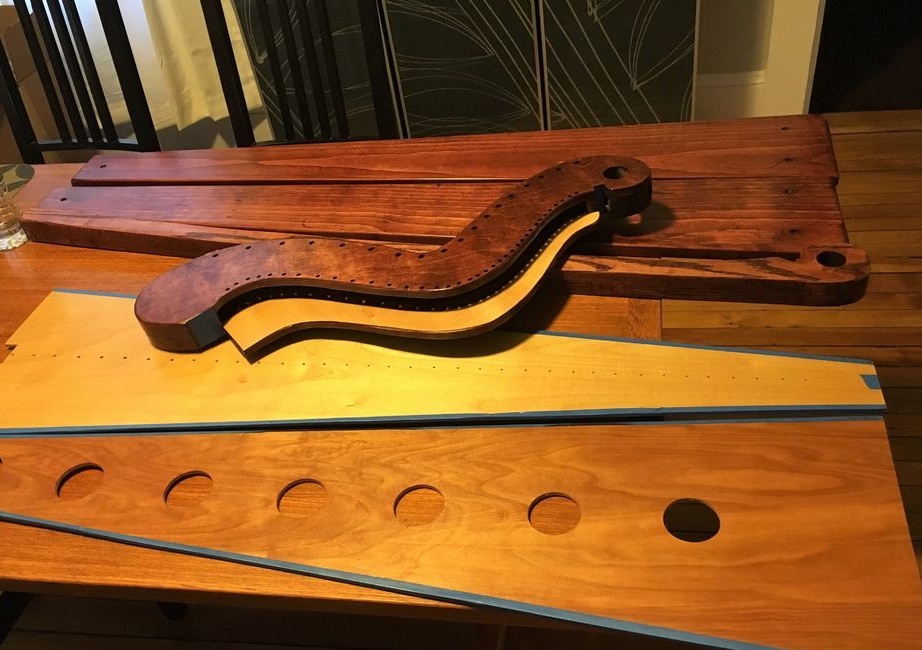
Step Four: Stand
The master made a rack by gluing two oak boards. After gluing, cuts out according to the pattern.
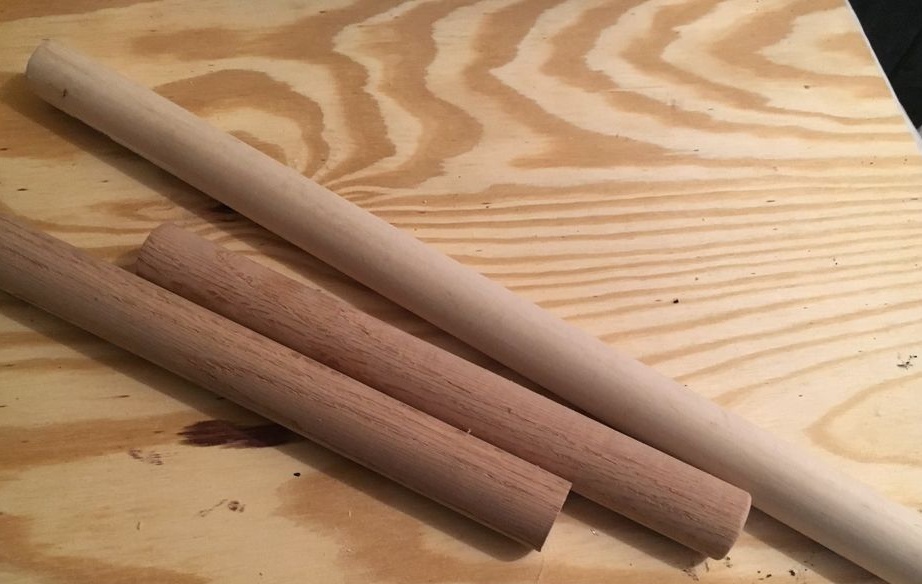
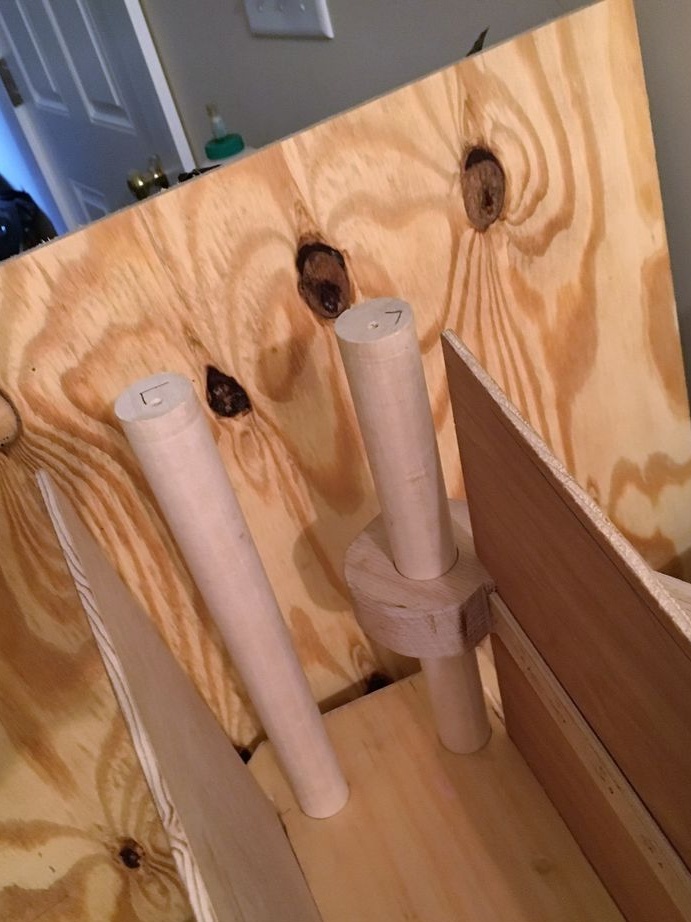
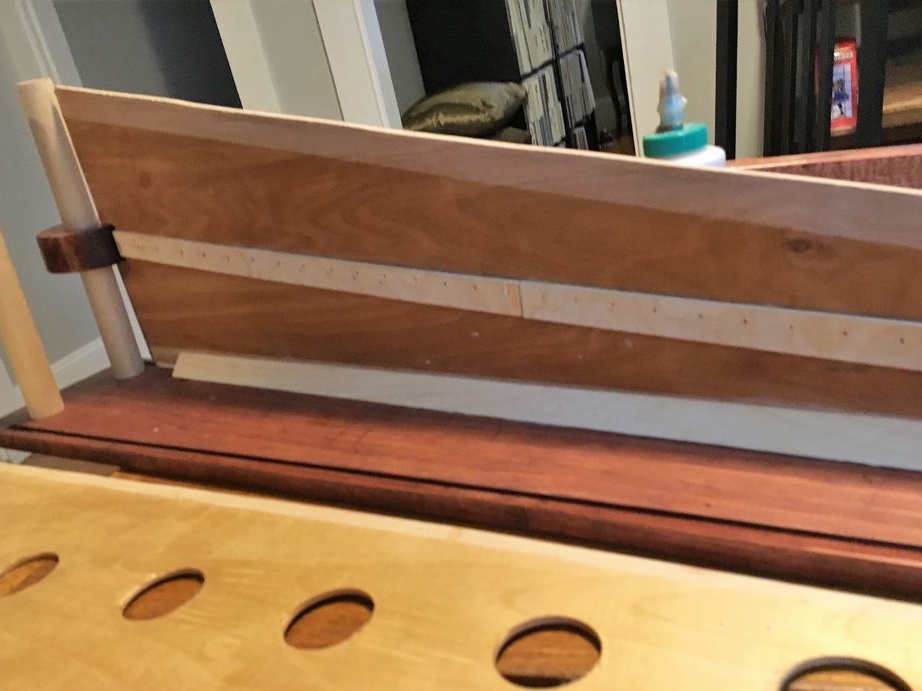
Step Five: dowels
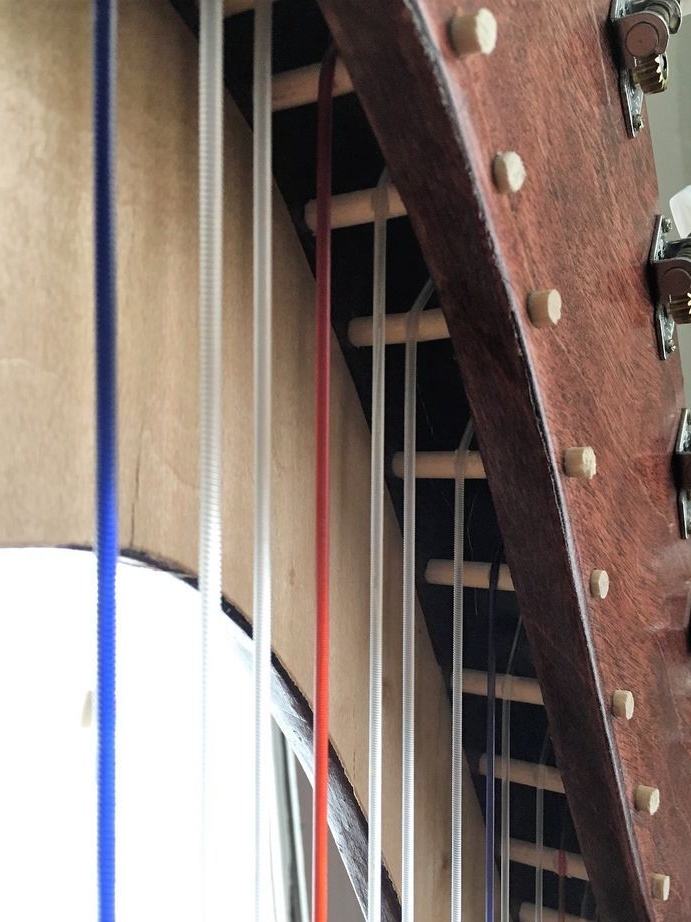
The dowels the master will fasten the harp parts in the corners. Cuts dowels of the desired length.
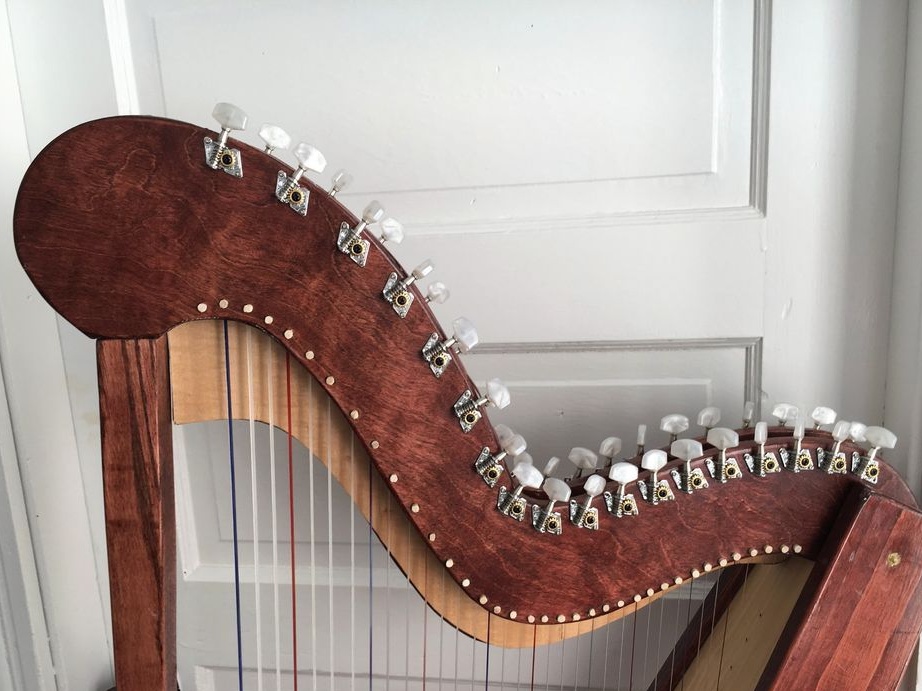
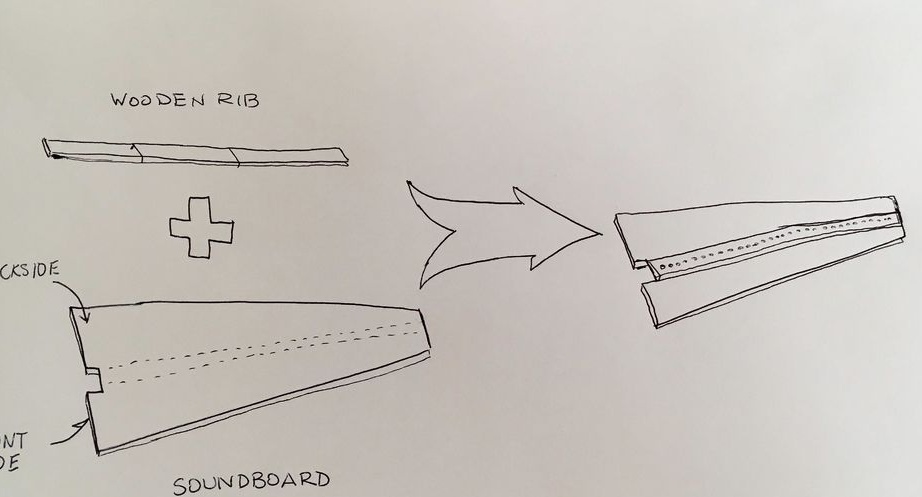
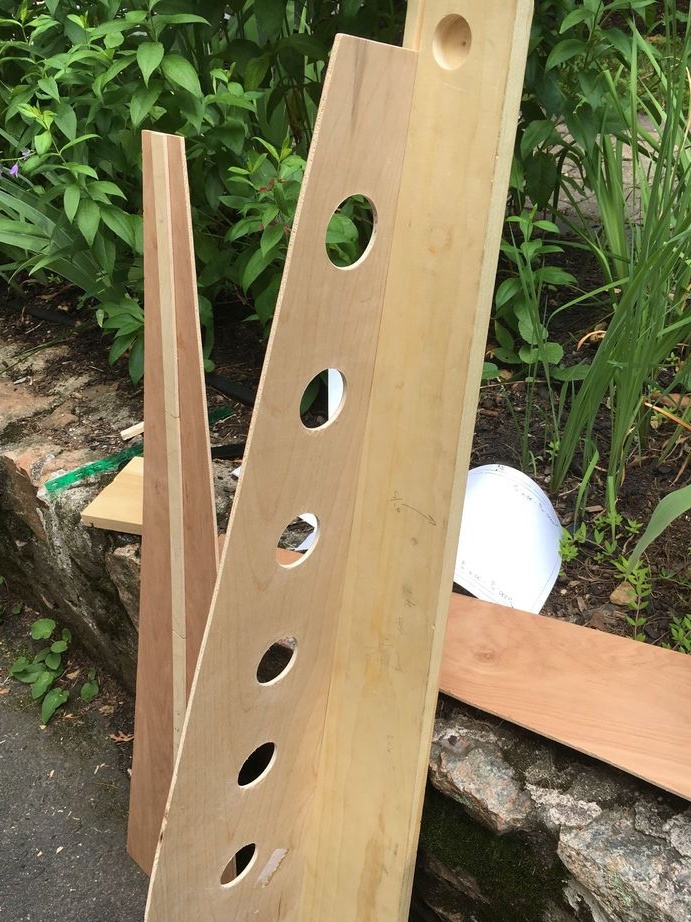
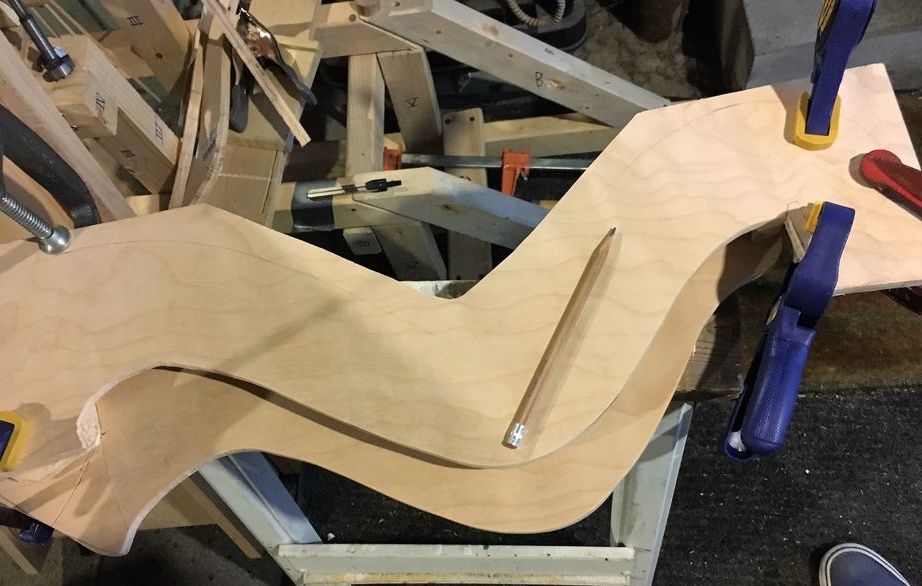
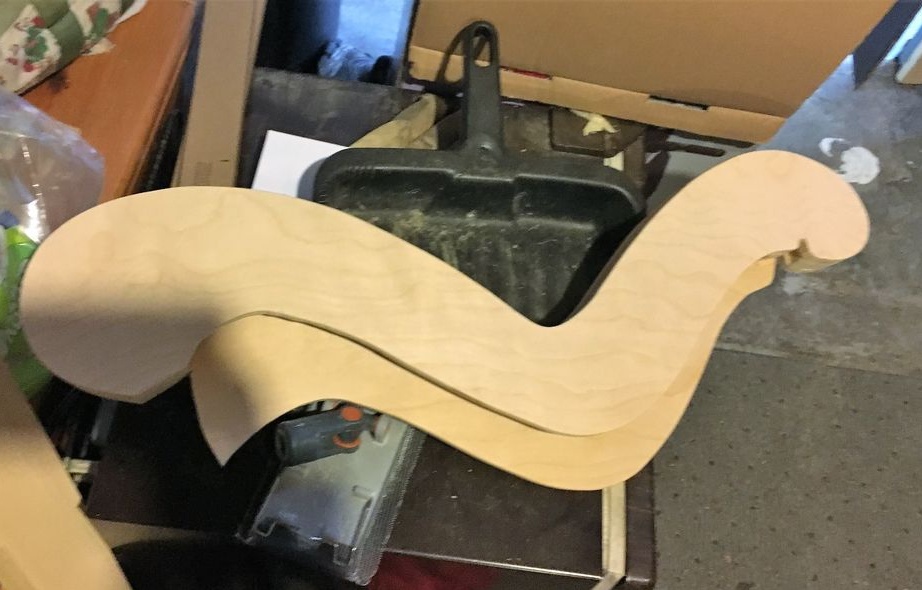
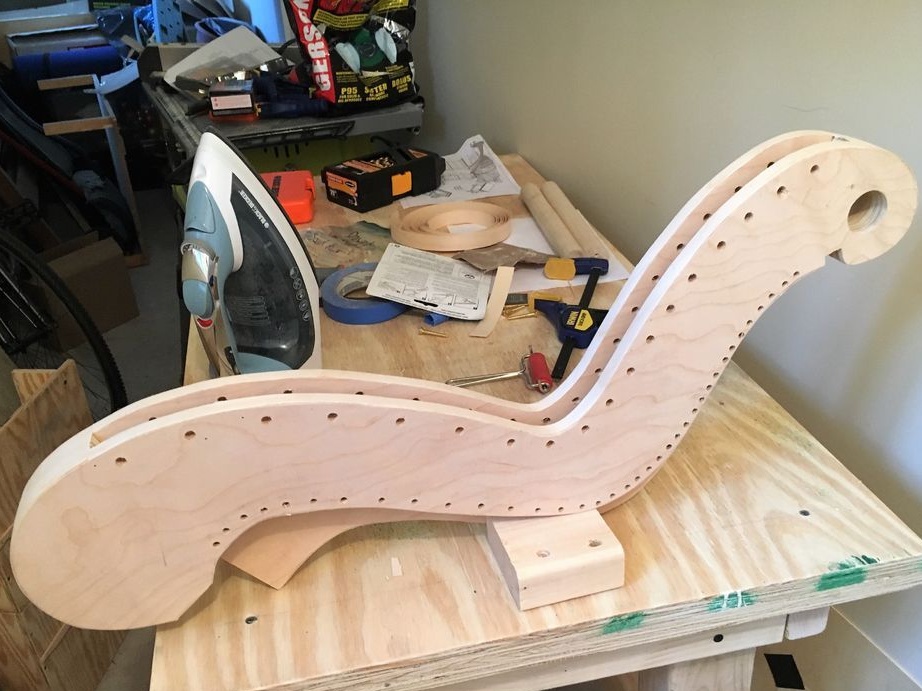
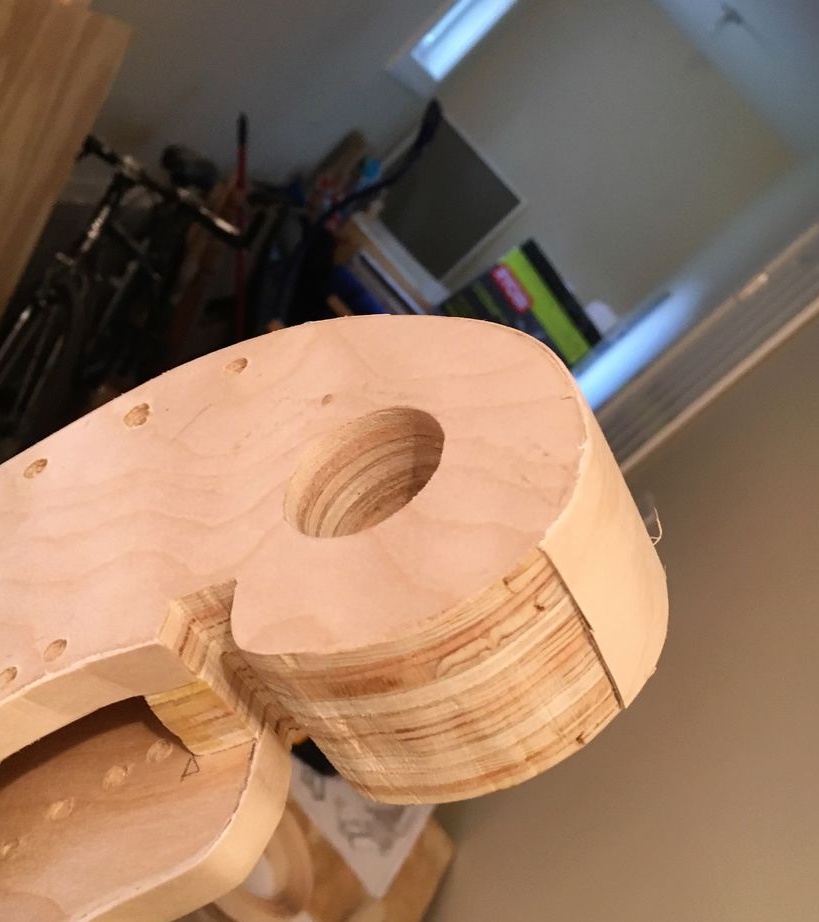
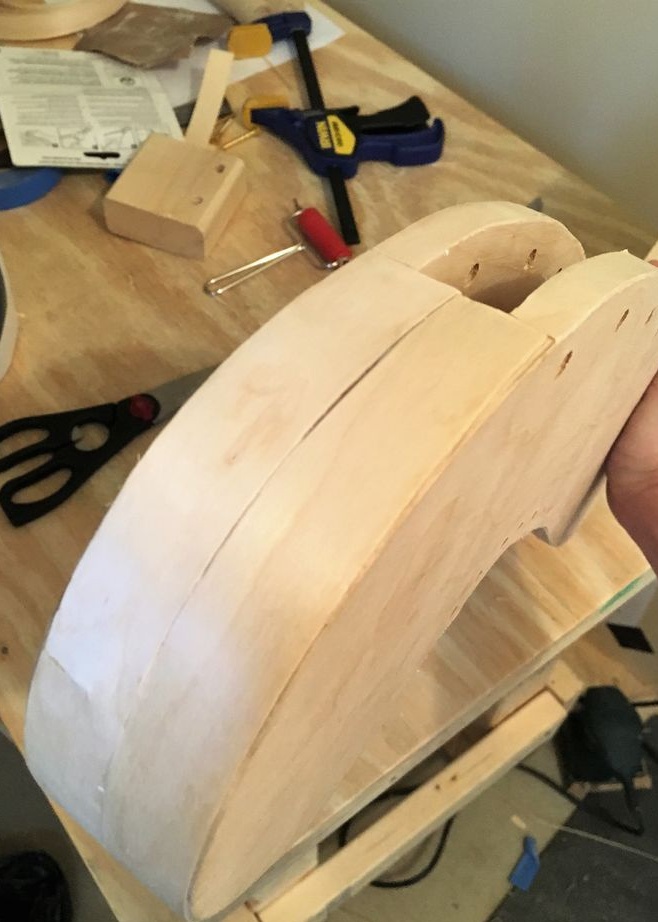
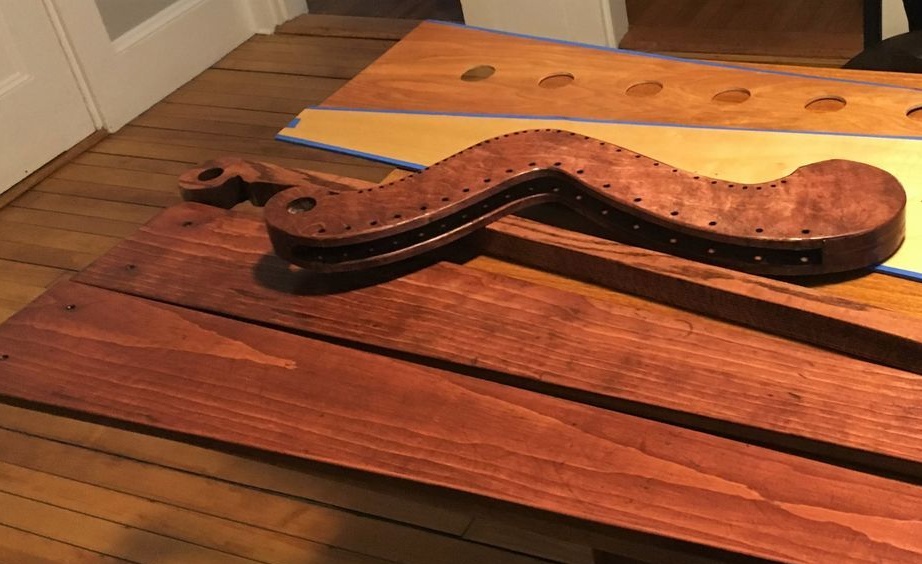
Step Six: Neck
The master made a neck from two parts of plywood with gaskets between them. I cut out parts of the neck according to the template. I cut and glued plywood gaskets. Glued the neck.
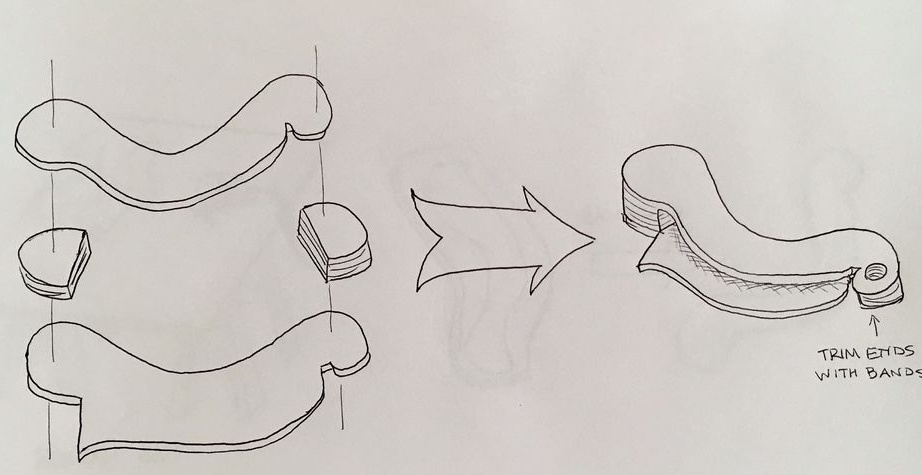
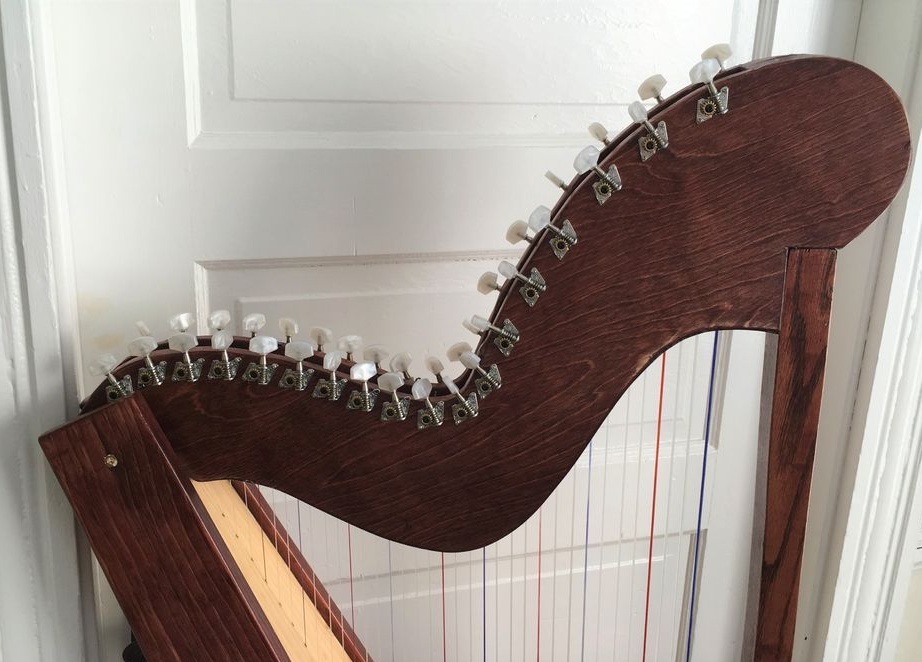
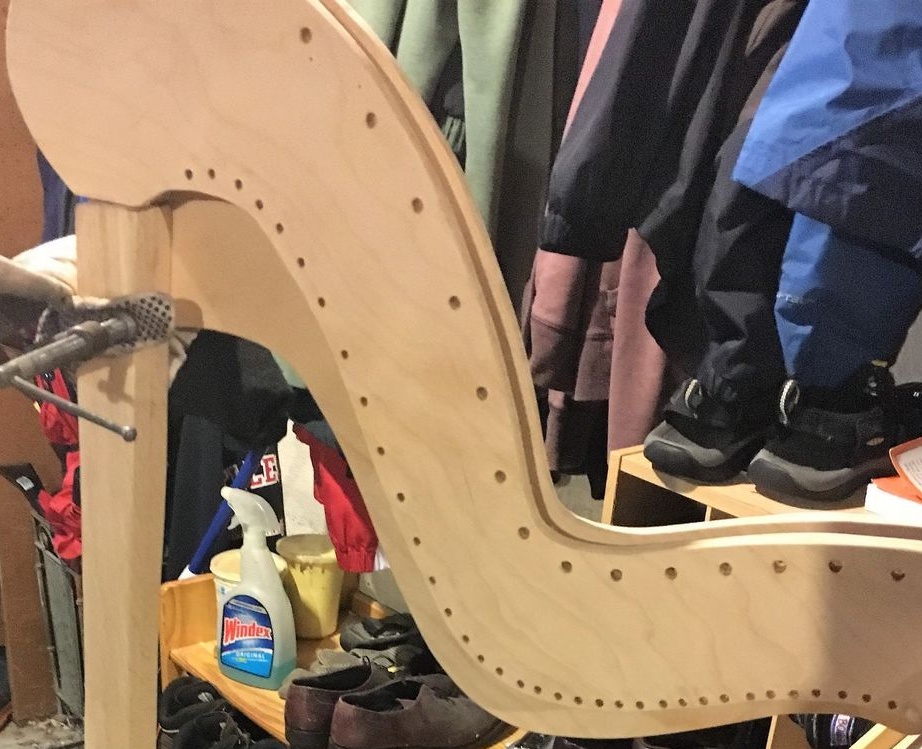
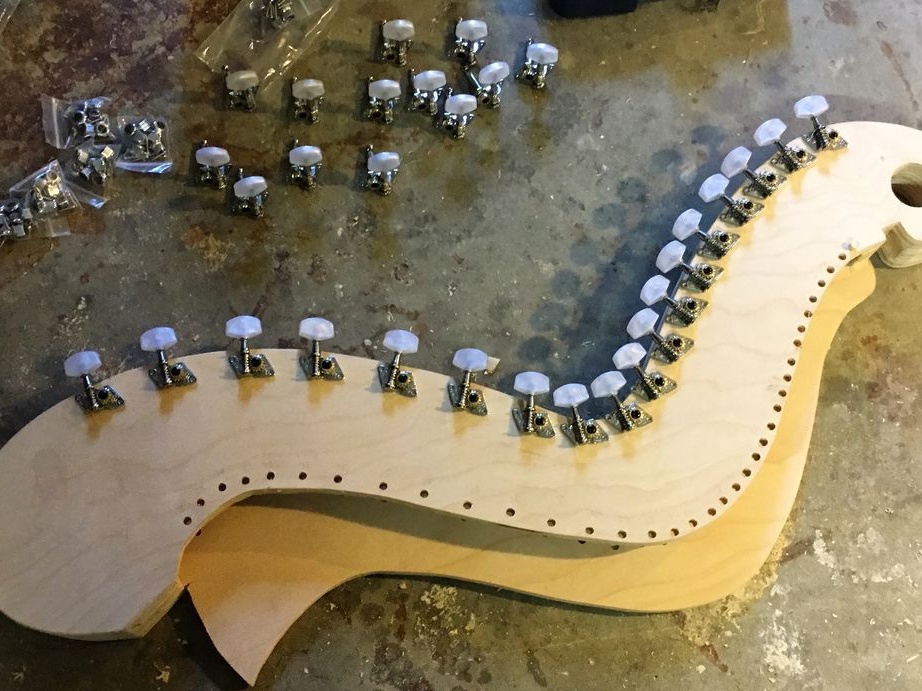
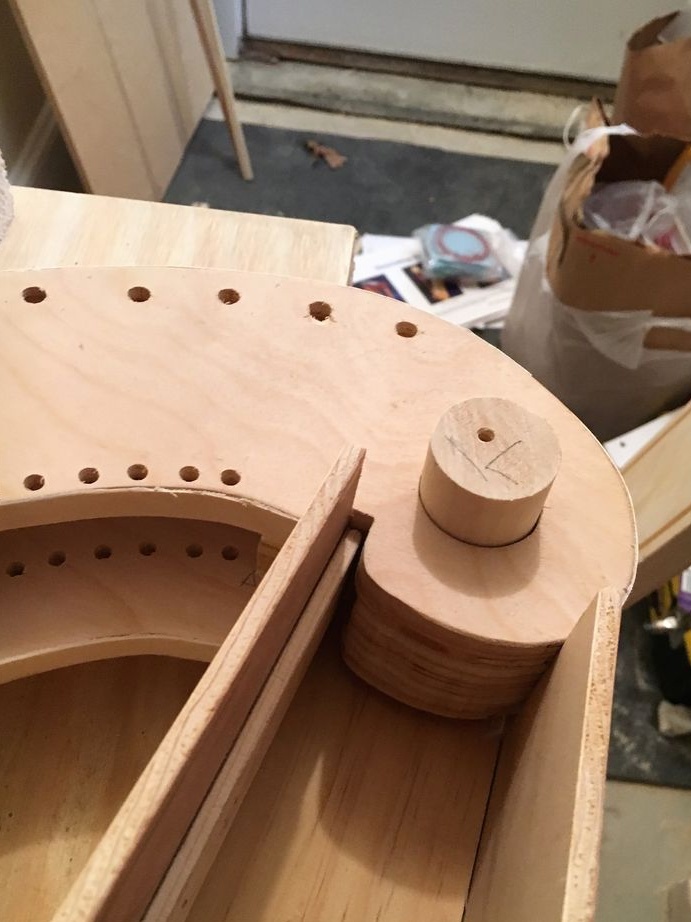
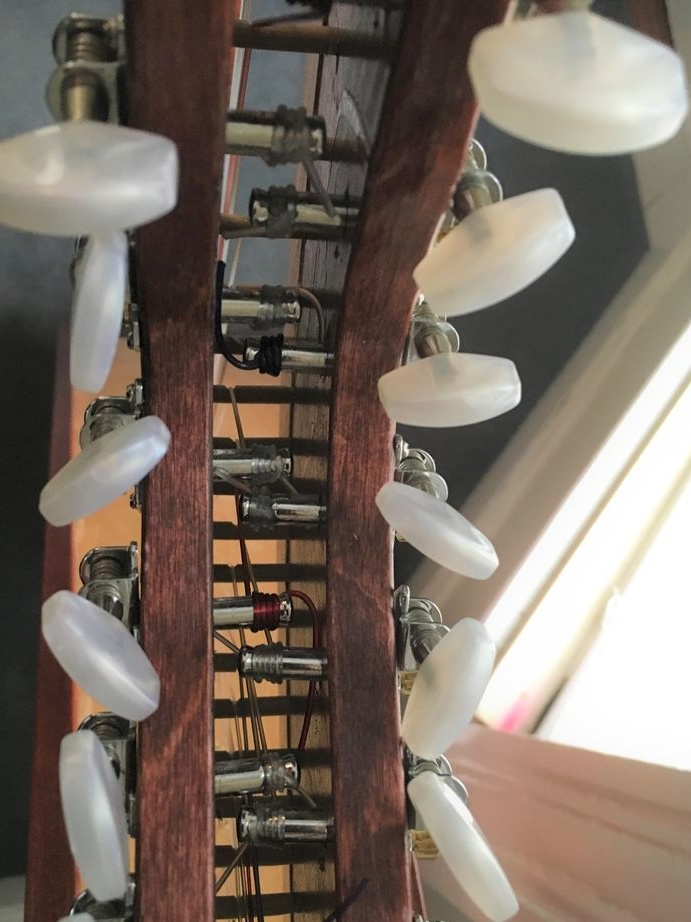
Now you need to drill holes in the neck. 36 holes in the lower part of the neck for dowels. 36 holes, in the upper part of the neck, for pegs. 72 holes for mounting pegs.
Sticks an edge tape on the neck.
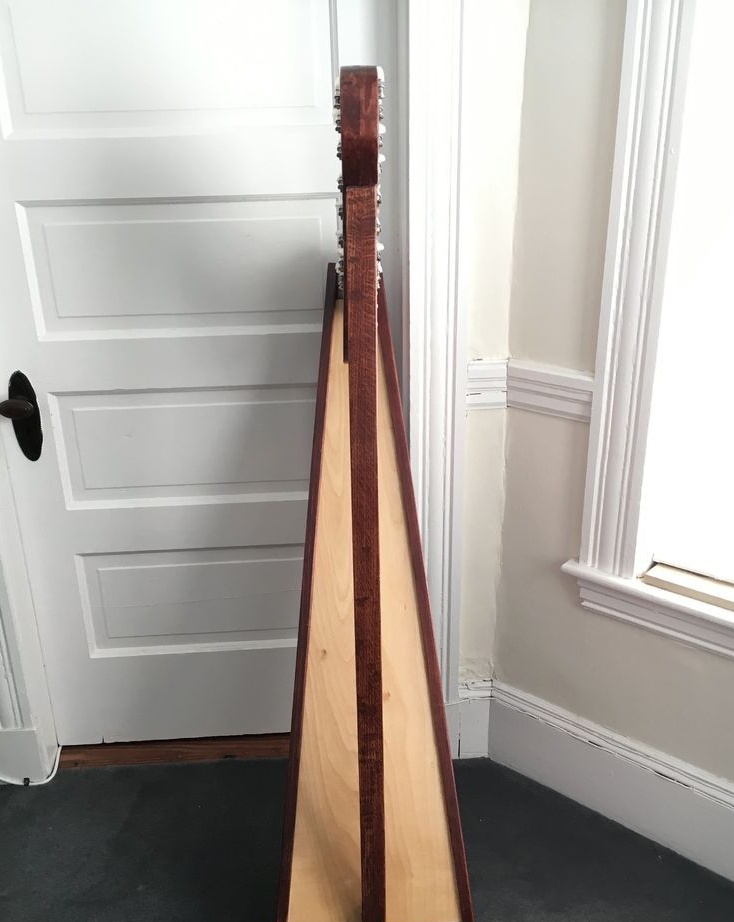
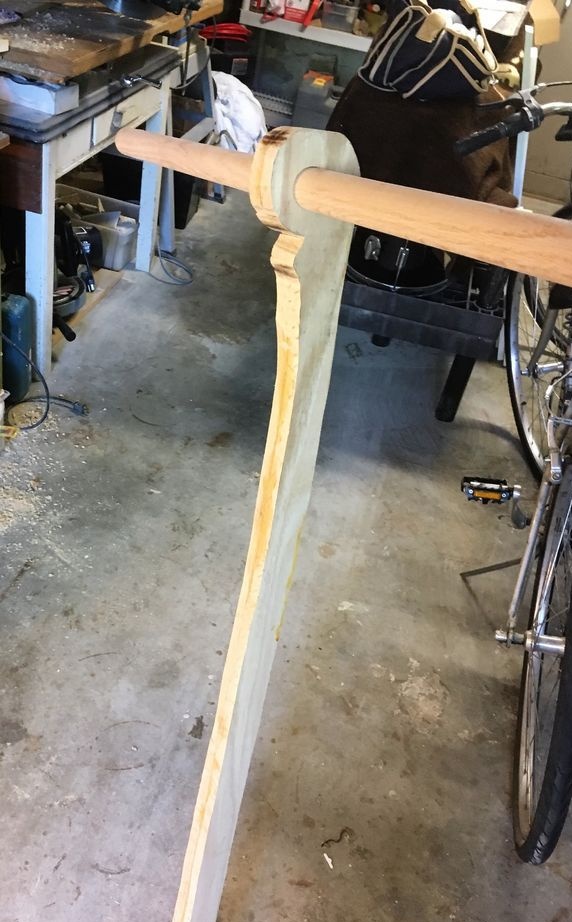
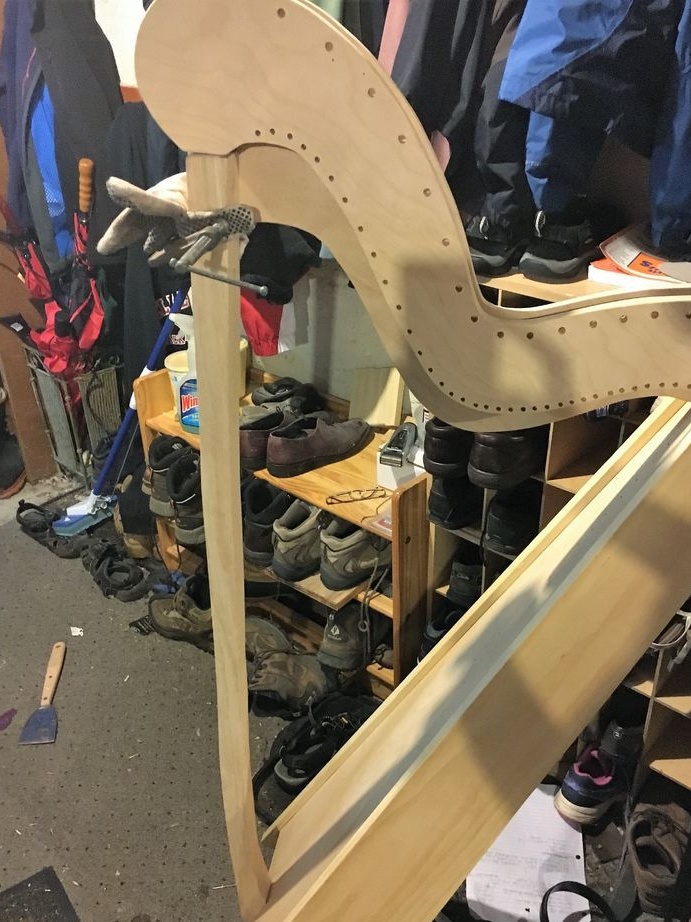
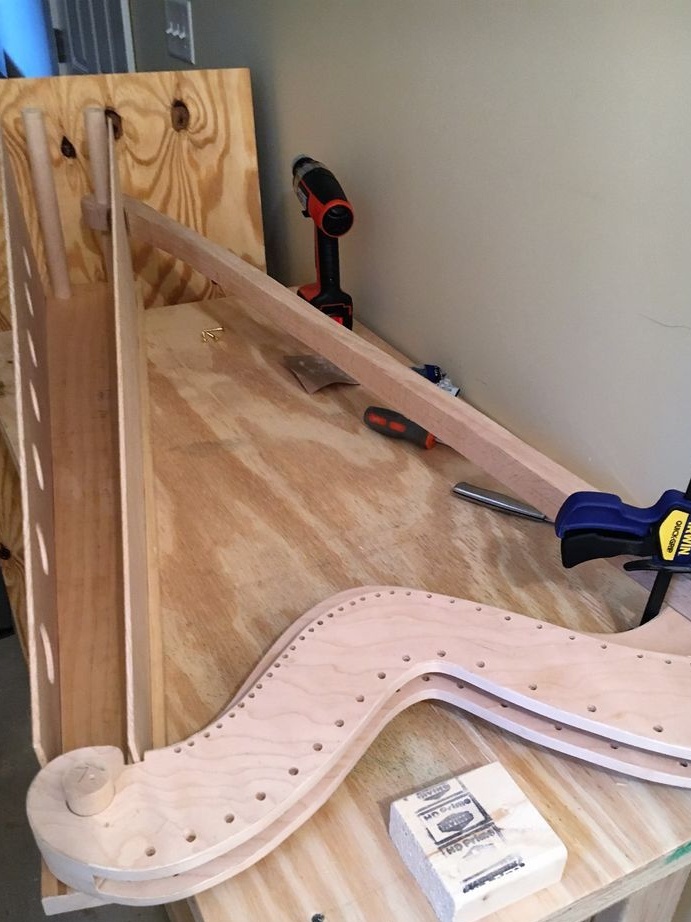
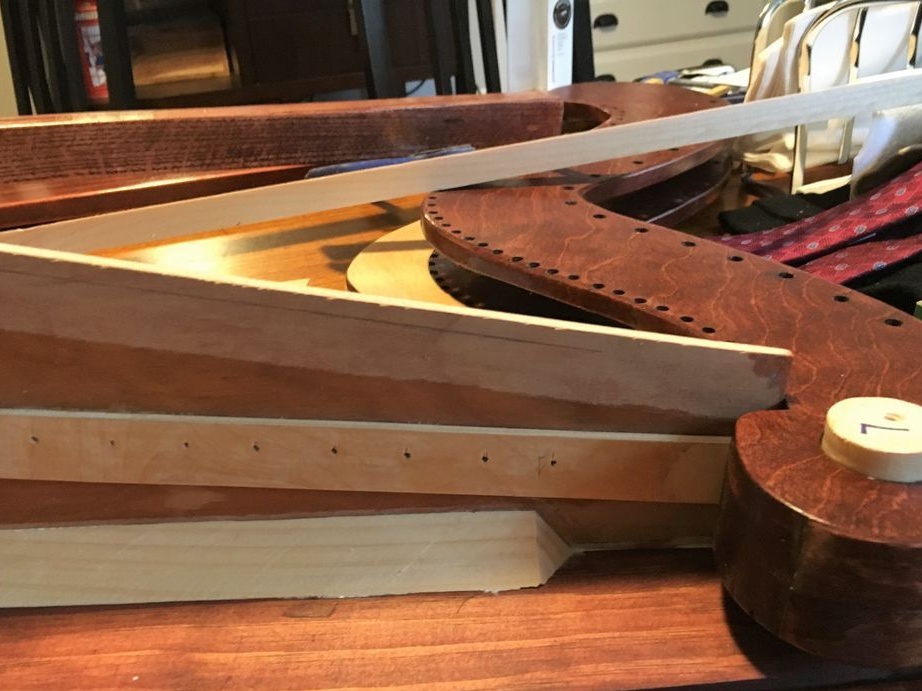
Seventh step: pins
The neck and stand are connected using four metal pins. Drills holes for pins. Will connect as in the photo.

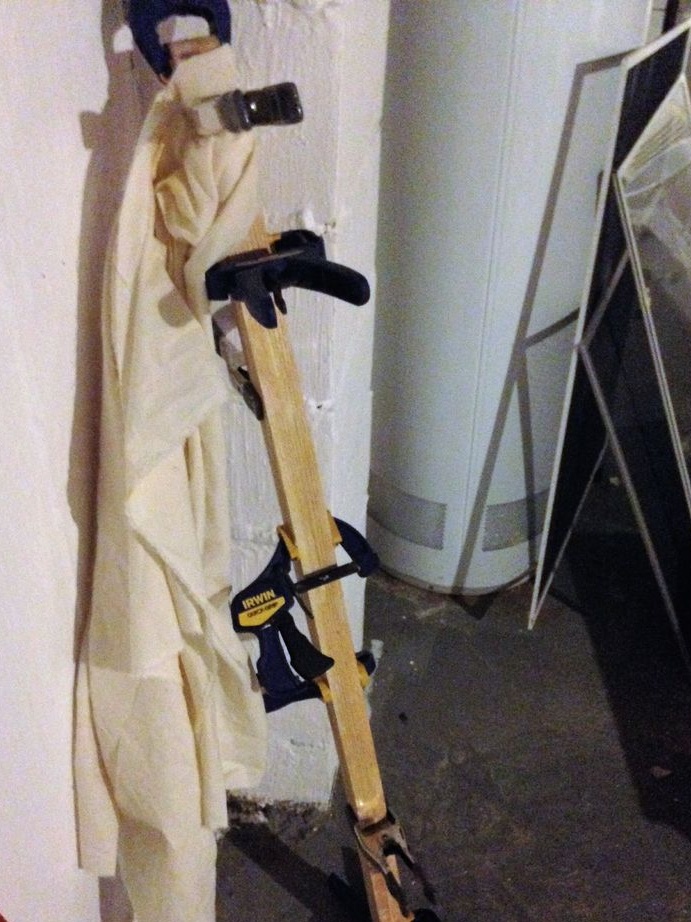
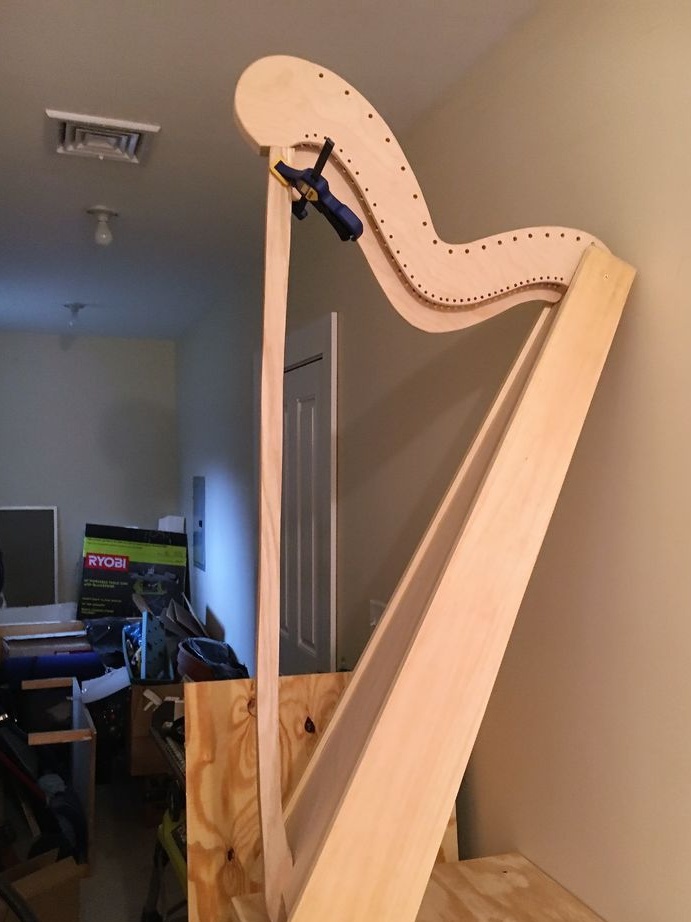
Step Eight: Pre-Build
Pre-assembled harp. Customize parts if necessary.
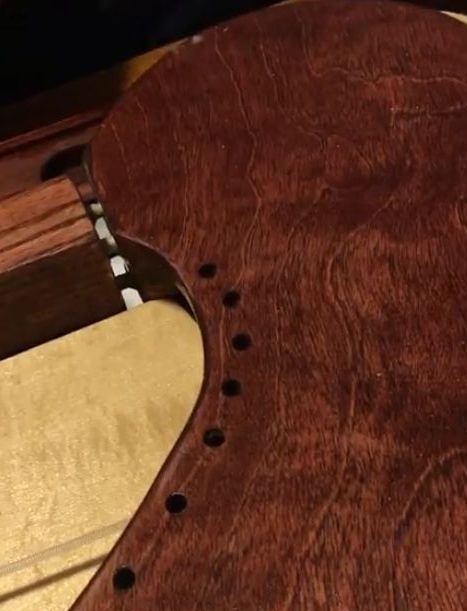
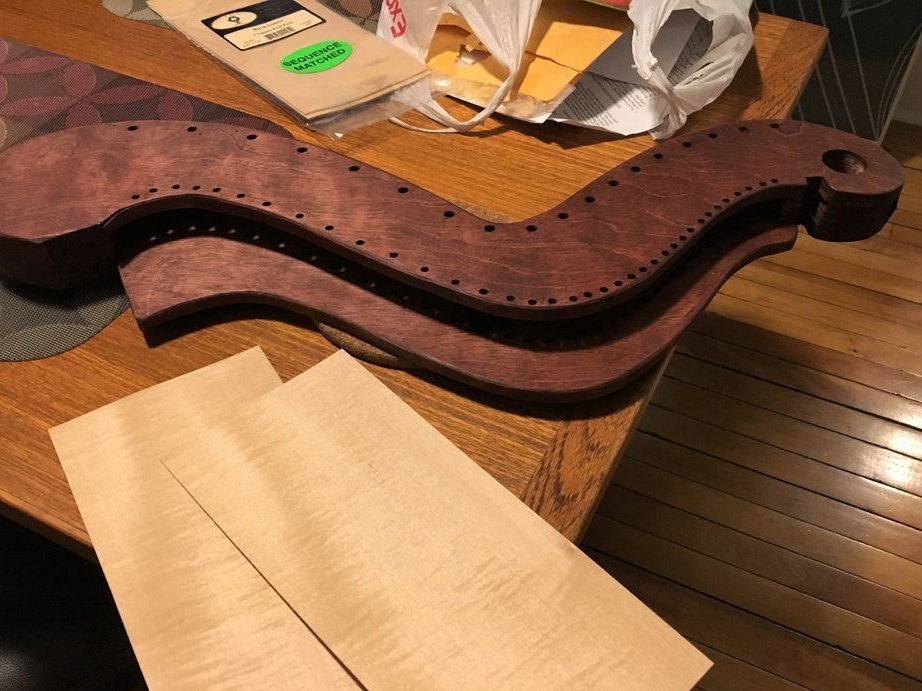
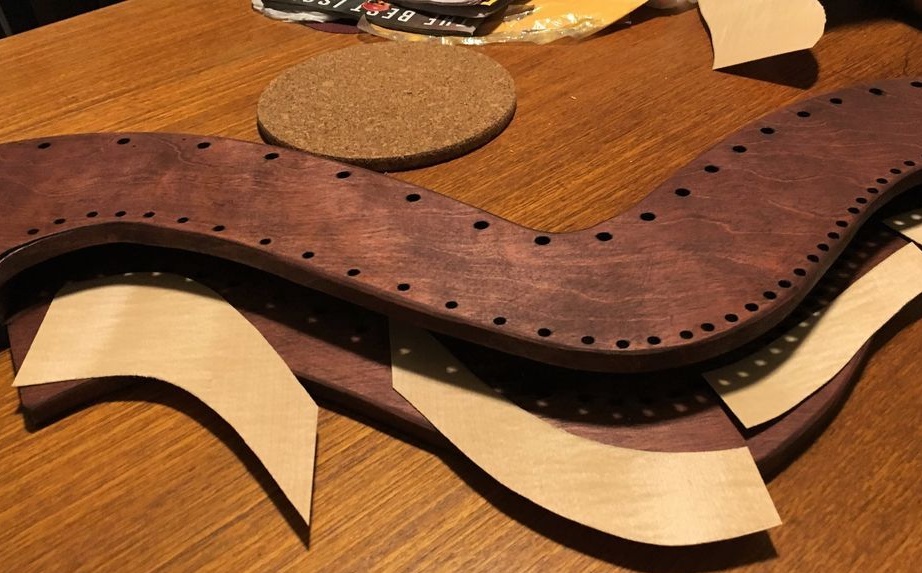
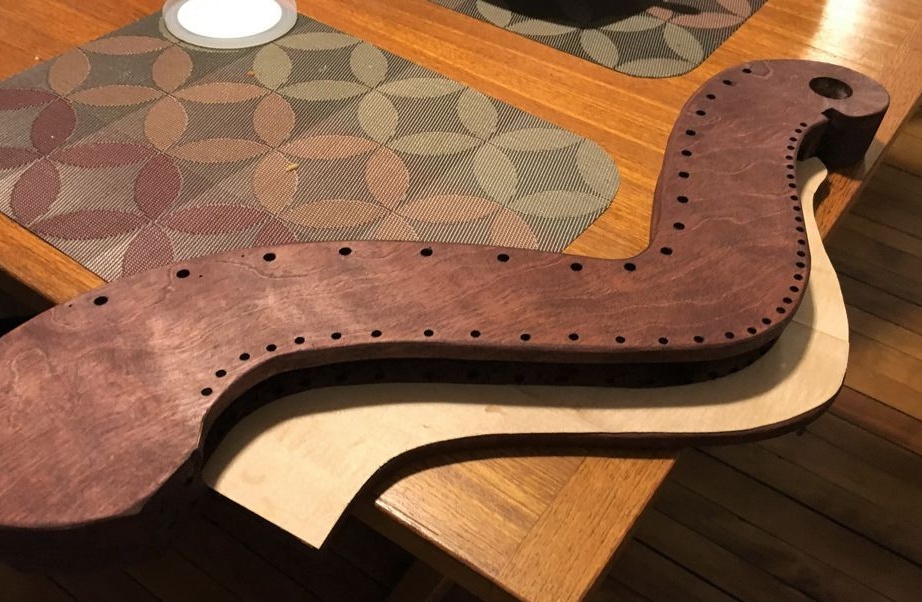
Step Nine: Sanding and Painting
Parses a harp.Grinds parts and covers with stain.

Step Ten: Final Assembly
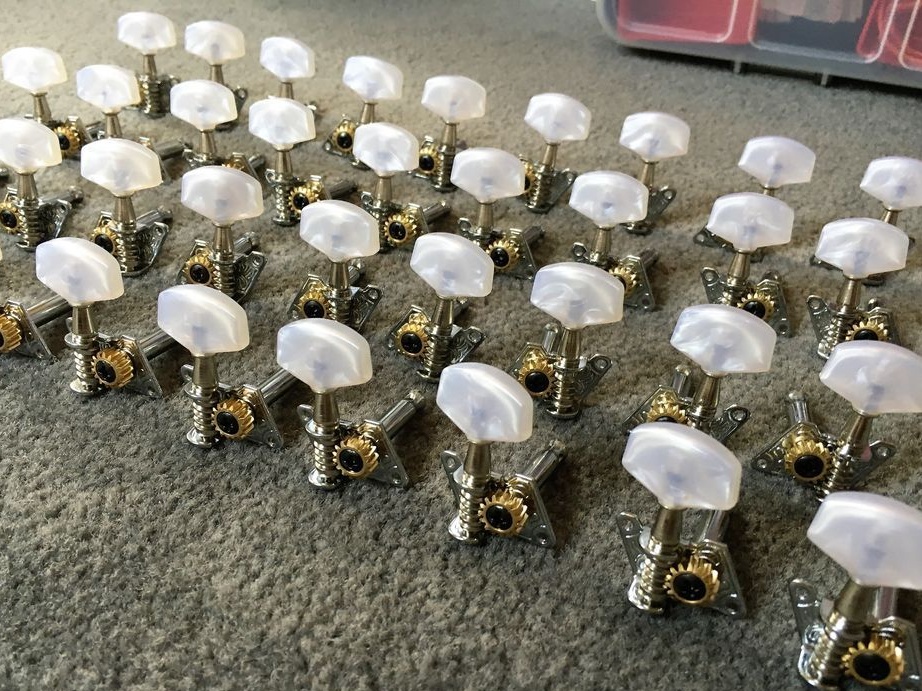
Collecting the harp again. For fixing uses wood glue. Screws on the choppers. Stretches the strings.
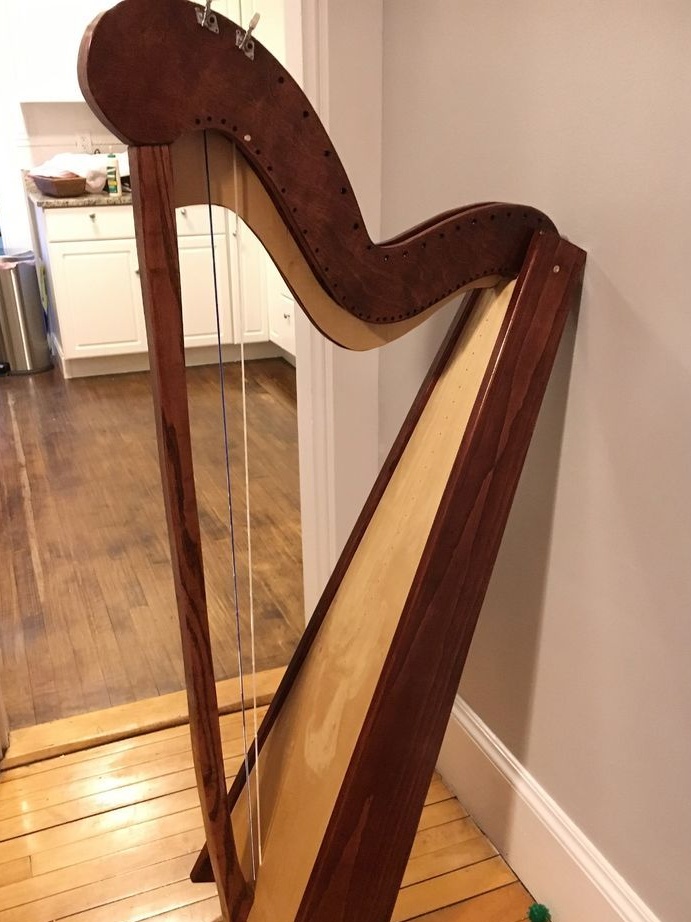
The harp is ready. It remains only to configure it.