
Good day to all. Today I want to tell how one guy collected do it yourself, a very necessary fixture to help the welder. And this adapt is called a coal clamp.
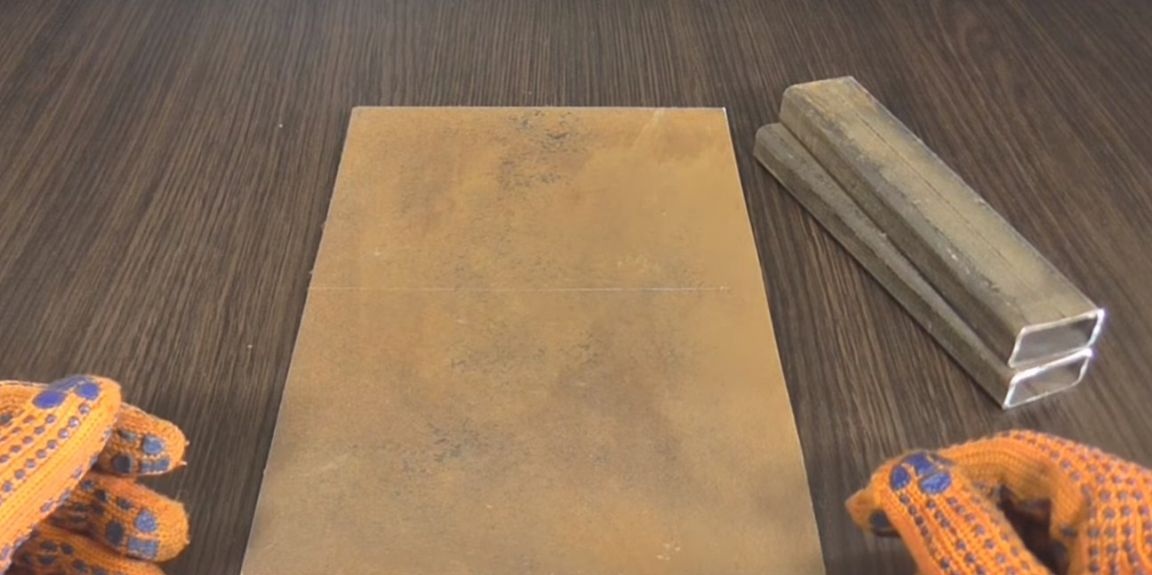
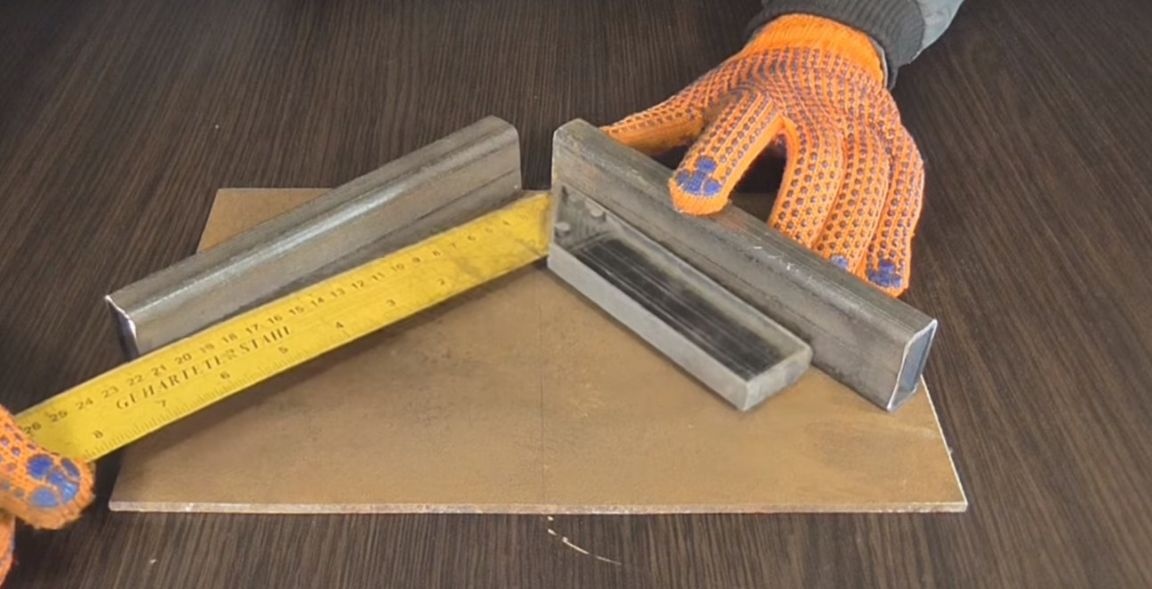
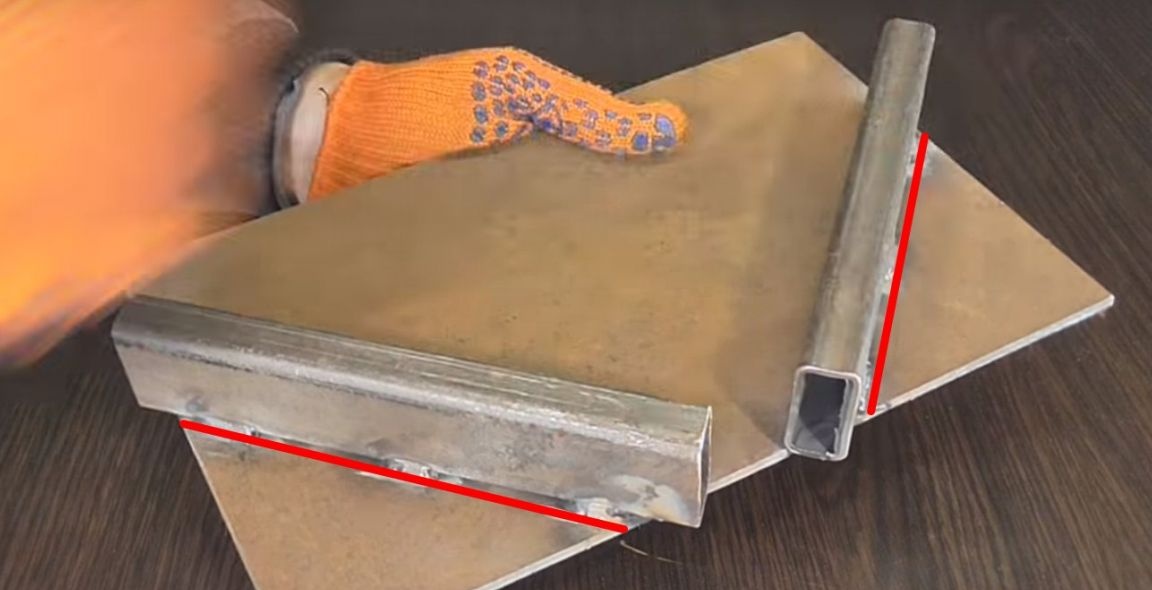
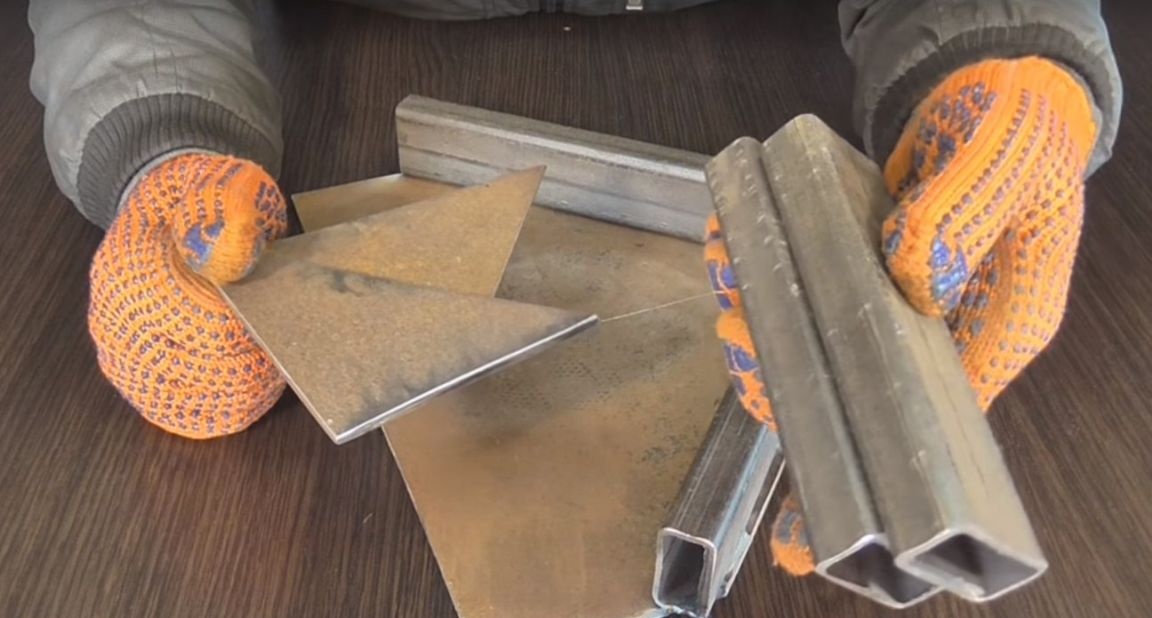
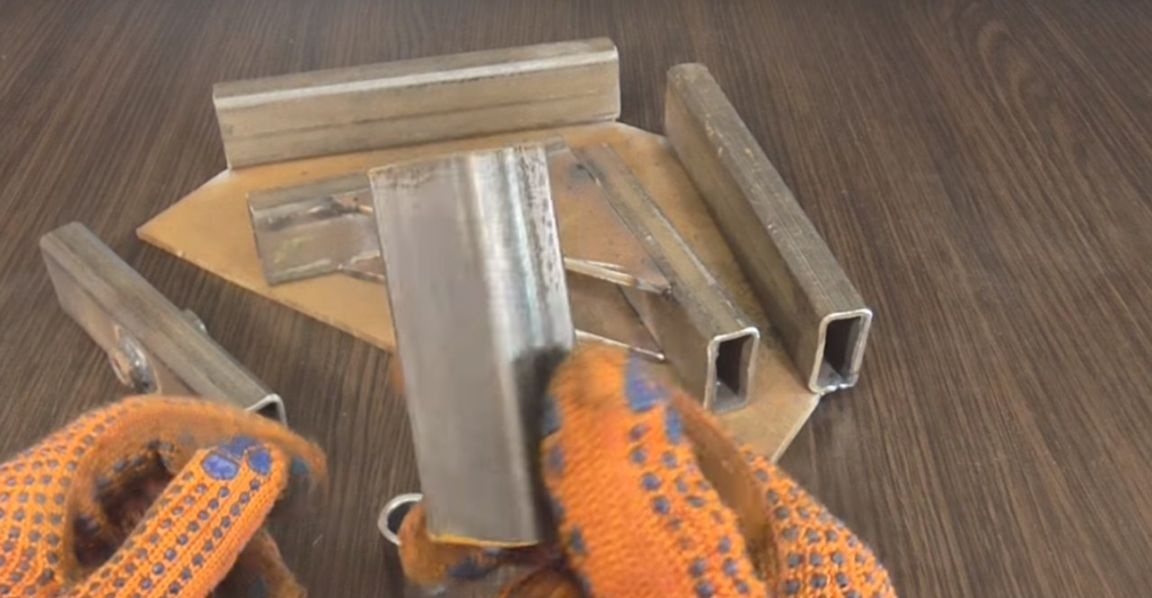
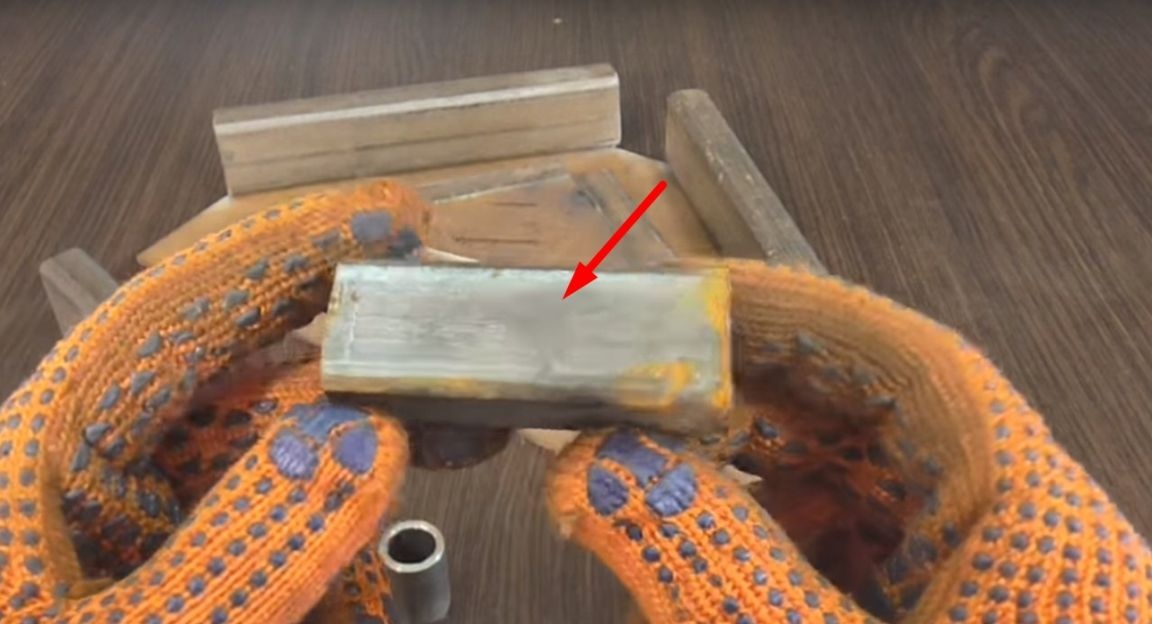
The clamp itself will consist of several parts that will be assembled at the end. And so, for the manufacture of the first part, the author took a piece of sheet metal with dimensions of 4 mm., 200 mm., 310 mm. And two pieces of a profile pipe 20 by 40 and a length of 200 mm.
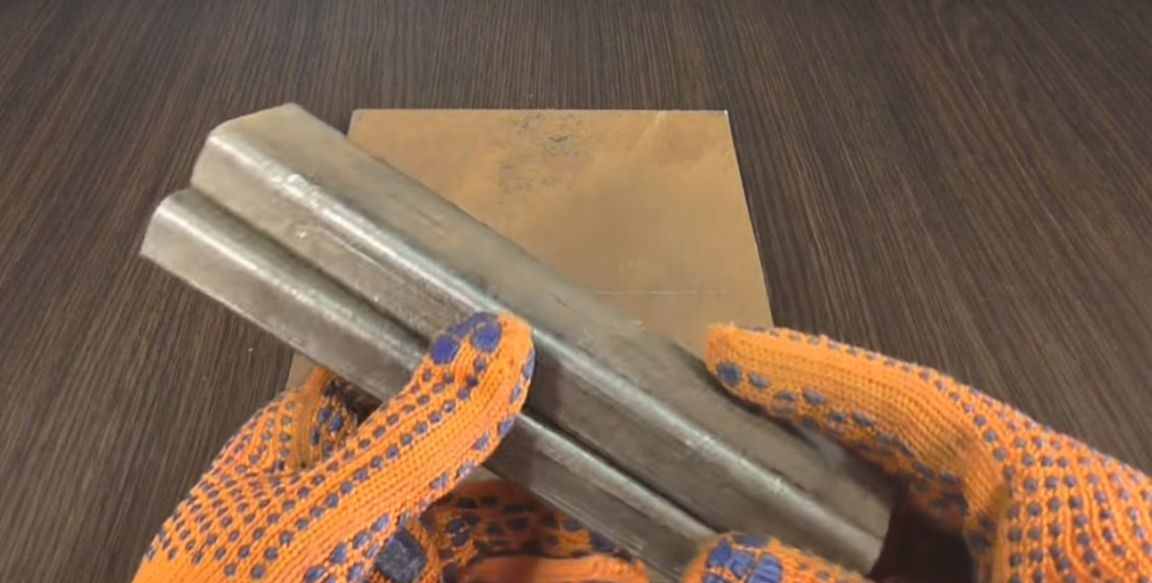
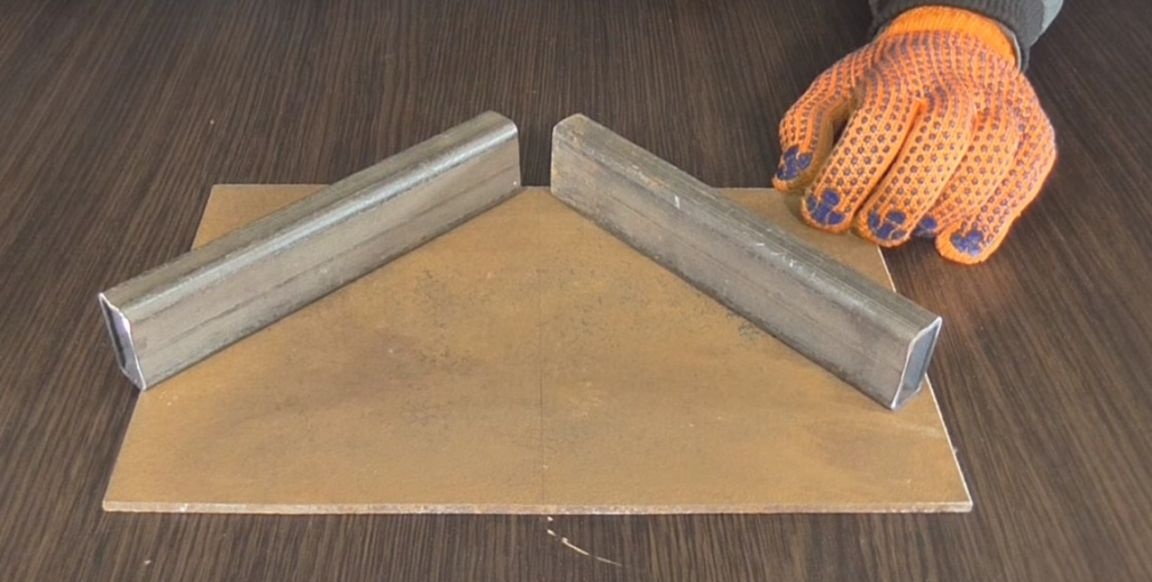
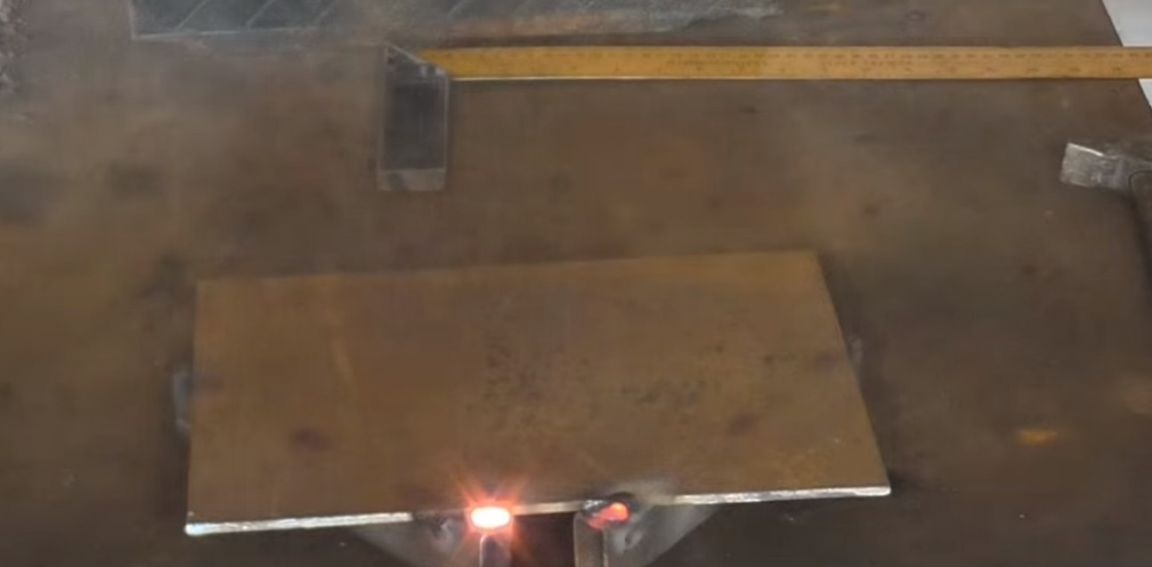
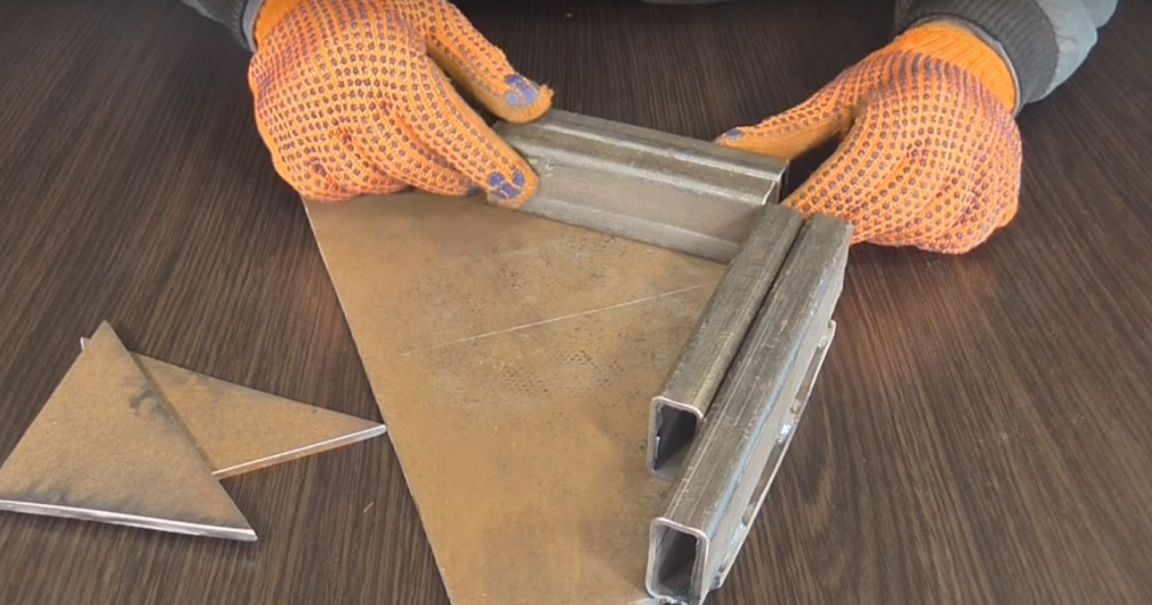
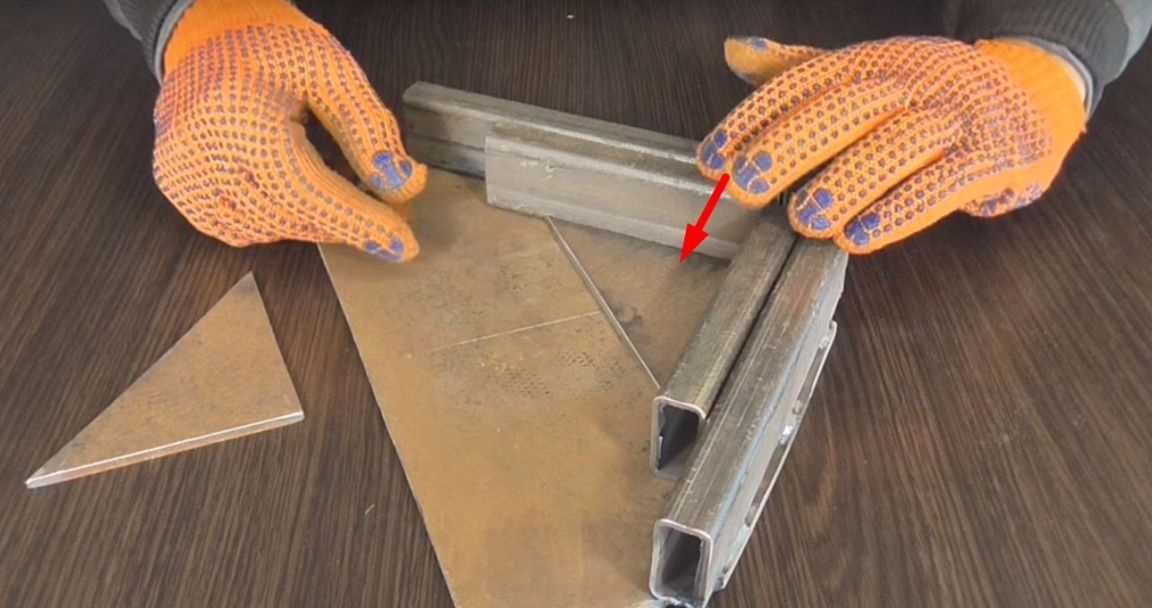
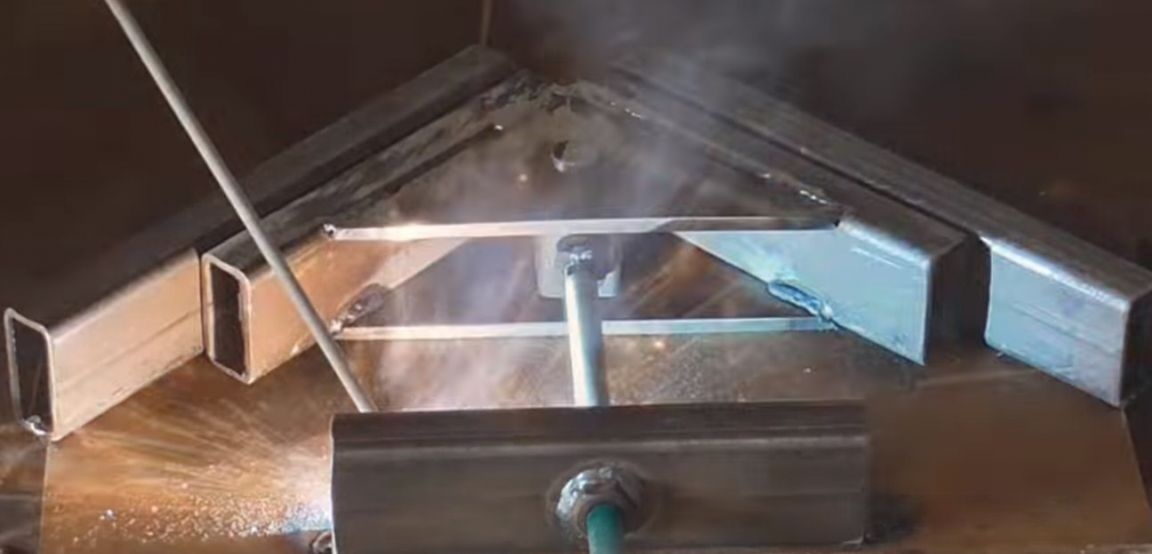
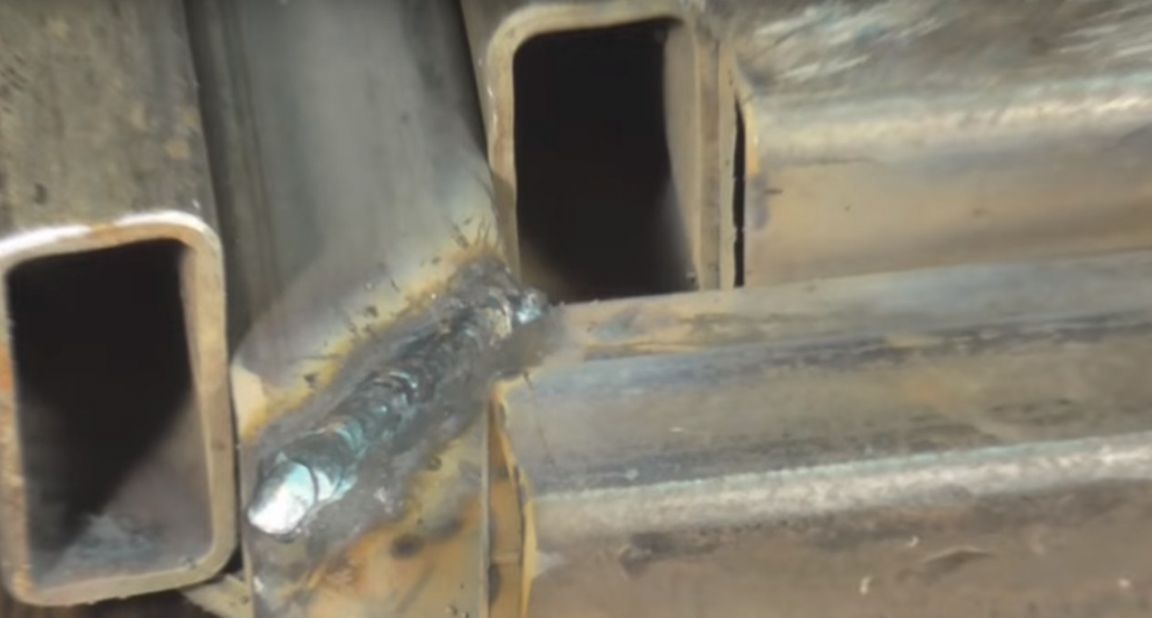
Putting the pipe on a sheet at an angle of 90 degrees, the author welded the pipe from the outside.
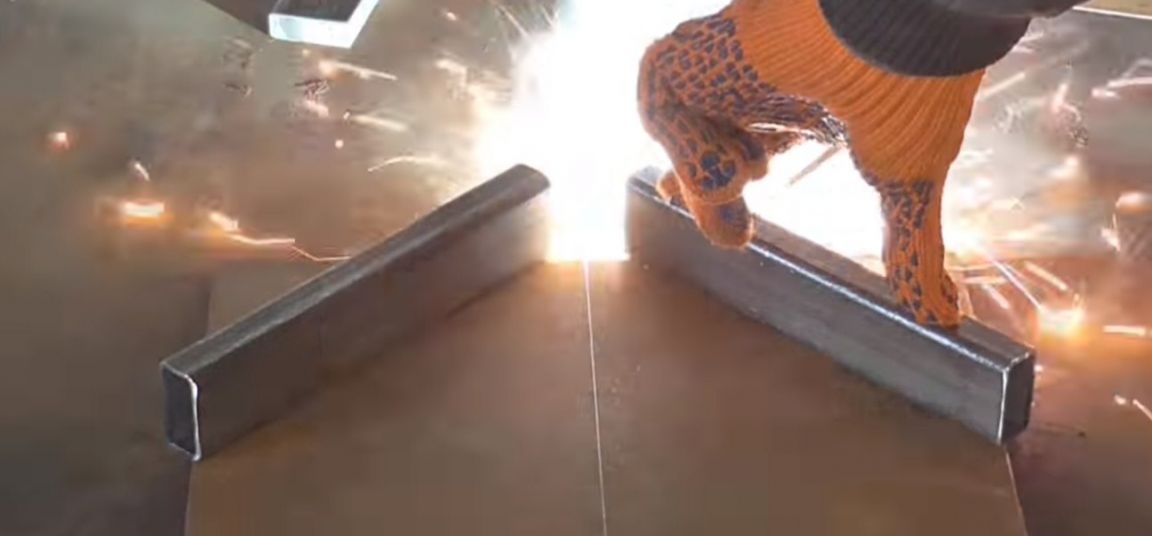
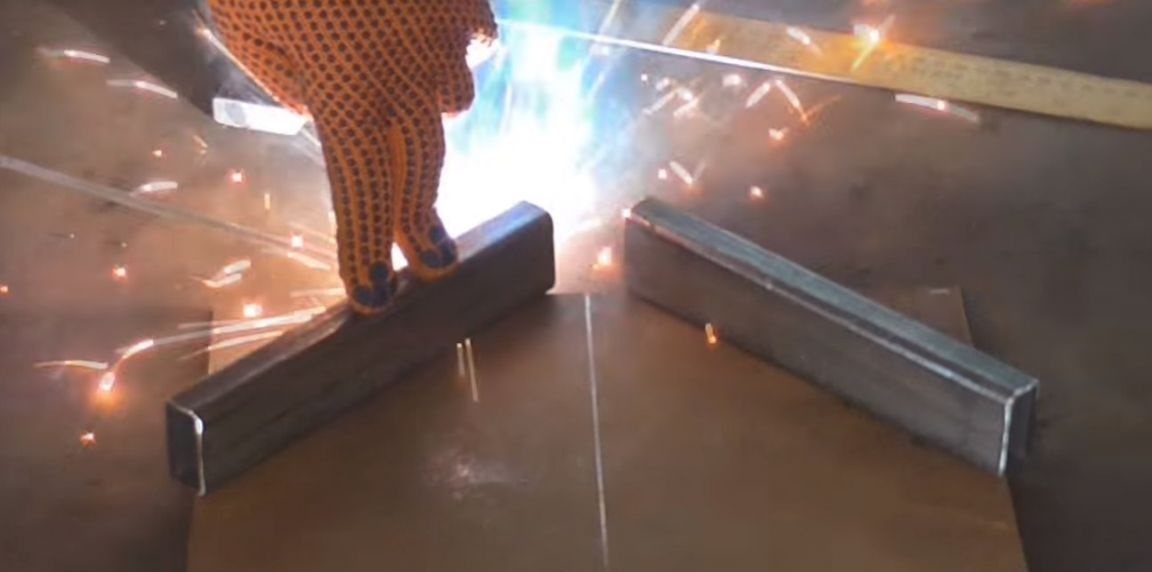
Turning the part over boiled in all available places.
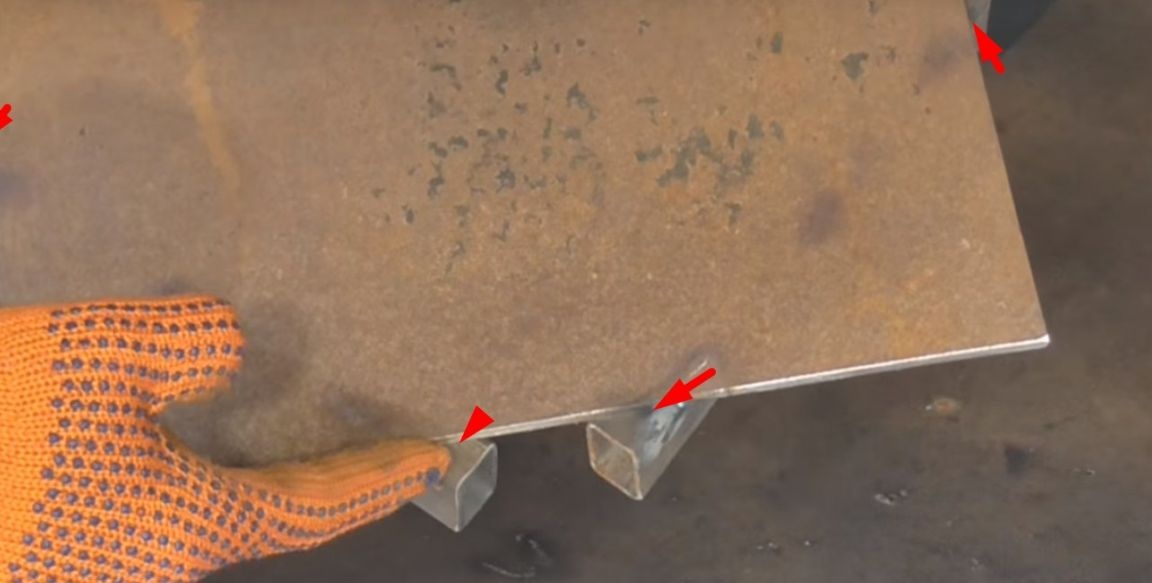
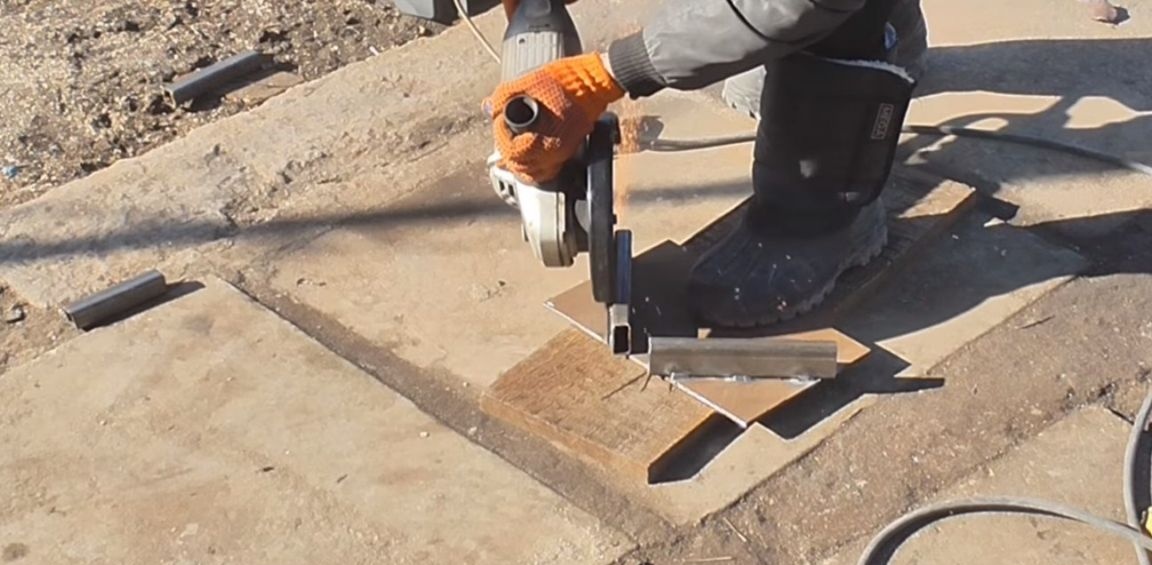
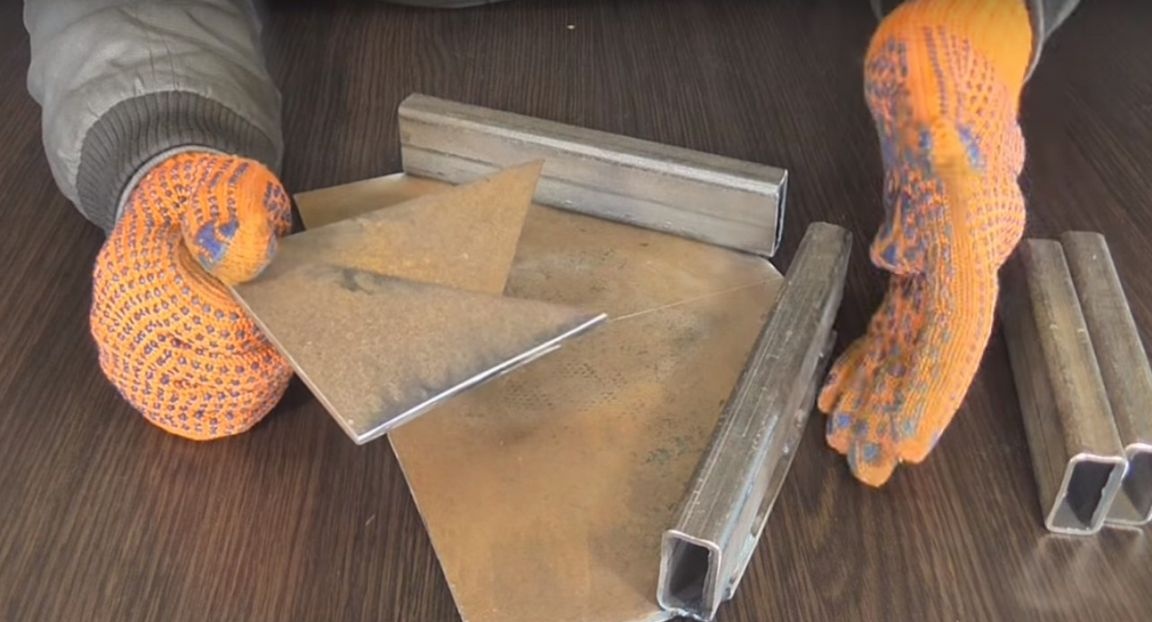
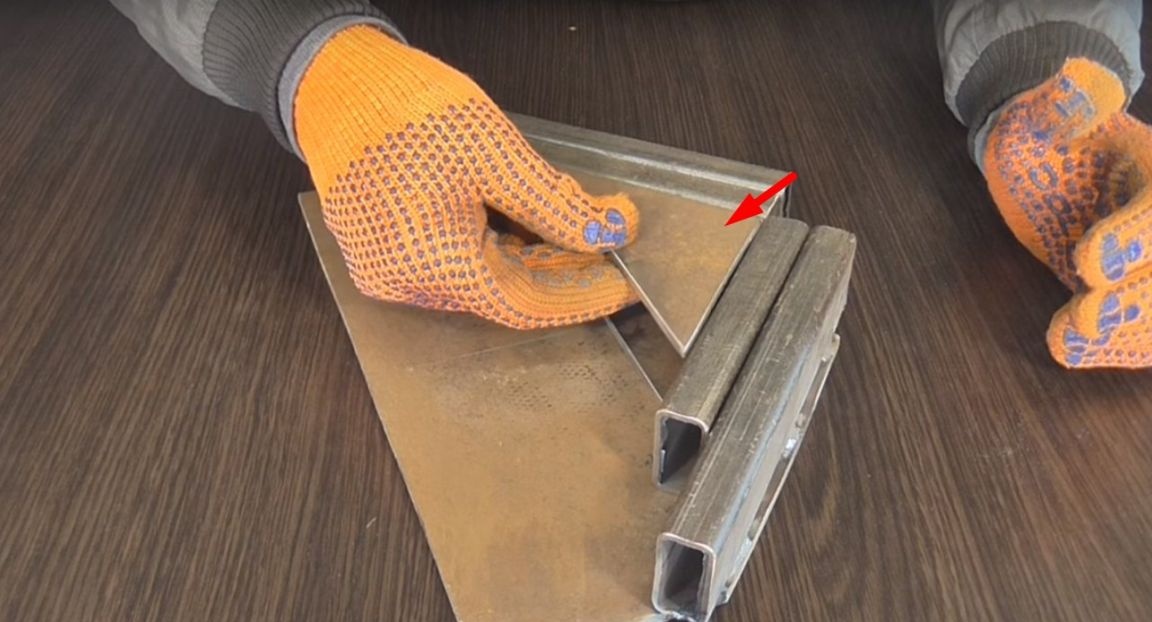
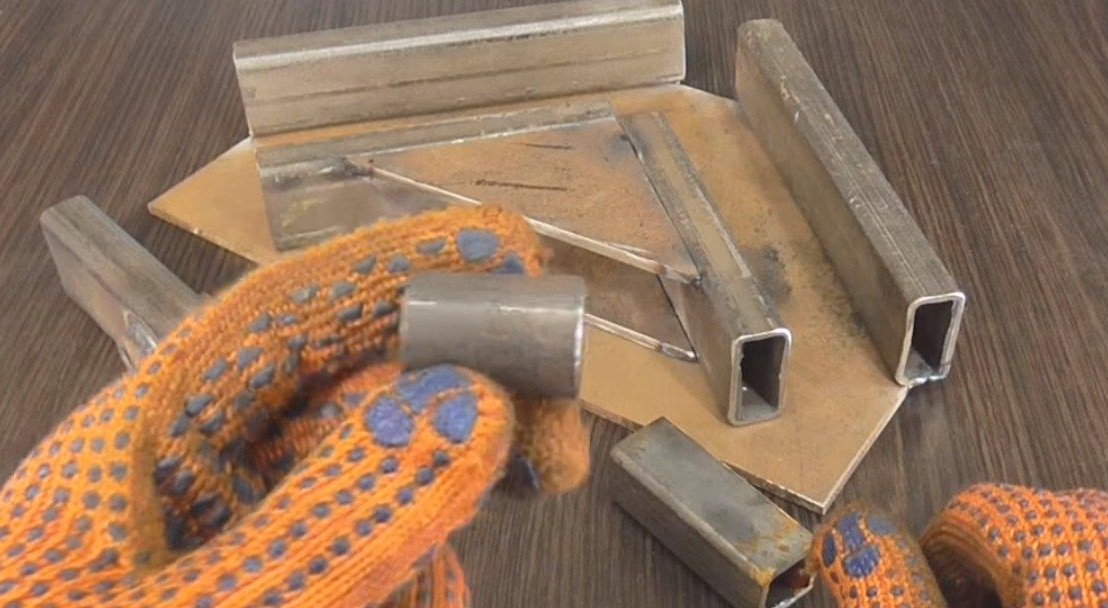
After welding, he cuts off the corners, they are superfluous on this part, and they will be just right for the manufacture of the second part.
Then he will take these cut corners and a pair of pieces of a profile pipe 20 by 40 length 140 mm and will produce the second part.
Having laid the pieces of the pipe inside the first part in this way, he will take the corners and put them in the middle to weld to the pipe, one from below and the second from above.
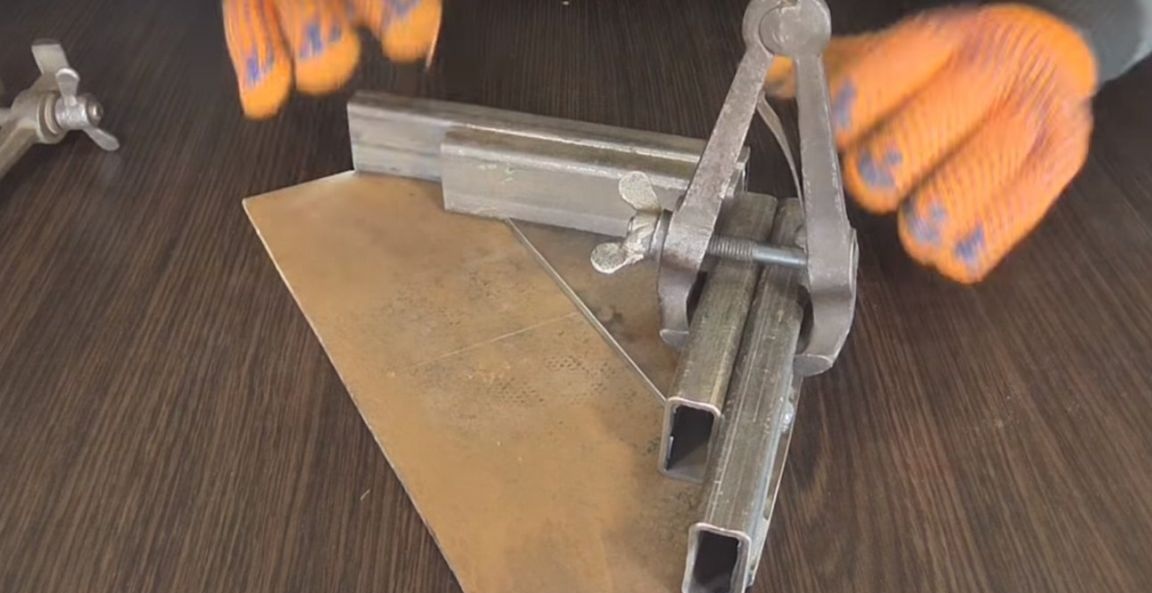
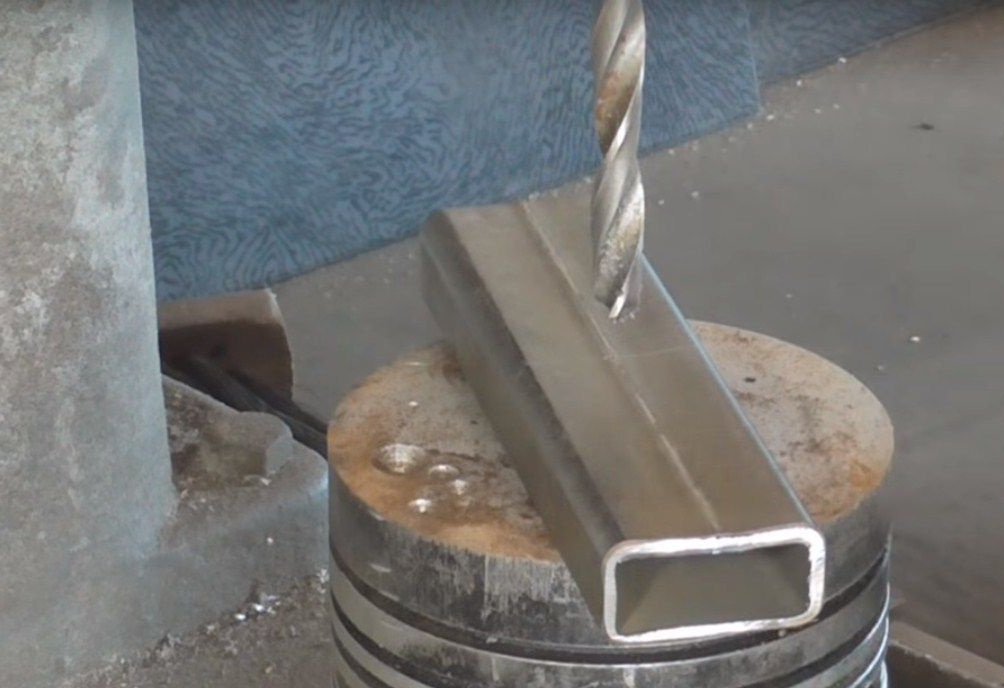
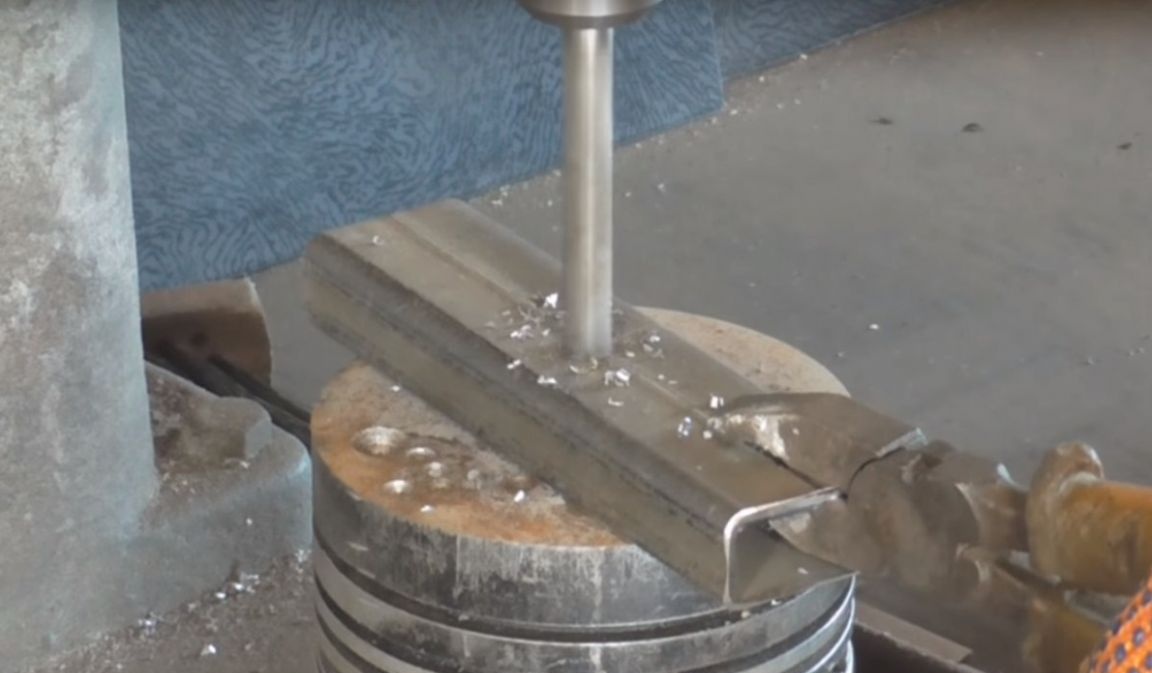
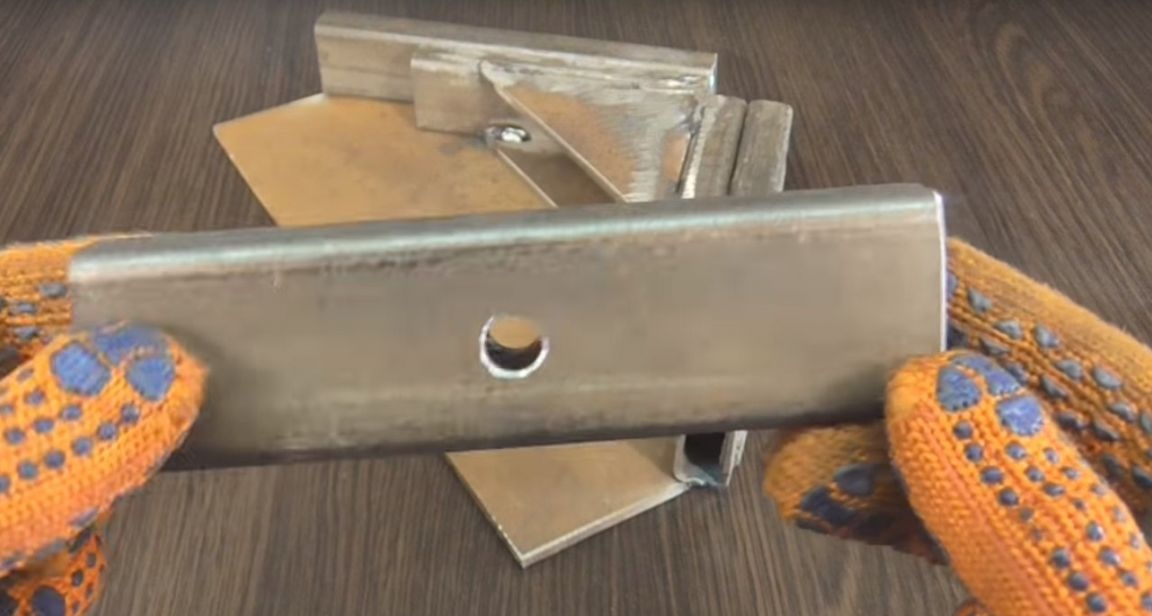
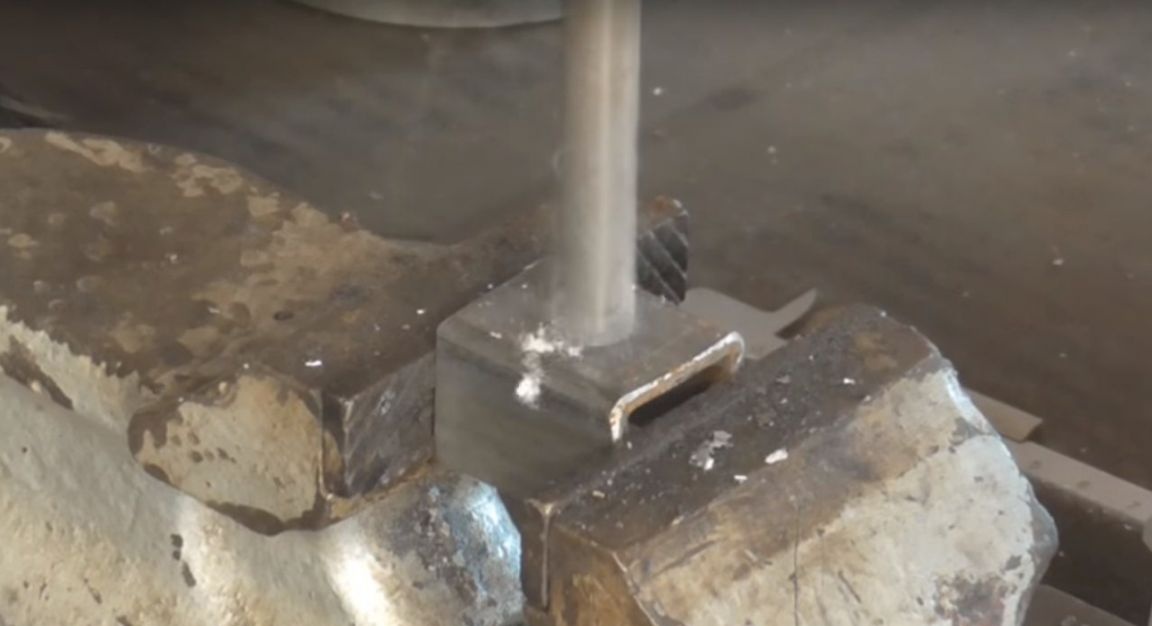
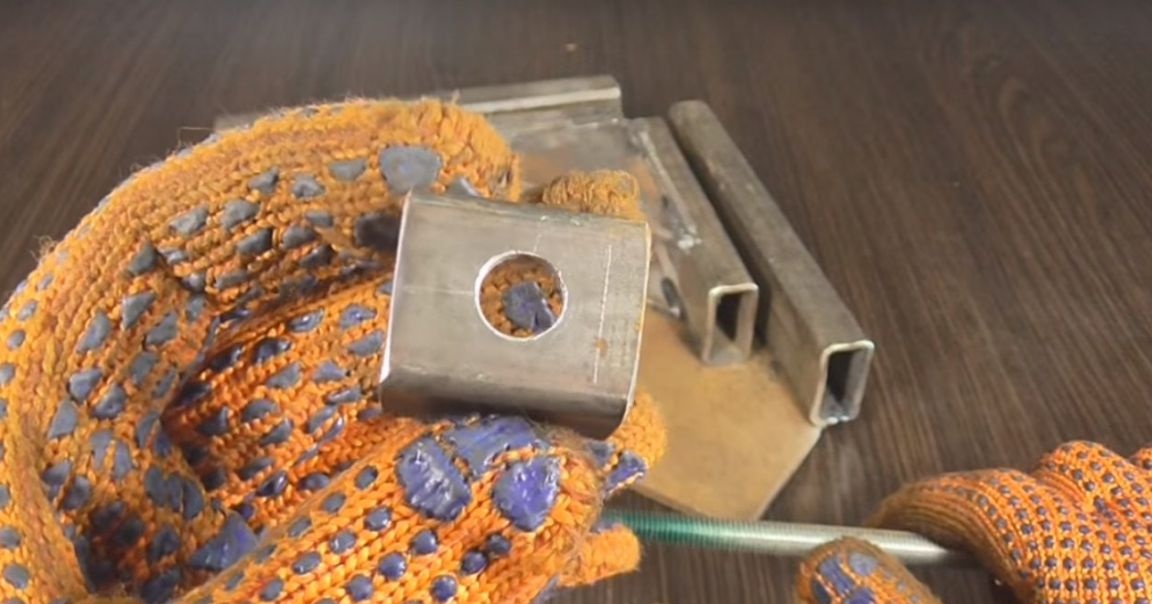
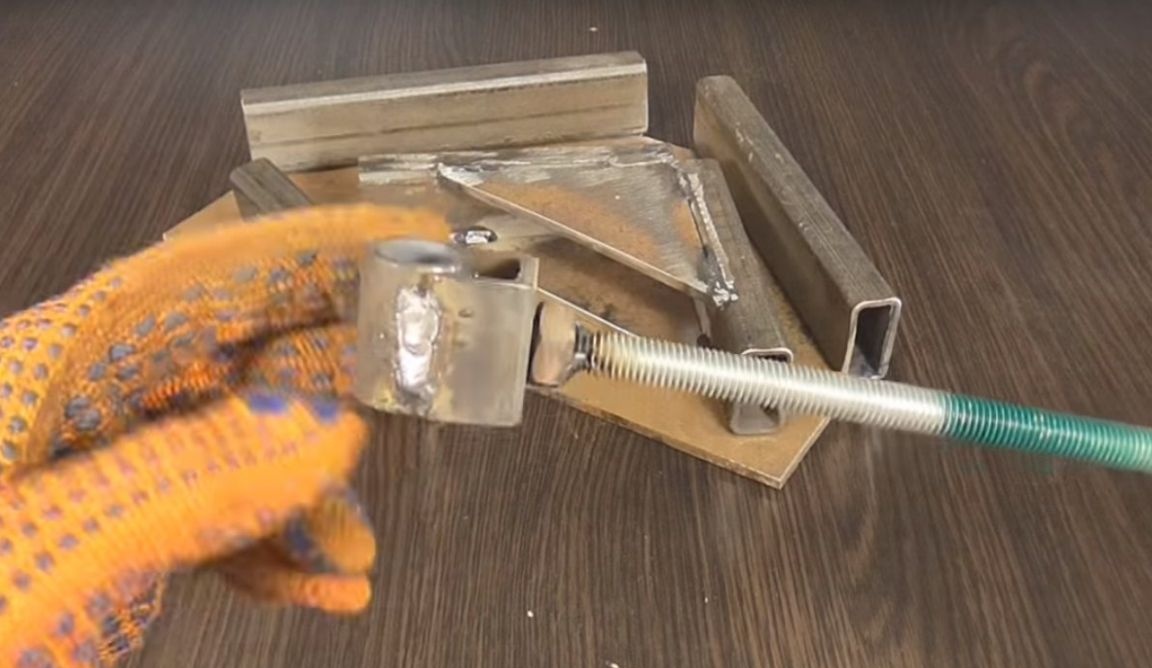
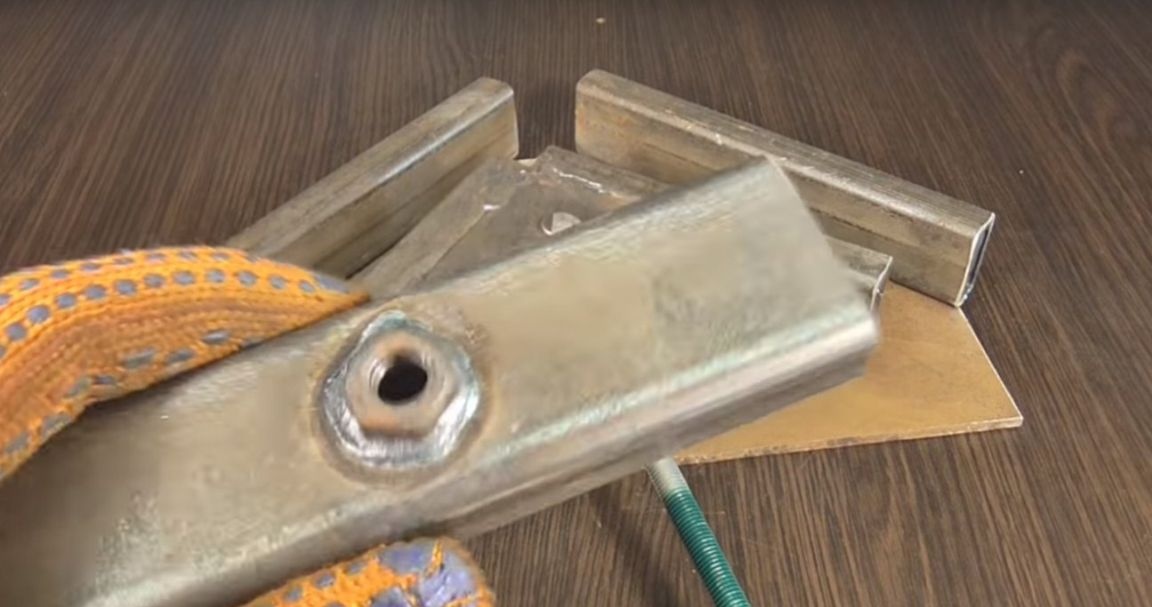
Next, the author began to manufacture the third part. To do this, he took another piece of the profile pipe 20 by 40 with a length of 150 mm and marking the middle on it, made a through hole with a diameter of 10 mm.
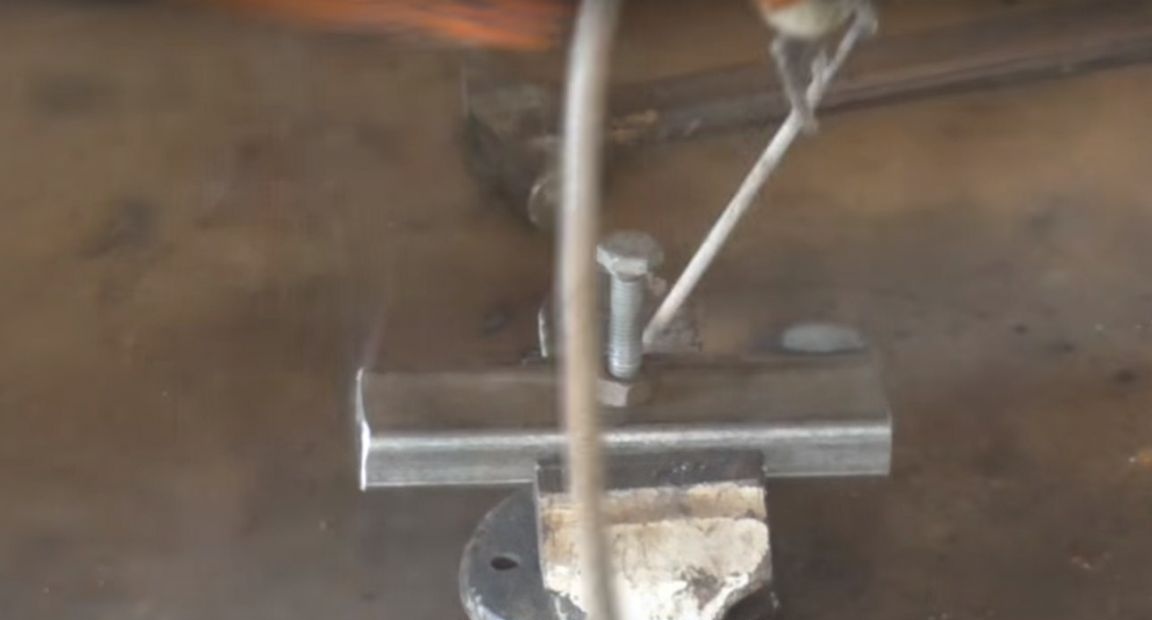
Then he took a bolt and two nuts the author screwed one of the nuts onto the bolt, then put the pipe on the bolt and tightly pressed the second nut.
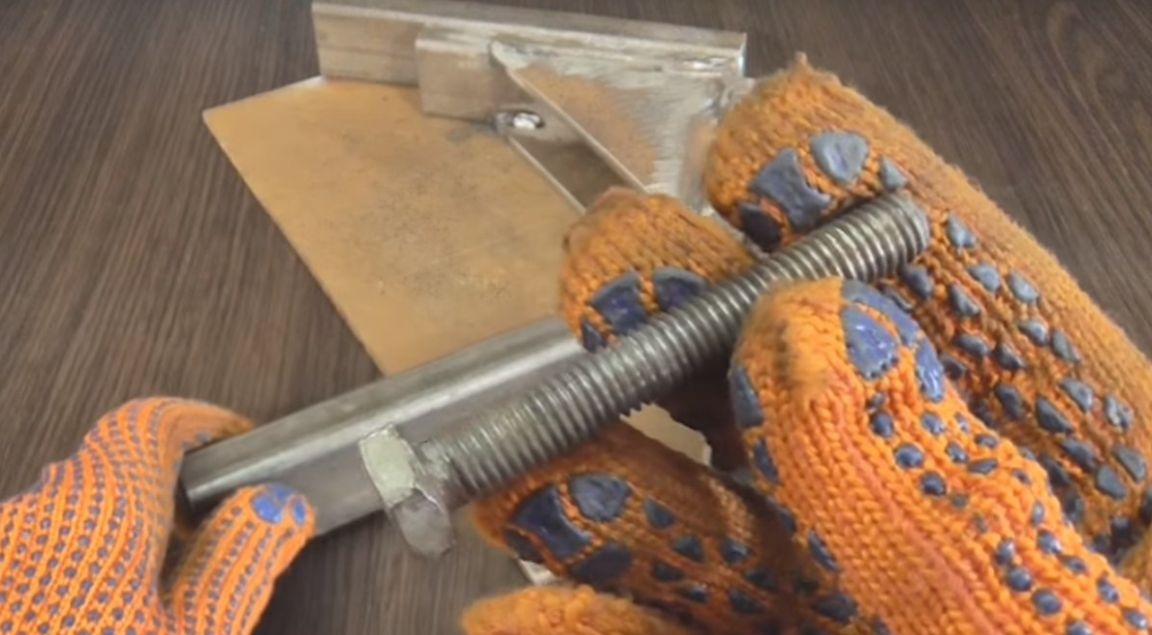
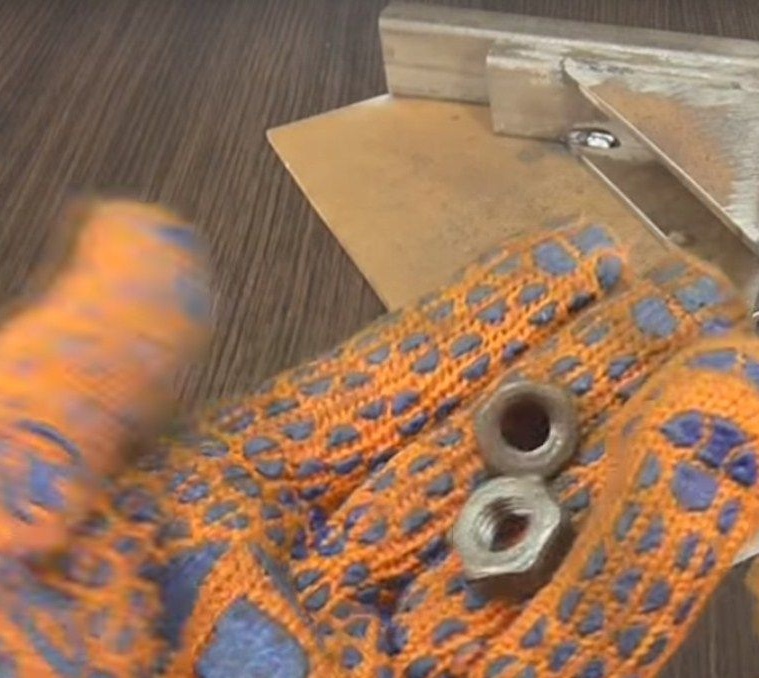
Welded nuts to the pipe in this position.
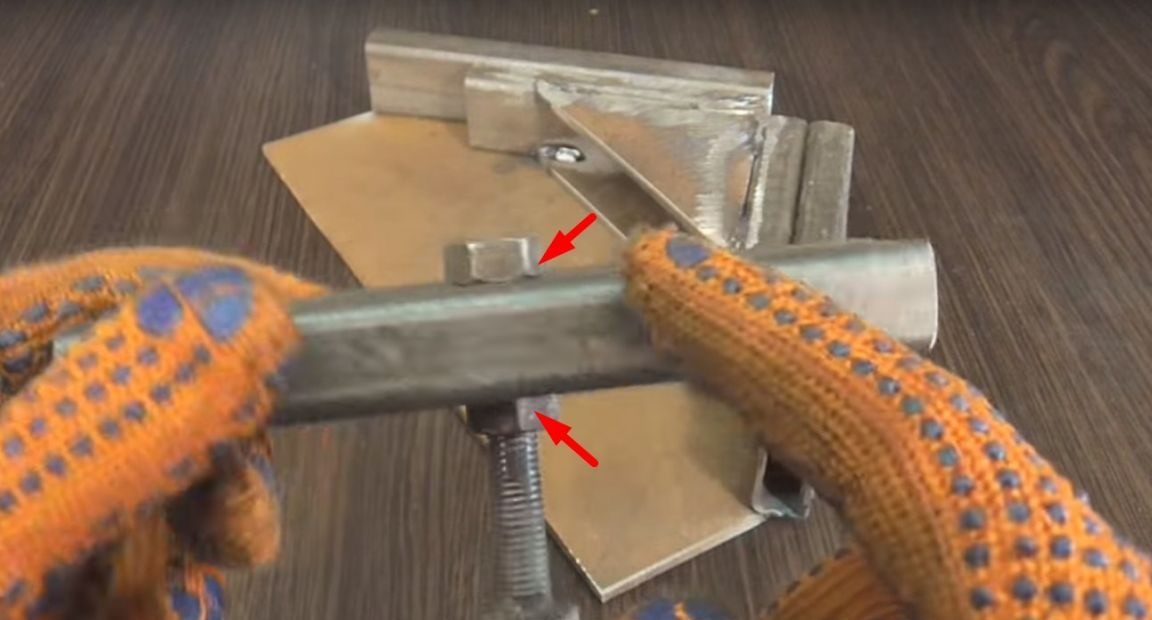
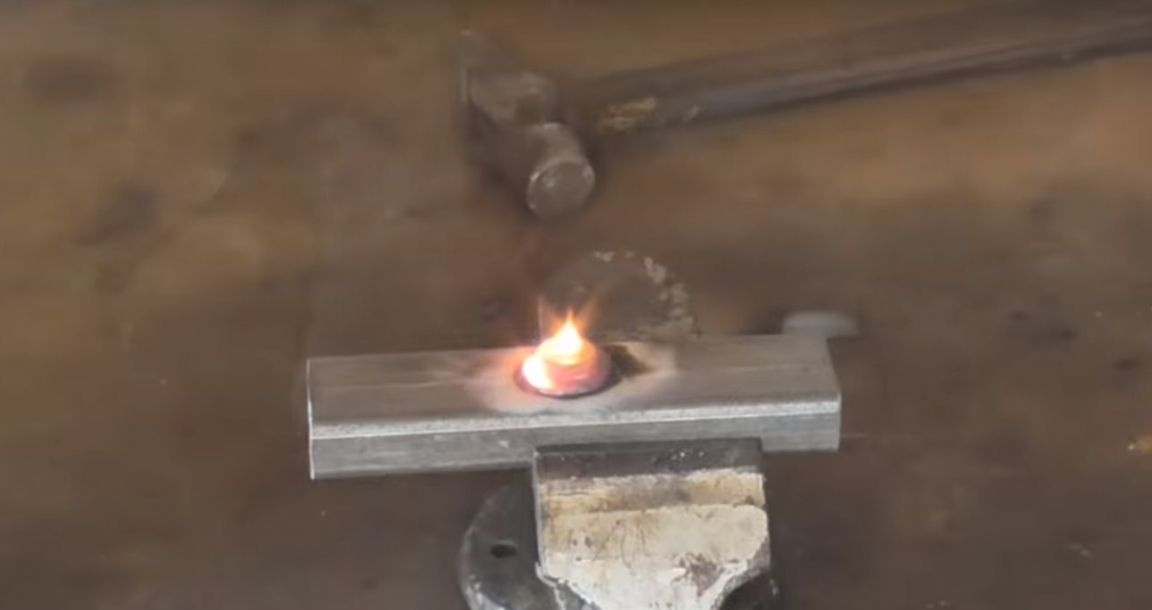
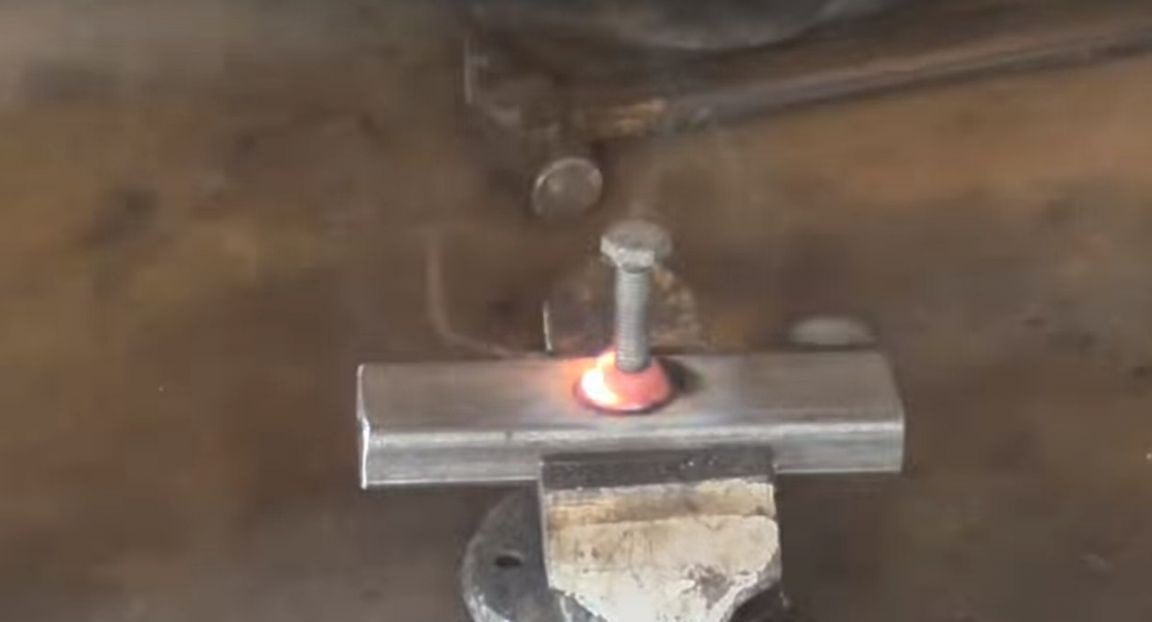
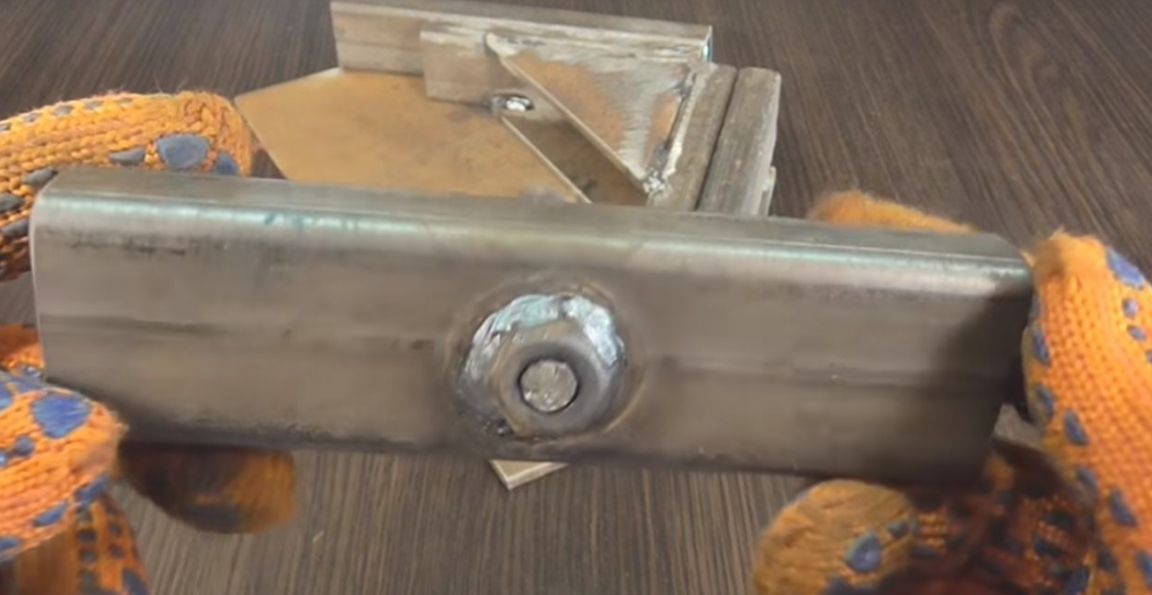
After welding, the bolt should loosen freely.
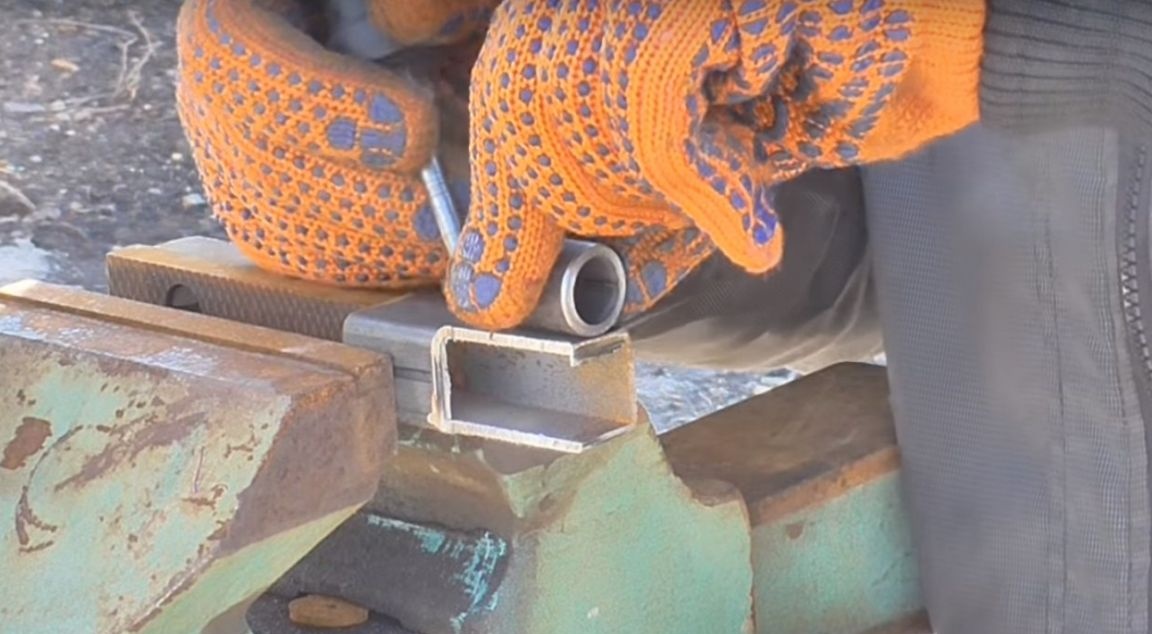
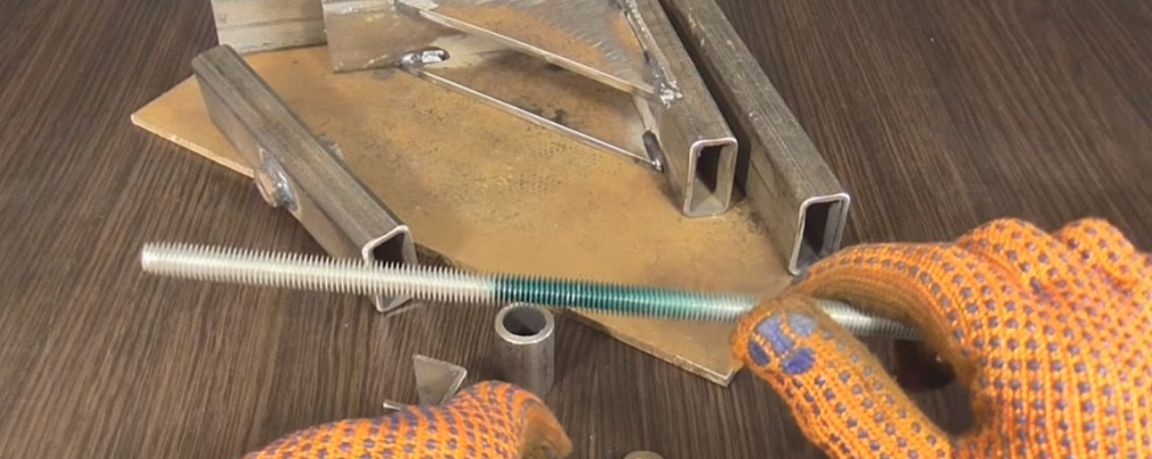
Then the author prepared a piece of a half-inch pipe so long that it went between the corners, the second part with a slight backlash.

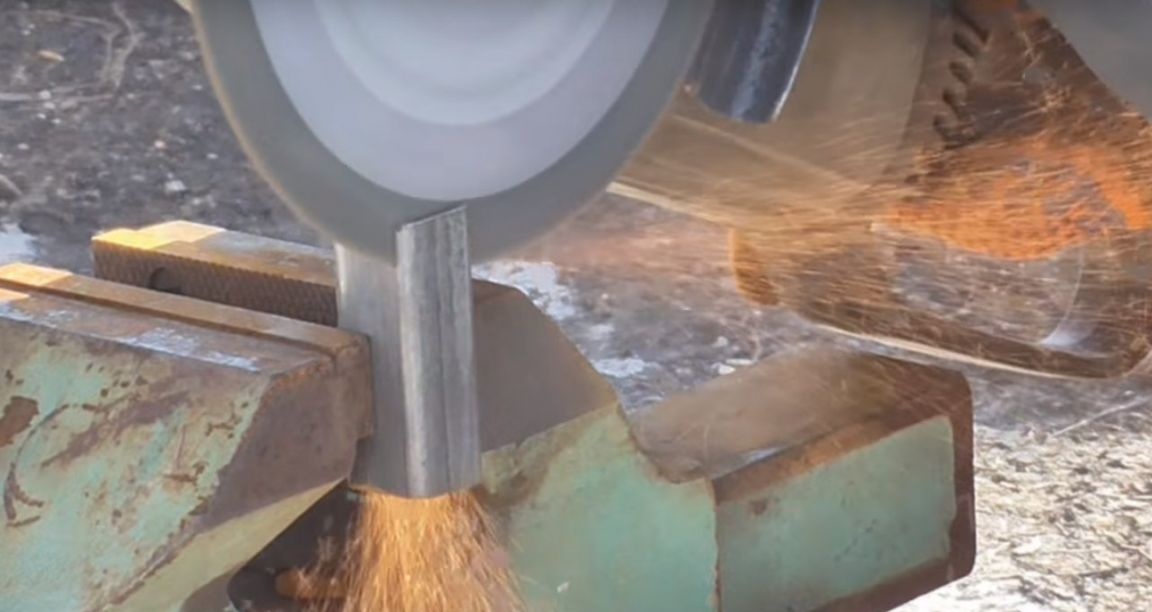
And he also took a piece of the profile pipe 25 by 25, cutting off one wall from it, cut it off as long as a piece of a half-inch pipe.
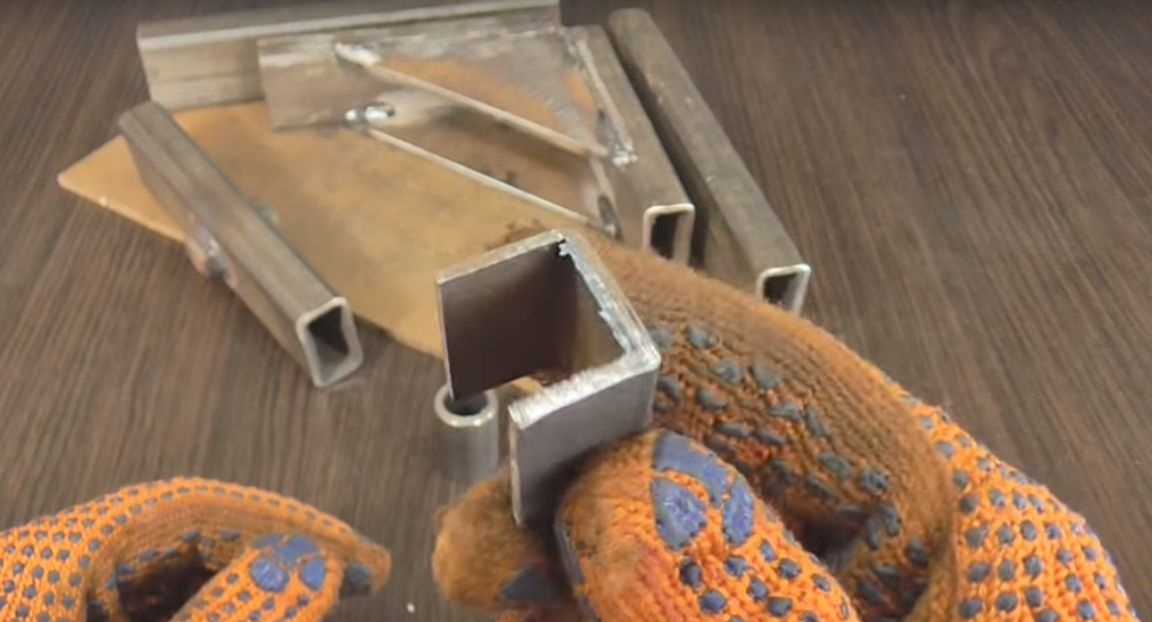
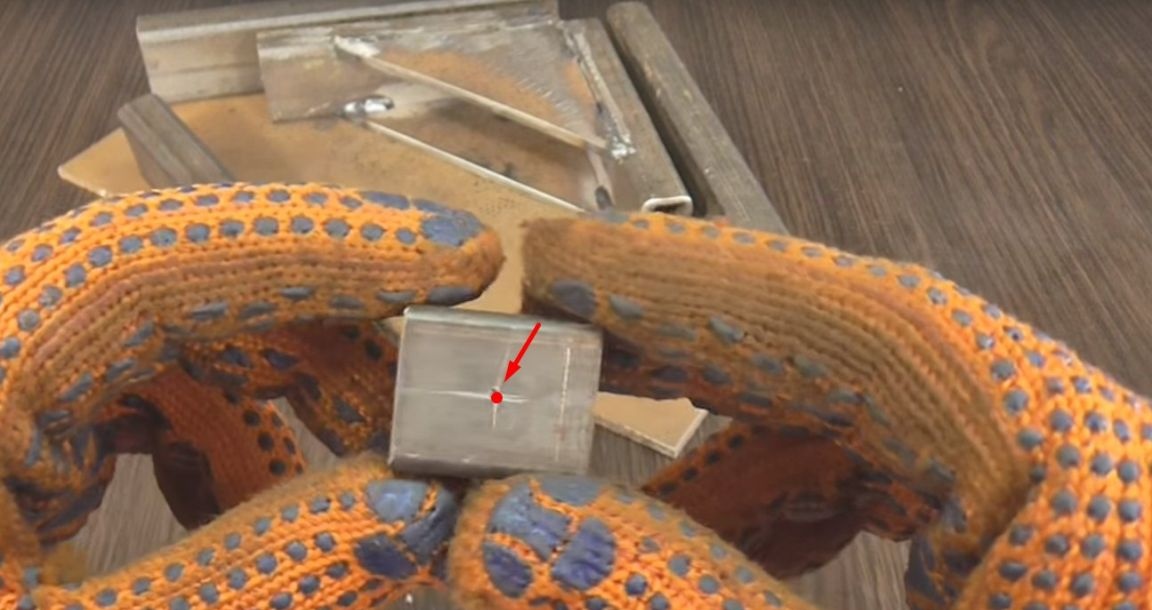
In the center of this blank, the author made a hole of 10 mm.
Then he took the M 10 pin, screwed a nut on it, put on the previously prepared U-shaped workpiece and screwed the second nut with a small clearance so that the workpiece could rotate on the hairpin.
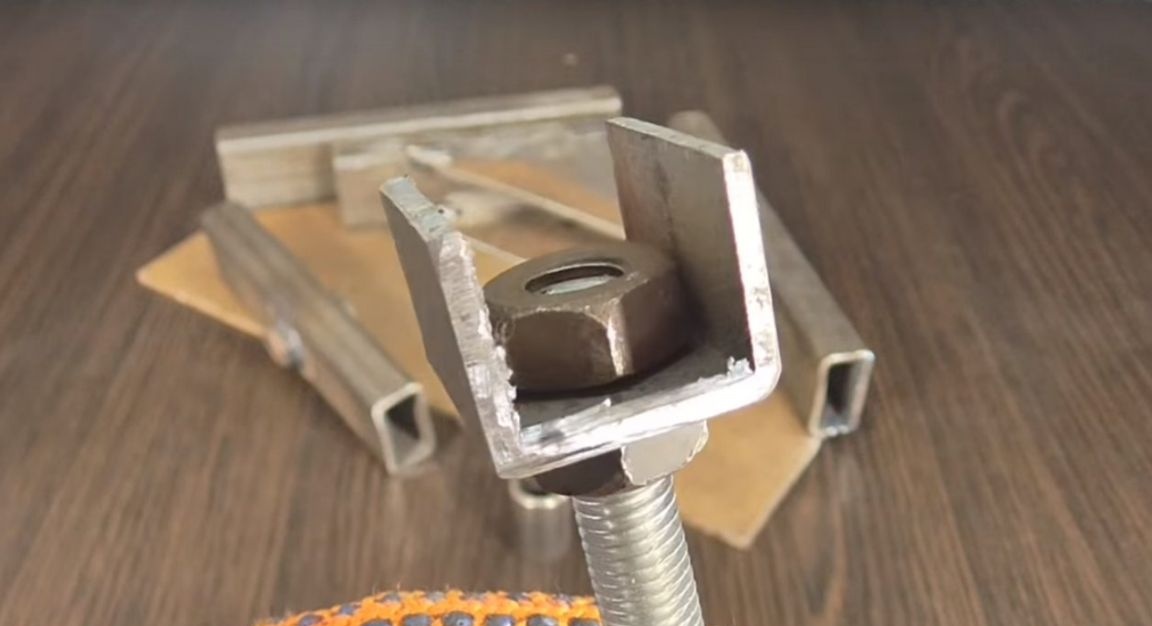
And welded the nuts to the stud.
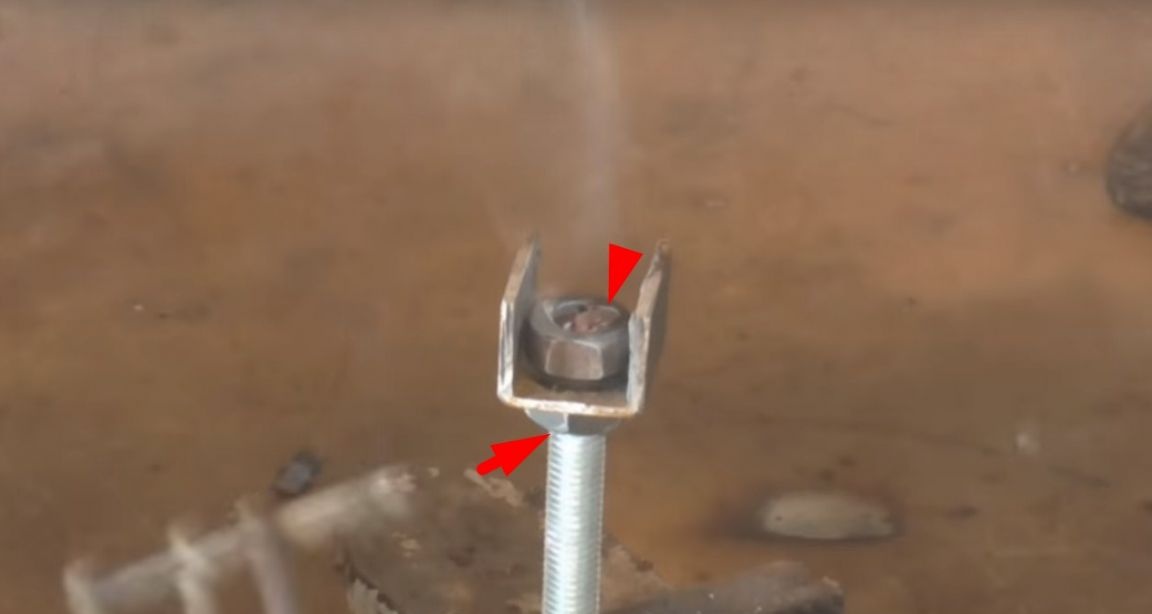
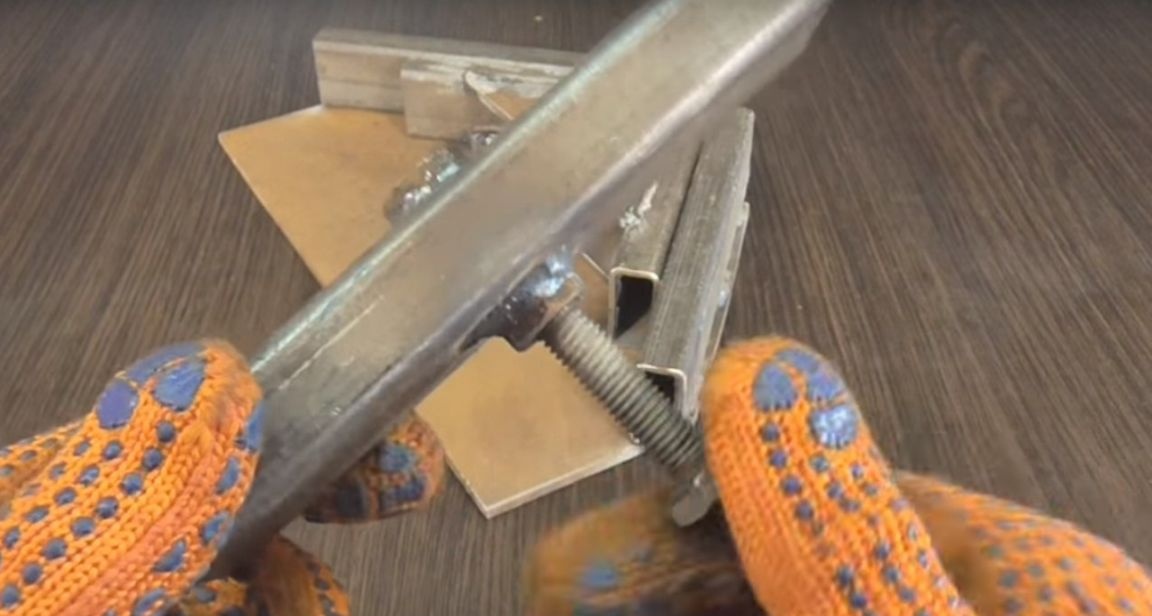
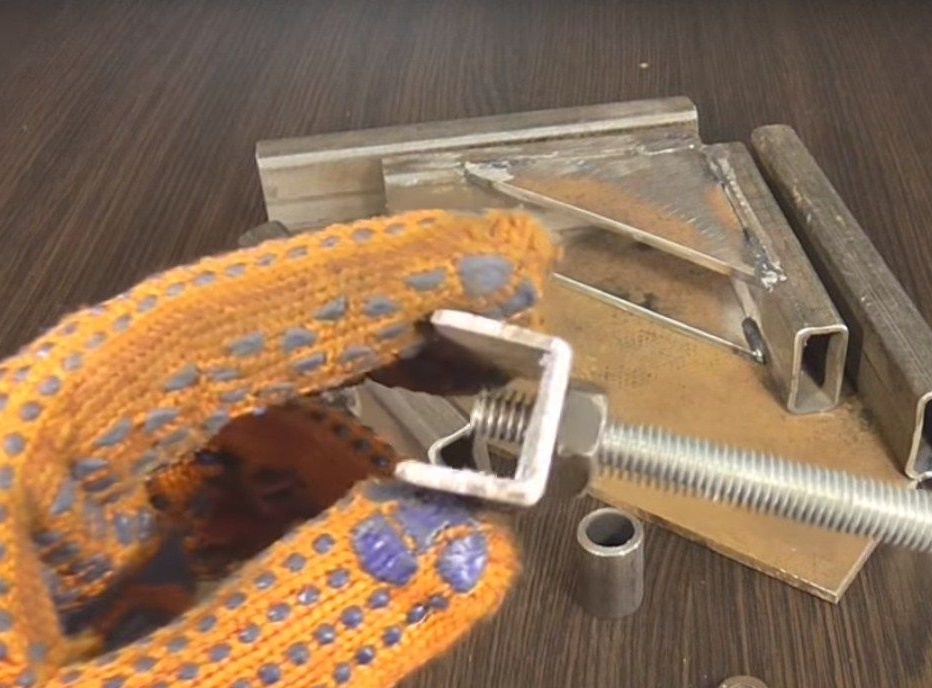
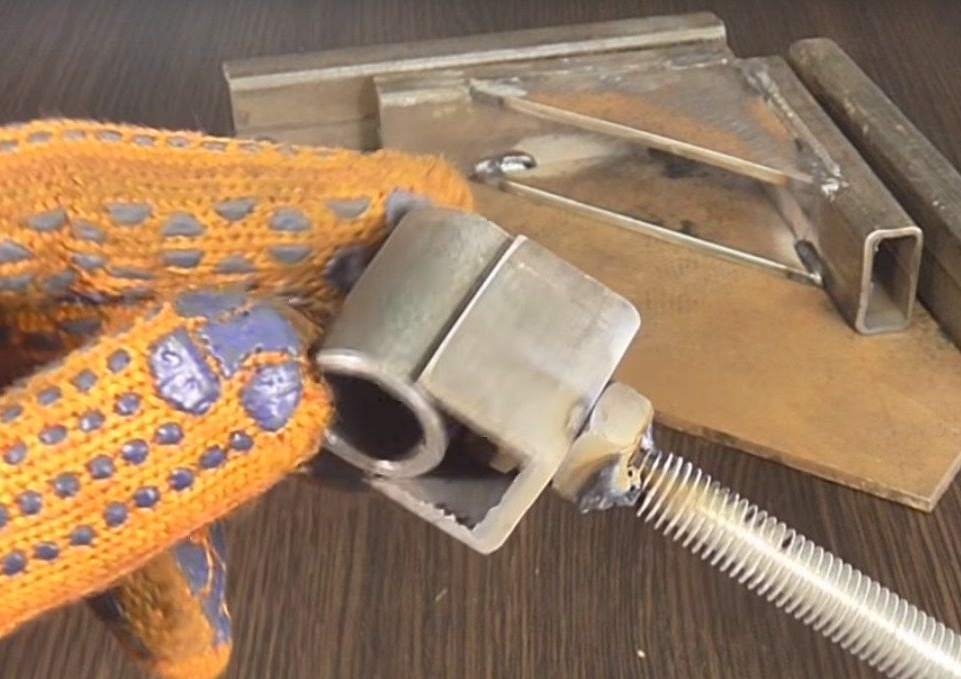
Then the author will weld a half-inch piece of pipe to the U-shaped blank, as shown in the photo below.
Then he will make holes in the corners of the second part.

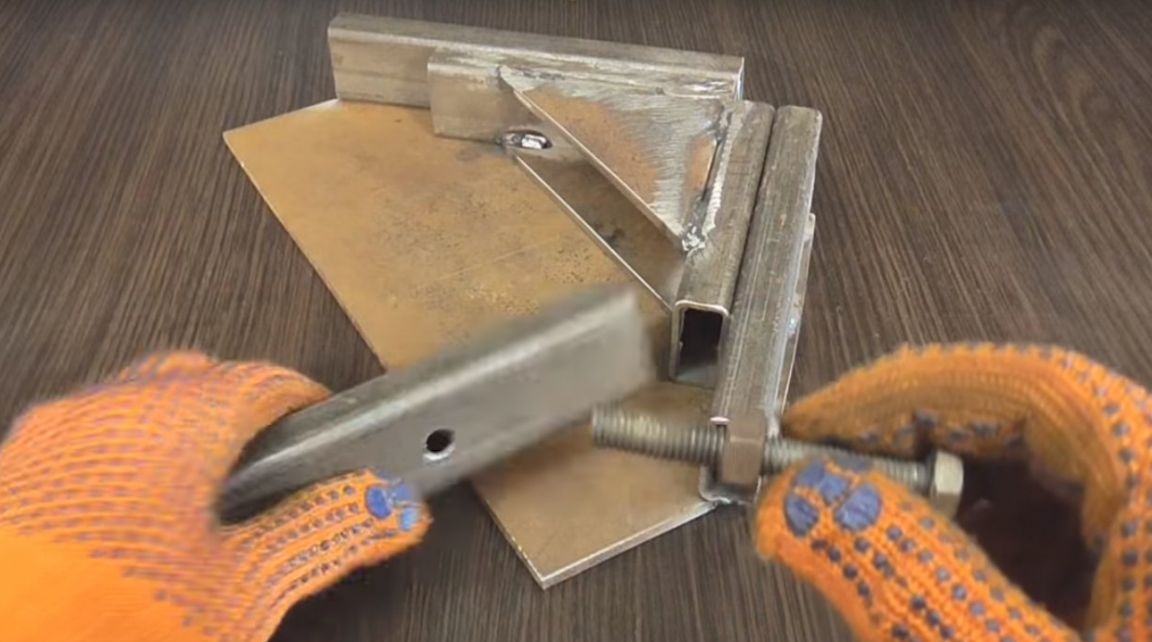
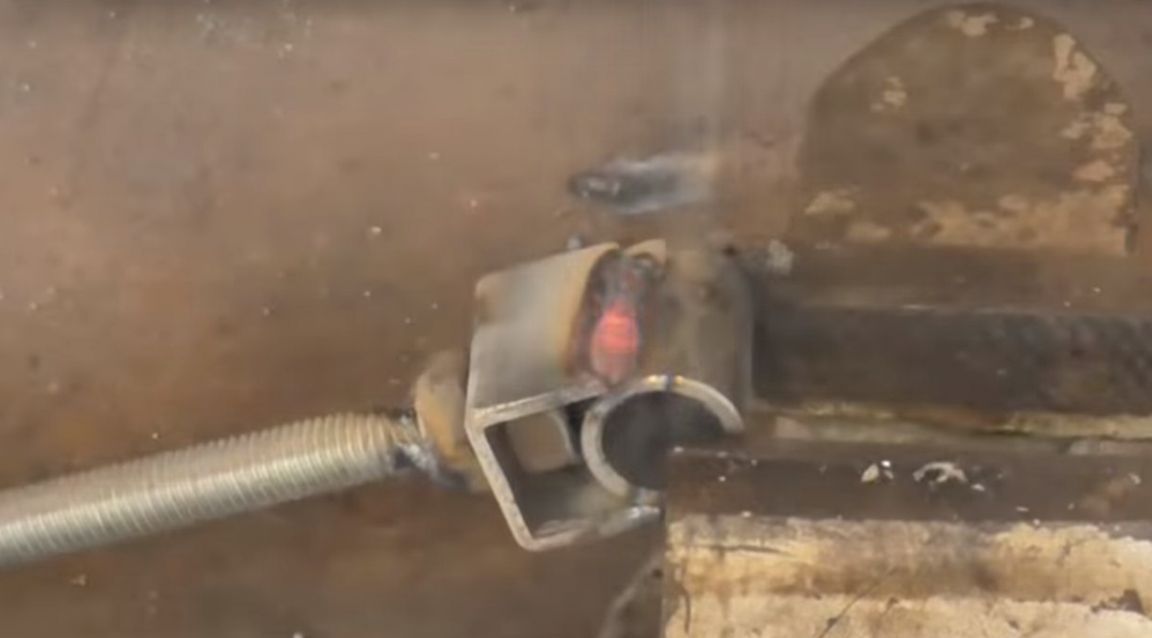
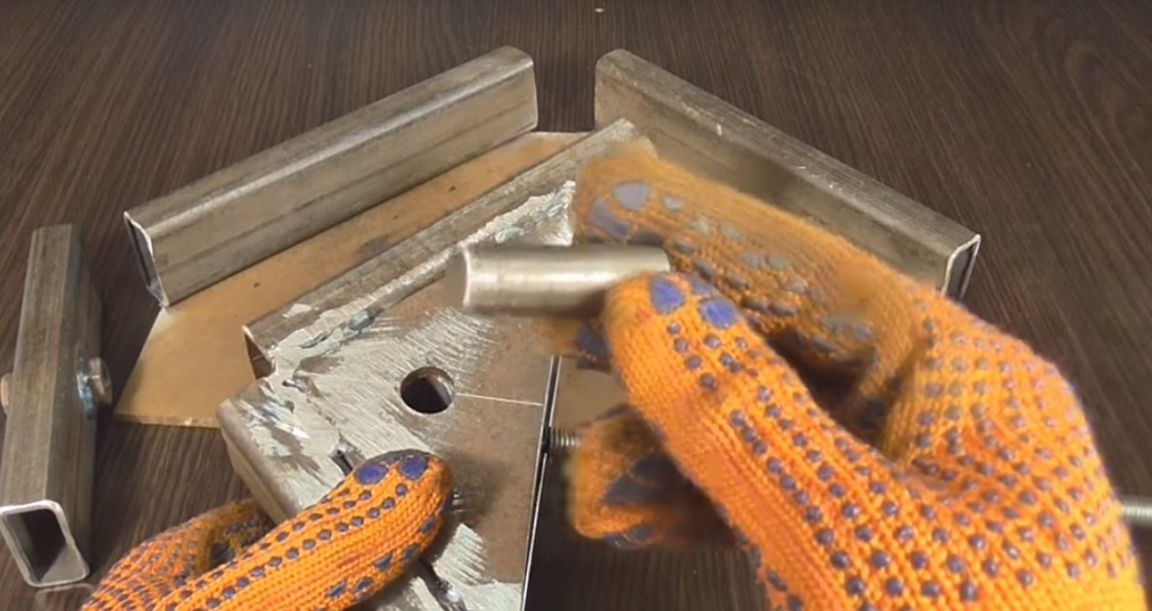
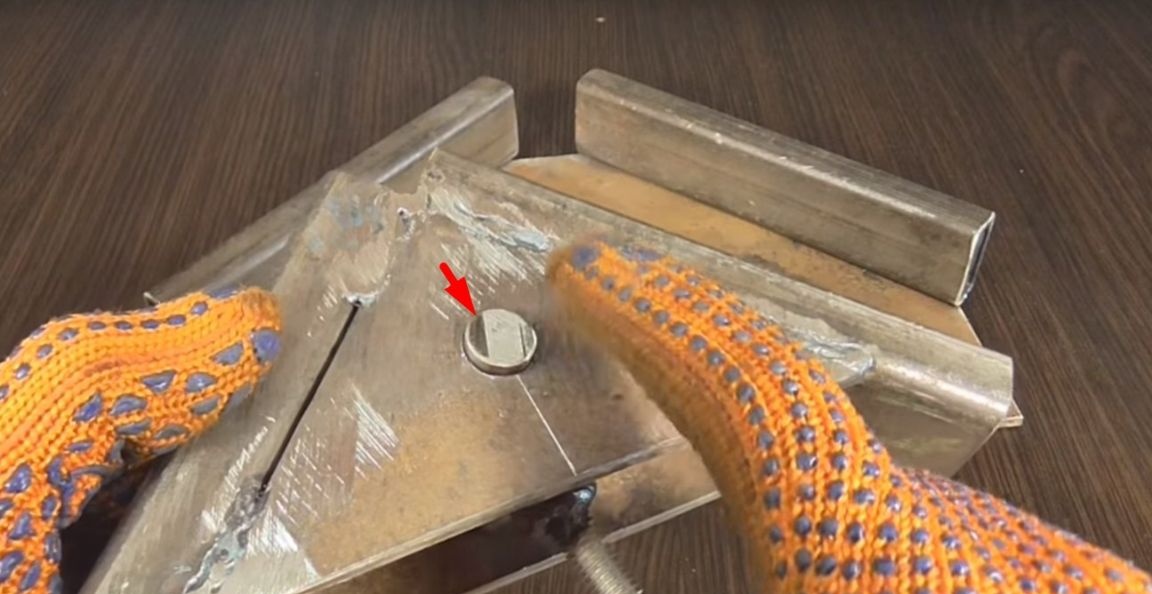
Now the author will connect the second and third parts with a steel finger and scald it.

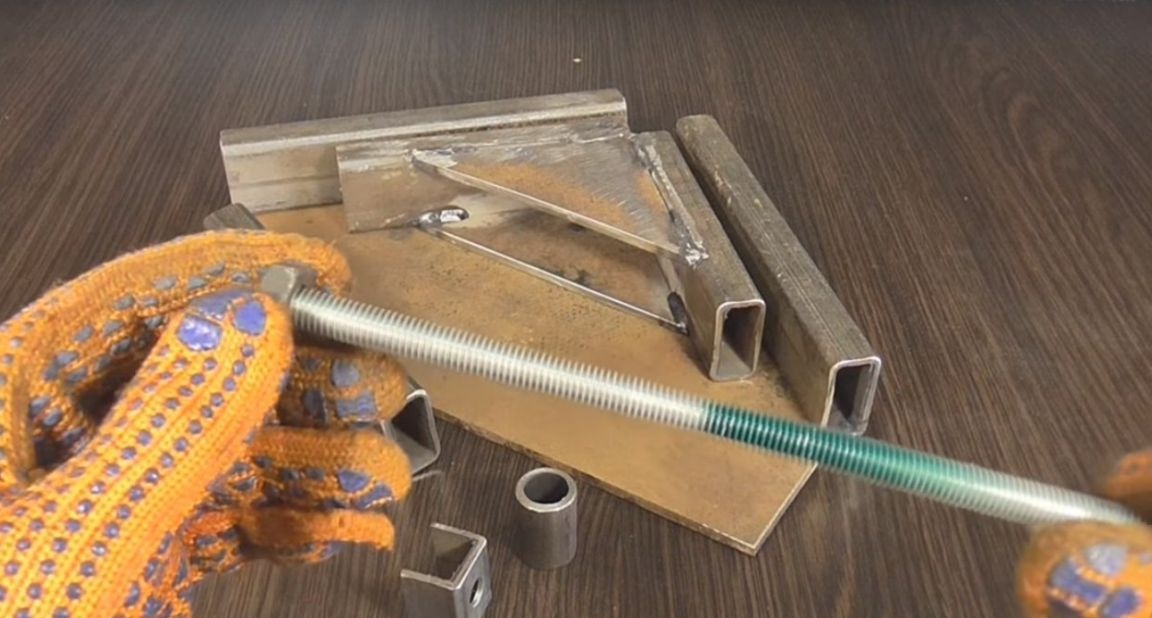
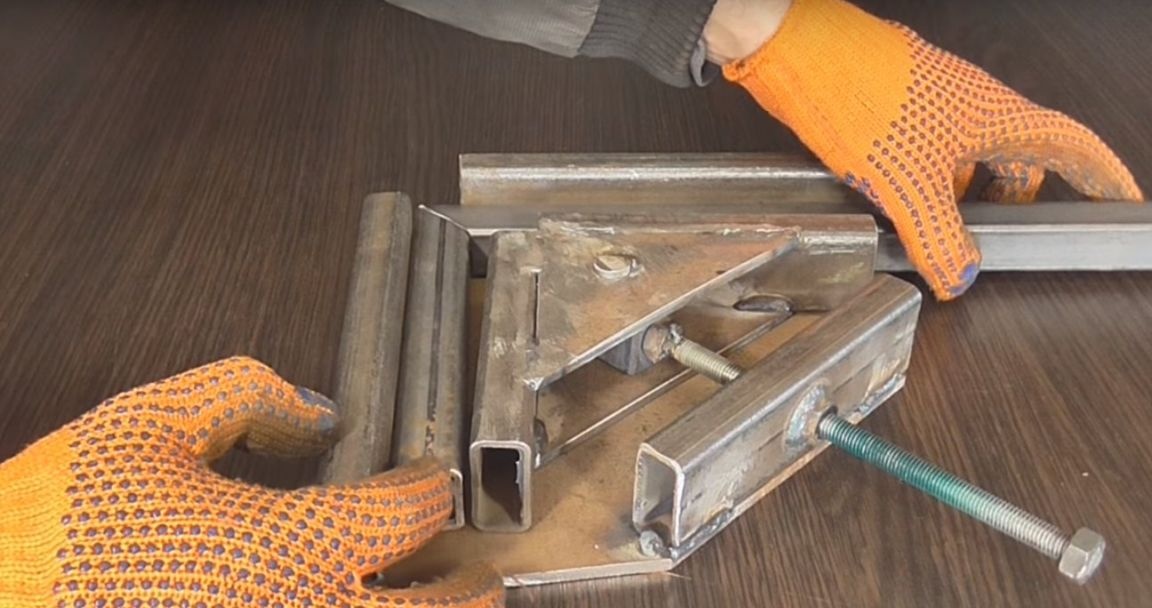
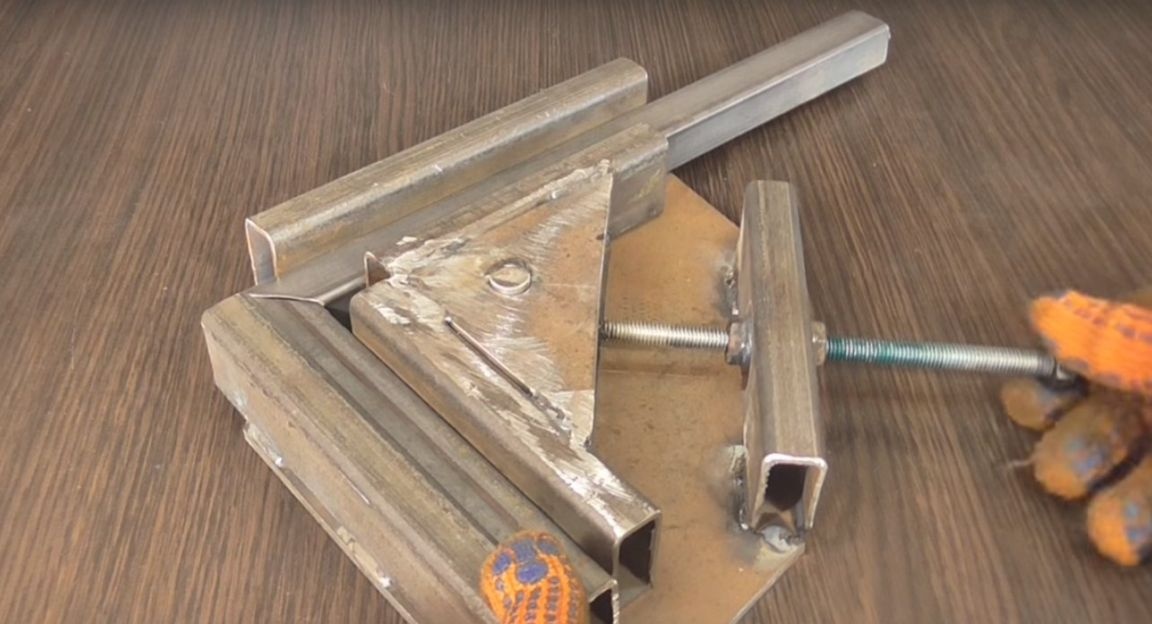
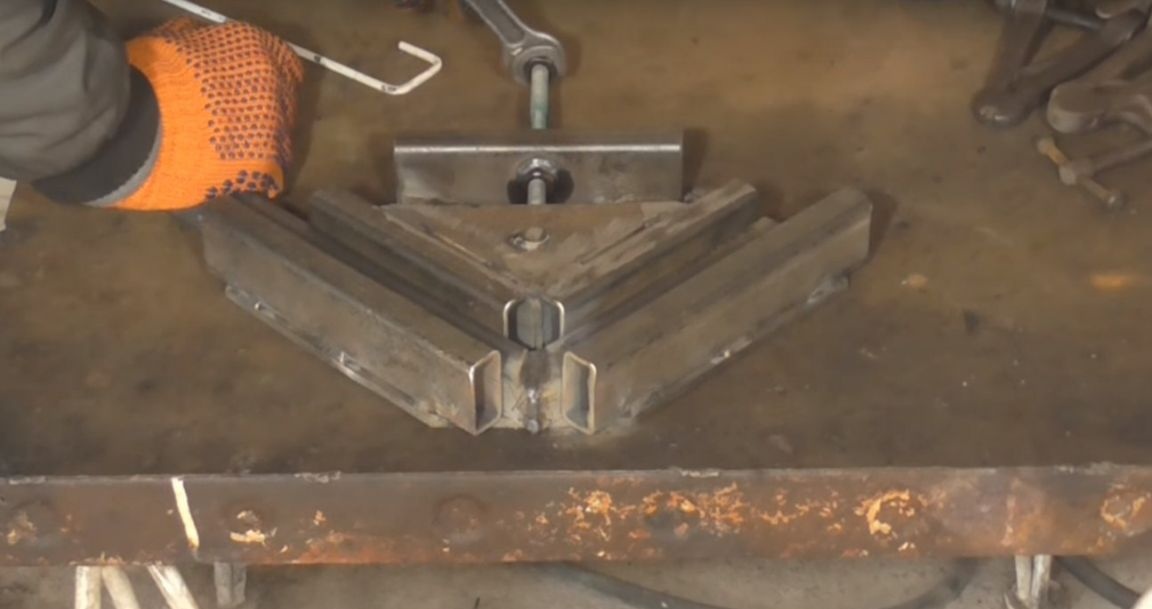
Next, she will put the profile pipe with nuts on the stud and weld it to the first part. Like this.
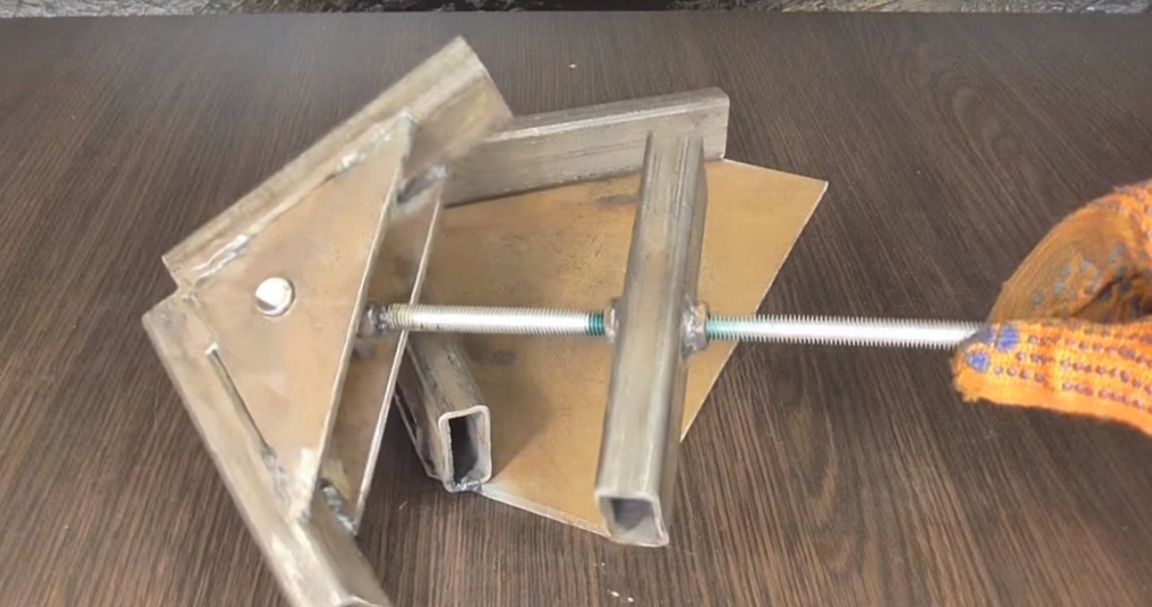
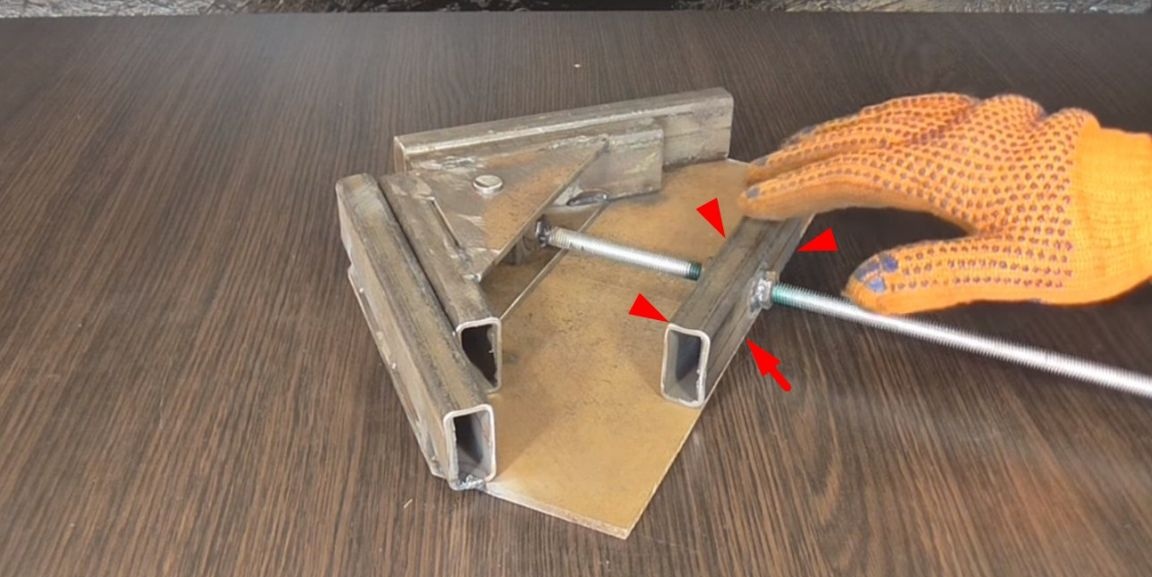
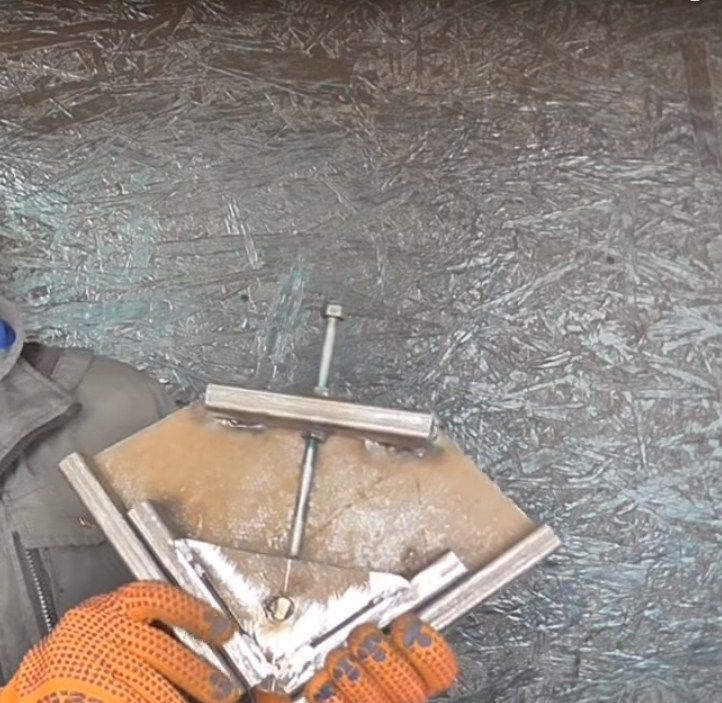
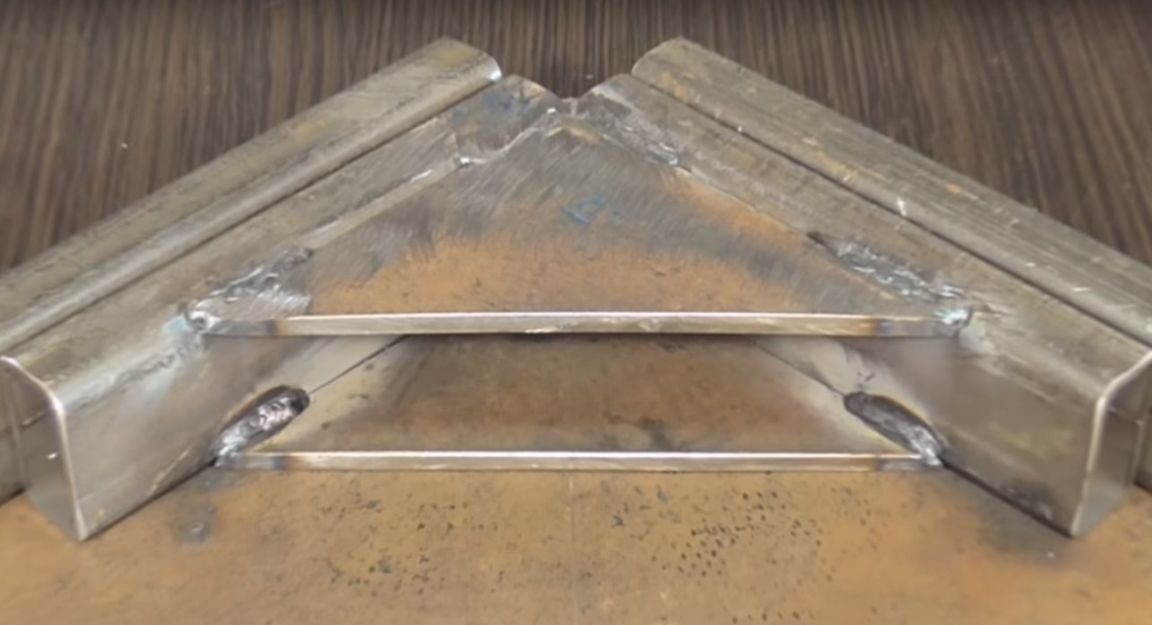
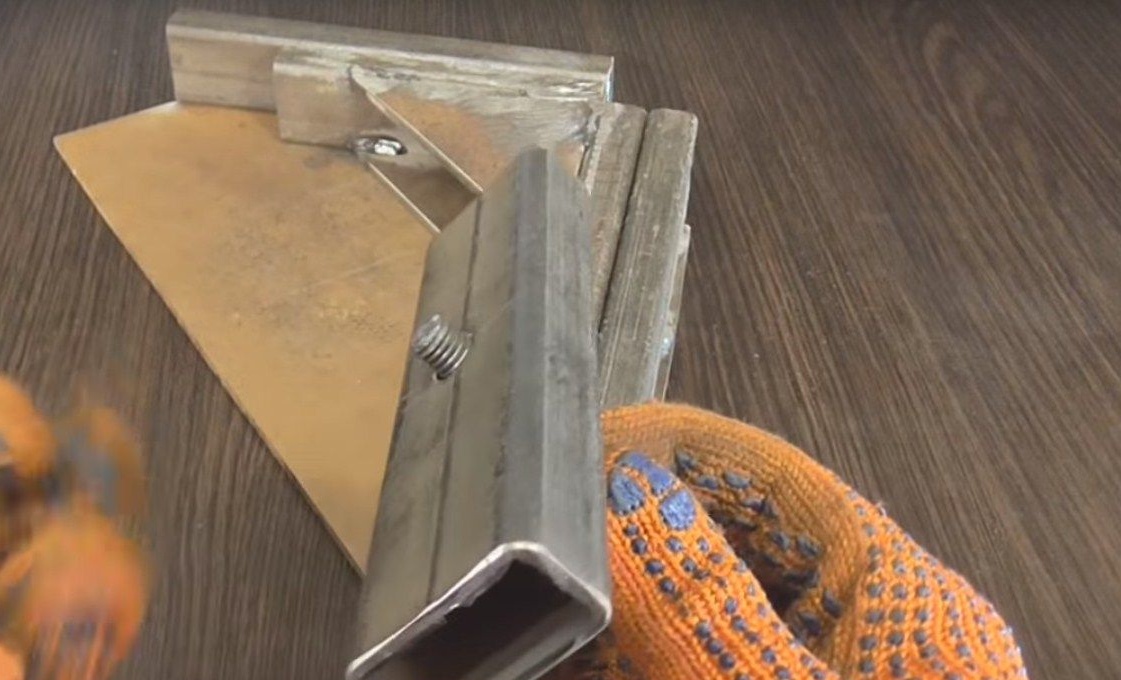
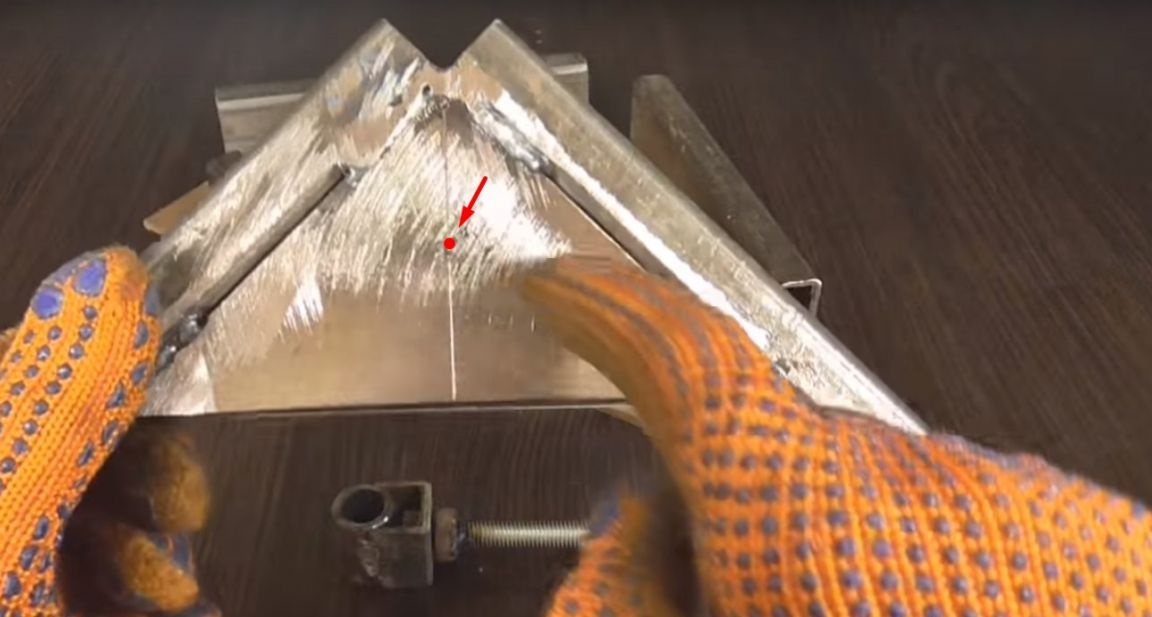
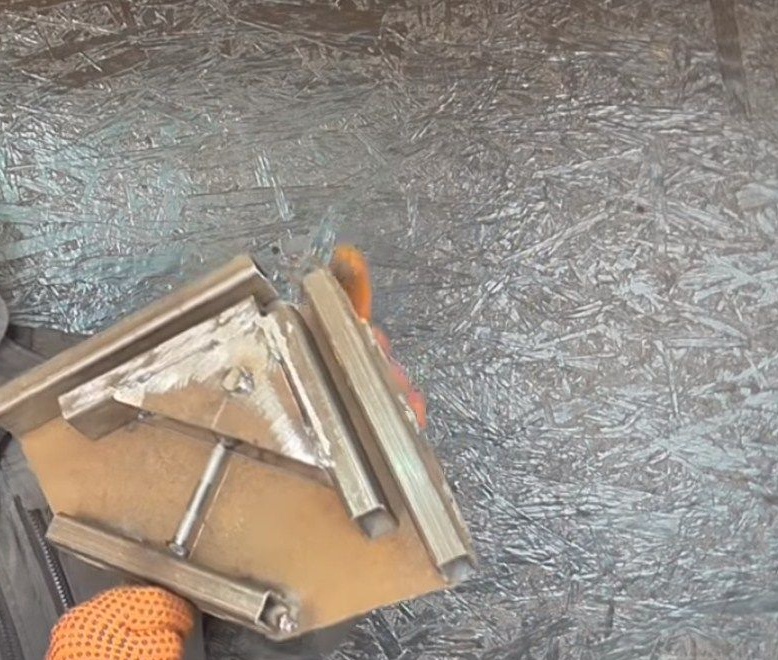
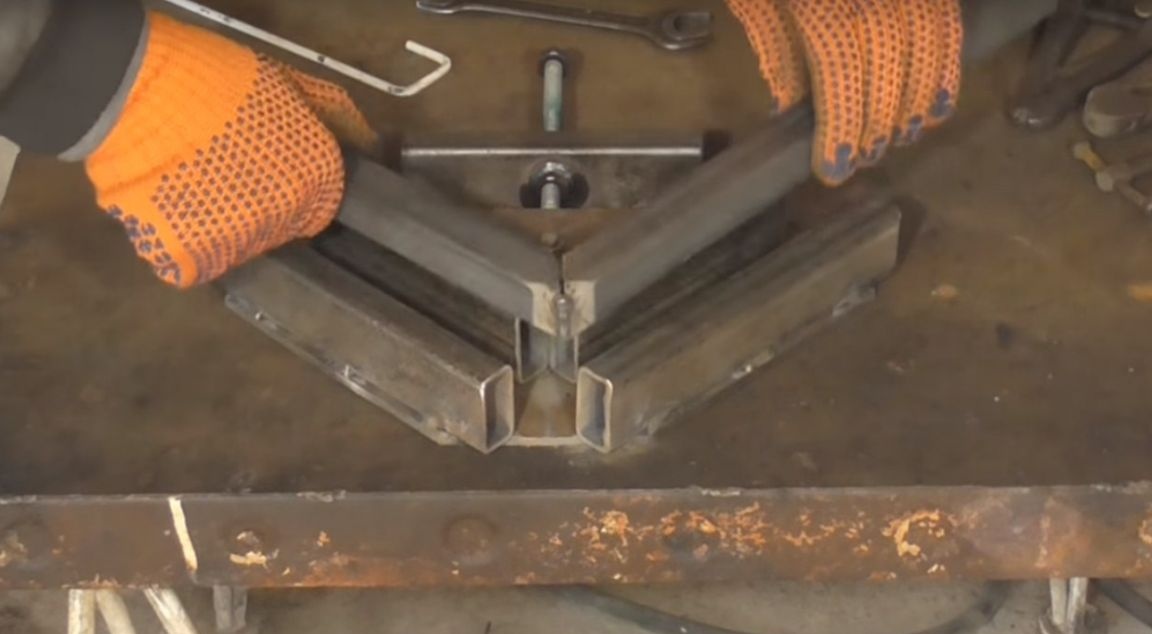
This is what happened with the author’s clamp.
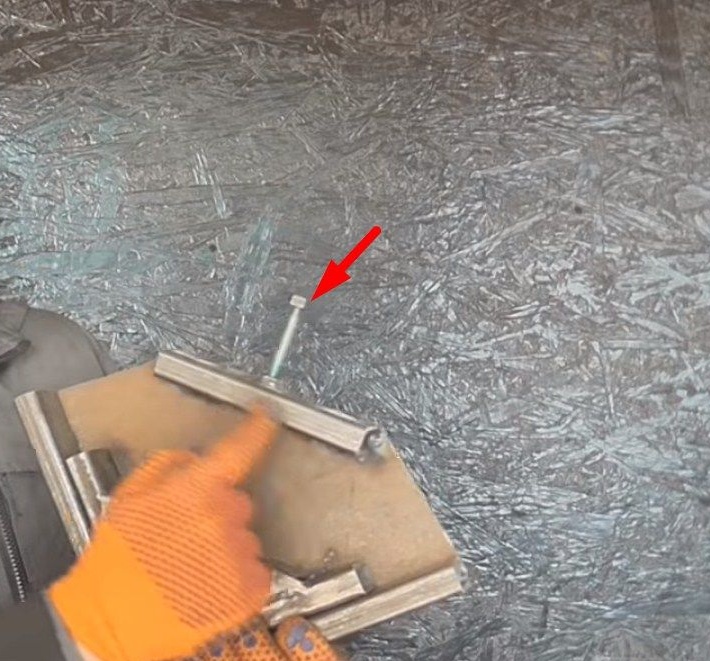
Also for convenience, the author shortened the pin and welded a nut to the edge.
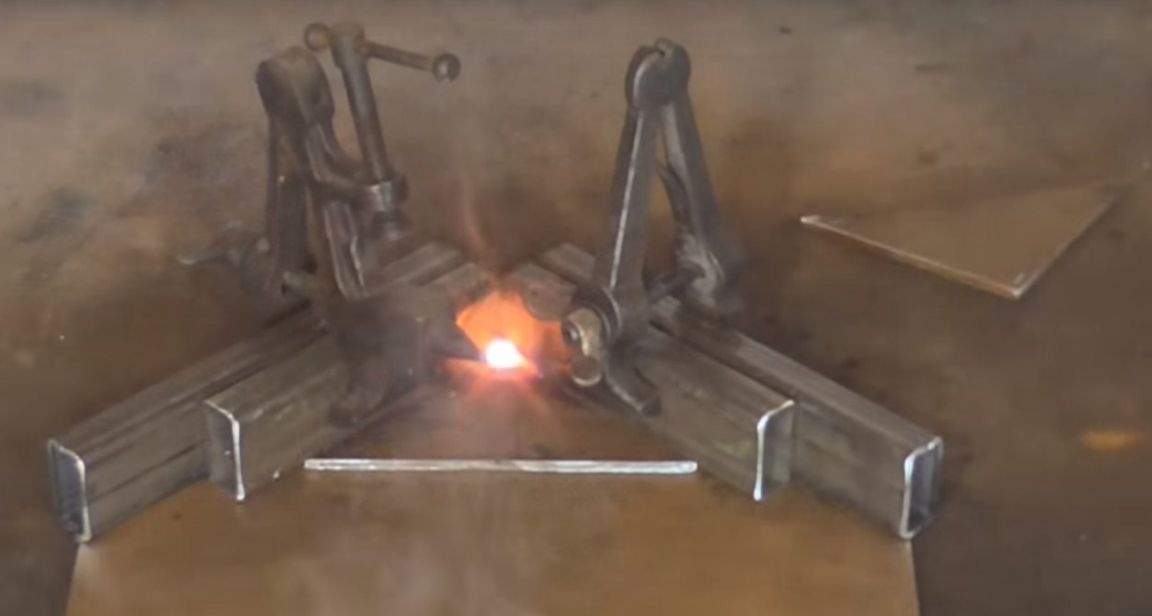
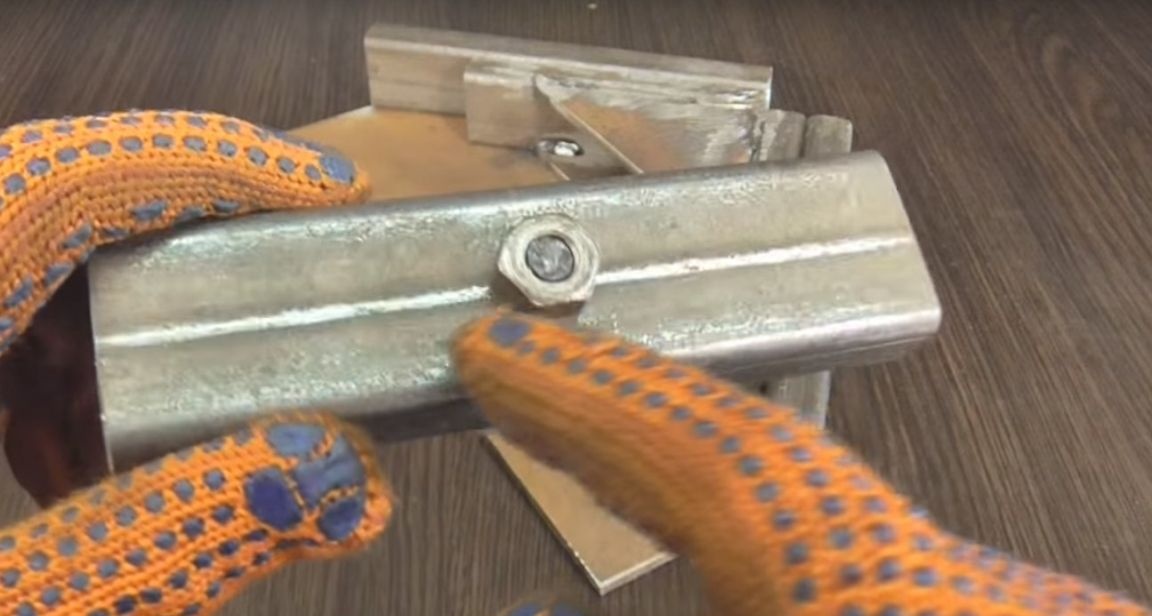
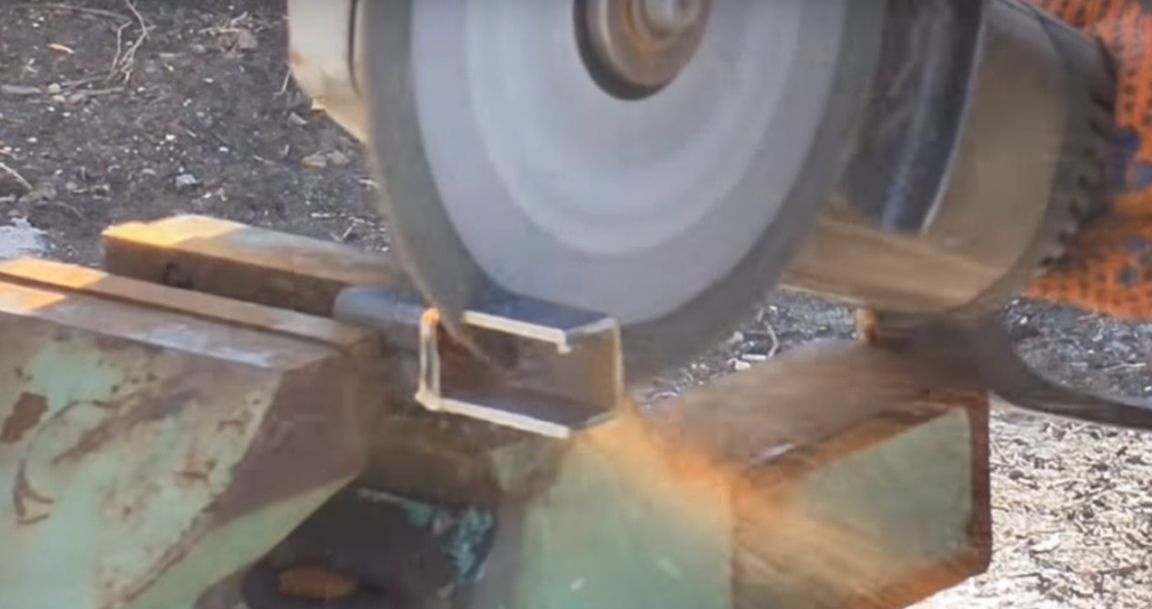
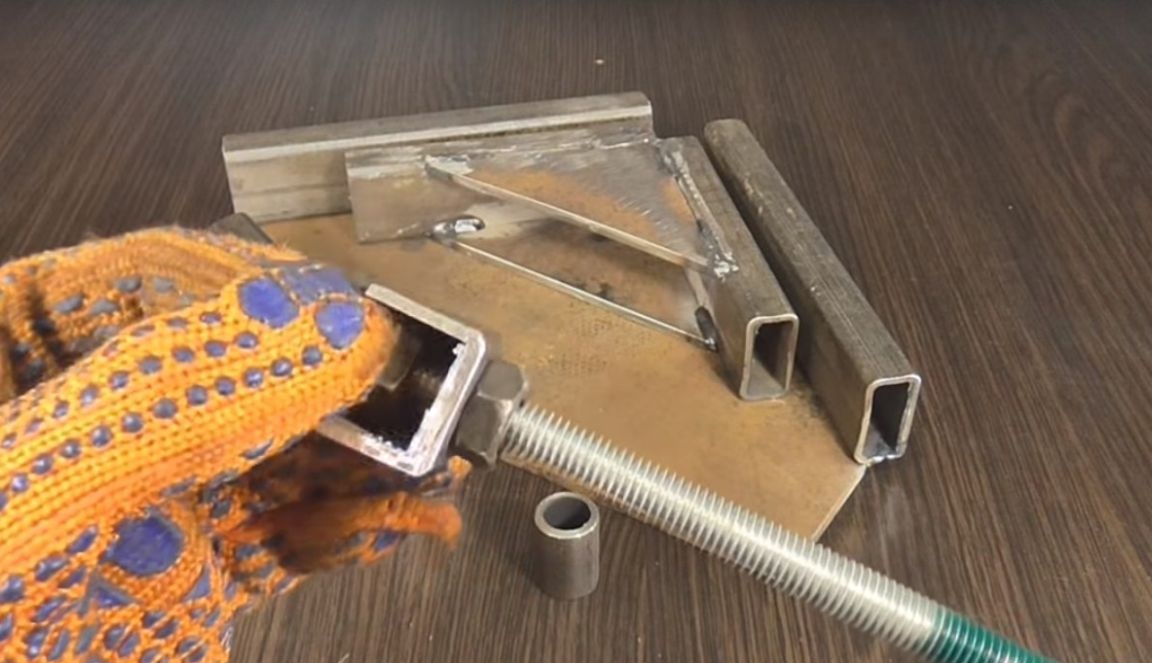
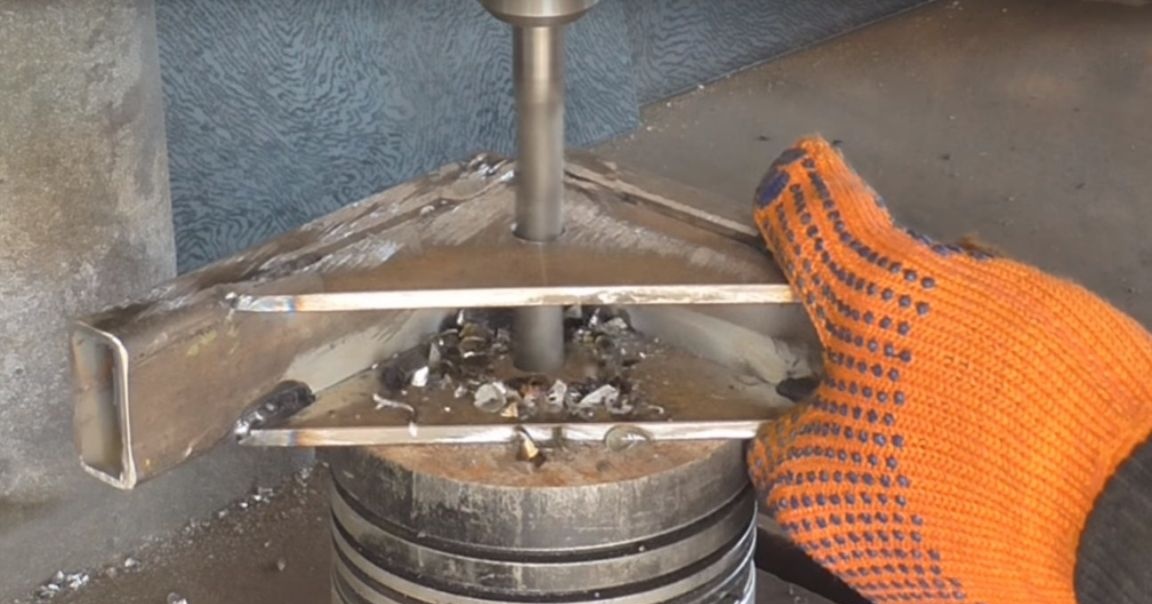
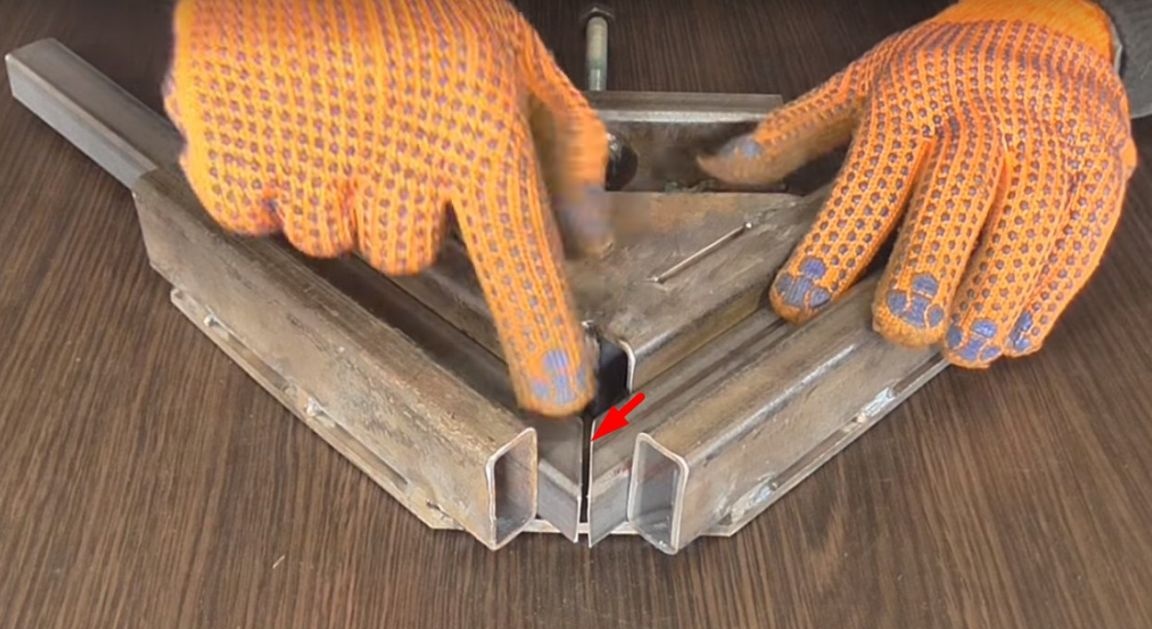
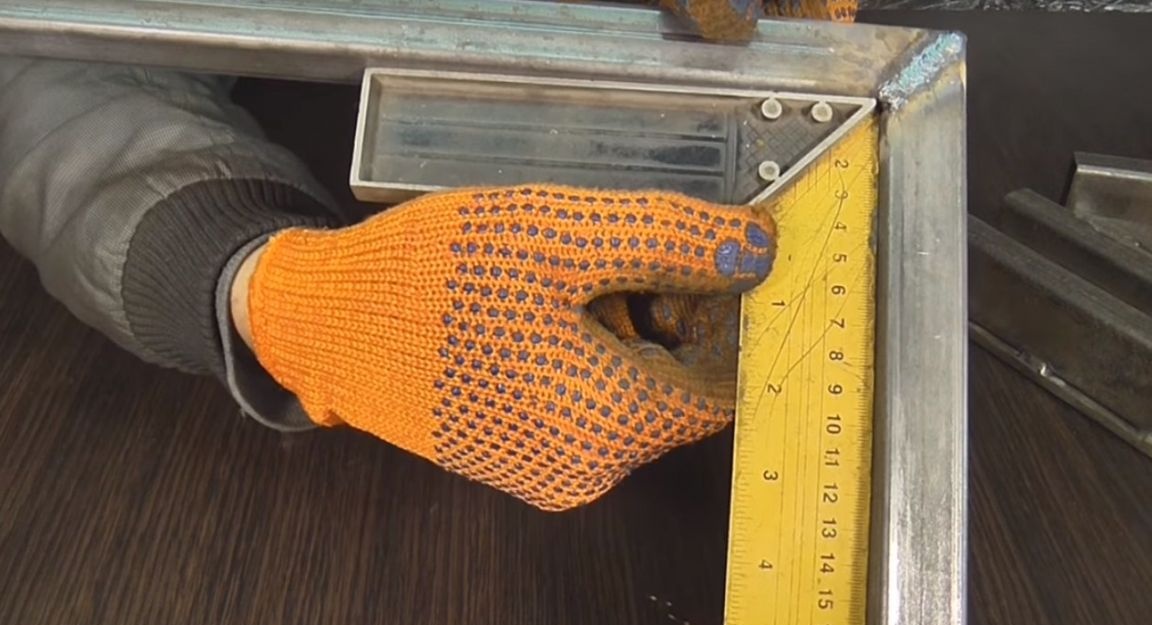
Well, as usual, a test of a newly made tool.
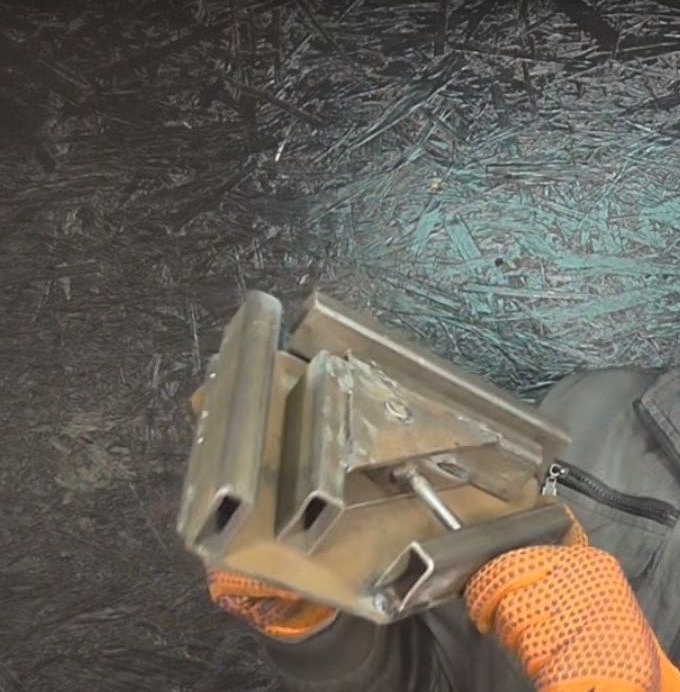
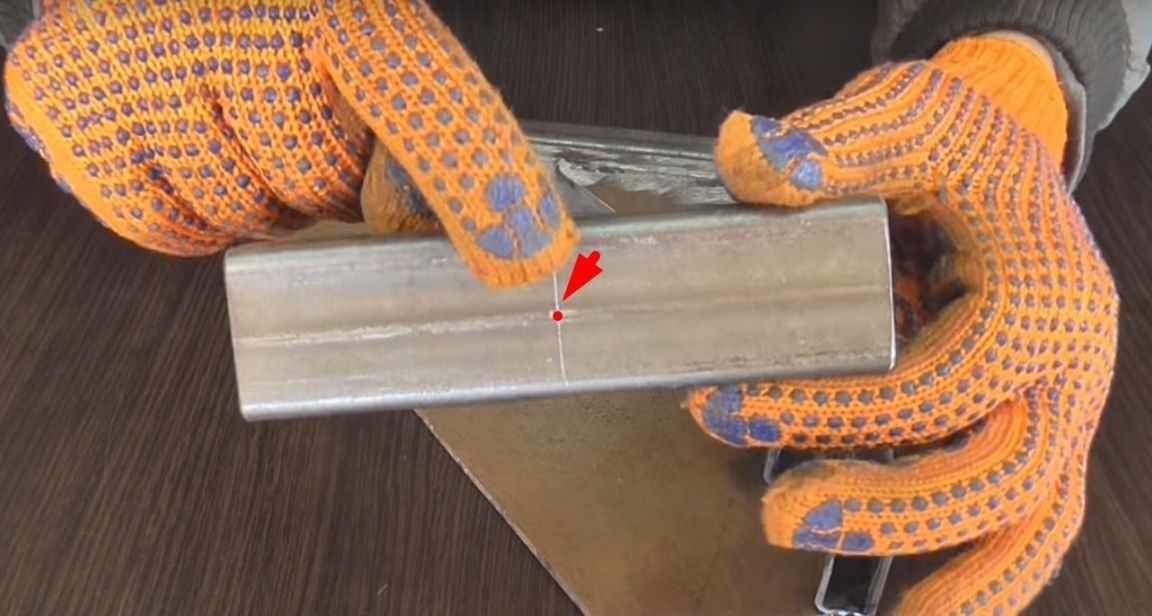
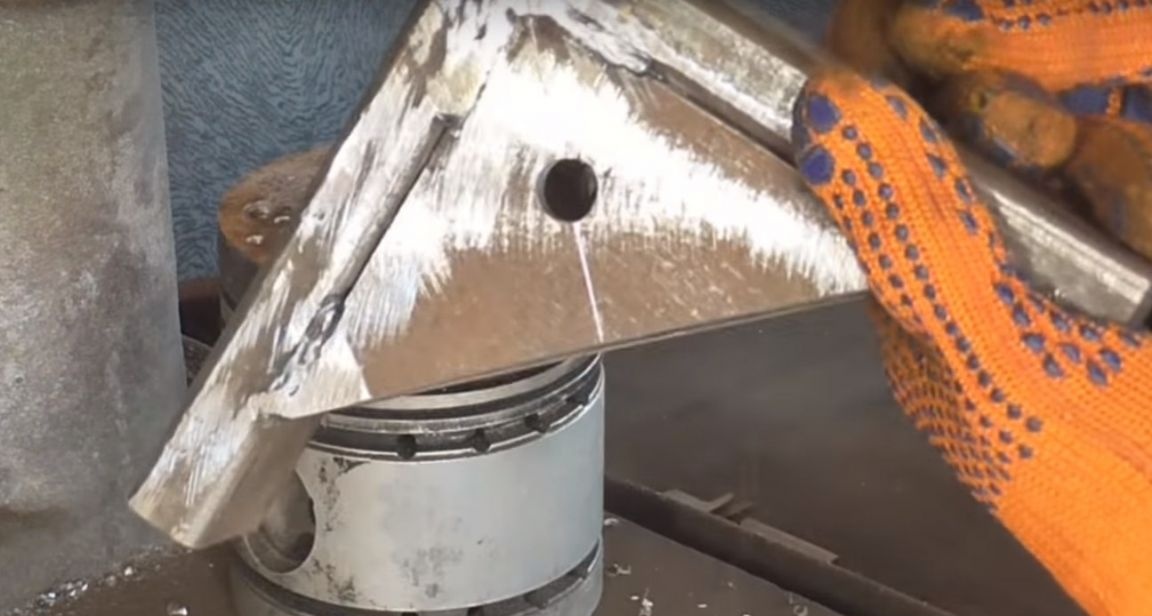
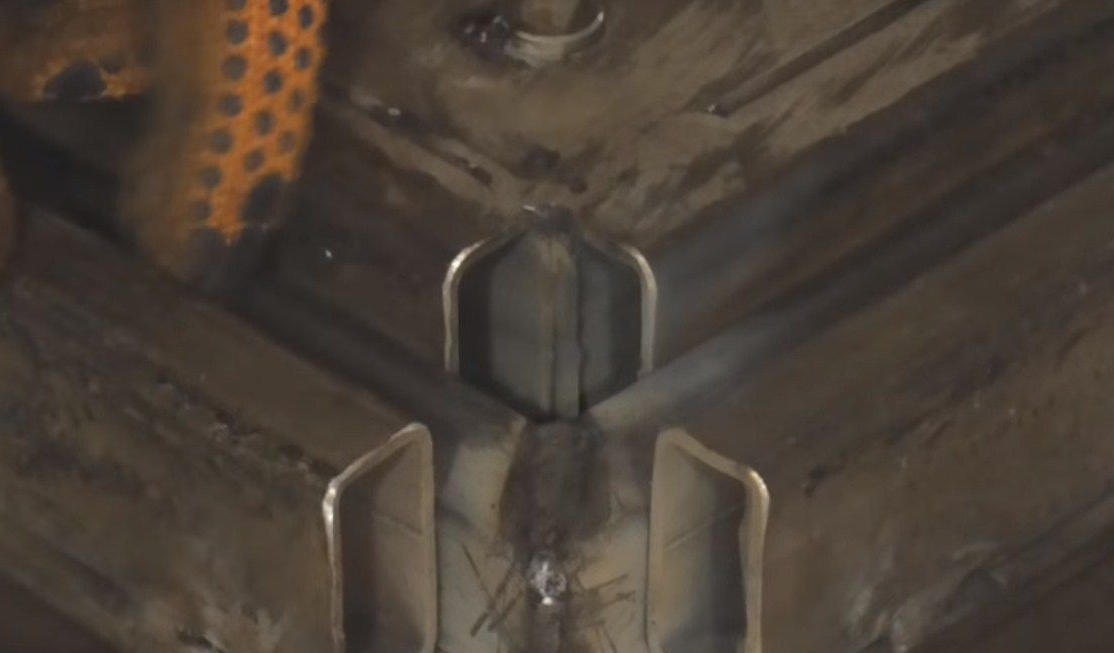
Two blanks cut at an angle of 45 degrees.
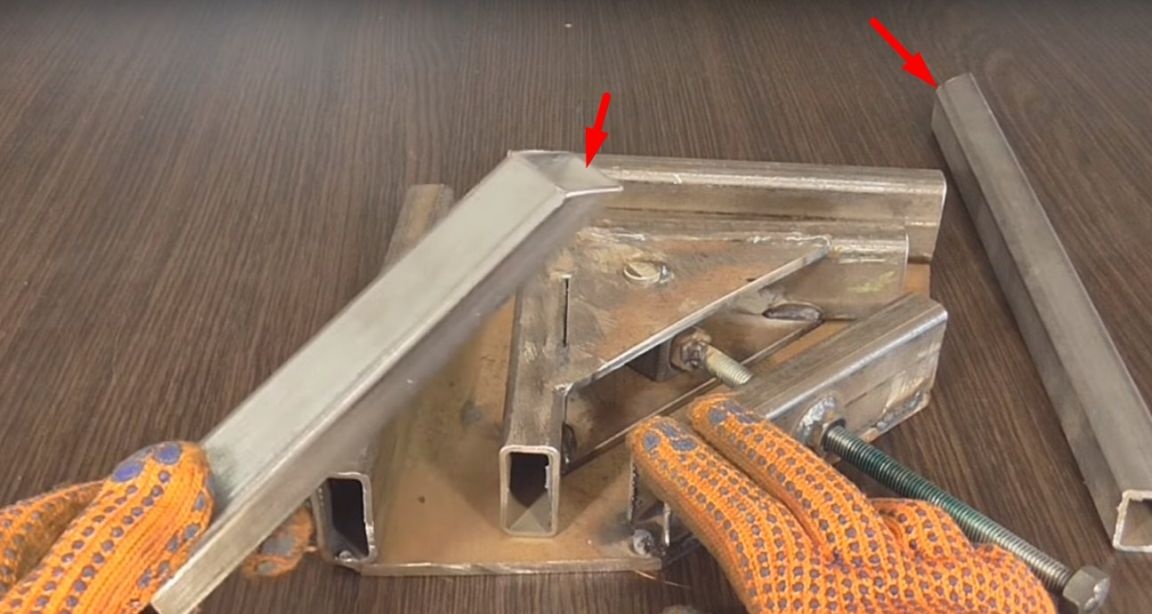
You can adjust the clearance of the welded parts.
Thank you all and see you soon.
Homemade Clamp Video: