
Hello, friends. In this article I will try to describe and show as much as possible how to make a fairly simple and necessary homemade, namely an automatic sharpener.
Surely, each of us, when sharpening a pencil, thought about how good it is to have an automatic sharpener. But such factory sharpeners are quite expensive, and home-made will cost you no more than 300 rubles. And the practicality and effectiveness of this homemade product will not be inferior to the factory one.
The design of the homemade product is very simple, and absolutely every master can repeat it.
To make an automatic sharpener you will need.
1- Motor with gear ("T" shaped or "G" shaped).
2- A sheet of thick and dense cardboard.
3- Wires no more than 20cm.
4- Crown format battery.
5- Connector for the battery format of the crown.
6- Terma glue.
7- Ruler.
8- Marker.
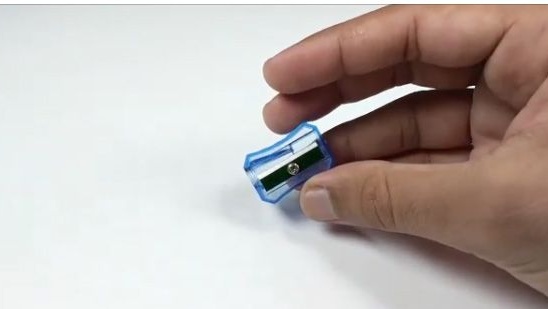
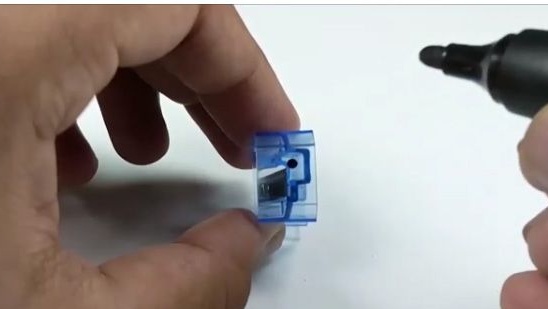
9- Sharpener ordinary.
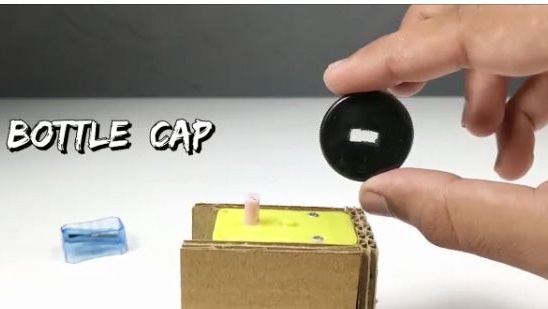
10- Two plastic bottle caps.
11- Switch.
12- Soldering iron.
13- Solder.
You can purchase some components by clicking on the links at the end of the article.
Assembling a homemade automatic sharpener:
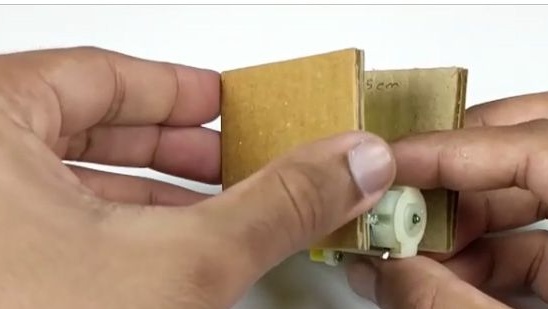
1- First, you should make two small pieces of cardboard. Namely, from the sheet of cardboard you took, cut two identical squares of the length of the sides, which will be equal to 5 cm.
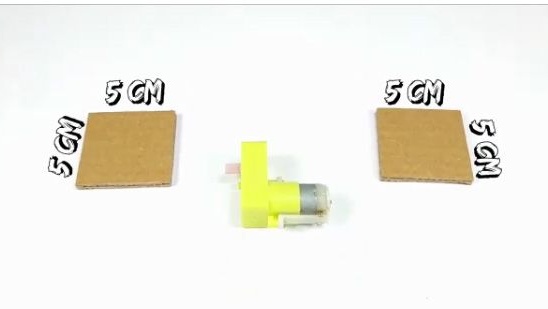
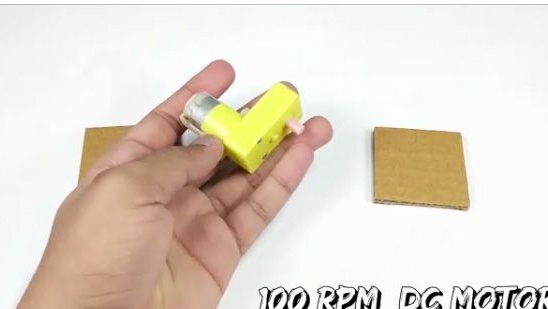
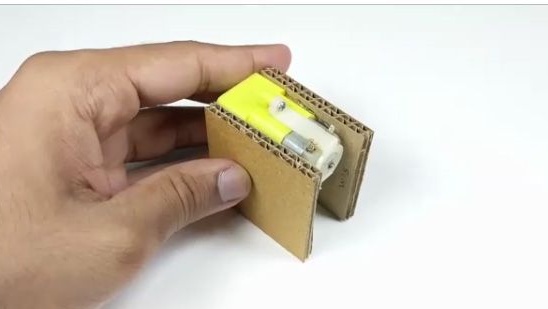
2- Next, take an electric motor with a gearbox. This electric motor, according to the Chinese at 9V produces 100 rpm.
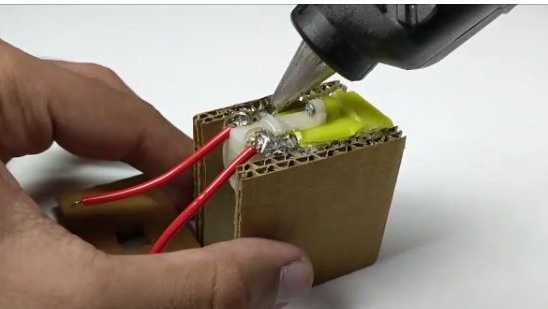
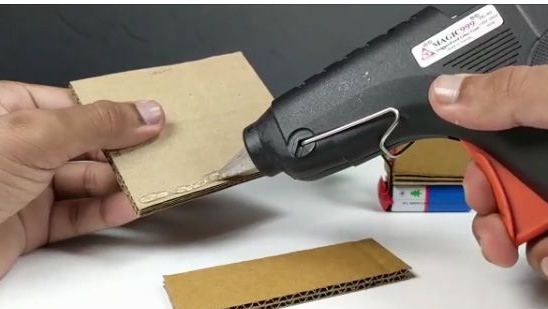
3- Then, with well-heated terma glue, apply glue to the side of the gear housing. So how is it
depicted in the photo below.
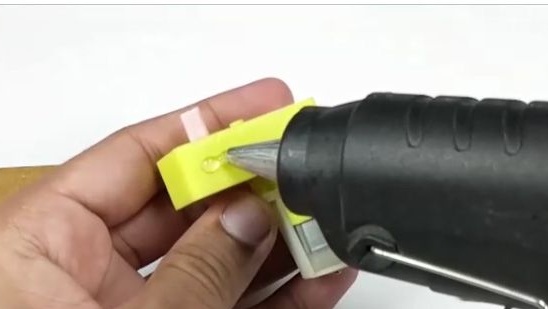
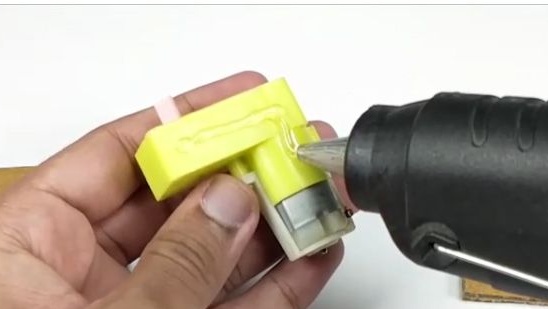
4- While the glue has not hardened, we apply one of the cardboard blanks to it, as it is shown in the photo below.
5- After which, on the other hand, we also apply the term glue to the same place.
6- And as well as on the other hand, we apply one of the cardboard blanks. At this stage, try not to
regret the term glue, and also try to do everything evenly and accurately.
7- We wait until the glue term hardens completely. It takes about 5 minutes and will give you a good and strong connection.
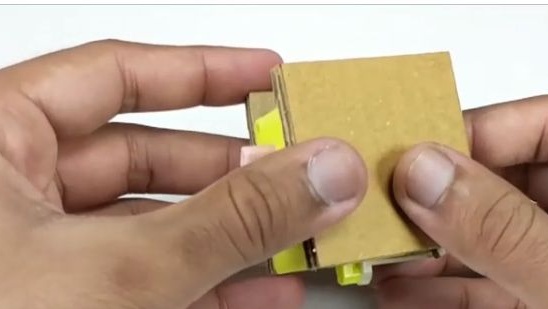
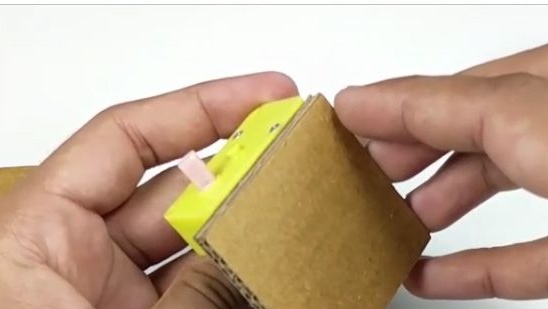
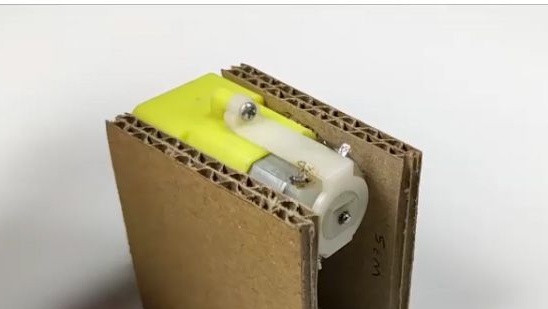
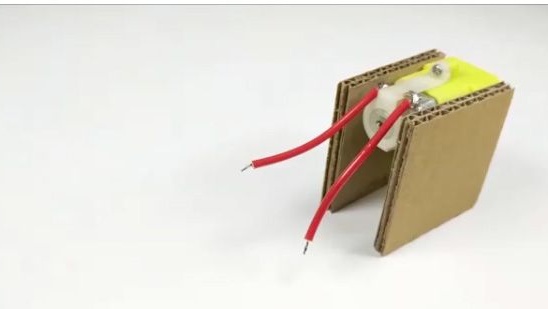
8- Approximately such a workpiece should work with us after all the above actions (see photo below).
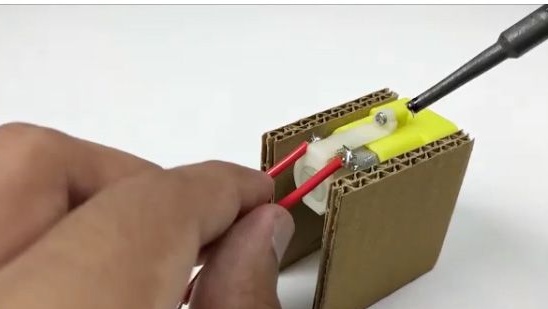
9- After which we pick up solder and a soldering iron. It will be necessary to tin the contacts on the electric motor.
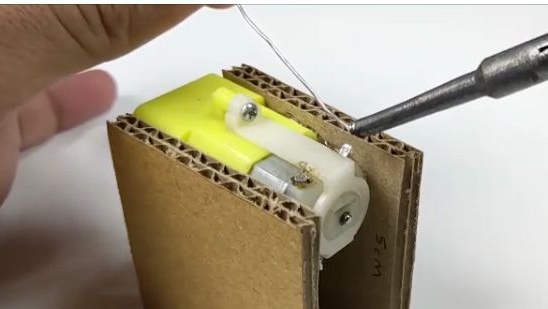
10- Then we will take a wire and cut off from it two small 6cm wires. And we will clear the insulation of the edges of the prepared wires, after which, as well as the contacts on the electric motor, we will tin them.
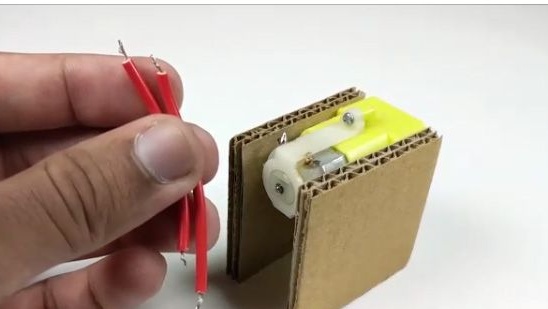
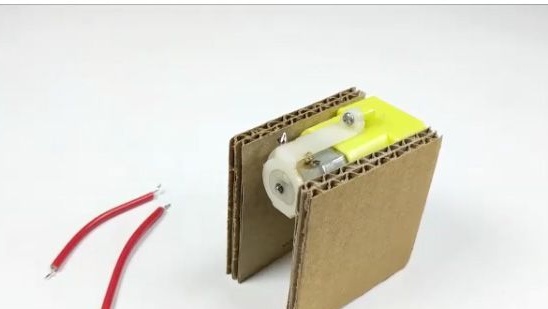
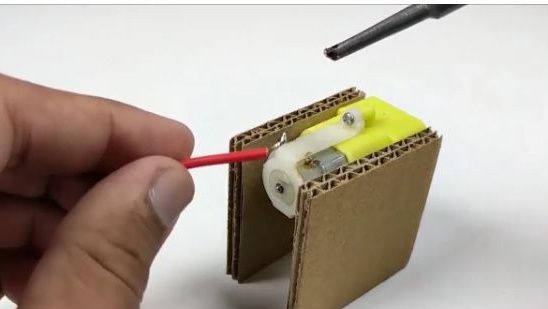
11- Take the freshly prepared wiring and solder them to the contacts on the motor.
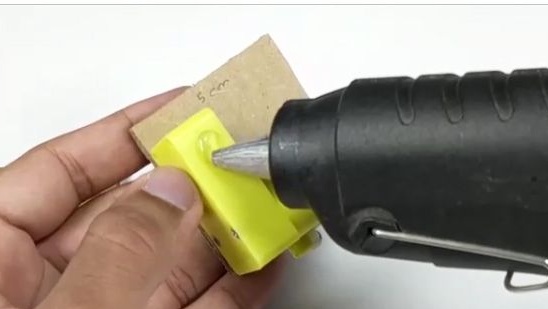
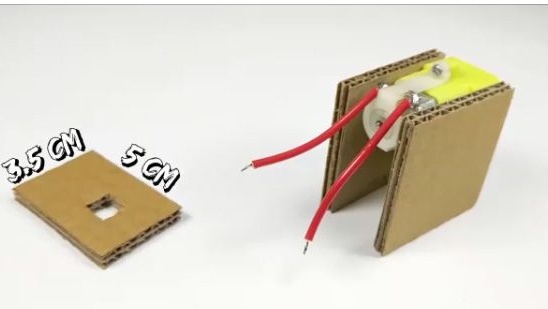
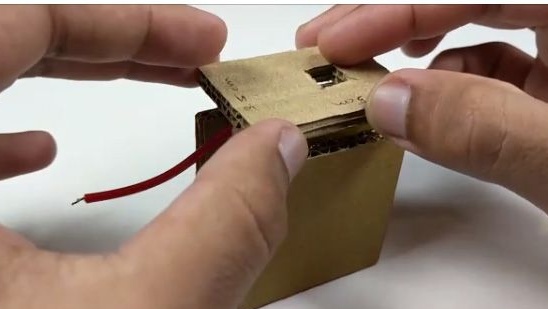
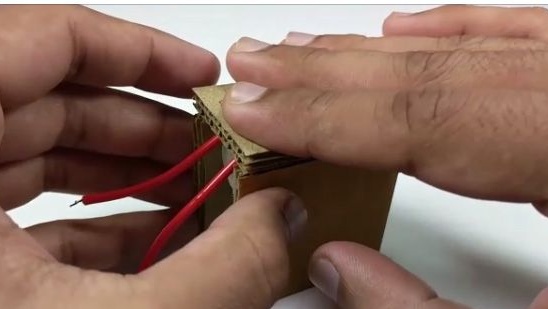
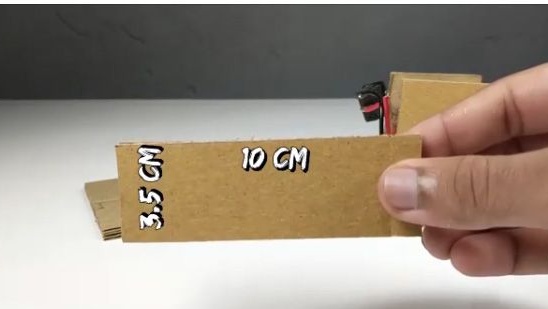
12- After which, cut a rectangle with side lengths of 3.5 cm and 5 cm from a sheet of thick cardboard. And also in the cut out rectangle, a hole should be made, approximately in the same place as shown in the photo below, this is necessary so that the protruding part on the electric motor does not interfere with the gluing of the blanks.
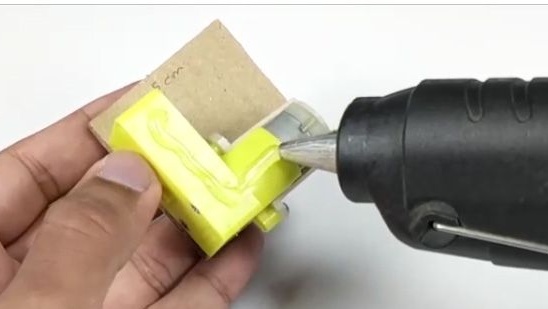
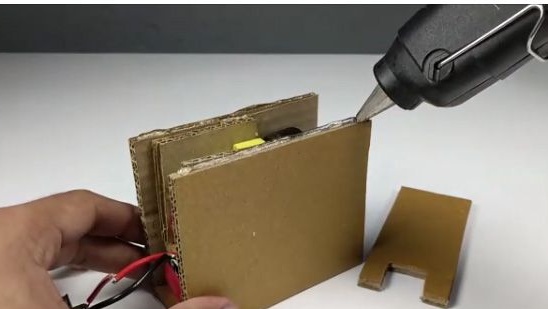
13- Next, abundantly apply a well-heated terma glue to the bonding surface of the blanks (see photo below).
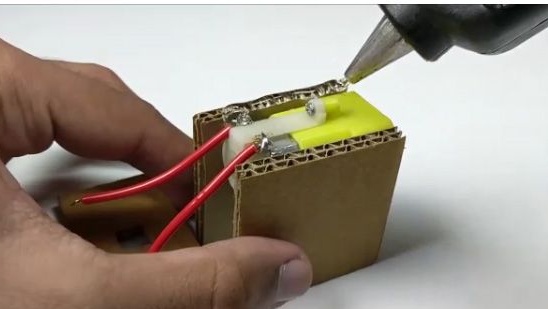
14- And then we glue two blanks, as this is shown in the photo below, not forgetting to let the glue harden with glue for about 5 minutes.
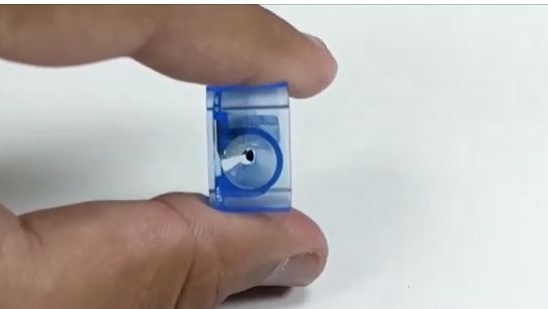
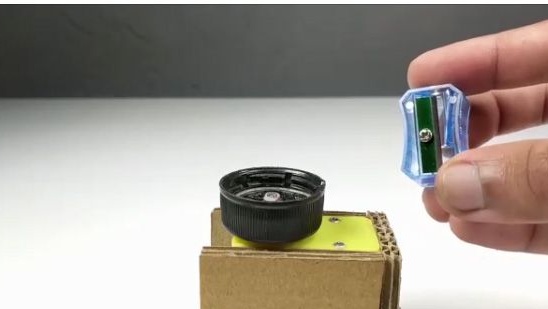
15- Then you need a simple sharpener and marker. Using a marker, make a mark in the indicated place (see photo below). That is, the mark should be in the center of the place where the pencil itself is sharpened.
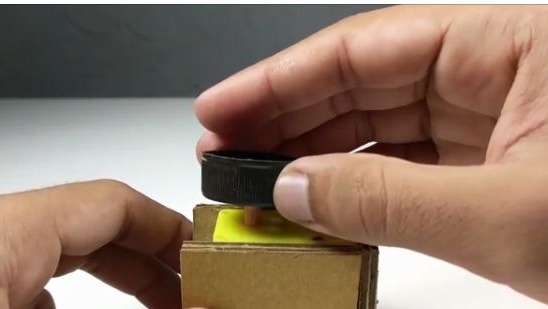
16- Next, you need a plastic bottle cap. We make a hole in the center of the cover so that the cover you take can be put on the shaft of the gearbox of the electric motor.
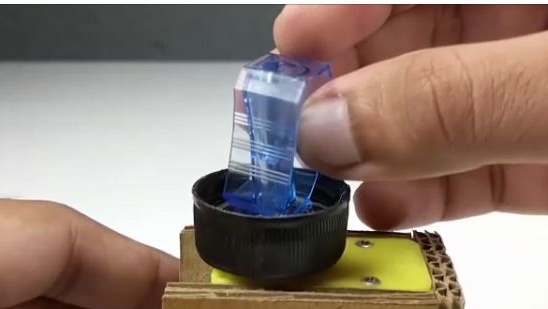
17- We put on a cover with a newly made hole on the shaft of the gearbox of the electric motor.
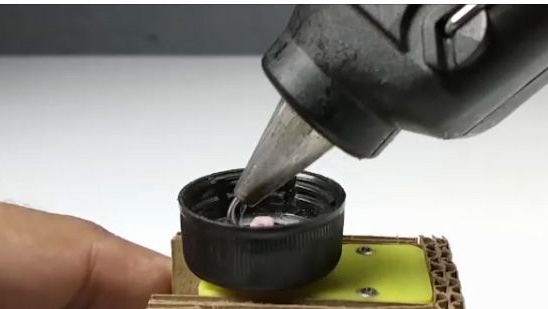
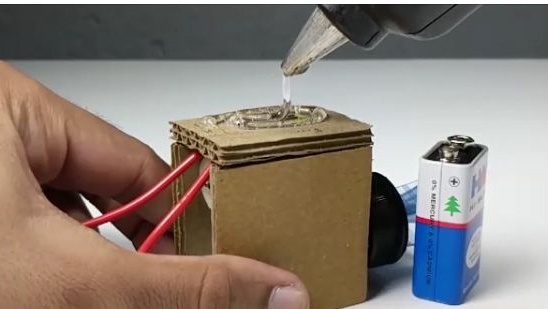
18- After inserting the plastic cover onto the shaft, fill the cover itself almost to the edges well
hot terma glue.
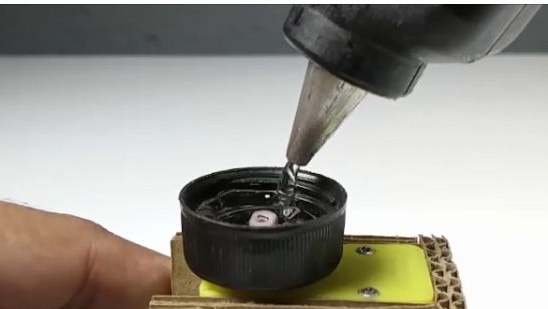
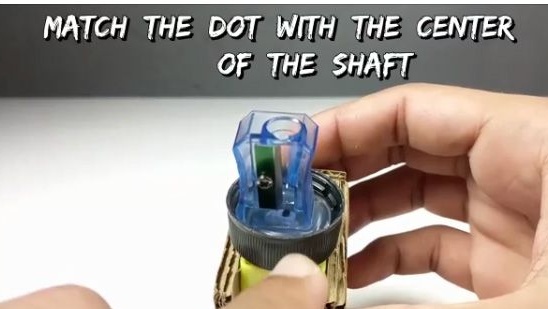
19- And right after the termin glue was poured into the plastic cover, glue the sharpener on it, glue it so that the mark on the sharpener that was placed earlier coincided with the center of the shaft (see photo below).
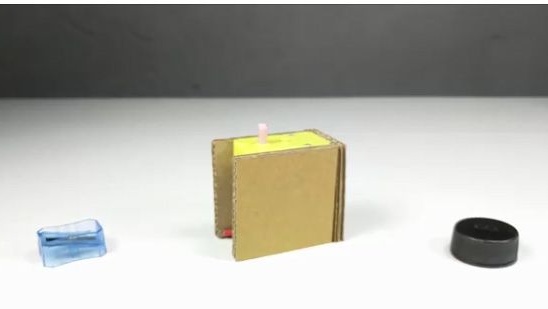
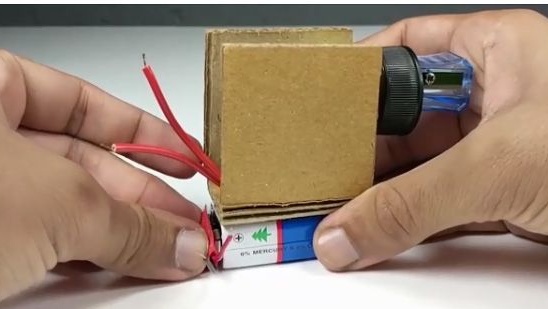
20- Next, you will need a crown format battery that will power the structure.
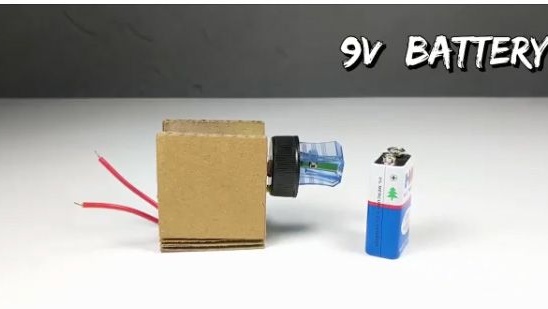
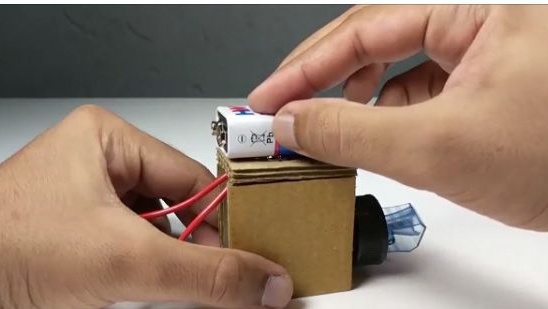
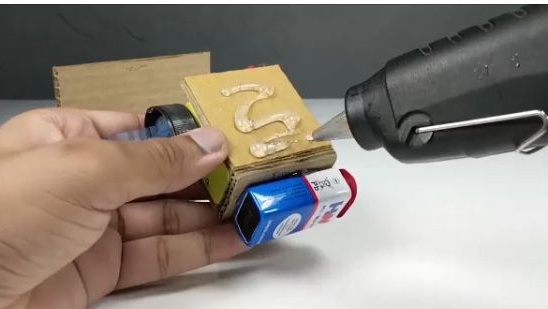
21- At the indicated place (see photo below) we apply gently heated terma glue.
22- And immediately glue the battery in the place where you just applied the term glue. Of course you could
use a plastic battery connector, but this complicates and makes homework more expensive, therefore
it was decided to just stick the battery to the case.
23- Then you will need a connector for the crown format battery, which you need to put on the battery itself.
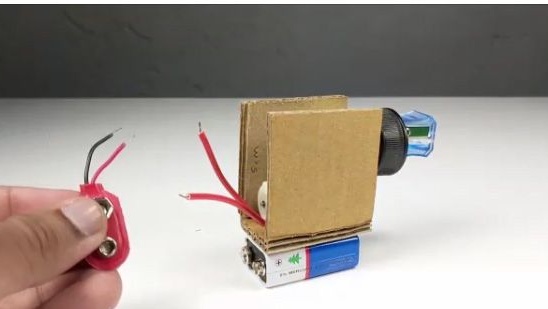
24- Then we will take and install the switch on the case of an automatic sharpener.
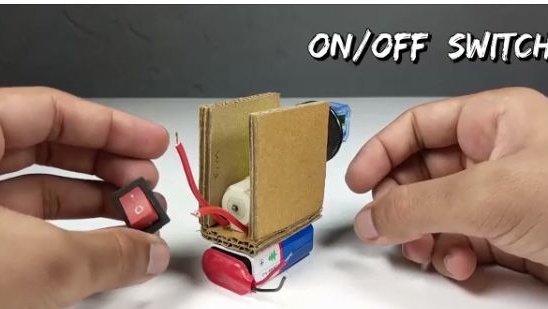
25- Then, using a soldering iron and solder, we connect everything electronic Components. That is, you need to connect
an electric motor with a sharpener through a switch so that when the electric motor rotates
rotated in that direction so that the pencil sharpened.
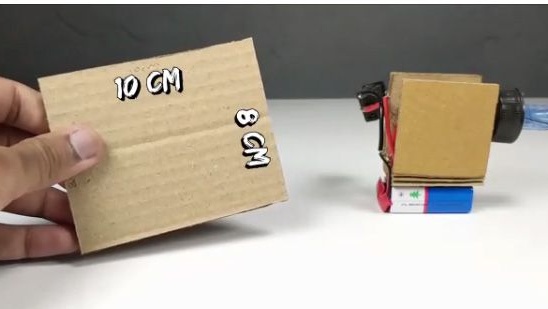
26- Next, cut two rectangles with sides of 10 cm and 8 cm from a thick sheet of cardboard.
27- And also cut out of cardboard, the rectangle of the sides of which are 10 cm and 3.5 cm.
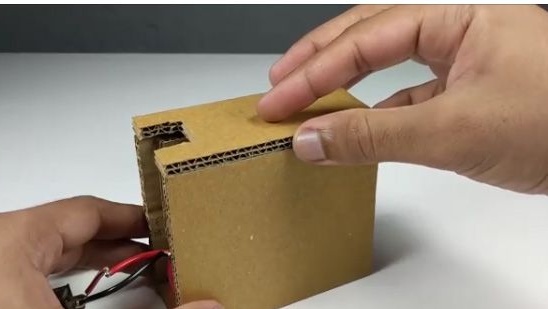
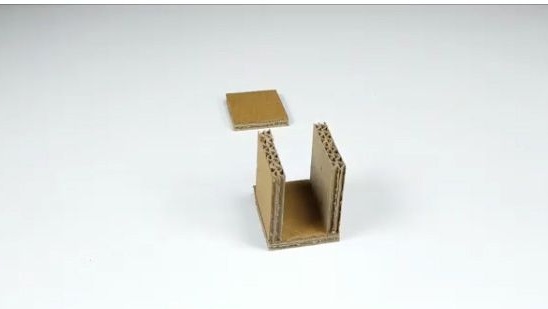
28- Then, using a term of glue, we will connect the two just-made blanks, as this is shown in the photo below.

29- On one side of the mechanism on the cardboard part we apply a well-heated term glue.
30- And without losing a second, glue two pieces, in the same way as in the photo below.

31- And accordingly, glue the second pre-prepared rectangle to the structure (see photo
below).


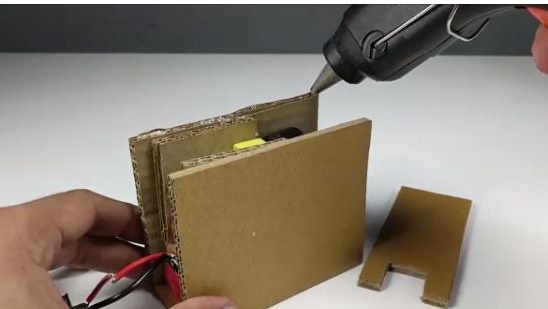
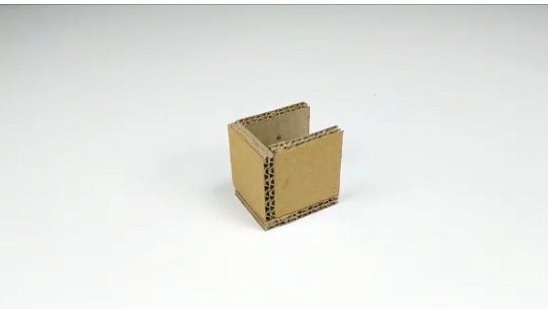
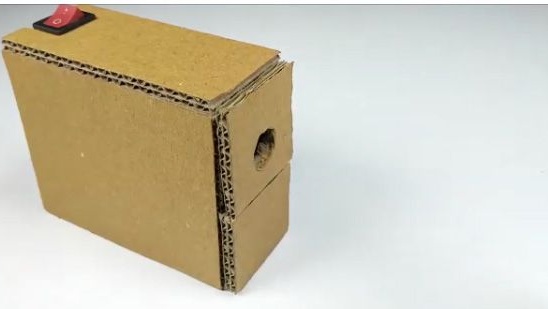
32- From the cardboard we cut a rectangle with sides of 10 cm and 4.5 cm, and you should also make a hole under
switch (see photo below).

33- We glue the workpiece just made with the main mechanism.
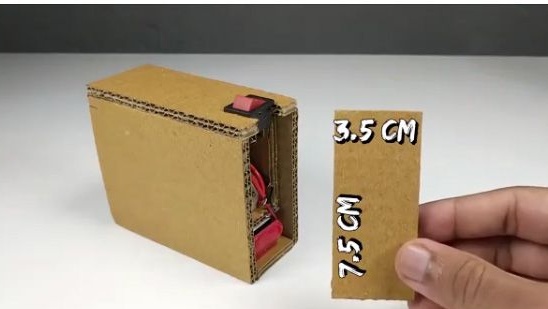
34- Then, cut out a rectangle from the cardboard with the dimensions of the sides 7.5 cm and 3.5 cm. And glue it to the back
part of the body.
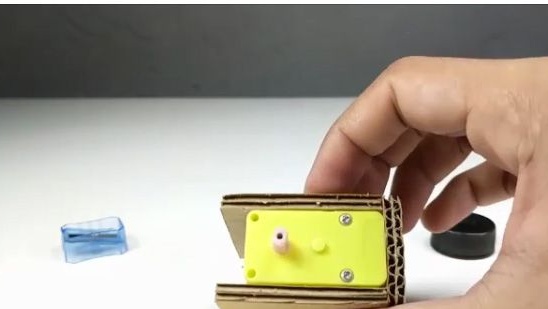
35- Next, cut out three squares with sides of 3.5 cm and one rectangle with sides of 3.5 cm and 4 cm.
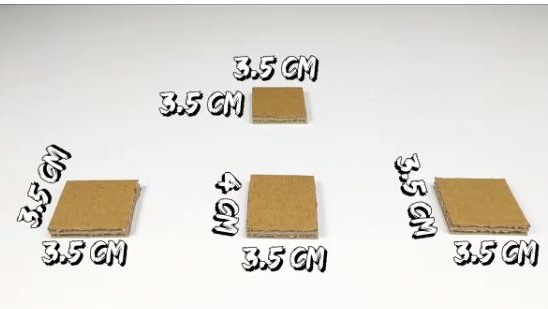
36- After you cut the said squares and rectangle from the cardboard above, glue them as it is
depicted in the photo below.
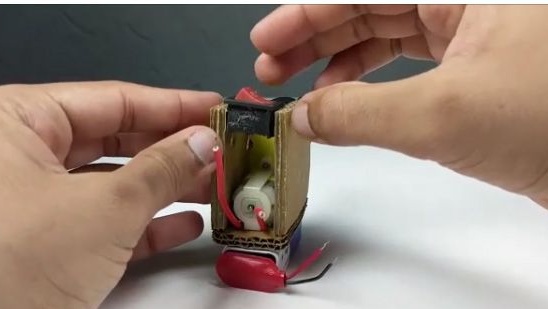
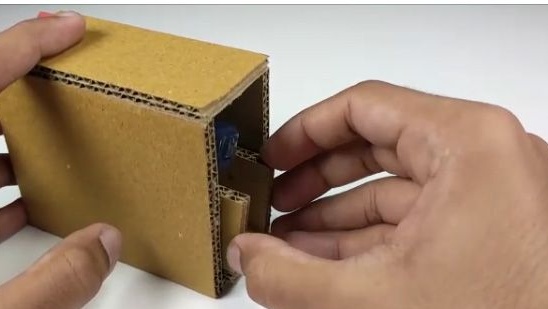
37- The newly assembled structure is inserted into the front of the case.
38- Cut out of cardboard, the rectangle of the sides of which are 8 cm and 4.5 cm.
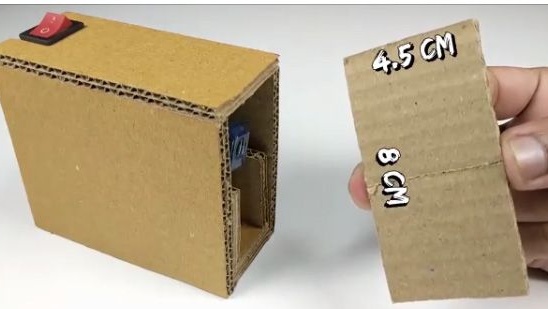
39- We trim the just-cut part exactly in half.
40- One of the parts is glued to the container for sawdust.

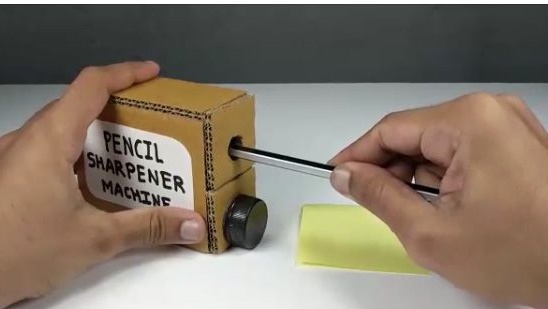
41- And in another part we make a hole in the center. The diameter of the hole must be such that there
calmly climbed a pencil.
42- And glue to the front of the case.
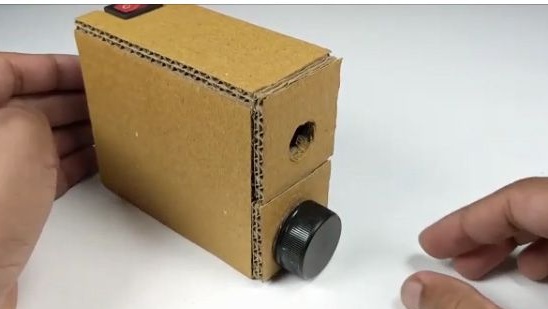
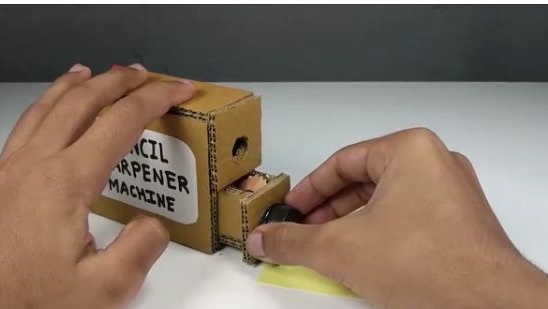
43- We attach a plastic bottle cap to the sawdust container to conveniently remove the container from the automatic sharpener to empty it.
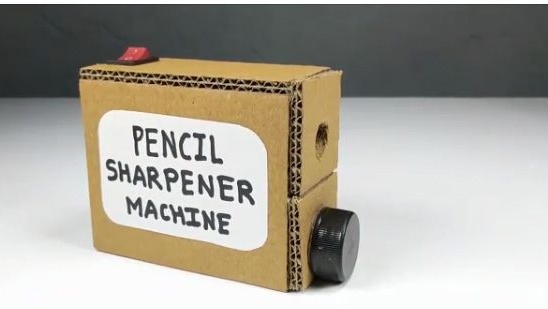
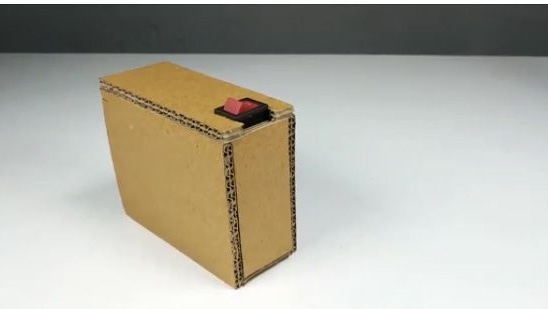
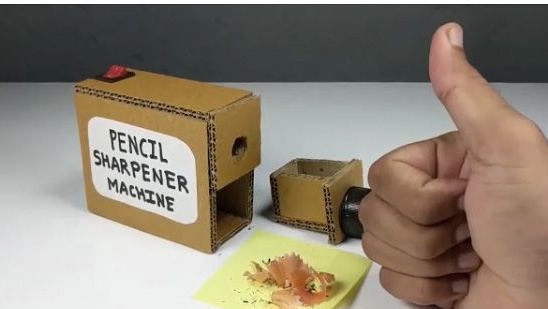
44- Done.
Conclusion
Buy components for homemade products.
1- .
2- .
3-
Bulk ordering in China is much cheaper than buying from us at radio stores.
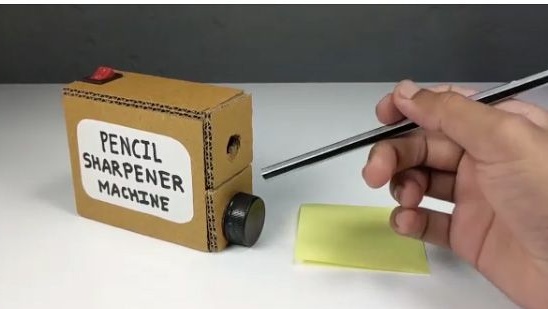
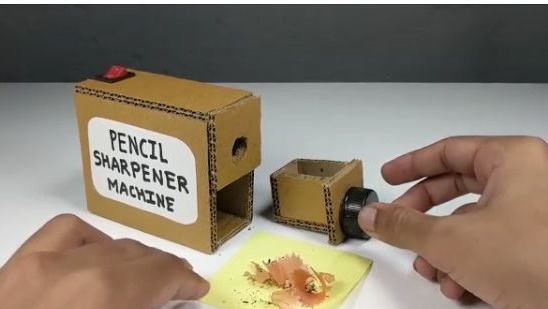
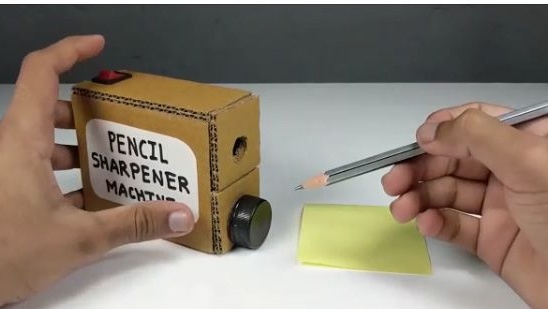
Now you have a rather interesting sharpener that will simplify your life a little.
In general, the sharpener turned out to be quite powerful and with her help really sharpen pencils.
Well, that's all thanks for your attention, I hope this article was useful to you, and also you have a wonderful opportunity to watch a video assembly of this homemade product.