
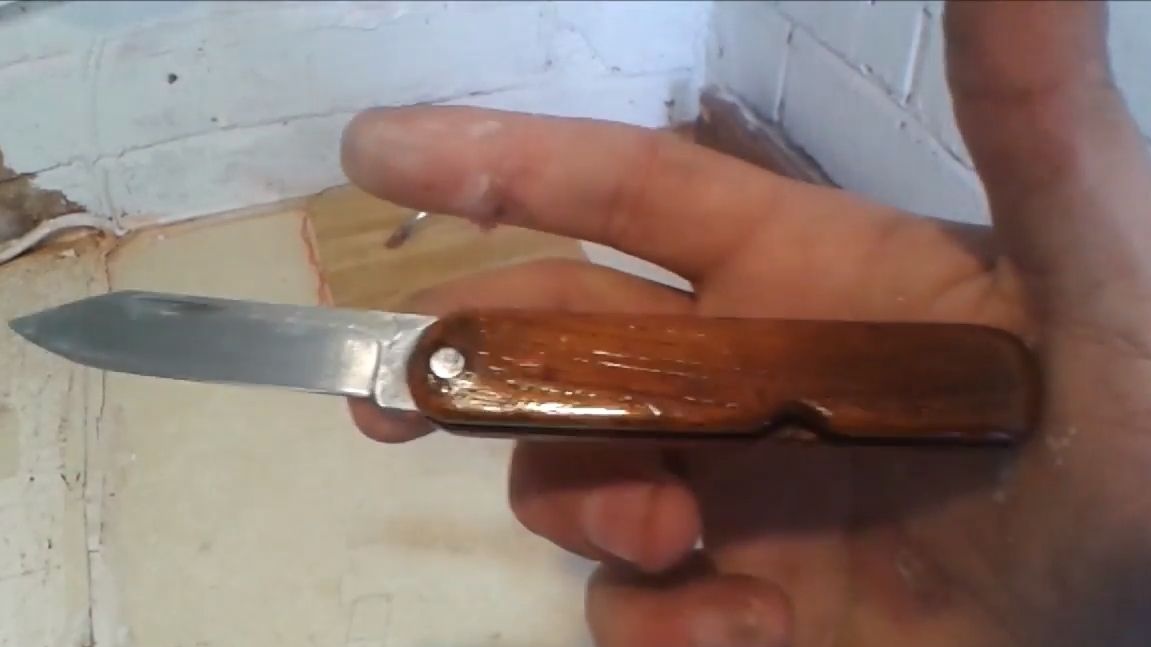
A knife is a very useful tool, you can protect it, sharpen a stick, cut a sausage or use it instead of a screwdriver if necessary. In order for the knife to be always with you, it must either have a protective cover or it must be folded. The second option is more convenient, since such a knife will be more compact, and you can not lose the case. Folding knives come in a wide variety of designs, we will consider the simplest of them.
The author decided to make the handle of his knife exclusively from wood. This material is available and easy to work with. The author used only hand tools for making a knife. The main emphasis in the article is on the manufacture of pens. You can find the blade either already ready from the old knife, or you can carve it yourself, it’s not difficult. So, let's start making a knife.
Materials and tools used by the author:
Material List:
- blank for the blade;
- wooden dostochka;
- steel rod (as an axis for the blade);
- glue for wood;
- electrical tape;
- oil for impregnation.
Tool List:
- jigsaw;
- hacksaw for wood;
- drill;
- marker;
- a planer;
- sandpaper;
- files;
- vise;
- clamps.
The process of making a knife:
Step one. Cut out the blanks for the handle
To make a pen you will need a piece of board. You can use different types of trees based on your preferences. But just remember that harder rocks will process harder. We will cut the board lengthwise into two halves, as a result we get two blanks. Here you will need to correctly take into account the thickness of the board.
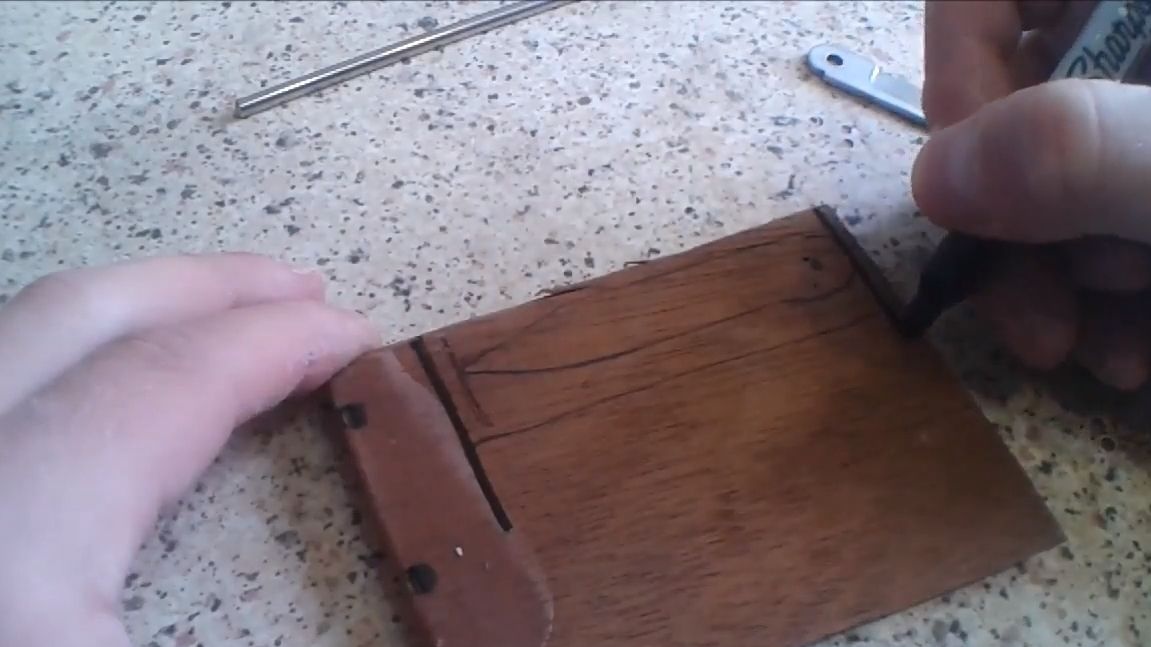
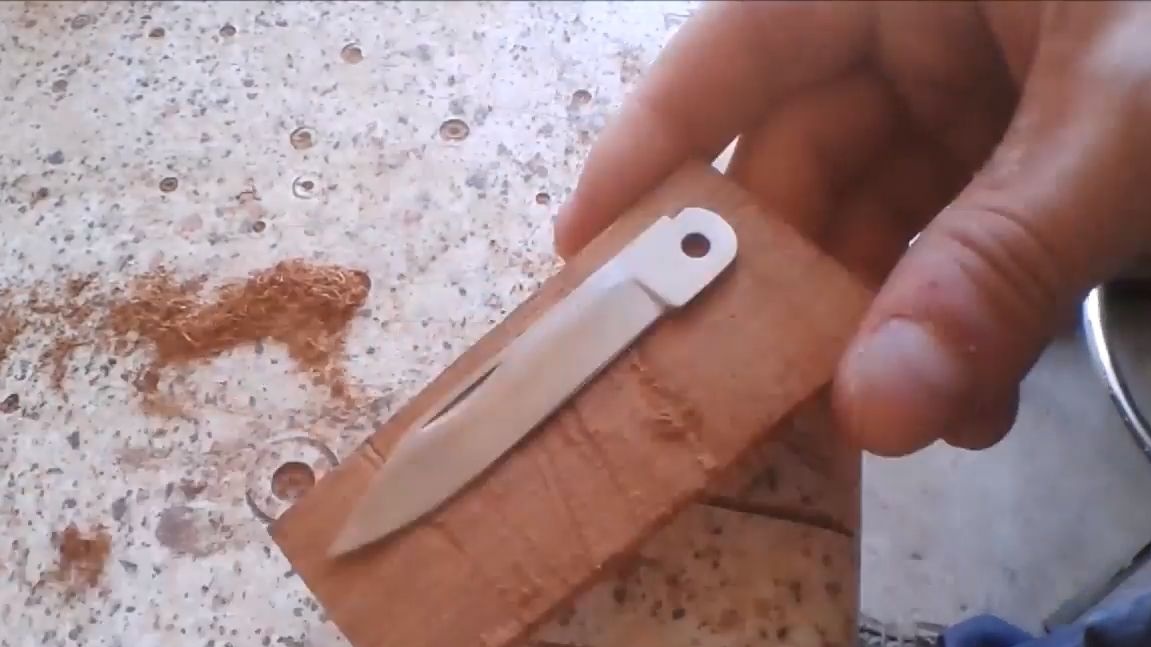
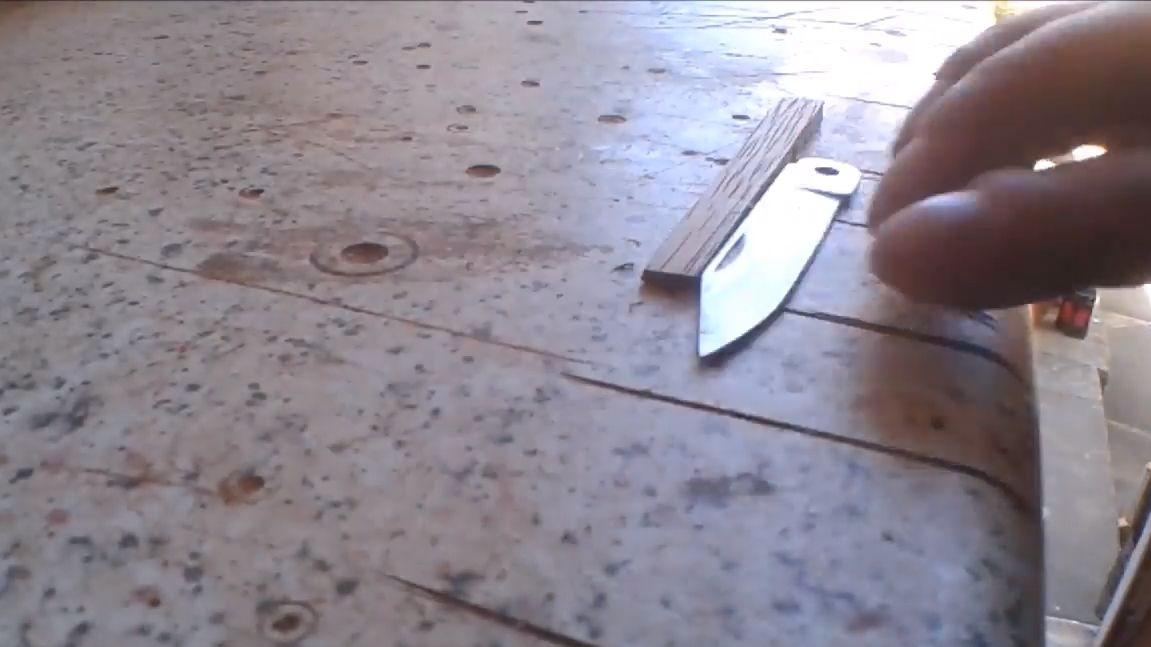
We apply the blade to the board and circle. Now we know how roughly the handle should be so that the blade can enter it. Also consider the location of the locking pin and so on.
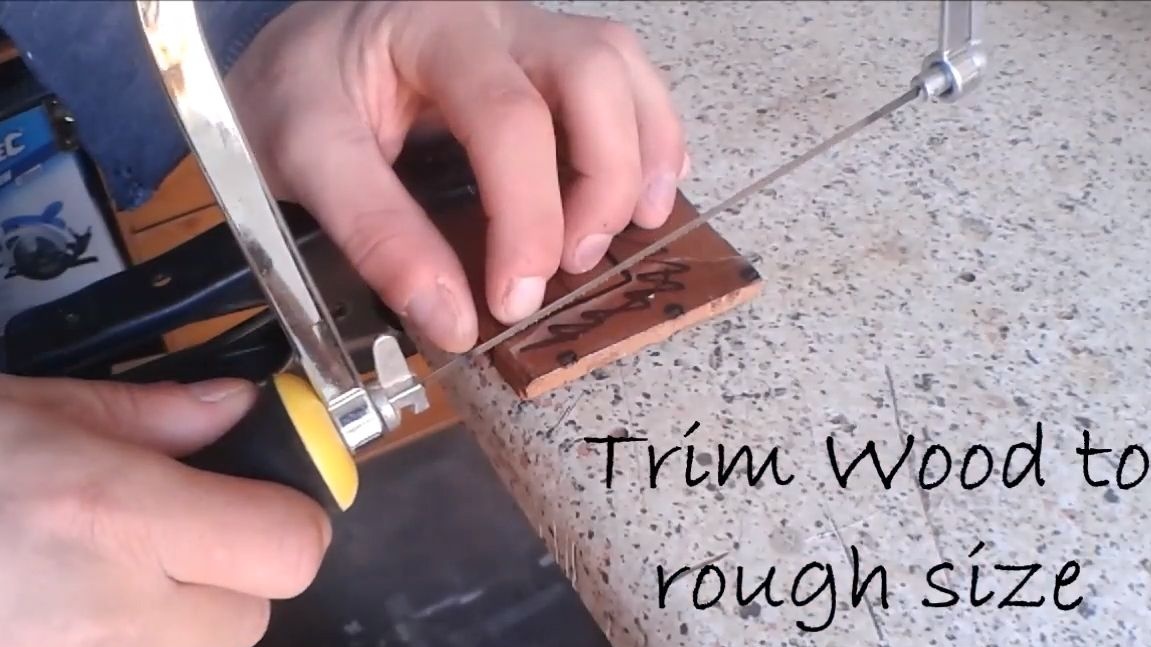
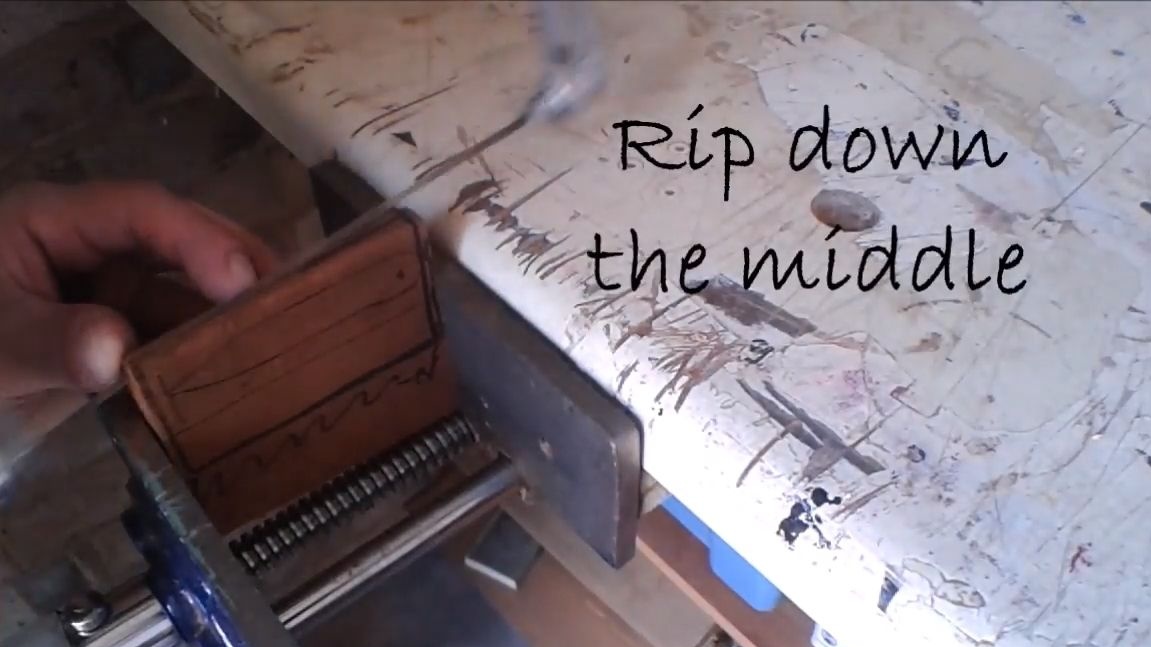
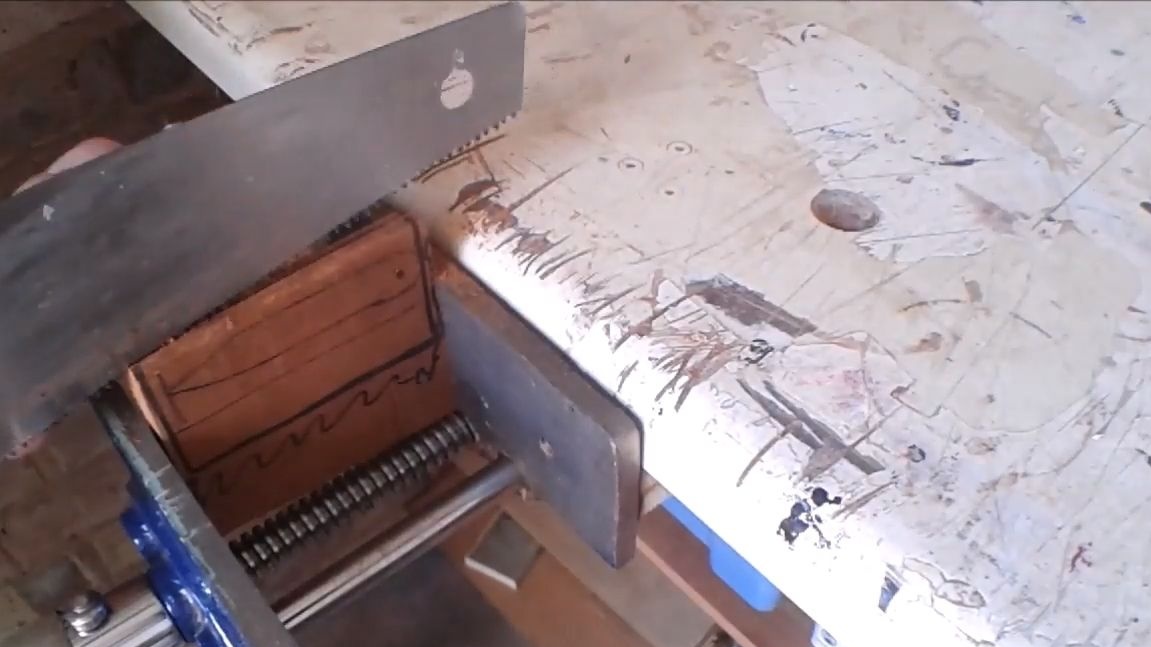
Having done all the necessary calculations, we clamp the board in a vice in an upright position and proceed to cutting. The author first outlines the cut line with a jigsaw, and then a hacksaw with a wide blade comes to the rescue. Slowly, slowly, we cut the board into two halves.
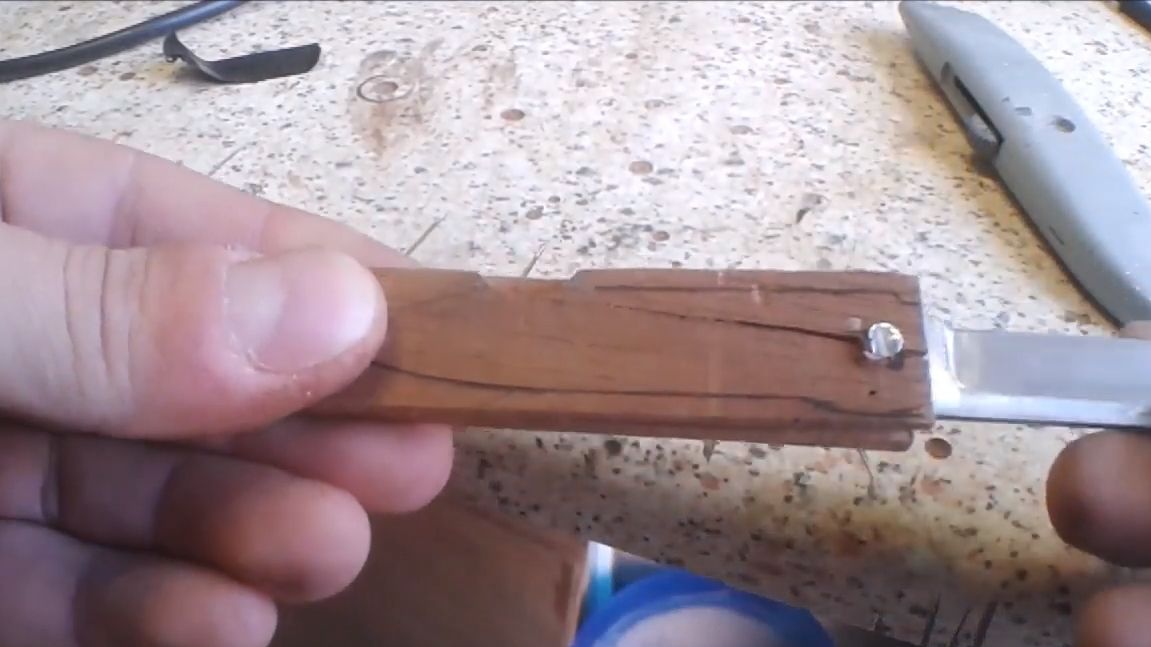
Step Two We make and install the axis of the blade
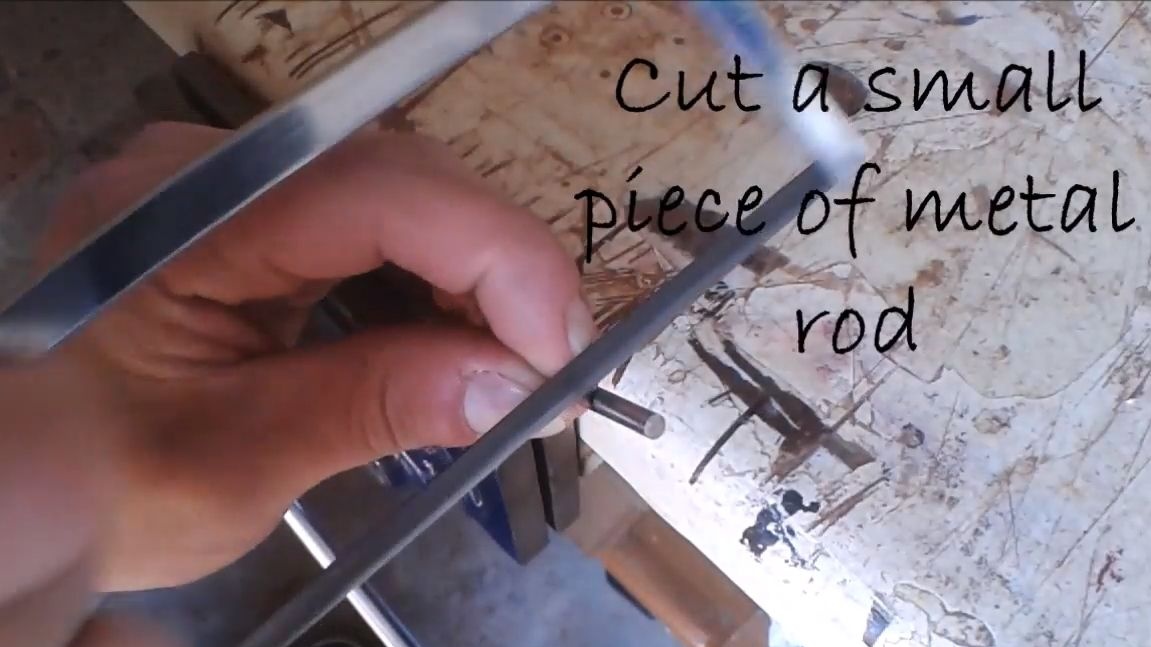
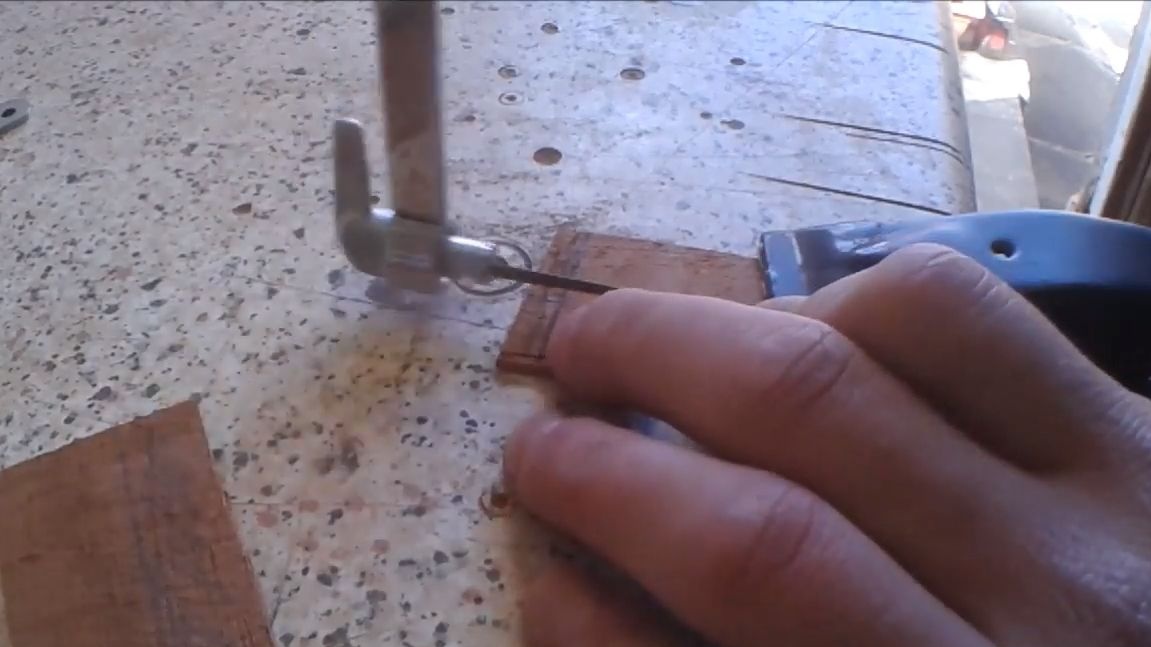
The blade is attached to the handle with a single metal axis. We are looking for a rod that is suitable in diameter and cut off the desired piece. In the blade, we drill a hole of such a diameter so that the axis fits tightly into the hole. The blade should not hang on the axis.

Step Three We finish the handle halves
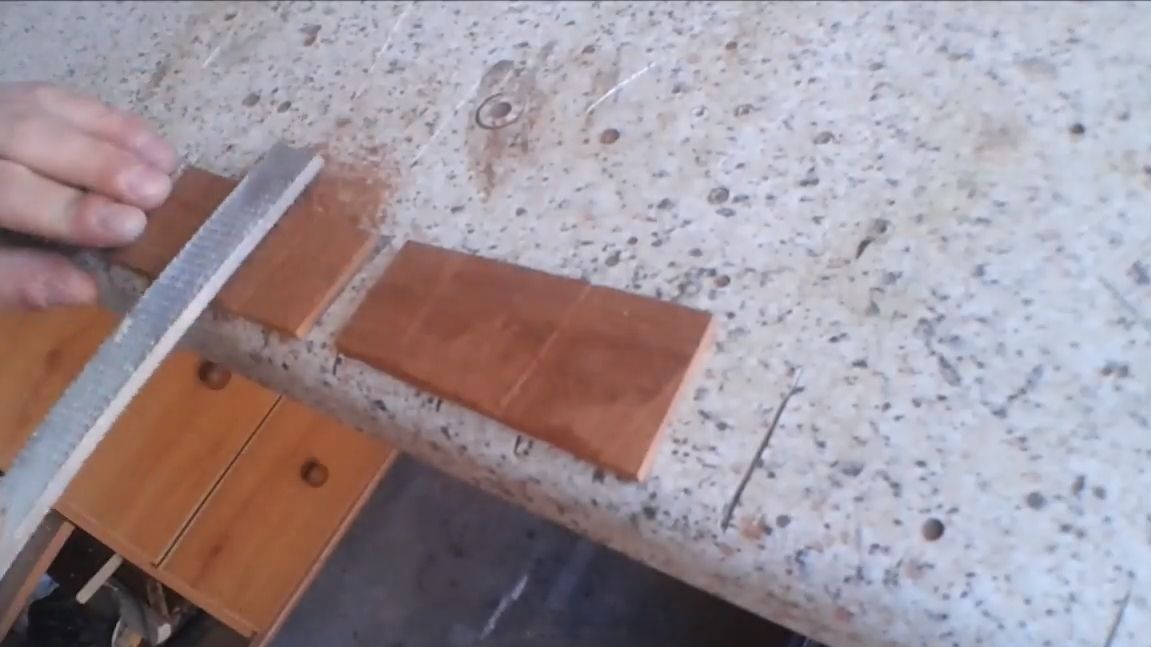
After the board was sawn into two parts, we got two halves.Each of them needs to be properly aligned and sanded, because after cutting the parts will have a lot of bumps. You can align them with a planer or by grinding, which is safer. Finally, sand the parts with sandpaper to make them perfectly smooth.
Step Four Inner strut
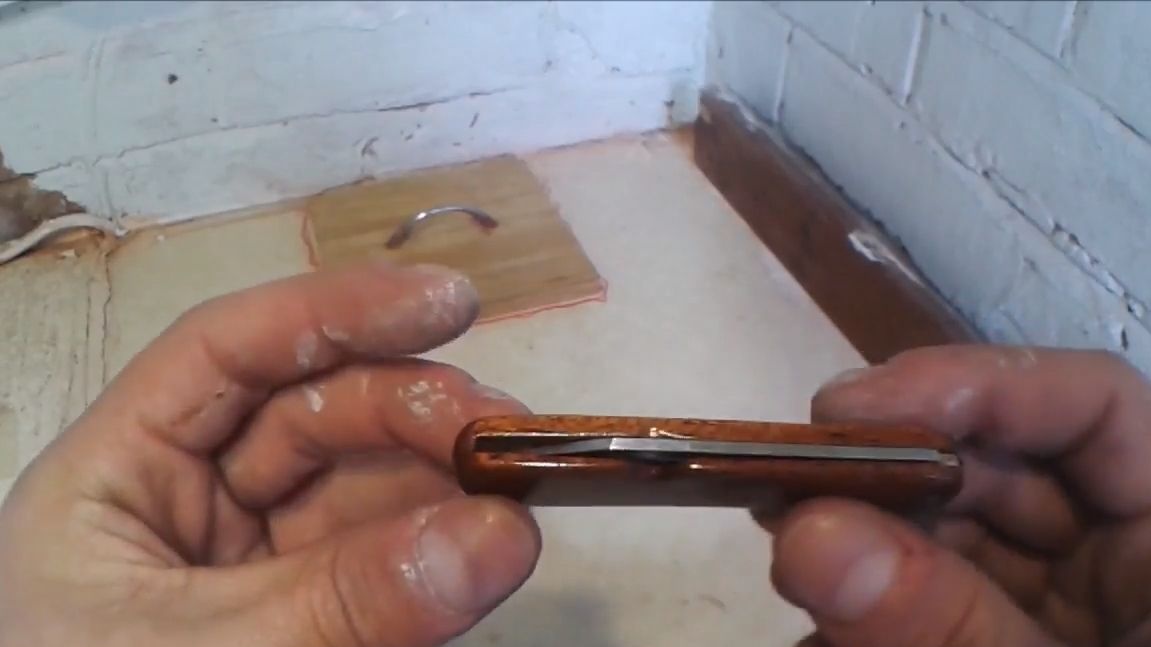
Between the two halves is another piece of wood, with it we get the desired clearance. Choose a gap in accordance with the thickness of the blade. The main idea is for the blade to fit tightly into the handle and not fall out. There are no additional clips here. Also, this part will act as a stop for the blade. For this piece of wood, use dense wood, like oak, maple, and so on.
The author obtains the required thickness using a planer.

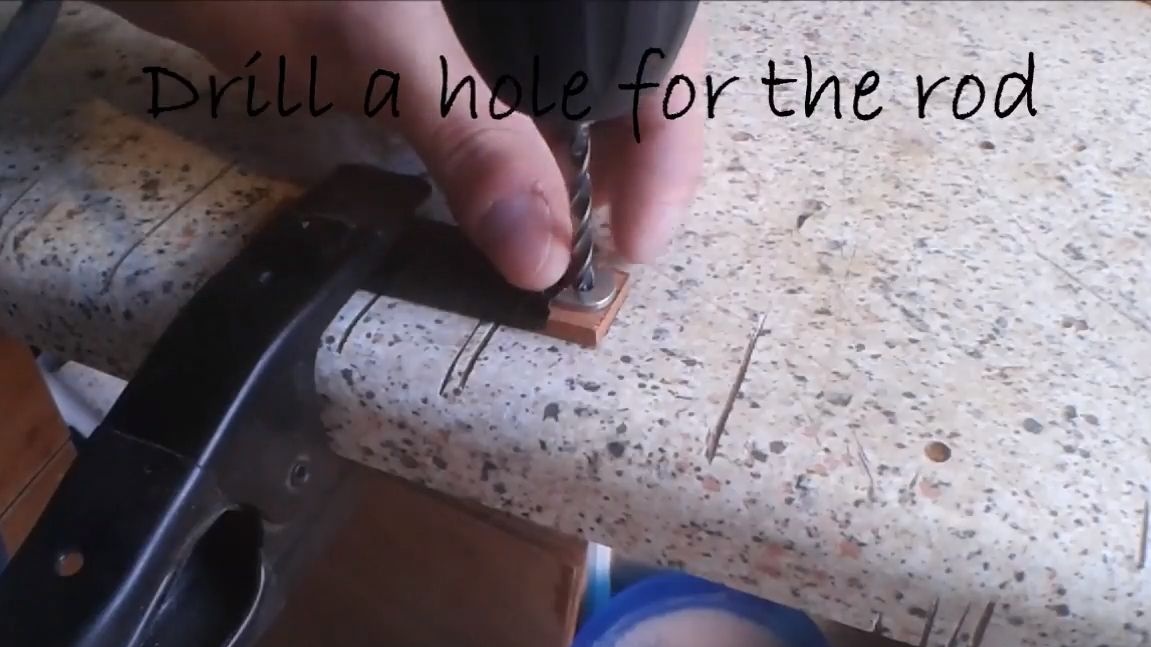
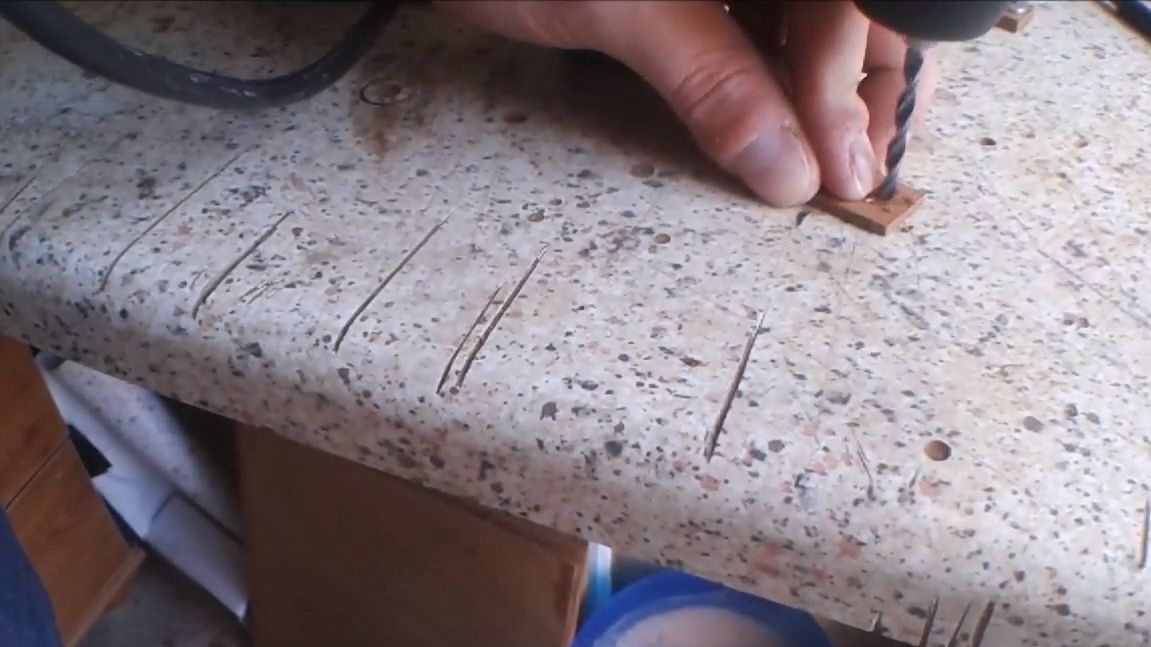
Step Five We drill holes for the axis
Attach the blade to the workpiece and drill holes under the axle. It should fit tightly into the part. Try to put all the parts together and make sure that all the parts are made correctly. The blade should not spontaneously fall out of the handle. If so, reduce the gap between the halves of the handle.
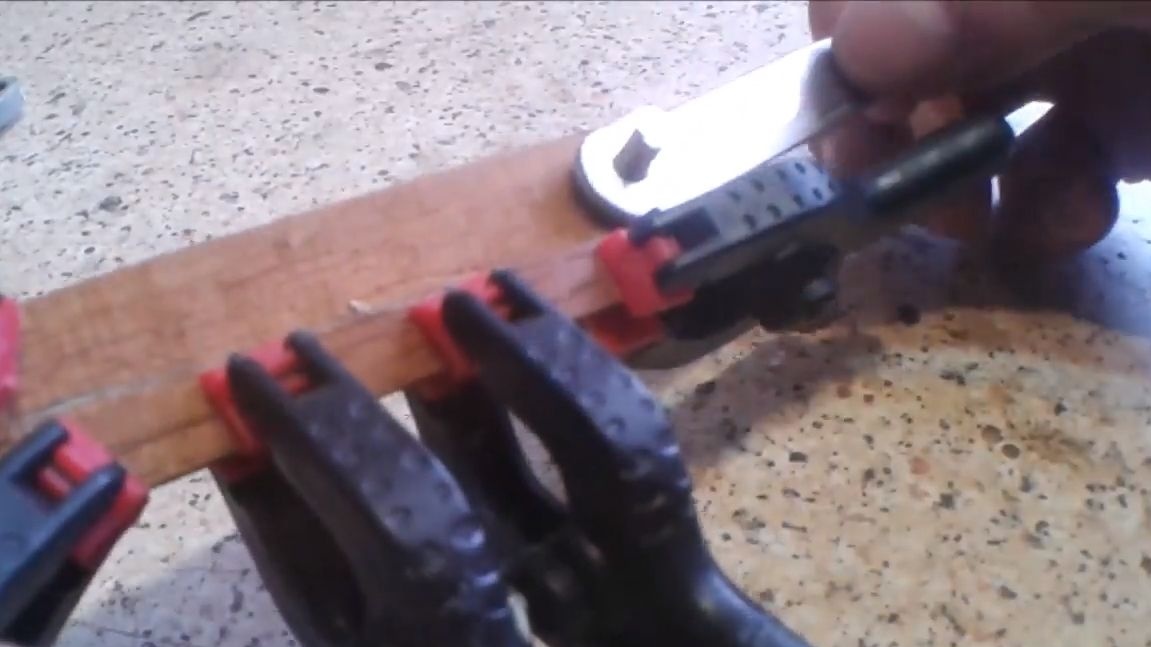
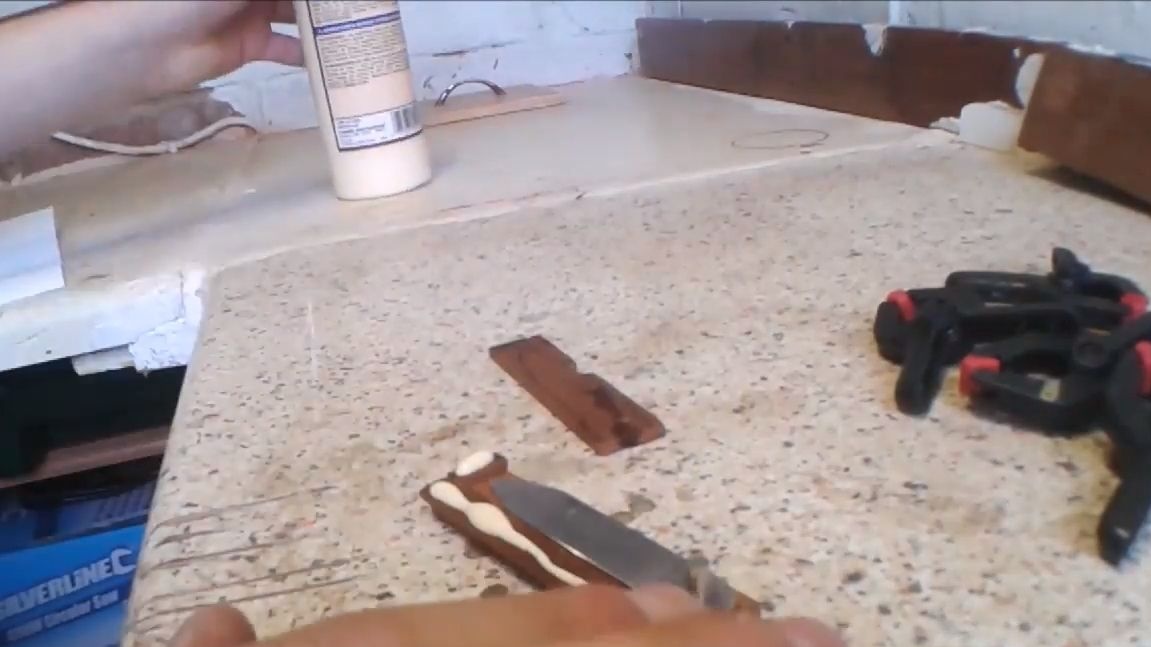
Step Six Gluing
Epoxy glue is suitable for gluing, but the author decided to use glue for wood, it is also quite enough here. Apply glue to the “spacer” on both sides, and then glue the halves to it on the sides. As for the axis on which the blade is held, before assembling it is highly advisable to apply epoxy glue on it, so it will firmly stick to the handle. But be careful, if the glue sticks the blade, you may not open the knife after manufacturing.
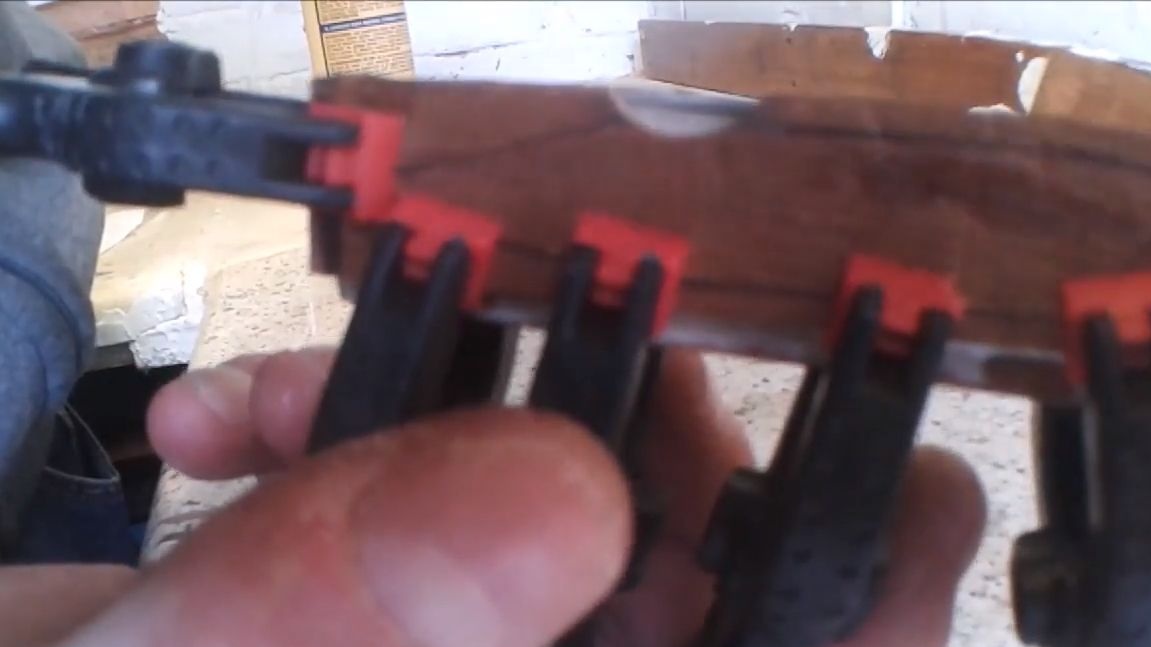
We clamp the whole thing with a few clamps and let the glue dry completely. Epoxy dries for about a day, it is better to spend about the same amount of time for wood glue.
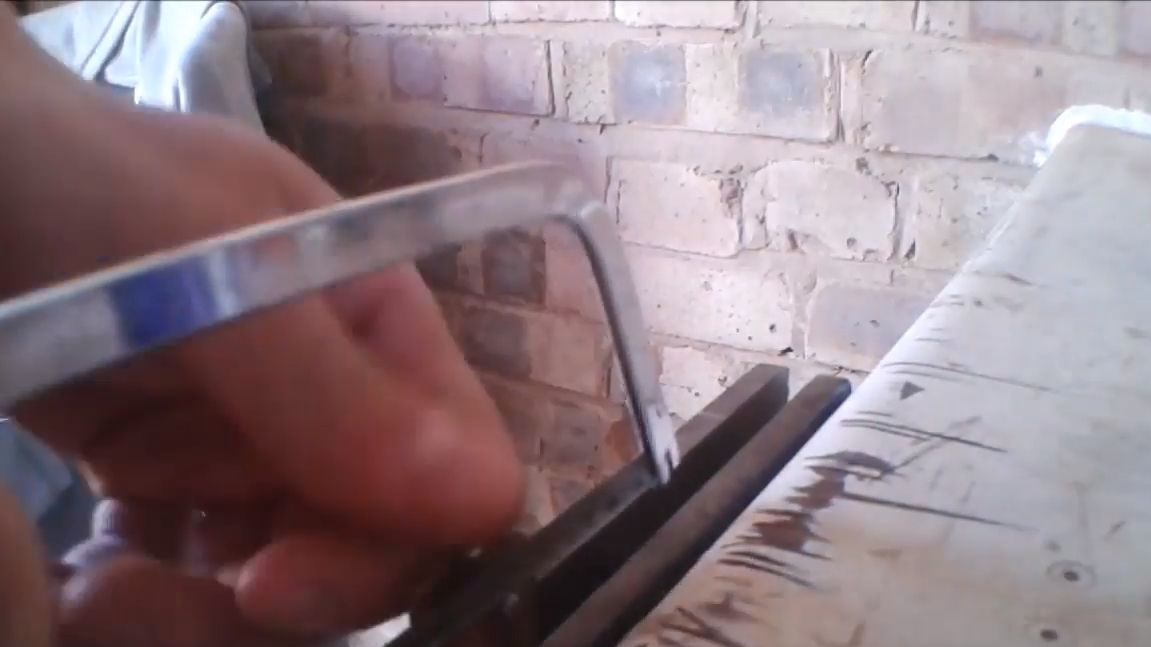
Seventh step. Final processing
When the glue dries, remove the clamps. You now need to cut off the protruding parts of the axis, for this we use a hacksaw for metal.
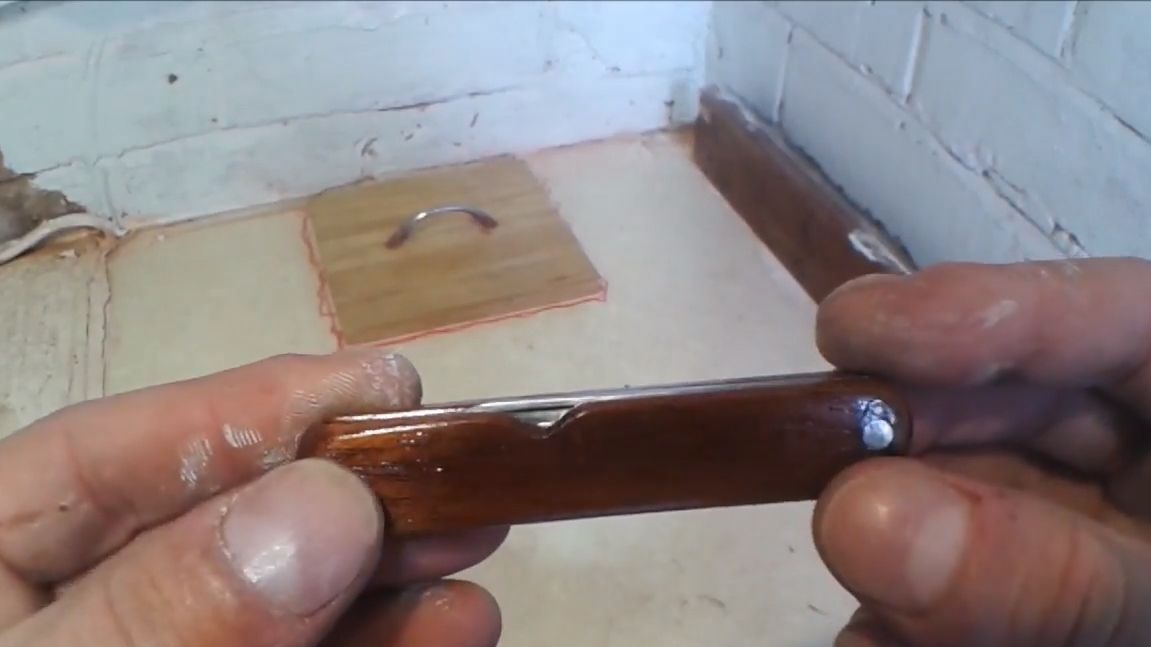
In the end, you will have to form the desired profile of your pen. This can be done manually, since the size here is small. We take files and form the desired profile. Then we switch to sandpaper. In conclusion, we use the smallest sandpaper to bring the product to the ideal.
At the same step, you can sharpen the blade, fine sandpaper dipped in water is perfect for this.

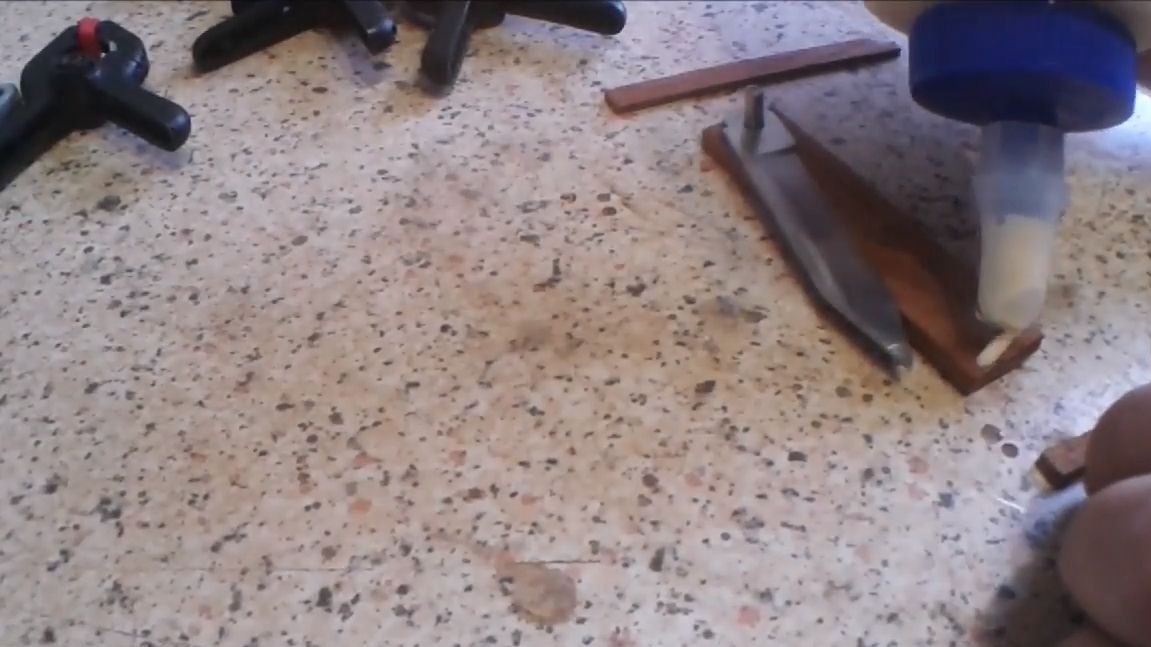
Step Eight. Impregnation
Wood is a very insidious material, it instantly changes in size, cracks, deforms if moisture gets on it. To avoid these unpleasant consequences, the tree must be protected. Here you will save linseed oil or any other, designed for wood processing. Do not use mineral oils as they do not dry out. Impregnate the pen everywhere, both outside and inside. Let the oil dry. Instead of oil, you can also easily use varnish.
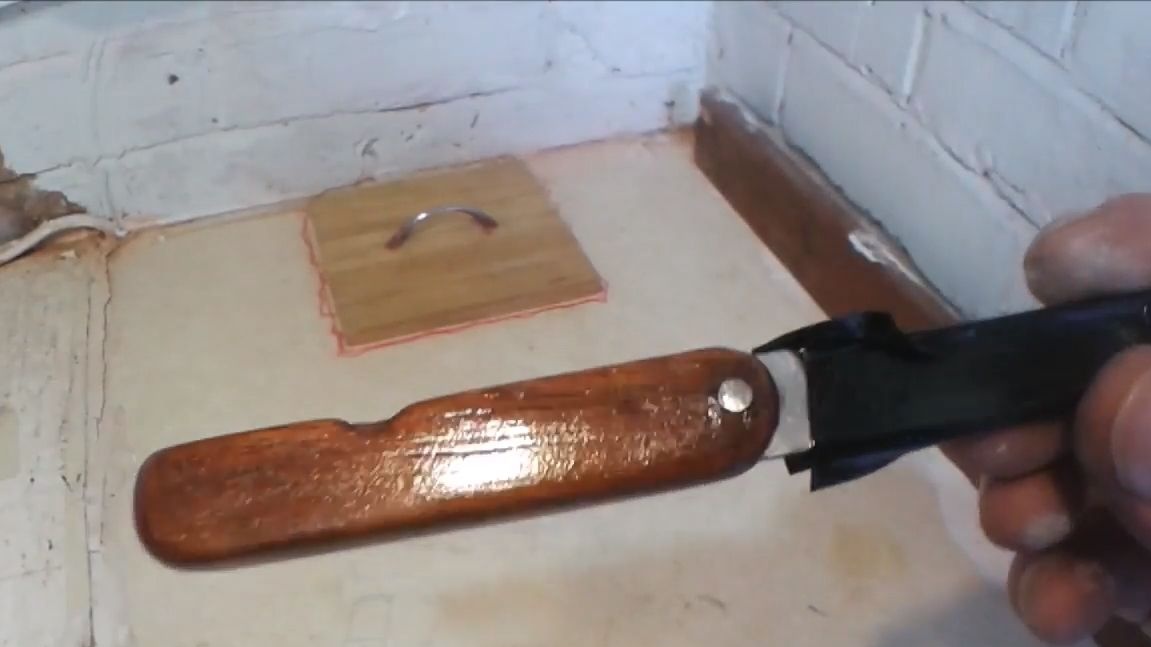
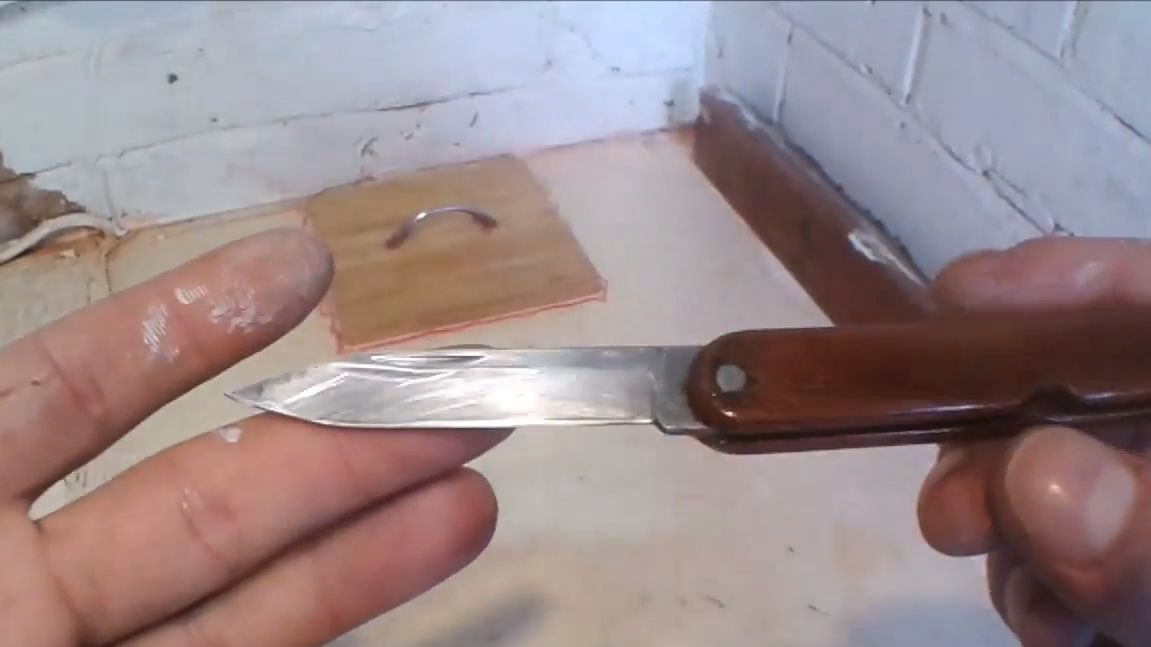
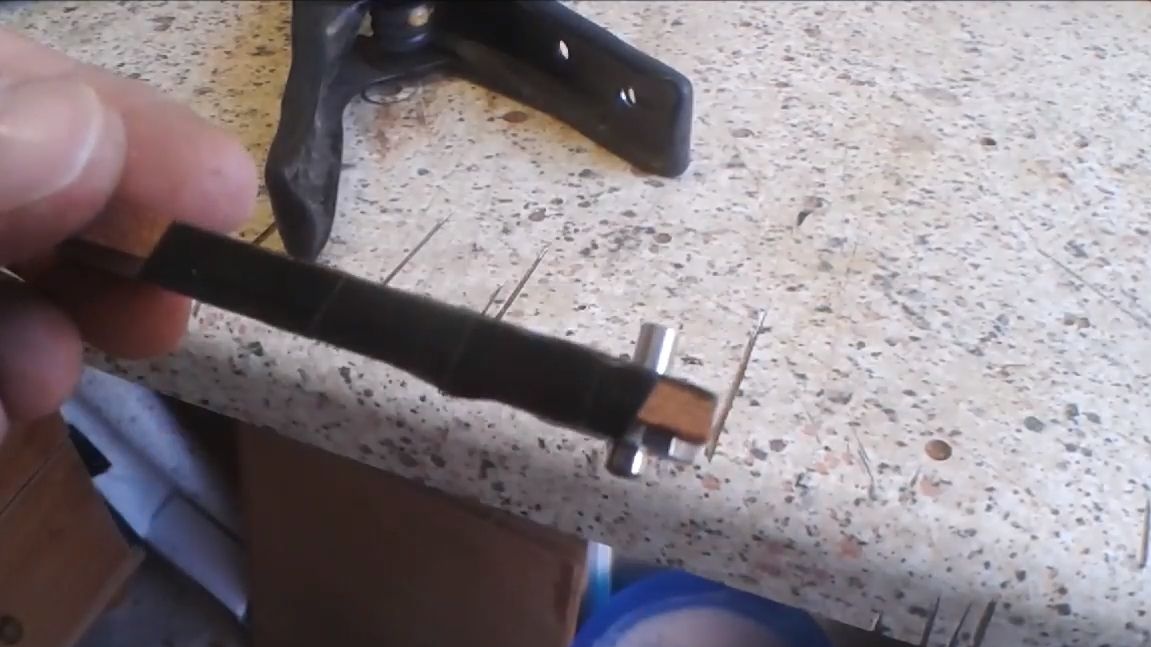
That's all, the manufacture of the knife has come to an end. As a result, we have a small convenient pocket knife. Do not forget that the handle is made of wood, so the knife will not be able to bear the high load on the blade. However, for most household work, its strength should be enough. That's all, good luck and take care!