
Bowie's knife is an excellent tool for a fisherman, hunter, tourist, and for an ordinary worker. These knives are distinguished by a massive long blade, which is able to withstand impressive loads. Only from the sight of this knife will the enemy tremble along the back and he will not want to have anything to do with you. Thanks to this instruction, you can easily make such a knife do it yourself. It does not have to be made of quality steel if you want to use it as a souvenir.
For a good knife, you need steel that can be hardened. Typically, this type of steel is used in the manufacture of tools, springs, various cutting blades and so on. As a blank for Bowie's knife you will need an impressive piece of sheet metal. As it is possible to use a piece of a spring from the car without problems. So, we begin to make a knife.
Materials and tools used by the author:
Material List:
- sheet steel (for a blade);
- brass plate (for guard);
- wooden block (for the handle);
- epoxy adhesive.
Tool List:
- forge;
- an anvil with all the forging tools;
- gas-burner;
- ;
- ;
- files;
- sandpaper;
- polishing machine;
- drill;
- vise;
- .
Bowie Knife Making Process:
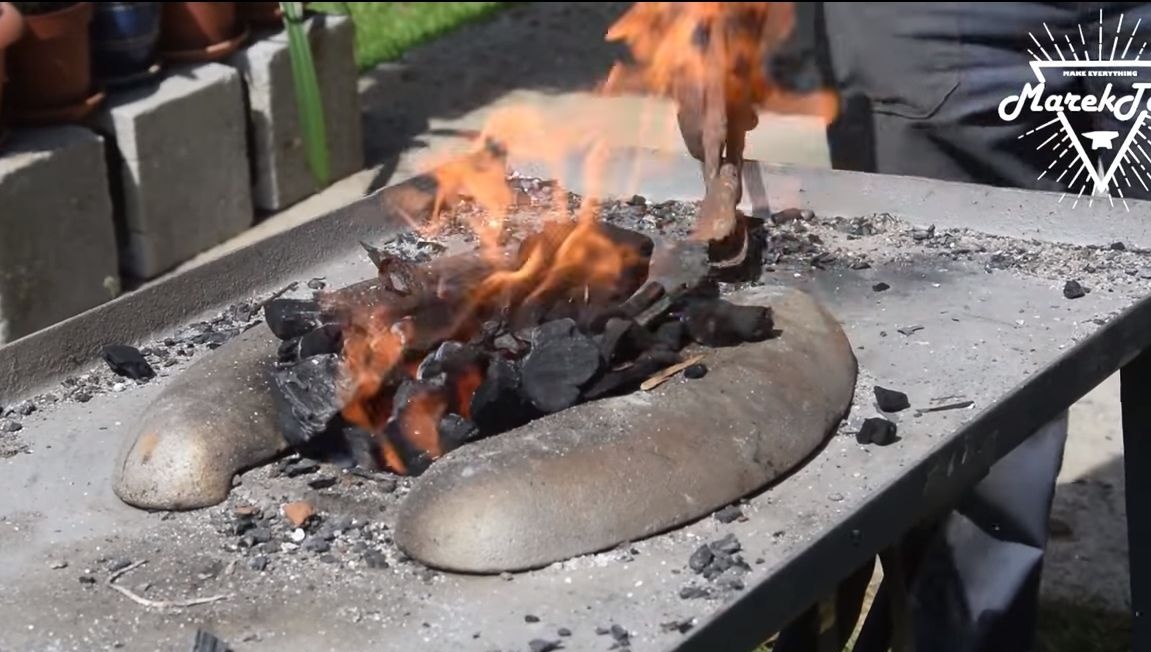
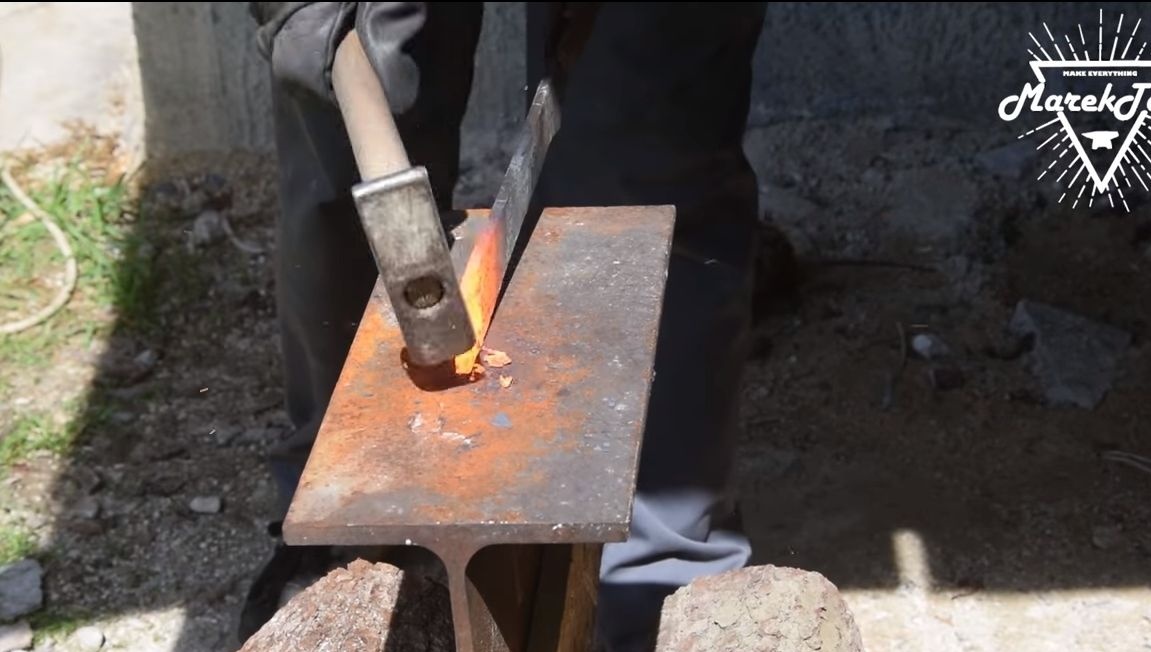
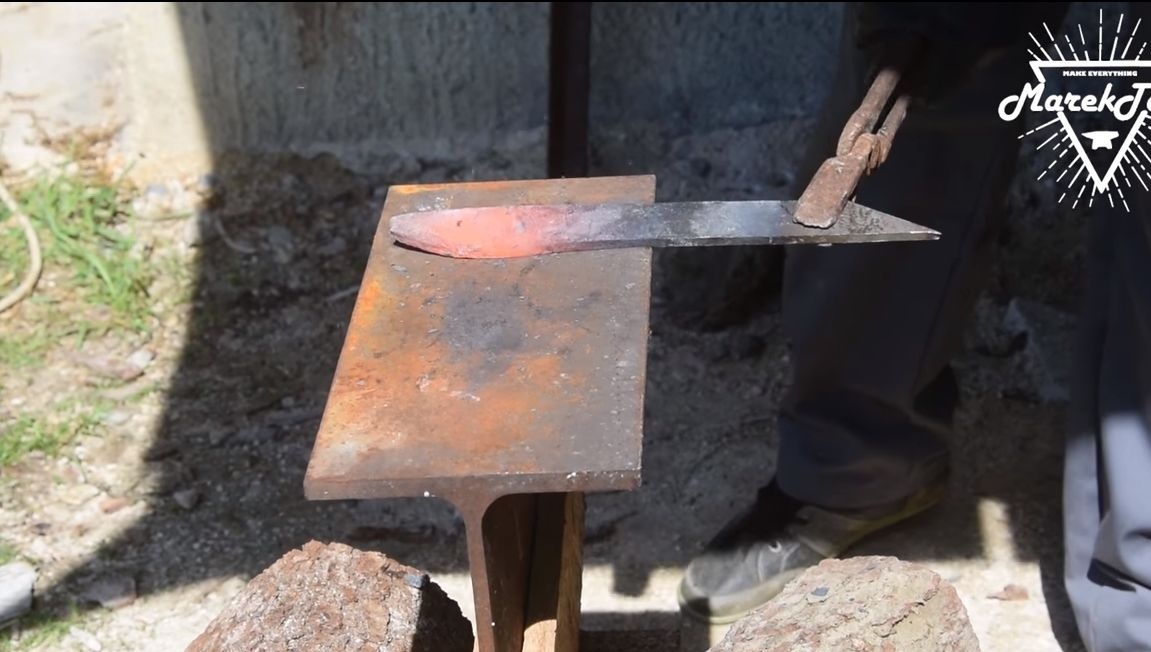
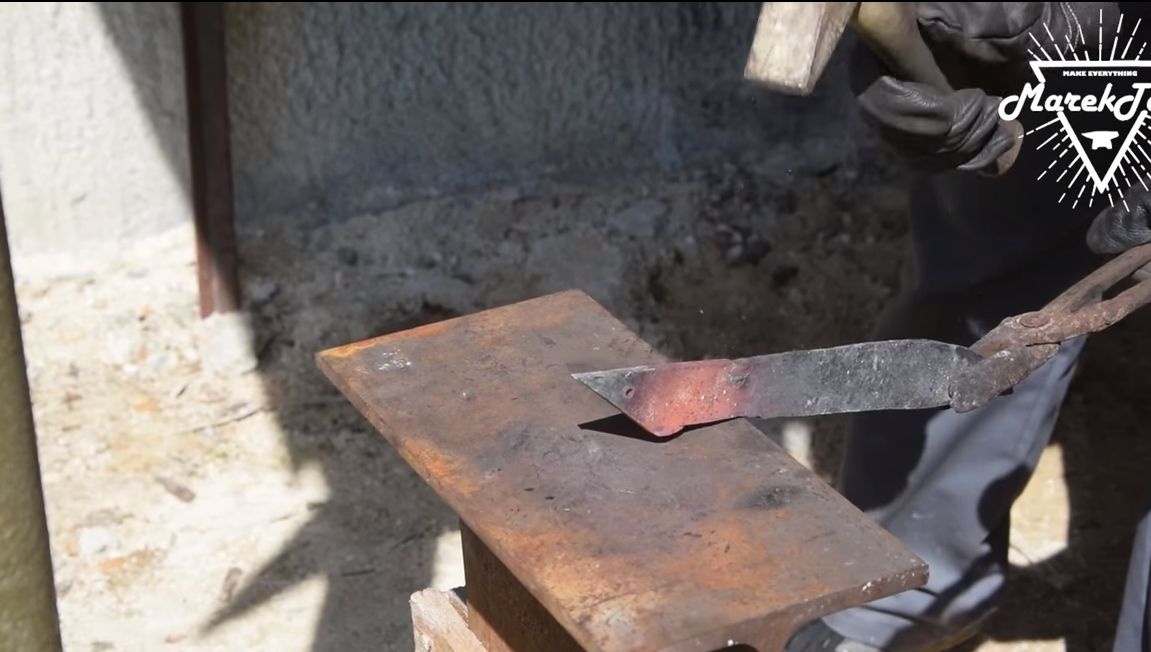
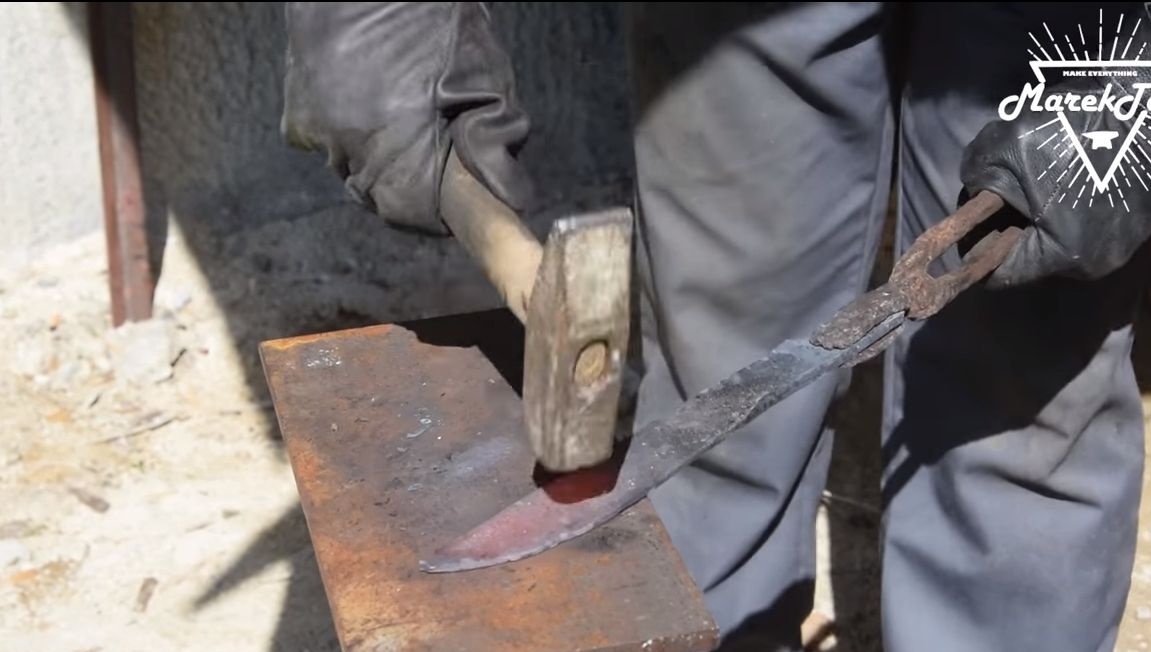
Step one. Forging
To form the desired profile, the author decided to use his forge. We redden the metal and work with a hammer. With this approach, you can derive the main profile of the blade. Of course, here you have to sweat, because the workpiece will have to be heated more than once to get the desired result.
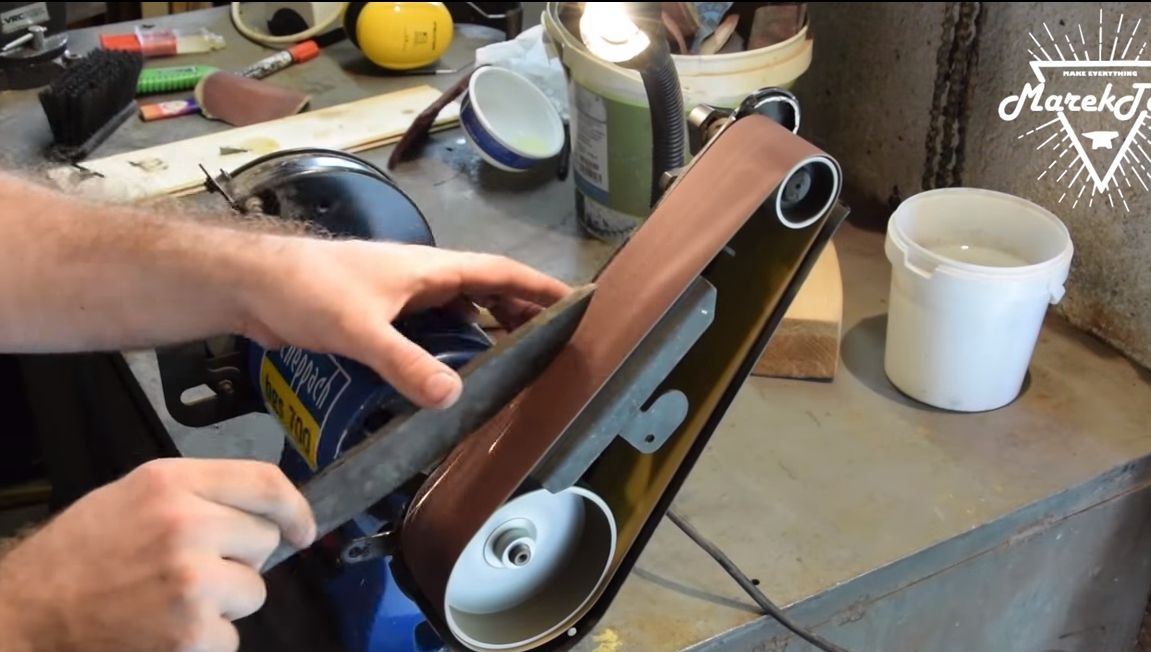
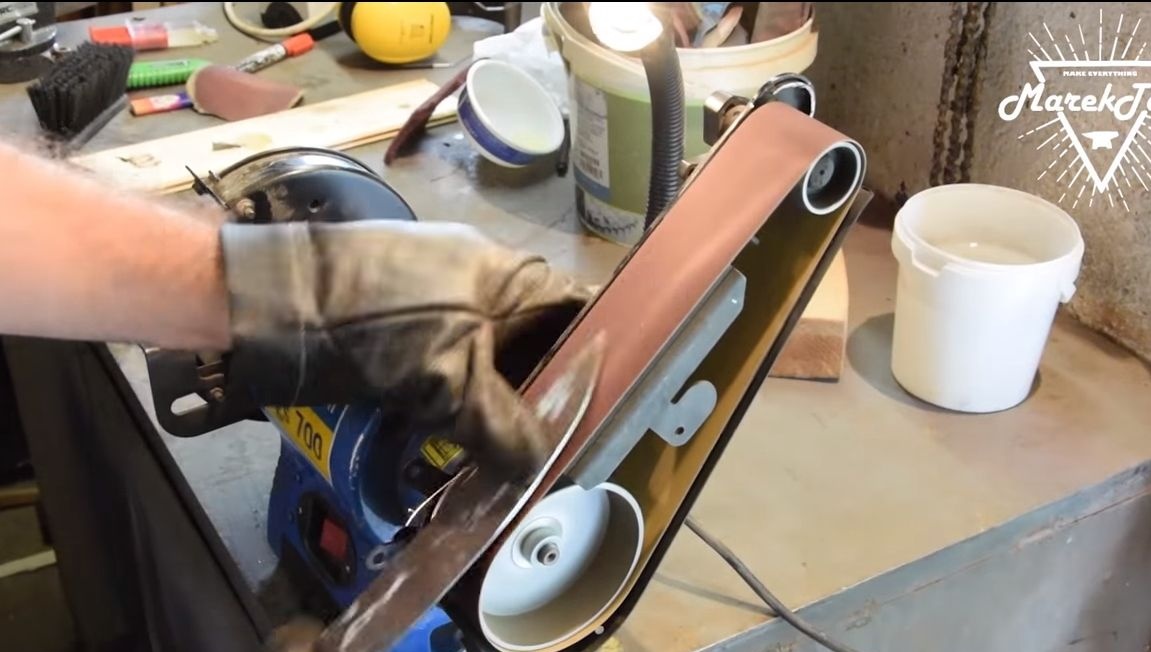
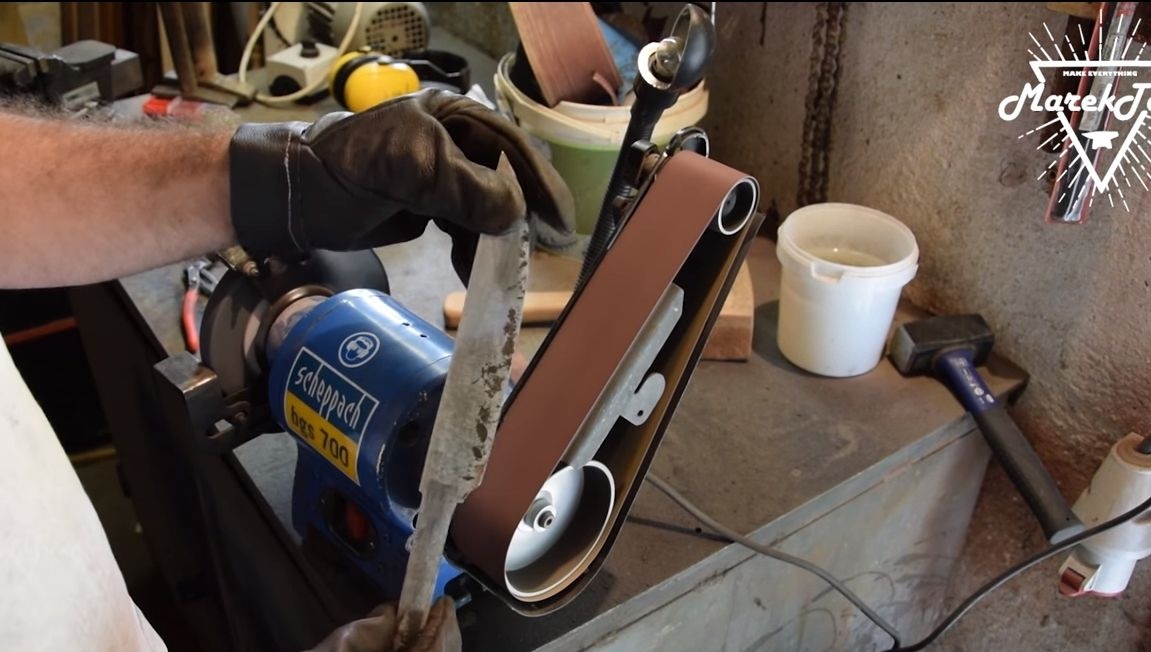
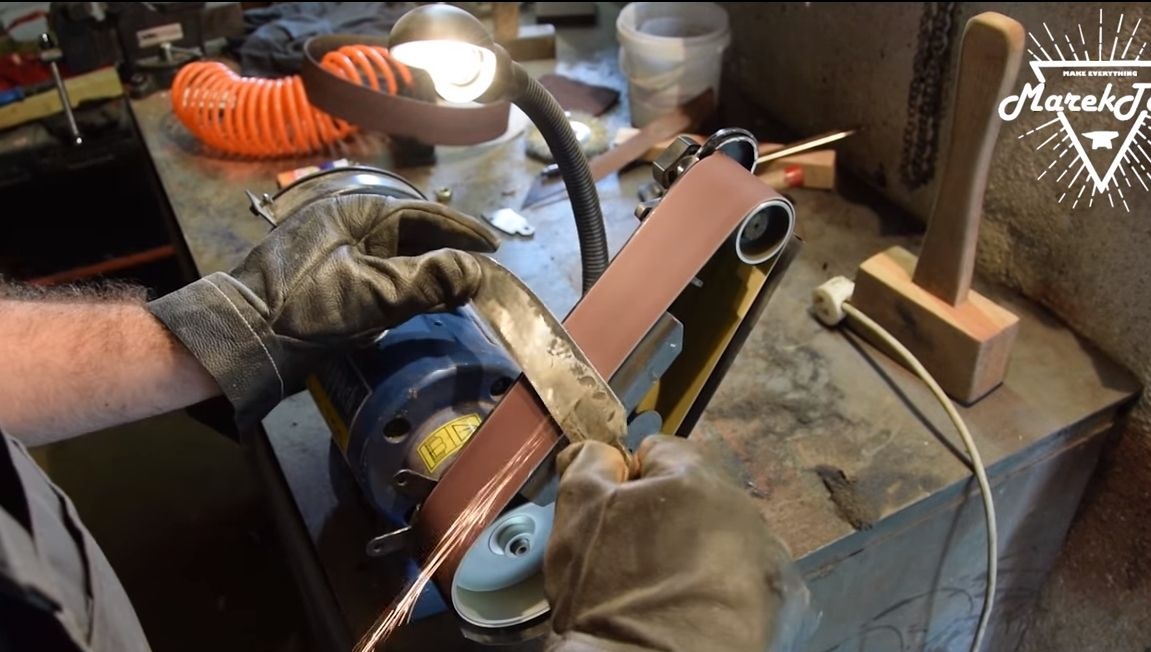
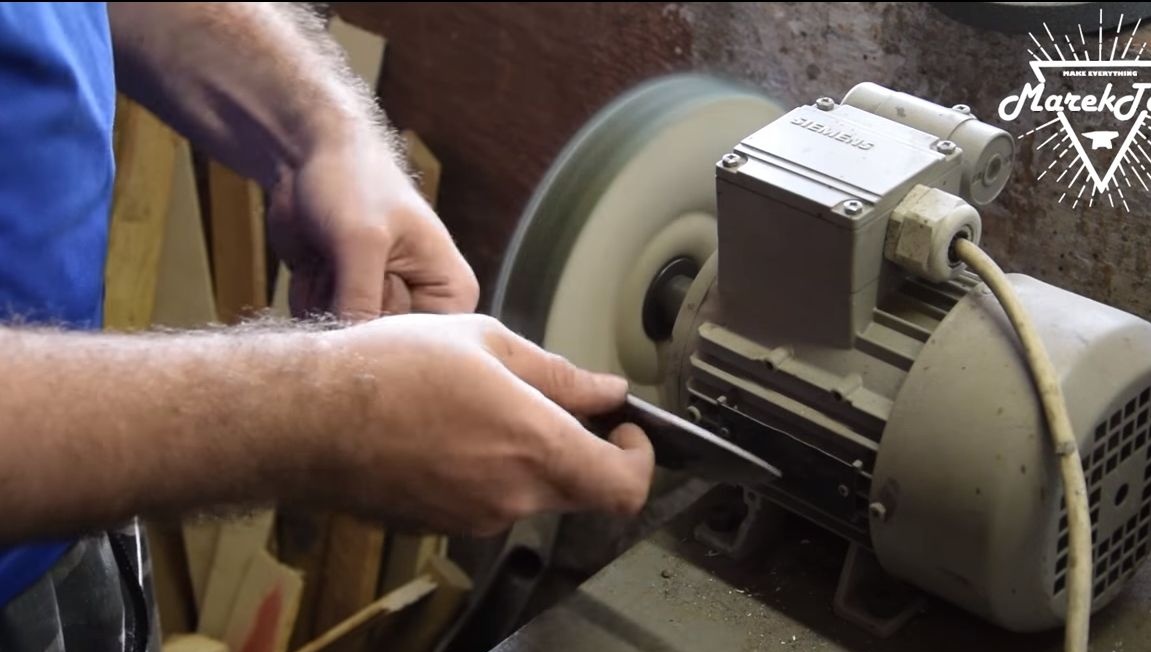
Step Two Profile revision
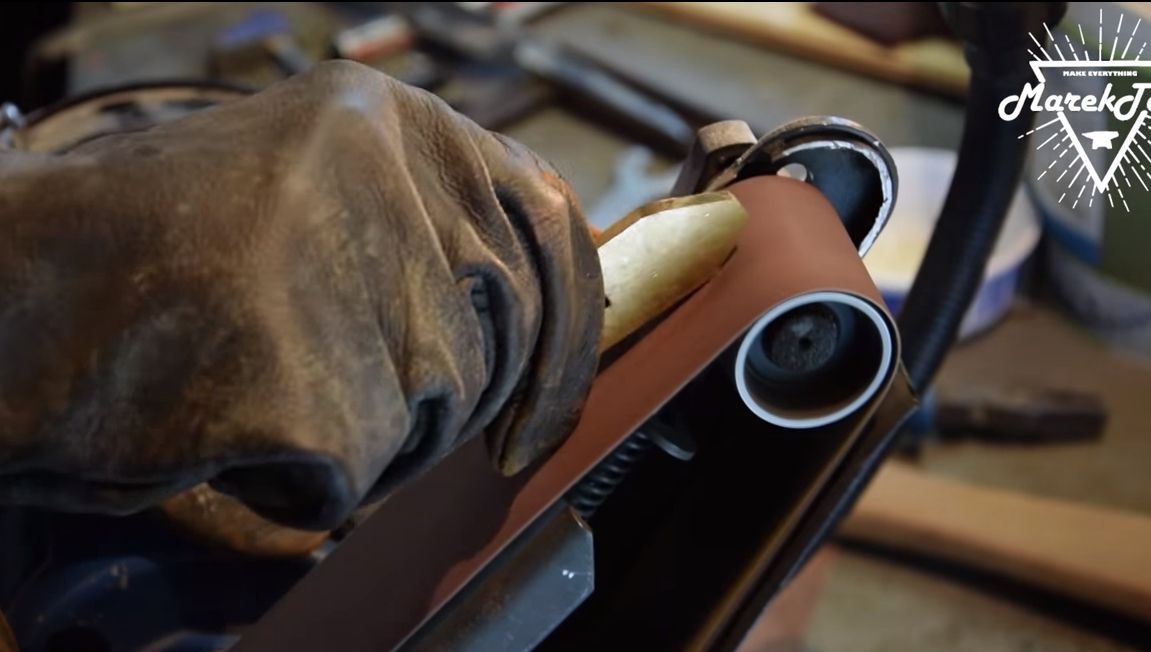
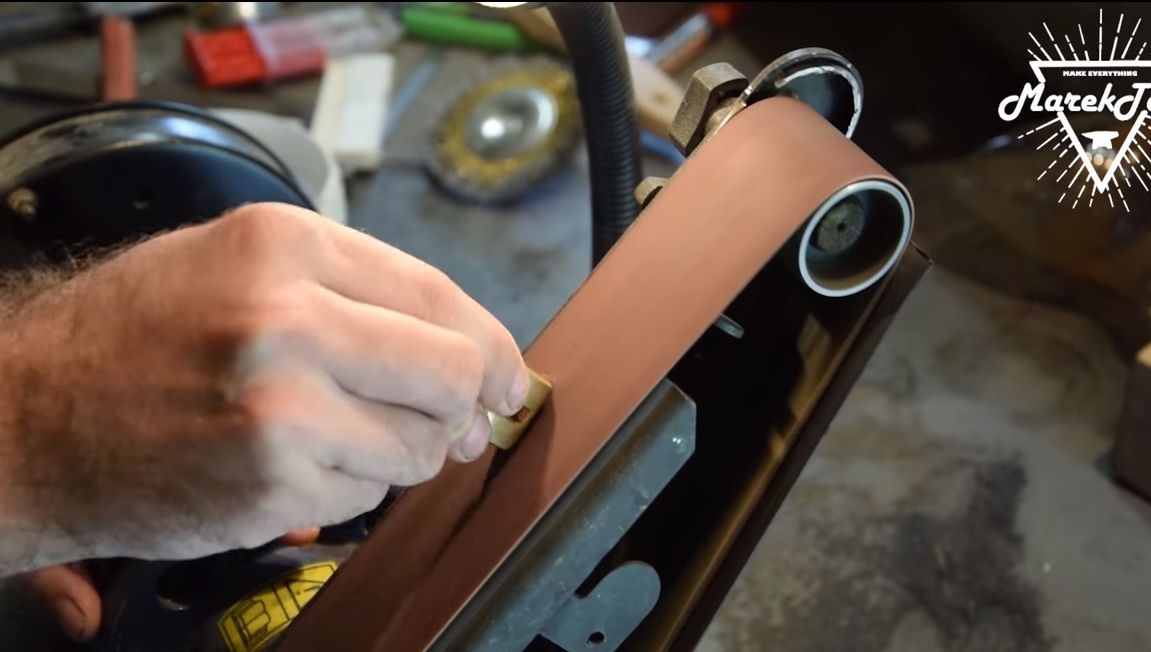
After forging, we need a belt sander. With the help of it, we finally form the desired profile of the blade. It must be sanded from all sides, both along the contour and along the planes.
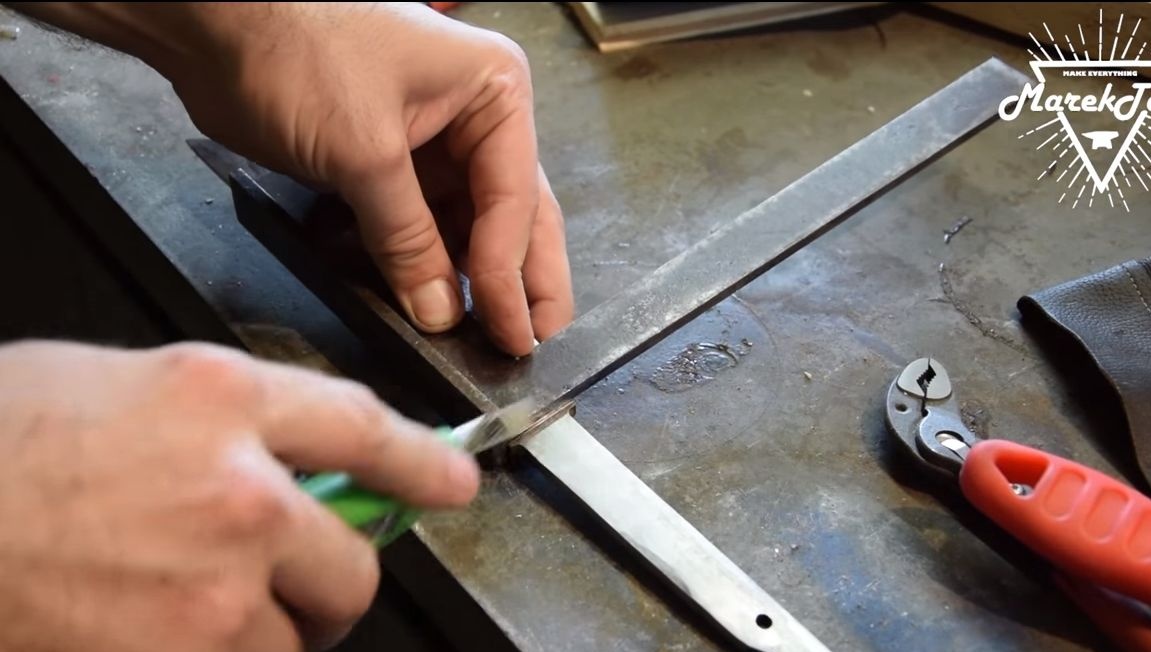
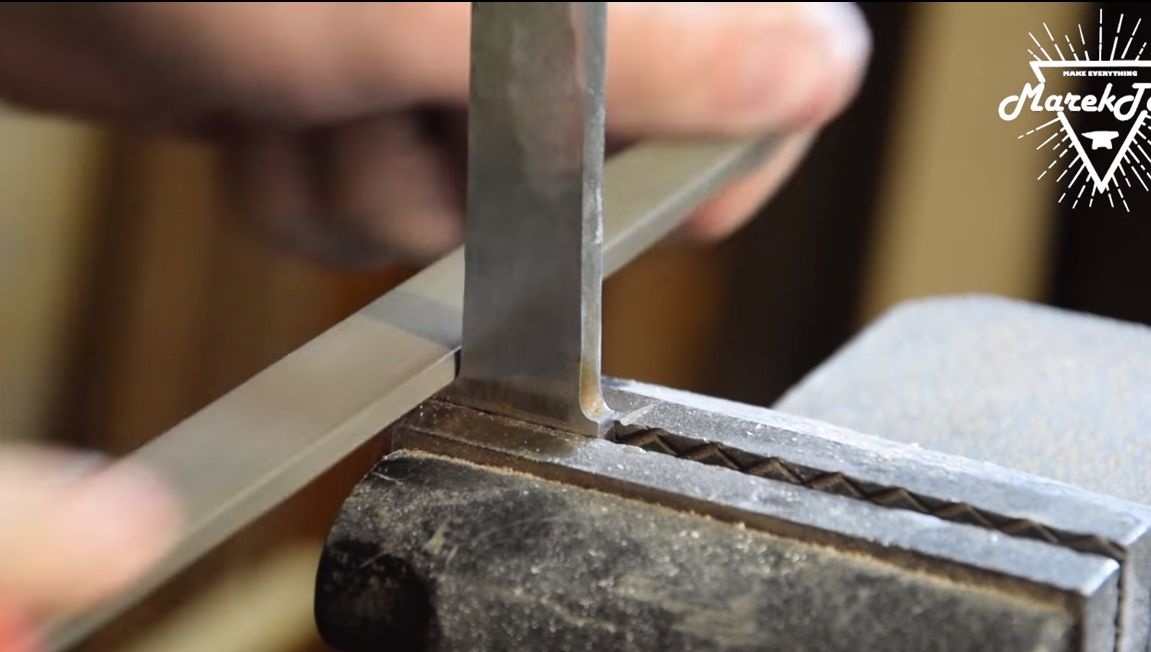
Step Three Emphasis for a guard
Determine the place where the guard will be located. Under it you need to focus. Now we clamp the blade with the tail part up in a vise and with the help of a file we work on the stop.
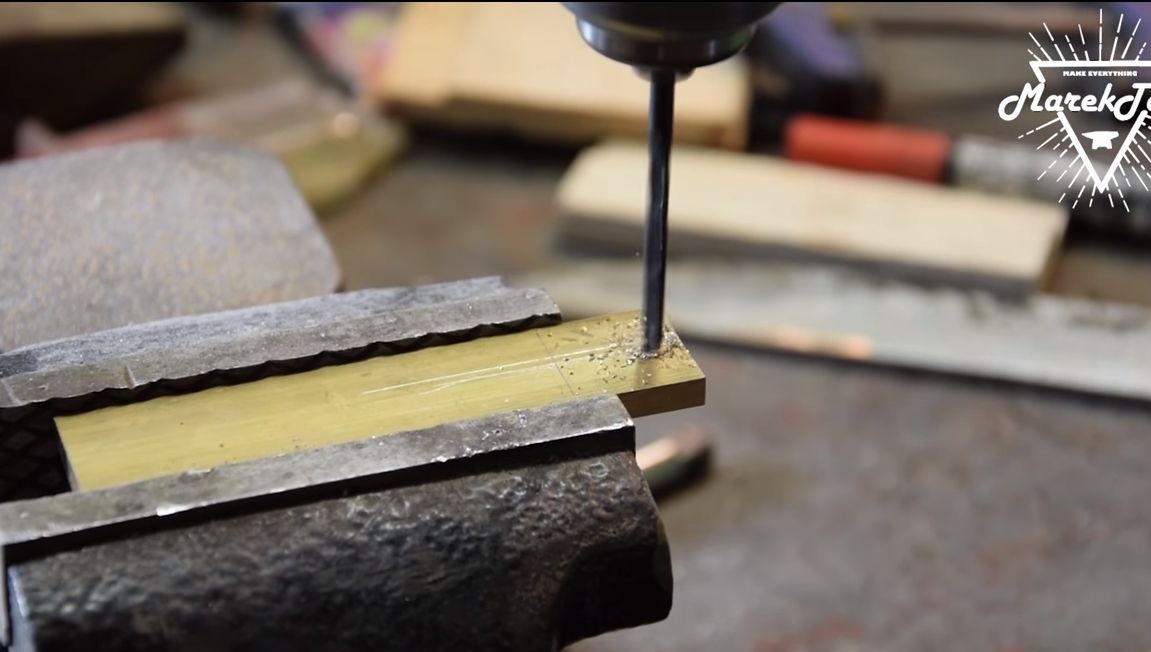
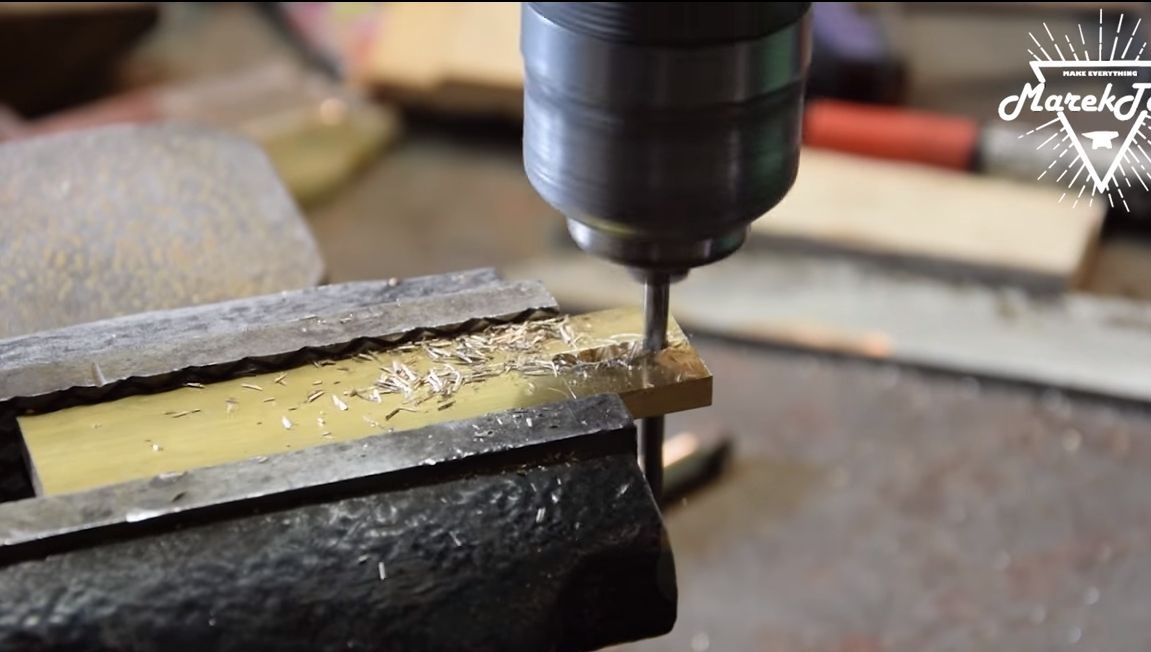
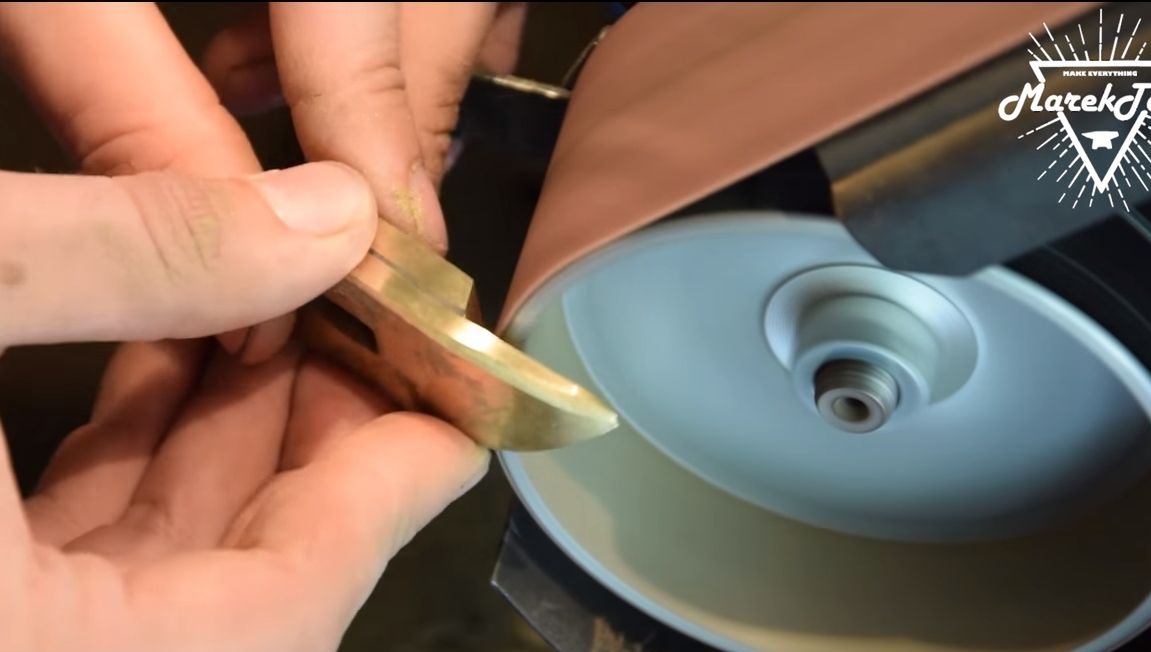
Step Four We make a guard
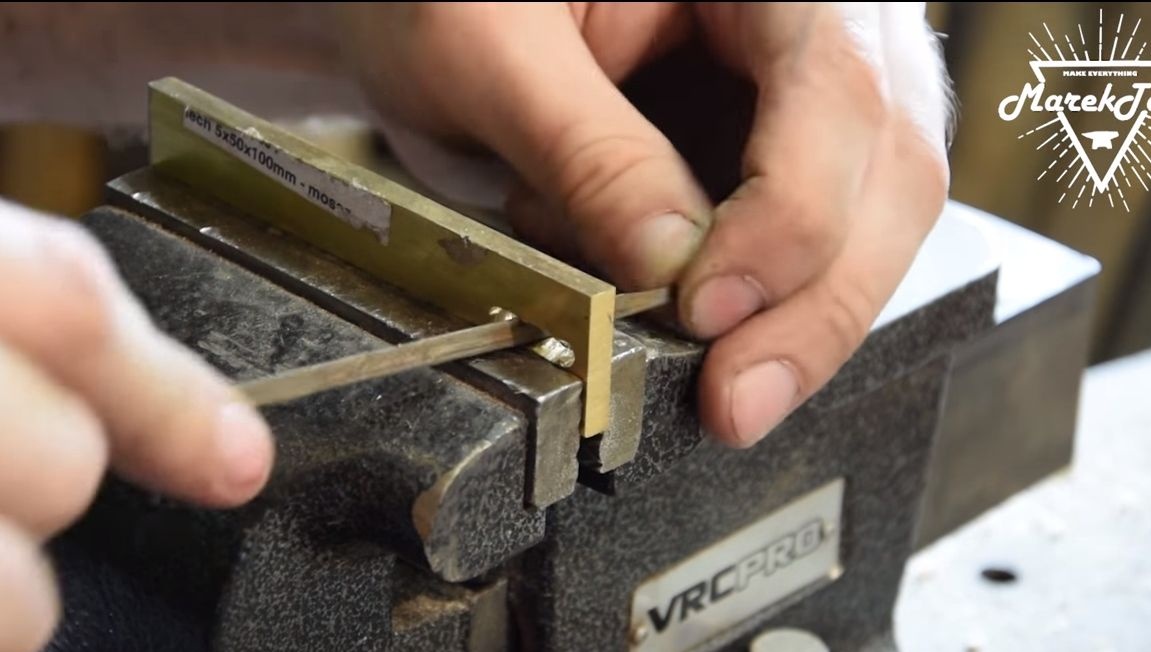
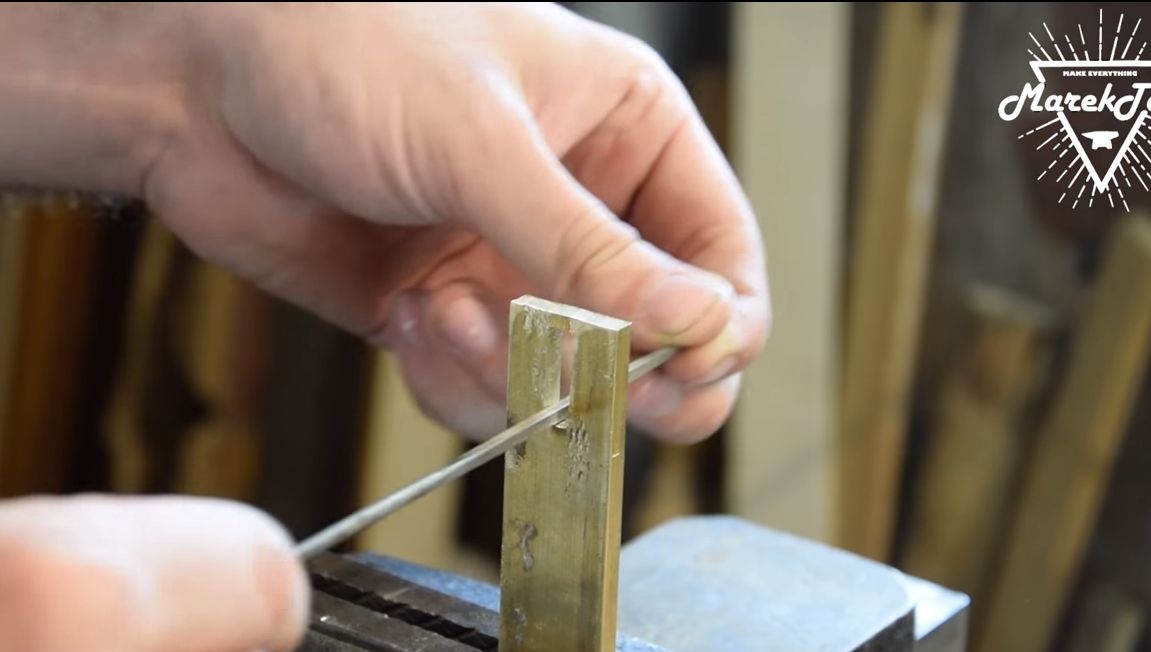
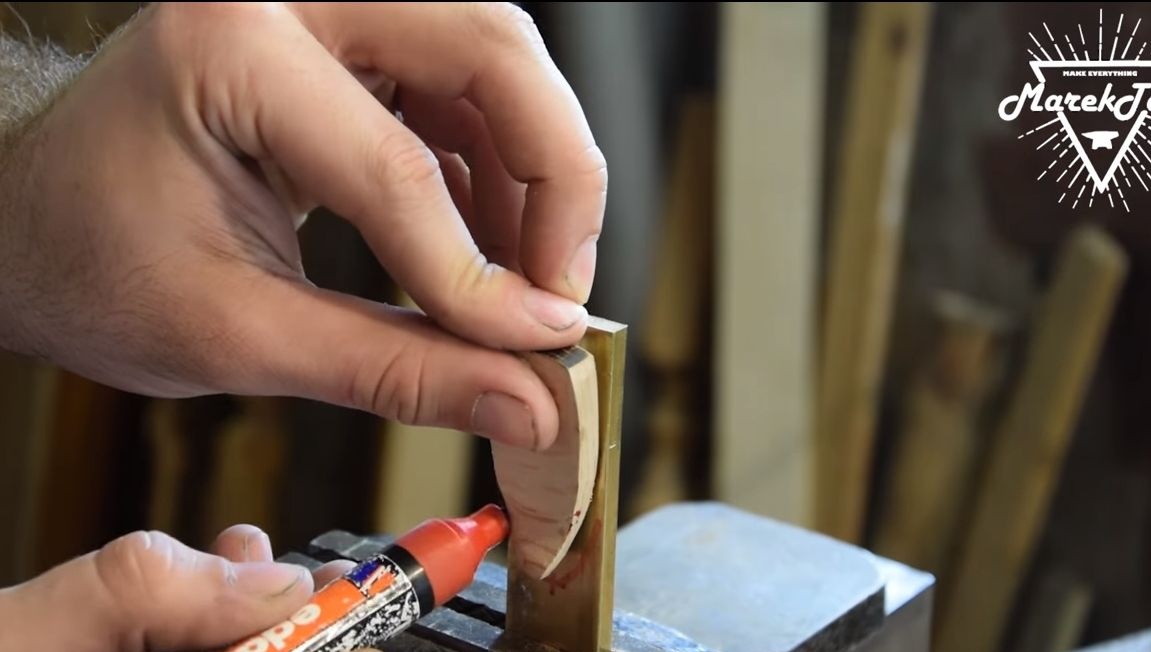
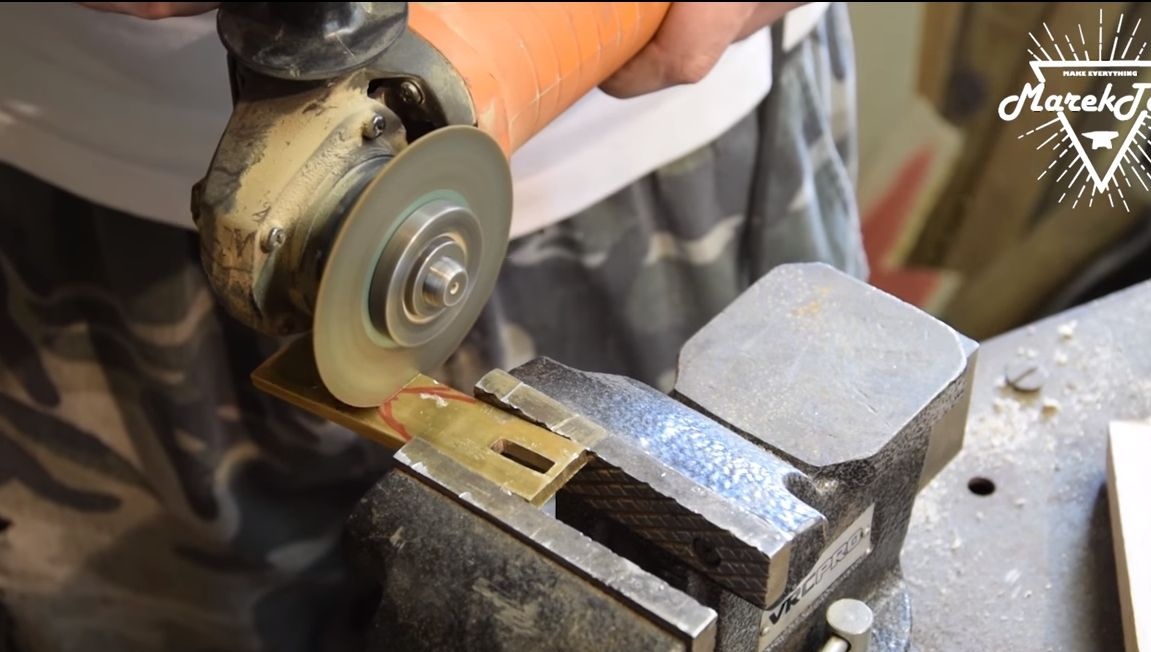
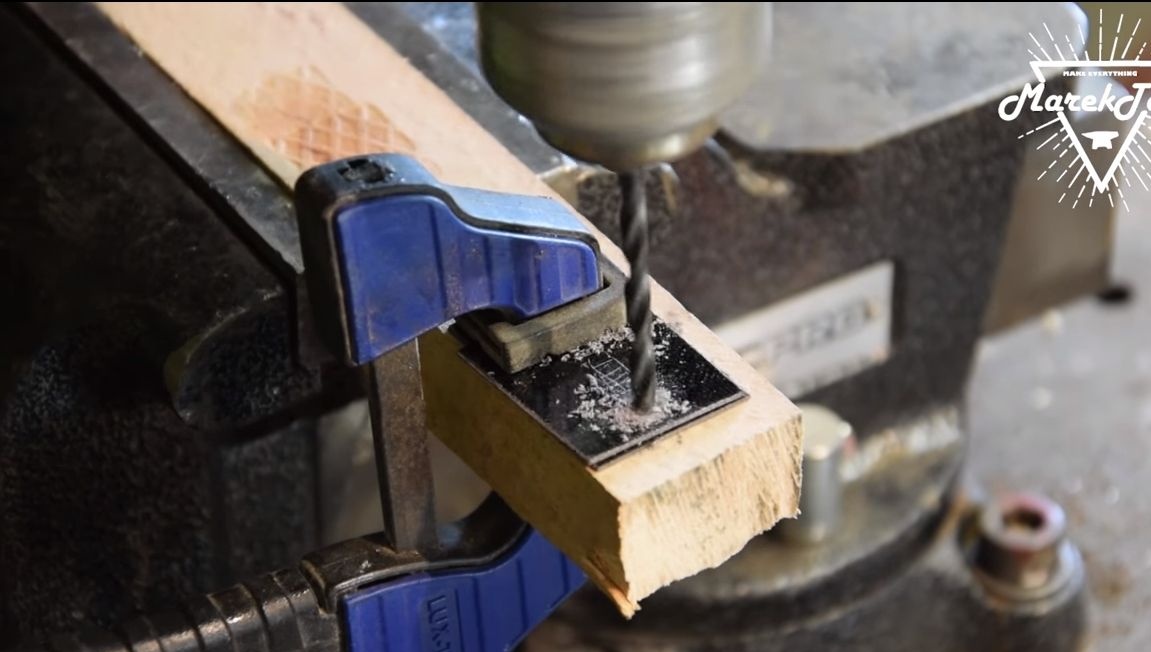
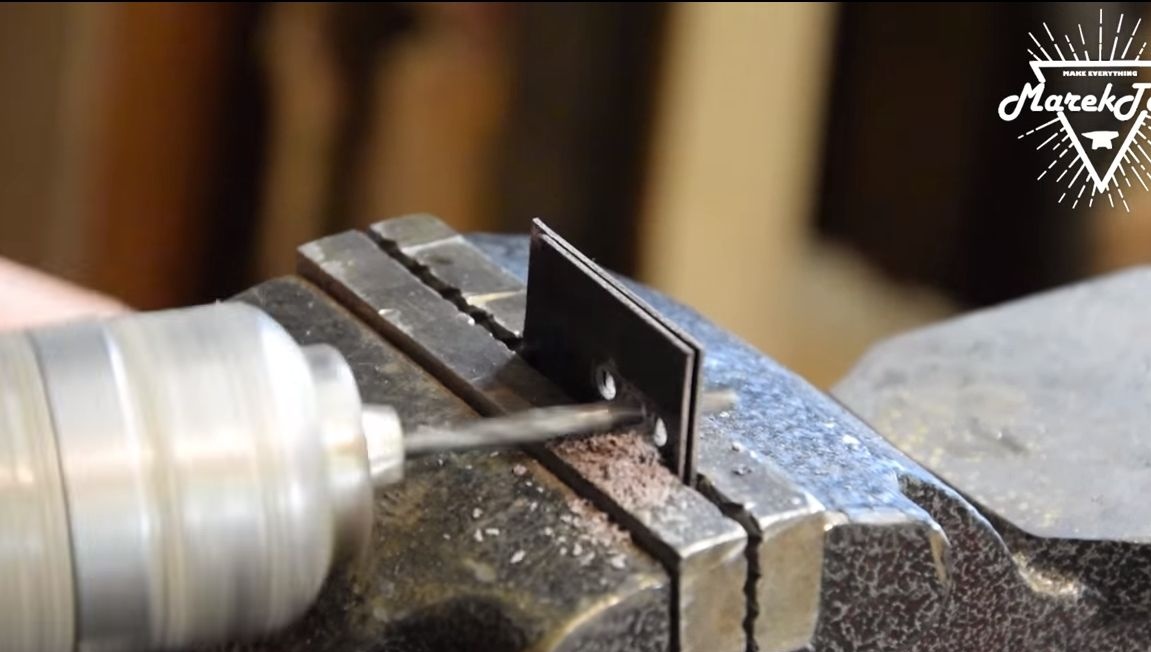
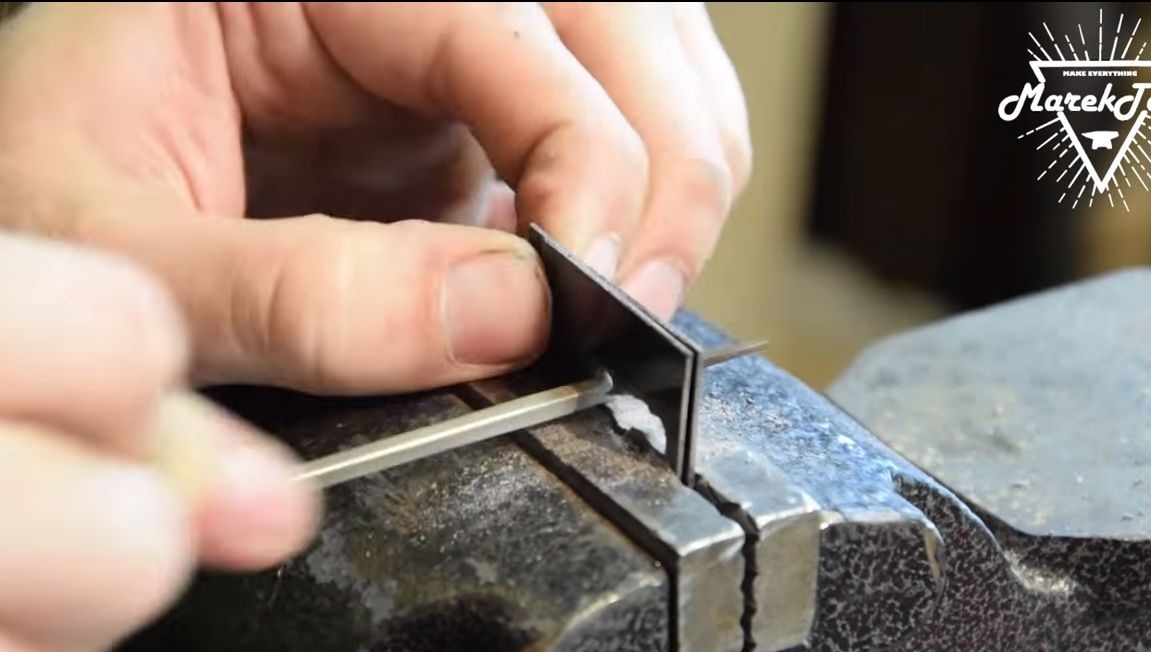
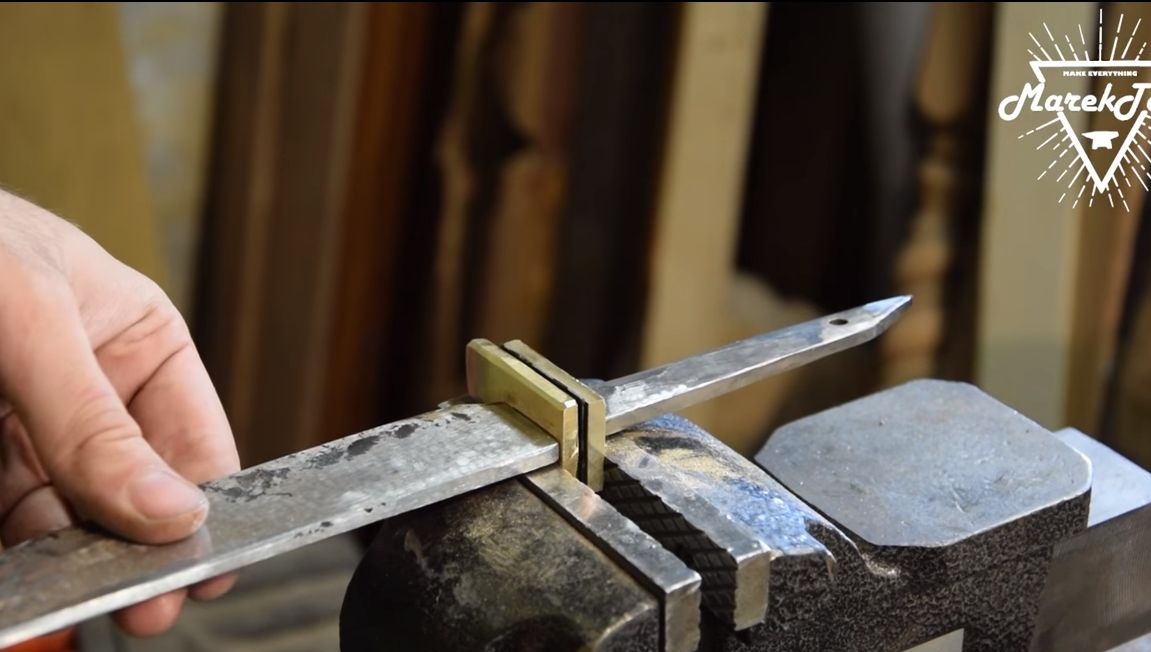
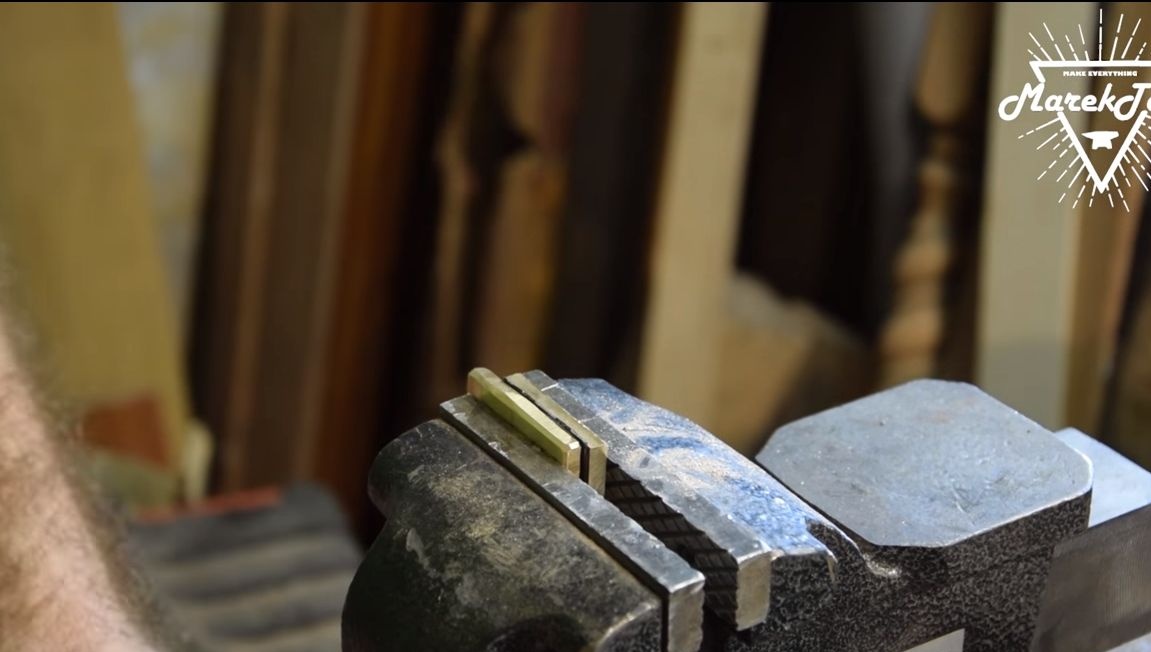
The guard is made of two brass plates. We take the first piece of brass and grind a groove in it so that it can be put on the shank until it stops. The author first drills this groove with a drill, and then modifies it using flat files.
As for the second part, it is done on the same principle.Between the two halves of the guard are two plates of textolite or similar material.


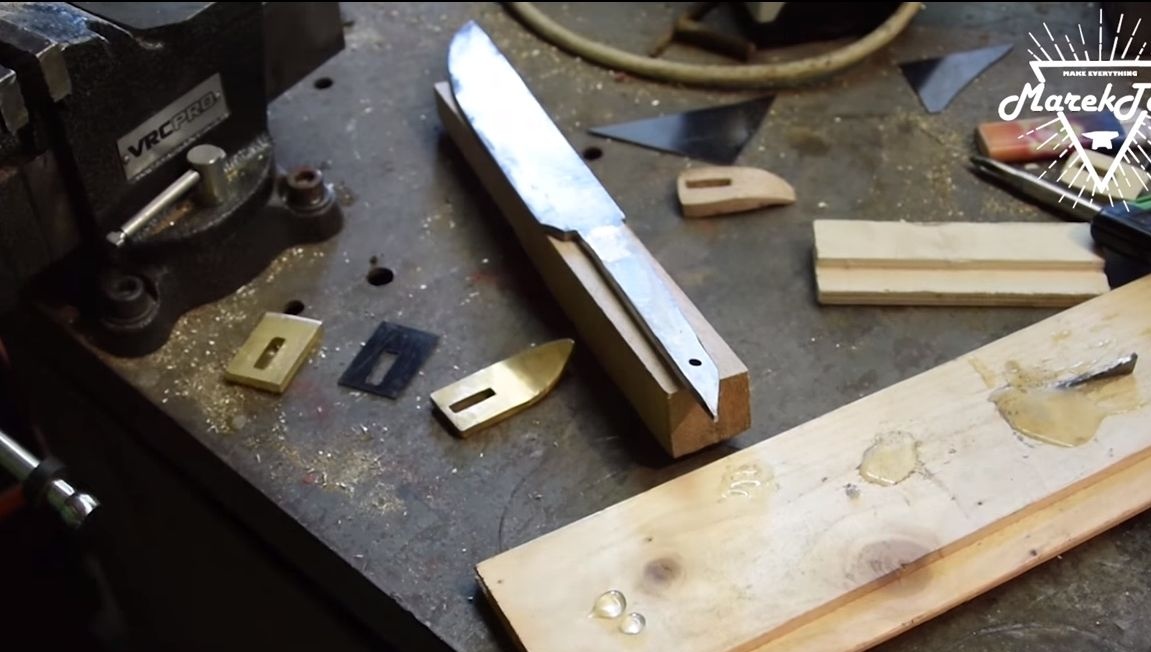
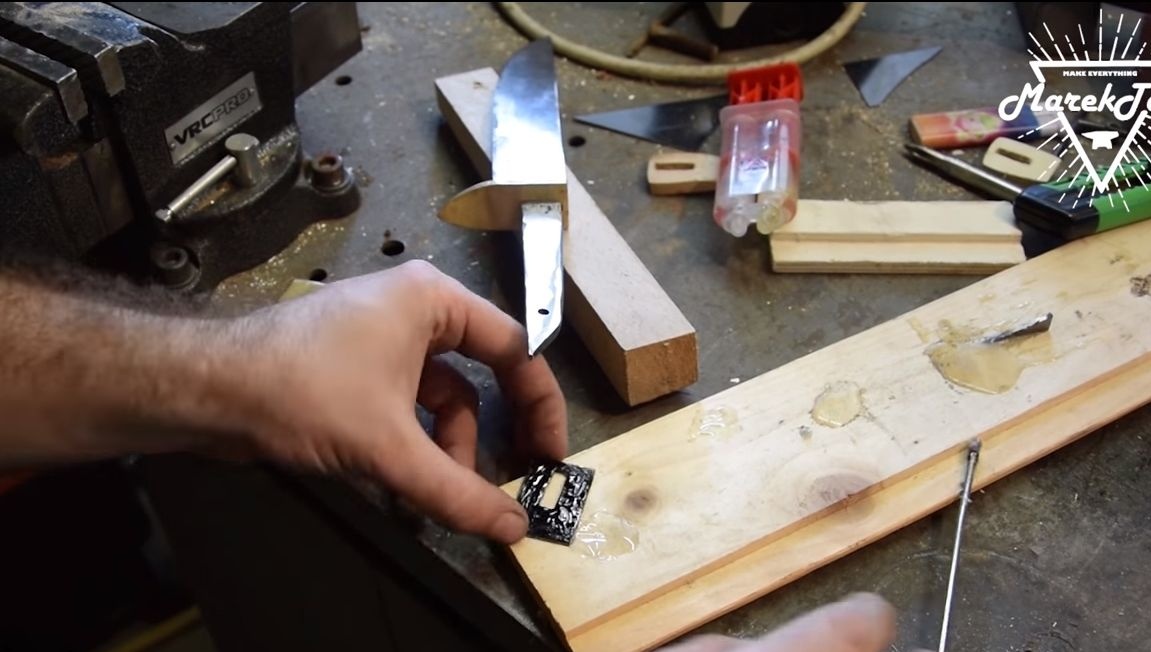
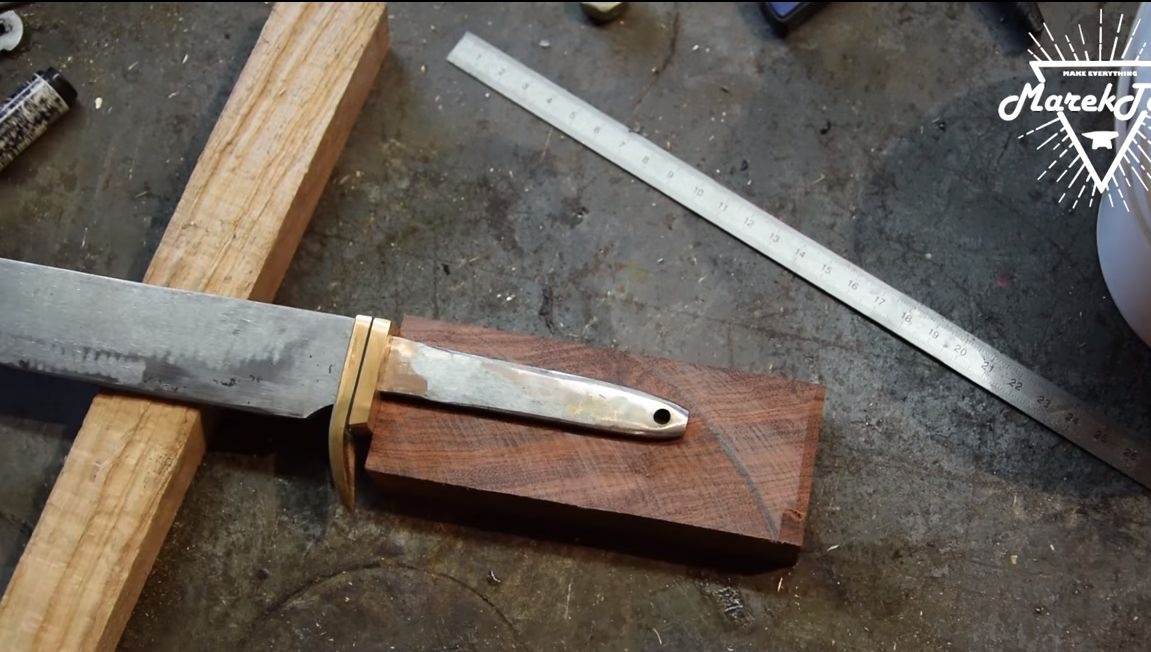
When you have all the parts ready, glue them on the shank of the knife using epoxy glue. Then we clamp the guard in a vice, and remove the blade. We leave this whole thing to dry for a day. Then we take out the workpiece and bring it to the desired profile with the help of files, sandpaper, belt sander and so on.
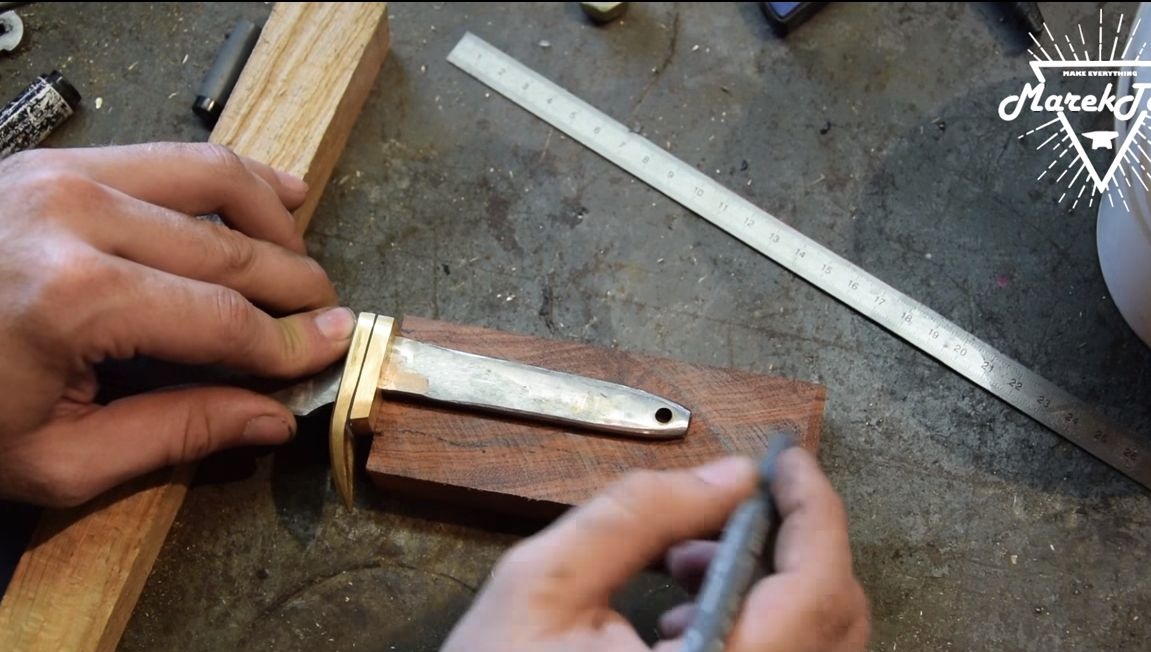
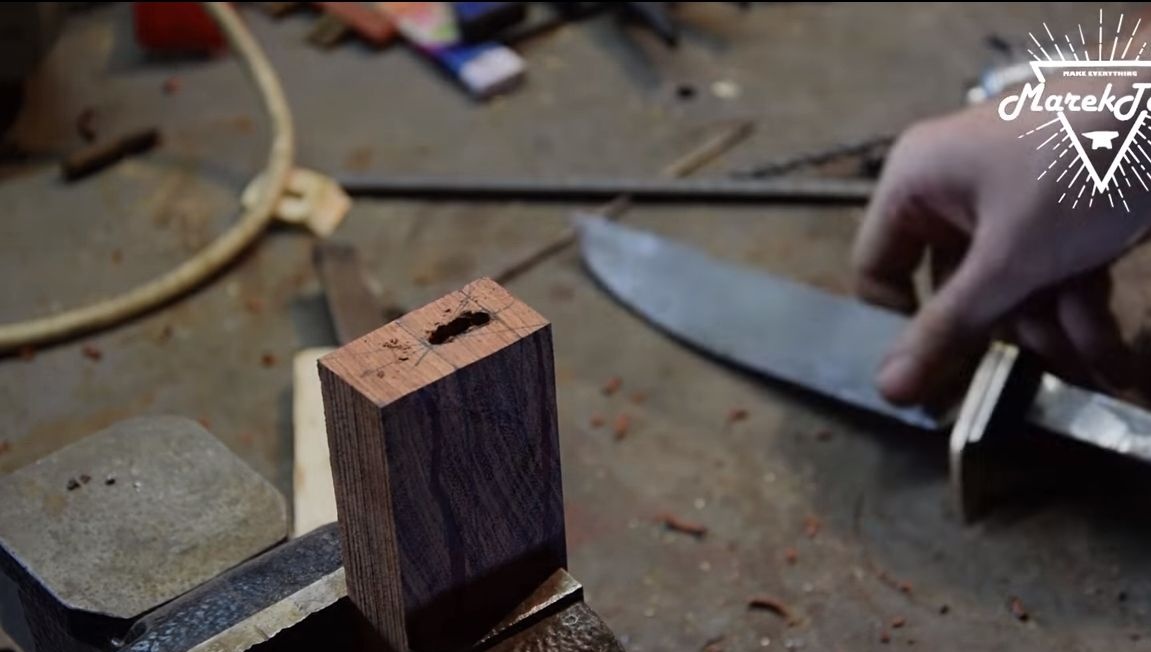
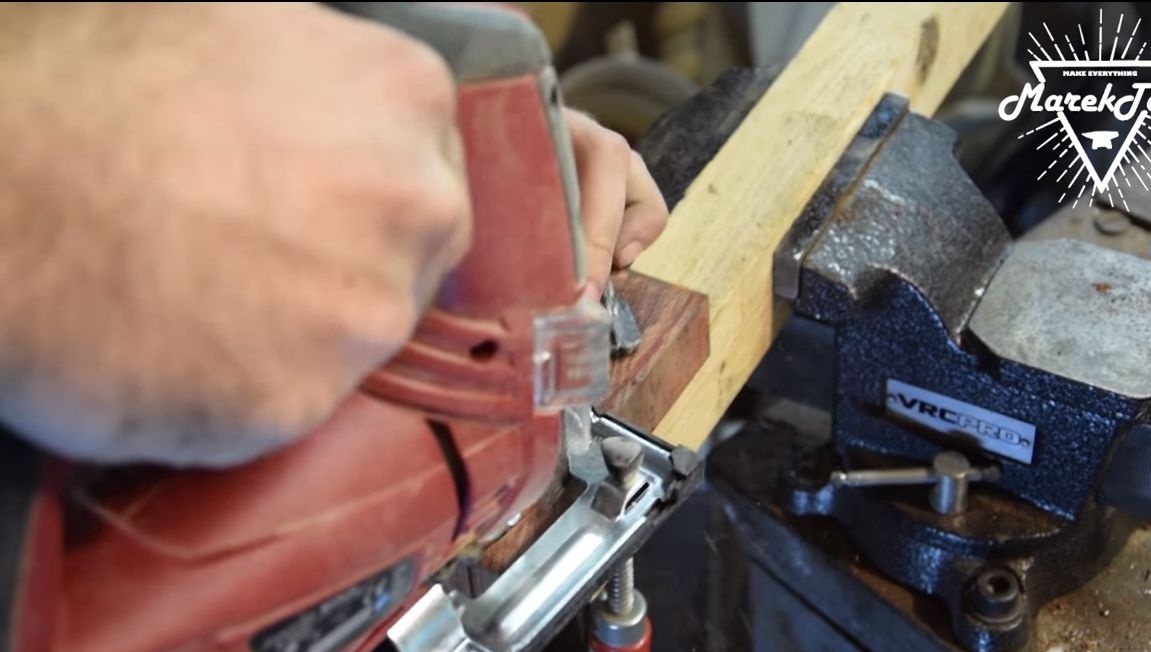
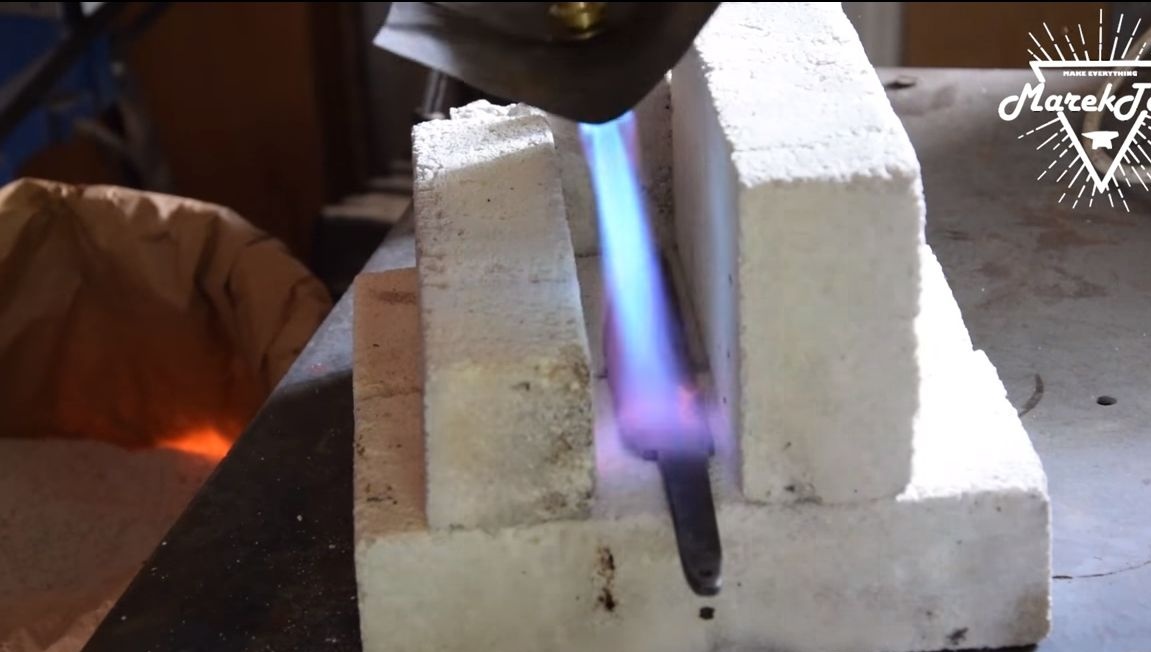
Step Five We turn to the manufacture of pens
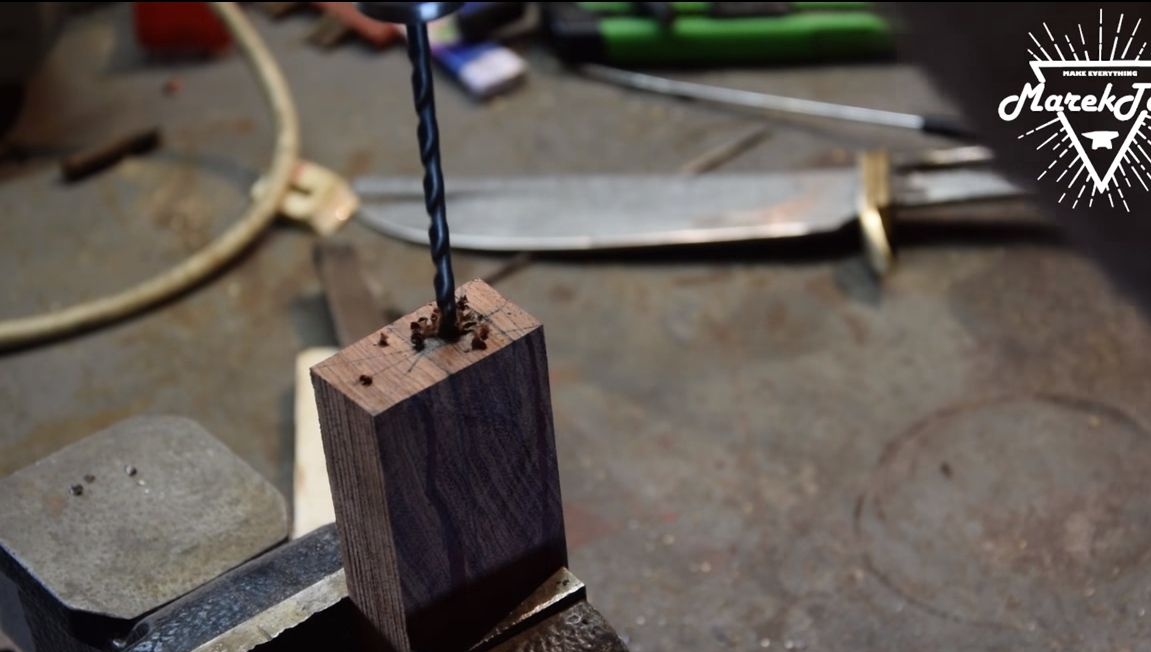
For the handle you will need a bar, any wood of your choice is suitable. In the bar, you will need to make a hole under the tail of the knife. To do this, drill a number of holes in the workpiece, depending on the width of the shank.
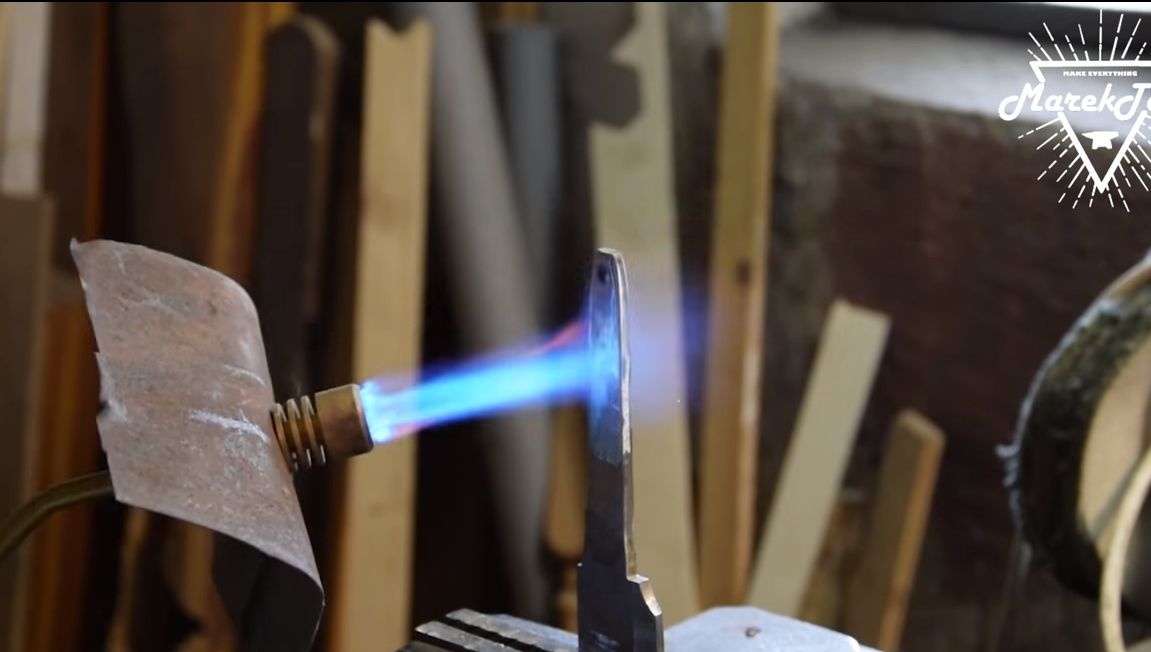
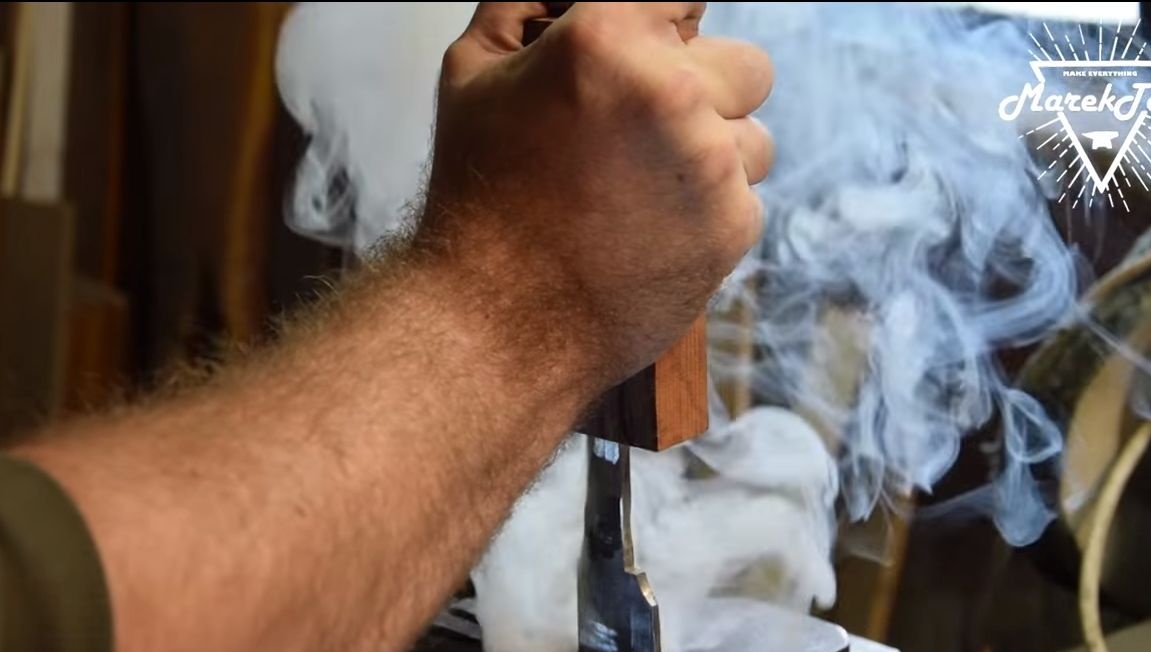
Now we need a burner, hold the blade with the tail part up and heat it up. As soon as the shank warms up red, we put a handle on it, because of the high temperature in the handle, the seat will burn out. It is possible that the shank will have to be heated several times.
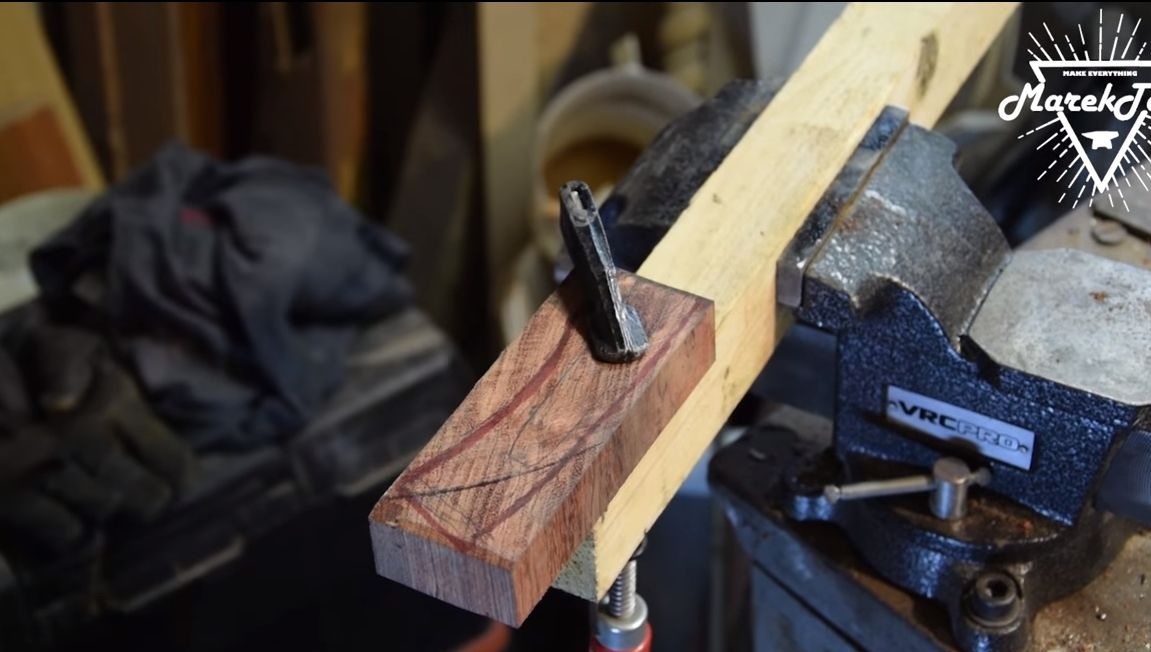
Now we take a jigsaw and cut out the main profile of the handle, what it will be, depends on your imagination. Immediately after this, you can proceed to grinding. Either the orbital sander or the belt will help you here. We form the desired
handle profile.
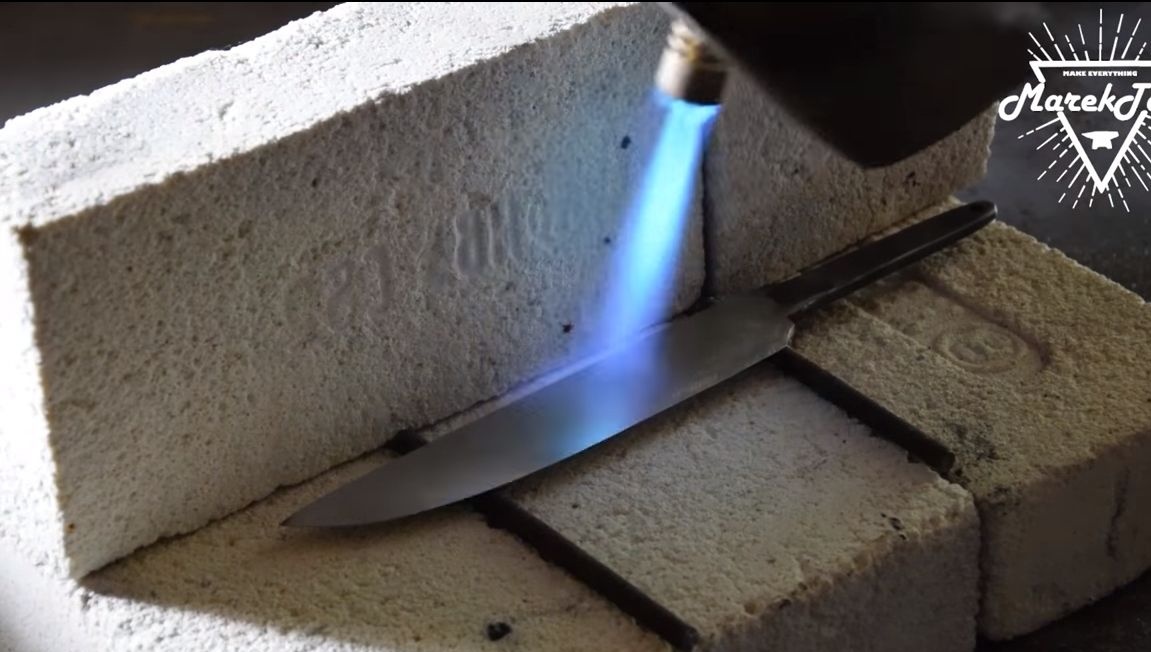
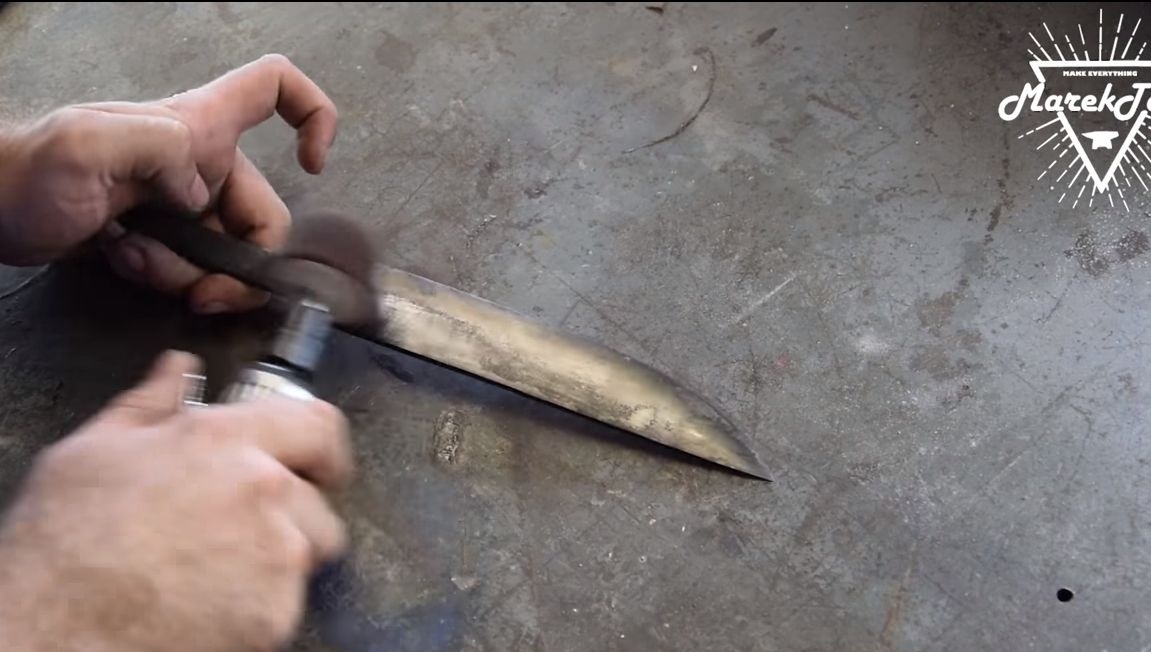
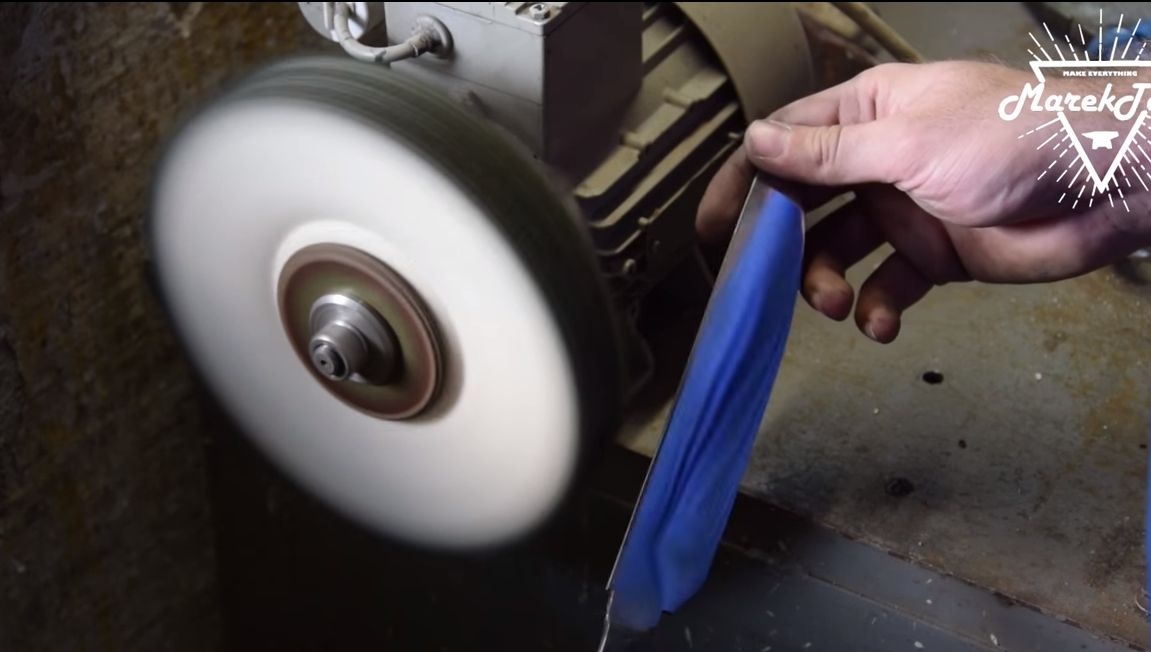
Step Six Blade Finishing Work
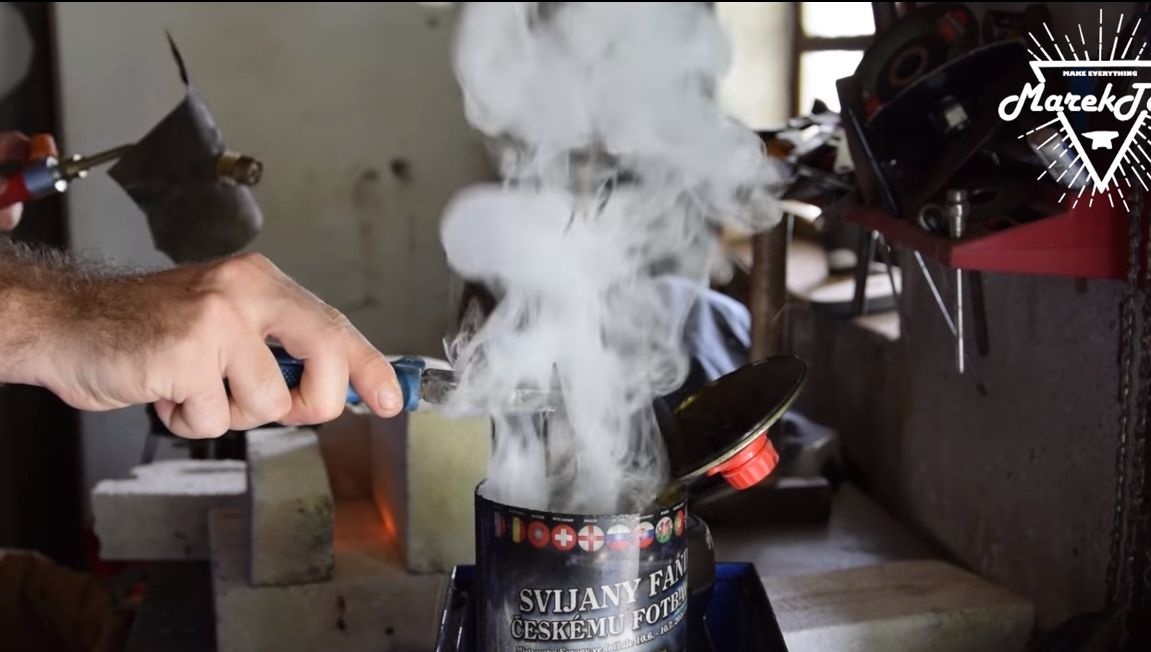
Grind the blade thoroughly on a belt sander, remove all sinks and other defects. The next step will be the hardening of the blade, for this the metal will need to be red-hot. Take a magnet with you if it does not react to hot metal, which means that the workpiece is warmed up to the required temperature. After that, lower the blade into the oil. You can use both mineral oil and vegetable oil. Be careful, the oil often ignites when immersed in metal.
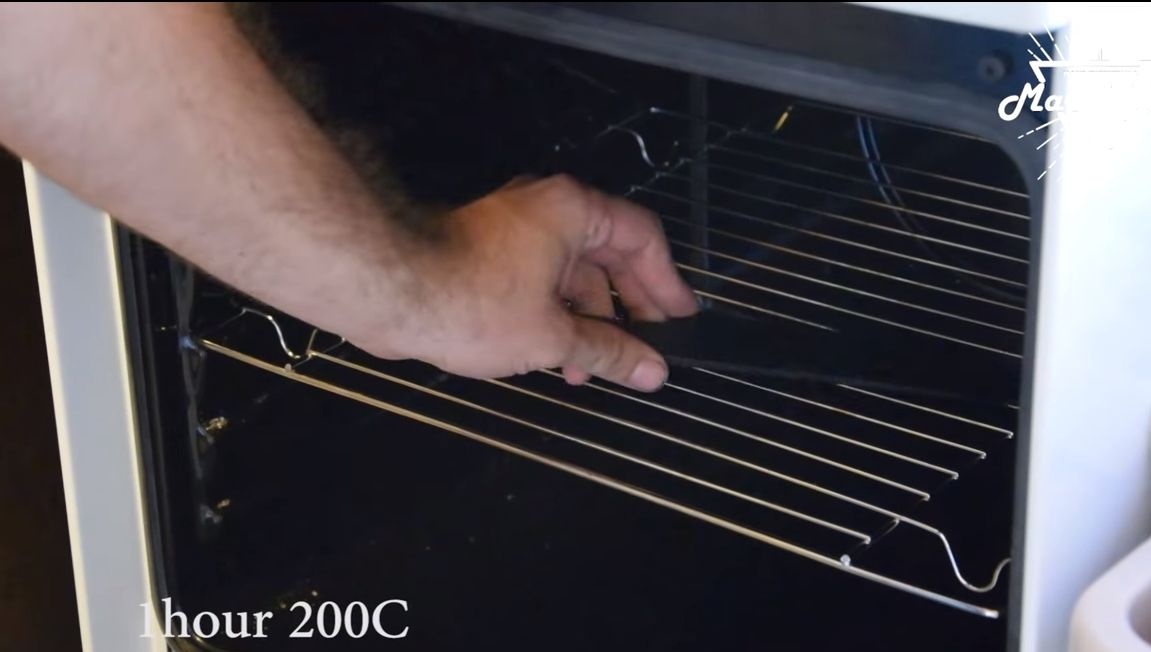
Half the job is done, one more thing remains - this is the release of metal. Thanks to this procedure, we will teach steel to spring, that is, it will not be brittle and the blade will not crumble when struck with a knife on a durable object. For these purposes, a domestic oven is usually used. We heat the blade for an hour at a temperature of 200-300 ° C, and then let it cool together with the oven. That's all, now we got a blade of excellent quality. Try to scratch it with a file, if there are no scratches, it means that the steel is hardened properly.
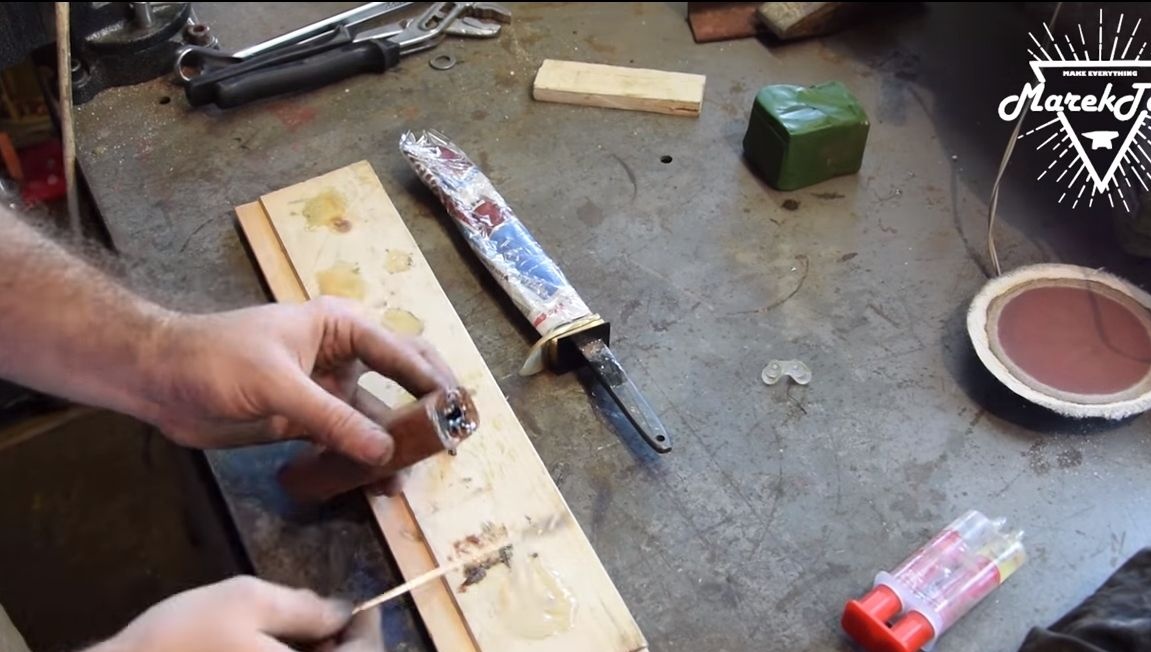
As a result, you will need to polish and sharpen the blade. At the end of the work, wrap it with newspapers and scotch tape so as not to injure yourself and cover the blade with glue.
Seventh step. Glue the handle
We coat the tail of the knife with epoxy glue and proceed to assemble the handle. First, install the guard, make sure that the glue reliably fills all the cracks. Now pour the glue into the hole in the handle and install the tail of the blade. With light hammer strokes press the handle onto the blade. We leave the glue to dry for a day, and preferably two, so as not to risk it.
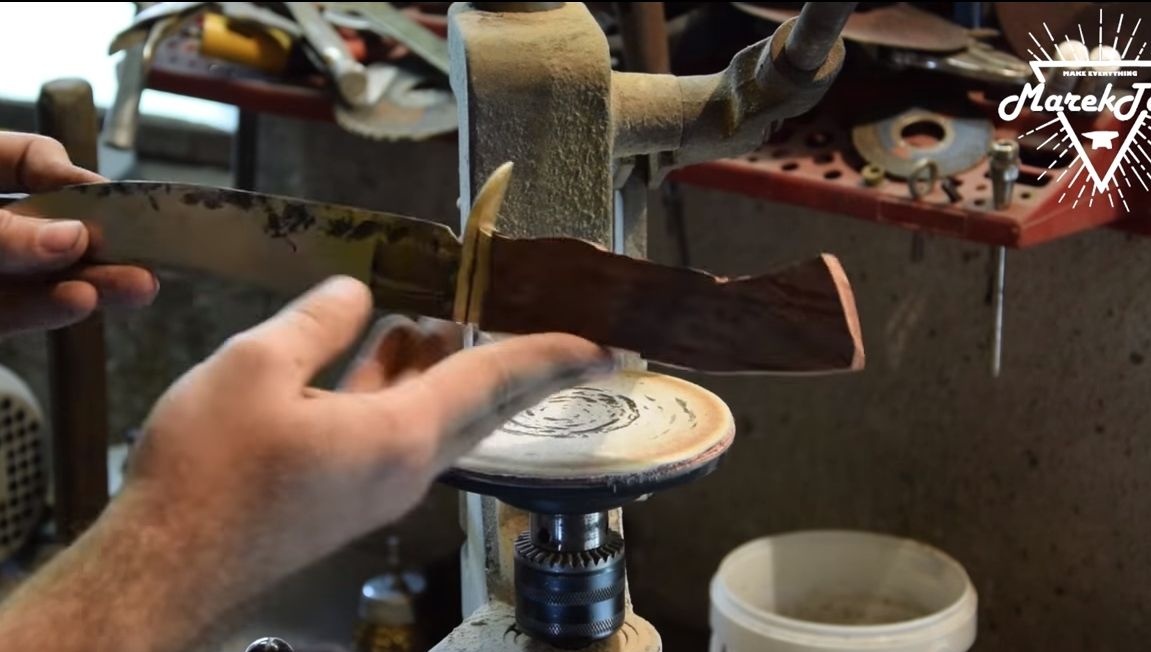
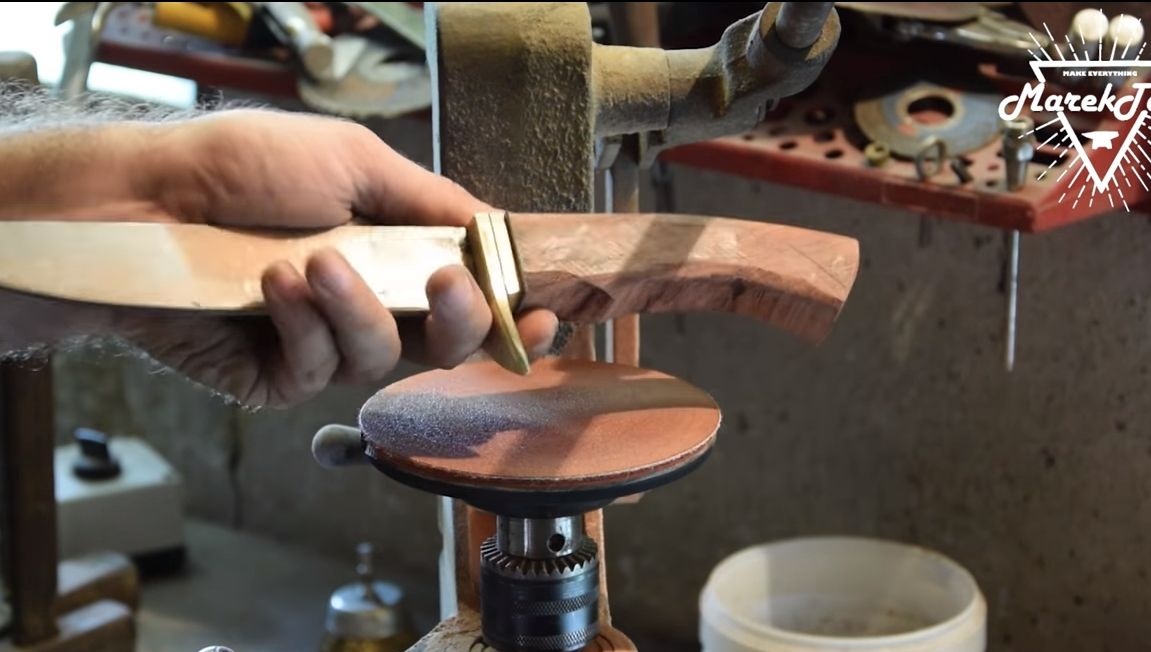
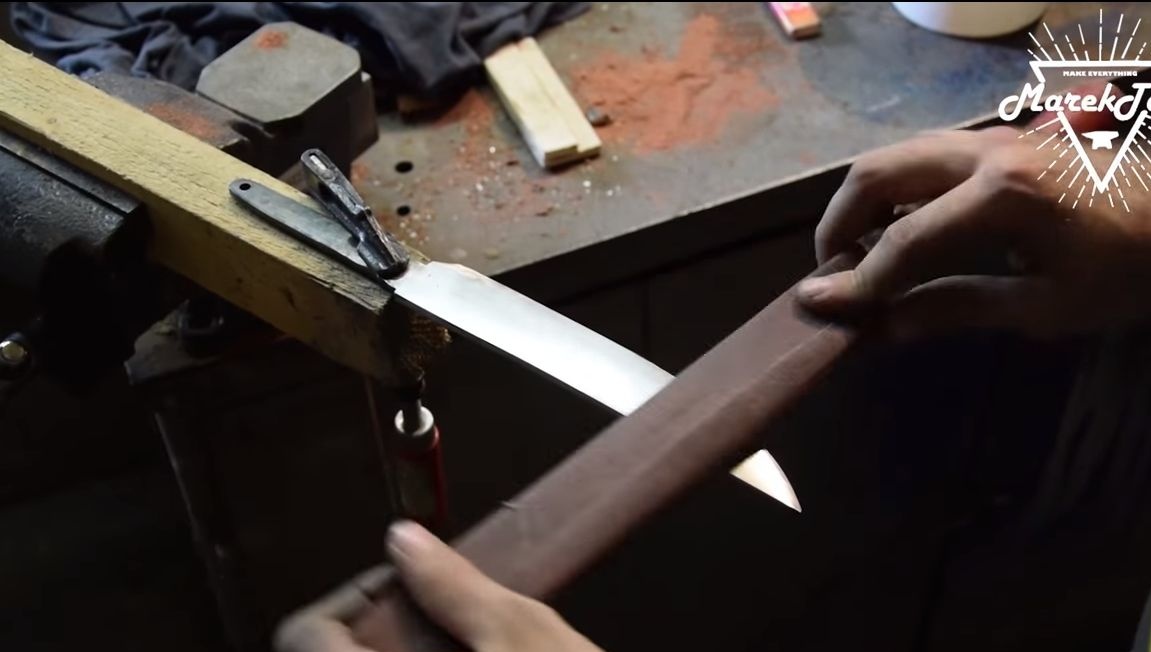
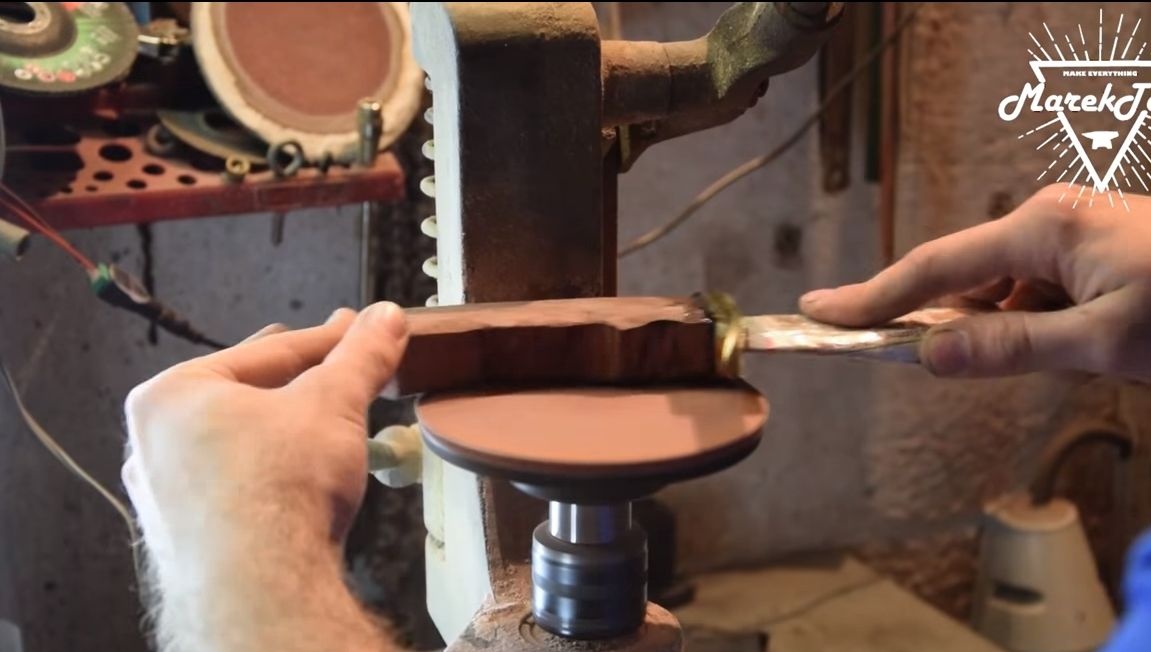
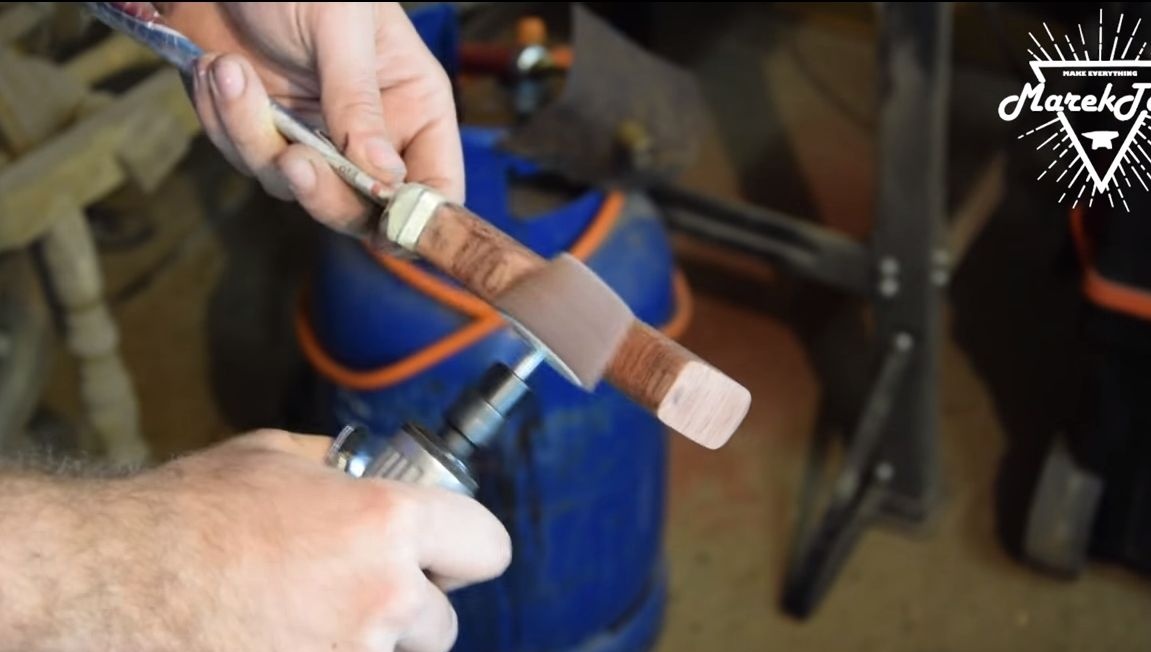
Step Eight. Final grinding
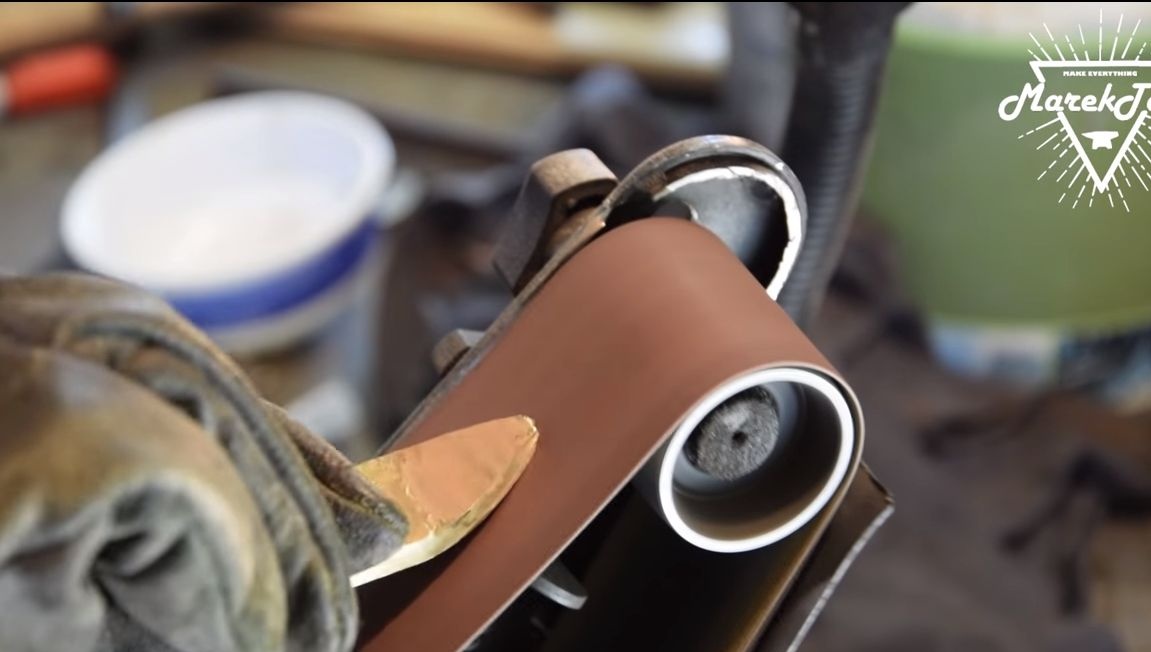
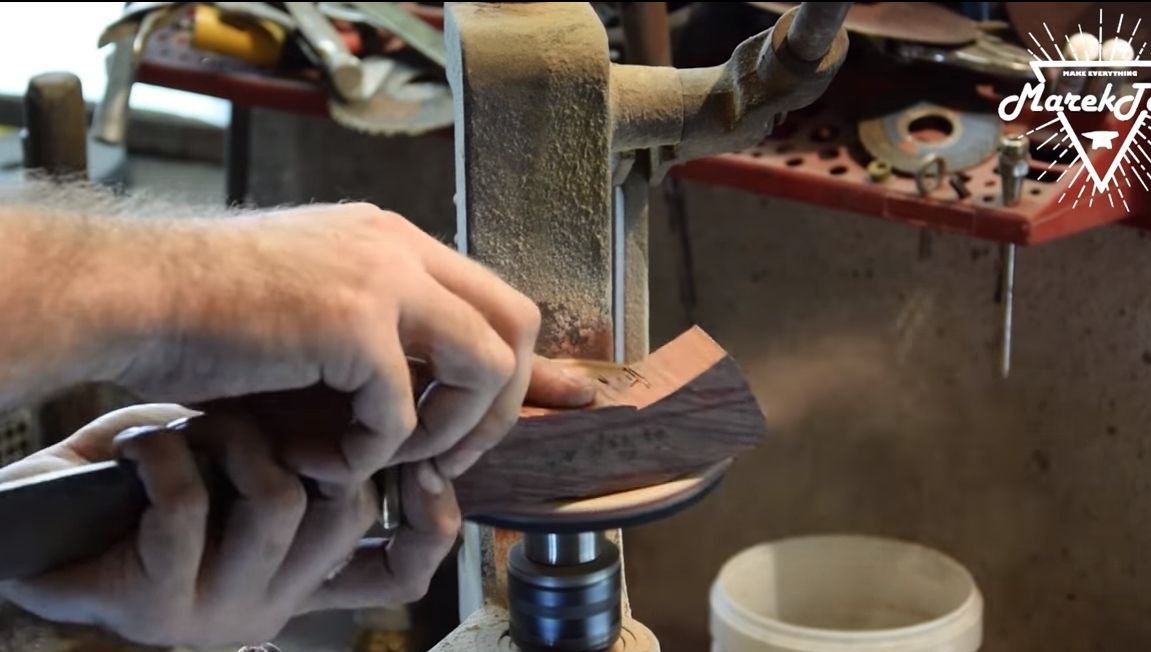
After the glue dries, we have to grind the handle again, this time for good. We carry out rough work on a tape machine, and it would also be nice to use a drill with an appropriate grinding nozzle.
After that, we switch to manual processing, armed with sandpaper. At the end, we use fine sandpaper to bring the handle to a perfectly smooth state. That's all, now the knife is almost ready, it remains to take care of the wood!
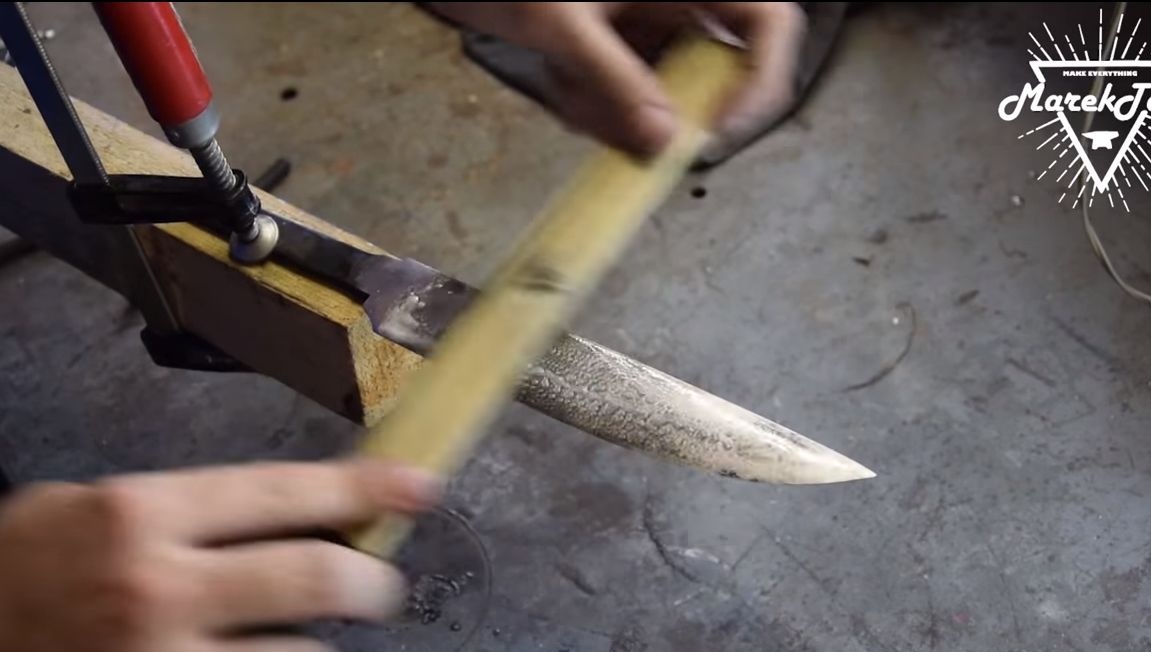
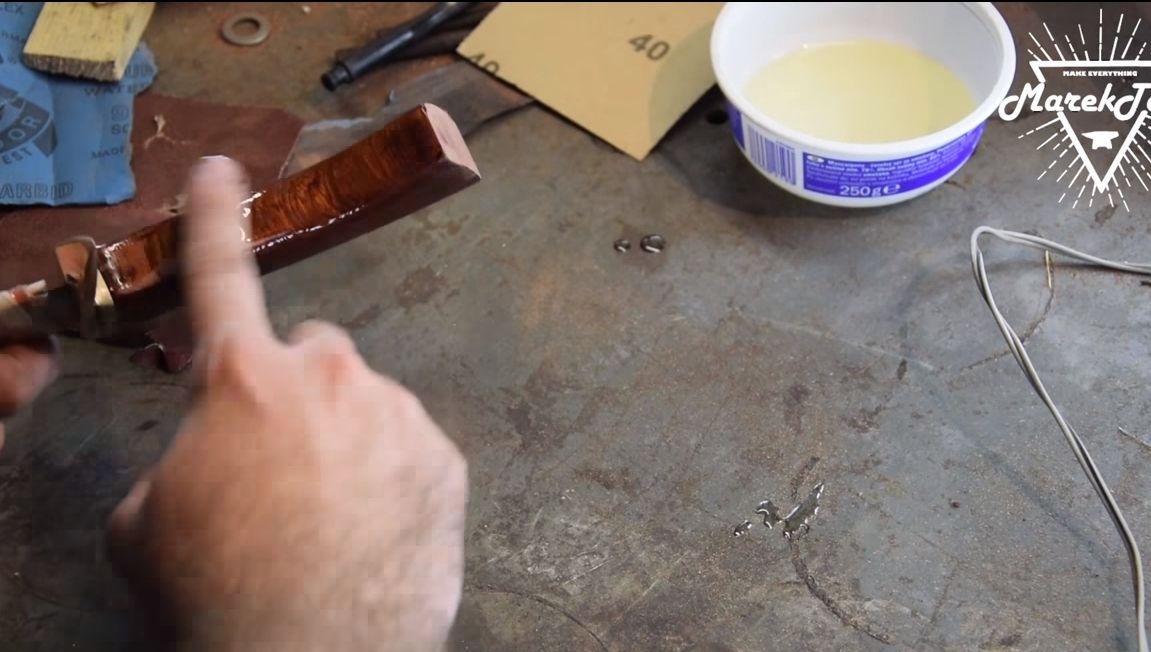
Step Nine. Impregnate the handle with oil
A tree is very afraid of moisture; from it, it cracks and deforms. To avoid all these unpleasant things, soak the handle with oil. Today, the range of oil for wood impregnation is very large. Many masters praise Danish oil. After soaking in a tree, the oil hardens and will not let water pass.
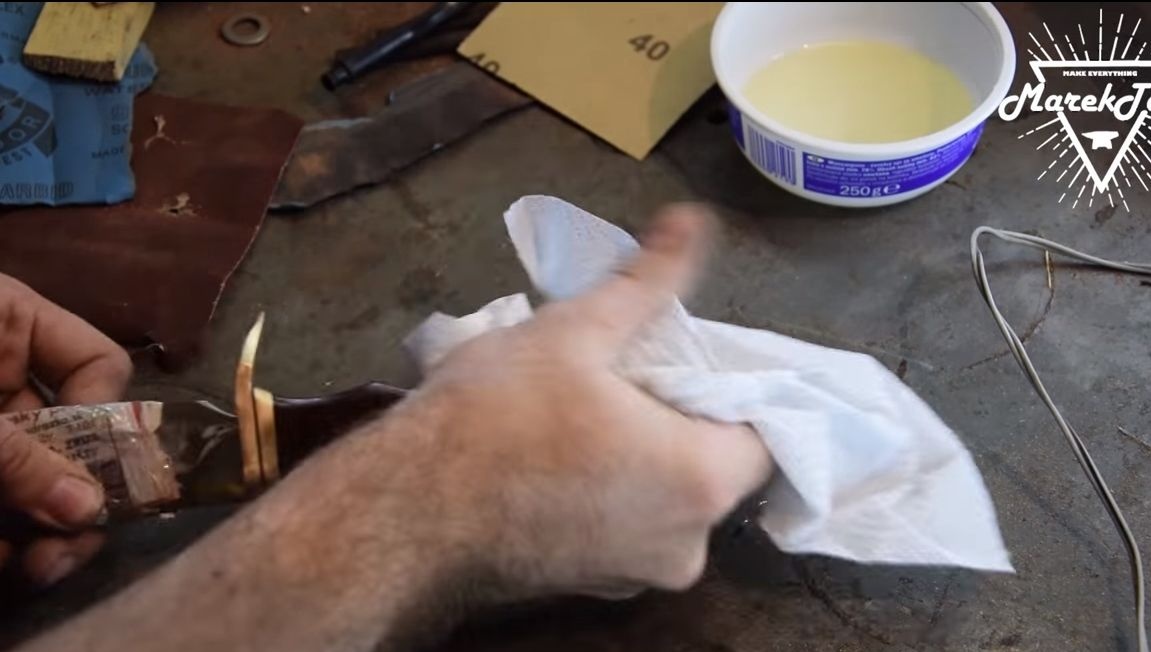
Put a layer of oil on the handle and leave for a while. Wipe off what has not been absorbed with a paper towel.Everything left should dry.
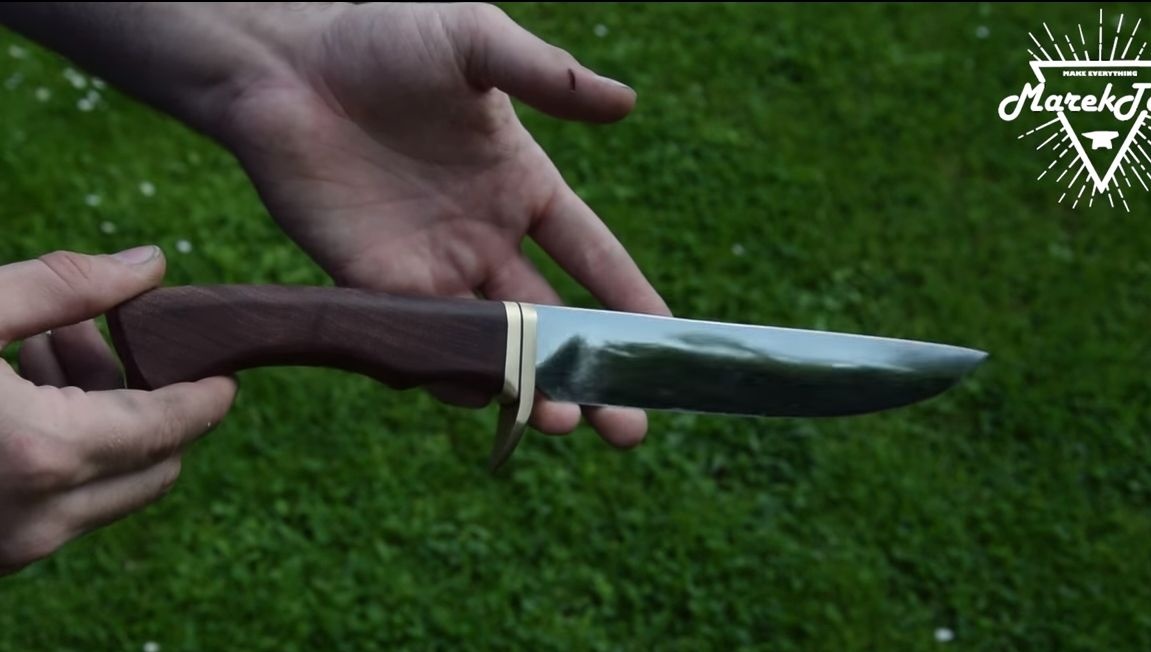
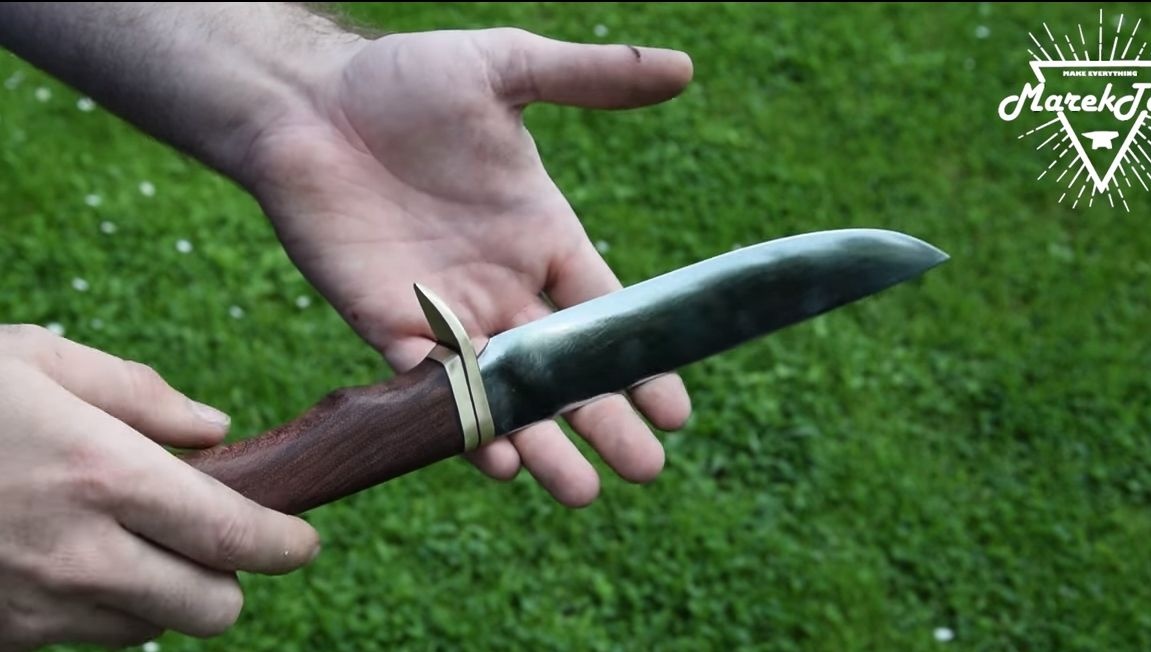
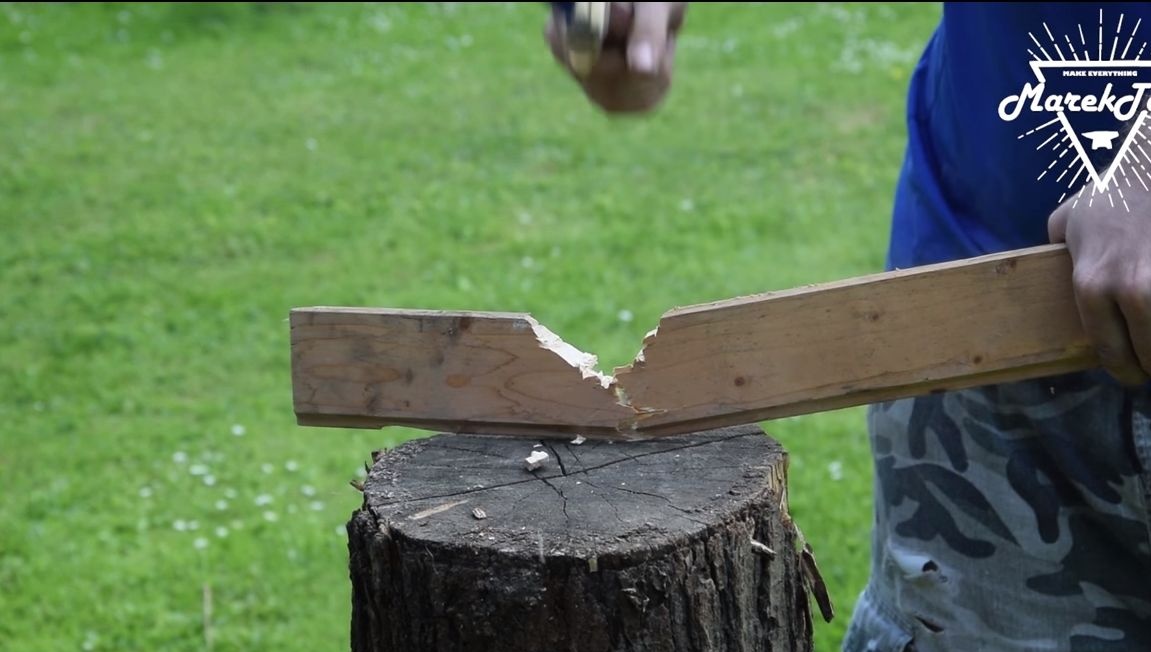
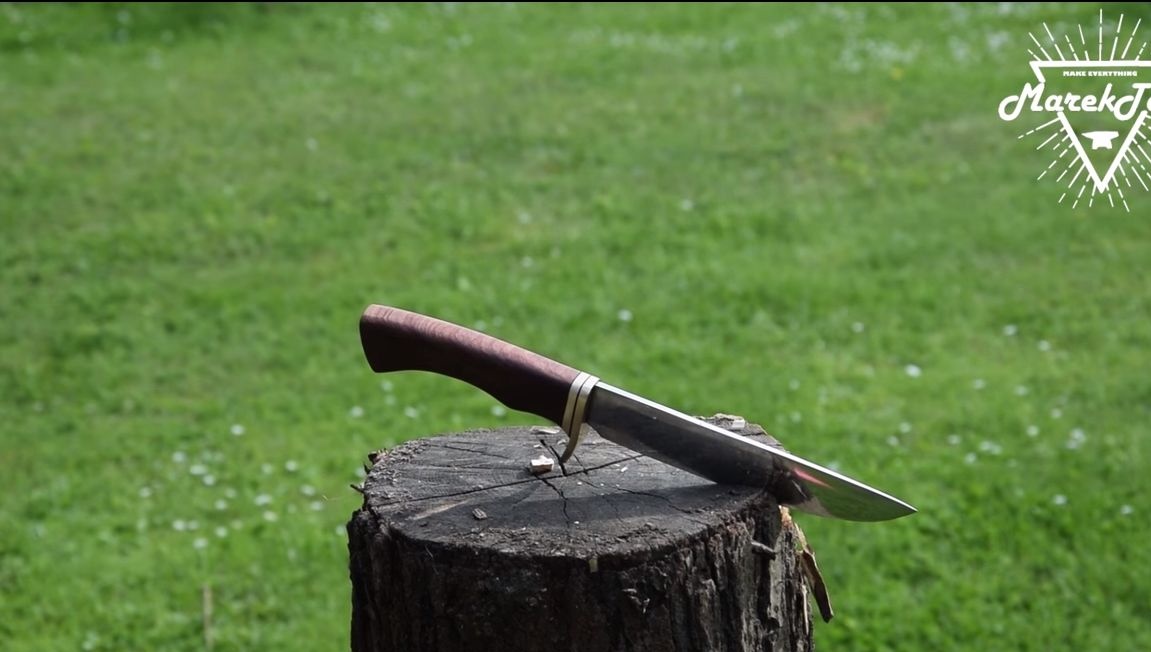
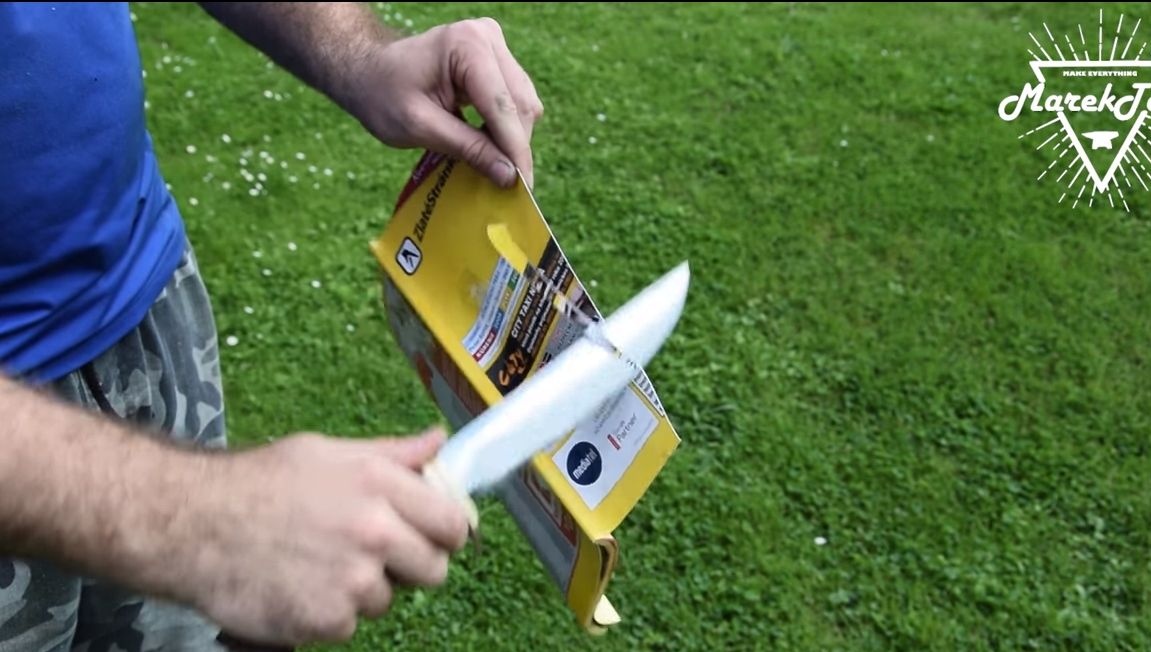
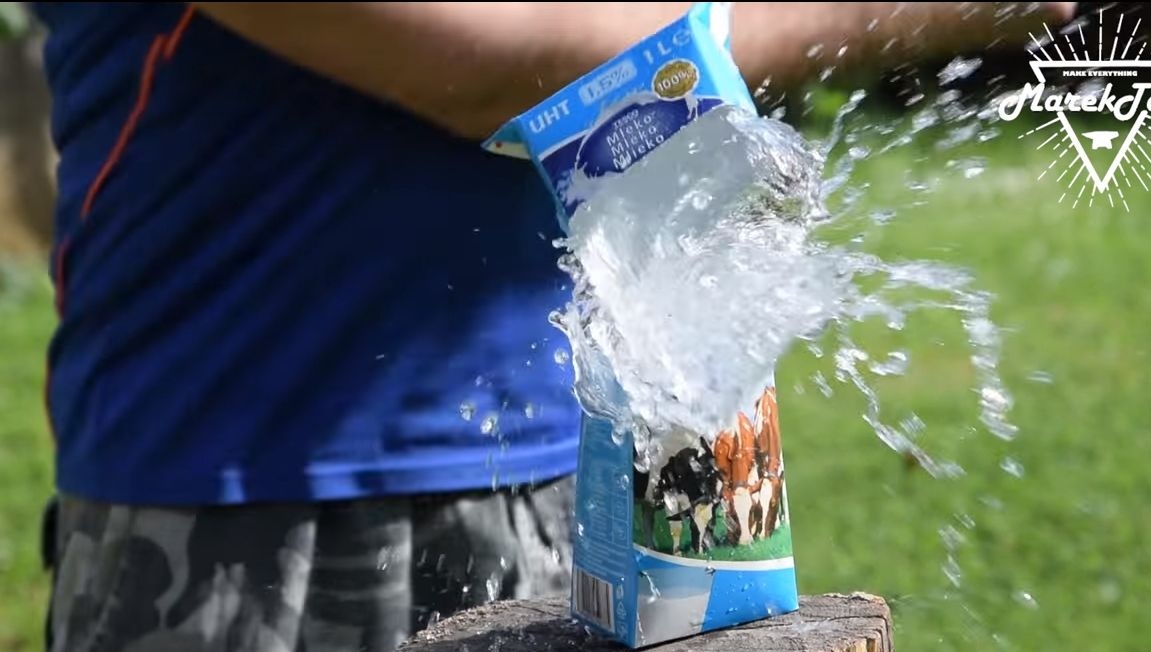
That's all, now our knife is completely ready! In the end, you can sharpen it to the state of the blade. The author demonstrates the reliability and power of his knife by cutting a board with it. Any other, poorly made knife, would never have coped with such a task without consequences. Despite all its massiveness, the author cuts paper without difficulty with a knife. Well, and, of course, how not to do without chopping a bag of water with a knife. That's all, I hope you liked the instructions. Good luck and take care!