

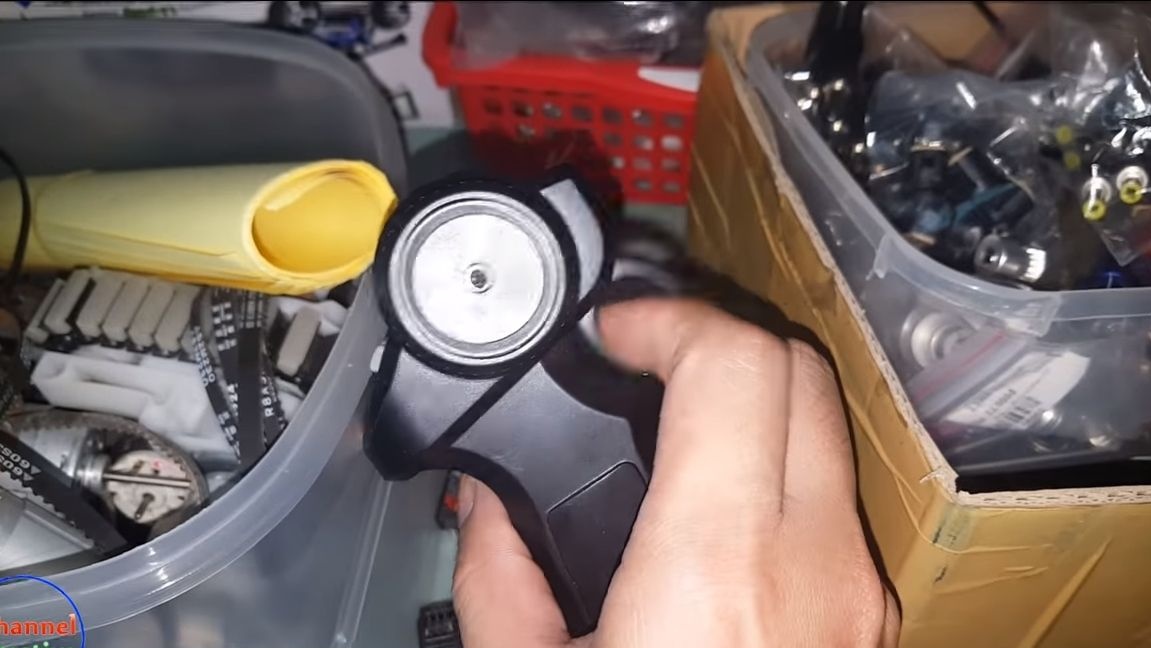
Hello everyone, in this instruction I will tell you how to make an electric longboard. A longboard is essentially the same skateboard, just stronger and more massive. Such homemade It will be a great gift for your child, and you yourself can be conceived on it for a sweet deed. The main feature of this electric longboard is that it is controlled via a remote control, that is, by radio. Thanks to this, managing a longboard is more convenient and safer, and you can also make fun of your friends.
The control knob is capable of turning forward or backward. When moving back, the longboard will begin to slow down.
Homemade assembly is going to be quite simple, however, you will need to find batteries, a motor, and electronics for radio control. However, in our century this is no longer a problem. Any electronics can be bought directly from China for a penny. The author used a piece of board as a basis. It is simple, reliable and sometimes even free. So, let's start studying the instructions.
Materials and tools used by the author:
Material List:
- board;
- ;
- batteries;
- an arm for the engine;
- ;
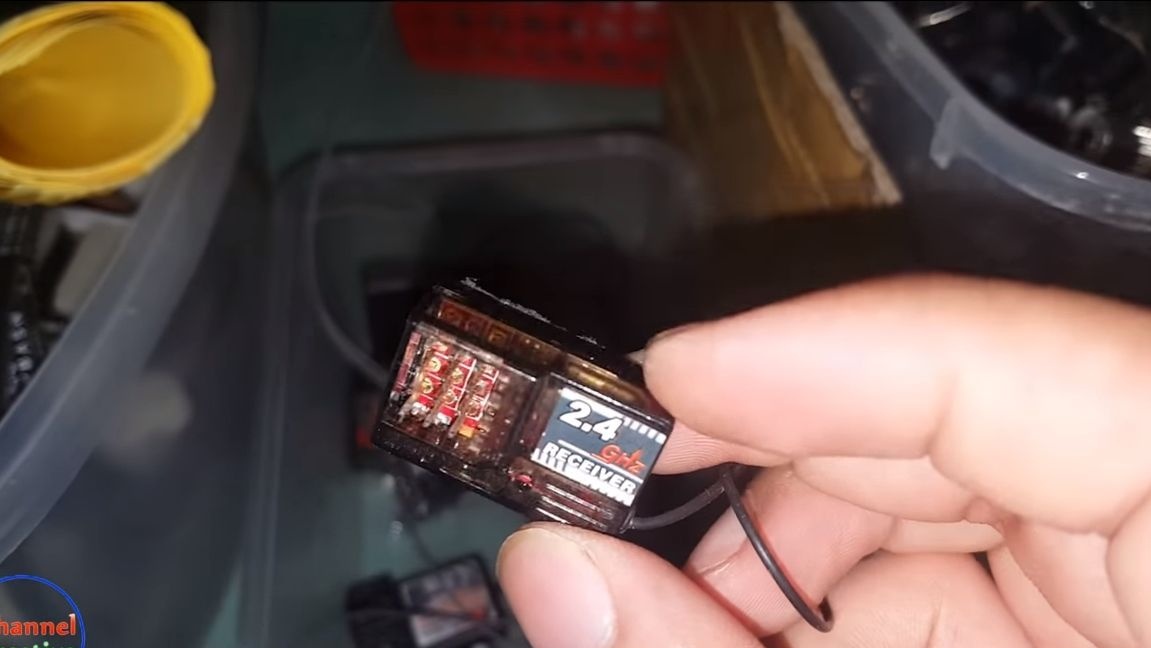
- electronics for control;
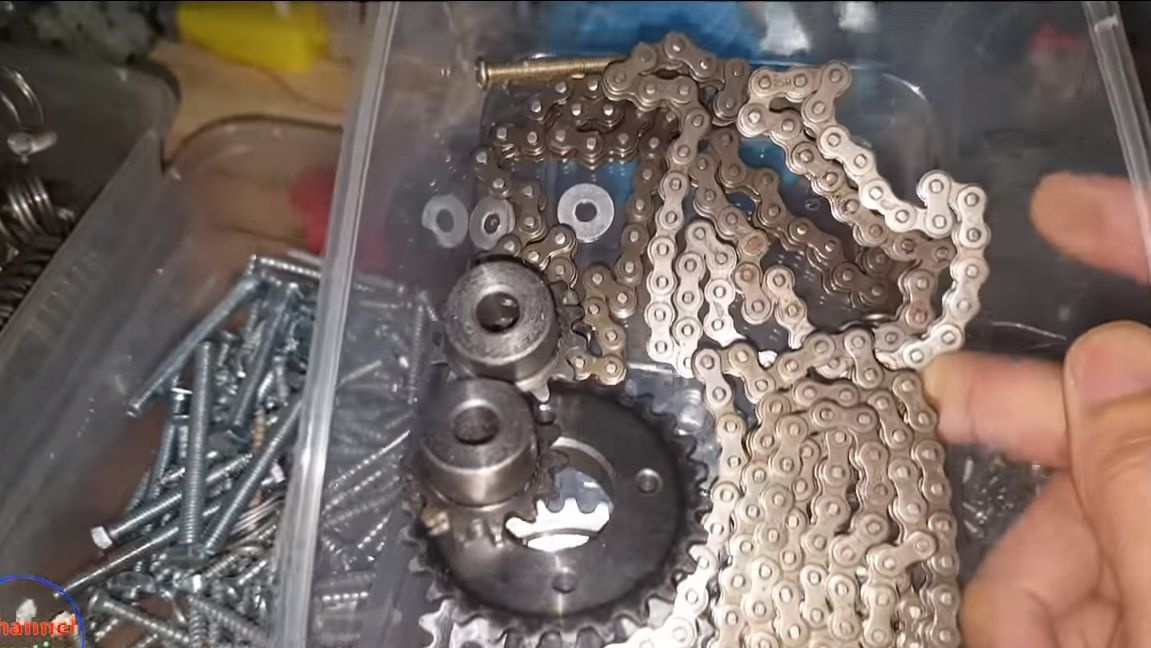
- chain and sprockets;
- wheels from a skateboard;
- one wheel from a trolley or similar (drive wheel);
- screws, bolts, nuts, plastic ties, etc .;
- plywood.

Tool List:
- drill;
- screwdrivers;
- a hacksaw;
- jigsaw;
- planing machine;
- spanners;
- ruler;
- marker.
The process of making a longboard:
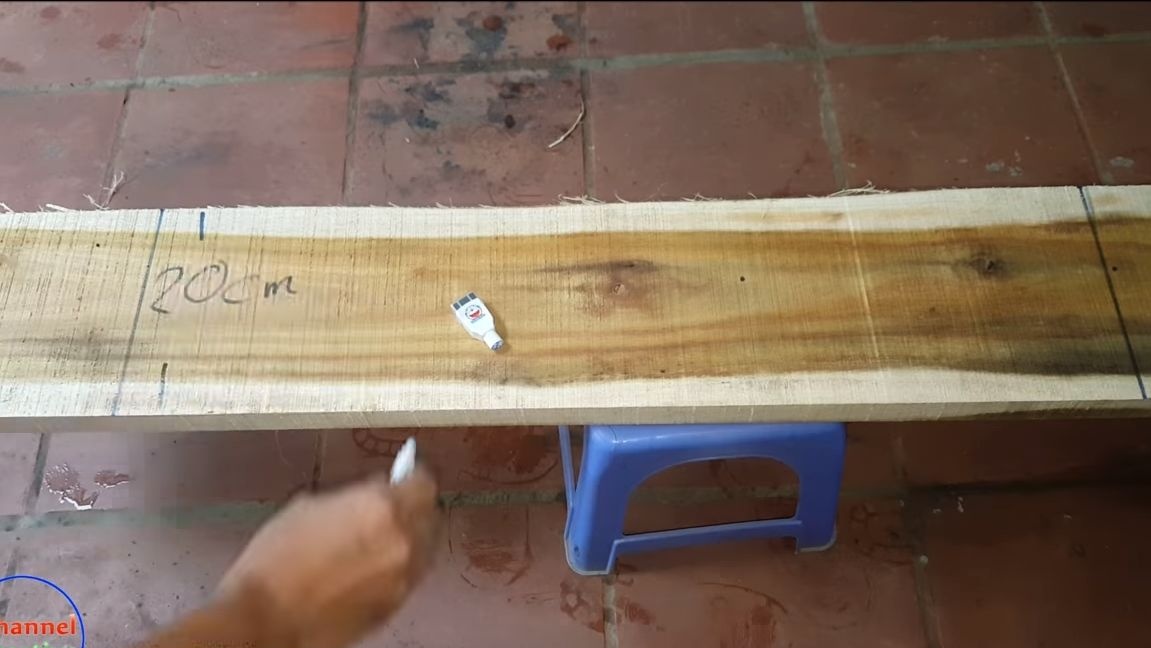
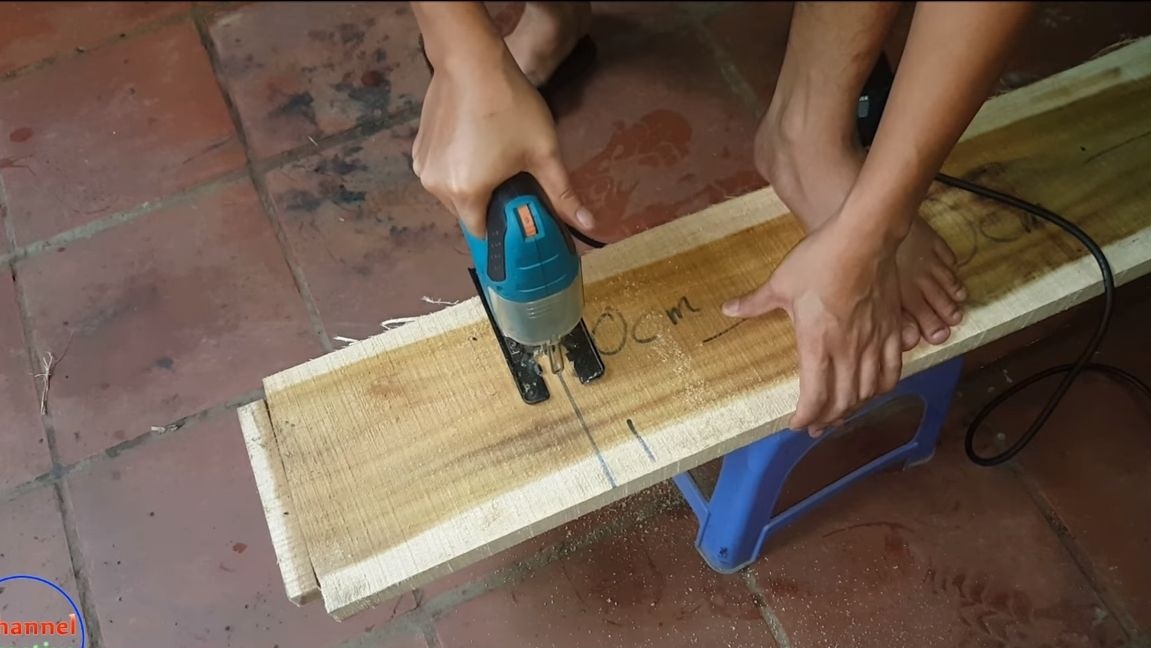
Step one. Base manufacture
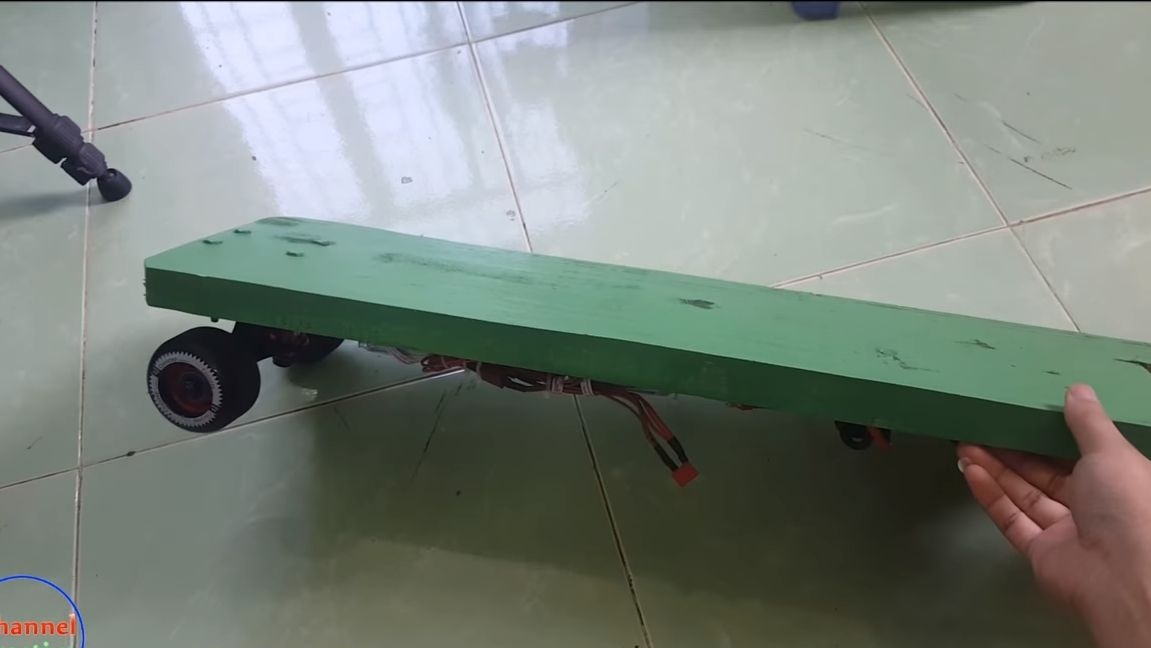
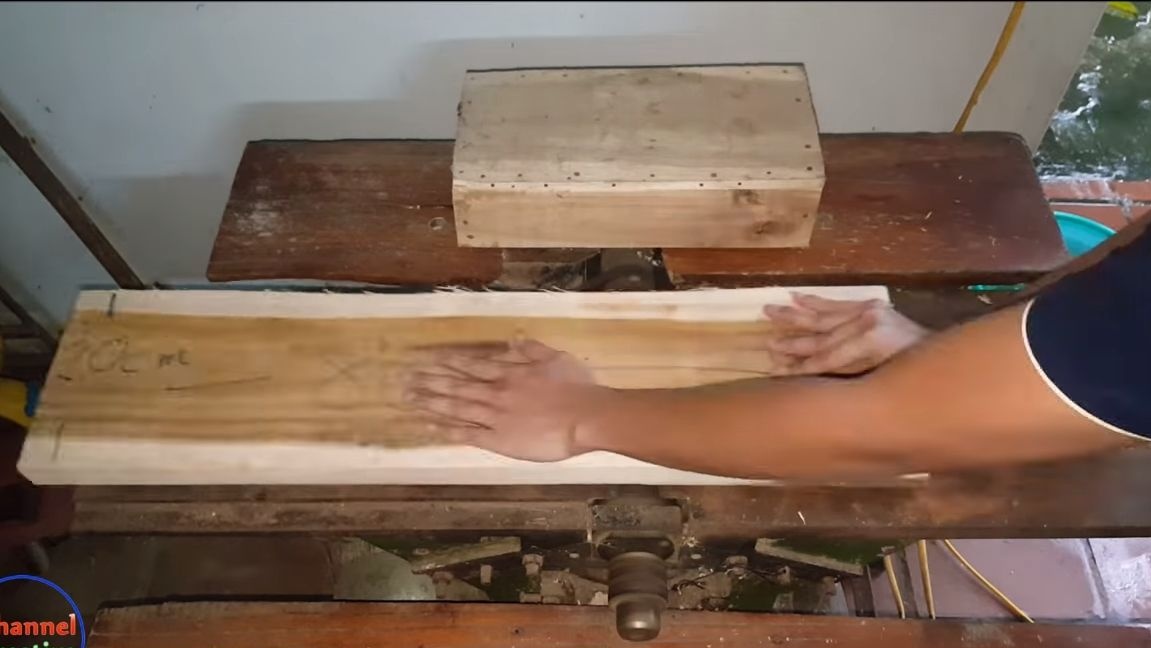
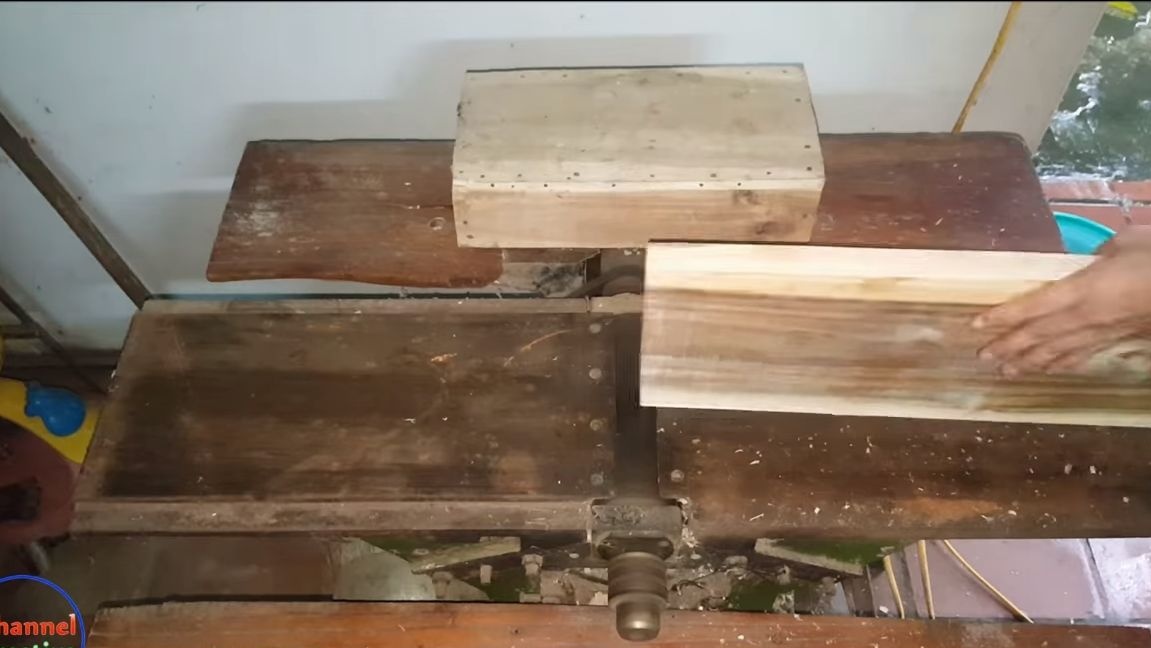
The author makes the basis of a piece of board. Choose the workpiece you need in size so that it is convenient to ride on a longboard. Next, cut off the excess and plan the board on the machine. As a result, we align it and get an excellent workpiece for the base.
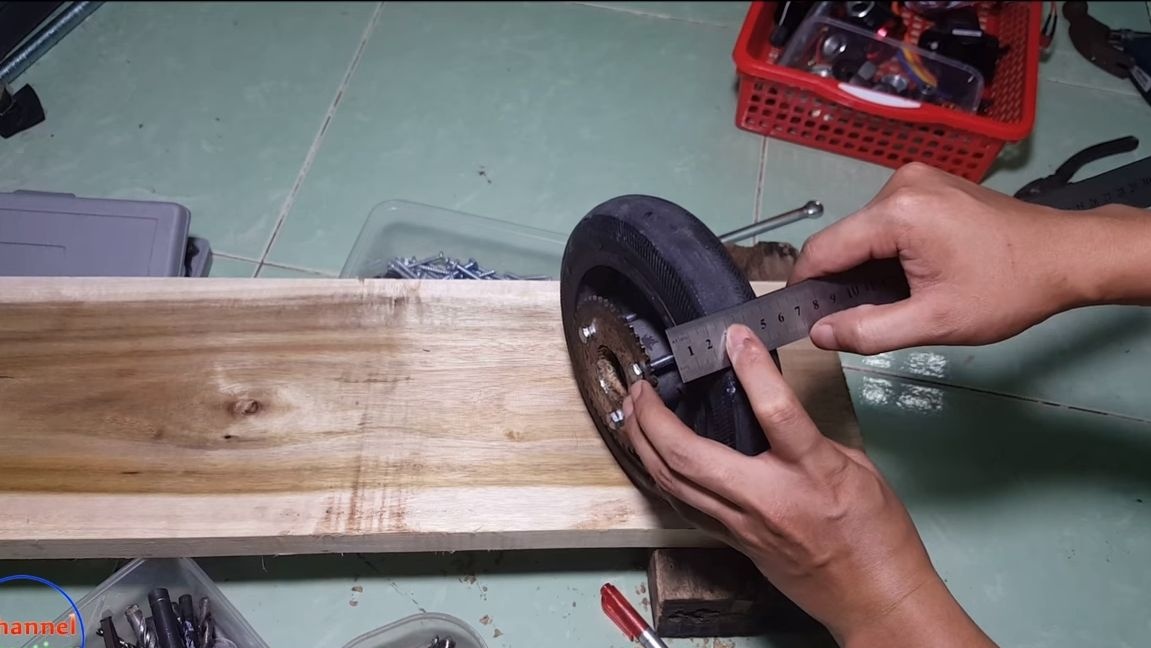
Step Two Install the sprocket on the drive wheel
We have a longboard tricycle, the rear wheel is the driving one, it is larger than the front ones. As a drive wheel, you can use a wheel from a trolley, a children's bicycle, a stroller and similar equipment.
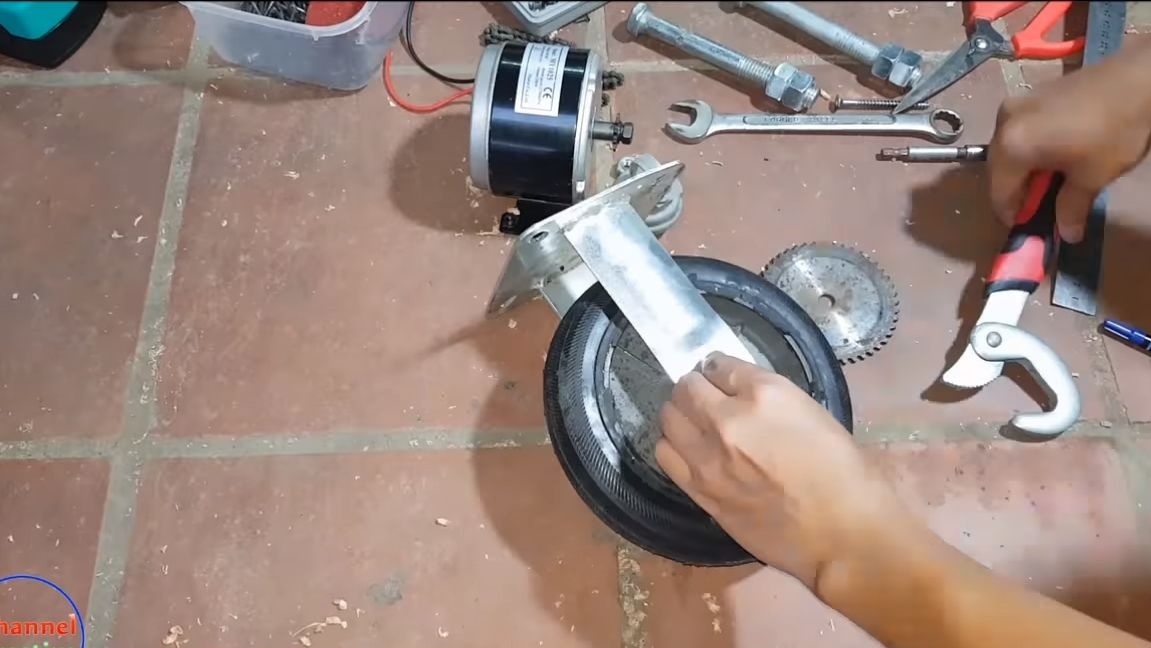
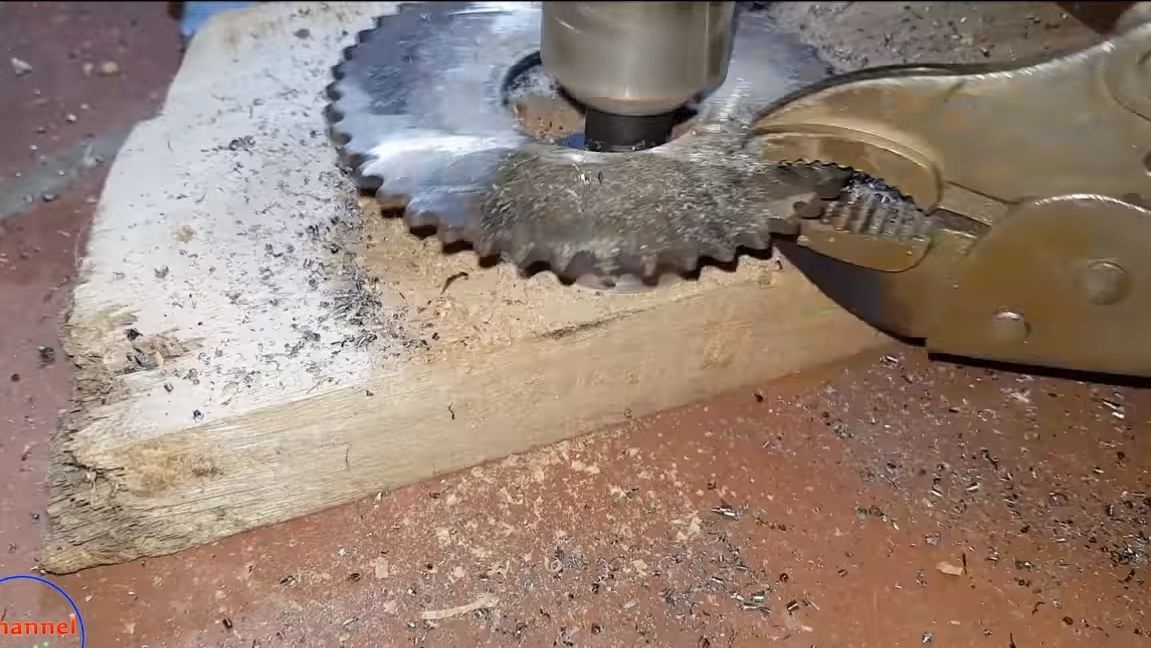
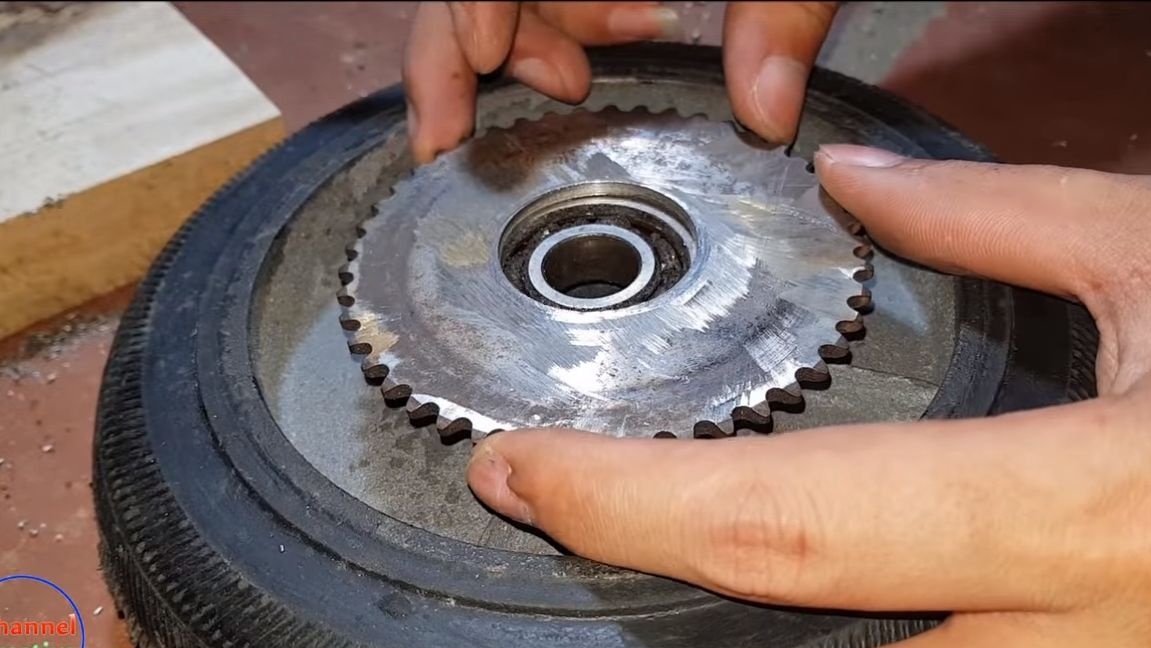

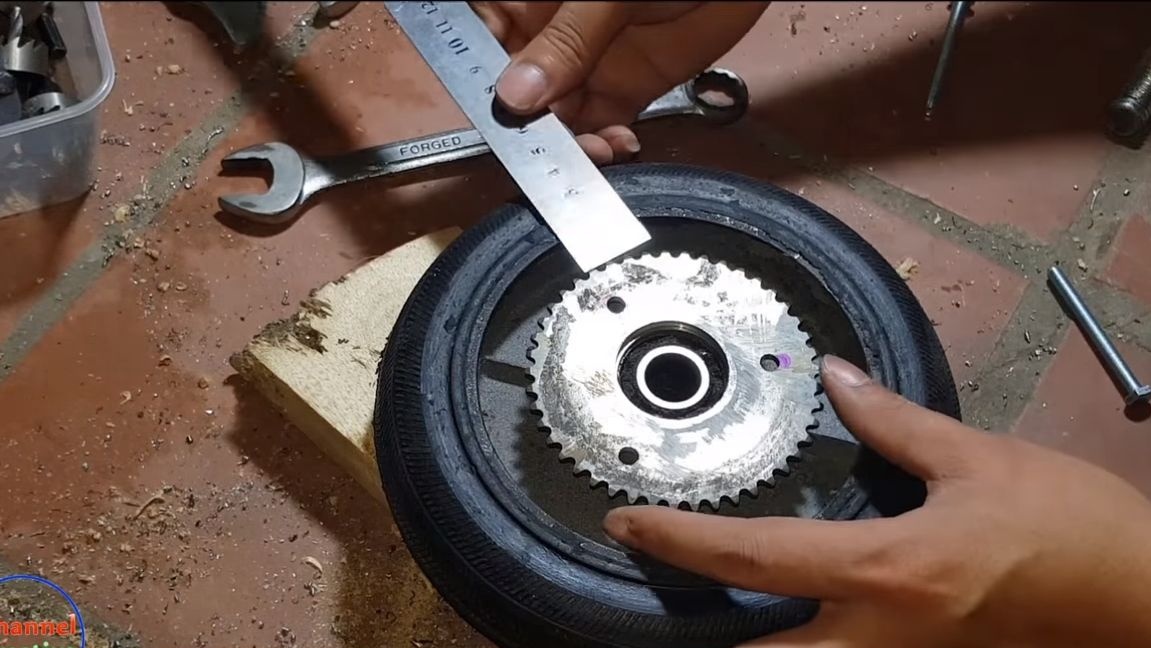
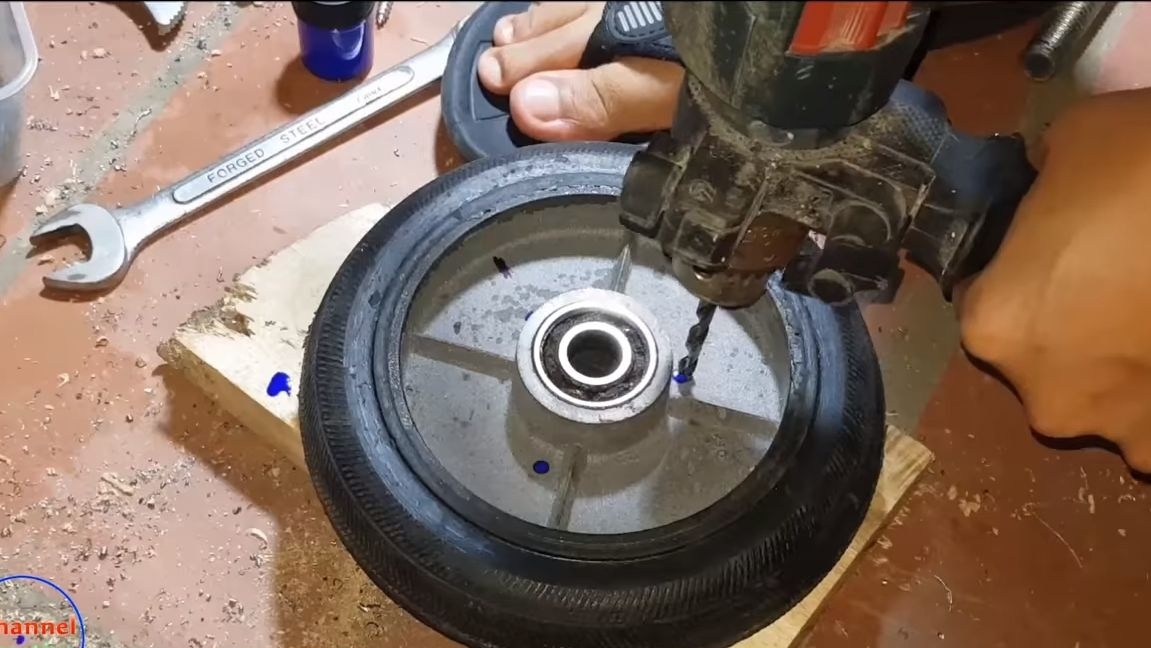


Next, we will need to install the driven sprocket on the wheel. The author drills a hole in it in accordance with the size of the bearings and the axis of the wheel. Next, drill three holes in the sprocket and wheel, using them and bolts with nuts, we will securely fix the sprocket on the wheel.
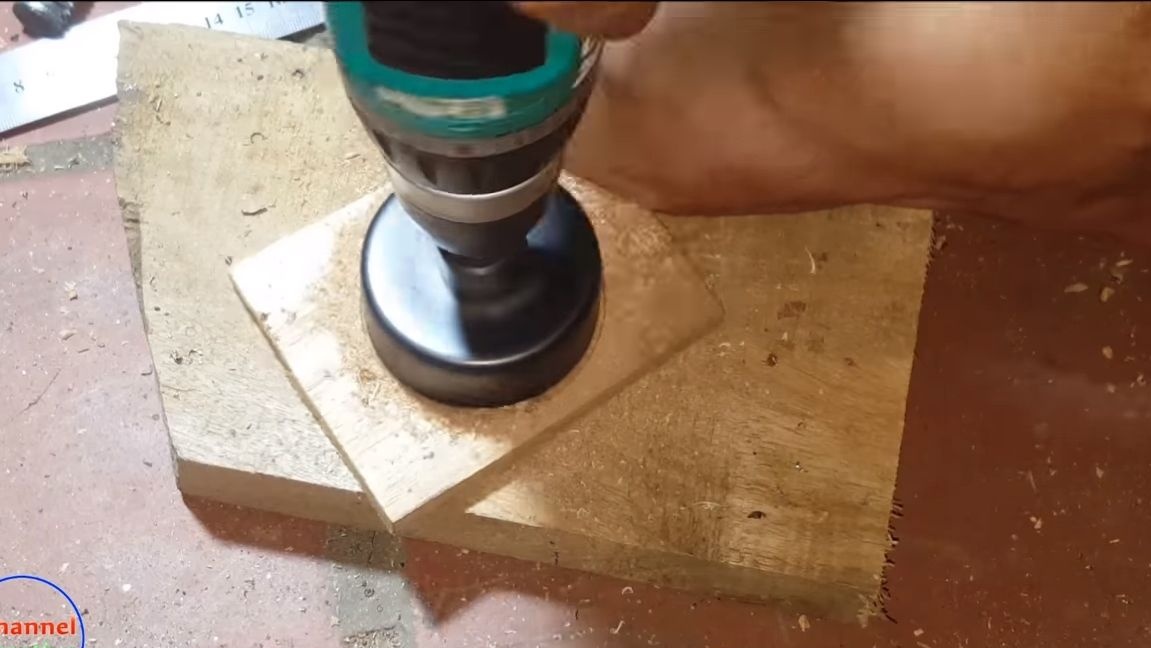
Another detail that is needed here is a plywood washer.It can be cut with a drill and bits of suitable size. Set the asterisk and move on.
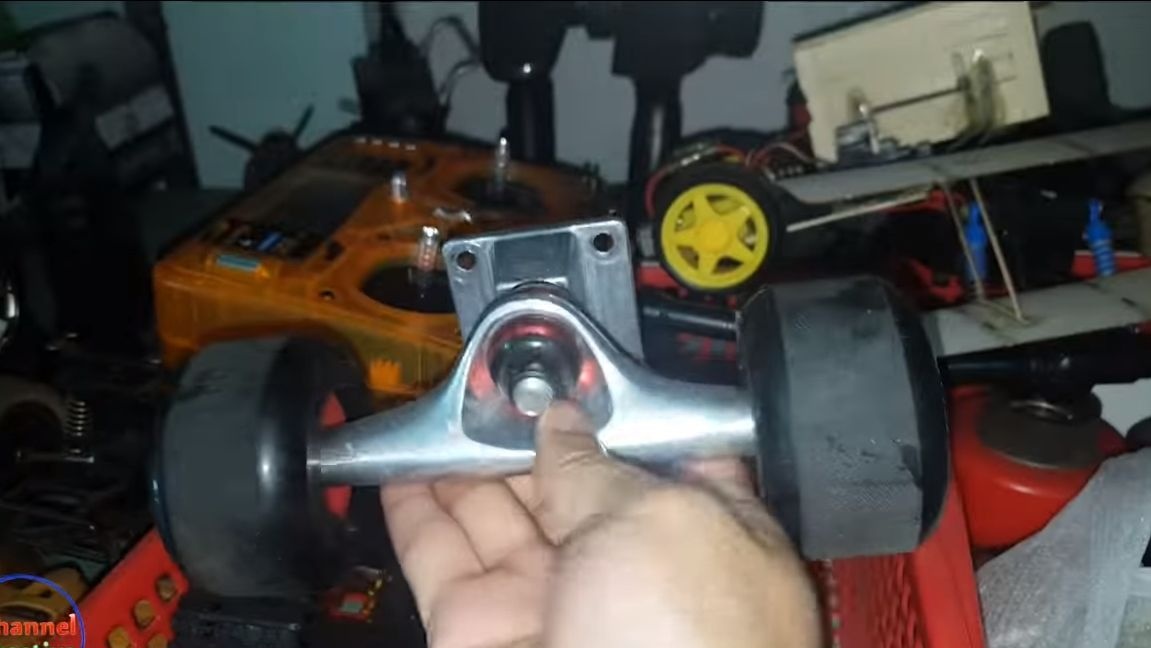
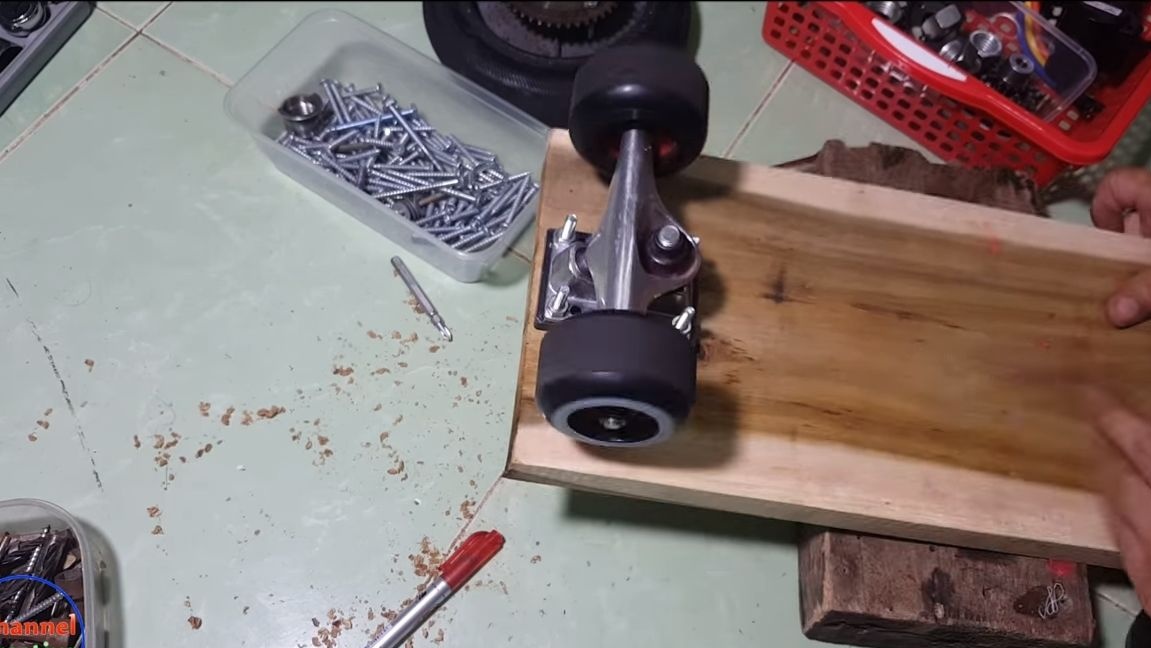
Step Three Install the front wheels on the base
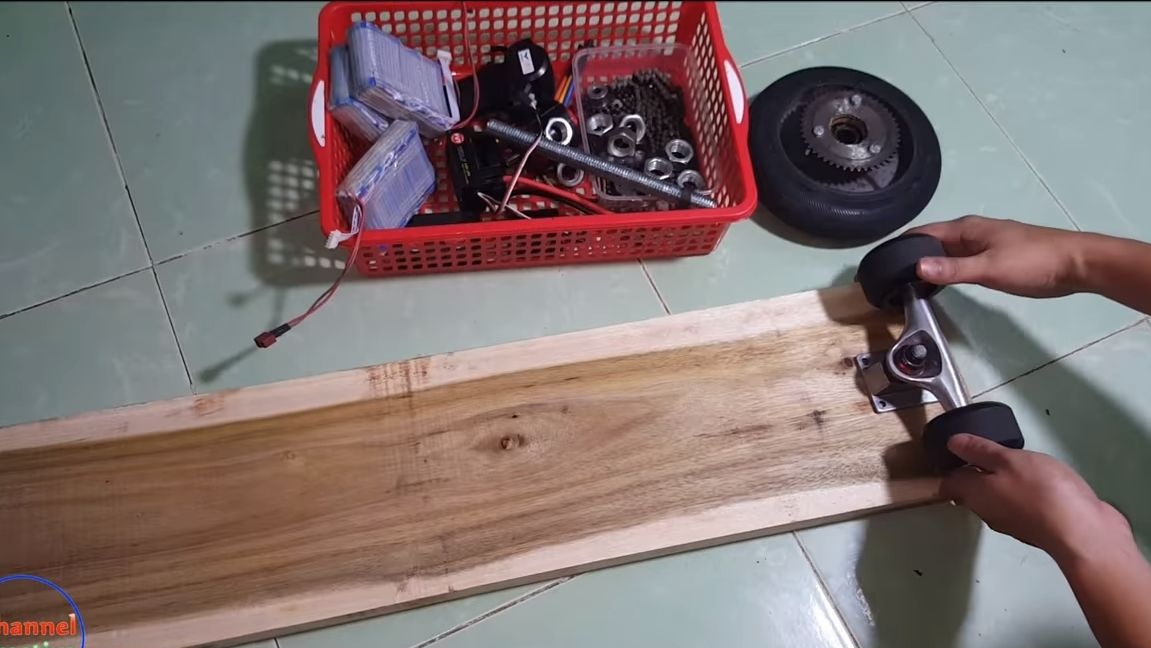
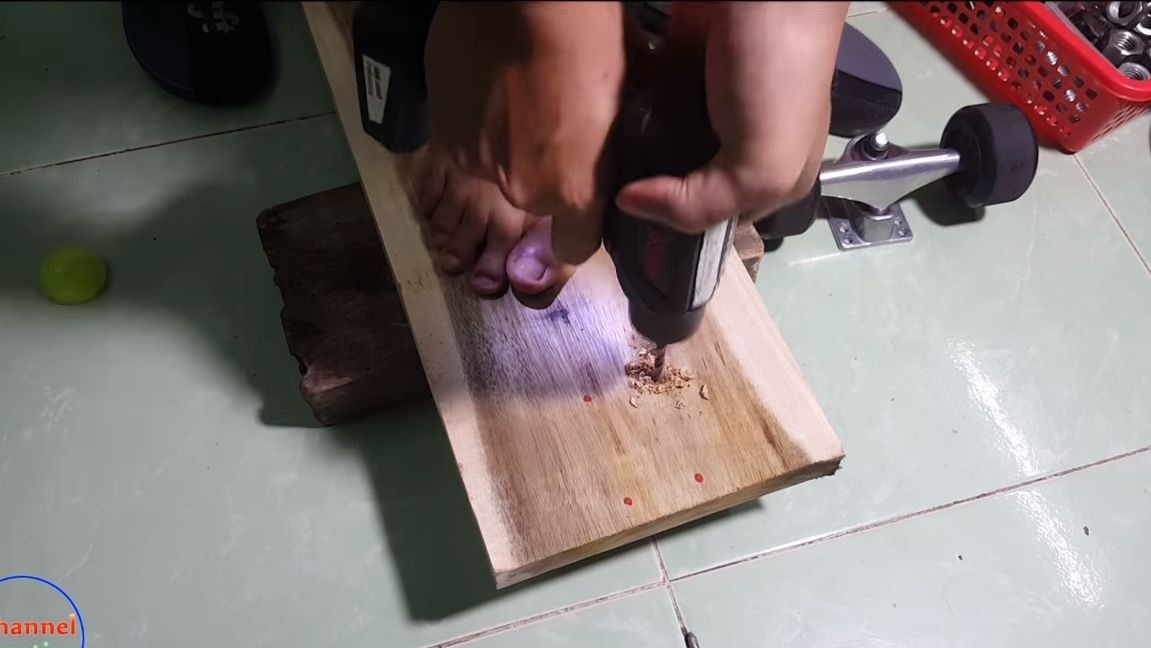
The author took the front wheels from the skateboard, along with the axle and bracket. Install a PCB gasket or similar between the bracket and base. Well, then we drill holes and fasten the wheels using screws with nuts.
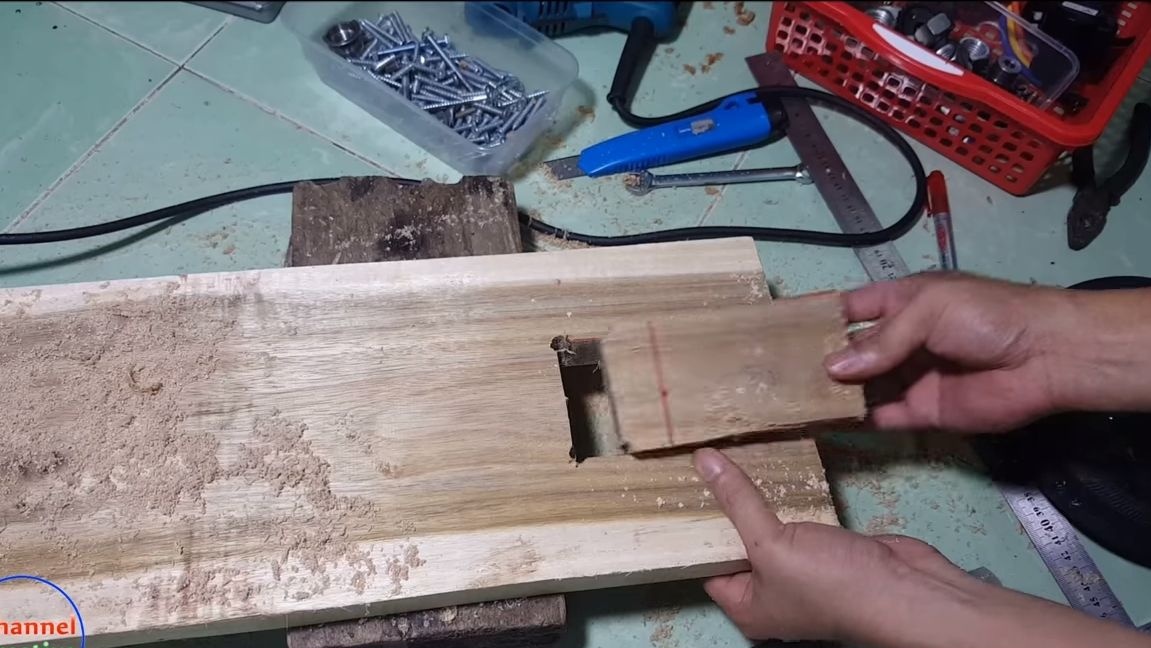
Step Four Install the rear wheel
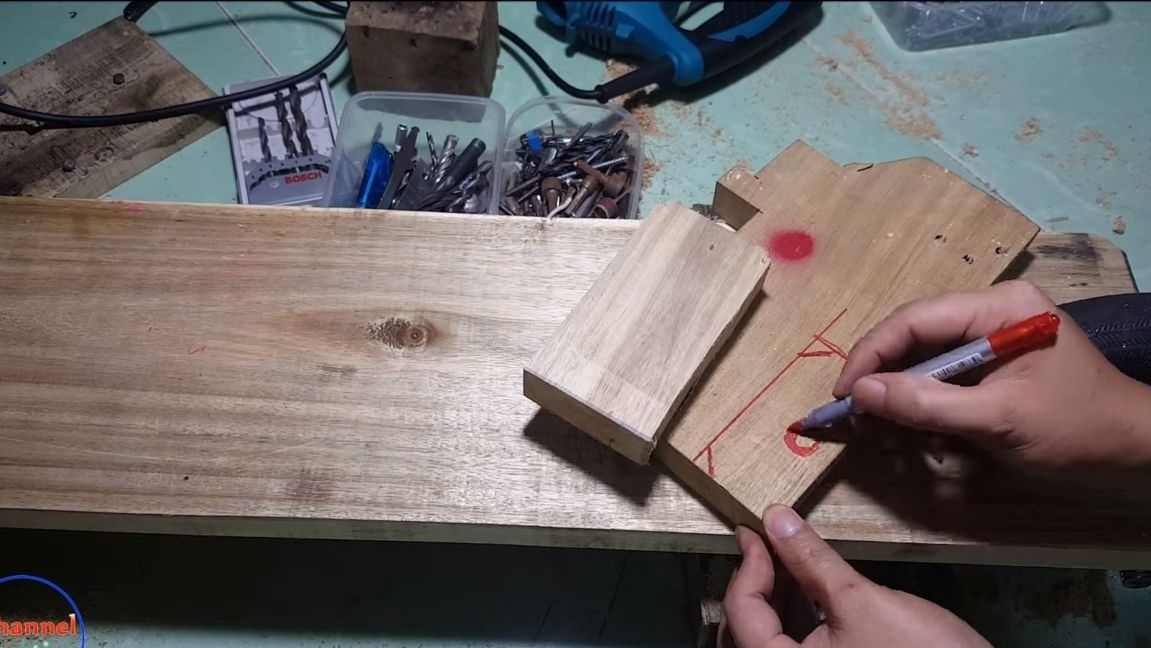
Take the ruler and marker, in the back of the platform you will need to cut a groove under the wheel.
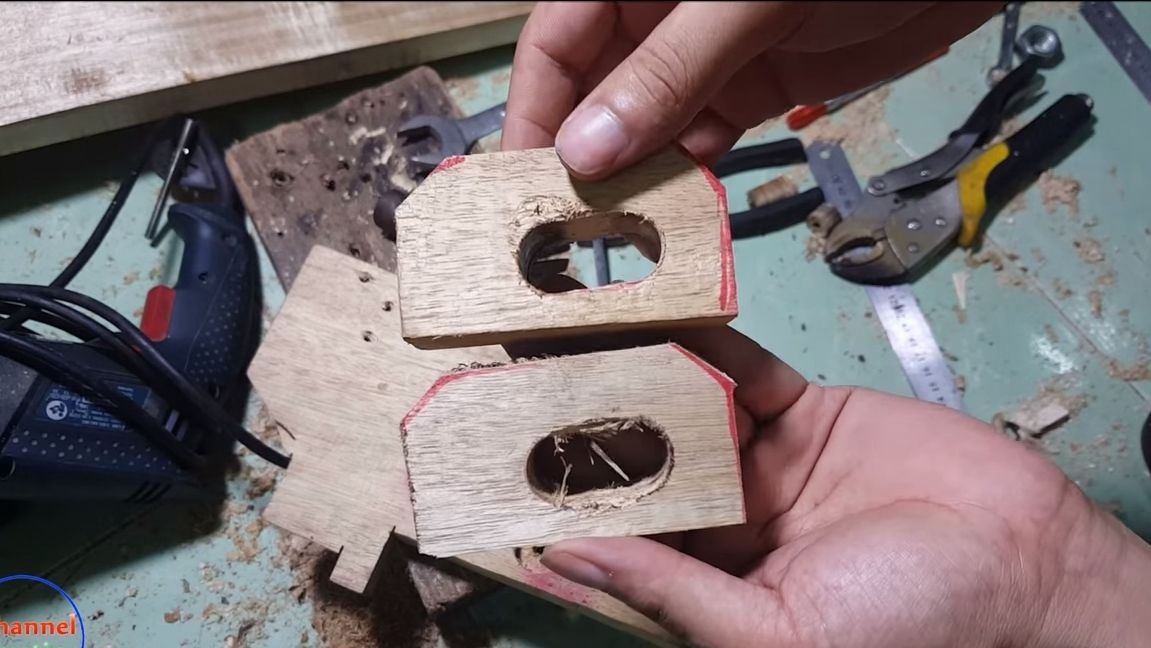
Now you need the part that you cut, or another piece of the board. It is necessary to make two brackets from it, with which we will fix the wheel. We cut two pieces and drill holes along the axis. At the same time, do not forget that the holes should be oval so that you can pull the chain by pulling the wheel back.
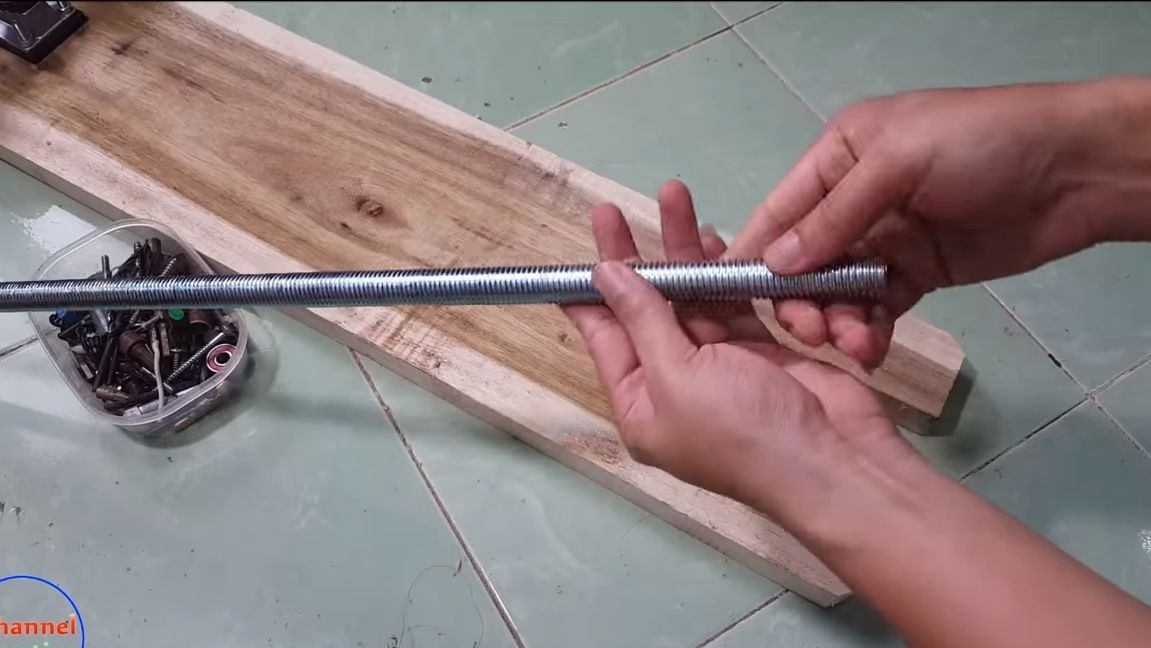
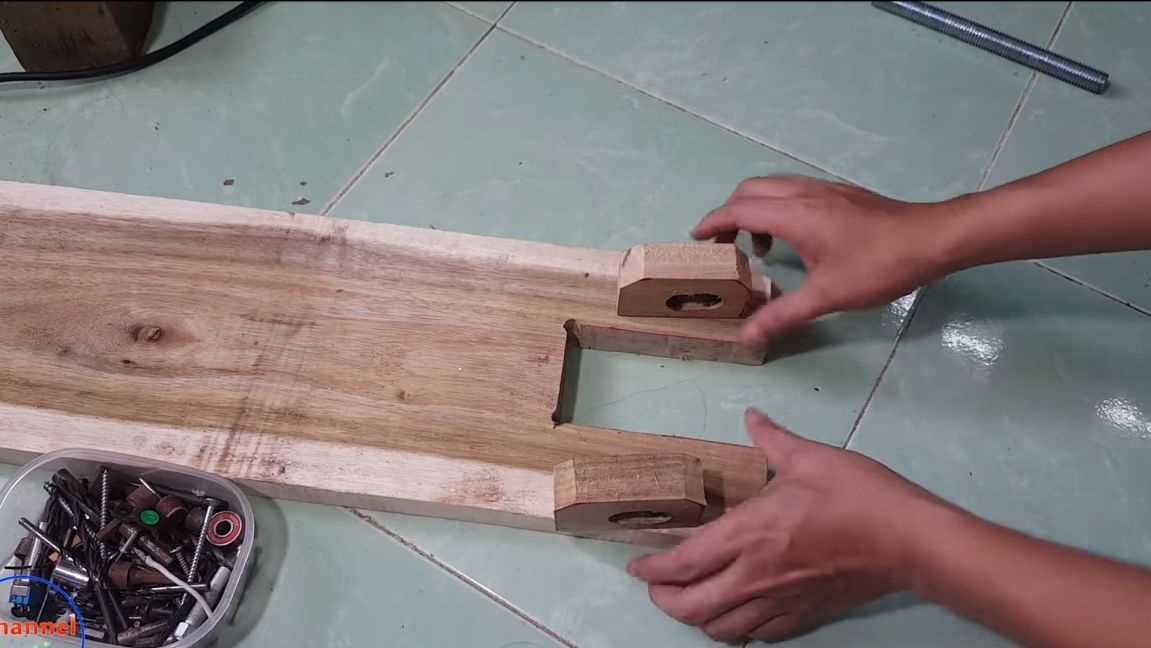

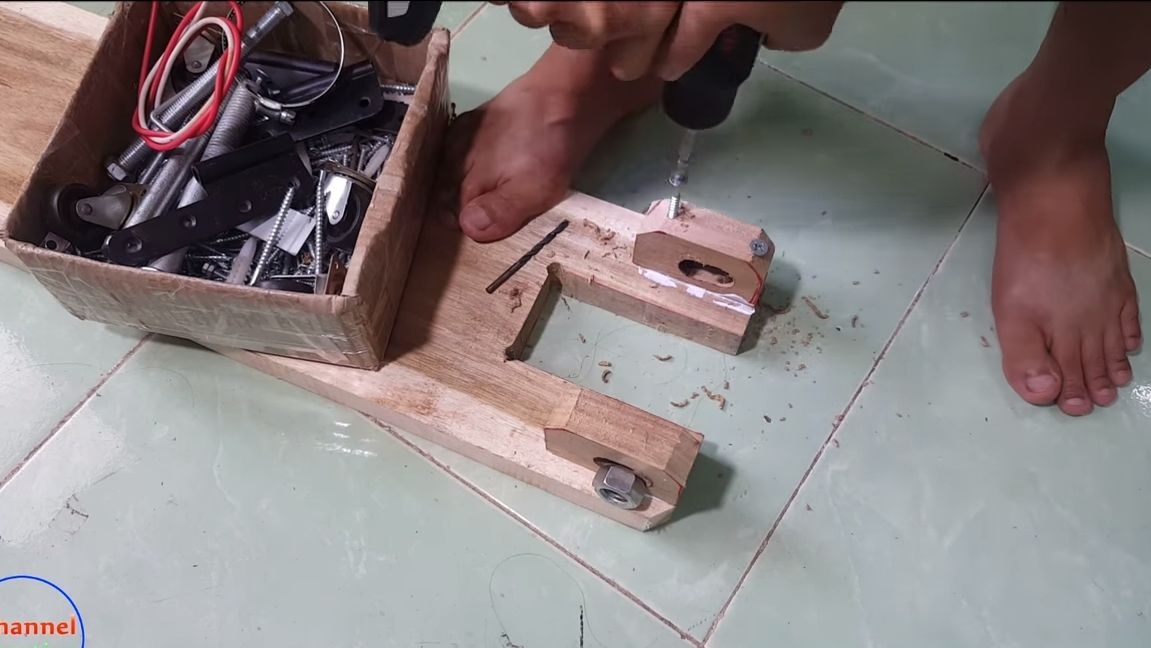
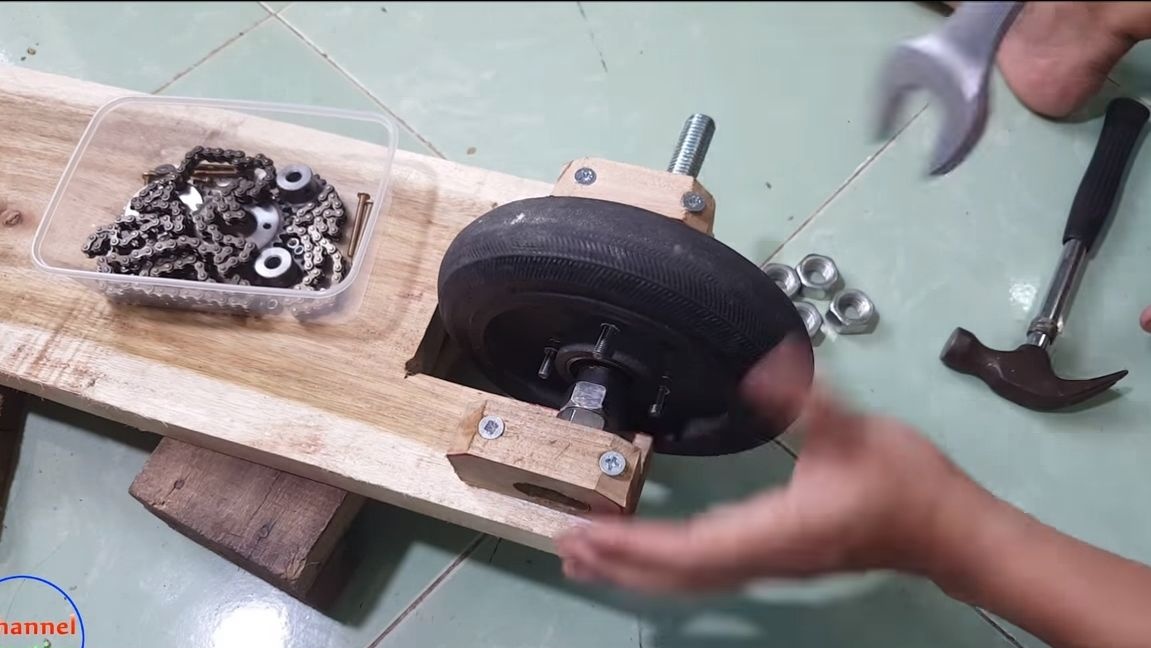
We fix the “ears” in place using glue, as well as screws for wood. We drill holes, apply wood glue, and tighten the screws. That's all, now you can install the drive wheel. First of all, put a chain on the sprocket, now you can prepare the axis. As an axis, we use a threaded rod of a suitable diameter. Securely fasten the wheel using nuts.
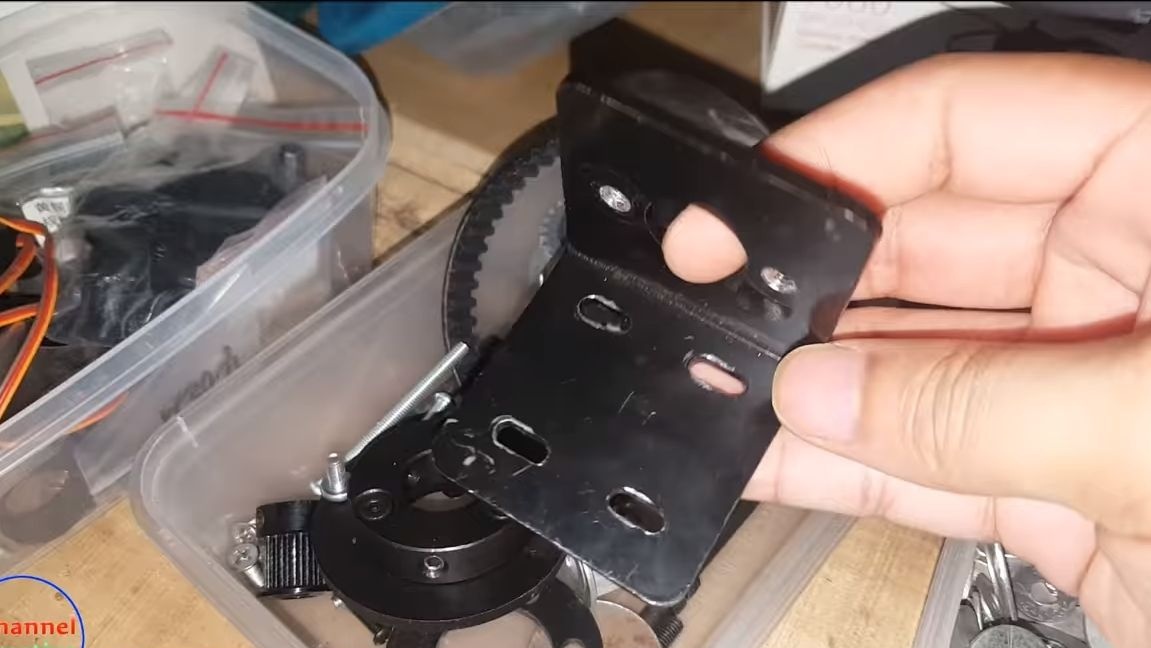
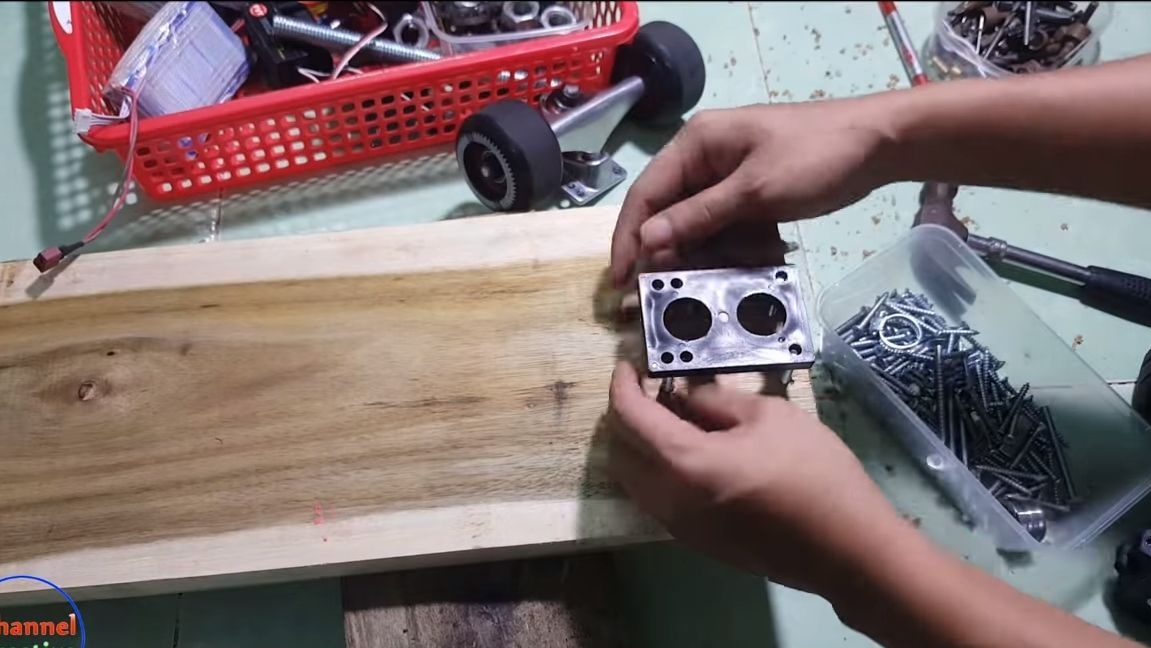
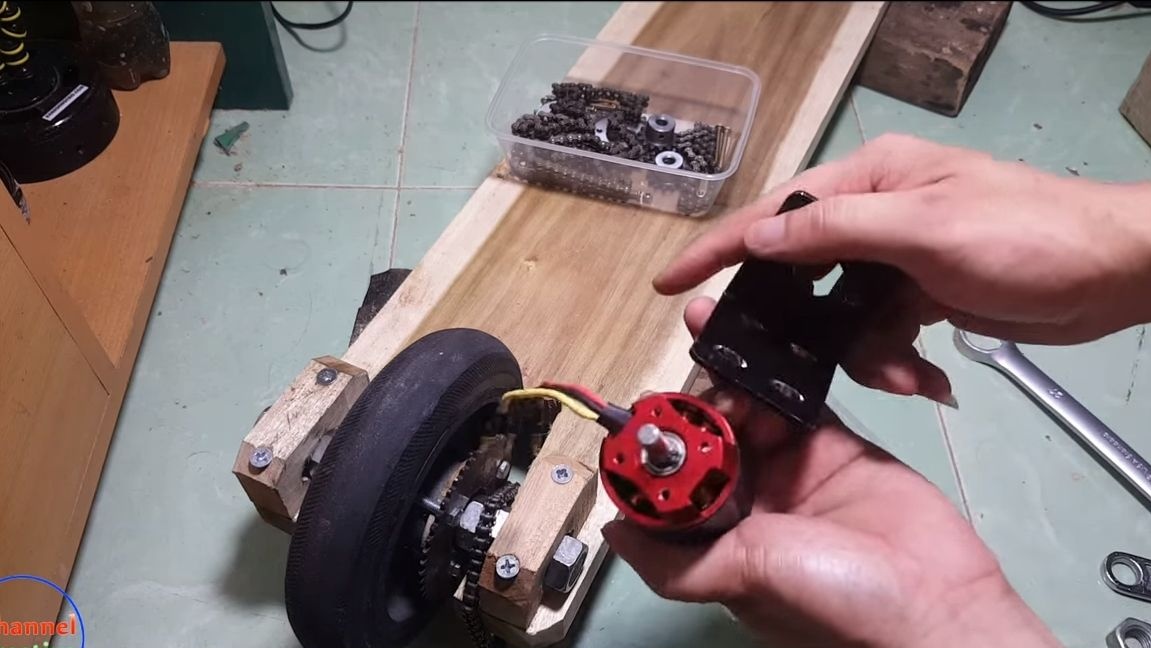
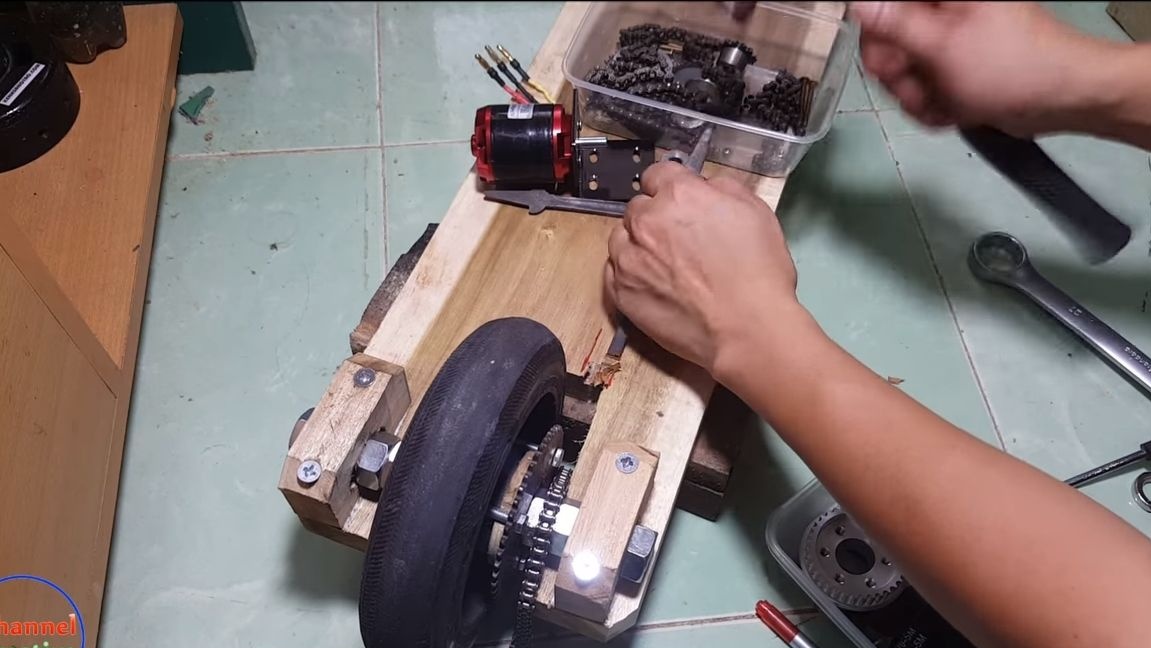
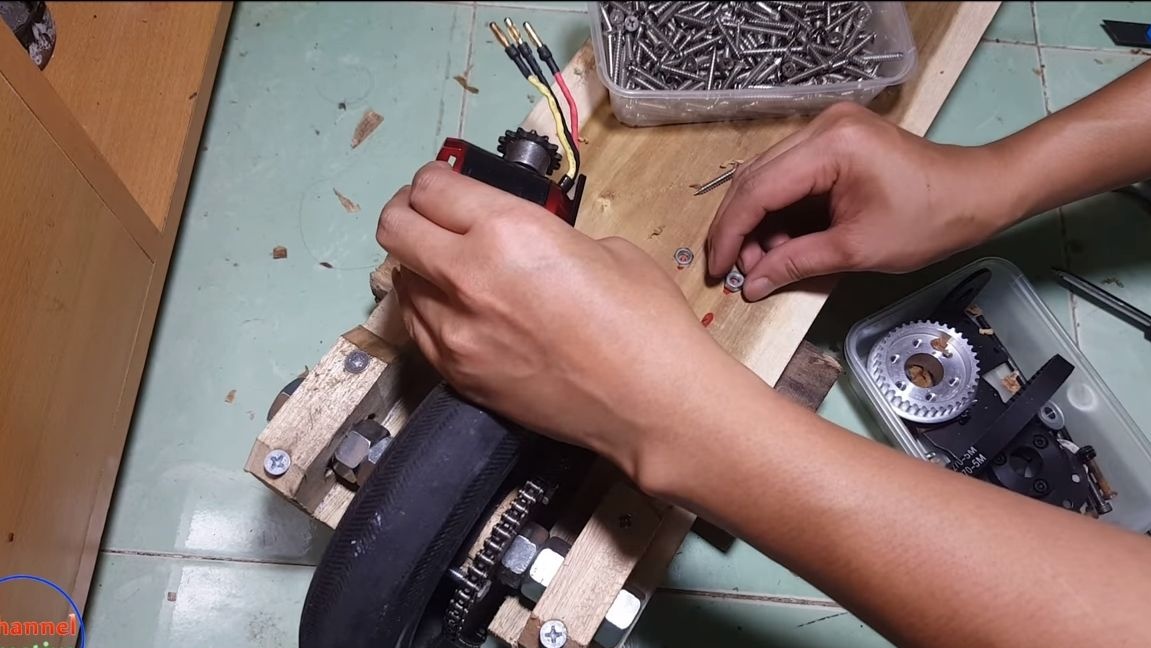
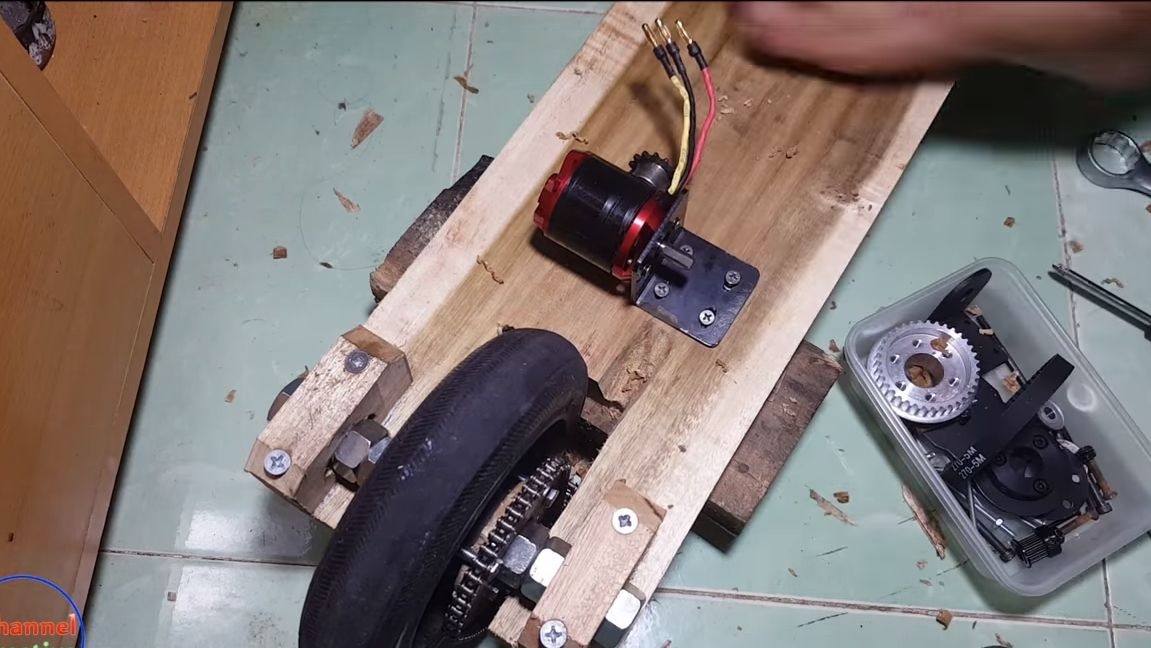
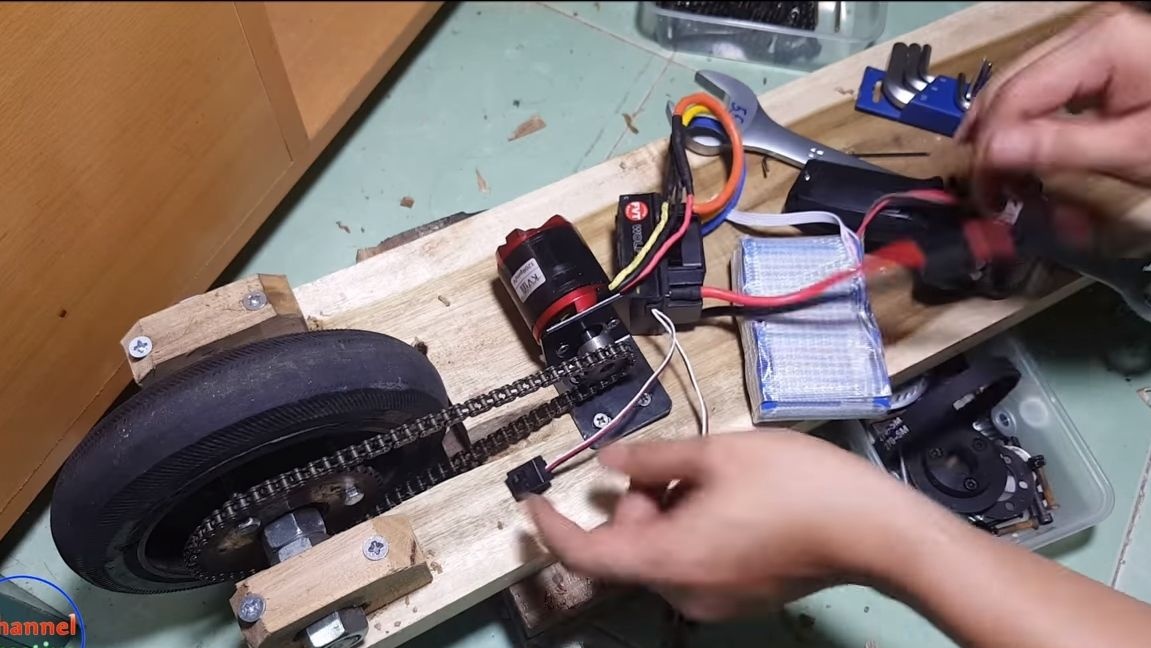
Step Five Install the motor
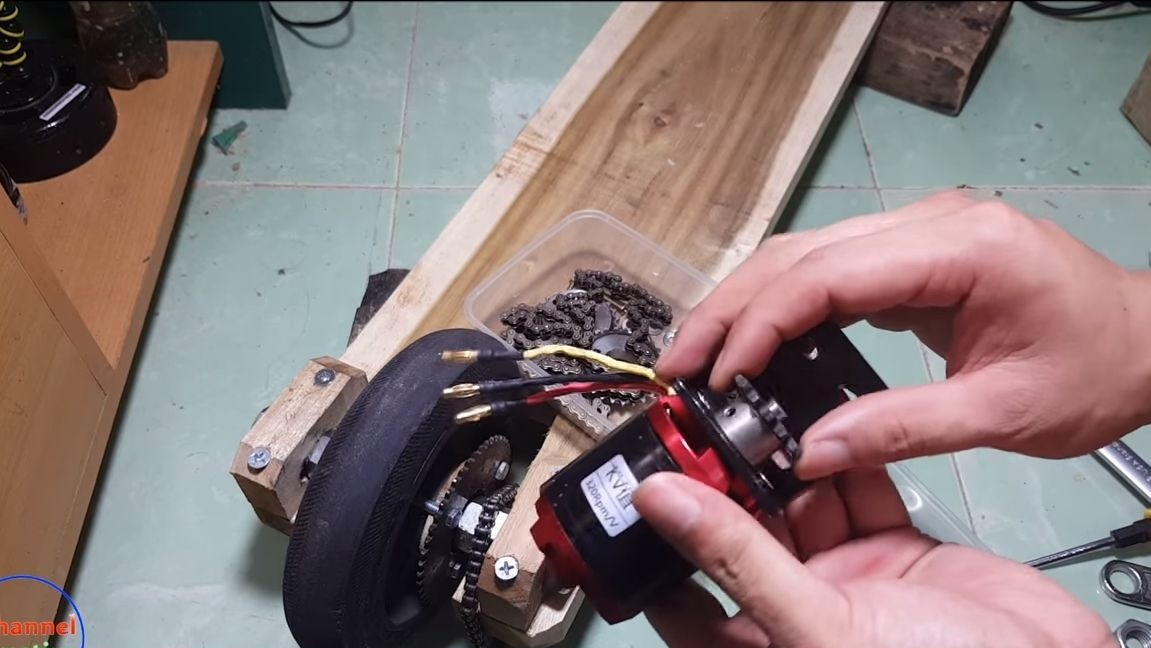
It is most convenient to install an engine if you have a bracket for it. We fasten the bracket to the base at the desired distance using self-tapping screws. Place nuts or washers under the bracket to adjust it properly.
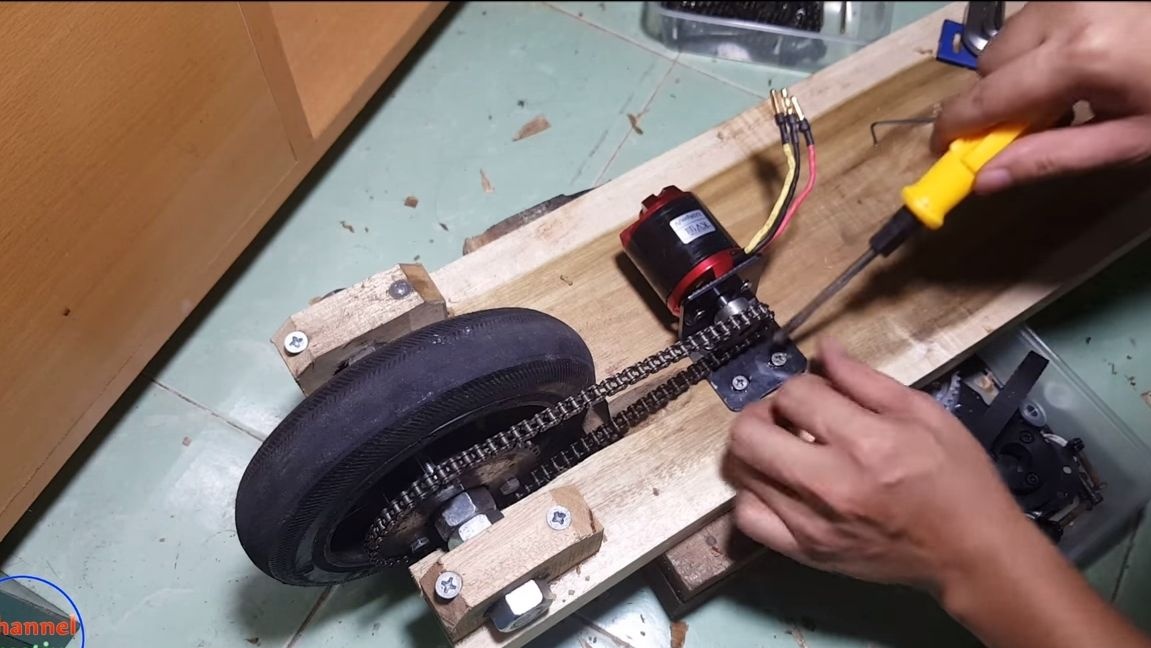
Now install the chain and make sure that it does not touch the base, the author has a problem with this. If the chain touches the base, take a chisel and cut a groove under it. That's all, now you just have to pull the chain and try to turn on the motor. If it works properly and the chain does not fly off, then everything is done correctly.

Step Six Complete assembly of the longboard
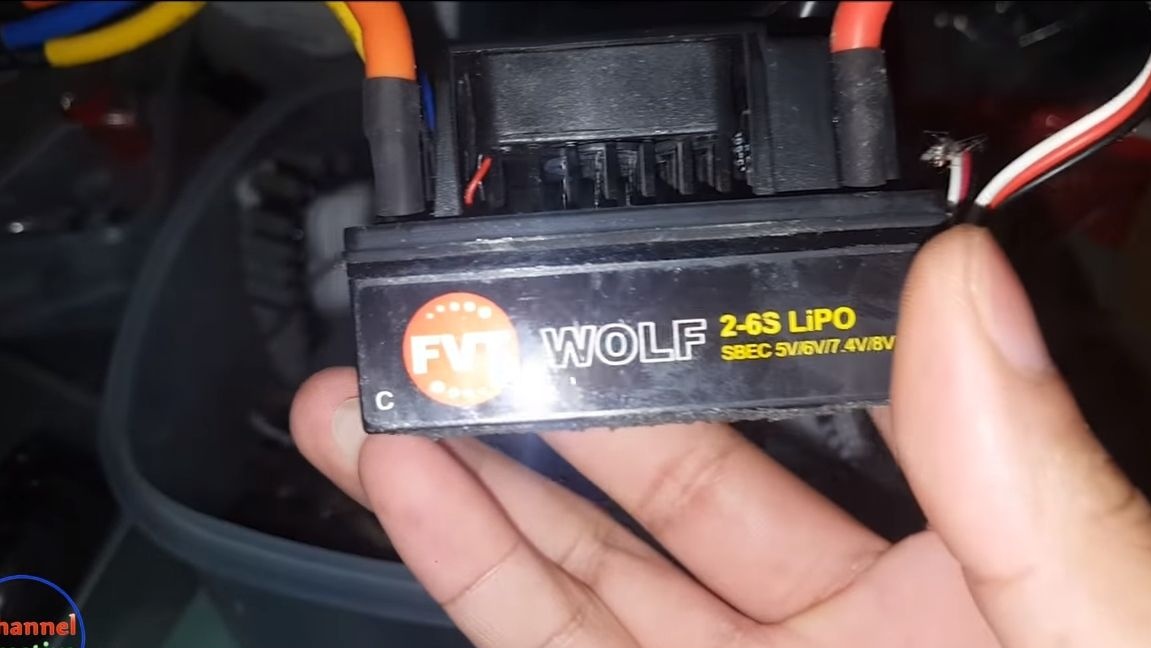
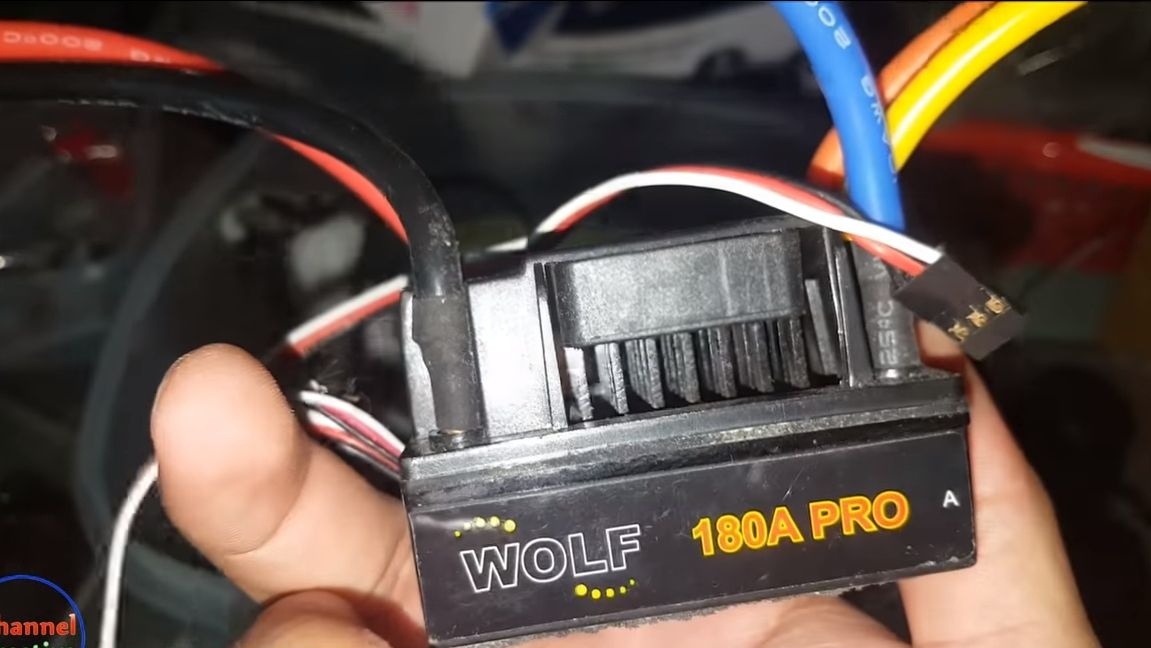
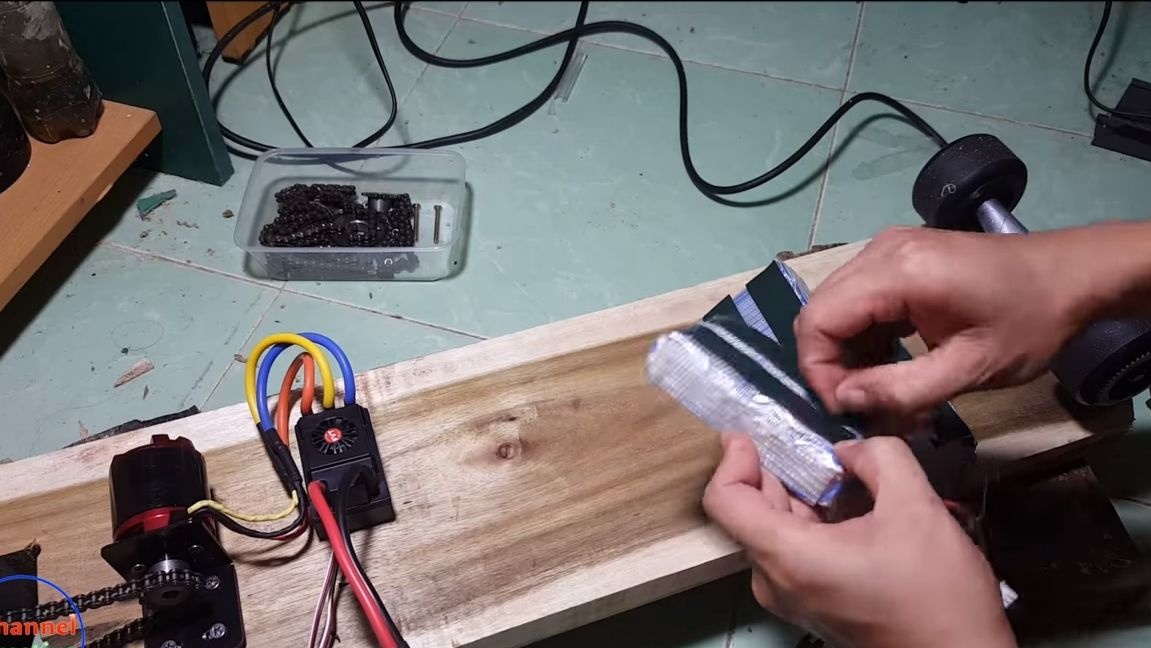
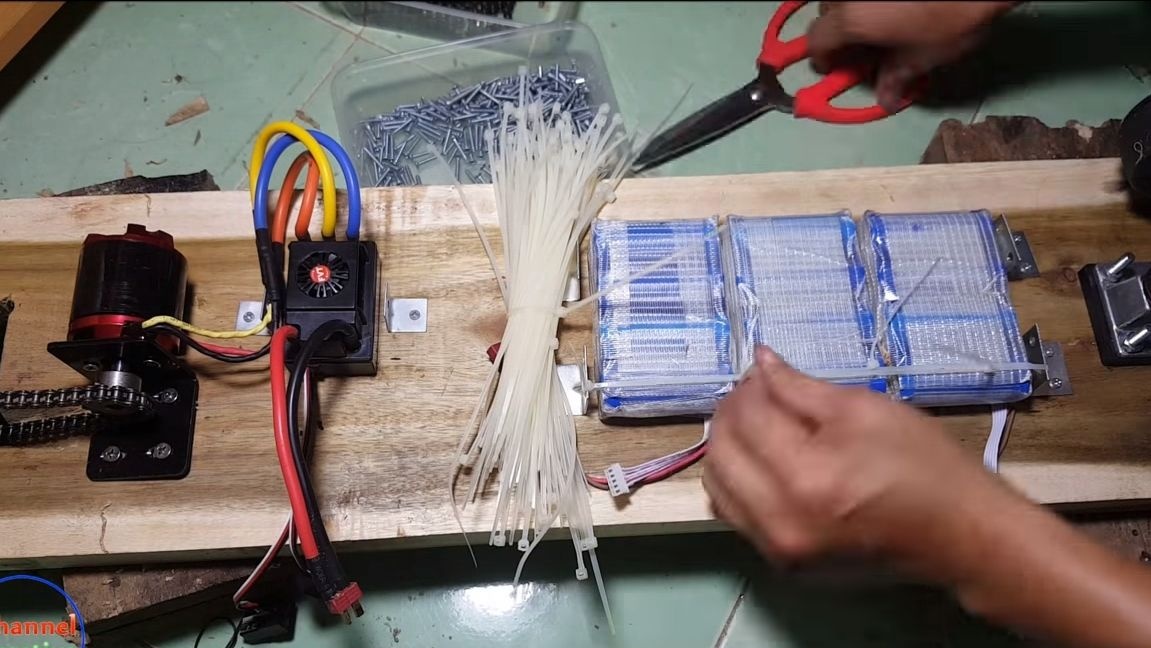
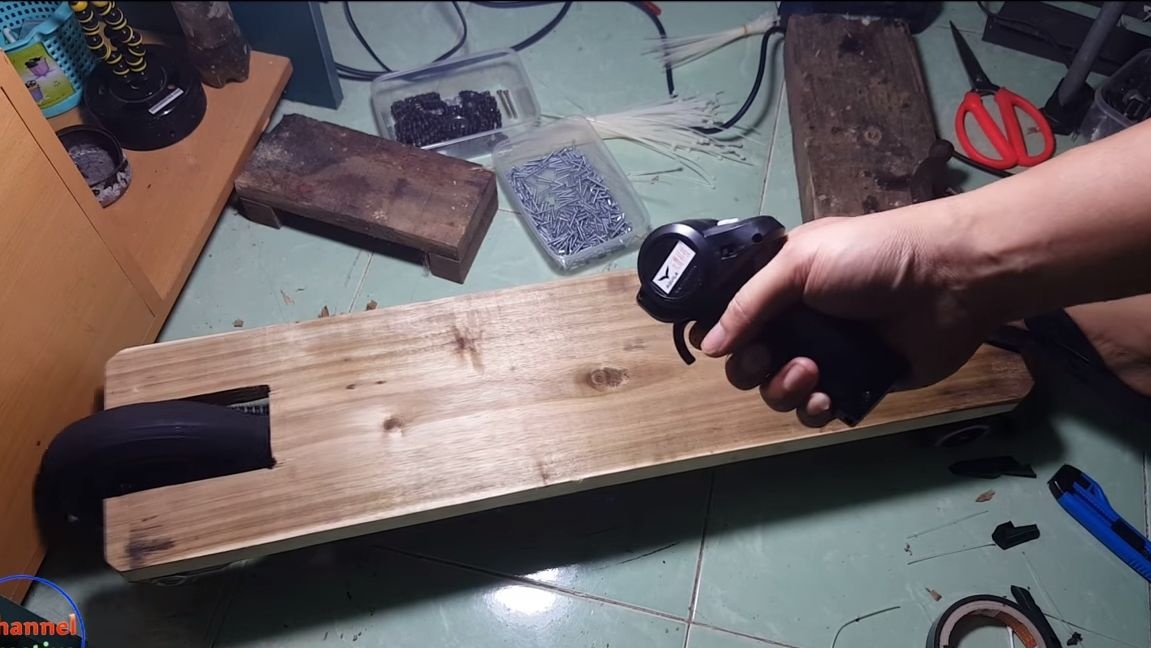
All you have to do is install the electronics and batteries on your brainchild. For fastening batteries and other elements, we use double-sided adhesive tape. Heavy parts, such as batteries, require additional locking. The author screws metal fastening corners to the base, and then plastic ties are installed using them.
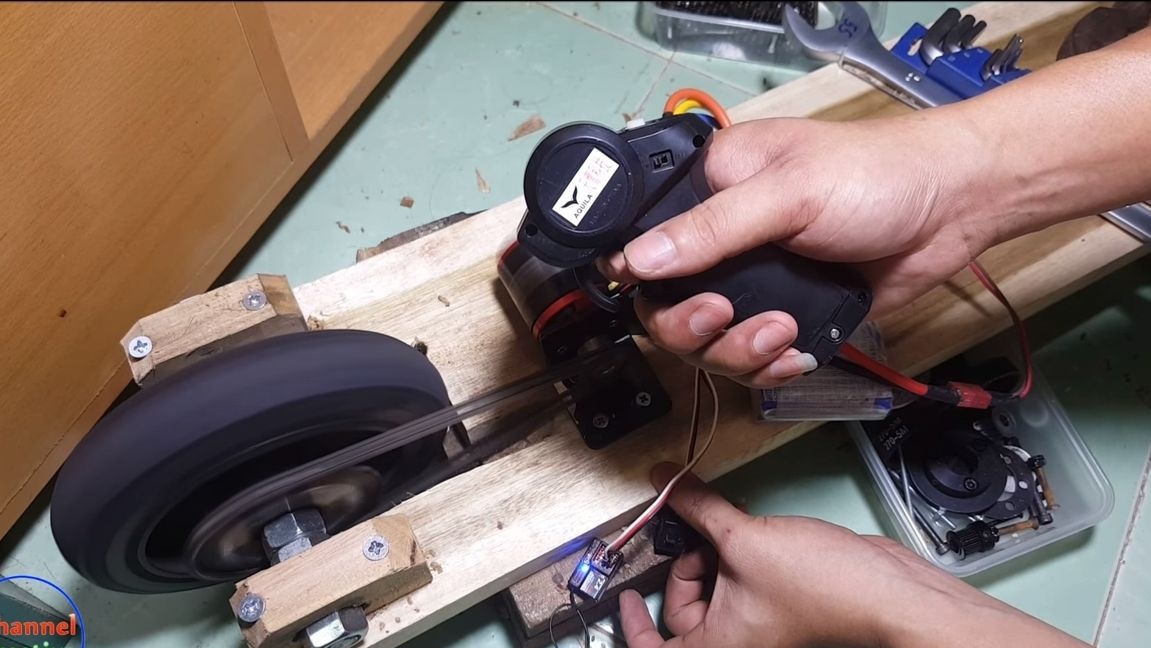
After connecting all nodes, check the longboard. It should move in two directions, forward and backward. If everything works, congratulations, you have assembled a great machine! In the end, you can paint it with a spray can.
Homemade work can be tested if all the nodes are assembled according to the instructions, the machine must support the weight of an adult man (about 70 kg). As for the power, then, as can be seen in the video, it is enough to move quite briskly even with such a load. Of course, with a child, the skate will be even faster and will consume less electricity.
Of the additions, it is recommended to install a protective shield on the rear wheel so that it does not injure the leg. You can only use a longboard in dry weather, as our electronics and engine are not protected and will quickly fail from dirt.
That's all, I hope, you liked the instructions. Ride to health and take care of yourself, good luck!