Spring is coming, and after it is summer. It is then that help to move around and such a loyal assistant comes as bike. This transport is easy, does not require a driver’s license, and you can store it right in the apartment. But what to do when you need to travel long distances and it takes too much effort. There is a solution, you can install an electric motor on your bike! Now you can significantly save energy by driving a couple of tens of kilometers on a battery. Of course, the range will greatly depend on your weight, terrain, and battery capacity.
In this manual, we will look at how you can simply install an electric motor on your bike. True, the scheme is a bit costly as finance, since it uses a brushless motor, which itself costs a lot, and you will also need to buy a controller for it. But if this is not an obstacle for you, move on. In addition, you can always use cheaper and more affordable parts, for example, usually brush motors. For this homemade you don’t need to convert the bike, that is, if the battery is discharged, you can always go on with muscle power. And if you work a little on the circuit, the battery can even be charged by moving from a mountain or pedaling. So, let's take a closer look at how to motorize your bike.
Materials and tools used by the author:
Material List:
-
- ;
- an axis with a wheel from a skateboard;
- Belting;
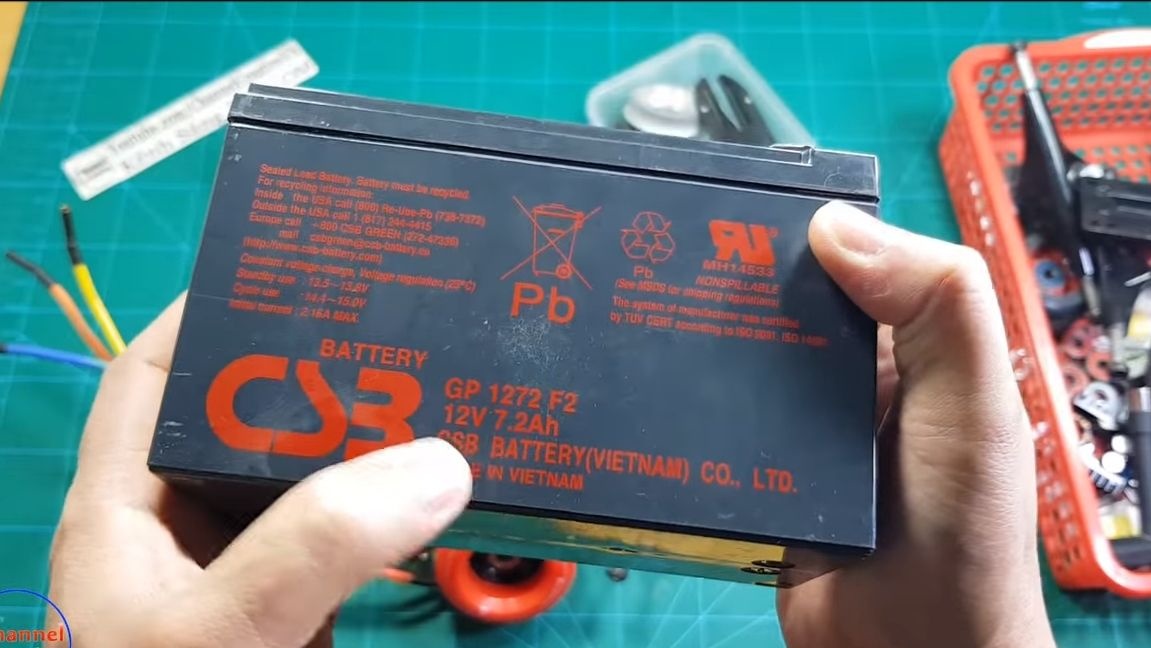
- battery;
- a pen or button to control the engine;
- steel plate;
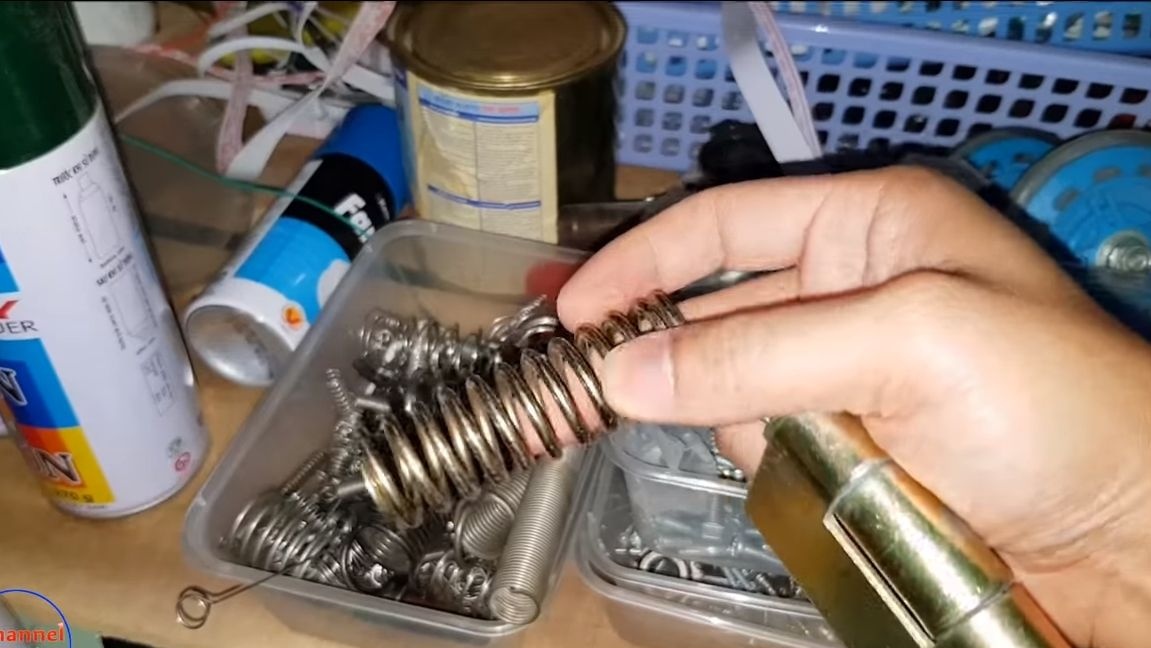
- spring;
- door hinge;
- bolts with nuts, etc.
Tool List:
- welding;
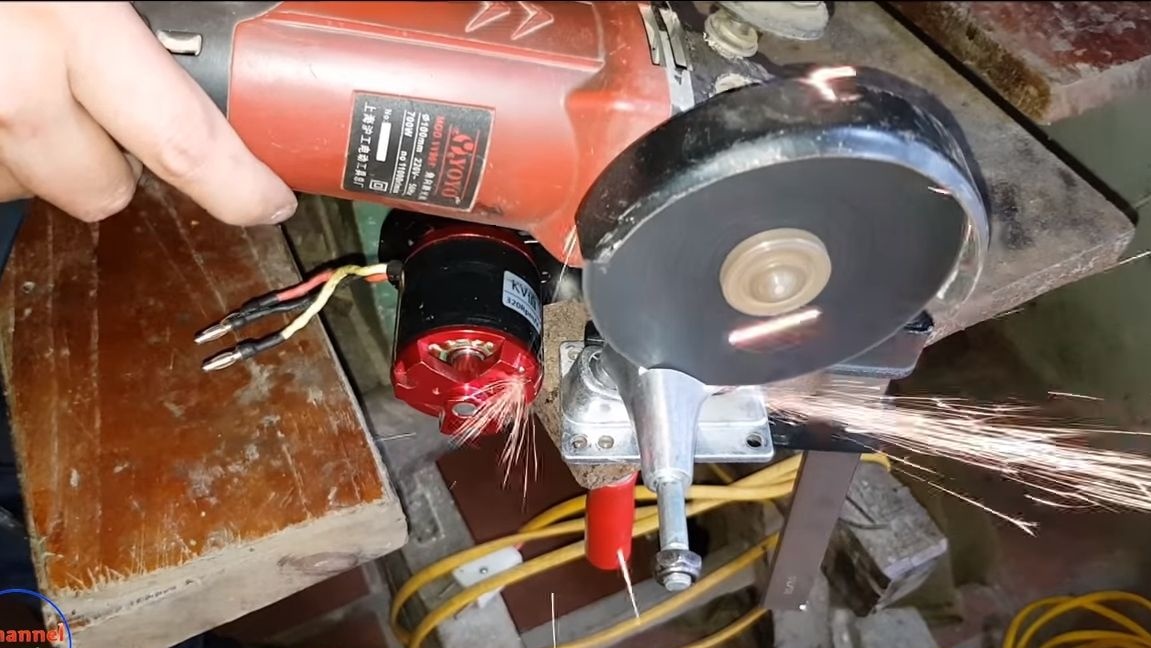
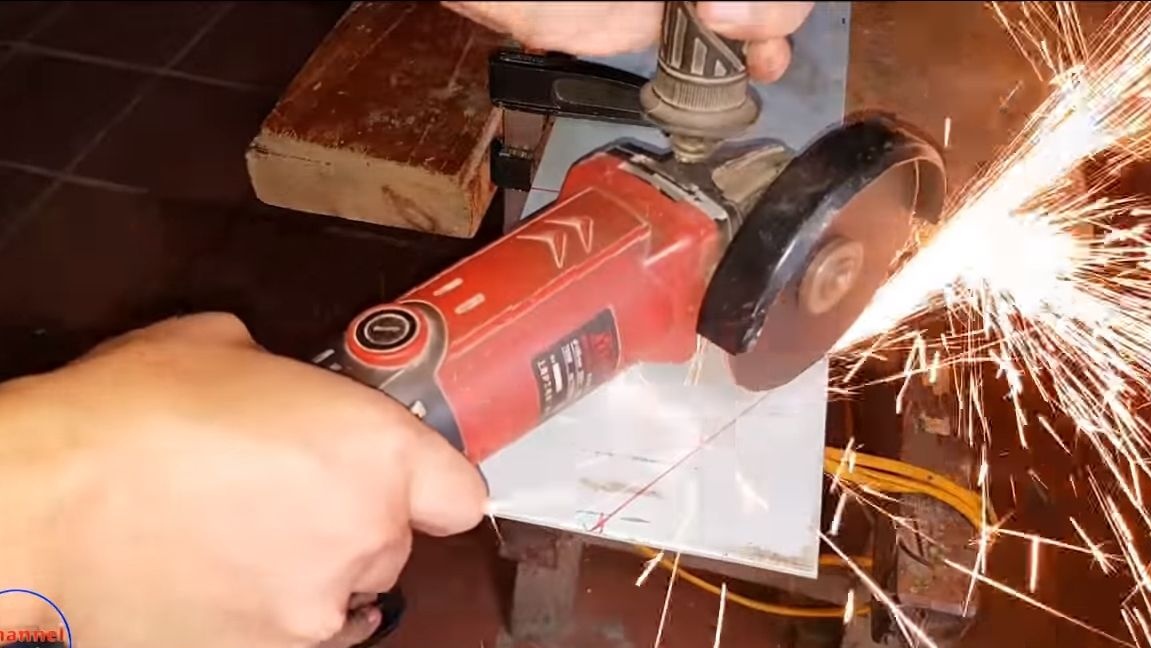
- grinder;
- screwdriver and wrenches;
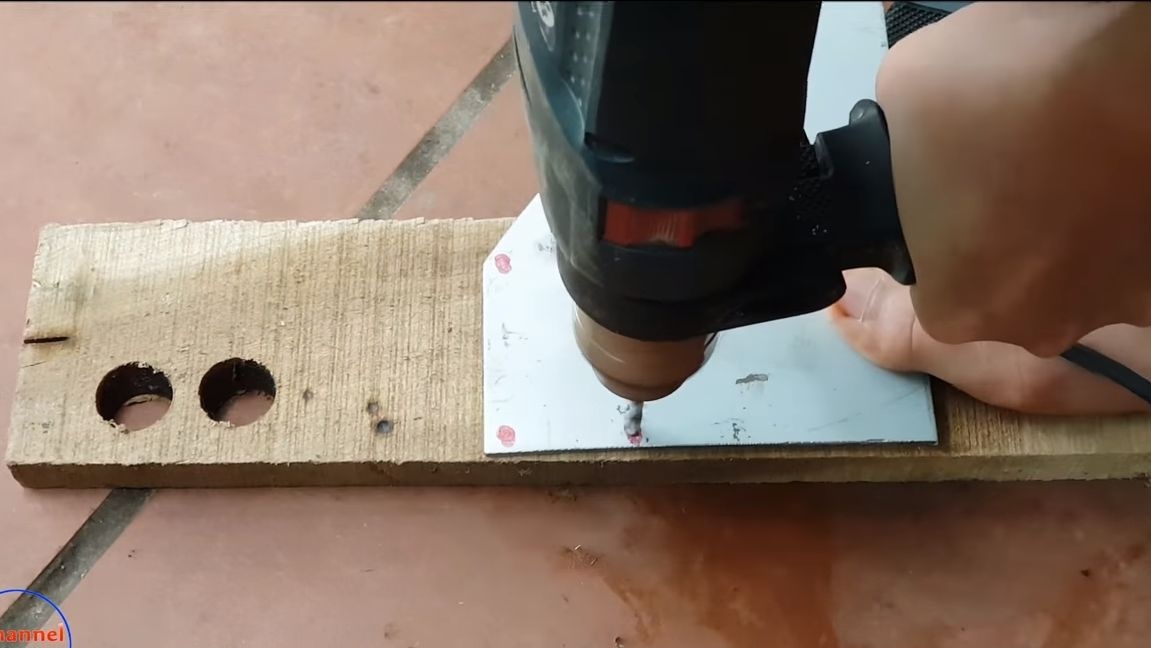
- drill.
Homemade manufacturing process:
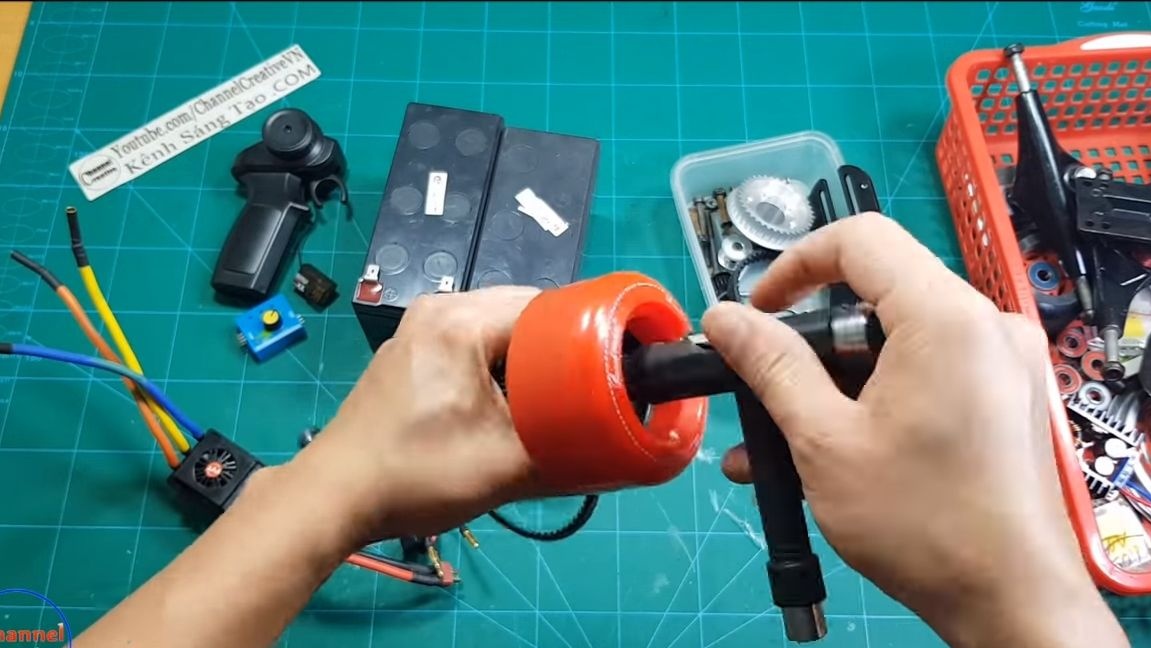
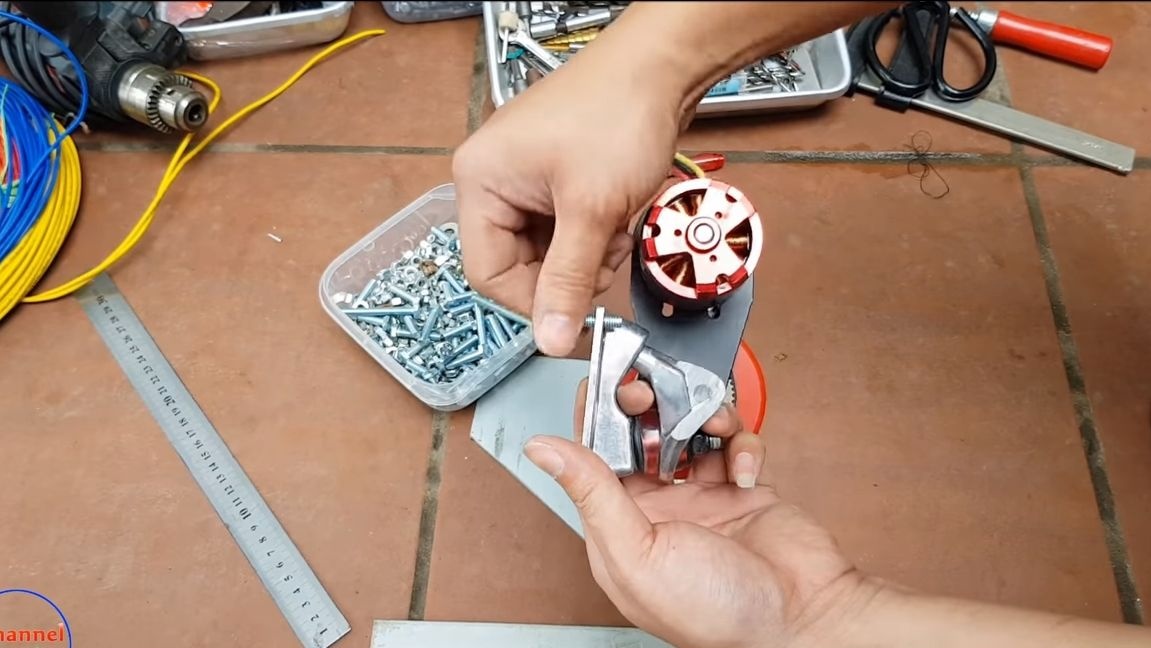
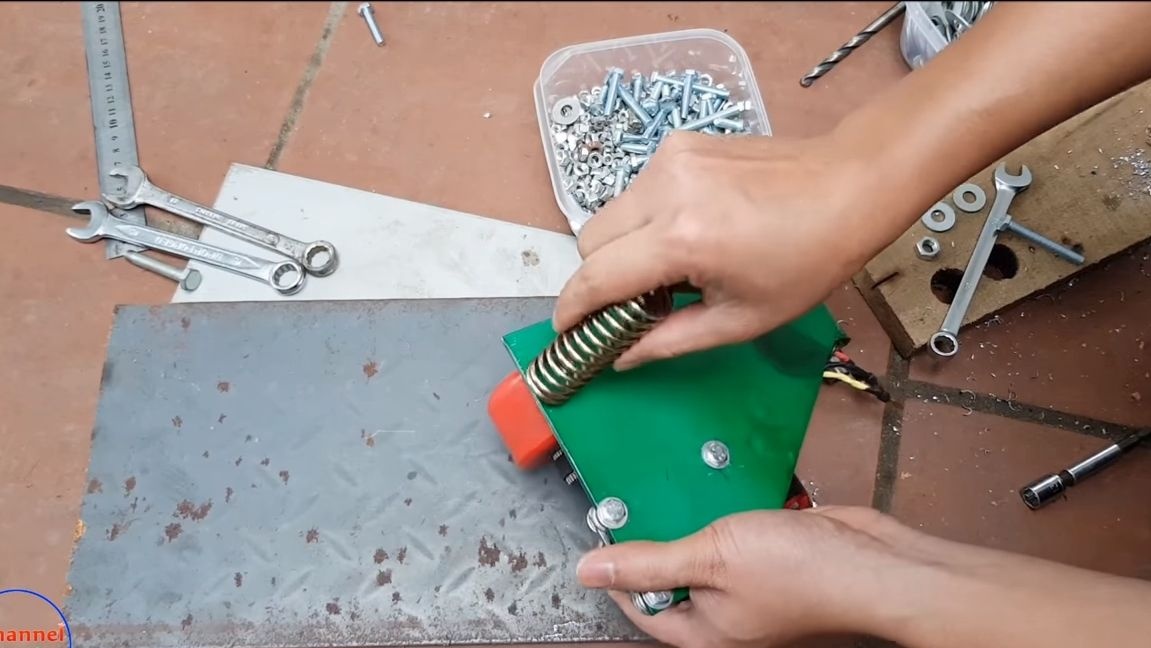
Step one. We make a working "organ"
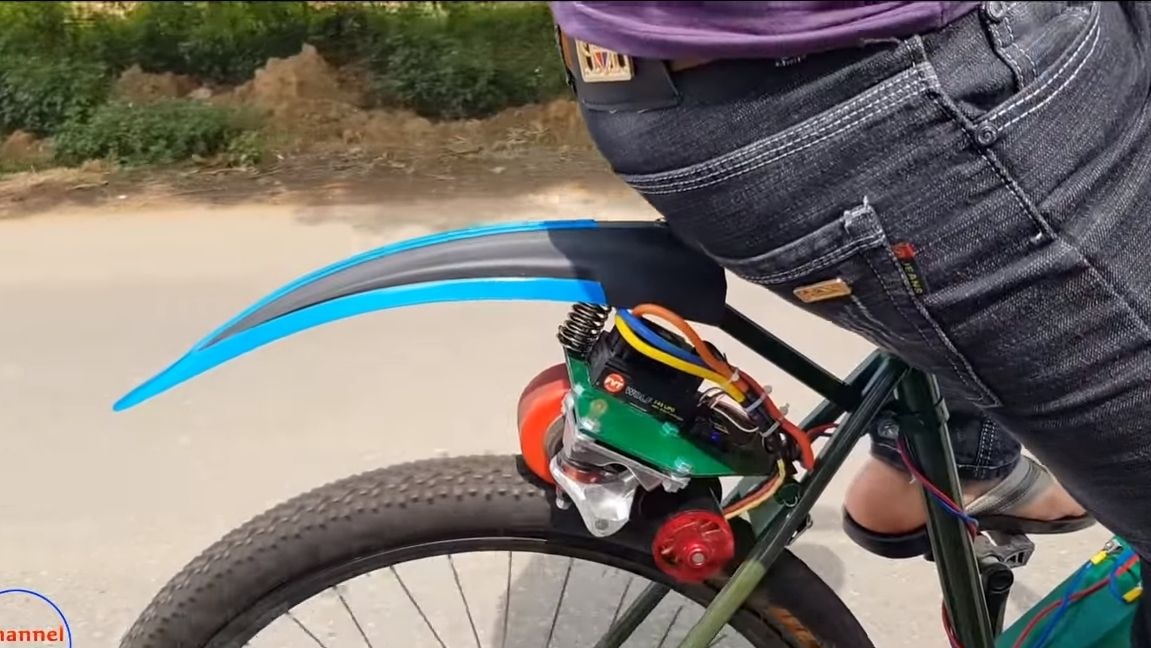
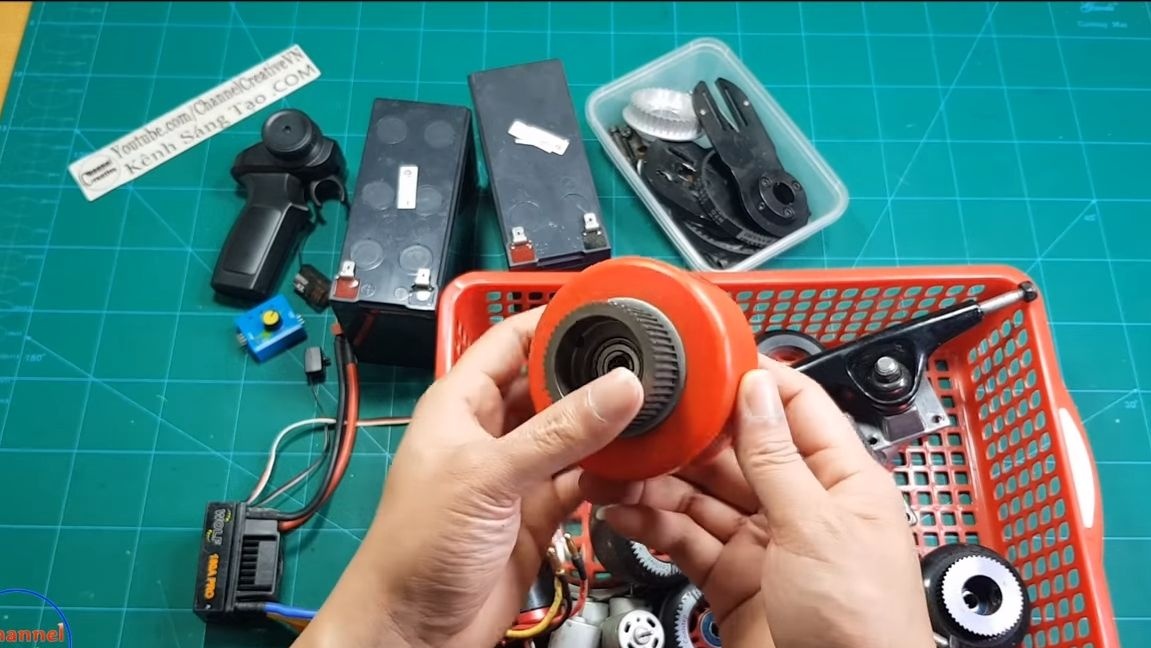
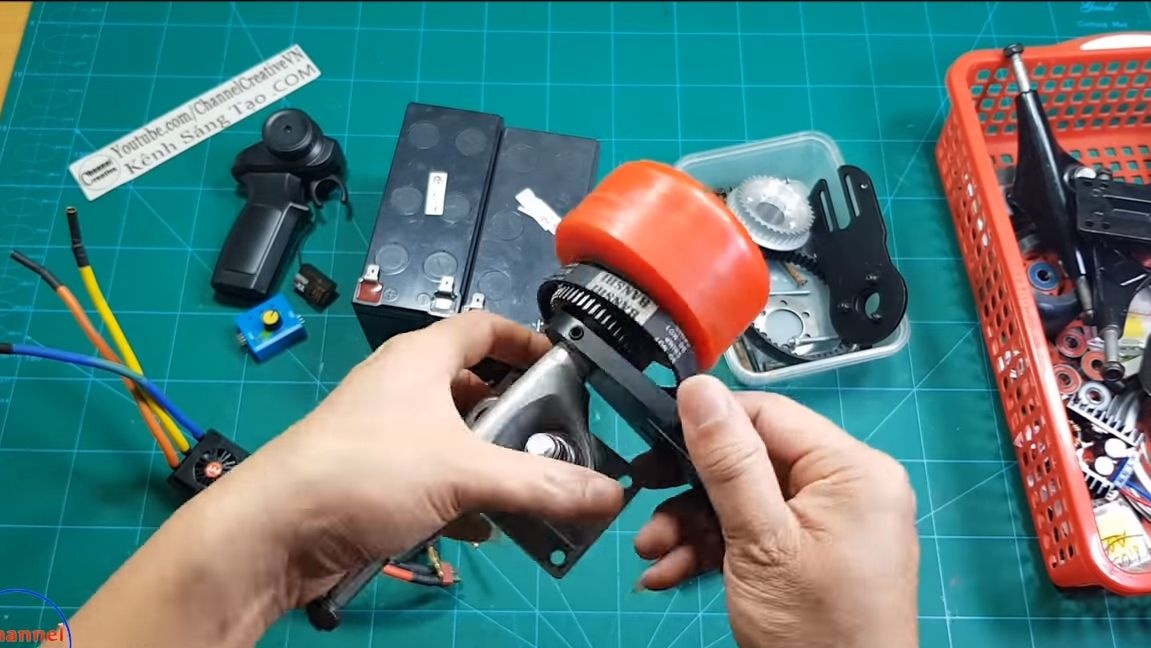
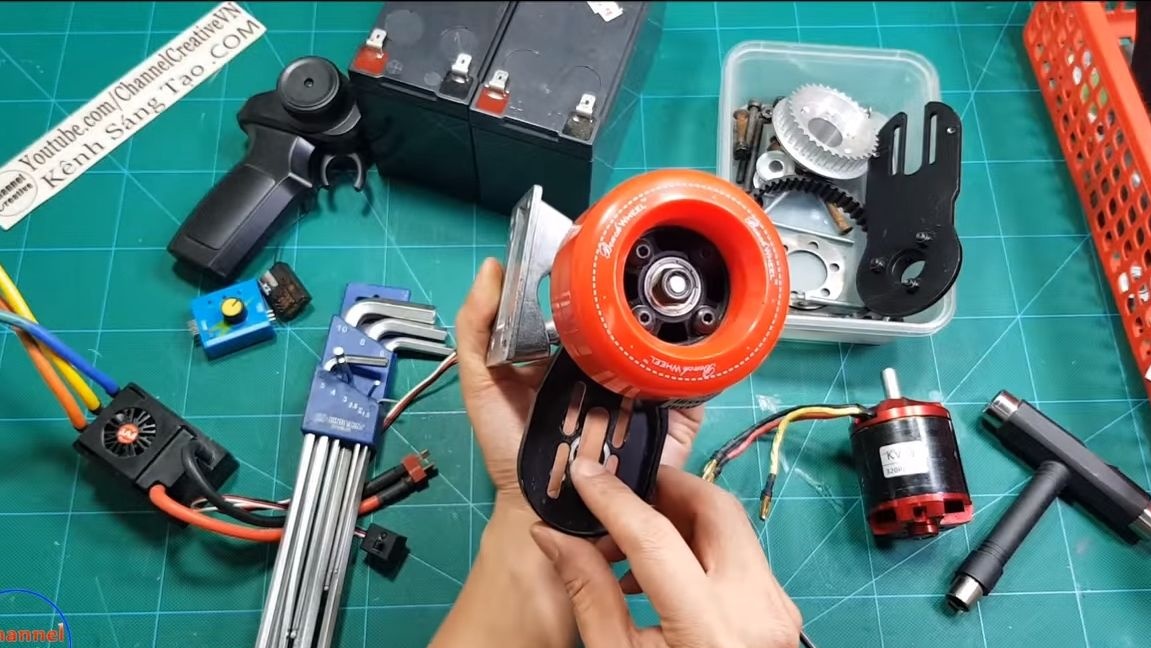
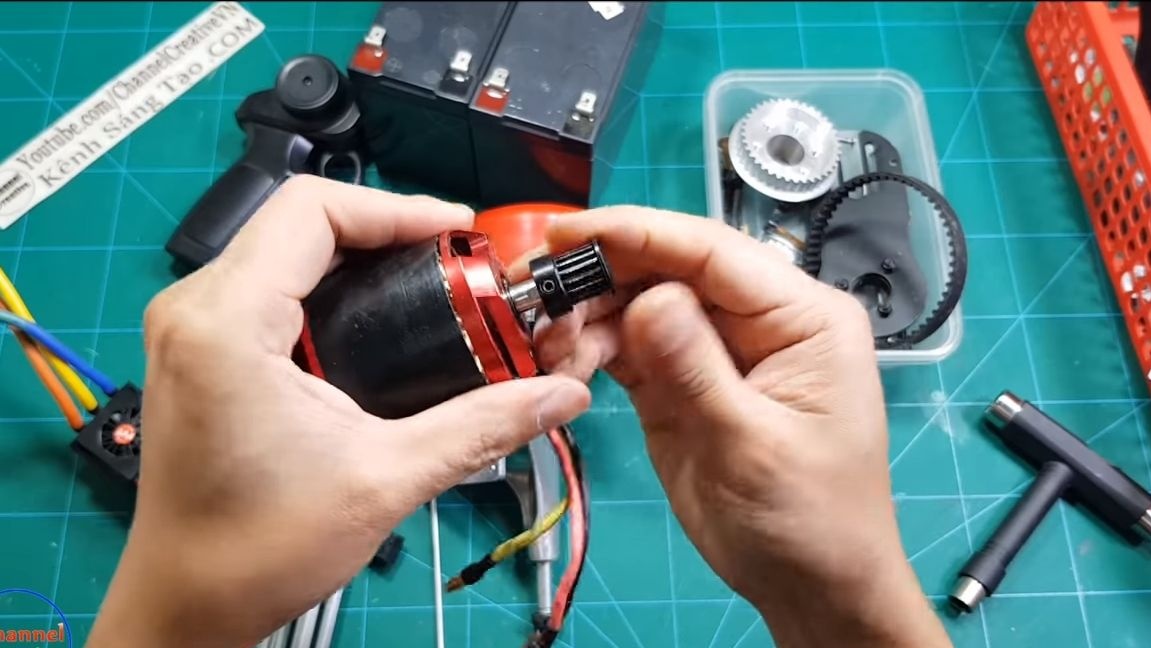
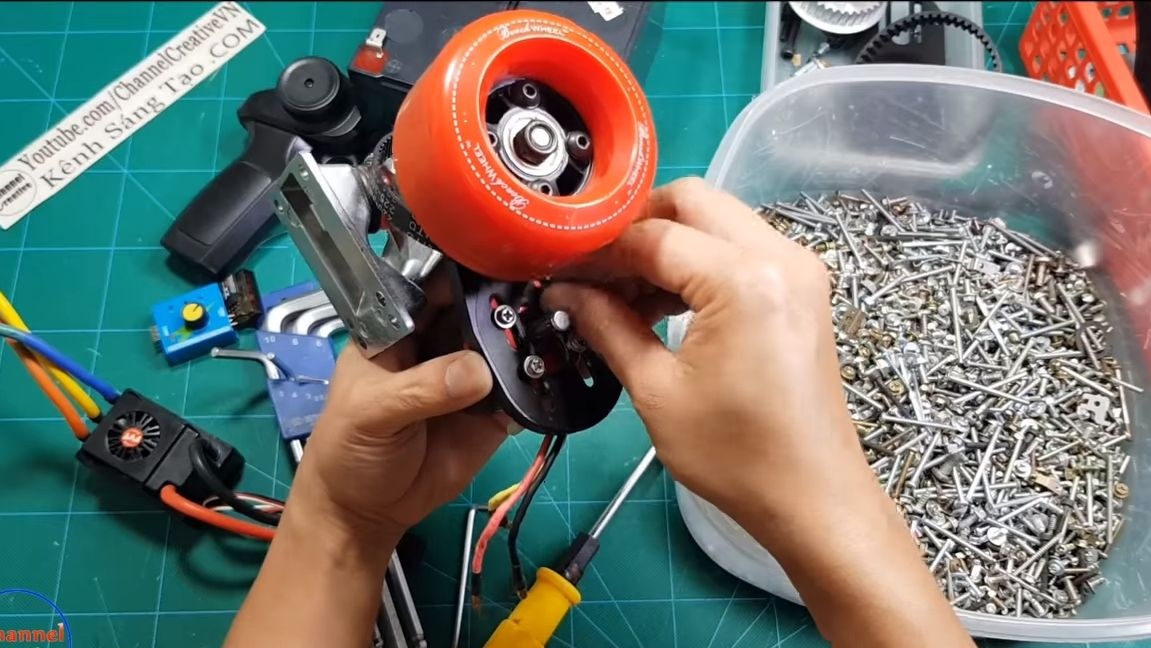
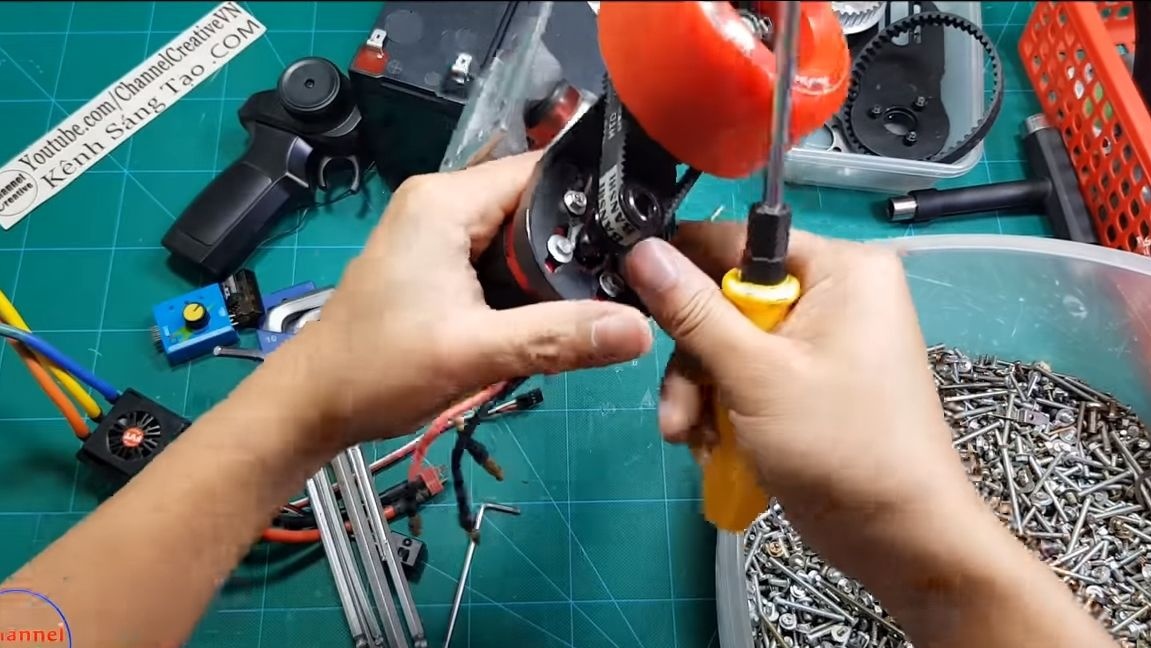
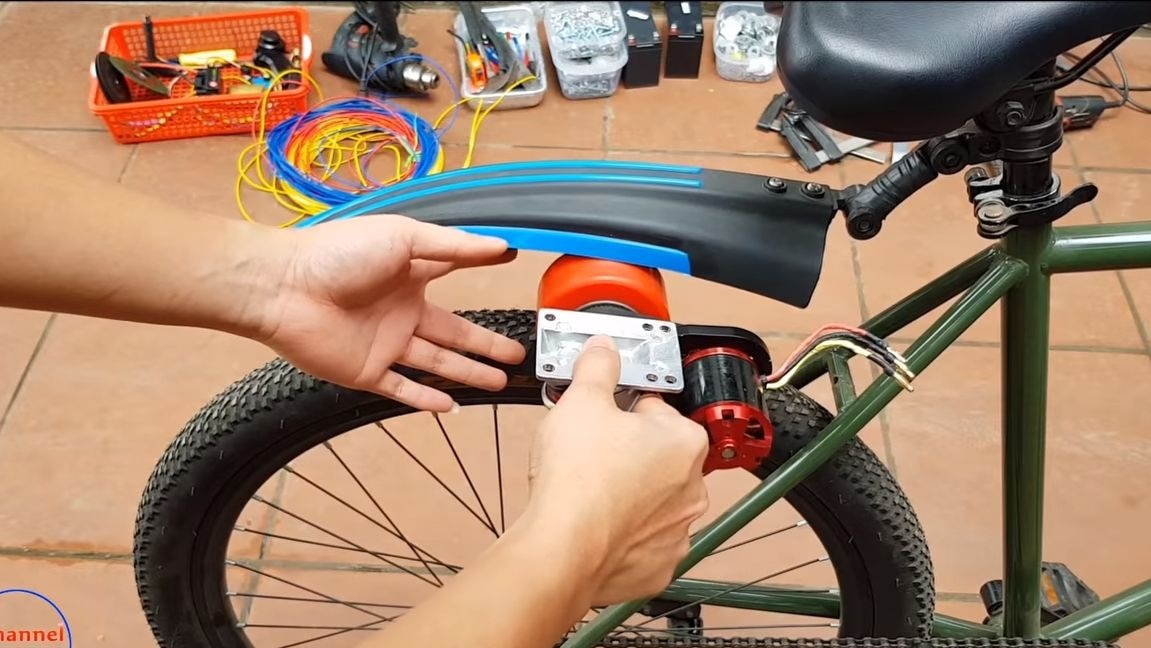
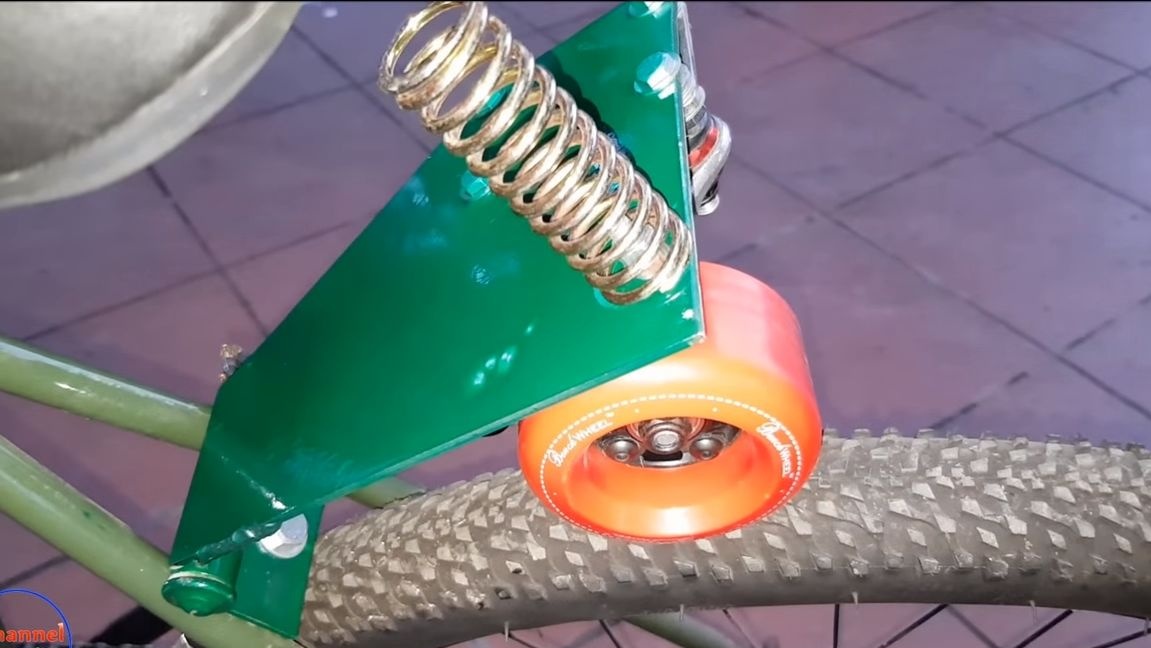
The transmission of torque from the engine to the bicycle tire is the easiest way, since there is no need to change the design of the bicycle. For the main working unit, you need a wheel from a skate with an axis, as well as a belt drive.Today, you can easily buy all these parts in China. By the way, there are already ready-made kits for converting the skate to an electric motor.
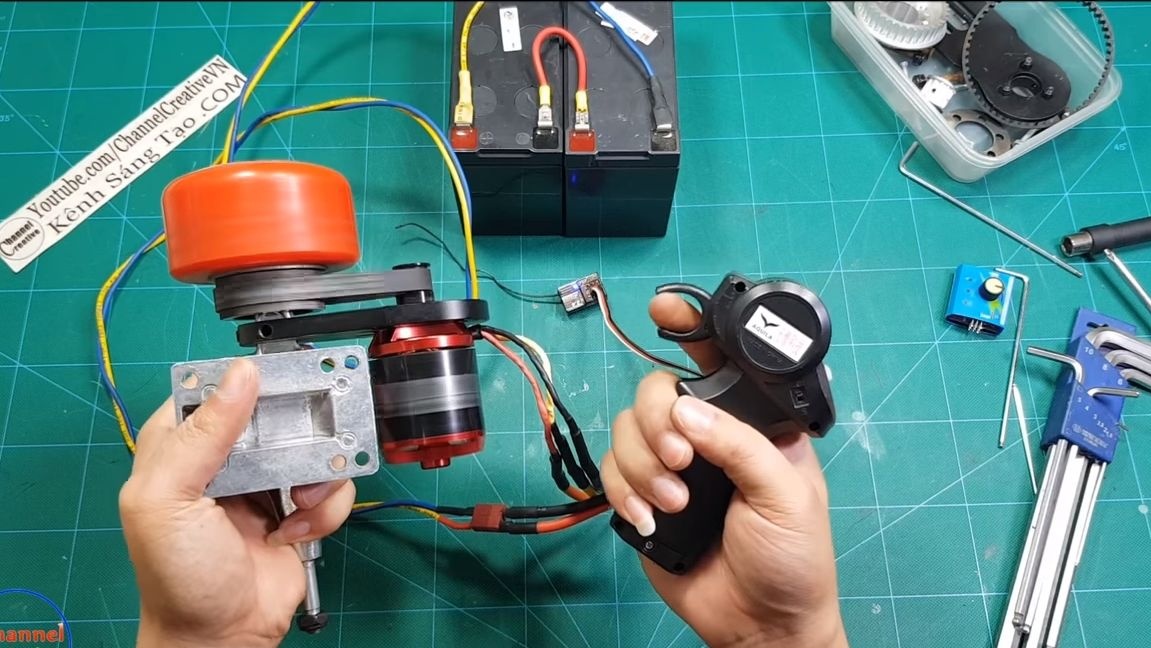
If all the spare parts are there, there will be no problems with the assembly. The author connects the engine through a radio controller. Now you can control the engine remotely! But specifically for this homemade, this is not very useful.
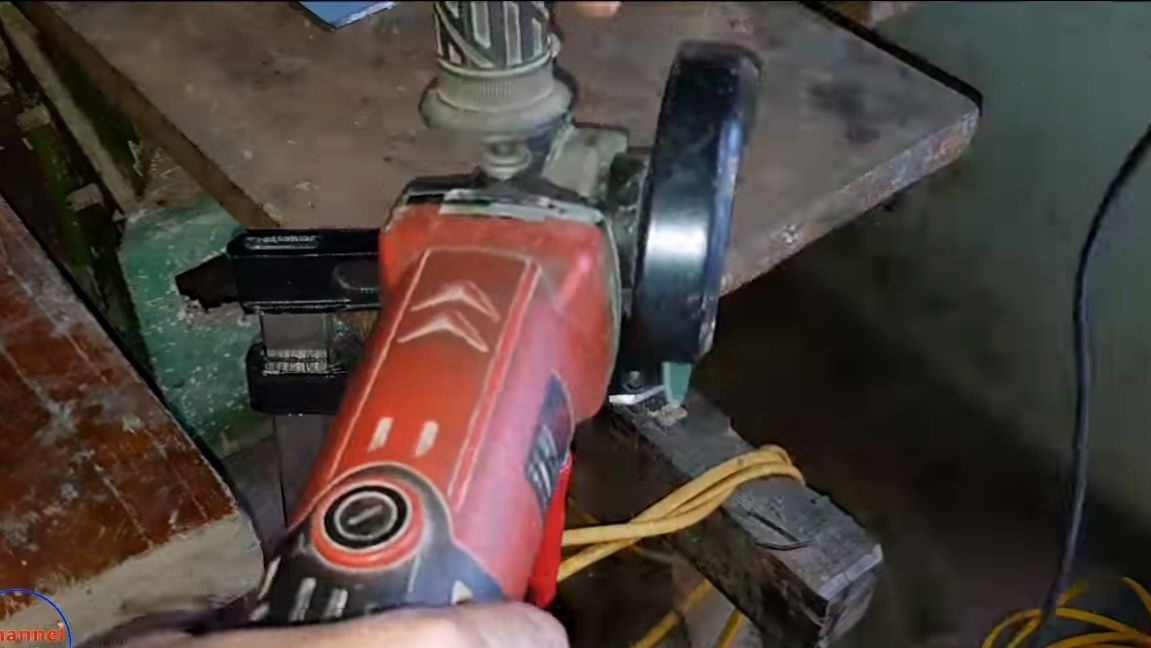
Step Two Base manufacture
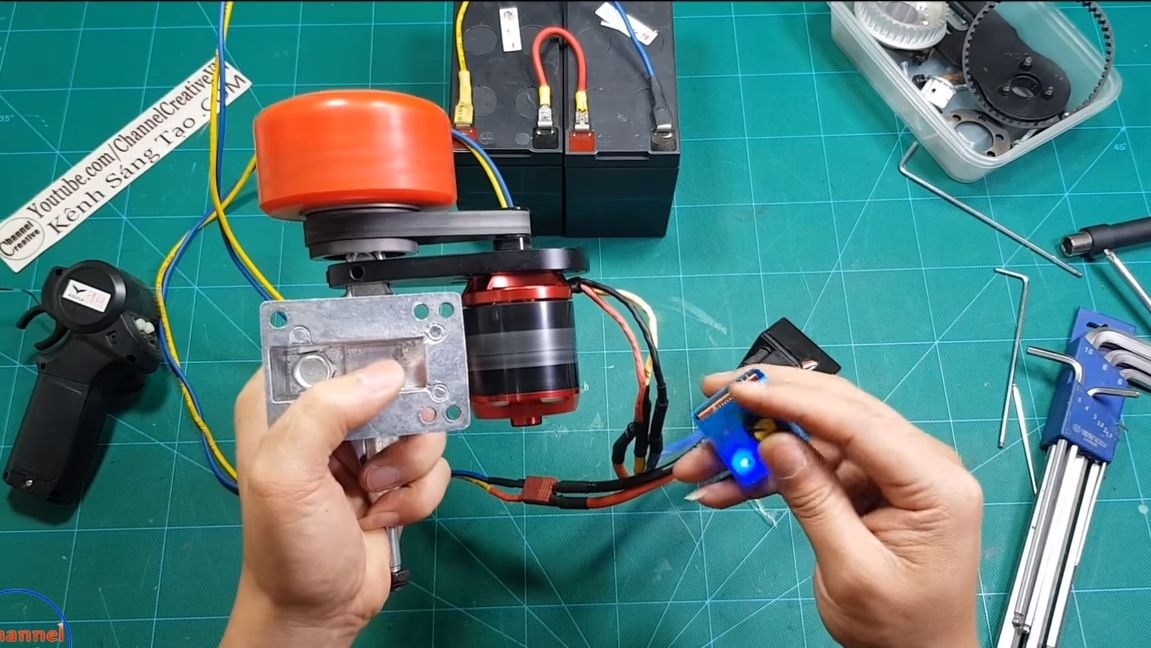
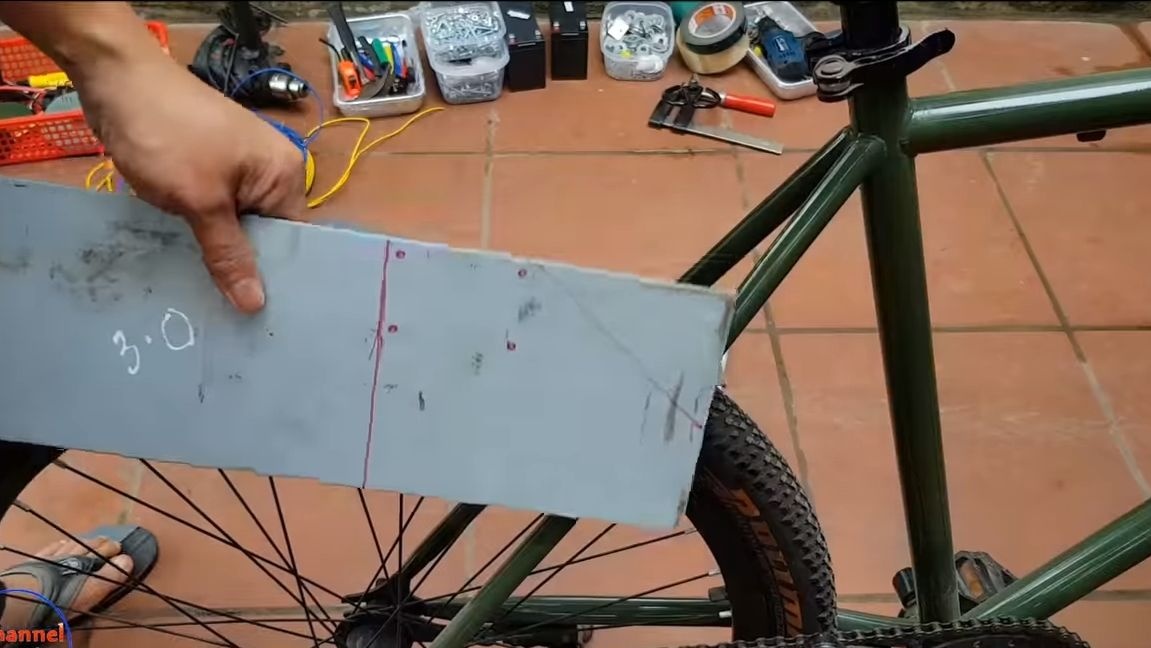
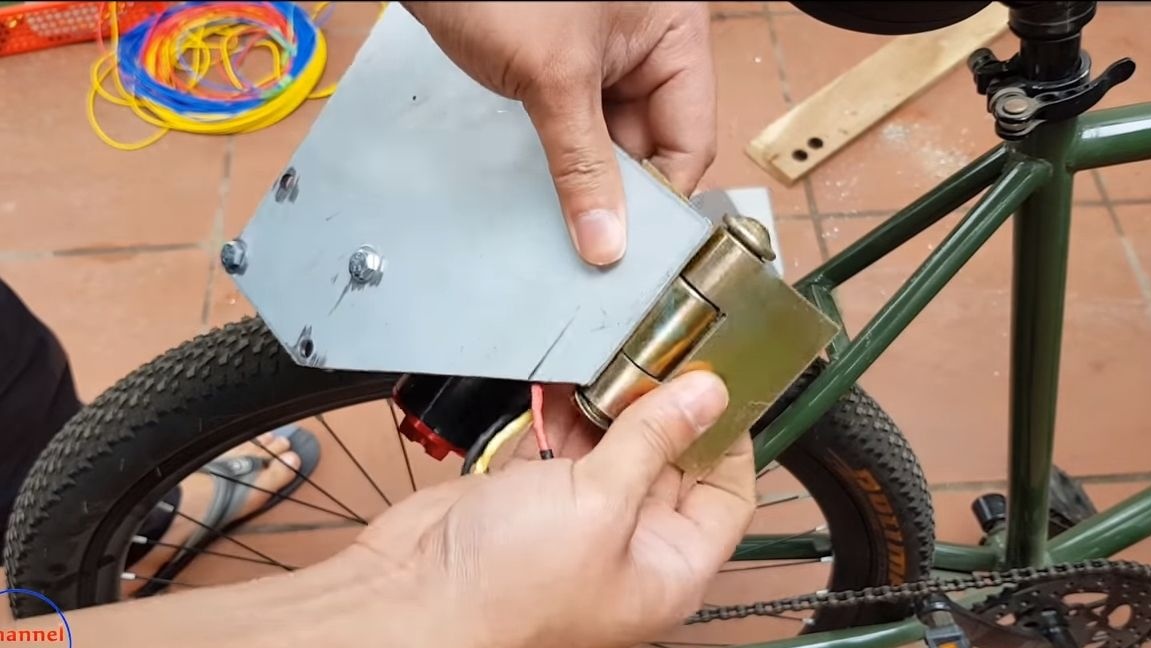
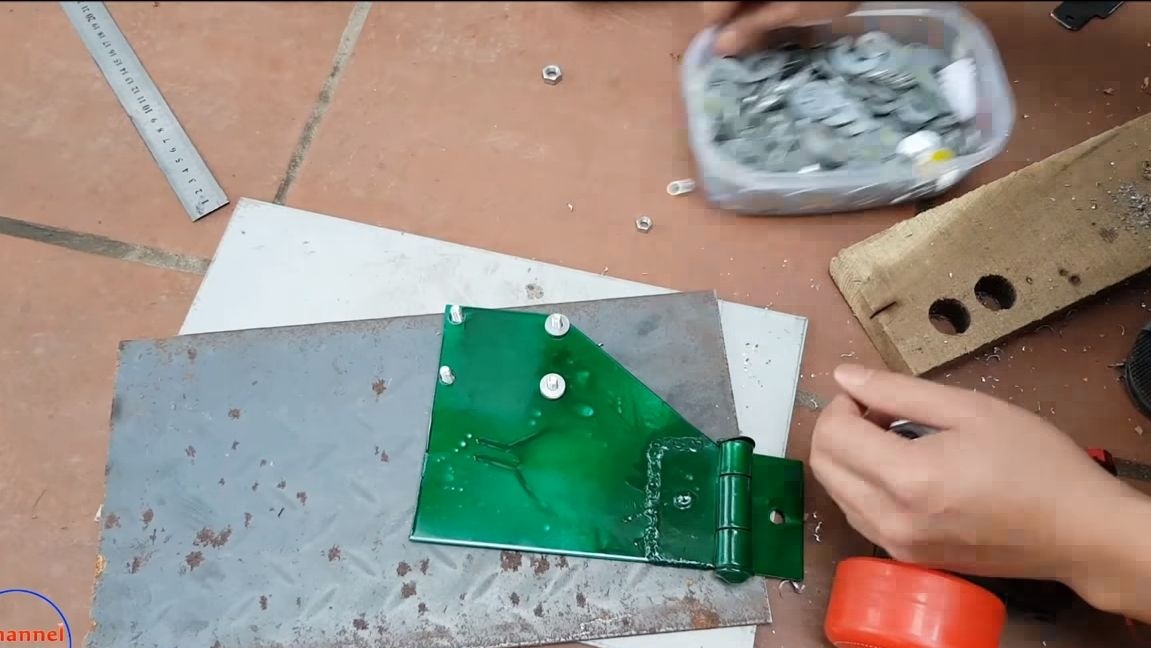
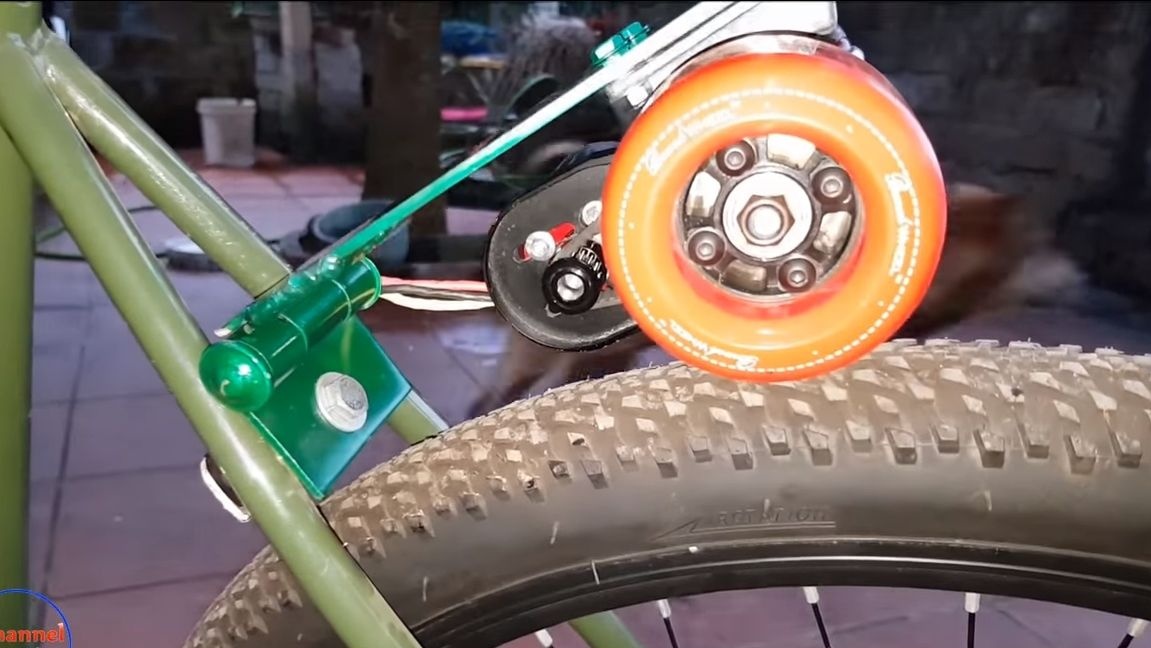
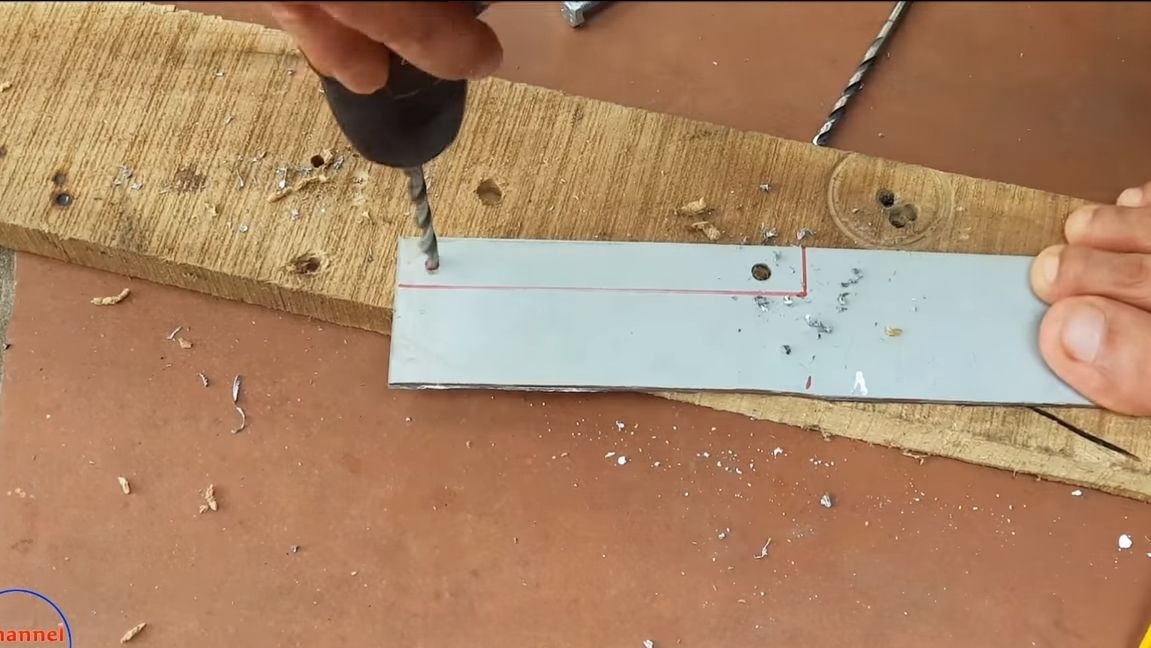
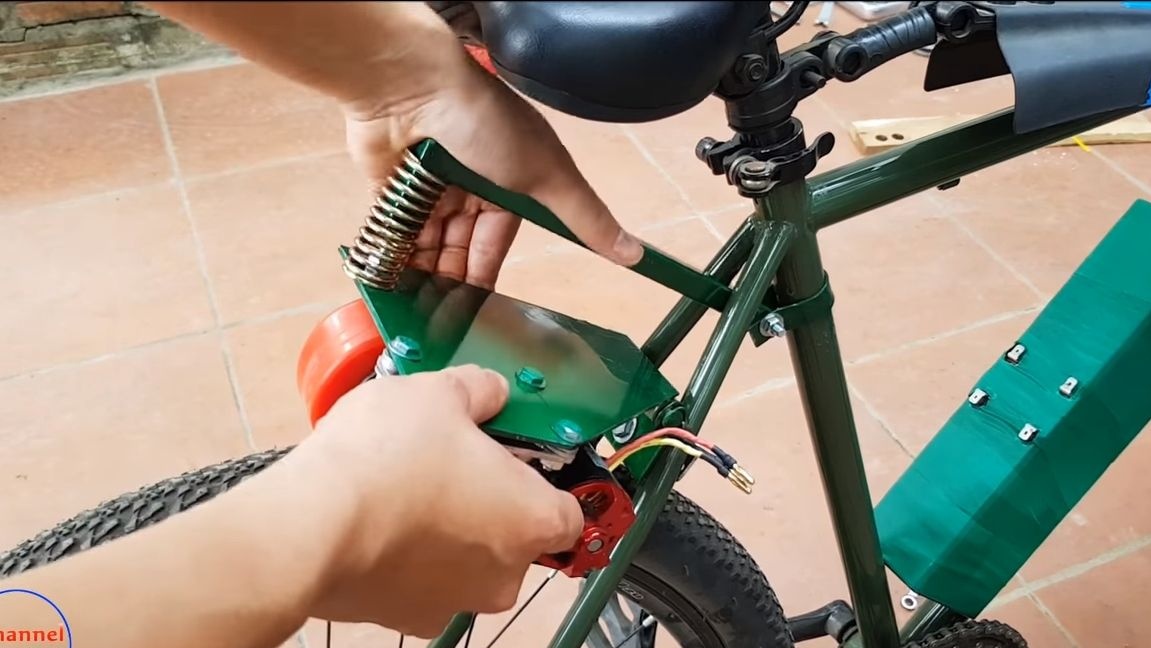
The next task will be to install the previously manufactured design over the rear wheel. To do this, you need to make a special platform. Here comes sheet steel to the rescue. We make all the necessary measurements, cut out the part and drill holes. Now fasten the skateboard wheel to the base using bolts with nuts.
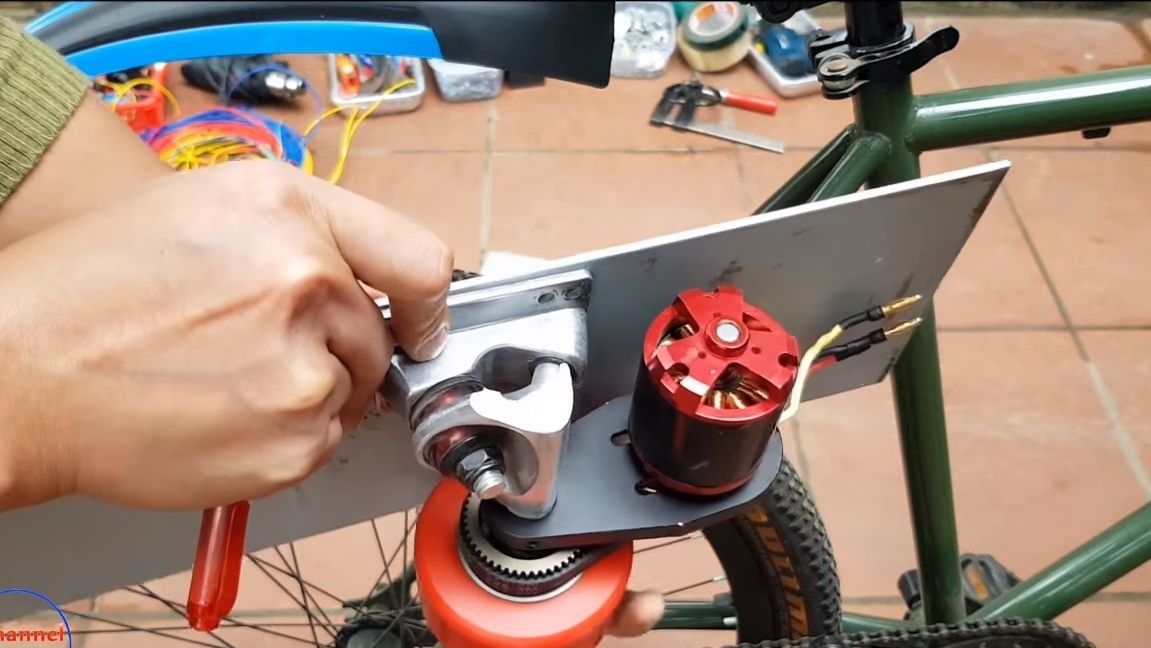
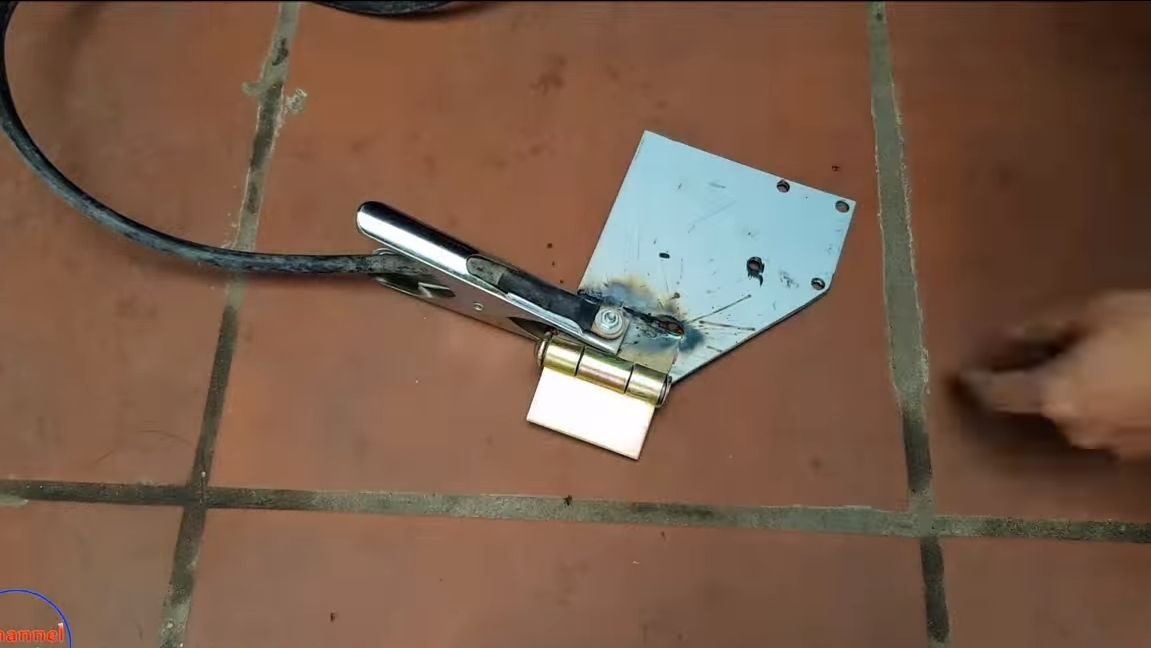
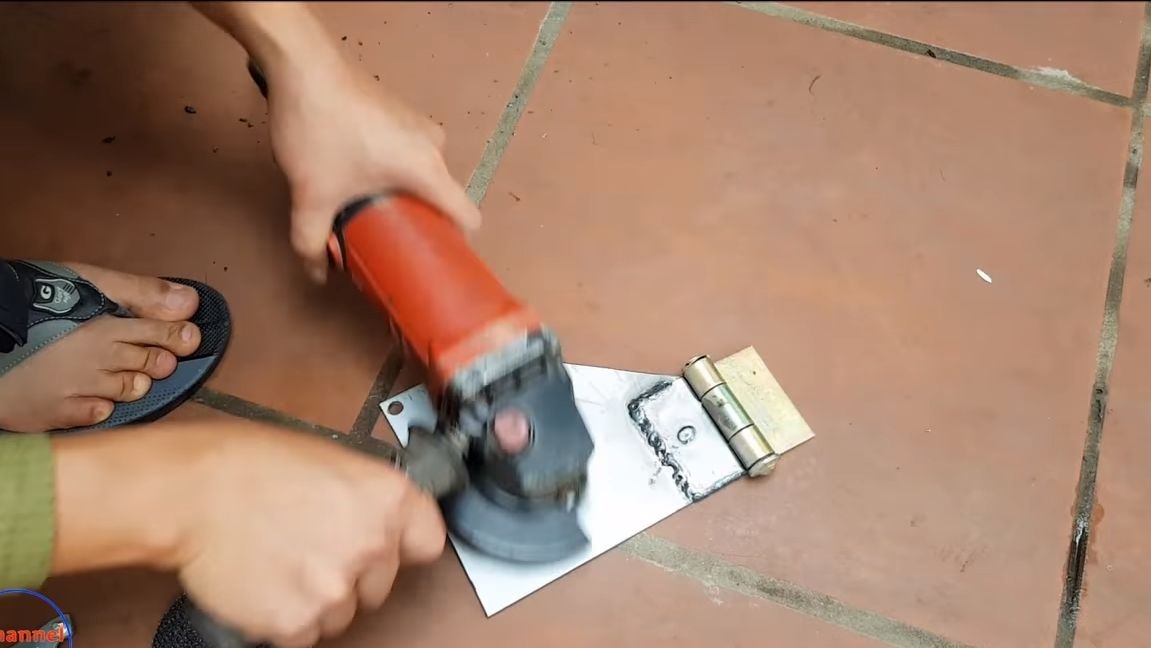
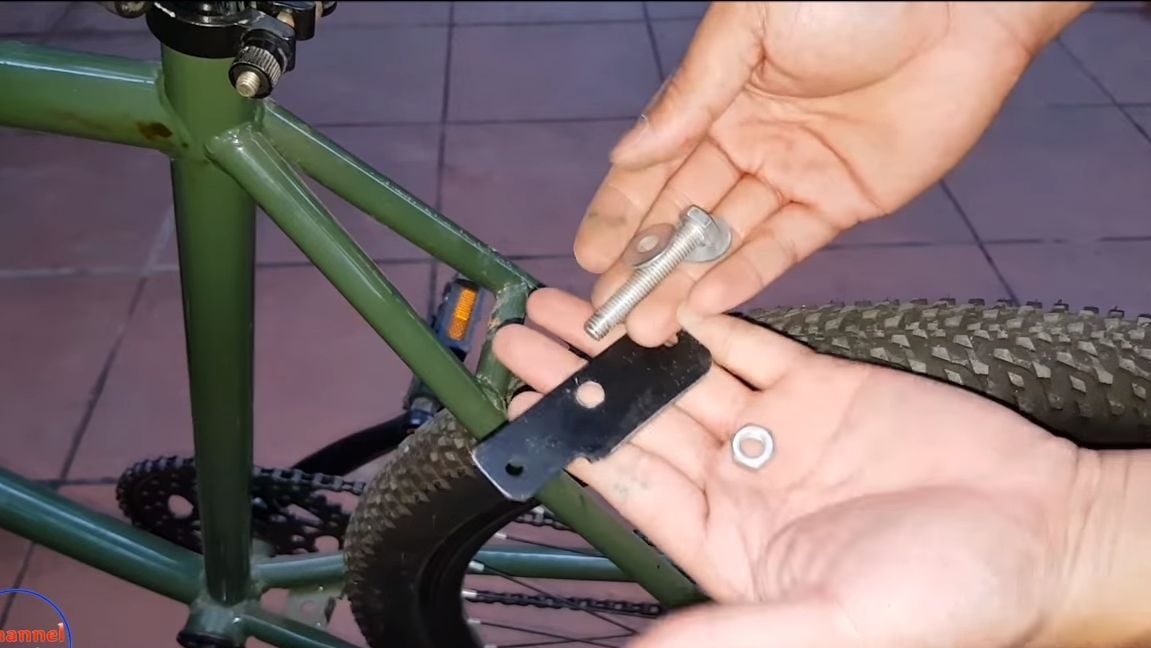
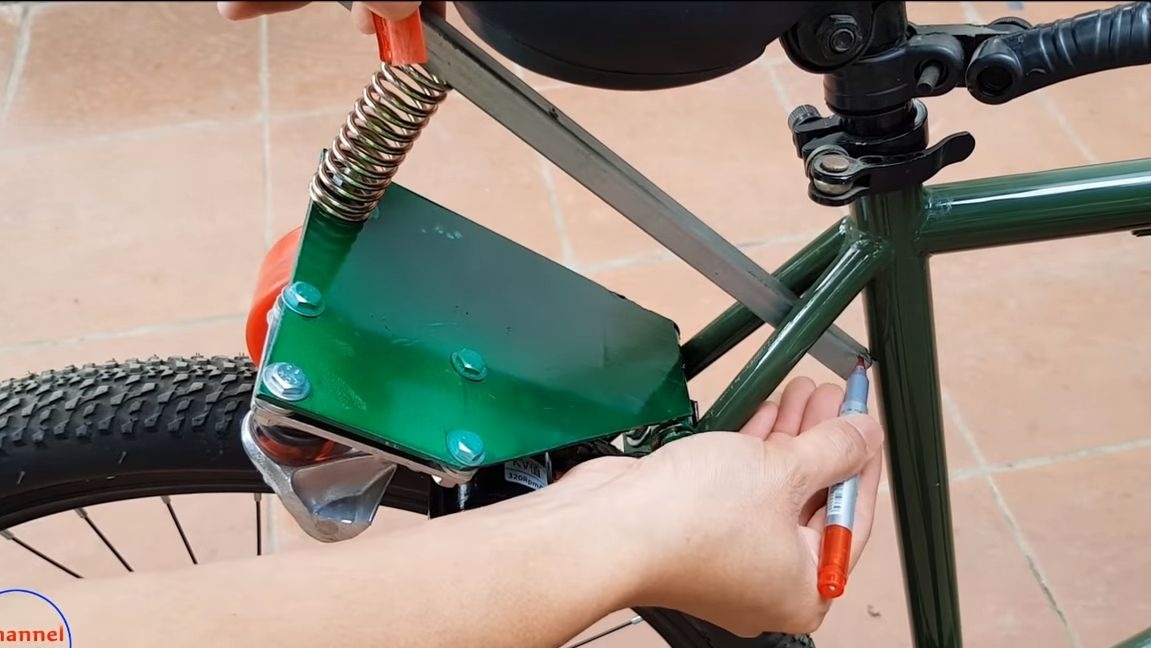
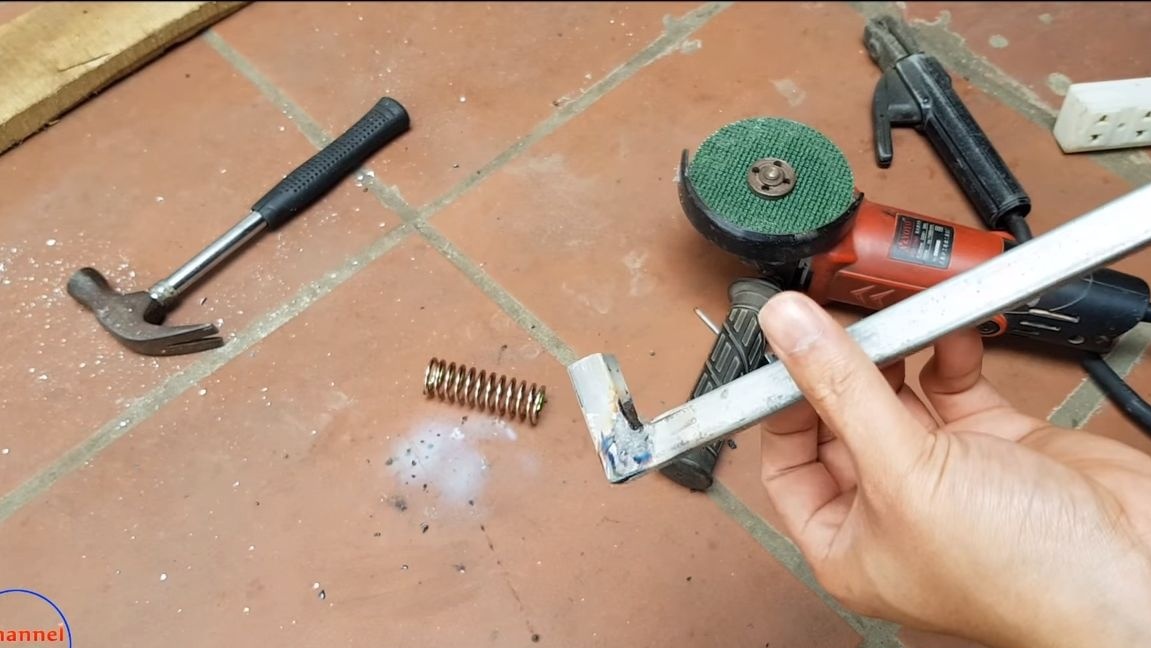
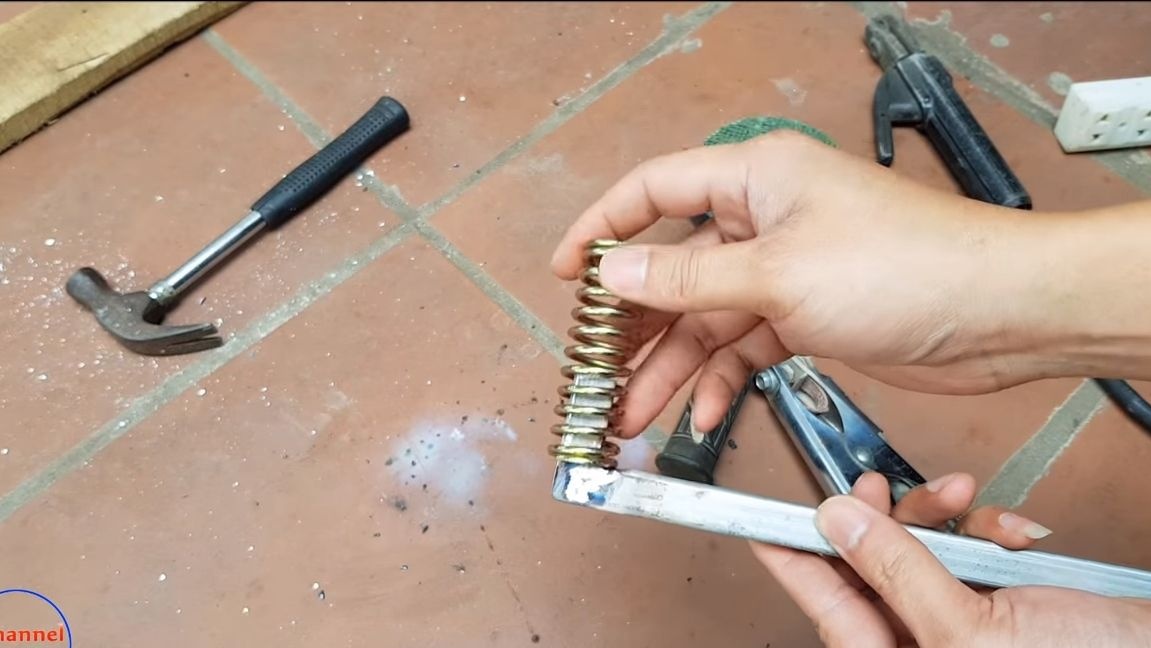
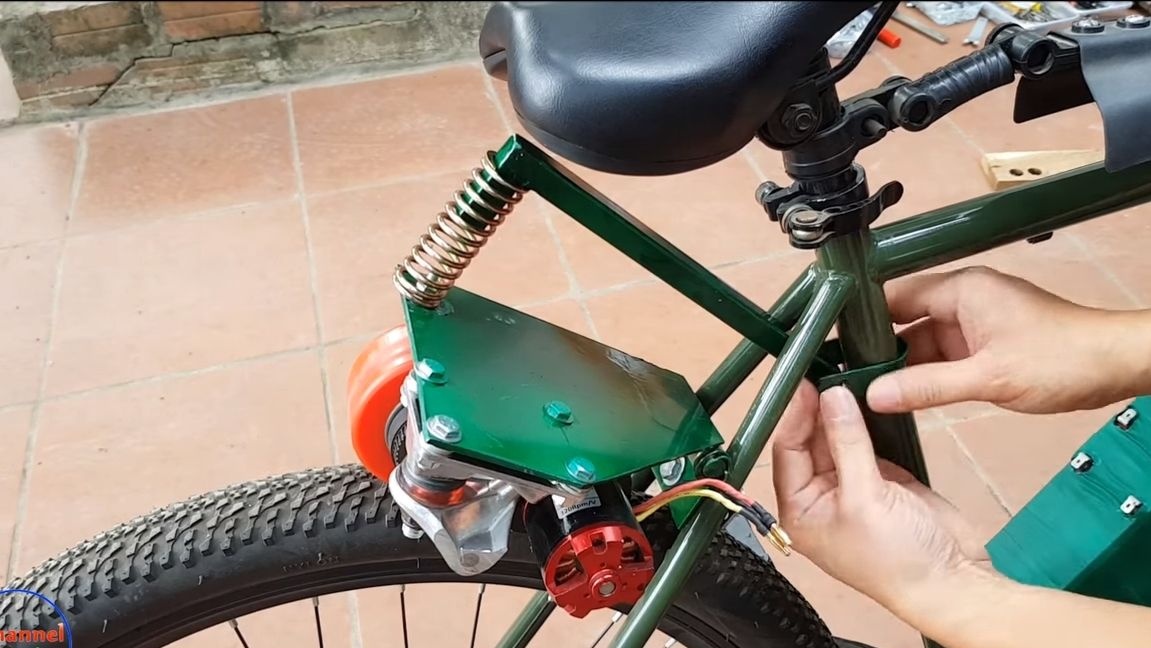
The platform must be spring-loaded so that the skate wheel presses the bicycle wheel with uniform force. Here you will need a spring, as well as a door hinge. Weld the loop to the plate, the other side it will be attached to the rear fork of the bike. As for the spring, so that it can rest against the plate and does not pop out, we drill a hole in it and install a bolt with two nuts in it so that it does not loosen.

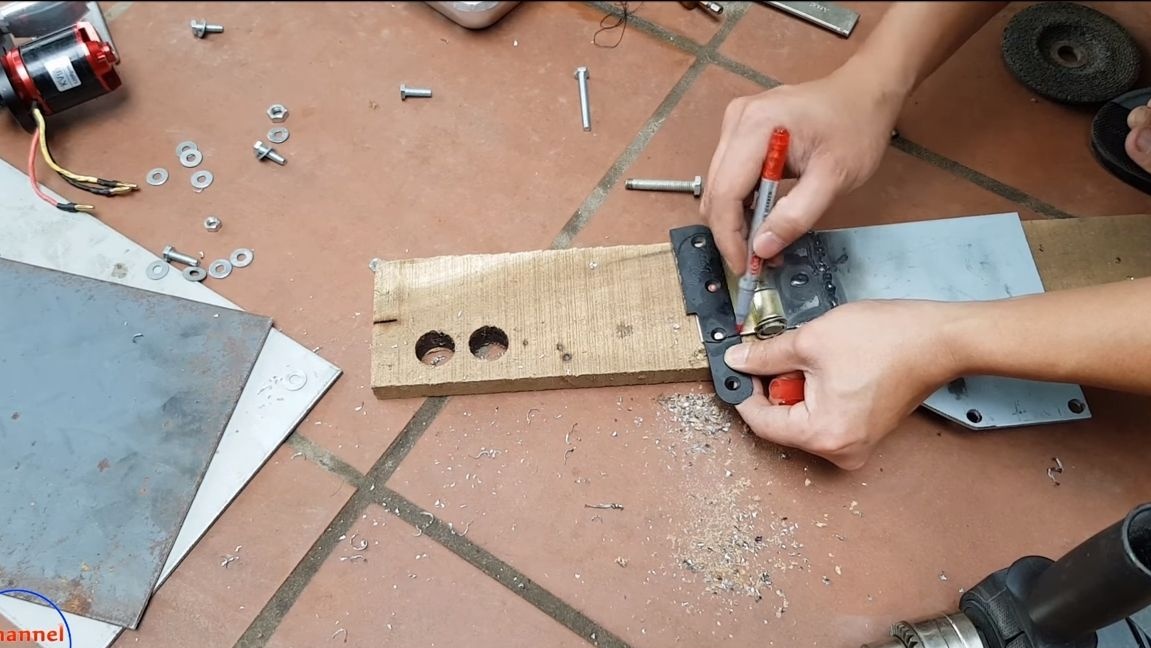
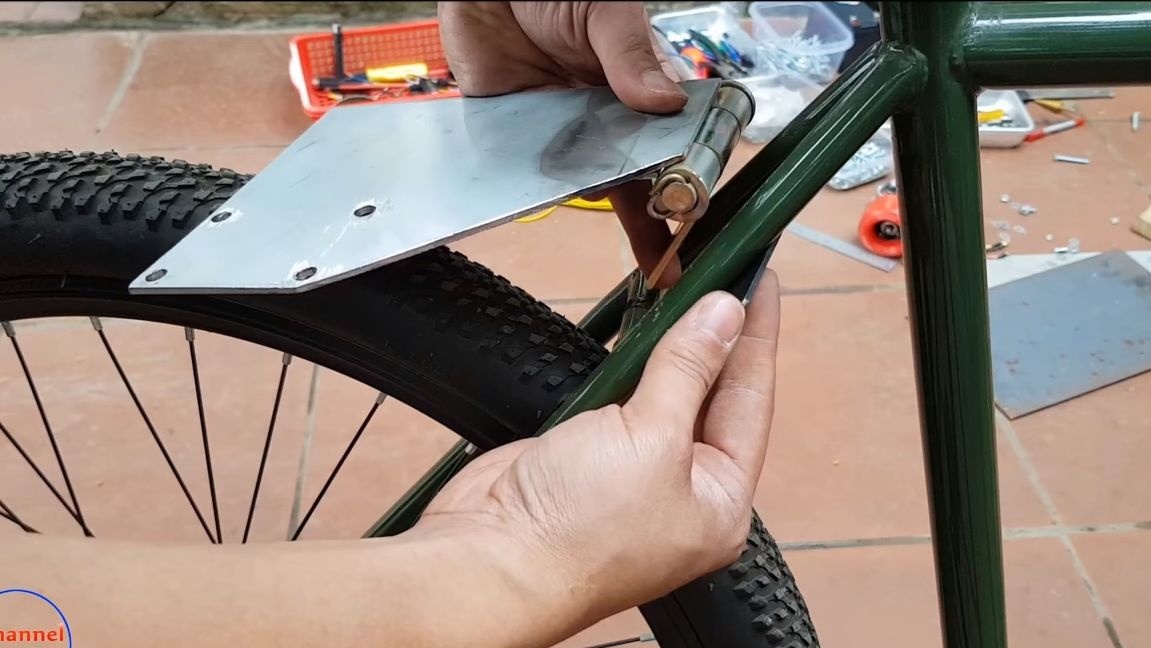
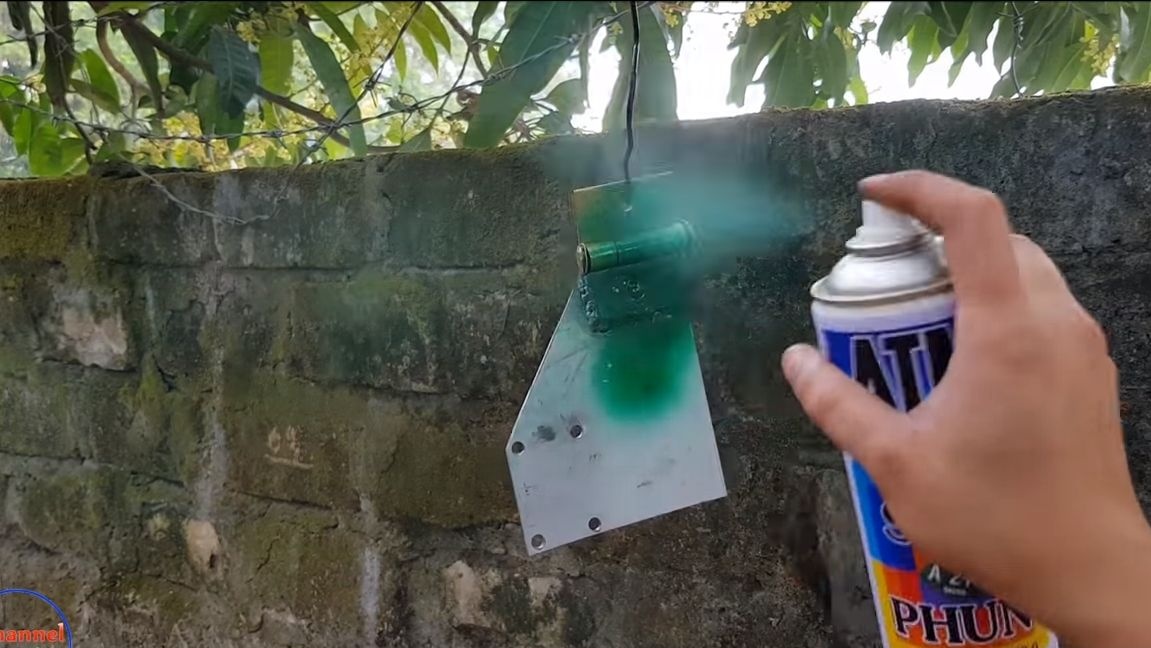
In conclusion, you will need to make a plate that will work like a washer. As for the rear fork, we drill a hole for the bolt in it. Paint the manufactured platform so that it does not rust, and install it on the bike.
Step Three Spring stop
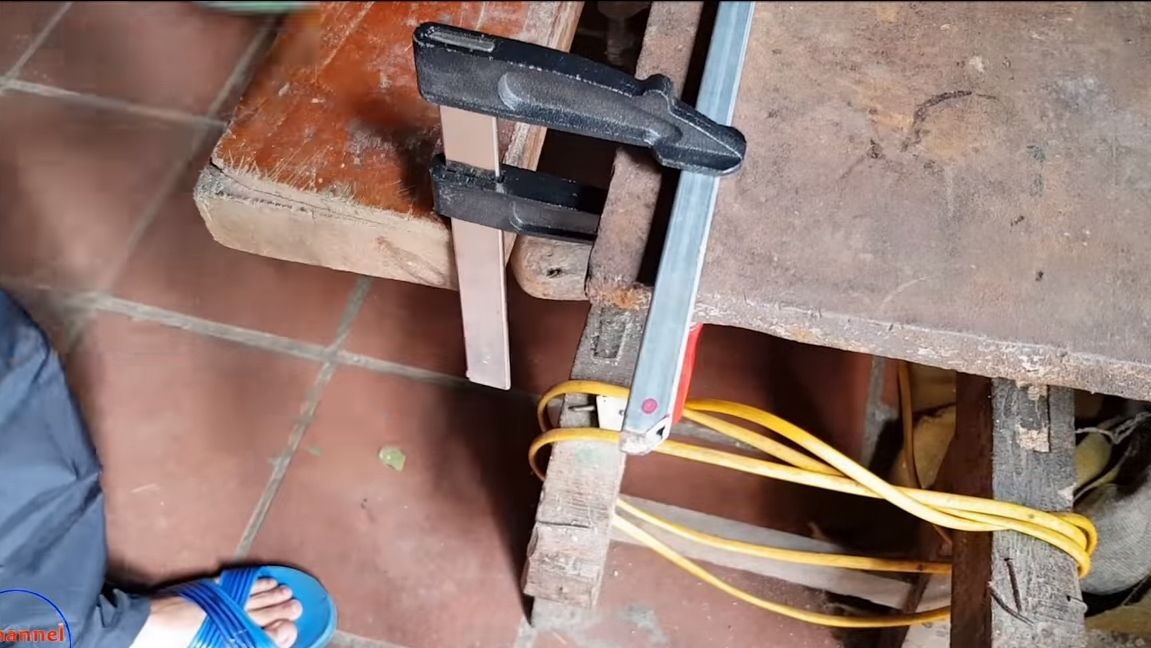
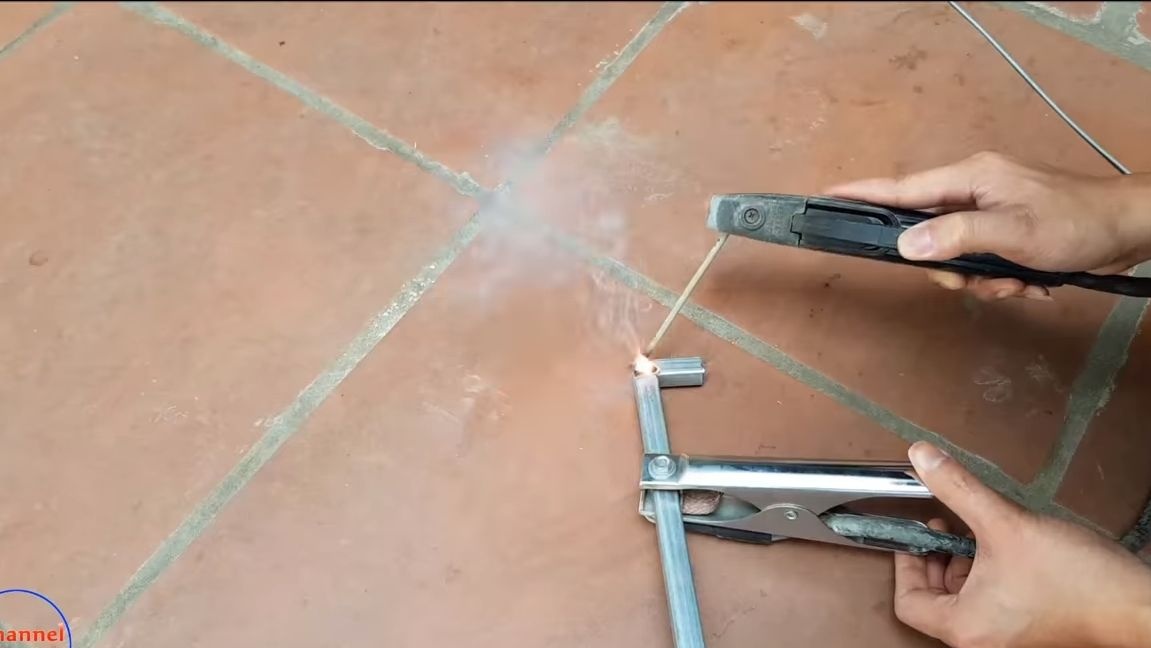
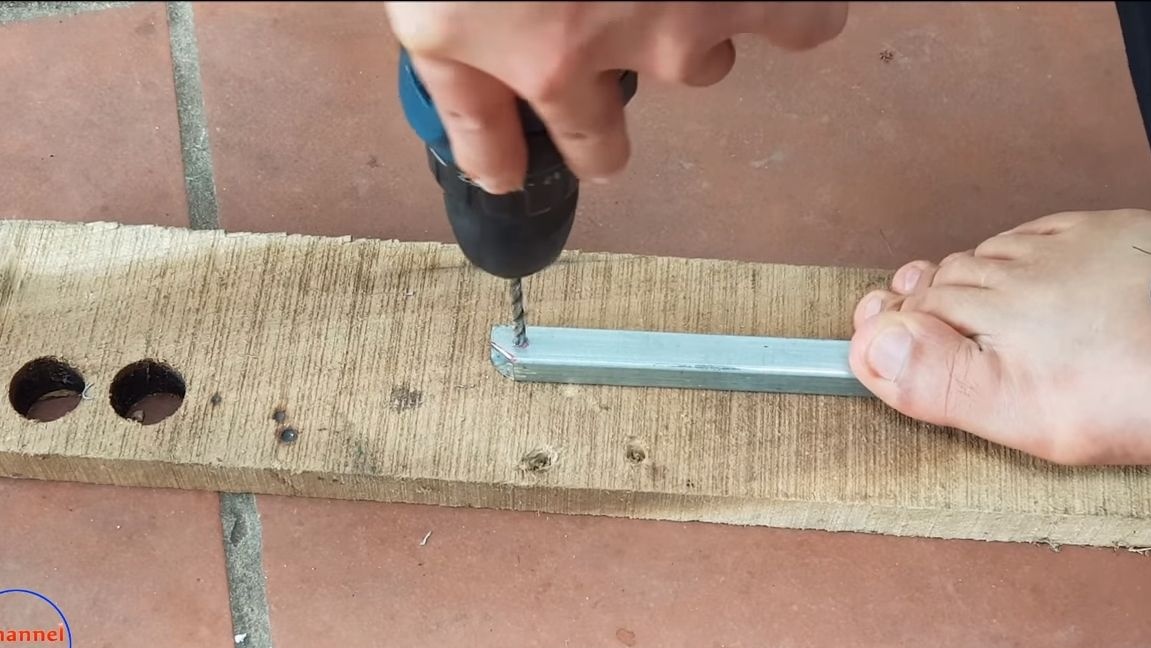
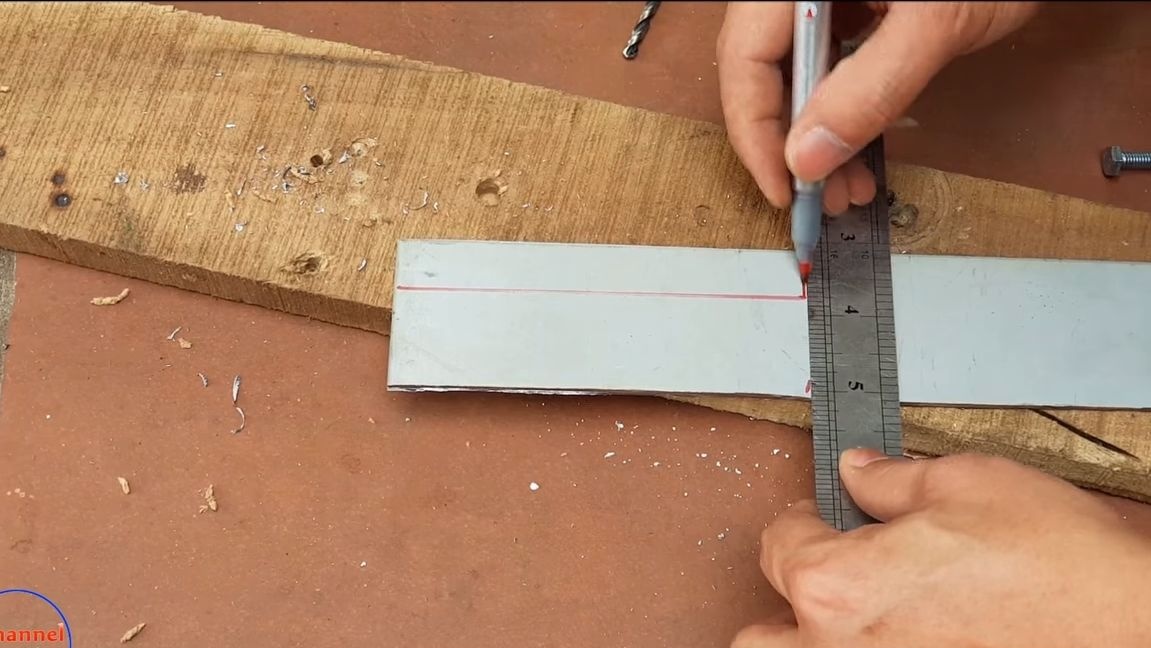
The spring stop is made of a square steel pipe. Cut off the desired length piece, and then weld the structure in the form of the letter "G". To fix the stop, make a clamp from a sheet steel under a bolt with a nut.
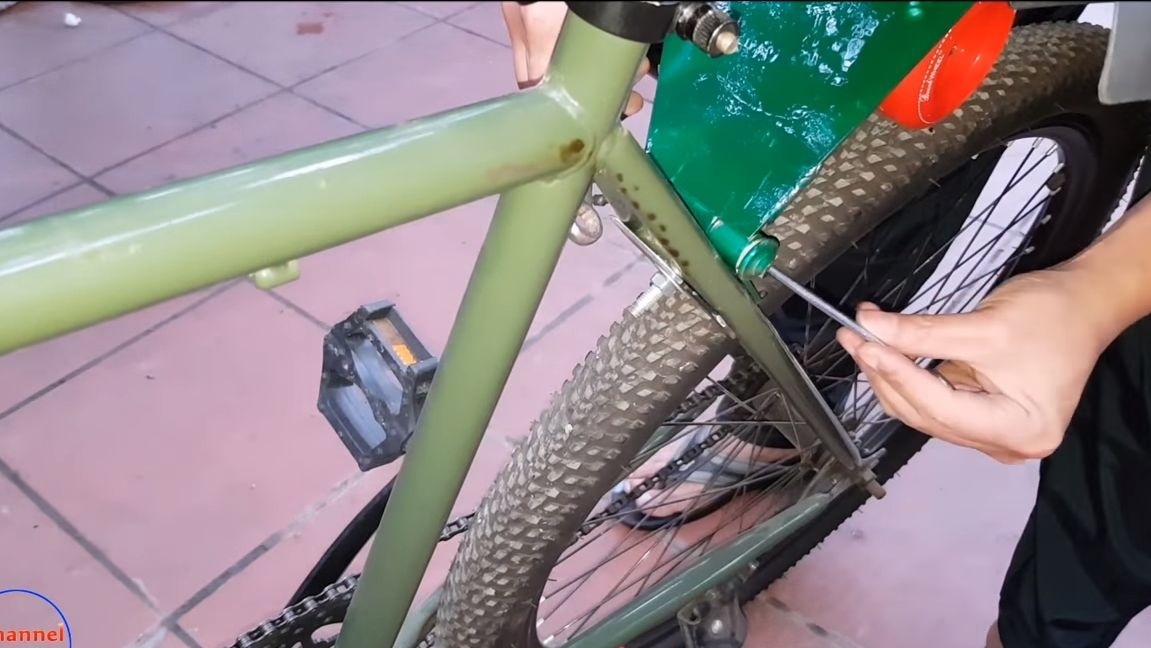
Step Four Getting started assembly
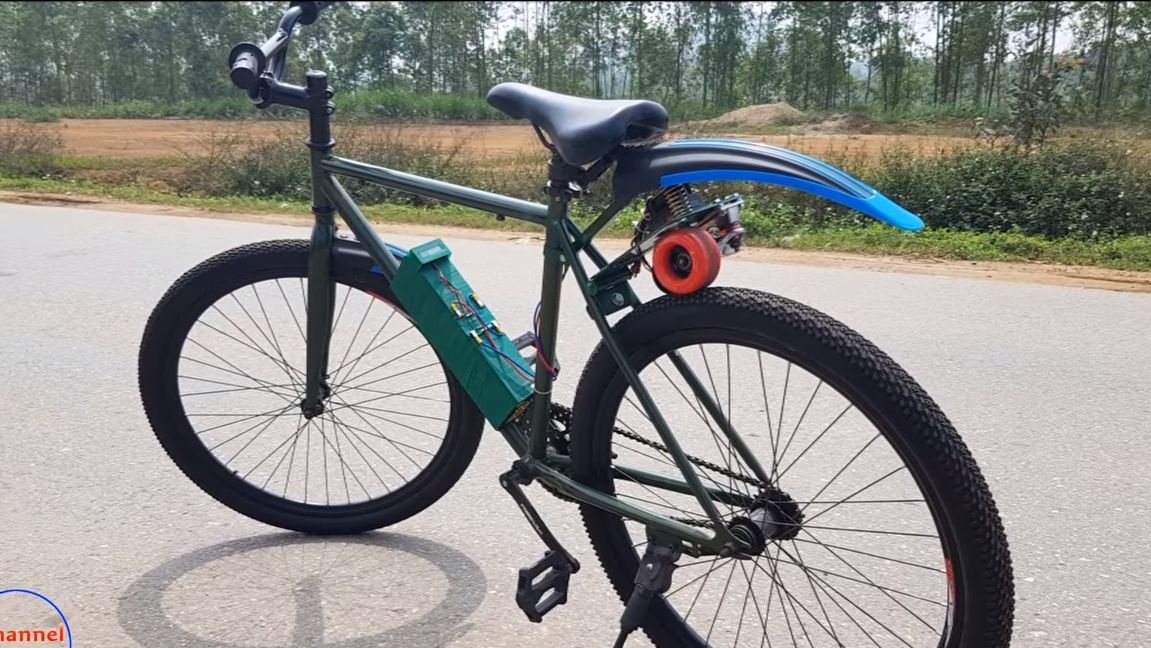
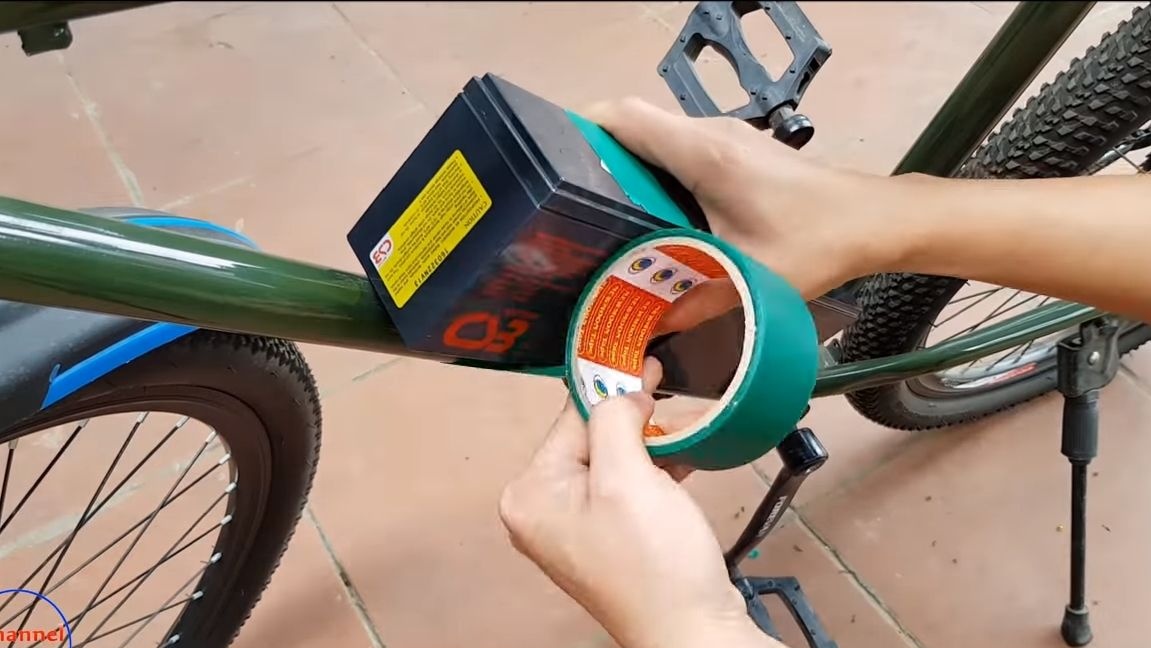
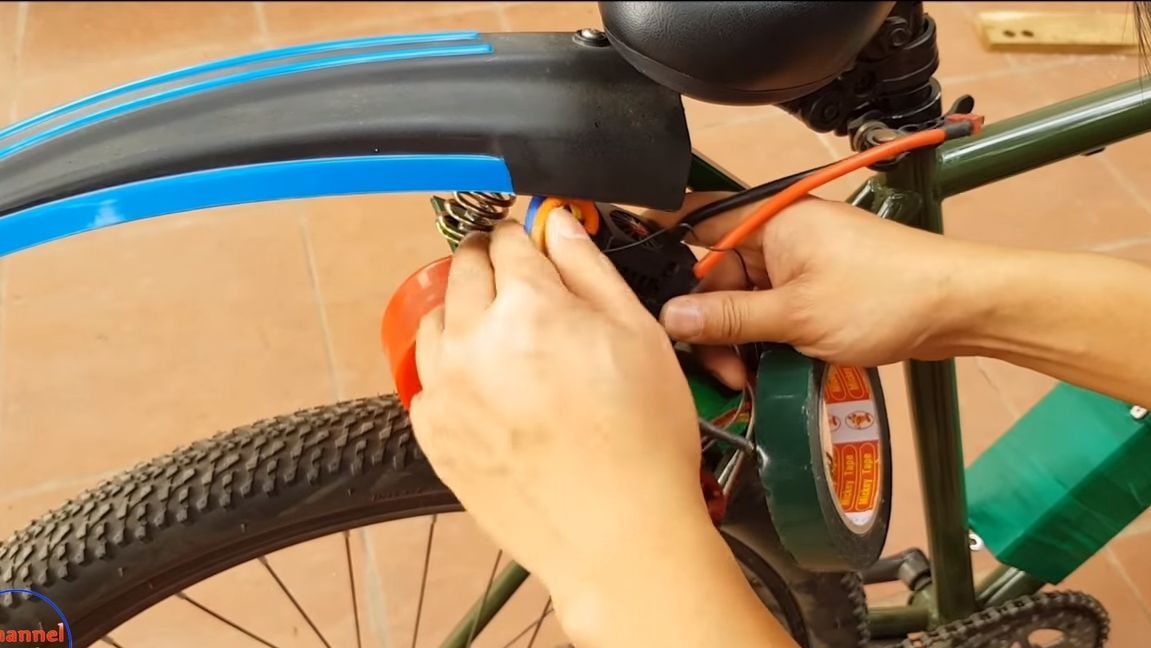
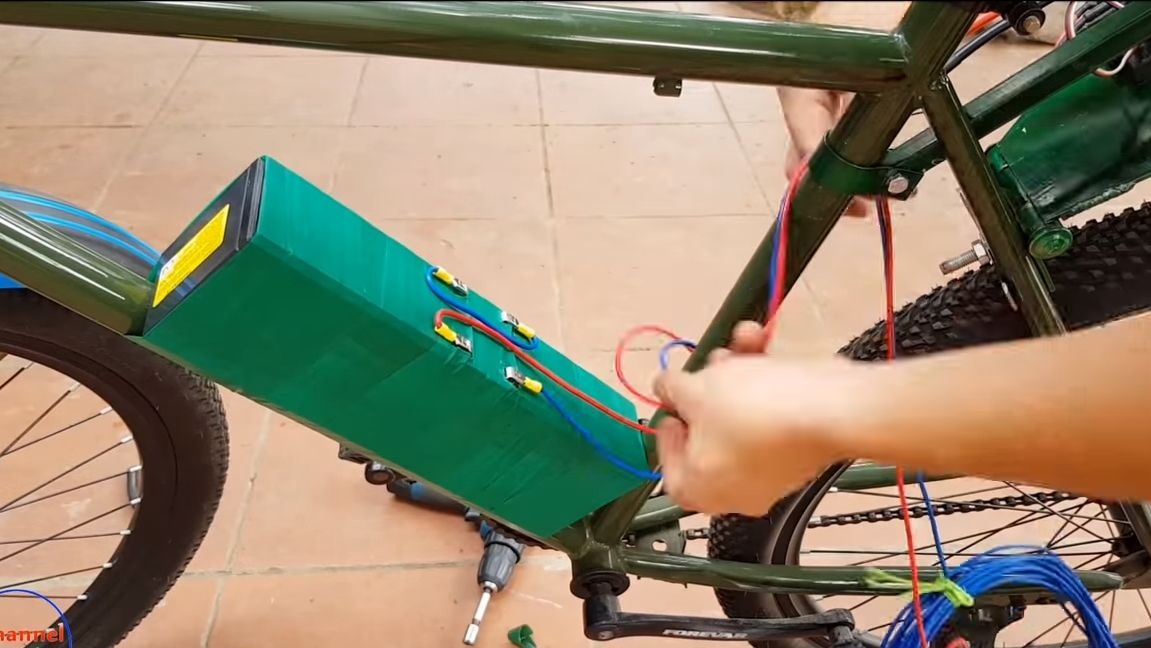
The first thing you need to install is the batteries. The author used two batteries, he carefully wound them to the frame with electrical tape, as a result, only the contacts remained visible from above. It is important then not to forget where the plus is, and where is the minus.
If the battery is installed, the time has come for the spring stop. We put a spring, and then an emphasis. To fix the stop, use the manufactured clamp with bolt and nut. The second fulcrum is the bicycle fork.
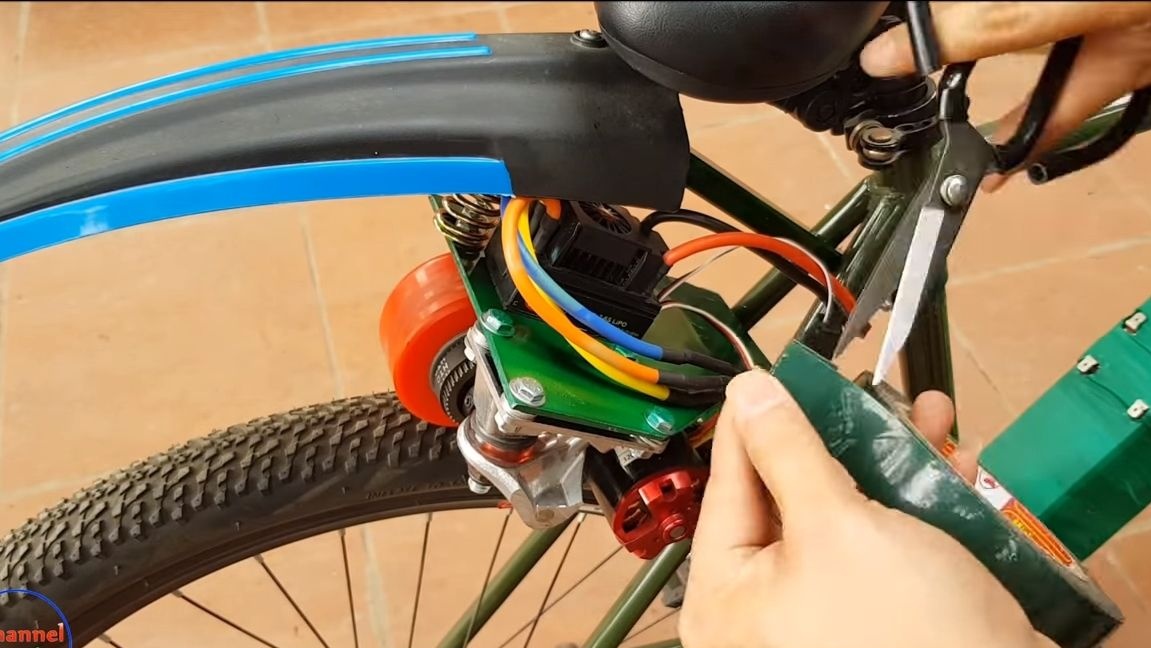

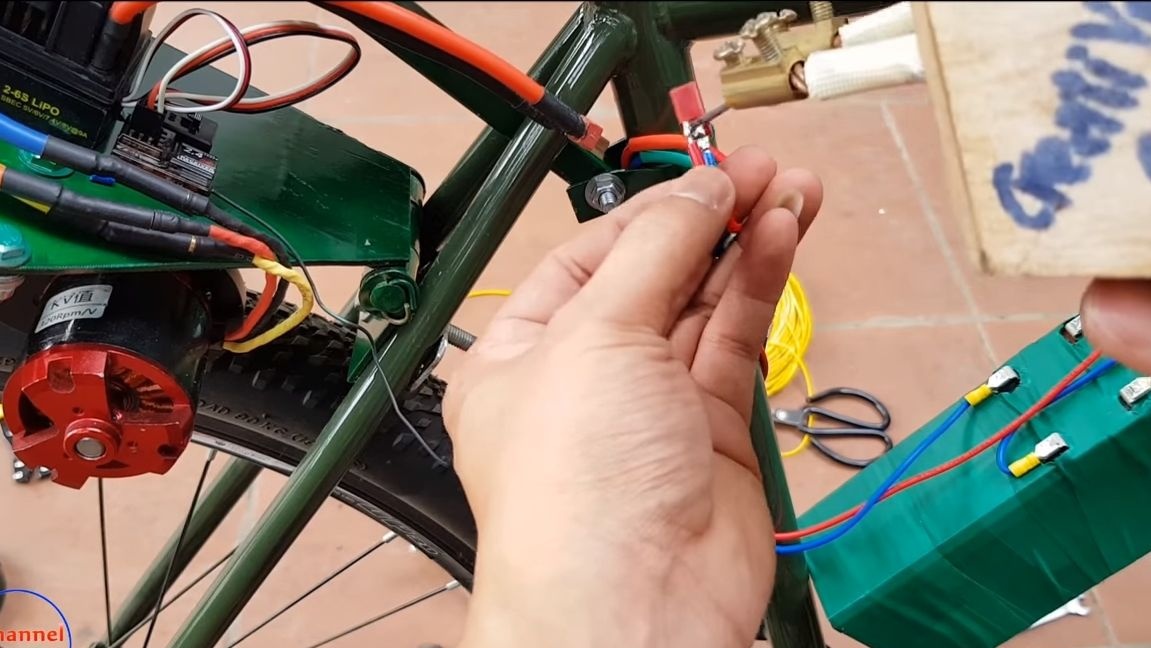
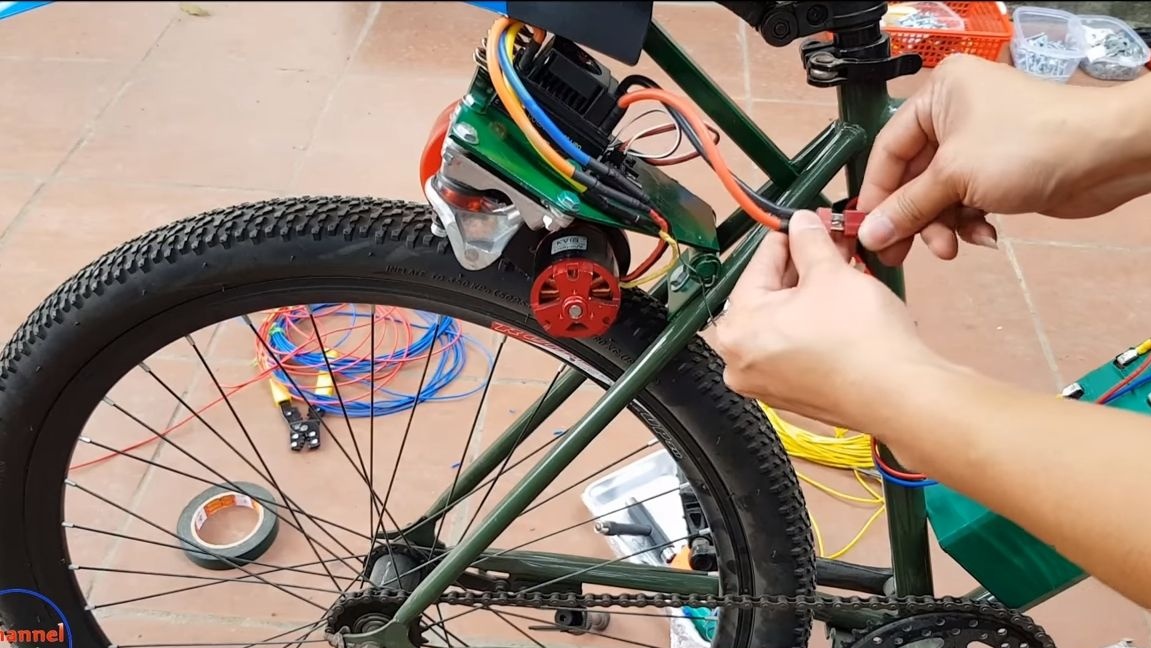
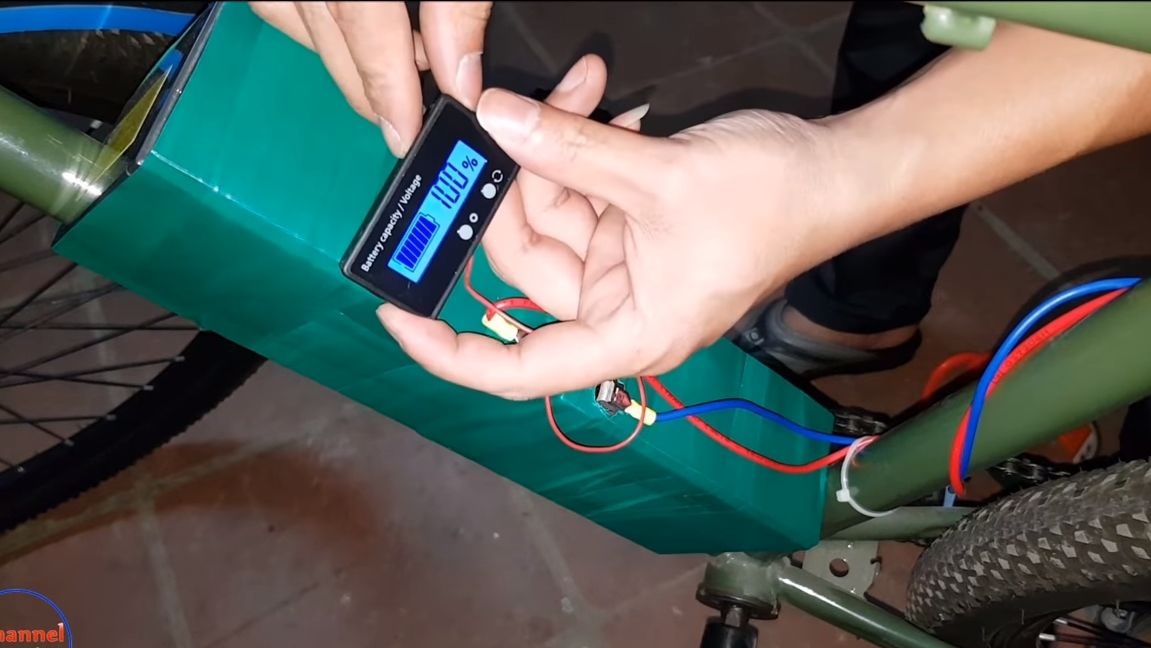
Next, install all the necessary electronics. The author fastens all components using double-sided adhesive tape. It is important to understand the fact that if you do not protect the engine and electronics from dirt and rain, they will fail quite quickly. Leaving everything as it is is only possible for driving in dry weather or for a test run. For convenience, it would be useful to install a charge level sensor on the battery.
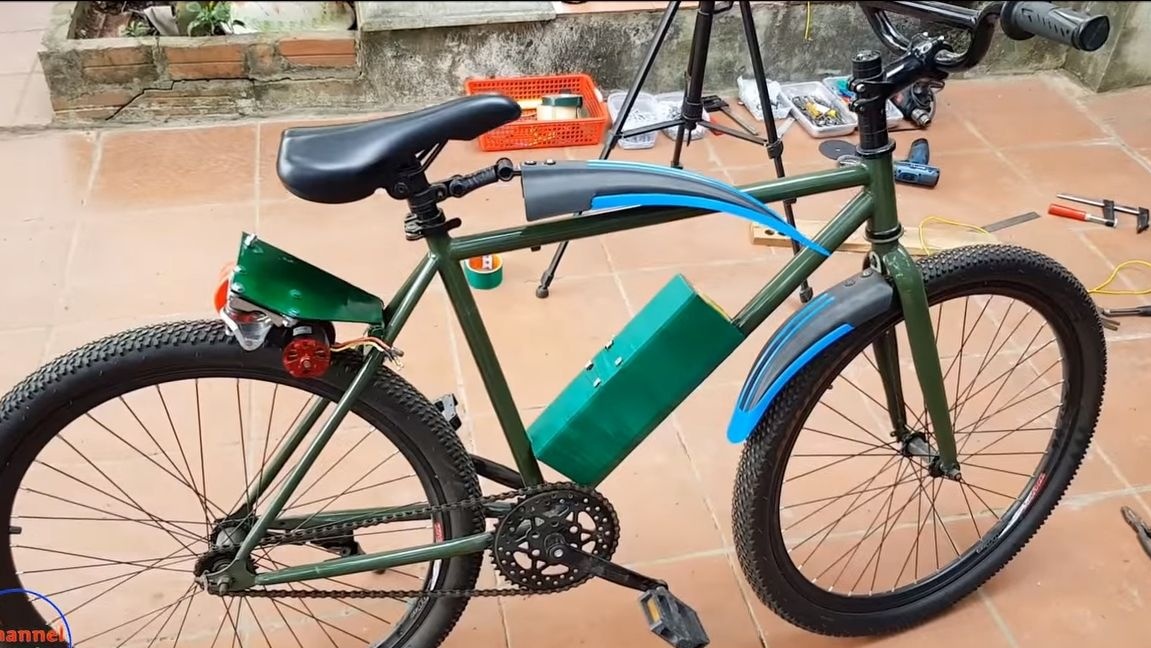
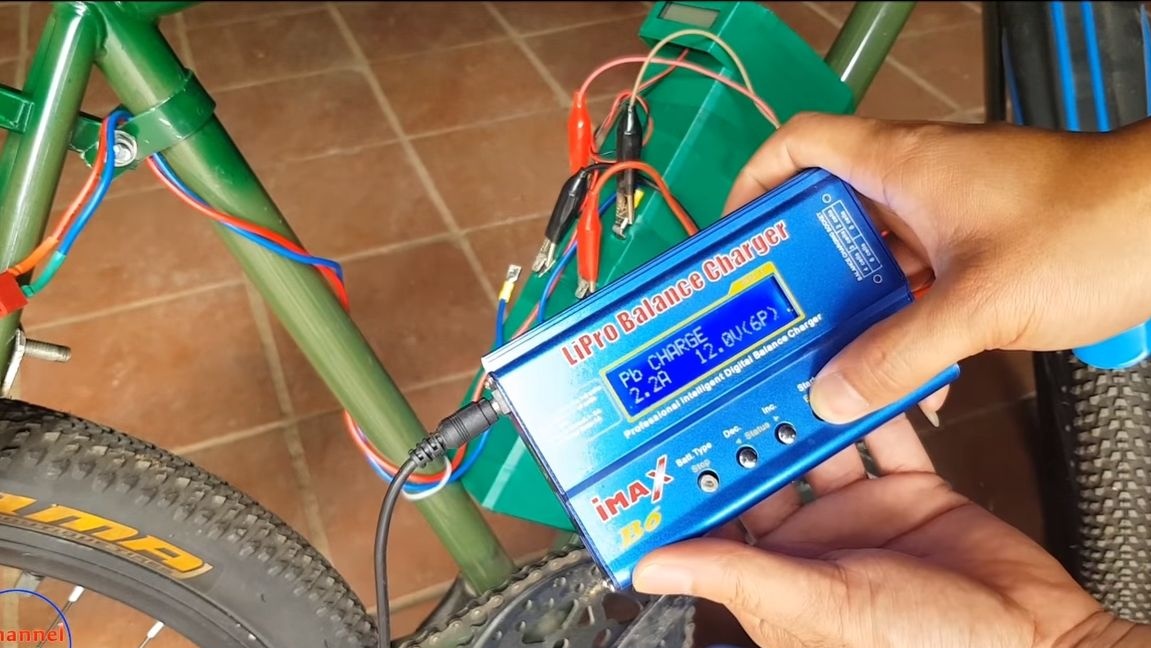
That's all, our electric bike is ready, it remains to recharge the batteries. Here you will need a suitable charger. You can charge two batteries at once, or each with a separate charger, it all depends on the power supply.
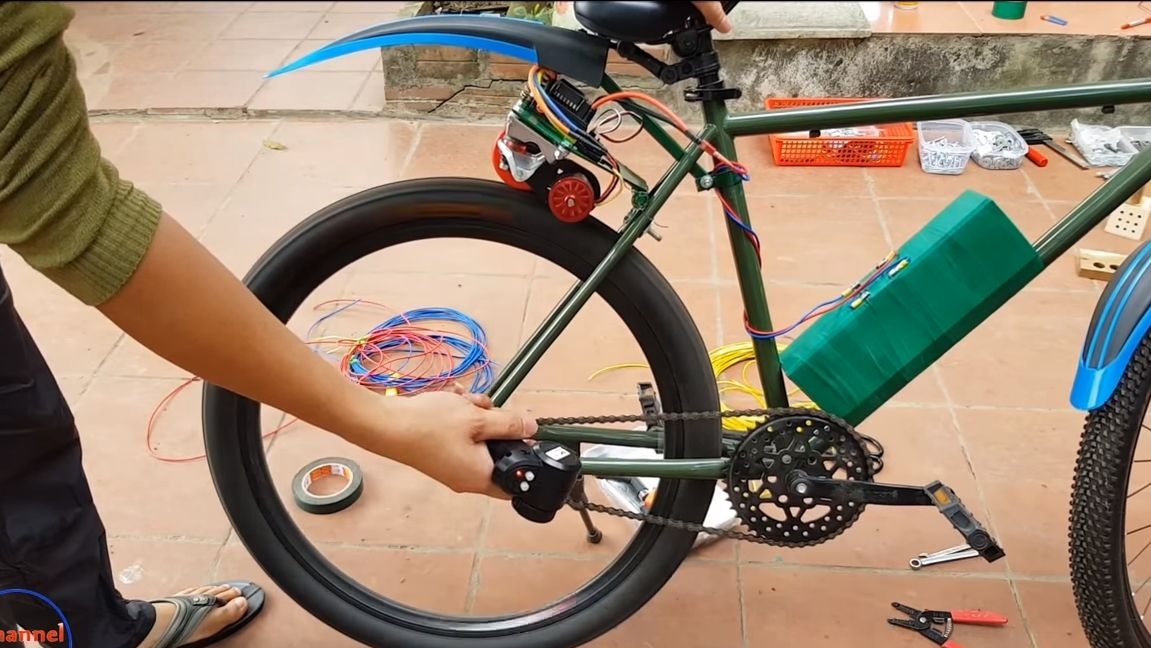
We pass to testing! Let me remind you that the author turns on the engine through radio control. In principle, for practical purposes, this can be used not very widely. In the video, the bike develops quite impressive speed, while taking into account that it is not such an easy driver to ride it. That, in fact, is all. I hope you enjoyed the project, good luck and take care!