Greetings to all these boys
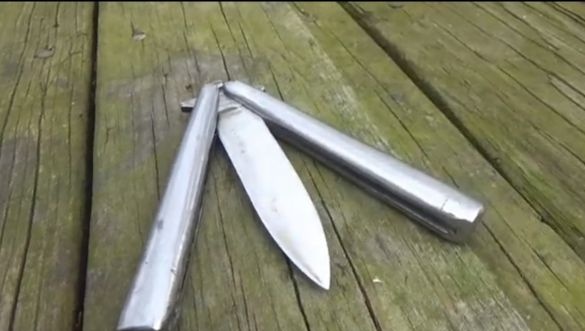
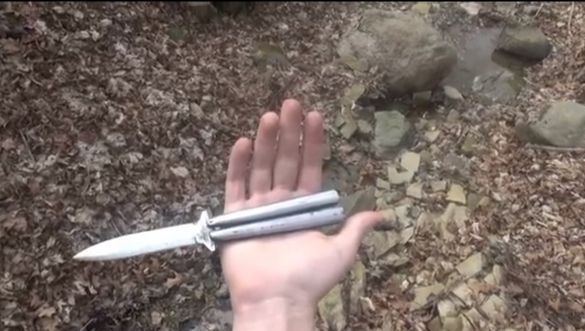
One of the most credible designs for penknives is the Butterfly knife. It is easy to use, has a unique appearance, and you can also give them different feints, well, twist shorter.

To make such a knife is not difficult, but you will have to try a little. In principle, the design itself is quite simple, the duration of the work and the set of tools will depend on how many bells and whistles a knife will have. We will look at how to cook up a very simple Butterfly knife. So let's go.
Materials and tools that were used:
Material List:
- Sheet steel;
- steel for a blade ();
- nails;
- epoxy adhesive.
Tool List:
- ;
- drill;
- hammer;
- vise;
- ;
- sandpaper;
- files;
- oven and hardening oil;
- spray can or marker.
The process of making a knife:
Step one. Handle blanks
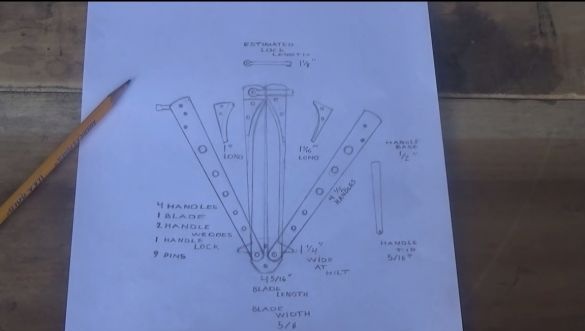
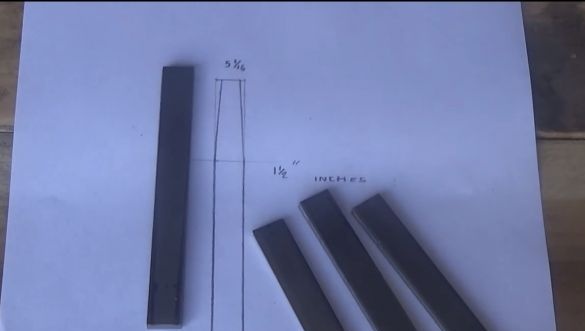
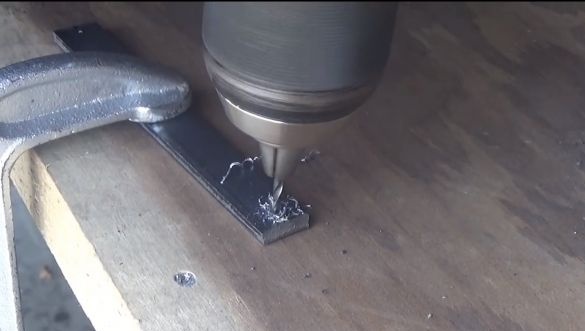
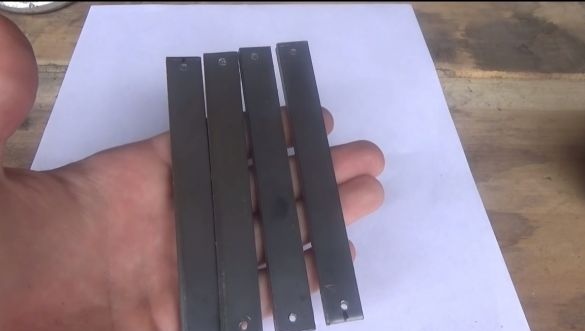
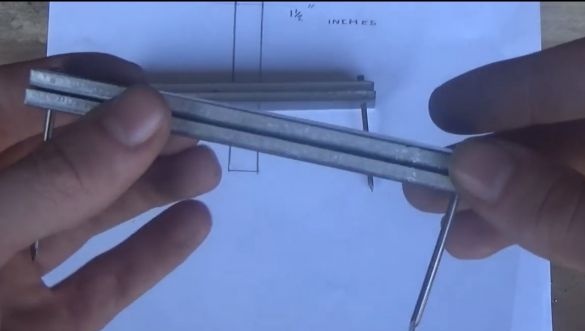
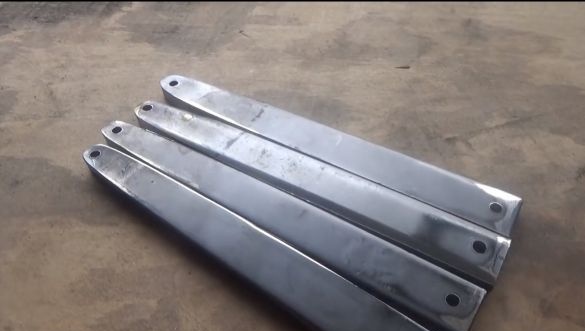
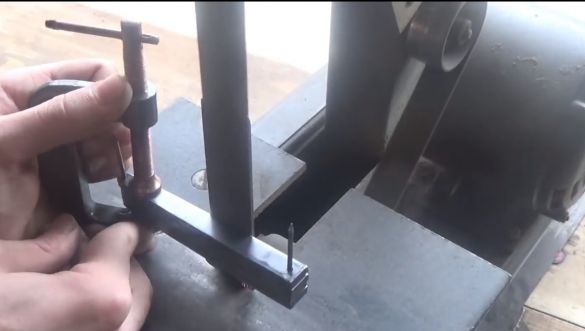
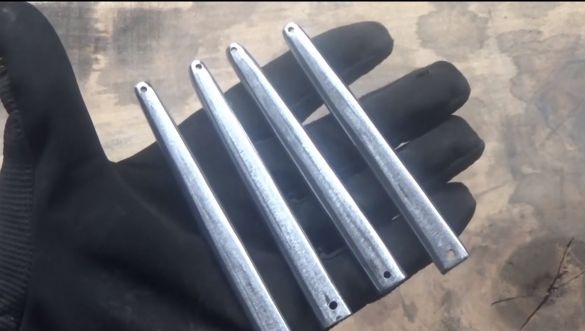
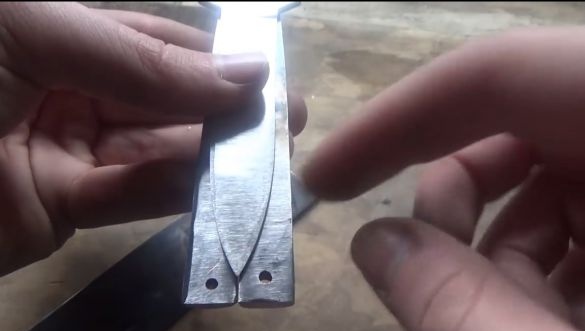
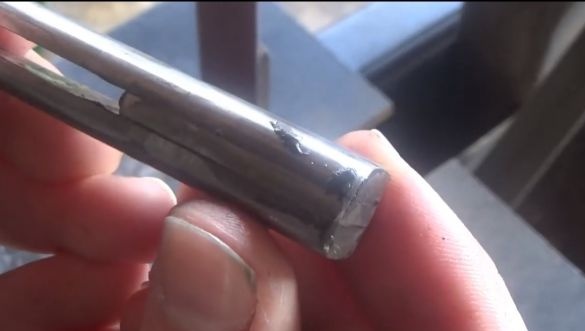
The knife is entirely made of steel, including handles and everything else. For pens, you will need to cut four workpieces of the same size from sheet steel. Next, you will need to drill holes for the connecting pins in them. We grind the workpieces on a belt sander to smooth out all the bumps.
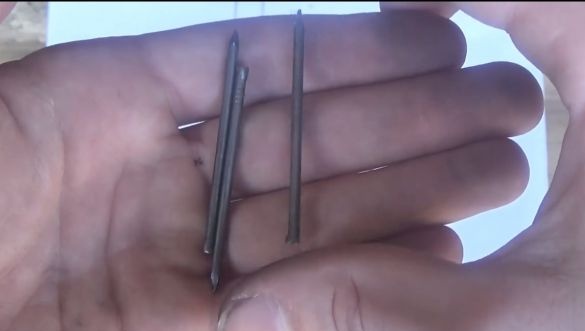
The author used ordinary nails as pins. Each handle consists of two plates.
Step Two Primary pen profile
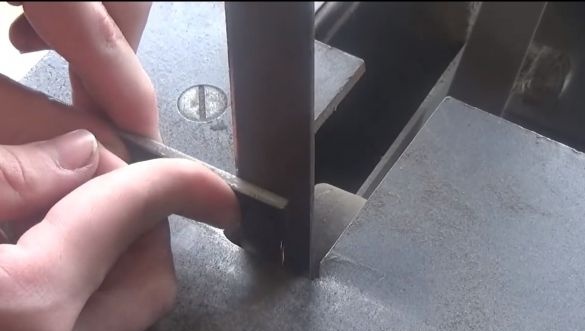
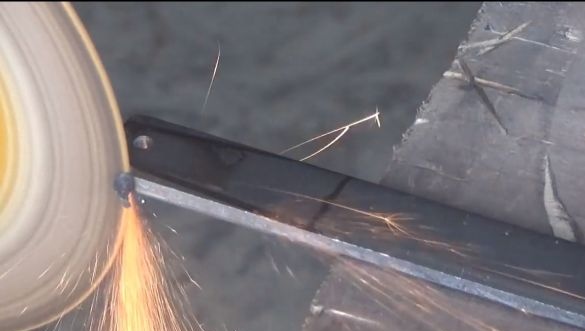
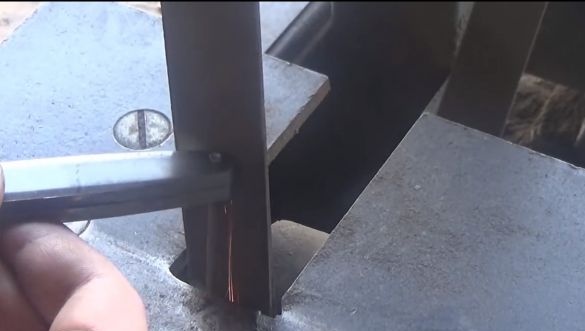
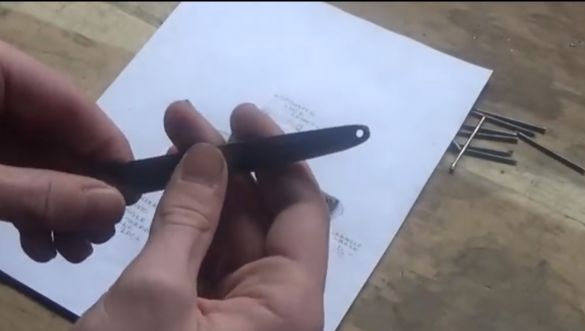
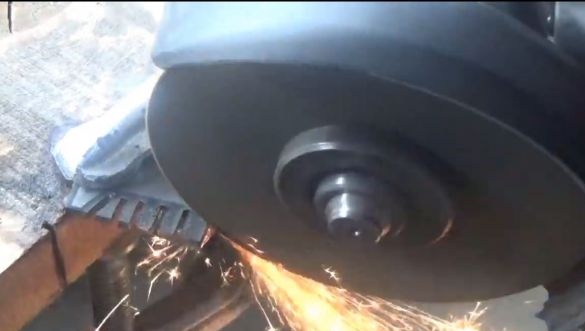
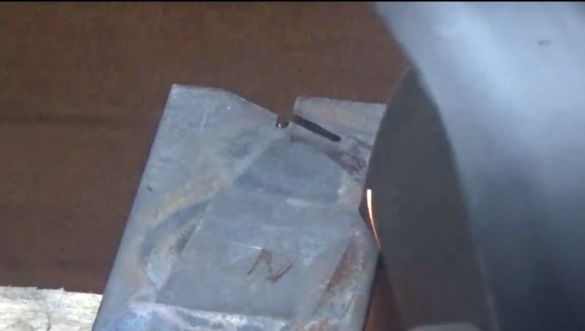
Next, we need to form the nose of the handles, for this, first mark everything up using a marker. Well, now we clamp the workpiece in a vise and cut off the excess using a grinder. After cutting off coarse parts, we proceed to grinding again. Here again, the belt sander is the best fit. We grind the workpiece, form the desired profile. This work can easily be done manually, using sandpaper and files.
Step Three We turn to the manufacture of the blade
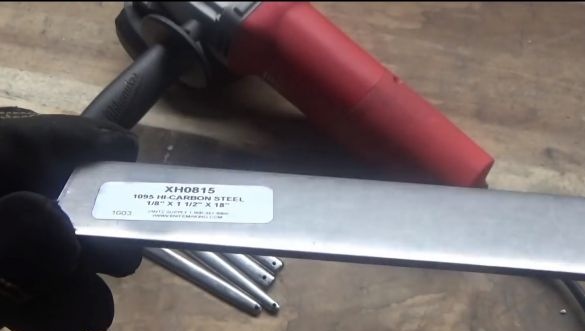
To make a high-quality blade, you will need steel that could be hardened. The author decided to use 1095 steel, which is widely used by foreign masters for the manufacture of knives.In order not to buy anything, you can easily use an old flat file as a workpiece, and other steel, which is usually used in tools, is also suitable.
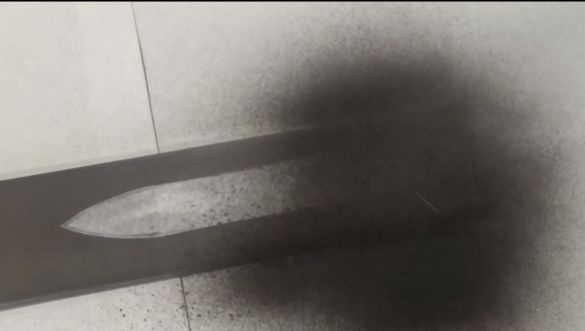
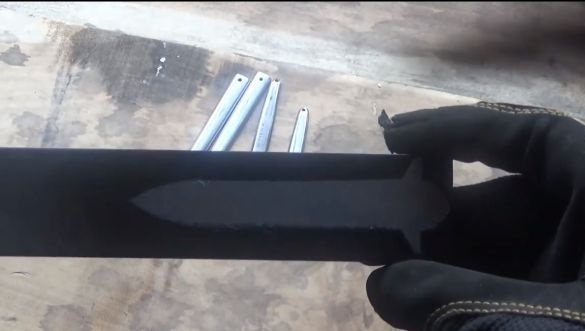
First of all, you need a template, it is originally drawn on paper, and then cut out. Next, the manufactured template is transferred to the metal. The author decided to use a non-standard approach, he attached the template to the blank, and then painted the whole thing from a spray can. As a result, we get an unpainted area under the template, which we have to cut.
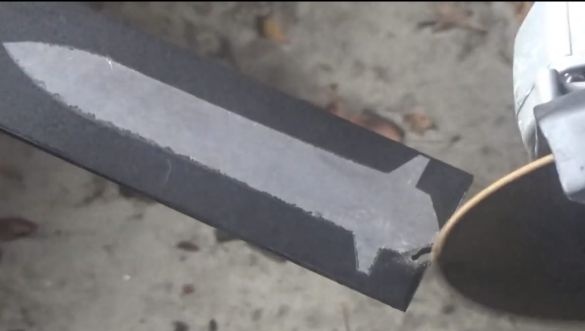
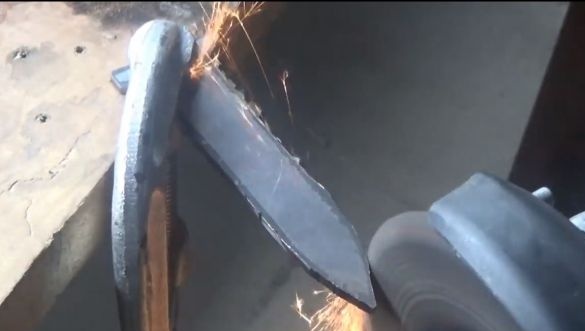
You can cut the primary profile, for this the author used a regular grinder. Clamp the workpiece in a vise and get to work. First, we make a series of transverse cuts, and then we cut out the excess pieces in turn. This is a sure way to cope with complex bends with a grinder. Of course, all this would be much faster if you had a band saw.
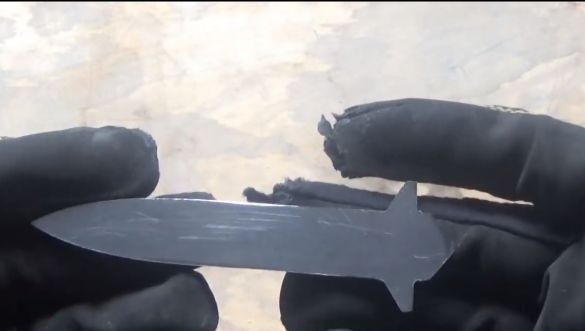
In conclusion, you will need the help of a belt sander, you need to properly process the workpiece along the contour. This task can also be easily handled with files, however, it will take much more time.
Step Four We form a blade profile
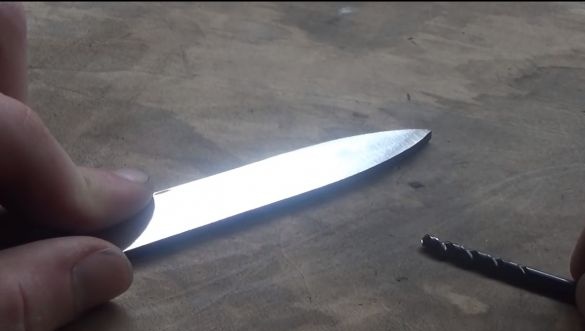
For this step, you will need a drill of the same diameter as the thickness of the workpiece used. With it, you need to draw a centering line along the future blade in order to divide it clearly into two halves. The blade of this knife is sharpened on both sides.
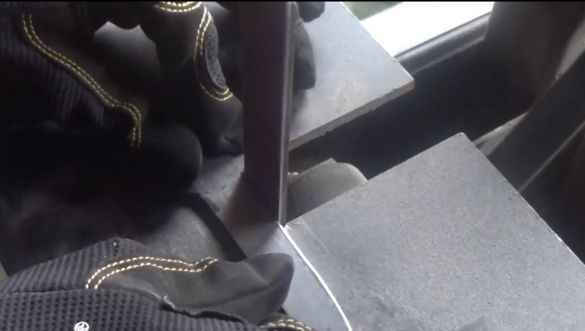
Well, after that we proceed to the formation of bevels. For these purposes, a belt sander is ideally suited. The main thing here is not to rush, first form the desired angle on one side, and then on the other. Do not sharpen the blade too much, as the metal can overheat during hardening.
Step Five We drill holes in the blade
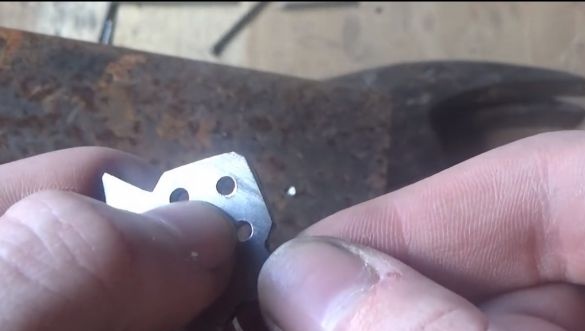
In the blade you will need to drill three holes. Two of them are needed to install the handles, and another one is needed to install the pin, which will hold the blade in the open state.
Step Six Emphasis
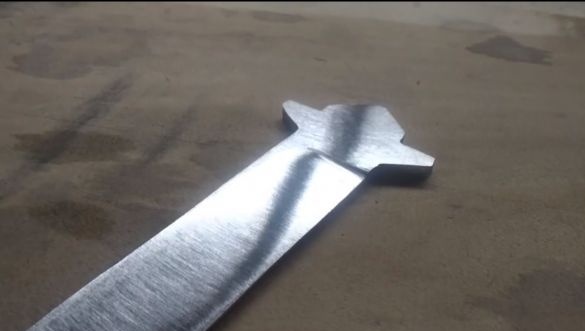
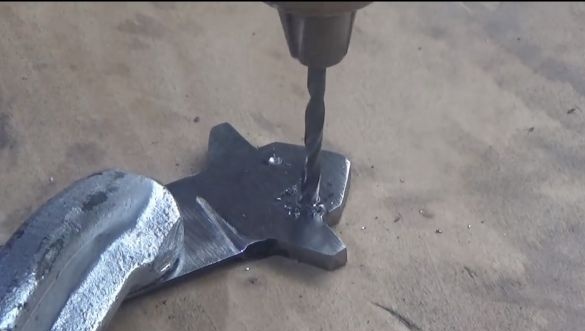
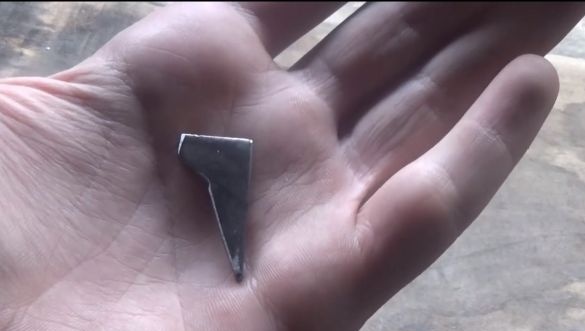
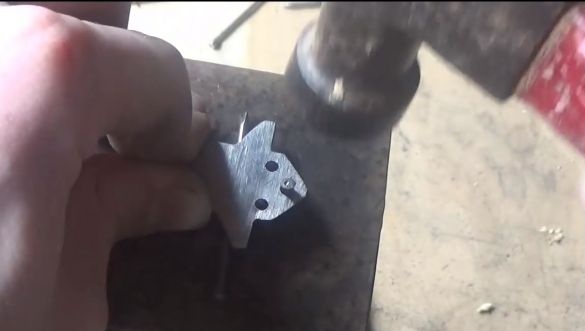
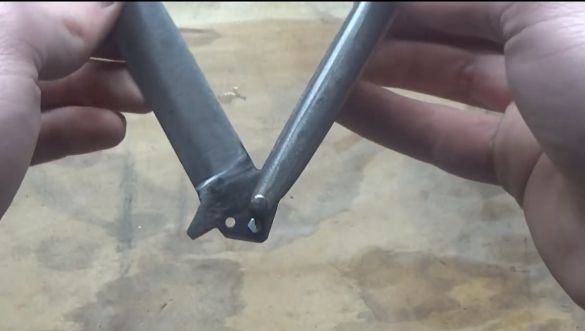
Each handle has one emphasis, they are needed so that the blade does not fall out of the handles when the knife is in the closed state. The author makes stops from sheet steel, we cut out such a shape in shape, as can be seen in the photo. Also in these details it will be necessary to drill holes for the pins.
Seventh step. Getting started with the pen assembly
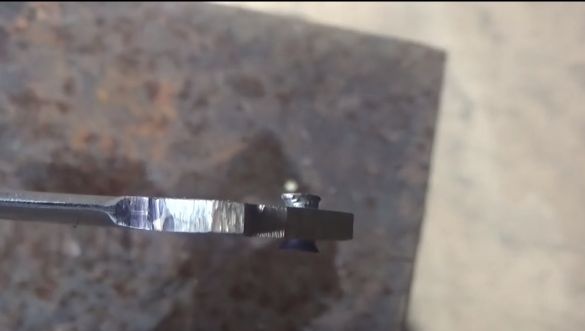
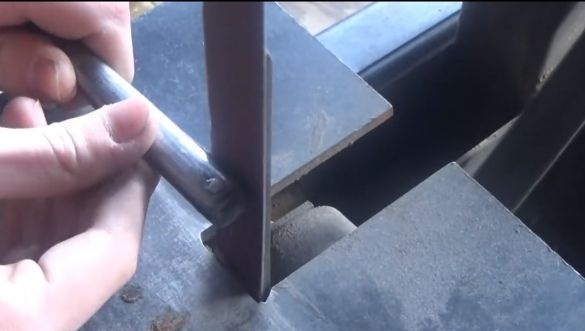
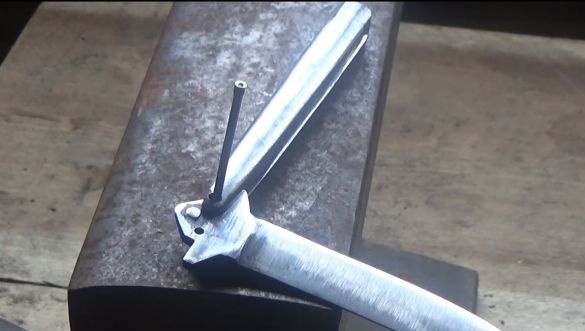
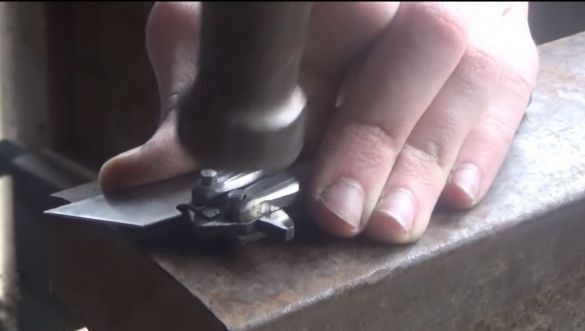
First of all, you will need to install the latch on the blade. For this, a piece of nail of suitable diameter will be needed. Carefully rivet it on all sides with a hammer.
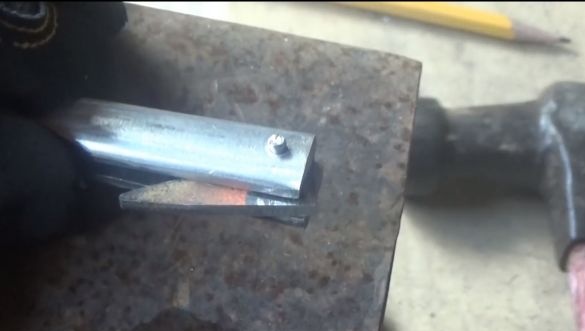
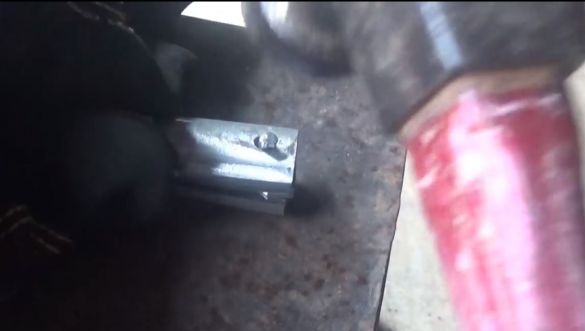
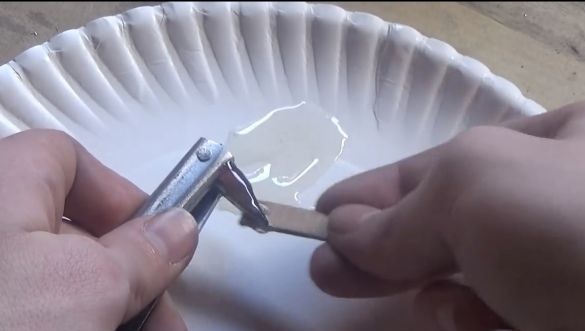
Now you can assemble the handles, in the tail end we install the stops made earlier. They need to be thoroughly coated with epoxy glue. We also install the fixing pin and rivet it well.
When the glue is completely dry, grind the handles on the tape machine again. You need to smooth the remnants of glue and the protruding parts of the stops.
Step Eight. Blade Finishing
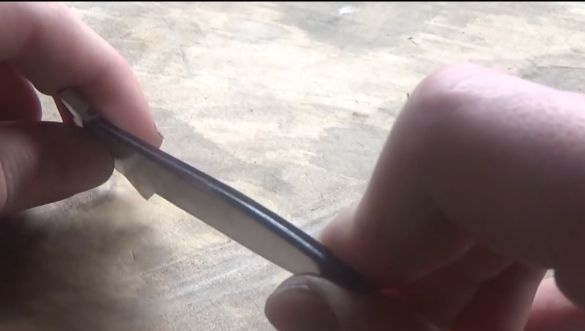
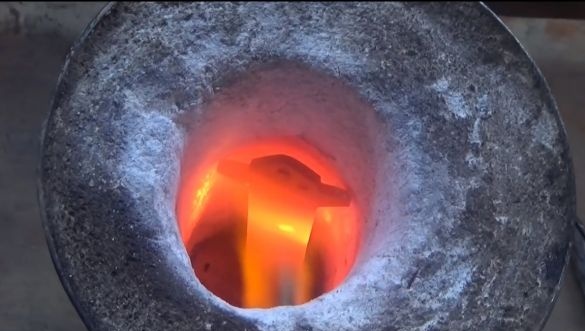
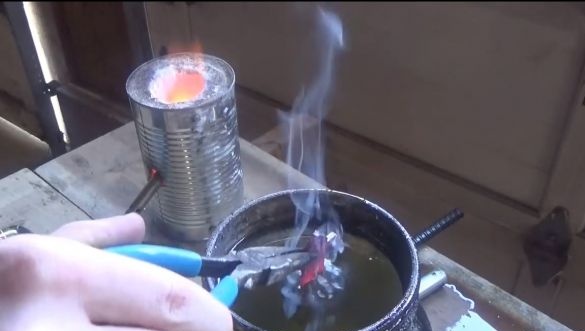
If you want to make a really strong blade, you need to temper it, but remember that this requires the appropriate steel. The author’s hardening furnace is homemade, it is made of a can, an insulator, and gas is used as fuel. You need to warm up the workpiece for a yellowish glow. To determine the desired temperature, you can bring a magnet to the hot metal. If it does not respond to steel, it means that the metal is heated to the desired temperature.
We cool the workpiece in oil, you can use old engine oil or vegetable oil. Be careful at the same time, as when you immerse a red-hot blade, a lot of smoke is emitted, and sometimes fire.
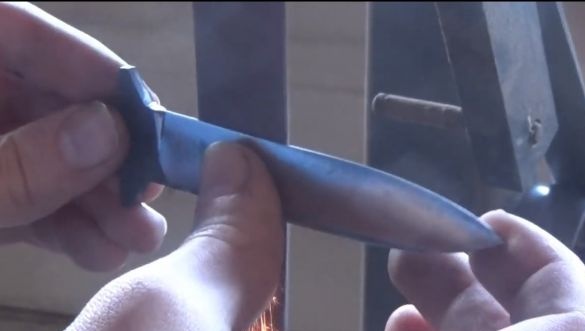
After that, clean the blade from oil, and then carefully grind it, since it will all be in scale. If desired, the blade can be brought to a mirror shine.Also at this step you can sharpen the knife, but then work with the blade very carefully so as not to cut yourself.
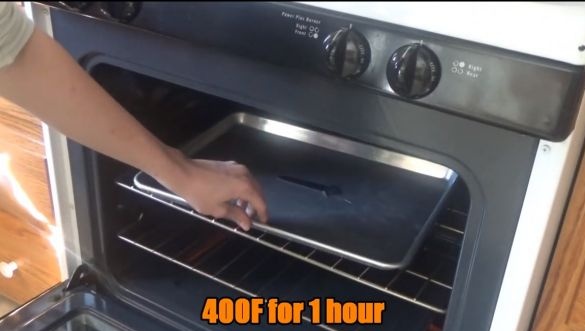
Now the final stage of hardening remains - this is vacation. If you do not do this procedure, then the blade will be too fragile and will fly to pieces even when the knife falls. The release of different metals provides for different temperature conditions. On average, the metal is heated at a temperature of 200-250 ° C for an hour. Then the oven is simply turned off and allowed to cool with the blade in the closed state.
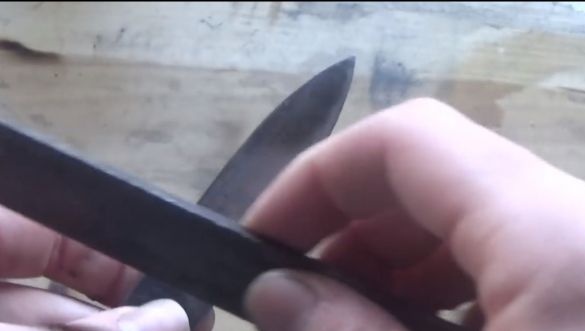
When the oven cools down, the blade is ready! Check if hardening is successful using a file. If it does not leave scratches on the blade, then the hardening was successful.
Step Nine. Putting a knife!
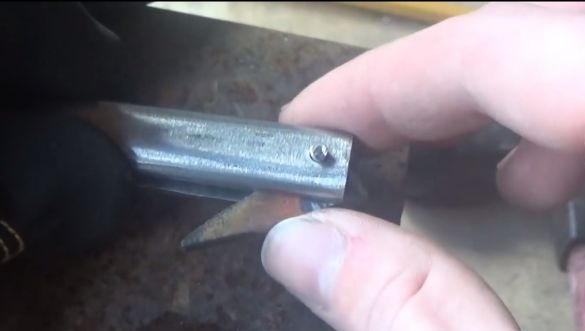
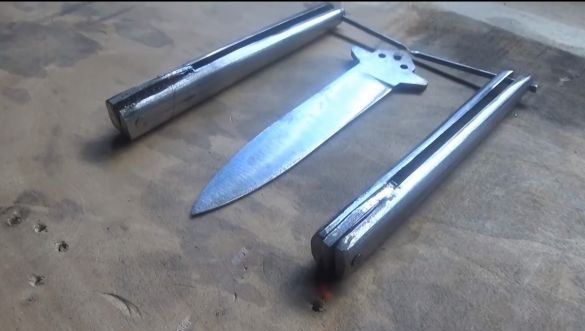
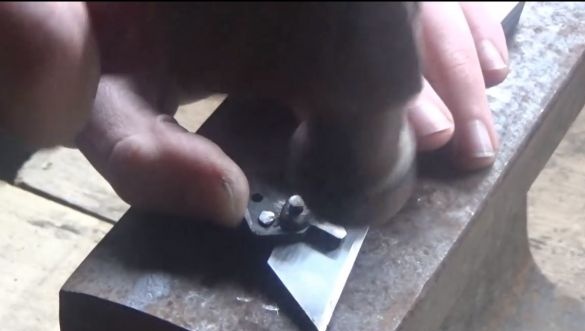
All parts are ready, the knife can be assembled. To do this, prepare the rivet pins from the nails. We install the pins, and between the handle and the blade we must install the plates so that then the handle can move freely on the blade.
That's all, the knife is ready! It remains only to sharpen it completely to the state of the blade.
Well, I am, in short, be!


