
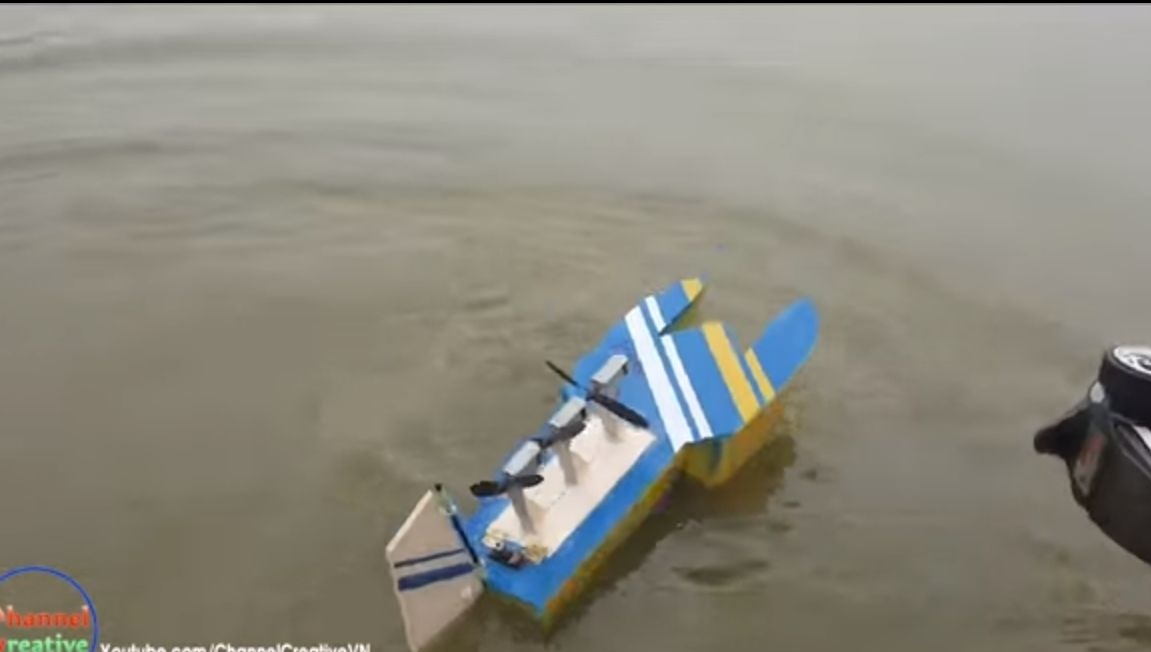
I welcome fans to craft, today we will look at how to make a simple radio-controlled aerial boat. Model the author turned out to be quite powerful, and this is not without reason, because the machine is powered by three engines. The boat’s steering wheel is also air type, that is, we will turn by changing the angle of air flow. The steering wheel is located at the rear, and it is driven by a servomotor.
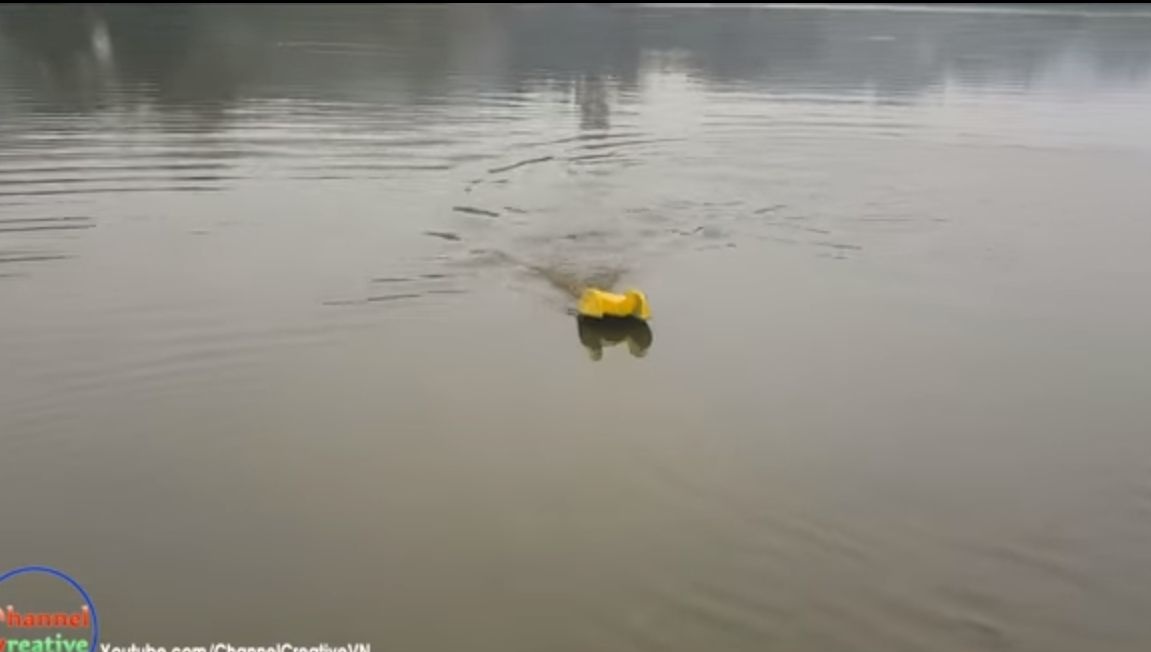
In the video you can see the test boat. At the author, she turned over right on the water, and the engines were under water. But this did not stop the boat, she was able to swim to the shore even with flooded engines.
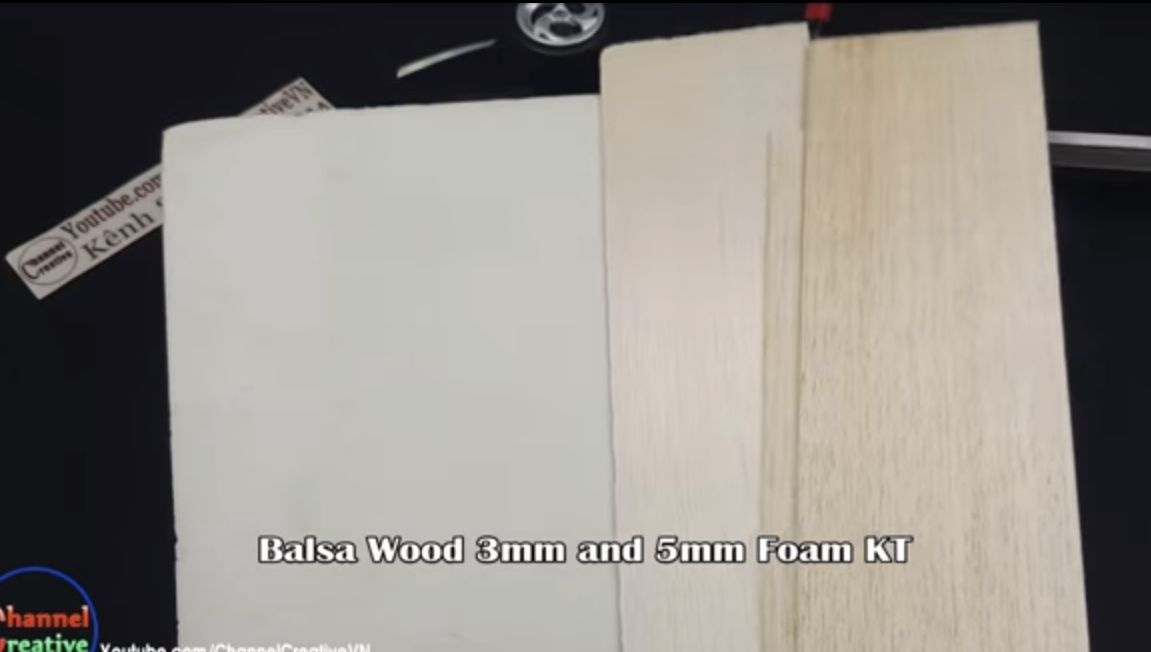
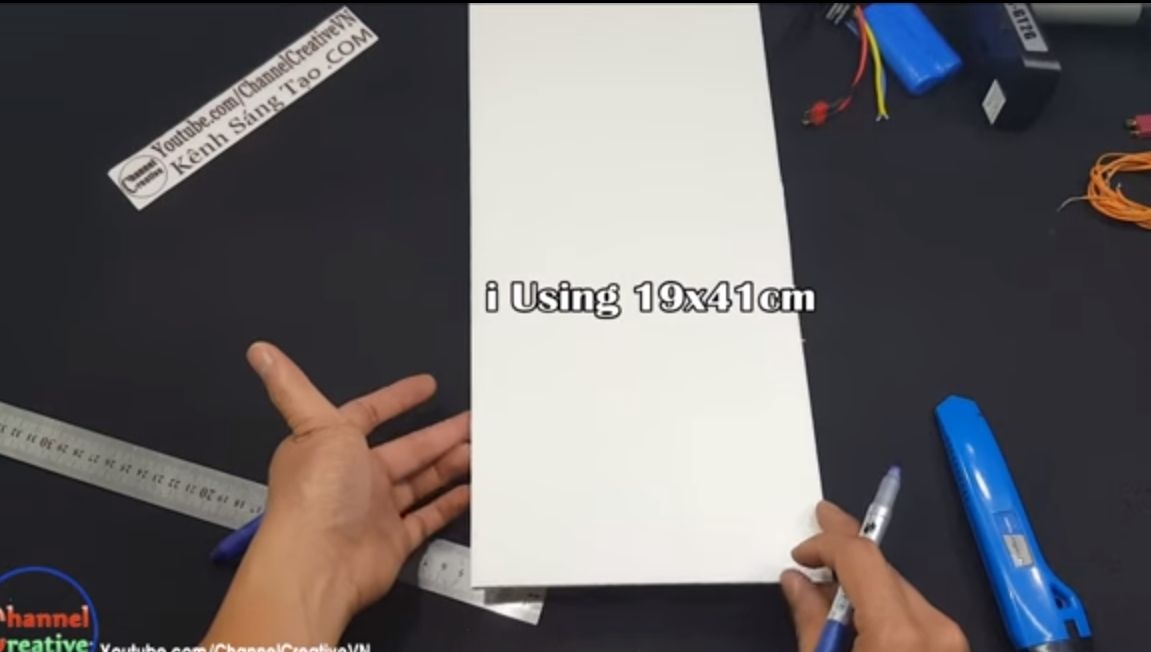
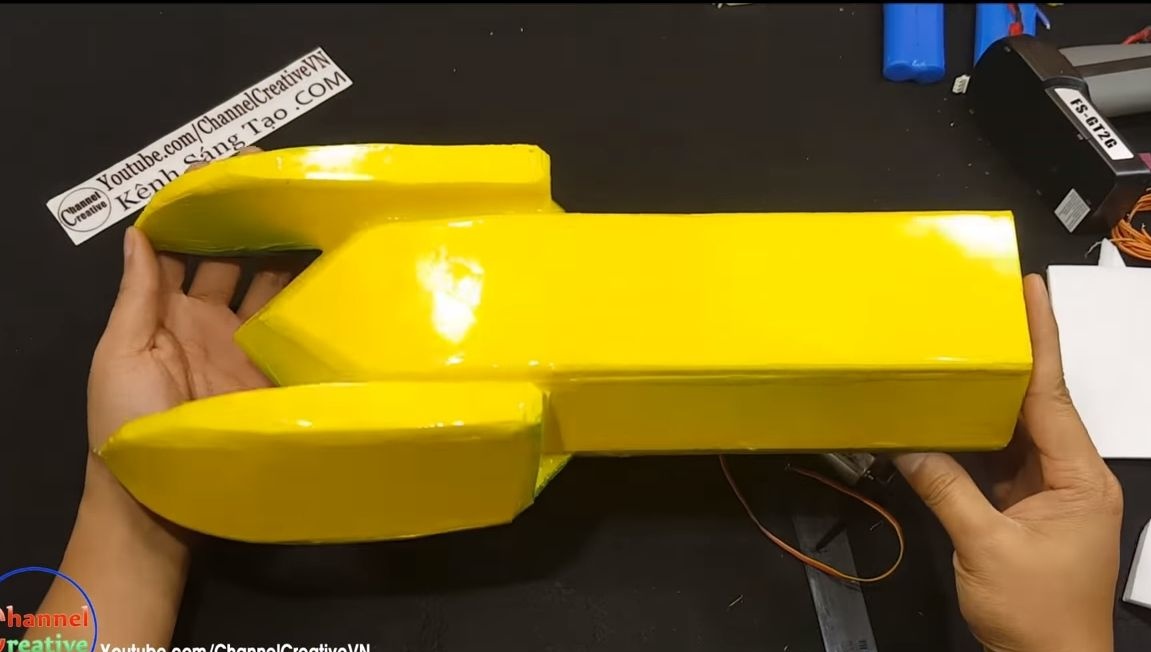
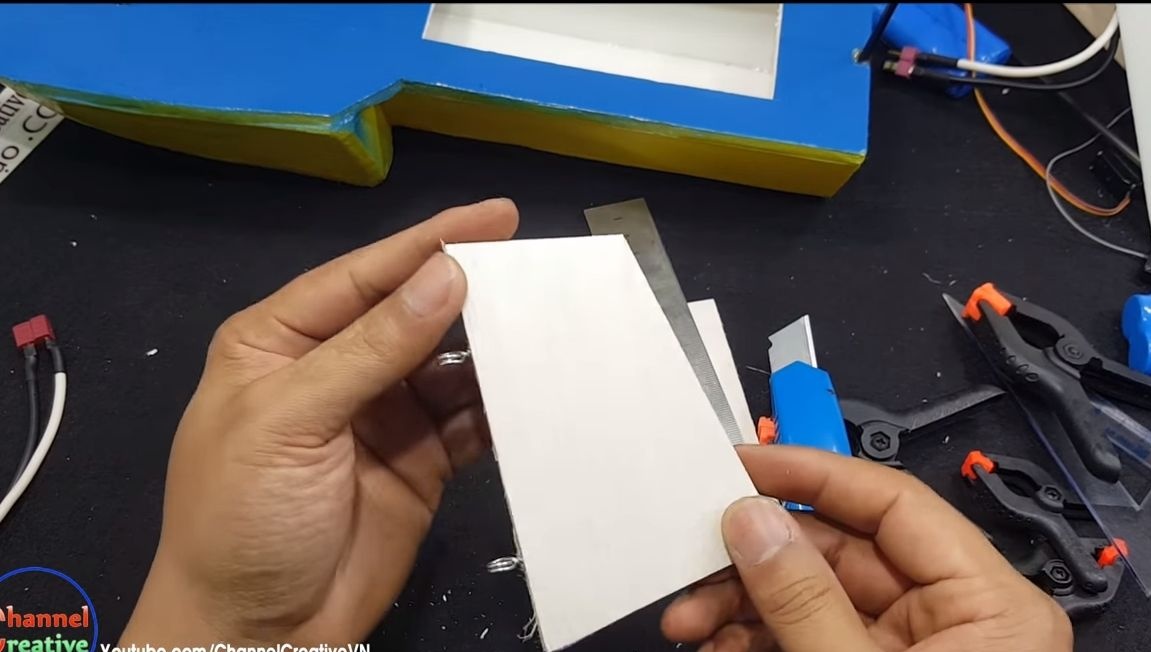
For the manufacture of the boat will be used balsa, this wood is very light and strong enough. In addition, this material is easy to work with, because it is easily cut with a clerical knife. So that the aero boat can support the weight of engines, batteries and electronics, it has a special design. The boat is kept on water thanks to air chambers. So, let's start making the boat.
Materials and tools used by the author:
Material List:
- balsa;
-
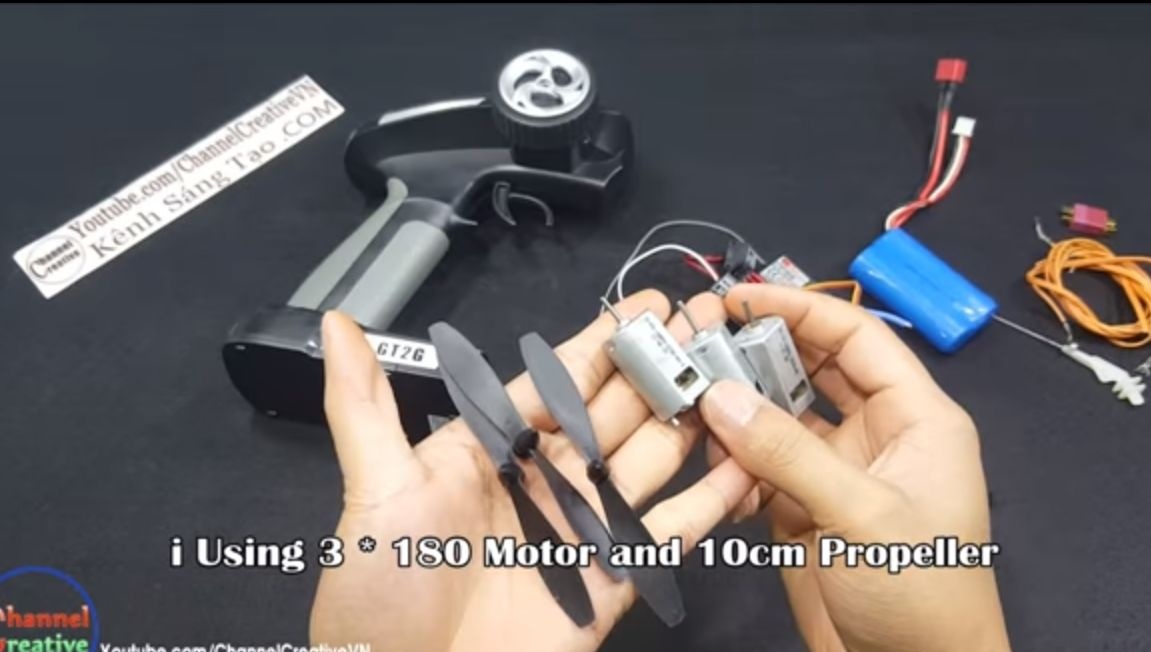
- three propellers;
-;
- ;
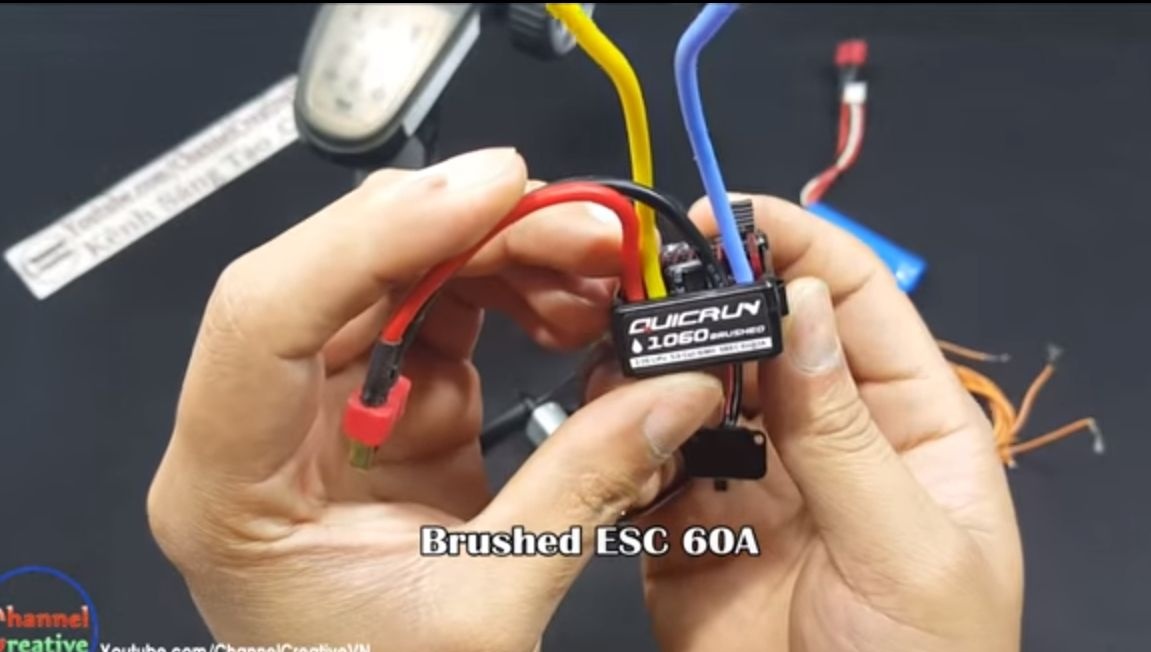
- engine controller 60A;
- aluminum corner or plate;
- steel wire;
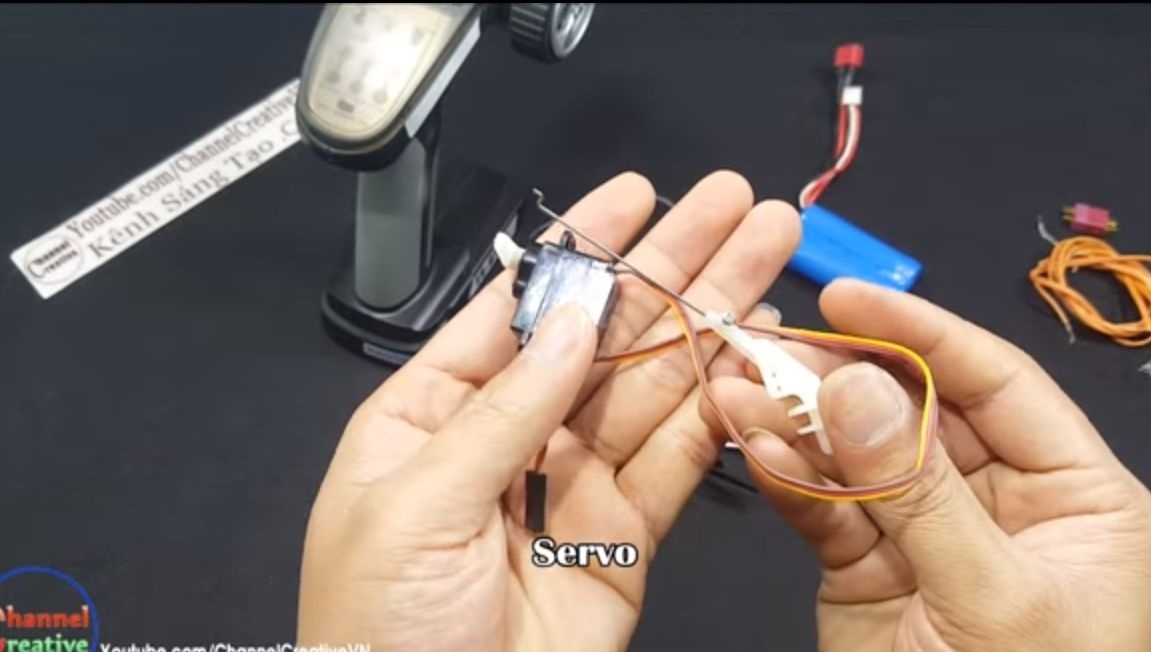
- servomotor;
- wires.
Tool List:
- soldering iron;
- stationery knife;
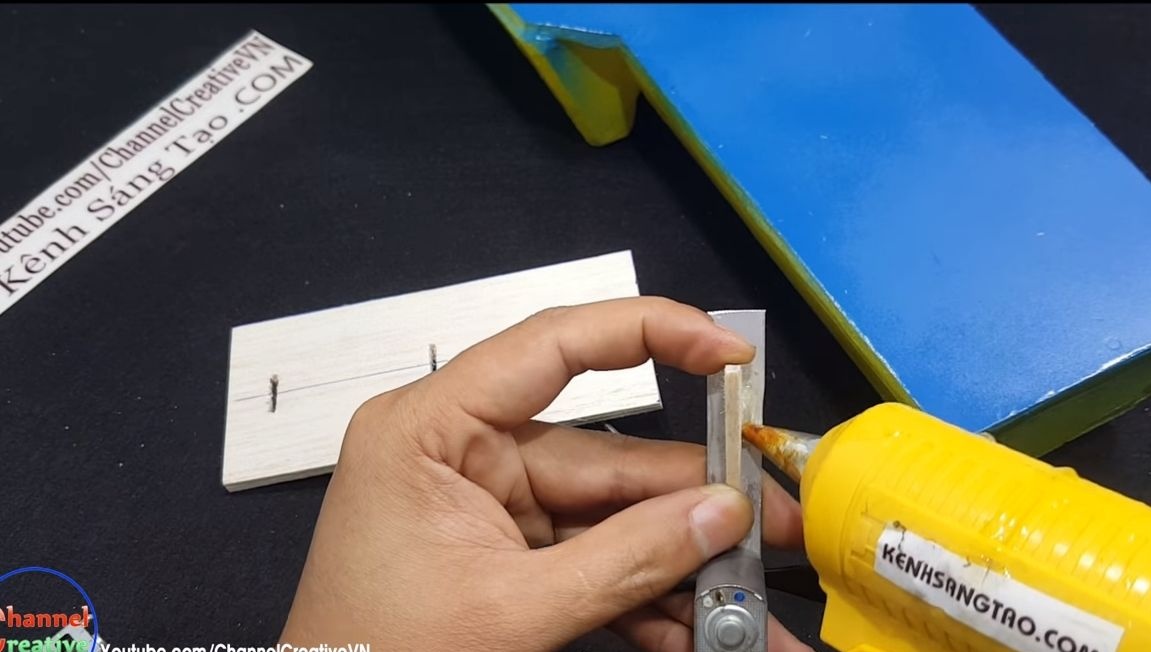
- glue gun;
- grinder;
- drill;
- screwdrivers;
- clamps;
- ruler;
- scissors;
- spray can with paint.
The process of manufacturing air boats:
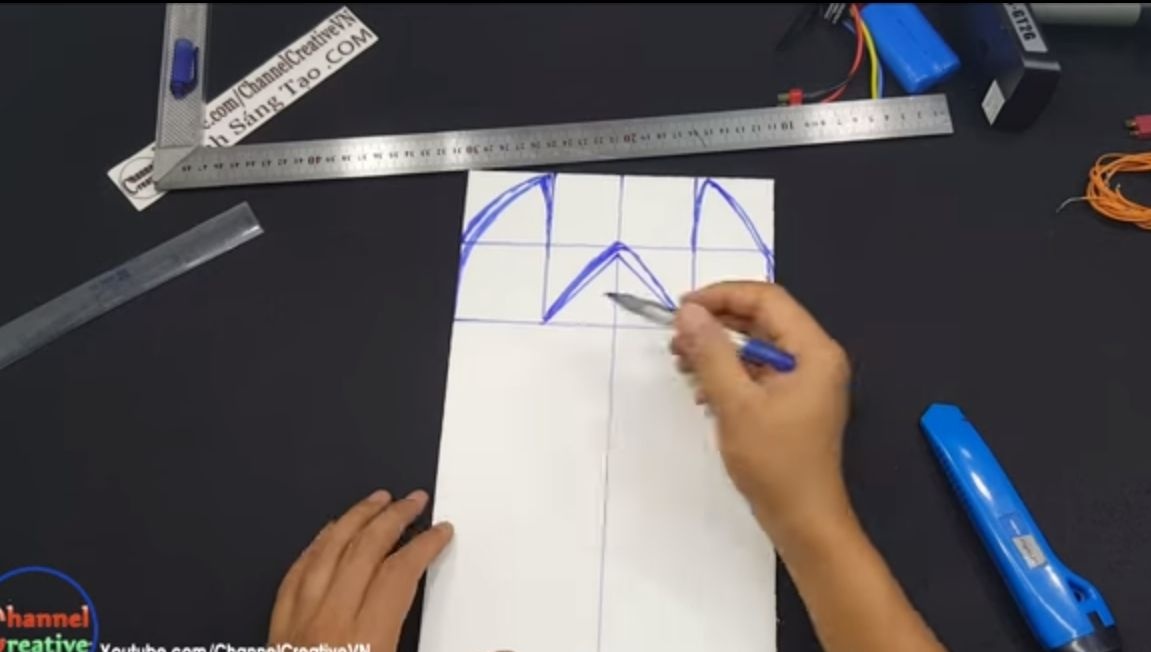
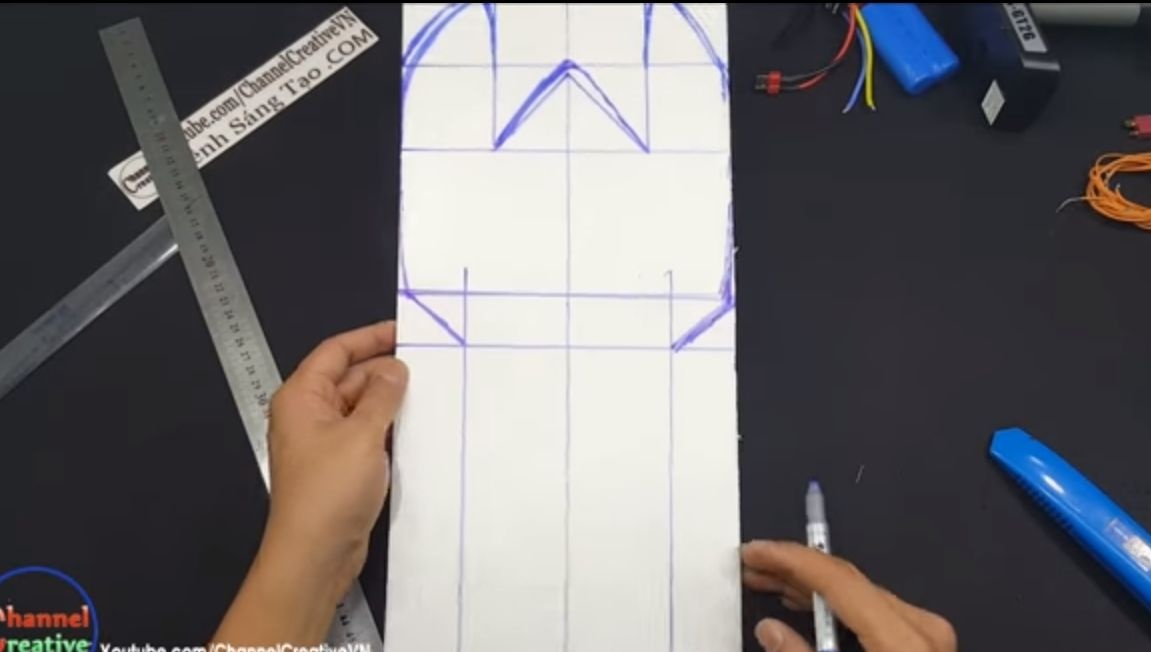
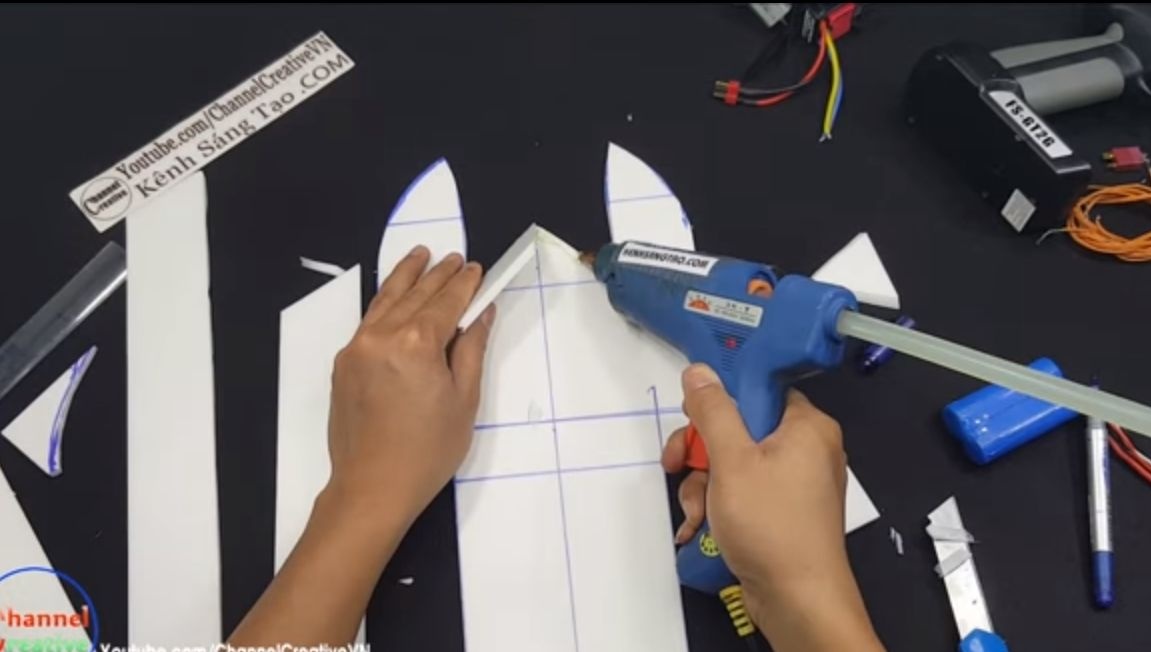
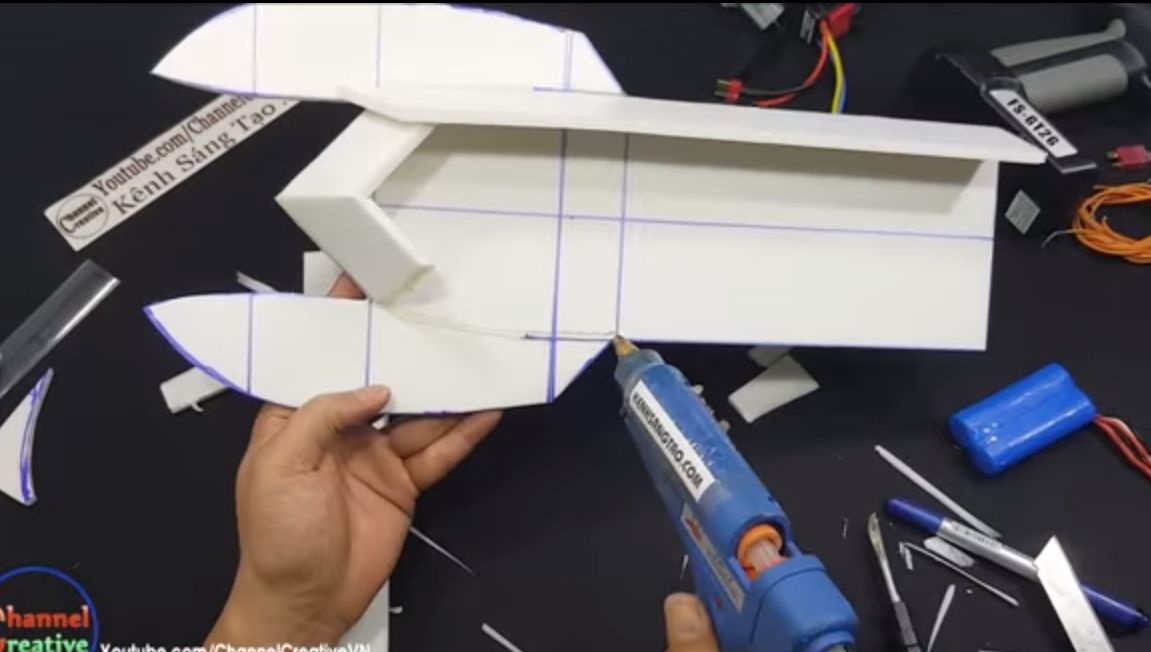
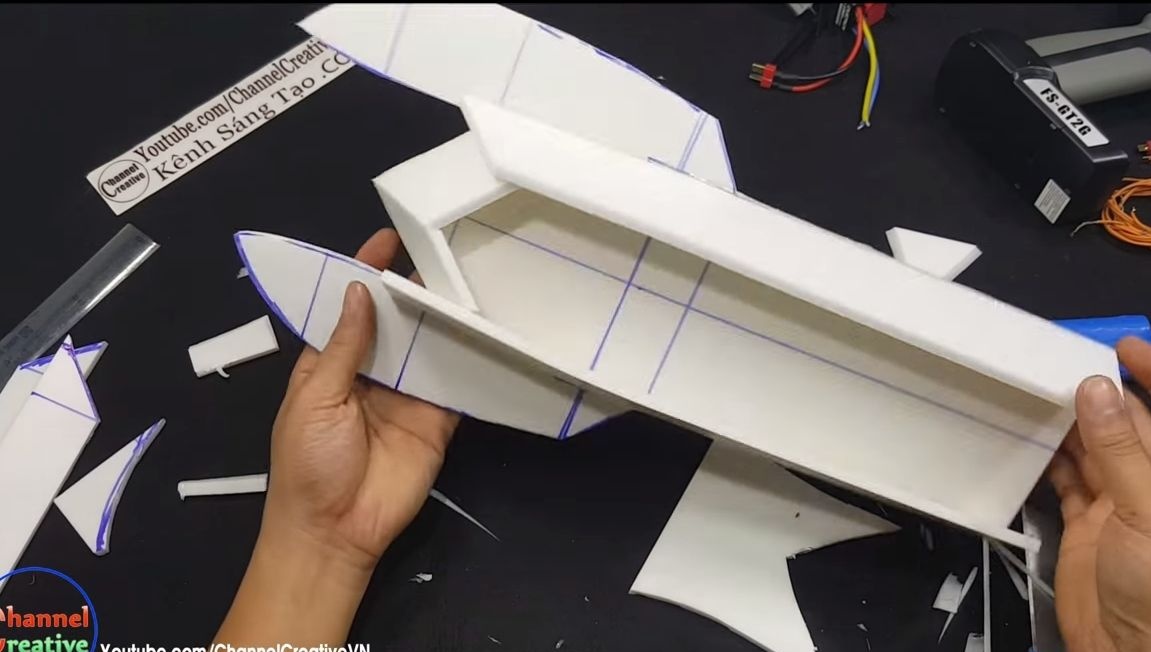
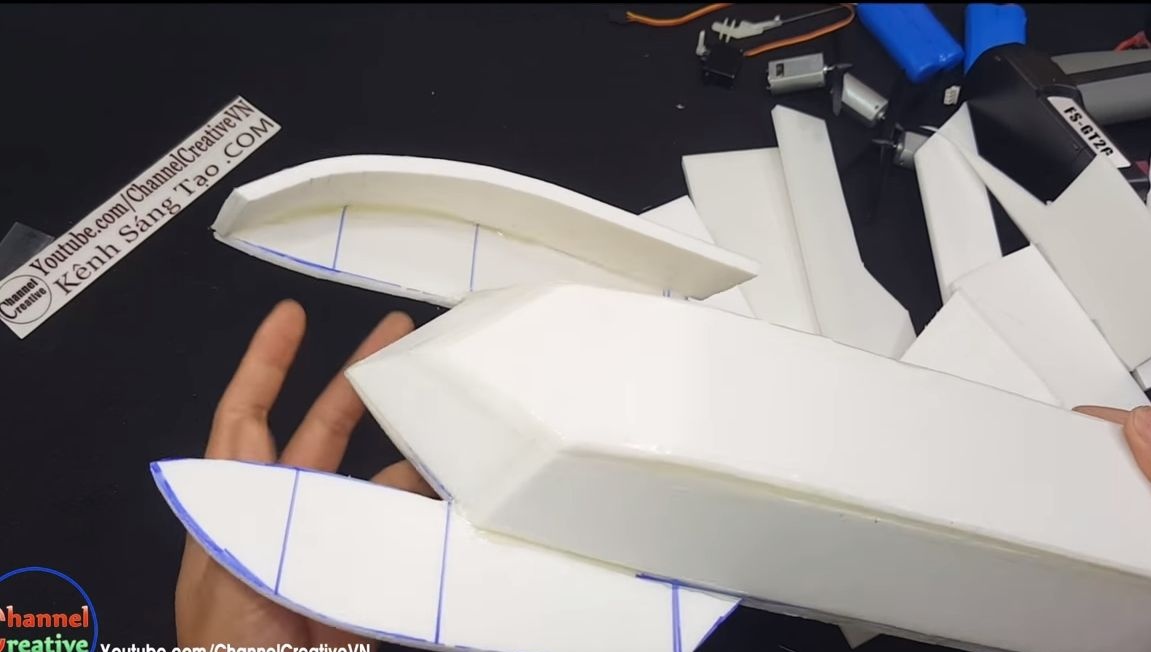
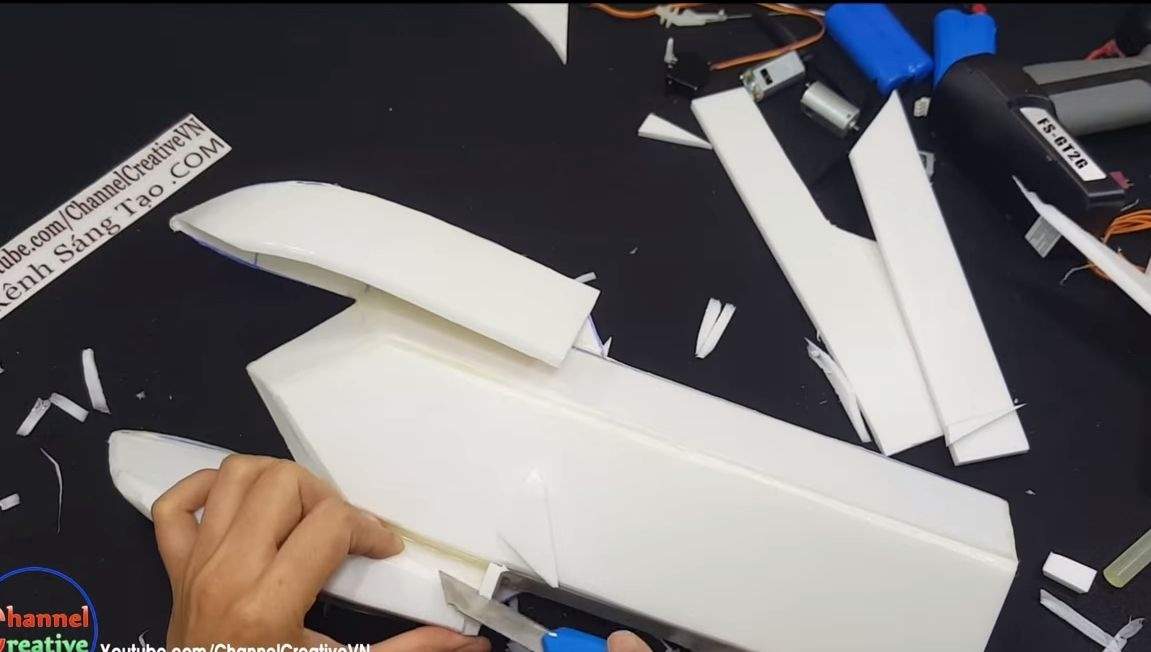
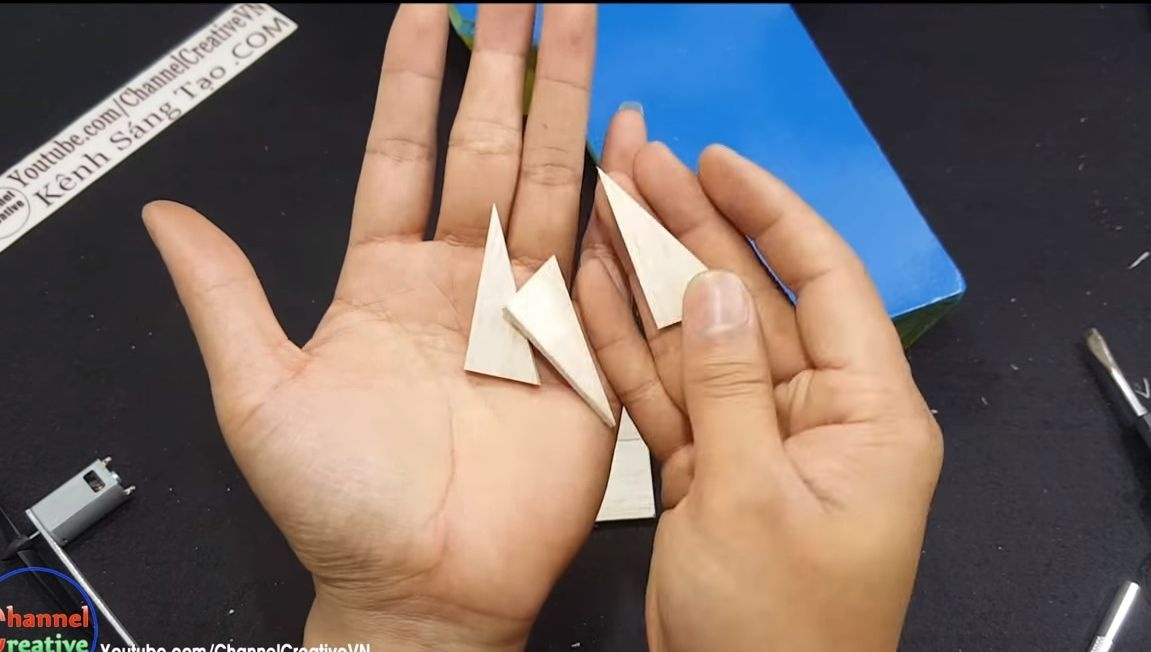
Step one. Cut and assemble the base
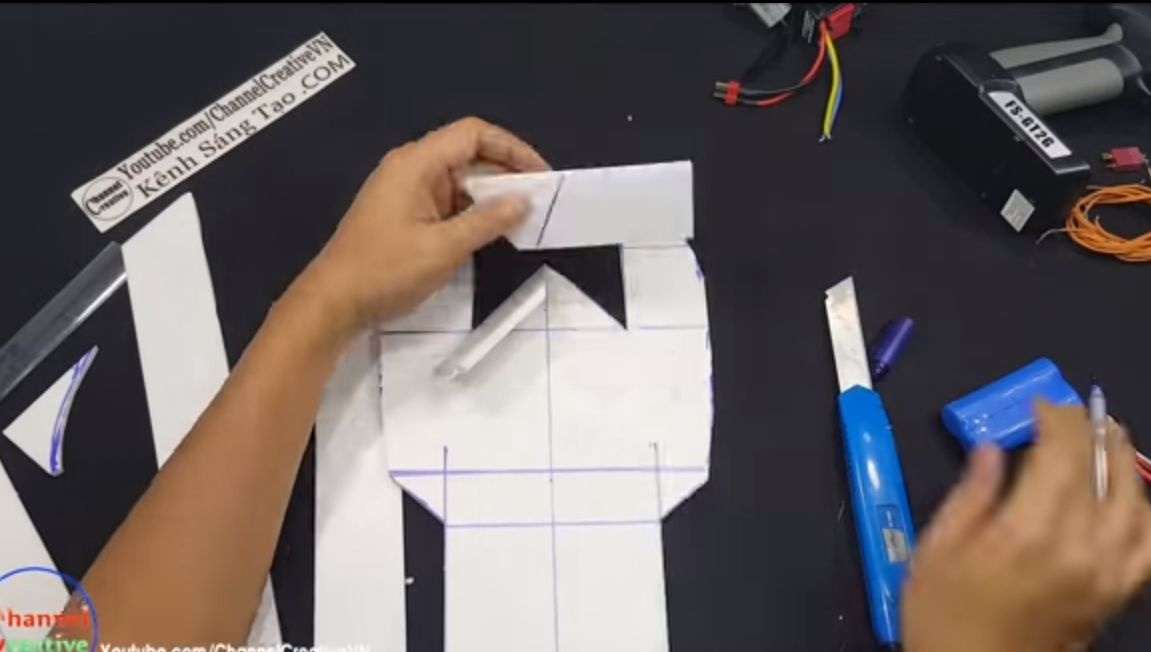
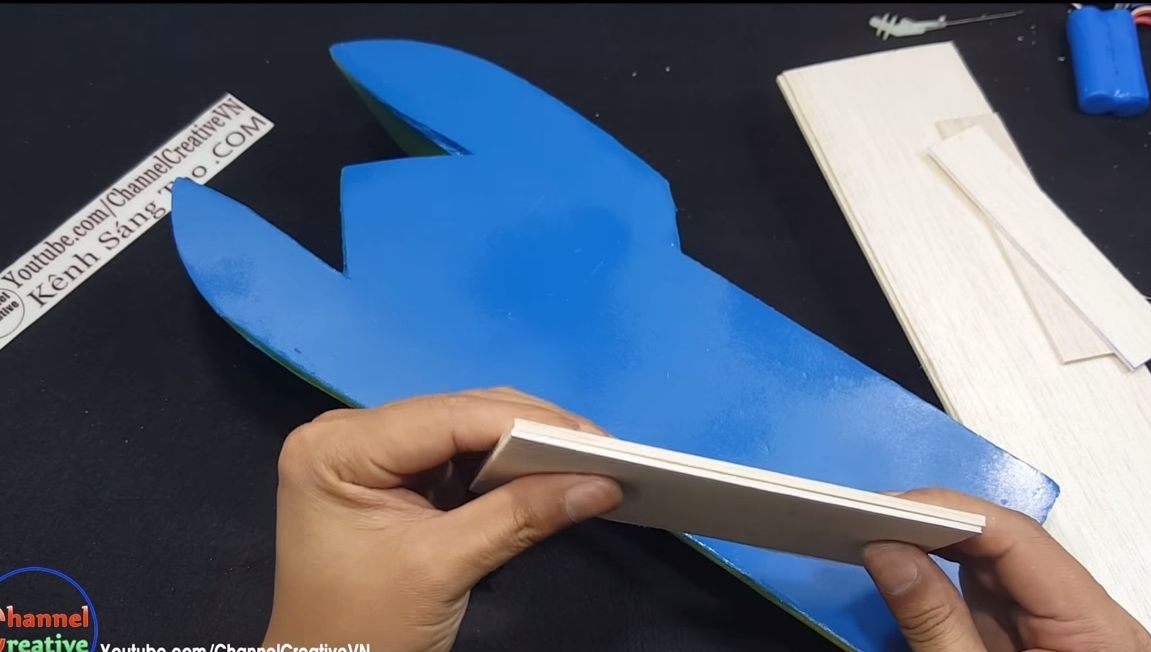
First of all, you will need to transfer the drawing of the boat to the balsa or draw it right on the spot. Next, we start cutting, for this we use a clerical knife and scissors. After that, you can proceed to gluing to the base of other parts, including the assembly of "floats". Everything is collected using hot glue. Seal all joints carefully so that water does not leak anywhere.
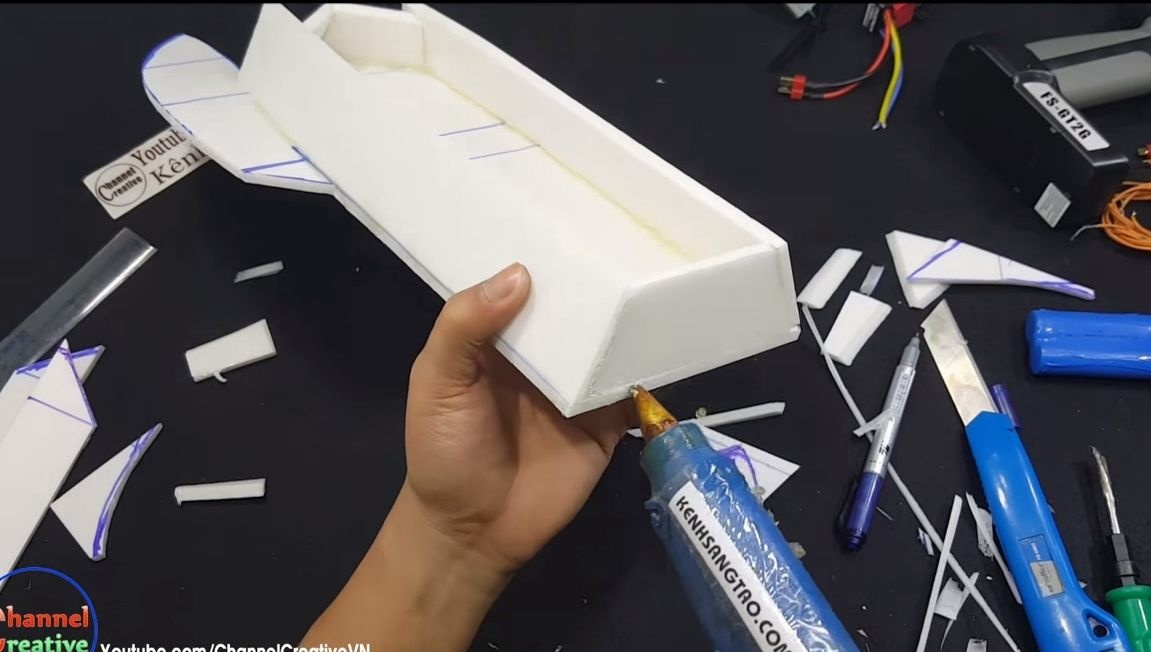
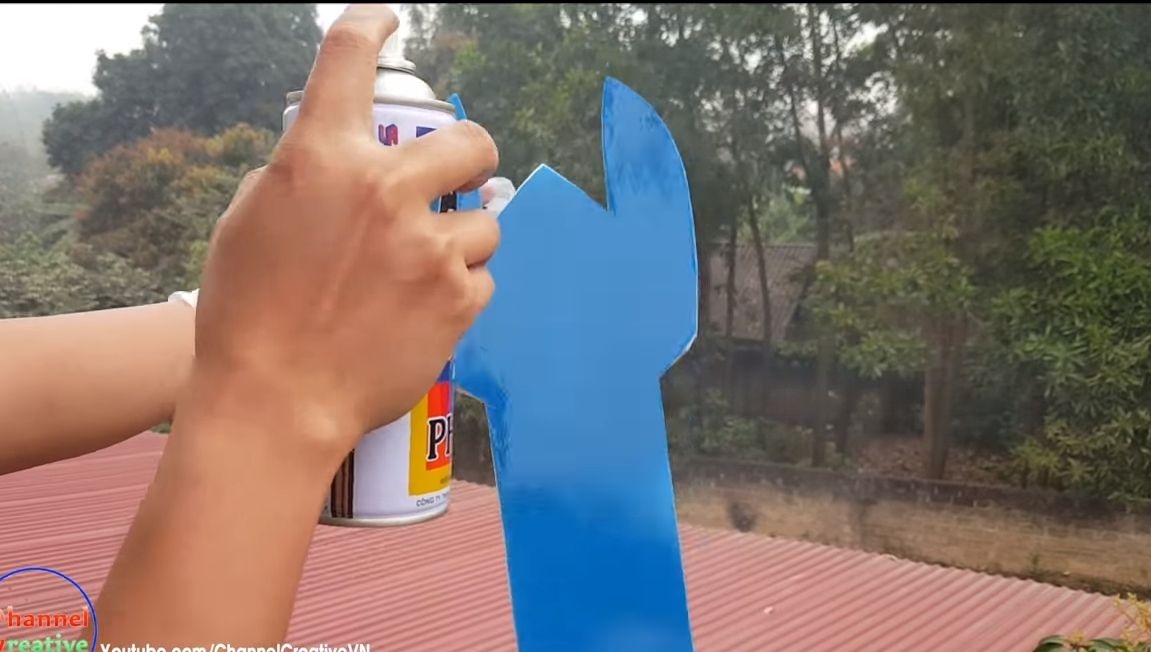
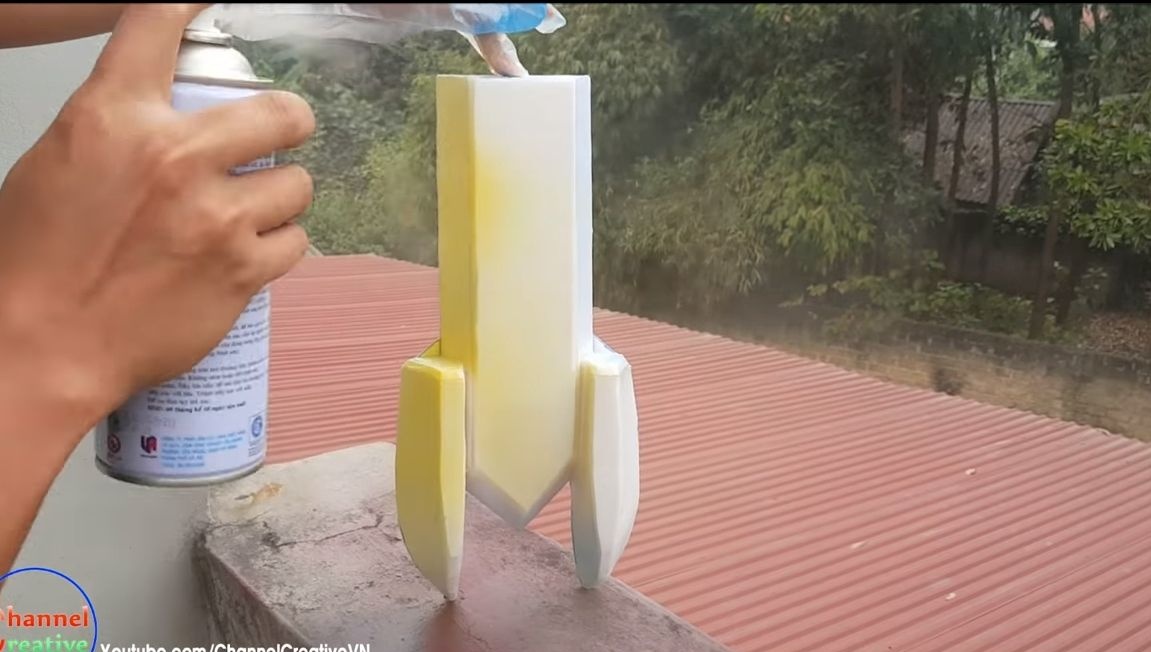
As soon as you assemble the case, paint it well on all sides. When using the spray can, at least two coats of paint must be applied. This is done not only for beauty, but also so that the wood does not absorb moisture. After painting, it is also recommended to apply several layers of varnish on top for added protection.
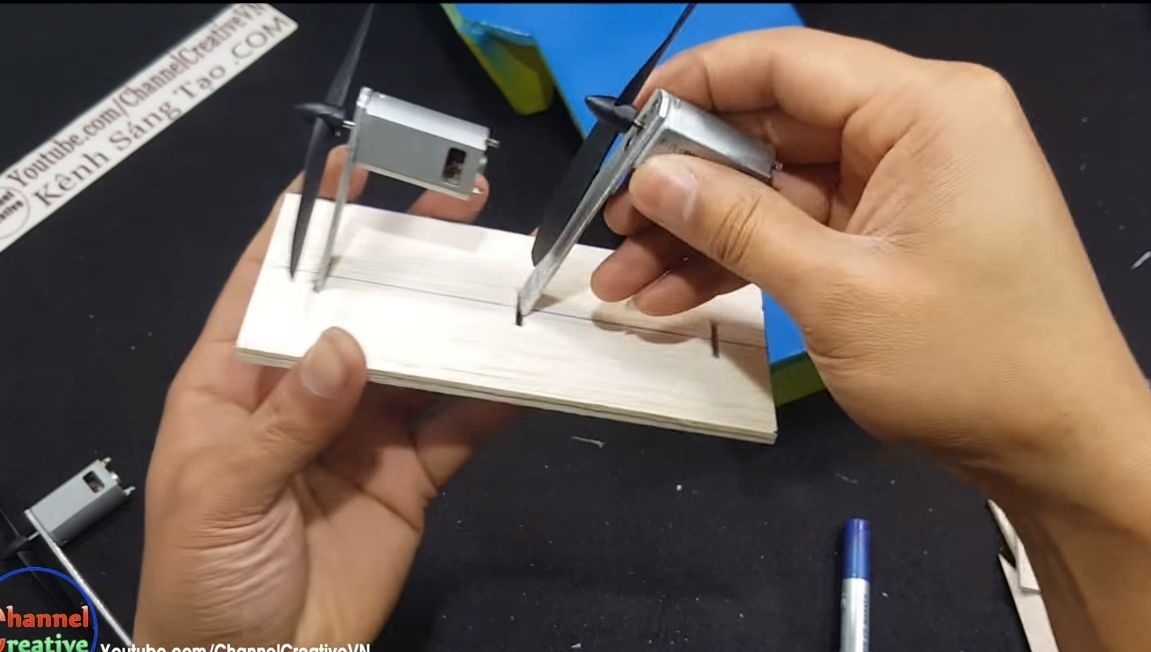
Step Two We make brackets for engines
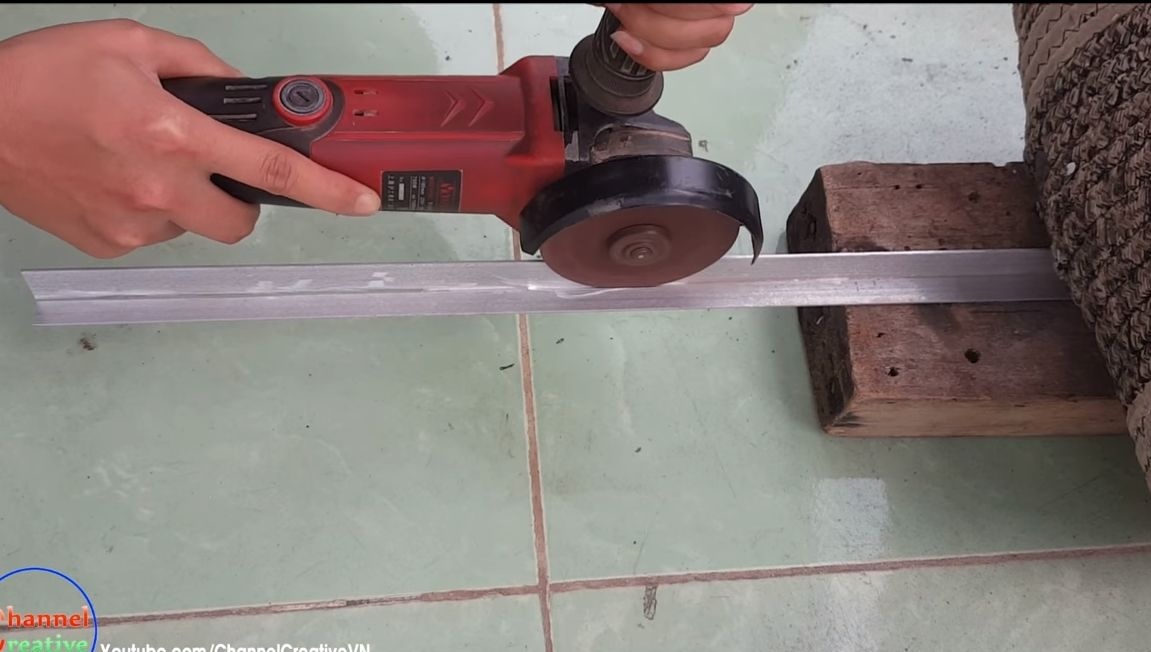
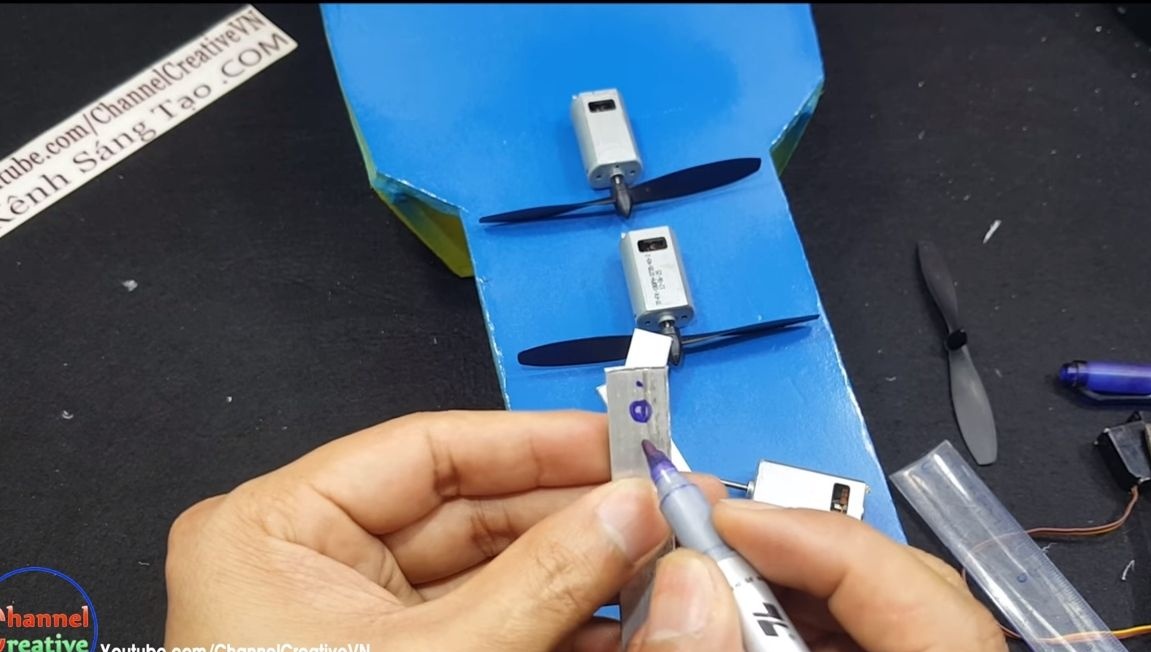
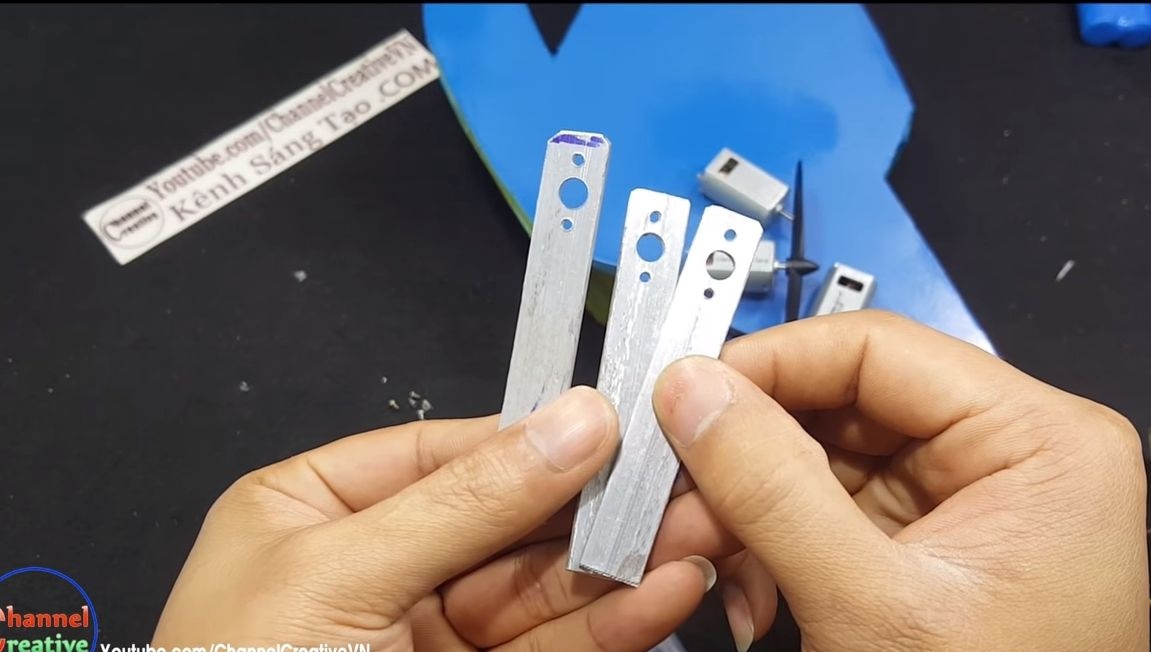
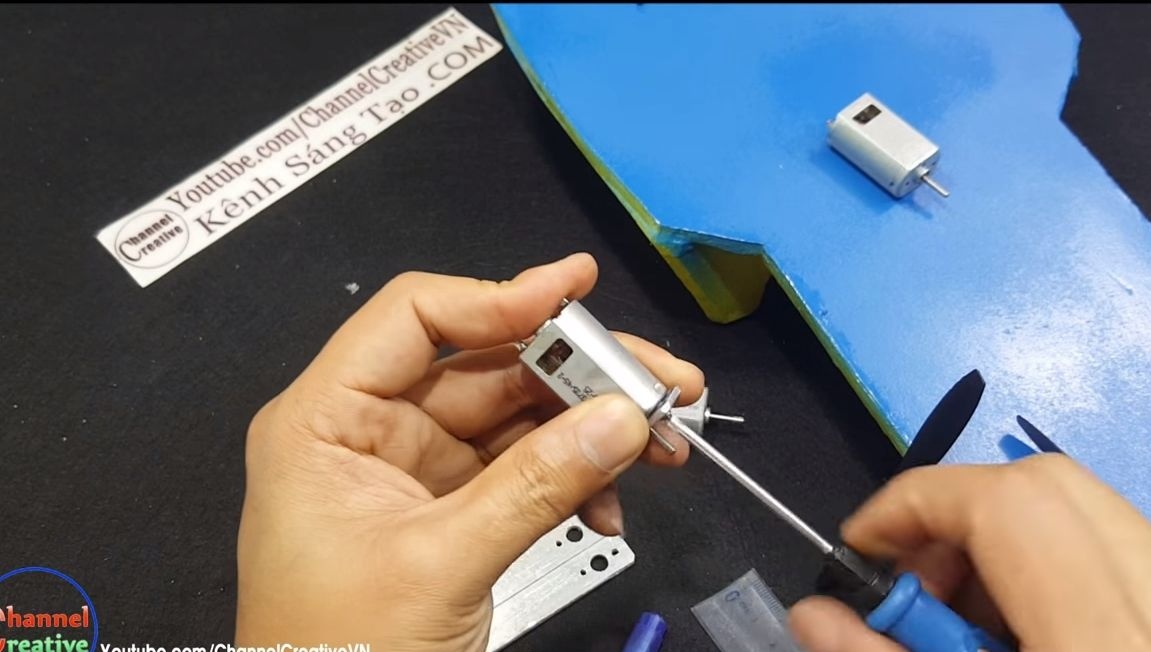
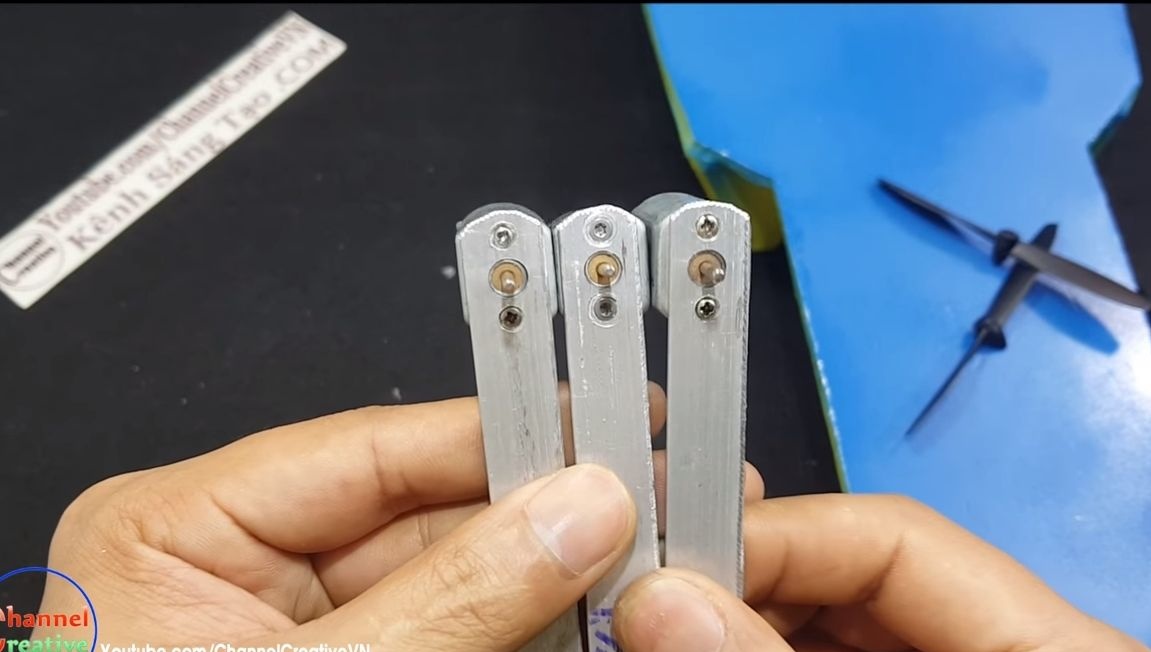
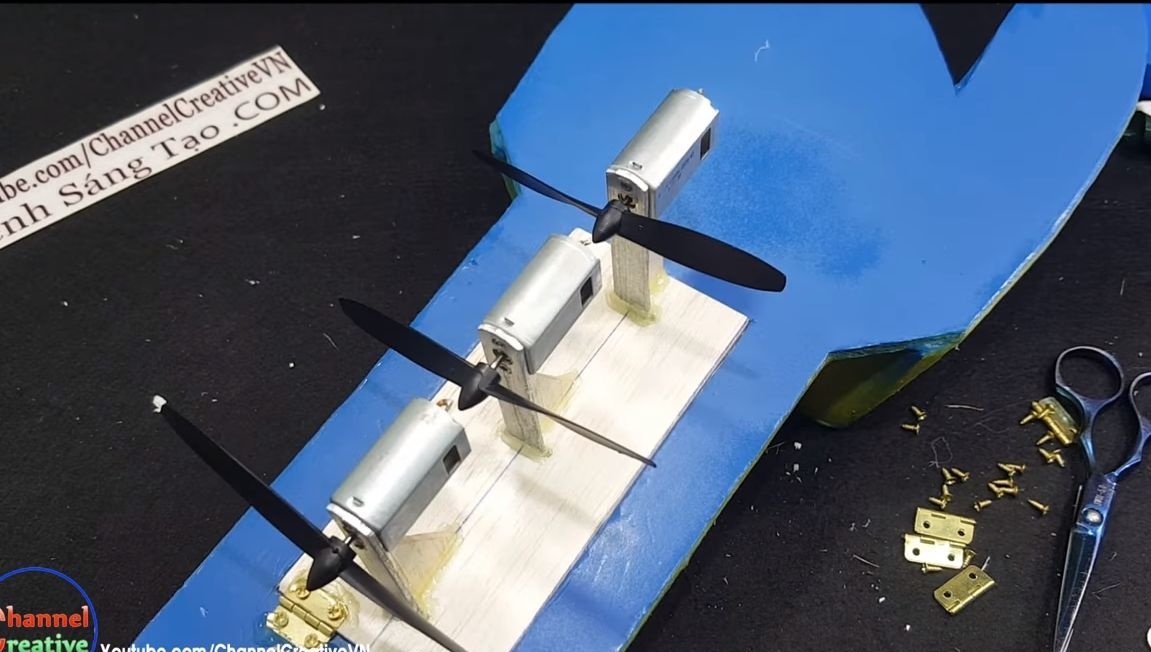
The boat has as many as three engines, for each you need to make an individual bracket. For their manufacture, metal plates are needed.To get them, the author decided to cut the aluminum corner with a grinder. We fit all three plates to the same length, and then we outline and drill mounting holes for the engines. We fasten the engines using screws.
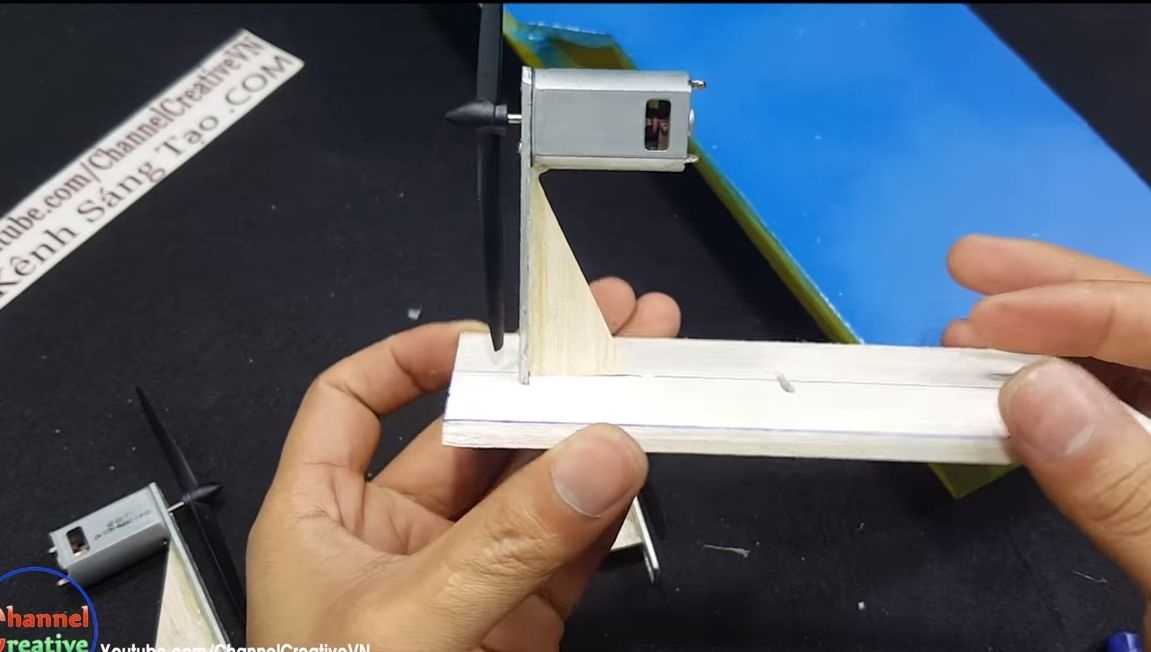
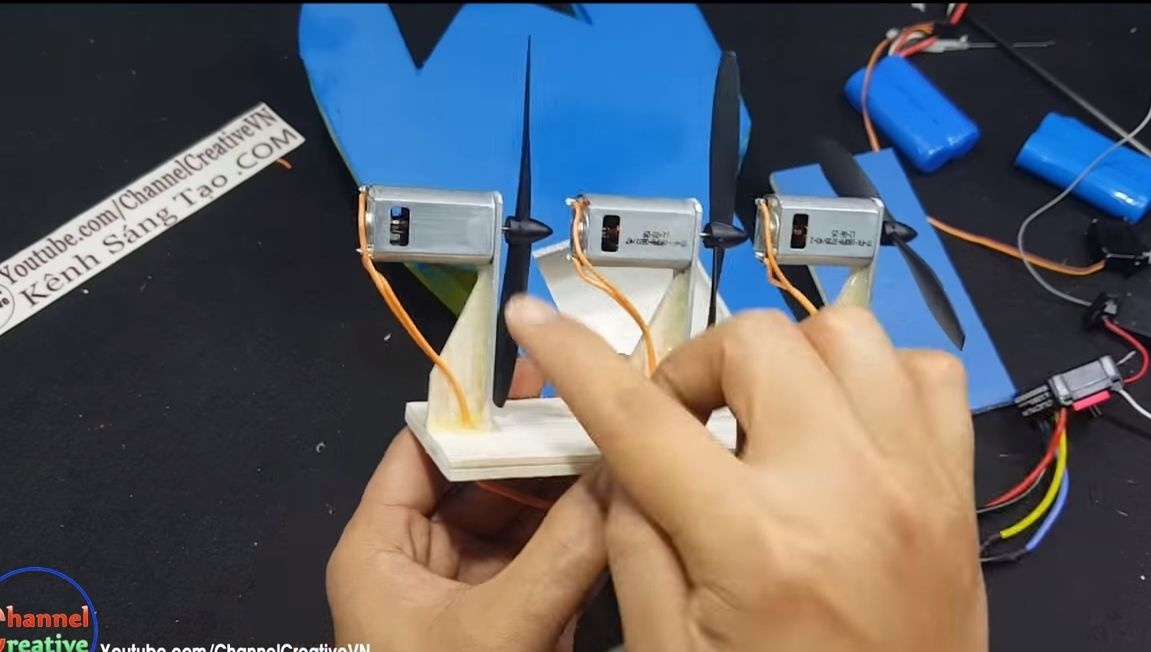
Step Three Install the engines on the platform
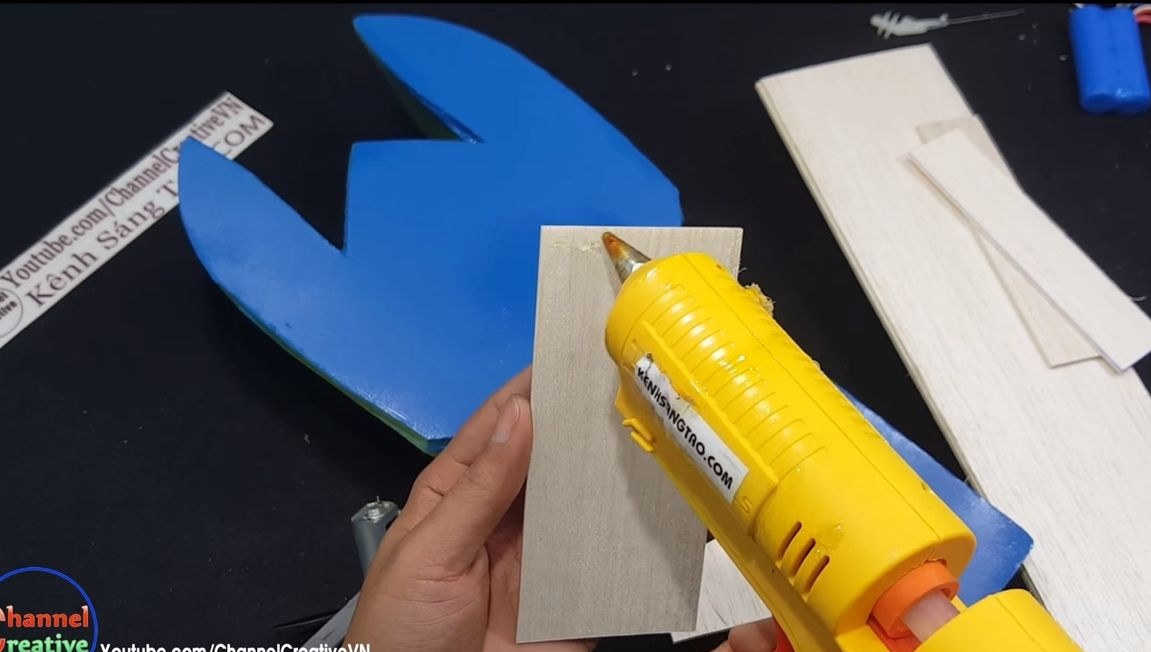
Now all three engines need to be installed on the platform. For the manufacture of the platform you will need two pieces of balsa, glue the stitches together to get the desired stiffness. You can cut and use one of the tricks from the upper part of the deck, where the engines will be installed.
Next, cut the slots under the plates in the manufactured platform. We install the engine mounting plates in the slots, then we fix them in their places using hot glue.
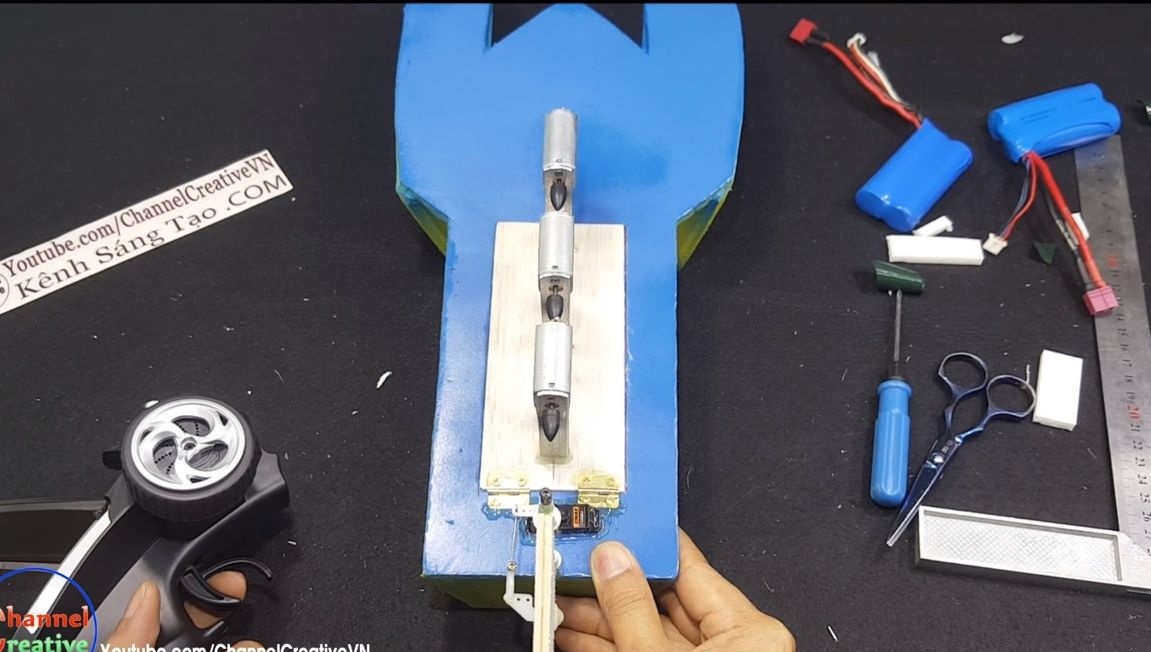
Step Four Install the steering
Cut the wing out of balsa, you will need two parts, then they are glued together. Install the axis in the back of the boat, you can use a plastic rod or something similar, fix it with hot glue.
Next, you need to make loops with which the wing will be held on the axis. These loops are made of wire, just twist them on some suitable rod with pliers.
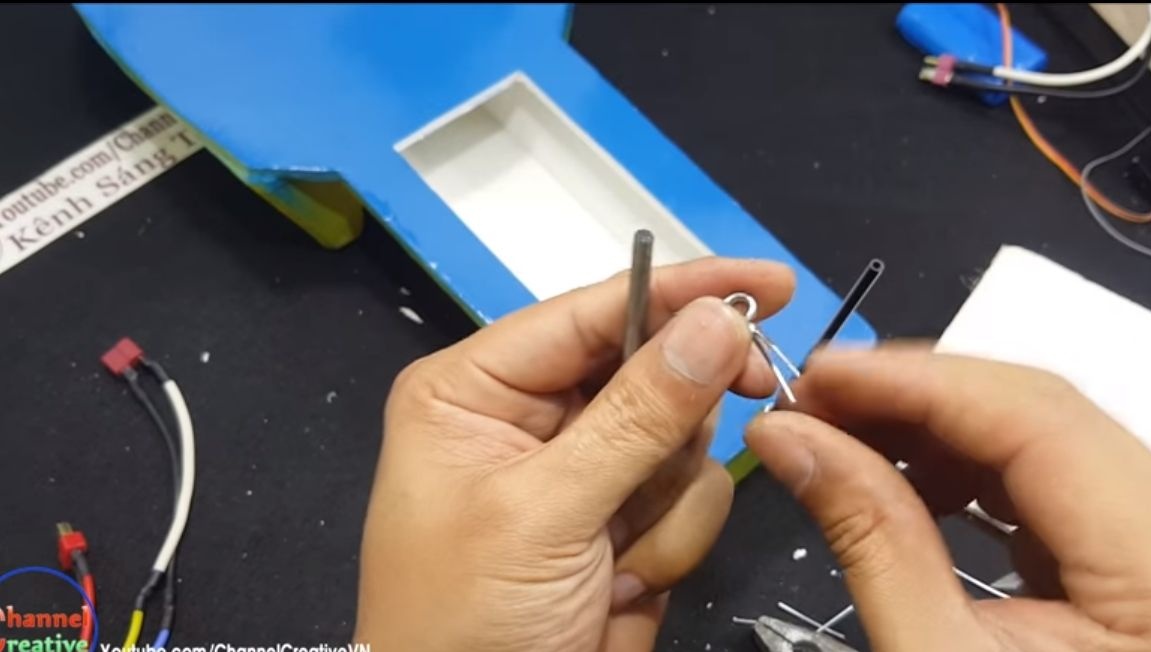
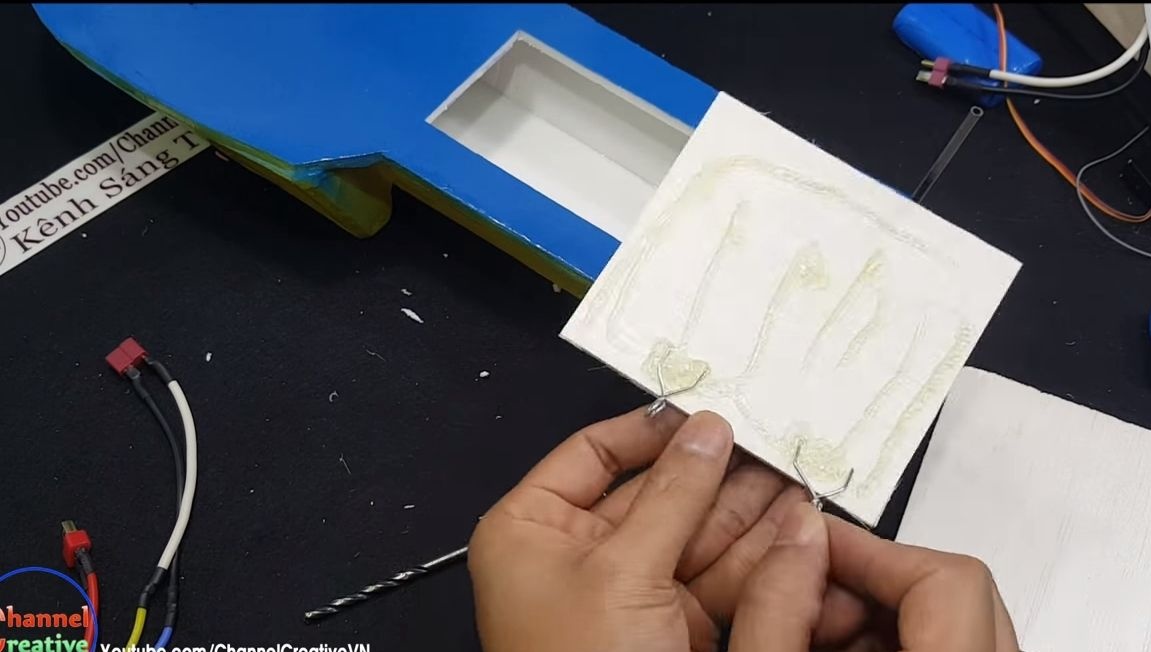
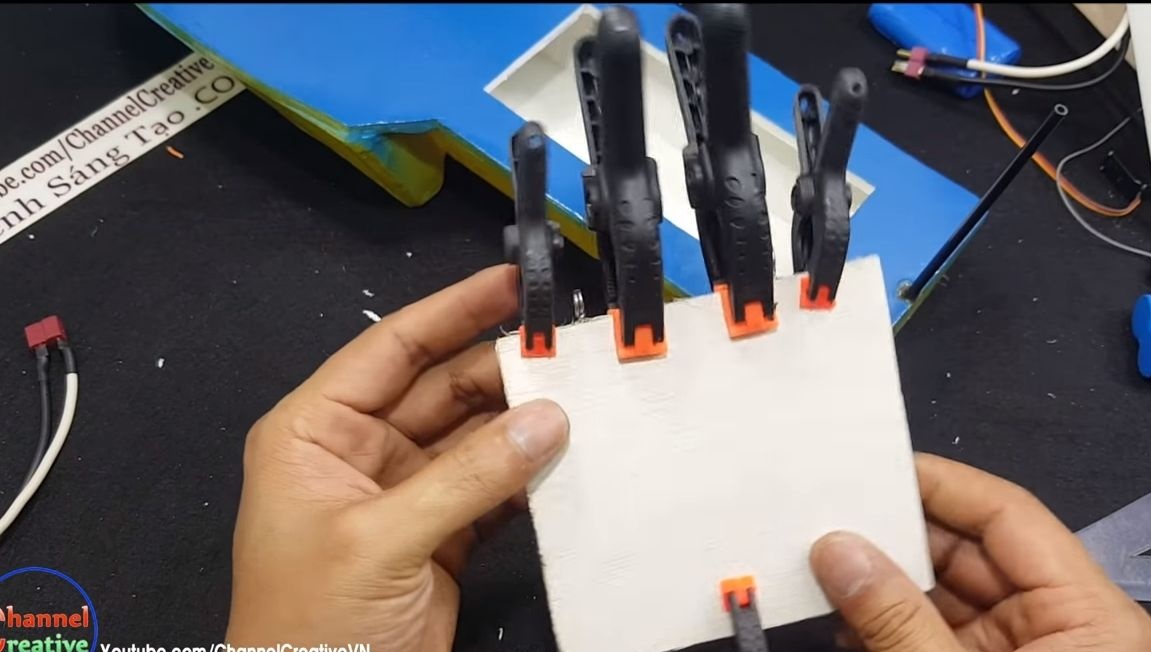
Next, glue two halves of the wing using hot glue. We install fixing loops between the halves. Now the steering wheel can be mounted on the axis! To raise the steering wheel to the desired height, we use plastic tubes, as well as washers. Do not forget to make a stop in the upper part of the rod so that the steering wheel does not fly off during the tests.
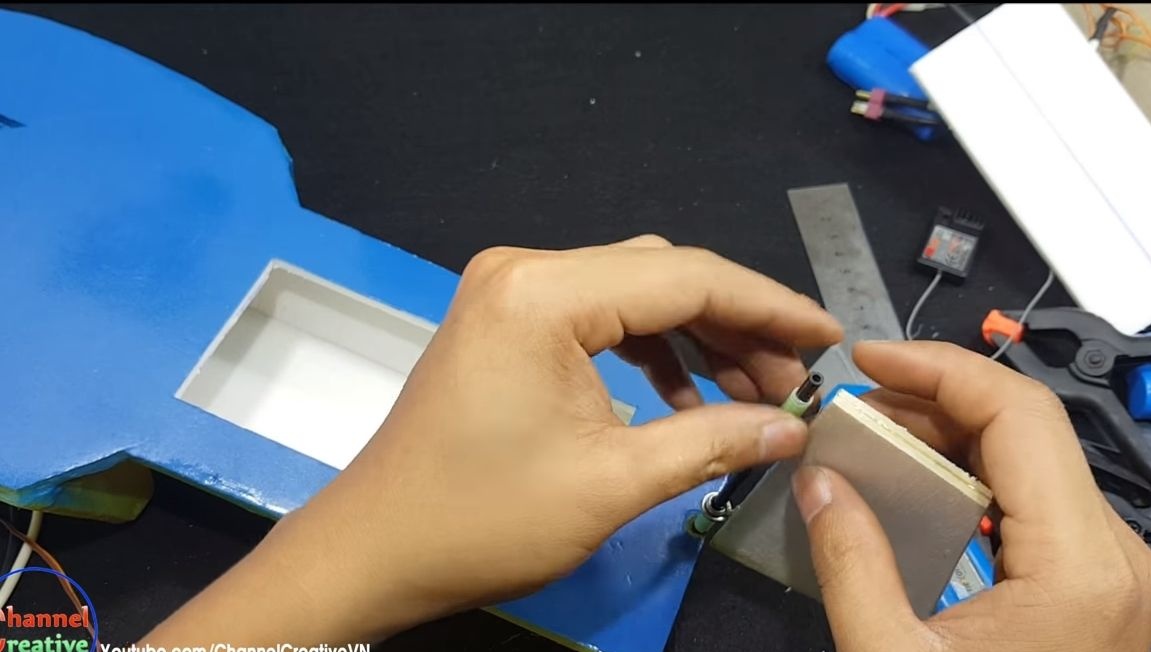
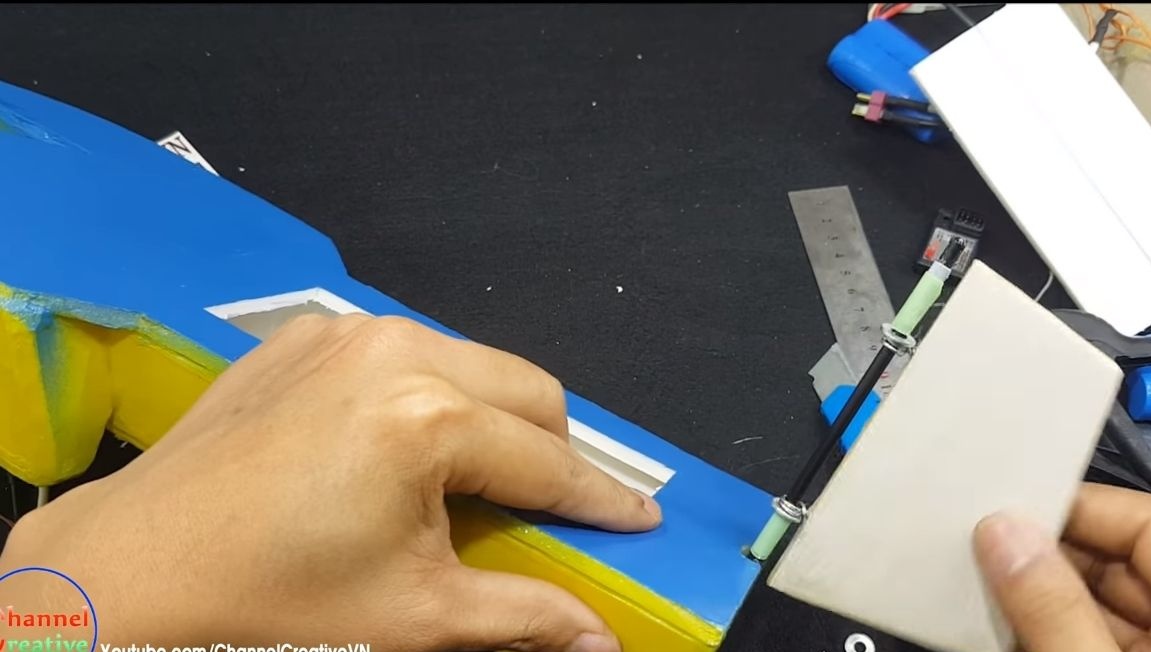
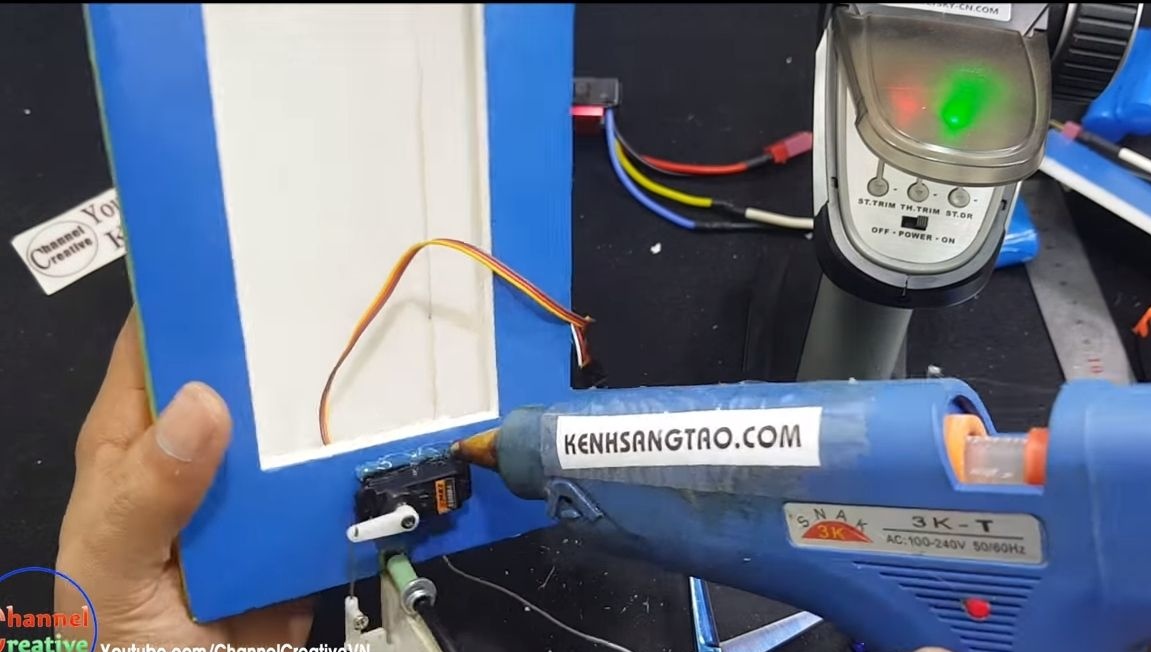
Step Five Install the servomotor
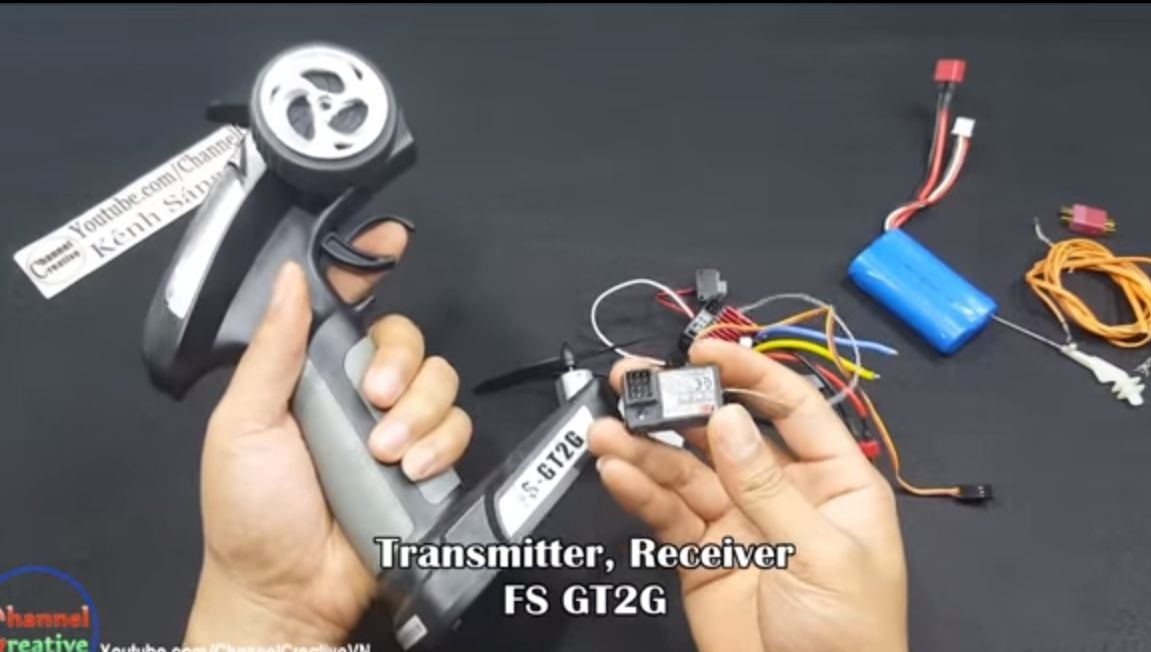
Install the servomotor opposite the steering wheel, it will control it. We connect the engine to the steering wheel through a metal axis. We make holes in the right places and use hot glue. Glue the servo securely in its place so that it does not come off.
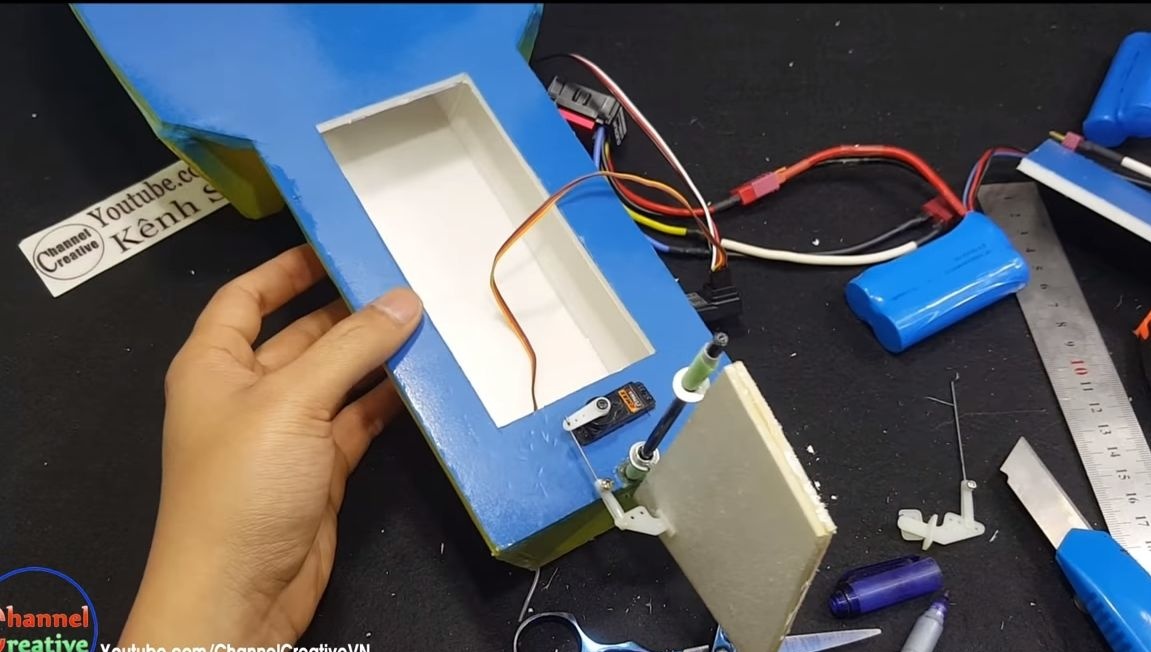
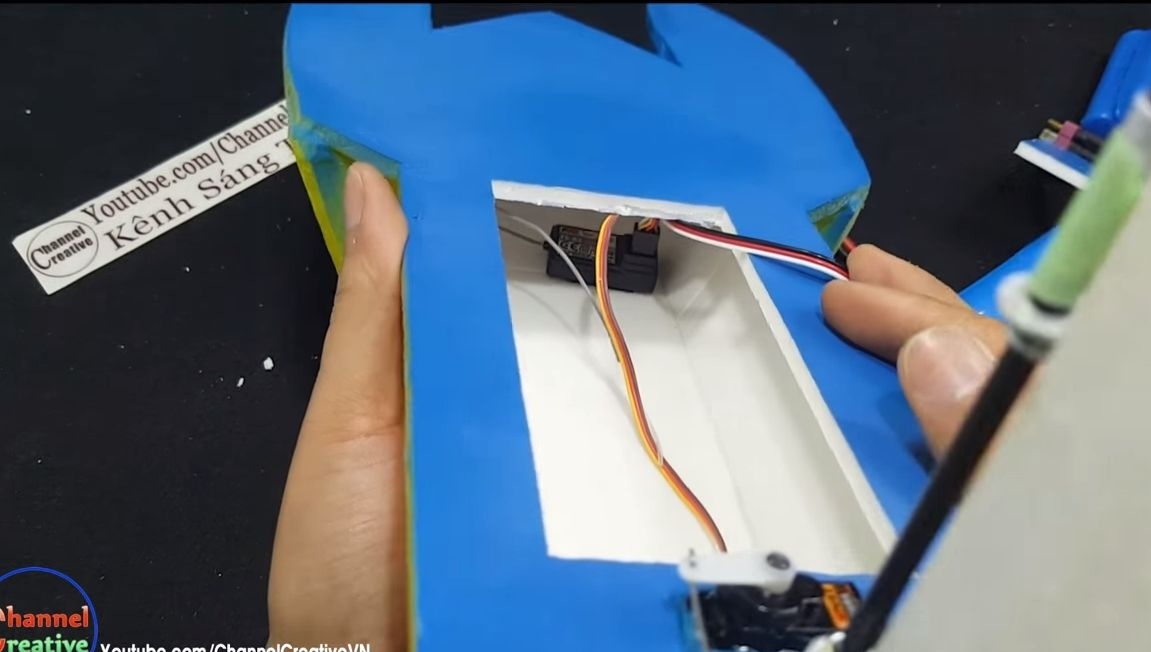
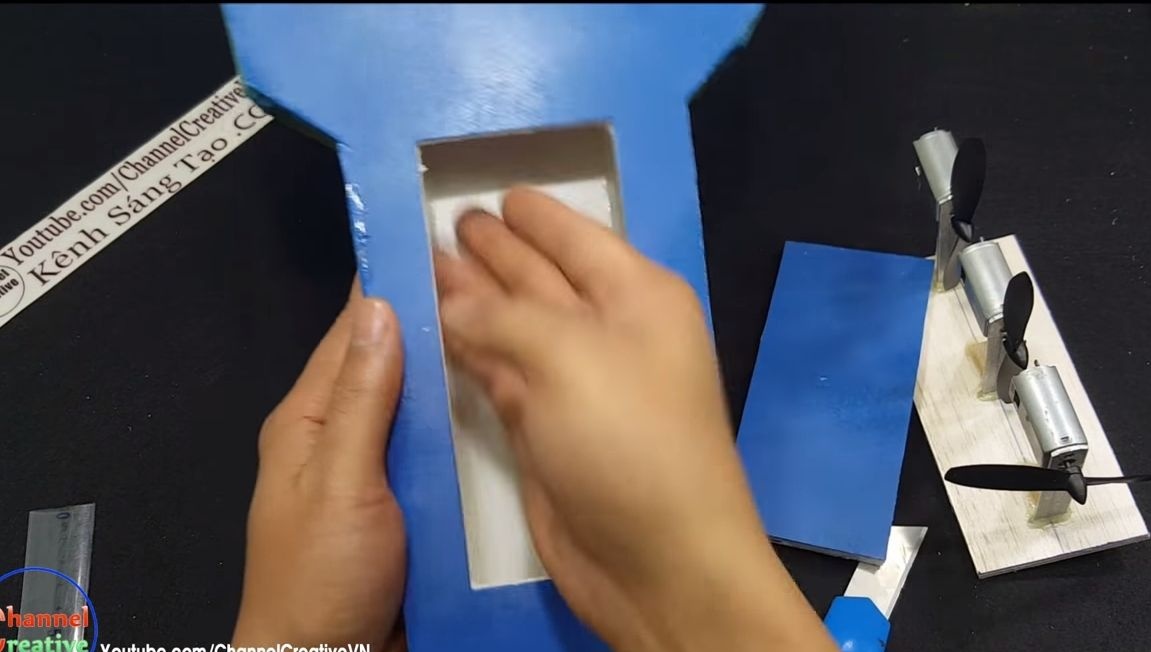
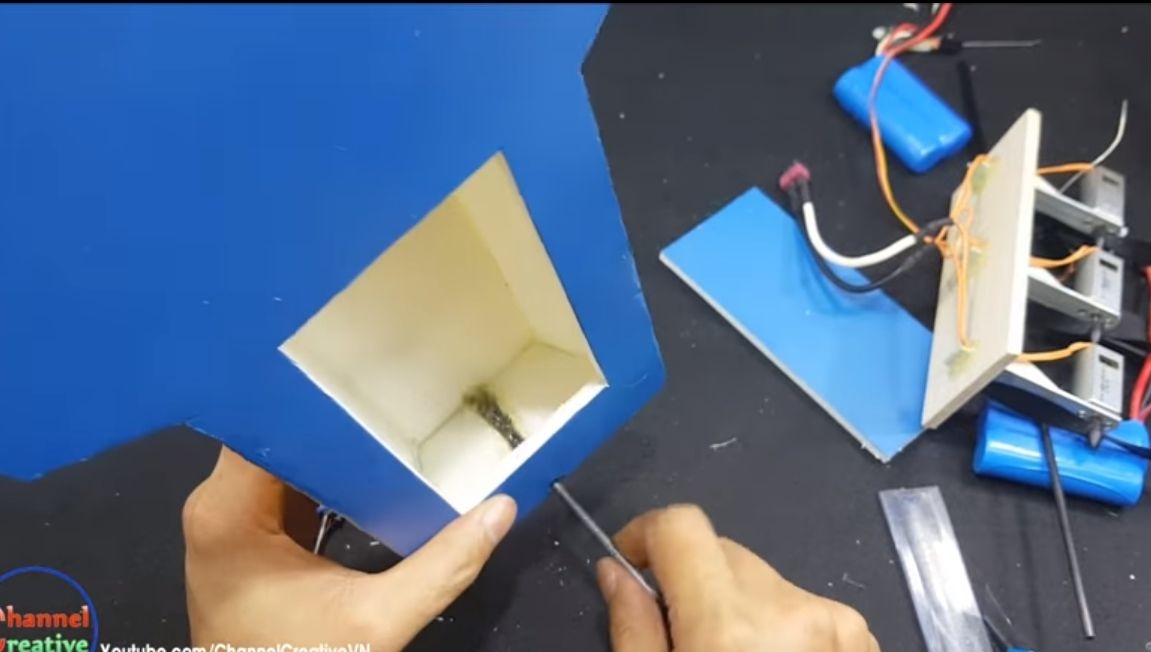
Step Six Setting the filling
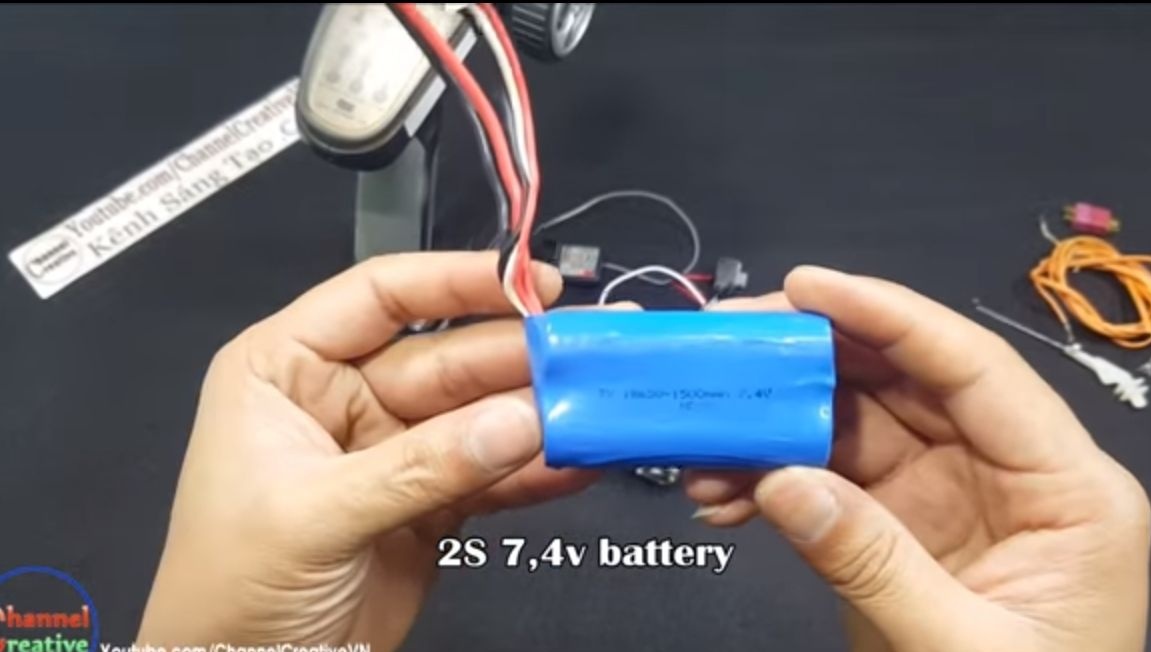
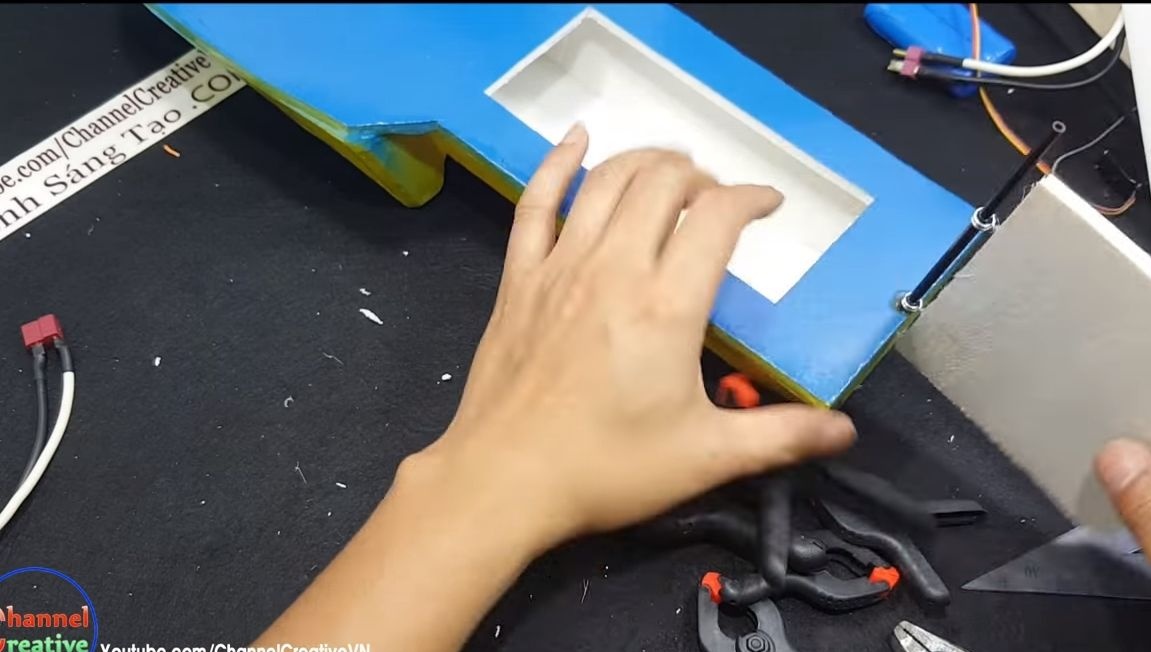
All electronics, including the battery, is installed inside the vessel. Due to this, it is reliably protected from water. However, if the hatch does not close tightly, then water can still seep inside in the event of an accident, this problem should be considered. You can install a rubber band on the hatch or something similar.
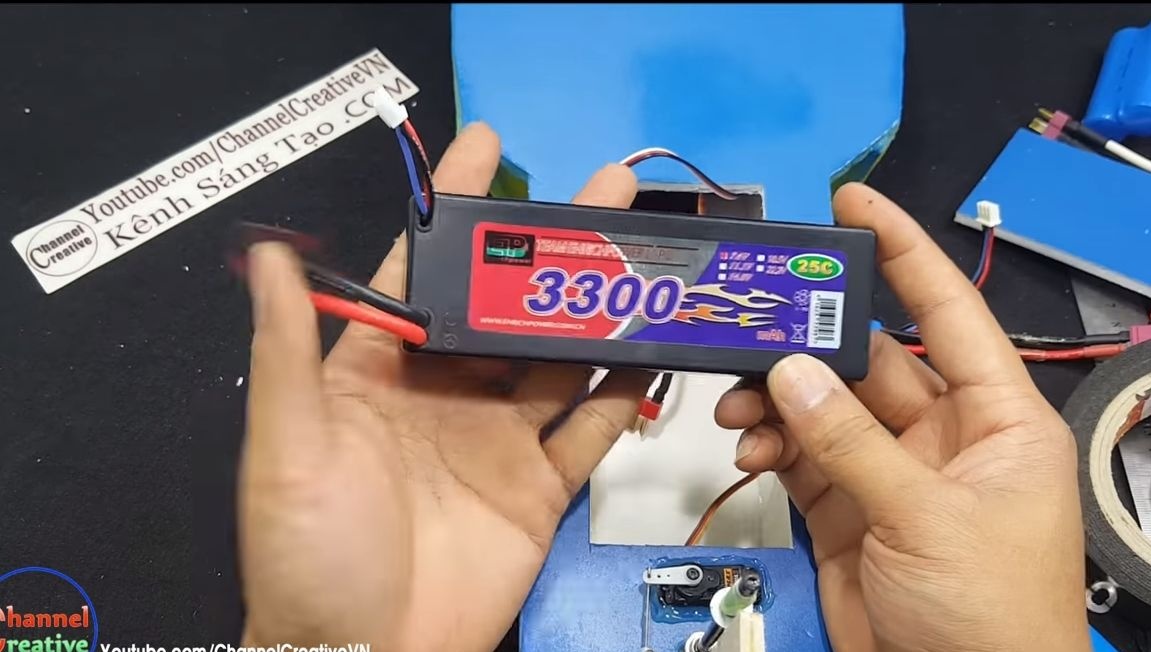
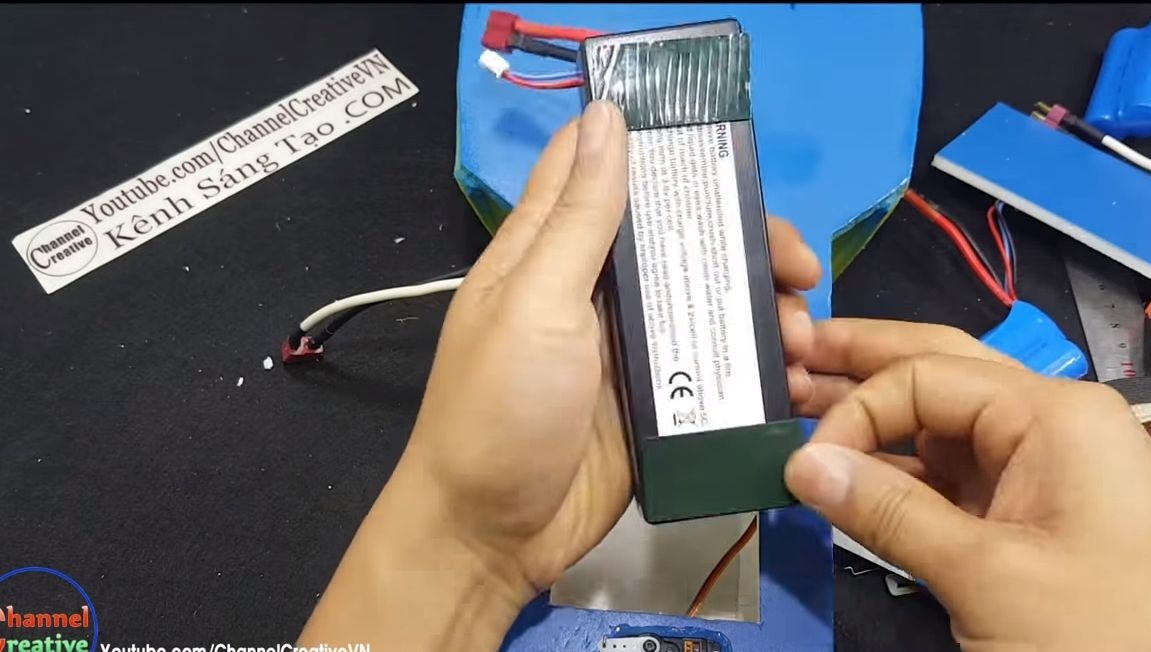
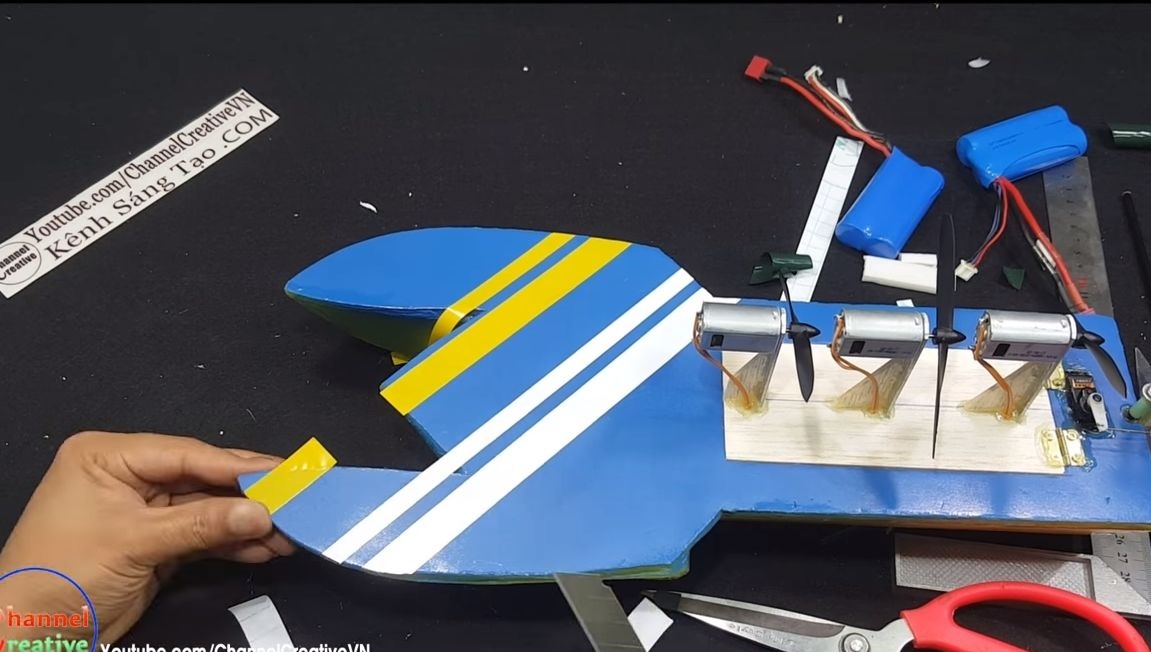
The author decided to use a battery with a capacity of 3300 mAh, because three engines consume a lot of energy.
We glue all the parts to the body using double-sided adhesive tape. In extreme cases, you can use the same hot glue.
Seventh step. Finishing touches
After all the electronics are connected, try turning on the engines. Make sure that the motors do not overheat during continuous operation. You can install a platform with engines, it also works as a hatch.
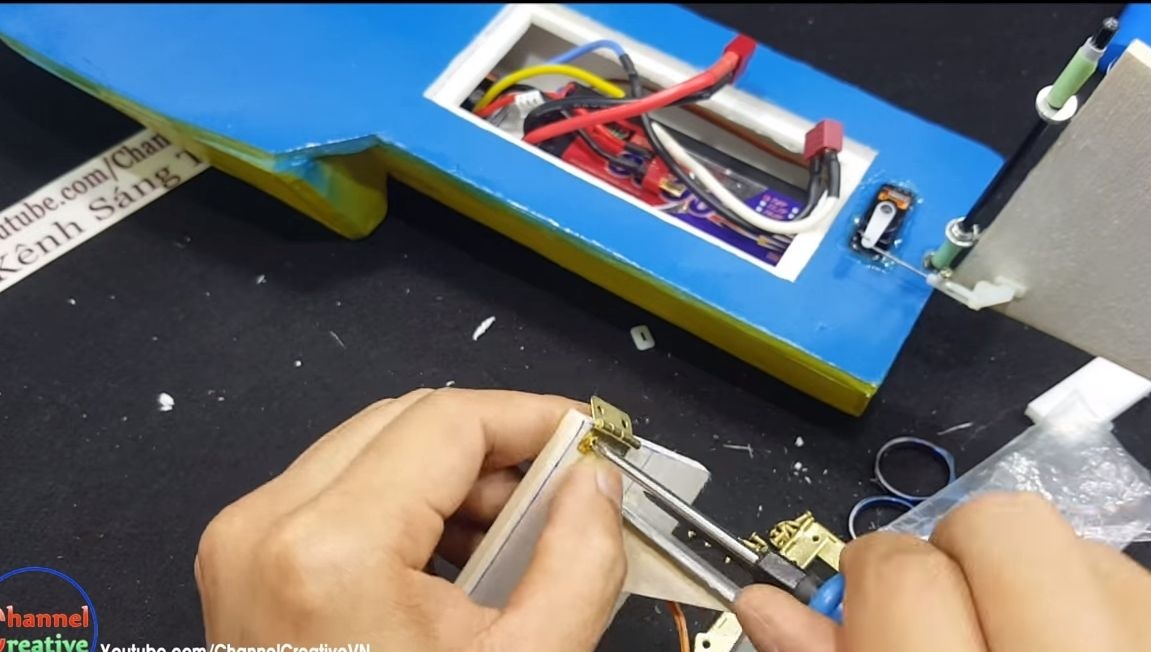
Due to the fact that a battery is installed inside the boat, to which you need to have access to charge, simply gluing the hatch will fail. Then the author decided to use small door hinges, thanks to which the hatch can now be opened. But remember that it must close tightly, without gaps, otherwise water will enter and accumulate inside, which will damage the electronics.
It is best to glue the hatch, and bring out the socket for charging the batteries outside. Of course, it will also need to be protected from water. But even if water gets here, the electronics will not be damaged.
The finishing touch is the sticker in the form of stripes, with the help of them the author additionally decorates the vessel.
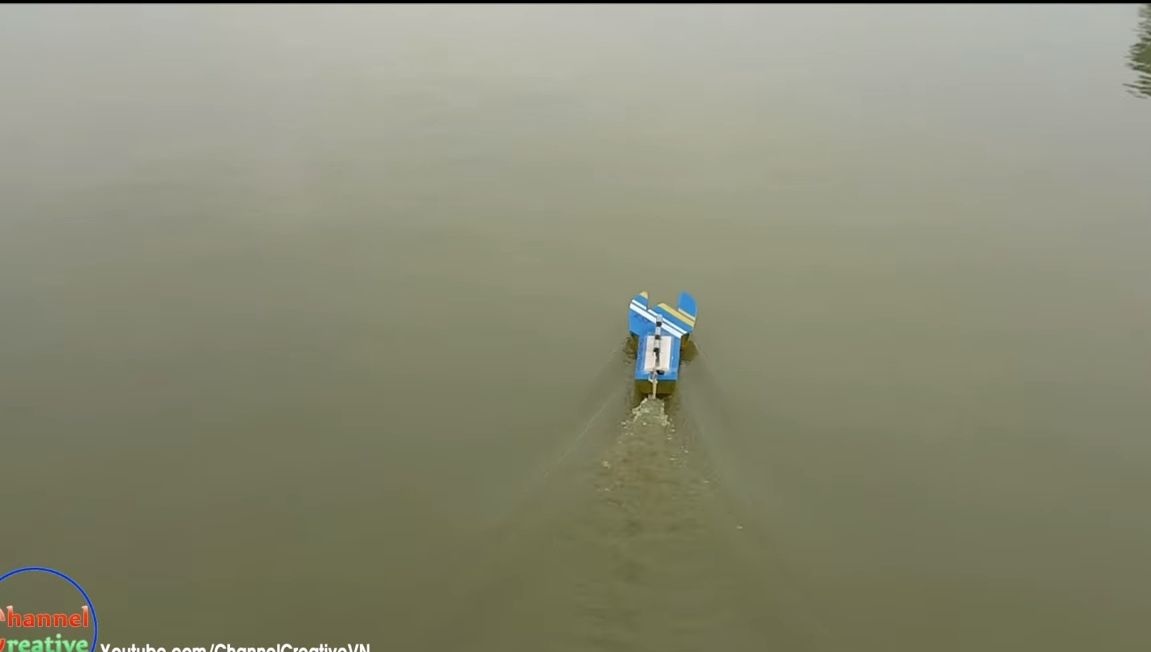
Step Eight. Testing the air boat!
That's all, our miracle of technology is ready for testing. For testing, go to the lake. The video shows that the boat turned out pretty nimble, besides maneuverable. A good design is that the aerial boat is not afraid of vegetation and other similar obstacles, because it has air draft!
As for the shortcomings, they can be attributed to the fact that the boat can tip over in strong waves or in the wind.In principle, even after that it will continue to work and will allow us to swim to the shore, as the author has shown us. But water negatively affects the engine, especially if it is brush, water leads to faster wear. As for brushless motors, bearings can suffer, but if the motor is well lubricated, water is not such a strong threat, if it is not salty, of course. That's all, I hope, homemade you liked it. Good luck and take care!