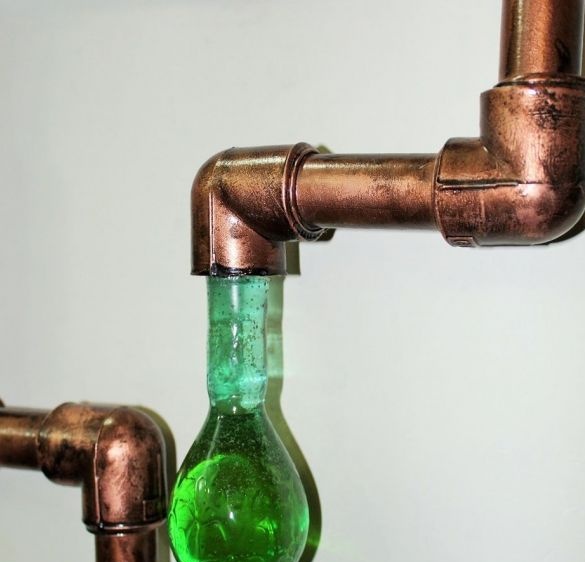
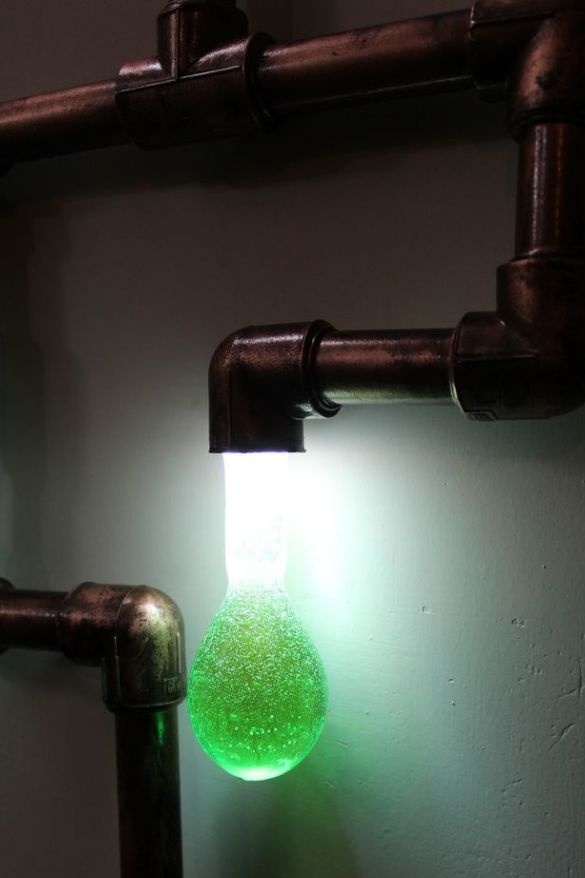
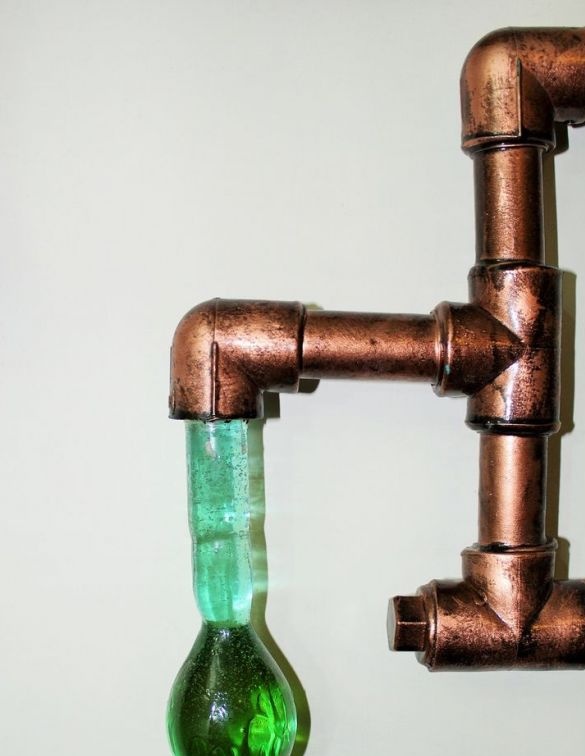
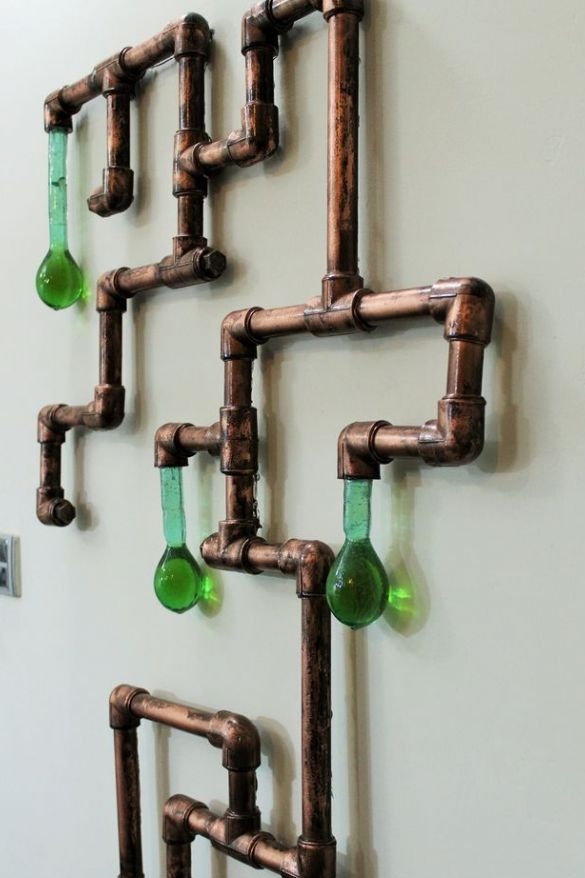
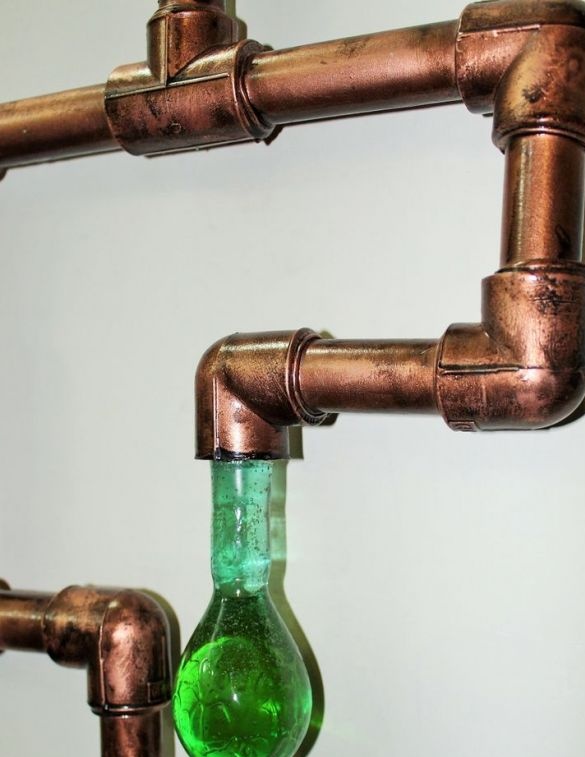
In this article, we will consider the manufacture of a lamp in the style of steampunk. Of course, the lamp is rather decorative, but it does not look bad. For the manufacture of the lamp, the Master used the following
Tools and materials:
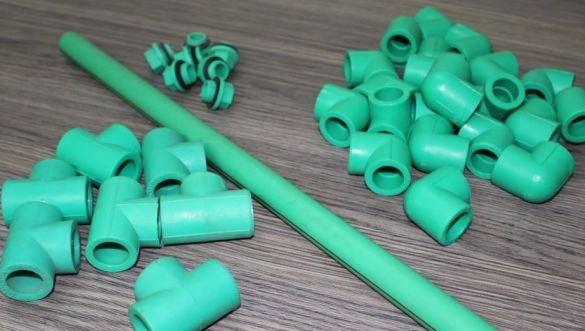
- PVC pipe;
-PVC fittings;
-PVC primer;
- PVC cement;
- LEDs 12 V;
-Varnish;
-Copper powder;
-Black paint;
-Brown paint;
- brush;
-Retail;
-Solvent;
-Air balloons;
- Epoxy resin (transparent);
- Blue pigment;
-Knife;
-Nippers;
-File;
-Sandpaper;
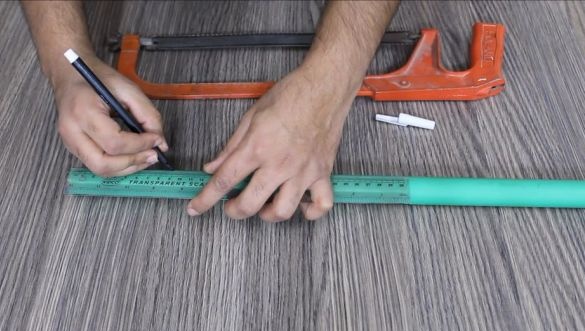
-Hacksaw;
-Rule;
-Marker;
-The wire;
-Soldering iron;
-Scotch;
-Plastic cup;
-Rope;
-Scissors;
Step One: Build
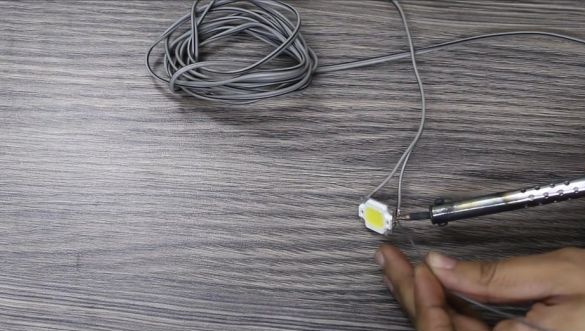
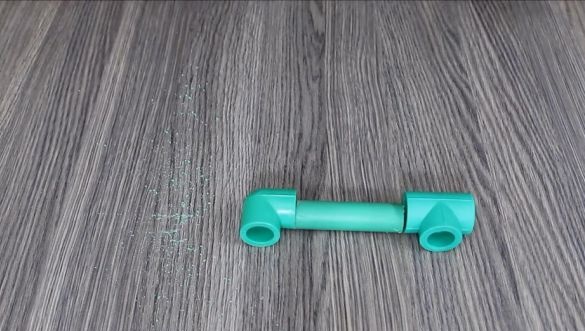
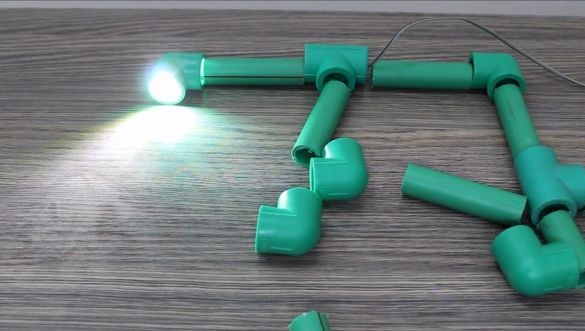
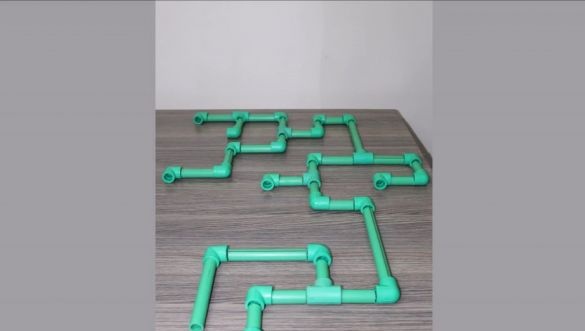
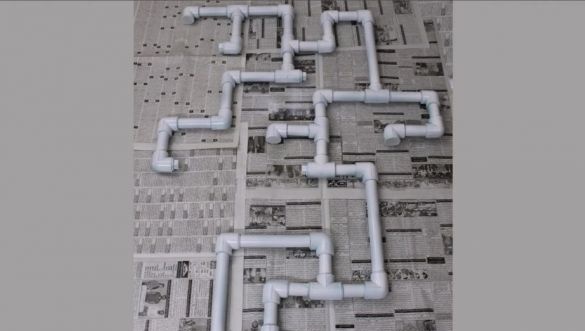
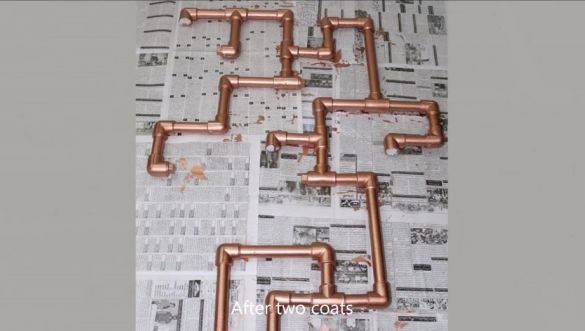
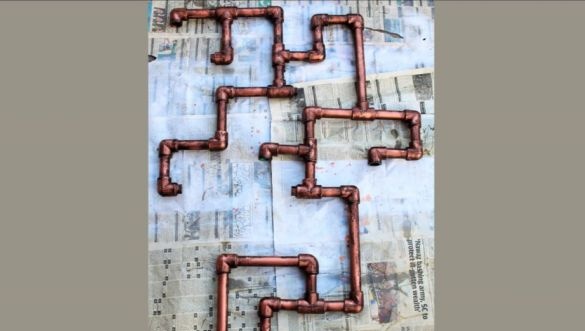
Using fittings assembles a lamp. When assembling, it draws the wire to the installation sites of the LEDs. Fixes PVC with cement. Solder and fix LEDs.
Step Two: Painting
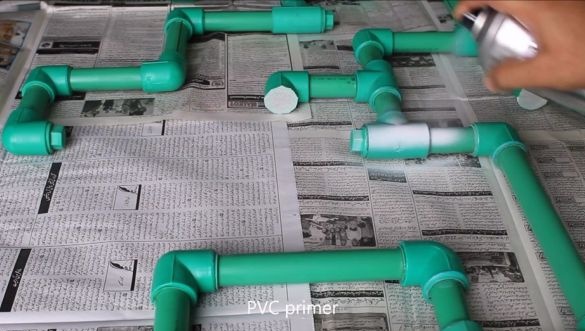
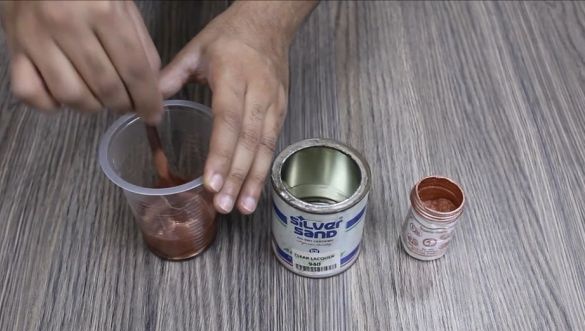
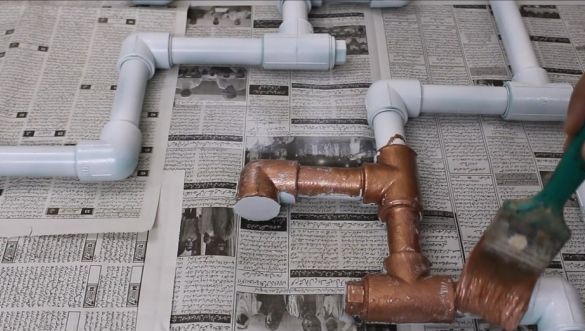
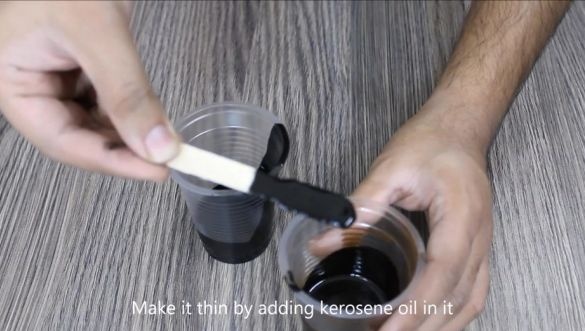
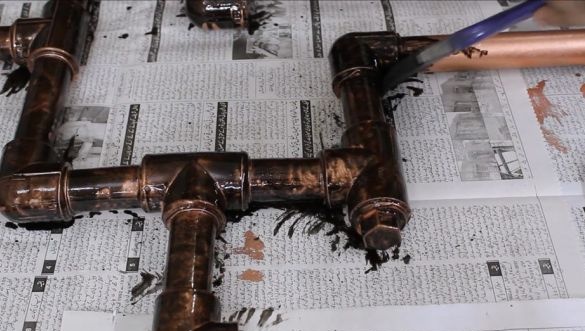
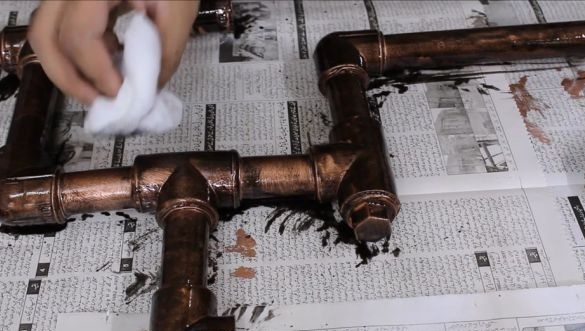
Seals the LEDs with tape. Applies a primer to pipes. After drying, it covers the pipes with brown paint. Then dilutes the black paint with a solvent. It is applied over brown and wiped with a rag.
Step Three: Diffuser
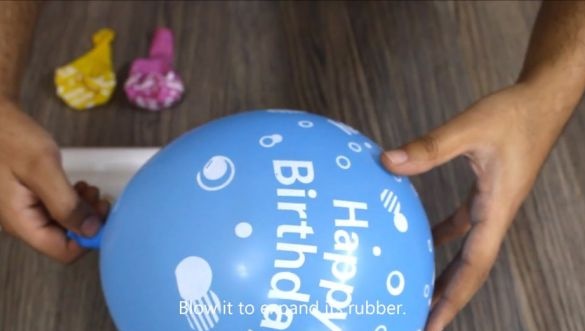
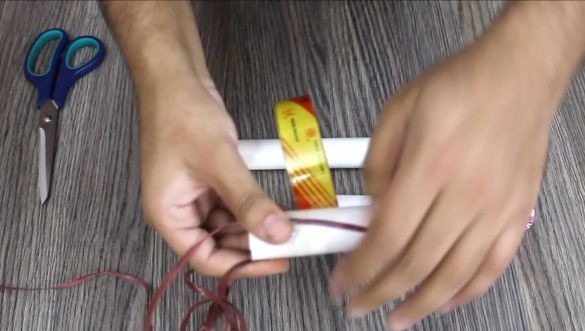
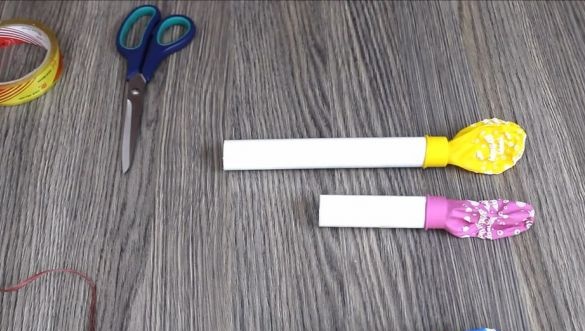
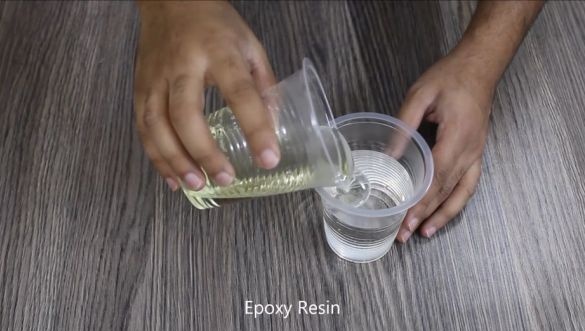
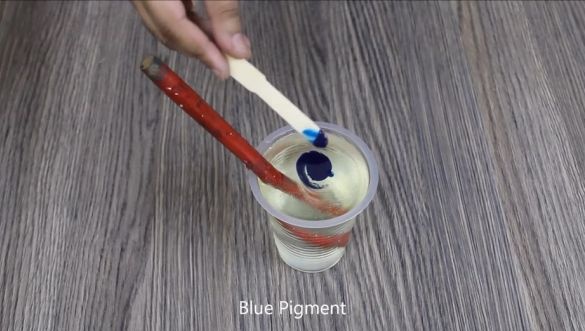
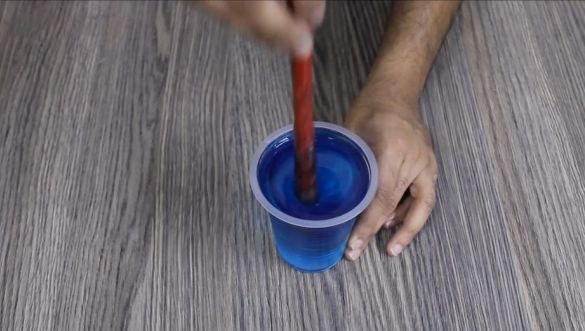
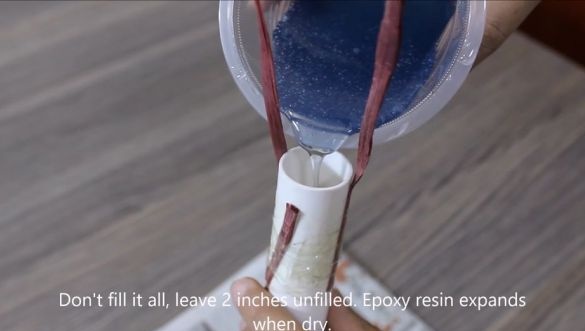
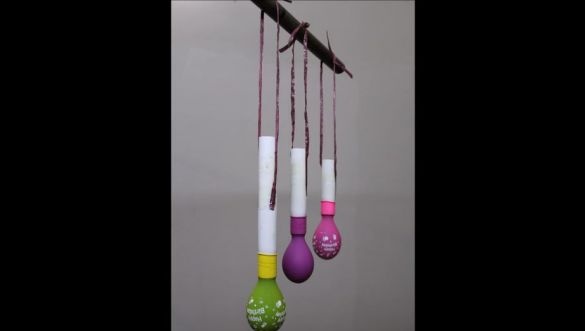
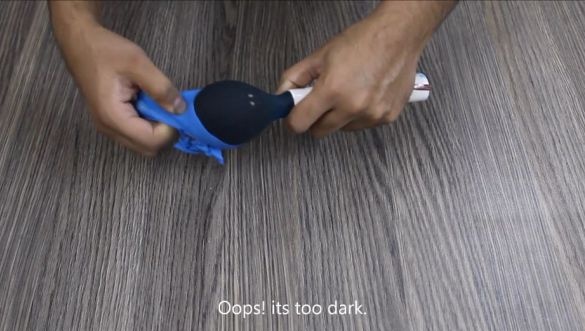
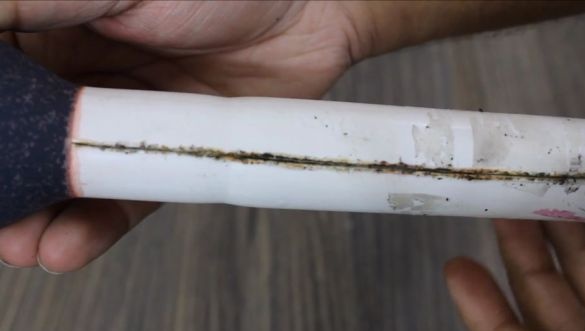
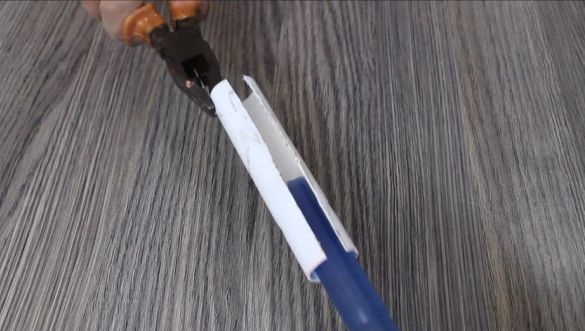
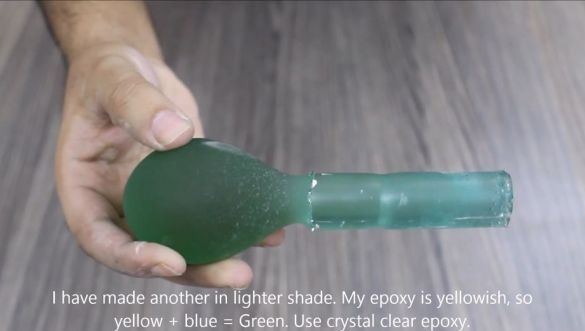
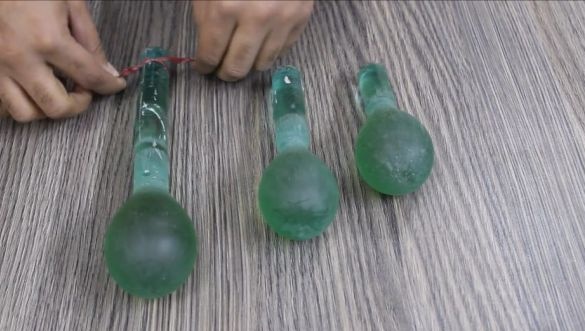
The master diffuser made of epoxy. Epoxy should be taken transparent, from this make crafts. Cuts off a PVC pipe. At the end of the pipe puts on a ball. Fixes it with tape. Fastens the rope to the pipe. Knead epoxy. Fills it inside the pipe. Suspends the pipe and leaves to dry. Thus makes two more diffuser.
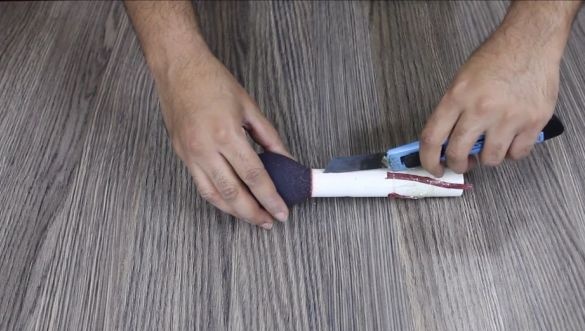
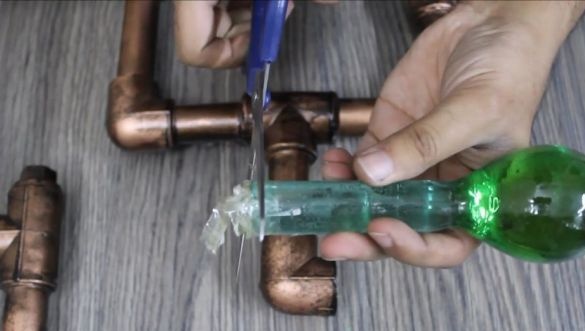
After solidification, epoxy cuts and removes the pipe.
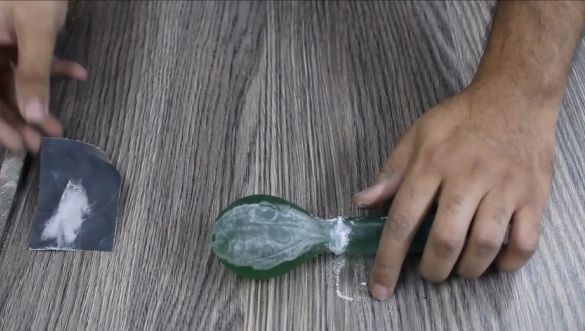
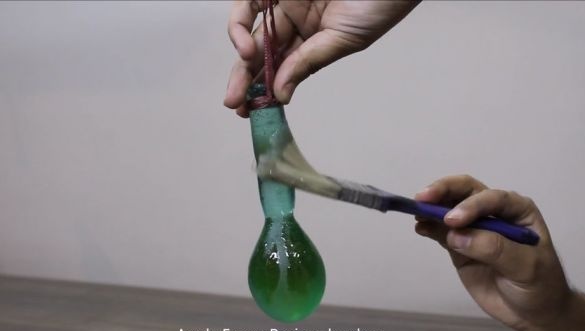
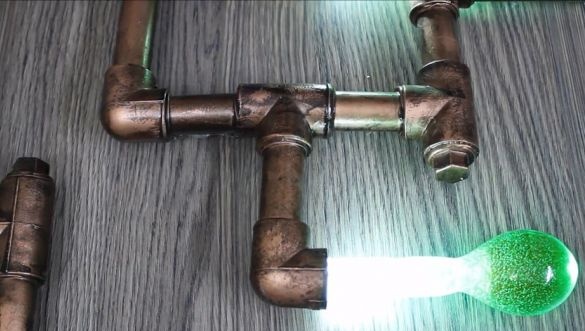
Processes the diffuser with a file and sandpaper. Then, with a brush, a layer of epoxy is applied. After drying, install the diffusers in their intended places.
The steampunk lamp is ready.
The entire process of manufacturing a lamp can be seen in the video.

