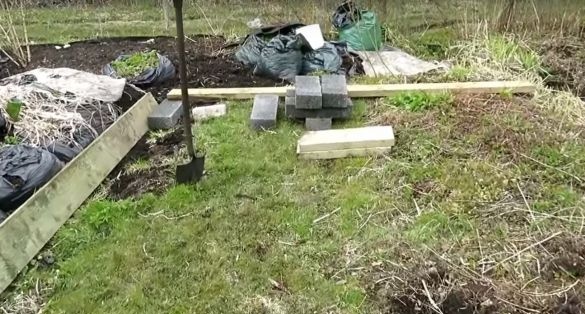
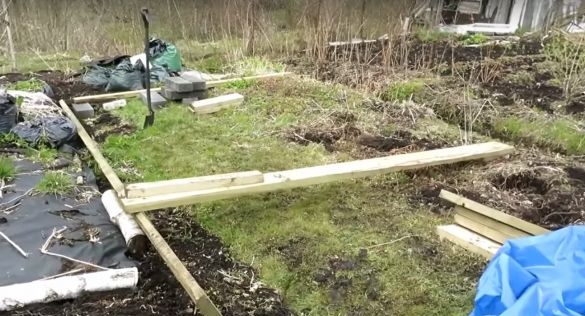
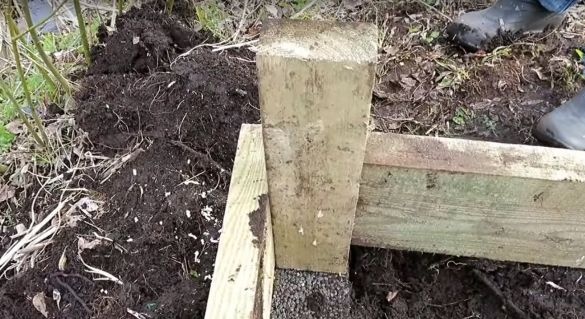
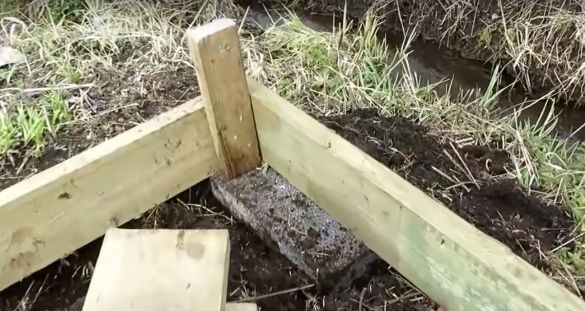
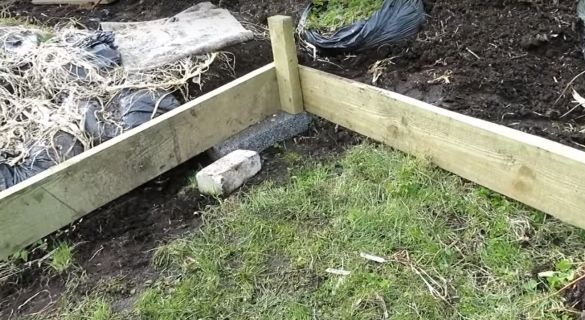
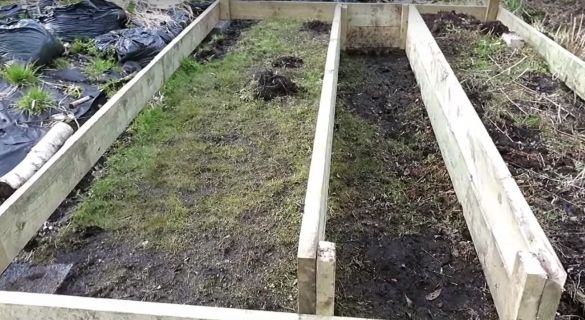
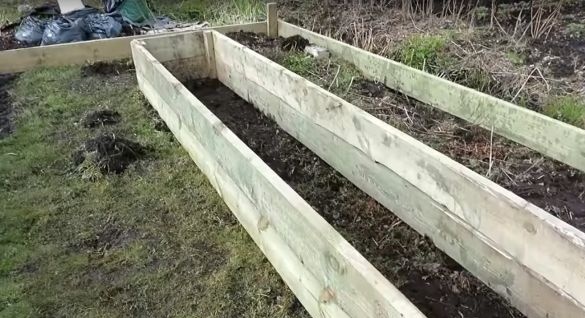
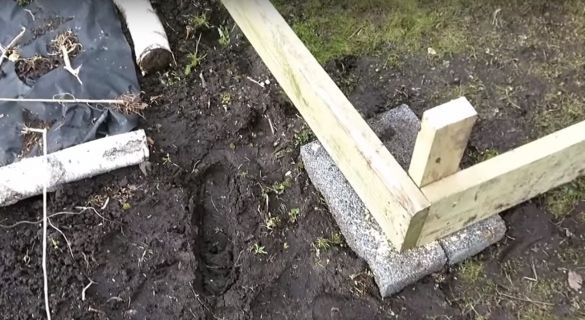
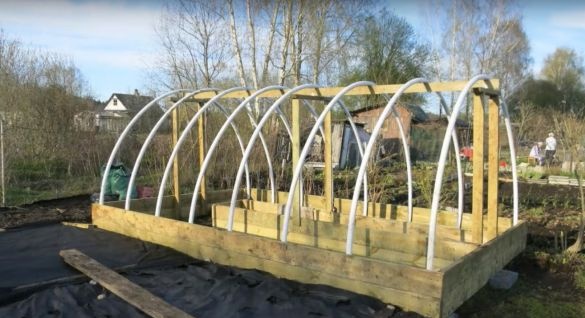
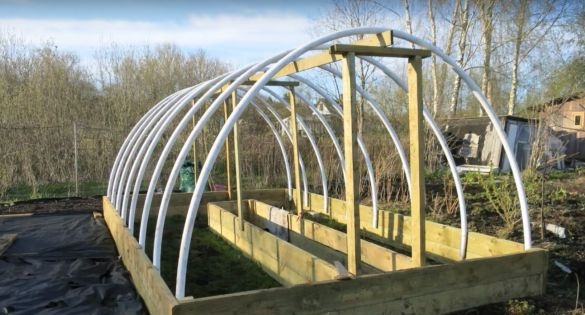
And so at the first stage, the author, using blocks, bricks and boards, will level the level and make the base of the greenhouse.
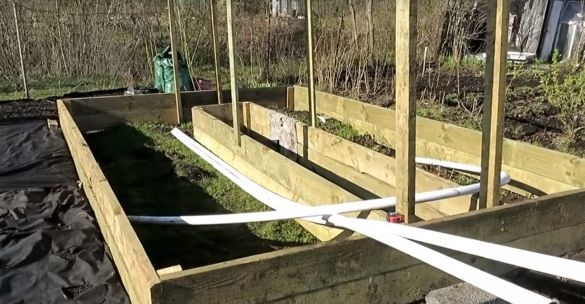
After the first tier of the base, he proceeded to the second tier, first fencing off a place in the future greenhouse for passage.
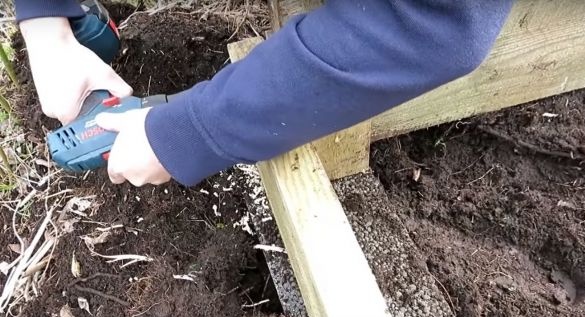
In the place where I decided to put the greenhouse, the soil is not very good, and for this reason the author makes the frame high, and the beds will be bulk. Also installed blocks at the corners of the base.
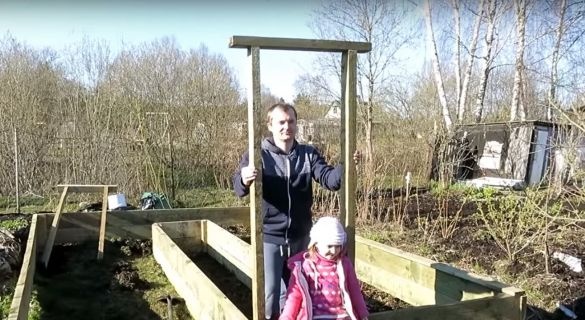
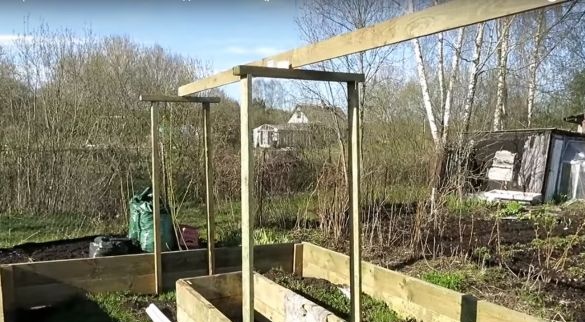
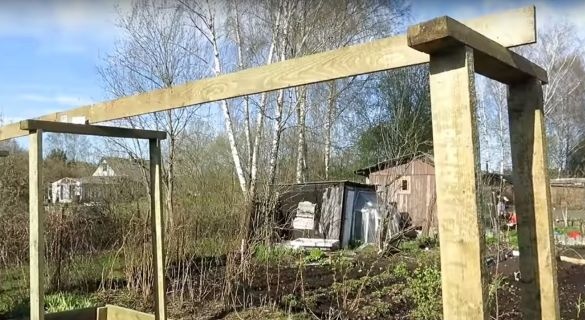
The next step was three racks and installed them on the frame, at an equal distance from each other.
On these racks he attached a board the so-called skate.
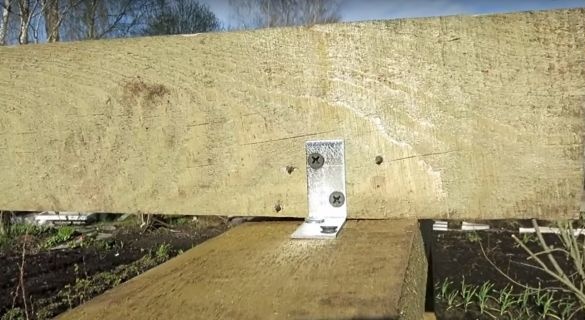
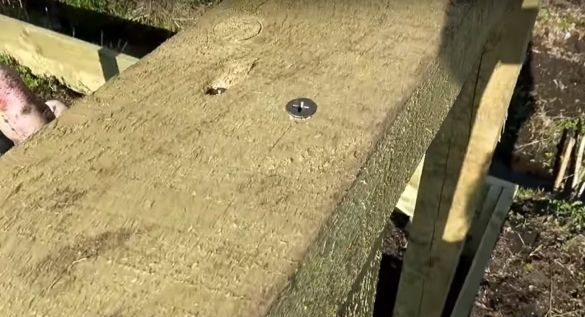
The skate was fixed with corners, and the racks were assembled simply for self-tapping screws.
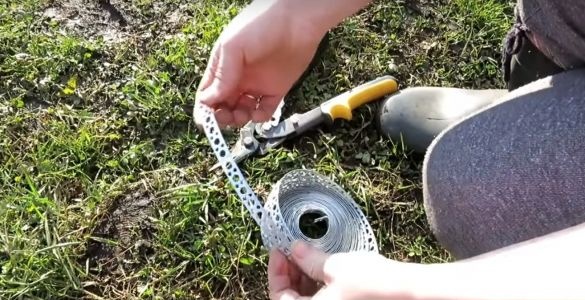
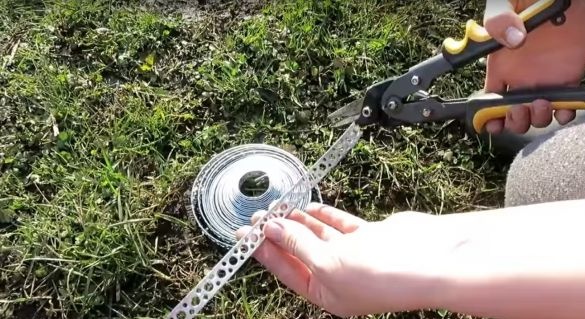
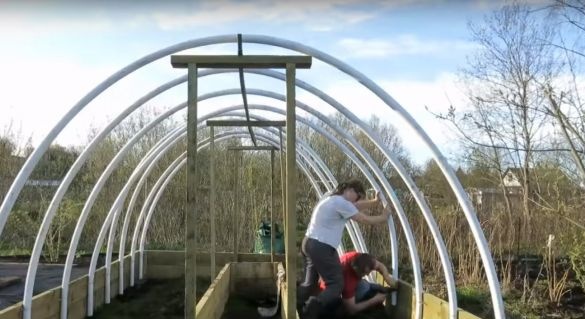
As arcs, the author will take a plastic pipe, cut eight pieces from it, the right size, and proceed with installing and securing the arcs. Brackets for fastening arcs, he will make of such a metal strip.
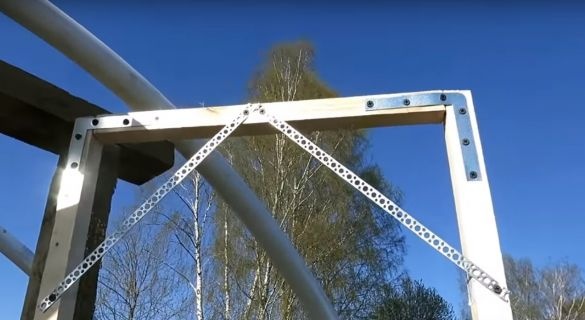
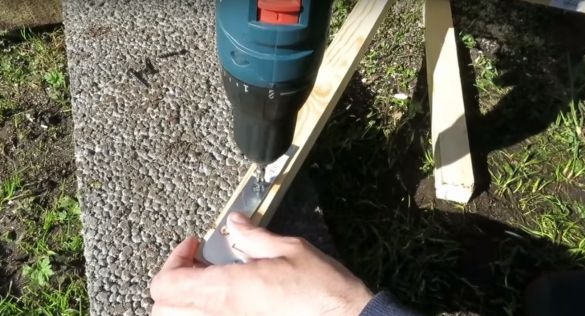
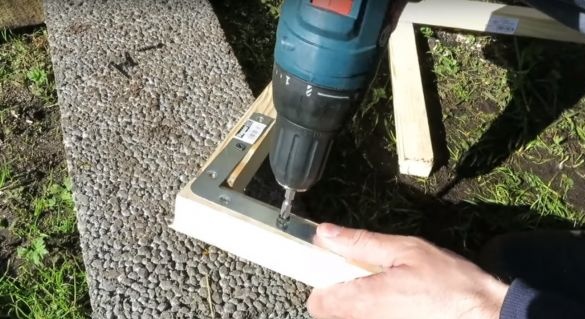
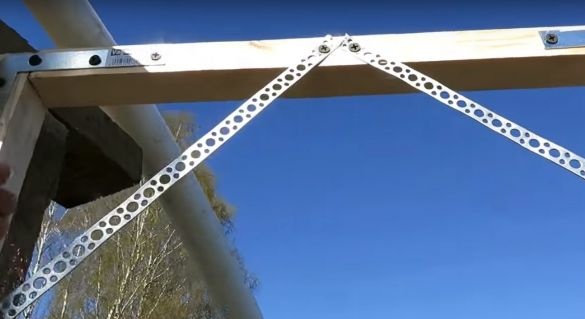
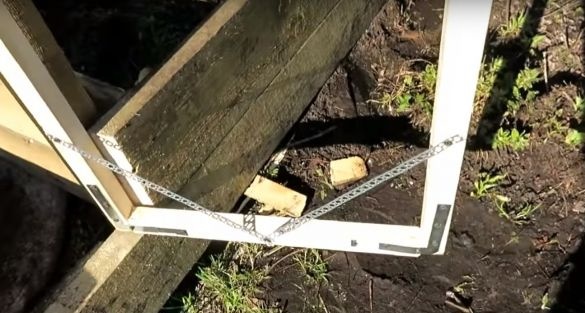
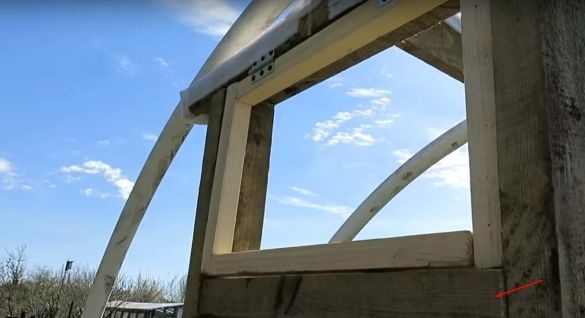
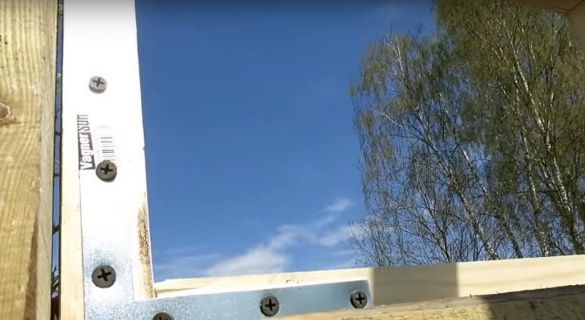
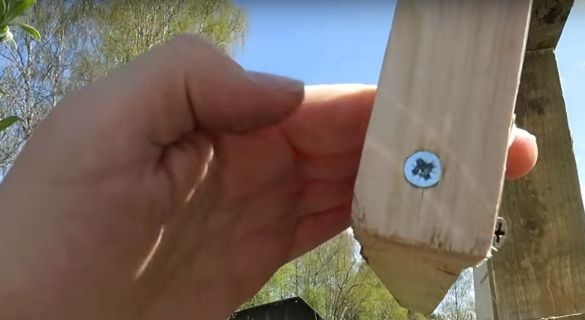
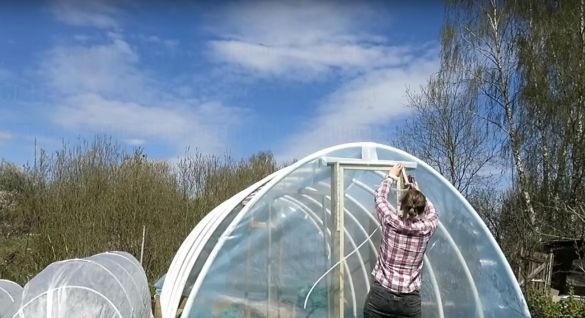
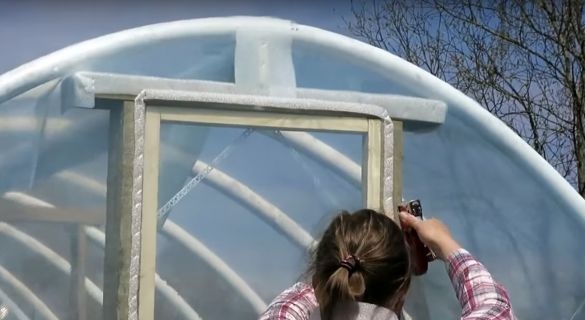
Then he will assemble and install the door, and on the opposite side a window. He uses a 30 by 30 mm beam to assemble the door and window. It collects with corners, and in order to avoid distortions, it will make struts from a metal strip on all four corners of the door.
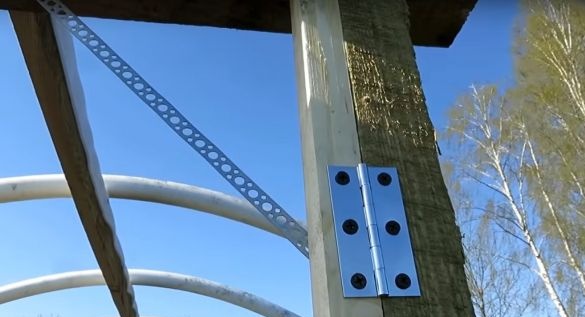
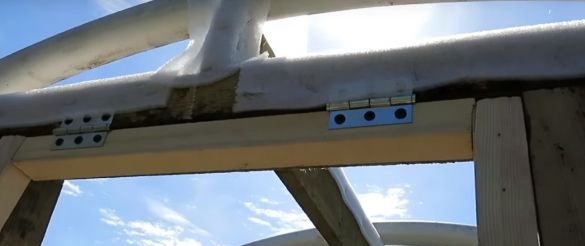
Fastens the door to the awnings.
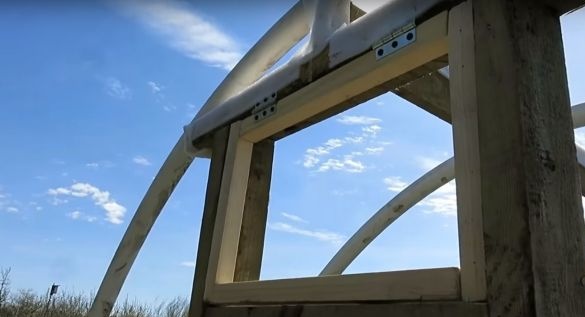
Then he collects the window.
Having previously fixed horizontally the board in the last rack.
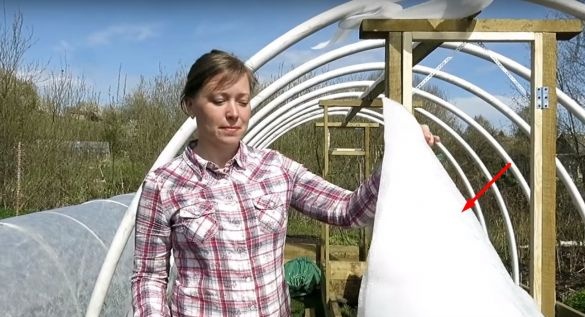
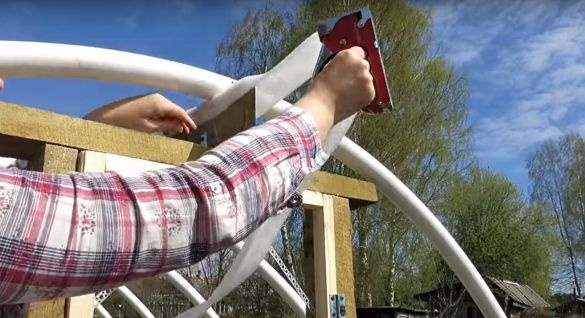
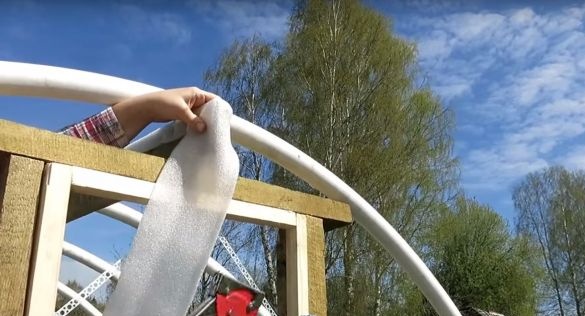
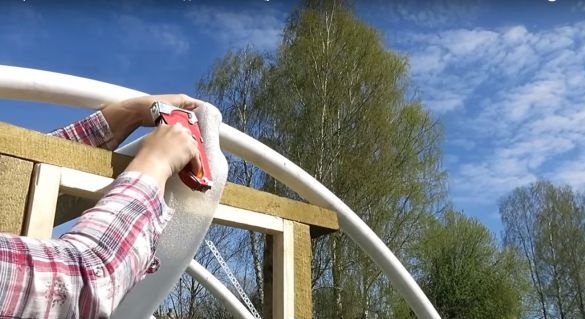
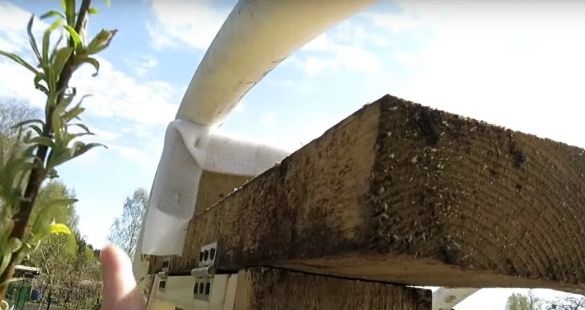
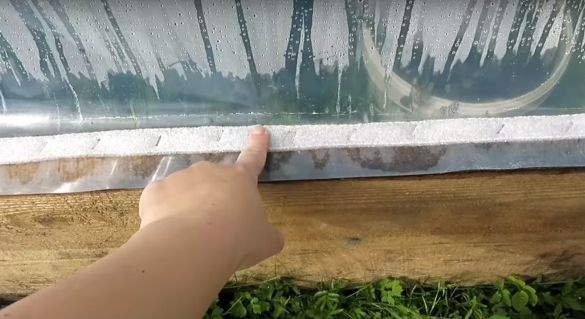
Then he takes, such a substrate under the laminate and with the help of a stapler, fastens it to all sharp corners. So that in the future, when the greenhouse is covered with a film, it does not tear.
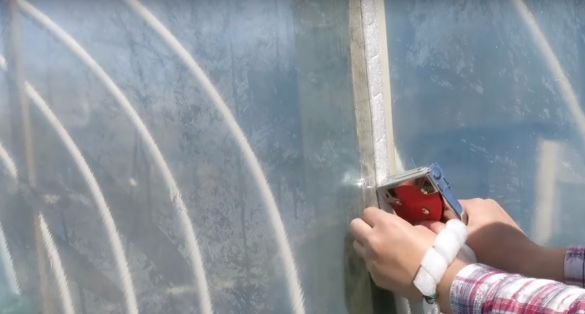
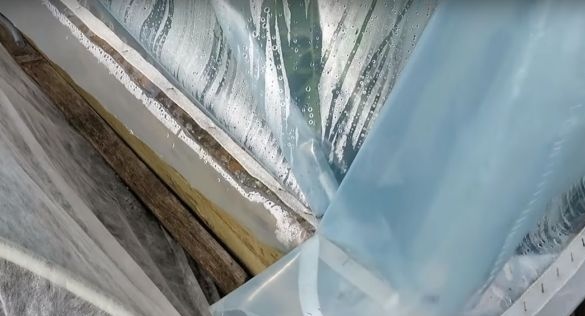
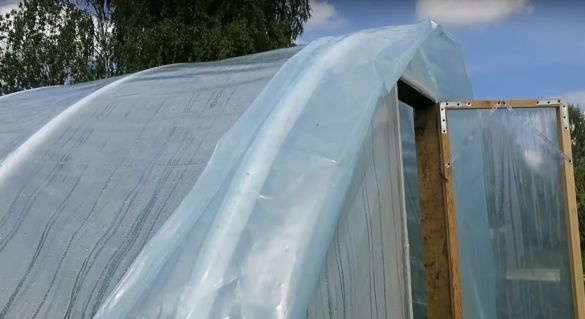
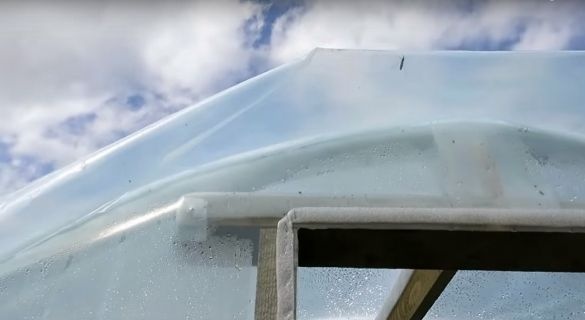
It covers the frame with film, and fastens it with the same stapler through the substrate.
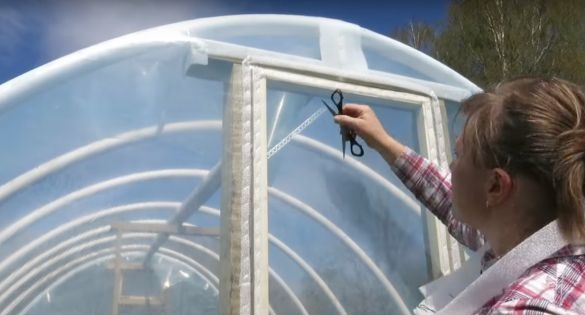
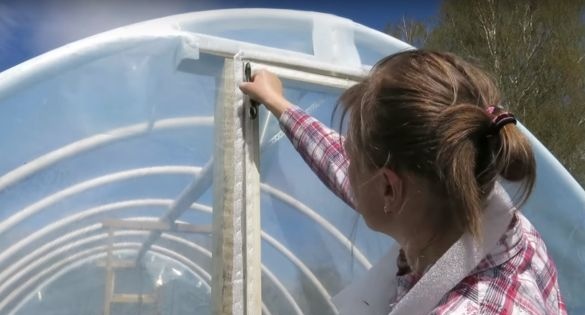
And in the end cuts through the door and window.
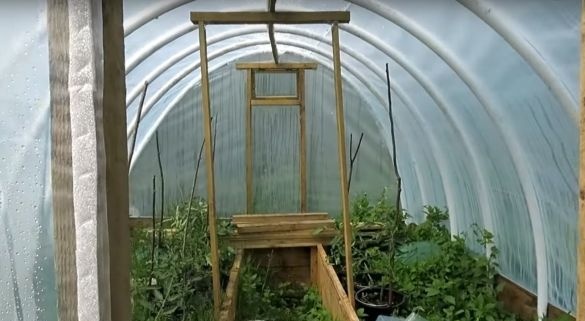
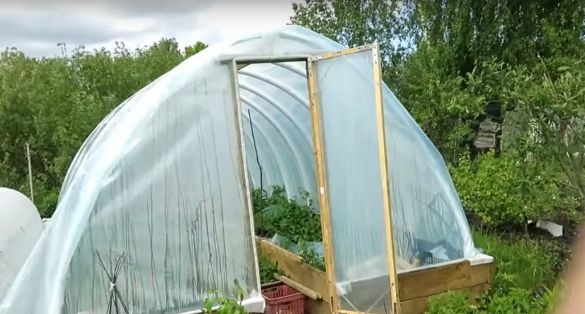
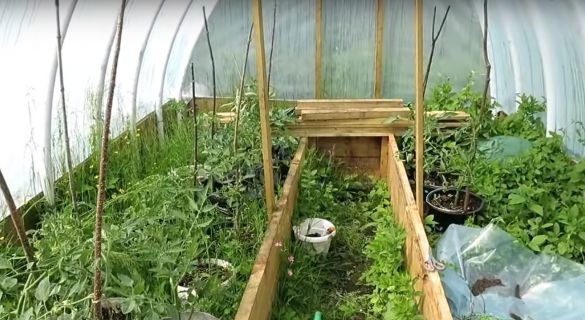
This is the greenhouse.
In the future, all the places of fastening the film through the substrate will be strengthened with the help of a rail, and also cut off the excess film.
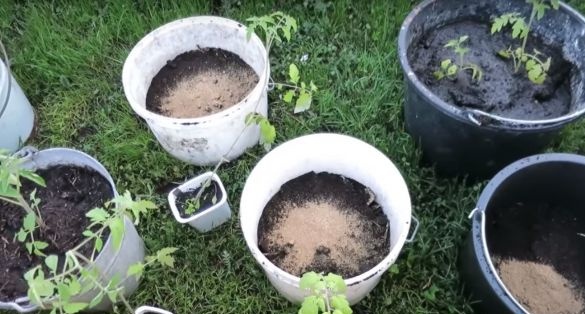
Test. He placed such seedlings in a greenhouse.
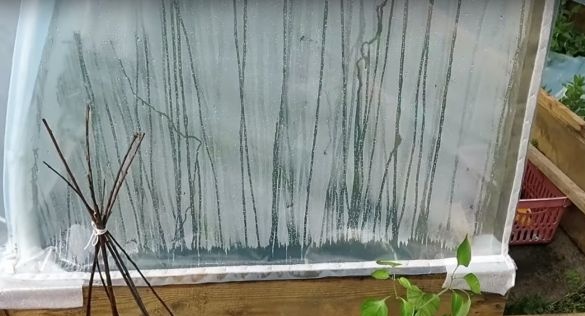
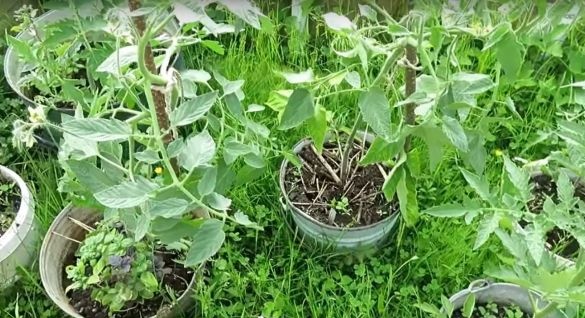
And she became such after 10 days.
Thank you all and see you soon.
Greenhouse assembly video:

